You must be logged in to rate content!
9 minute(s) of a 418 minute read
5-5-2012
Lip welded in
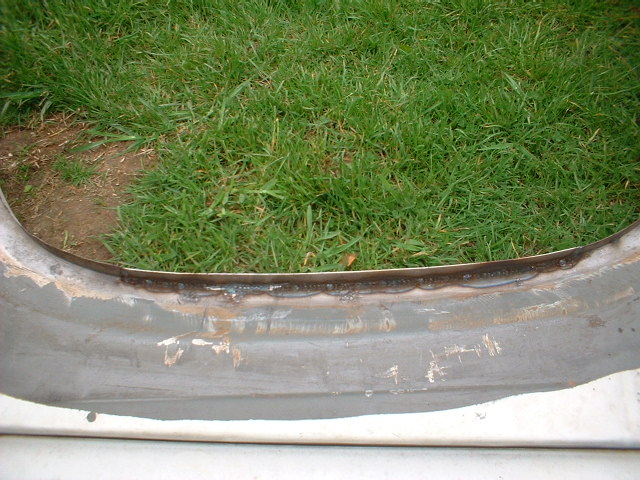
Now its time to reduce the width of the lip. Masking tape on and a pencil line to cut down
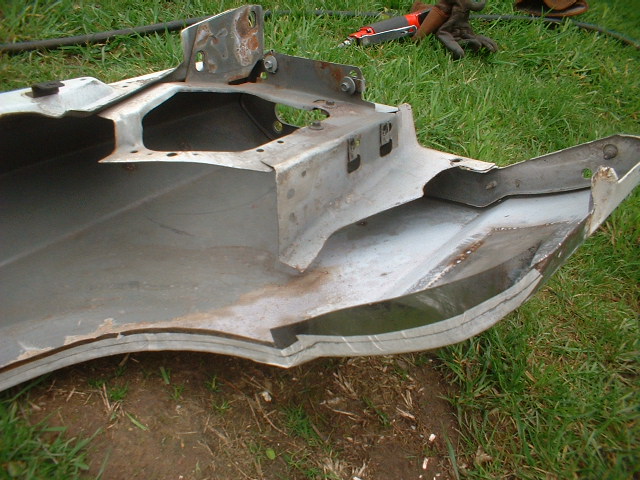
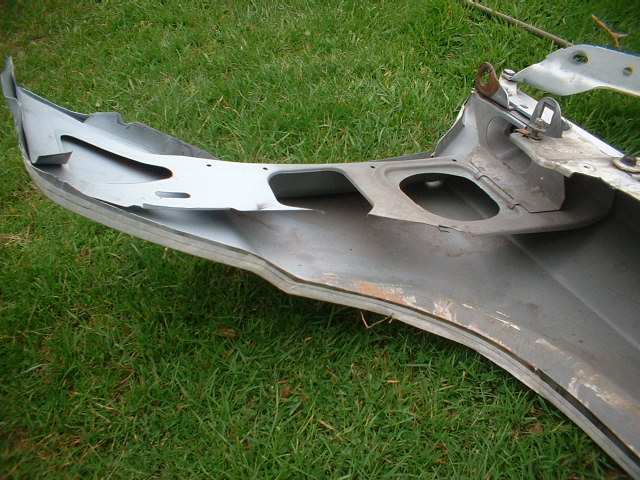
and cutting
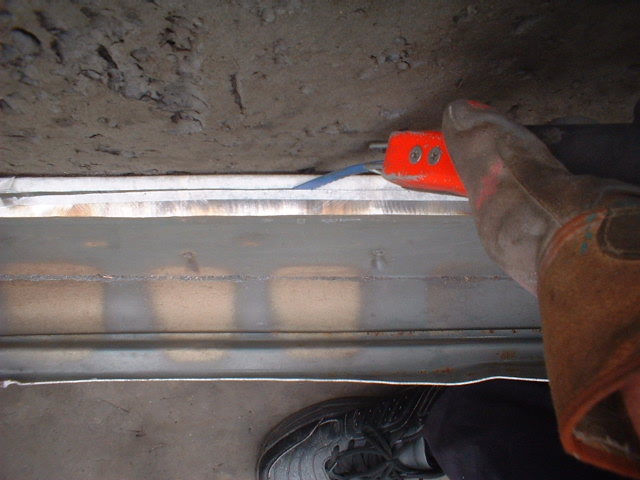
Here's an interesting discovery. Final paint sanding and this line of rust appears through the paint
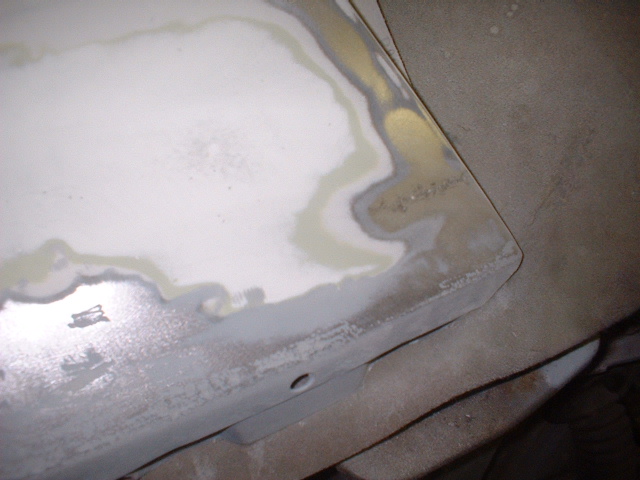
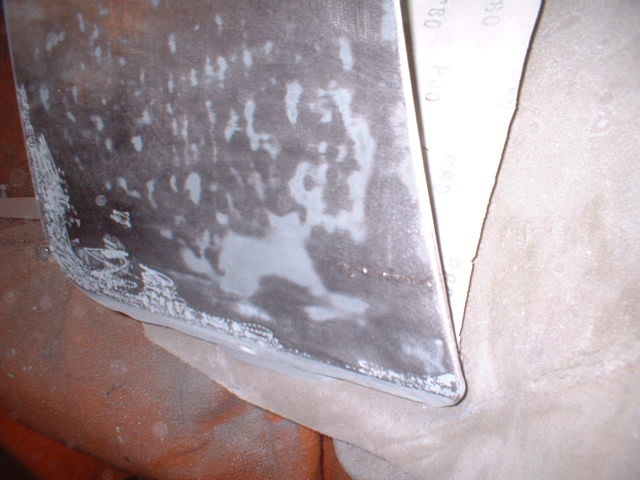
Same line with rust ground out
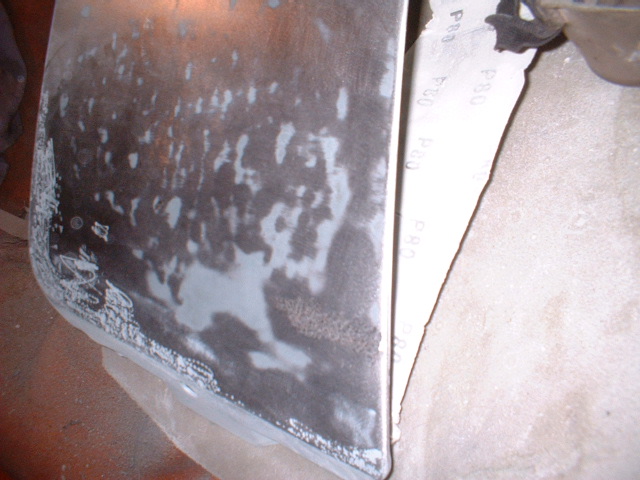
That would have caused some paint bubbling a year or so down the line.
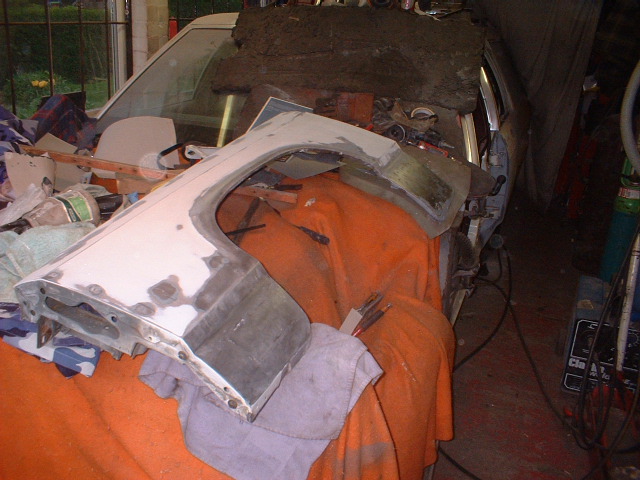
Here is the fender all flatted back and ready for a skim of bondo and primer.
5-6-2012
Over to a very suspicious looking A post.
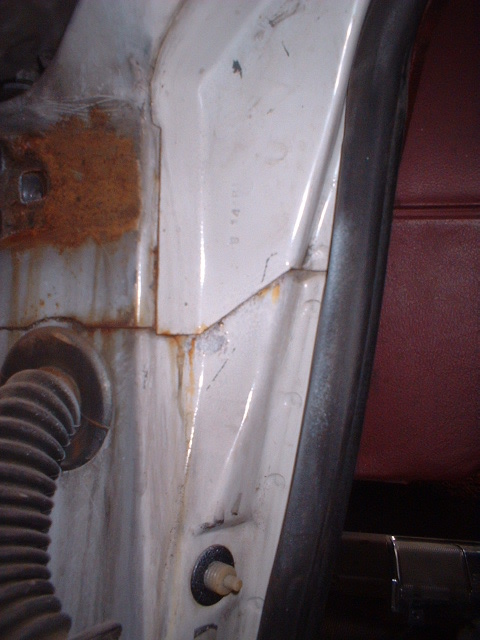
So, what I am going to do is to peel back the layers and try to see what exactly is going on.
First section removed
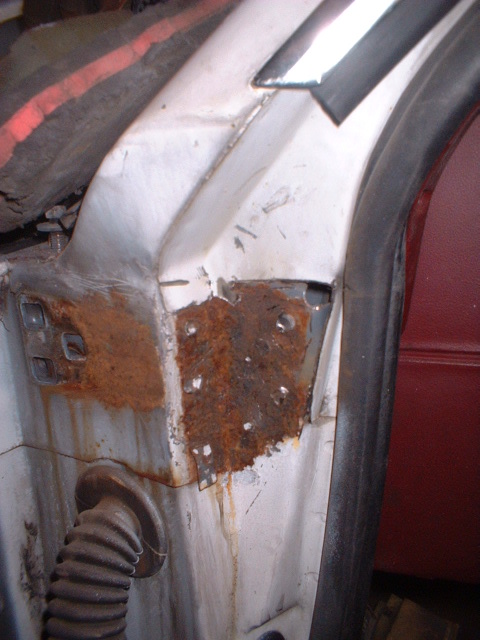
Second bit peeled up
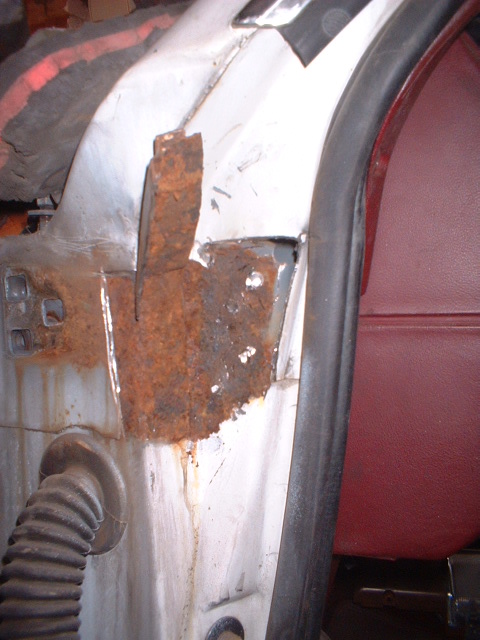
Third bit peeled back (hinge reinforcement)
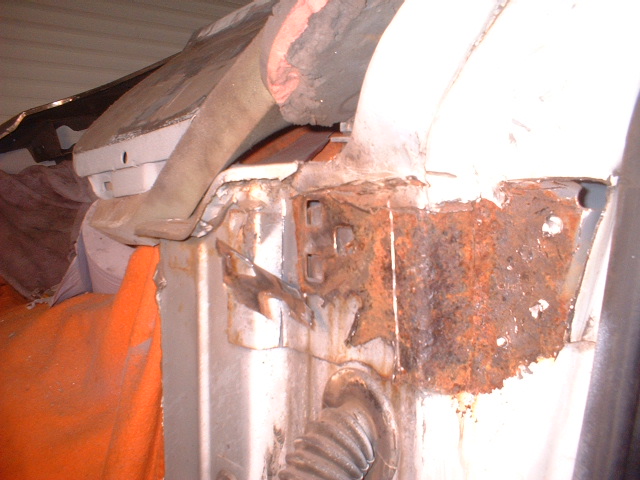
and last bit clear so far.
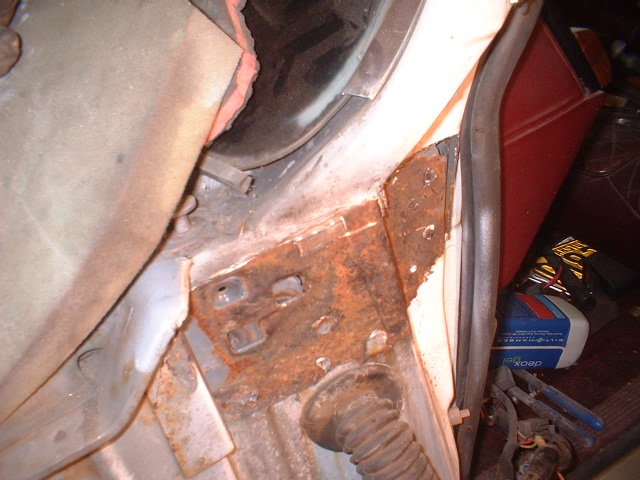
This is some heavy rust. And I know for a fact that the passenger side is far far worse - to a point where someone has welded the hinge to the A post because the bolts dont work anymore!
I still need to find out why its rusted in the first place.
5-10-2012
Finally finished removing enough steel to know roughly why its rusting.
Take a look here
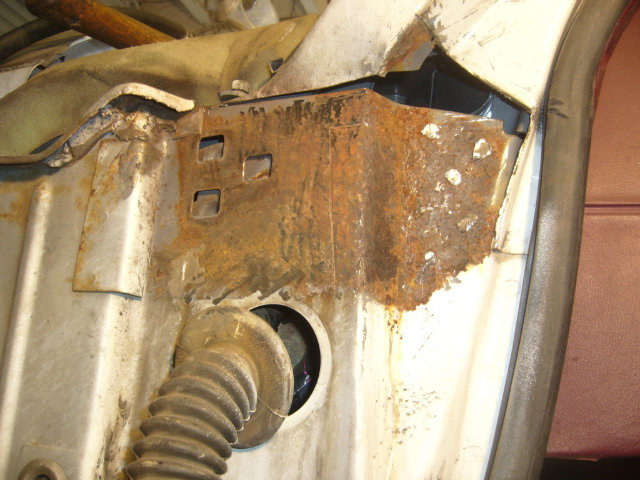
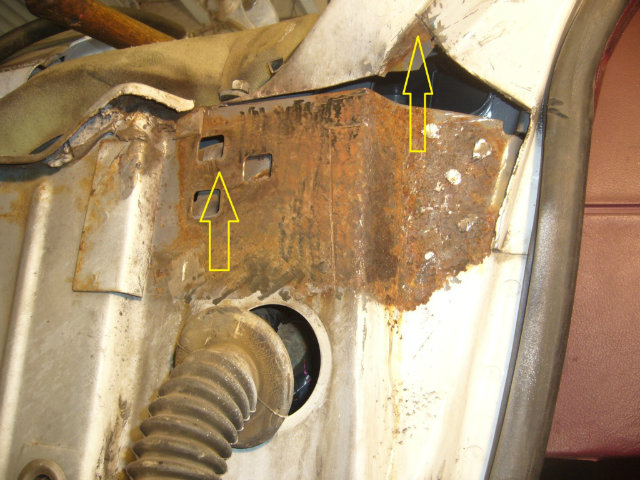
I think the moisture is coming down the A post here as well as creeping around the hinge.
I'm going to have to cut out here and replace this first
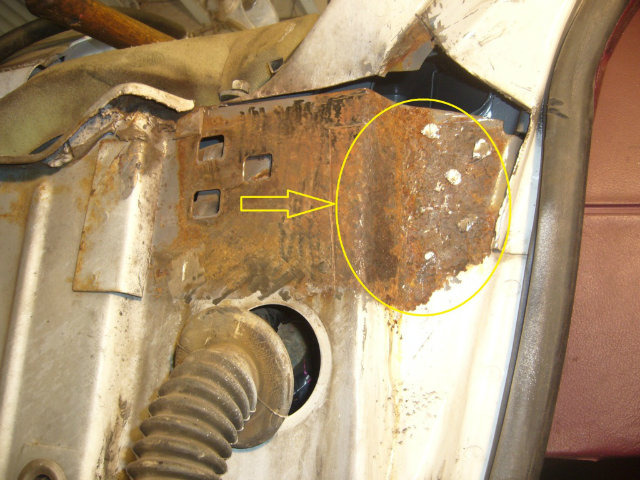
But its dash out first because I ain't setting fire to it when welding it up! And I'm going to need full access to the firewall when moving the floor up.
5-14-2012
Hi. Circled bit on the right is not surface rust. Will be coming out. Thanks for your continued support though. Stay tuned.
Now its dash removal time. And if anyone tells you that its easy, well they are a big fat liar :nono:
The main problem is that there are 2 huge bunches of wires that go through the firewall and into the engine compartment. The one on the drivers side is reasonable,
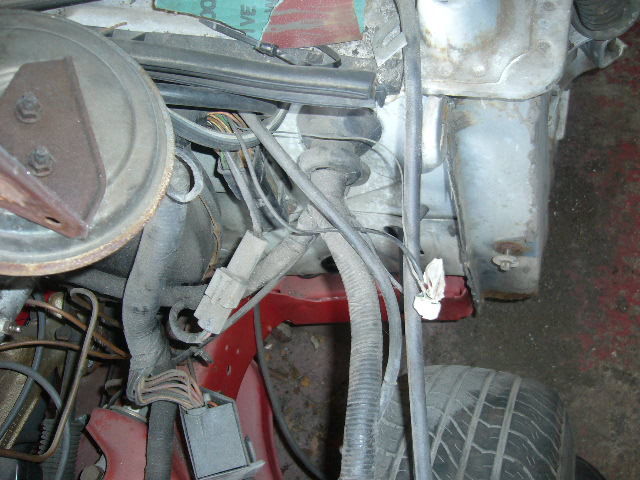
but on the passenger side the loom goes under the heater box, so that and the passenger inner fender will have to come out to get access. So move the car out of the garage a bit
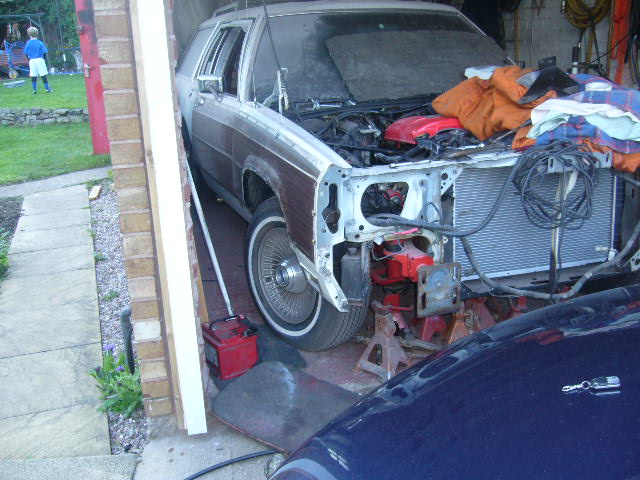
and out it comes
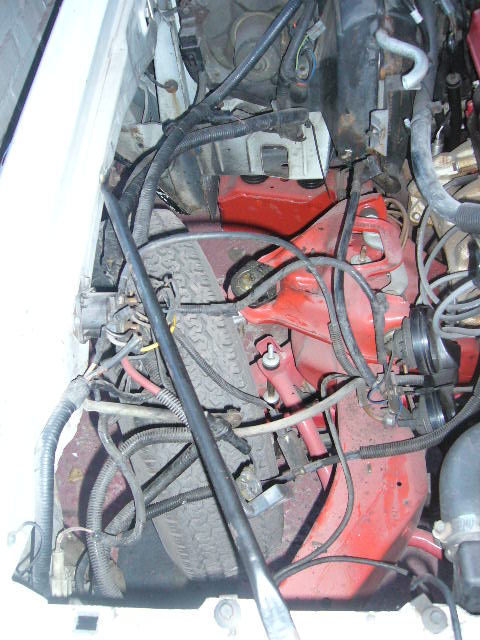
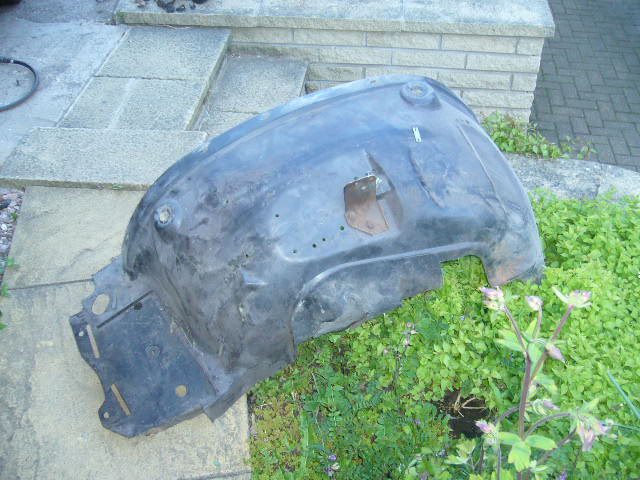
Thats not going back!
Here's the dash partly removed awaiting loom removal
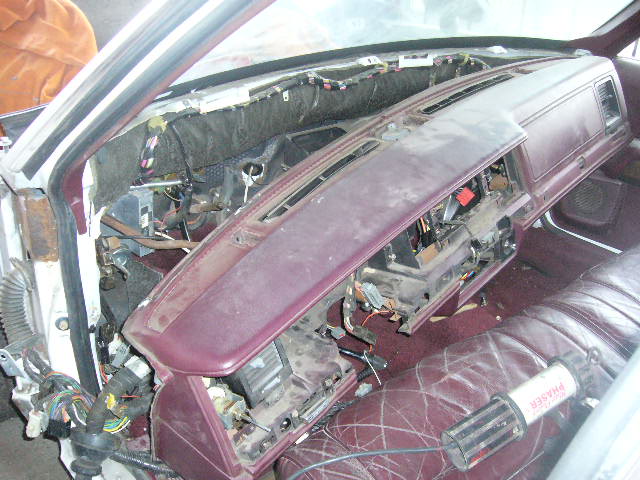
Took a big decision to remove all the AC and airbag wiring and components. For 2 reasons really. I dont know when the AC worked last and the compressor was seized when I bought it, so it could cost a fortune to put right. And the weather in the UK doesn't really justify the cost.
It will also make the engine bay look a lot cleaner. The airbag is now 22 years old and very unlikely to work efficiently - so out it all comes.
Here's all the AC stuff out so far
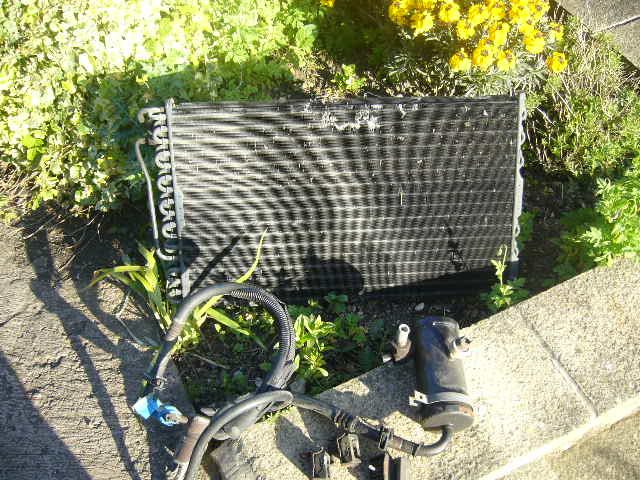
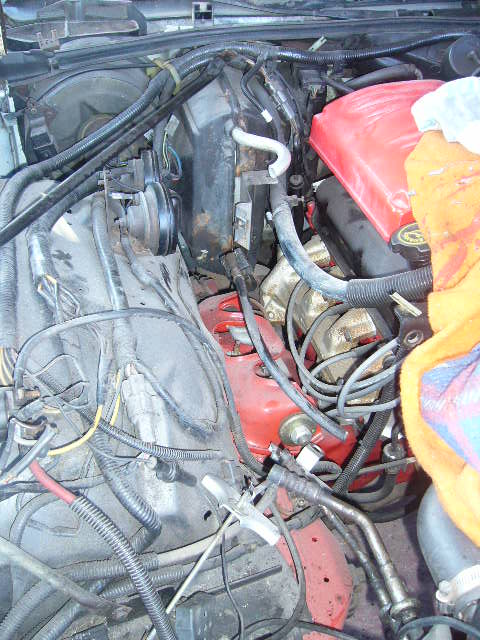
Here's a before and after photo of condenser removal
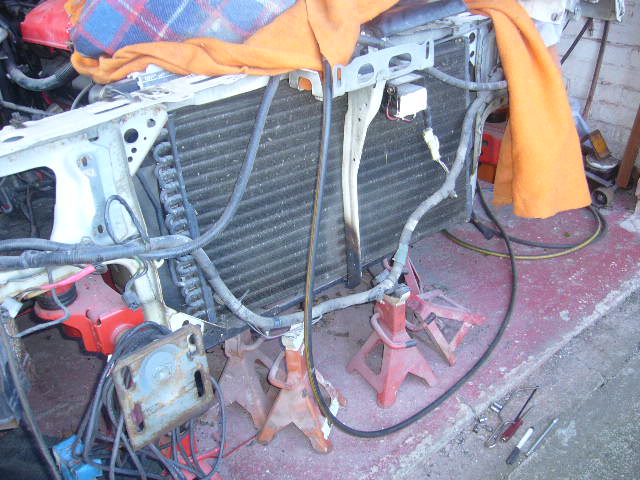
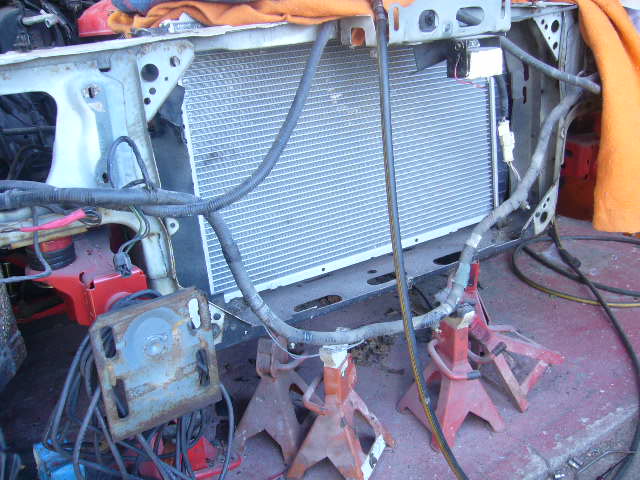
Looks a lot cleaner now (photo taken just before inner fender removal)
5-15-2012
Finally got the dash clear
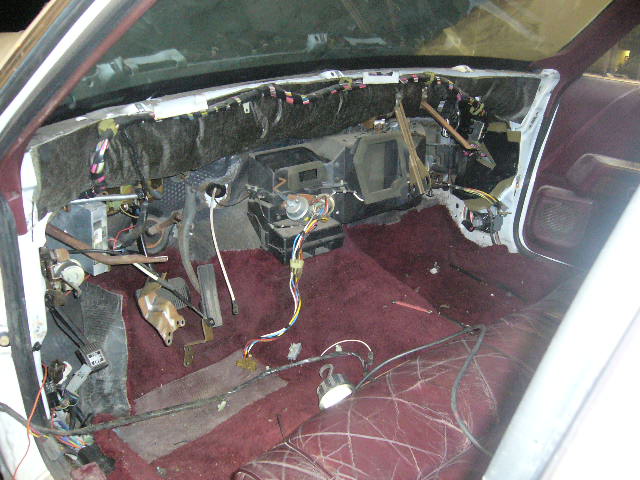
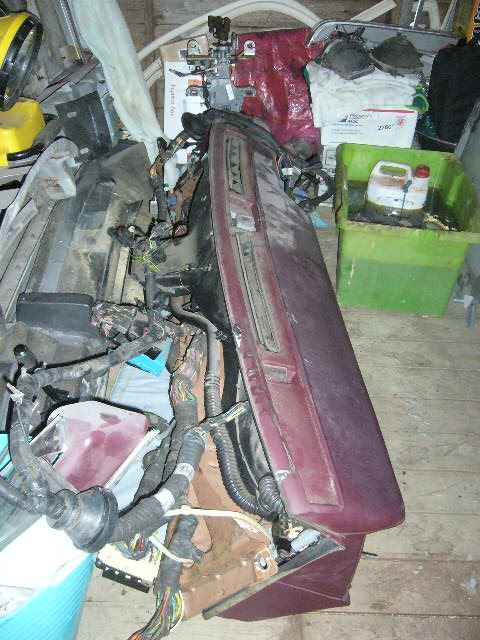
Took me 1 hour to try to remove the wiring plug from the fan resistor pack on the firewall behind the plenum. Eventually gave up and had to spend another hour trying to undo the 2 8mm bolts holding it on. Here's the little sucker
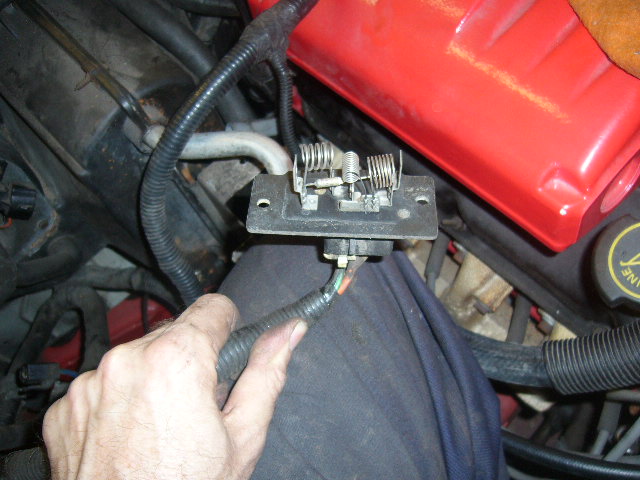
Even then it took some pulling and levering to get the plug off. This is why
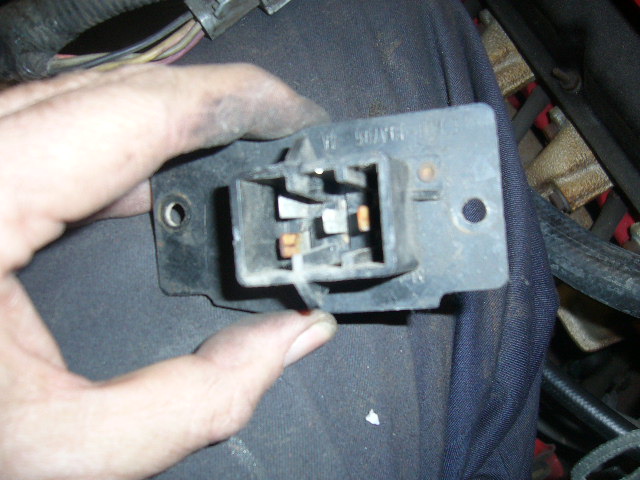
You can just see the rust on the pins. These are going to need a good cleanup.
I said earlier that dash removal on this 1990 cv was a PITA, but I was wrong. PITA is a complete understatement. This could be a new punishment for criminals. Rather than going to jail they have to remove the dashboard on a box panther.
I'm seriously looking forward to putting this back :nono:
But it wont be going back like this - many mods will be done including removing some of the wires and possible rearrangement. More of that later. Now I can get back to the welding.
5-19-2012
Doubt it!! I know the trick to remove it now = swear a LOT!
Here's the last state of play with a little flange left over
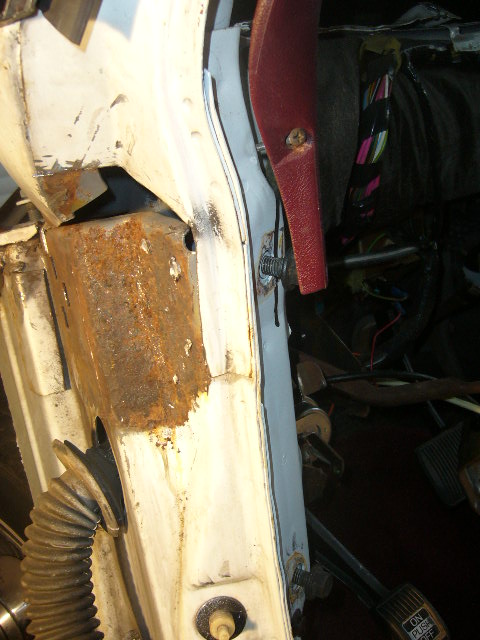
Out that comes with rust underneath. Here it is cleaned up
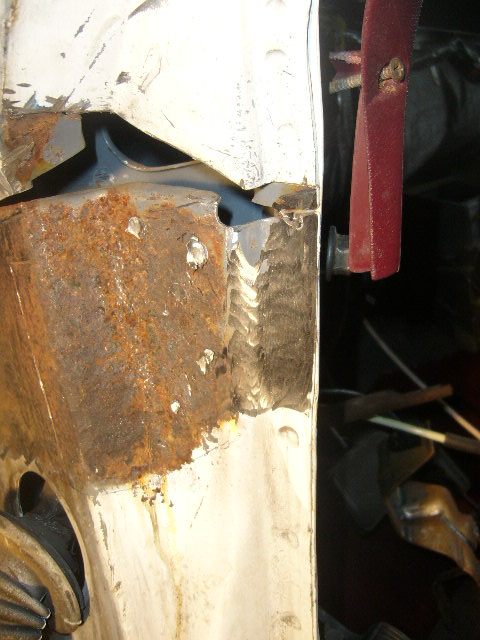
Heavy rust to come out next
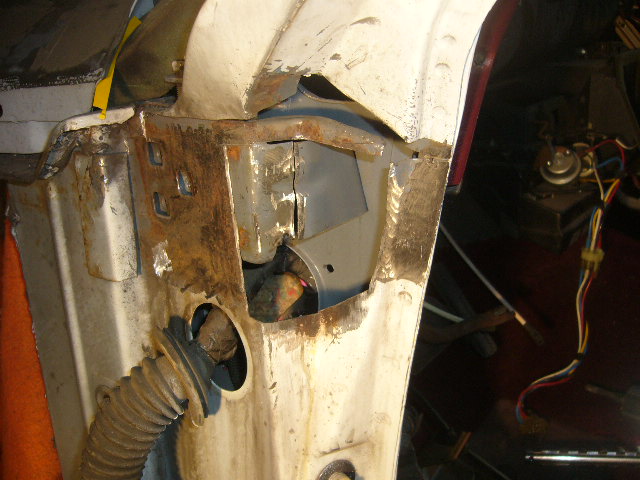
Oops! Cut through the plate below it, so have to weld it up
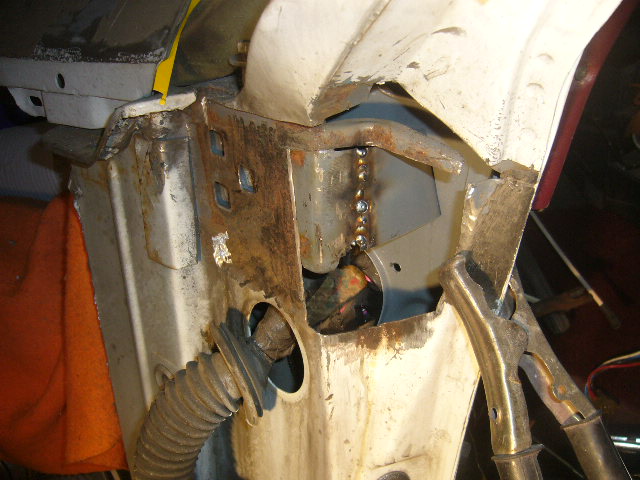
New panel fabricated and offered up
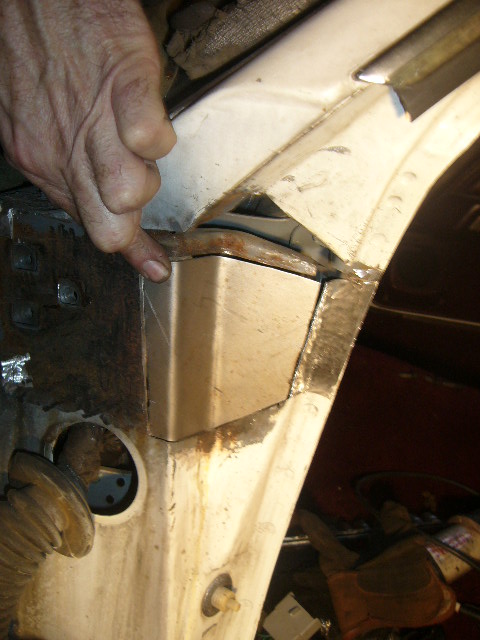
and welded in
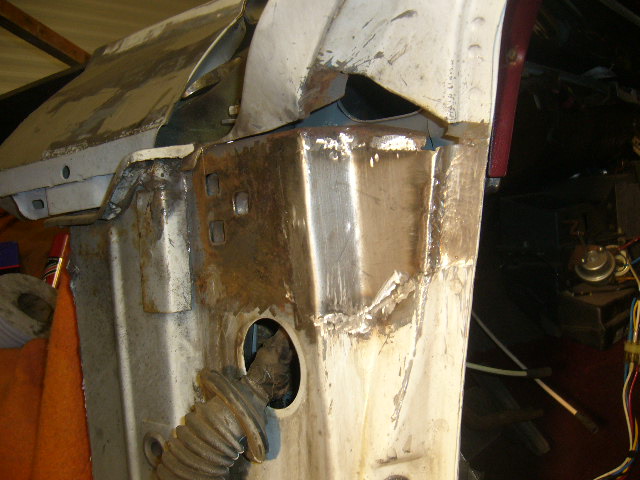
I'll put the other 2 layers back tomorrow.
While i was removing the air bag safing sensor from the bottom of the A post, I spotted this
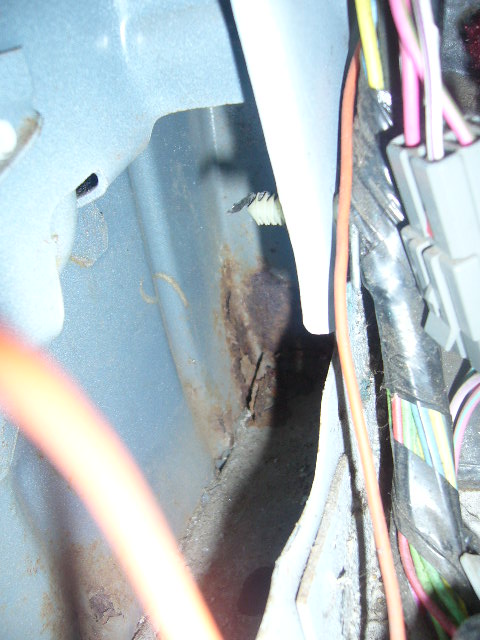
and this
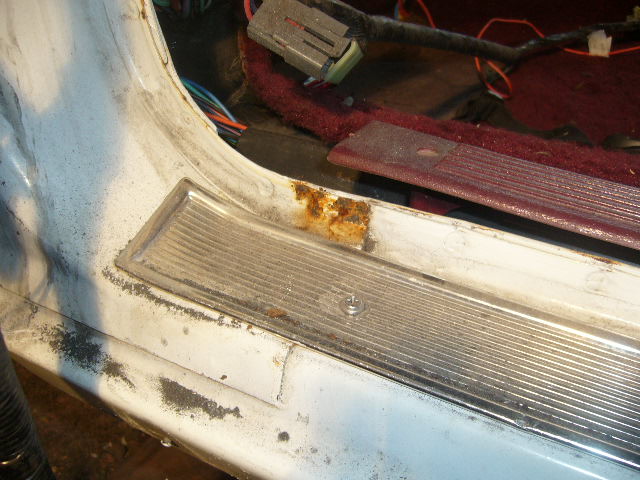
Sort that out next.
5-20-2012
Todays jobs were easy for a change.
Remove all remaining rust..
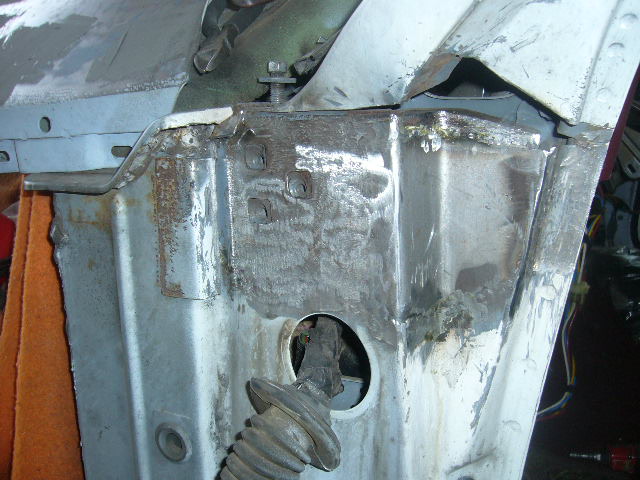
Fabricate a plate to get the top of the A post back to 3 thicknesses..
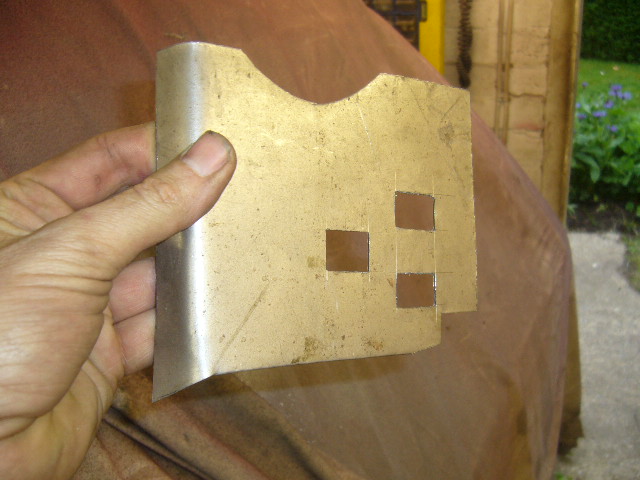
Drill some holes in it to be able to spot weld through
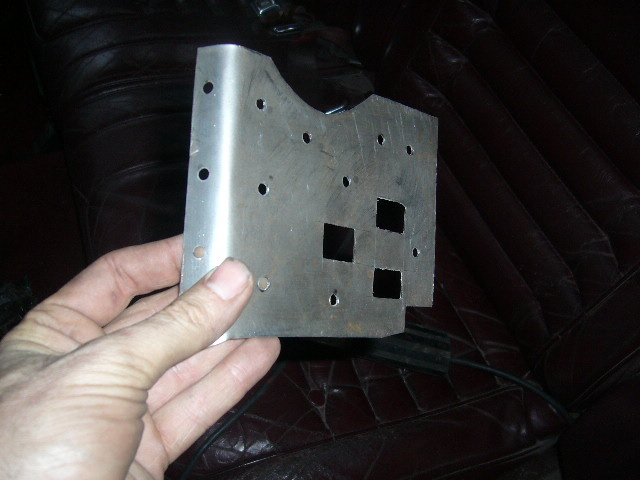
Mark where these holes will be on the A post, mask them off and etch prime the post and the back of the plate so it'll never rust again!!
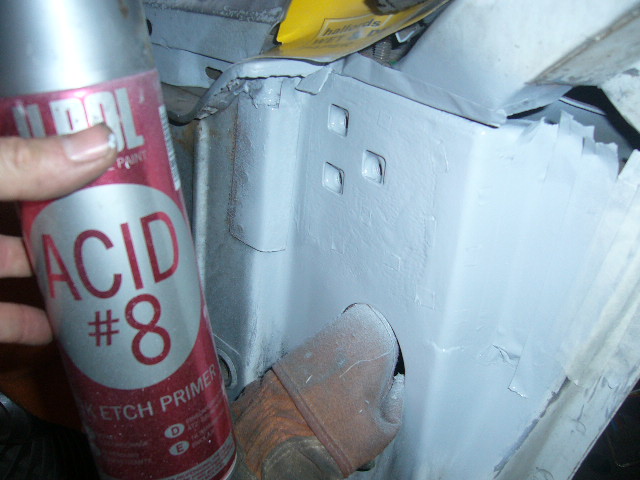
You can just see the small masking tape patches if you look closely!
Weld it in tomorrow and fabricate the final closing off patch.
5-21-2012
Here's the plate tack welded on.
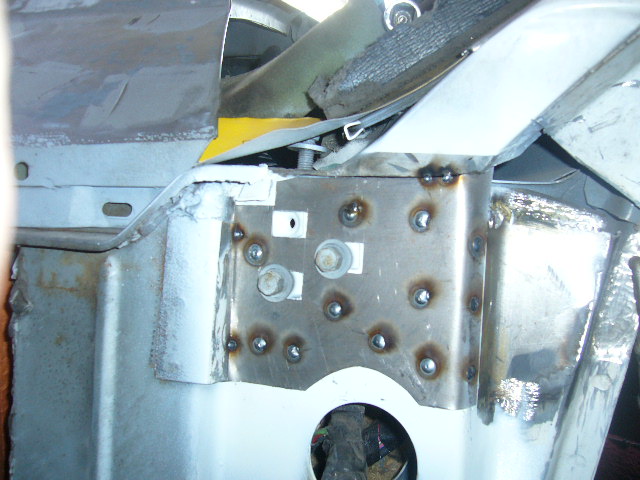
and finish welded
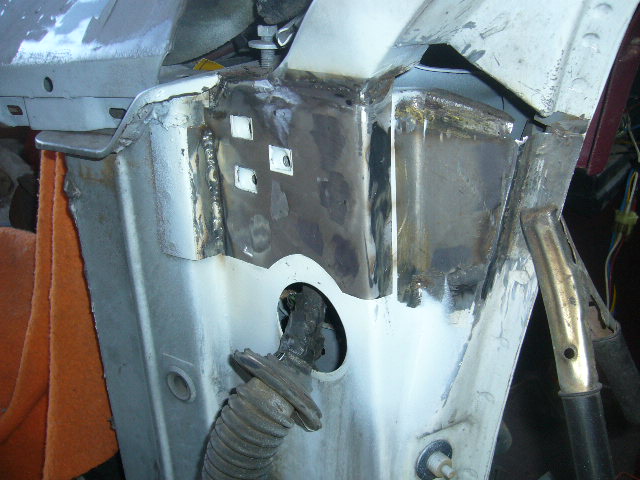
I'll try to do the closing up plate tomorrow and its onto the base of the A post.

Love this build, so much work!
Posted by diyauto on 1/21/21 @ 1:46:55 PM