You must be logged in to rate content!
11 minute(s) of a 241 minute read
11-1-2016
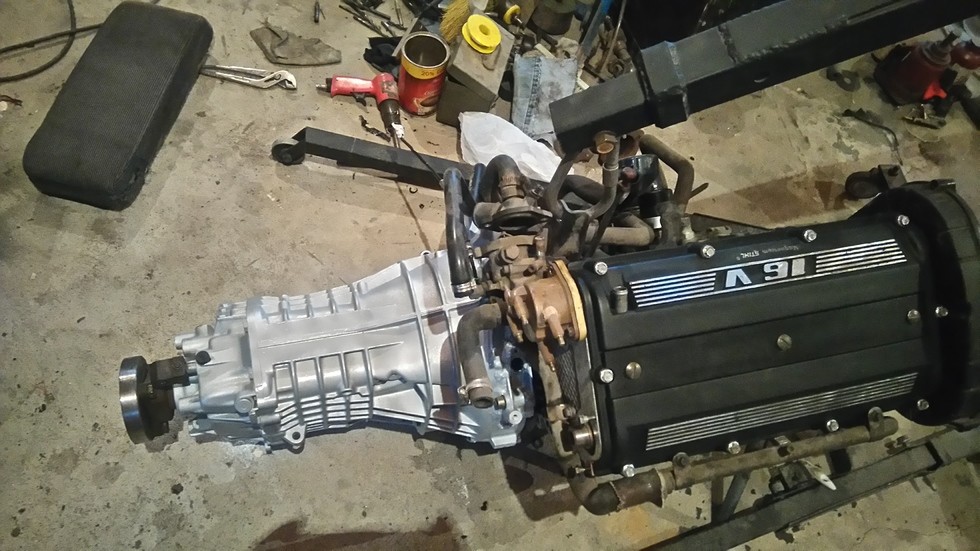
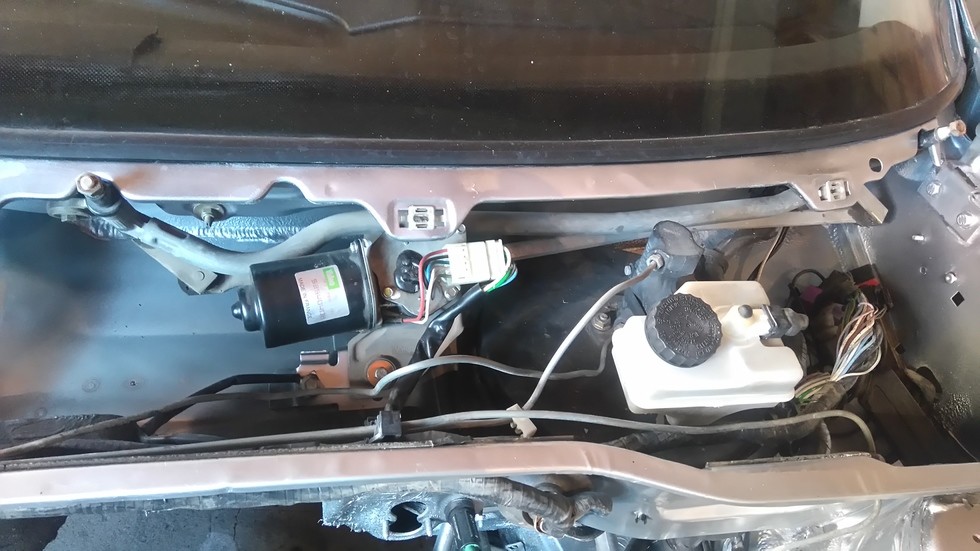
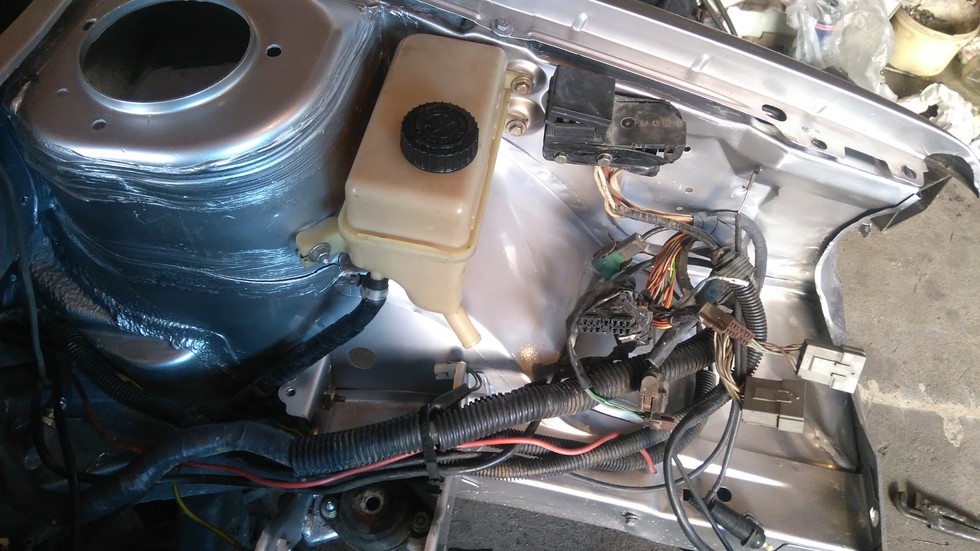
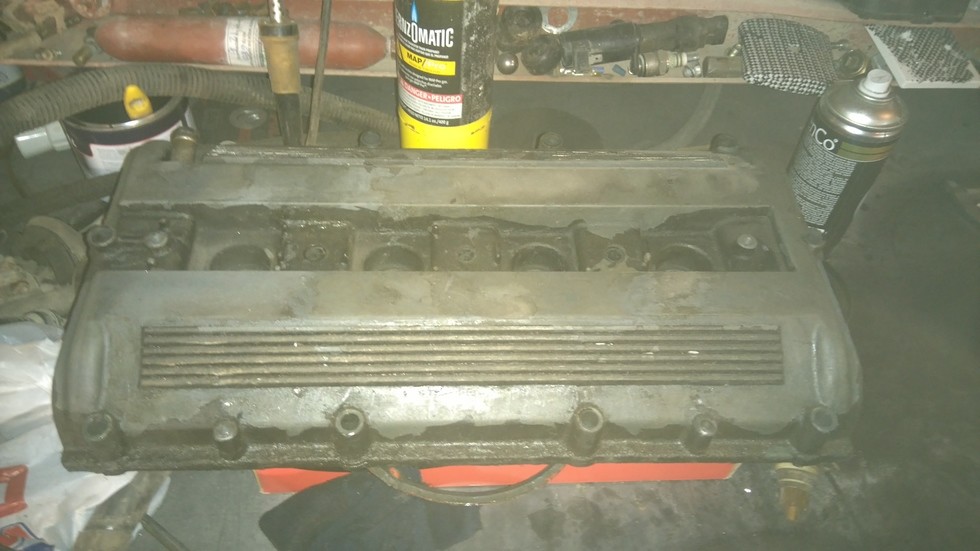
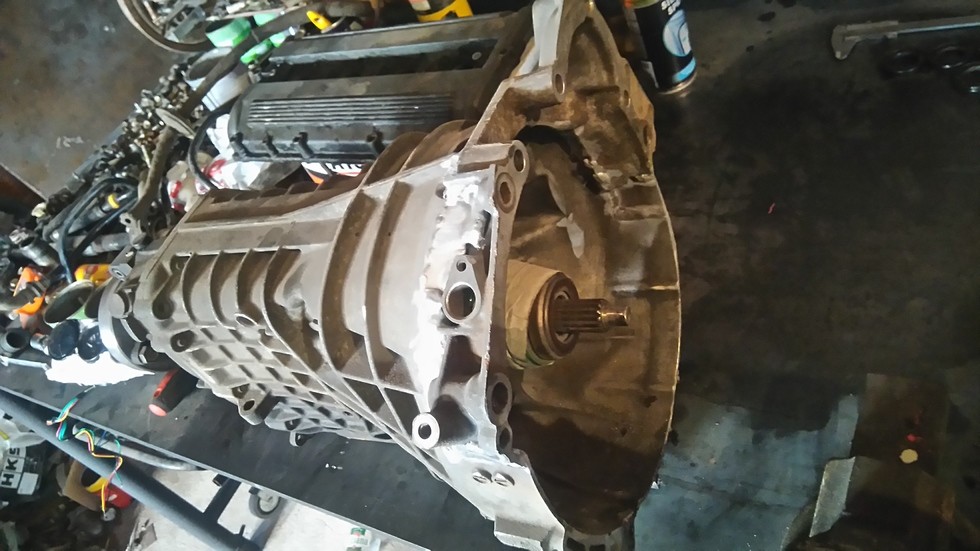
Well i'm at that stage more parts i put on the car better it looks, looks more like a car, that said every part that gets installed needs to be cleaned checked if needed repaired, so today started with engine mounts, then i mounted the coolant expansion tank and the power steering tank, both are cleaned inside and out and fit nicely, next in line was the windscreen wiper mechanism and a few little things, the other parts steel need to be cleaned, then i moved on to the engine took the rocker cover off and separated the gearbox, the plan is to paint both of them silver and then to do hydrographics on the rocker cover only, this is the first time i've taken off the cover and it is pretty clean, by the looks the head has never been off the block and the camshafts and lifters are like new, now there is a lot of cleaning in front of me, more to come.
11-2-2016
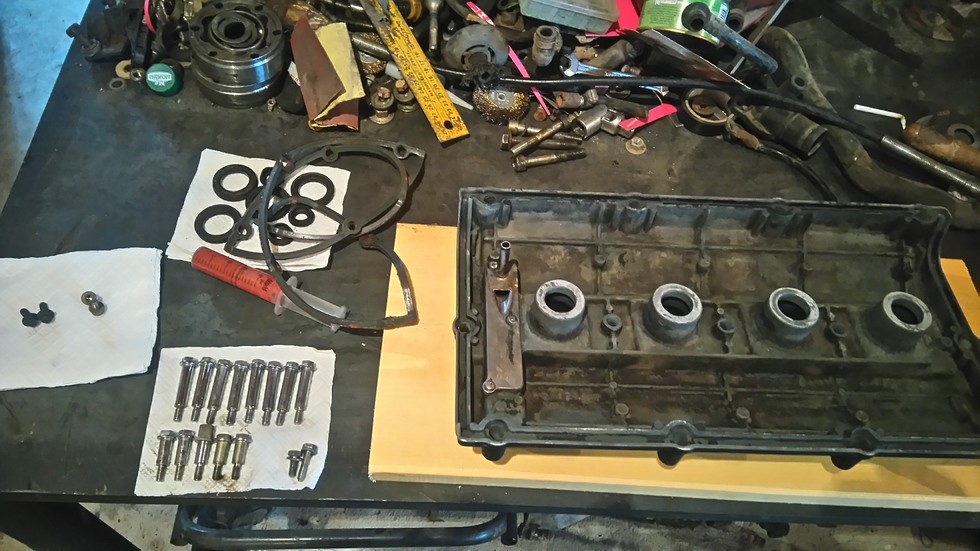
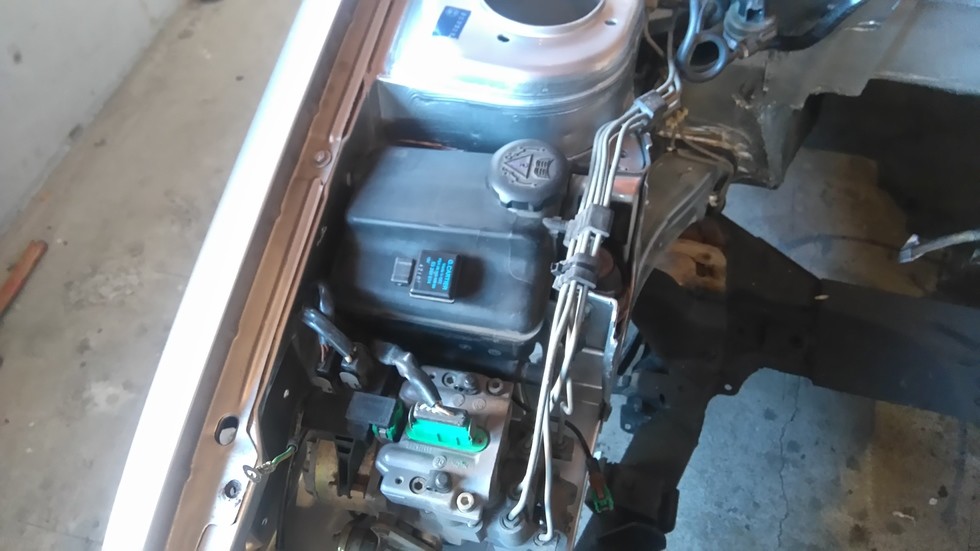
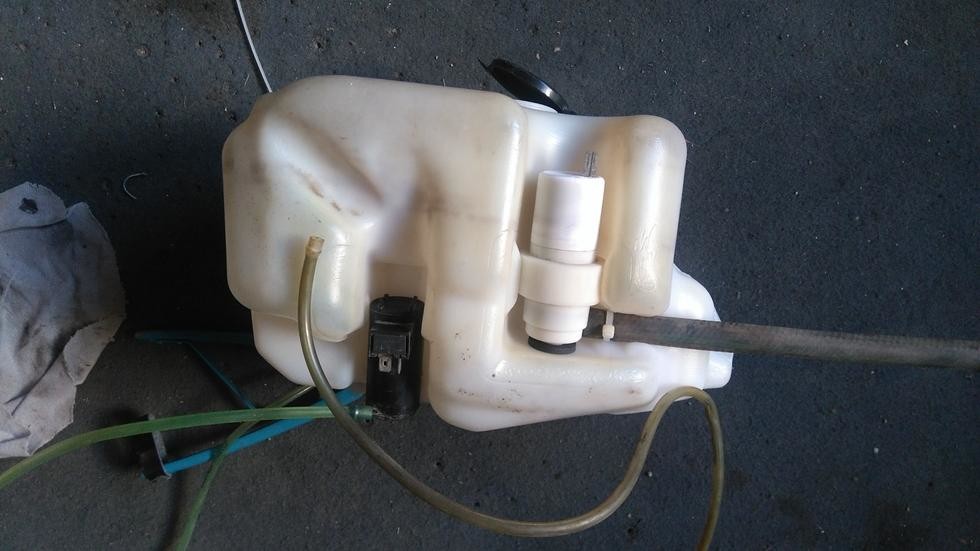
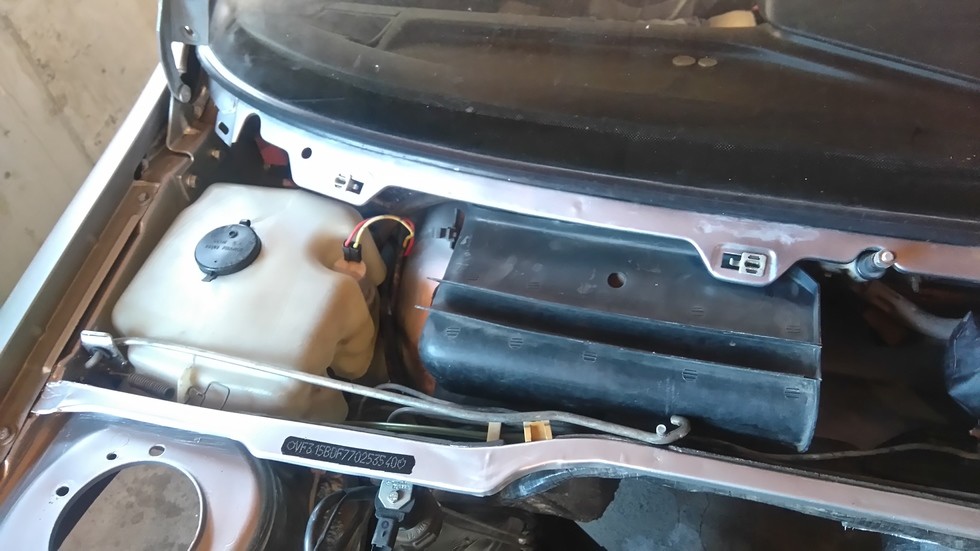
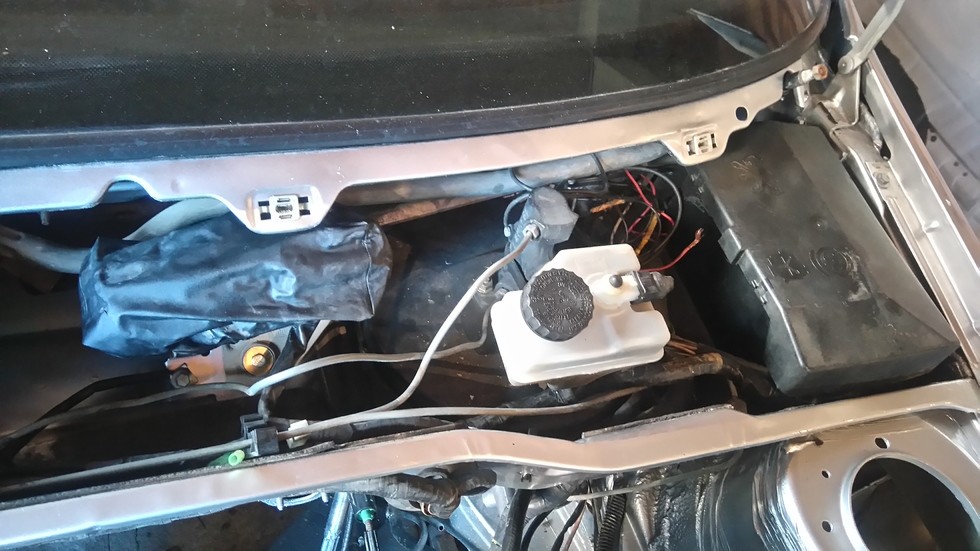
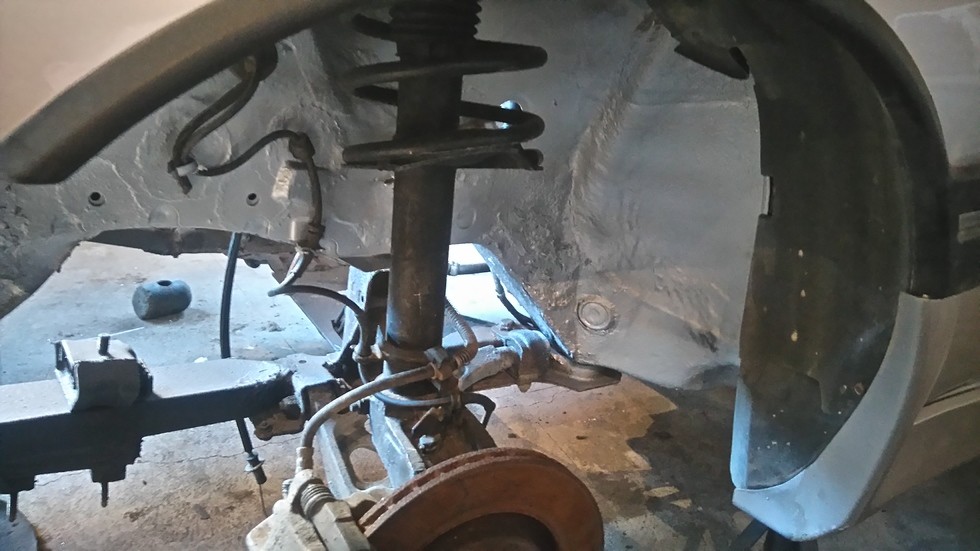
Today started by mounting the ECU box, abs ecu, wiper motor cover, washer bottle, had to install new hose for the washers the old one was hard dirty ugly the new one is silicone and is the same color as the old one, after that i installed the the grill under the windscreen and wipers, then i got the front suspension install also mounted the series 2 shock mount covers and wheel arches, then i wash the cam cover, most of the paint came off with just degreaser and power wash, but there are some stubborn spots, for them i use paint stripper and some of them steel did not came off, the magnesium cam cover is an new territory for me, can some one tell me if i need some kind of adhesion primer and could i use normal car primers and filler?
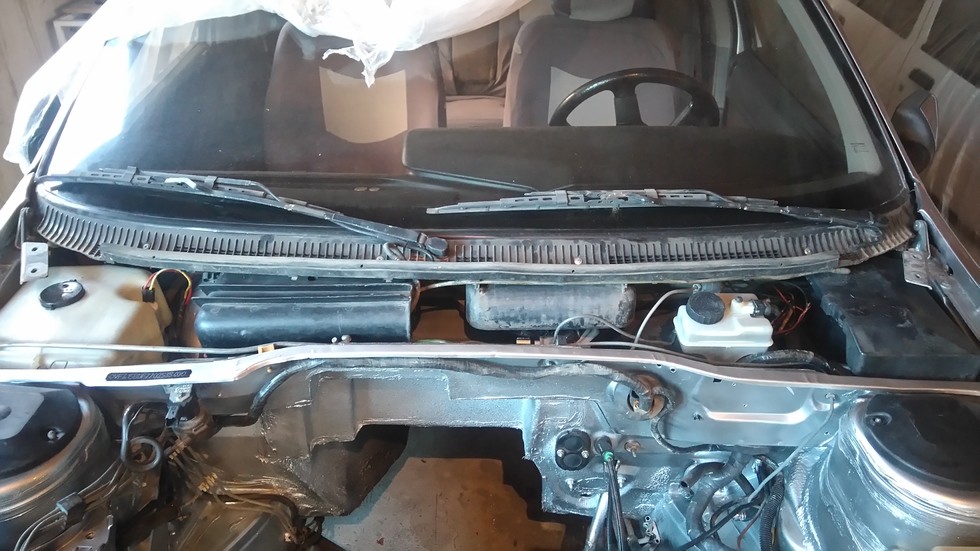
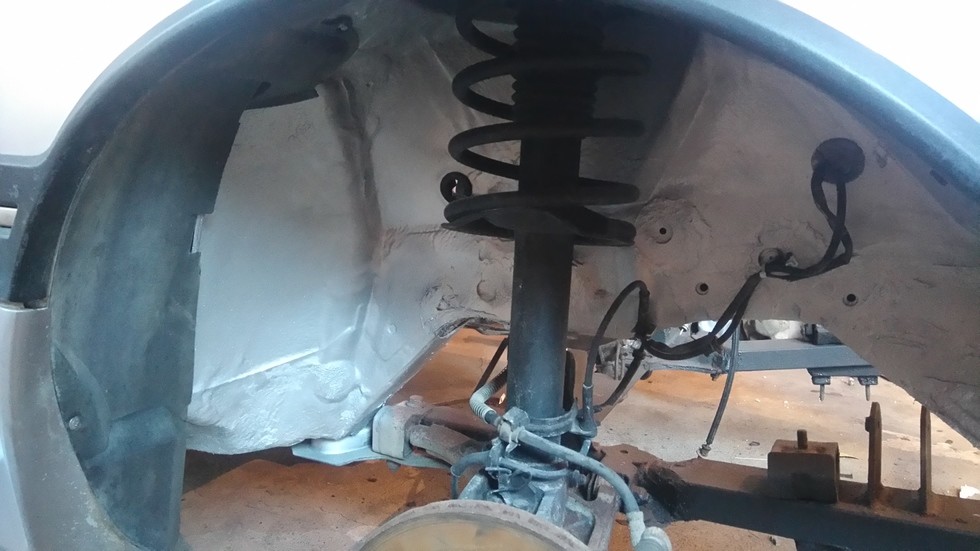
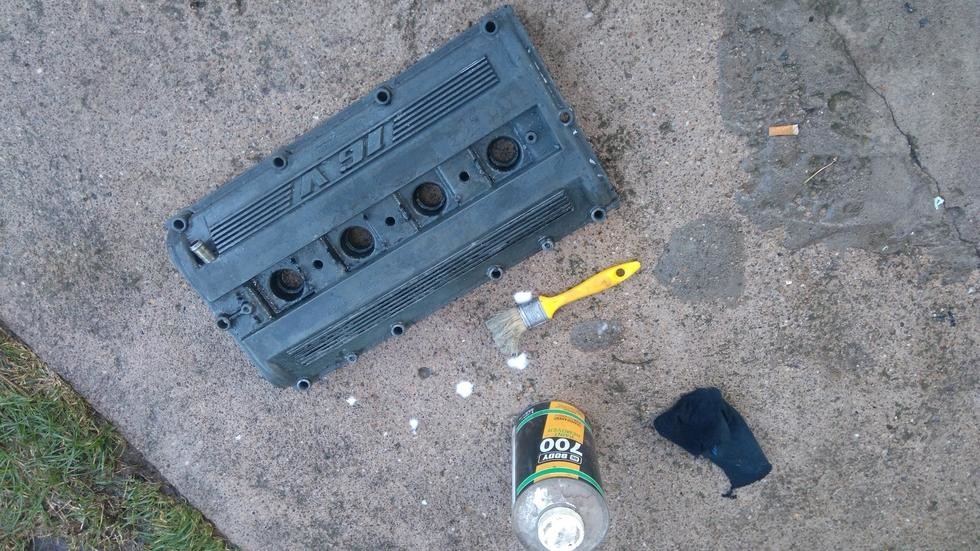
11-3-2016
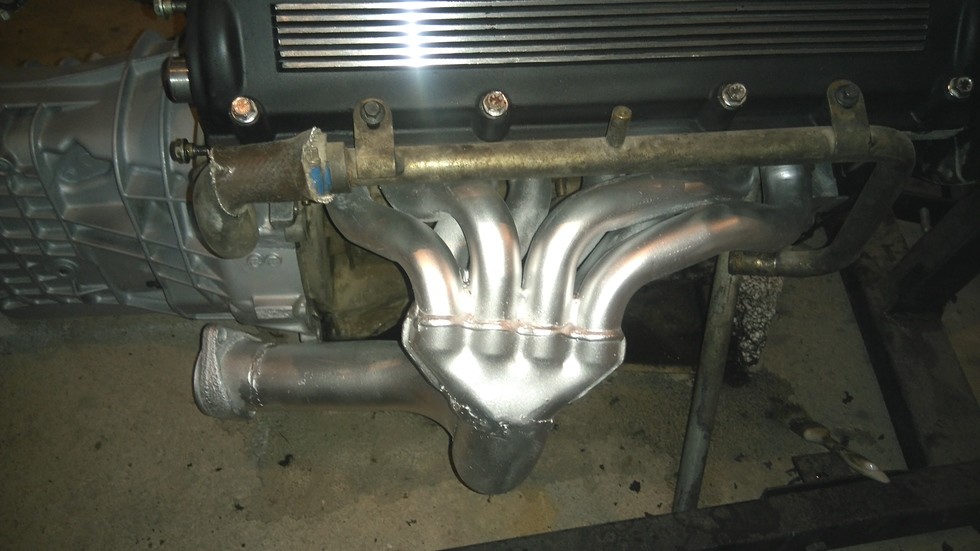
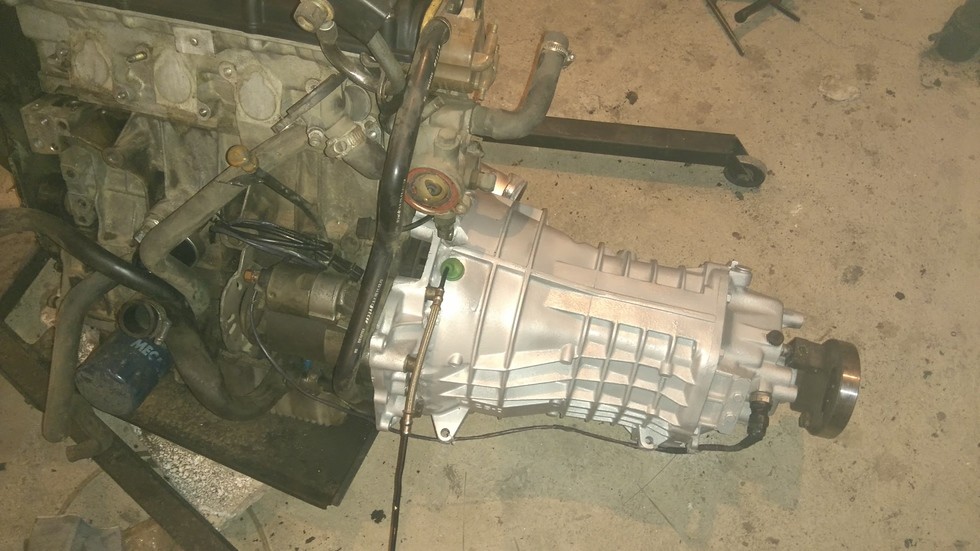
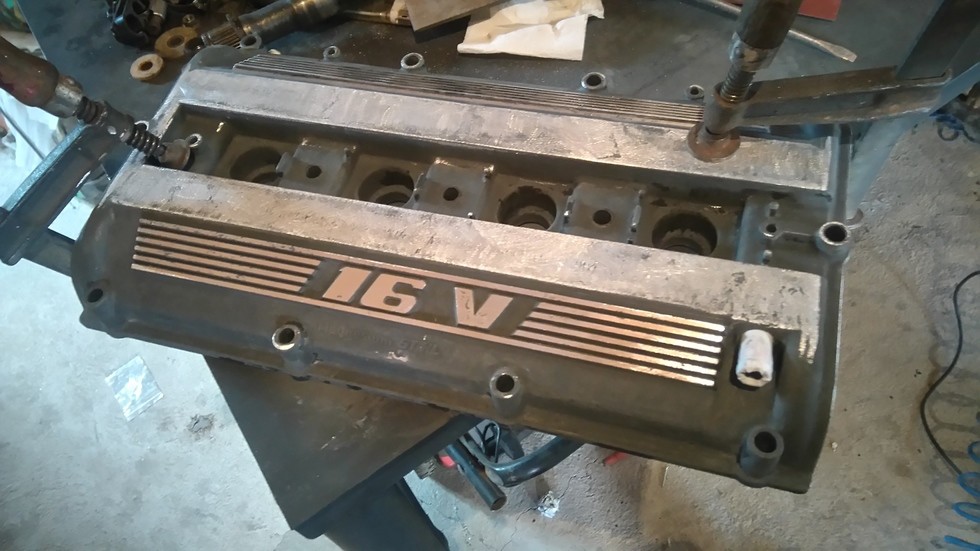
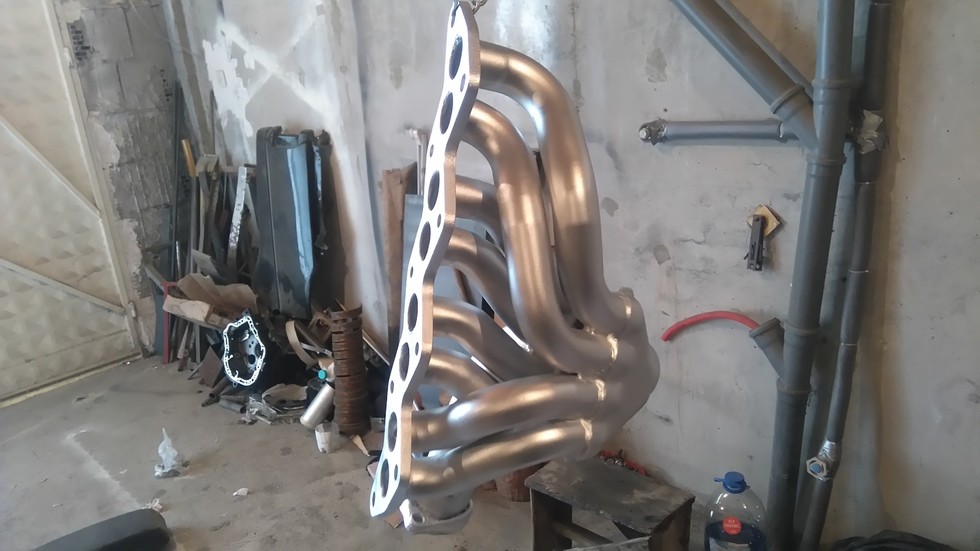
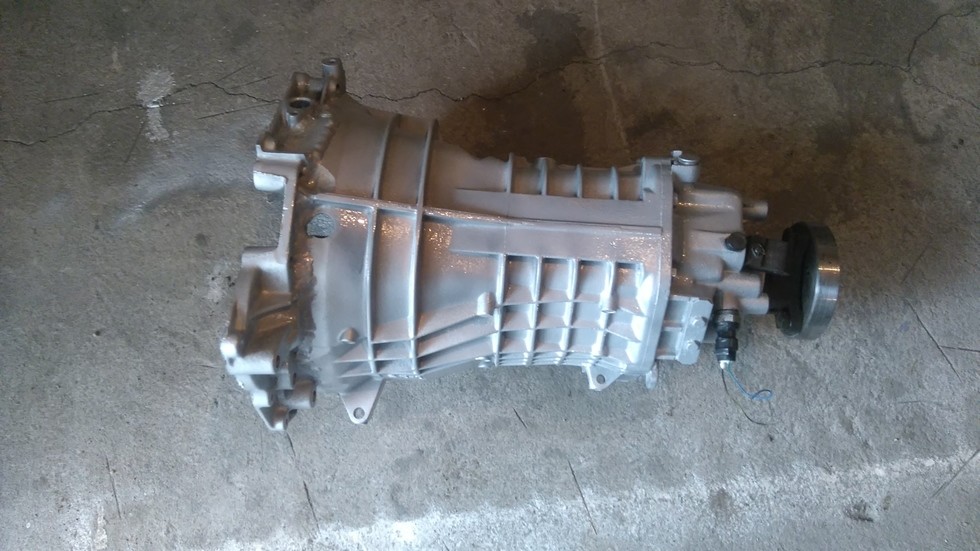
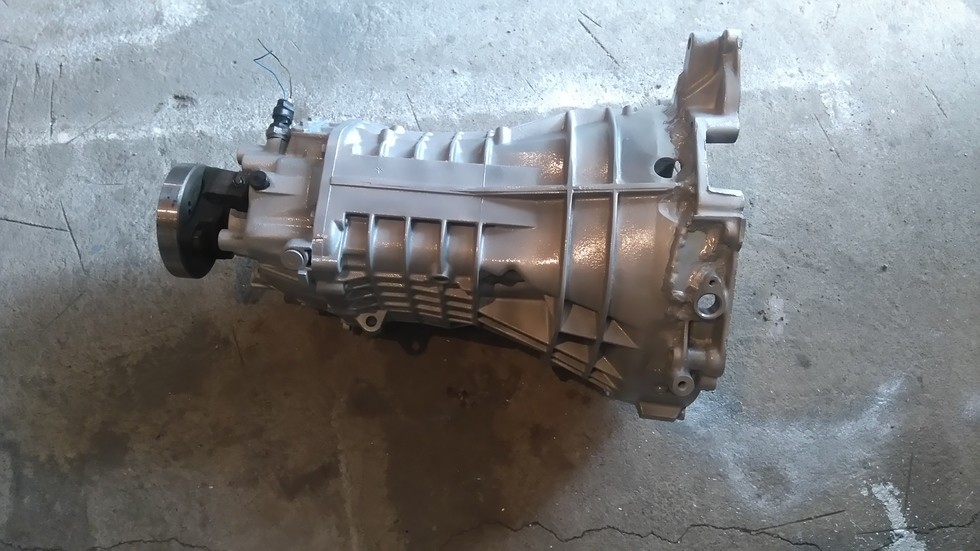
Today i continued with the cleaning of the valve cover, decided to sand as much of the oxidation that i can, so i used a DA sander on the bigger spots, a file on the fins, and sandpaper on the round sides, then i applied based sealer on both sides that should stop any more oxidation, then i masked the fins to avoid getting high build primer in between, then i applied 4 coats of high build primer to cover all the holes, then i turn my attention to the gearbox, first i washed it with gasoline then i smooth couple of spots and applied adhesion promoter and painted it silver, after the paint,i gave it a quick clearcoat to seal it, then i turn my attention to the exhaust manifold, first i ground down couple of welds, then i sprayed anti rust acid on it after it finish derusting, i painted it silver with heat resistant paint, i've noticed very little activity from another members of this forum, i know that sema 2016 is on now but what's up.
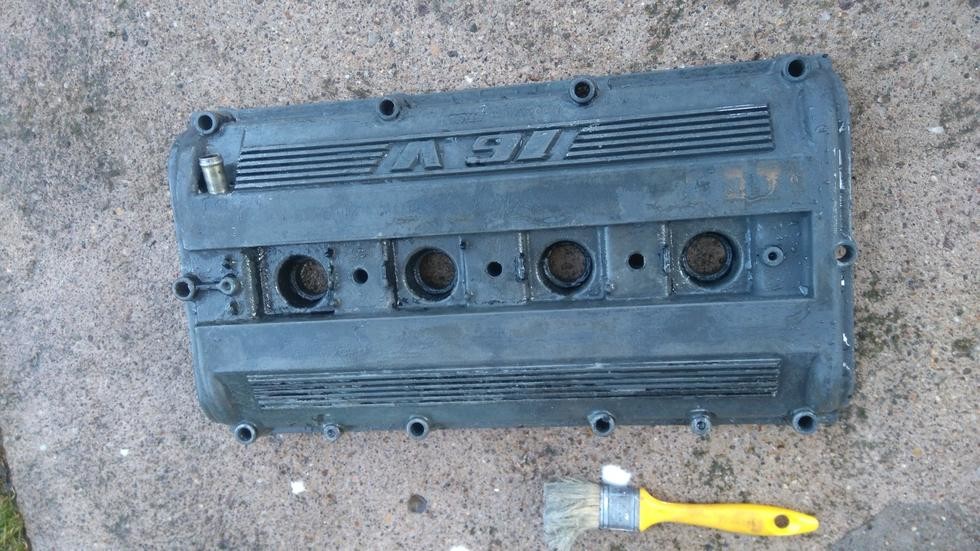
11-4-2016
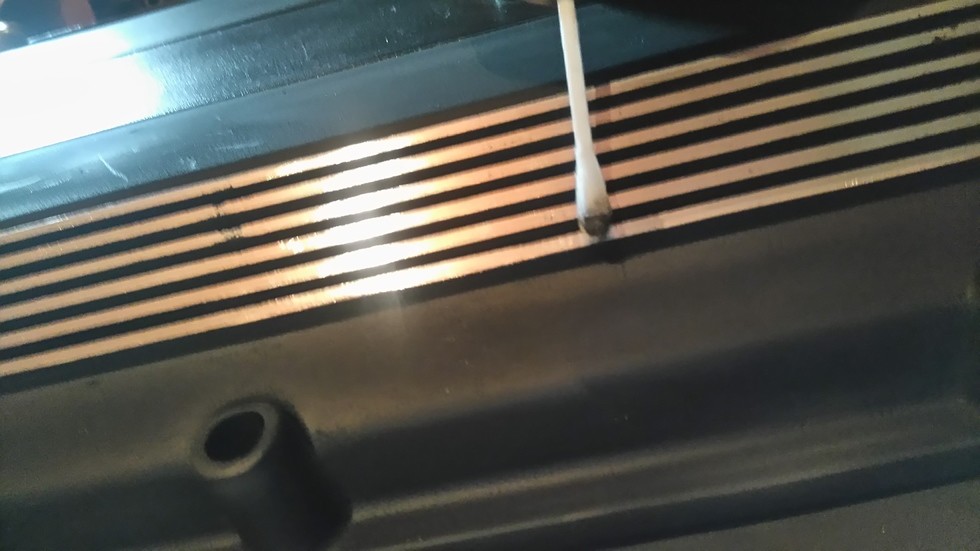
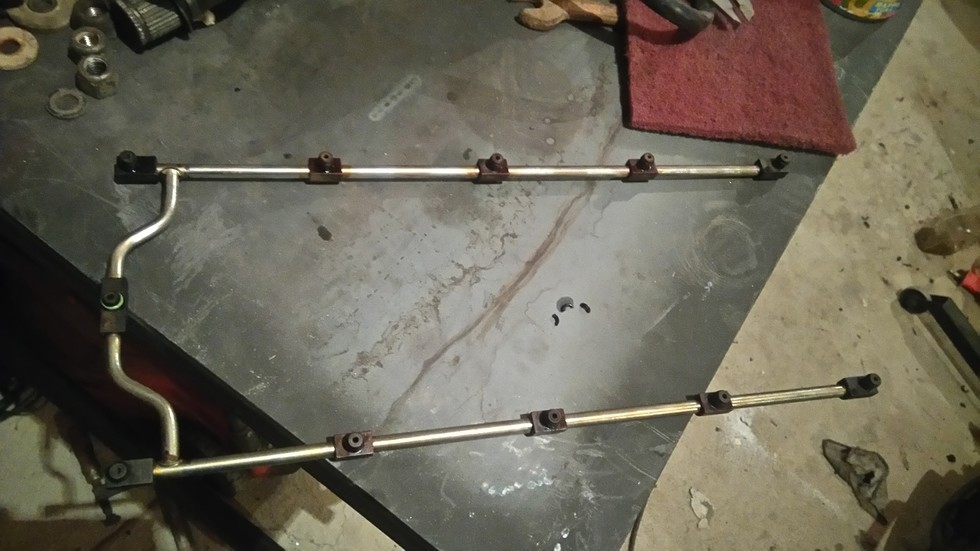
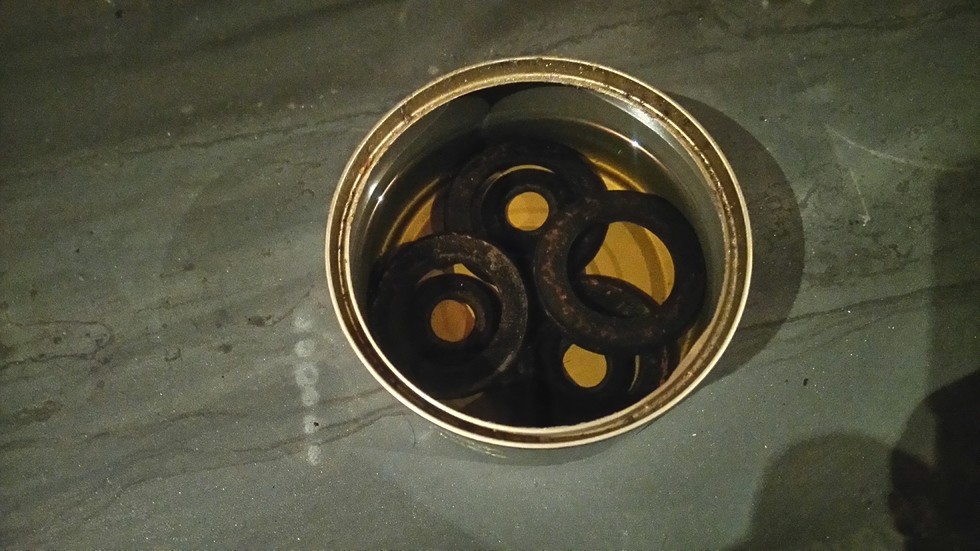
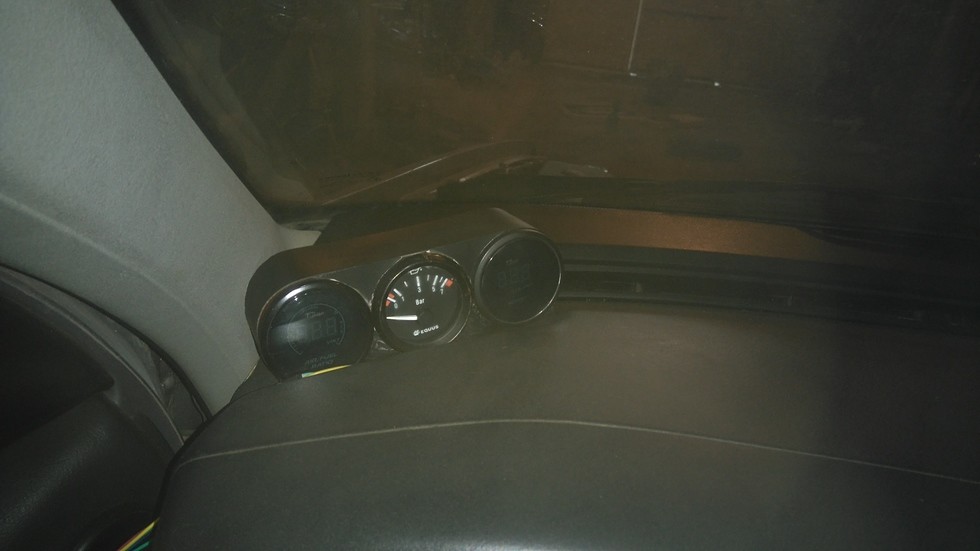
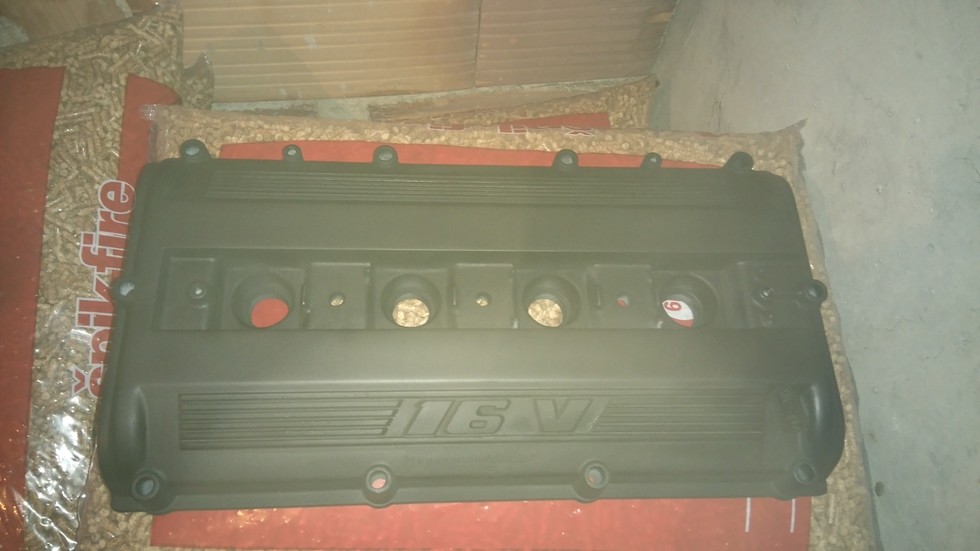
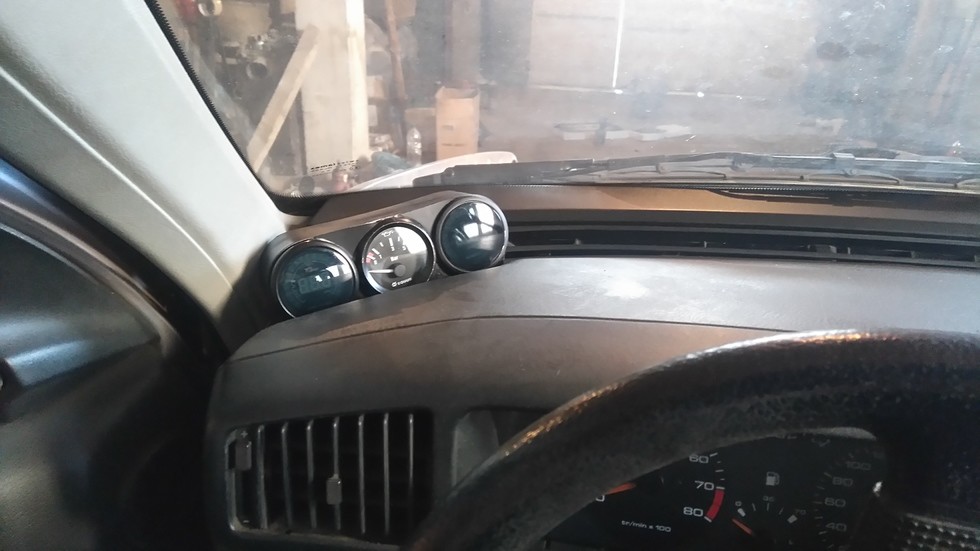
Today i continue with the valve cover, yesterday i put it in high build primer and late last night i wet sanded it, today i try hydrographics, but i was getting very bad results so in the interest of time i simply painted flat black and then used a metal fail to make the fins and numbers sine, it's not perfect but its way better than before, in the meanwhile when the paint was drying, i change the rubber o ring on the camshafts spray bars, which do not have holes for the camshafts, they only supply oil in the camshaft journals, i had only one voltaren o ring in that size so i used it on the supply others got rubber ones, the old ones are rock solid and crumbled, and i soaked the spark plug seals in some brake fluid they are not rock solid but can be softer, and this should soften them, then i masked the gauge pot that i made on top of the speaker grill, they fit better but the paint was still soft to fit it properly in the picture, i still have couple of things to do before the engine can be installed in the car for good, more to come.
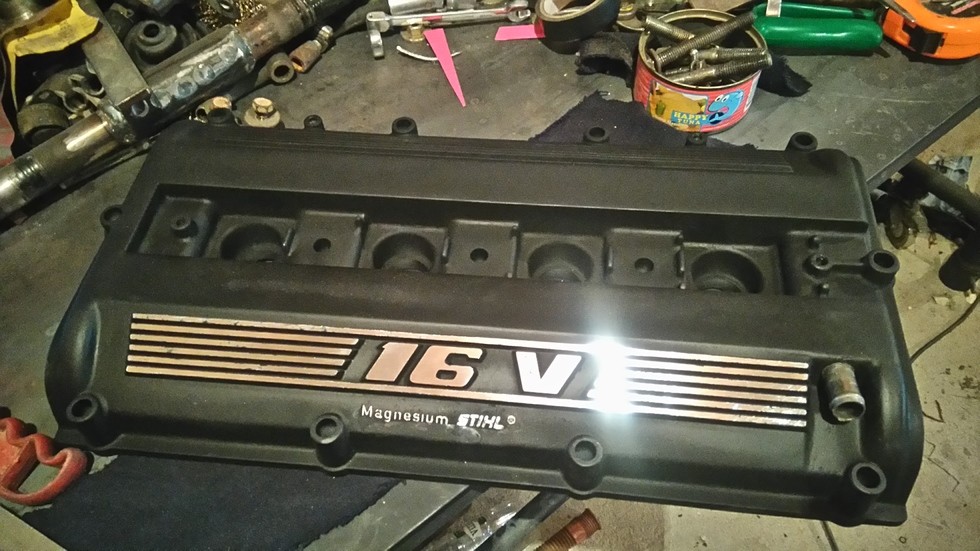
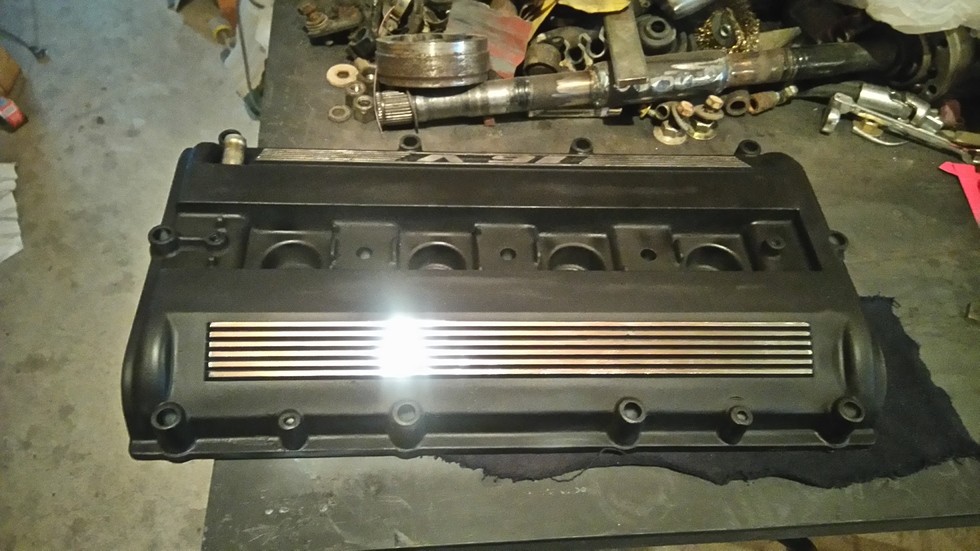
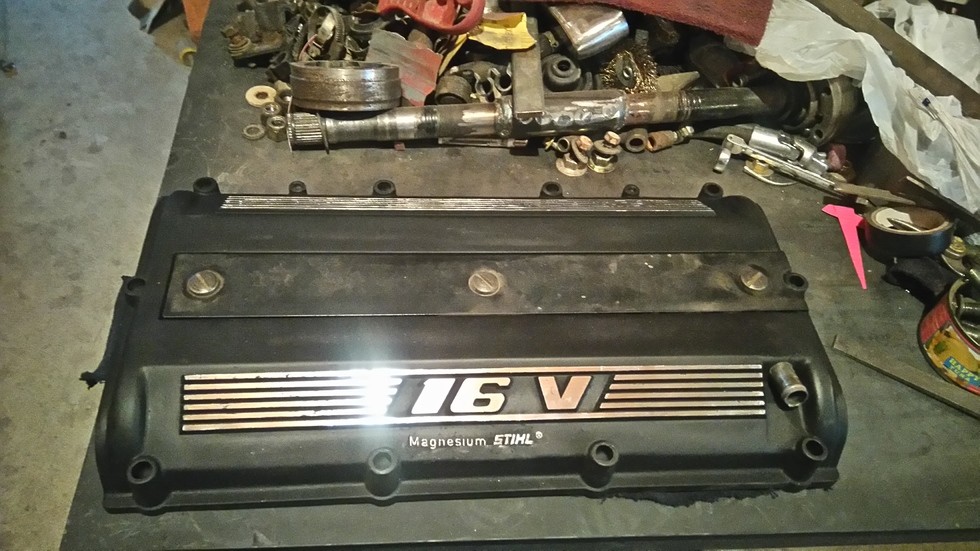
11-5-2016
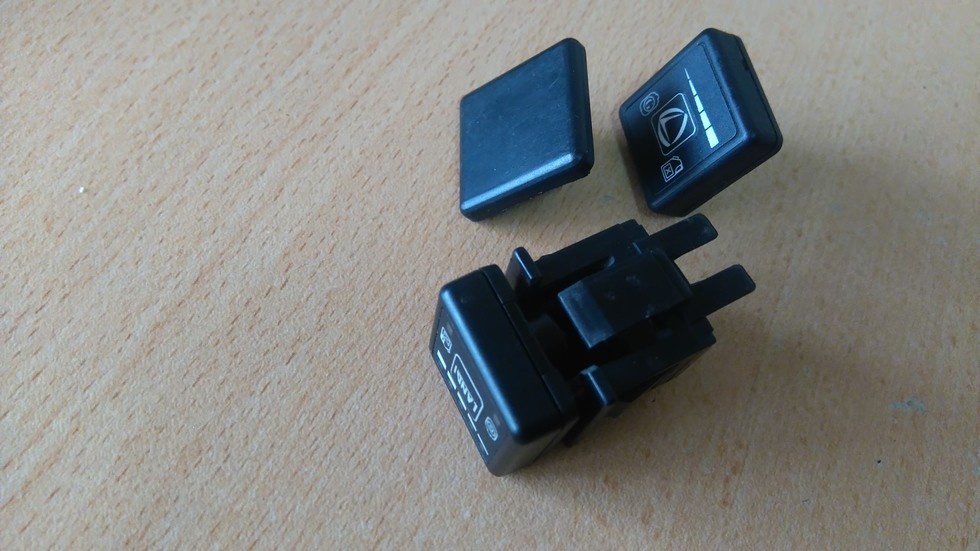
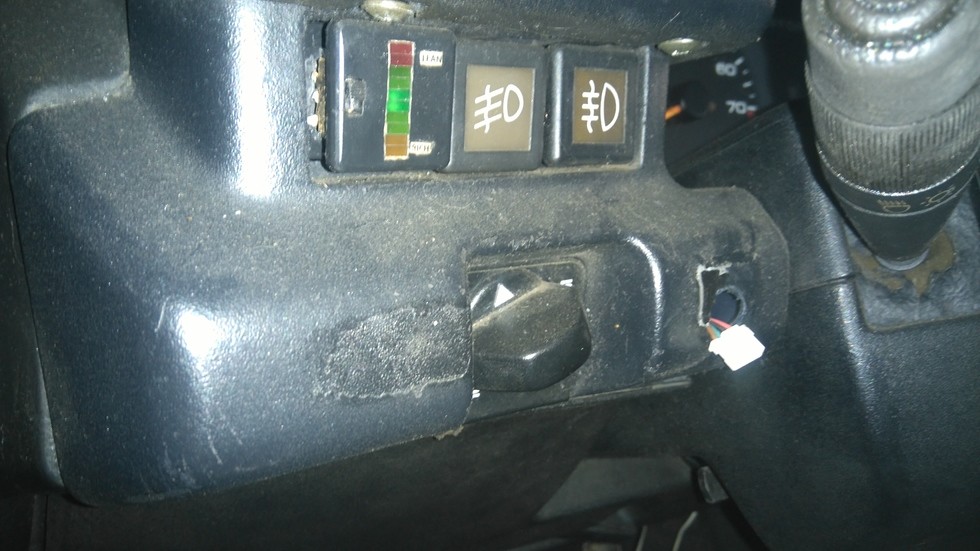
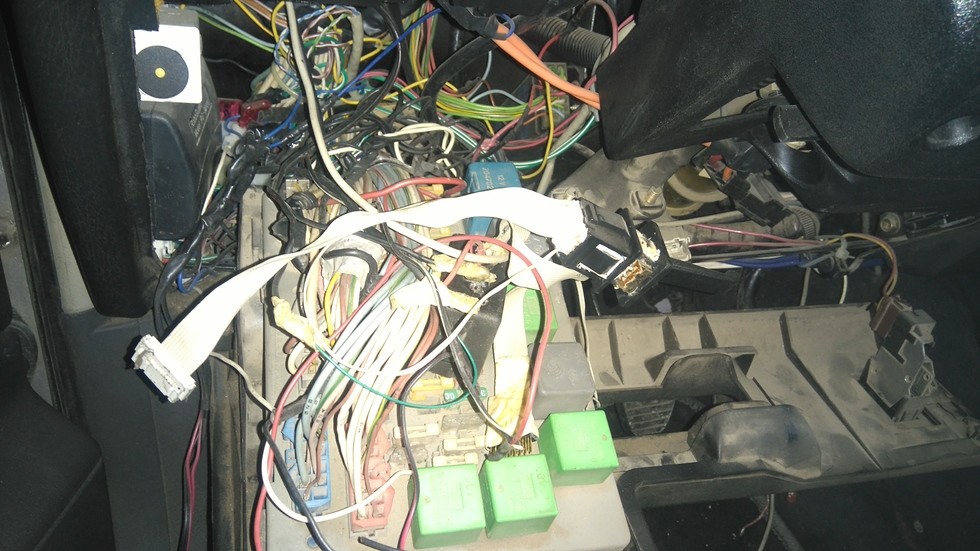
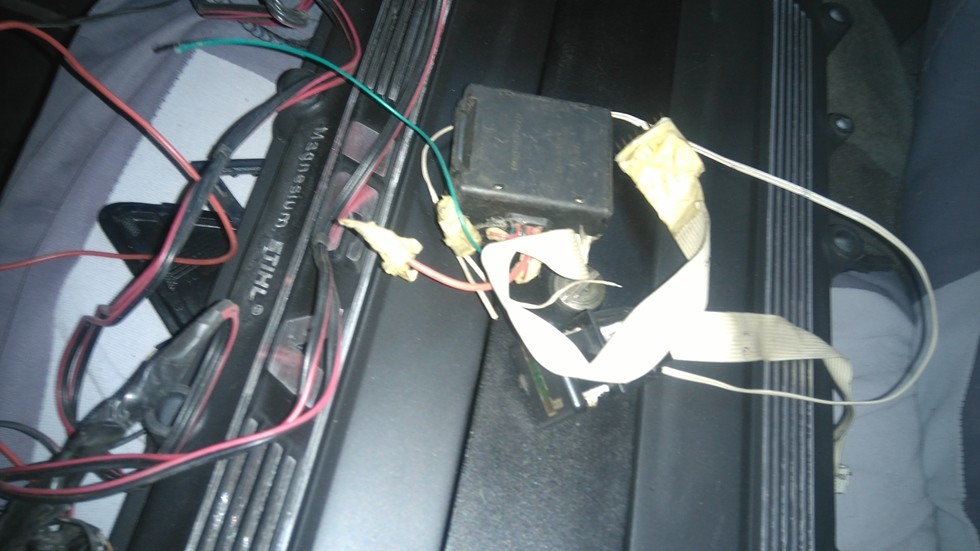
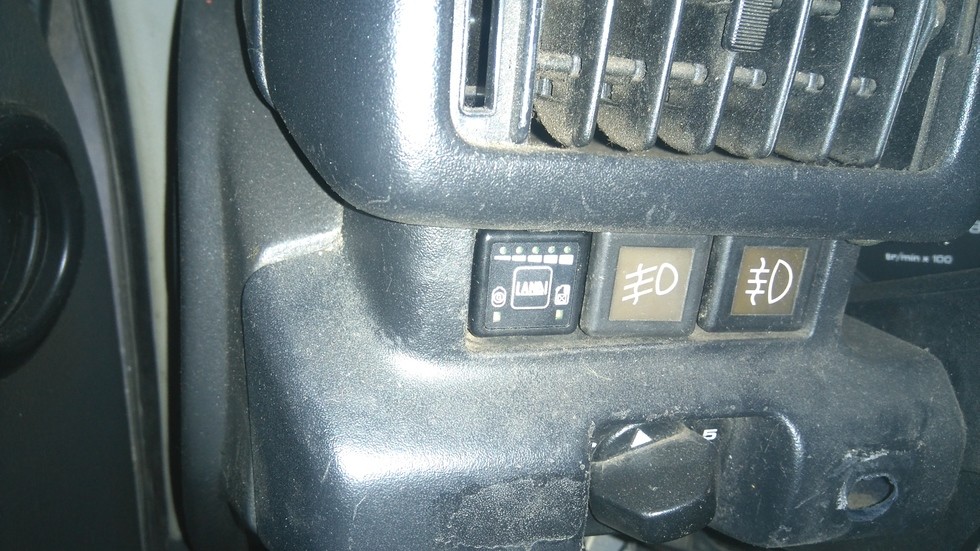
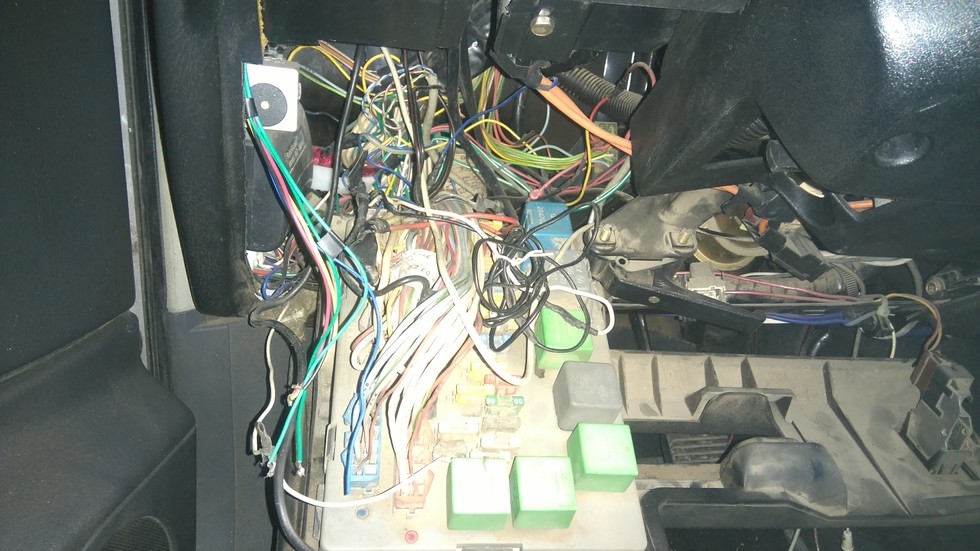
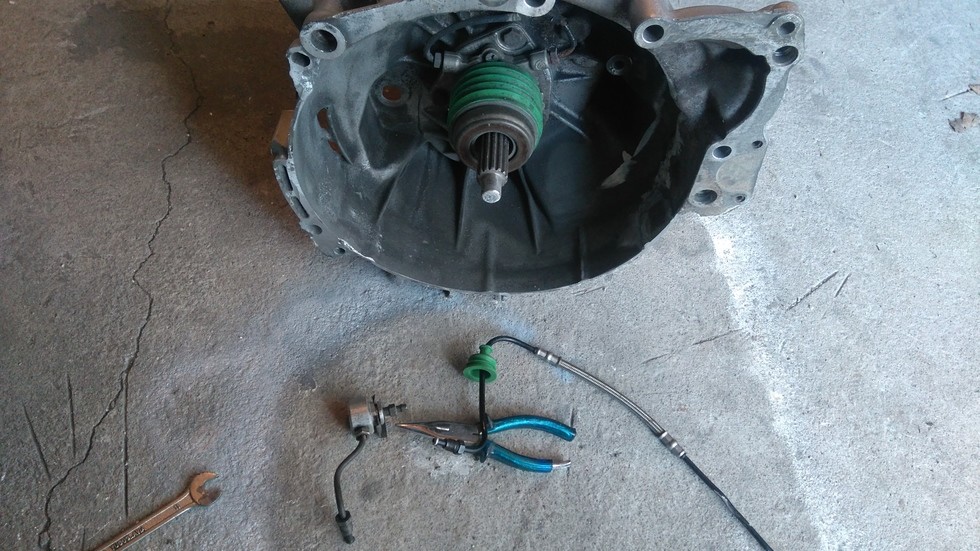
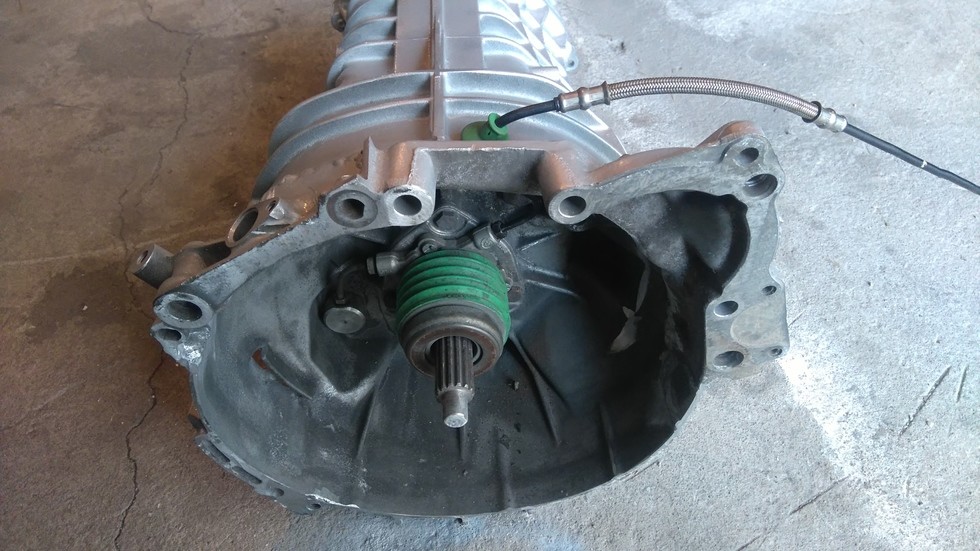
Today i had lots of work to do out of the garage, but did not wanted to lose momentum on this project, so decided to put in two hours that i had, started by test fitting the new oil pressure sensor, the distribution block, at the moment i have a plug in it, but i plan to get the oil supply for the turbo from there, then i decided to relocate the LPG control panel, it is the same size as the switches, in its current poison the indicator stalk blocks the view, the top row of leds is the lpg level indicator, the better space to install it is in the spare switch location but i already have my home build wideband air/fuel ratio led gauge, it works perfectly but i bought a gauge with digital display, so decided to remove this one, the trim panel with the hole needs to be replaced, i might have one, but i have to look for it in later date, the wiring in the fuse panel is a bit of a mess because i have couple of security systems and other devices just stuck in there, i will clean it up when the engine is in the car, that way i can test it as i go, also mounted and secured the gauge pot and run the wires to the fuse panel, then i started preparing the gearbox for mounting it, i installed the bleeder screw and the new stainless flex line, the hydraulic shop seems to have made the the line couple of centimeters shorter than i order it, and its now gone out of business, when i install the engine and box in the car this will be my first thing to test and connect to see if it will work, more to come.
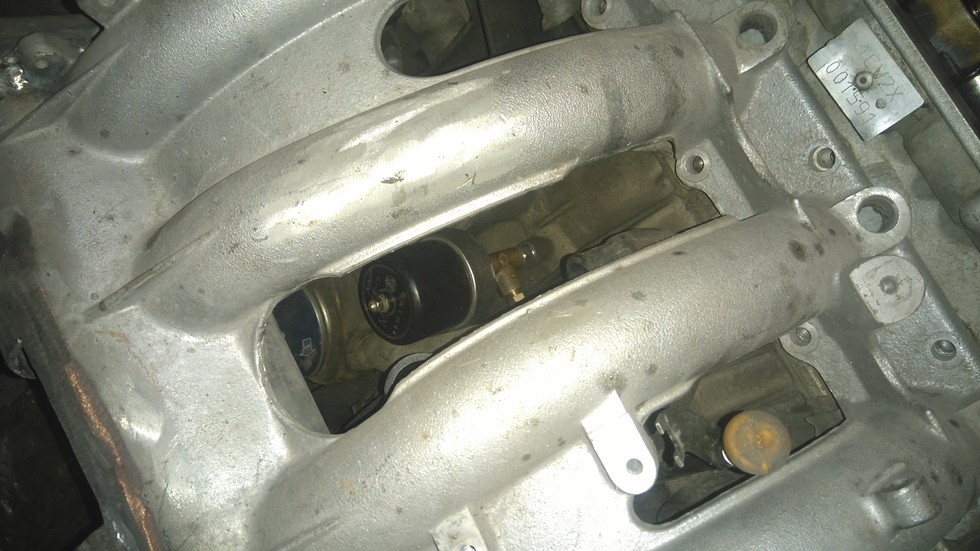
11-6-2016
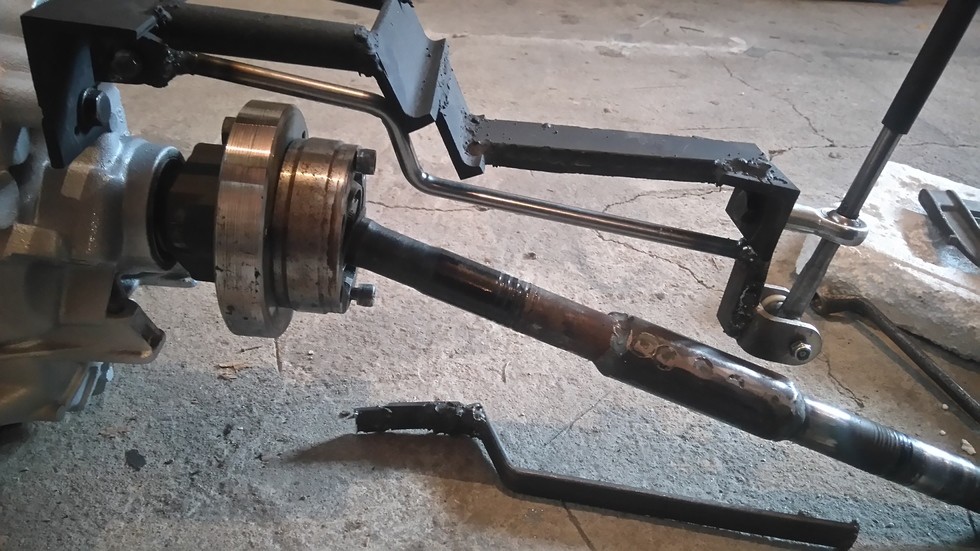
Today i spend most of the day in the garage, did only a couple of things on this project, i had to redo the shifter, it was too close to the output shaft, and the old shifter was ugly, i runout of flat stock so i made the new of 10 mm C45 round stock, when i finish it i painted it black, also painted the driveshaft, the rest of the day i did lot of reorganizing of parts and other tings around the garage, more to come.
11-7-2016
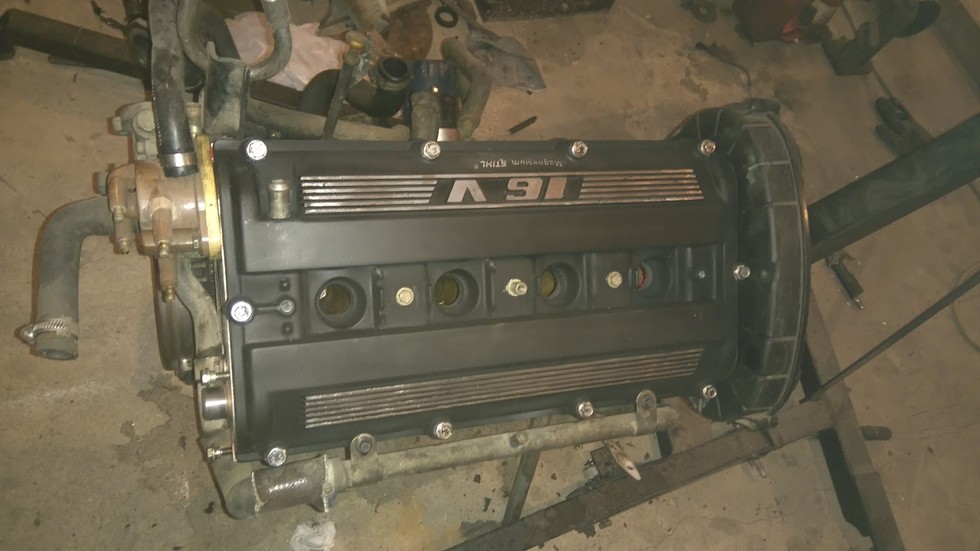
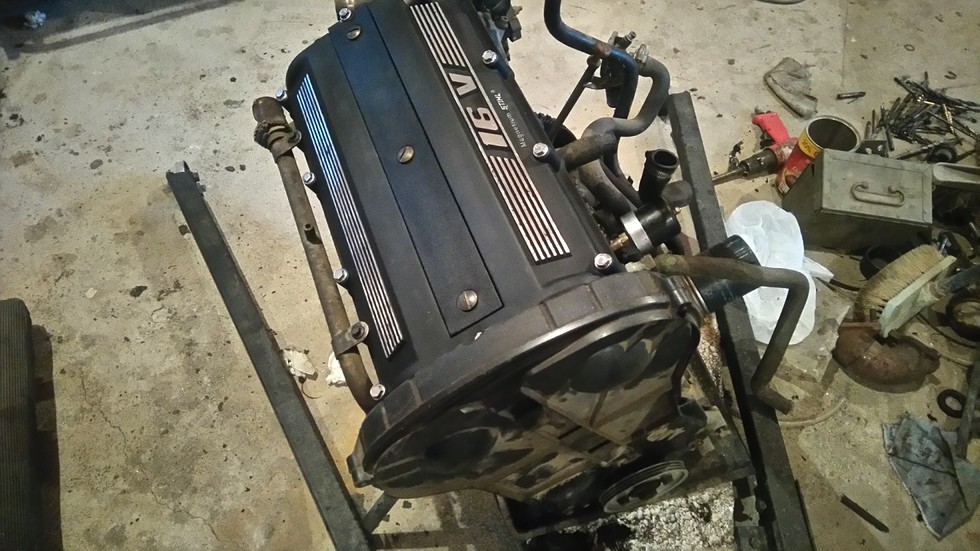
Today went searching for parts, bought couple of gearboxes for other projects, after unloading the boxes, started back on the valve cover, mix little acrylic 2k clear coat, and apply it on the fins, than i prepared everything to be enabled to instal the valve cover on the engine, degreased all the surfaces, applied silicone on the edges, clean the bolts, they are chromed, it seams peugeot spend some money to make those engines look good, no plastic beauty covers, then i installed the cover and tighten it in the correct order, from the middle out, then i prepared and mounted the gearbox, after that i mounted the exhaust manifold, some of those bolts are almost impossible to get a wrench on, then i started mounting things that are going to be hard to access with the engine is in the car, like the crank posison sensor, starter motor, and then i made a extension plug for the reverse lights, this way should be simple as plug it in, i'm waiting on some heat wrap to arrive to complete that part for the engine to go in the engine bay, on second thought i may go to the hardware store and look for some kind of heat barrier insolation that i can use in automotive use, more to come.
