You must be logged in to rate content!
10 minute(s) of a 241 minute read
7-16-2016
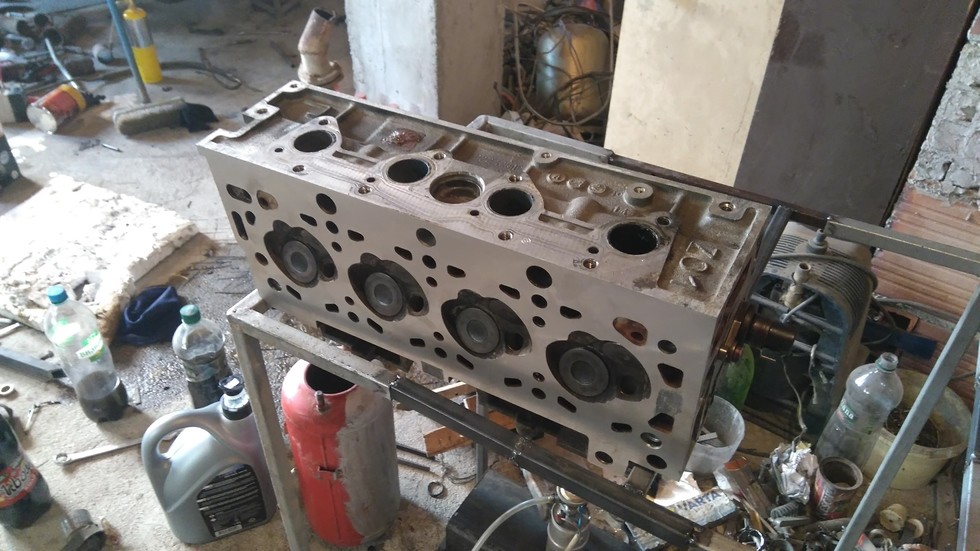
Last couple of days i spend in the garage but not working on the mi16, but on my brother little 206, he blown a head gasket, as is his daly driver it took priority, first thoughts just drop a gasket, but when i took the head of, it was crusty, fill the chambers with petrol, the valves are leaking badly,new valves, cut valve seats, new valve seals, resurfice, cam seal, new rocker arm, had to remove 4 broken exhaust studs, it seems it was post detonation, probably why the exhaust valves were destroyed so it got a full head rebuild by me, only i had to took it to get it resurfice, clean the block and put it back together, now runs better than ever, nowhere near as quick as a mi16 but a fun city round about.
7-18-2016
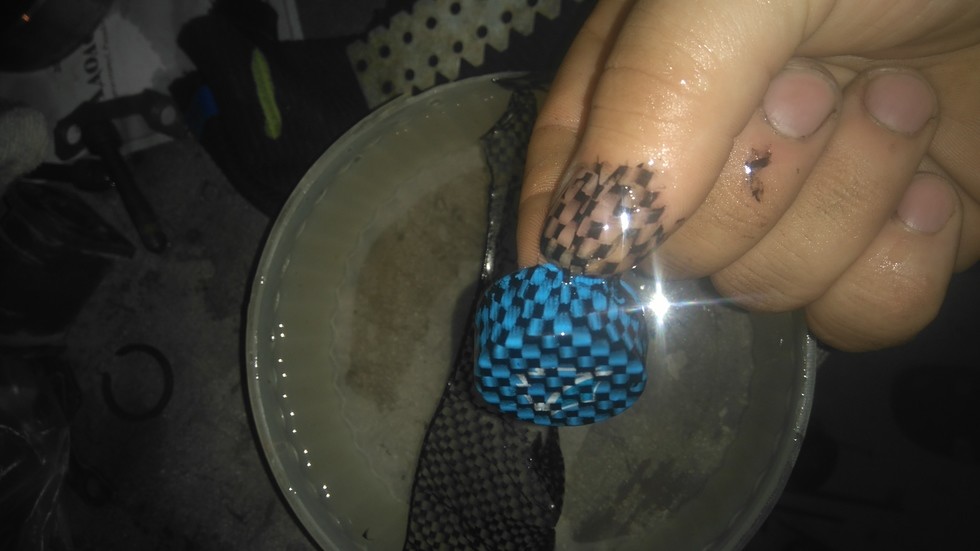
I've been catching up on some sleep having been awakened for 3 days straight, my hydrographic film arrived and i tried it out on this bottle cap, it is an interesting process very labor intensive, i plan to do it on the valve cover and couple of interior pieces, more to come.
7-19-2016
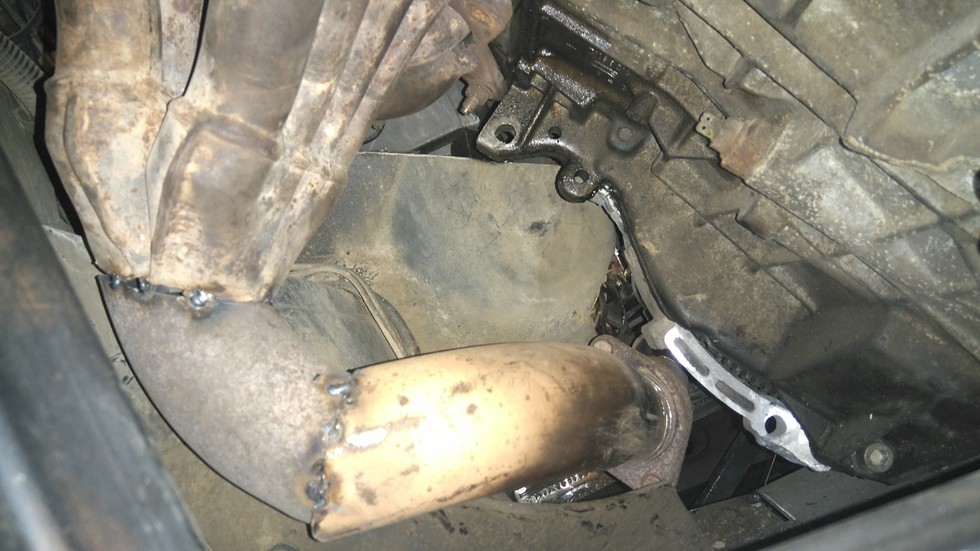
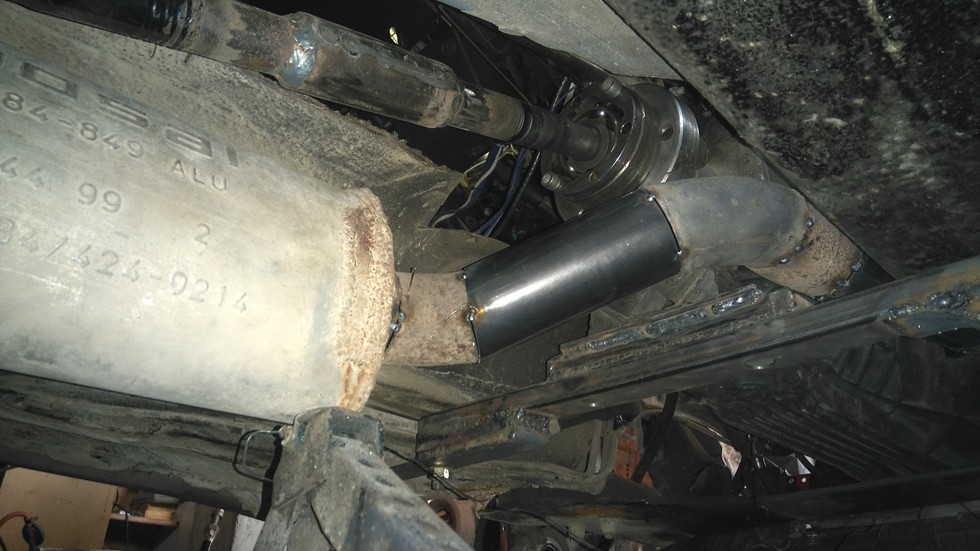
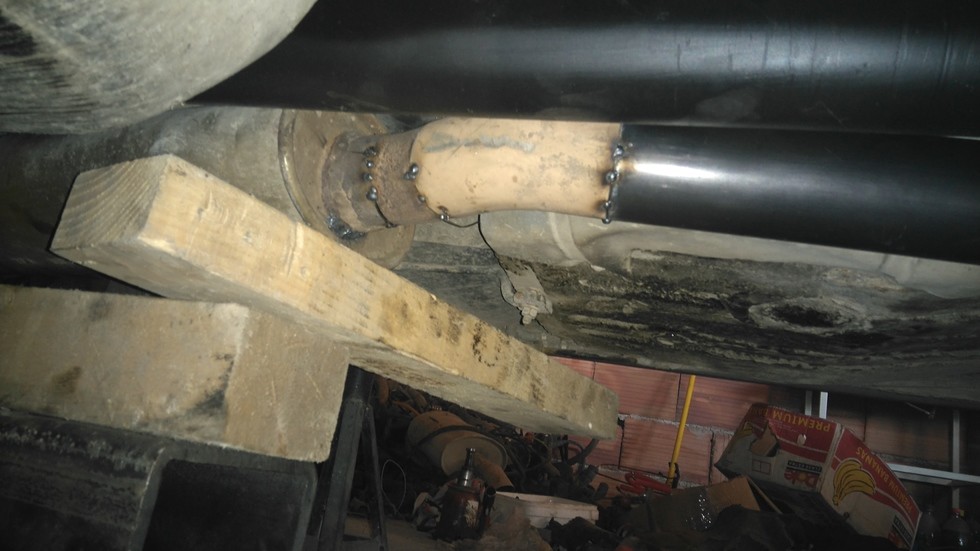
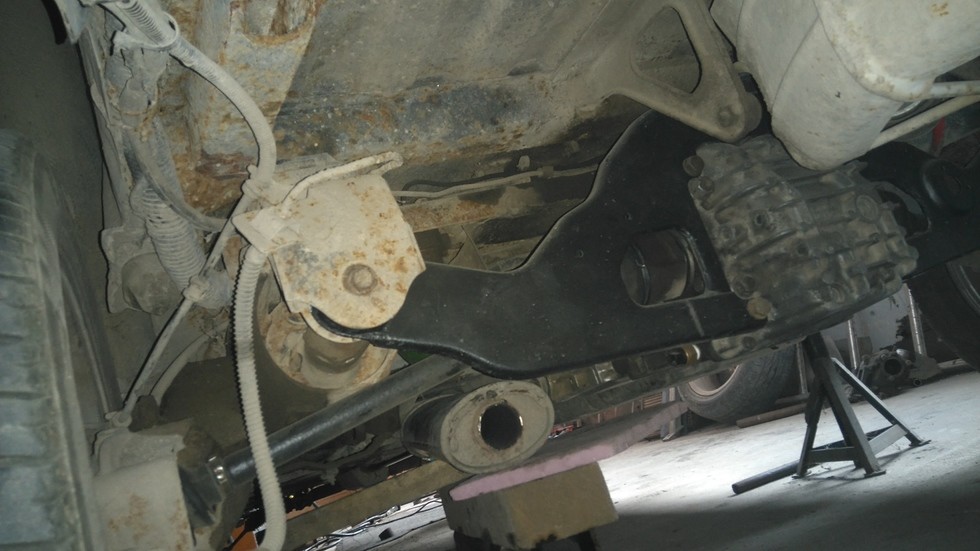
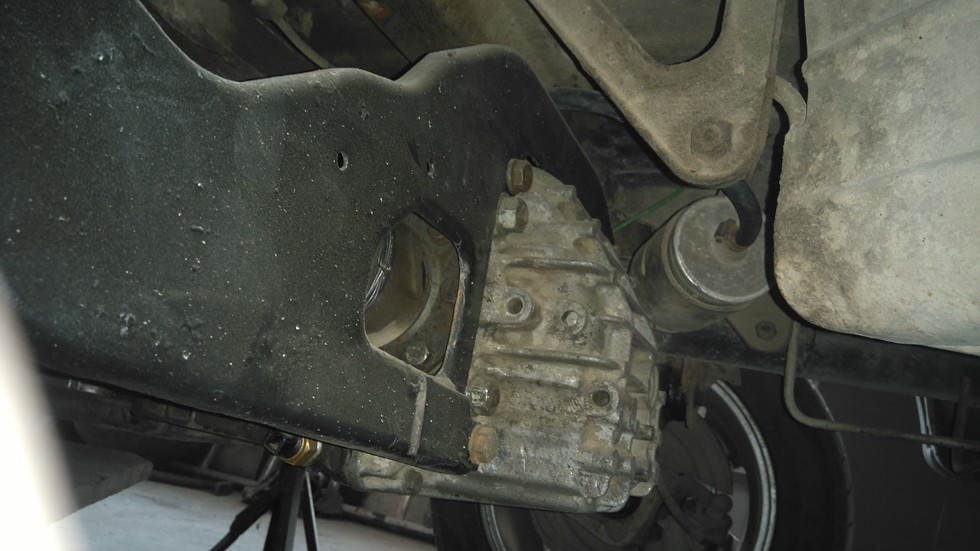
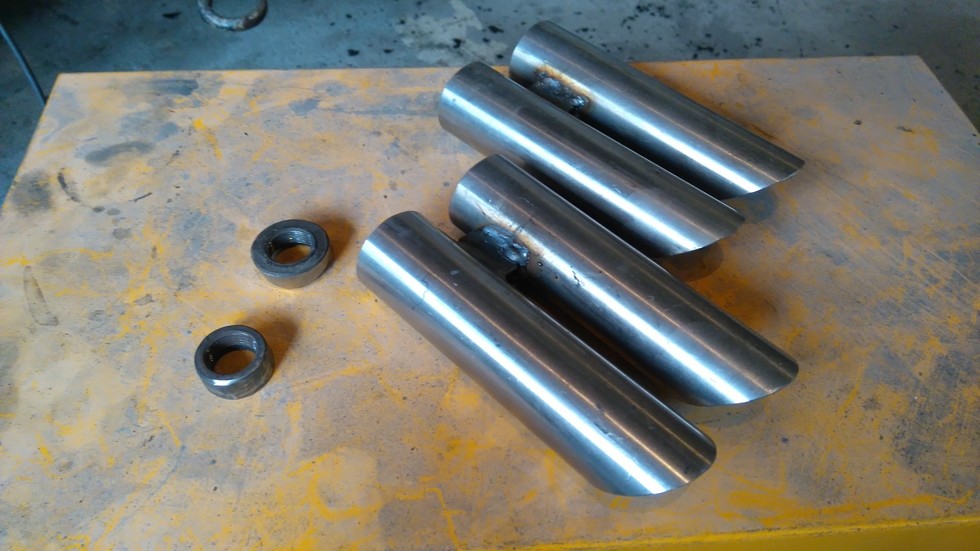
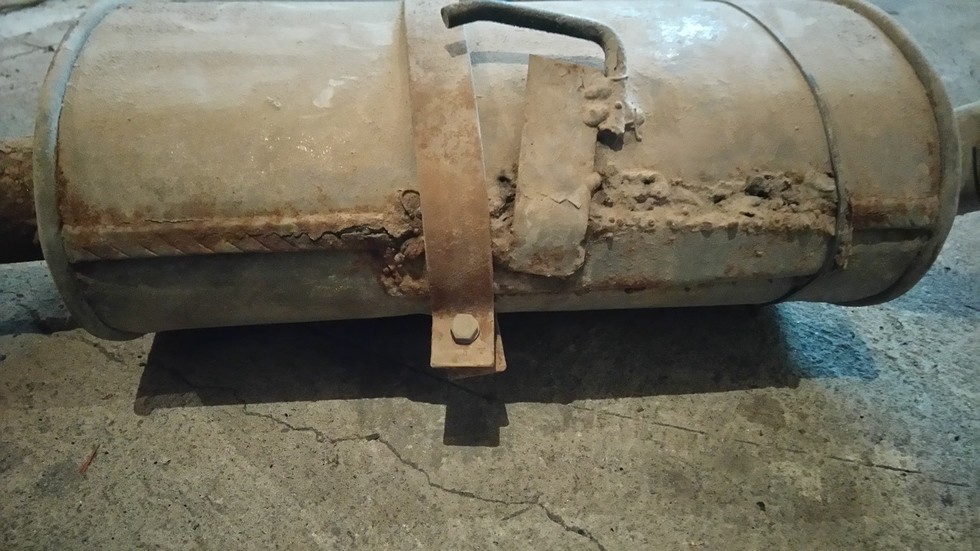
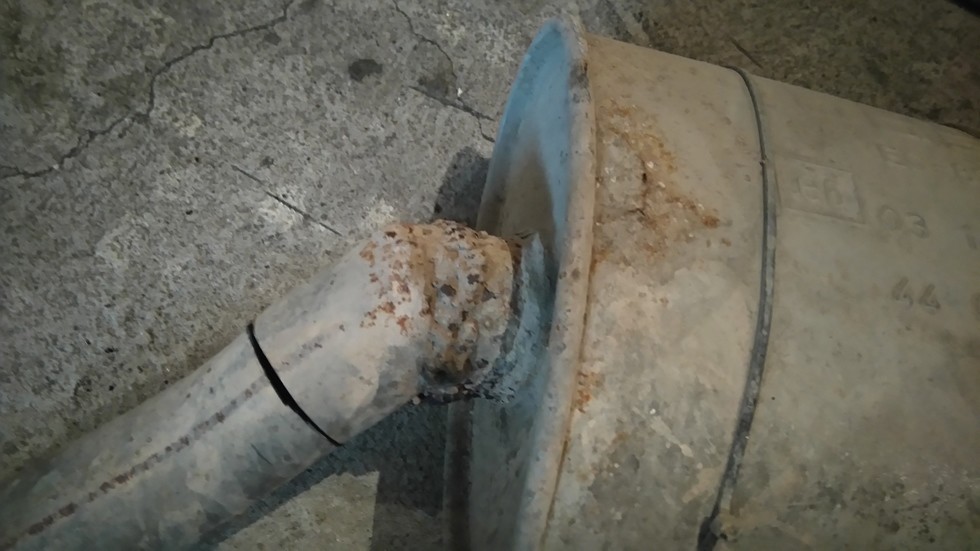
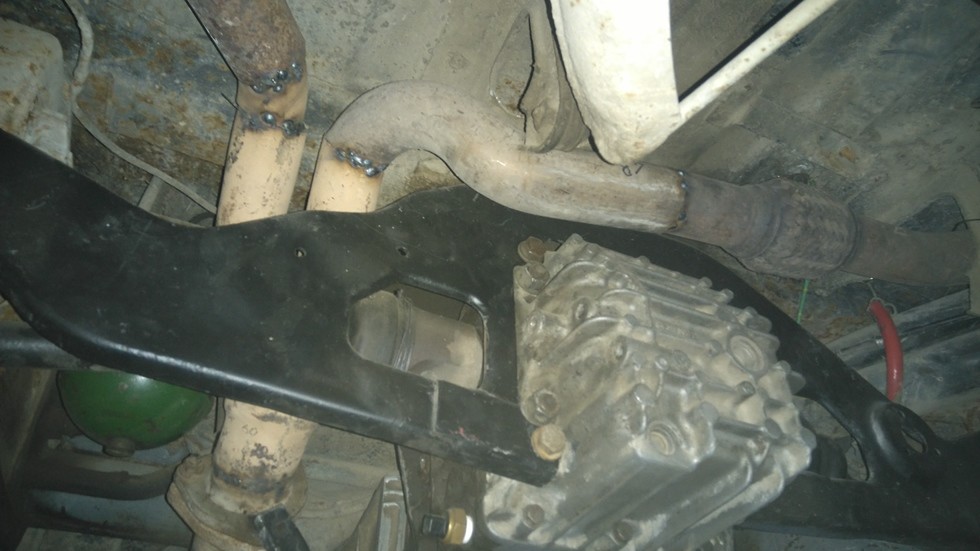
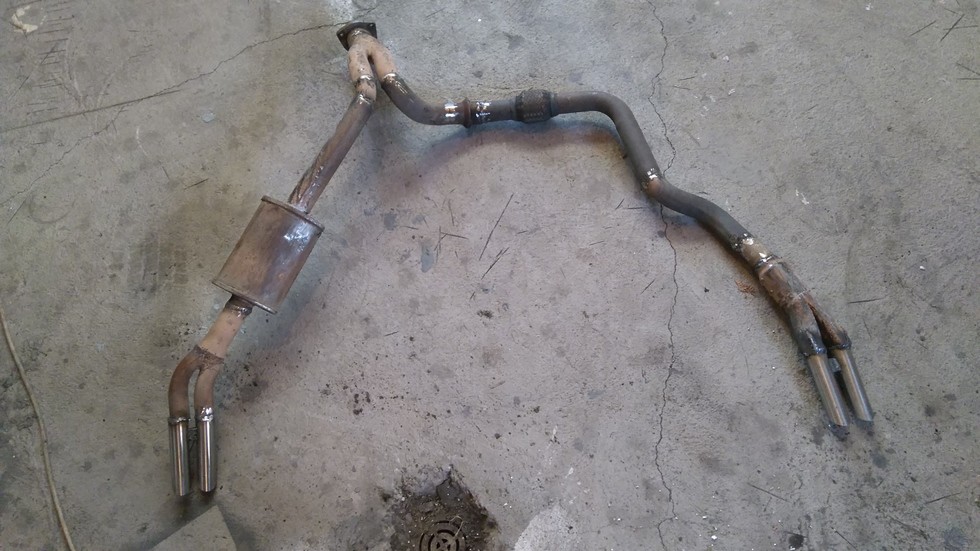
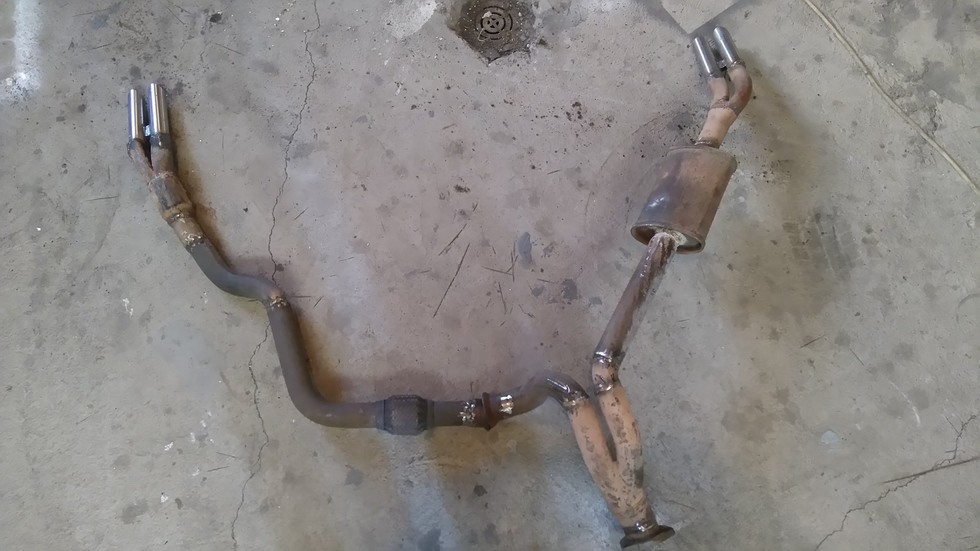
Today i put in a full day on the exhaust, cutting pipes and bends with a 4" grinder and tack welding it in place, a week ago started with the bend at the header, today i had to redo it, i have to make couple of heat shields later, i put in swivel joint right after the front subframe, so when i go turbo i just have to make a short piece, i needed to cross to the drivers side because there is the space design for the exhaust pipes and resonators, i did this at the end of the gearbox, i plan to run just straight thru mufflers and resonators, i know something about design of the exhaust note, and back pressure, i squeezed the home made smaller resonator for the high note, then the larger resonator for the middle drone, and there i stopped. Doing this upside down crowing on the garage floor, it took a lot time, i had to cut the rest of the old exhaust, and it will go straight in the garbage, i think everybody will agree it's simply scrap, i need to relocate the fuel filter, so i can run my cross over pipe this way i avoid the plastic fill tube, i prepared the exhaust tips and found my lambda sensor bungs, i plan to run a separate lambda for the gauge, the back part over the axle and right side exhaust will be tricky, at this stage everything is in it it's ugliest state, the surface rust is easily clean up, and i have high temp paint to protect it, more to come.
7-20-2016
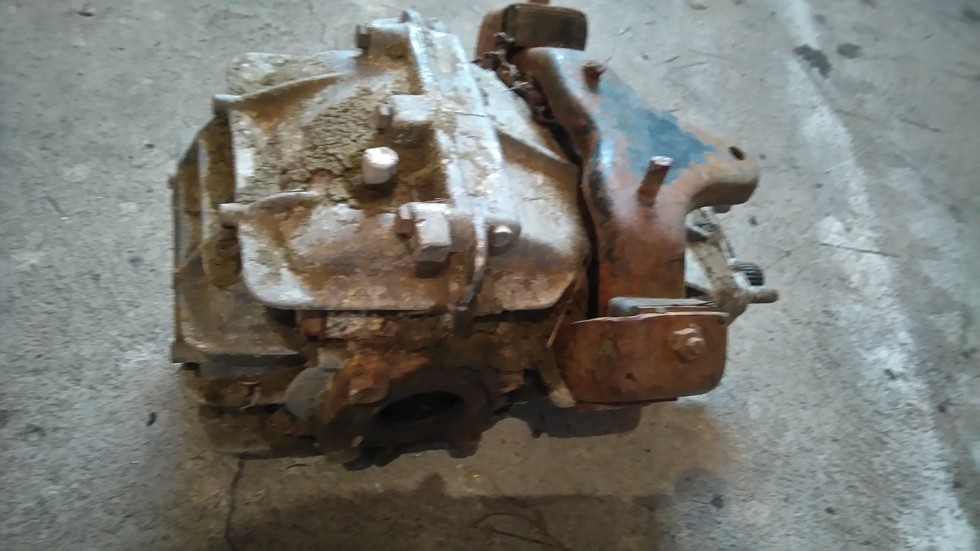
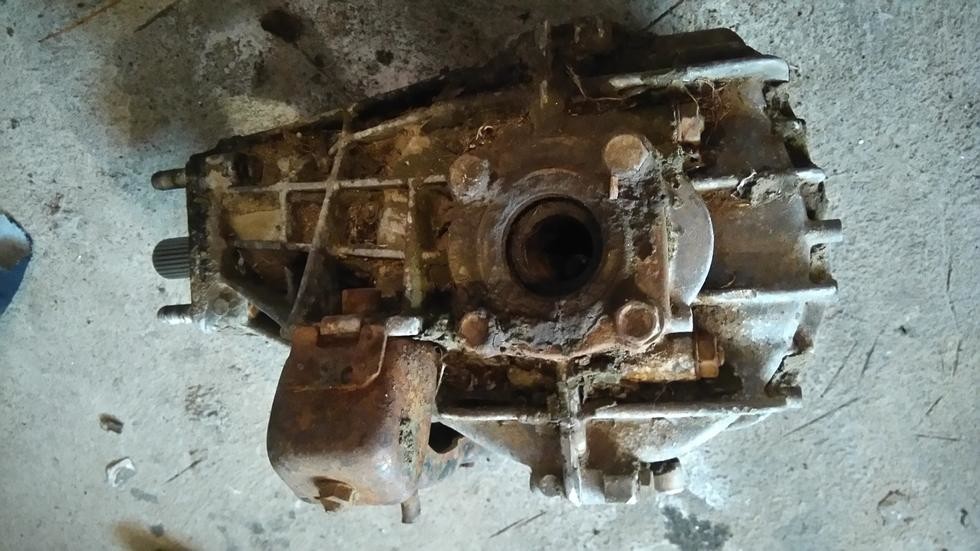
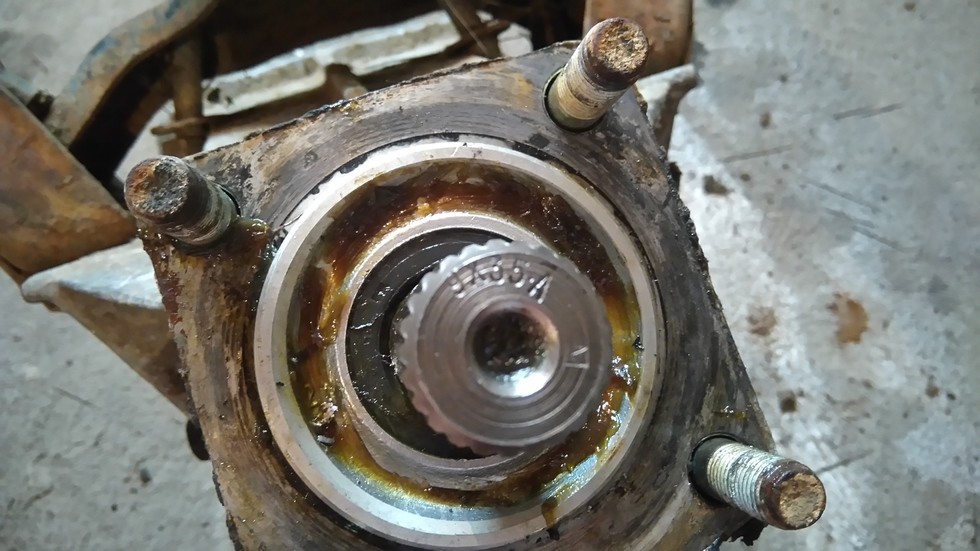
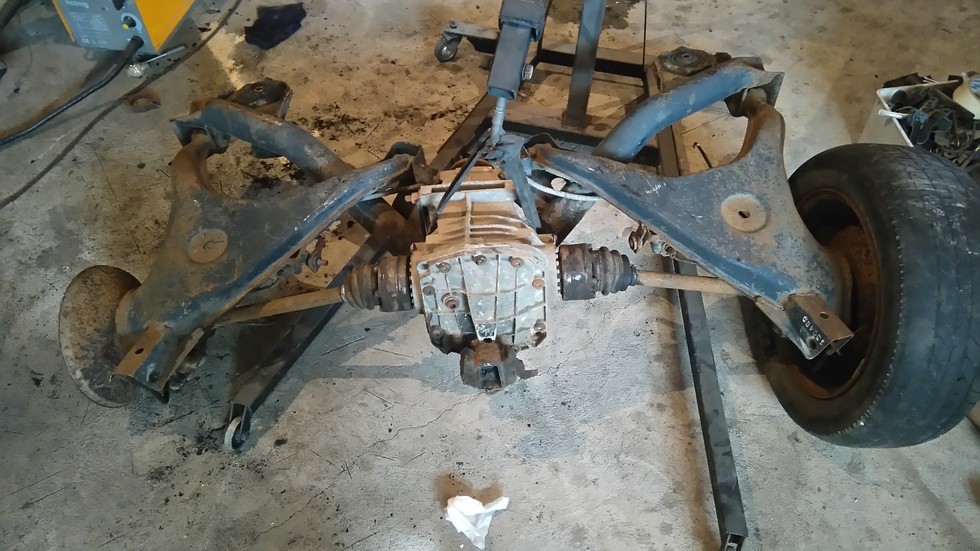
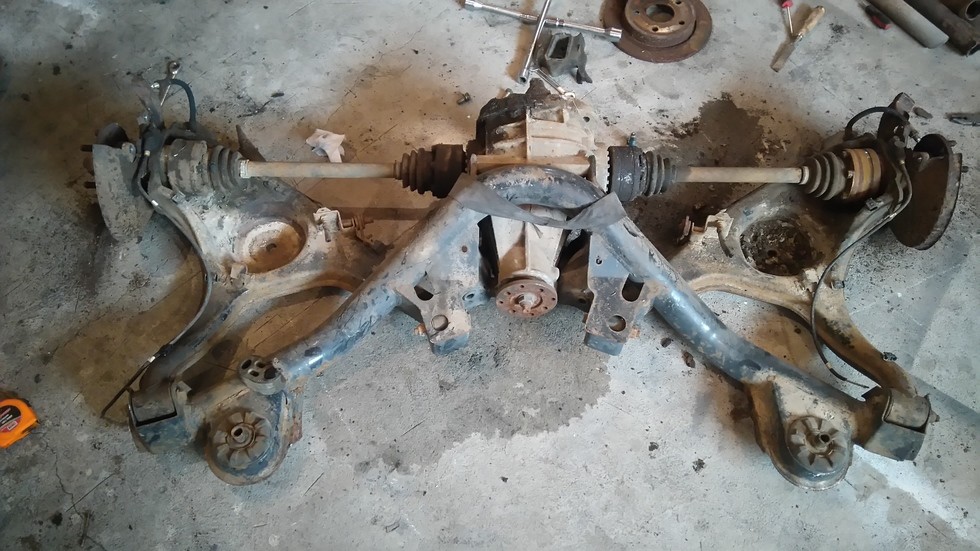
Yesterday's work welding underneath the car without a helmet because there is no space left me with red eyes, so i took a little break and went searching for parts, went to a junkyard that i haven't been in 10 years, i was looking for couple of mufflers, and a strong rear diff for a different project, found this ford 7,5" 3,64 complete rear axle with tires, and walking back to the office i looked to the side and seen this peugeot diff, it had the torque tube attached to it, so i made e deal for both of them i did not took the torque tube, by the feel it is a open diff and on the input shaft it has stamp 9x35A it seams the resio seams to be 3,88-1, the owner there told me it came out of a 504 probably 2.0 liter, is there way to check the diff without taking it apart?
7-21-2016
Today i spend couple of hours in the garage, first had to find place for the rear end that i bought yesterday, then i worked on the accessory drive, i loosely mounted the power steering pump, then i started back on the exhaust, made couple of pieces, and the had to remove the fuel filter, and i spilt fuel all over myself and the carpet i was lying on and floor, and decided to stop i don't want to catch myself on fire or the car on fire, fuel fumes easily ignite from spark from cutting or welding. No pictures sorry, more to come.
7-22-2016
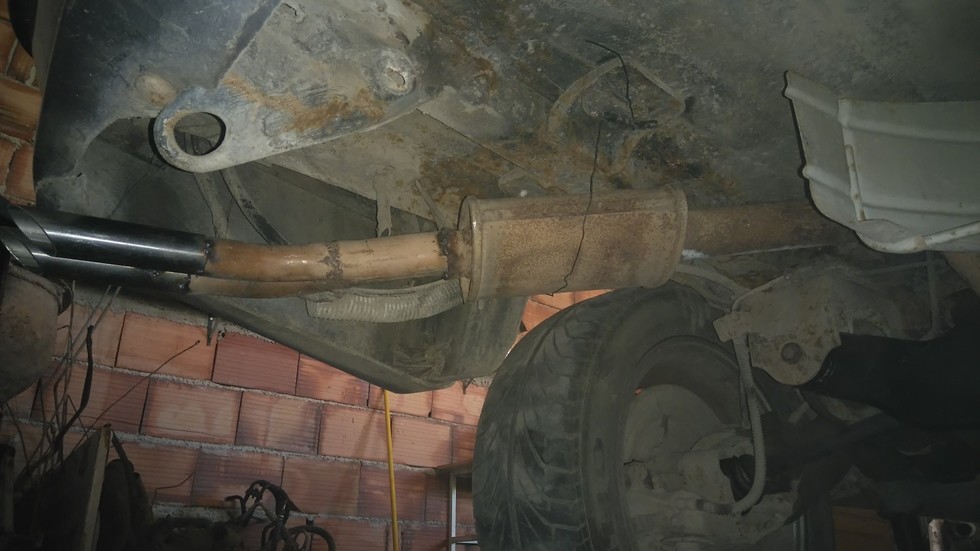
Today i continue the work on the exhaust, first had to cut out one small piece of the spare tire support and cut and bend the other, then started by placing the last and smallest muffler and then position the drivers side exhaust tips, then tack welded them, then i started on the other side i avoid everything made of plastic or rubber, i install a flex joint to avoid cracking, and when i tried to remove it it would not come out, so i cut it in half and put in one more flange, so now is in 4 pieces, then i remove the back two pieces and welded them, is very dark underneath and the pictures look very bad, in real life looks much better, the rust is really surface rust and when i wash the engine bay, i'll wash the entire floor pan and then use acid to stop the rust and protect it, i'll also use the acid on the exhaust parts that have surface rust and protect them, more to come.
7-25-2016
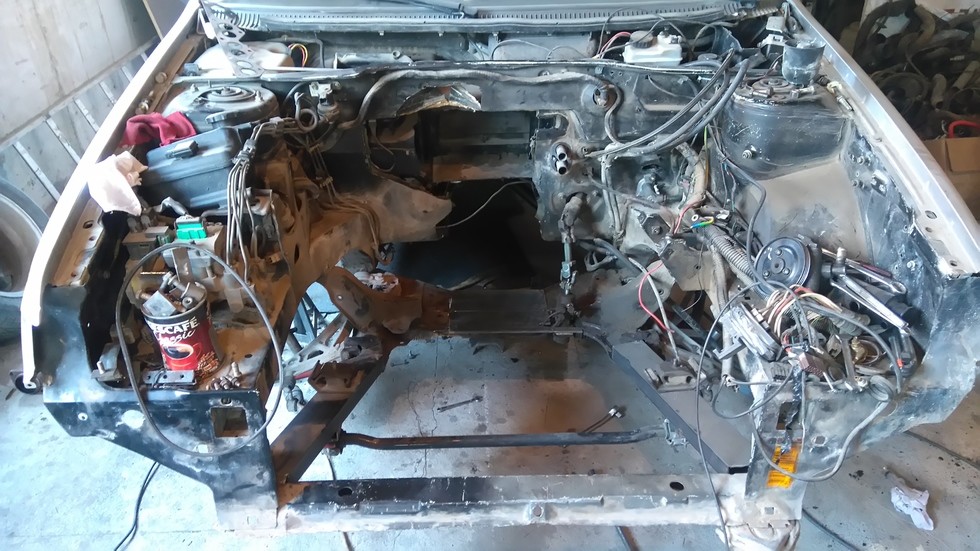
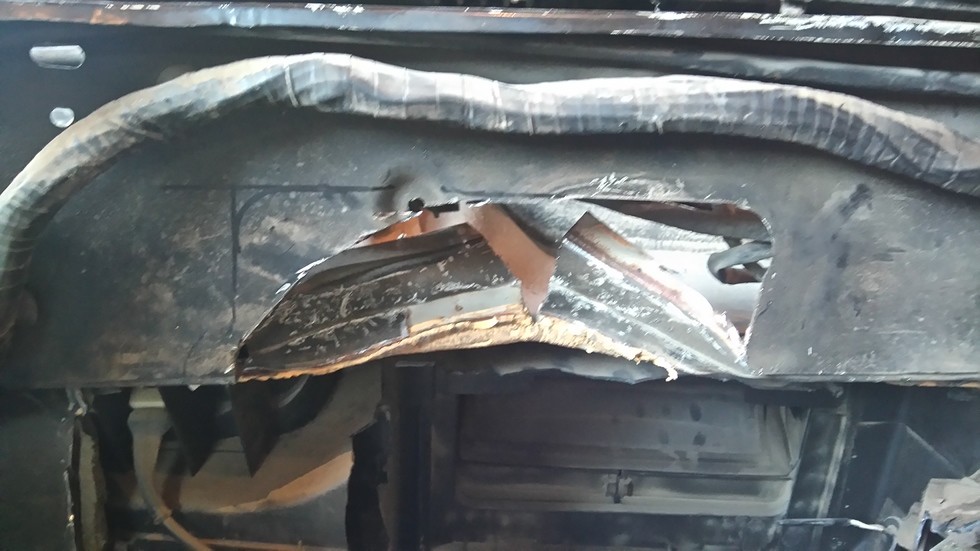
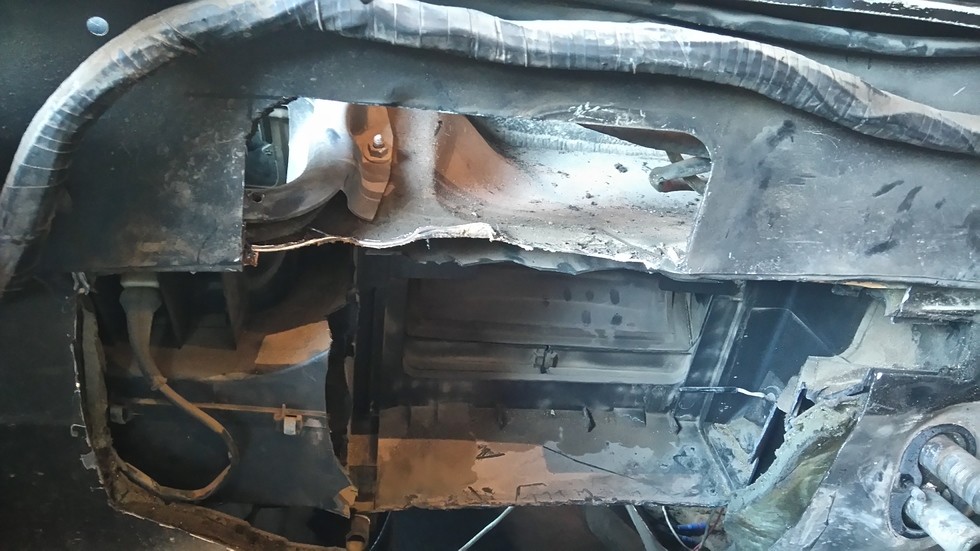
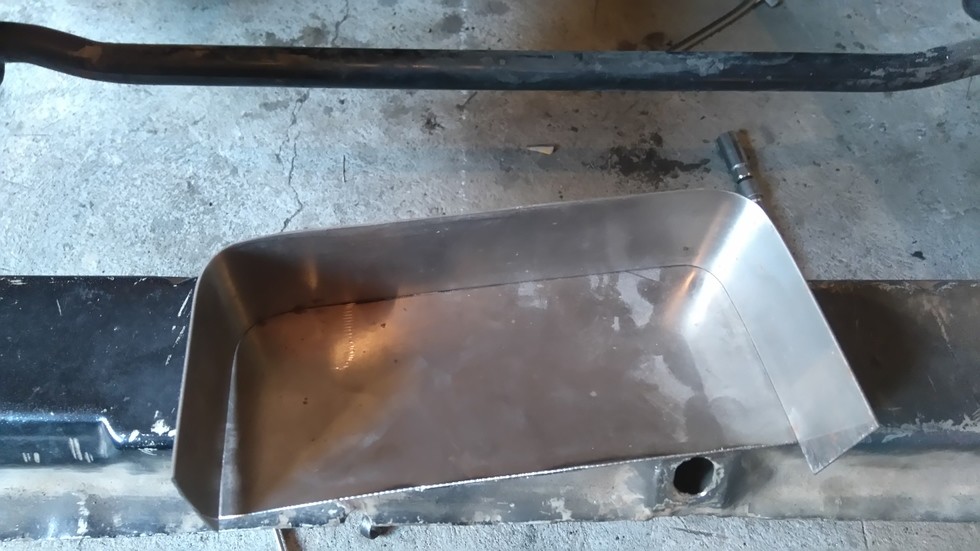
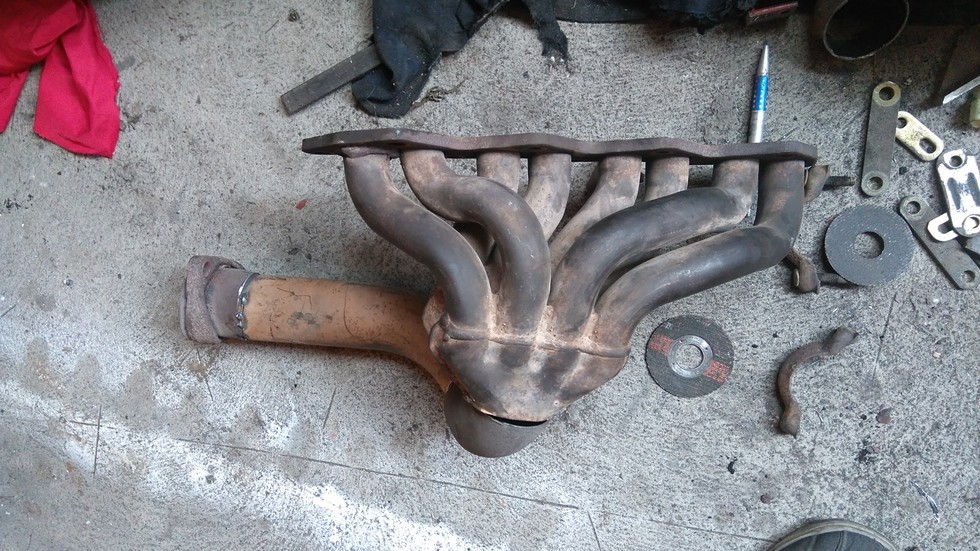
It's been couple of days since my last update, while removing the middle section of the exhaust for welding the tack welds let go so i got tired of messing around underneath and decided to pull the engine out and start on the sheet metal, removing the engine is becoming more easy every time i do it. on the sheet metal i decided to start on the upper part and will work downwards, the first parts was easy, cut it straight and then cut and formed it as i wanted , tomorrow i plan to weld it in place, i also can weld the exhaust header, more to come
7-26-2016
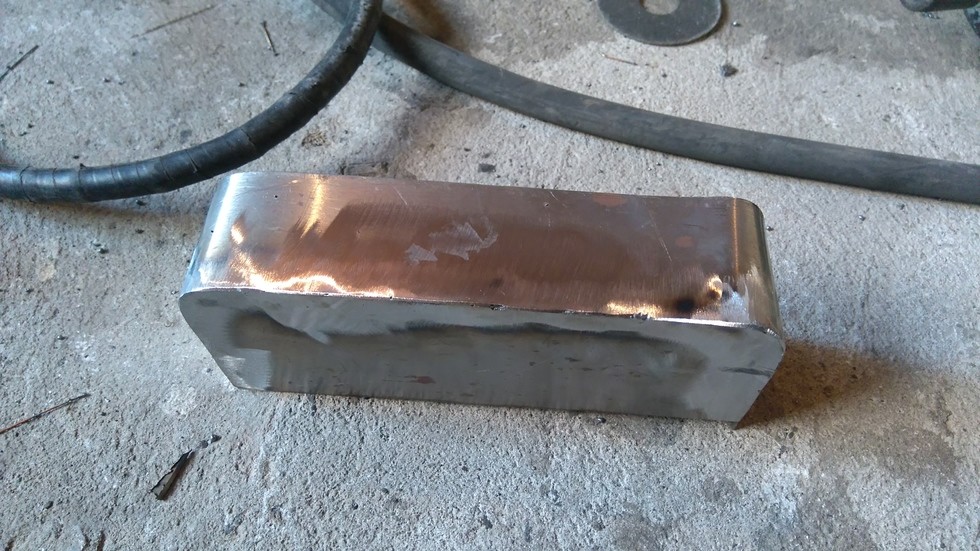
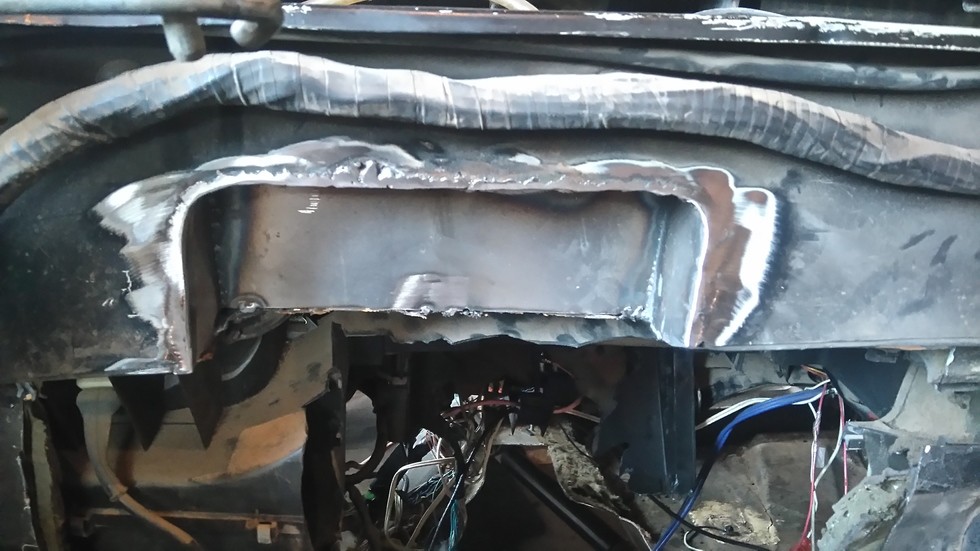
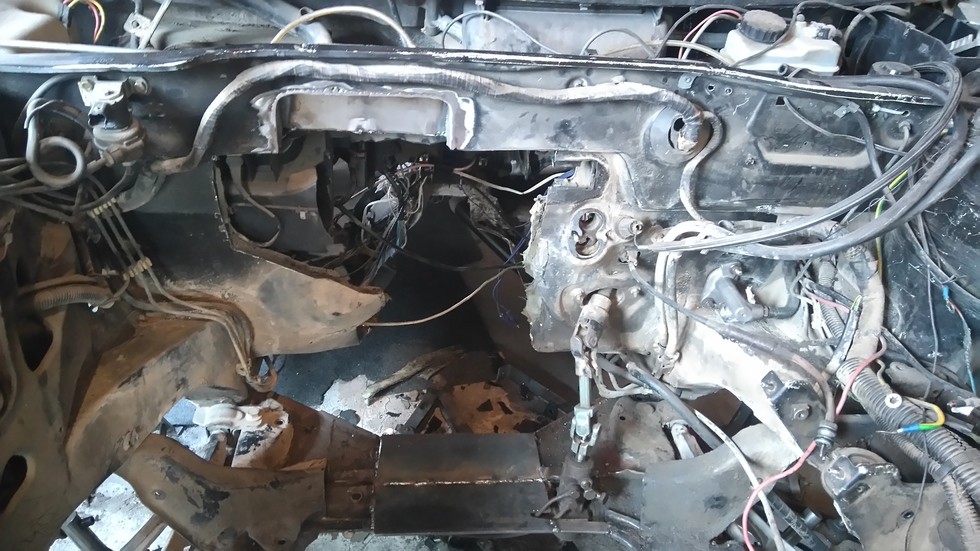
Today i started by welding the two pieces together and grounding them smooth, then i ground the paint of the edges, and welded it in place, ground it smooth, after some seam seal and paint should look like factory. Then i started removing the heater matrix, the matrix pipes, i really wanted to keep the heater but simply no room, i'm keeping the blower, to be able to bring fresh air in the cabin, and then started breaking the heater box to make room for the tunnel to be build, more to come
7-31-2016
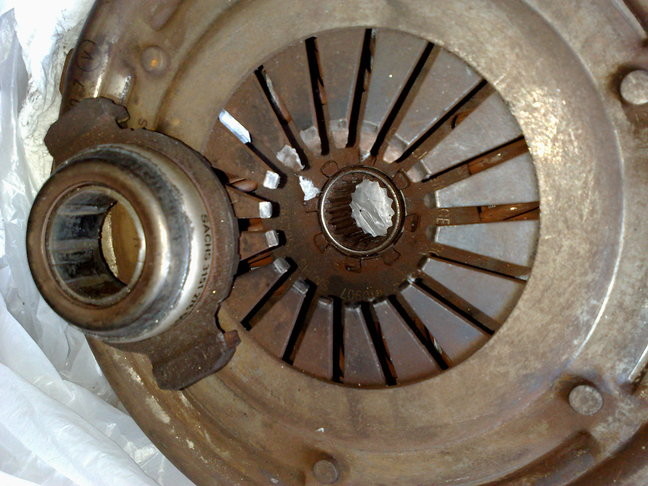
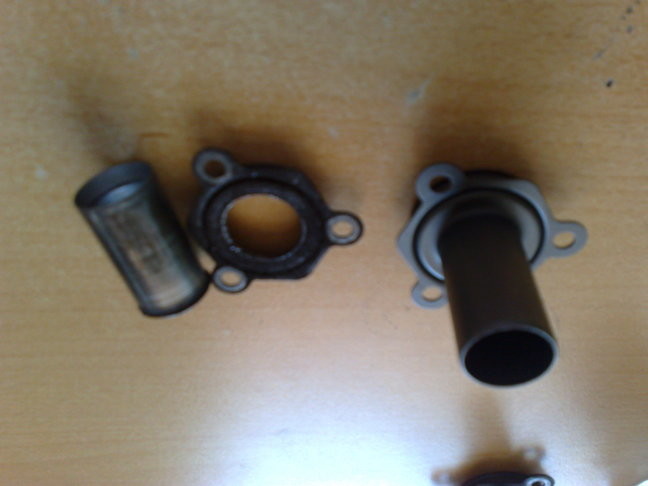
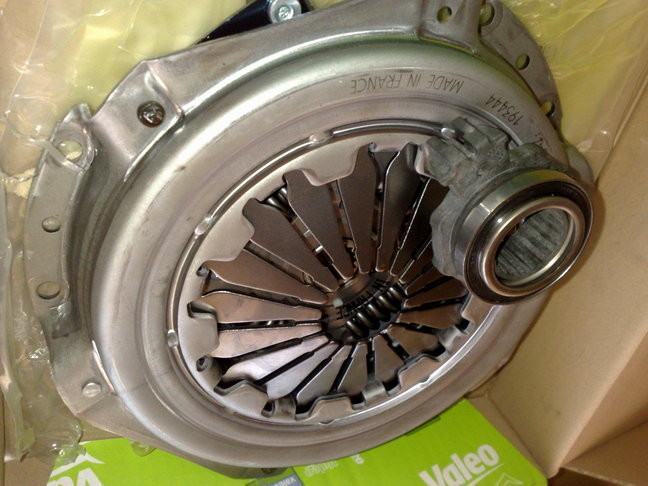
I Know it's been a long time since my last up date, last couple of weeks has been one step forward two steps back, thunderstorm knocked the power out, had a medical emergency, and after all that my brother's driving style( treading every car like a rental) couple that with the new found power from the rebuilt cylinder head it was too much for the clutch, and is back in the garage for a new valeo clutch set, by my reckoning the throw out bearing sized, and eat thru the pressure plate and destroyed the throw out bearing sleeve, more to come
8-3-2016
Finally the little 206 is out of the garage, it did not helped the the passenger side axle seal decide to leak after the test drive with the new clutch, so i had to replace it, now the garage is empty but a mess, i'll be back working on the sheet metal soon.