You must be logged in to rate content!
5 minute(s) of a 55 minute read
5-15-2015
I’ve been meaning to update this thread for some time as I have been working on a few things; including a revised exhaust. I wasn’t copying Andy…. and mine was purely because…. Read on and you’ll see.
Anyway, as they say a thousand words and all that, so please see below for some pictures and an awesome description of what I’ve been doing!!
The first act of the year was to collect my new wheels, I had been in talks with the guy for almost a year (seriously) regarding collection etc. but as he was living away from home it just took that long. In normal cases I’d have just walked away from the deal, but they’re super rare in Mini fitment so I just held out. Sooo glad I waited.
They weren’t in the best of condition with a few coats of paint on them and a half-hearted attempt to remove it using paint stripper, but a quick trip to my local wheel refurb co. and they looked better already.

Also had a quick go at polishing one of the lips to see how they were under all the dust and semi sanded surface:-

Found out later these are a racing version of the Compomotive Turbo’s which means standard centre caps don’t fit; sure I can sort something out though. It also means the lips are the racing type with the returned lip for additional strength, nice.
The standard nuts and bolts were a little tired, so I decided to try and rejuvenate them; a quick vinegar bath (7 days with the odd shake) to remove most of the rust and grime, followed by some good old chemical blacking and bingo, good as new:-

The next job on the cards was to try and tidy the bay up and the old turbo was letting the side down as it was filthy with years of grime. The answer (obviously) was to make a soda blaster and give it a clean:-

This was then put to one side as I bought a bigger turbo anyway!
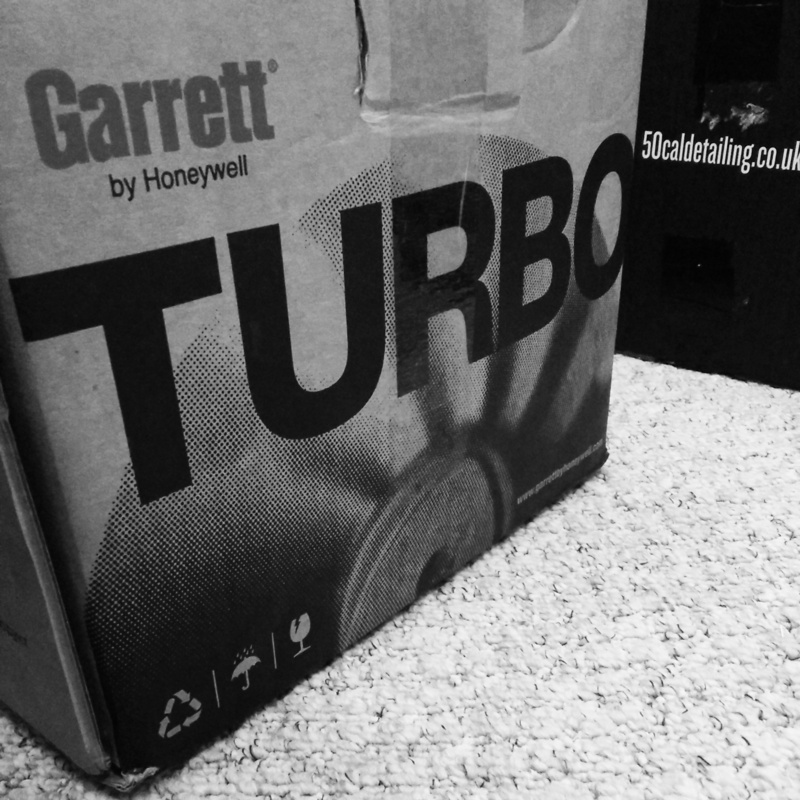
Mmmm new turbo, a Garrett GT2560R that’s commonly used on the S14 & 15’s, good for around 350bhp, but well within the window I require:-
Manifold bits:-

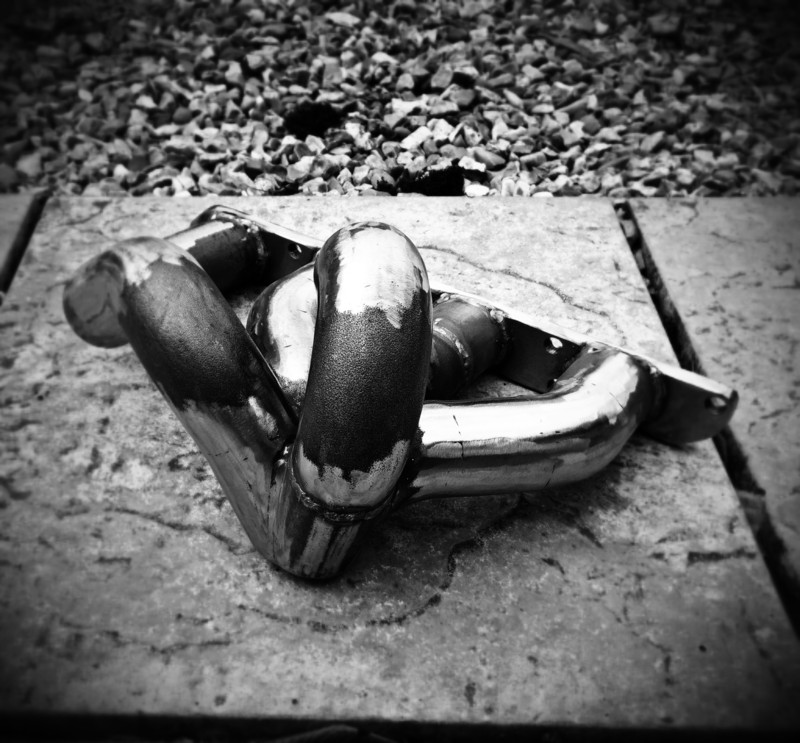
Exhaust manifold and turbo mock up:-

My cad work is only 2d; unfortunately I don’t have cptkirk’s 3D CAD skills and excuse the poor screen shot!

So with it all drawn up I purchased the required materials:-

Which then magically turned into this:-

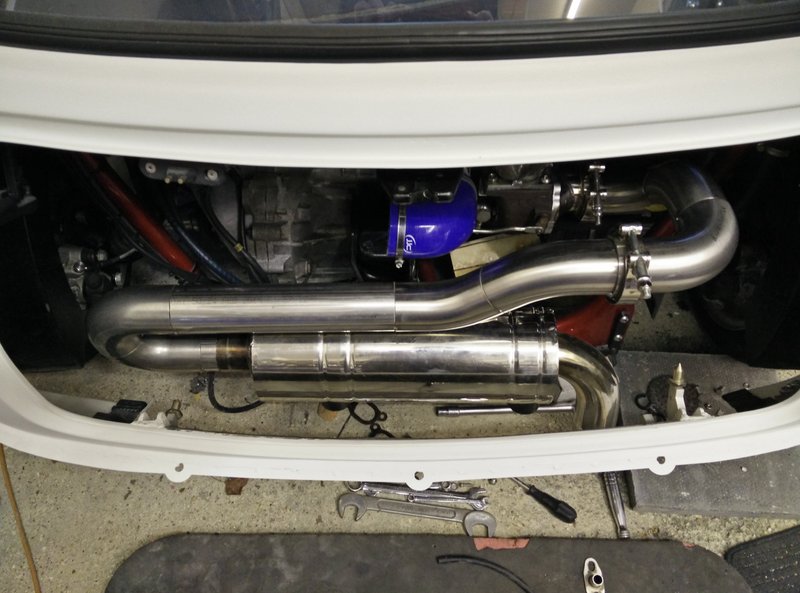
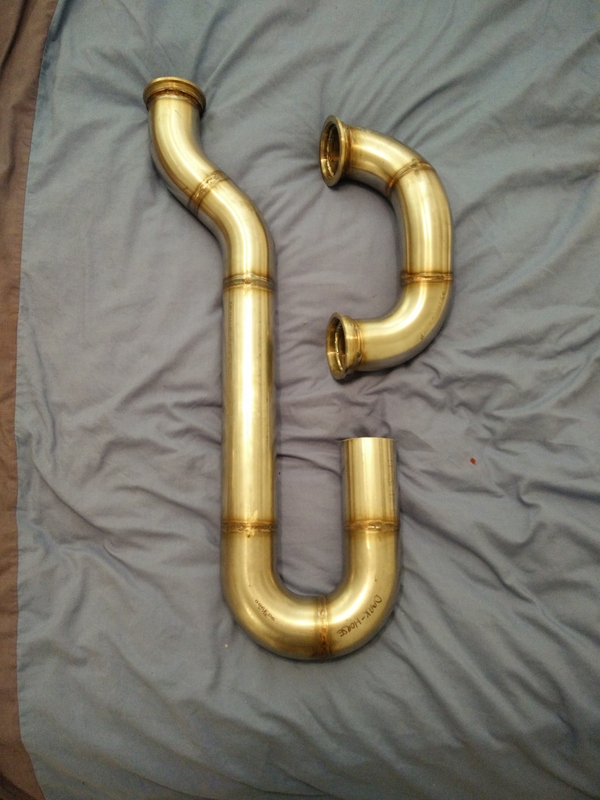
Although I’d already been working on it alongside the exhaust (as well as water and oil feeds / returns), now the exhaust was complete I could finally position and tie up the air filter and charge cooler pipework. I didn’t want a massive piece of silicone pipe (although it would probably have been better for temperature isolation), so a custom length of beaded ally was required. Unfortunately I couldn’t find anybody online who manufactured at bespoke lengths! To resolve this I bought a longer section and cut it down…… what, you thought I’d just leave it cut down. Next job was to make a “ghetto” tool to re-bead the end, test piece below:-
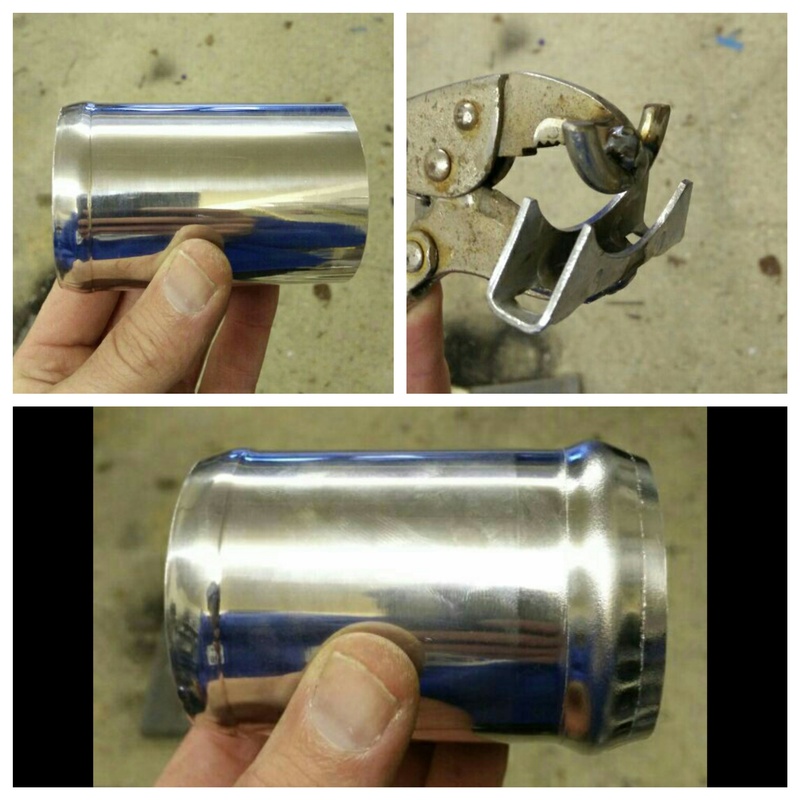
Better than the stock one
And a few steps later with 90% of it all plumbed in:-
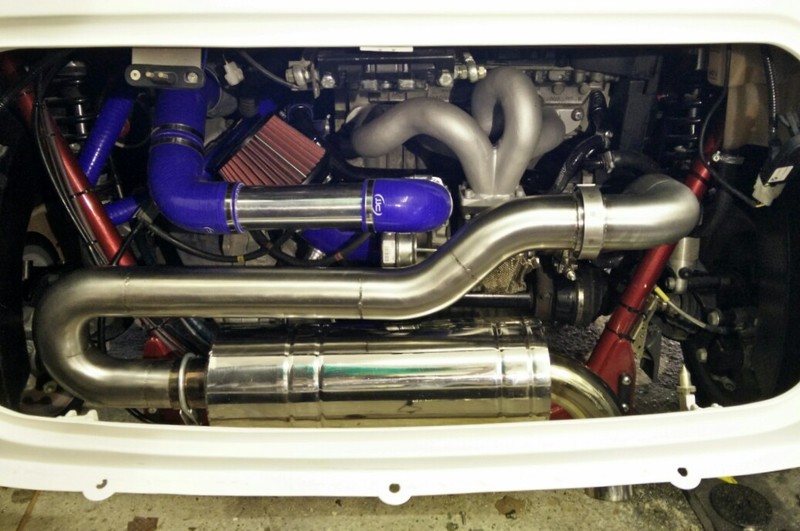
I’ve got a few more updates that I’ll try and post up over the next day or 2; don’t want to bore you with them all in one hit.

Great thread!
Posted by Diggymart on 9/9/21 @ 3:11:51 PM