You must be logged in to rate content!
10 minute(s) of a 377 minute read
7-13-2015
Flowmaster DBX Silencer Setup
I arranged a static noise test, on the weekend just gone, at Goodwood.
After a chat with the guy that does the noise metering we decided to try a few different rev ranges, with and without the extra can that some of you may have seen hanging off the back of the car at Castle Combe and even Goodwood.
The results were as follows
DBX in Series - No Extra Can
6000rpm - 101db's
5200rpm - 100 db's
DBX IN Series - Extra Can
6000rpm - 100 db's
5200rpm - 98 db's
Better than the single absorption can, not quite as good as two absoprtion cans in series.
Going to try the Walker quiet flow silencer as soon as I get it put together and will report back with figures....
I can confirm that the new air filter box has reduced the charger whine in the car and if it still audible outside the car is it from both sides, which will reduce the intake noise by half when being measured from one side.
8-7-2015
Flowmaster DBX Silencer Setup
I attended a track day at Goodwood on Monday, so get this, using the same db meter as three weeks previous the db's came in at 95 db's @ 5200rpm ????/ what the hell....
I am seeing higher engine coolant temps than before, I can only assume this is from increased back pressure.
Brake Fade
Whilst at the same track day I experienced a new problem with the braking system. I had recently upgraded my brake pads to Polymatrix A to get better performance from my brakes, they stop much much better but the downside to this is the increased heat from the increased friction. So during a session I could feel there was an issue with the brake pedal as it was going long, I finished the session, came into teh paddocks for a minute or two then headed out to the petrol station. As i drove out of the circuit the brake pedal went to the floor - sh!tballs.....
At that point I thought it might be that the wheel bearing had come lose and the disc had lent over causing the pedal to need pumping to get it to work, so I headed of home in in the daily driver to get some tools, this took me an hour. When I got back I jacked the car to check the bearing and they were fine, as good as they've ever been. I dropped it back down and checked the pedal and it was back... no pumping required....what the hell?
There is no loss of fluid so it can only be that the Dot5 Silicone fluid had boiled over (or water had entered the system and pooled in a caliper and this had boiled over)....feck it. So I now have the unenviable task of flushing the silicone from the brake and clutch lines and am going to replace it with Wilwood EXP600 which has a dry boiling point of 310degC, 50degC higher than the Silicone. Hopefully this will cure it as I have another track day at Goodwood on 31st Aug (Bank Holiday Monday) with Lotus on track and I need to be able to drive it hard to keep up with some of those boys.
9-2-2015
I attended a track day at Goodwood on Monday with the Lotus on track boys. It was wet and horrible, R888's not great in the wet. The day semi dried later on and I got a few half decent laps in, no PB's broken but was on track for a decent lap on vid 039 but slowed due to seeing engine coolant at 104deg C and Oil at 125deg C, so more work for me over the winter to get air flowing better to the engine coolant rad, the I/C rad is being a bit too much of a block out, the top 3-4 inches of the rad aren't doing anything currently, so going to sort that and scoop from below also.
Here's the vids:
1-12-2016
EXTRA AIR FOR THE RADIATOR.
At the end of last year I was still struggling with high water temps on track and decided to add some extra ducting to the top of the radiator.
Pre intercooling the car the whole of the radiator saw fresh air but since the intercooler rad has been in place it cuts off a good 4" from the top, basically everything behind the carbon cover you can see in the photo below.
So the plan is to get some cheeky ducts 3D printed and attached the the front of the carbon cover and then feed some fresh air from the front of the car somewhere - still working on that as trying to be as discreet as possible with it, trying the keep the front lookin fairly standard so as to jinx people into thinking its just a normal mini behind.
So here is the area in question:

Here is a a handful of renders showing the proposed duct fixings that are going to be made this week. Note that I only modeled the essential bit required to ensure nothing was hitting around that area.

A horizontal section through the ducts, air should fill the cavity nicely


One from the back side with the radiator removed

1-15-2016
I just found this the other day, excuse the wobbly camera. As you can see it was still a bit wet so no records being broken.
1-23-2016
EXTRA AIR FOR THE RADIATOR
I got the 3D printed parts through, they're a bit course in appearance and if I so had the inclination I would filer them and get them sprayed but right now they are purely functional and therefore they are not getting treated to any prettying up.
I still have to find the time to sort out the feeds to them and frankly its a bit too cold at the minute so it can wait for a month or two, most important is that just by fitting these two parts it will allow the air to get to the top 4" of radiator so when the fans are sucking air they can draw some through there. The high pressure created in the top of the wheel wells might also force some air in there as well.
Anyhooo, here's a few photos:

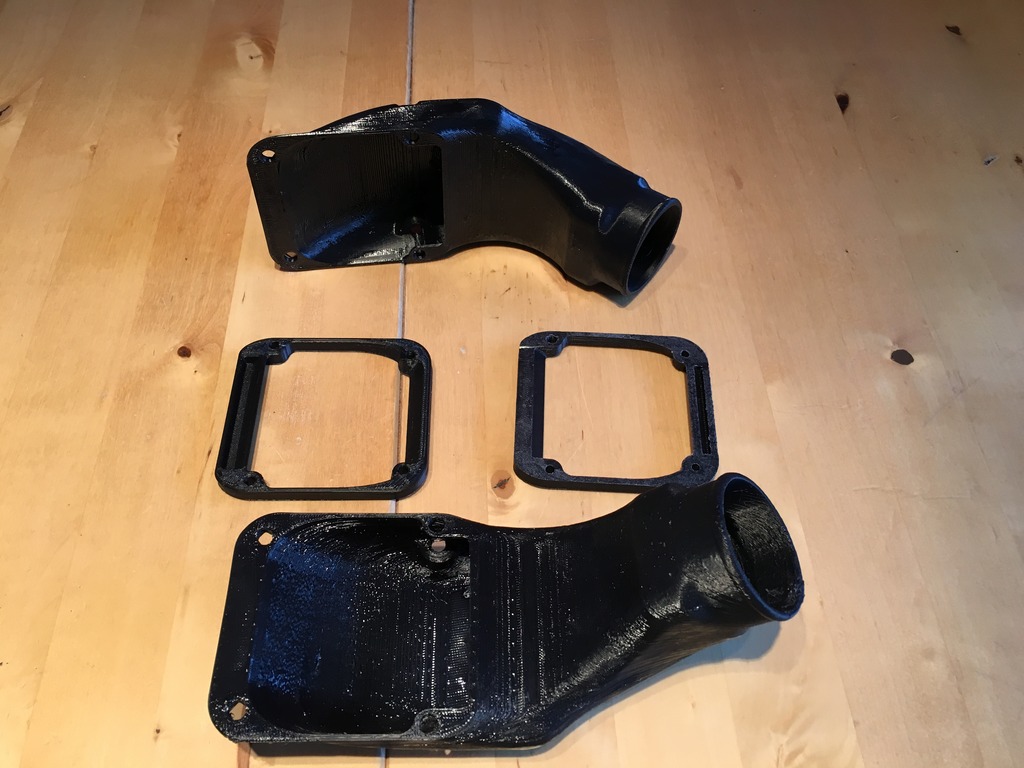
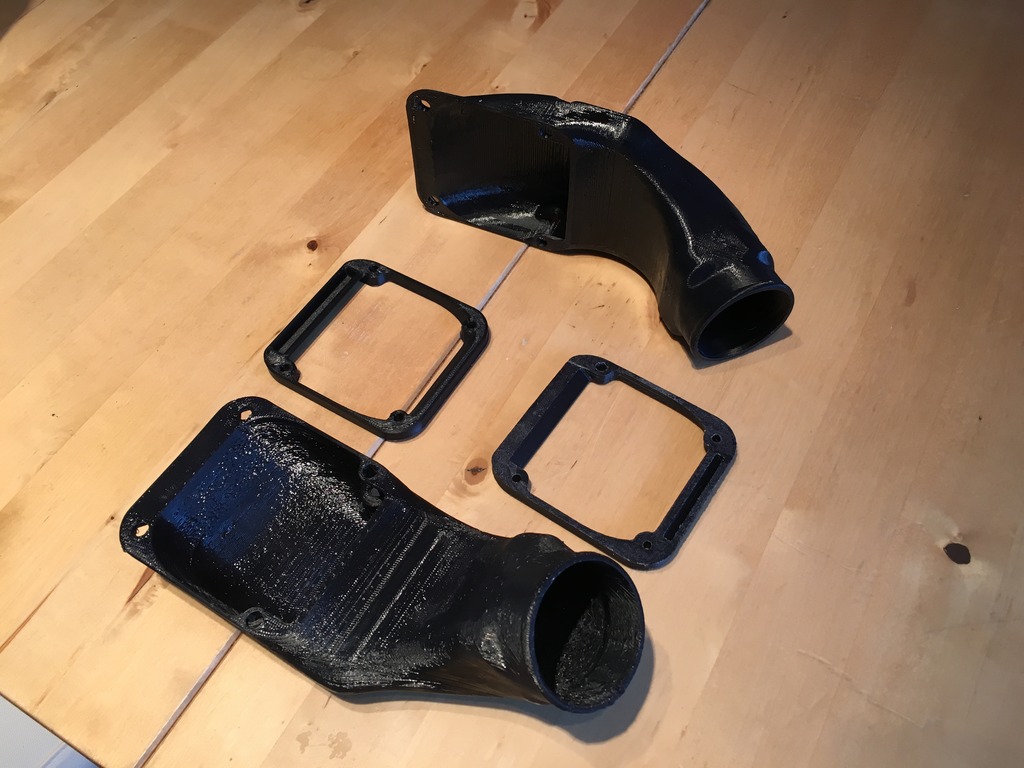
.
4-26-2016
EXTRA AIR FOR THE RADIATOR
I tried to fit the new scoops (a few weeks back) to the rad but unfortunately they stick out about 5mm too far and I can get the bonnet back on. I have just moved house so don't have the tools to fix the issue, waiting on a new garage being built before I can get my stuff out of storage. I did get a few photos when I was doing it......
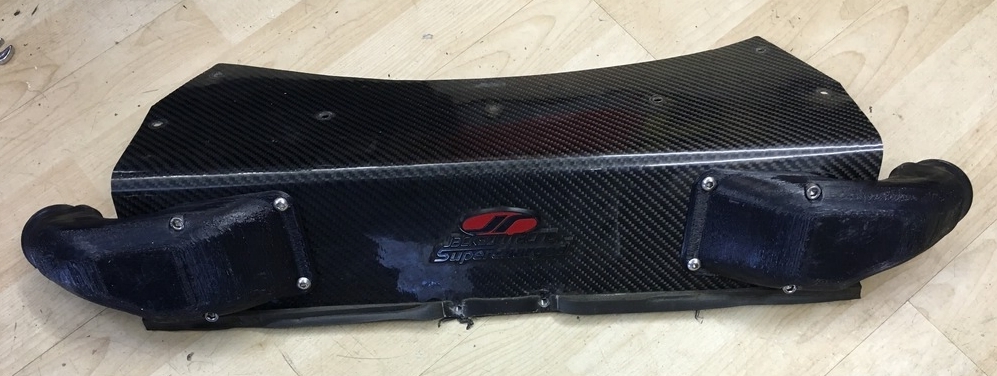
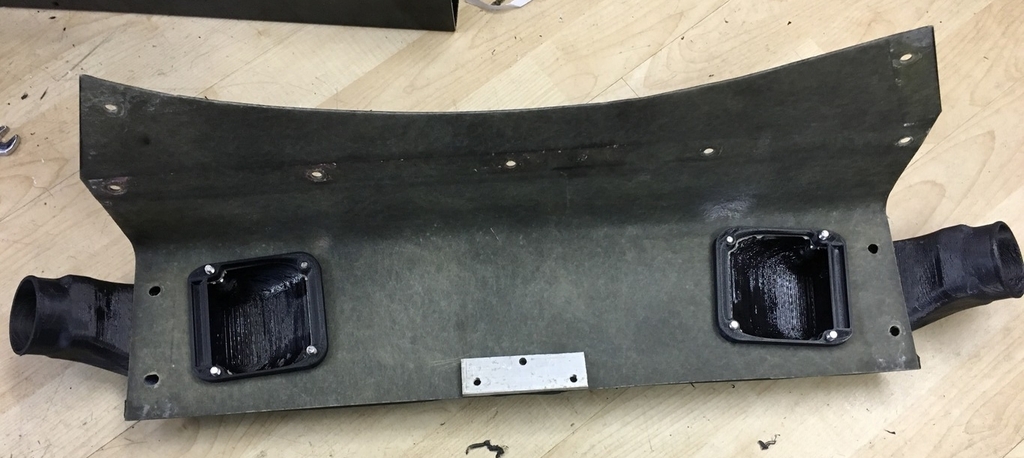

6-2-2016
Fastest lap from Goodwood on Monday 1:34:11 - a much more respectable time, more than 3.5 secs shaved off my last outing. No mods since last outing, all a case of watching video playback and working out where I needed to grow a pair....later braking and slightly higher corner speeds all add up.
6-30-2016
The theory is sound but the solenoid was not up to the job so I haven't completed the idea yet. I need my new garage to be done so I can get back to fecking around with the car.
Here's a link to a similar timer module, note if you try searching for a different one you need one that will work to 0.1-99.9 seconds (not 0-999):
http://www.ebay.co.uk/itm/12V-Automation-Digital-Delay-Timer-Control-Switch-Relay-Module-LED-Display-KB8H-/131659838558?hash=item1ea789b45e
As for the solenoid I am still on the lookout for something with decent guts, I might have to try a vacuum linear actuator but it means holes in bulkheads to do, hence why it hasnt happened yet.
7-4-2016
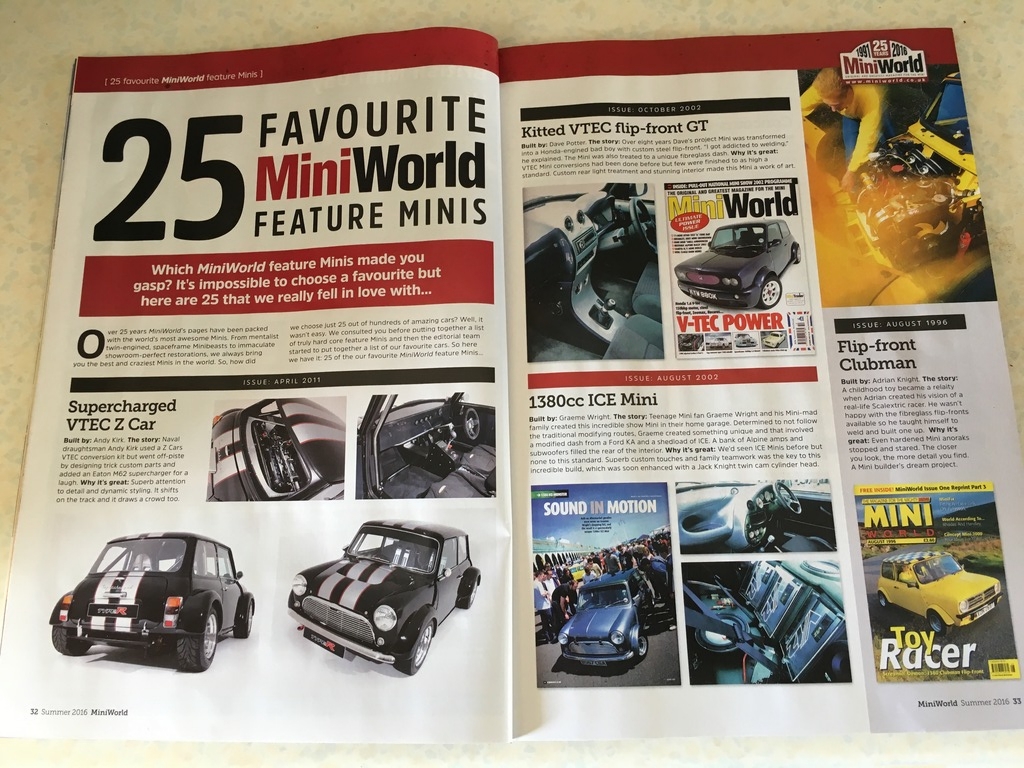
Wow, I made it into the 25 favourite cars of the last 25years of Miniworld......
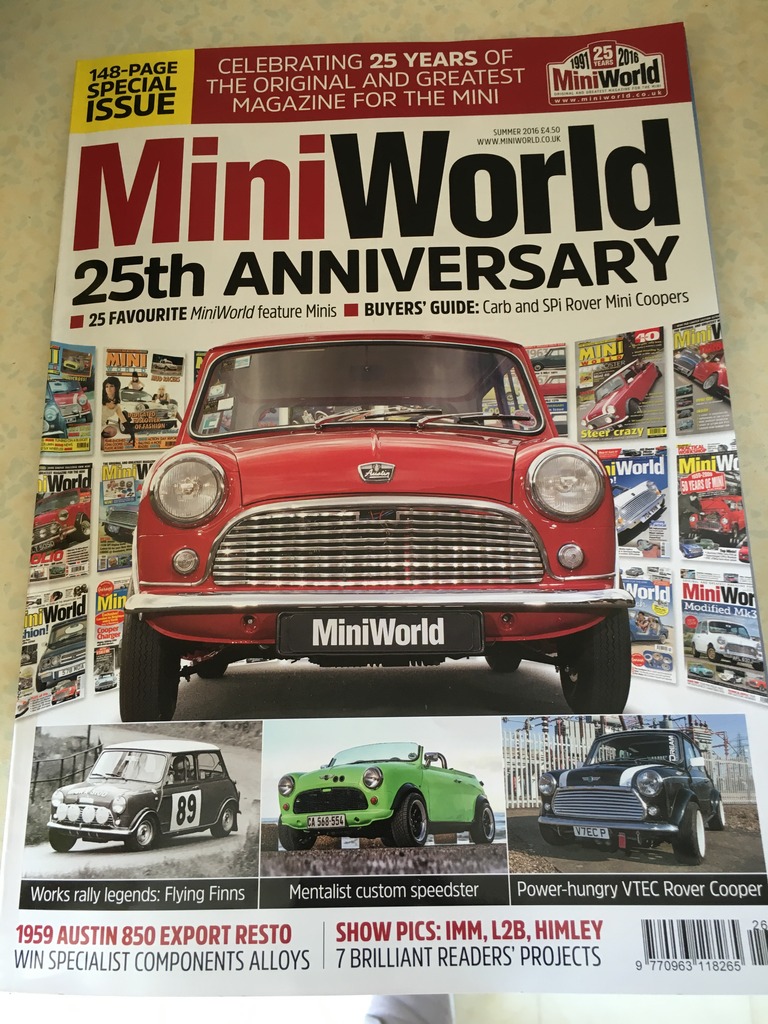
It's still on sale in the shops, looks like this on the cover:
8-8-2016
Castle Combe Track Day 03 Aug 2016
I tagged onto a BMW day at Combe last week, here is my fastest of the day and below is a bit of accidental 70mph sideways.
I got a bit crossed up coming out of camp on one of the laps, pity you couldn't see just how crossed up my arms were, kept my foot in though.........
Wow this is amazing build!
Posted by Diggymart on 2/3/20 @ 4:10:14 AM