You must be logged in to rate content!
8 minute(s) of a 461 minute read
12-8-2011
And a wee update. To go along with my harness bar and harnesses I had to get eyelet bolts to fit them all together! Not bad for £1.18 each when most places charge £5 per bolt!
So its x8 as they are 4 point harnesses.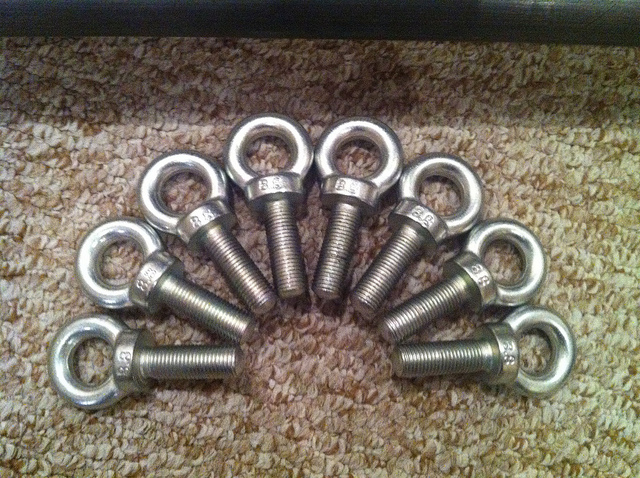
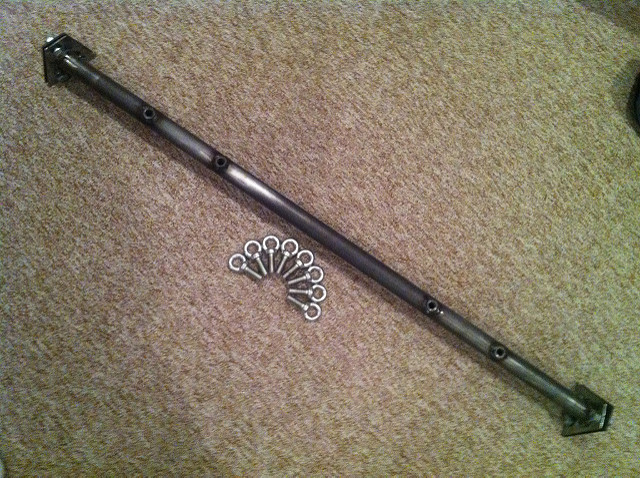
They screw into the bar perfectly but will need to try and grind some metal off the top of the bar nuts as they don't line up perfectly straight which not only looks awful but isn't great for safety as the force wouldn't be at a straight angle and would then warp the bar in an impact.....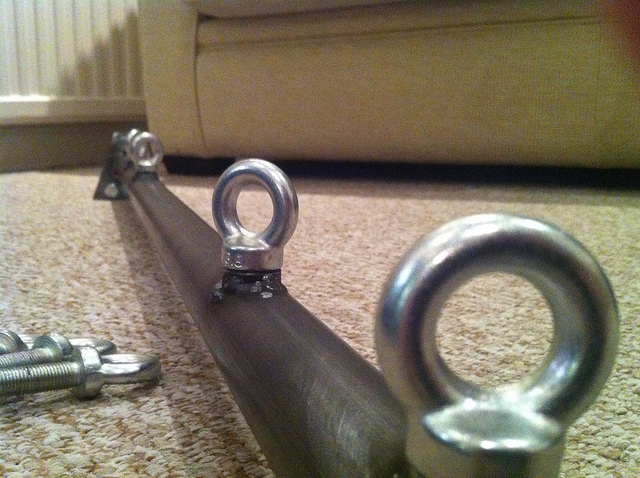
I shouldn't be buying so many bits with the car not back from the body shop yet but I need to, to keep my motivation and interest going 
Harness bar was from JonBetts on here. Eylets I shall get back to you on.....Bar cost me £35 as I got it unpainted. Usually £45 
And thanks! Full time student and 24hr contract at work means Ive no time to work on it but when holidays from uni begin at end of next week I will get a few days out to work on the beast 
12-15-2011
Collected my harnesses. Rather chuffed with them! Came with couple bolts too which is fine. Don't need them really as I bought new ones but still nice to have as spares!
Crap photo as phone went mad in the low light....but you get the idea. Got them for a steal but don't intend on them being the final harnesses for the car.....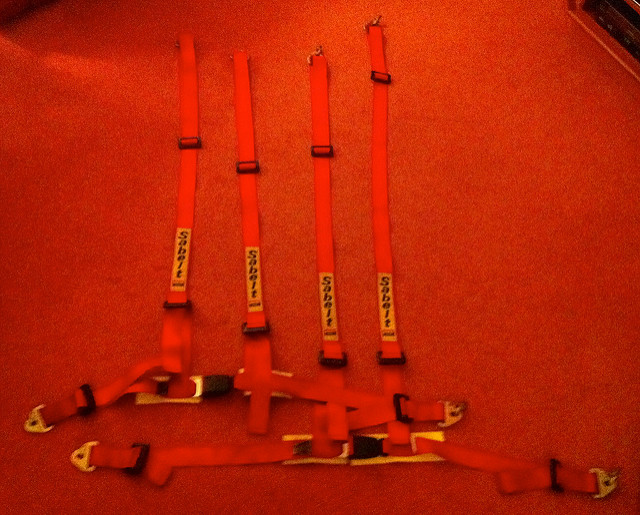
12-19-2011
Did intend on going out to work on the car today but slept in....will go tomorrow instead 
But I did mock up the seats, harnesses and harness bar together to get a feel of what they would look like. Safe to say, I like!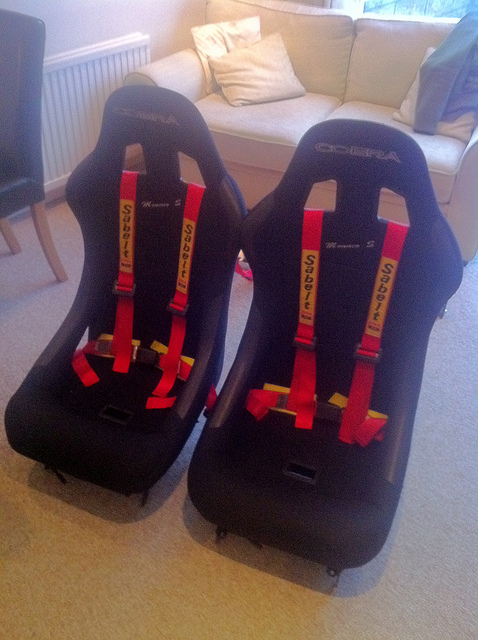
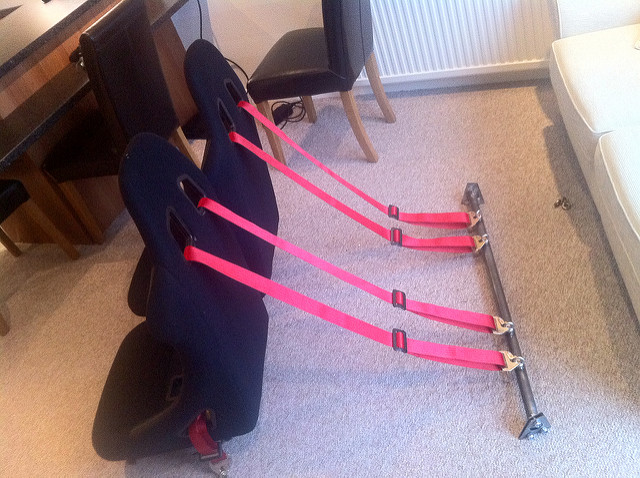
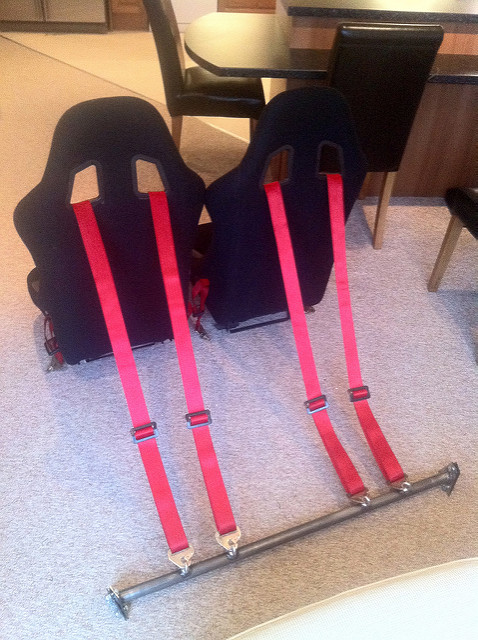
So should get some progress pics tomorrow 
12-20-2011
MADE IT OUT TO WORK ON THE CAR TODAY! First time in a month and a half!
So got cracking mainly on paint prep. Sanding sanding sanding but got to play with another new toy. 3M Pistol Grip sander. Comes with loads of different heads, one of which is a little green rubber/plastic combo which is great for getting rid of old paint in seconds. Labour saving tools = win!
Also got started on the internal hinges for the boot. After buying some old bonnet hinges for the job we found the profile/shape of them just wasn't going to work. So be resourceful we grabbed a nearby coil spring and chopped it up! Gave us some C shaped metal rods and with the help of an oxyacetylene torch we got the desired bend. All we need to do now is weld it to the boot lid and make up a hinge/bracket for inside the boot! Should look good when its all done and painted!
So to the pics....
Firstly the dash of the 60s Cooper S Rally car that is now Trigs neighbour in the workshop. Switches and wrinkle paint everywhere. Very nice!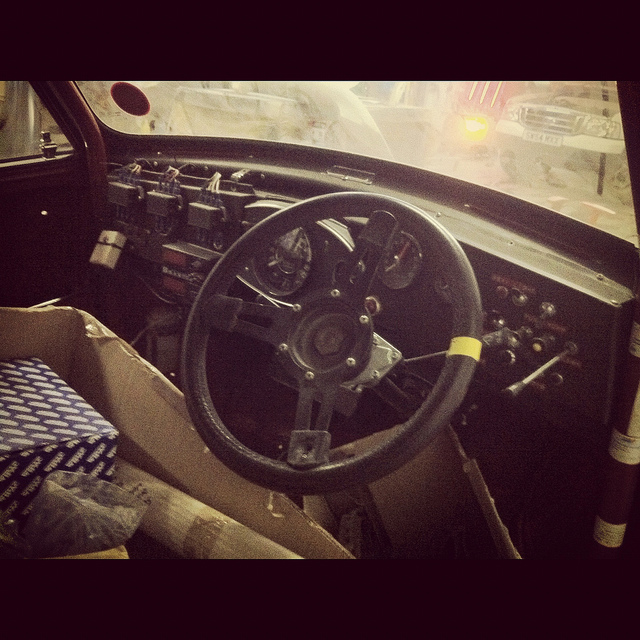
Phil had already fitted the passenger side arch and it sits perfectly. I managed to sort the drivers side alignment after a bit of careful filing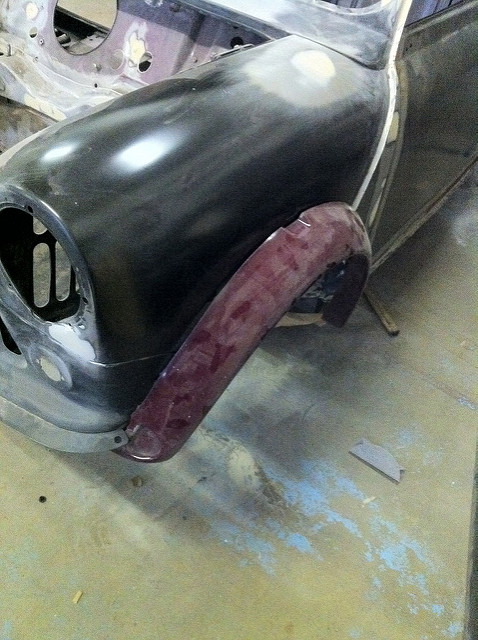
Heres the tool that is brilliant!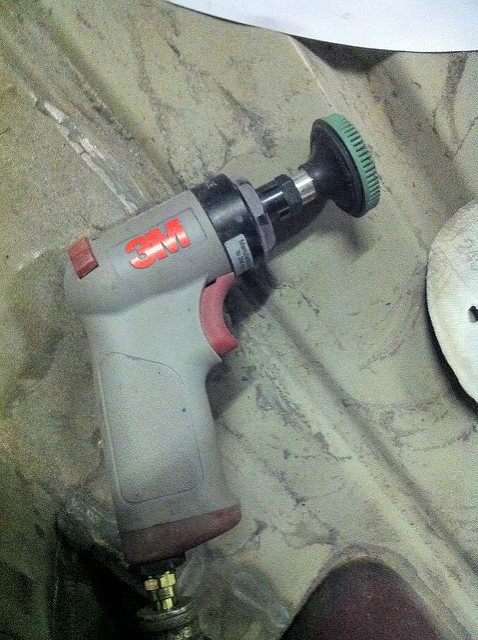
Funcy tool head. Really really soft but somehow works a treat on old paint!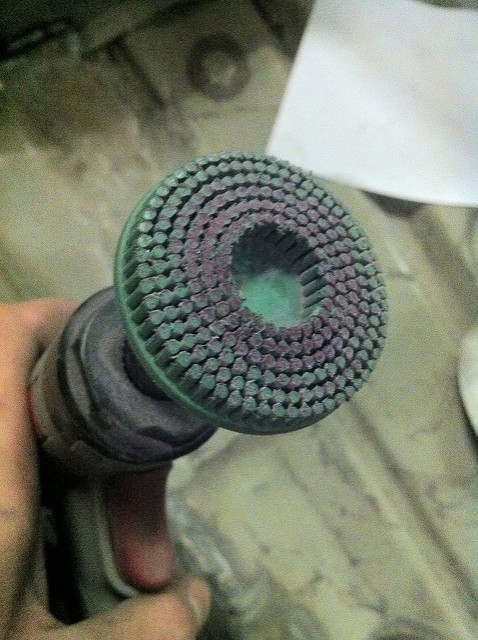
Made up a template for the hinge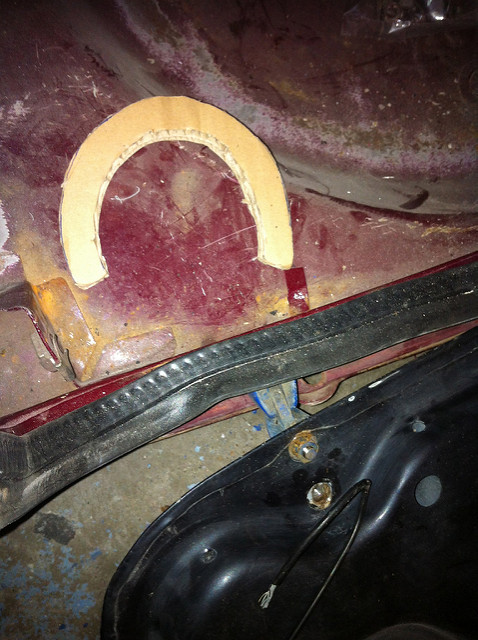
So take one spring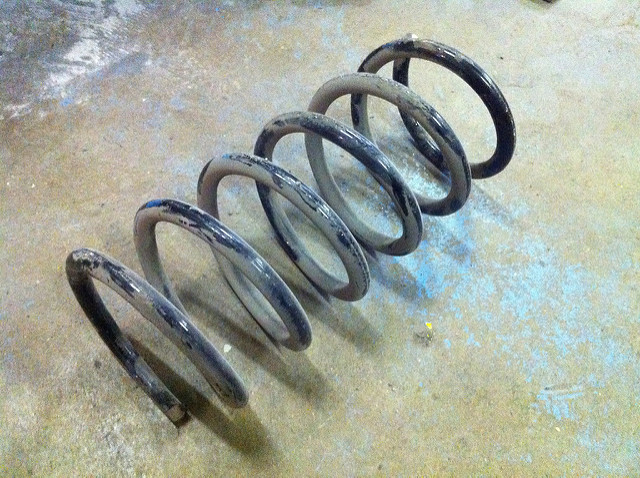
Coil spring cut and shaped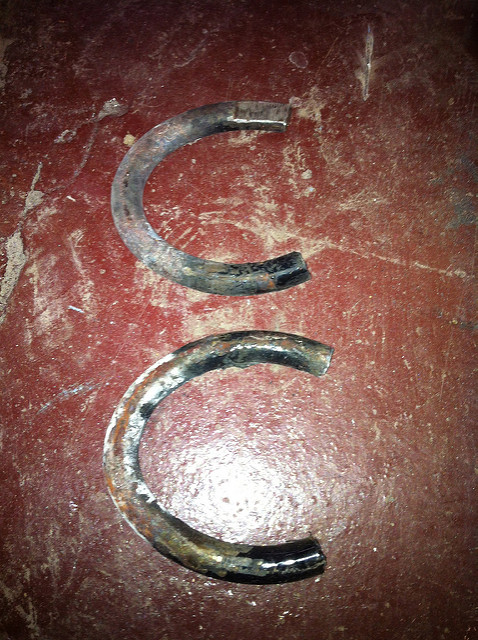
And another friend for Trig. A Cooper Sportspack in Tahiti Blue. Previously 'restored' under 2 years ago for thousands but a total mess. In to get an idea of prices and level of work required to get it back up to scratch! So out with 'Moby' the workshop wheel hoist!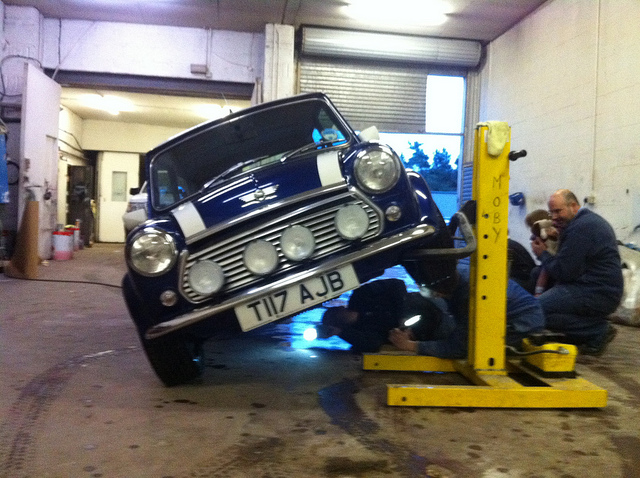
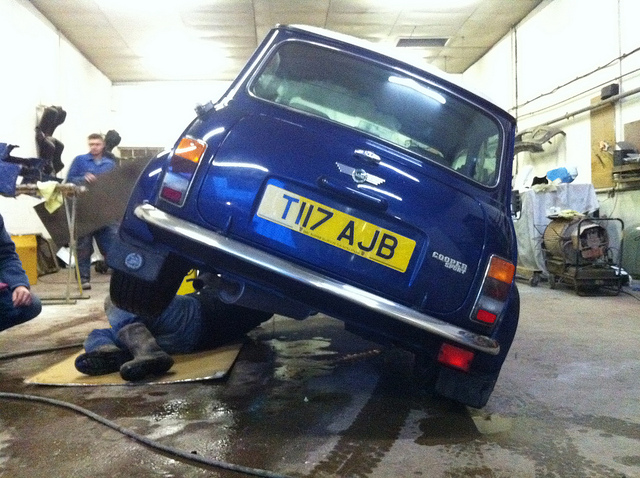
So its now Kirkton Motor Body Mini Repairs! We have the 1960s Morris Cooper S Rally car, the Cooper Sport and Trig. Getting a name for quality minis now so thats a good sign!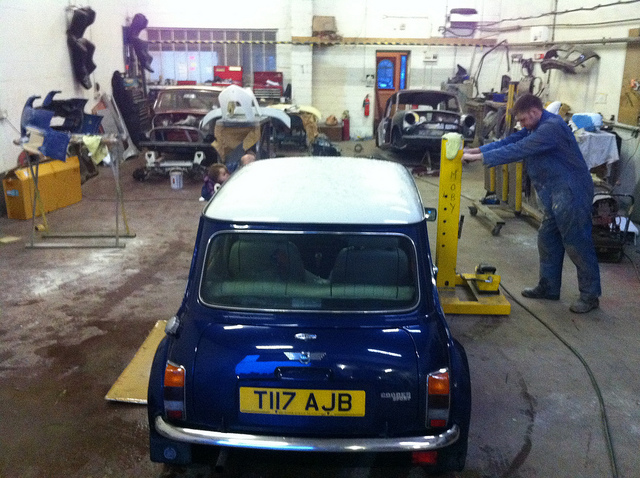
So no pics of paint prep progress as its well....paint prep....so kinda boring....
No idea when I'll next be out to work on it but the guys were working on after their tea tonight on it as Phil needs it gone now!
12-29-2011
Well Phil texted me couple days before christmas saying the car was ready for primer! Didn't get a chance to go out and check it over before yesterday to see if it was truly ready or not. Couple little things still to do like properly mount the boot lid which is proving to be a total ball ache. However the filler neck hole has now been welded up and filleted smooth, outer panels are all ready and prepped and just the roof to do a final bit of prep on. Where we tubbed the arches still needs a bit more welding to strengthen and tidy up rough edges but progress indeed! Should (I hope) have the car back full painted, flatted and polished by last week of January (I hope so as I booked a week off then to start rebuilding it......)
I took some more video when i was out so stay tuned for the second teaser video.
In the mean time I leave you with this. Ive had the images to make this for over 2 years but never got round to editing them together :) Very happy with the final outcome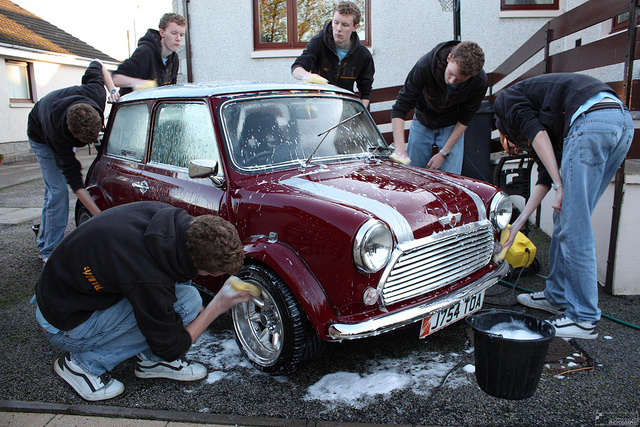
If only it was looking this good at the moment :sad: But will look a LOT better by time its back on the road 
Comments

I LOVE Mini Coopers. Wow fantastic detail / photos here!
Posted by Diggymart on 1/22/19 @ 4:17:19 PM
Congrats BOTW what a beauty!
Posted by Diggymart on 2/6/19 @ 3:15:15 PM