You must be logged in to rate content!
8 minute(s) of a 461 minute read
6-8-2012
Todays works.....
Exhaust mocked up ready to drill holes to bolt it in :) The plate will cover up the back box when done.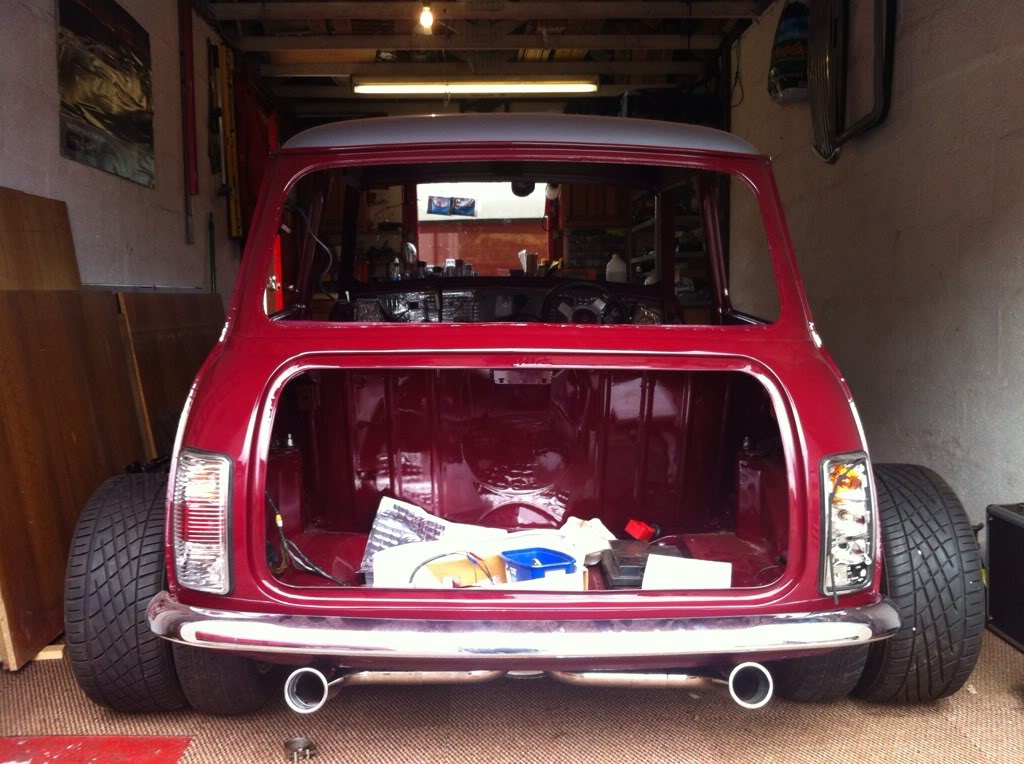
And this is how most will see it seeing as its so low.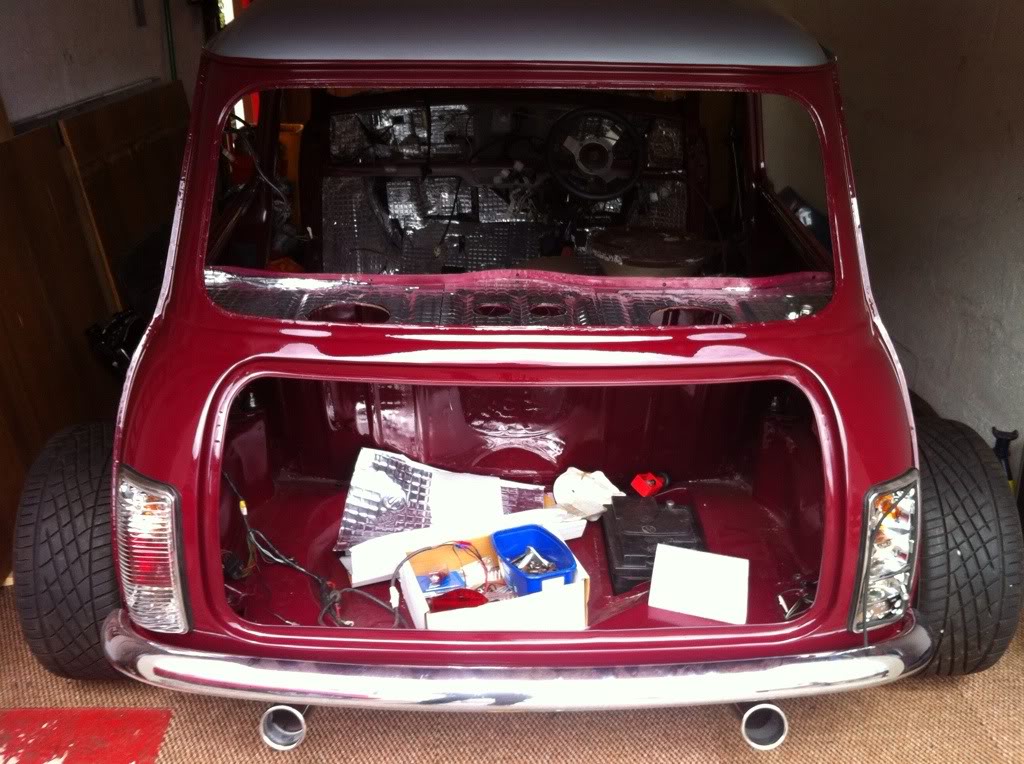
Primered up my tank and finally painted it black.....not perfect but meh......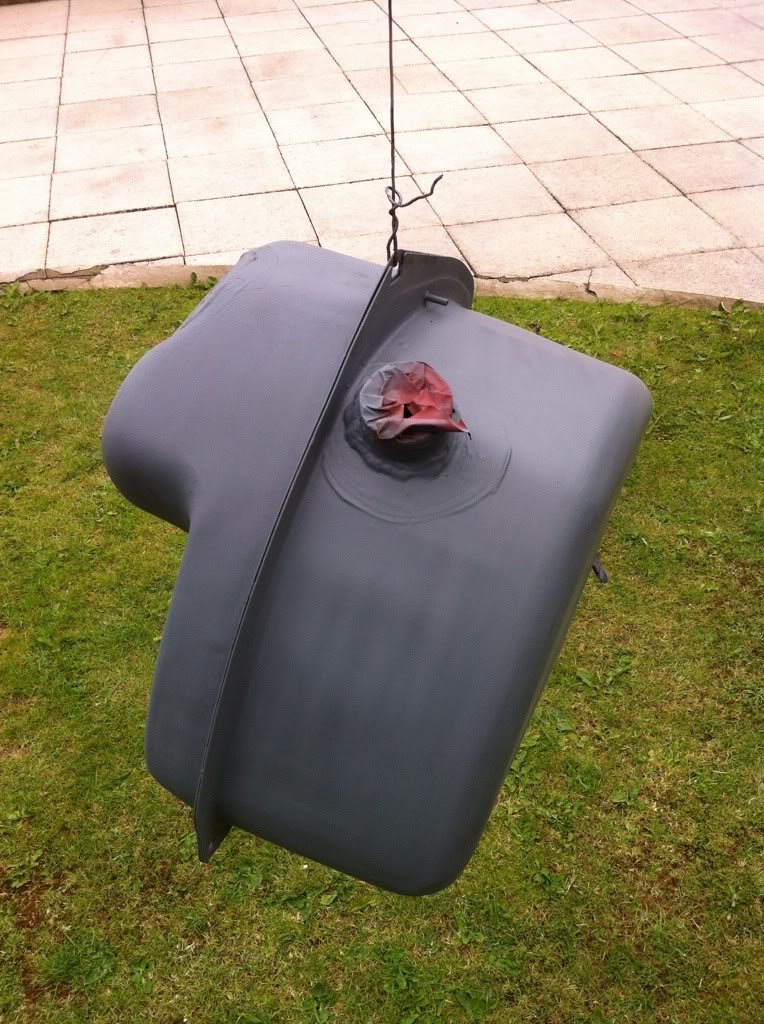
Got my lower engine steady painted, lacquered and bushed up and fitted!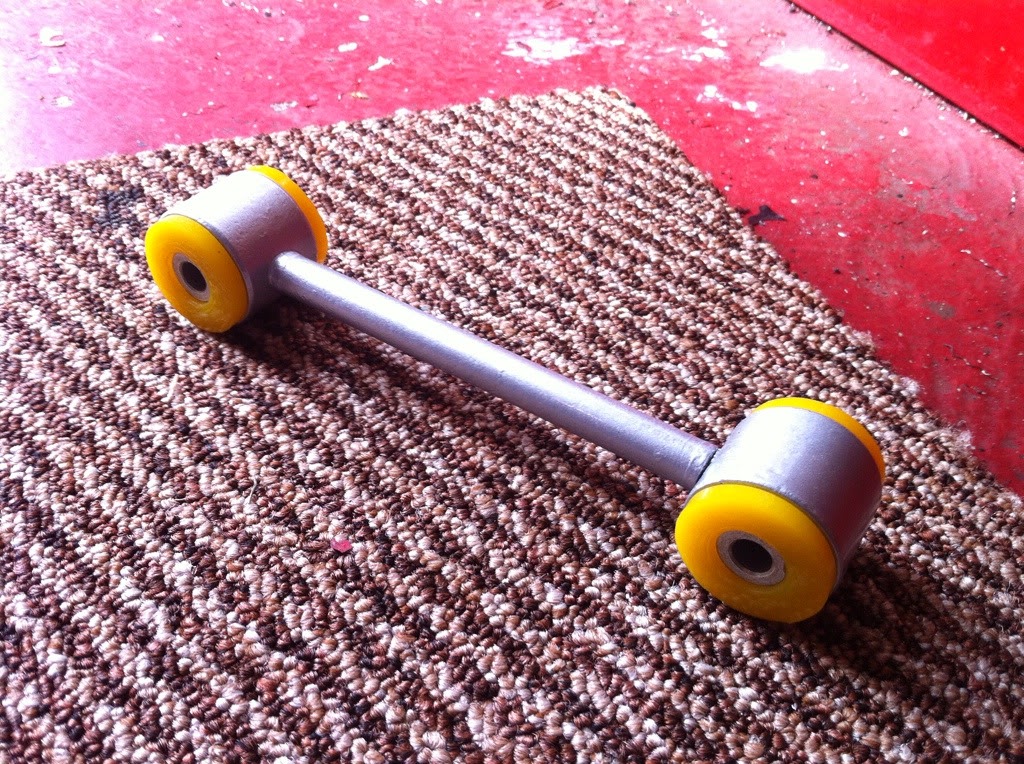
Shocks on! However I need new bolts for these as mine (as most seem to be....) are cross threaded. Brilliant! :sad:
Quick comparison of old vs new carb. Will need a rebuild kit......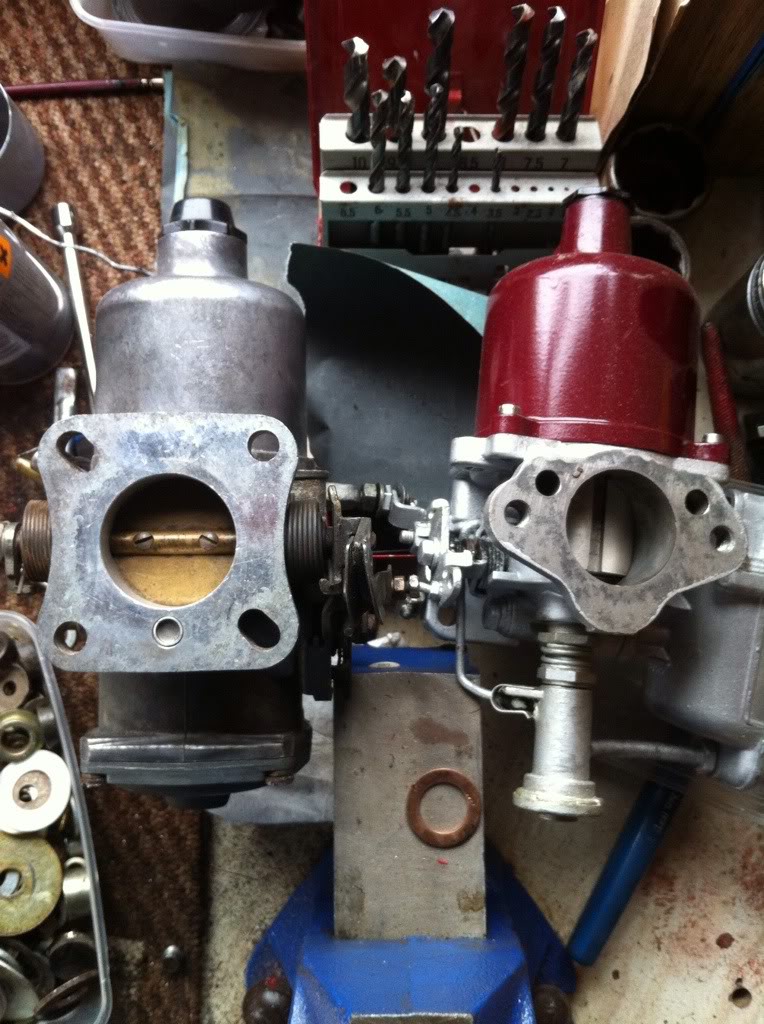
and I got some shiny fitted! Specialist Components LCB in full stainless :)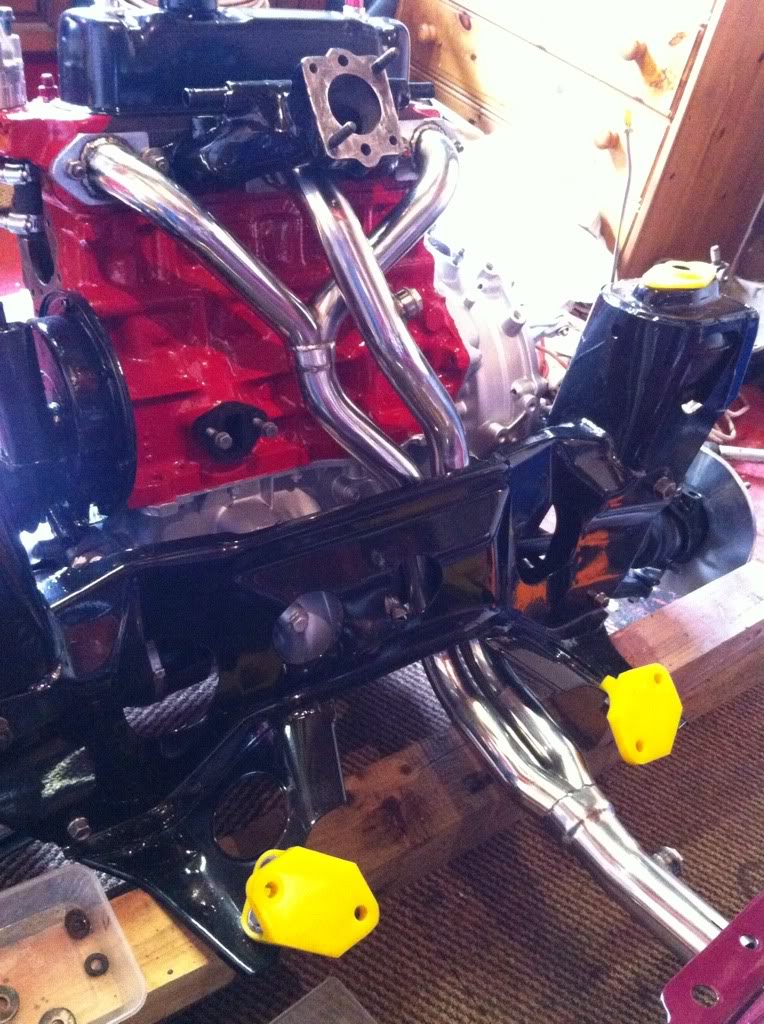
Need to order more bits but funds are running low. Need to get it onto 4 wheels asap so I can get on with wiring and interior stuff. Don't want to do that now as it will make car too heavy to move around. Catch 22 situation really!
So the slog continues.....
6-15-2012
Yesterday was a big one for progress to say the least. Got up early (.....ish. It was a day off after all....) with my dad and friend Greig to get my subframe and engine installed in the car.
First things first we fitted some bits that would be hard to fit with the engine in (fuel pump, couple brake bits etc etc) Also had to bend the frame a bit so the manifold didn't hit it. It was only slight but it was squeaking as I rocked the engine on the powder coat. Now theres plenty clearance for it.
With that done we set about putting wheels onto the hubs so we could wheel the frame around. My dad borrowed an engine dolly from his work (thank you technicians at Jag Aberdeen!) which made things MUCH easier!
With the frame and engine on the dolly we roped in my mum for an extra pair of hands and lifted the body over the frame. Bit of moving around and removal of tyres under the floor and we were in! Almost 2 years since the engine came out. Got it all bolted up fully (rear mounts were a pain but with some patience we got them done. Seeing as it was sunny we wheeled it outside to see it in the daylight. Safe to say Im one happy camper! Paint still looks great and everything is new/refurbished to look like new. Proud!
Only one steering arm was on as I need a collet for the drivers side one....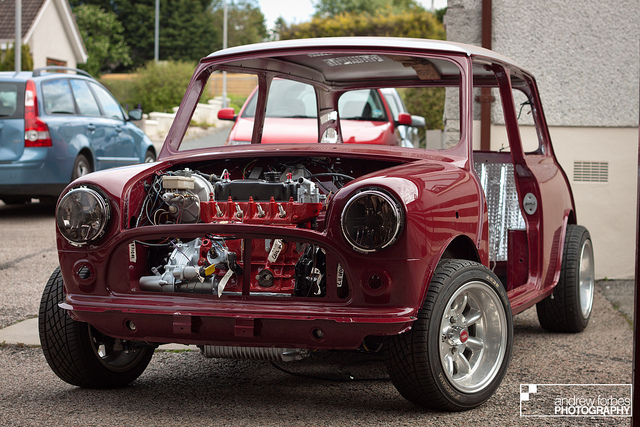
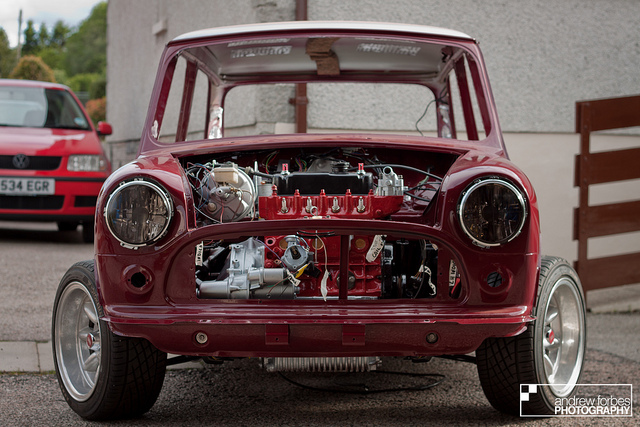
Suspension and brake setup looks great hidden away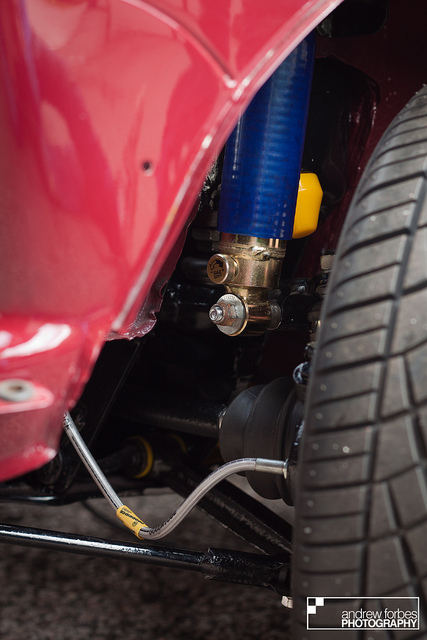
Lots of wires and pipes that Im unsure how to route or wire up but we will get there....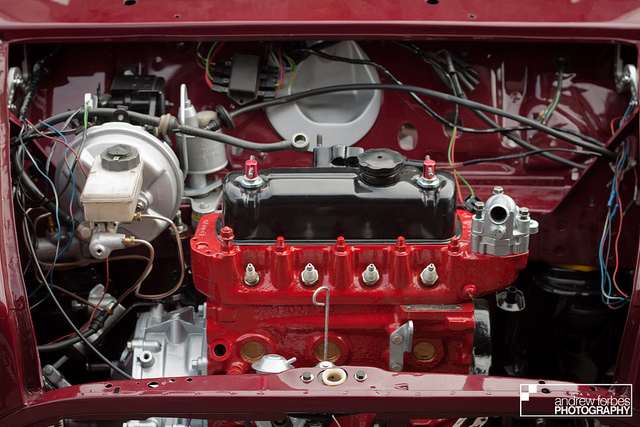
Im happy with the poke though! Arches will cover them well.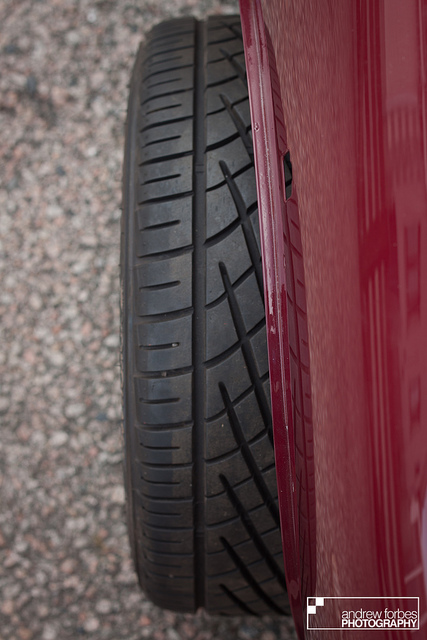
Fair bit of work needed on the interior....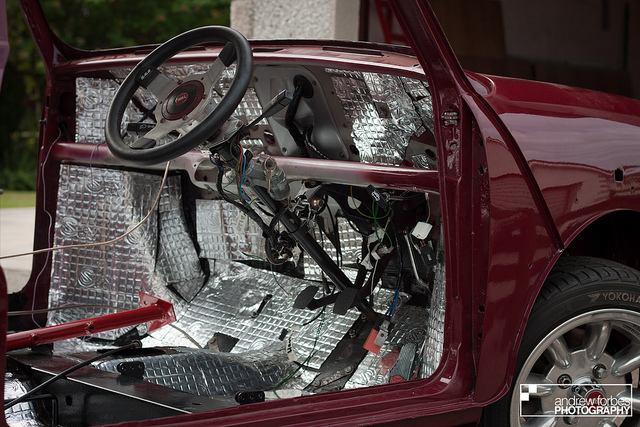
Glad I tubbed the arches though as the tyres would sitting on the arch as it is in this pic otherwise! Means this combined with the stiff (really stiff on soft setting....) shocks will mean no rubbing hopefully!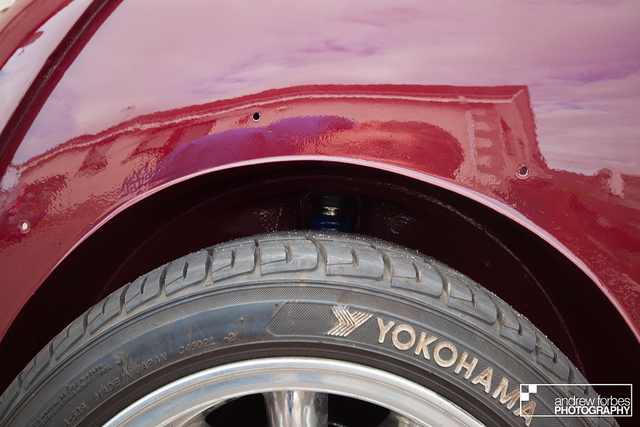
This makes it look like a toy.....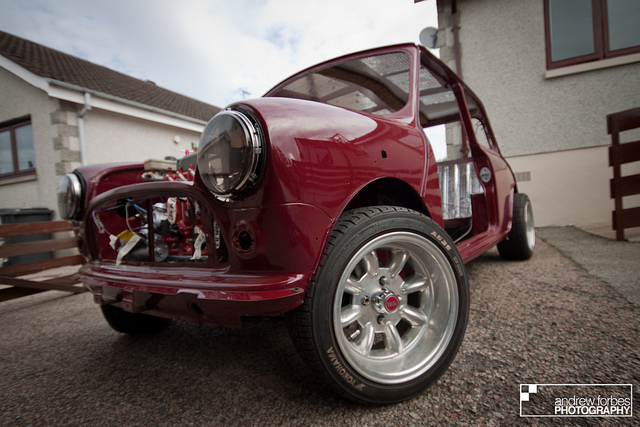
Check out the shine! Needs corrected and waxed but it still looks stunning!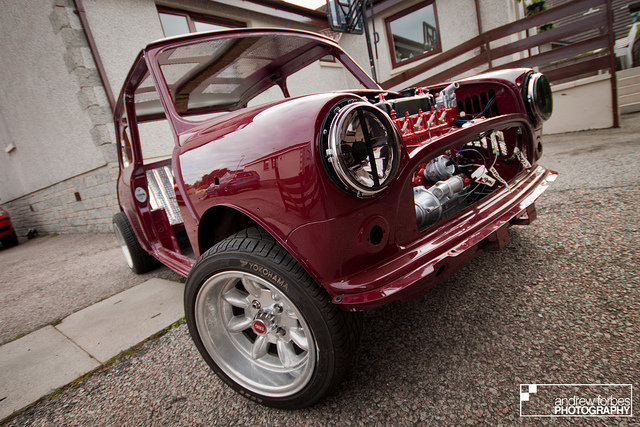
Then I put the top engine steady on with the poly bushes in. Solid as a rock now!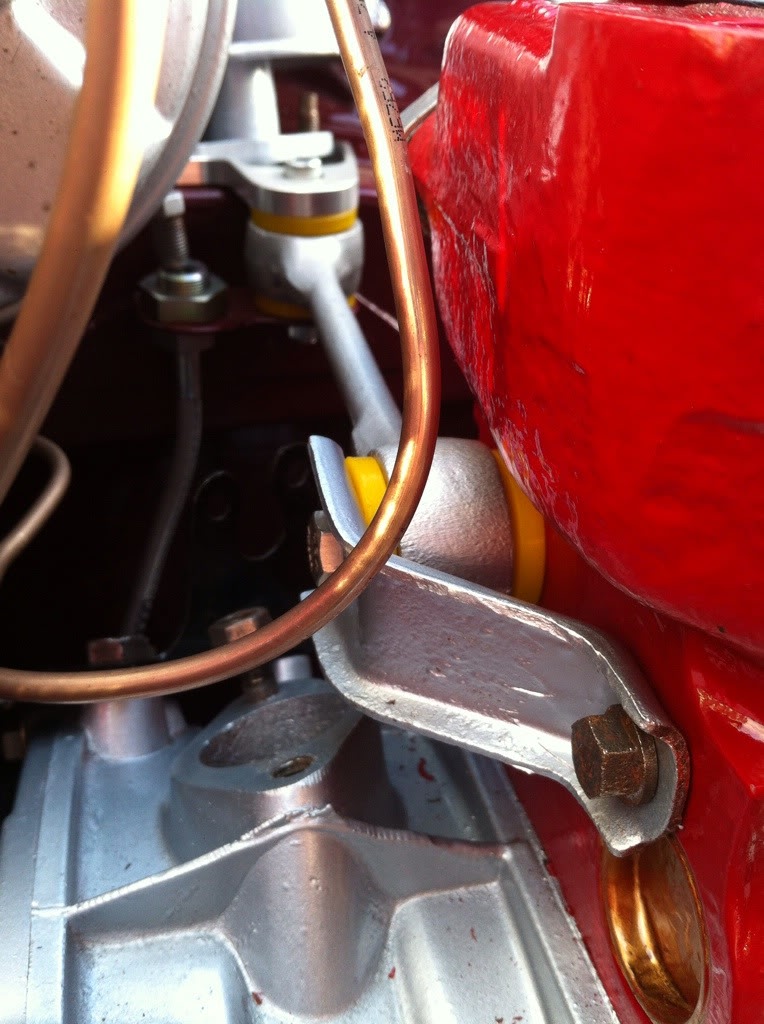
And then put it back in the garage again and put on my showplate which has the cars nickname on it.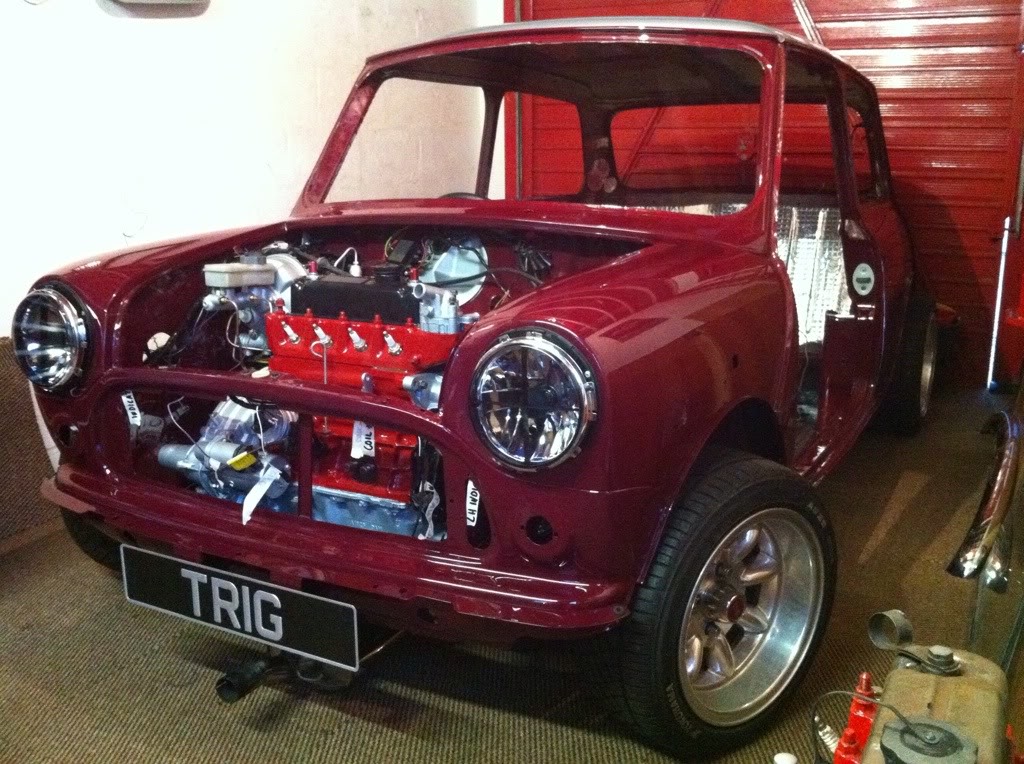
Next step! Wiring! Not looking forward to that one little bit!
6-26-2012
No updates as I have no money for parts to fit to the car. Its payday today as well......at this rate its not seeing the road this year which is beyond depressing. Daily driver is costing too much to own with garage bills and fuel but I need it to get to work.
Project Trig. Coming to a show near you in 20??! 
7-9-2012
Progress after a long stint of no motivation/money (still missing the money part  )
)
Started by fixing my fuel and brake lines with the P clips I had. (6mm for fuel, 5mm for brake if anyone is wondering)
Top tip! Don't use crap pop rivets!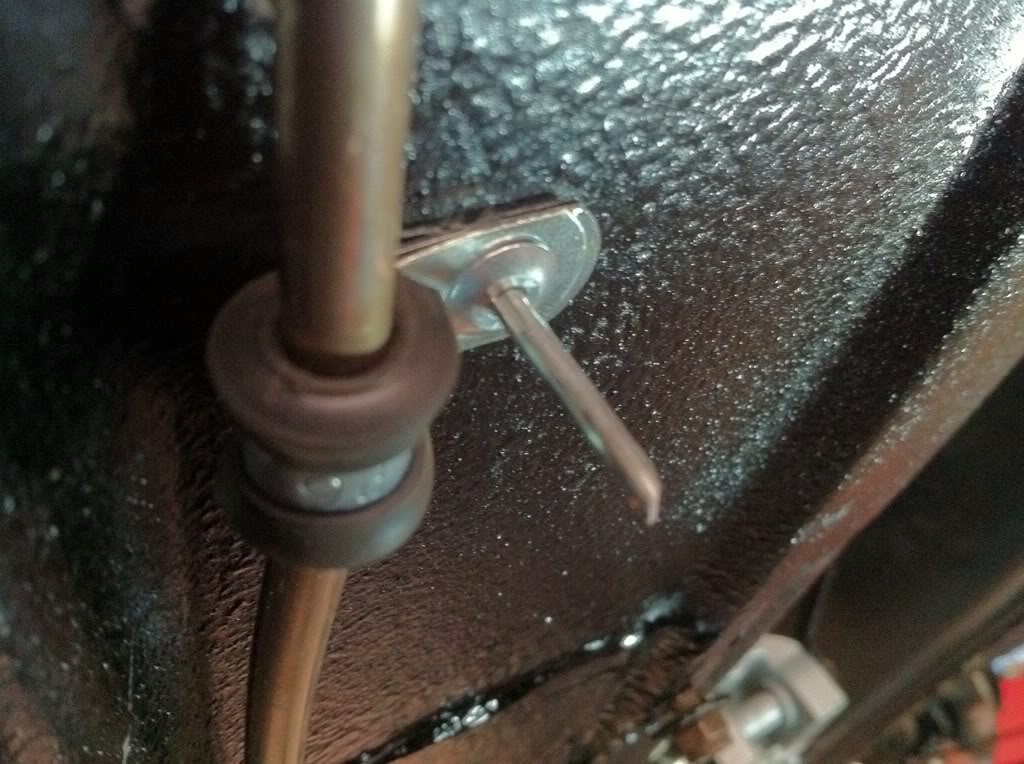
They sheared off at the wrong point! Thankfully they had a really strong hold so I just cut off the excess.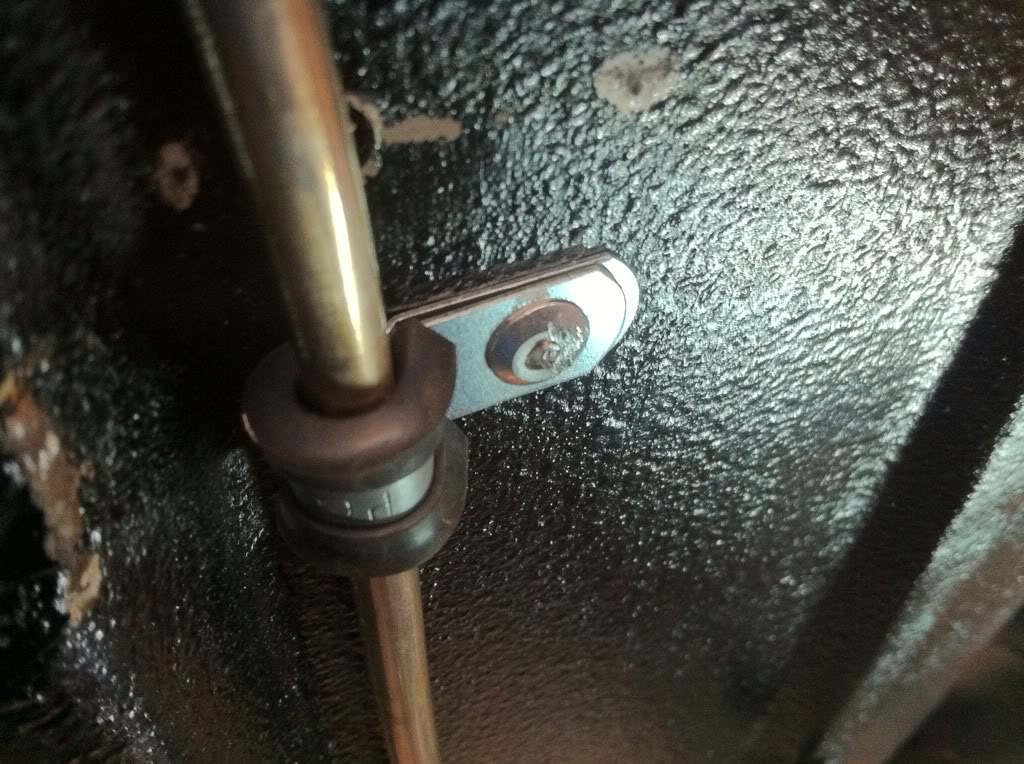
Placed them next to the floor ridges as this will offer extra protection if it scrapes the ground.....which it will.....
I tried refitting my gear knob. However, its worn a bit and didn't line up straight so I may have over tightened it......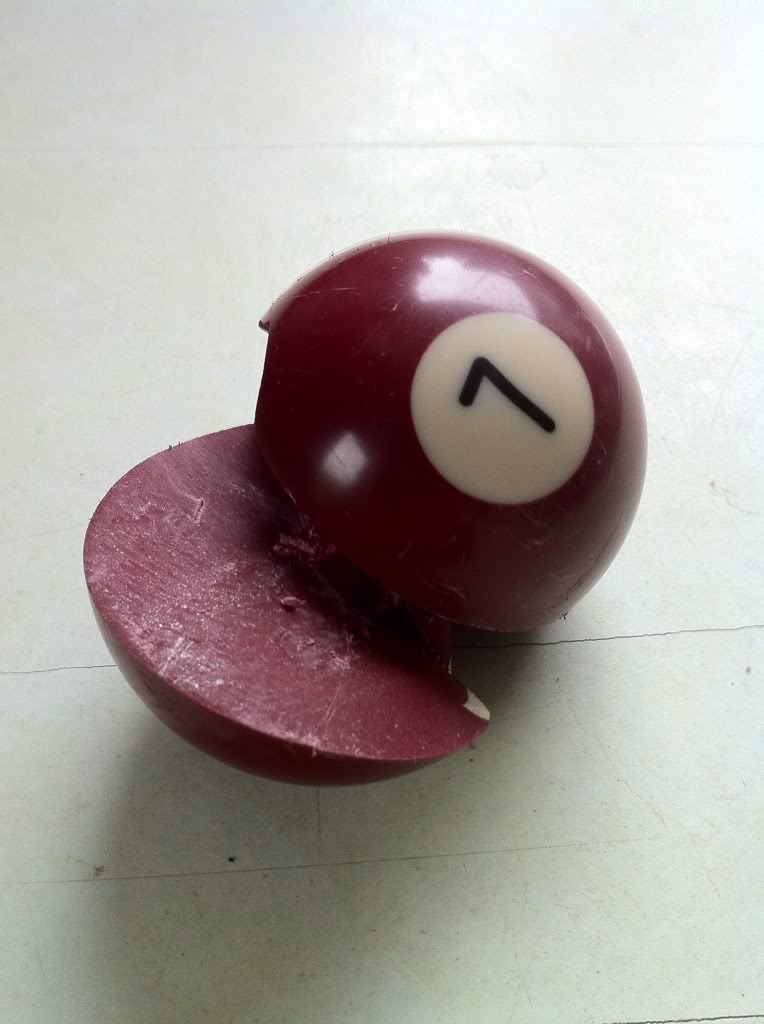
Not a great loss as it was scratched with my dads wedding ring and they only cost £5 on eBay. Just need to get one with a metal insert instead of threaded resin.
Got my harness bar mounted. Drilling 10mm holes in a car is never a good experience! Thankfully its over now though!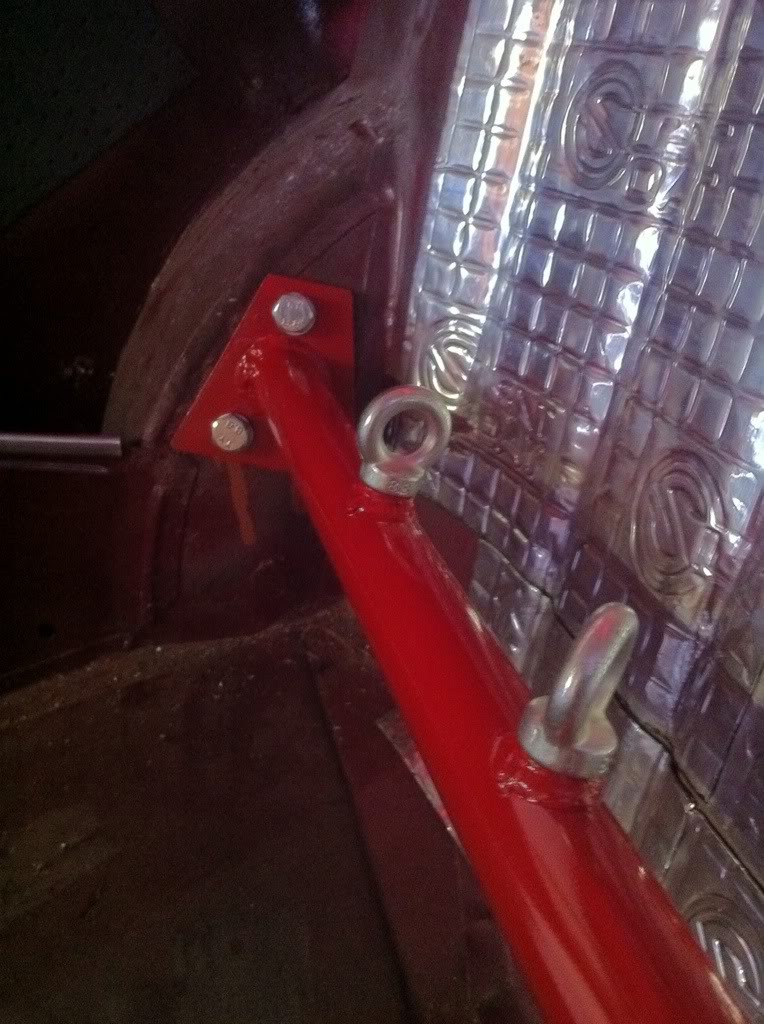
Got my rear handbrake cable fitted. Just need split pins to finish them off.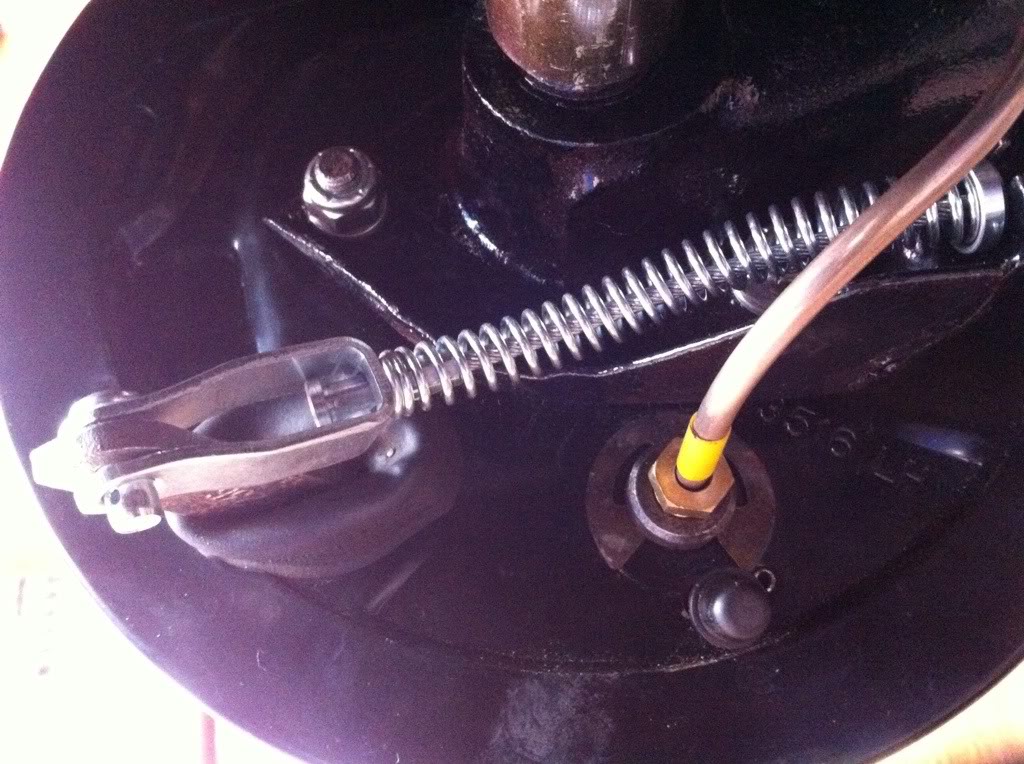
Then got the mid to rear handbrake bracket refurbed.
Before....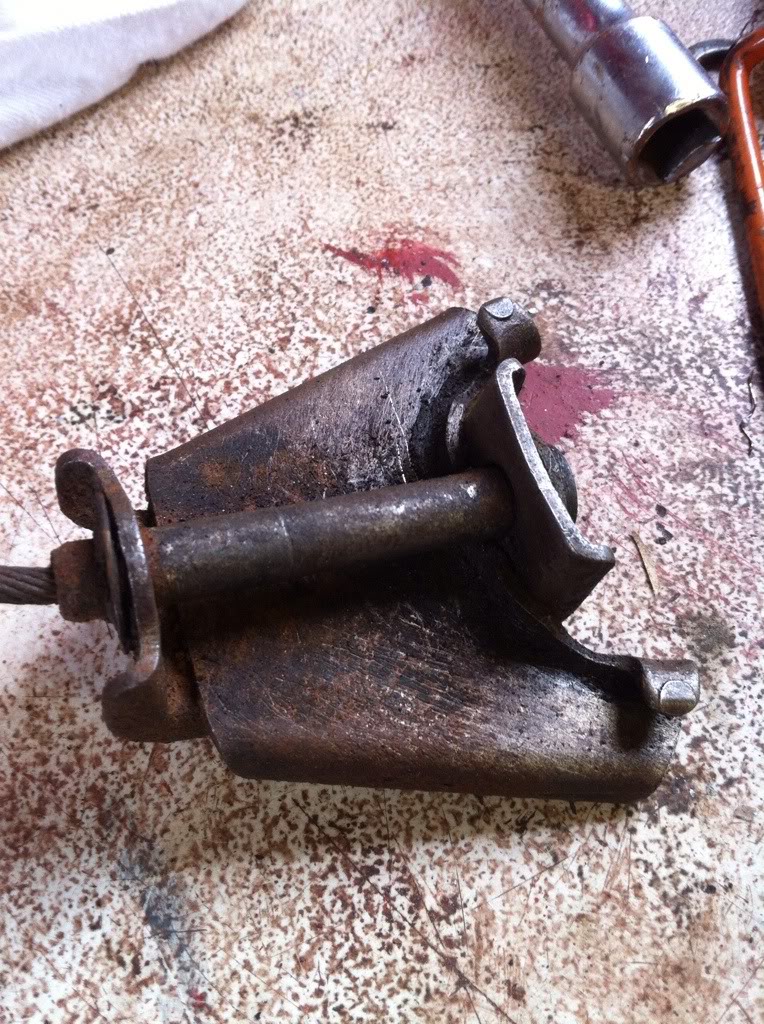
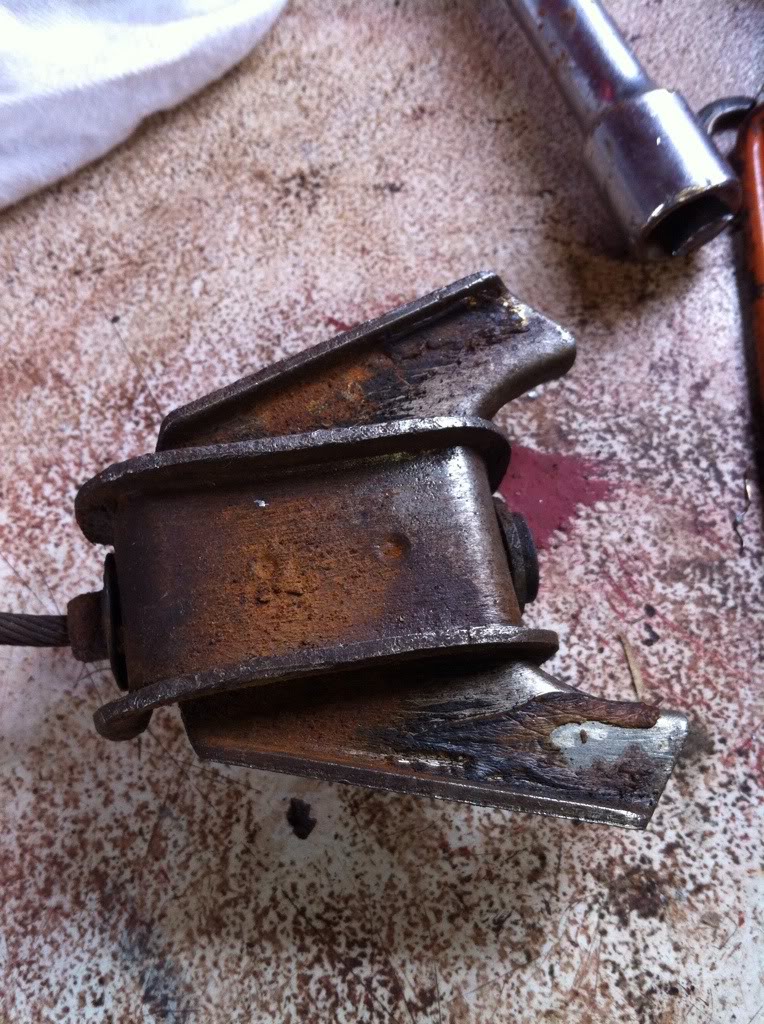
After!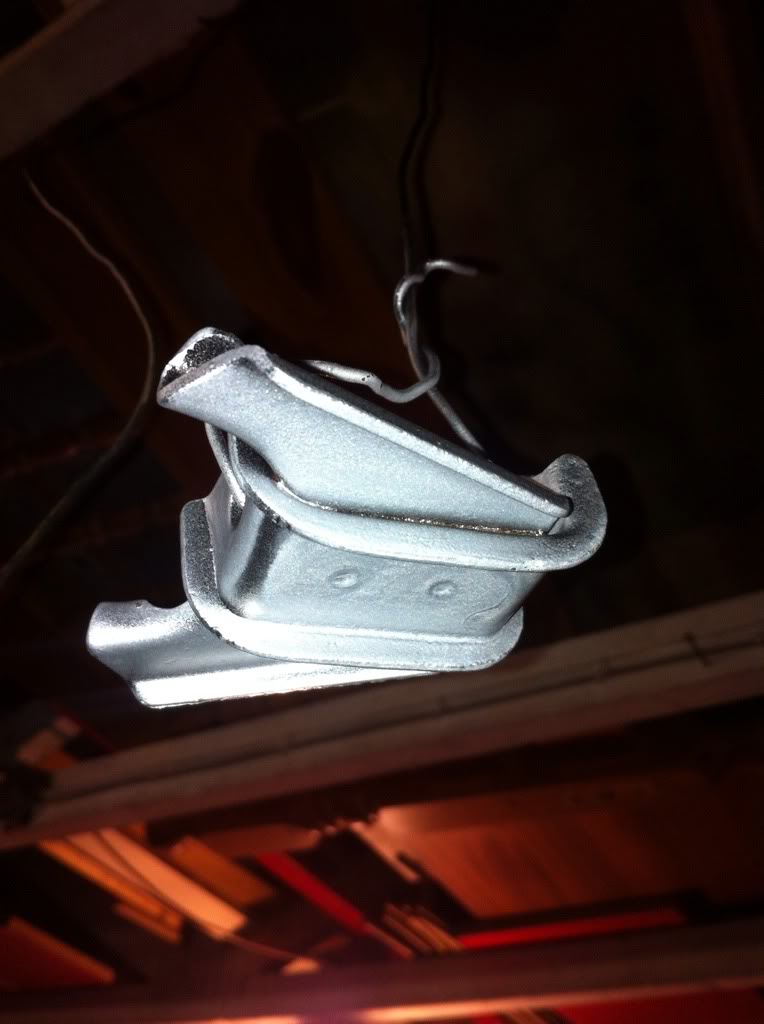
Also got some more wiring done and rerouted simpler. A satisfying day of work!
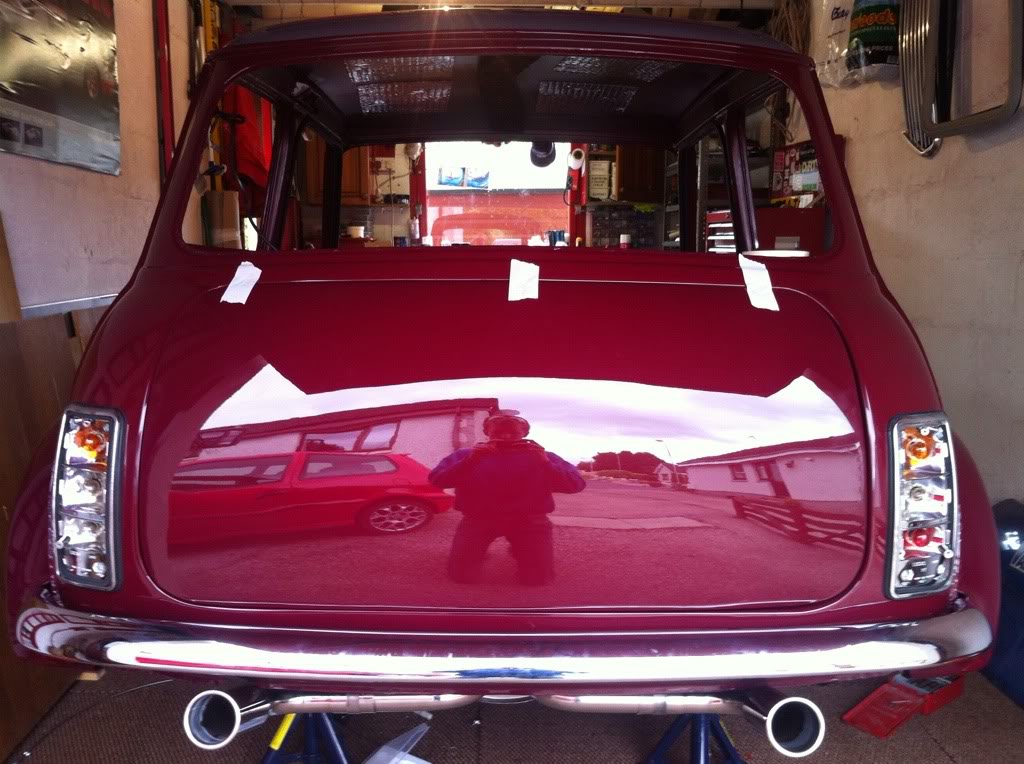
One thing I had to do was trial fit my bootlid. Hadn't done it since I got it home and safe to say I am one happy lad. Just look at it all mocked up! 
Comments

I LOVE Mini Coopers. Wow fantastic detail / photos here!
Posted by Diggymart on 1/22/19 @ 4:17:19 PM

Congrats BOTW what a beauty!
Posted by Diggymart on 2/6/19 @ 3:15:15 PM