You must be logged in to rate content!
13 minute(s) of a 461 minute read
5-19-2012
Another day of works!
First things first I cleaned up the engine a bit more and gave it another lick of primer. Looks much better for it. End of the day I got it painted in its first coat of Rover Flame Red. Properly bright and a proper red, unlike all the engine paints which end up drying more orange than red in my experience!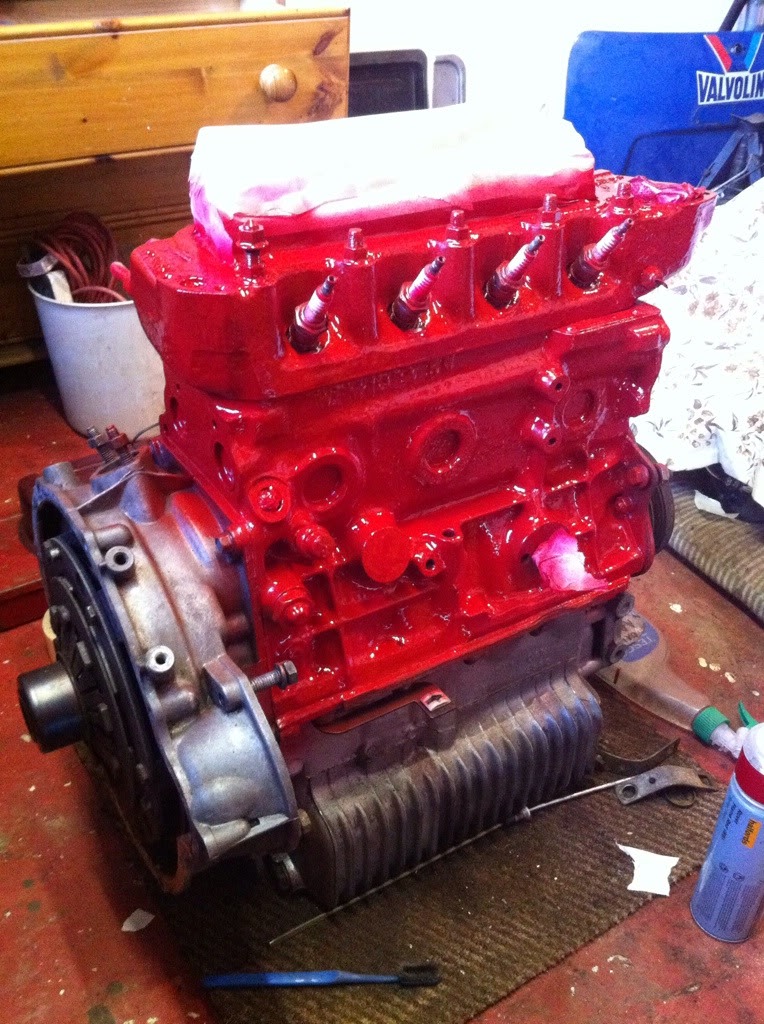
Notice it is the later 1989 Flame Red which was more vibrant for the Flame Red special edition.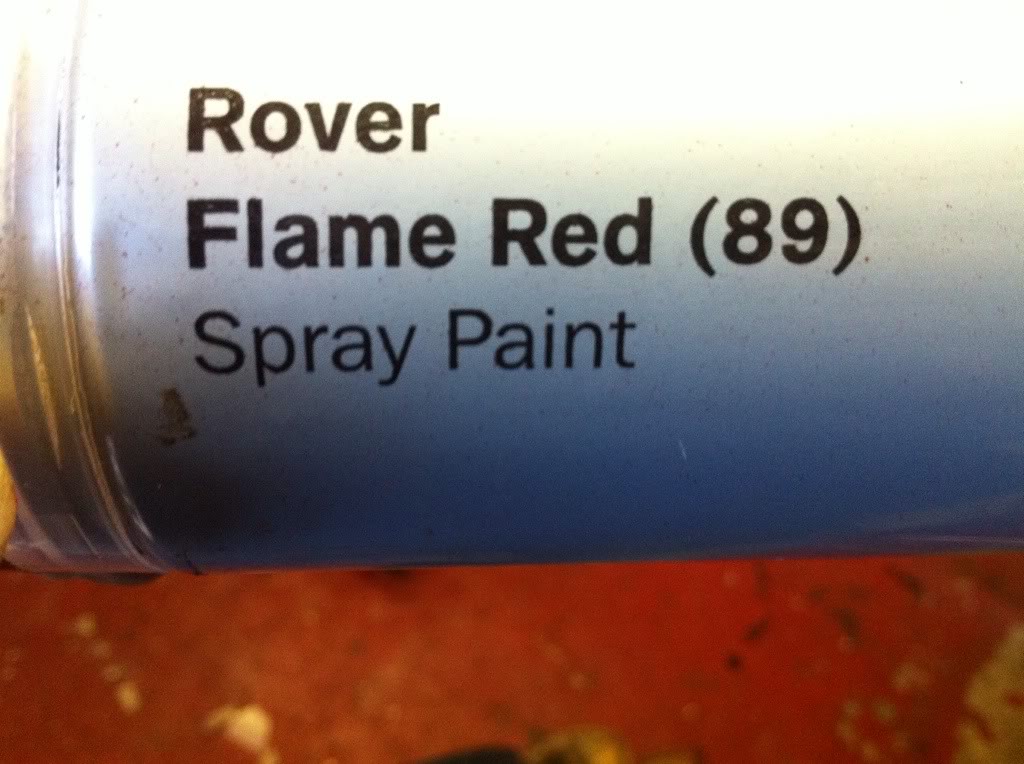
Also got the radius arms all built up with brakes, handbrake guides and brake pipes. Braided and polished cunifer brakelines throughout!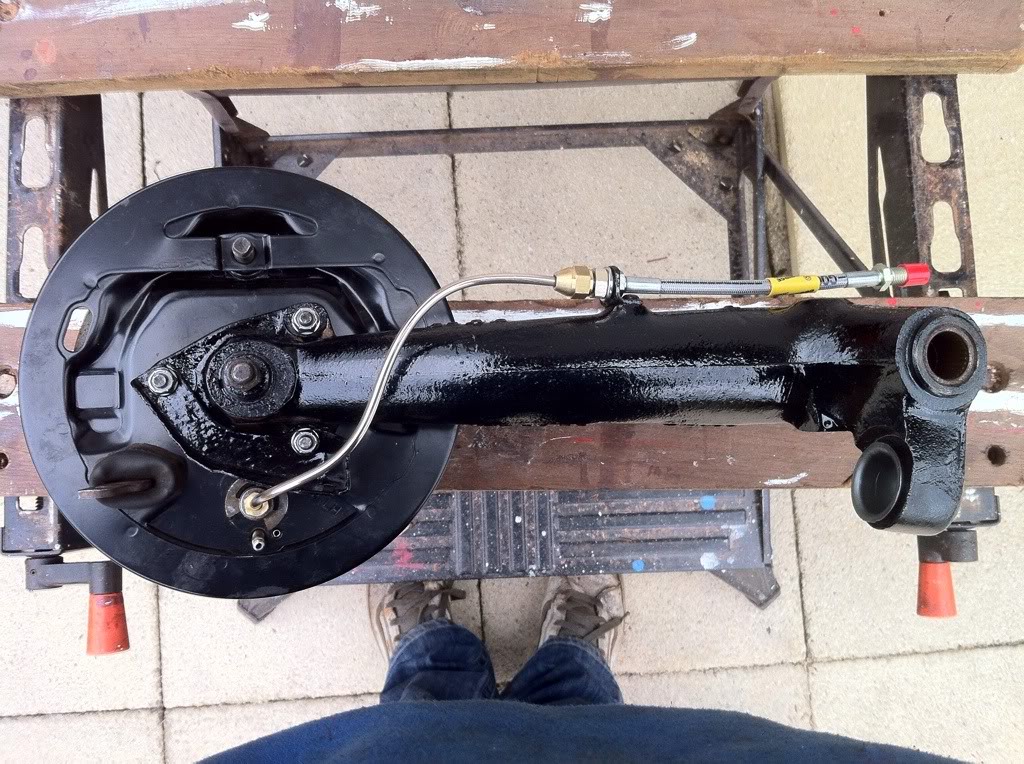
Also got my other pot joint all greased and assembled whilst things were drying.
Few parts have been left to dry overnight. Rocker cover from the new 1275 and loads of washers for bolting on the arches. They weren't painted before and trapped rust as a result. Primer and then hammerite for the lot of them, rocker cover finish I'm not sure on yet though....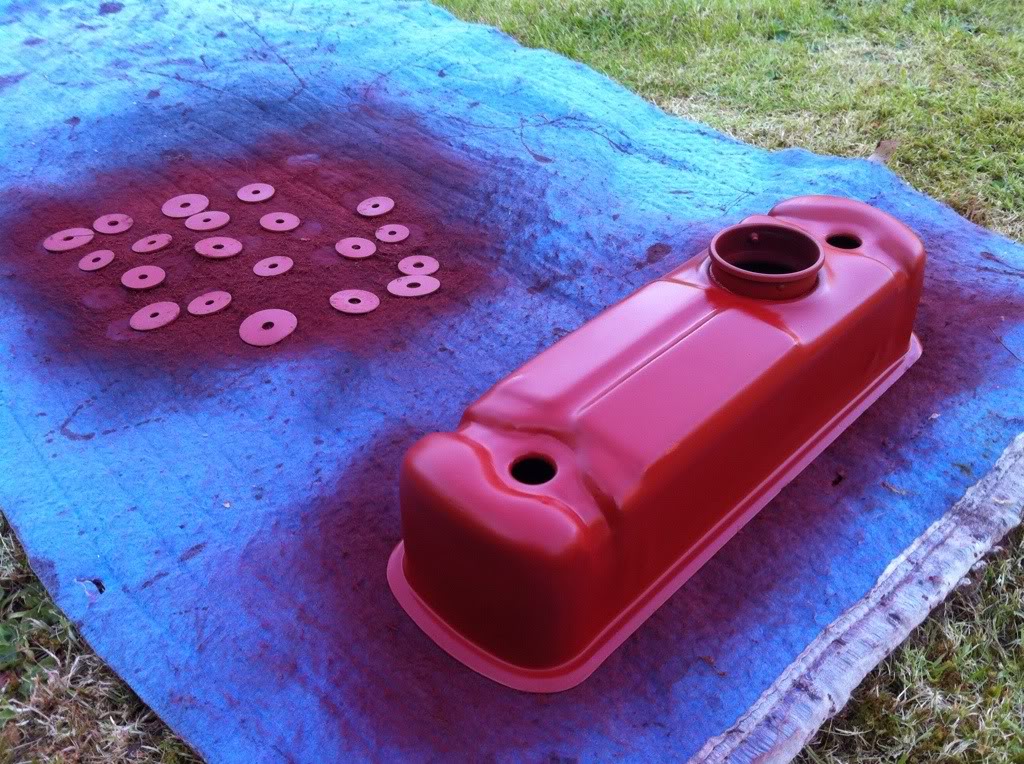
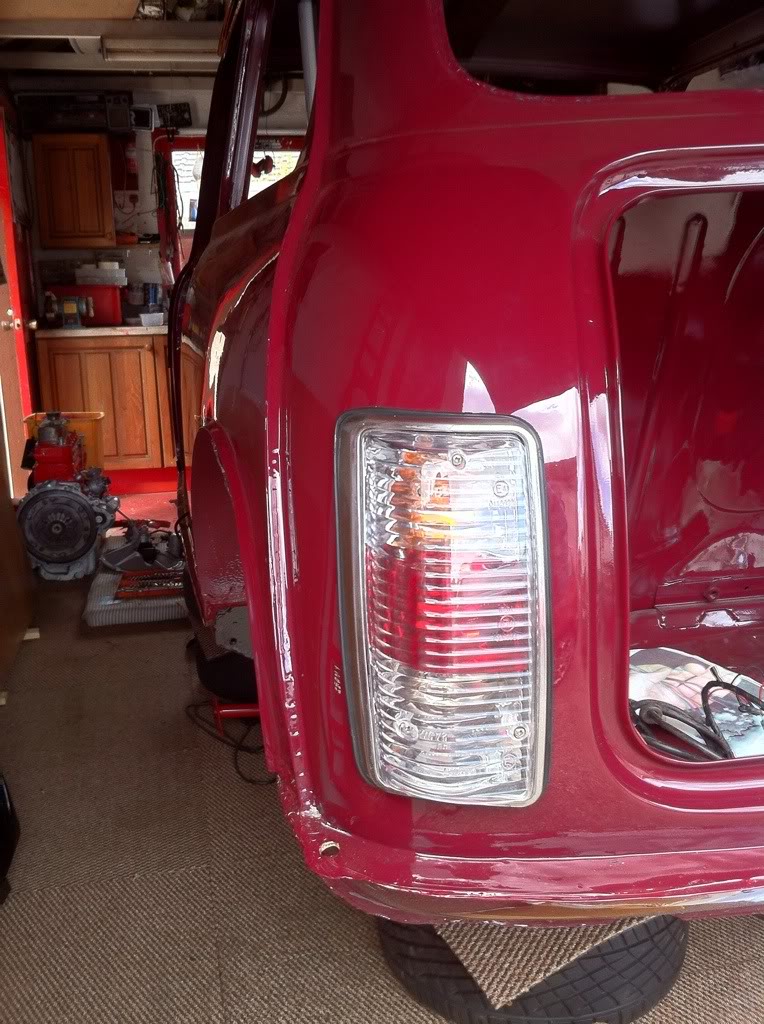
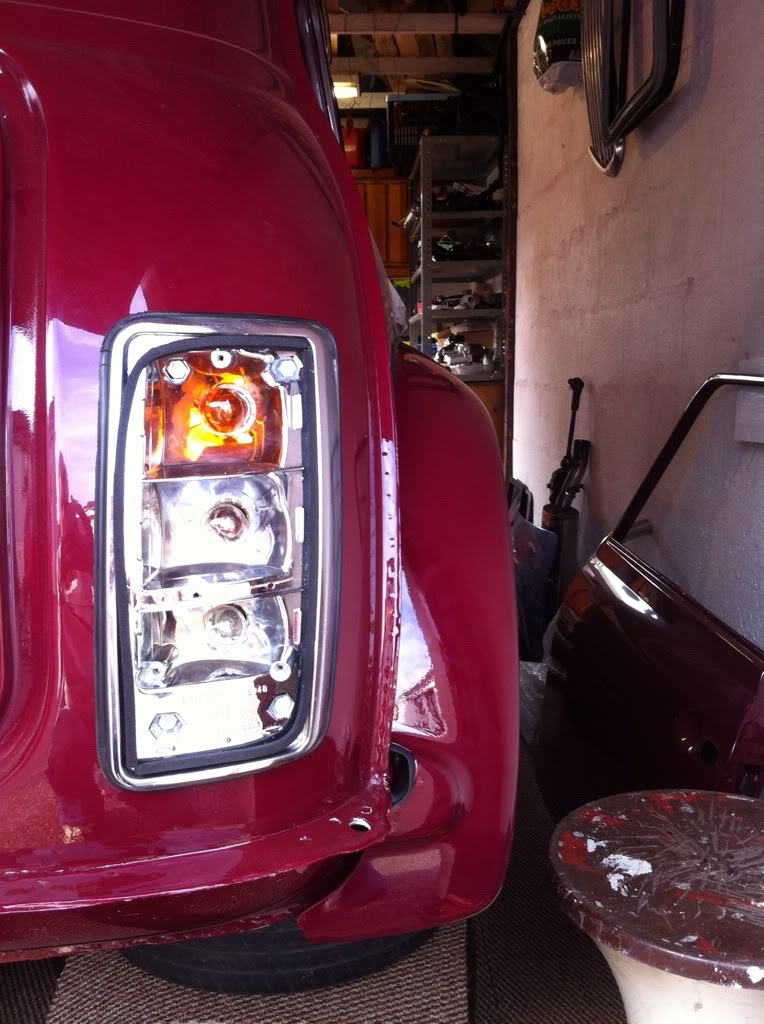
Also got one of my rear lights installed and new lens put in. Same as old ones but not cracked  Im not 100% on them at the moment but will make a final call when its all together. Bit marmite but I like them....I think...
  The red and white/silver ties in well with the body colours. Idea behind them is they are more modern styled with no sharp edges/lines unlike the clear versions of the standard lights that you get which look god awful.
So thats todays work!
Working tomorrow all day and night but will get going on it again on Monday. :)
5-21-2012
Today I had a lie in after an epicly long shift at work. But I was awoken by the postie with a huge parcel.
It contained some Heritage loveliness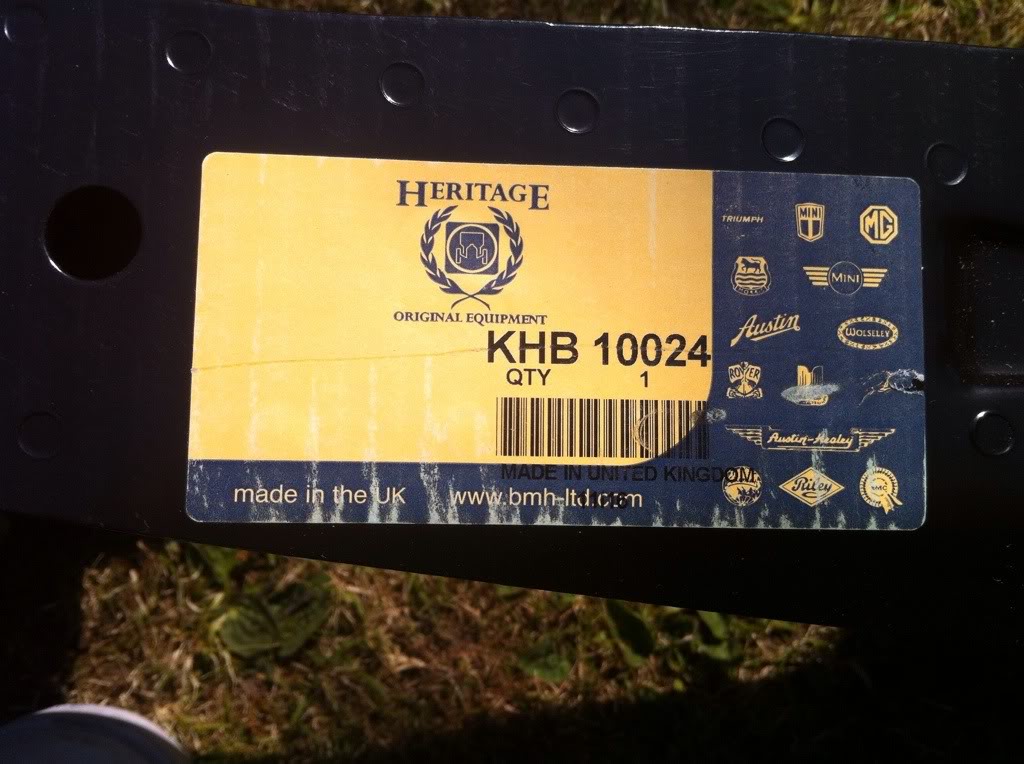
Genuine Heritage rear subframe. Expensive, yes, worth it, yes.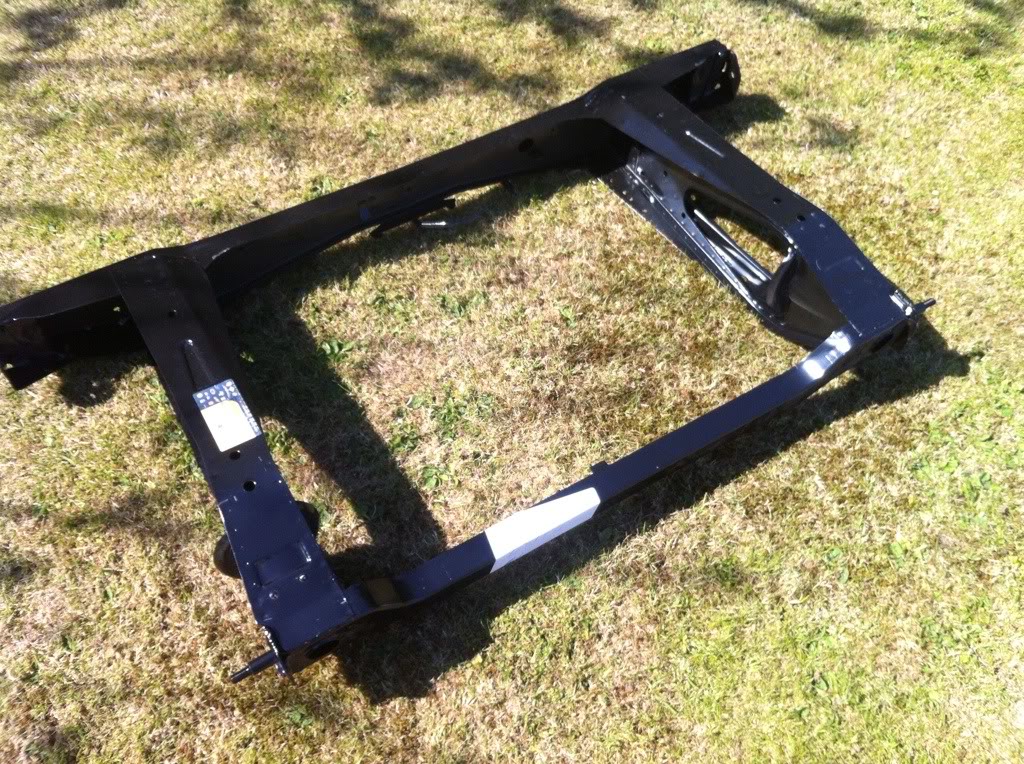
MOWOG stamped as it was from factory.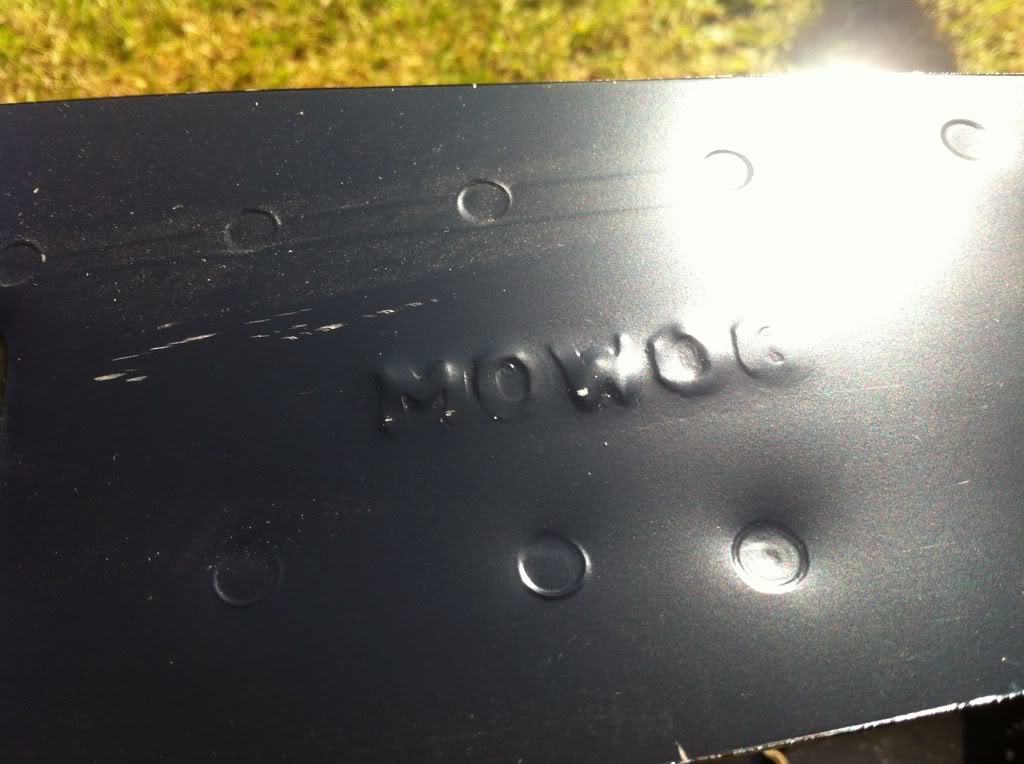
All I need is new bolts for the boot floor and healboard to frame so will go to Grampian fasteners later on in the week. Most of mine snapped when i removed them.....
Got another couple coats onto the engine too so the finish is great and should stay well. The frame came with radius arm brackets but I ve changed them over for my adjustable camber brackets instead. Also got new front wheel bearings so I got them installed. Pretty easy really, you just have to take your time with it so as not to damage the inner faces of the hubs or indeed the races.
5-22-2012
Today I was working 7am-4pm so when i got home at 5 I went straight to the garage seeing as the weather was a toasty 20oC!
Got my wheel bearings done and seals installed.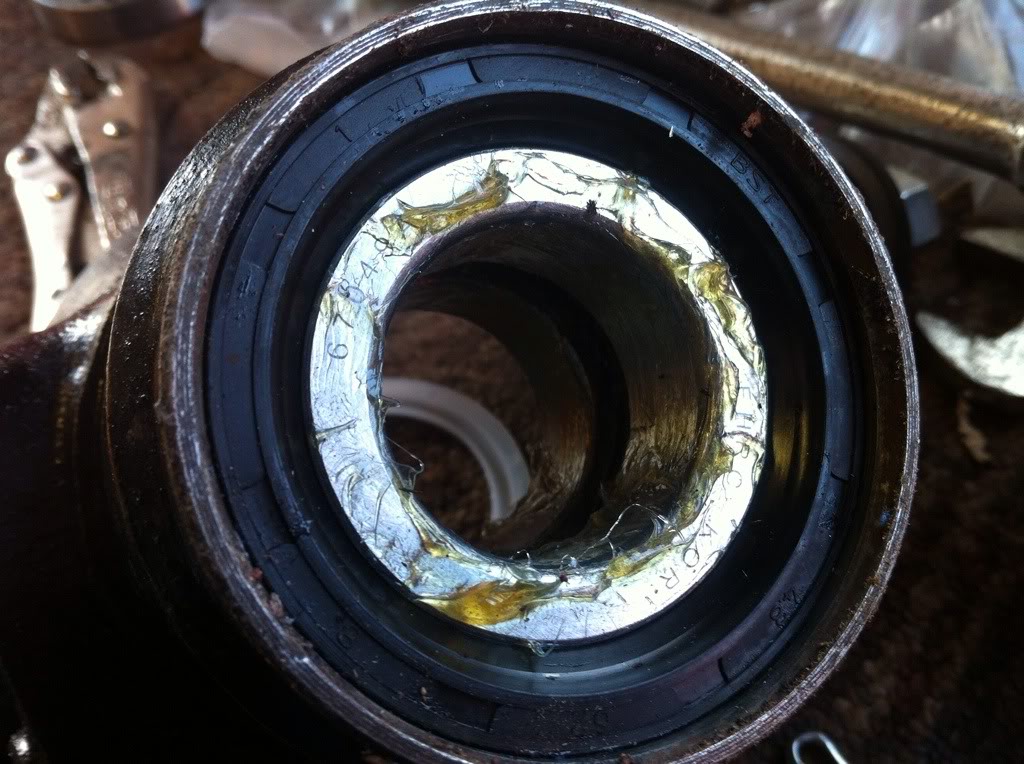
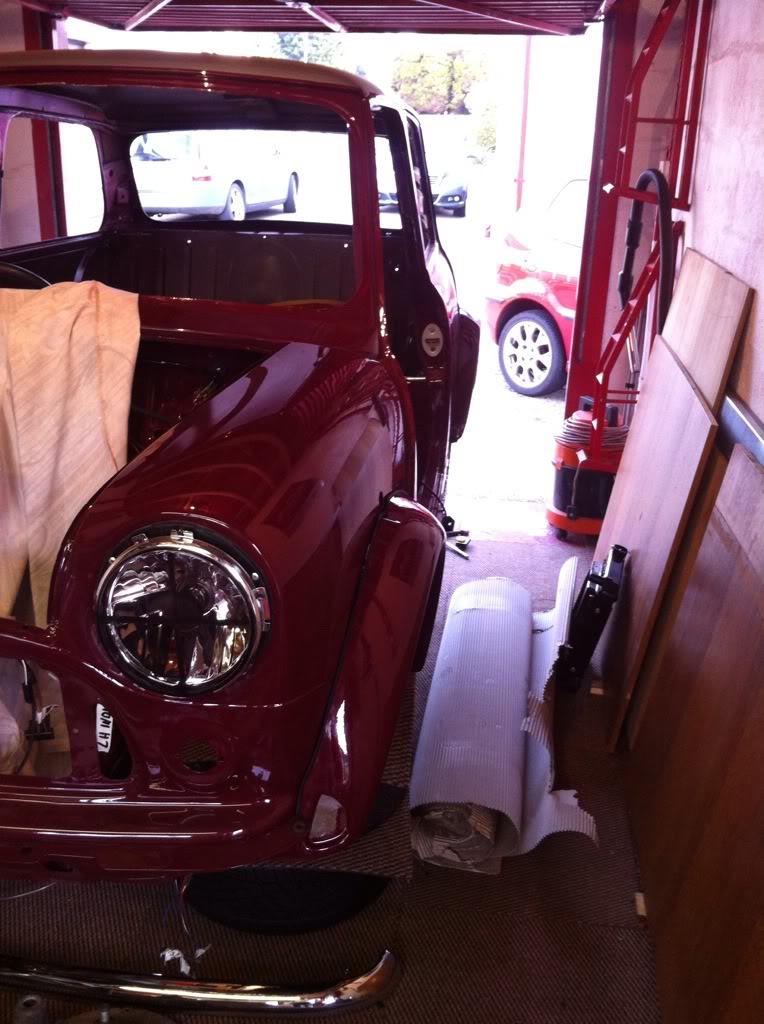
Then it was time to add some much needed girth to the car. Step in sportspack arches!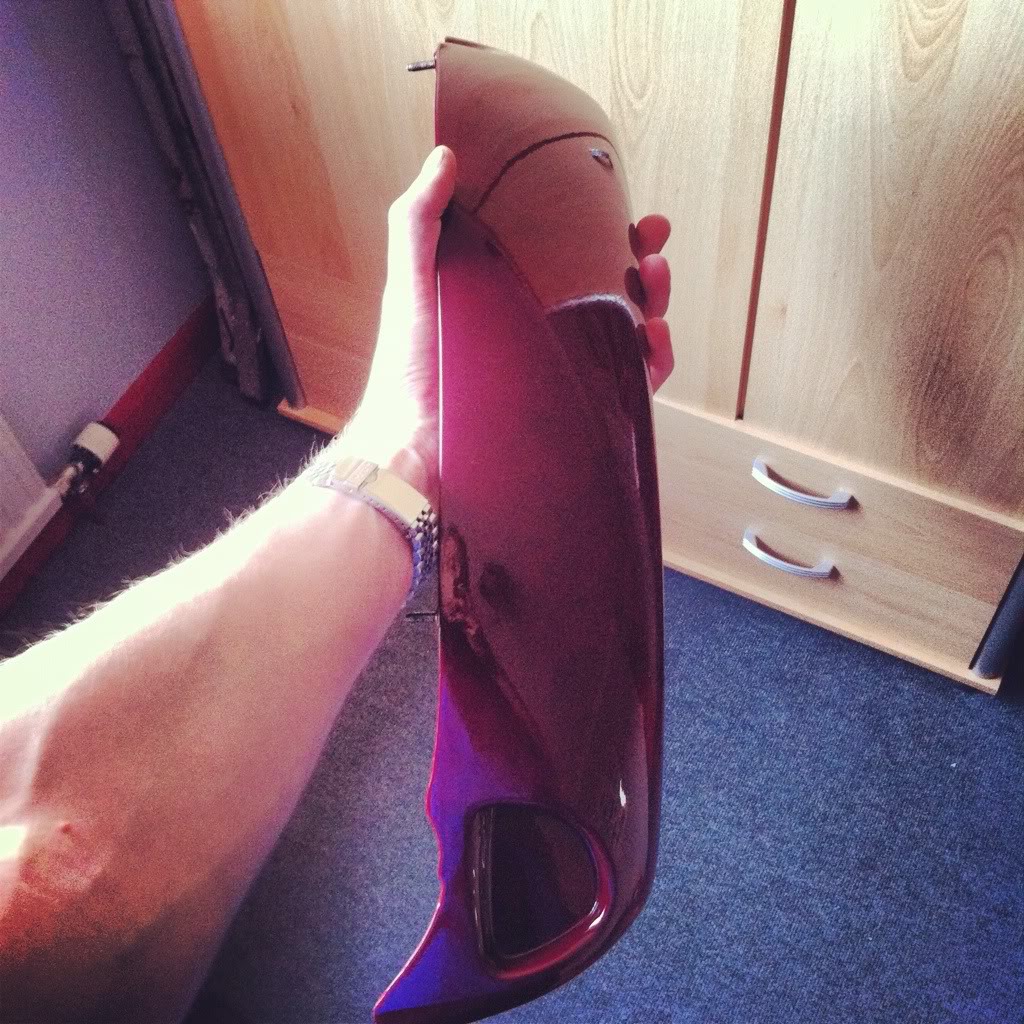
They are 3.5" wide each side so makes the car 7" wider. Ace!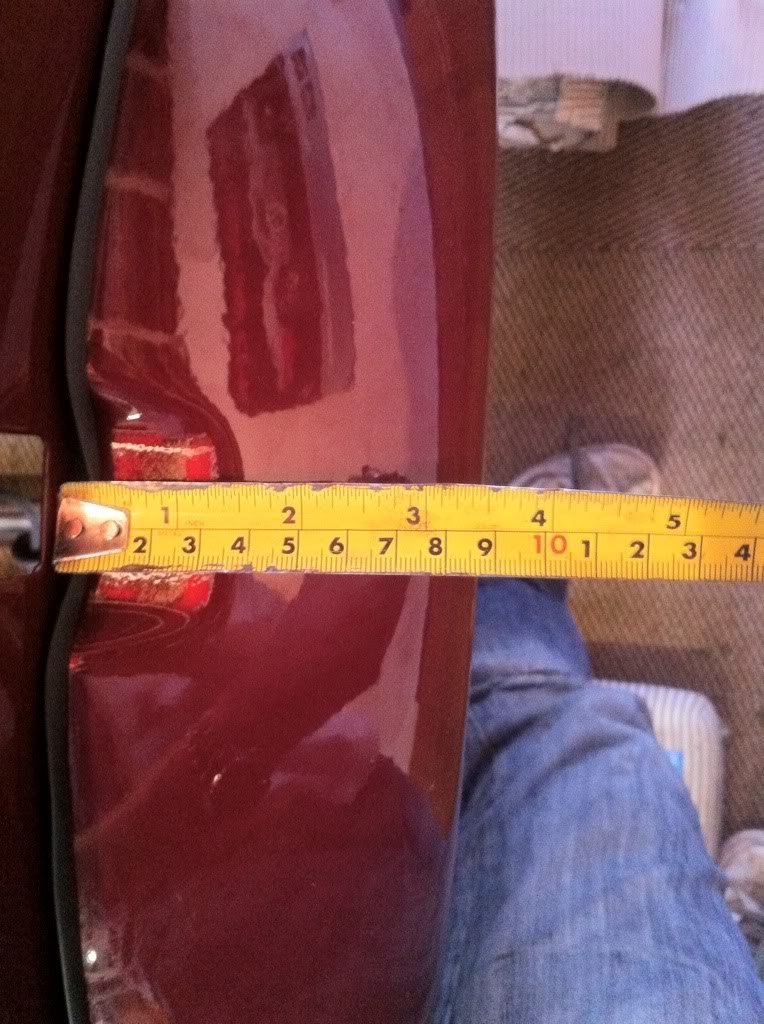
And here they are fitted. The seam strips aren't a great fit so going to buy different ones and redo it. These are all puckered and don't hug the body well at all. Its not perfect so therefore it is wrong.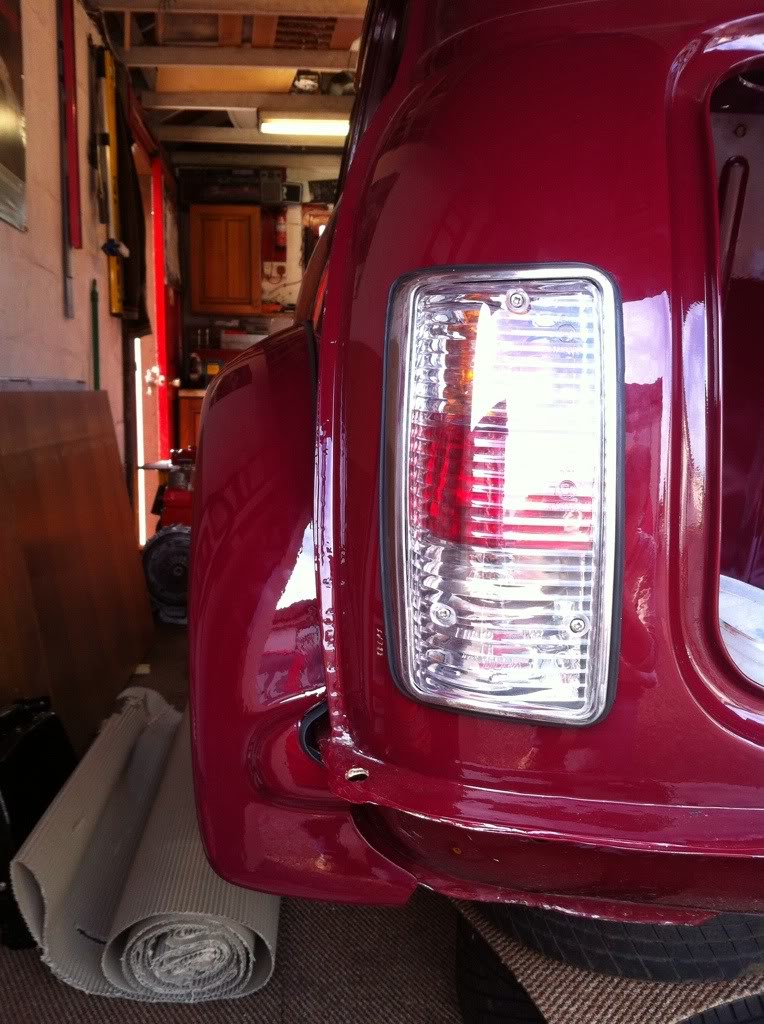
I also took the new electronic dizzy and gave it a clean up on the bench wheel.
Before....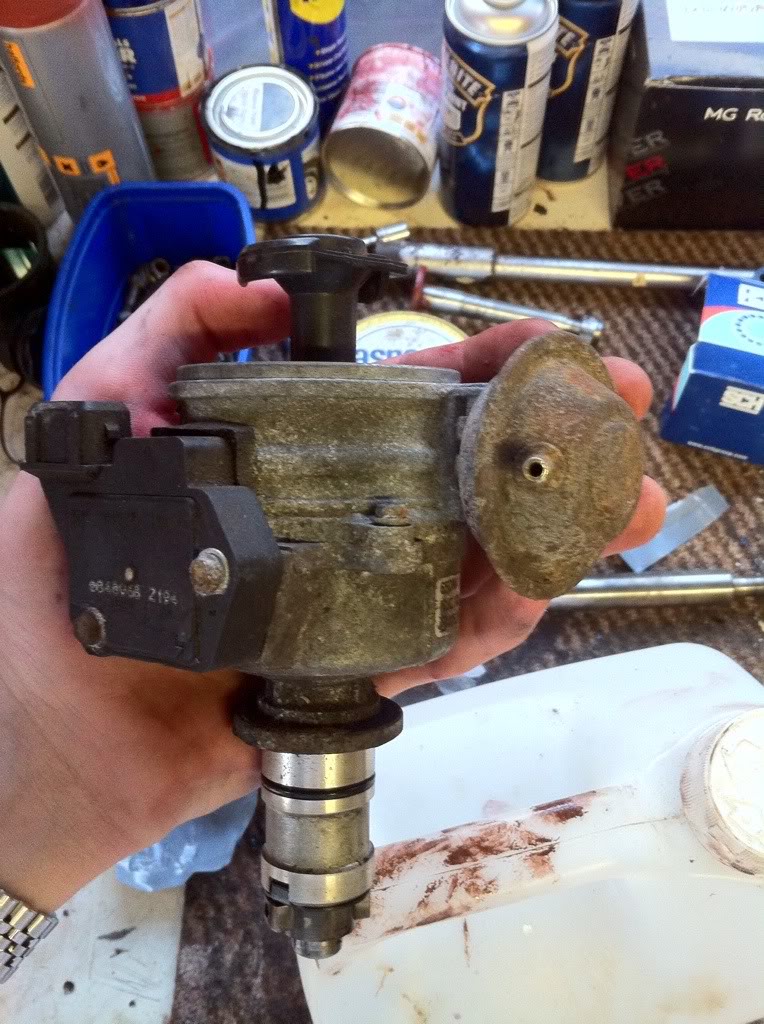
After....before I go and paint it silver to protect the finish from going horrible again.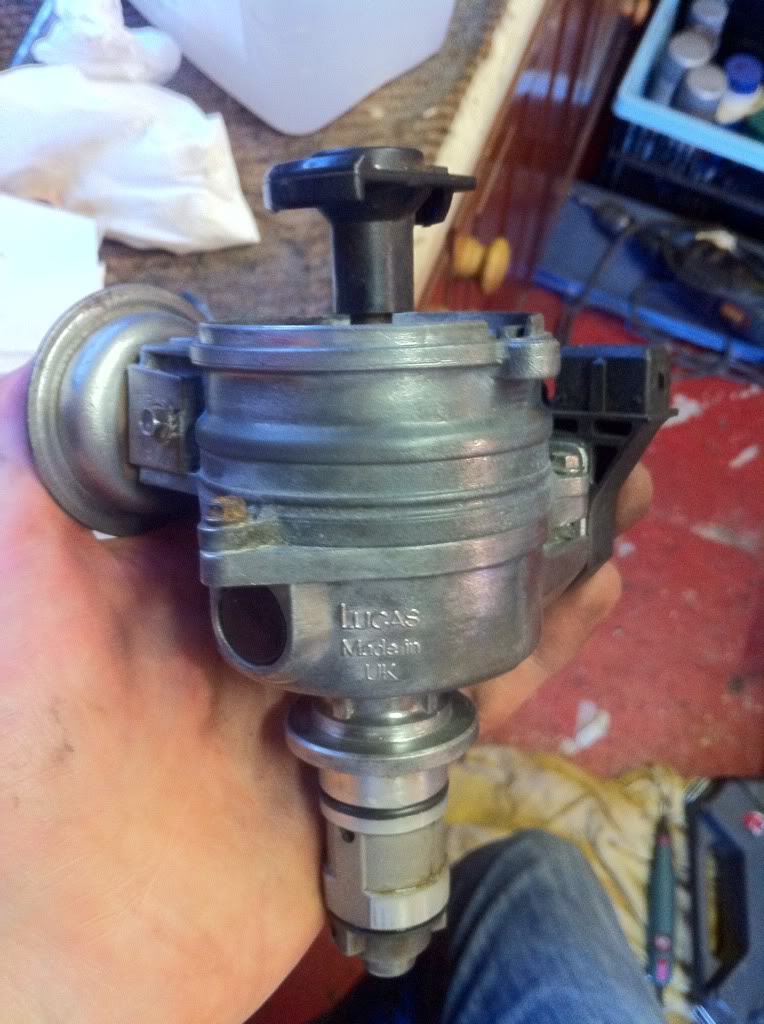
Then I took my new rocker cover and repainted it. Hd done it in red but it needs to contrast with the block. So I took a can of Rover Charcoal Grey that is used on my best Mini mates Mini. Ties the two cars together very subtly I think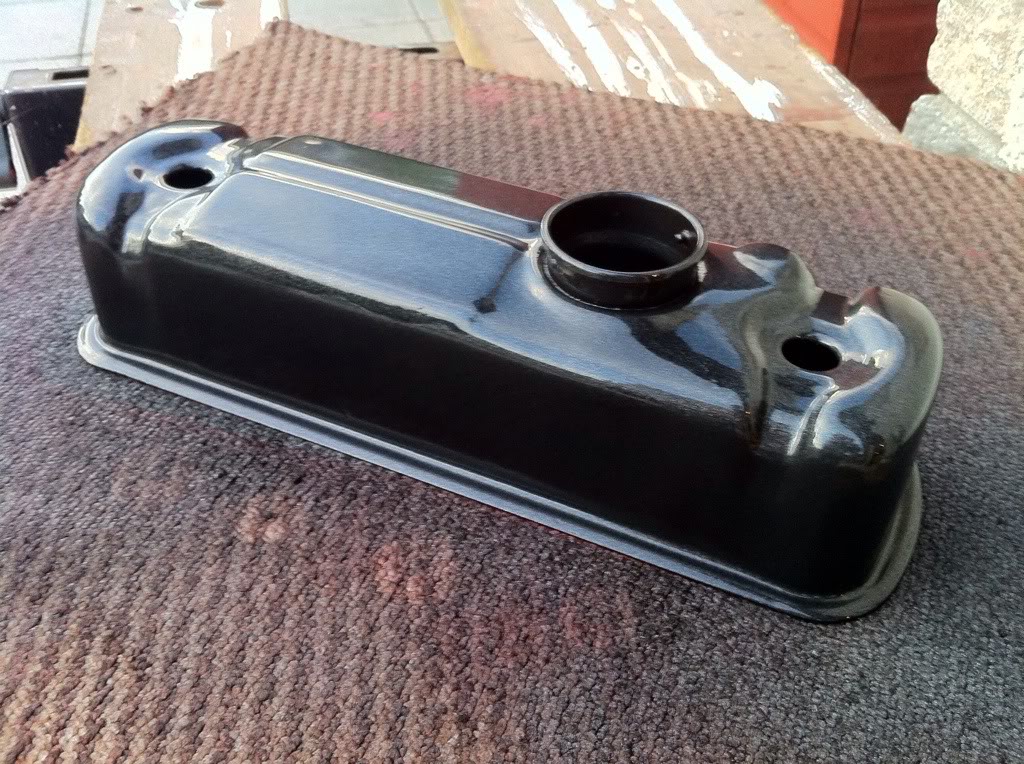
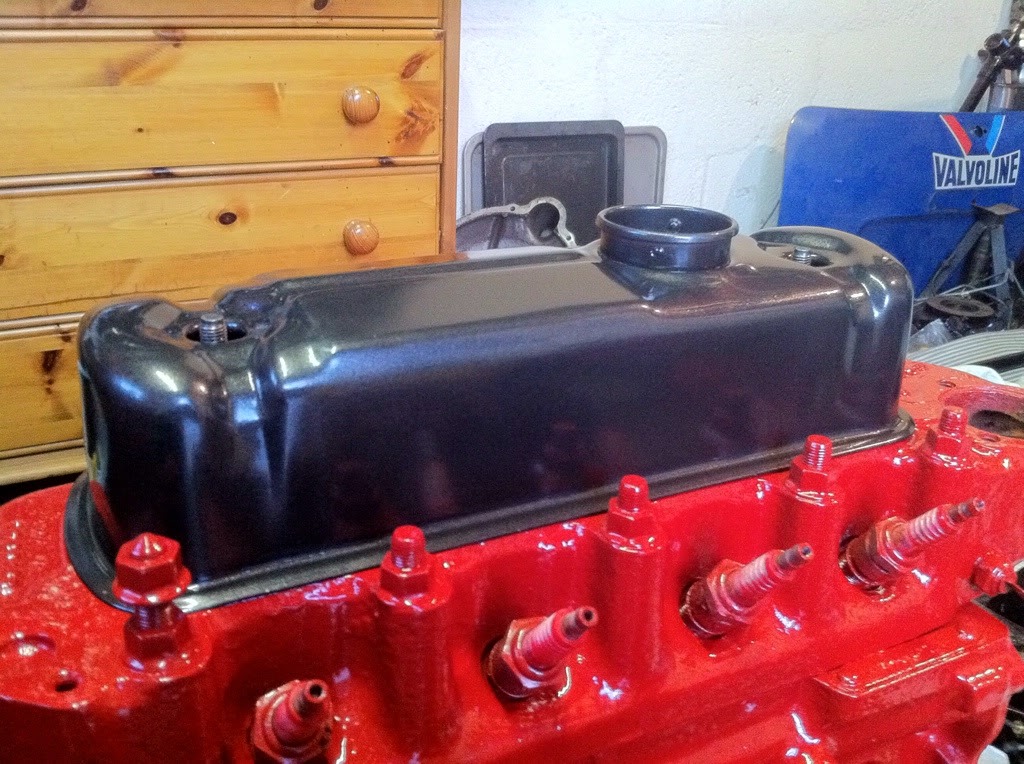
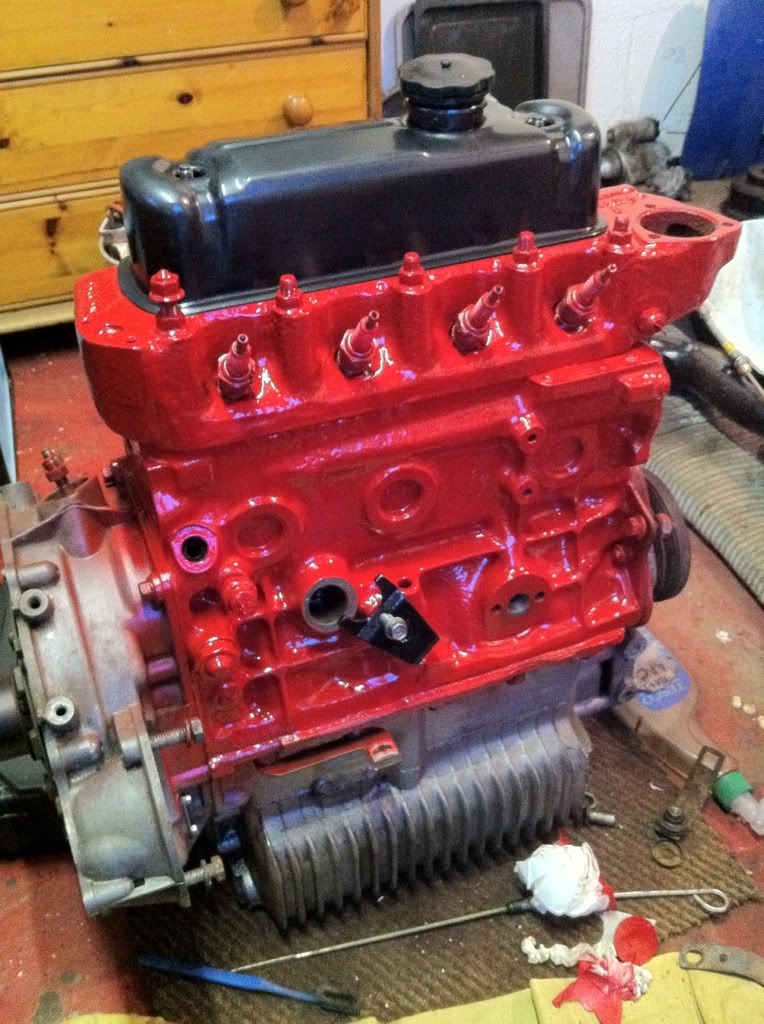
It still needs lacquer and a polish up but its a beautiful colour when its finished.
Tomorrow Im going to buy loads of silver paint to do all the cast pieces on the block and ancillaries. Then the engine will be ready to go onto the frame and into the car. Also going to buy black paint for the rear frame so its got some good protection on it for the future. Once its done I can finally get the car rolling again then its full steam ahead for MOT! I can see the light at the end of the tunnel now....
5-23-2012
Went to get a few more bits from Phil at Kirkton. Nothing major really....just some body seams....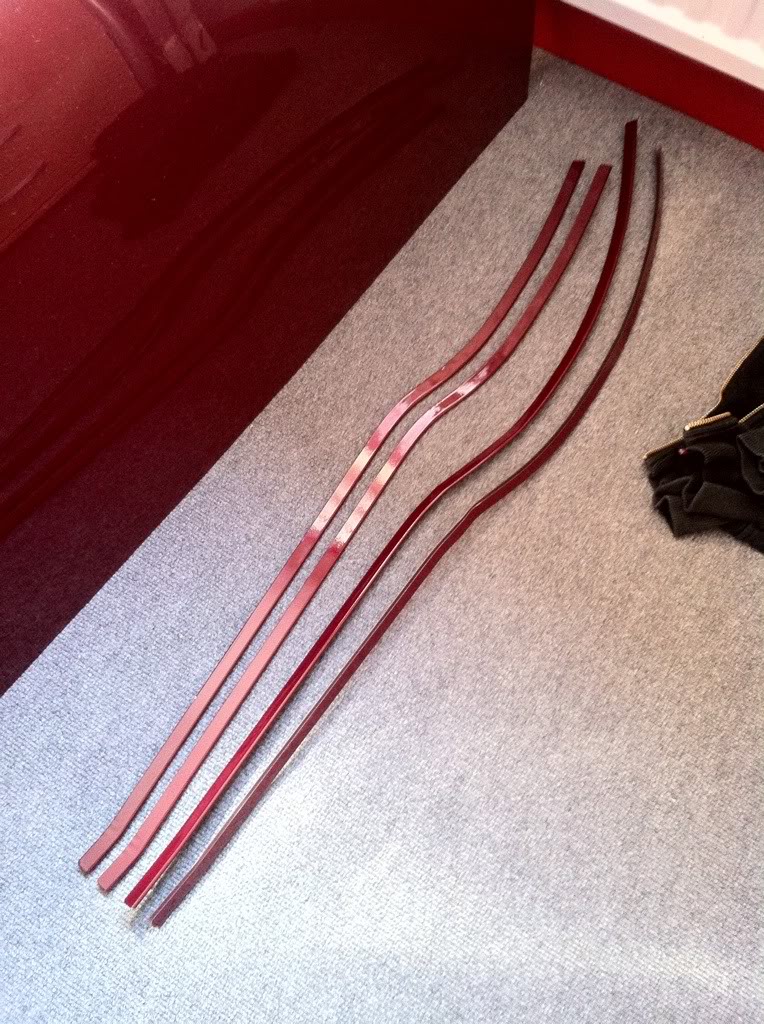
Oh and a boot lid as well.....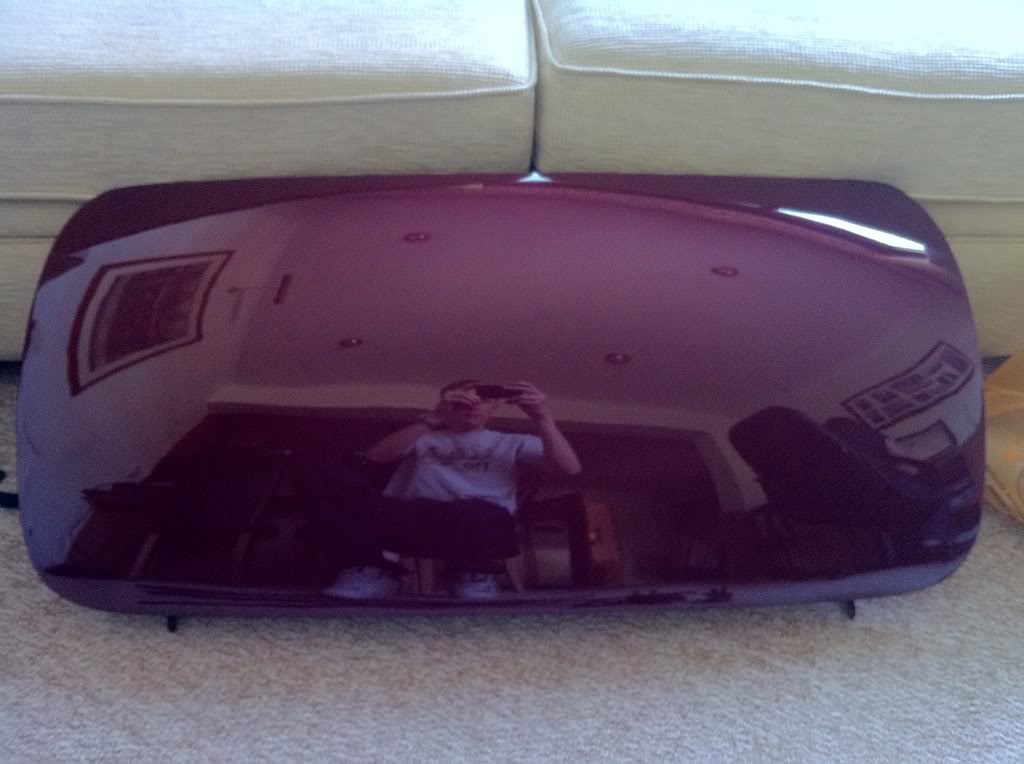
IT IS EPIC! Stunned at the finish and smoothness of this metal lid. Fit will be bang on as a result and the depth of the paint is just crazy. Beyond happy with it!
Heres the sort of shine its got. Mental and absolutely no distortion whatsoever.
didn't get any work done but tomorrow Im off work, as is my dad so I plan to go and get bolts for the rear subframe and then get it reassembled ready for fitting sometime next week.
5-24-2012
Will have to use that quote sometime  My cars not shiny, its provocative!
  Thanks!
Well today I got some bolts from Grampian Fasteners for the rear subframe. Brilliant place with every bolt known to man. Brilliant service too. Spent best part of 15mins finding about 8 bolts for me 
Once I was home most of the day was spent respraying stuff after I had stripped it all and cleaned it. Paint took minutes to dry in the sun today where it hit 25oC at one point!
Mainly engine stuff, all in Rover Quicksilver or gloss black. Silver got loads of clear lacquer too get the shine up too.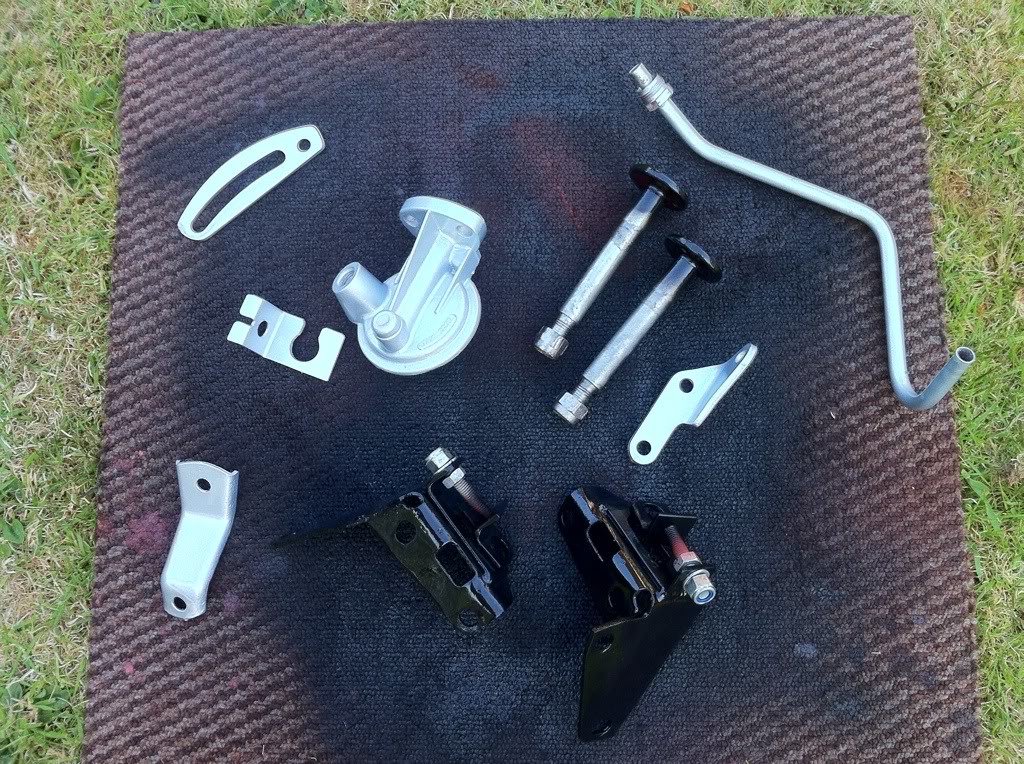
Also spent most of the day in the sun sipping on champagne as its my parents anniversary today. Not a bad way to spend a day off!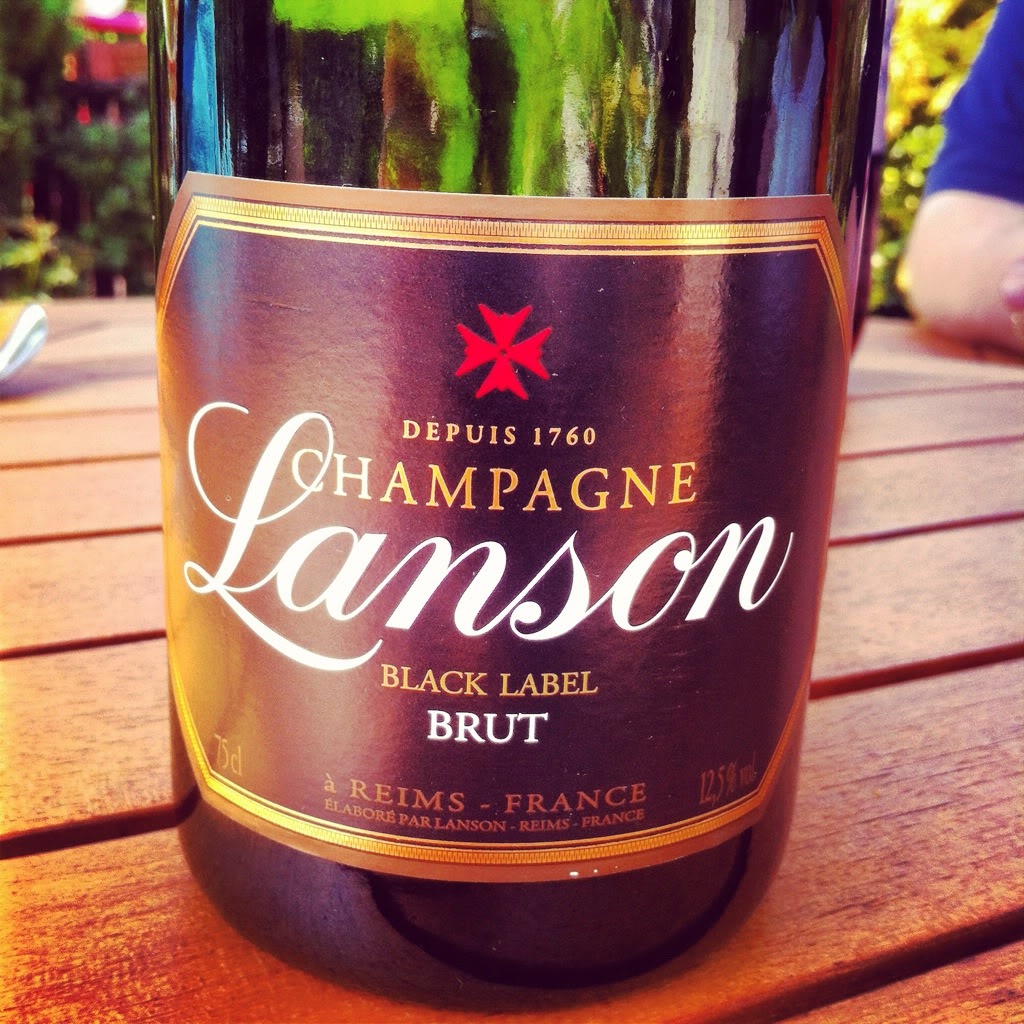
And I also rubbed down my new subframe as the paint is just to prevent it from corroding in transit/storage. Then gave it a coat of gloss black paint. Used a whole 500ml can for the first coat so I need to get more.....finish isn't too bad for rattle cans but its just for rust prevention not show/concourse.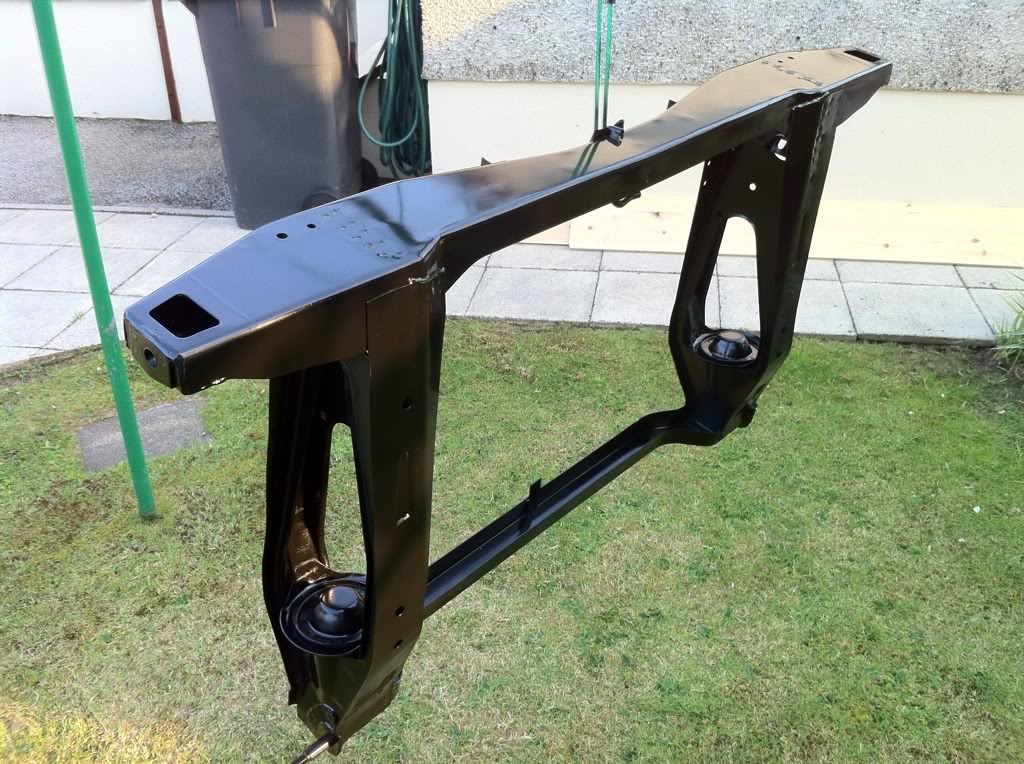
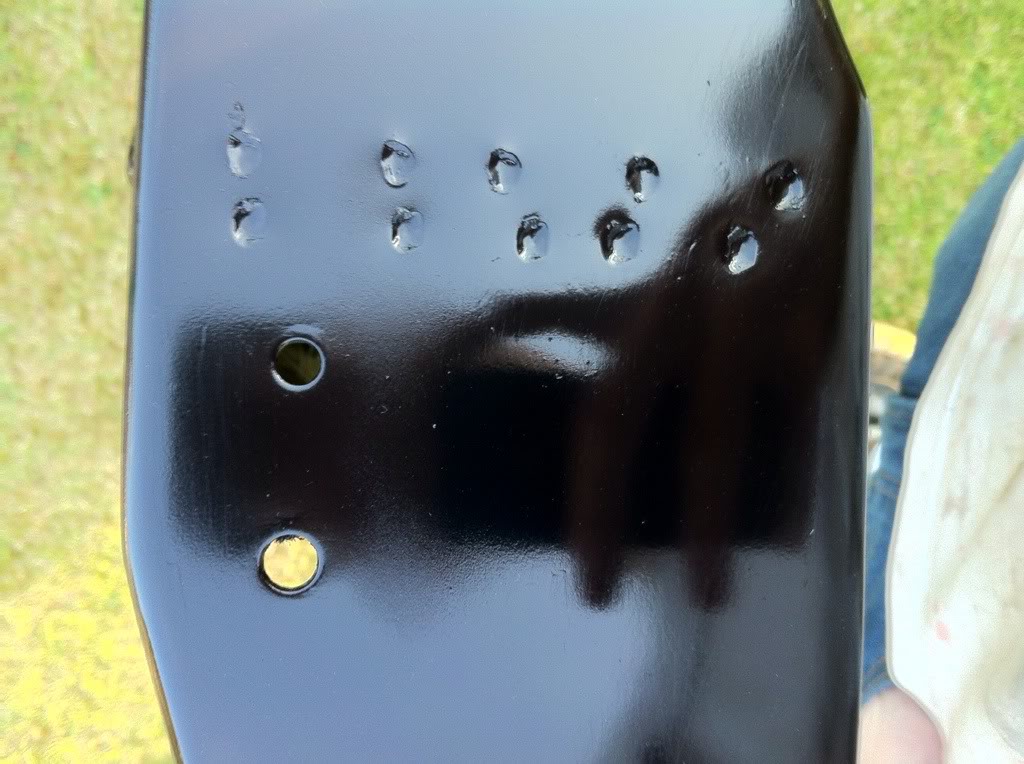
Working next couple days but Im off Sunday again so hope to get the frame all done and dusted ready to go in sometime mid week.
5-26-2012
I got paid yesterday! So thats 4 different orders from 4 different suppliers completed!
Silent Coat sound deadening
Silver Anodised billet alloy bonnet hinges and reservoir plate (look amazing!)
Front door window stainless trim
Red anodised rocker cover t-bars
Rear subframe trunion pins (old ones had badly worn threads, not ideal on a critical safety part!)
Electronic dizzy to loom converter cable (1275 uses electronic dizzy so utilising it for reliability!)
So all that should be here by mid week hopefully. This SHOULD be the last parts I need to get it back on the road which means I can then start saving for a Honda Integra Type R to replace my daily Poslow with 
5-29-2012
All but one of my orders arrived today. No surprise in it being MiniSpares. Last two orders have been a total shambles with deliveries.
However the parts are all ace!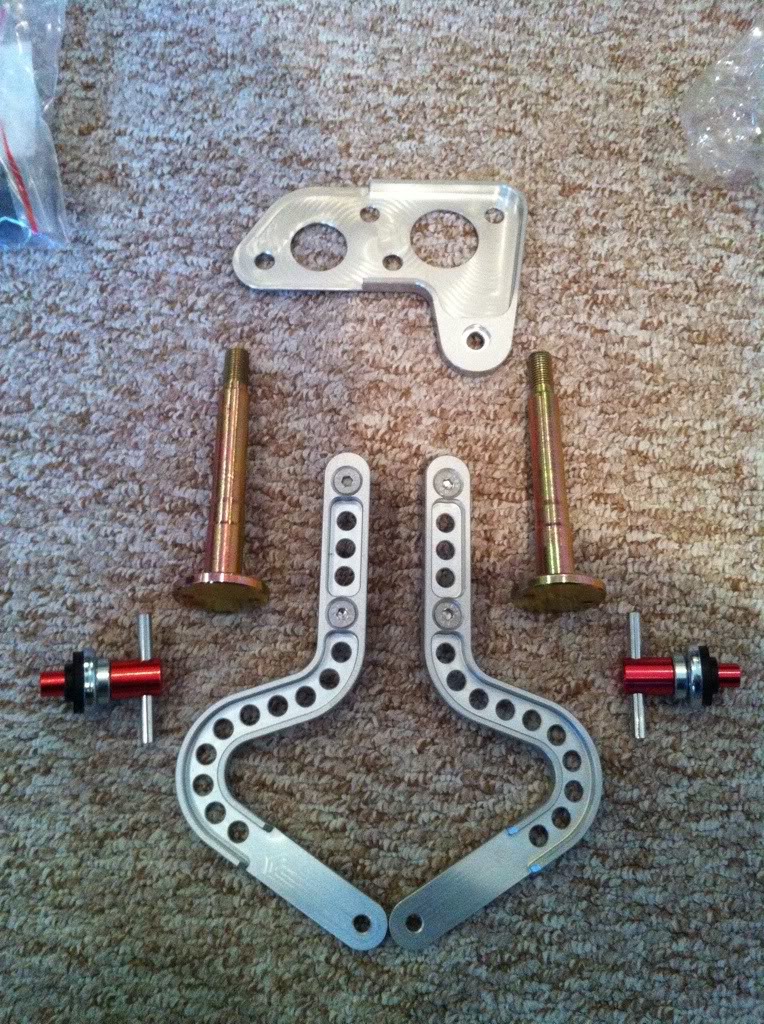
Here we have DSN Retrosport bonnet hinges (super light anodised alloy), DSN Retrosport master cylinder/engine steady base plate (again light anodised alloy) rear subframe trunions (for mounting frame to car), rocker cover T bars for quick removal without tools and also a conversion lead to change to electronic ignition.
I also got sound deadening to go in before carpets etc. SilentCoat which keeps heat out, cuts sound down and reduces vibrations. Pretty much Dynamat but 50% of the price......
Went for the bulk pack as it saved money and it covers a huge area.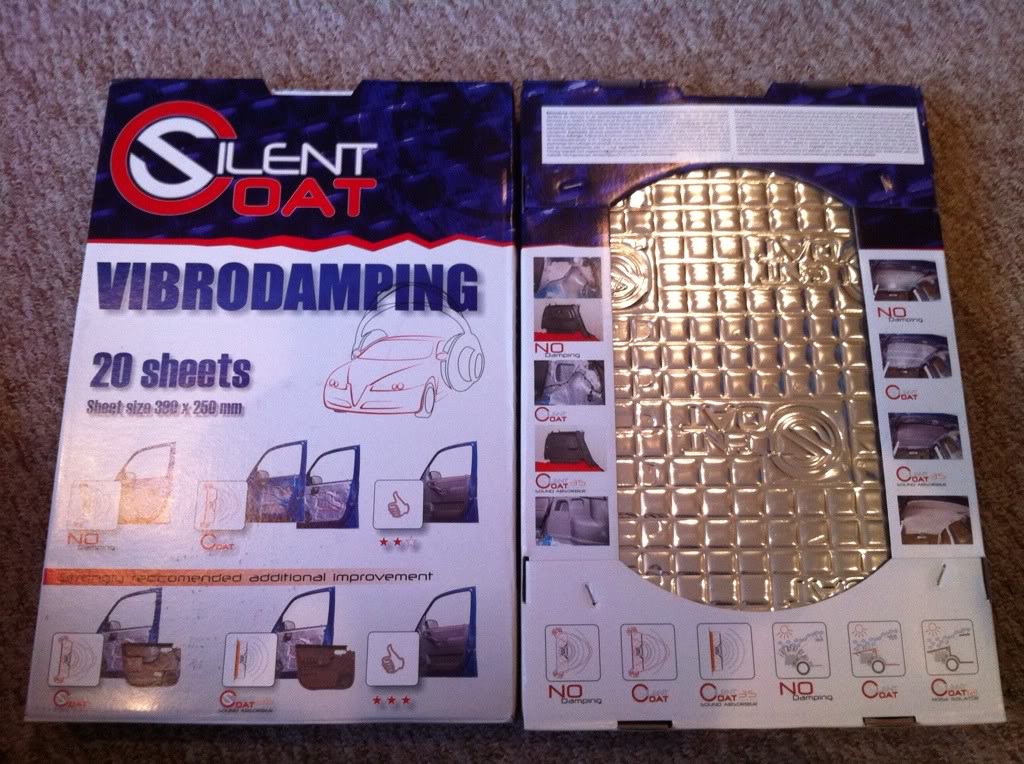
This is half of the whole pack. Brilliant!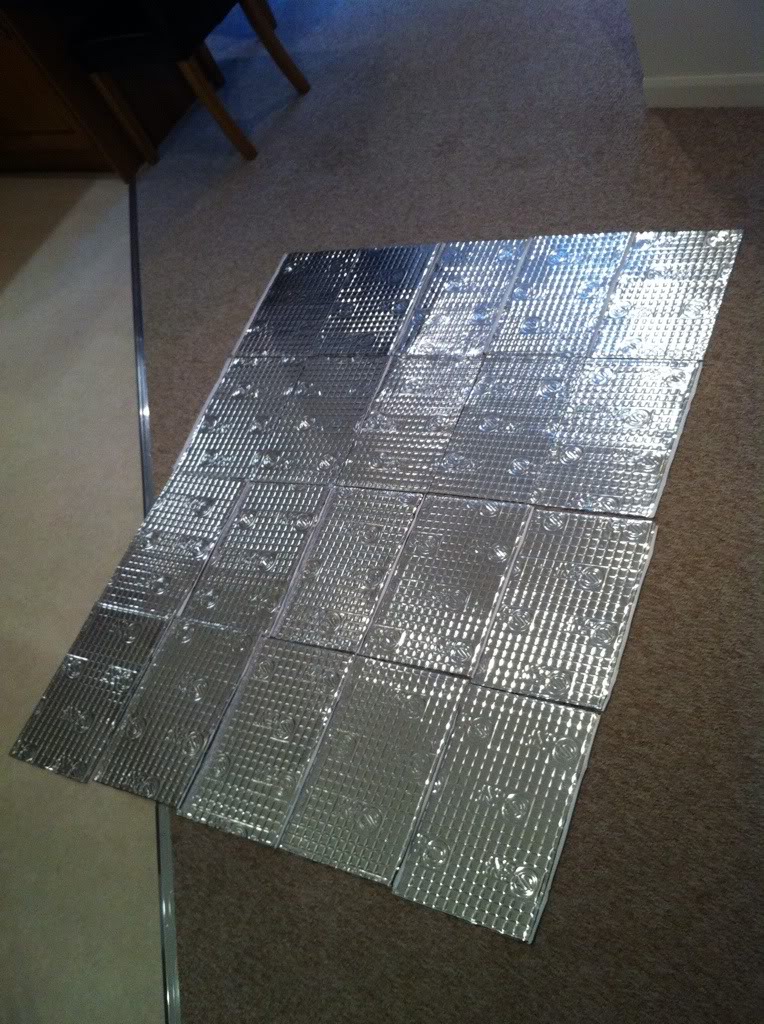
So seeing as it was still light I went and put the Tbars on and mocked up the hinges. They are going to look ace!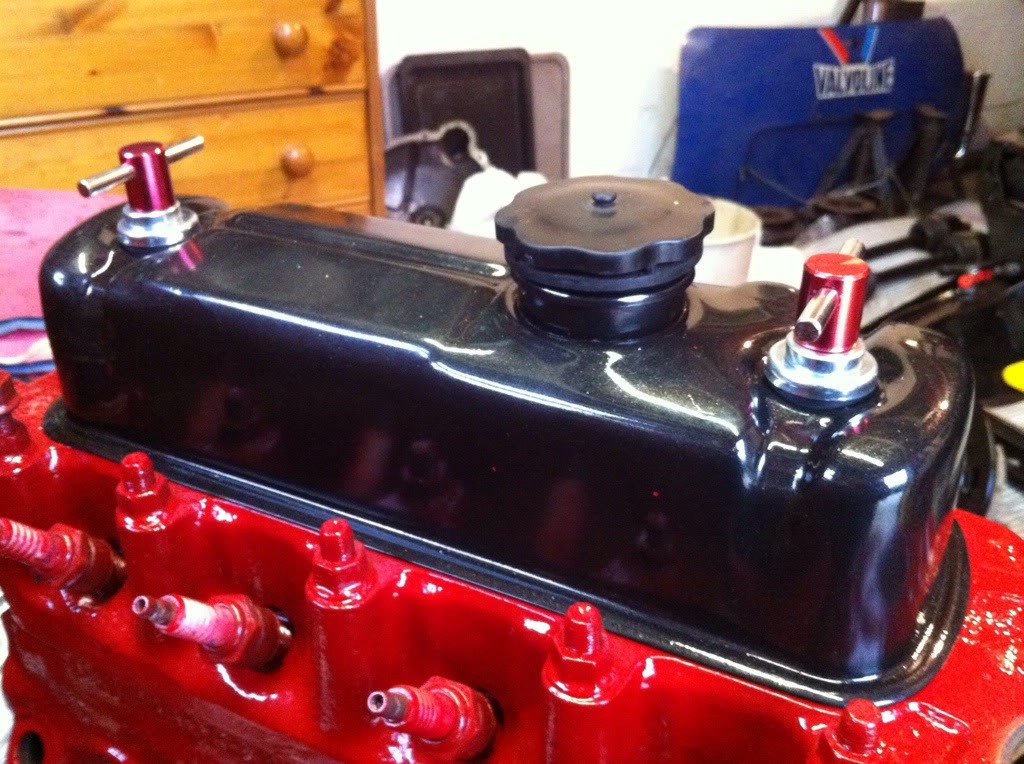
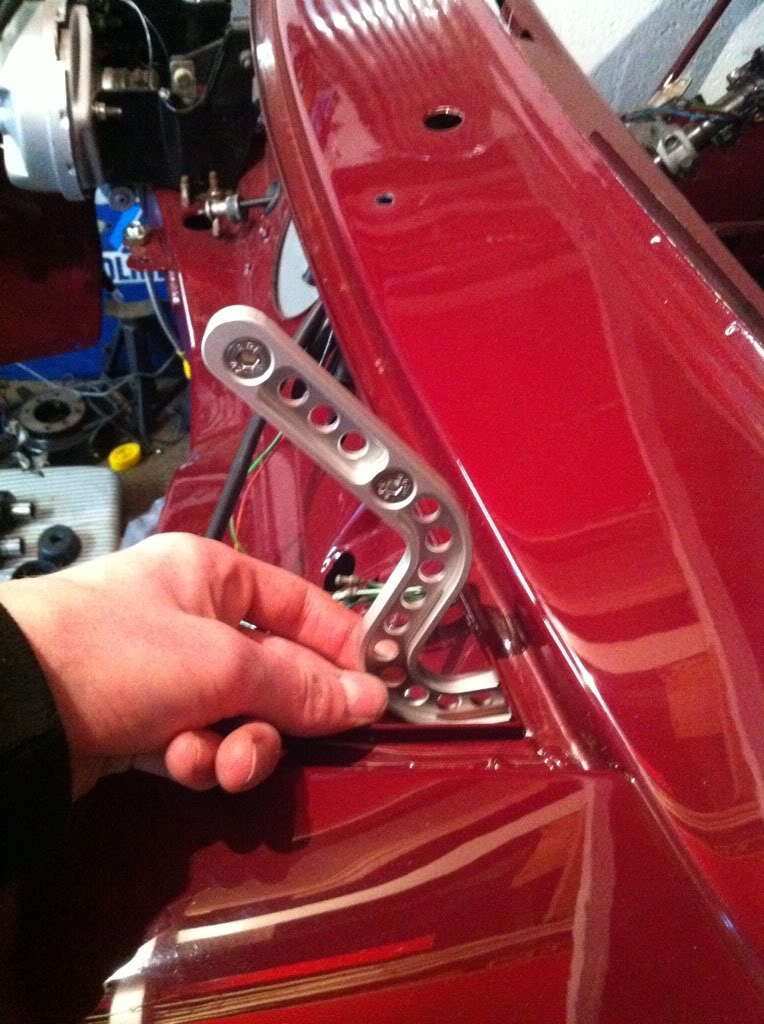
So tomorrow is my day off work so plan on getting the rear frame fully assembled and then get as many parts from today on as possible. Also going to phone MiniSpares to see whats going on with my order..........
5-30-2012
Day off today so got some more done. Main aim was to get the SilentCoat in ready for the rest of the interior/wiring. Its brilliant stuff! Very pliable and sticks really well even over highly complex surfaces.
Its easy to cut as well even with cheap scissors. Rolled it out with a small size wallpaper roller to get into the tight spaces. A very time consuming job but it looks great now! Used all the offcuts to cover the bulkhead seeing as lumps and bumps won't matter there.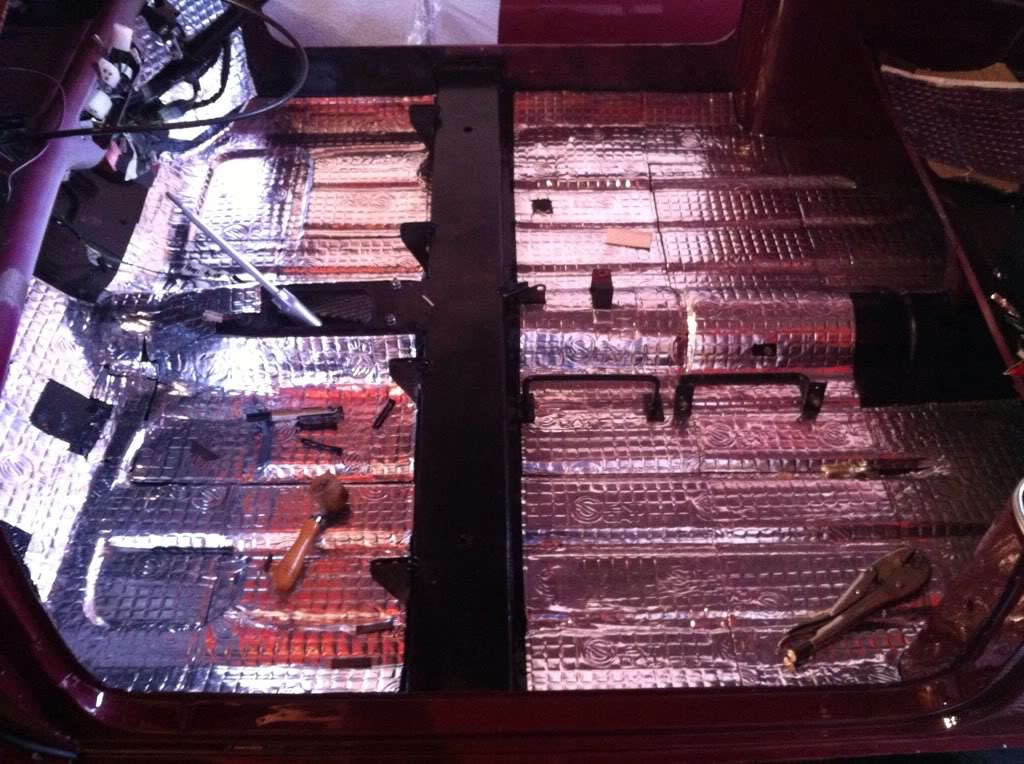
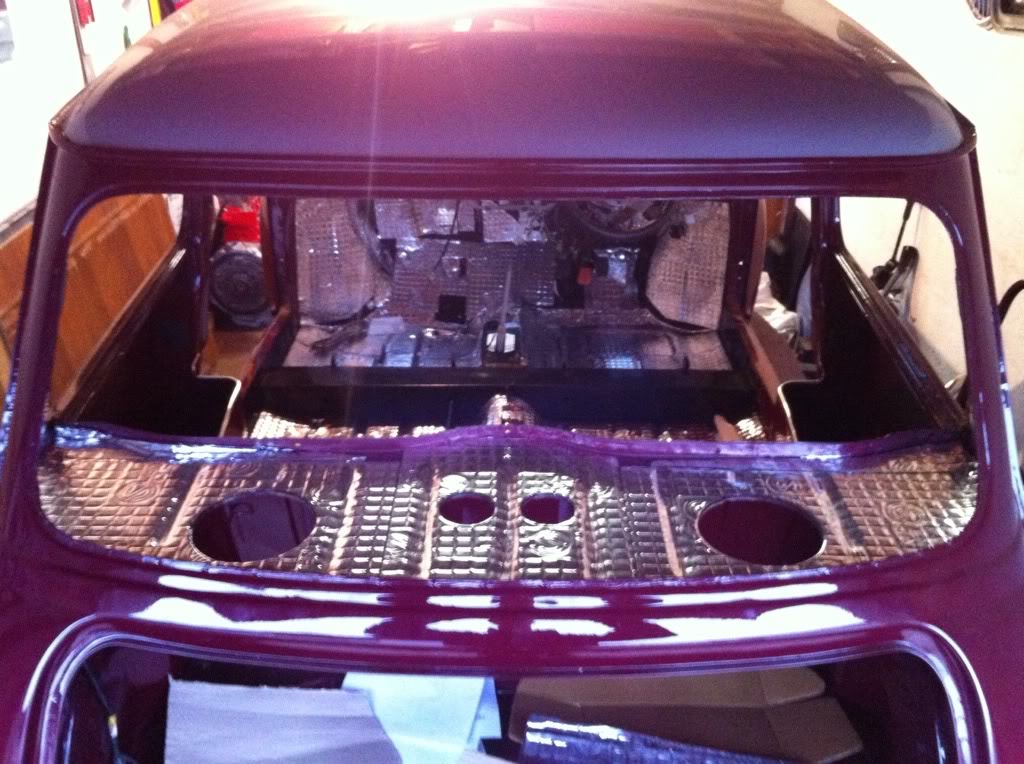
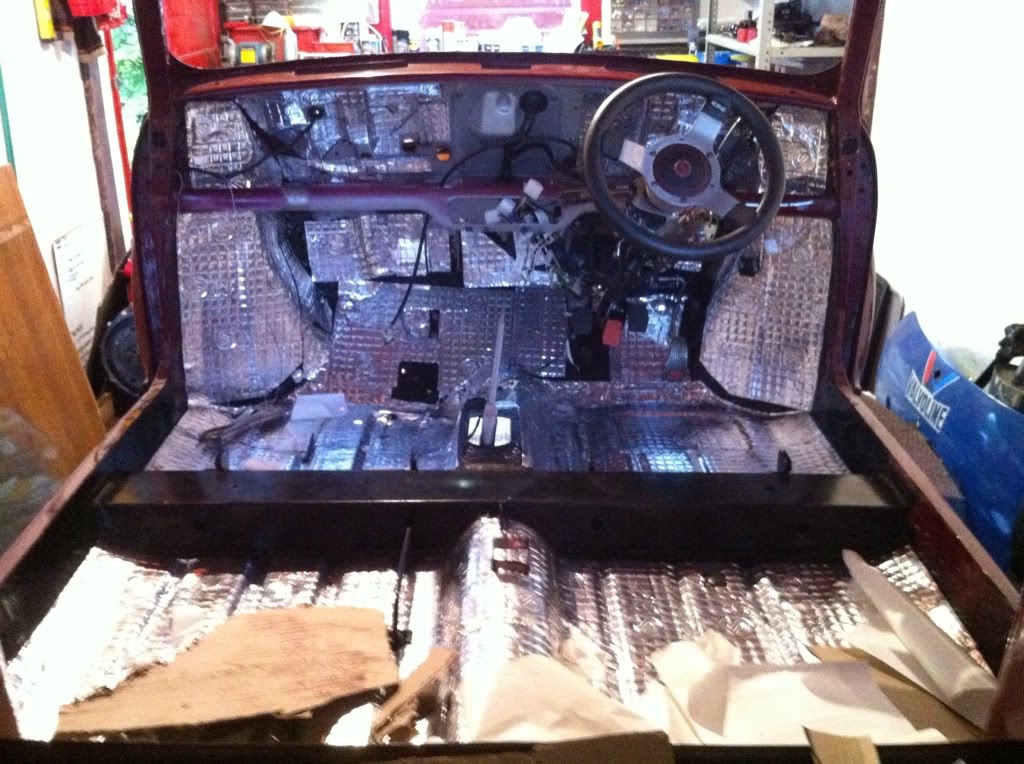
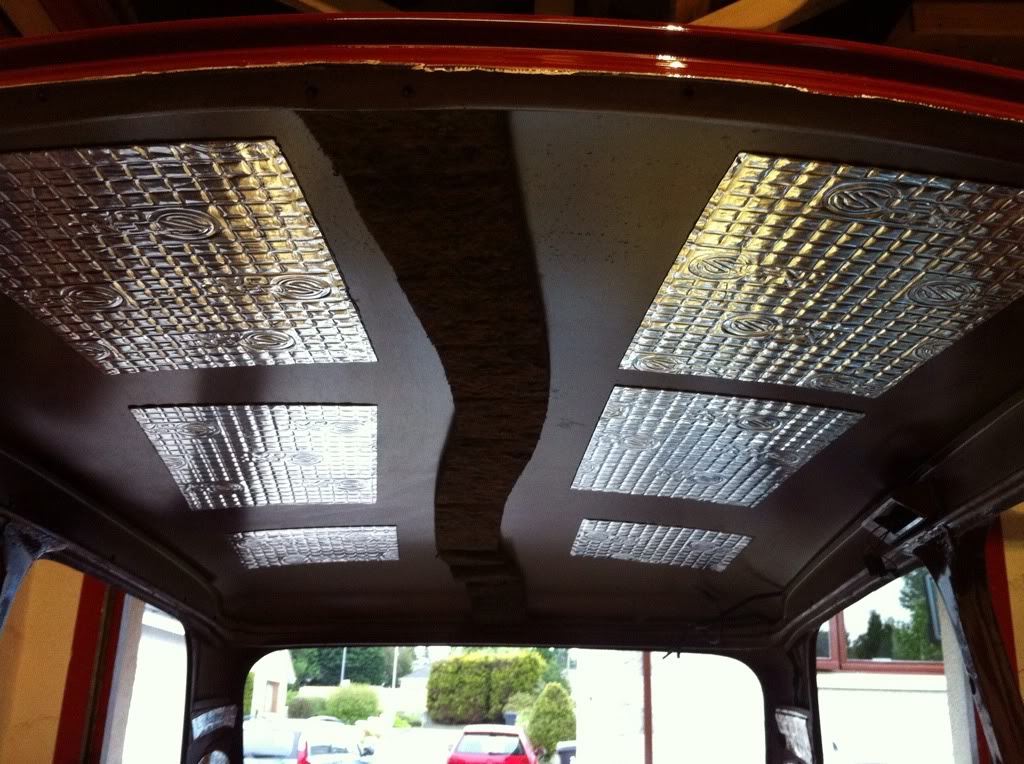
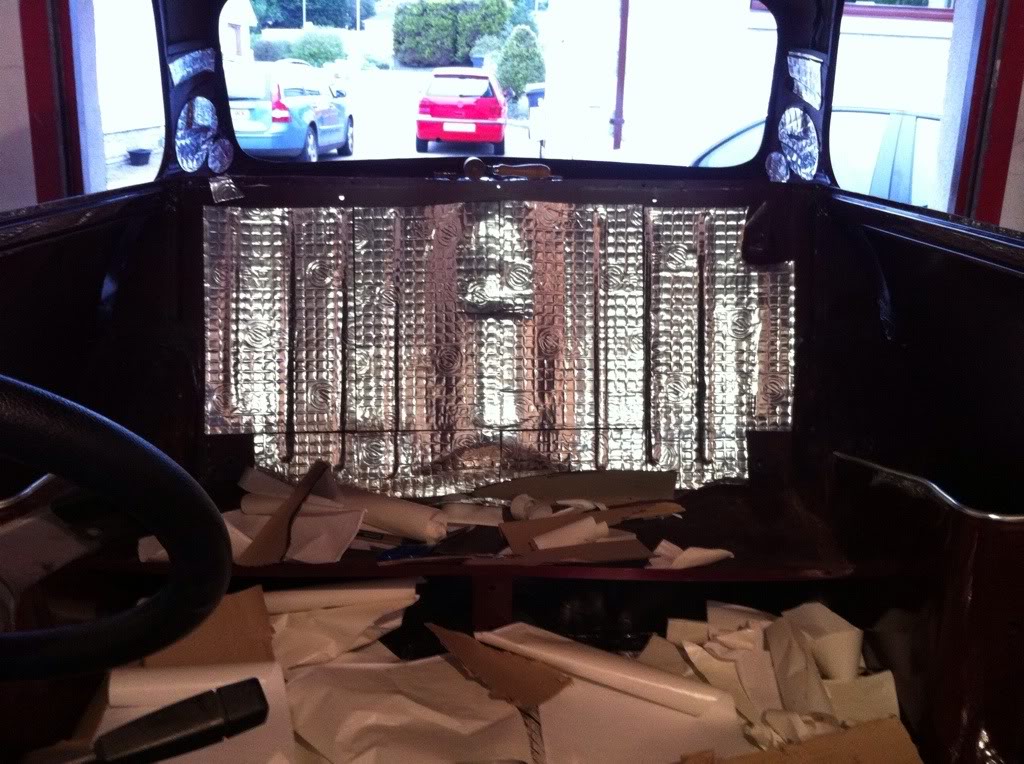
And a couple sheets in each door to give it a 'like a golf' slam just like the advert 
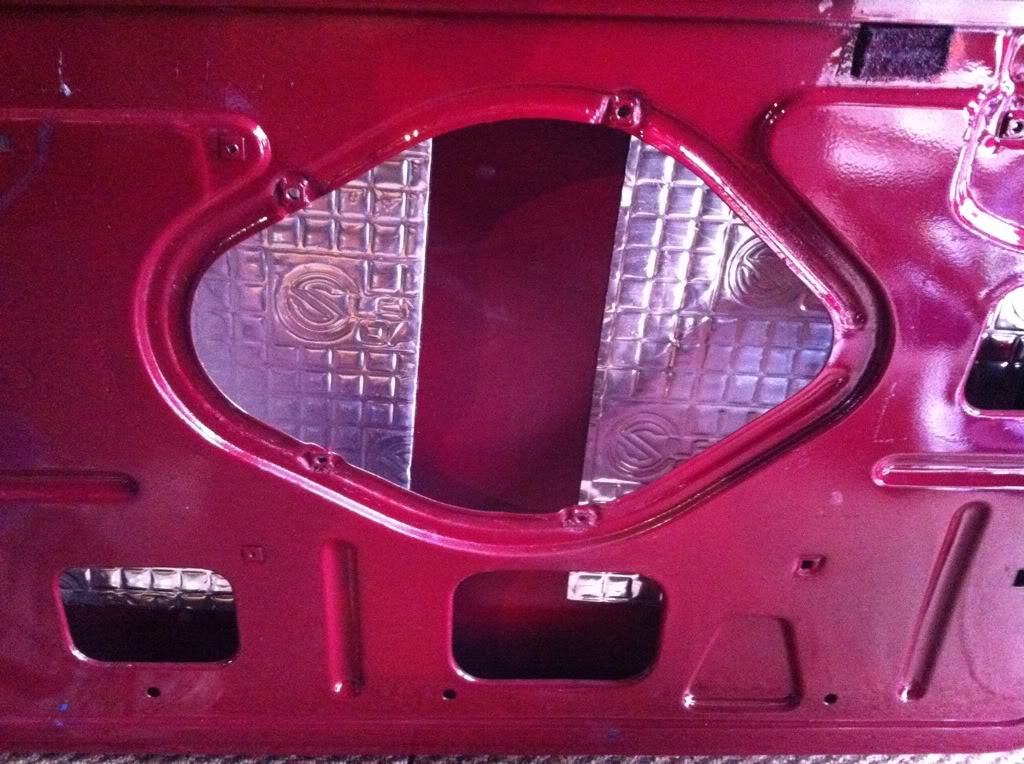
Even used my circles from the rear speakers on the C pillars!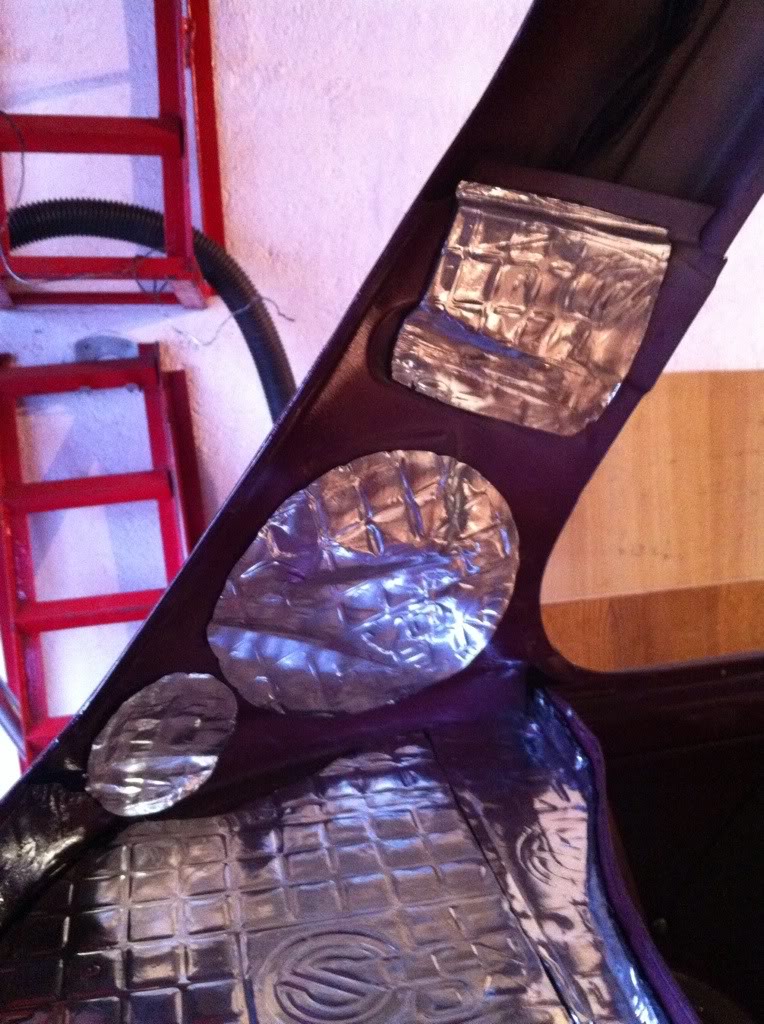
And I got my DSN plate installed too. So thats the servo in place for good!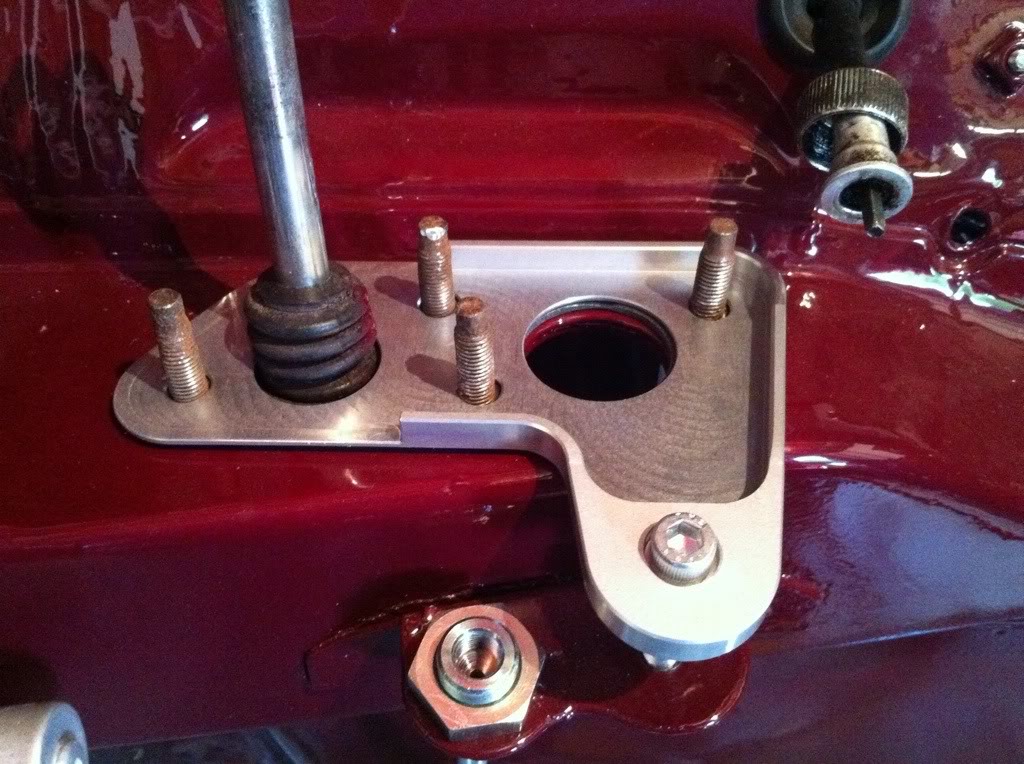
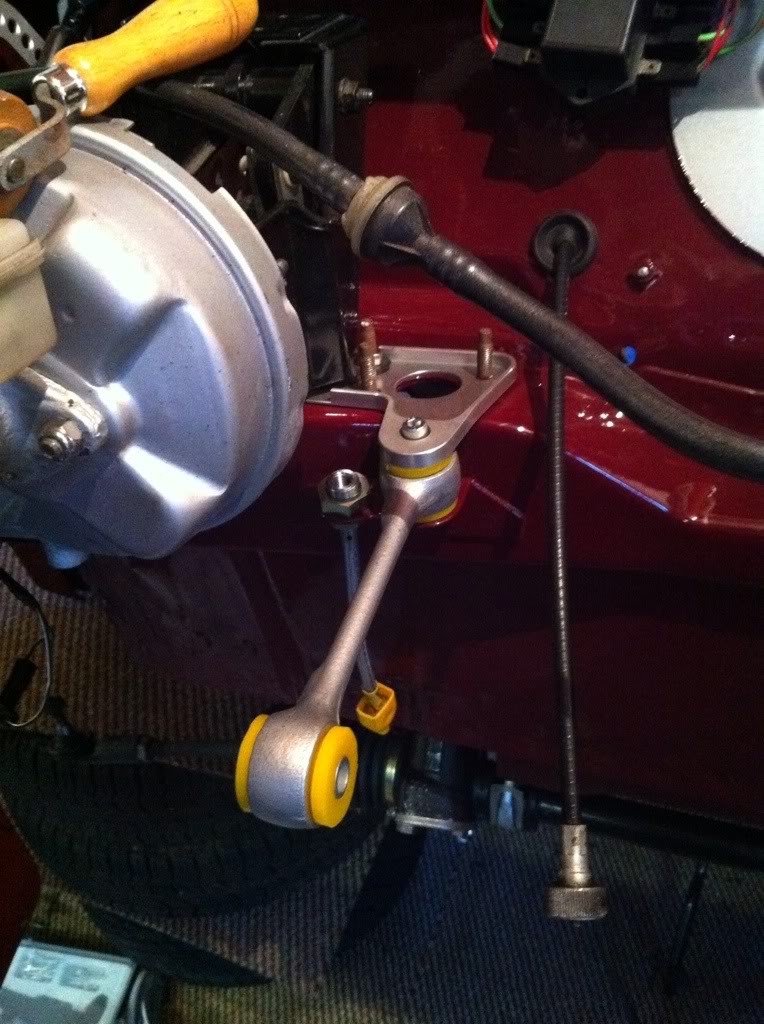
Along with the bonnet hinges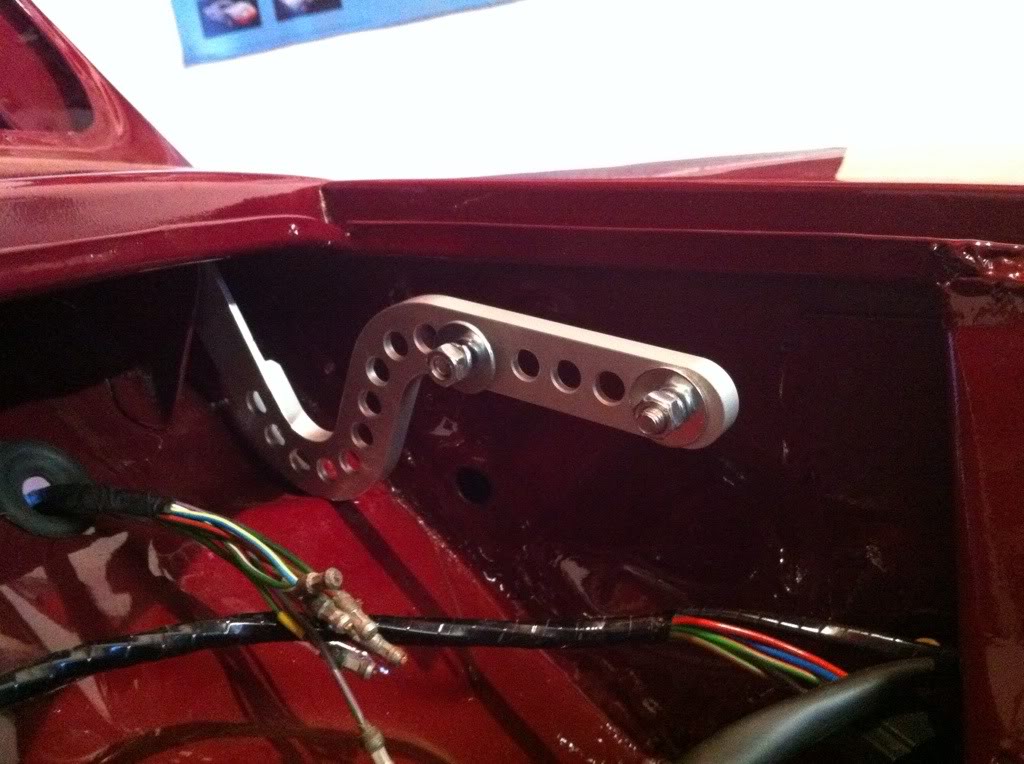
I also got one side of my rear subframe built up but need another bolt for the other side.....Friday is my early day at work so will pick one up from Grampian Fasteners on my way home. No pics of this though!
Comments

I LOVE Mini Coopers. Wow fantastic detail / photos here!
Posted by Diggymart on 1/22/19 @ 4:17:19 PM
Congrats BOTW what a beauty!
Posted by Diggymart on 2/6/19 @ 3:15:15 PM