You must be logged in to rate content!
2 minute(s) of a 358 minute read
1-25-2014
Update,
Decided to repair the shock mount today but couldn't get it completely finished as it started lashing down, hail stones and everything, don't you just love the British weather !! Anyway here's some pictures of the process.
Hole in question -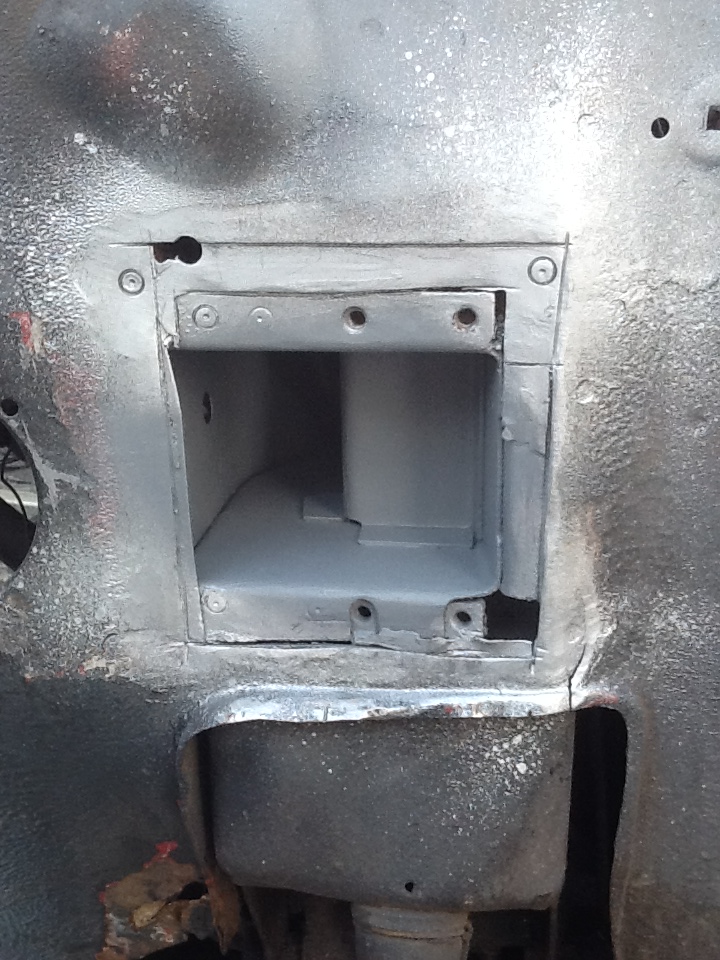
Kurust, etch primer and top coat applied -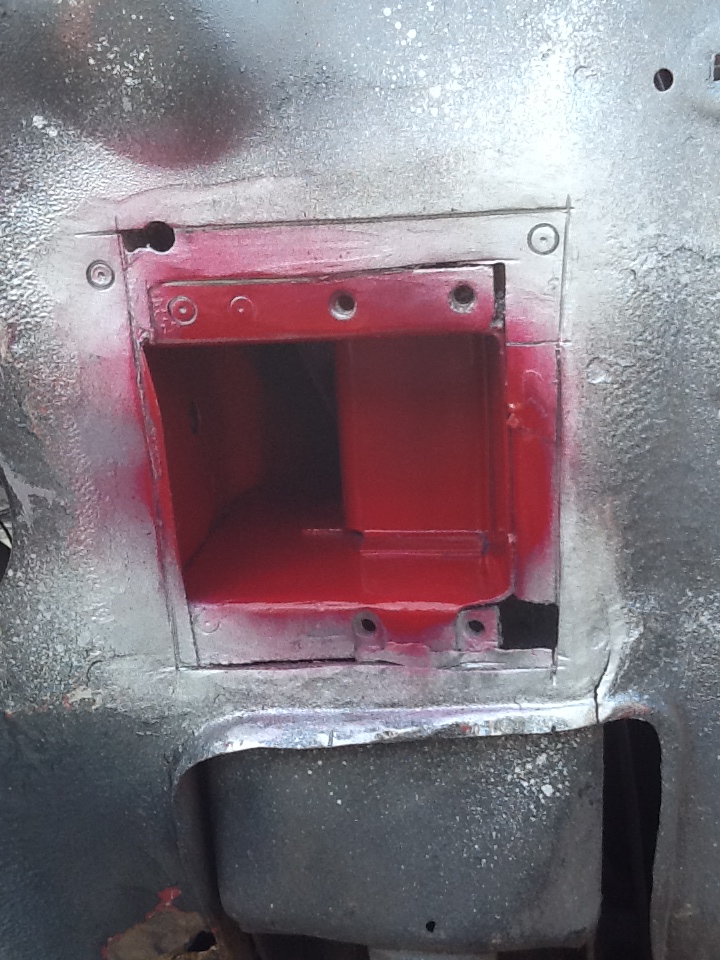
We then made this plate from thicker gauge steel, 1.2mm and etch primed it -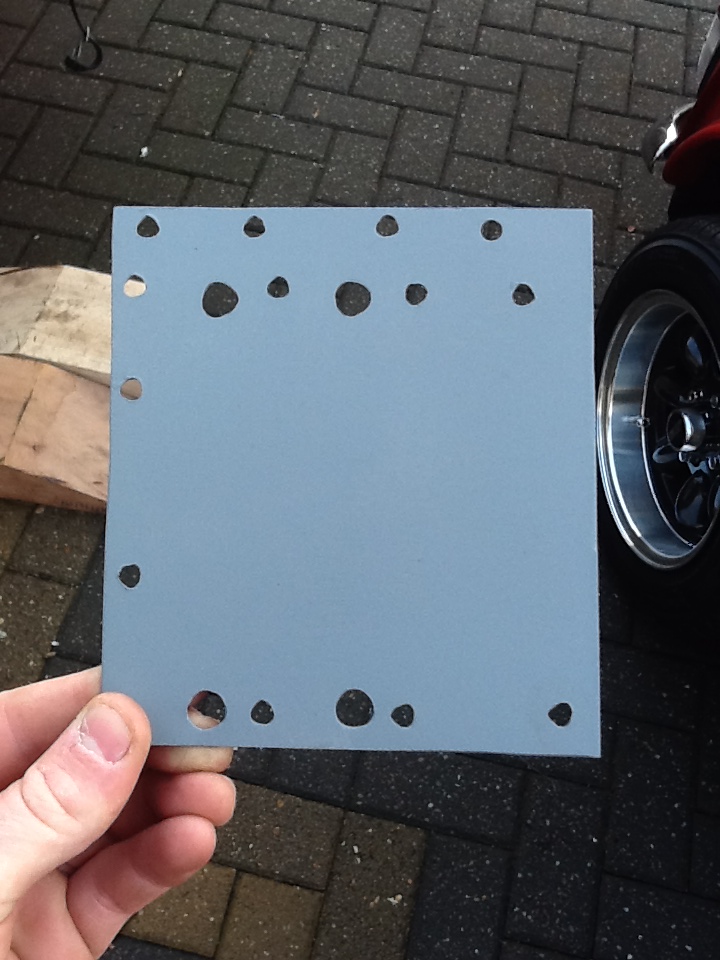
Top coat applied to the back of the plate -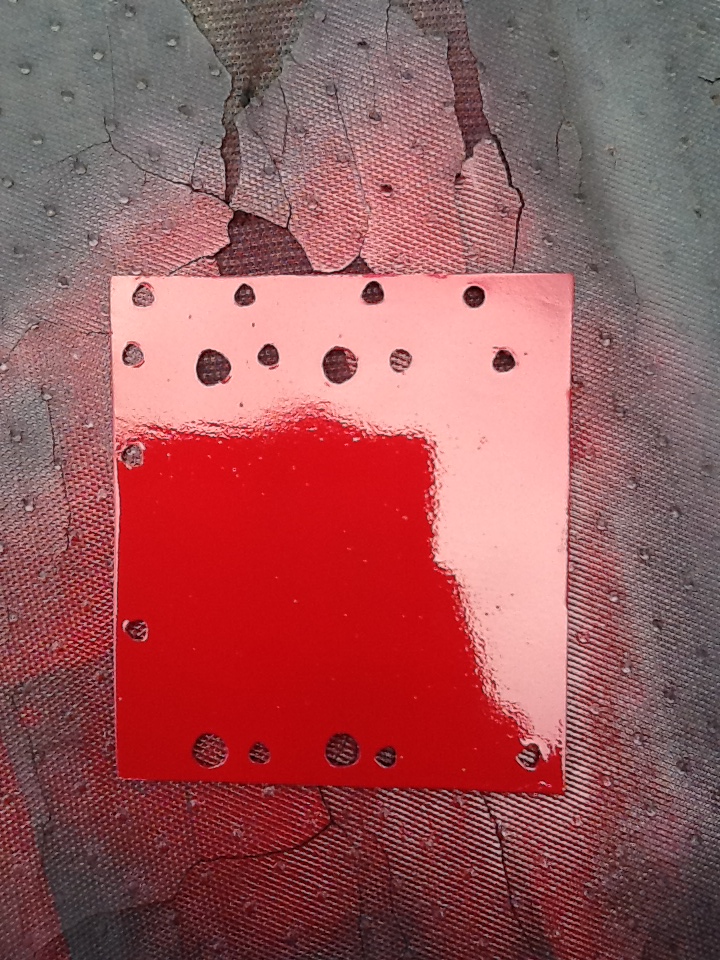
Plug welded, used the shock mount bolts to keep it all tight -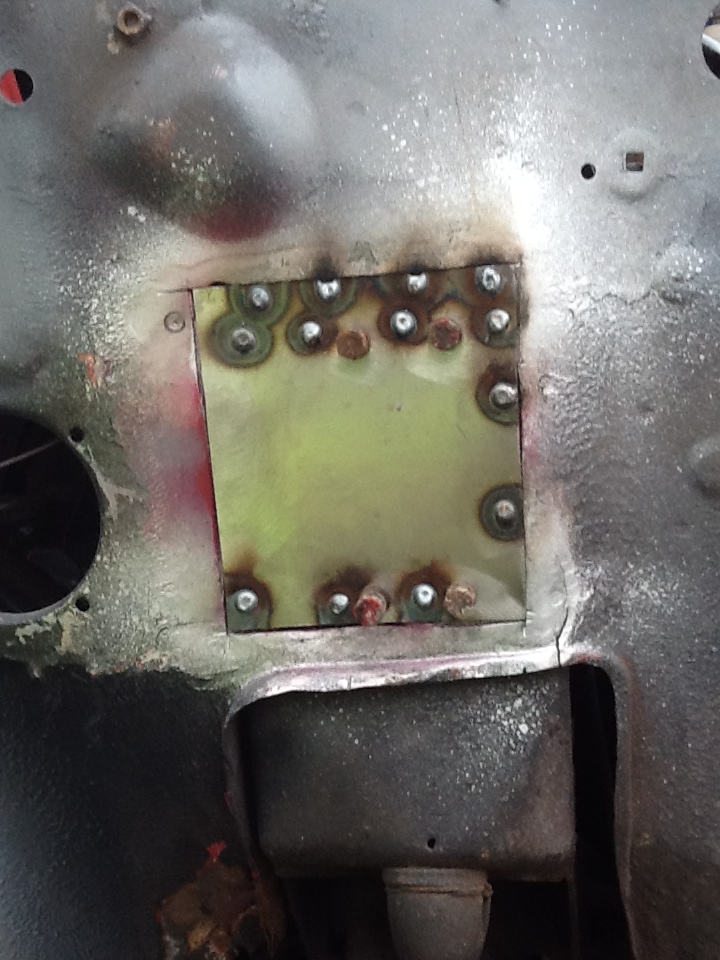
Seam welded, not finished though as it started p***ing down, had to quickly apply some etch as you can see its already started to get wet -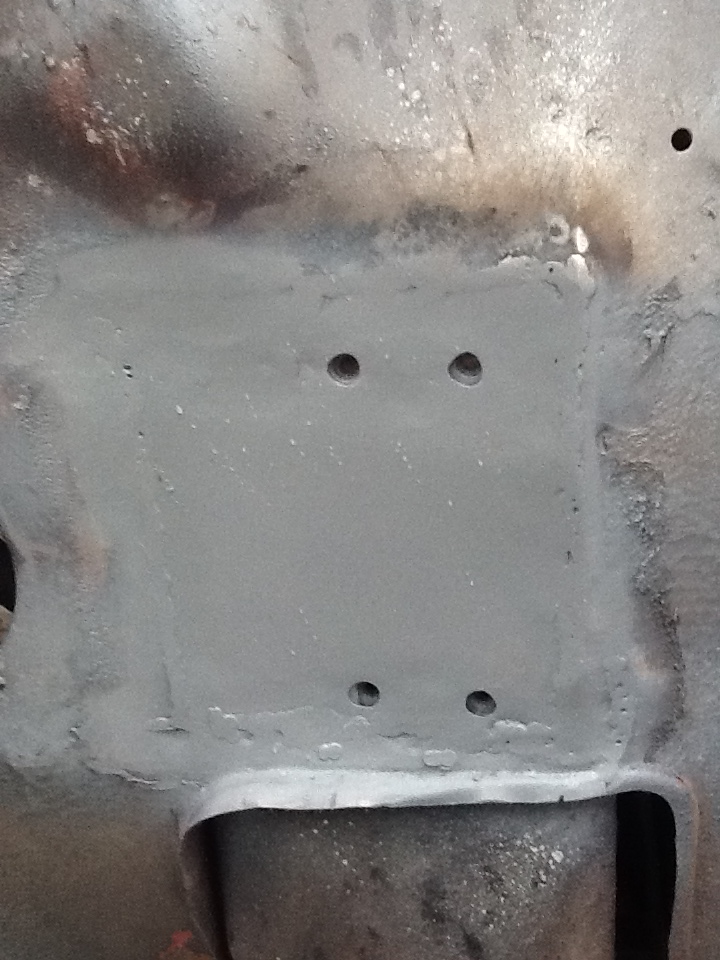
Will have to finish this off on Monday as its Bingley Hall Tomorrow, booked a couple of nights off work next week to work on the car anyway. Also started sanding and seam sealing the underneath of the new floor pan and flitch, but haven't finished this yet so I'll take some pictures when I'm done.
That's all for now folks