You must be logged in to rate content!
6 minute(s) of a 358 minute read
1-20-2014
I have a massive update coming soon guys, don't worry I've not give up . Got loads done, just haven't had the time to update this thread, also photobuckets messed all my pictures up so I've got to figure out how to fix that too !
1-24-2014
Huge Update,
Right, where do I start ! Got a load done over the last few weeks but haven't been able to get on here to update, but nows the time !
I acquired some one inch box section to make some bracing ready for the removal of the doorstep.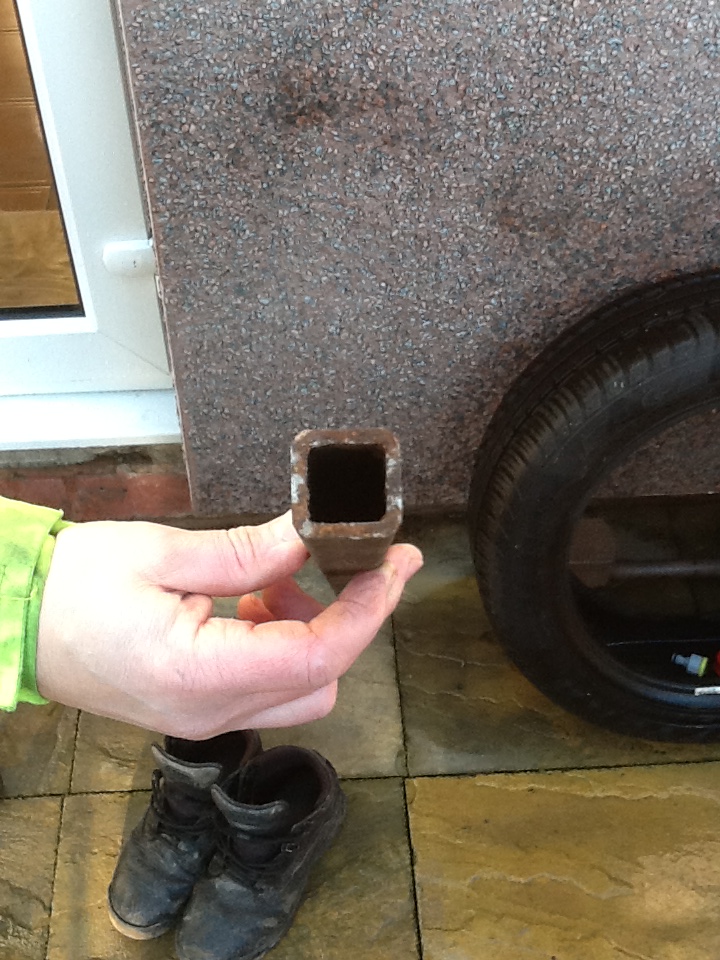
Braced the door by tacking it to either side of the door flanges, before I did this I took some accurate measurements from the other side and they where bang on the same, so that was a relief, means nothing's moved that shouldn't have !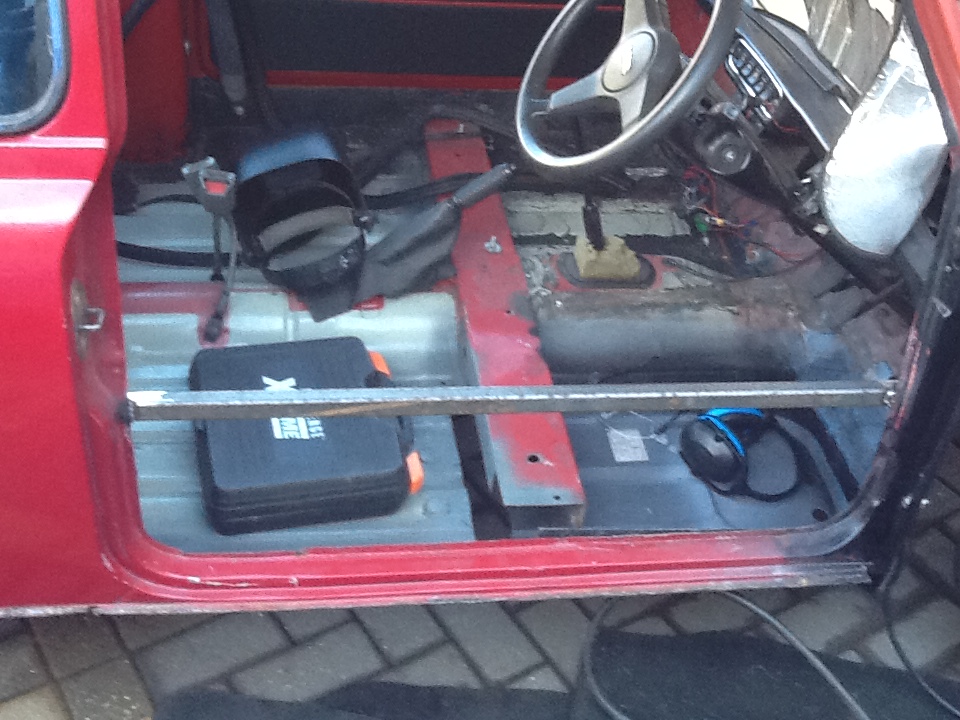
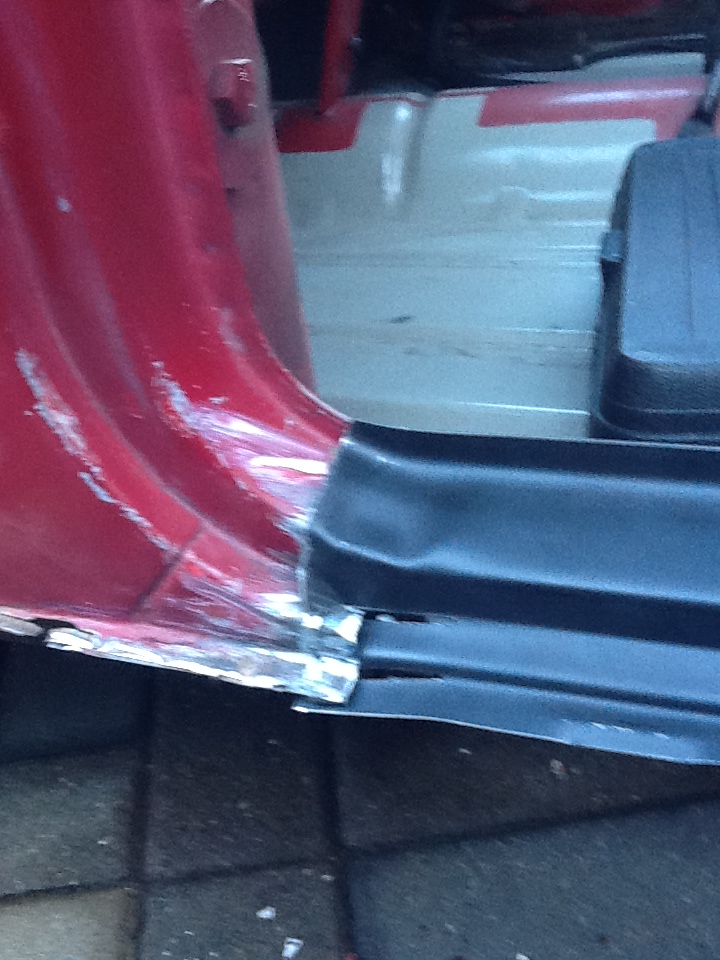
We then chopped the old doorstep out and had a play trying to get the other doorstep into place. Ive heard the magnum doorsteps are a pig to fit but to be honest it really wasn't a bad fit at all, just took a bit of time to get it to fit right at the rear end but not to bad at all.
Roughly positioned into place ( apologise for the poor pictures, but just wanted to get on with it )
)
Then we checked the fit with the door on -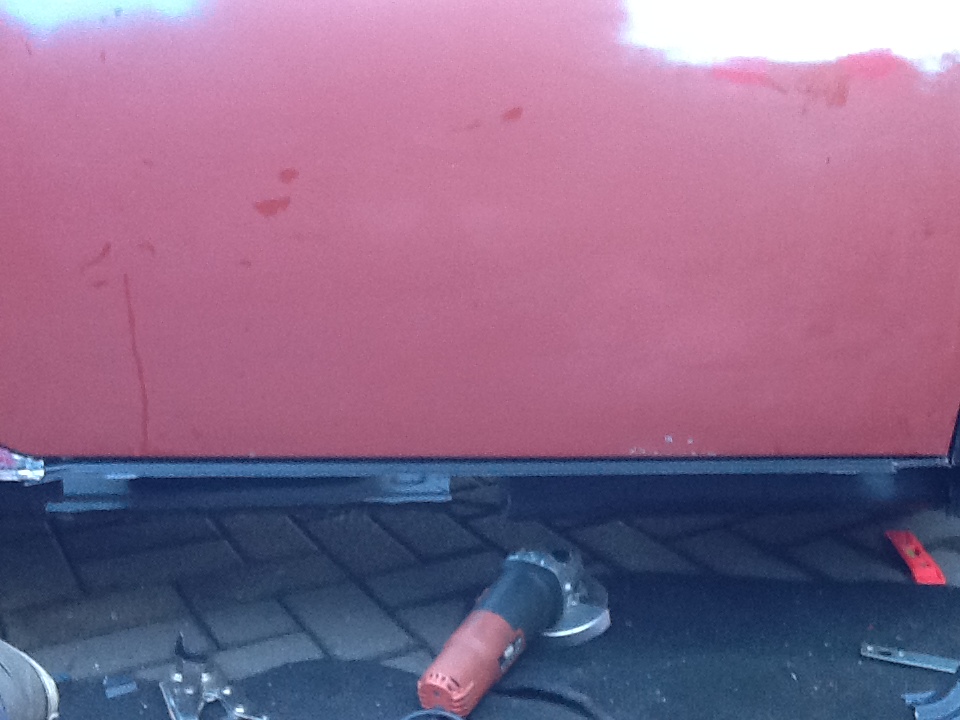
Not a bad fit at all, still needed more work as the gap was wider at the back. I have got a picture of the finished product but its not brilliant as the light was fading and my cameras not the best as it is, I will post a better picture of the finished product soon though, but here's the poor picture anyway.
Welded in, better picture coming soon -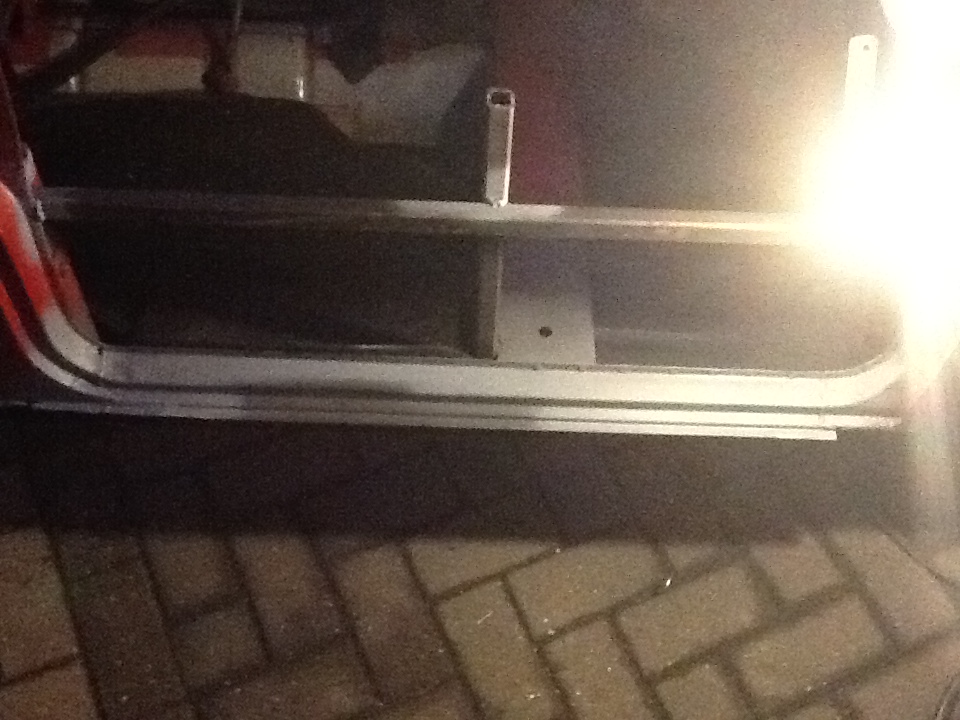
Plug welded it to the front inner sill and the new crossmember, which I'll show you how we fitted.
I positioned the crossmember in place and then used an old cobra subframe I had knocking around in the shed to make sure the gaping was right between the two seat securing brackets, then we tacked it in place and then seam welded it. Really impressed with M-Machine panels, great fitting and quality !
Painted the inside for some protection -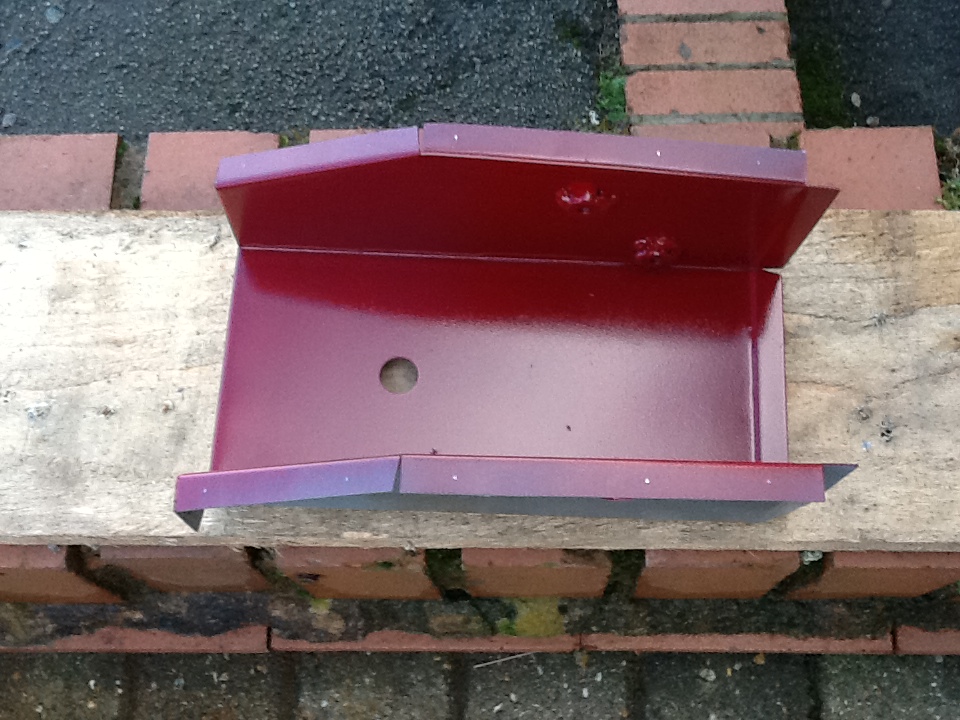
Then we drilled the holes for the plug welds and seamed welded the top and sides -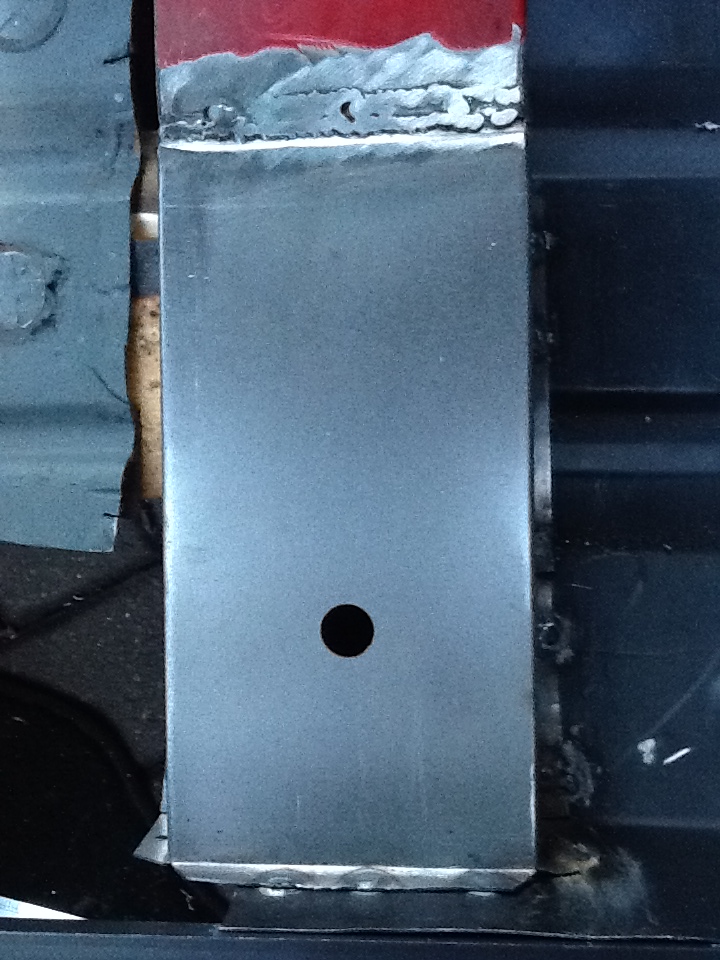
Still needs more welding along the top to fill the gaps, will get a lick of filler after as well, but daylight was running out so had to call it a day.
Then I started to do some seam sealing of the stuff we've already welded in.
Sanded back mostly to bear metal -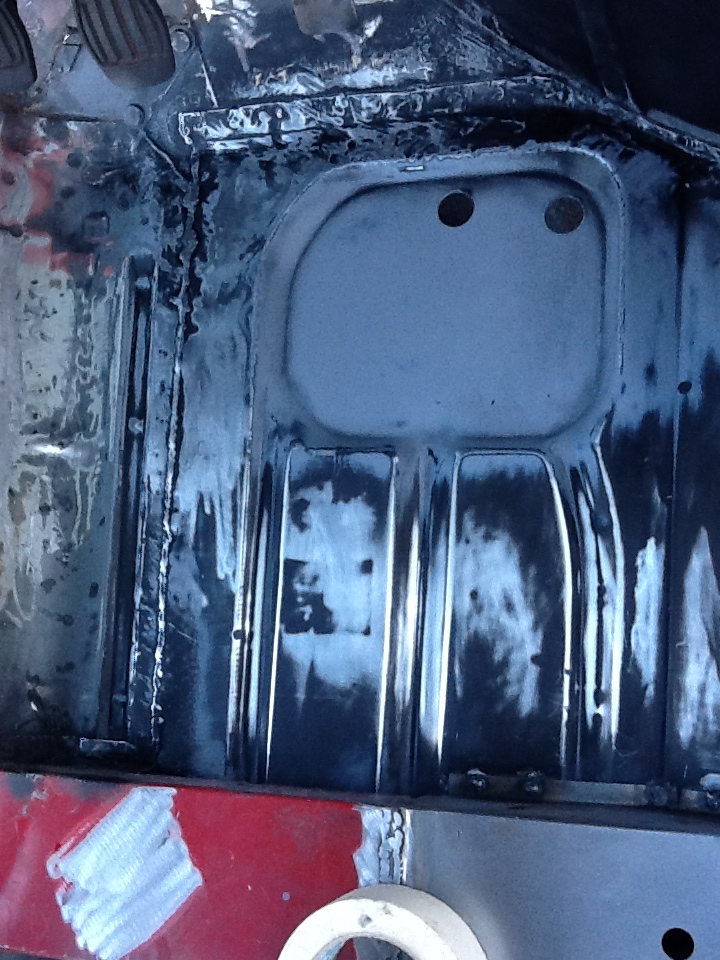
Etch primed -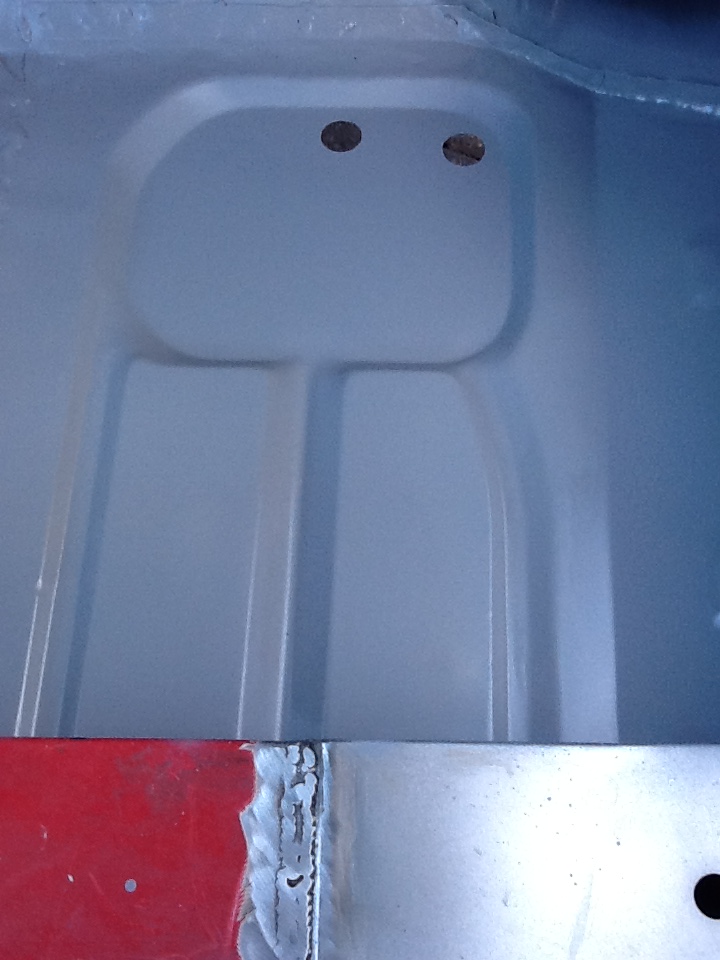
Tiger seal applied, will prime again and top coat -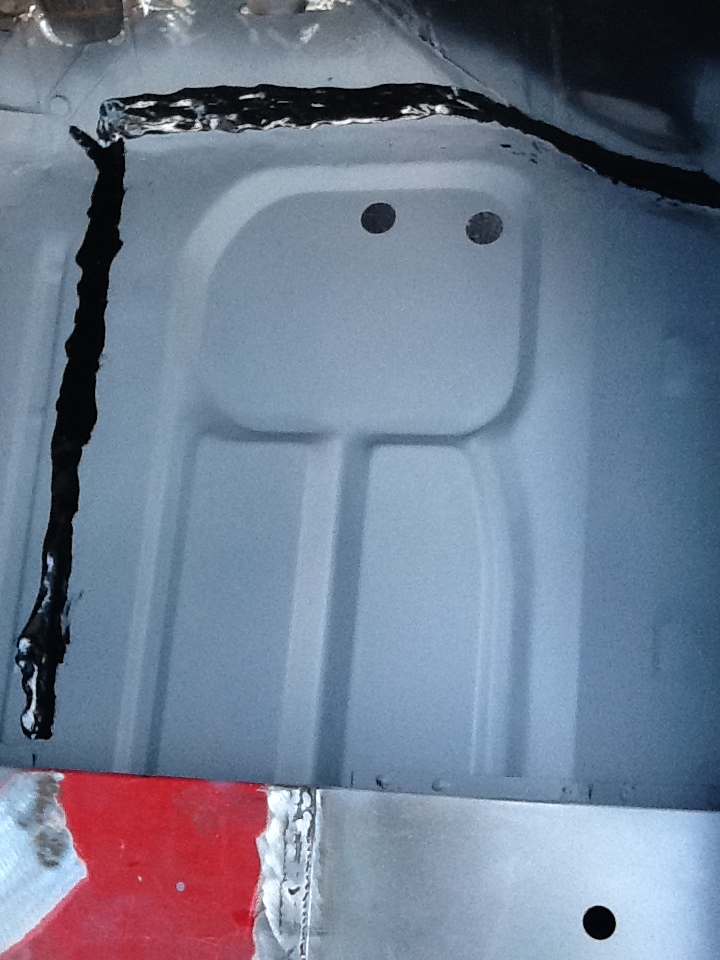
Also done the flitch, same as above -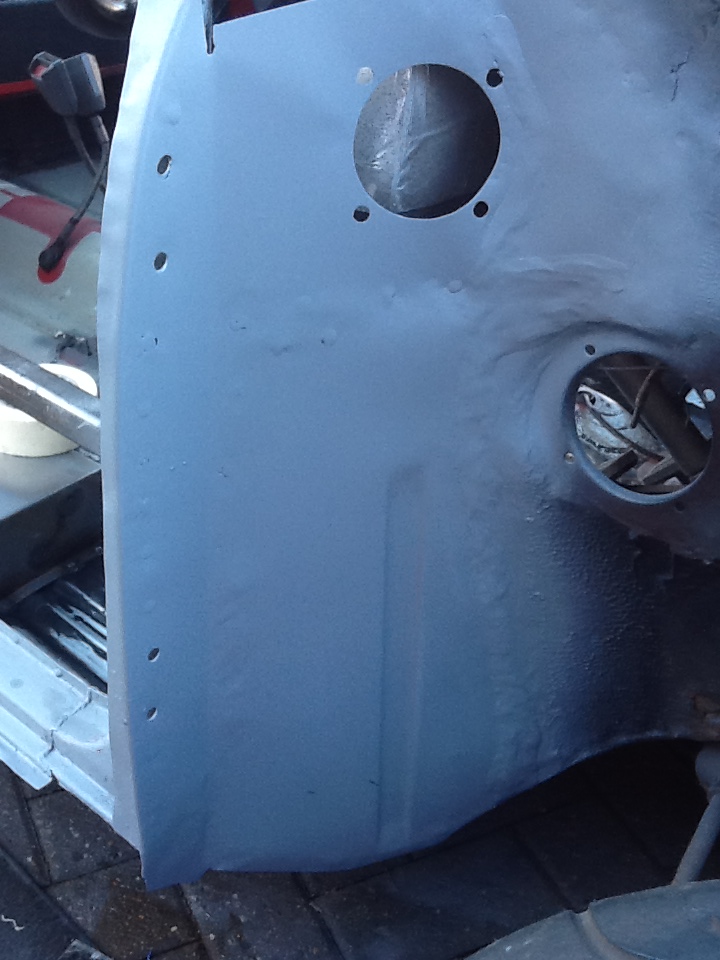
Had a bit of a reaction with the flitch though so will have to be rubbed down and primed again !
That's all the body work I've got done, but I've still got more to update.
Won this beauty on eBay for an absolute bargain, brand new, never installed, the guy brought it for his own project but never finished it. Just waiting for it to arrive now and I'll take some piccys of it, have got the eBay picture though so here you go.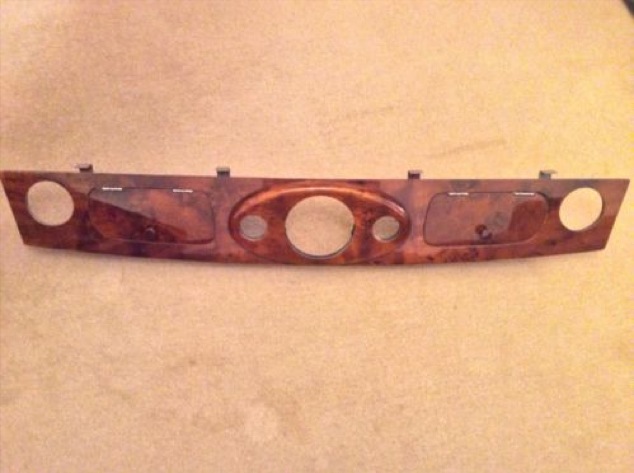
So today I started stripping down my current dash set up to clean the clocks and what not and get them ready to go in the new dash, which won't be being installed until the cars finished though so it will be safely tucked away in my room till then
Before -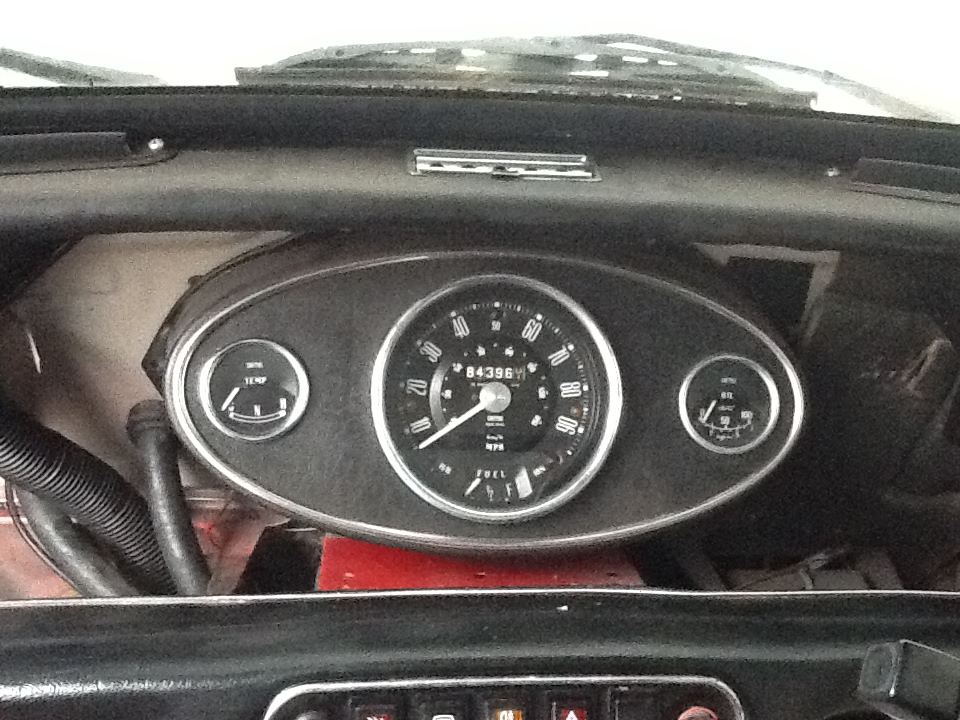
Removed -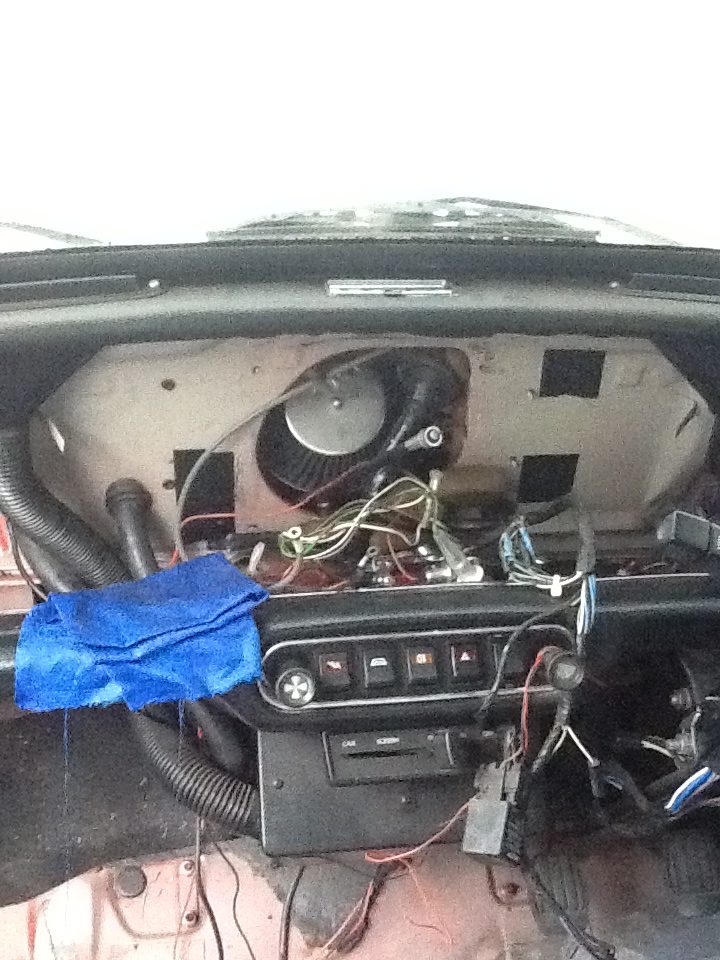
Took it inside and stripped it down and cleaned it.
Before -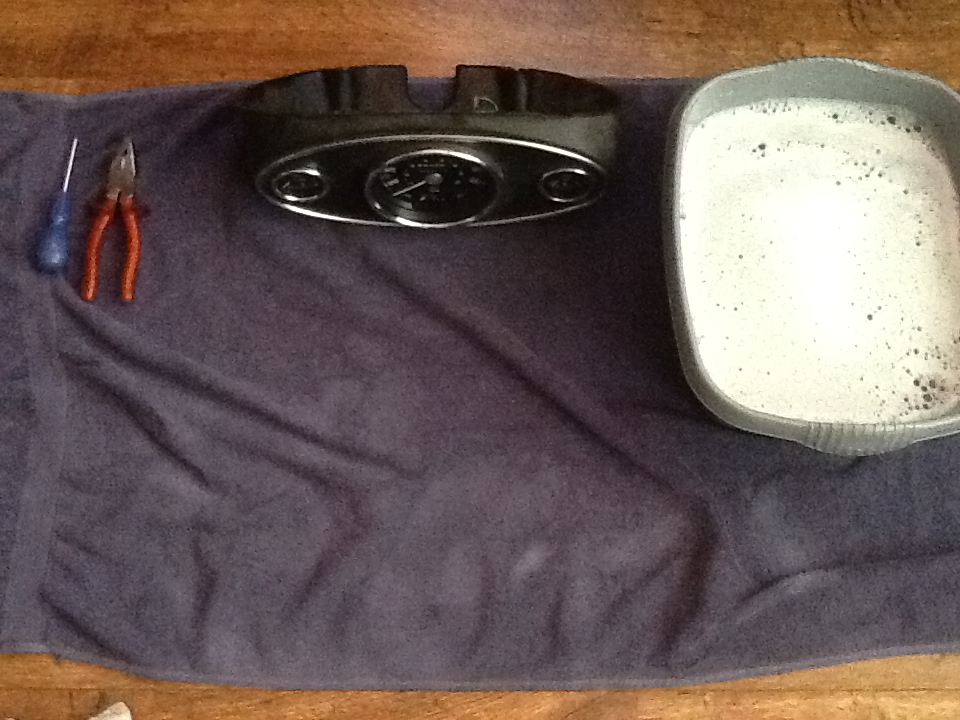
After -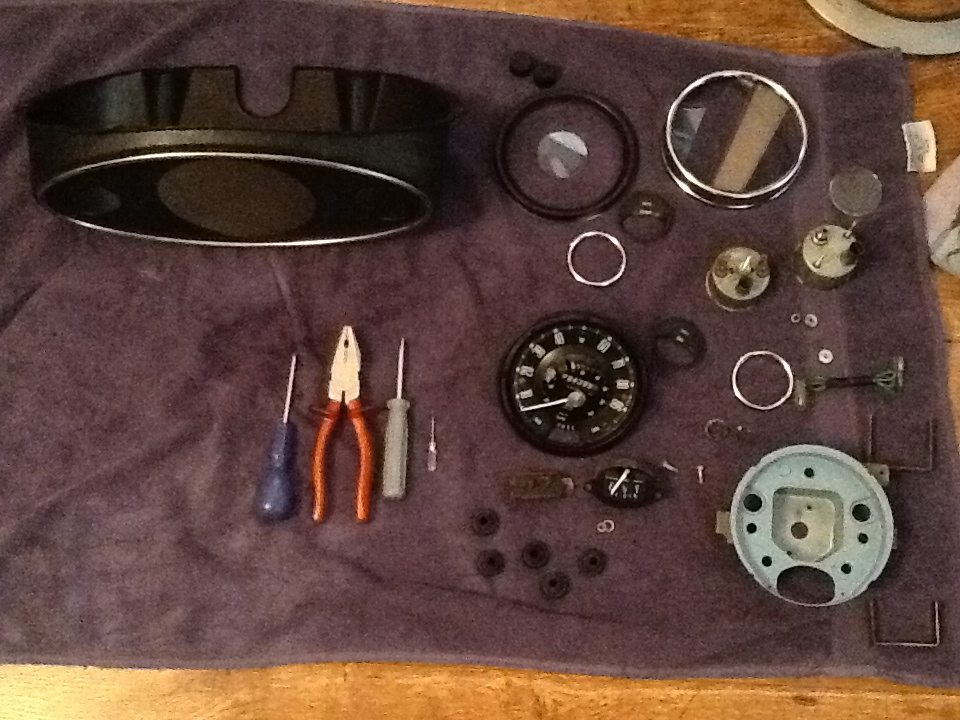
I'm going to Repaint all the back plates and renew all bolts etc, also thinking of getting some magnolia fascias from sticky fingers as that will finish the clocks off nicely !
So that's where I'm currently at and am going to do some more work tomorrow, going to Bingley Hall on Sunday and cannot wait, going to relieve my self of some hard earned cash .
.