You must be logged in to rate content!
8 minute(s) of a 358 minute read
3-1-2015
Update,
Not a huge one unfortunately as the loom has taken longer than expected to refurbish. I'll start with the purchased items, a few things needed for the loom -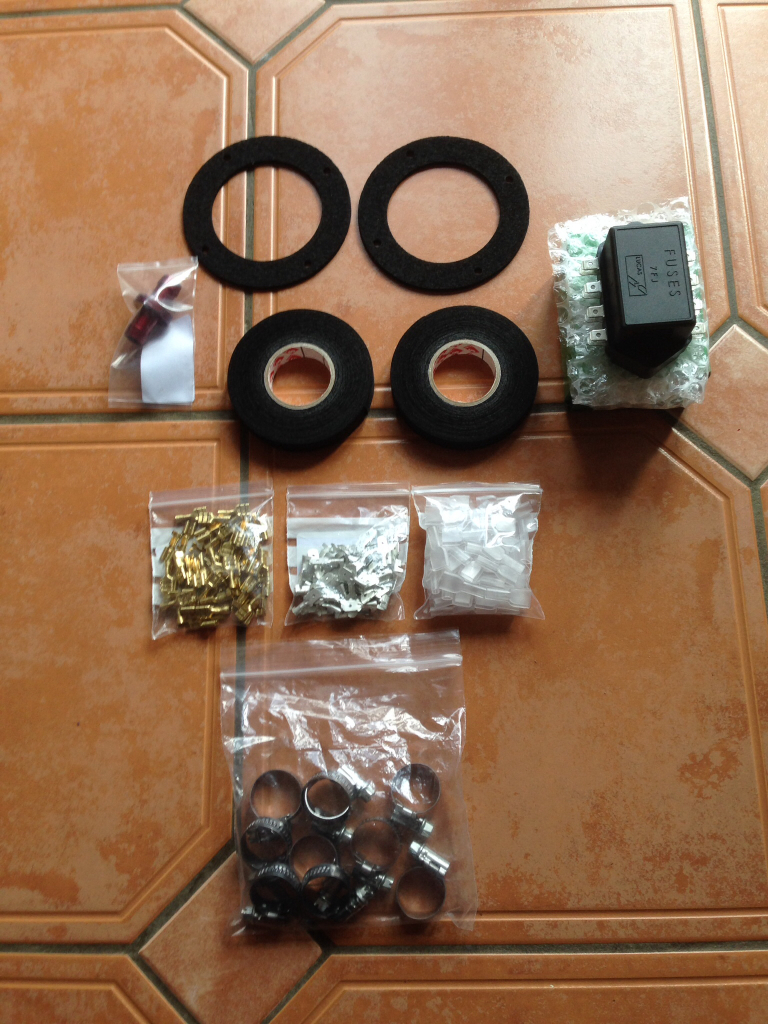
My rear screen finally came into stock so I picked that up along with a new rubber and chrome filler -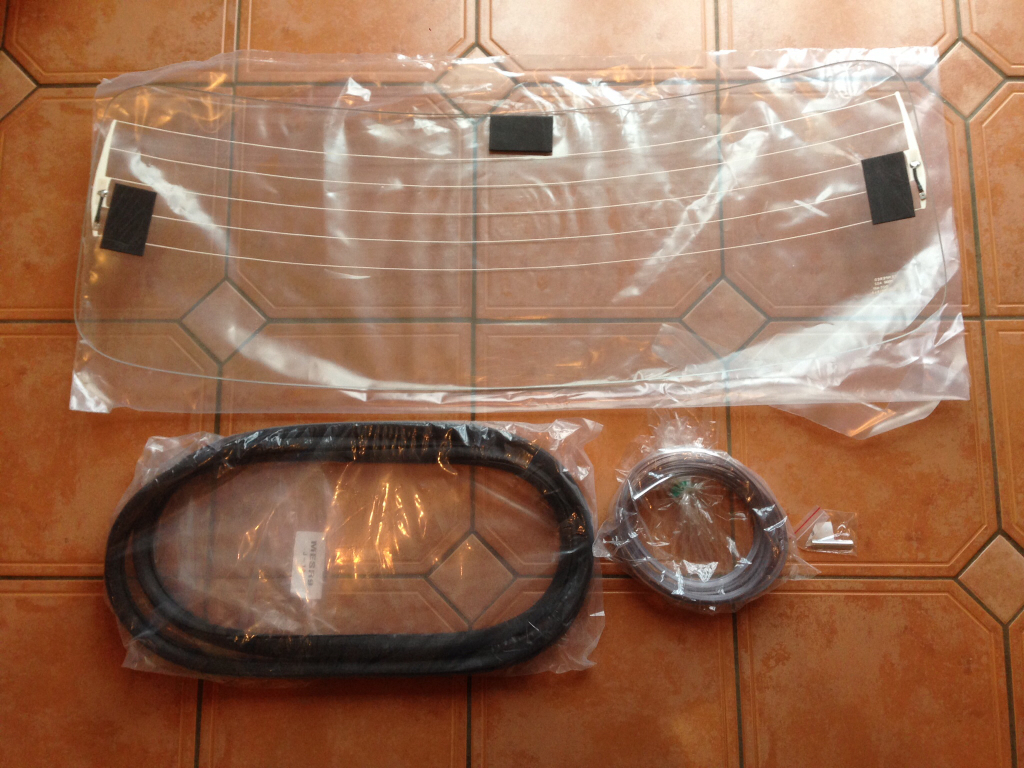
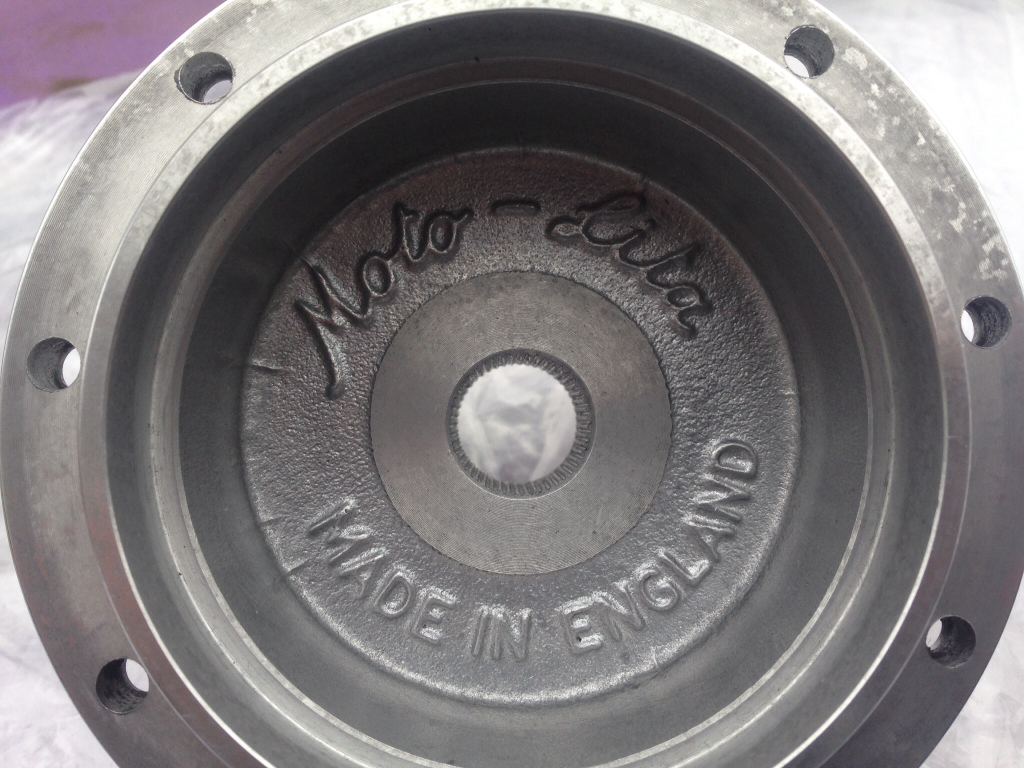
And I also bought the boss for my steering wheel -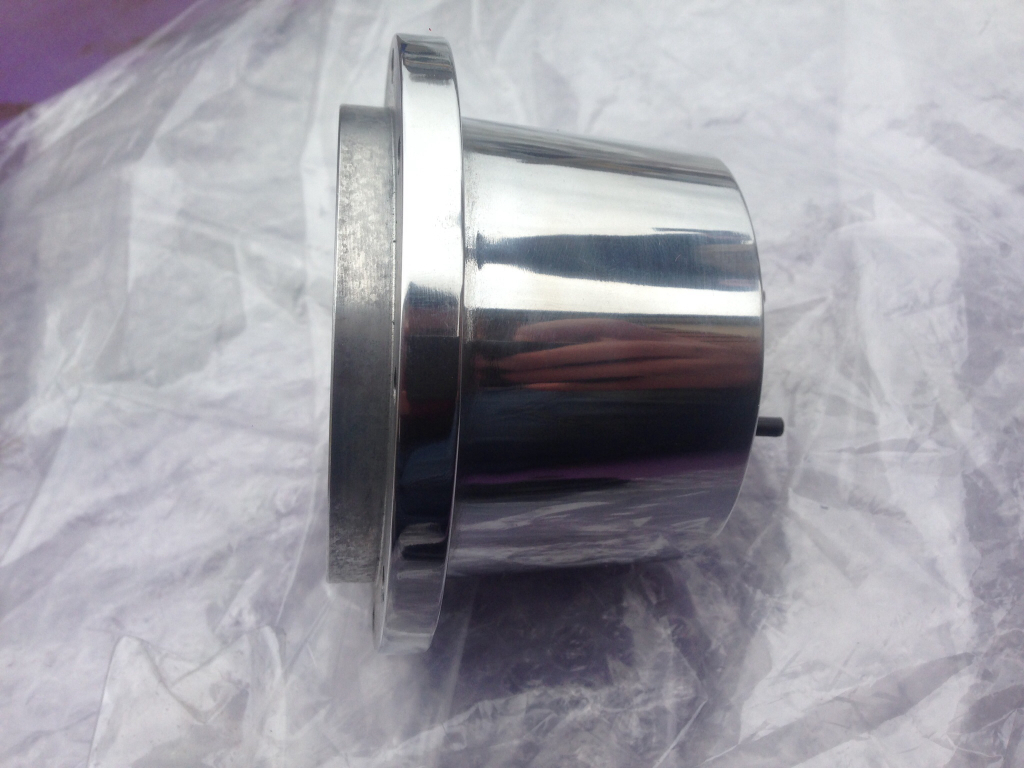
Now onto the loom, it's easily taken 20+ hours to refurb it due to the state it was in. I removed all of the old tape, cleaned and checked all of the wires and re-wrapped it with fabric loom tape. I've changed the fuse box for a new one and replaced almost all of the bullet connectors for spade terminals except for the ones that connect the front loom to the rear as these were fine. I've also changed all of the connector ends for new ones including the alternator plug as they were badly corroded and also cleaned up all of the relays.
Here's the overall loom now it's finished -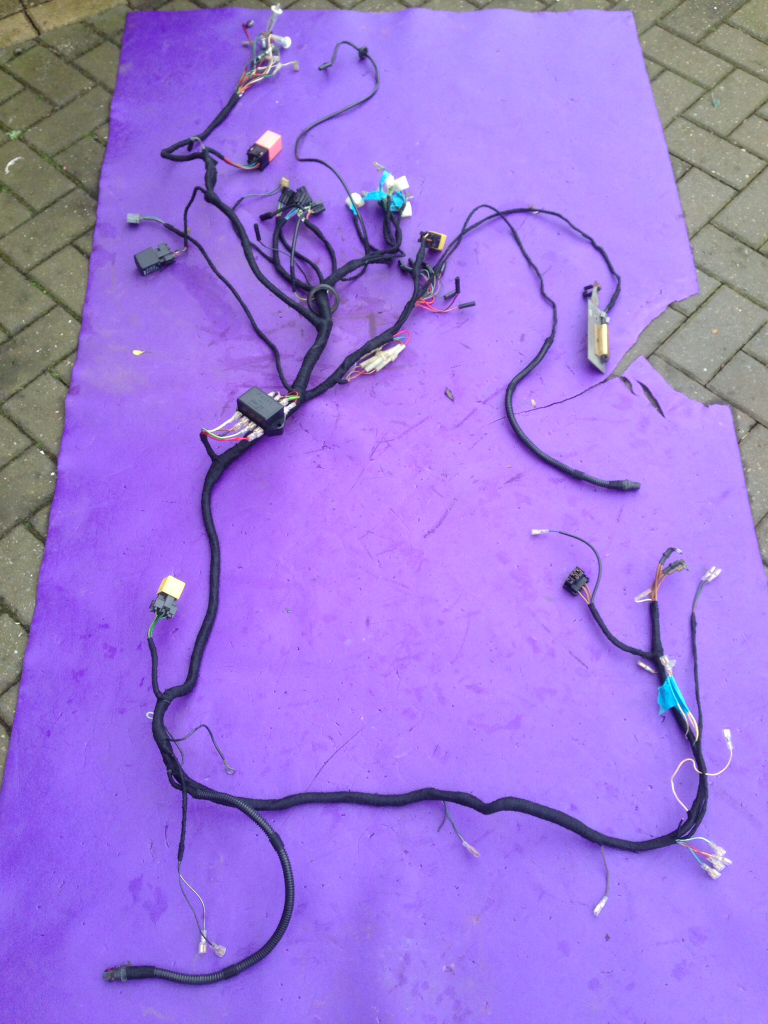
And a few close ups -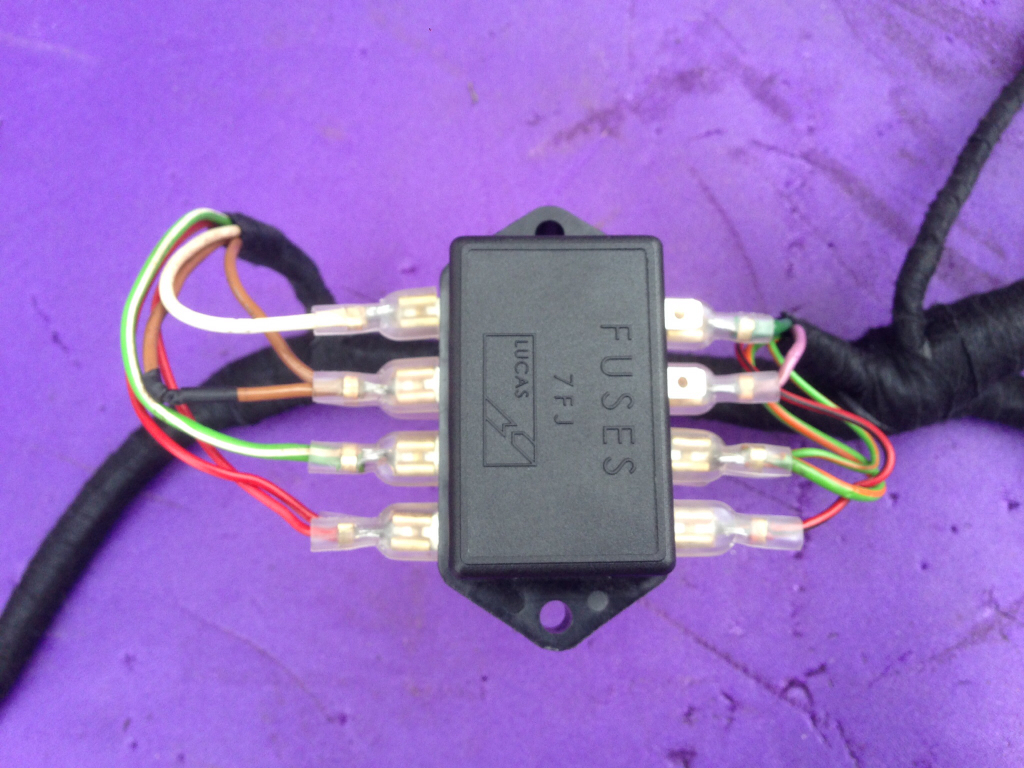
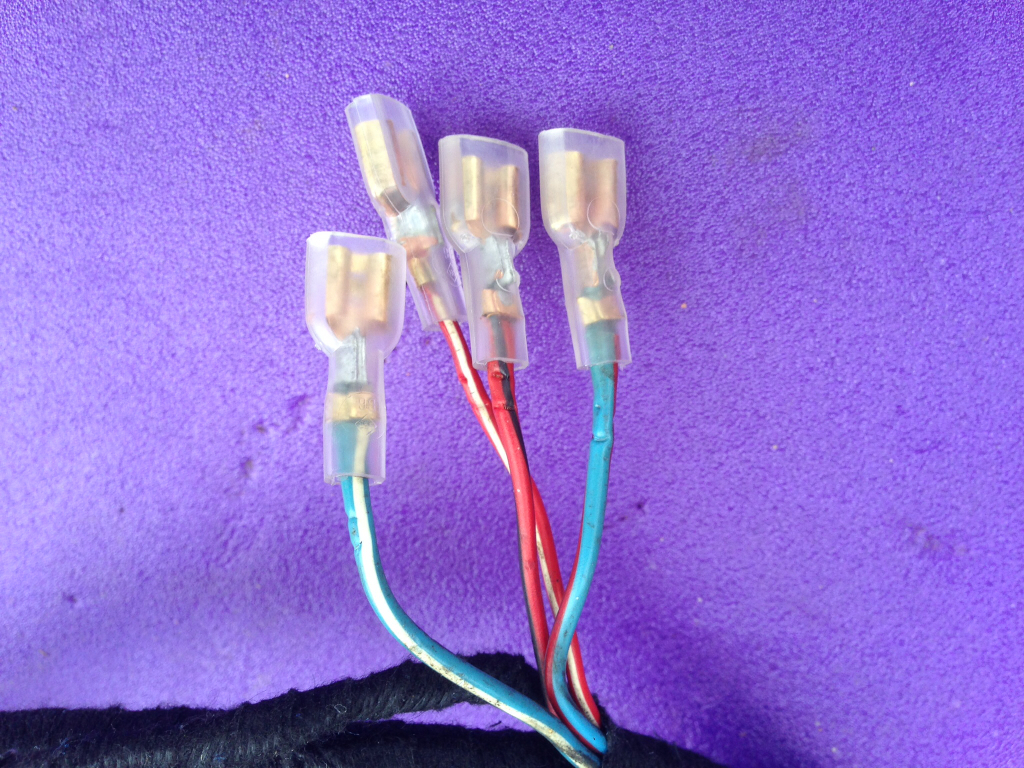
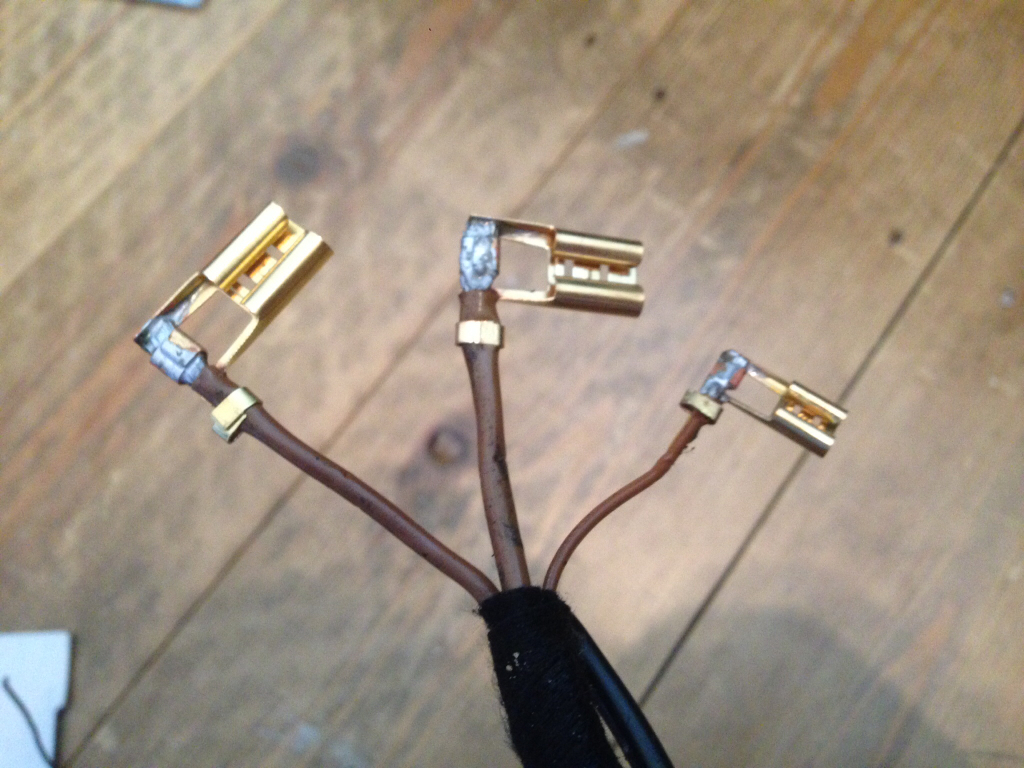
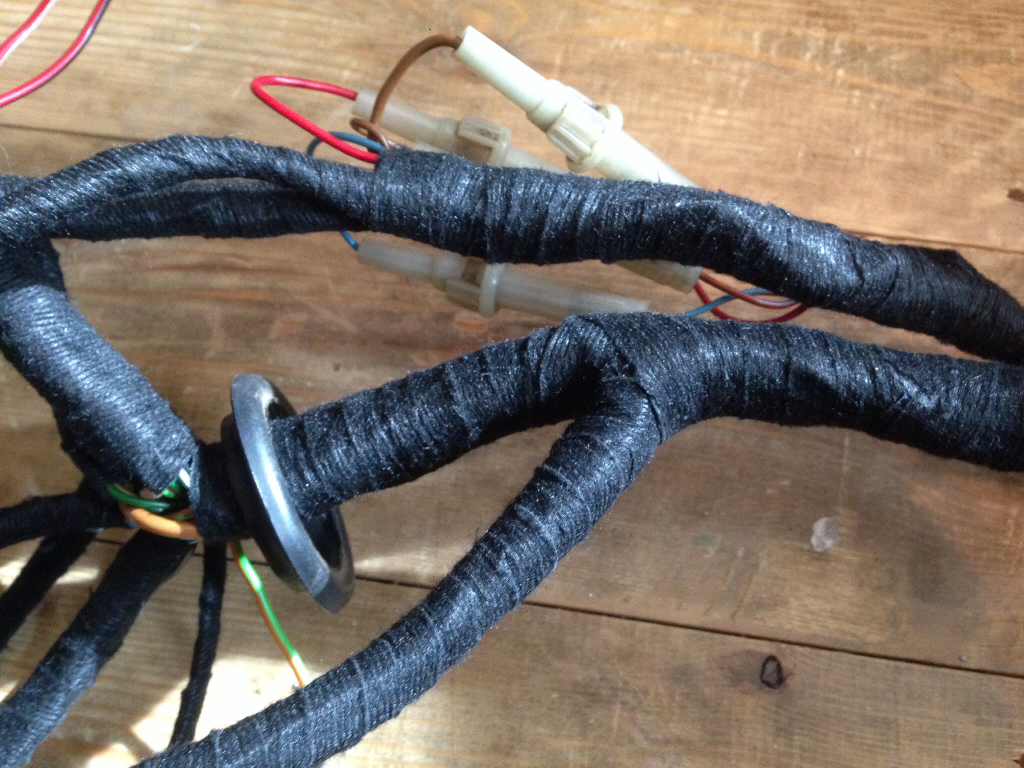
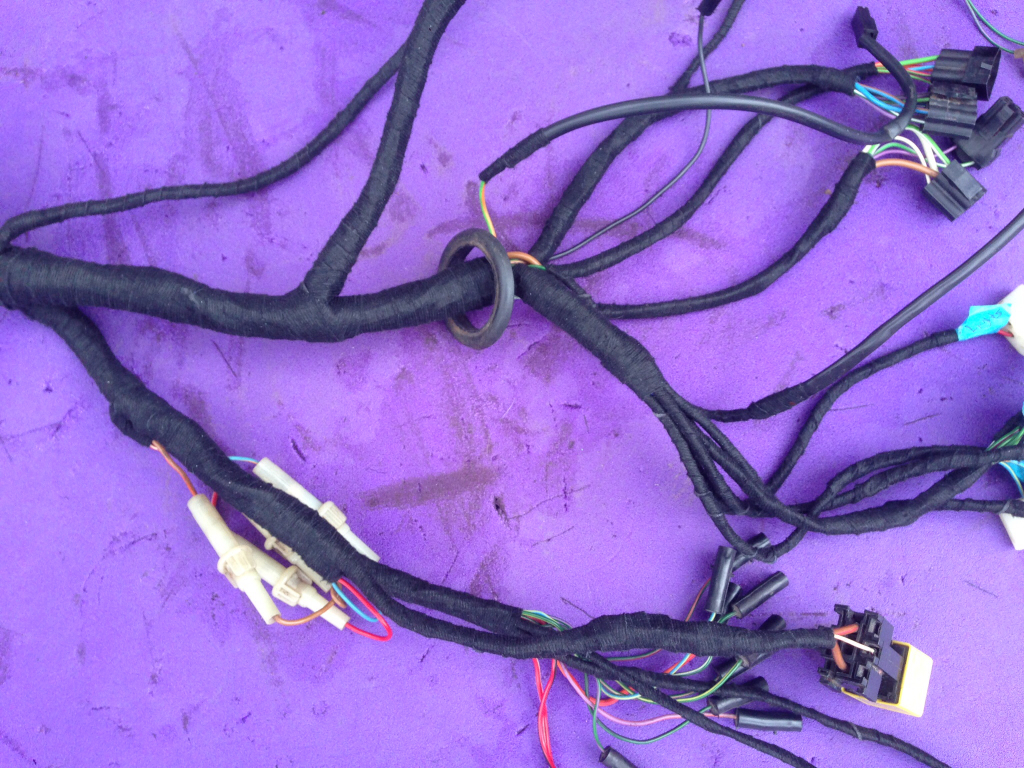
That's now been fitted back into the car and connected up. Next job was to plumb in the water pipes for the heater, here they are connected to the heater along with the heater valve -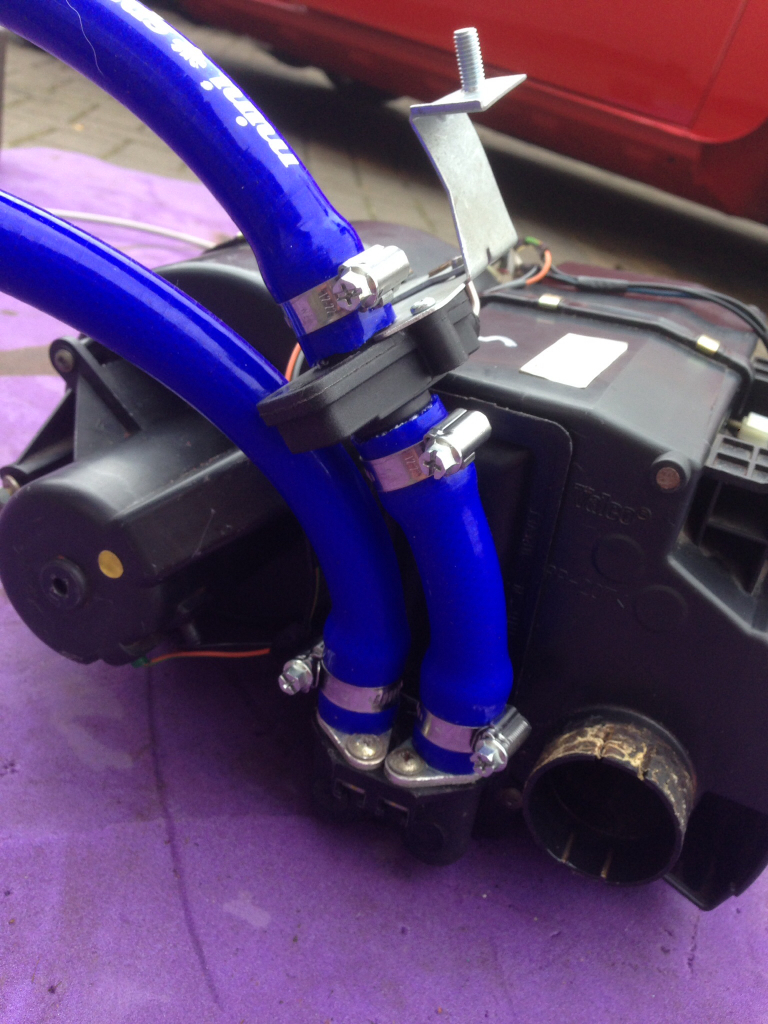
Fitted the heater back into the car and plumbed the hoses into the engine -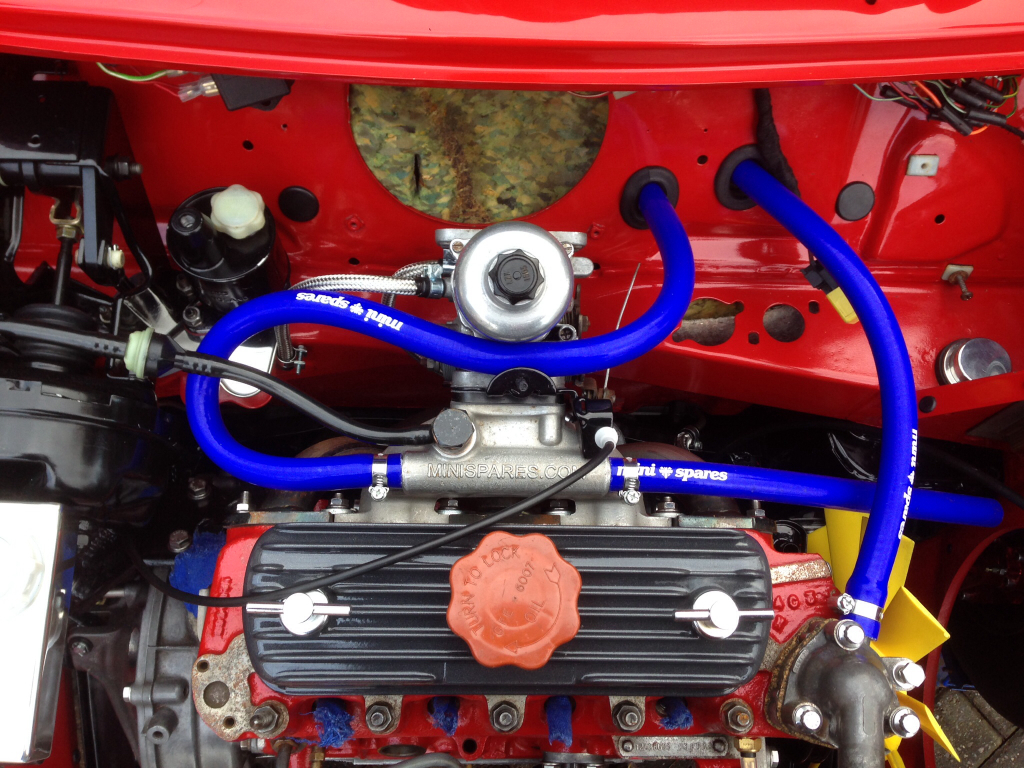
Got the rear screen fitted -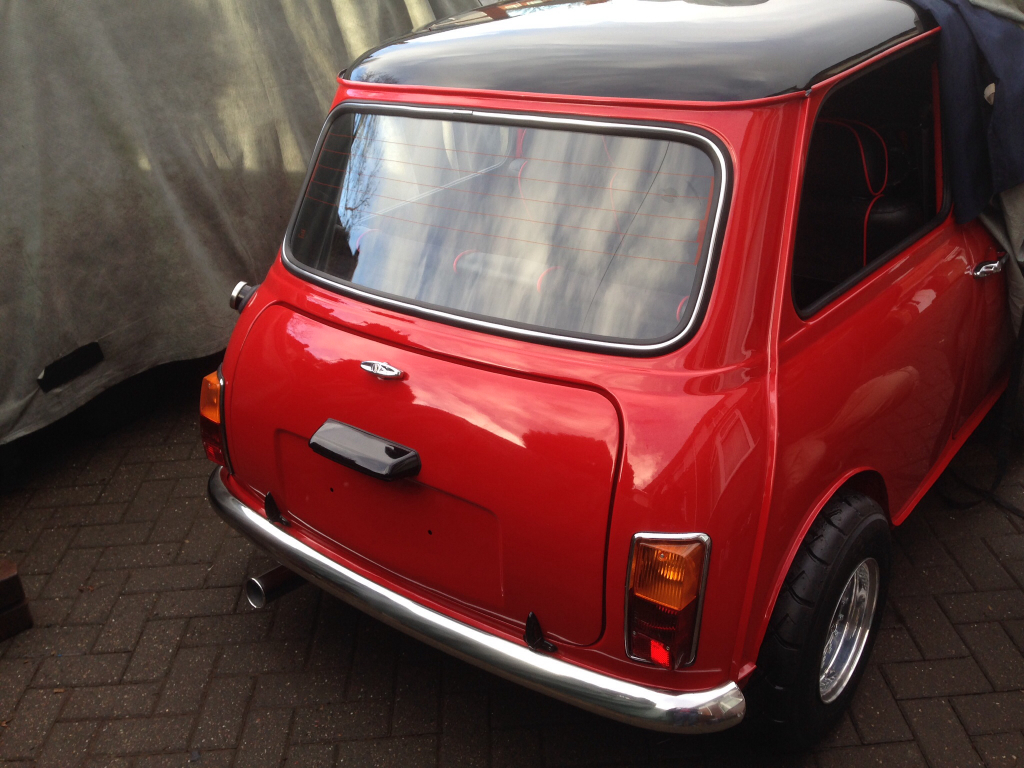
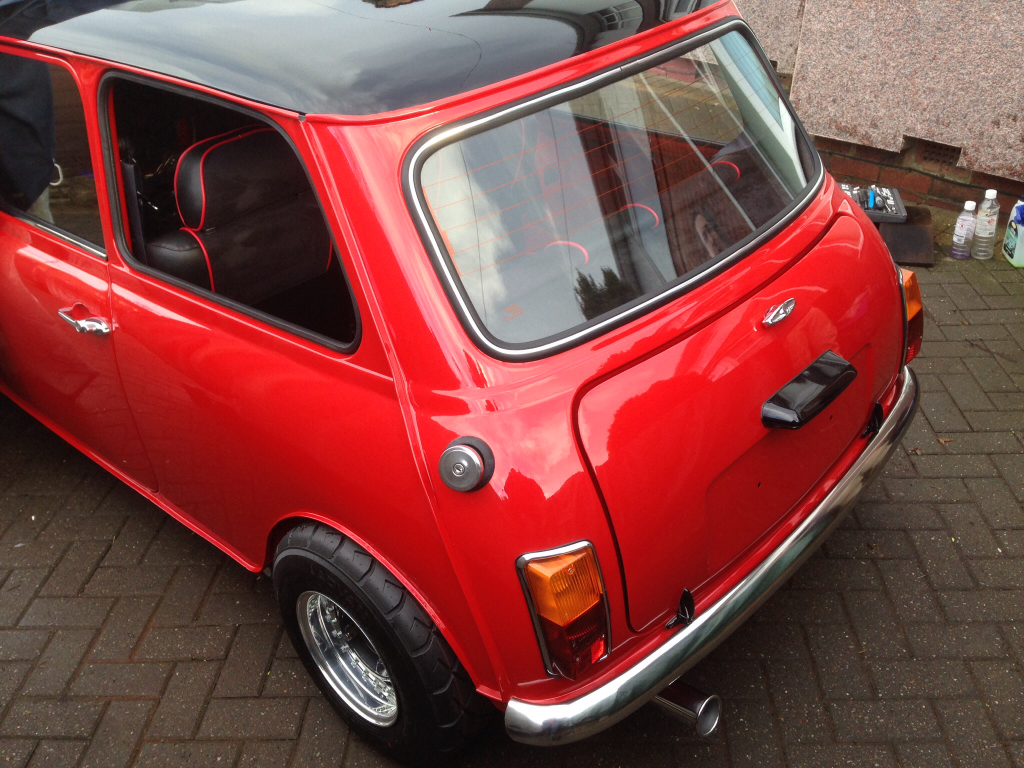
And finally, fitted the steering wheel -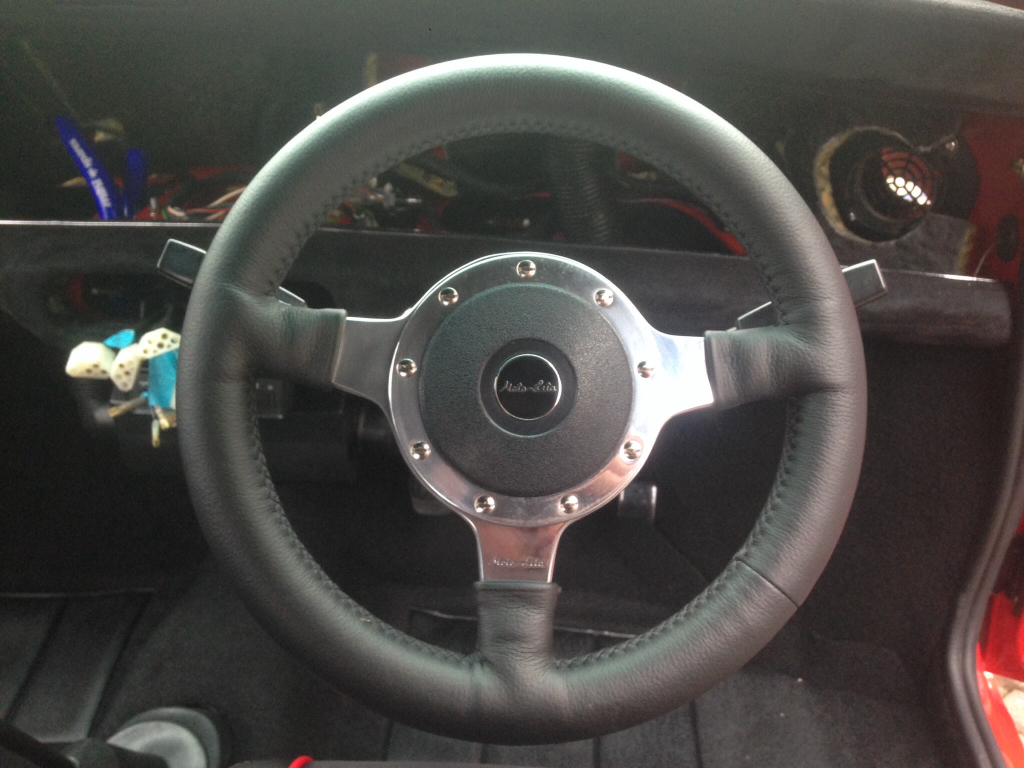
That's everything I've got done this weekend.
3-16-2015
Update,
A tad overdue !
Unfortunately, my iPad committed suicide and my phone decided to take a shower with me, so I've had no access to my pictures. (You can probably imagine how the rest of my day went ). Anyway, my phones now dried out (thankfully) and Ive bought a new iPad which means I can now update my build thread.
Ok, the brakes and clutch are now bled and fully working, and shes finally running and moving under her own steam in almost a year and a half !
I'll start with the purchased items as usual, brake fluid and a few other things -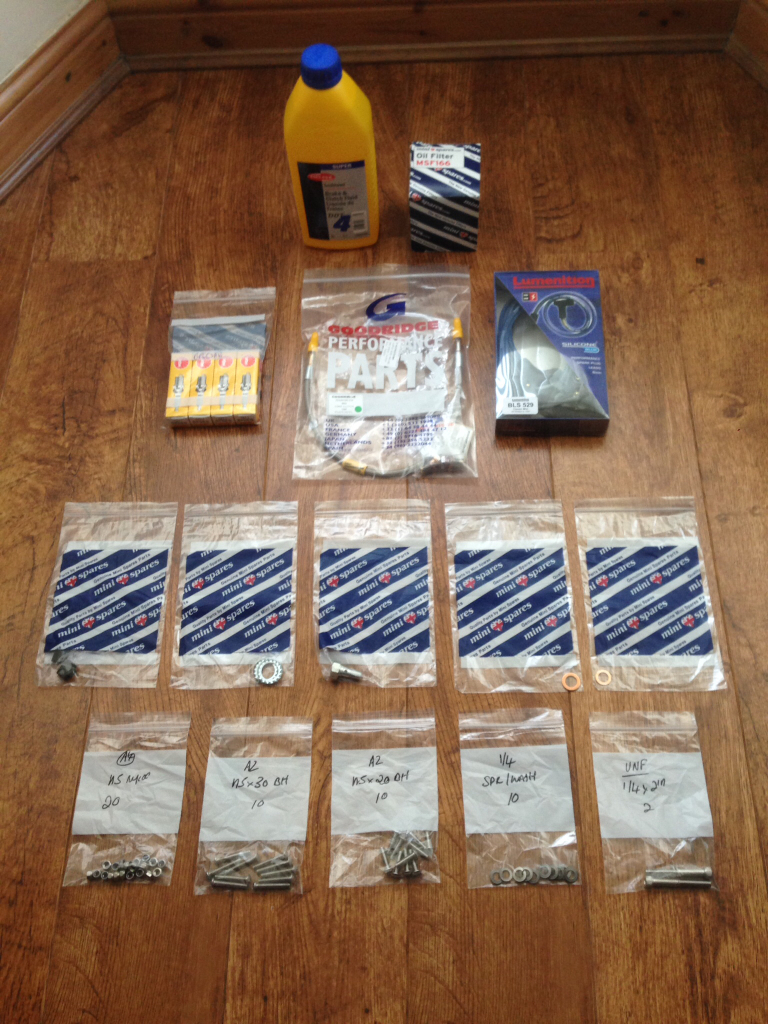
Lumenition Leads -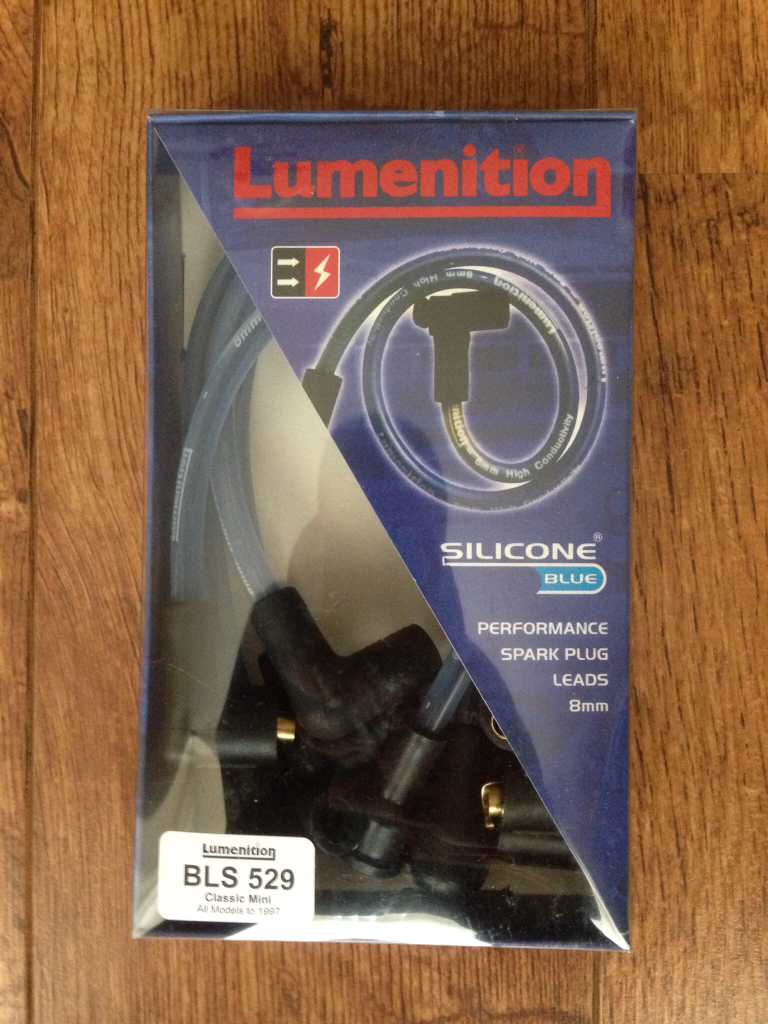
Eezibleed kit, best money I've ever spent, brilliant bit of kit ! -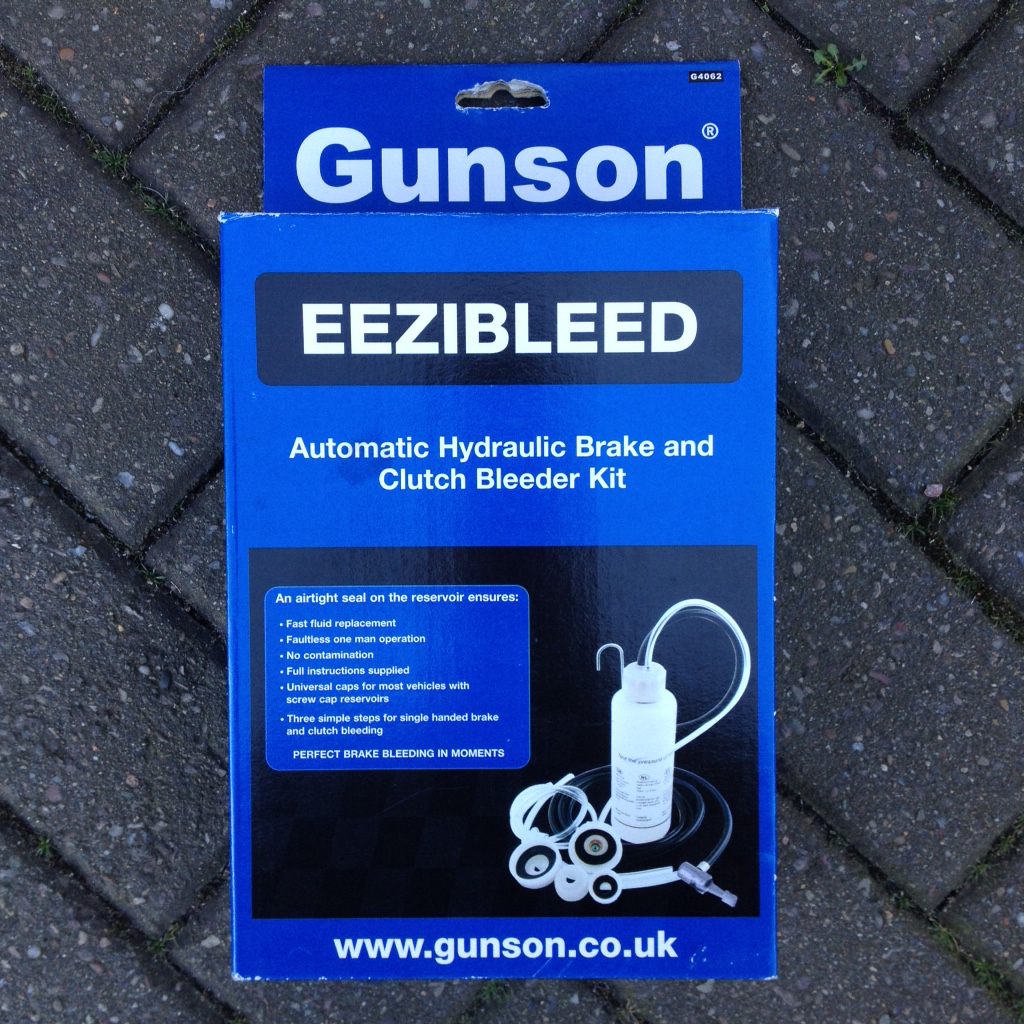
All the bits needed to crank the engine over -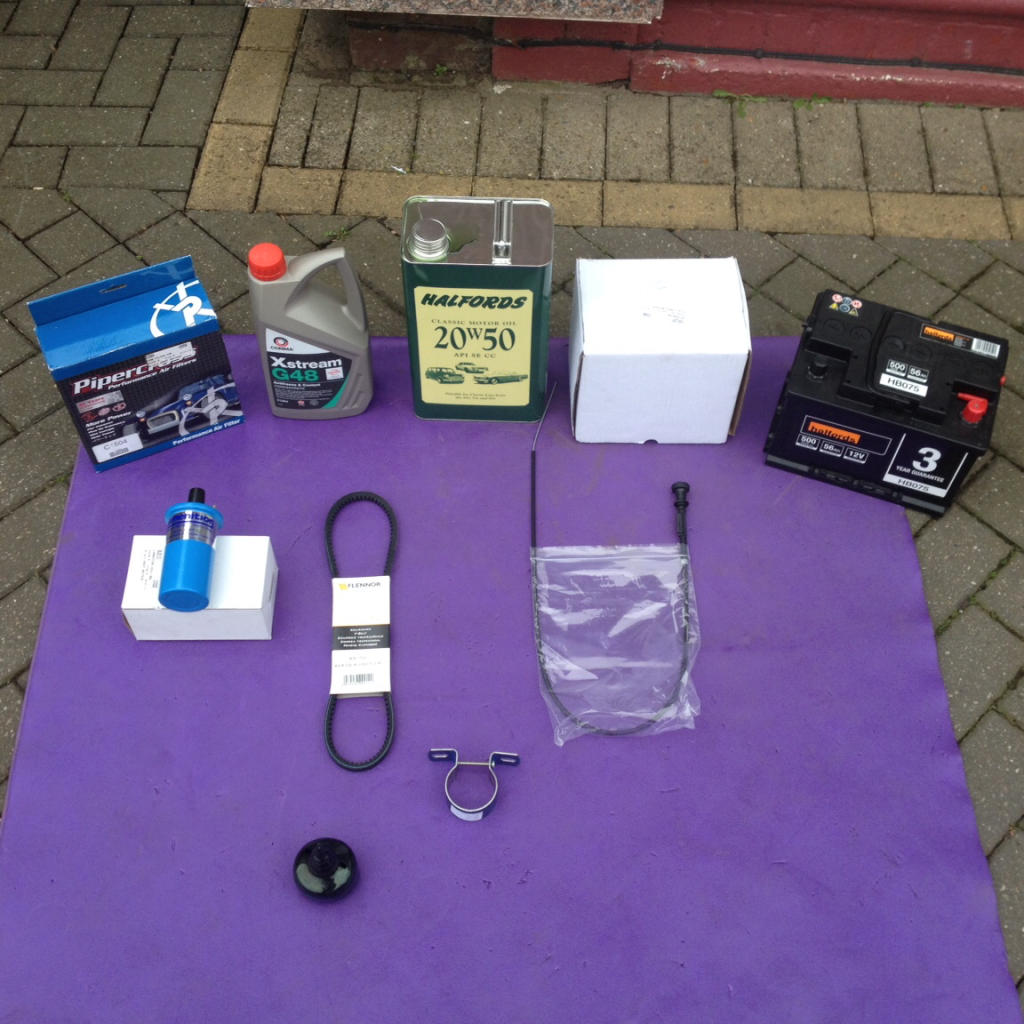
I bought the 075 Peugeot turbo diesel battery as recommended on here. An absolute beast of a battery and more juice than the Mini will ever need -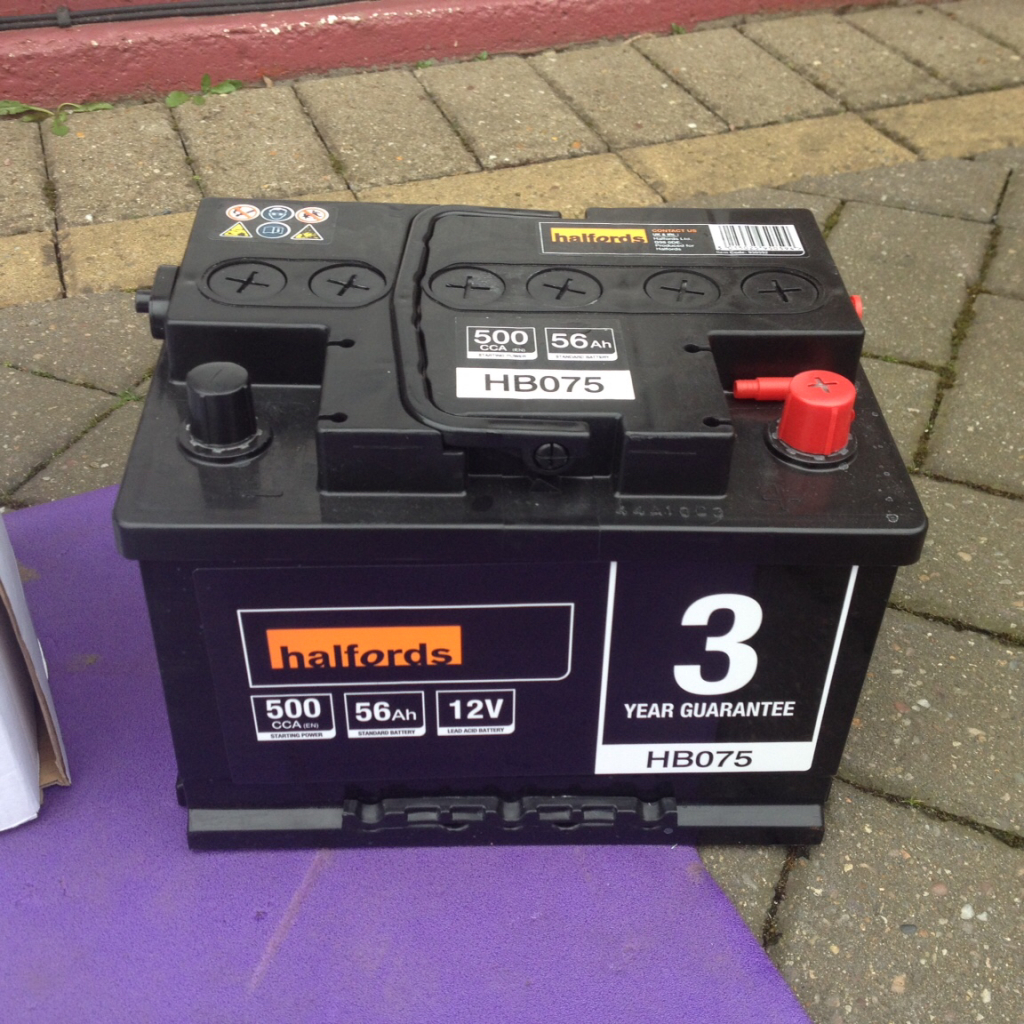
And a quick close up of the Lumenition Coil -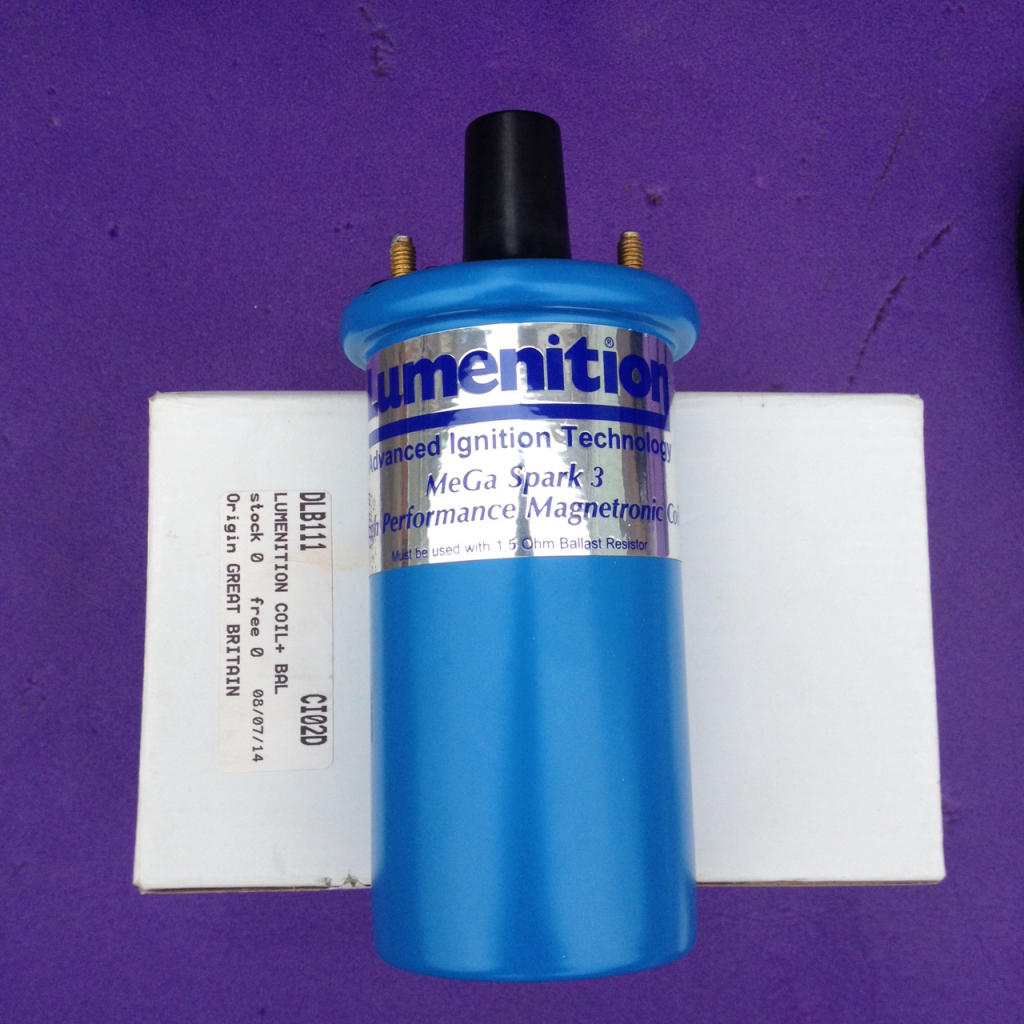
Finally, took me a while to find this small rubber boot that fits onto the brake pedal shaft but Somerford Minis came up trumps. Quite expensive for what it is -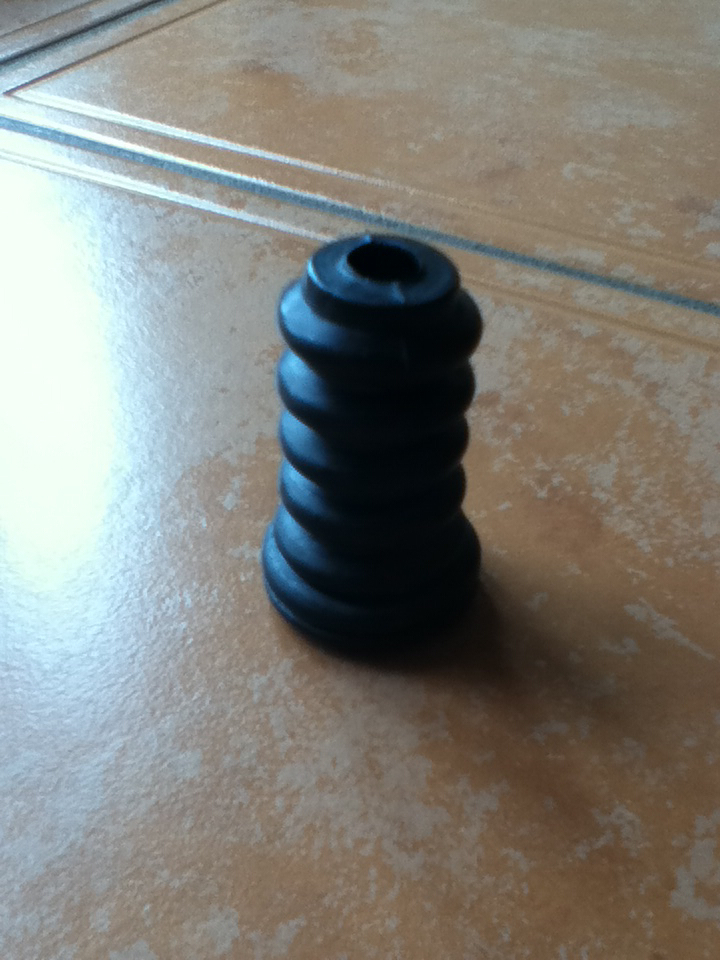
Now onto the progress, got that rubber boot fitted -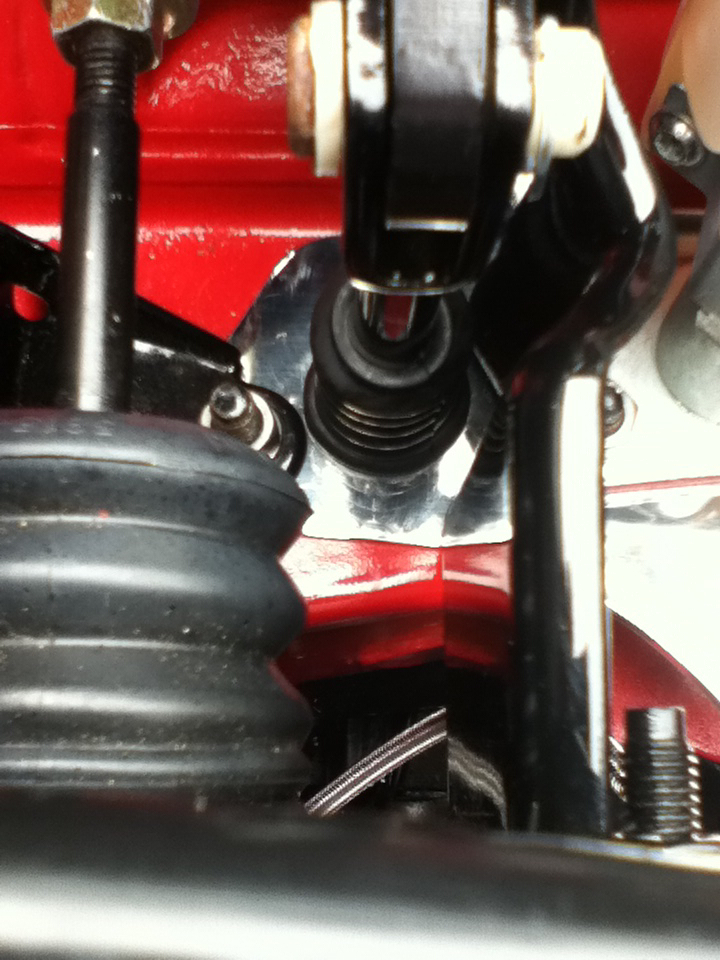
Next job was to bleed the clutch, what a nightmare ! I couldn't get it to bleed for the life of me, no matter how many times I tried I had no pressure when I pushed down on the clutch. I ended up taking off and stripping down the master cylinder and upon closer inspection of it I found a small score in the piston barrel which meant the fluid was just pushing past the seals. Damn !
So I borrowed the master cylinder of my dads mini and low and behold, the clutch bled up and worked perfectly. Here's a couple of pictures of the bleeding process using the Eezibleed kit -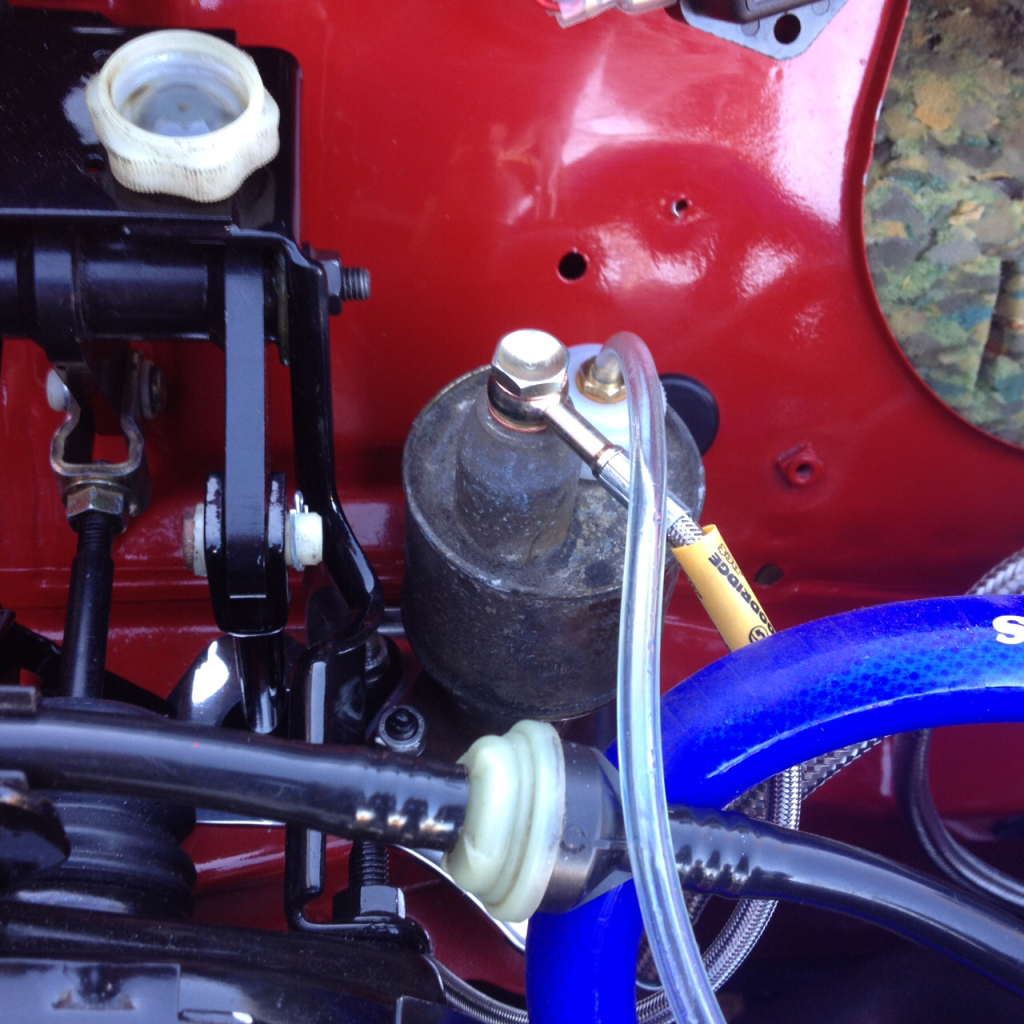
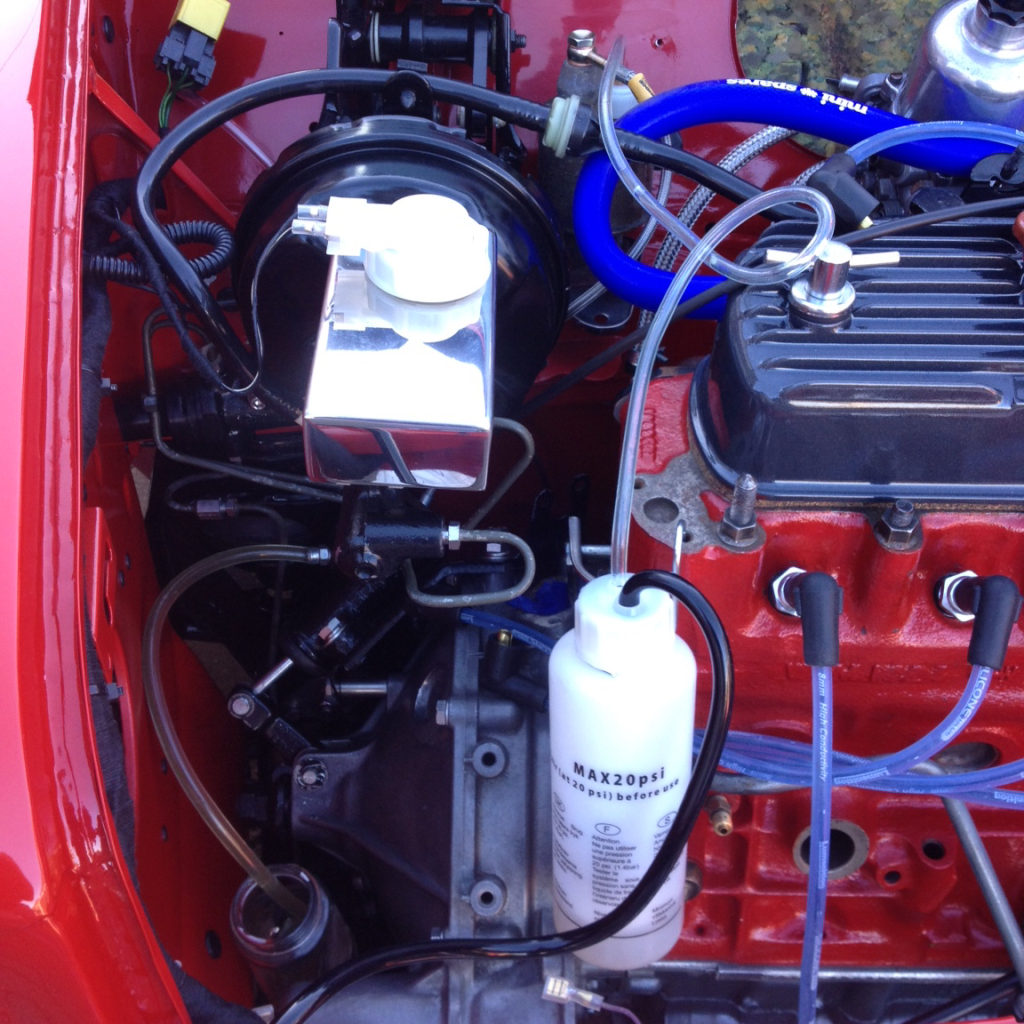
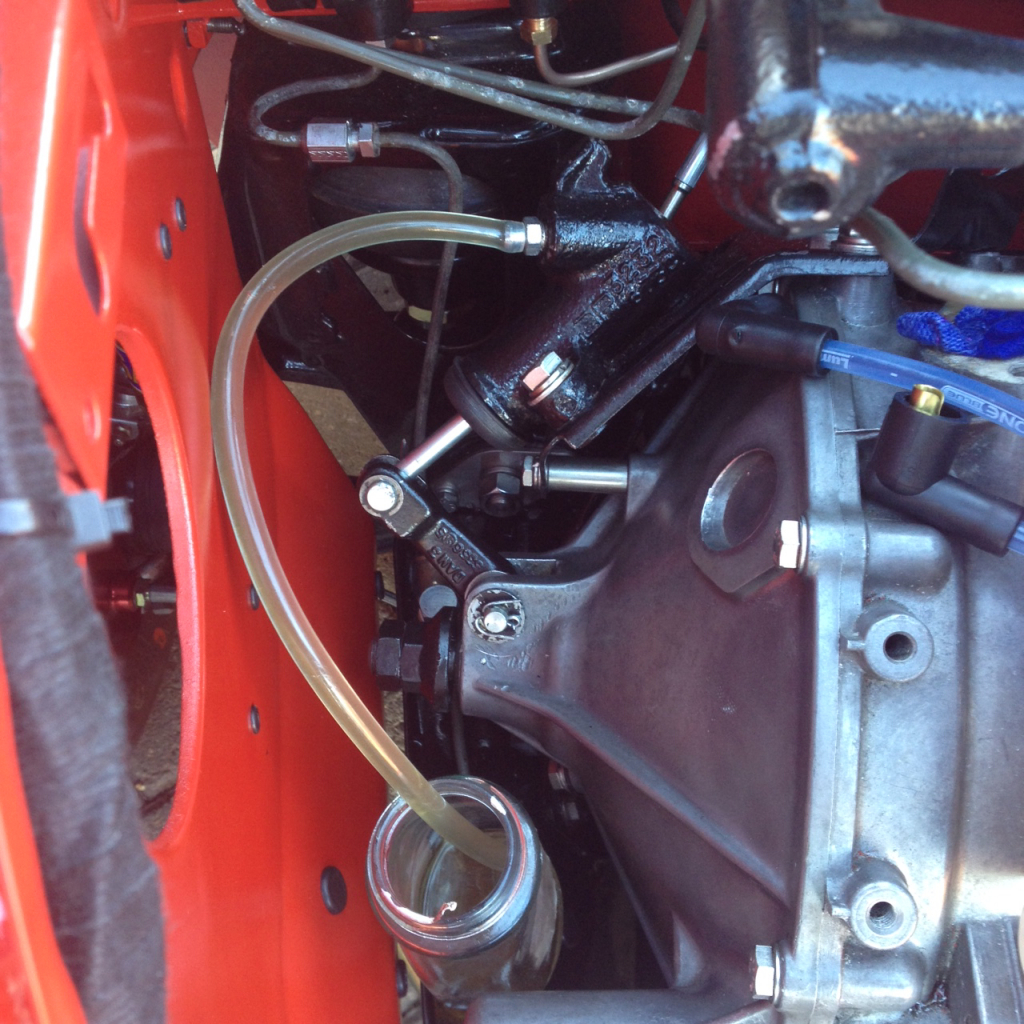
Luckily one of the members on here who's only five minutes away from me had a brand new plastic body master cylinder in the for sale section on here so I popped down and had that of him. Was quite lucky with that and I saved myself some money which is always a good thing !
Anyway, here it is -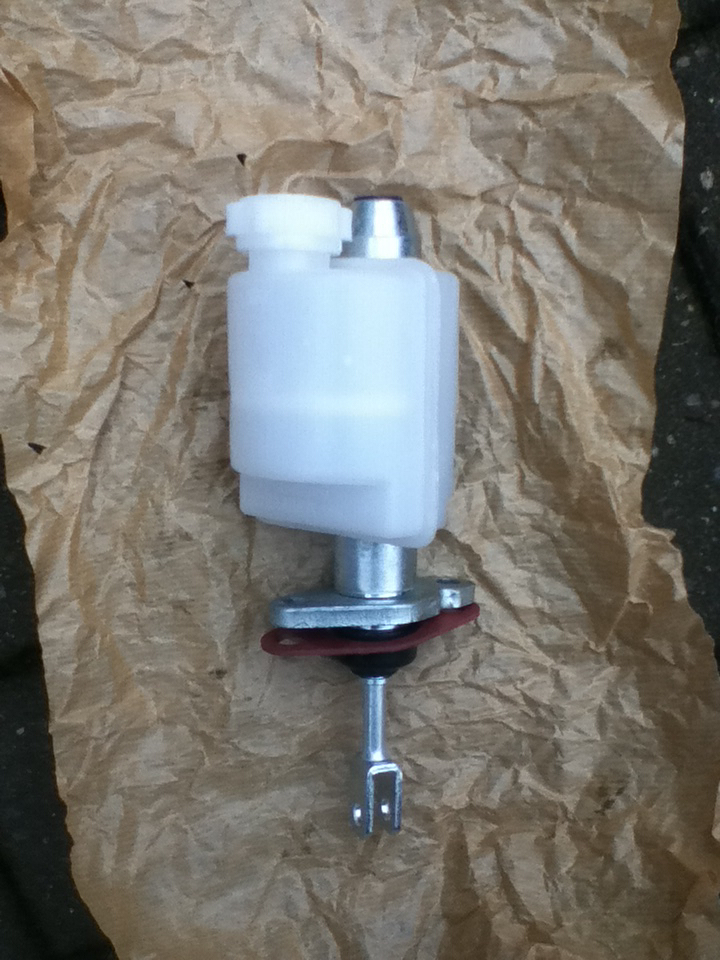
And then fitted to the car with a braided one piece hose -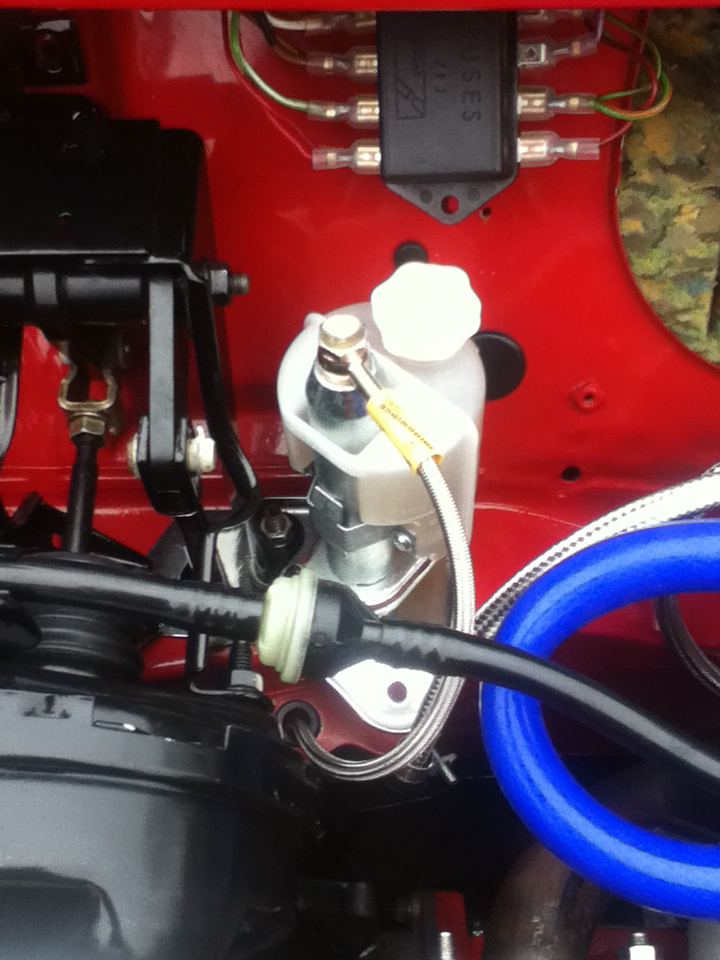
Next job was to bleed the brakes, I cleaned and re-used my old brakes lines as they're in excellent condition. Here they are fitted into the compensator valve, I used a stainless bolt to secure it to the bulkhead -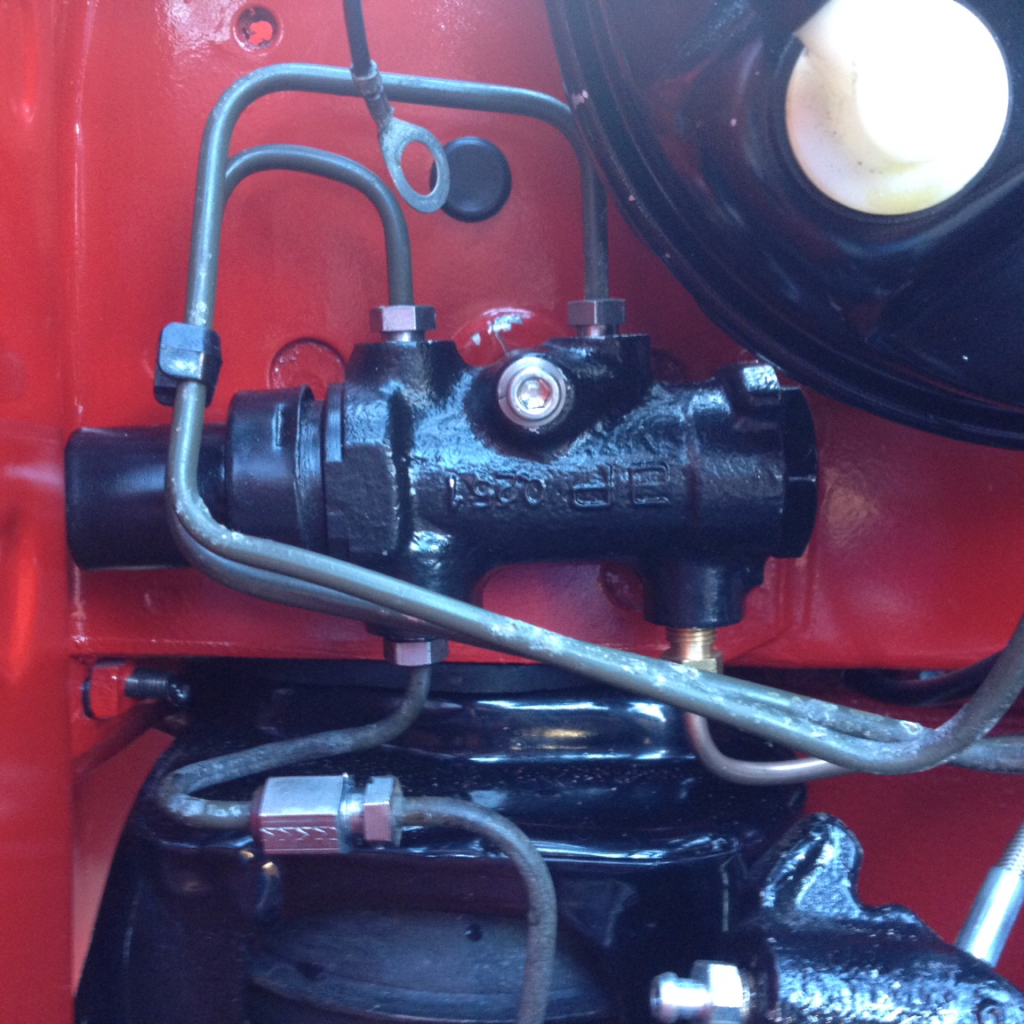
Then it was just a case of bleeding the system using the Eezibleed kit, starting with the furthest bleed valve away from the master cylinder, which is the passenger rear wheel, and then working your way around the car.
That was Saturday's progress, now onto Sunday's. I stripped most of the ancillaries from my 998 engine, starter motor, coil, distributor, alternator and used these to start my 1275. I would have fitted the new alternatives but I'm planning to use electronic ignition but haven't had chance to wire that up yet and didn't want to create any new problems, so I used the points and condenser distributor as I know that works fine. Minispares also gave me an MPI alternator by mistake so obviously I couldn't use that.
Here's a picture of it all bolted on -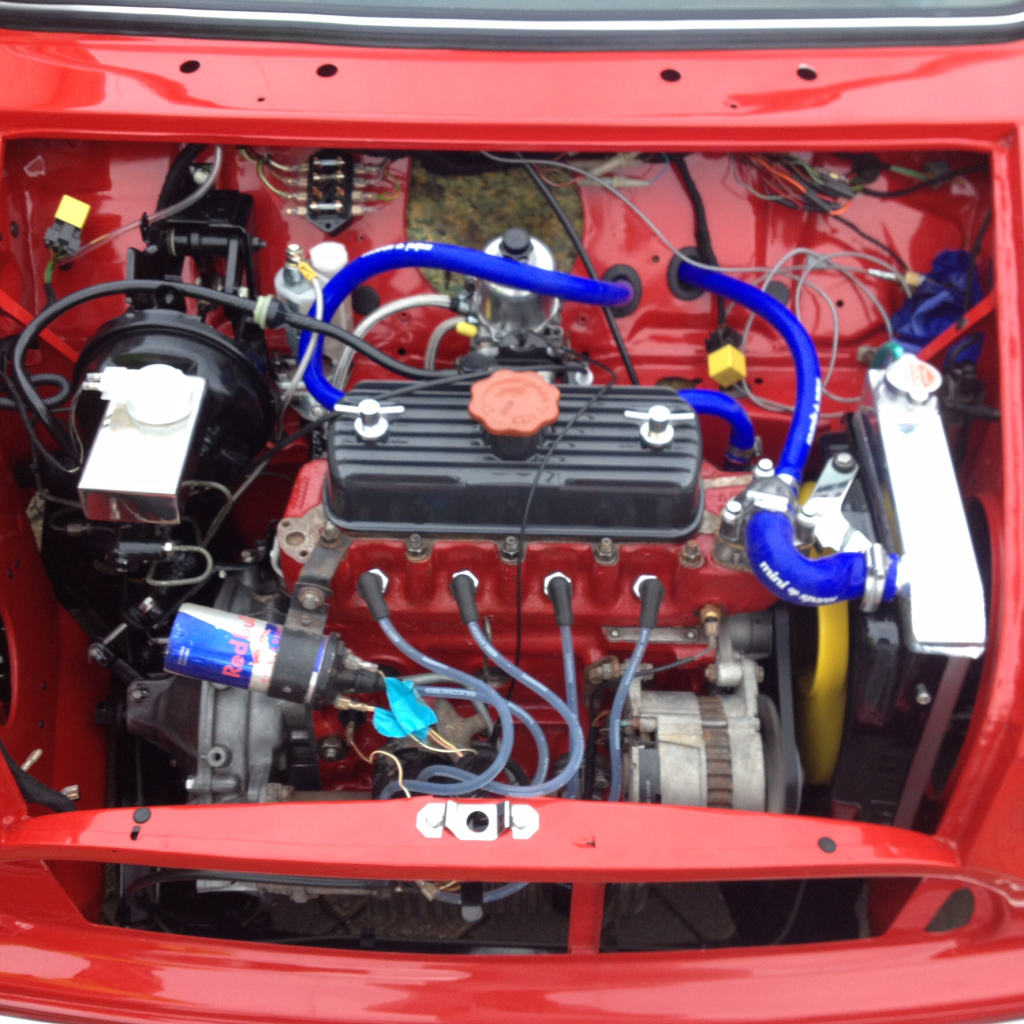
And here's a link to a video of it running, sounds beautiful and the exhaust note is excellent -
http://i854.photobuc...zpsvuaswzq1.mp4
Apart from a few small issues getting the timing right, it all went quite well.
Anyway, that's all the progress for now. I'm waiting for a few Smiffys bits to arrive and I'm going to swap the alternator over during the week as well as refurb the starter motor and what not.
More updates then