You must be logged in to rate content!
13 minute(s) of a 358 minute read
2-1-2015
Update,
We got a good days work done on her today. Started off by fitting the rear wheel arch covers we got from Optimise, brilliant quality as is the same with all of their stuff -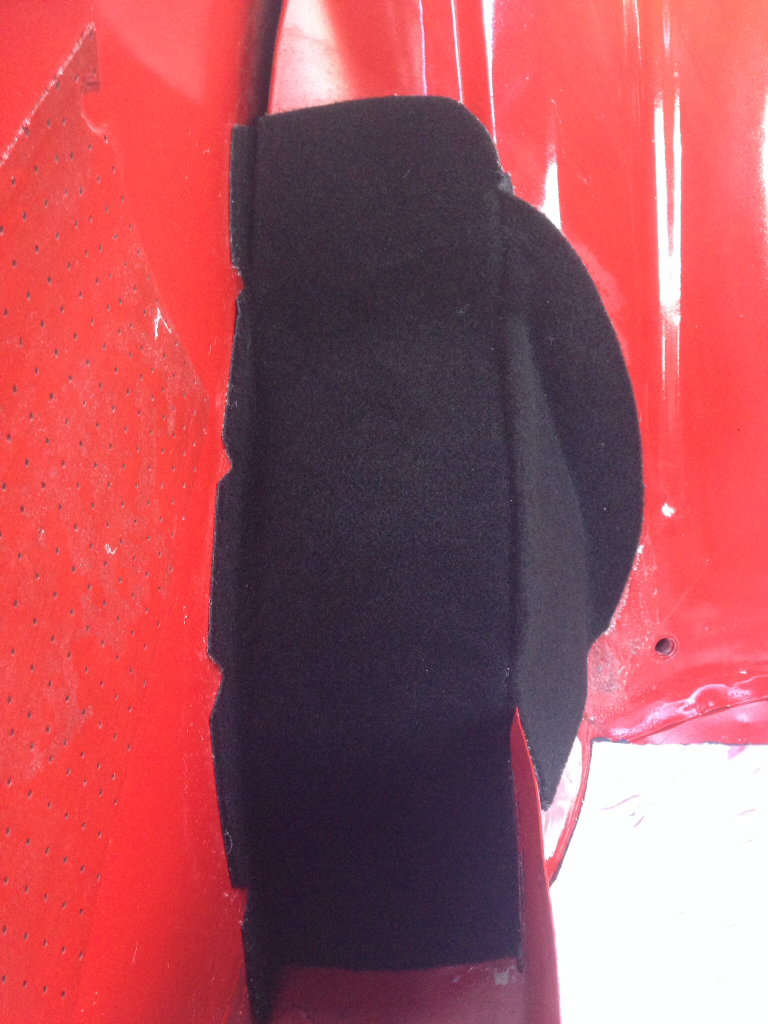
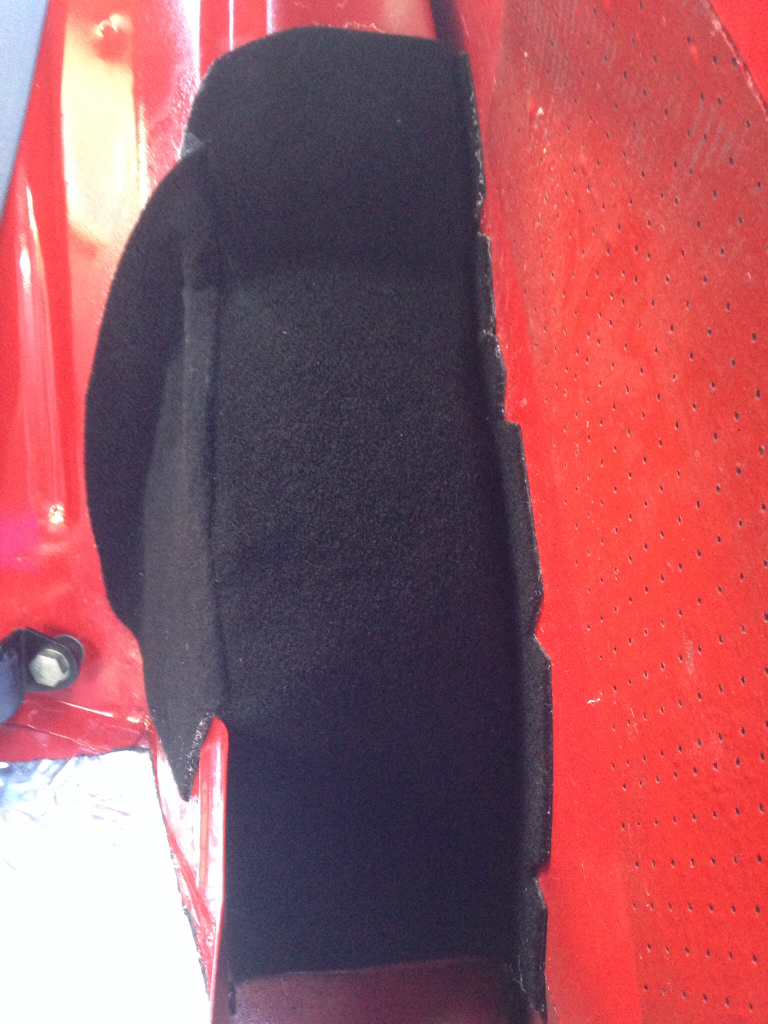
With those in place that means I could get my rear seat and seat belts in -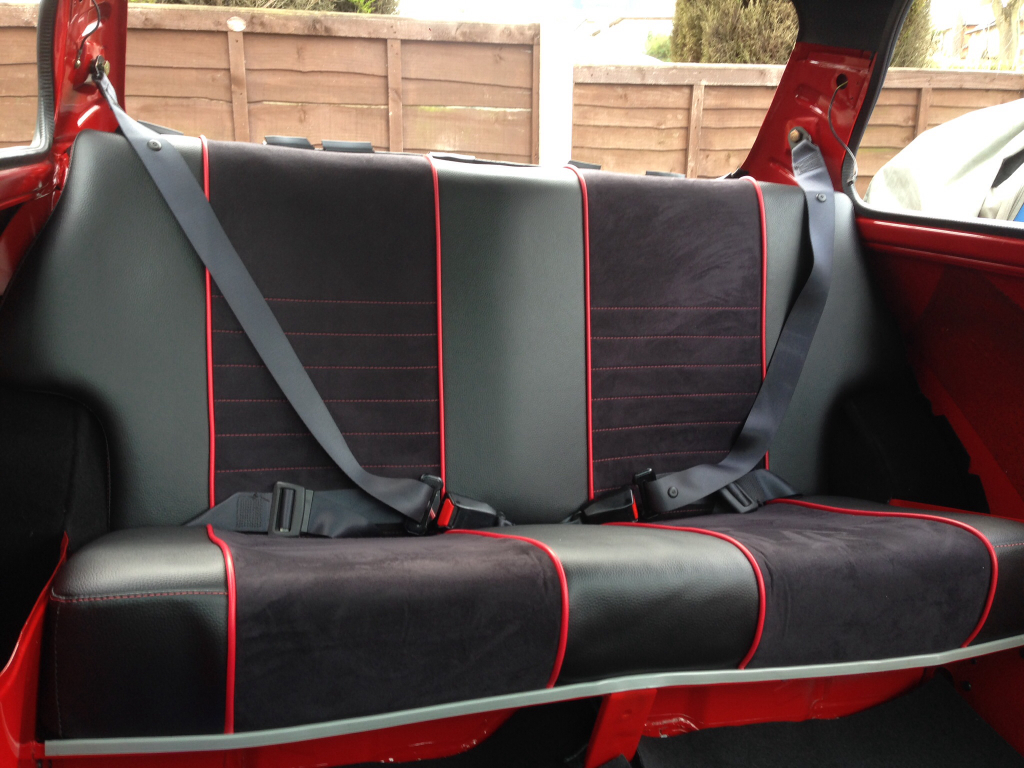
The grey lip finisher is temporary, I'll be getting some in black. Also got the parcel shelf in -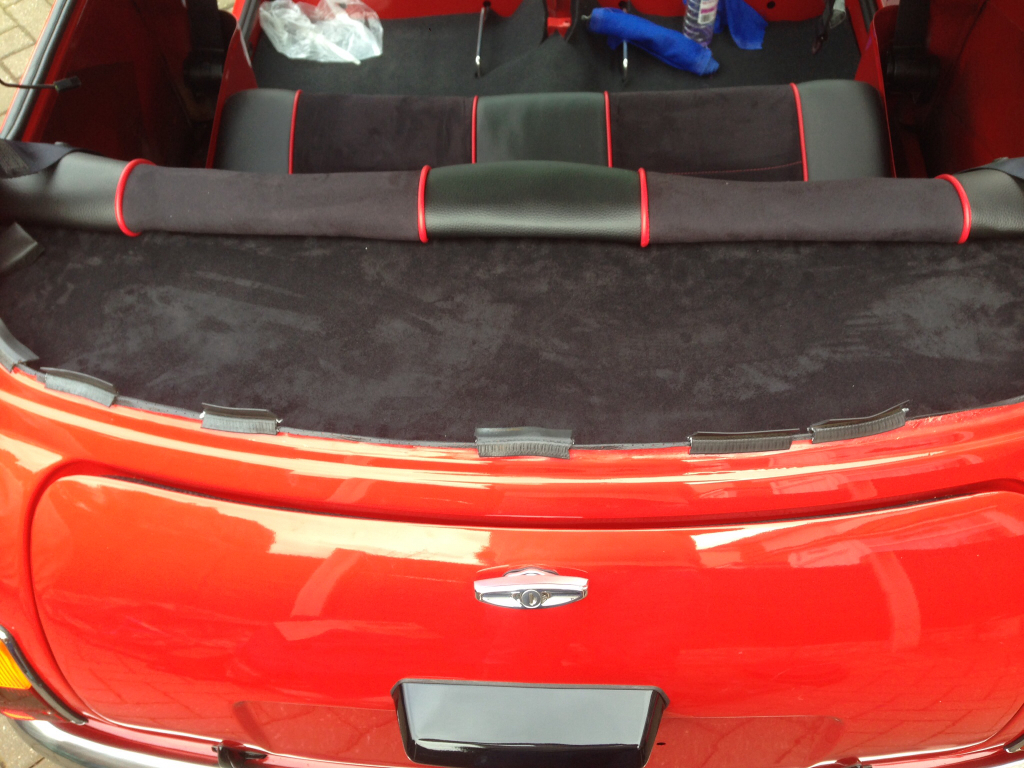
Next we carpeted the crossmember, inner sills and also fitted the rear half of the carpet set from Newton Commercial -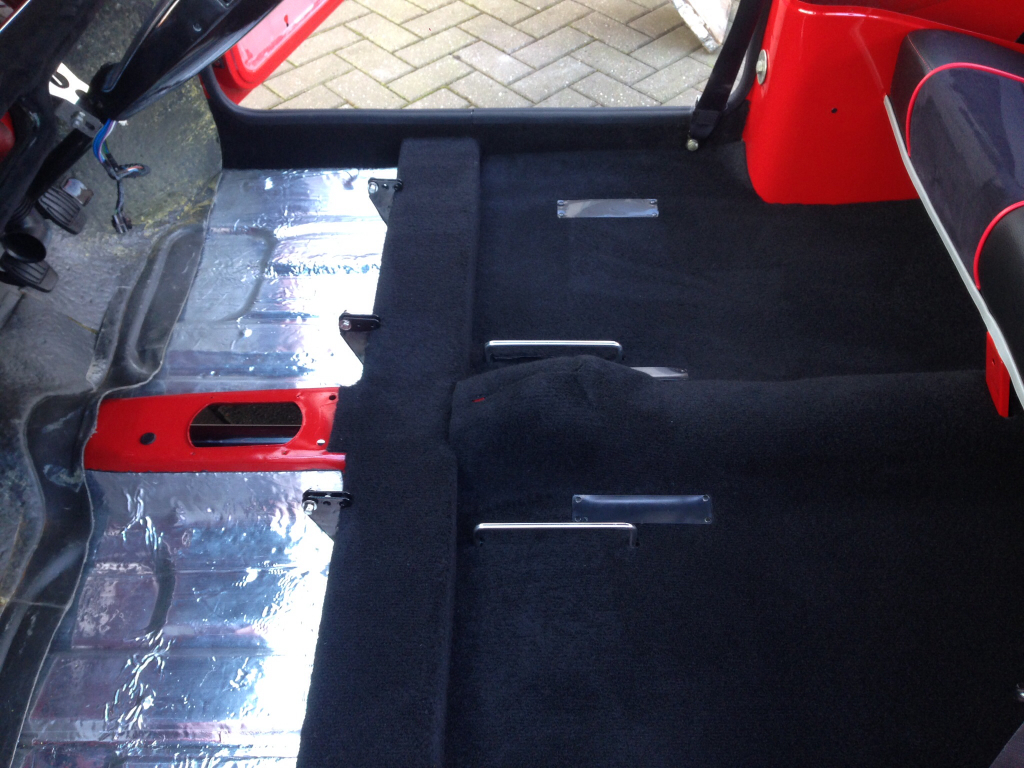
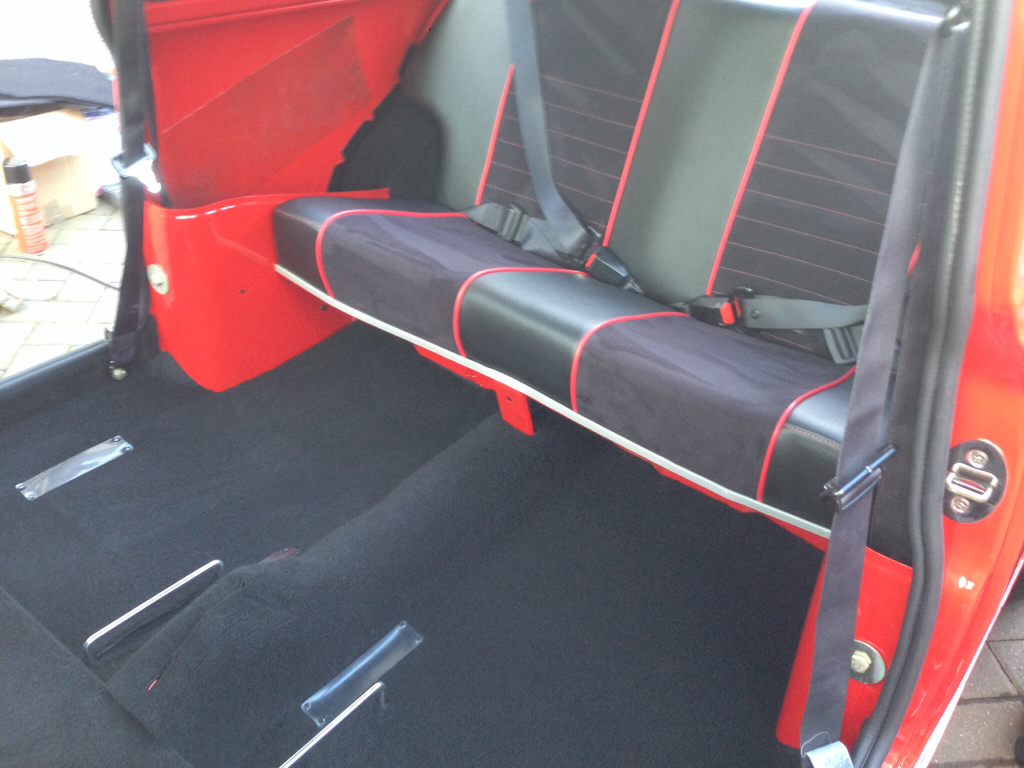
Excellent fit and hardly any trimming needed. I'm leaving the front carpet & sound deadening out for now as I'm going to refurb the gear selector tomorrow and get that fitted.
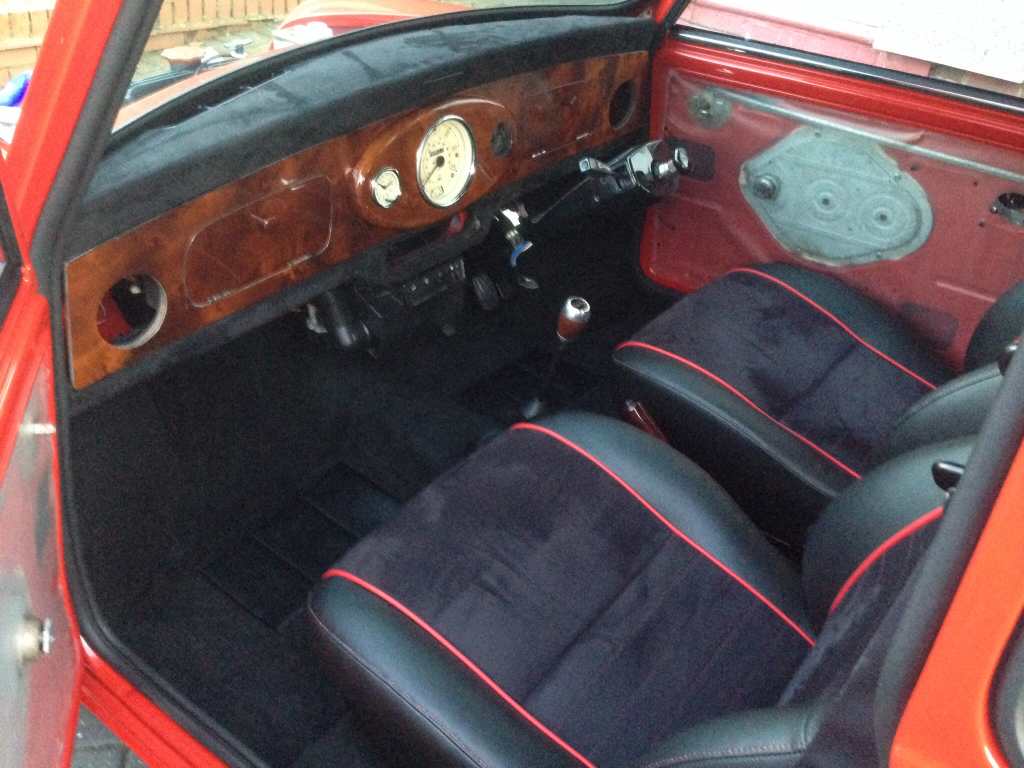
Next to go in was the front seats, here they are -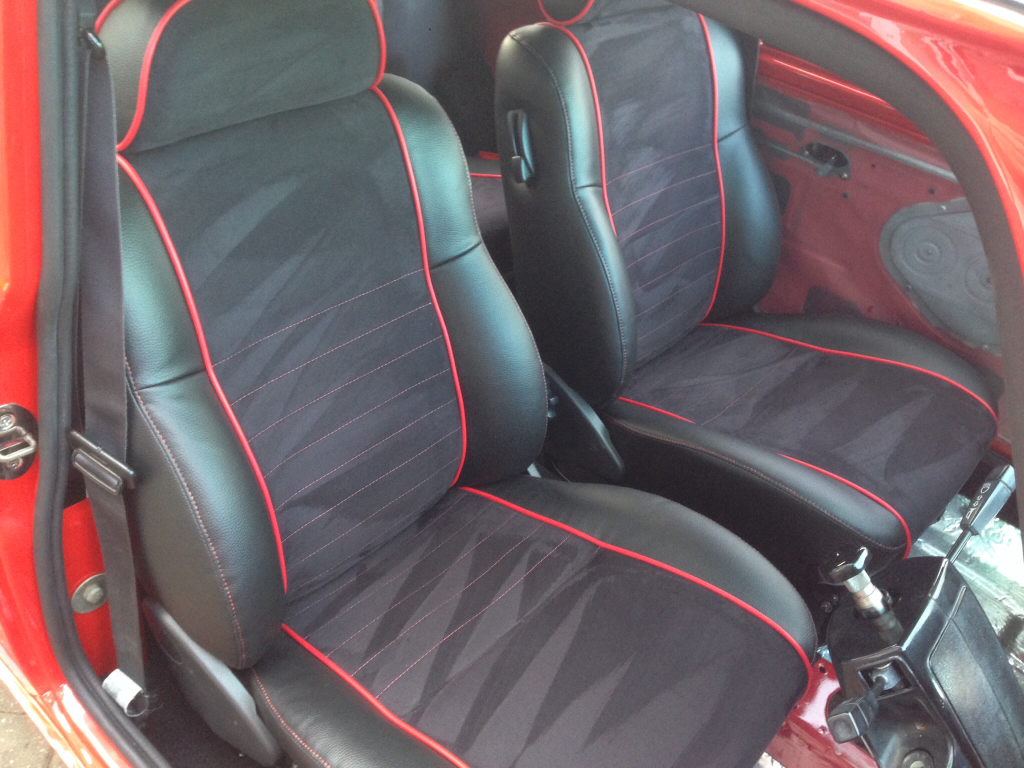
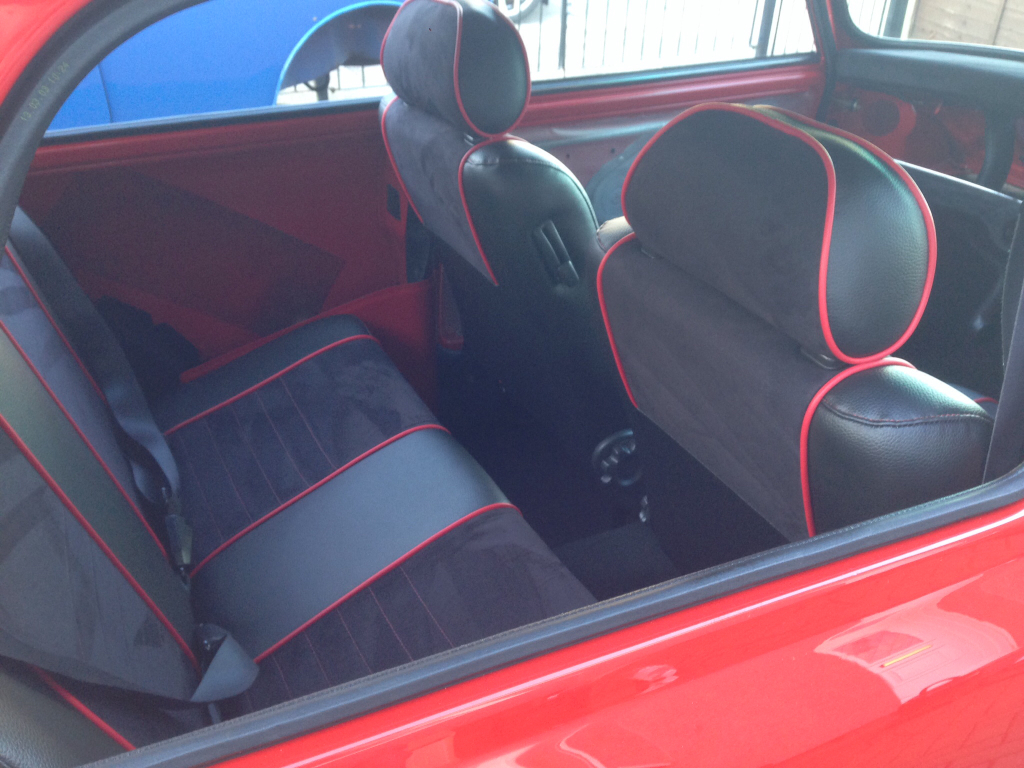
And finally a couple of overall shots of where I'm at -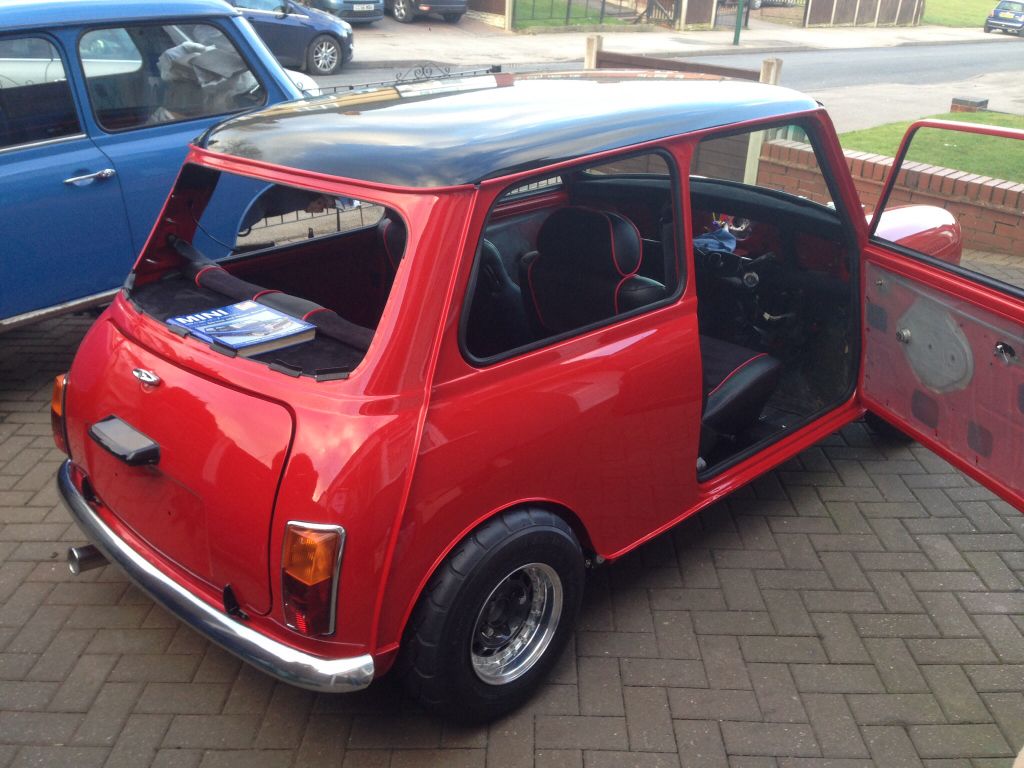
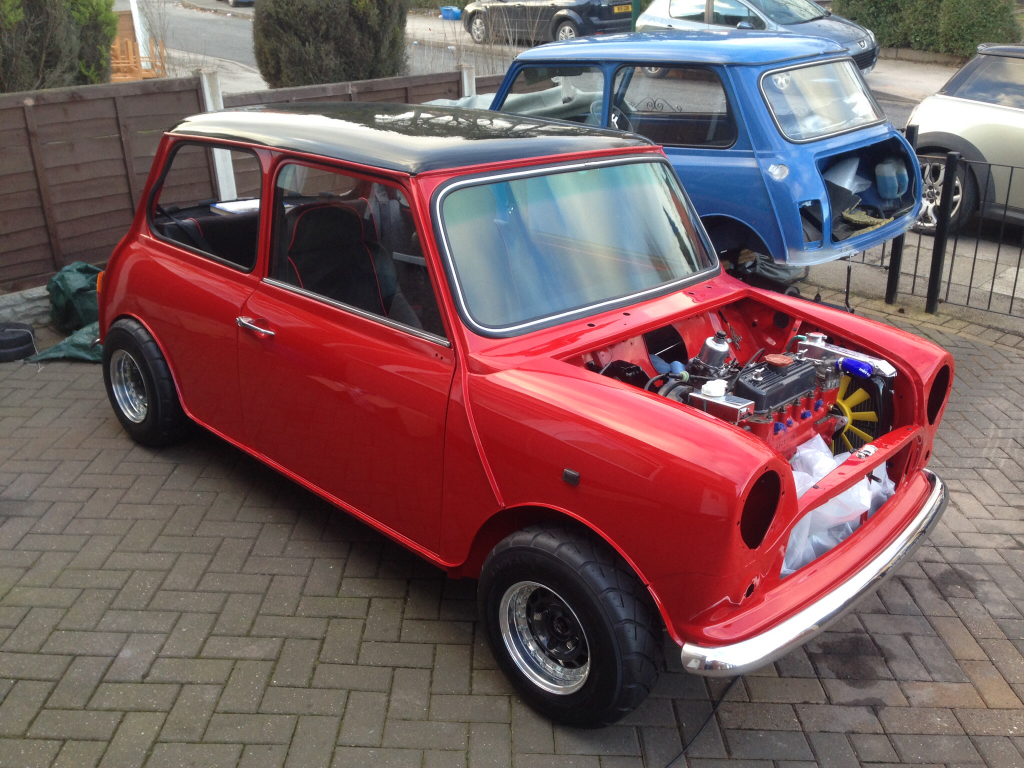
It looks excellent inside the cabin and the smell is absolutely amazing, like a Mini that's just rolled of the production line at Longbride !
That's all for today, the next jobs will be door cards, door furniture, door capping's and then the plastic pockets can go into the companion bins.
2-2-2015
Update,
I've spent the day refurbishing the gear selector, here's a run down of what I did.
I degreased and wire wheeled the alloy housing first, the old grease inside was a pig to clean out as it had turned into what resembled cheese string. Here it is -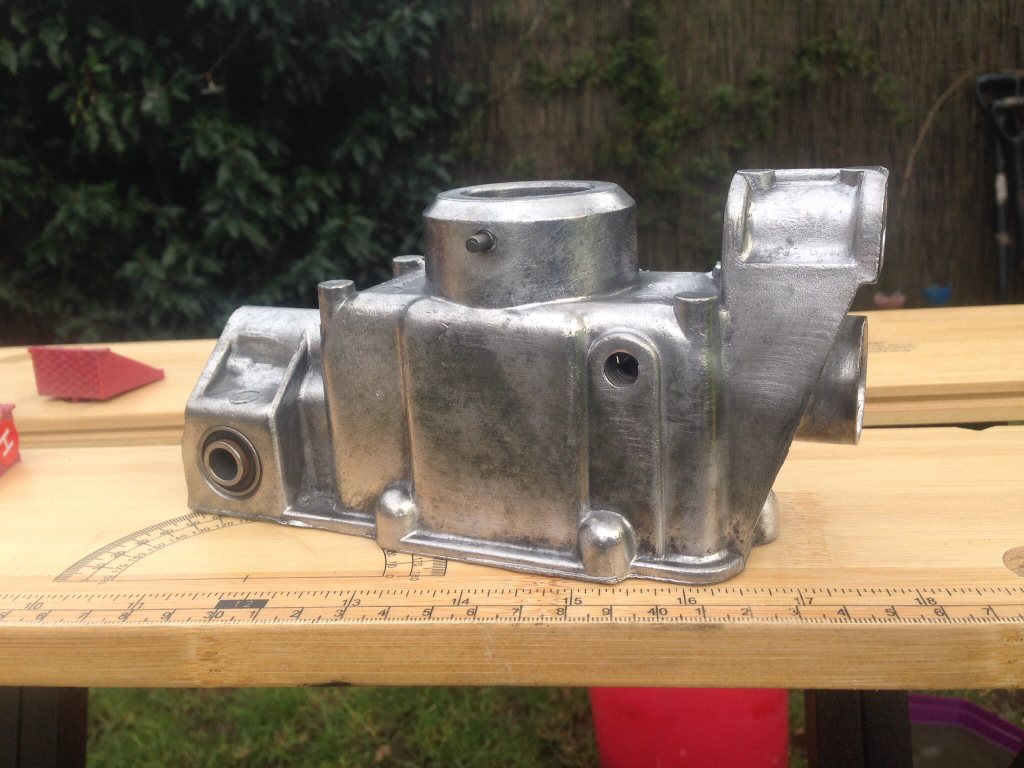
Next I wire wheeled and zinc primed the two arms -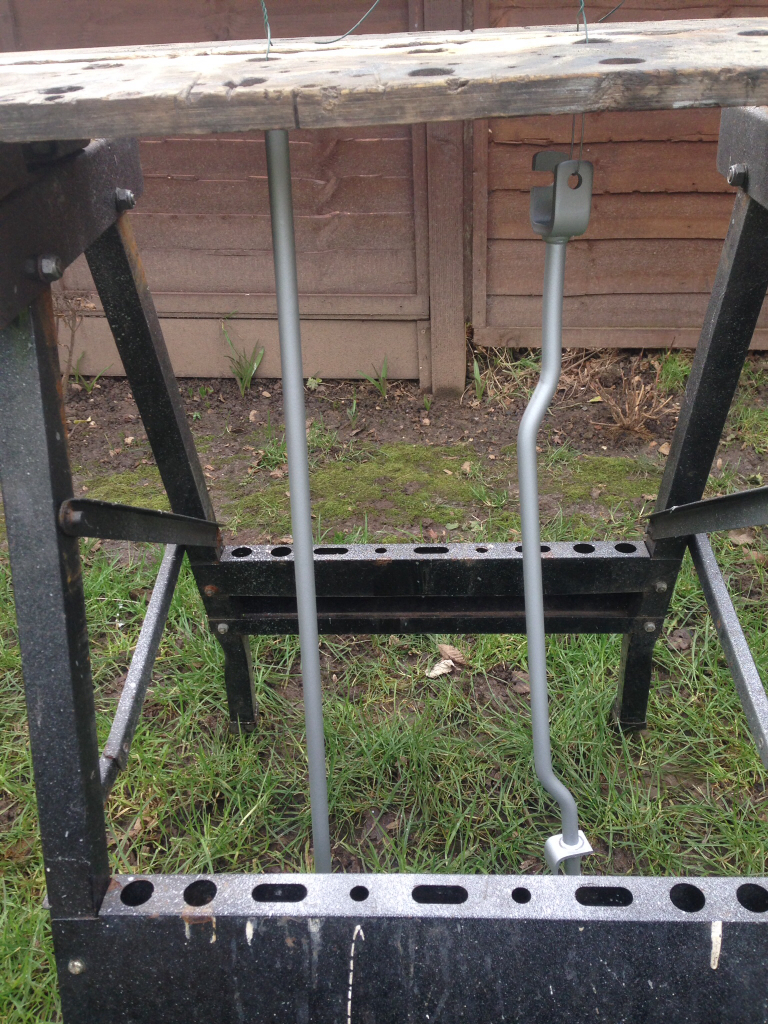
I also painted these gloss black but didn't take a picture. After leaving those to dry for a while I started to assemble the selector. I fitted the lower arm back into the casing and knocked in the roll pin that connects it to the 'yolk'. Then packed it full of fresh grease -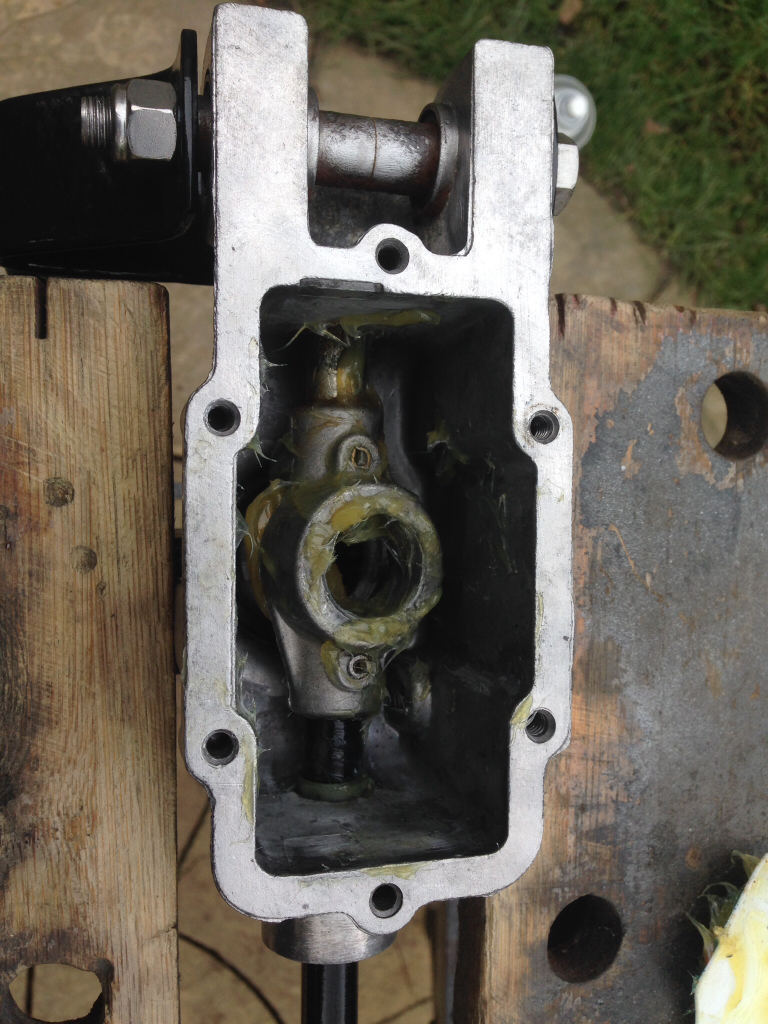
Happy with that I closed it off with the plate I had powder coated, I also replaced the screws with stainless allen head bolts -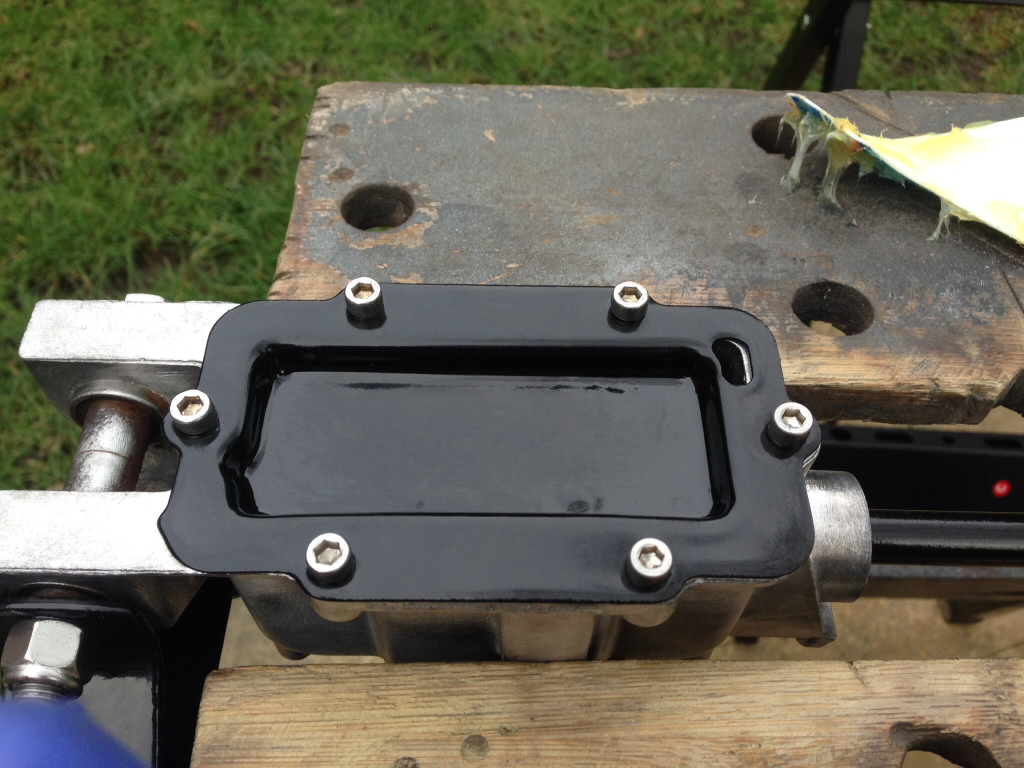
Next to go on was the upper arm, the other powder coated bits and new rubber bobbins. All bolts have been replaced with stainless ones -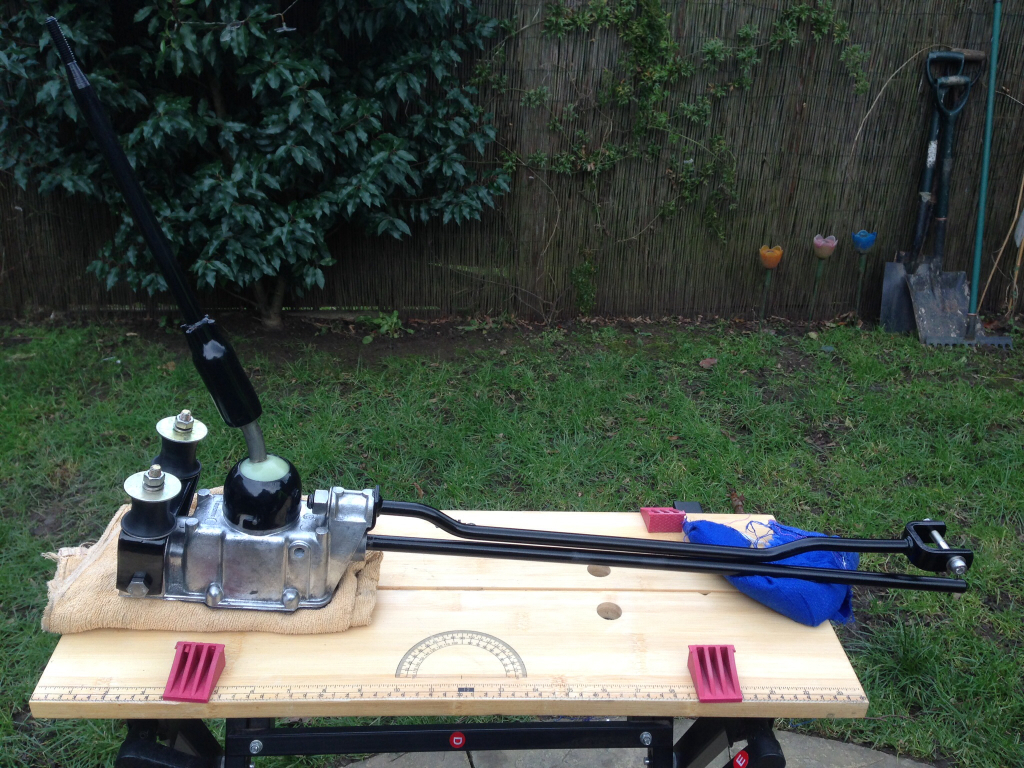
I got a Moto-Lita gear knob for Christmas, it's new old stock and was quite expensive, but will tie in nicely with my other Burr furniture -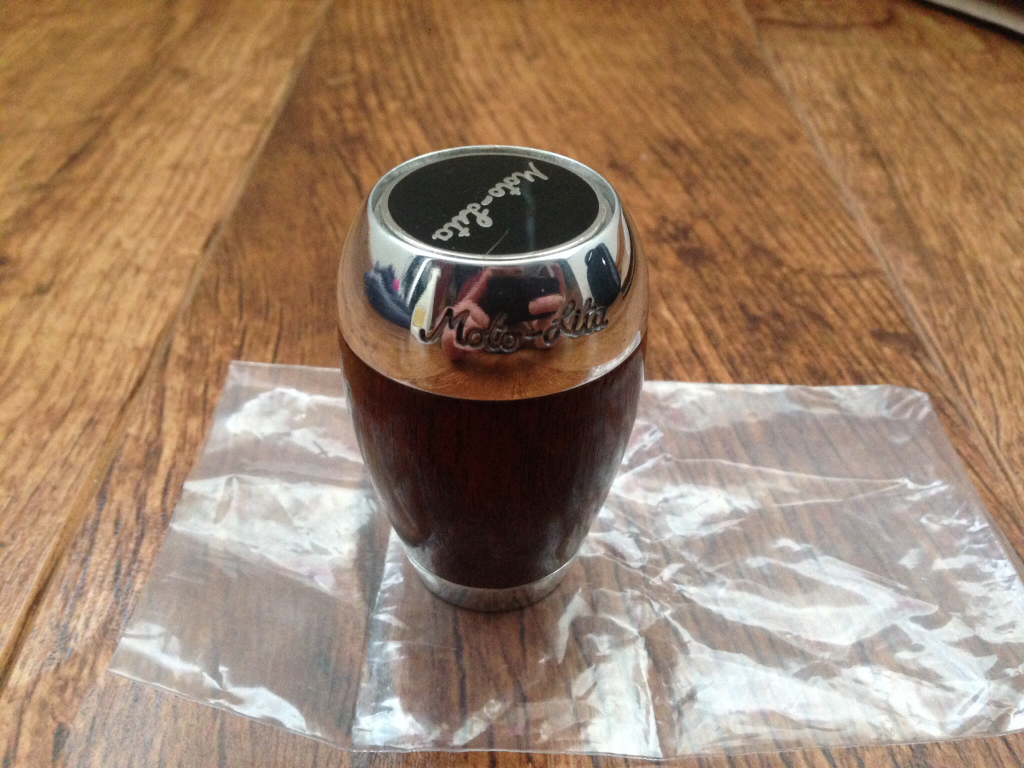
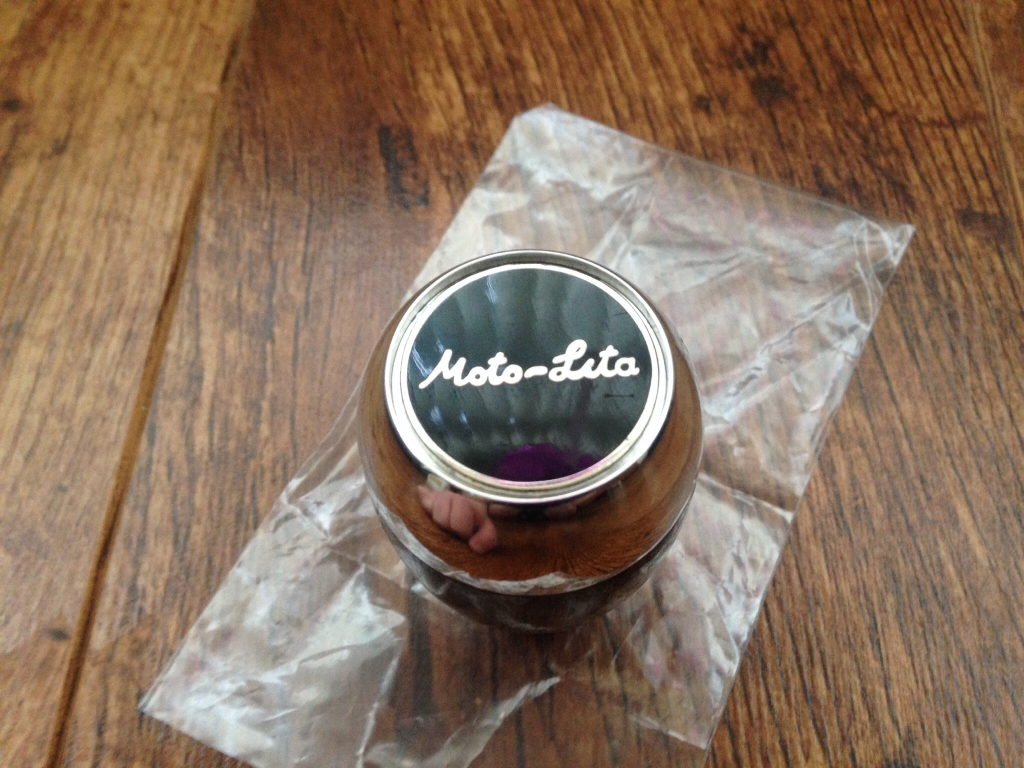
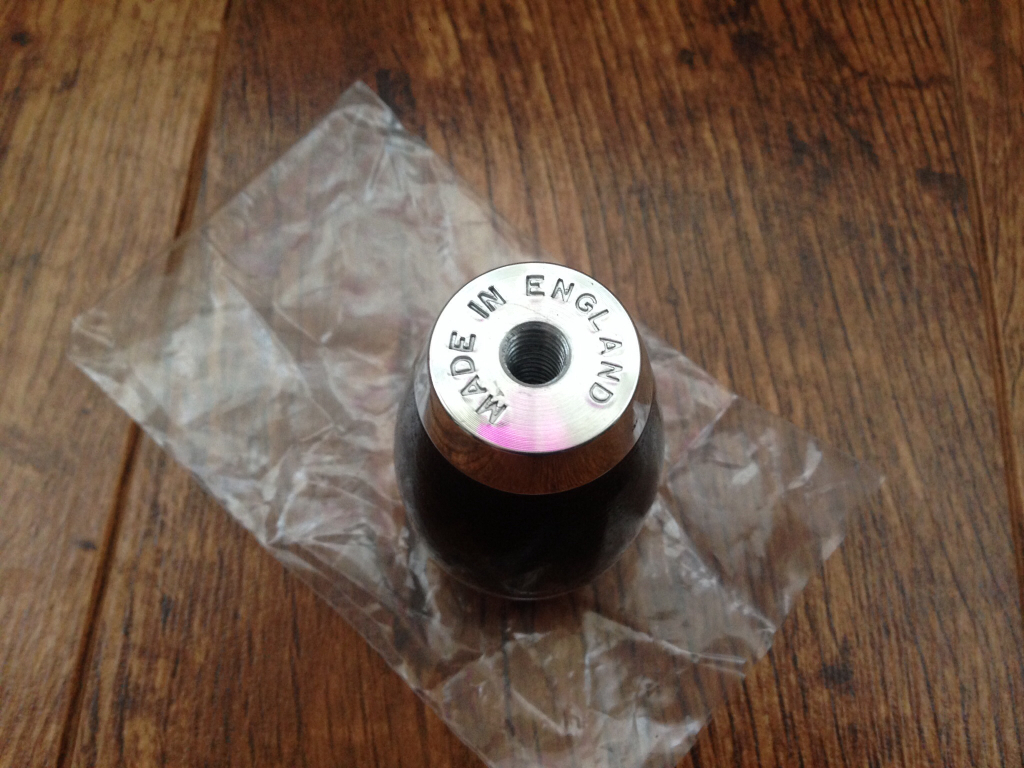
So I got that fitted along with the sponge and rubber boot, here's the finished thing ready to go in the car -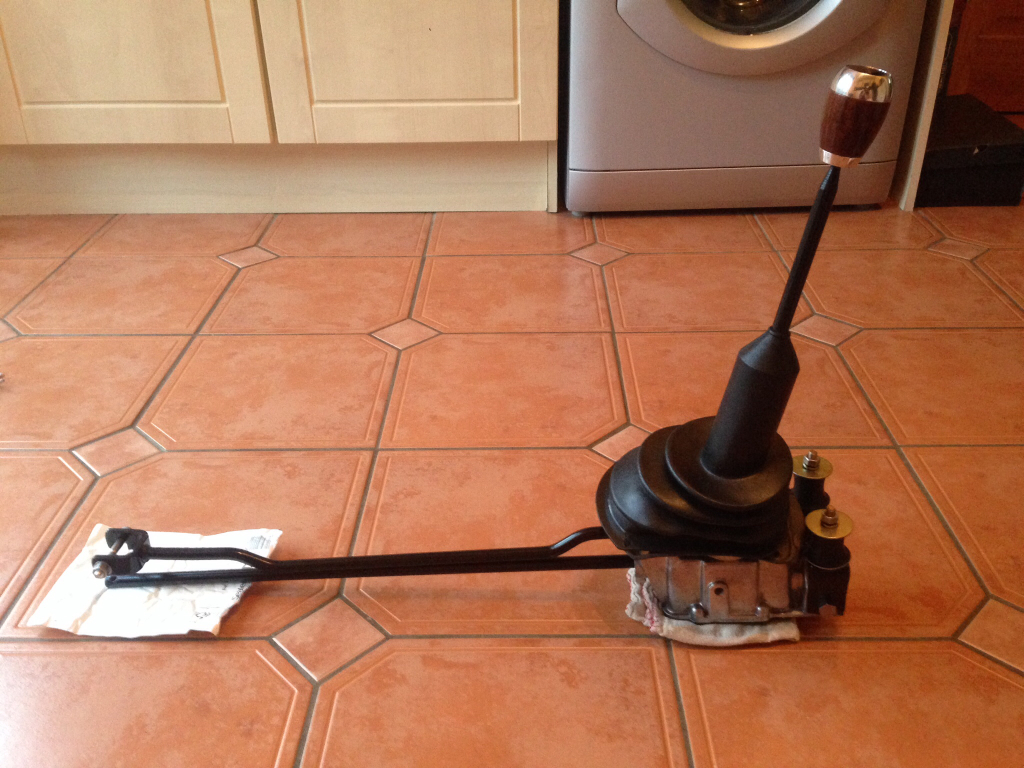
Will probably get that in tomorrow.
2-9-2015
Update,
I'll start off with what I purchased over the weekend -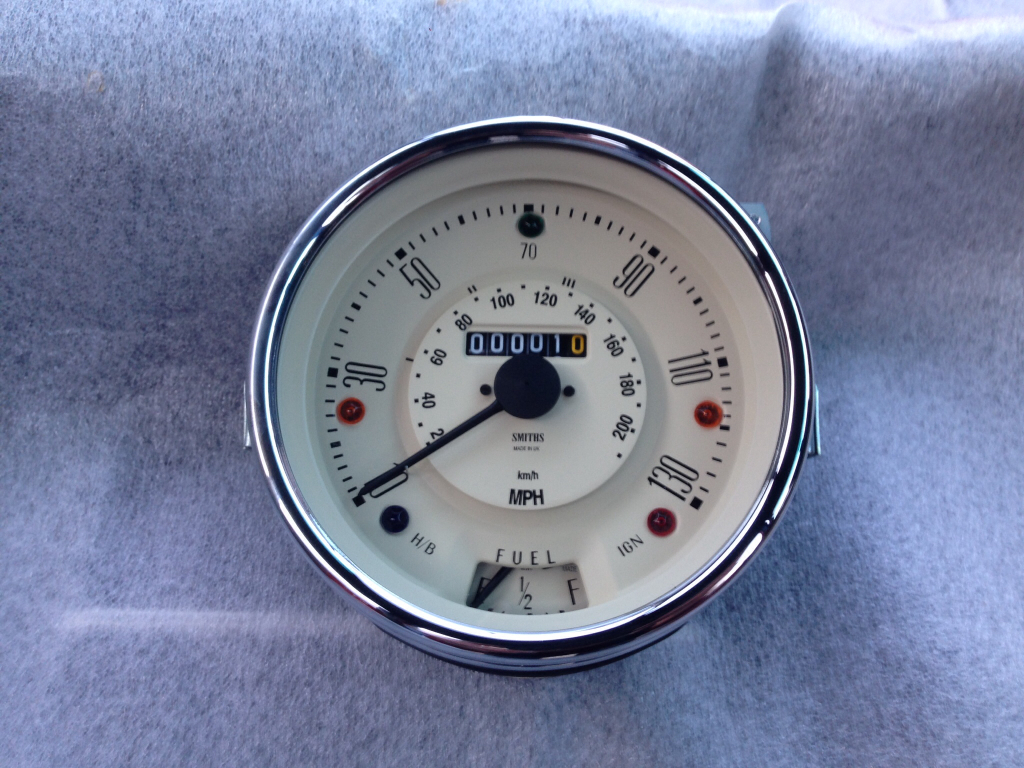
Just the dual oil and water gauge to get now and then that's the full set. Moving on, I've now gotten the handbrake and gear selector fitted, here's a few pictures.
Handbrake assembly fitted into the rear drums -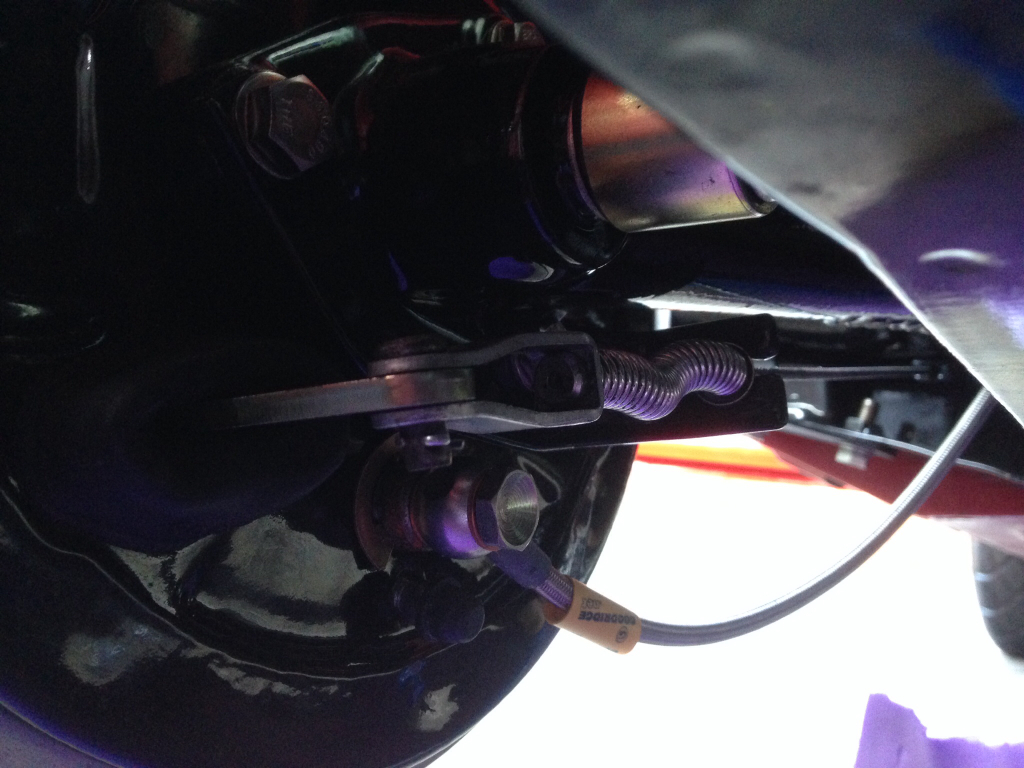
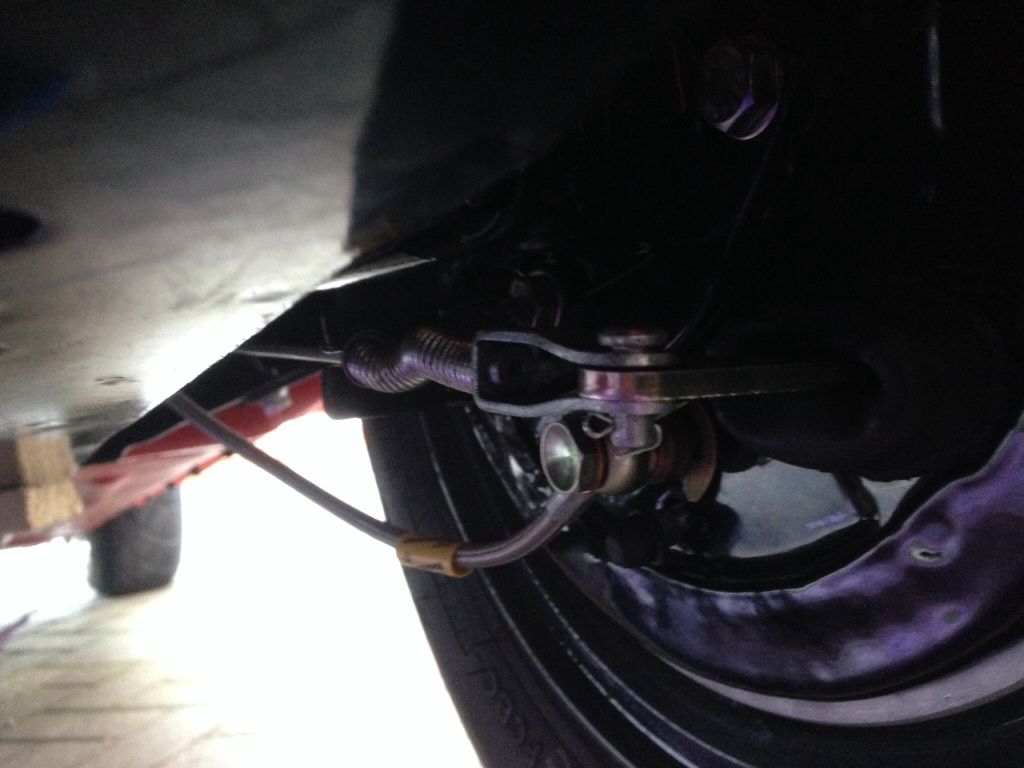
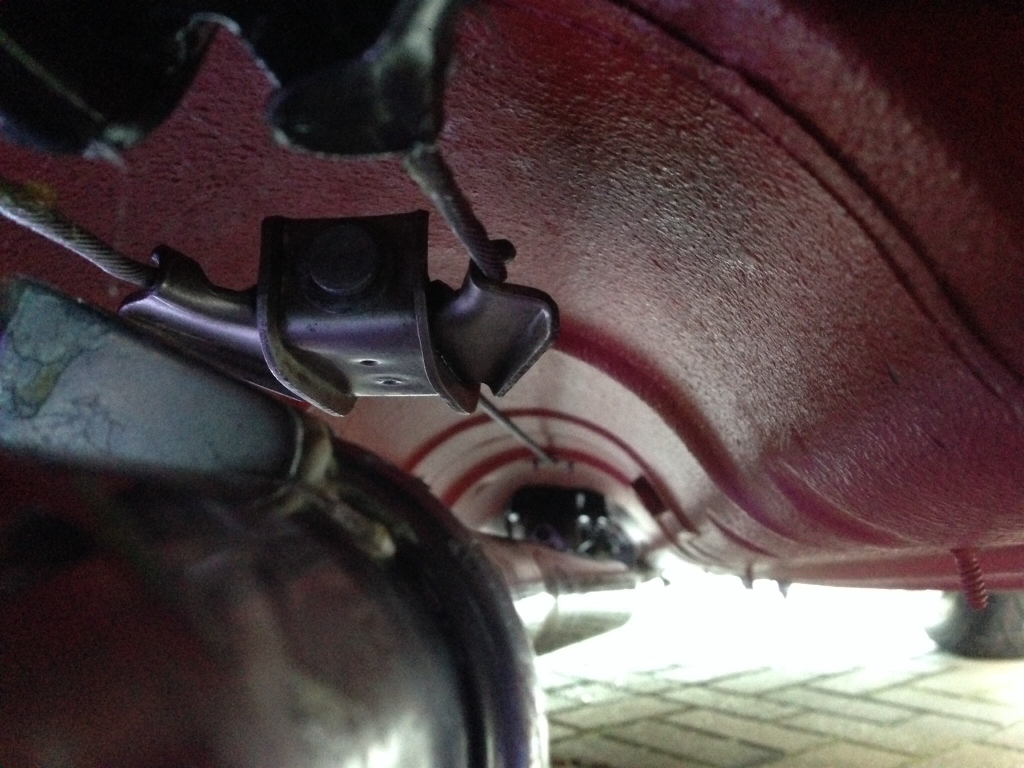
Fitted the Walnut grip and bolted the handbrake into the car -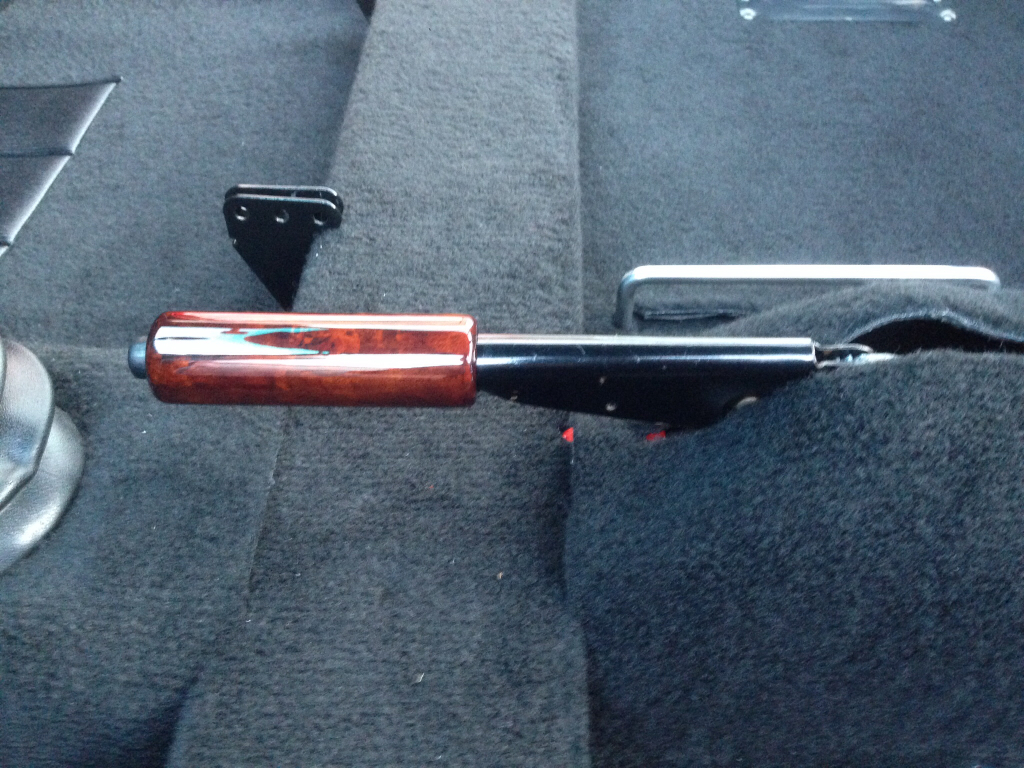
Then the gear selector went in along with the front underlay and carpets -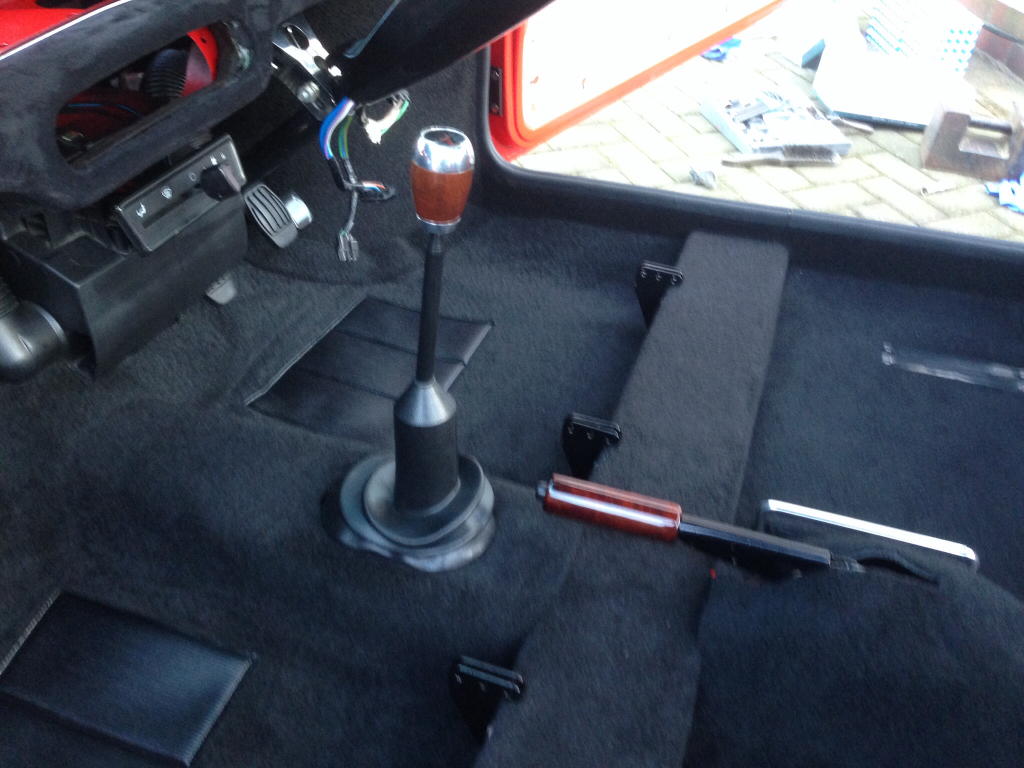
I also mocked up my dash, it's not in permanently, I still need to buy the edging strip and a few other things yet -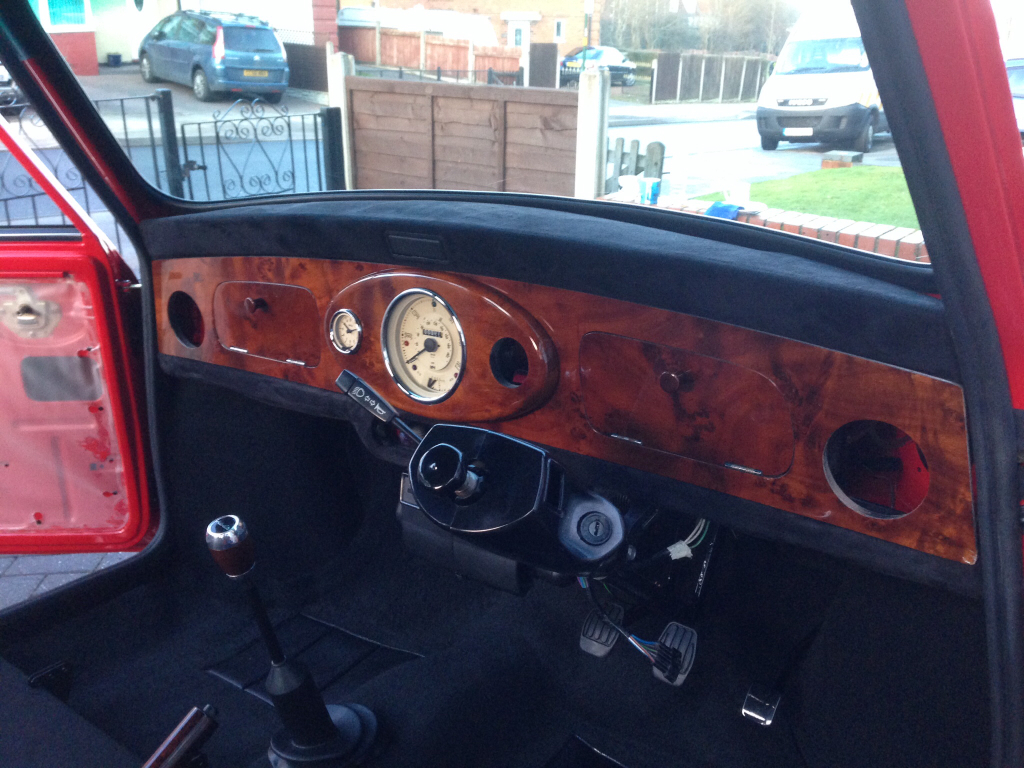
I've also cleaned up and painted the clutch master cylinder, here's what I did -
Wire brushed it back to bare metal -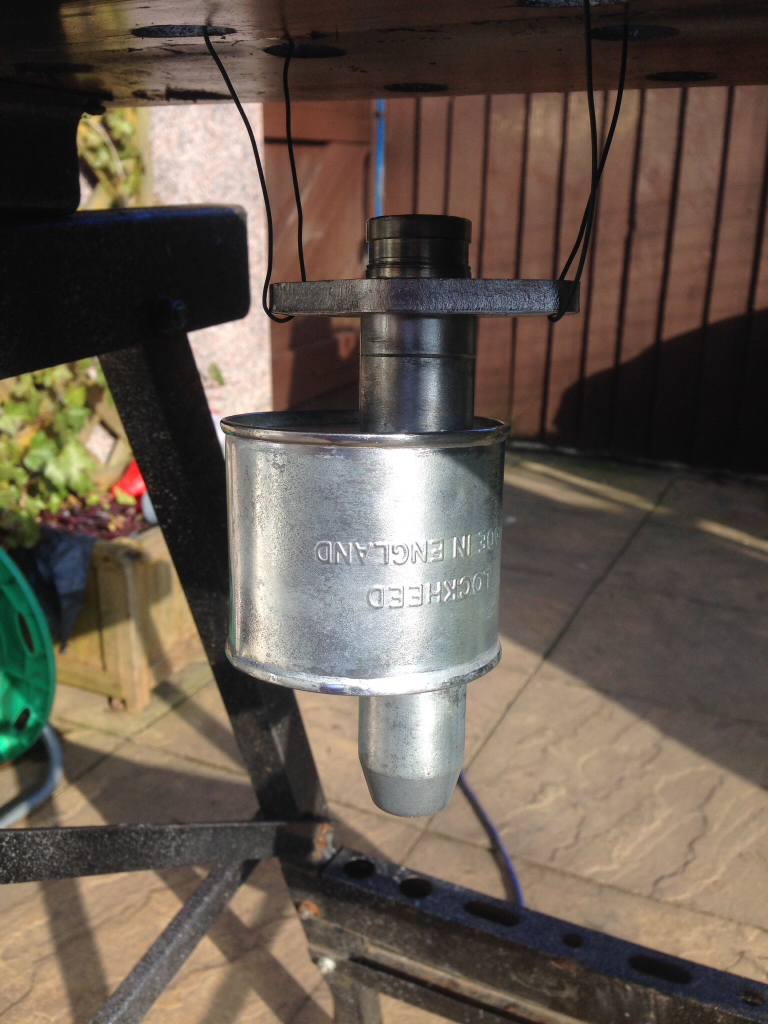
Zinc primed -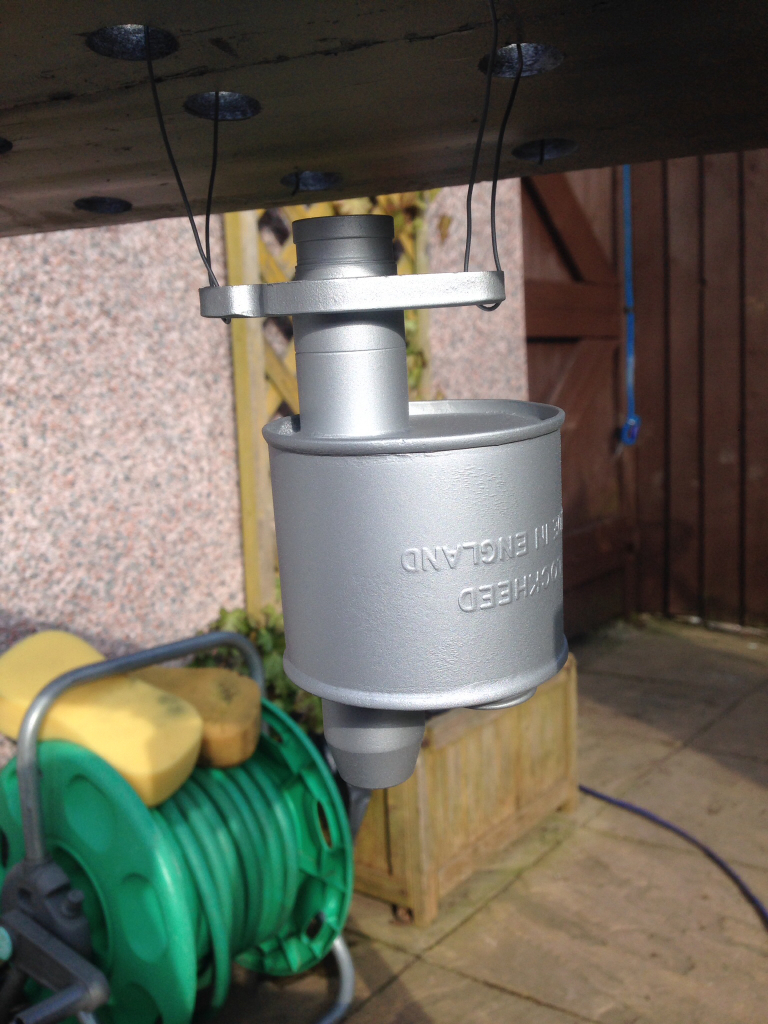
And then a good few coats of gloss black -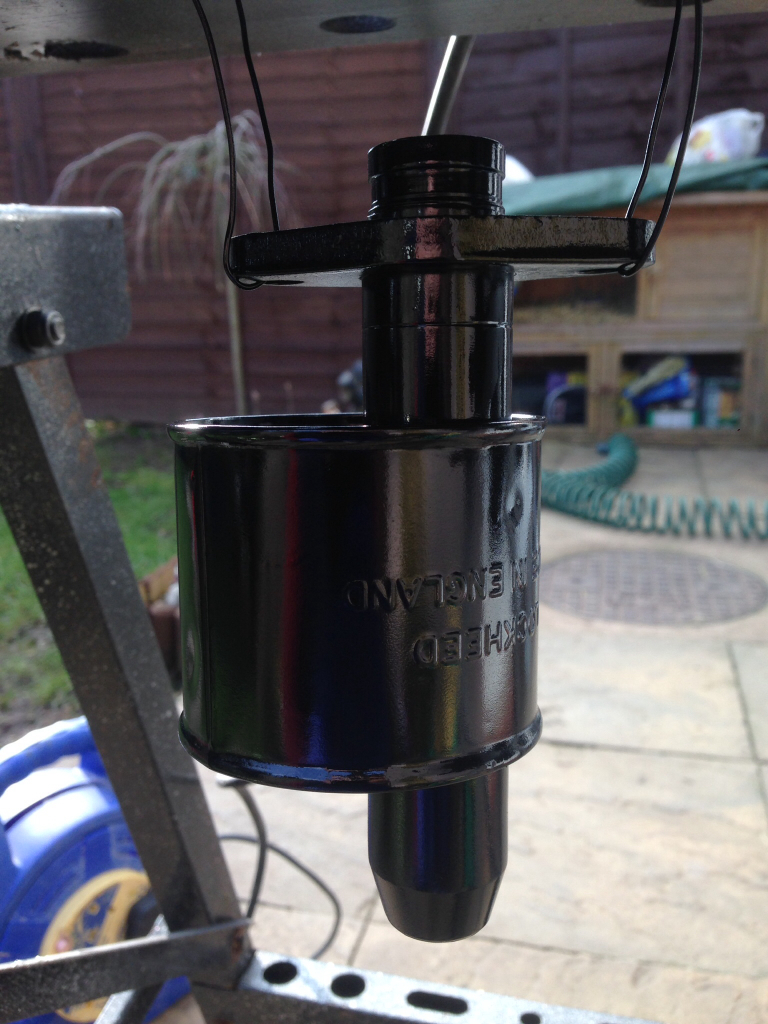
Cleaned up and rebuilt the plunger system with new seals and washers -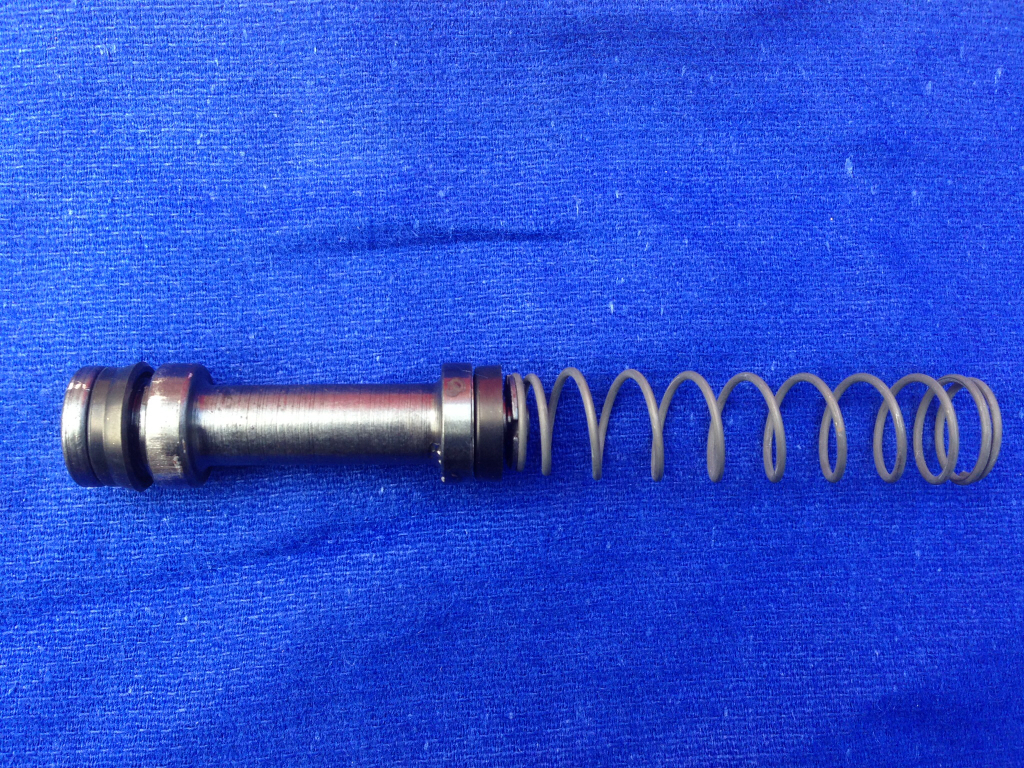
Then put it all back together, here's the finished thing -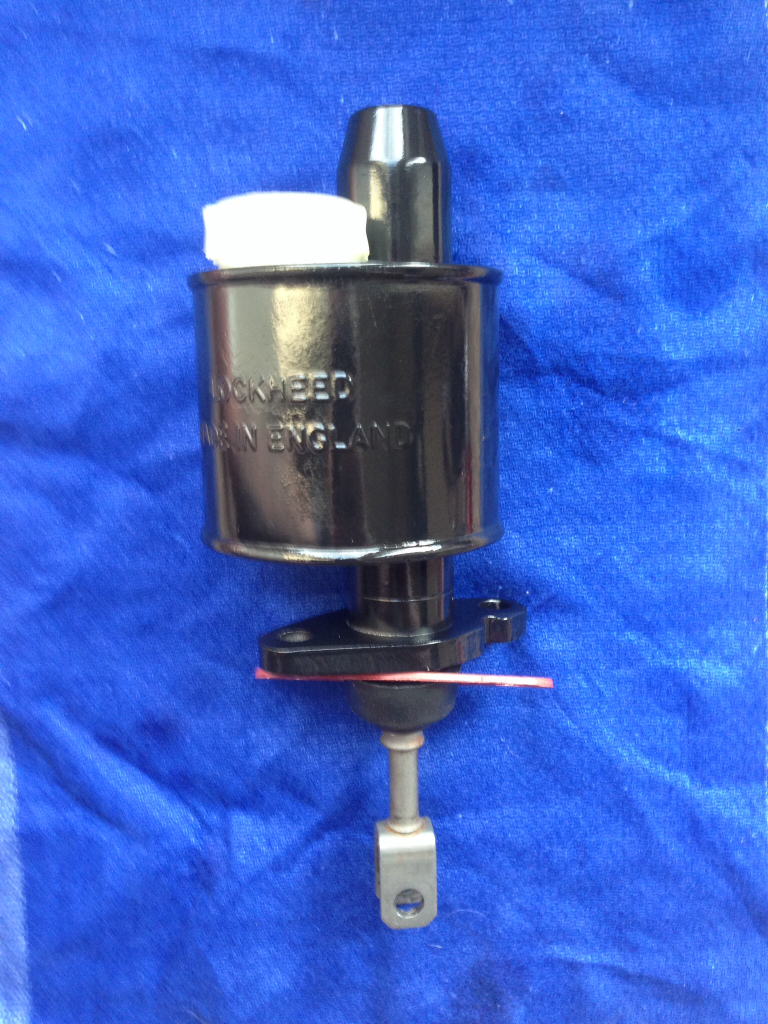
And finally, back in place on the car -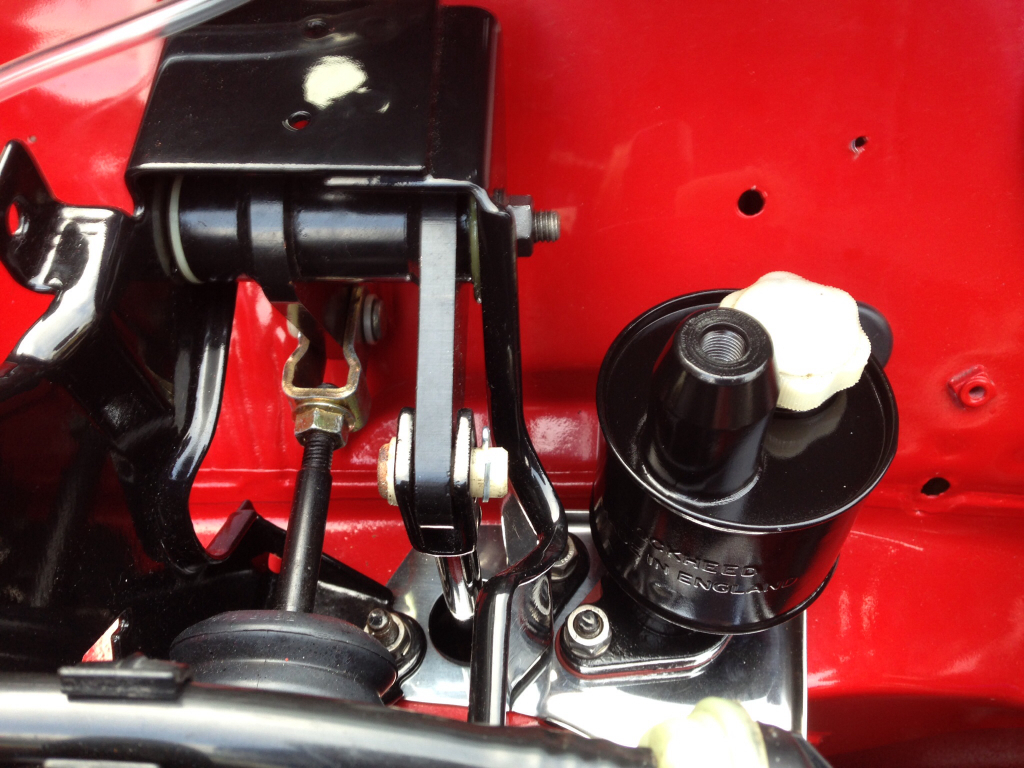
That's all the progress for now,
2-21-2015
Update,
Been fairly busy of late so haven't been able to make much progress on the Mini, but got out there today and got a fair bit done.
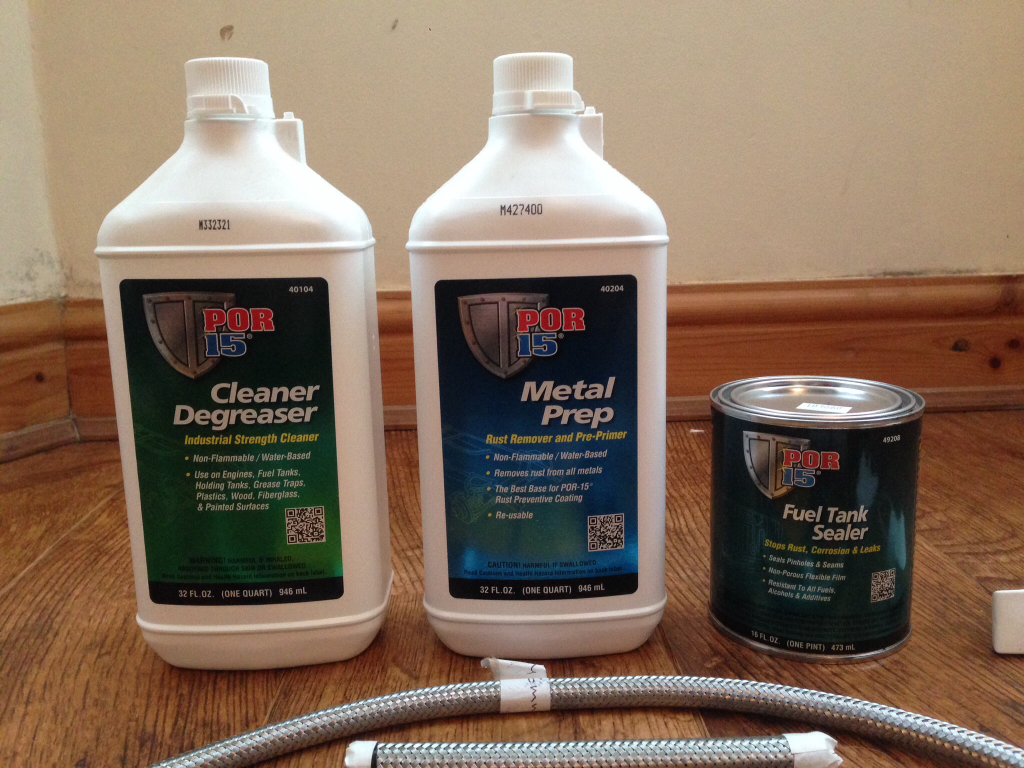
I'll start with the items purchased over the last couple of weeks, POR 15 fuel tank sealing kit, various stainless nuts and bolts, braided fuel hose and a few other bits -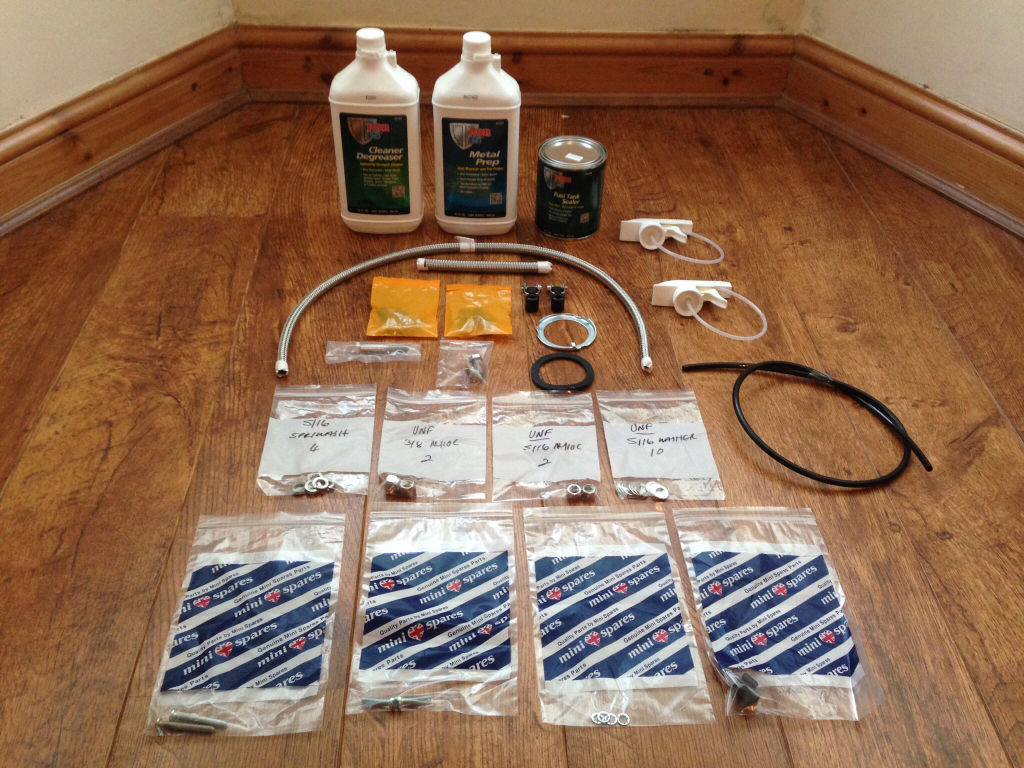
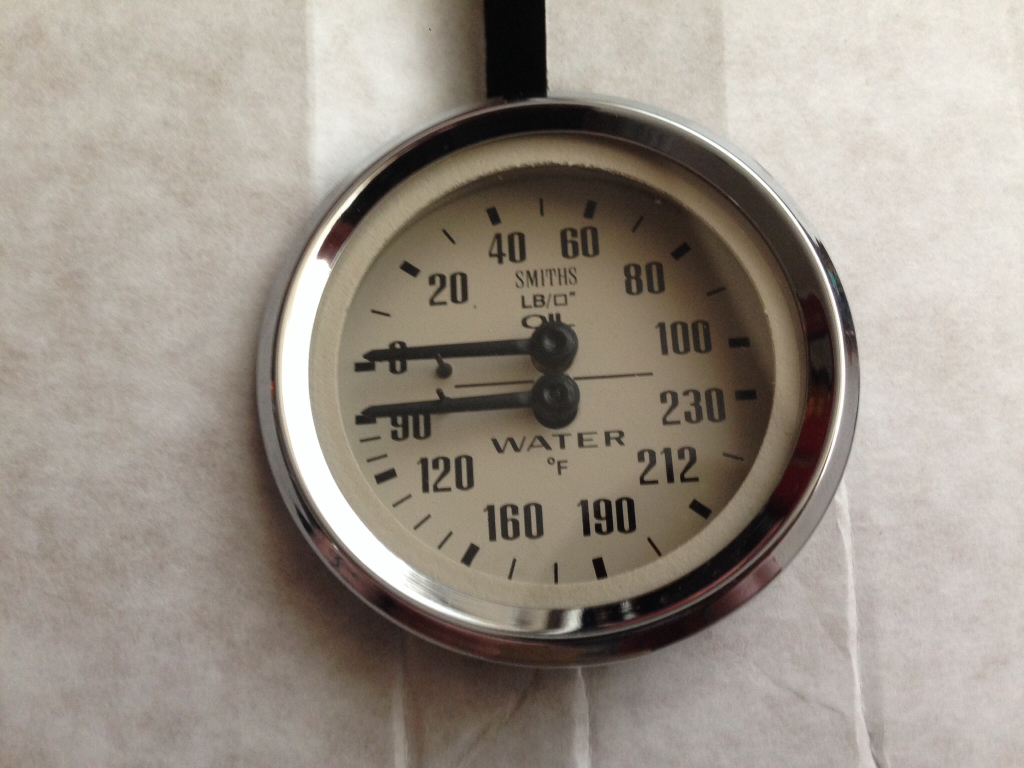
Finally purchased the last magnolia gauge, as well as a braided oil hose and a new speedo candle -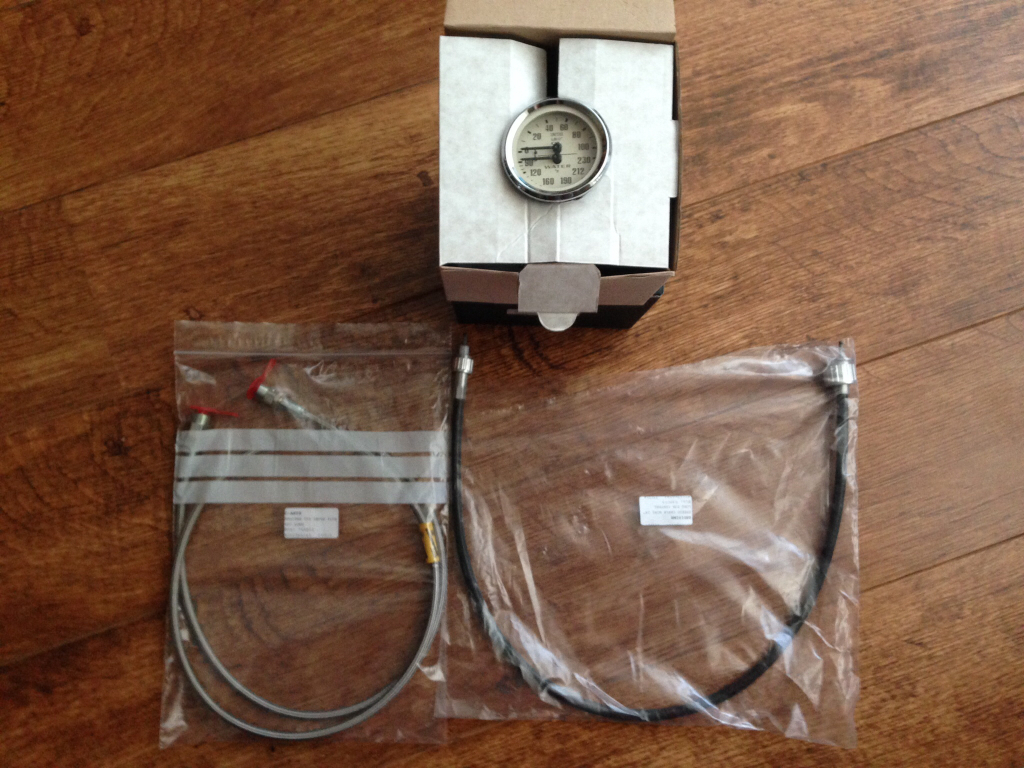
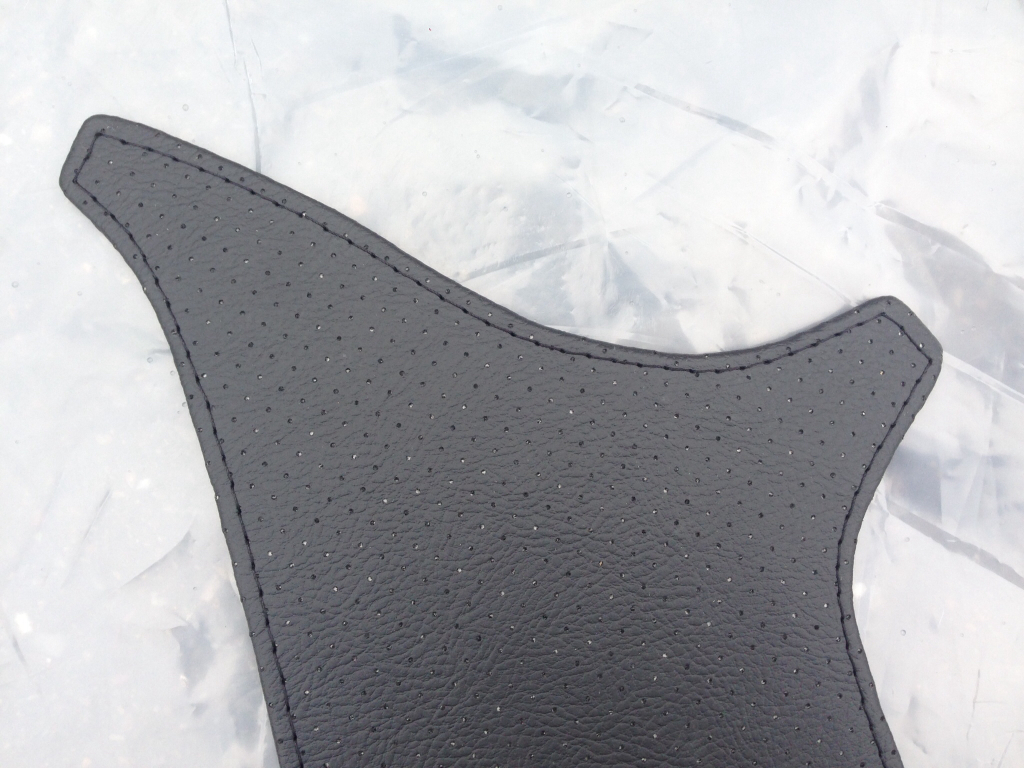
Had some new C-Pillars made by optimise as the ones that came in the headlining kit was a bit pants to be honest. There perforated vinyl with black stitching -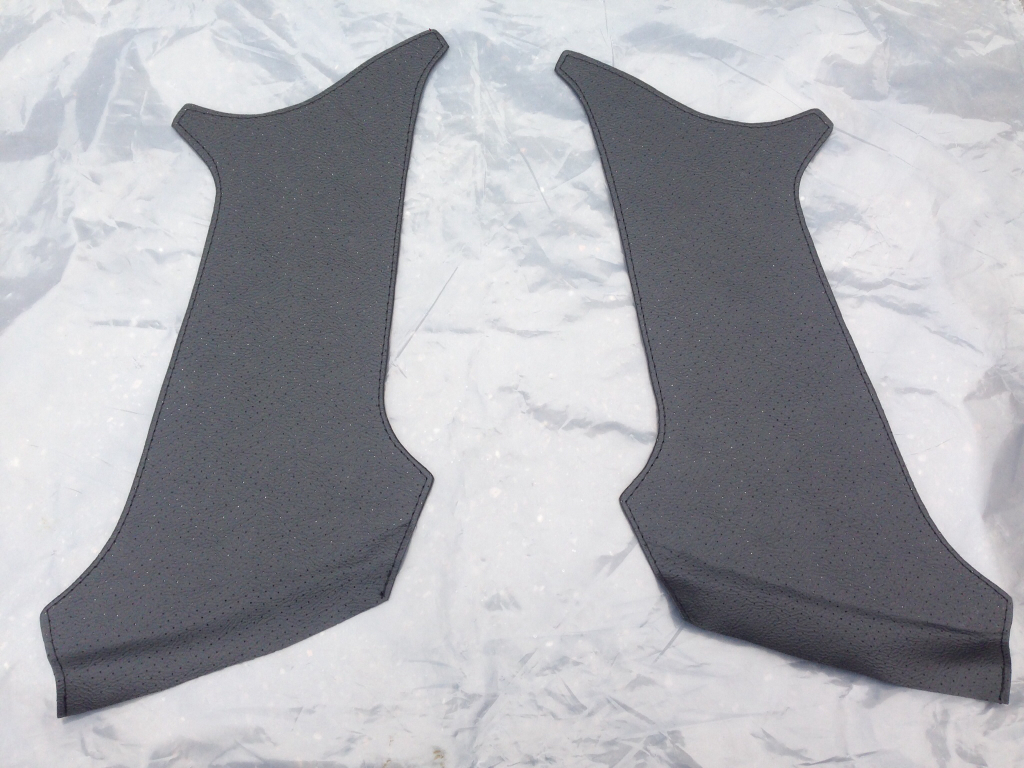
Managed to find some factory bulkhead sound deadening from a member on here in mint condition, needless to say I snapped it up straight away -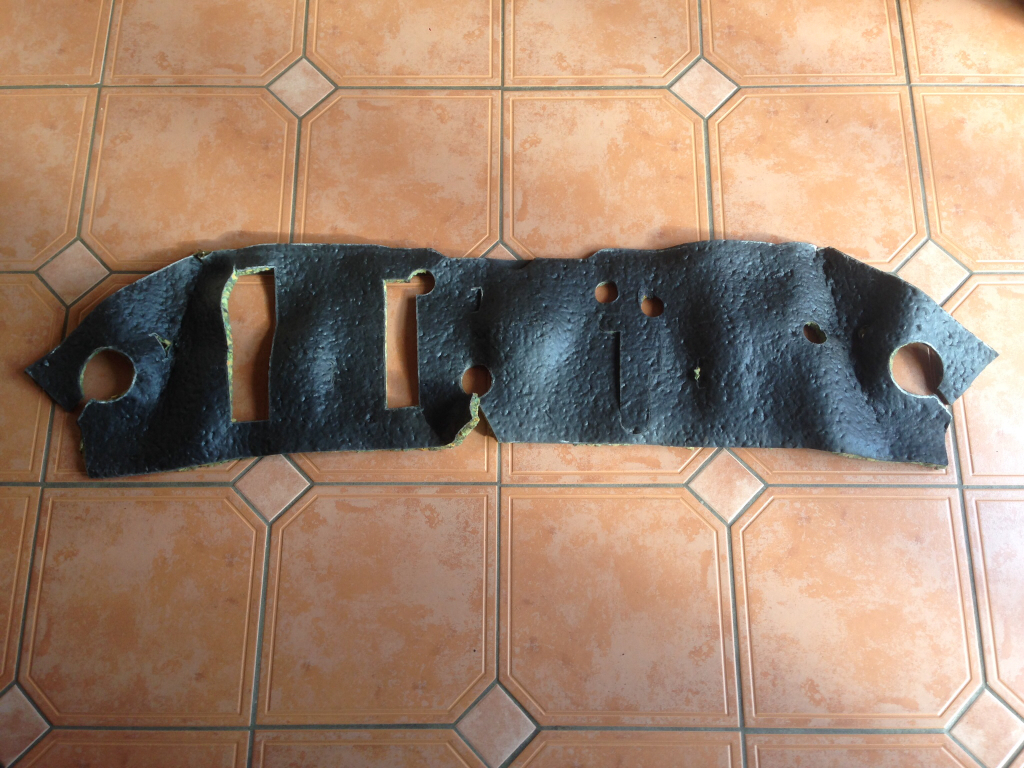
And finally I purchased this little beauty -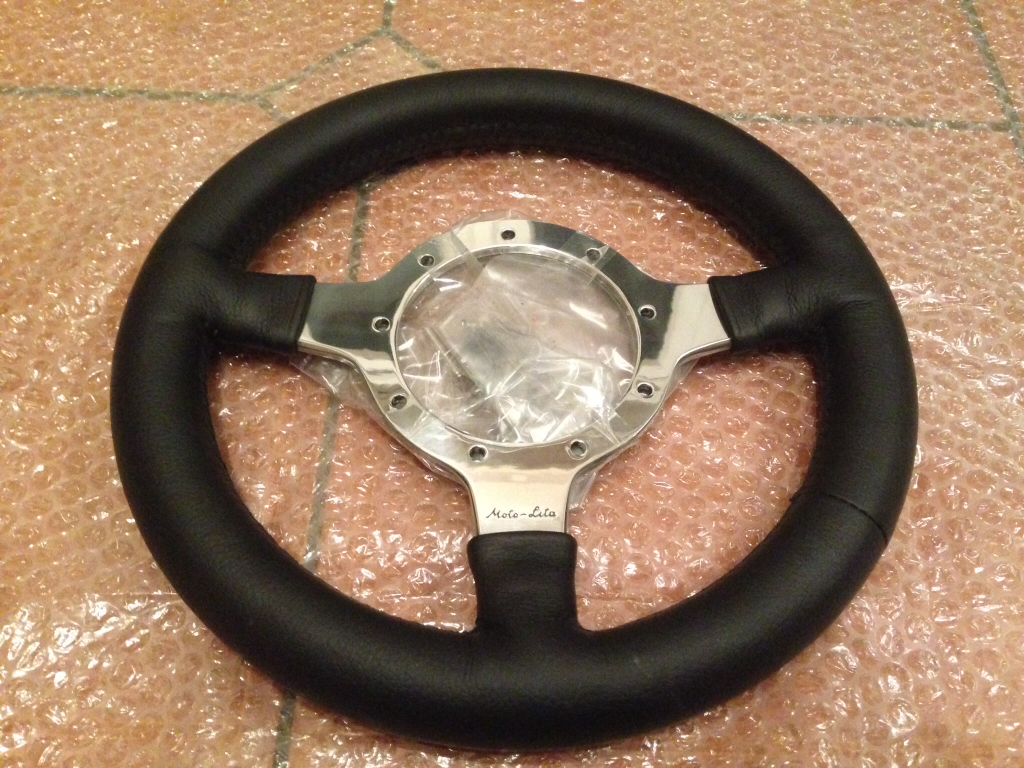
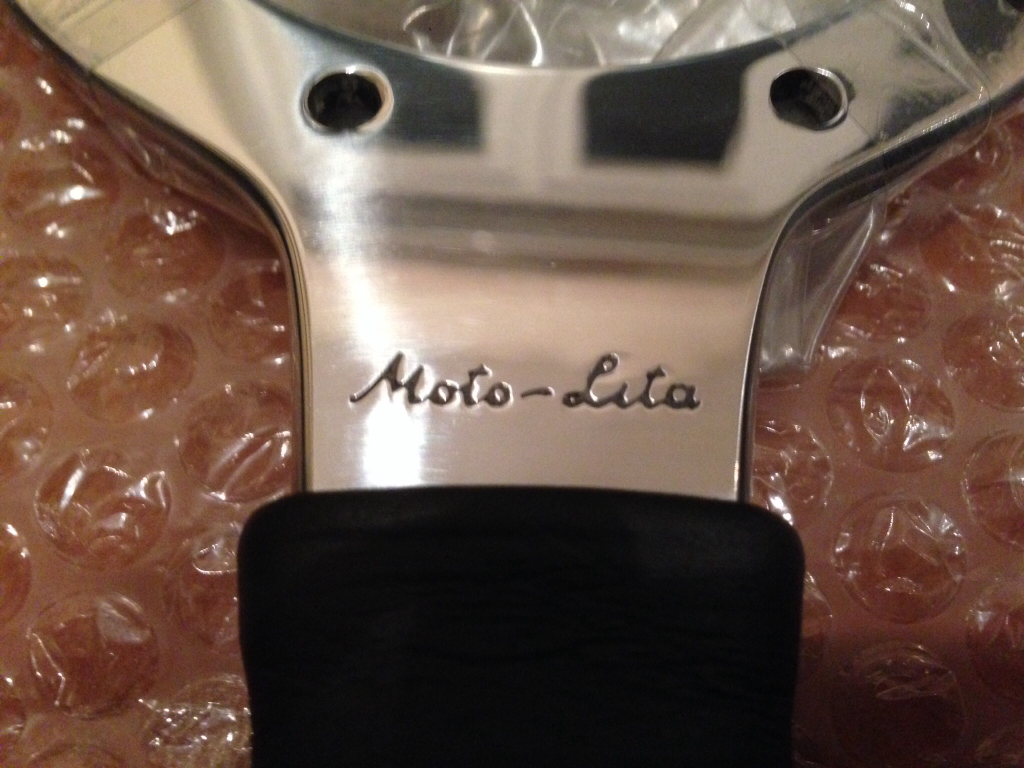
Not cheap but will finish off the interior nicely.
Now, onto the work that's been done. Started with the fuel tank and began the sealing process. First, we ran a magnet around the inside of the tank to remove any media that was left over from the blasting process, here's the results -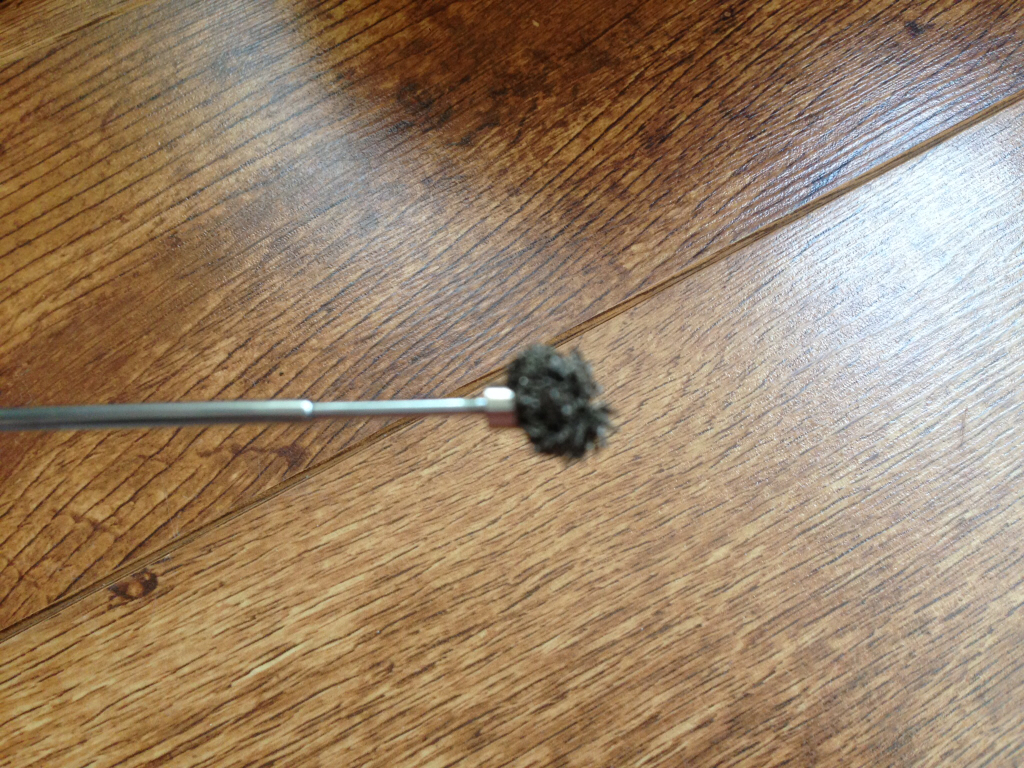
Done that a few times until it came out clean. Next we began the process of degreasing the inside of the tank using the POR 15 cleaning solution. No pictures of this stage as I forgot to take any but I can confirm its brilliant stuff, removes all of the gum and grease from inside the tank.
With that done it was time to put the metal prep in, here it is inside -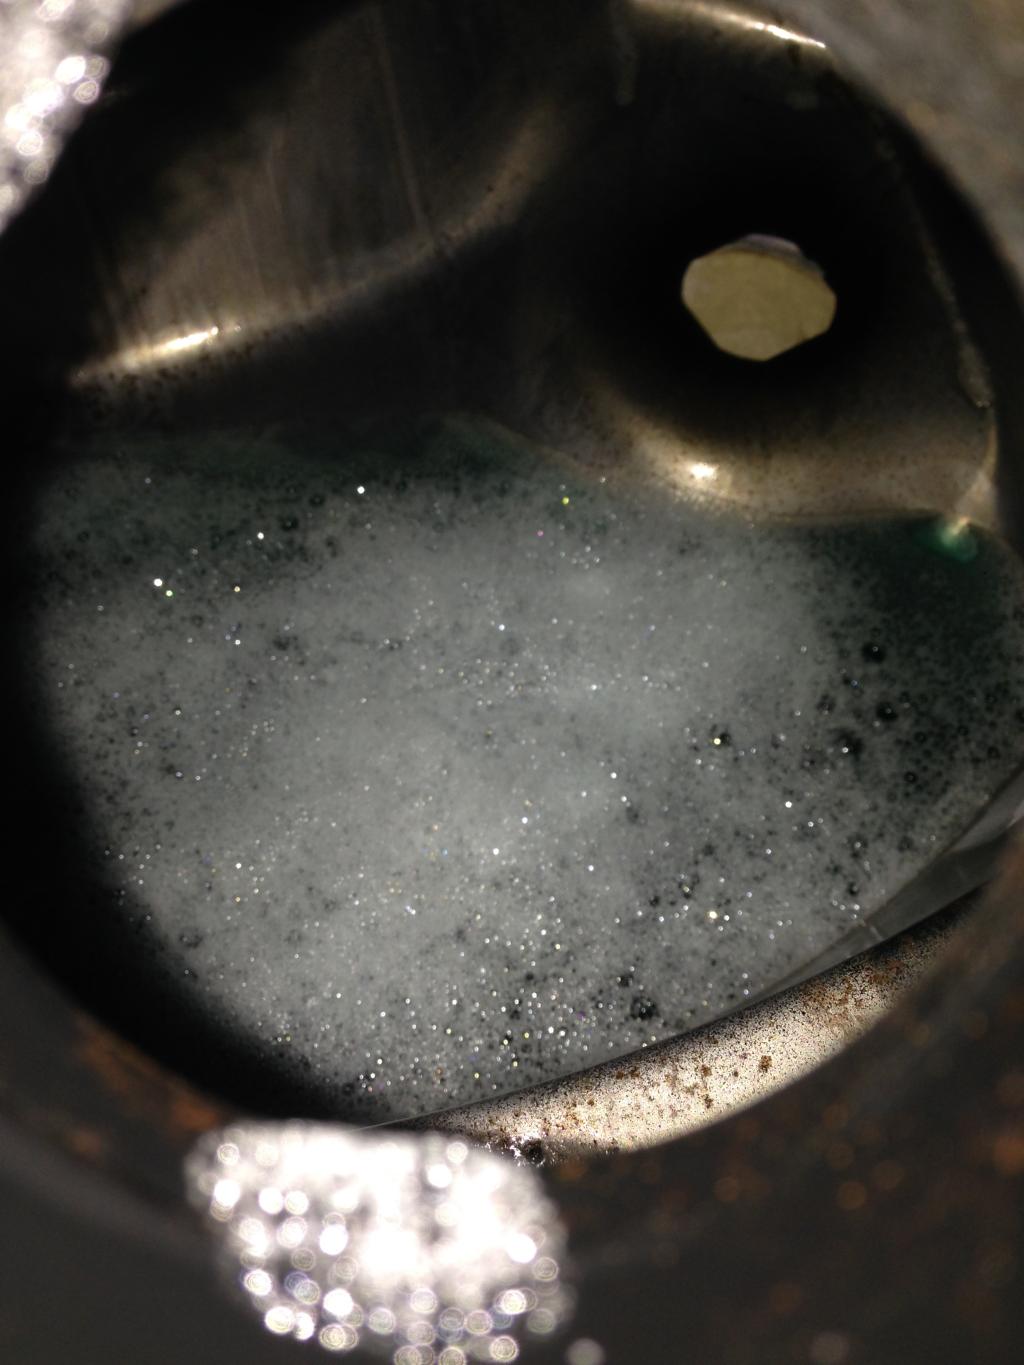
Left that in for around an hour, rotating the tank every 5-10 mins. As you can see from the picture above the metal is clean and rust free. Drained the solution from the tank back into the bottle, as it's re-usable, and placed a hairdryer into the filler nozzle on full blast for a while to dry it out -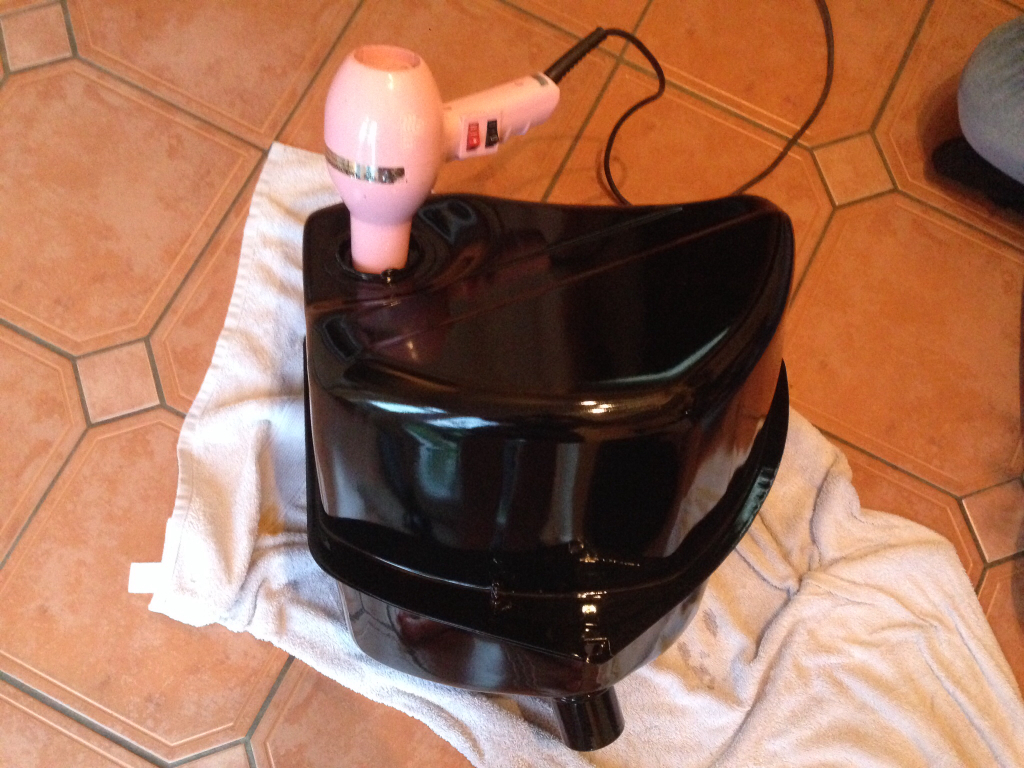
With it dry we began to pour the sealer in, here it is in liquid form inside the tank -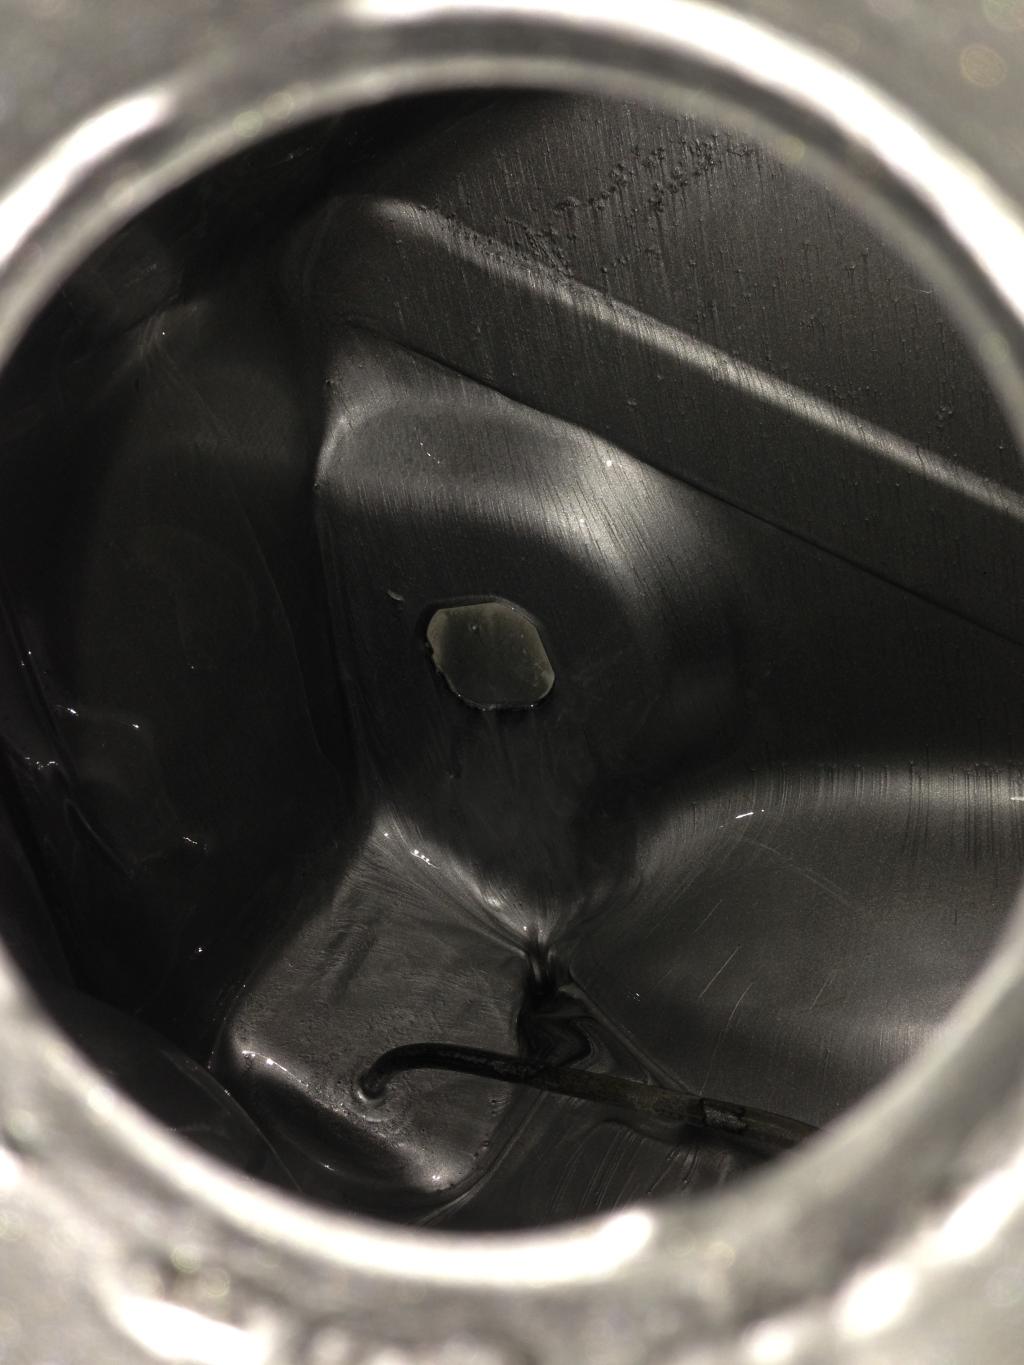
Rotated the tank around a few times and then poured out the excess and left it to dry for a few days, here's the inside now it's dry -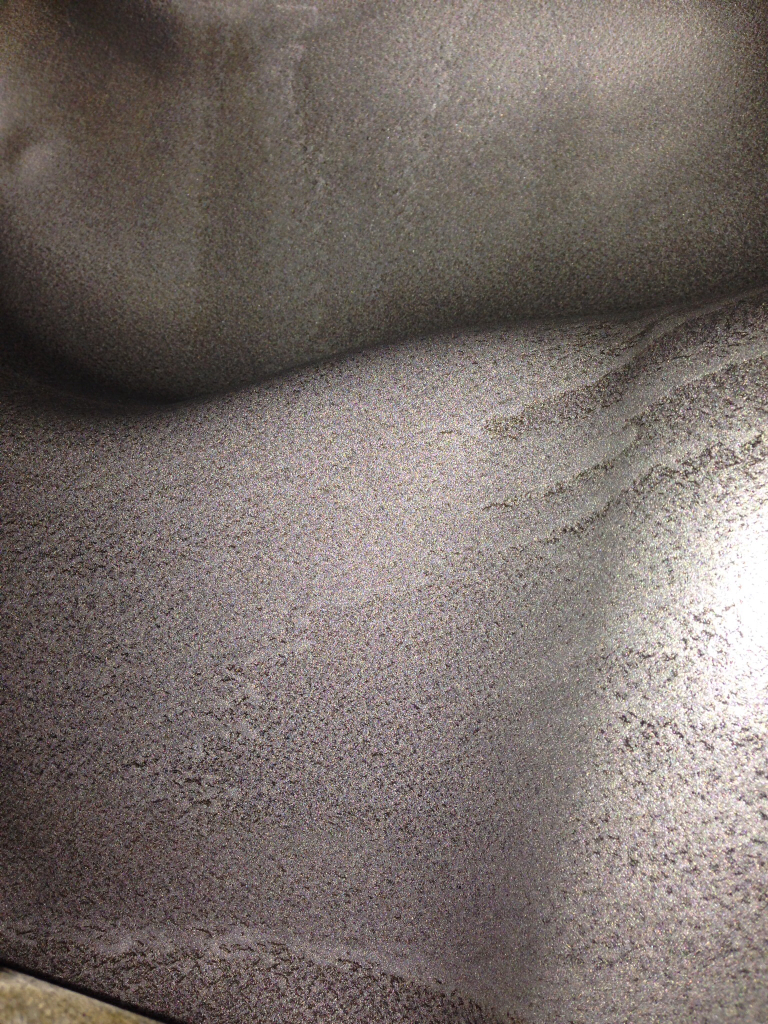
Very happy with it, and even more so that we managed to keep the small inline filter inside the tank free from the sealer, so there was no need to break it off.
Now, with the tank ready to go in, that meant I had to get the rear lights wired up. As I'm fitting MK2 lights this means they won't fit into my current loom so I've had to change a few things. This is the rear light wiring, they're bullet connectors -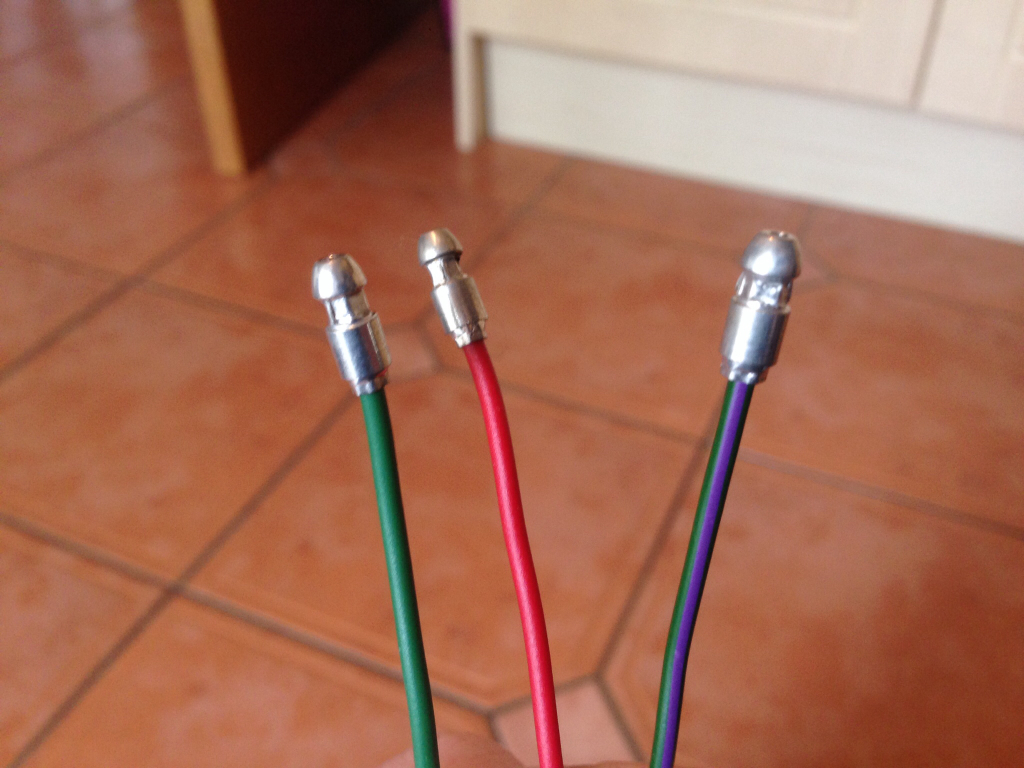
I cut those off and bought some male to female spade connector plugs to replace them -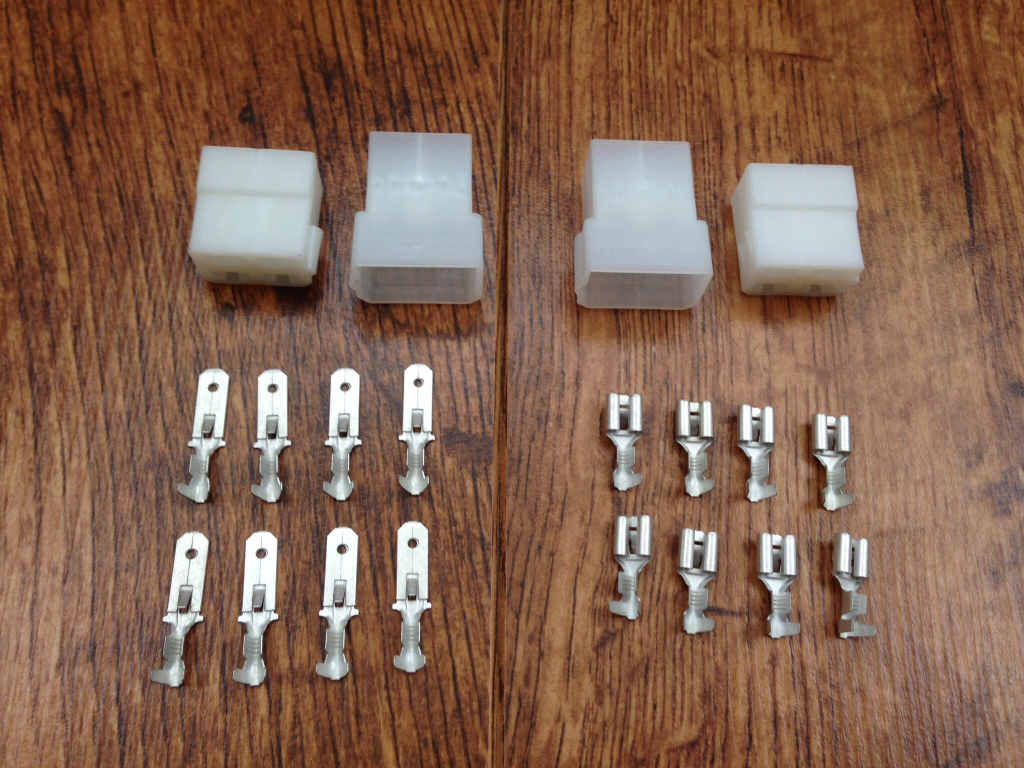
So, I crimped the male spade end onto the rear light wiring -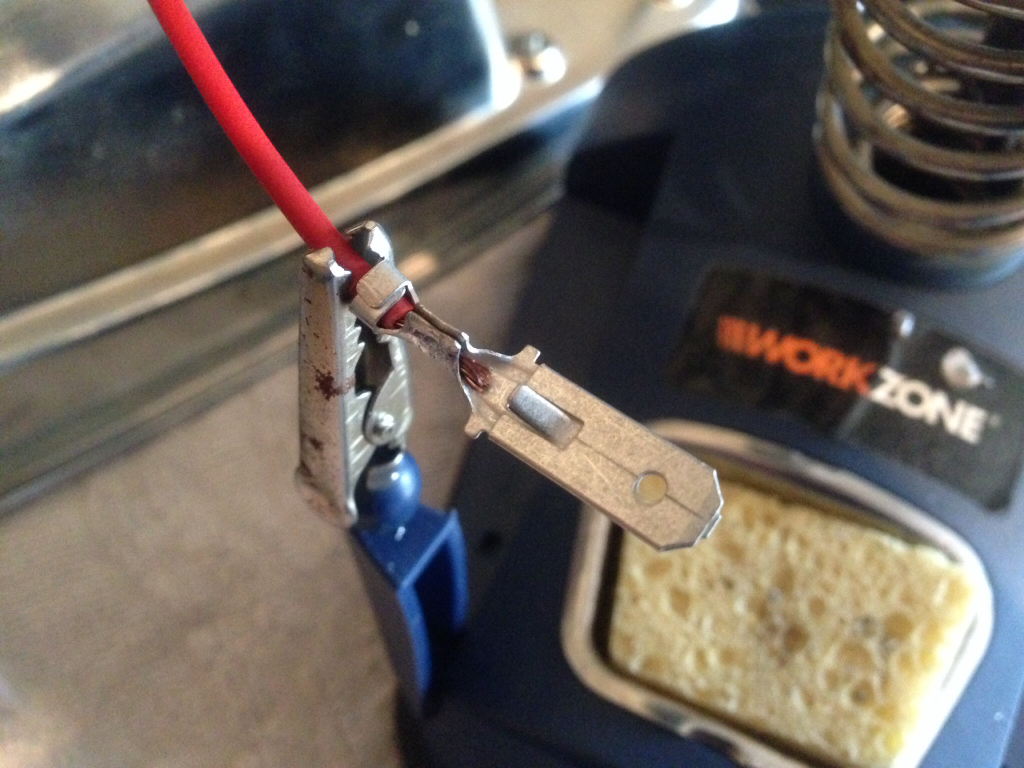
And then added some solder to enhance the strength and conductivity -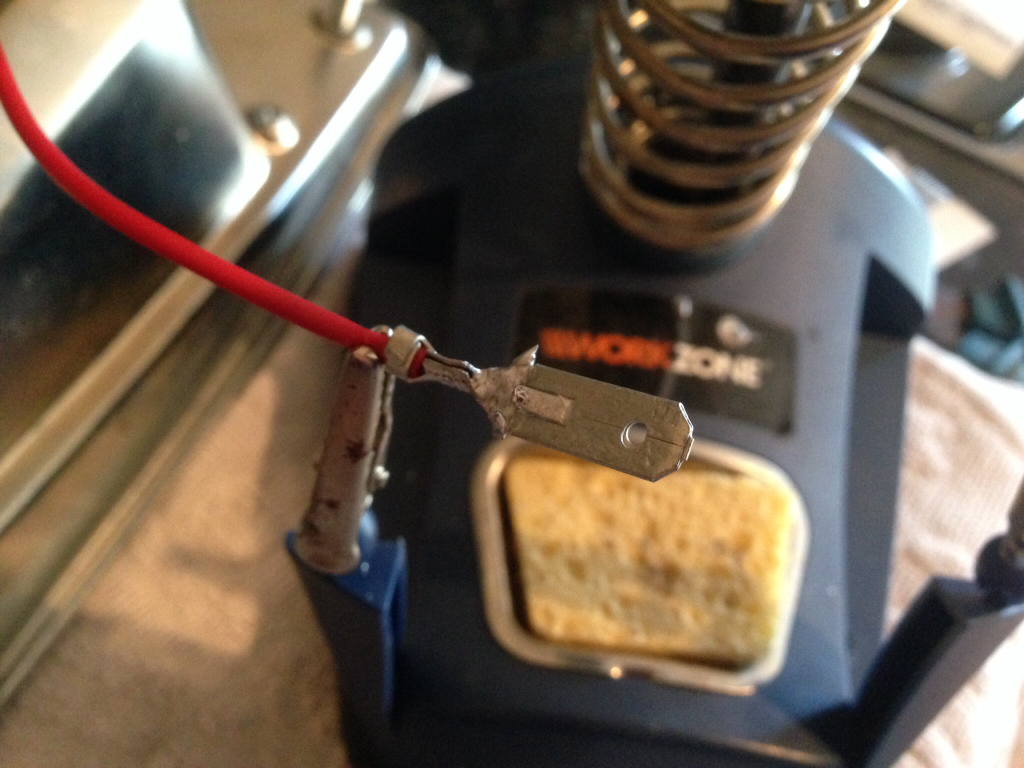
Done the same to the others wires on the rear lights and then went outside to repeat the procedure to the wiring on the loom. Snipped off the factory connector block, crimped on the female spade connector, and then soldered those as well -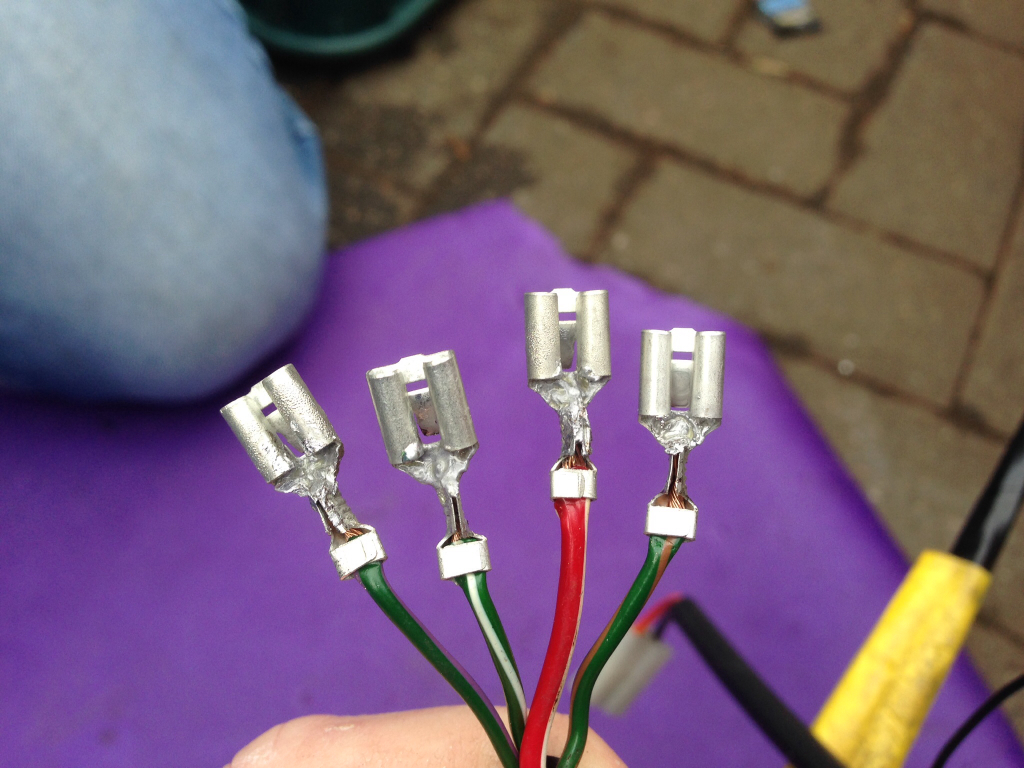
Pushed the connectors into the plastic housings and then plugged them together -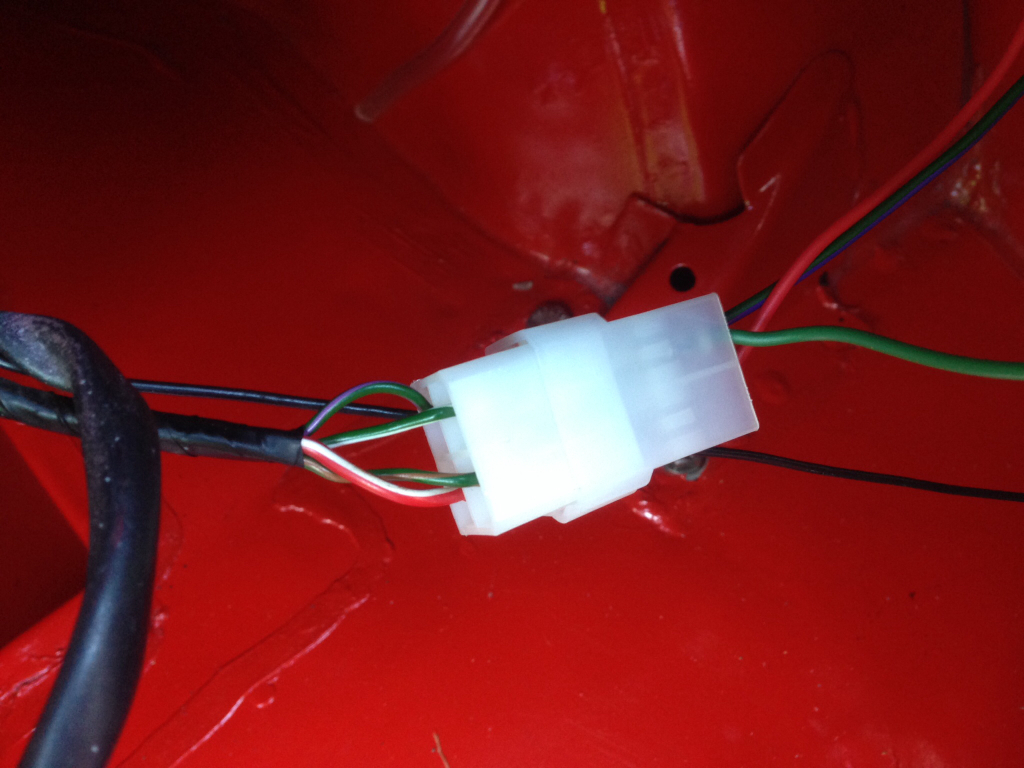
With that done we put the tank in, such an awkward job and not made any easier with the fear of damaging fresh paint. Anyway, we got it in eventually, I've replaced all of the securing nuts and bolts with stainless alternatives -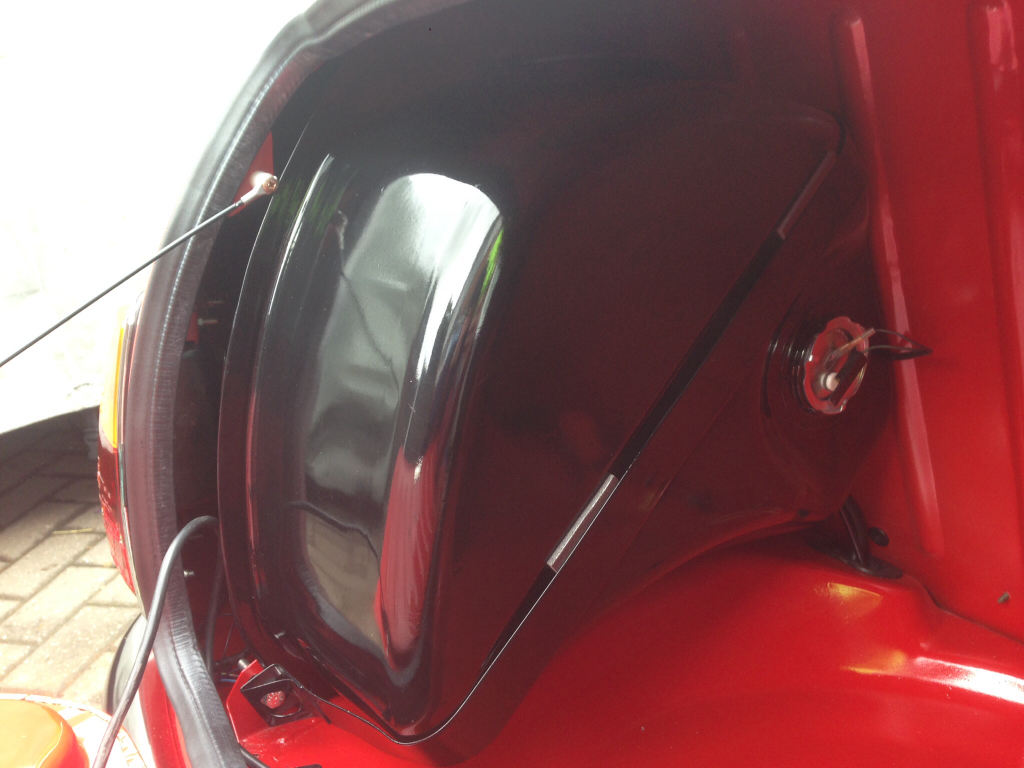
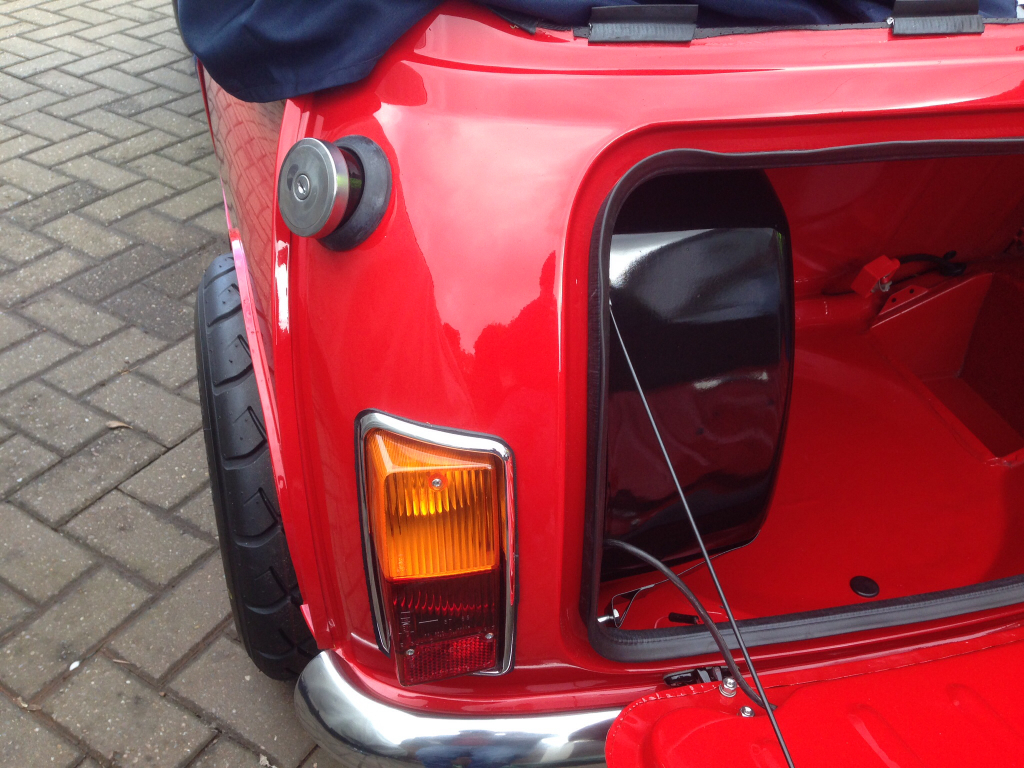
Washer bottle cleaned, back in and connected up -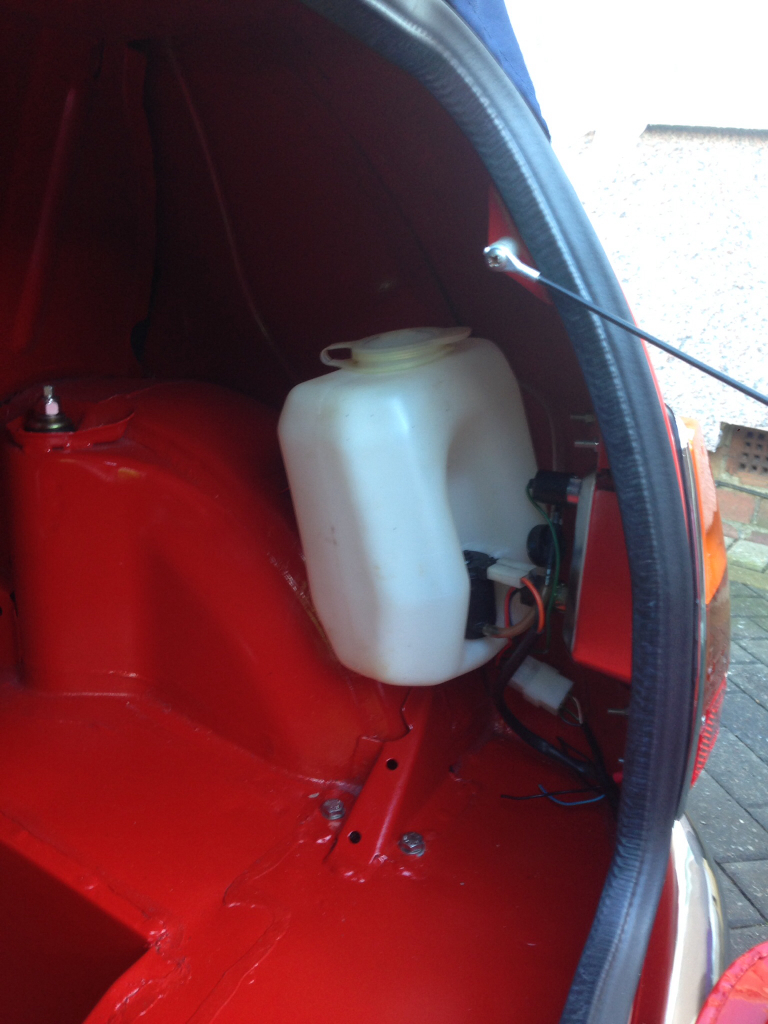
We also secured the loom to the boot floor using the zippy clip plastic blocks I bought -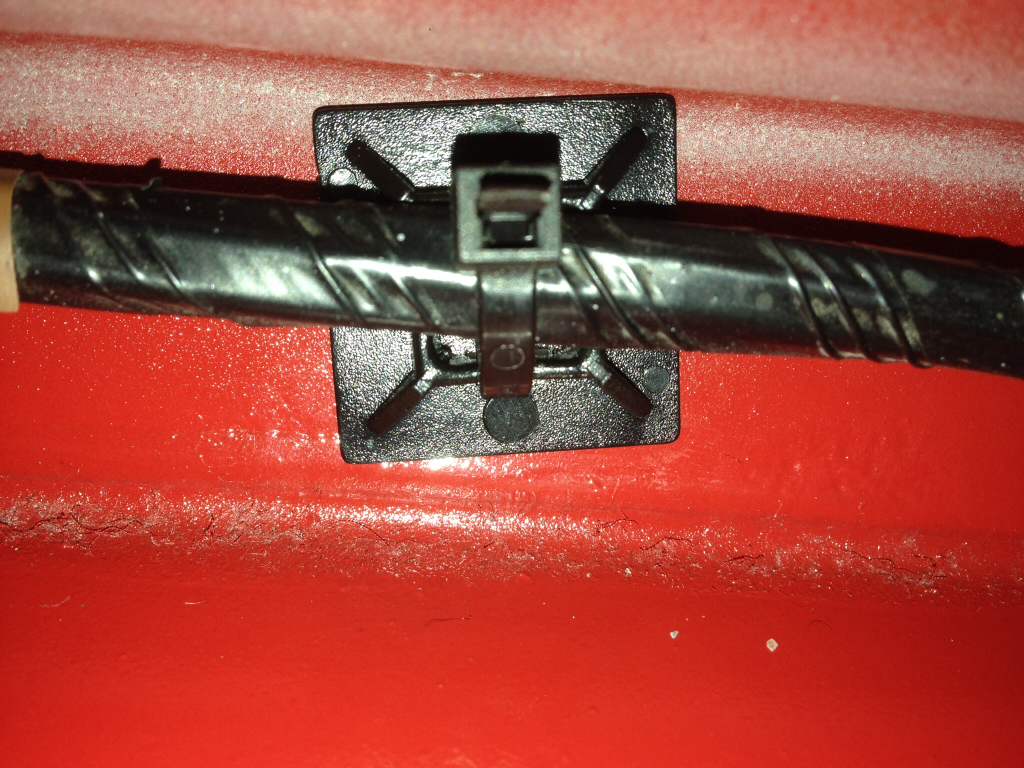
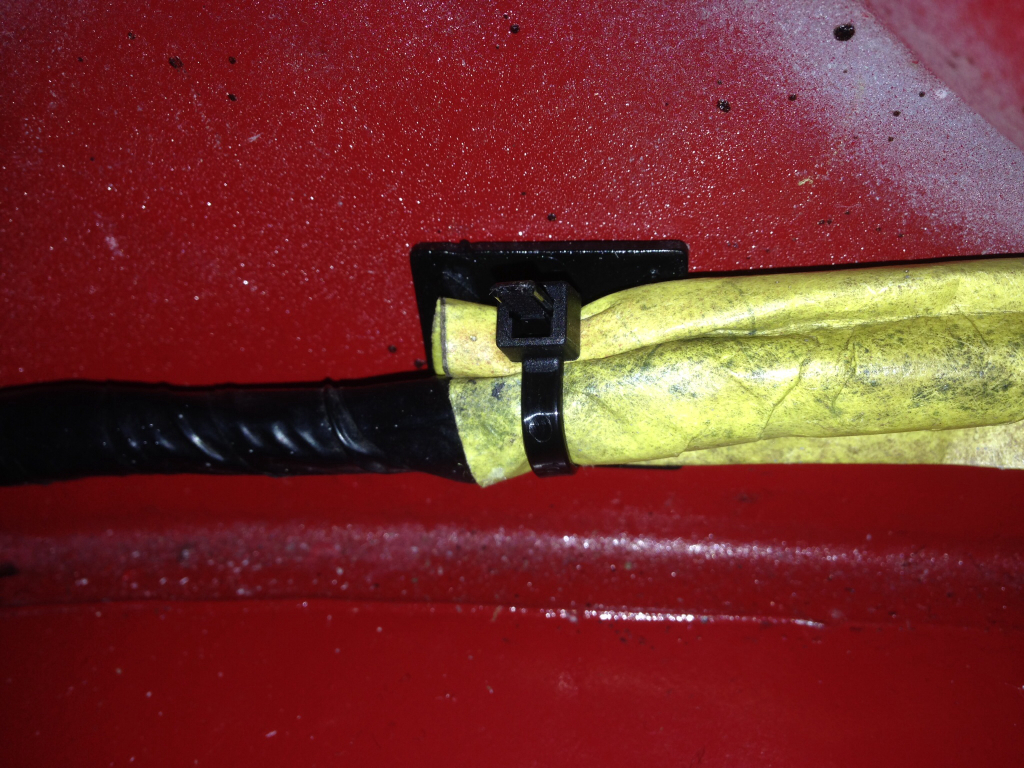
Plumbed in the new braided fuel hose -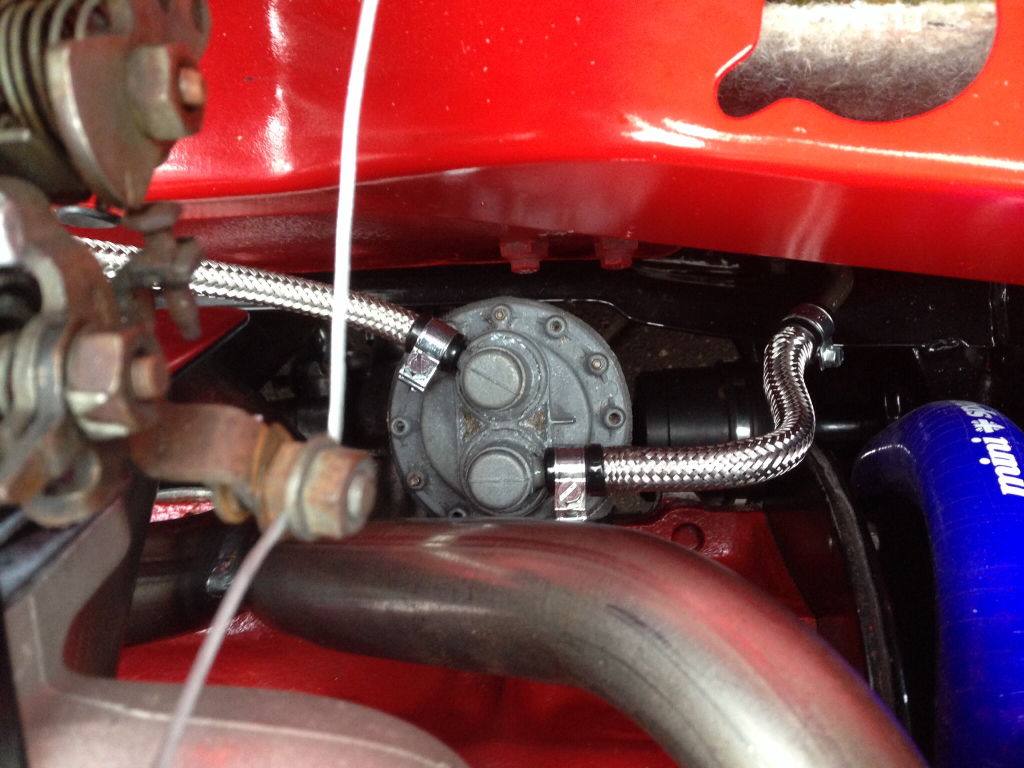
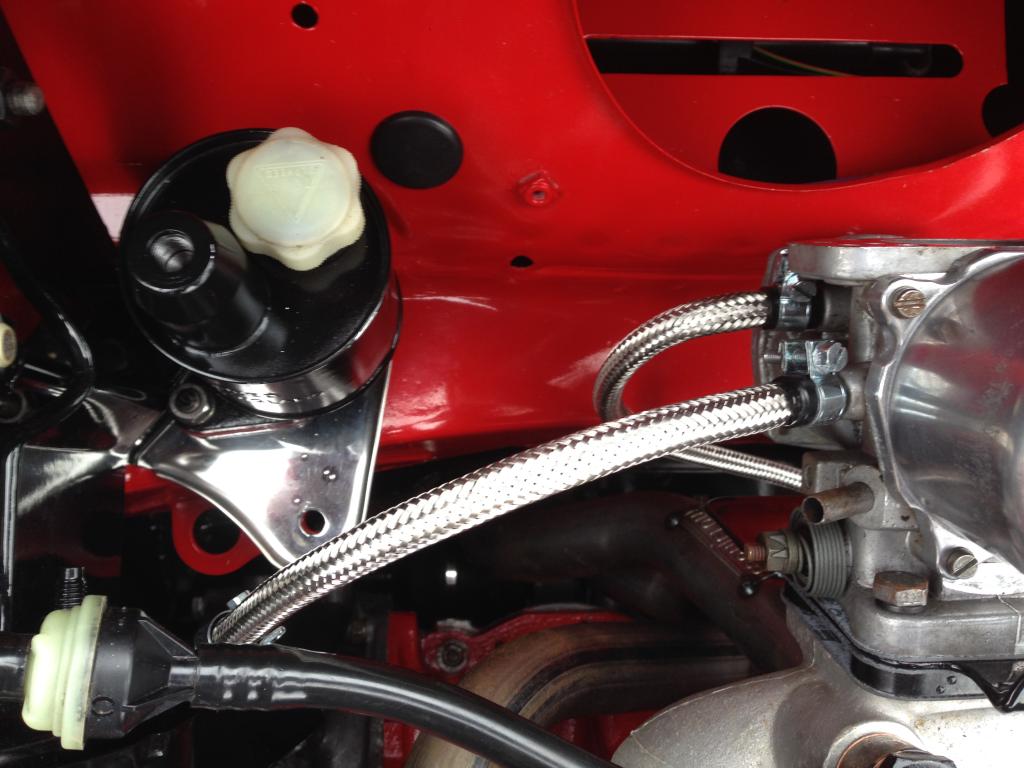
And also fitted the bulkhead sound deadening, as well as the braided oil hose and speedo cable you can see poking through -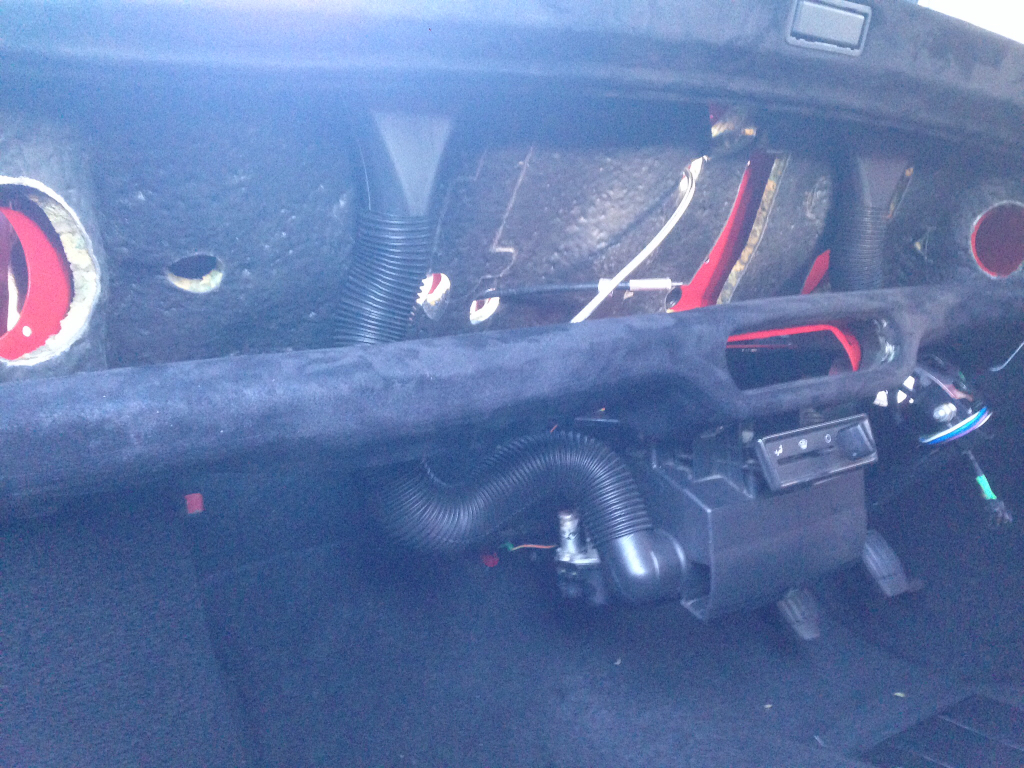
Finally, we fitted the pin that holds the clutch master cylinder and the clutch pedal together, managed to get it into this position with the aid of a pen magnet -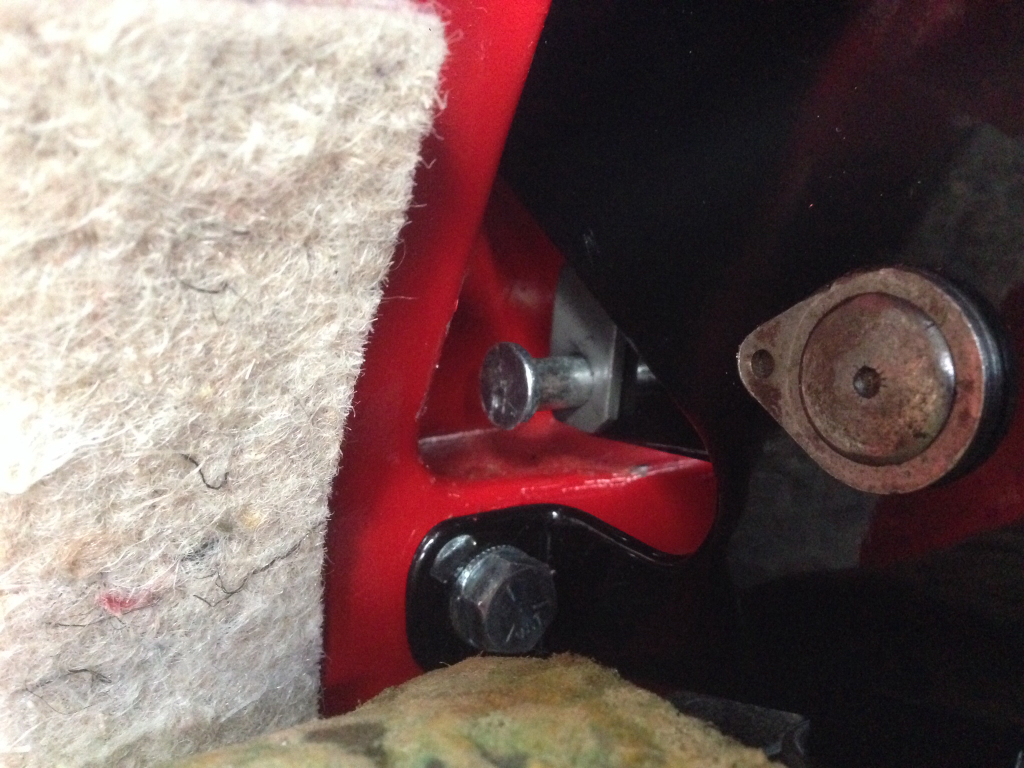
And then using a hammer and a long flat head screw driver we tapped it home and slipped in the split pin. Looks/sounds pretty simple you'd think, it's everything but that believe me. NEVER AGAIN
Anyway, that's all the progress thus far, may crack on with refurbishing the main loom tomorrow.