You must be logged in to rate content!
8 minute(s) of a 358 minute read
10-7-2014
Update,
I've got a bit more done, I'll start with the stuff I've bought though.
Various rubber seals -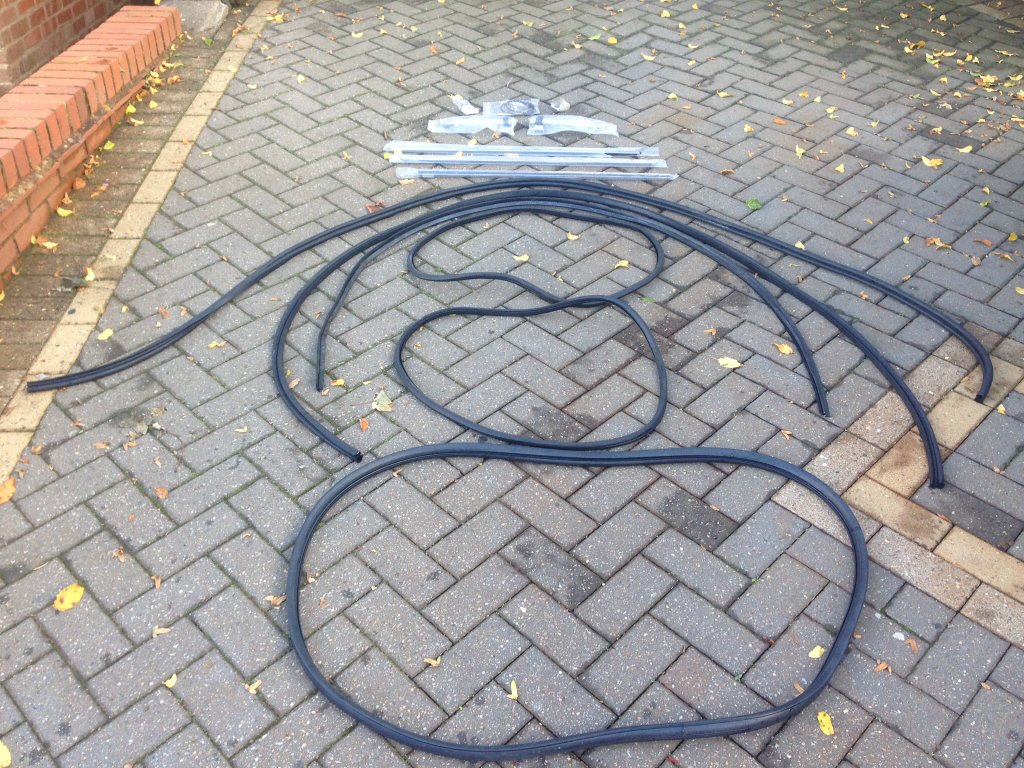
Door chrome trim, rear radius arm repair kits, head lining clips, straps that support the boot while open, engine earth strap, check straps and door light switches -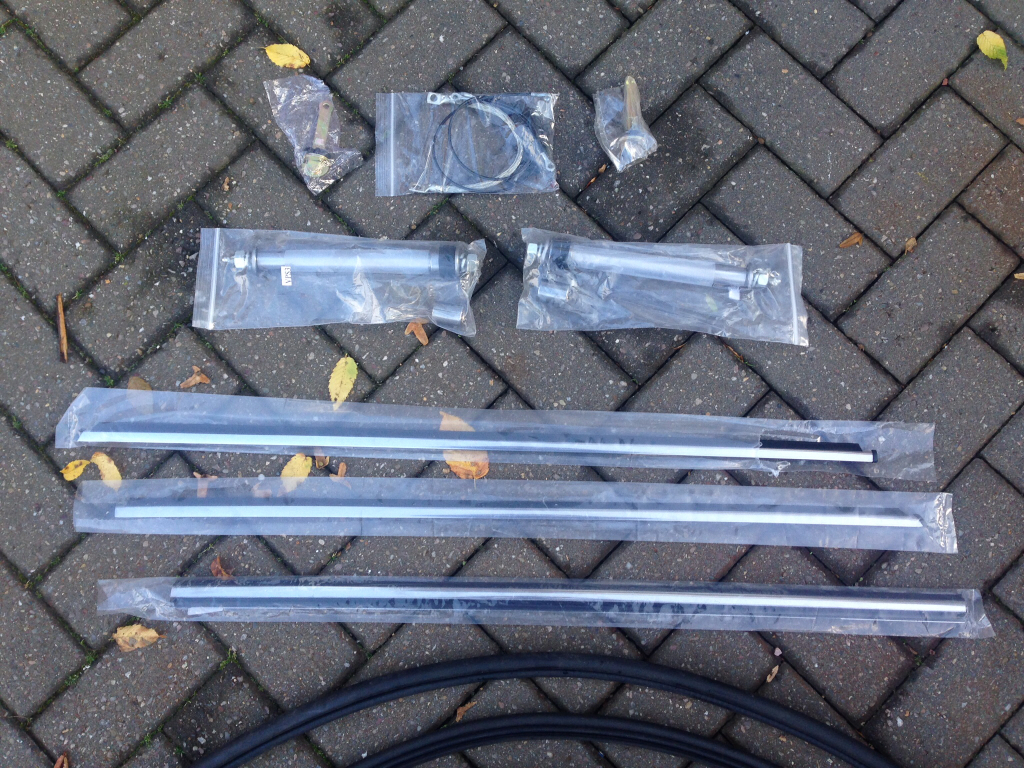
Also had to buy another red tipped head lining bar, as me being the heavy handed fool that I am, managed to snap the end off my original one -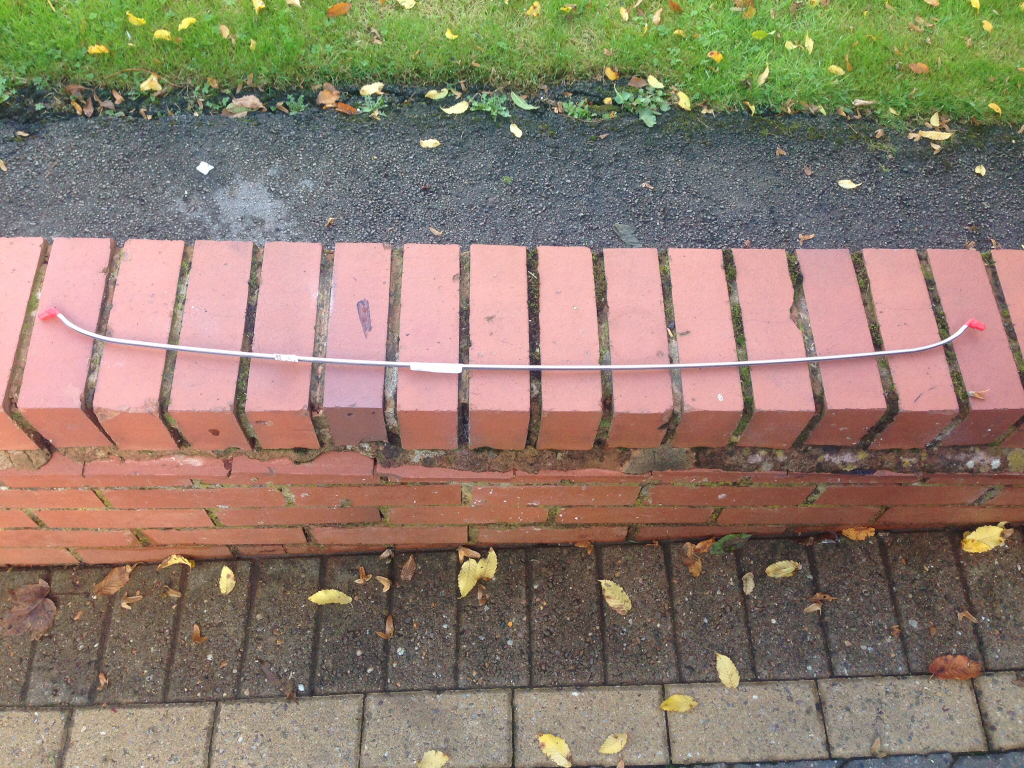
And finally, I took delivery of some Dynax UC, going to give the whole bottom of the car a coating -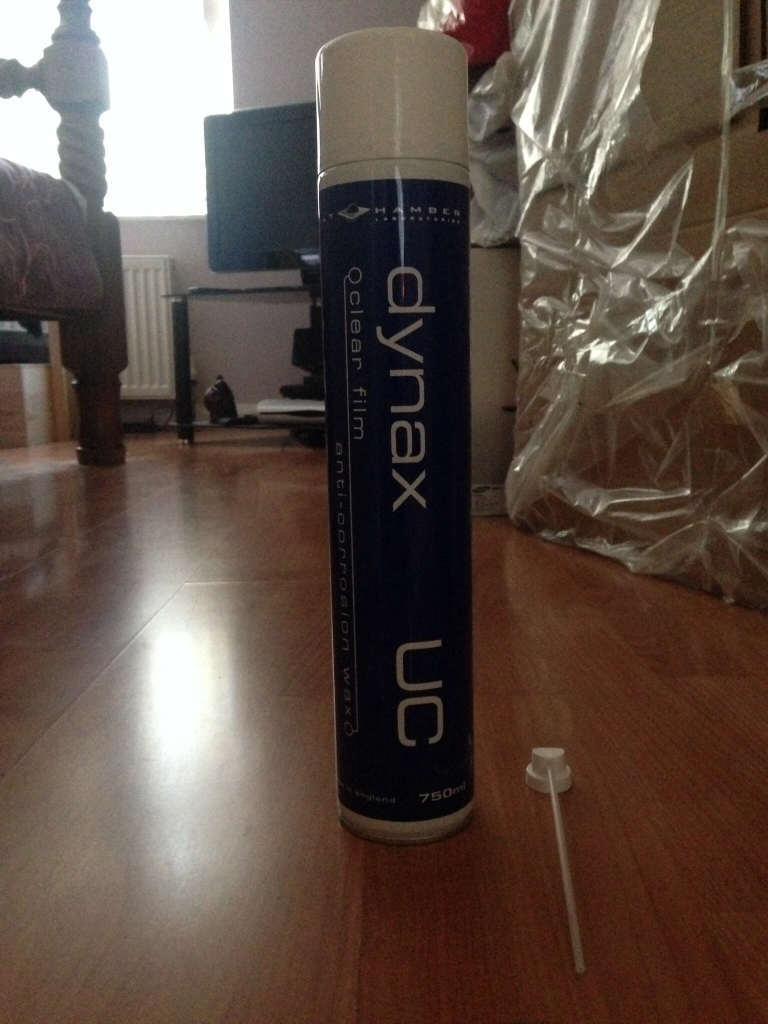
I haven't managed to get a lot done on the car as I've been really busy of late, but here's what I have been able to do.
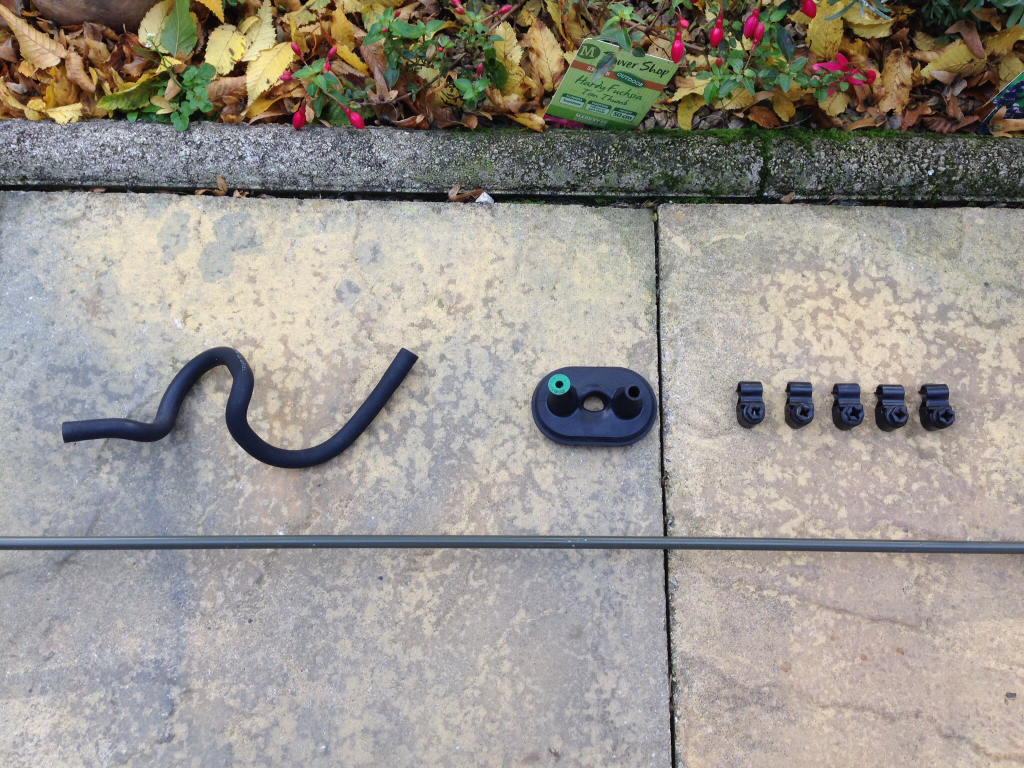
Cleaned up my fuel pipe and fittings -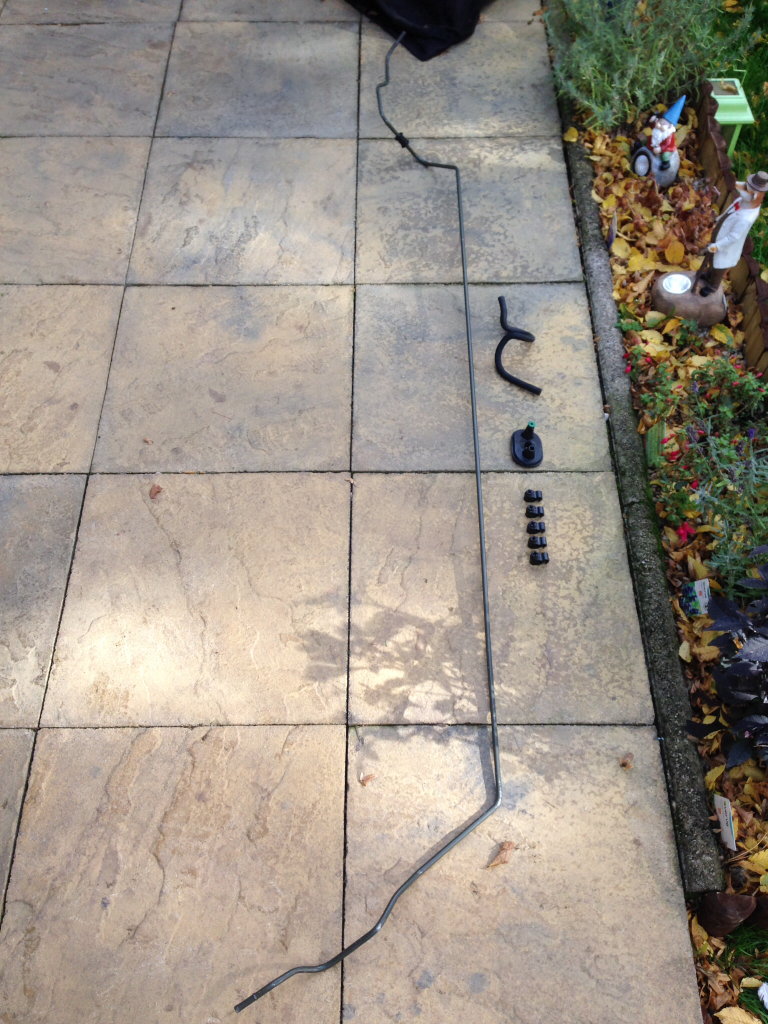
Changed the end of the door light switch wire to accept the new switches -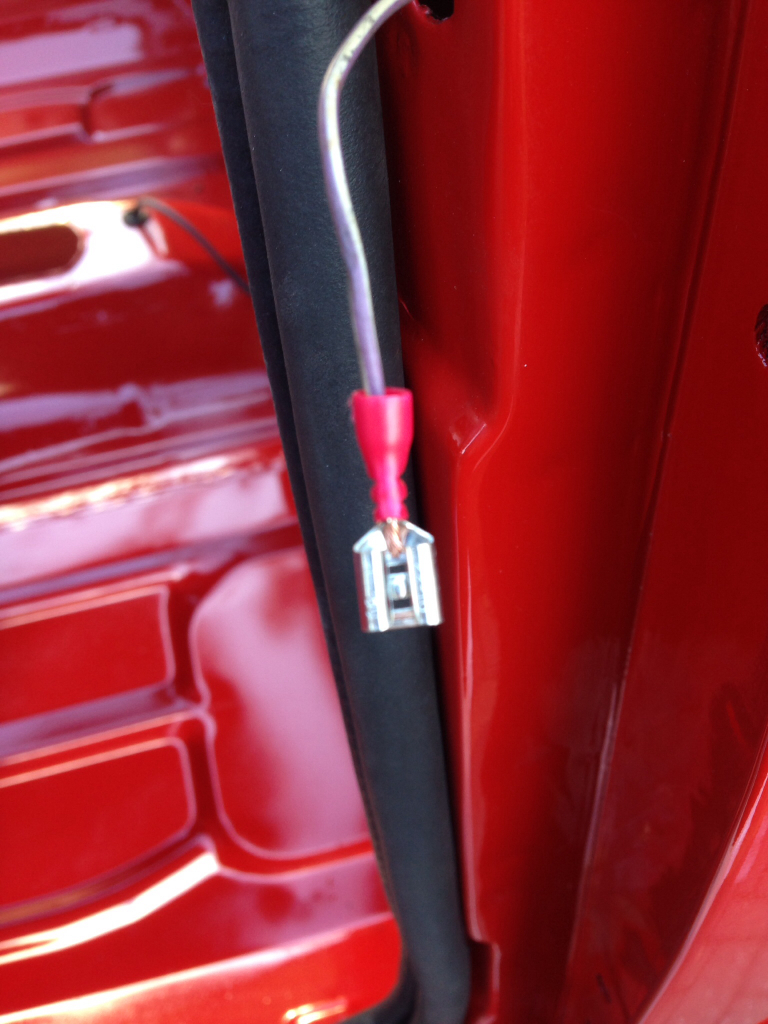
Switches in place -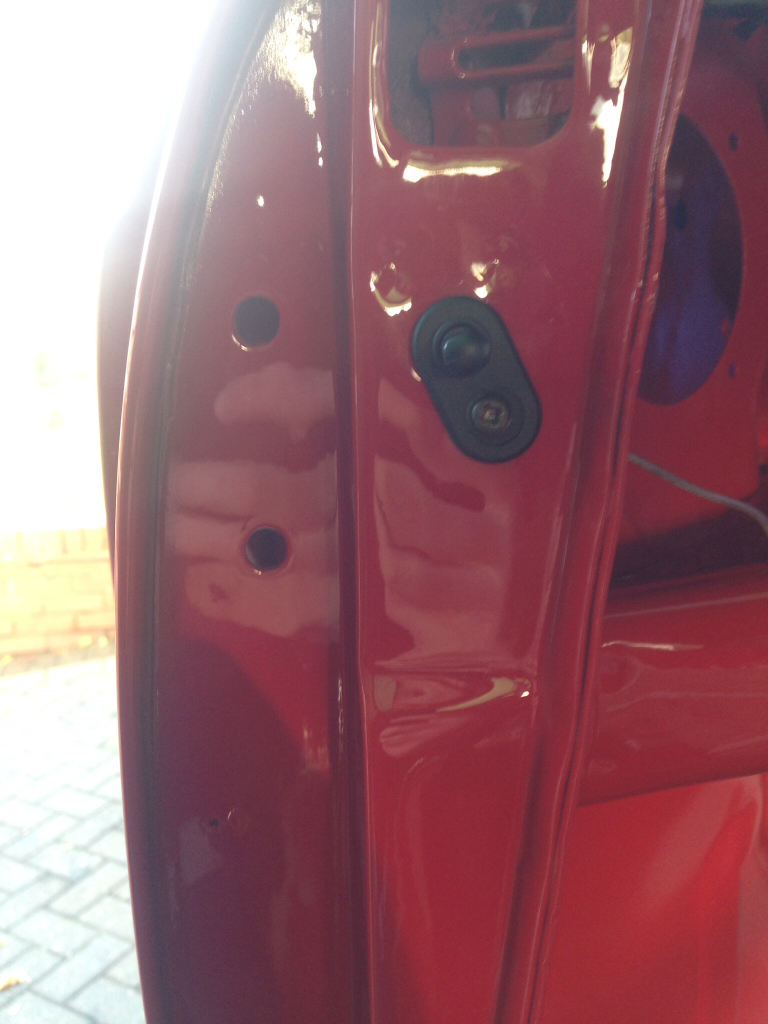
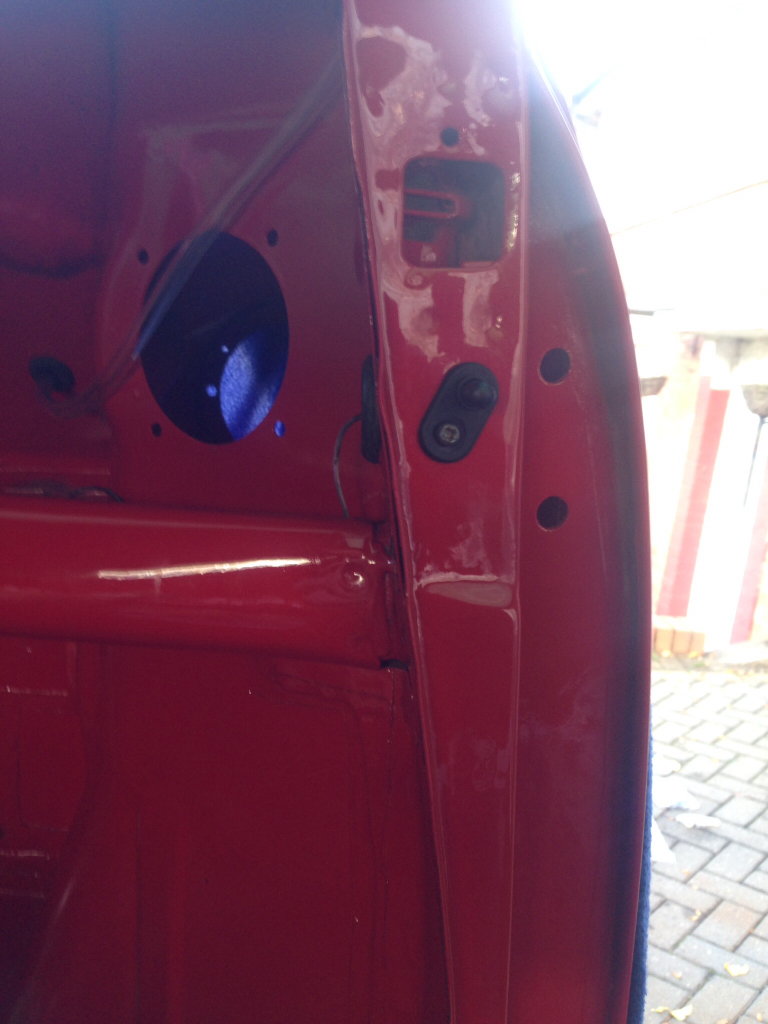
New washer pipe front to back -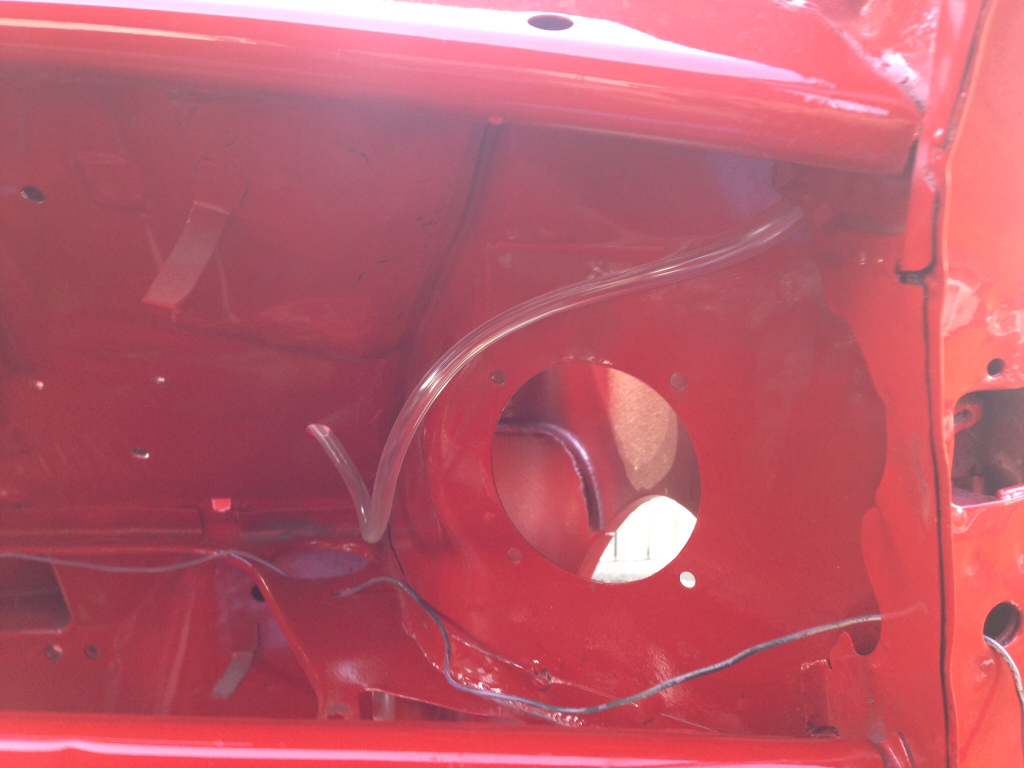
We also test fitted my rear subframe, just wanted to double check the subframe fitted as it should, seeing as it's a new one -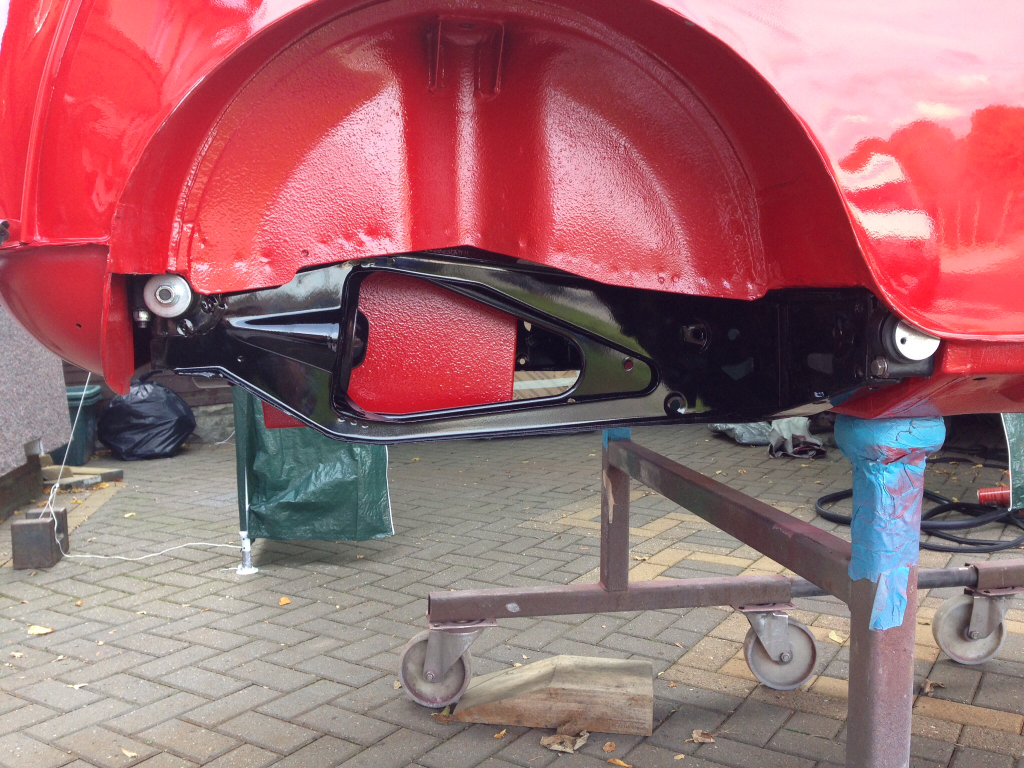
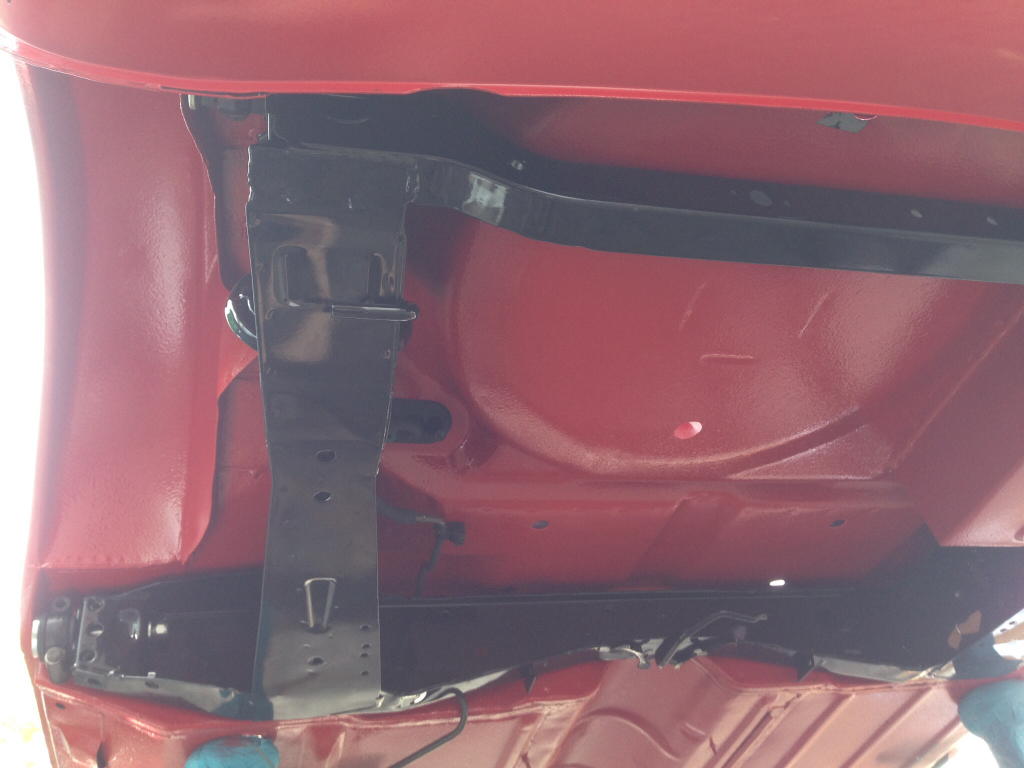
And finally, I've got my headlining roughly fitted in place -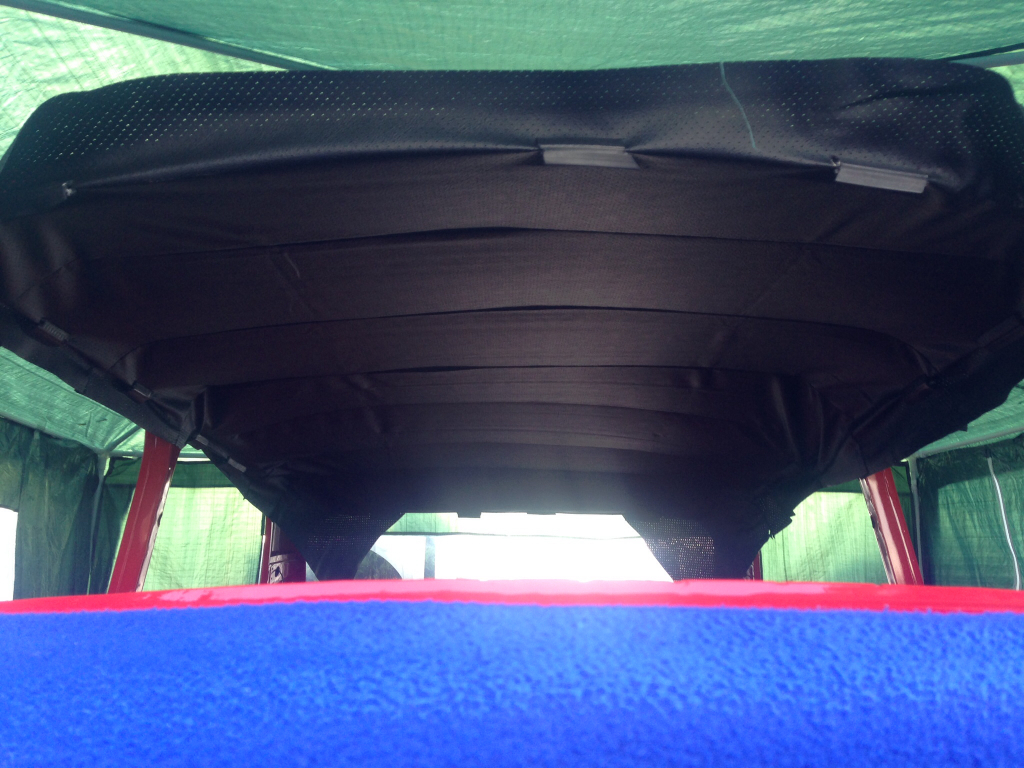
There's a lot of packaging creases in it at the moment, so I'm going to leave that as it is until the weekend. That should give the creases time to come out, and then I'll fit it properly.
I've just put an order in to Smiffy's Bits for all of the stainless nuts, bolts and brackets needed to get both subframes on, so looks like I'll be fitting those the weekend as well
10-11-2014
Update,
Got a good chunk of work done today, but first, here's a few pictures of the parts I've purchased throughout the week.
Lots and lots of stainless nuts, bolts, p clips and what not -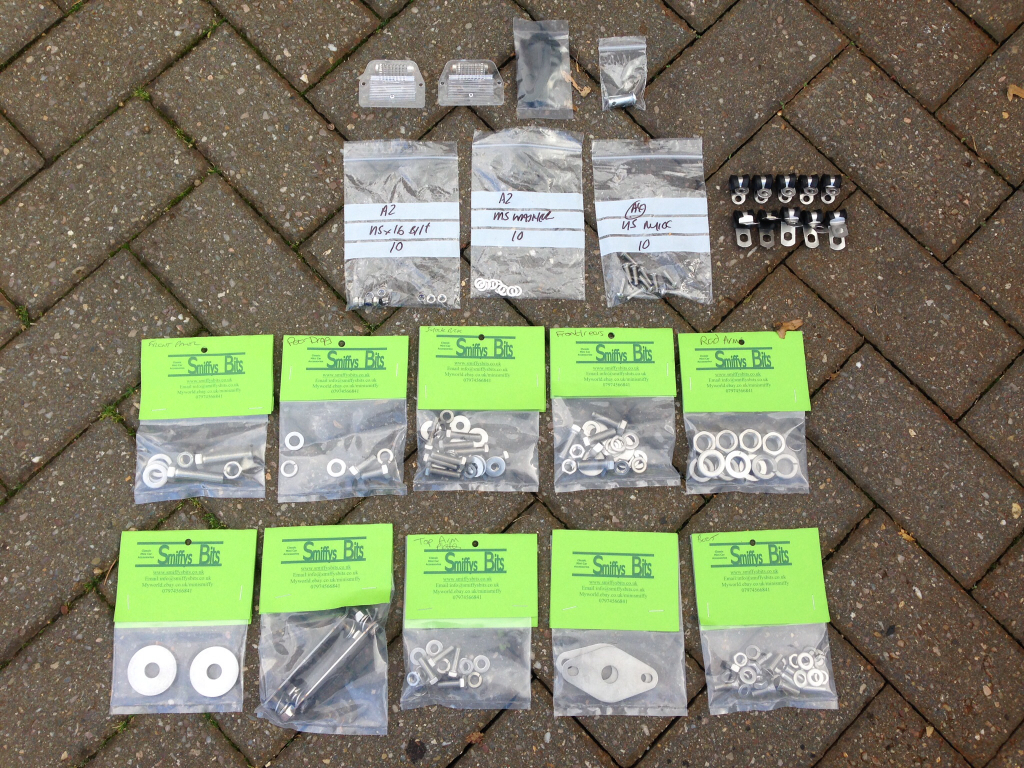
Steering rack and other bits and pieces -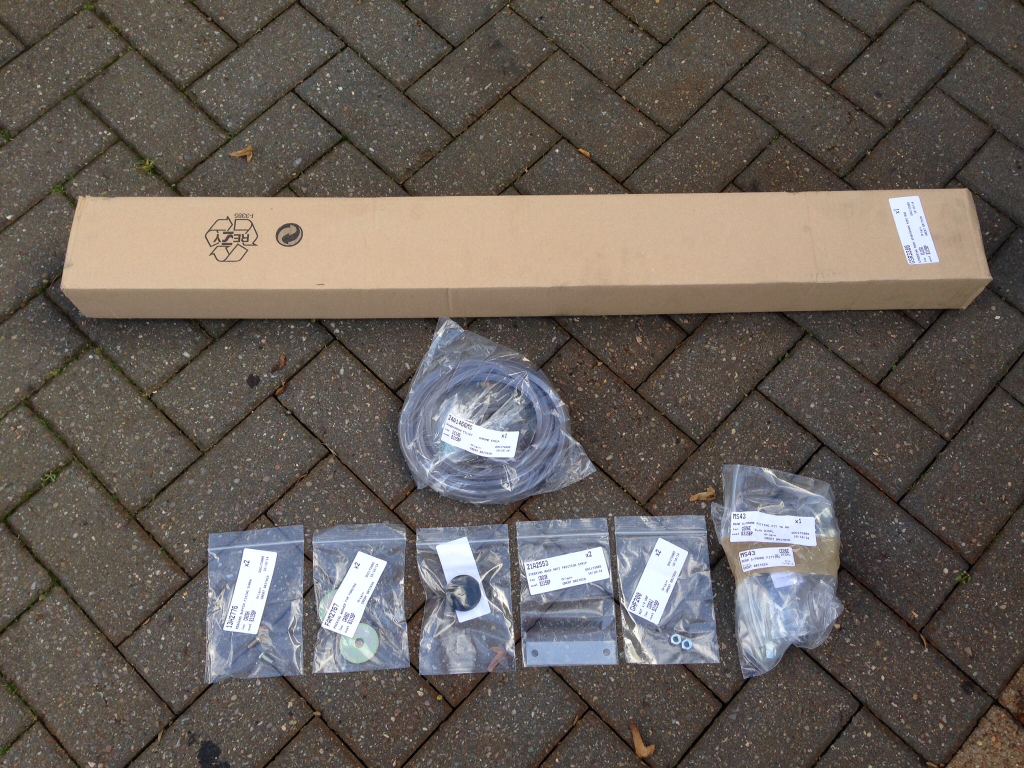
We also got a few things back from the powder coaters -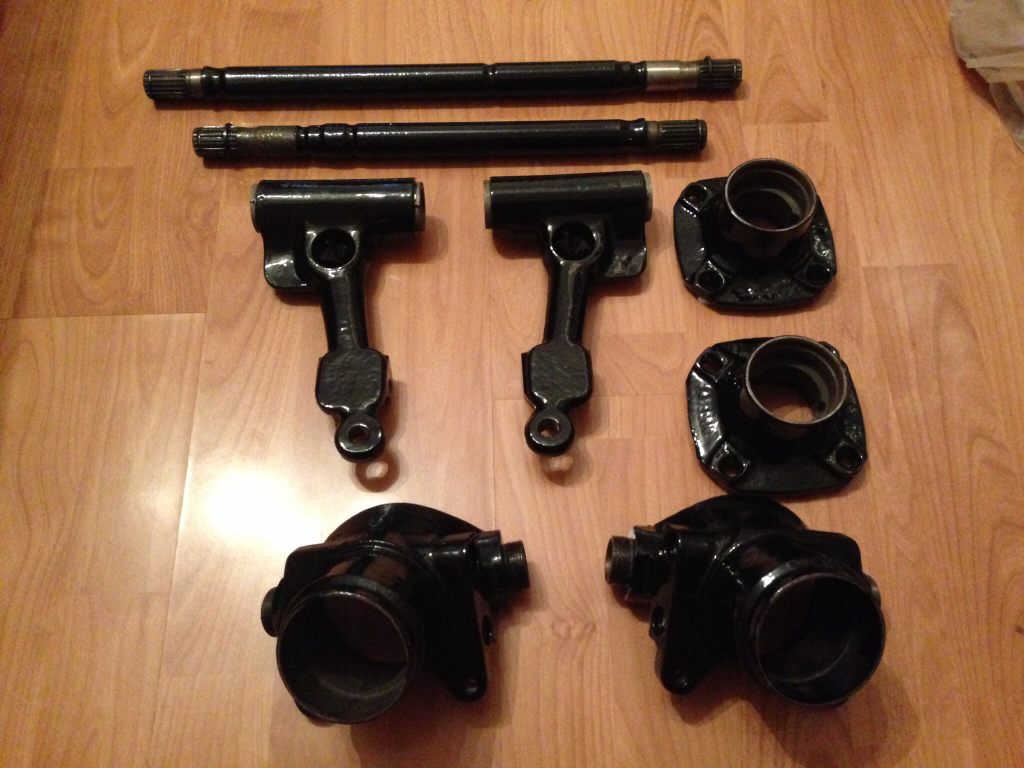
Now onto today's work, I woke up early this morning and coated the whole underside, rear arches and front arches of the Mini in Dynax UC. It's dried to an almost matt finish and looks really good, I forgot to take some pictures of the process but if you compare the pictures in the last update to this update then you'll see the difference.
One thing I would recommend is to wear eye protection, a decent mask and some disposable overalls with a hood when spraying it. I had the first two but not the latter and I got absolutely caked in the stuff lying on my back under the car, wasn't fun trying to wash it out of my hair and off my skin after !
!
As I was waiting for the wax to dry I reassembled the top arms, of course exchanging the nuts, washers and the plate in the repair kit for the stainless alternatives -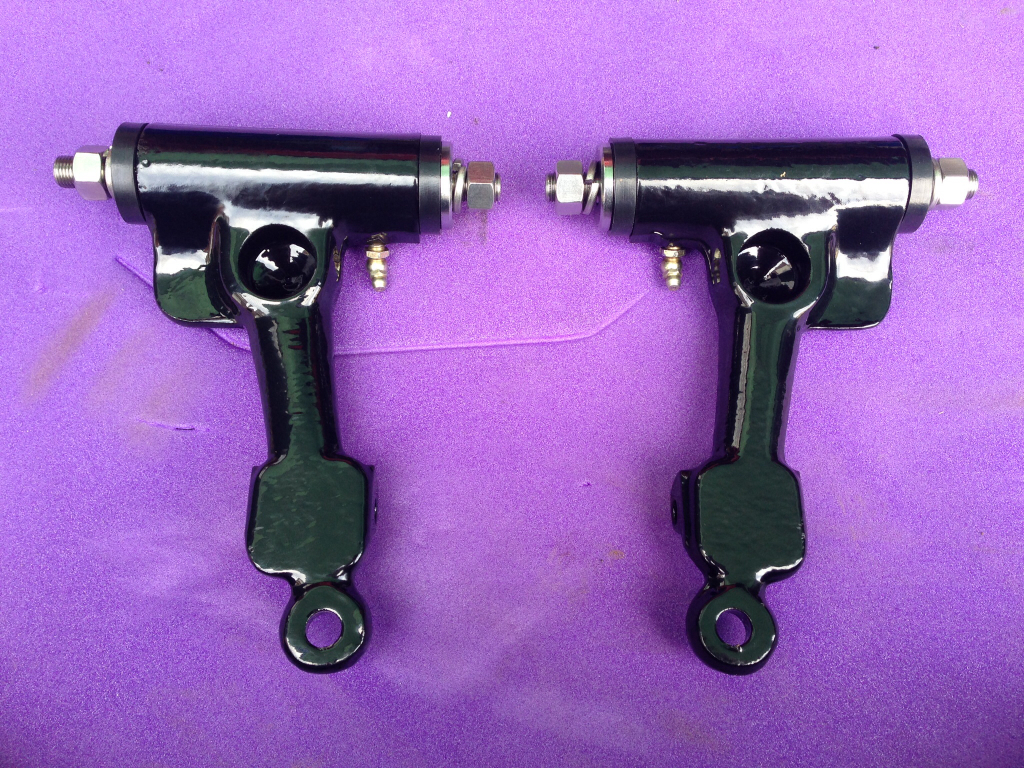
Bolted them onto the subframe and fitted the new cones, knuckles and Hilos. I also waxed all the cavities in the subframe while I had good access -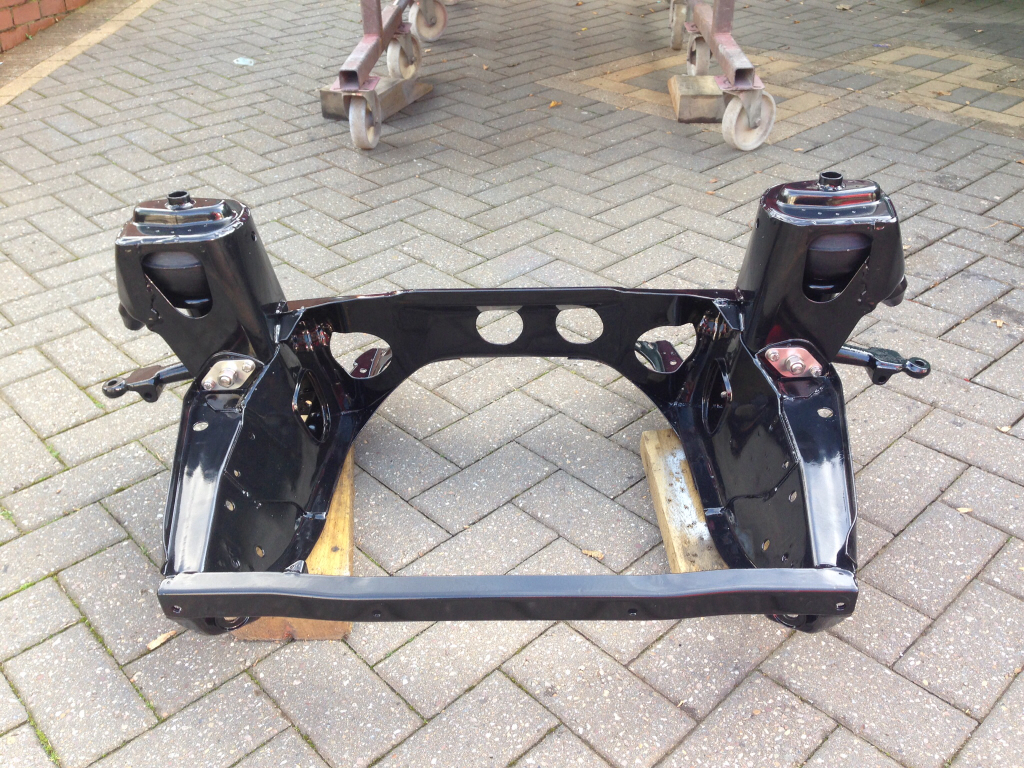
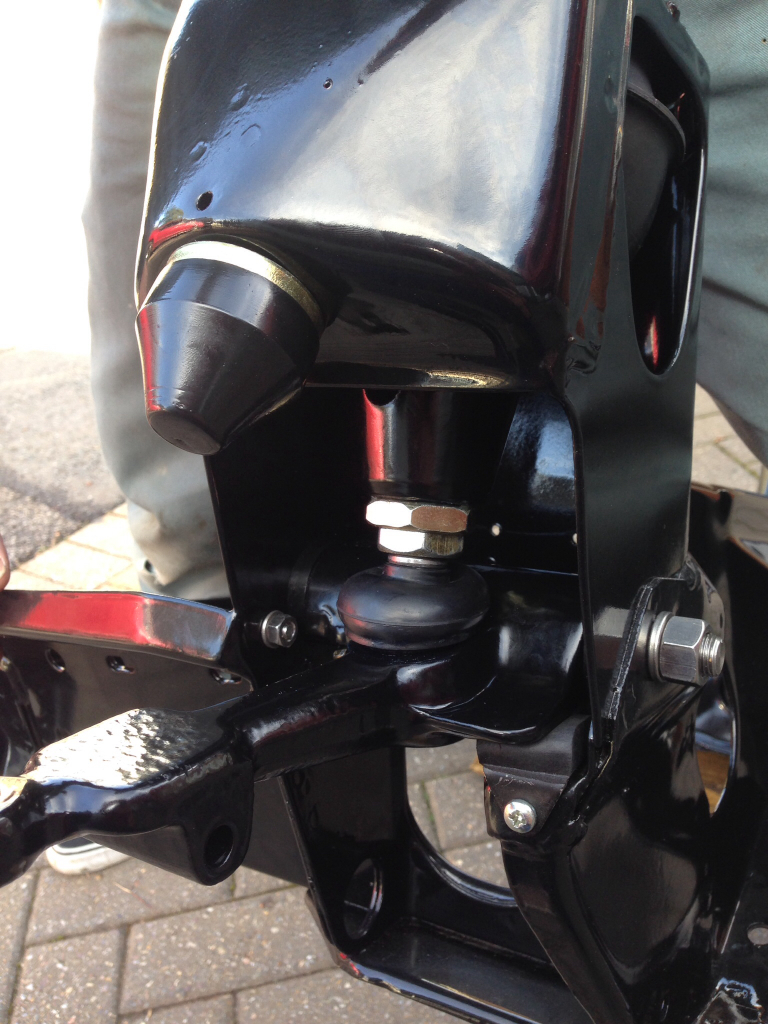
Next job was to fit the steering rack -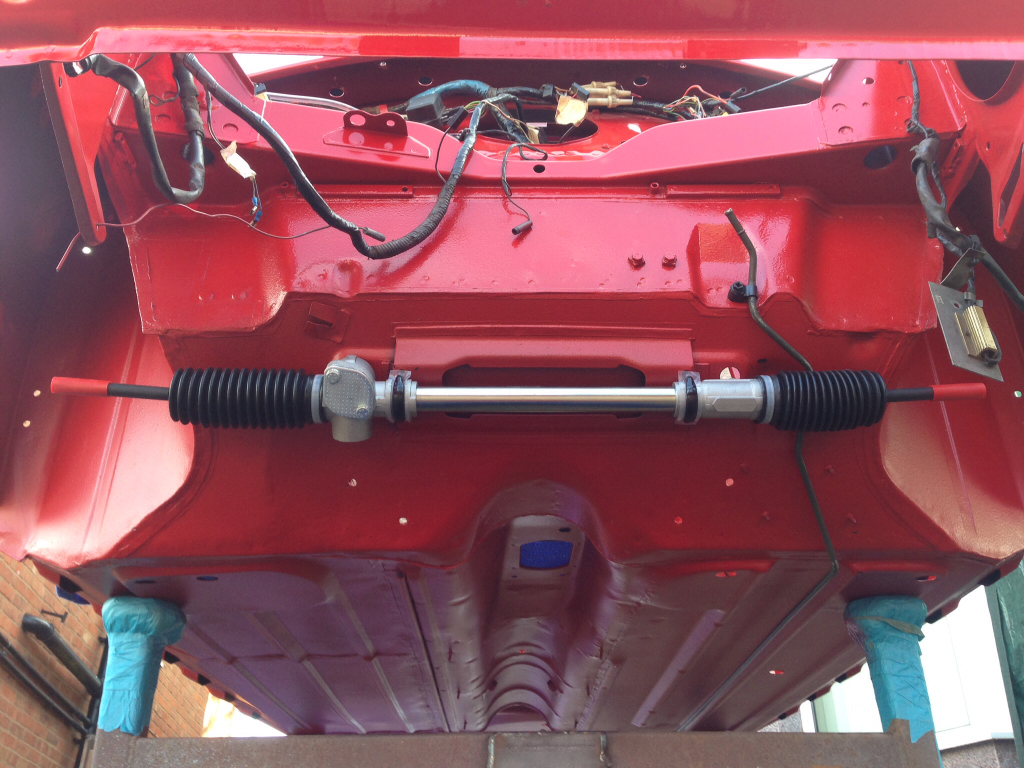
We applied a thin bead of tiger seal around the edge of the shock mounts before fitting them, this should ensure we don't get any rusty accidents later down the line -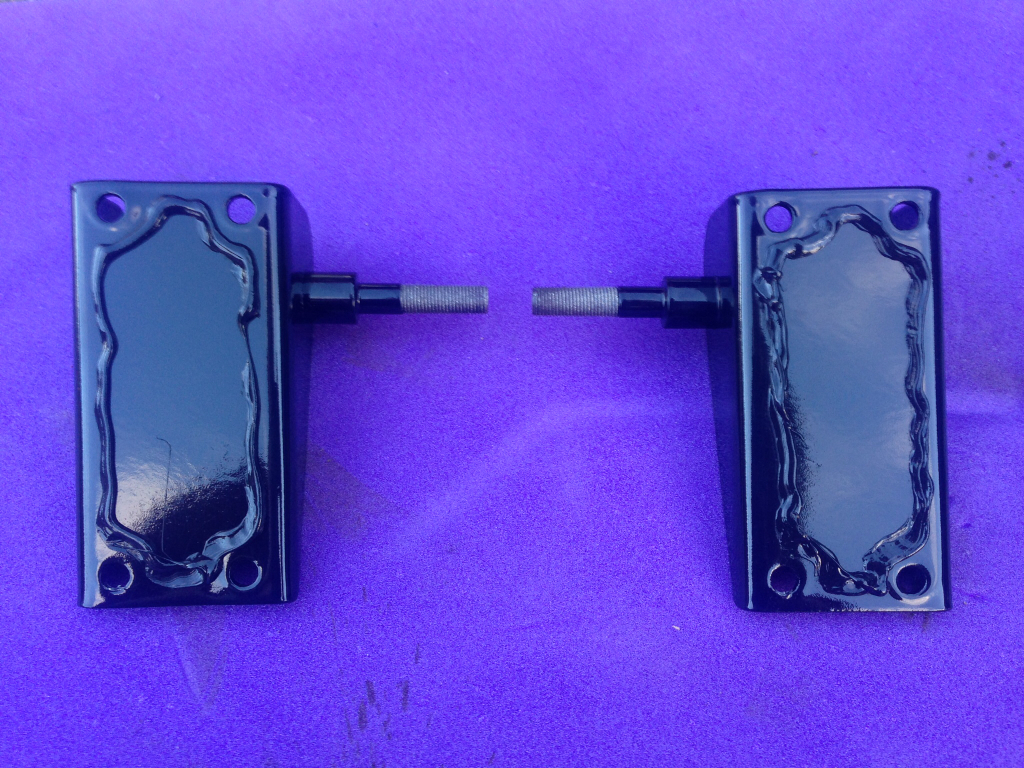
After fitting those in place it was time to bolt the front subframe on -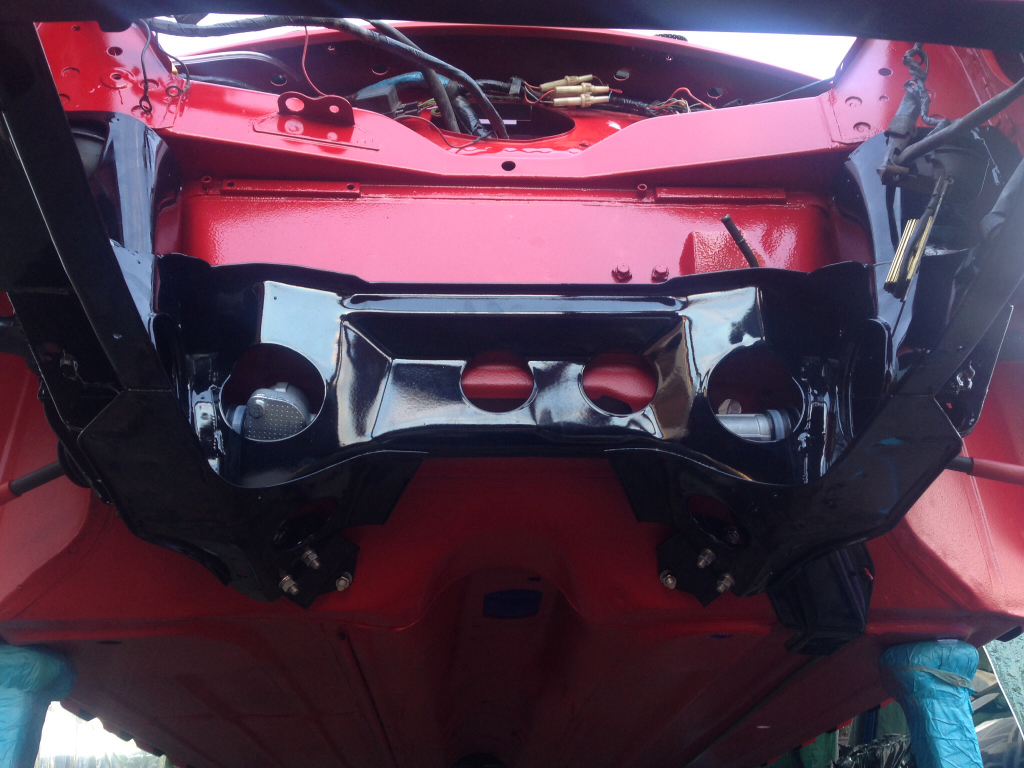
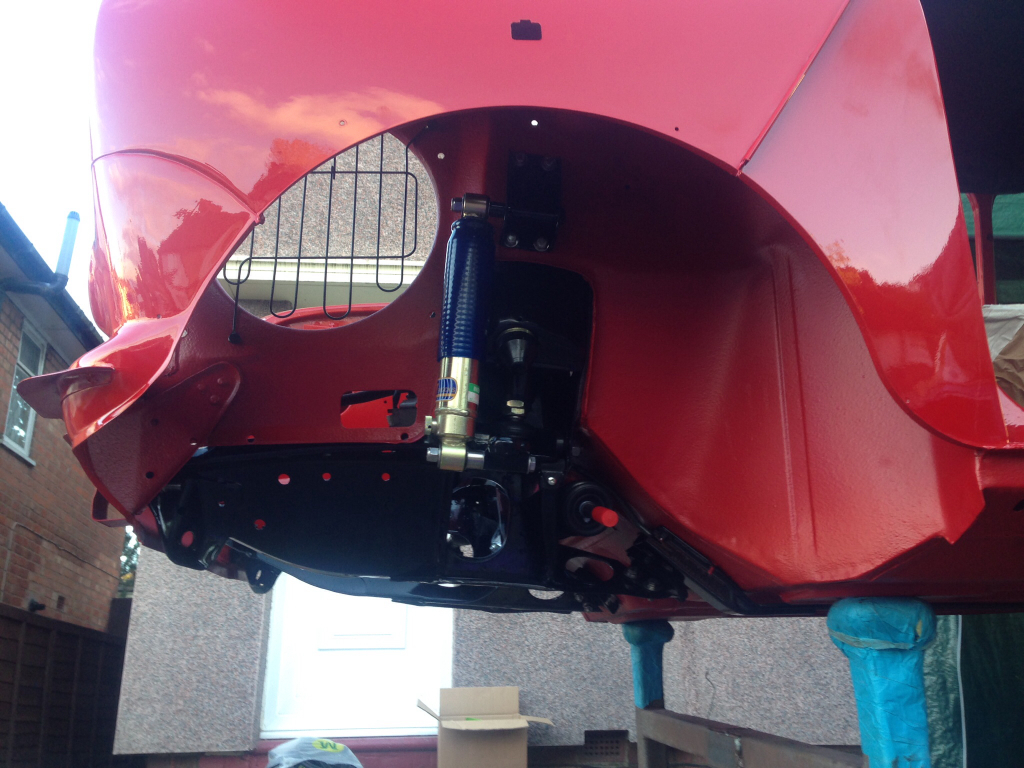
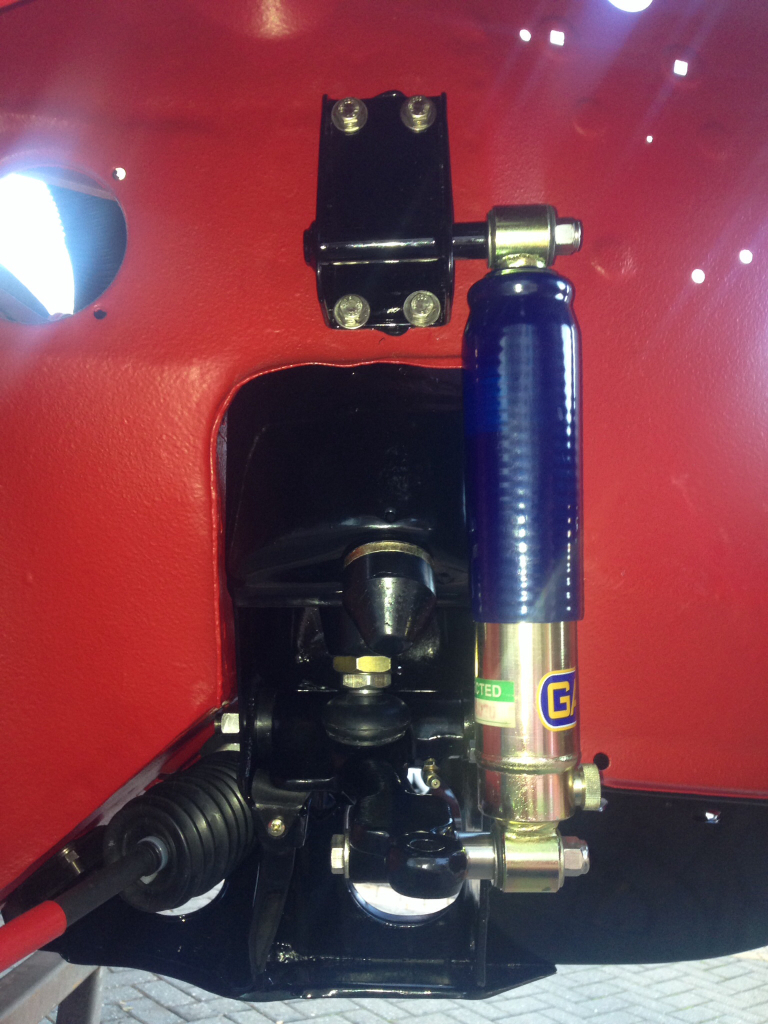
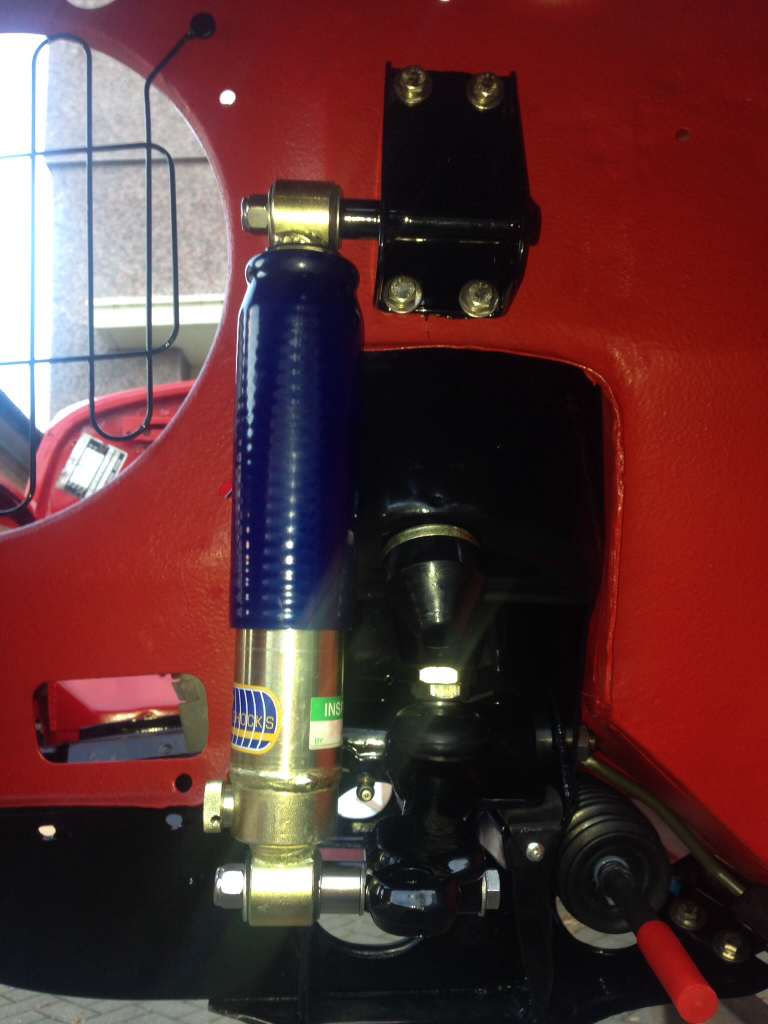
Bolted the stone guard for the radiator in place -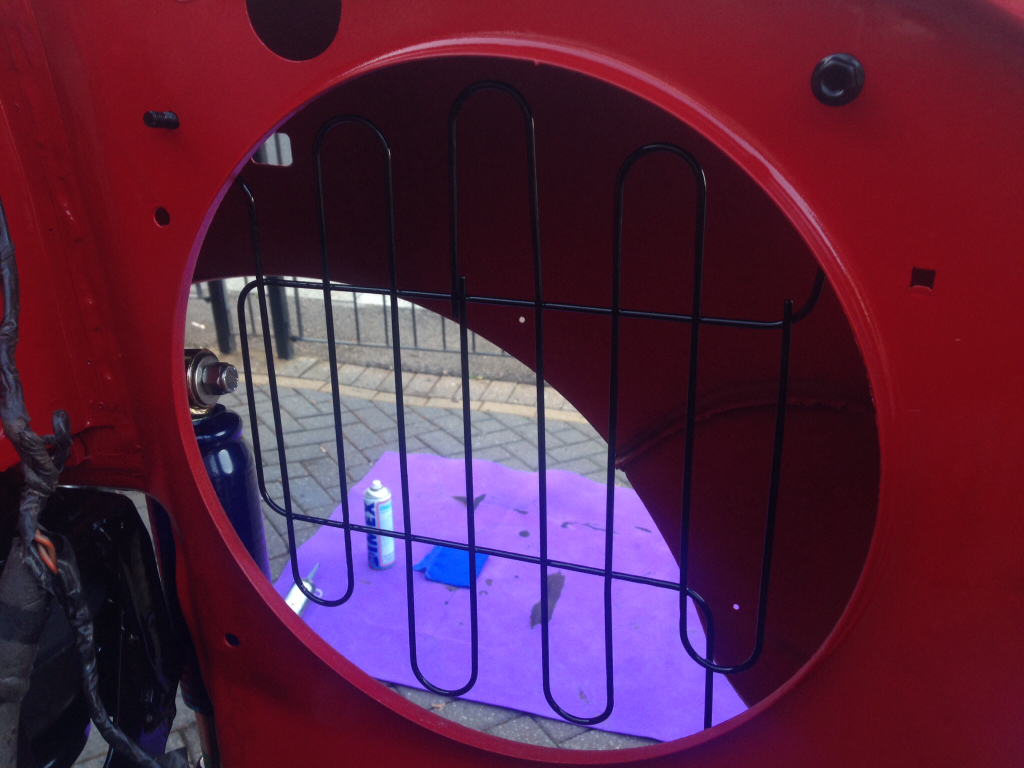
Happy with that, we moved onto the rear subframe.
Bolted my freshly powder coated trunnions onto the subframe, again exchanging various bits and pieces for the stainless alternatives. I also took the opportunity to wax all the cavities while it was easy to do so -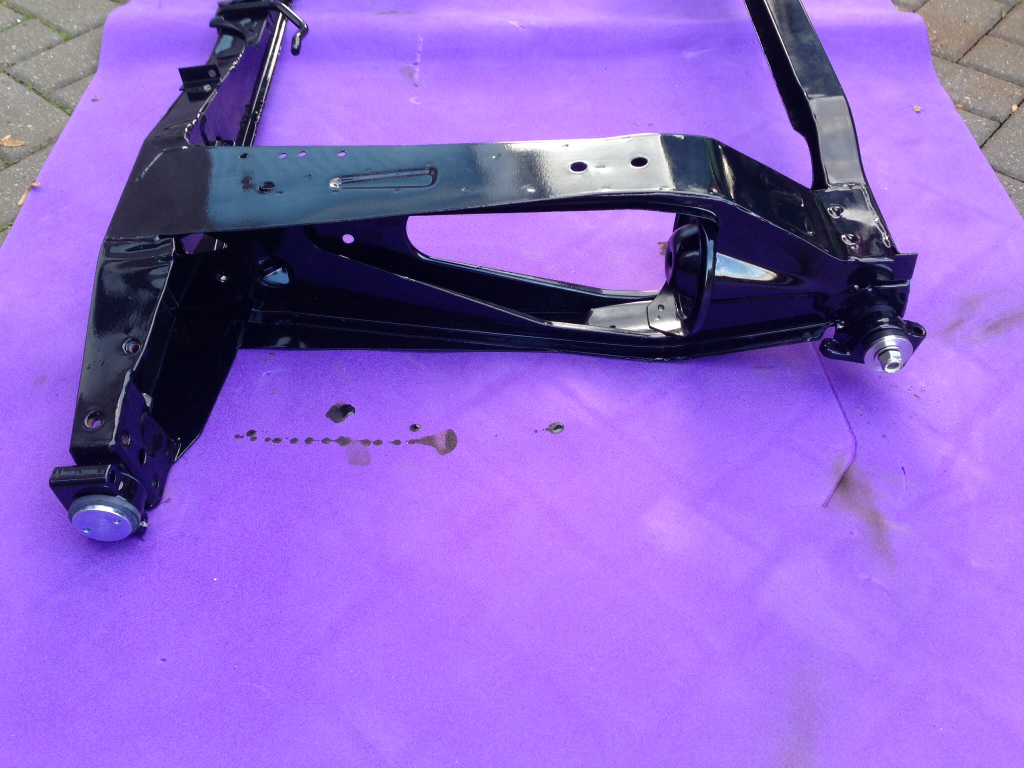
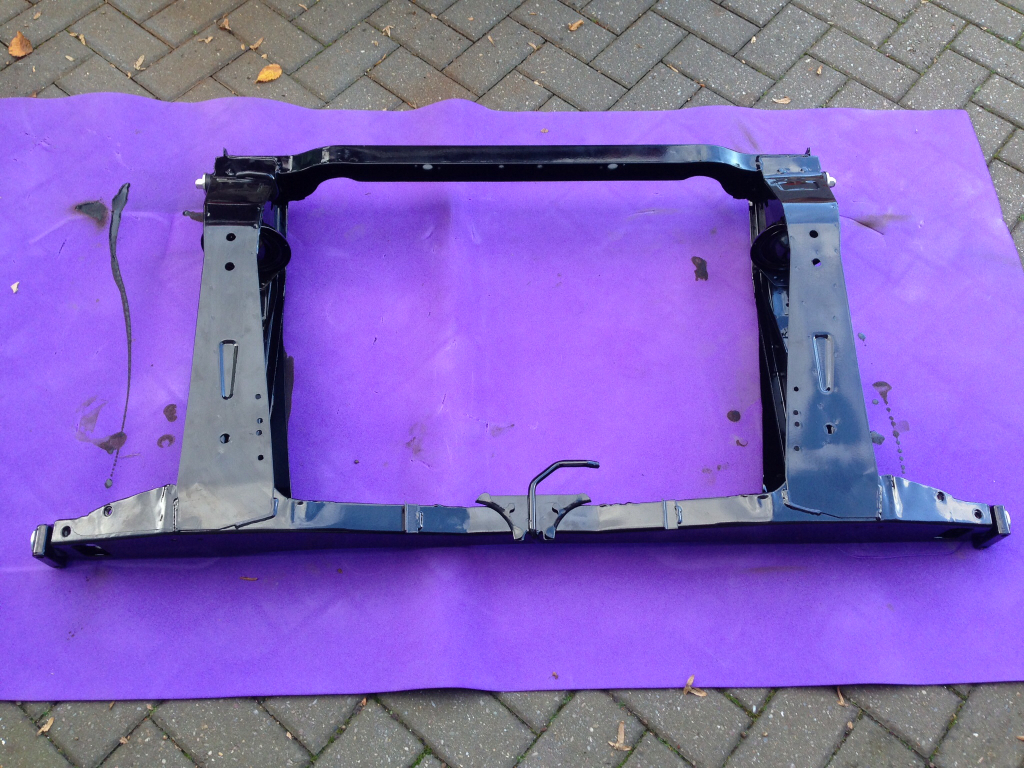
We managed to get the subframe in place with out damaging any of the surrounding stone chip/paint/waxoil, so I'm happy with that -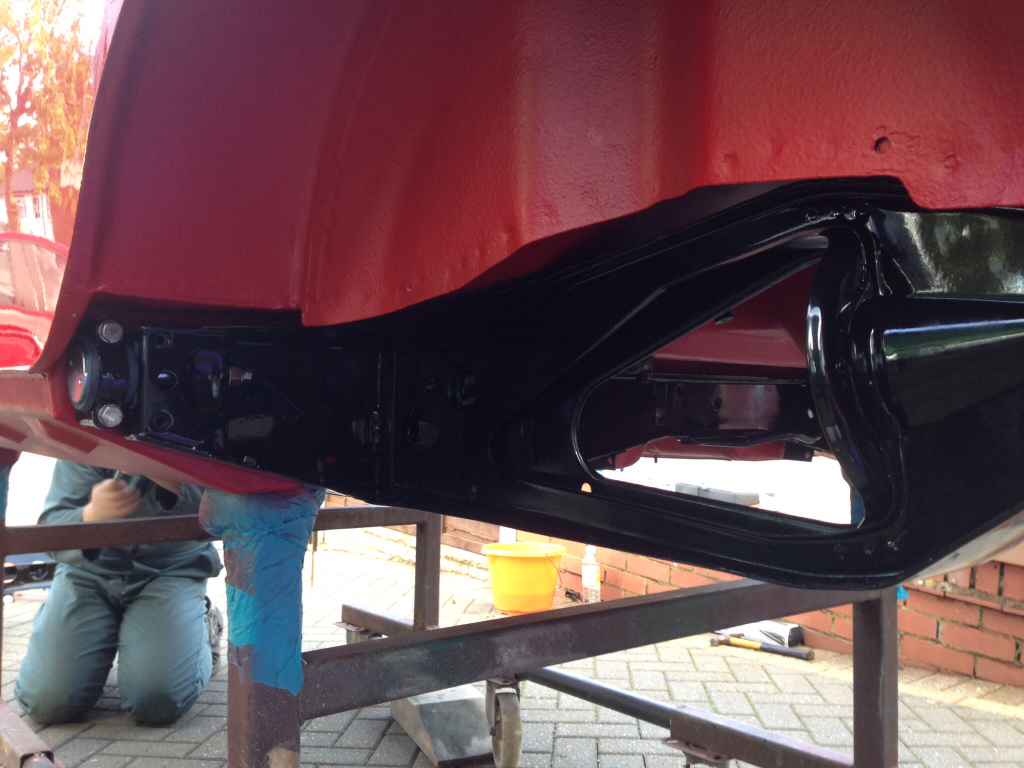
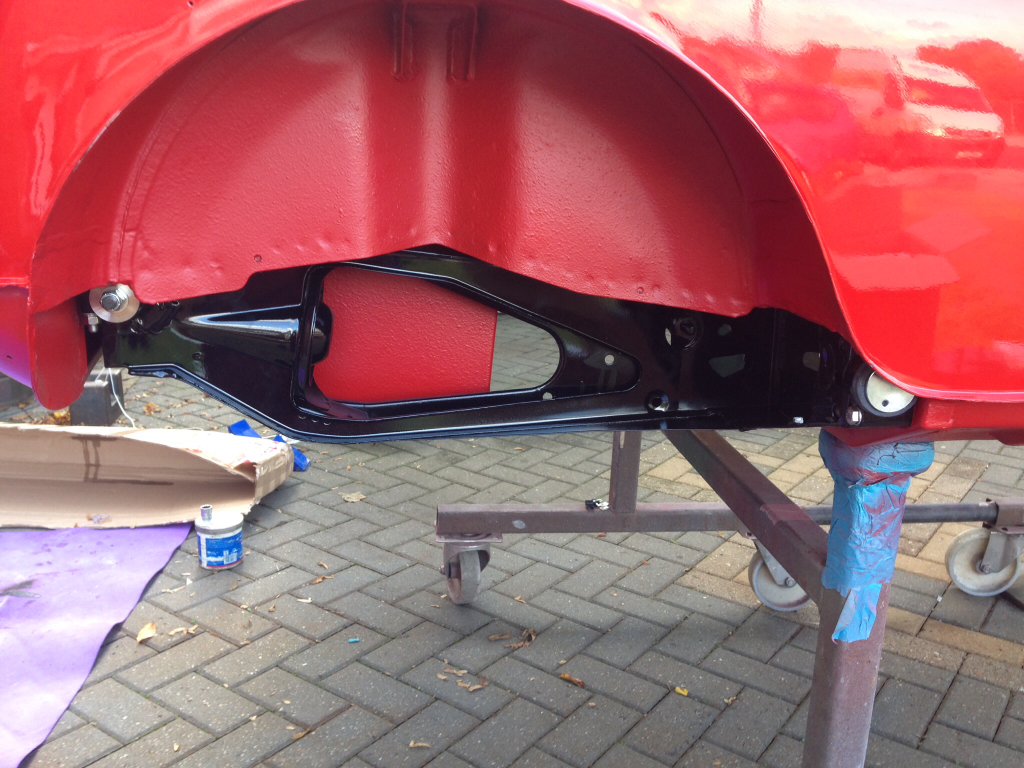
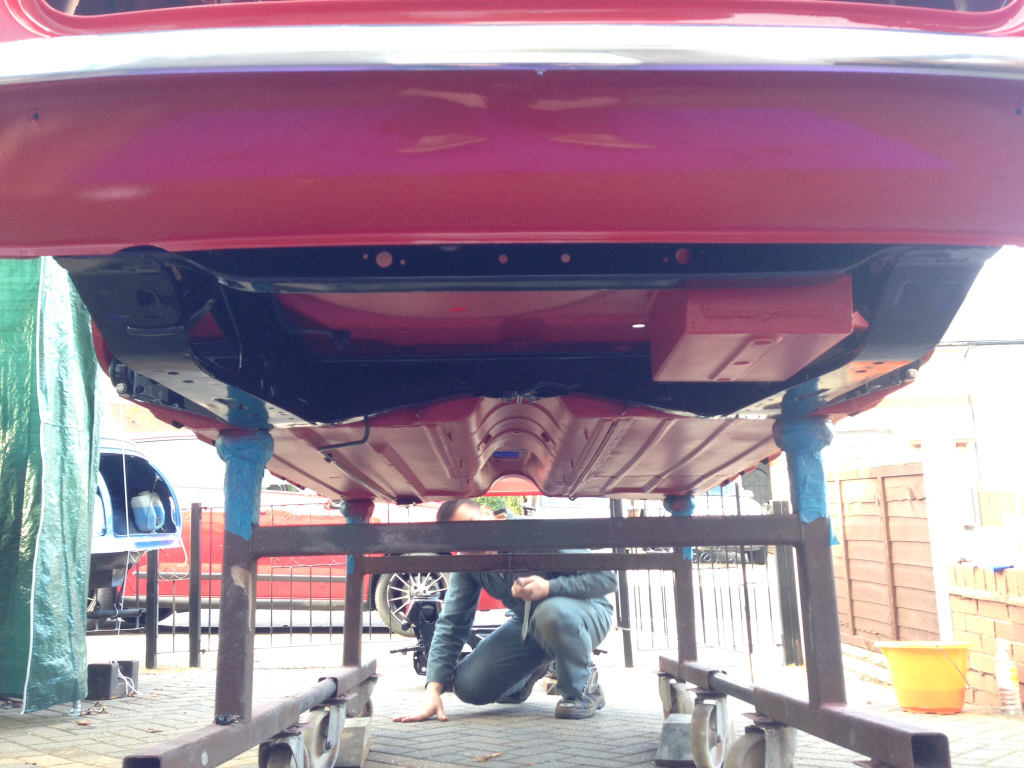
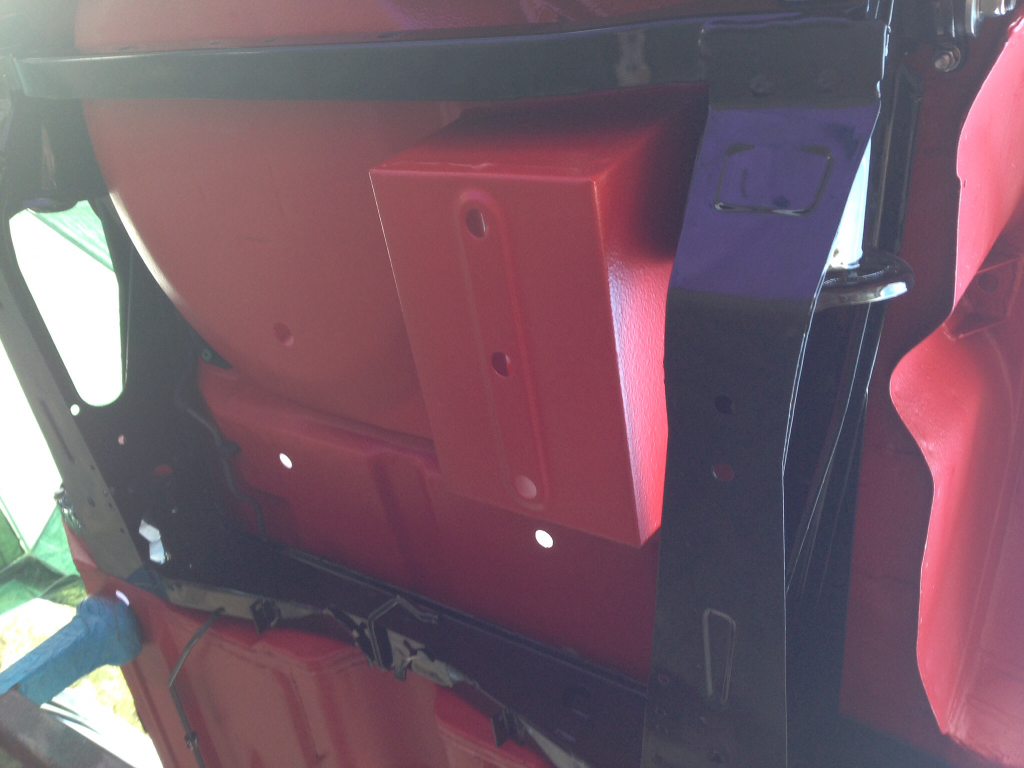
That took us up to 7pm, definitly a good days graft, so we pushed her back into her tempory housing and left it at that, (the blue sheets there to stop any chaffing on the paint work from the plastic sheeting) -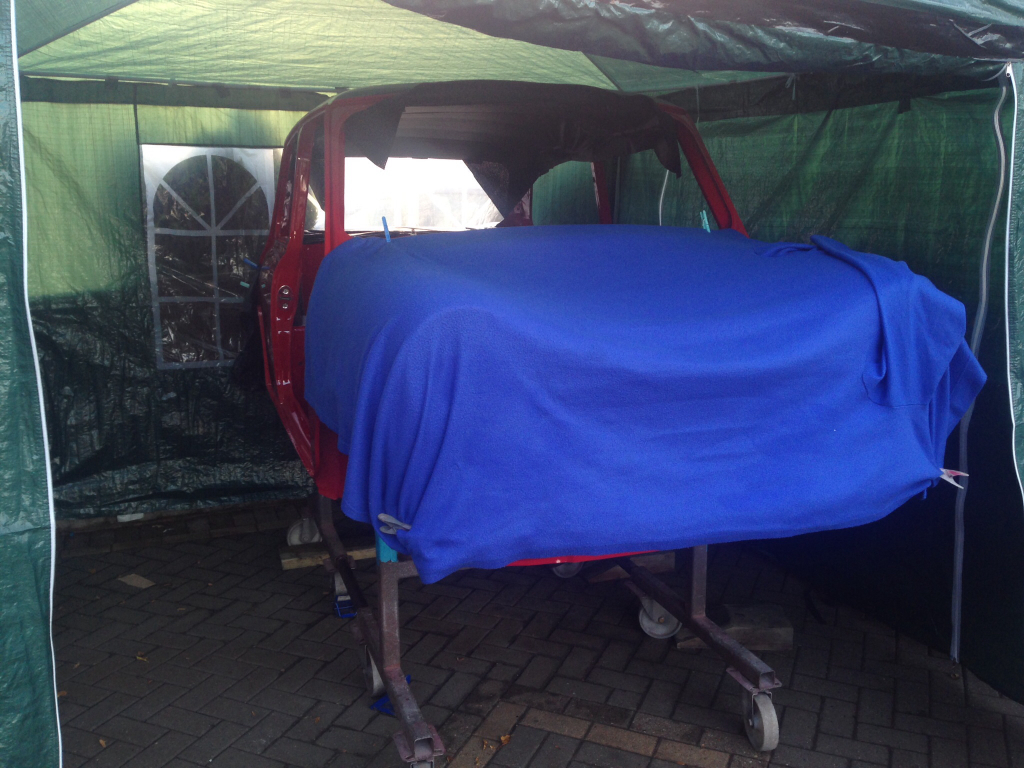
More updates tomorrow hopefully !
