You must be logged in to rate content!
6 minute(s) of a 358 minute read
9-27-2014
Update,
Picked up a few more things from the powder coaters today, here's a few pictures.
Rear subframe -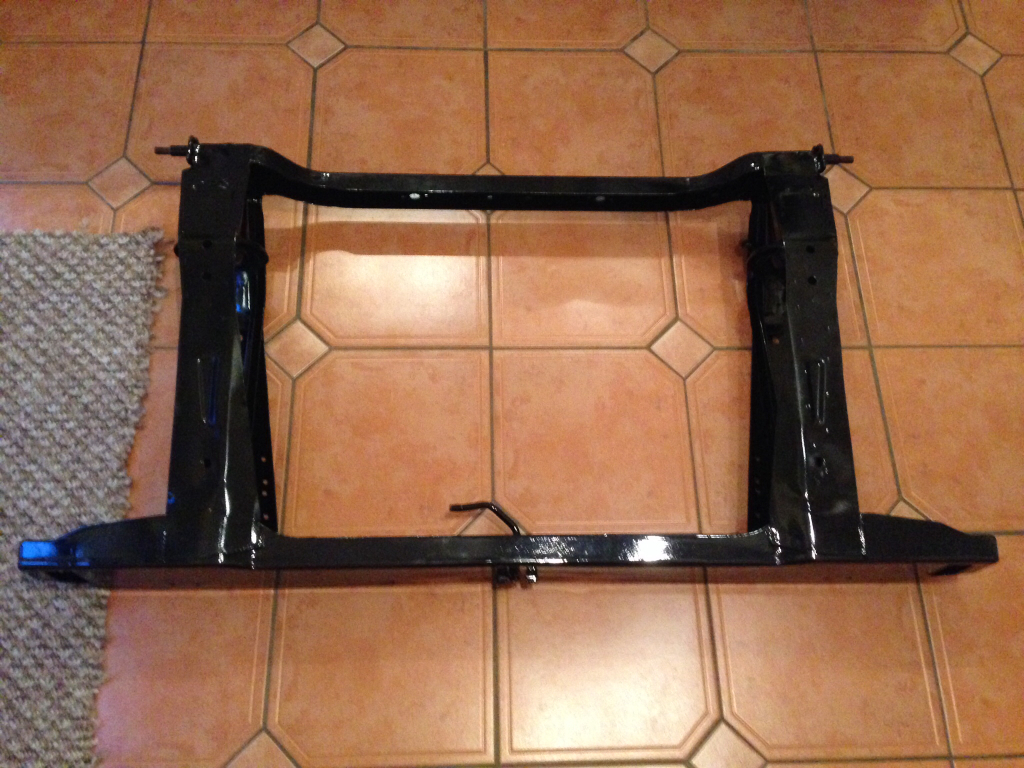
Various other bits -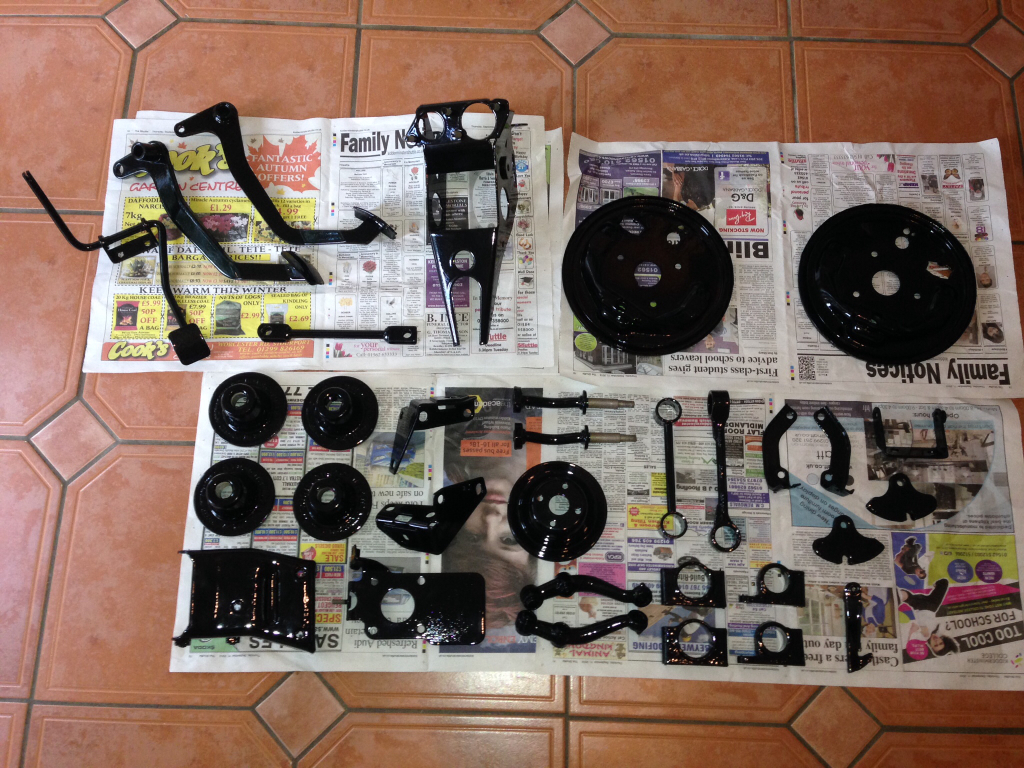
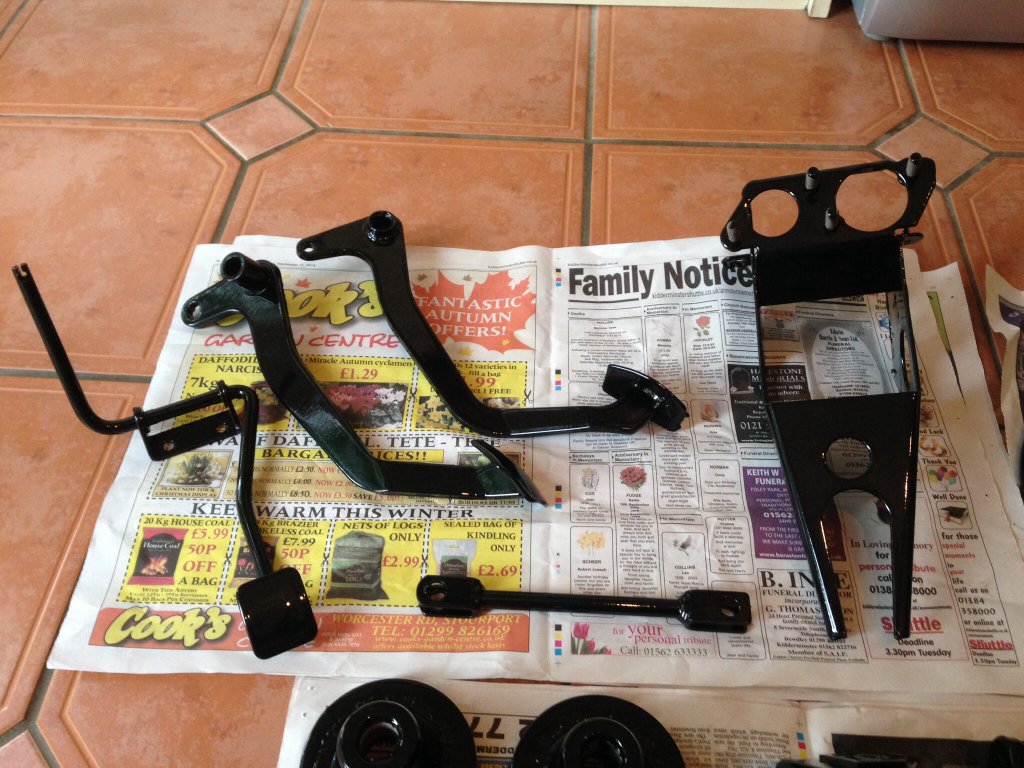
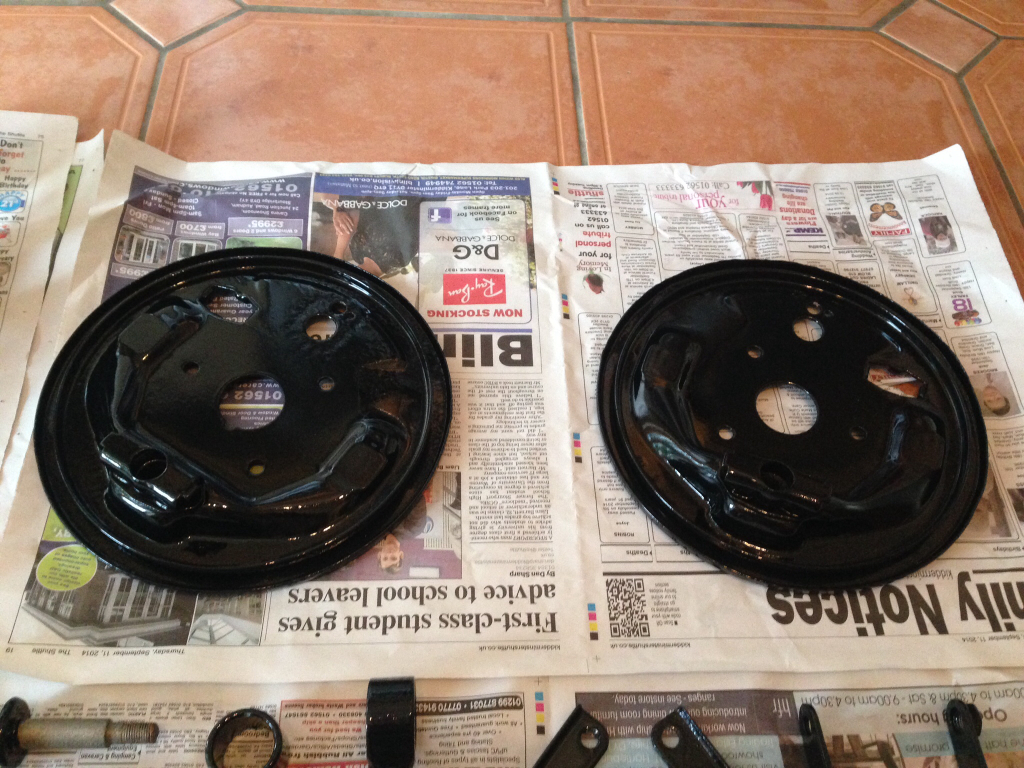
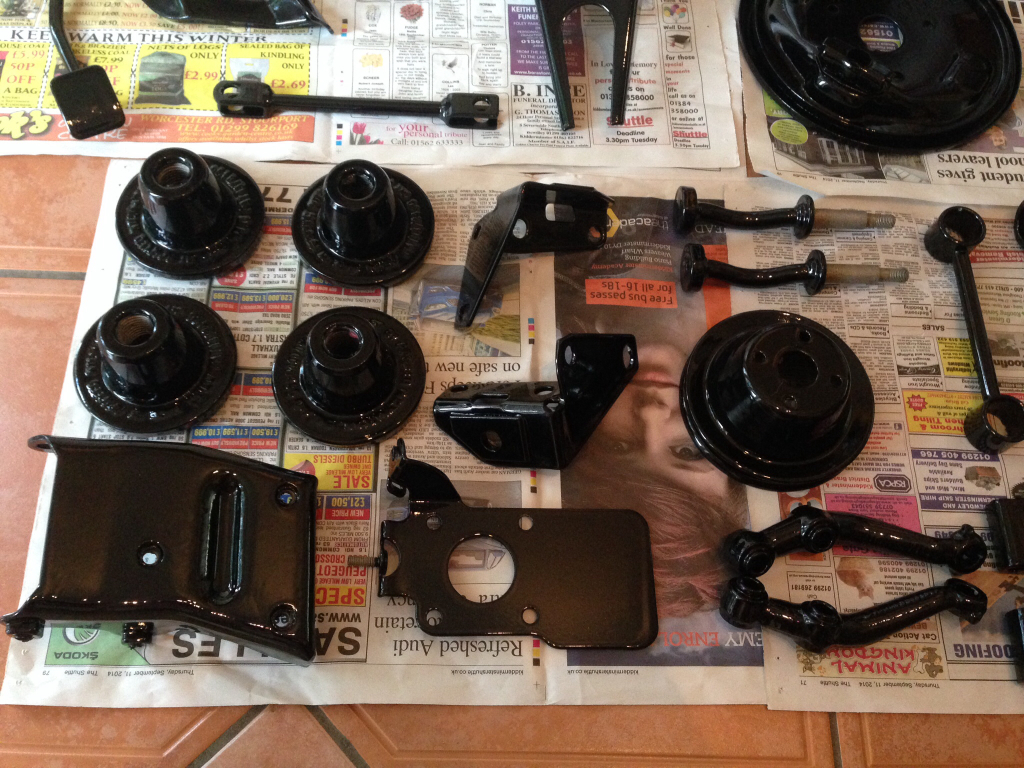
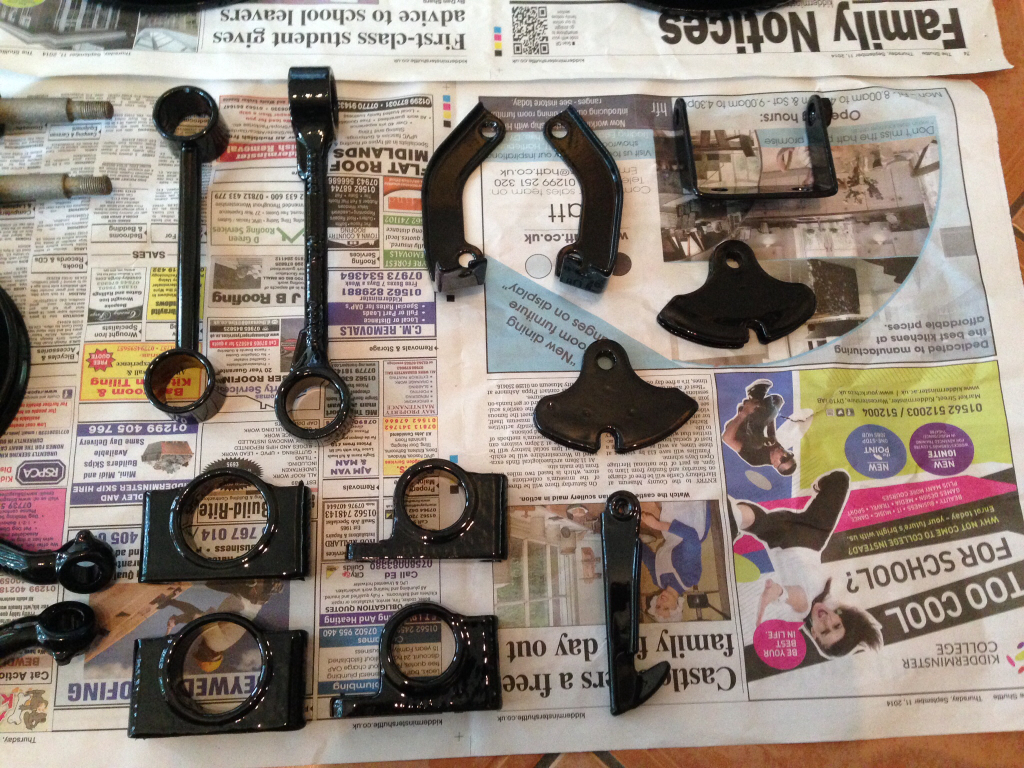
I also picked a few new parts from Minispares so I can start building up the subframes -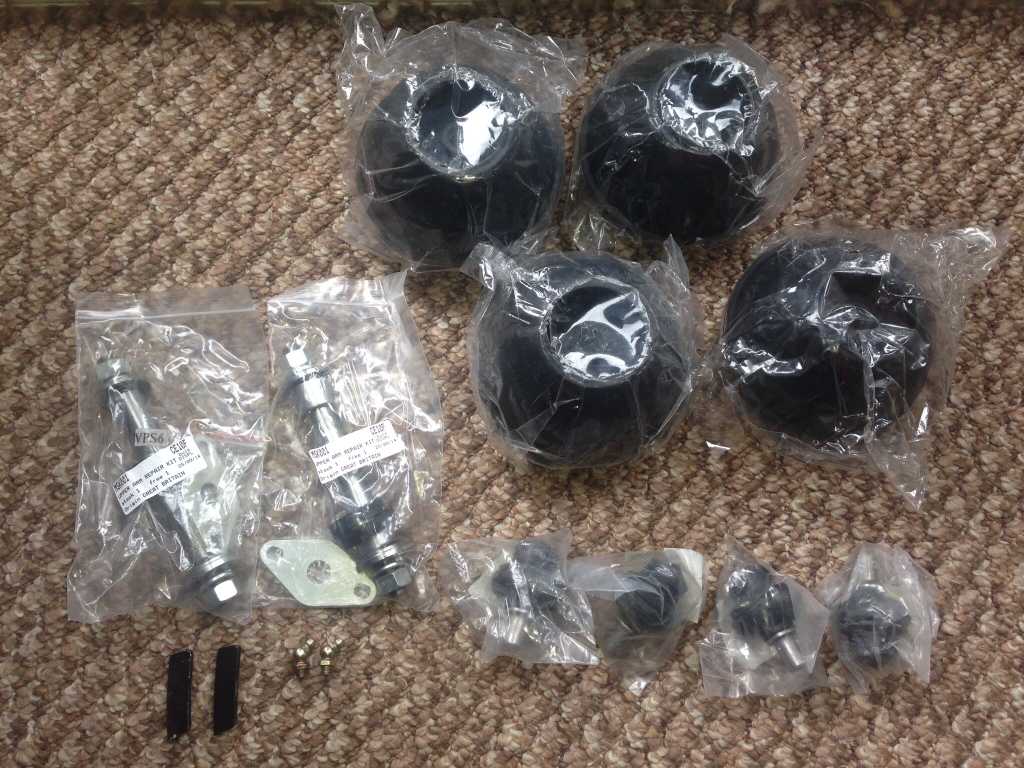
Decided to build the pedal box back up -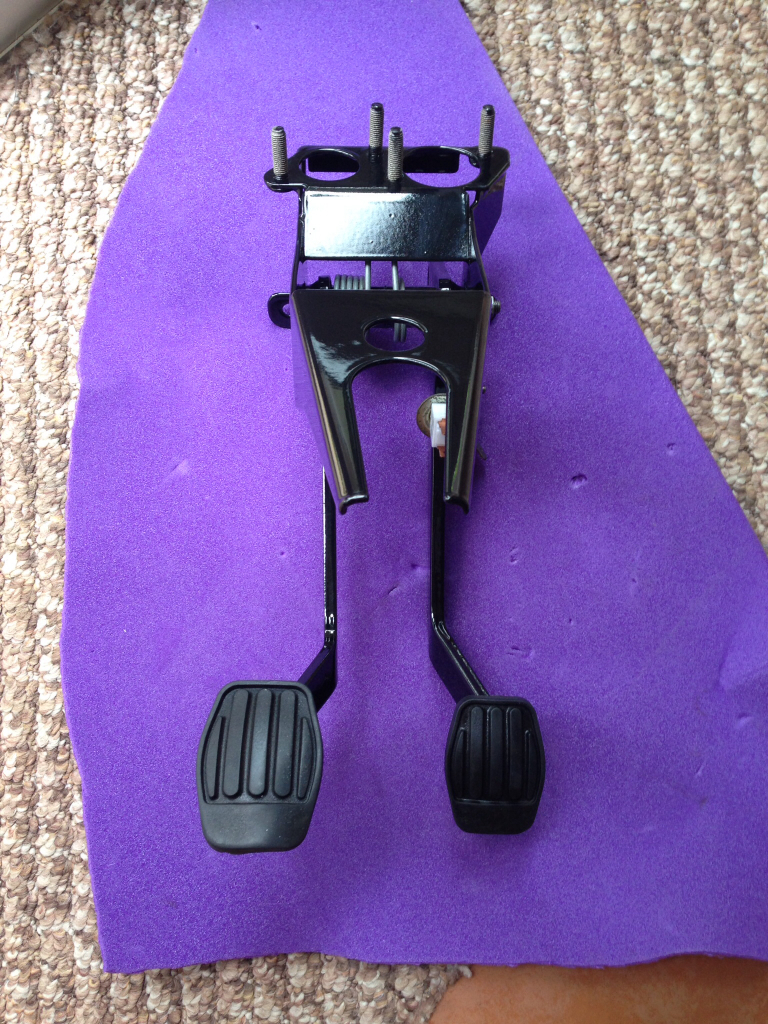
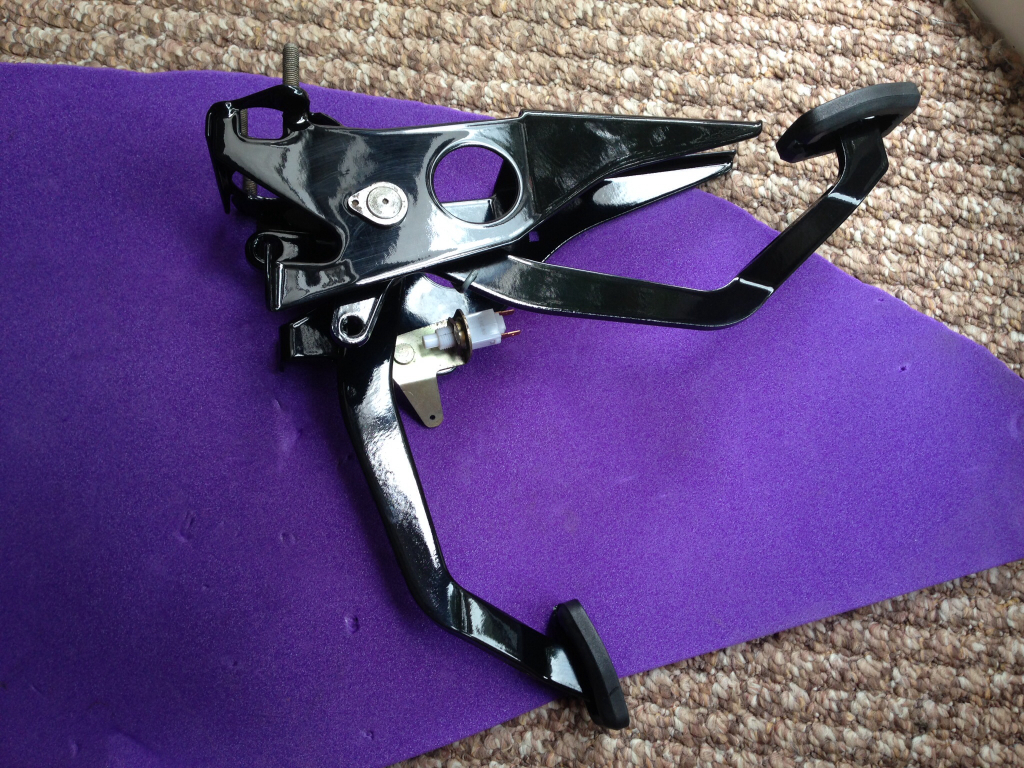
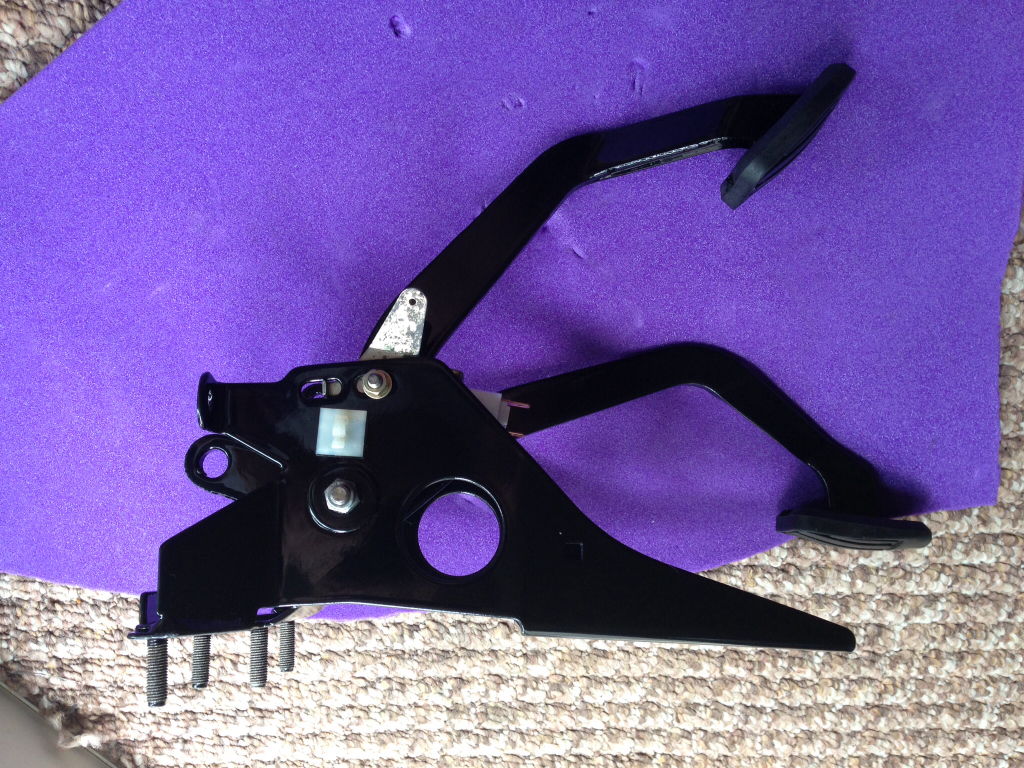
We have been down to the garage for the last time today, as the Mini will be coming home next week !
I can't wait, here's the doors and what not being painted today -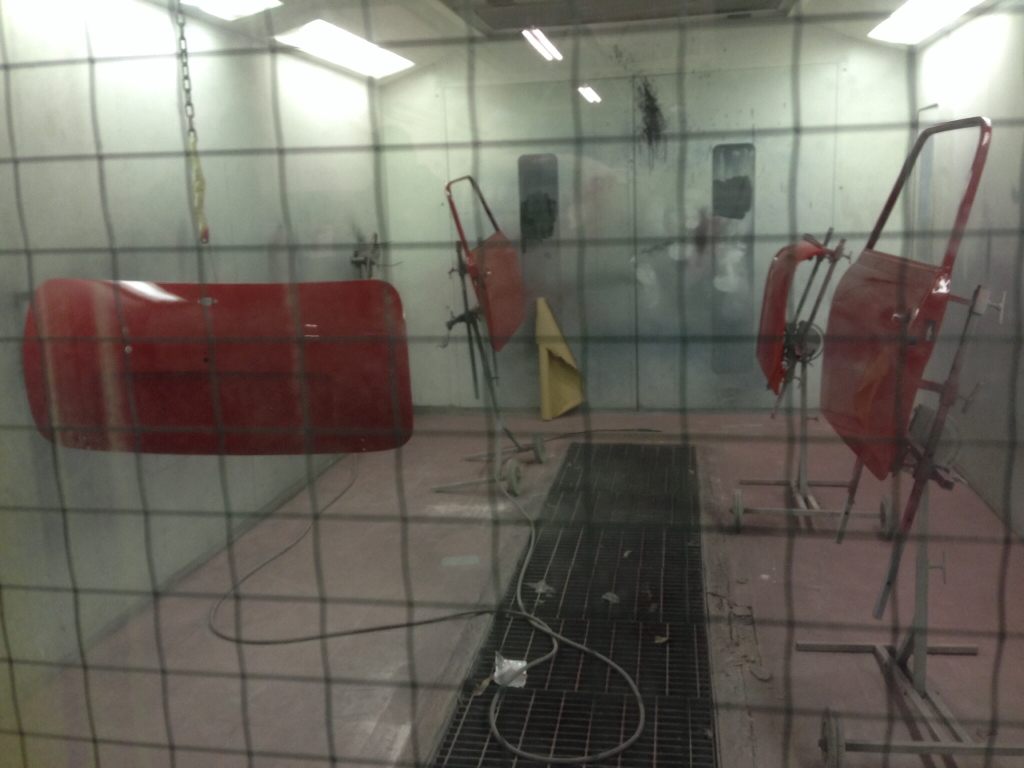
He let those dry for a while and then I went in the booth to get some close ups -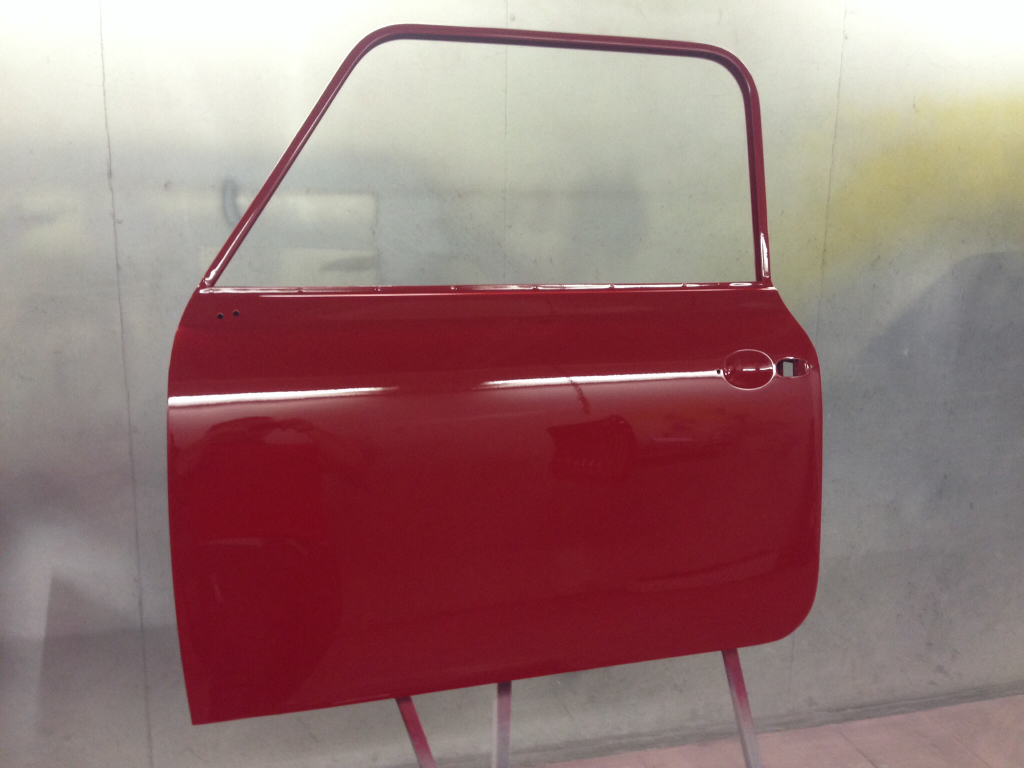
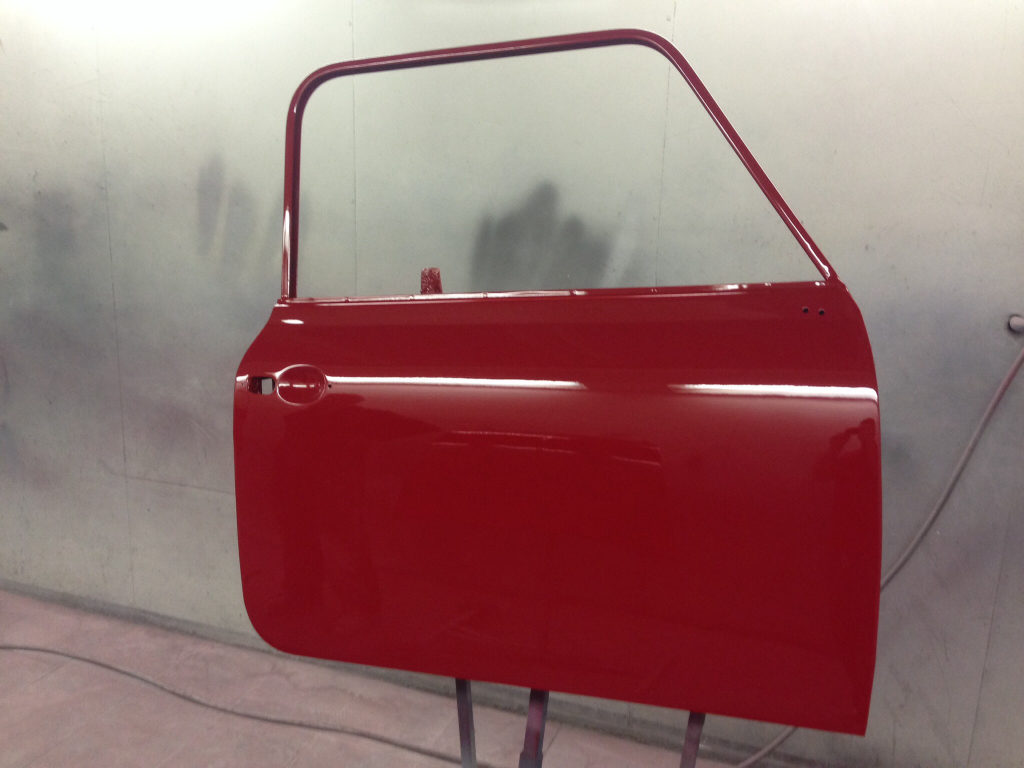
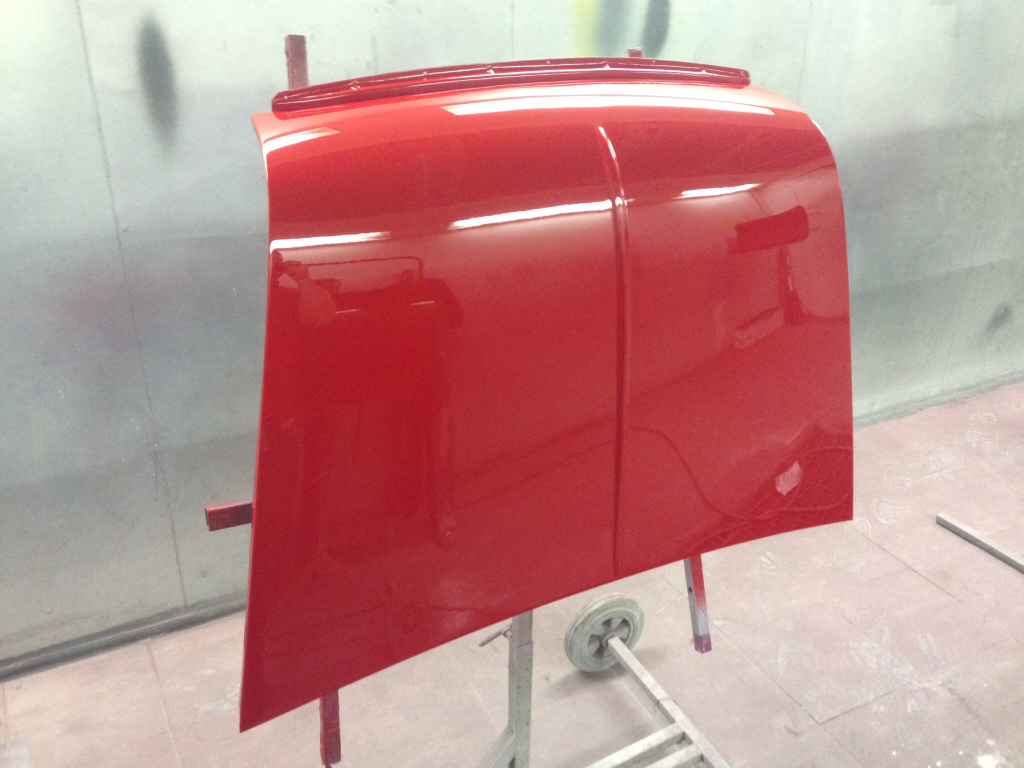
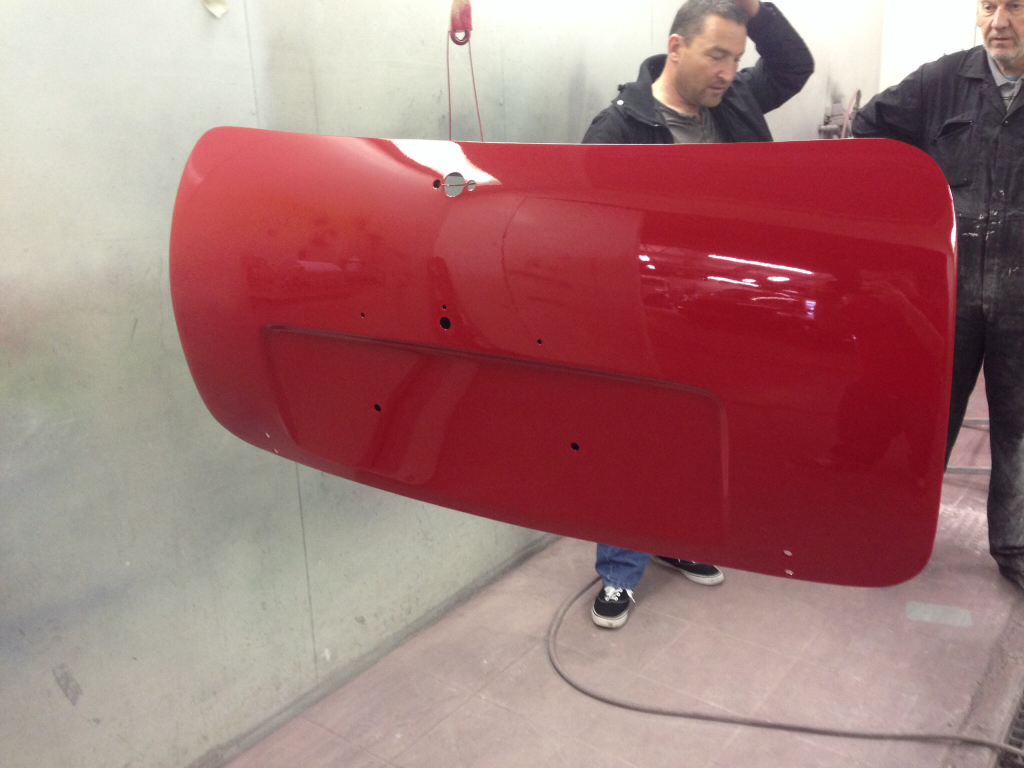
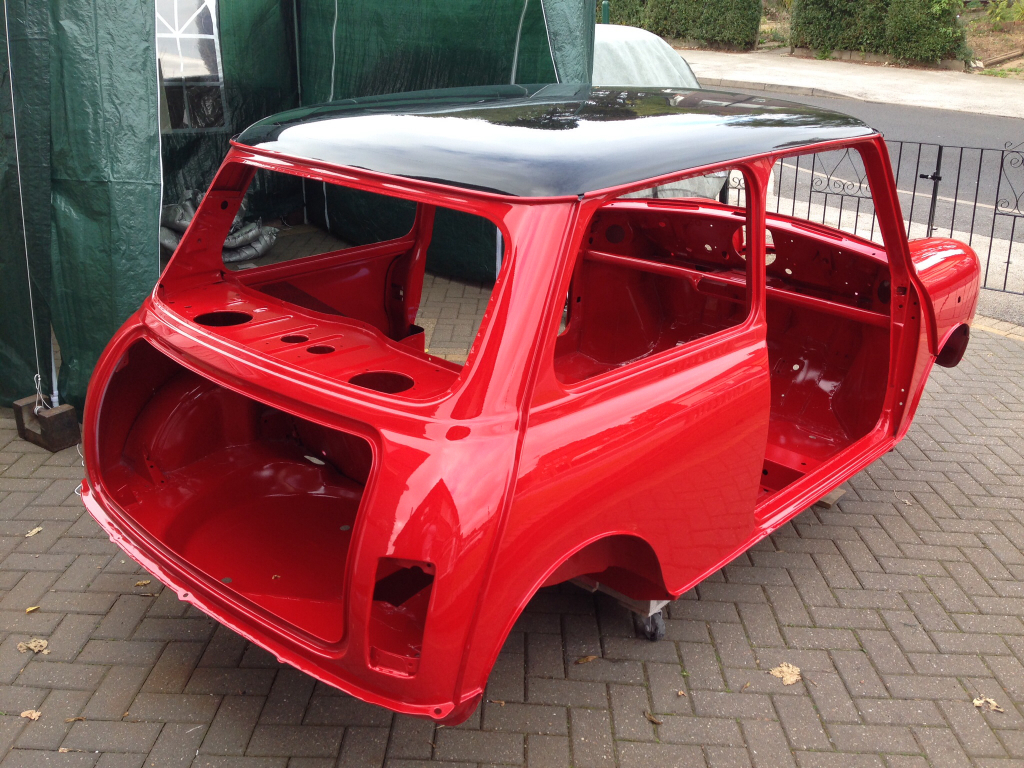
And the roof is now black, there's white filler dust over the whole car at the moment so not the best picture. Also if you look inside the car you'll see the mirrors and the other bits have also been painted -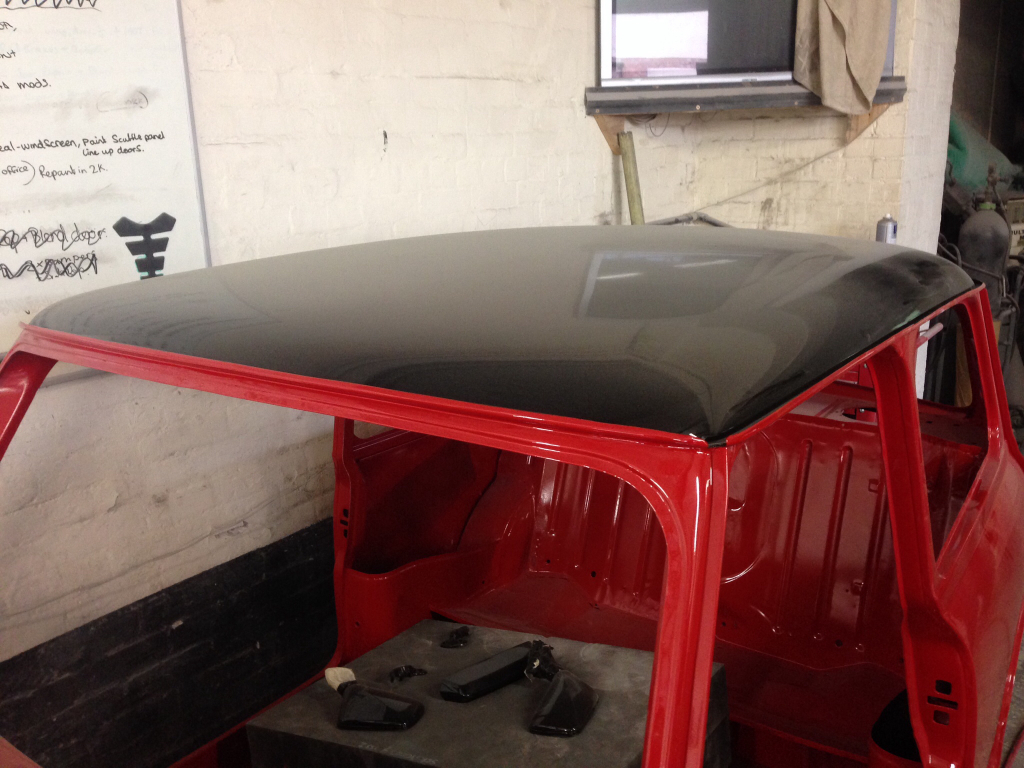
And I took a shot of inside the wing -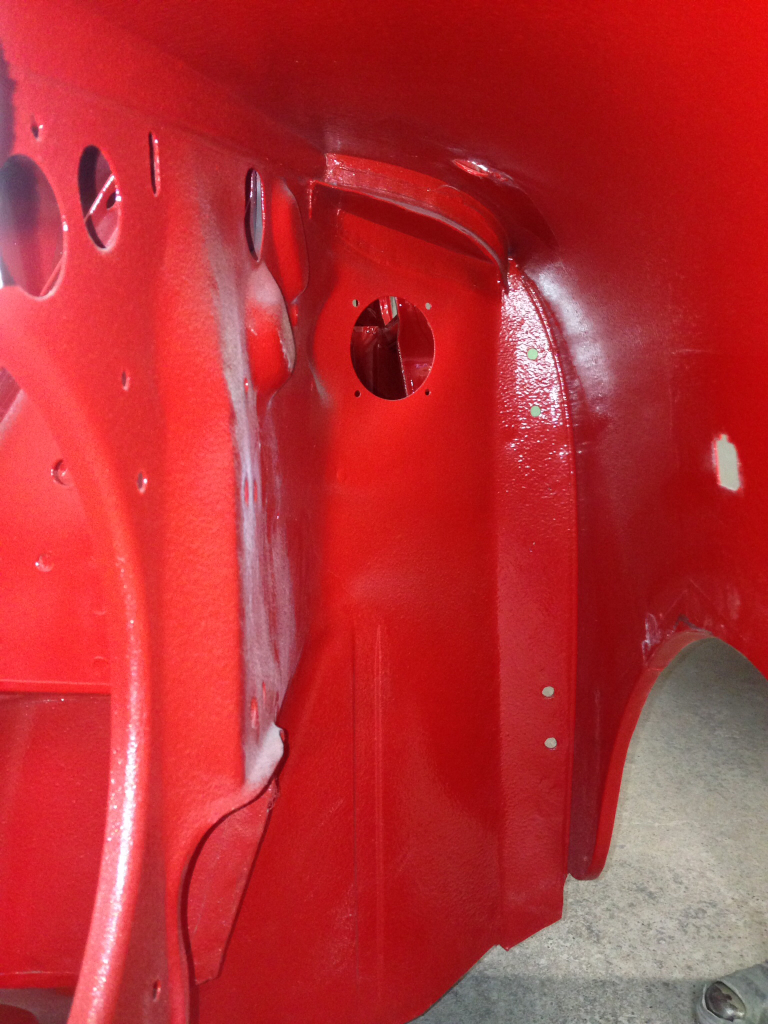
Looks fantastic and should ensure our hard work lasts for a long, long time. I'll also be fitting inner arch liners for added protection !
10-3-2014
Update,
Well... SHES HOME
Before that though, this is what she'll be living under for the next few weeks while we get her back together -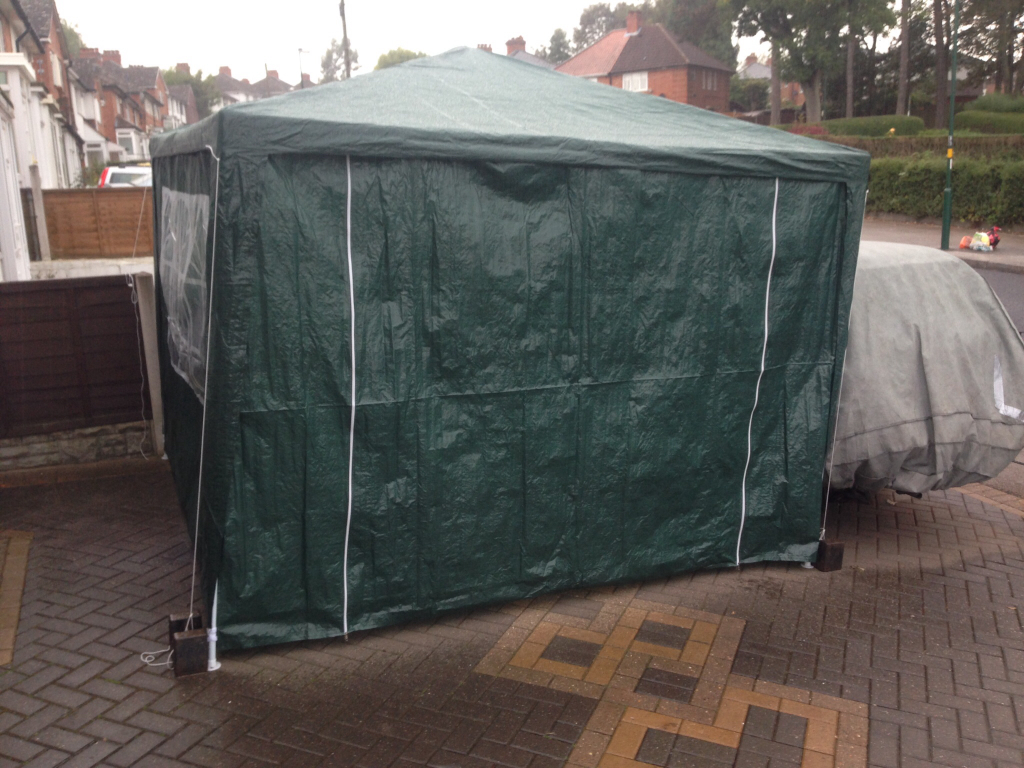
Only a cheapy from eBay, but should do the job nicely.
Anyway, the garage bought the Mini back late last night, so unfortunately I couldn't take any pictures of her being unloaded due to it being too dark.
Been out there all day today though and have made a start putting her back together, here's a few pictures -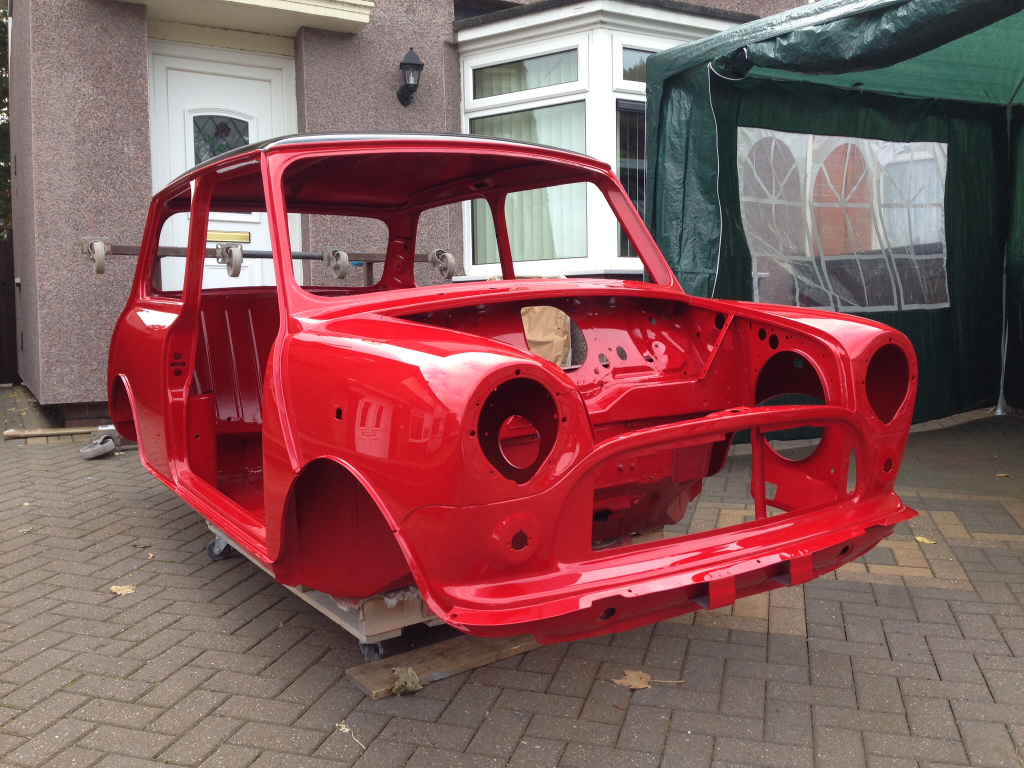
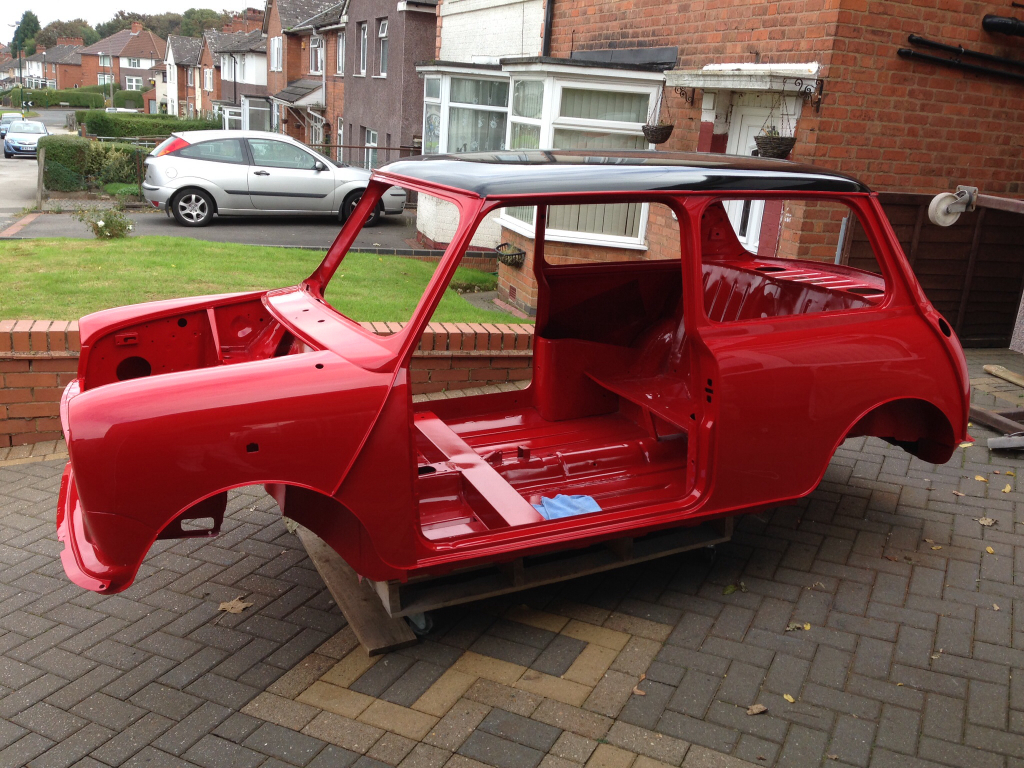
Couldn't resist getting my split rims out and mocking them up -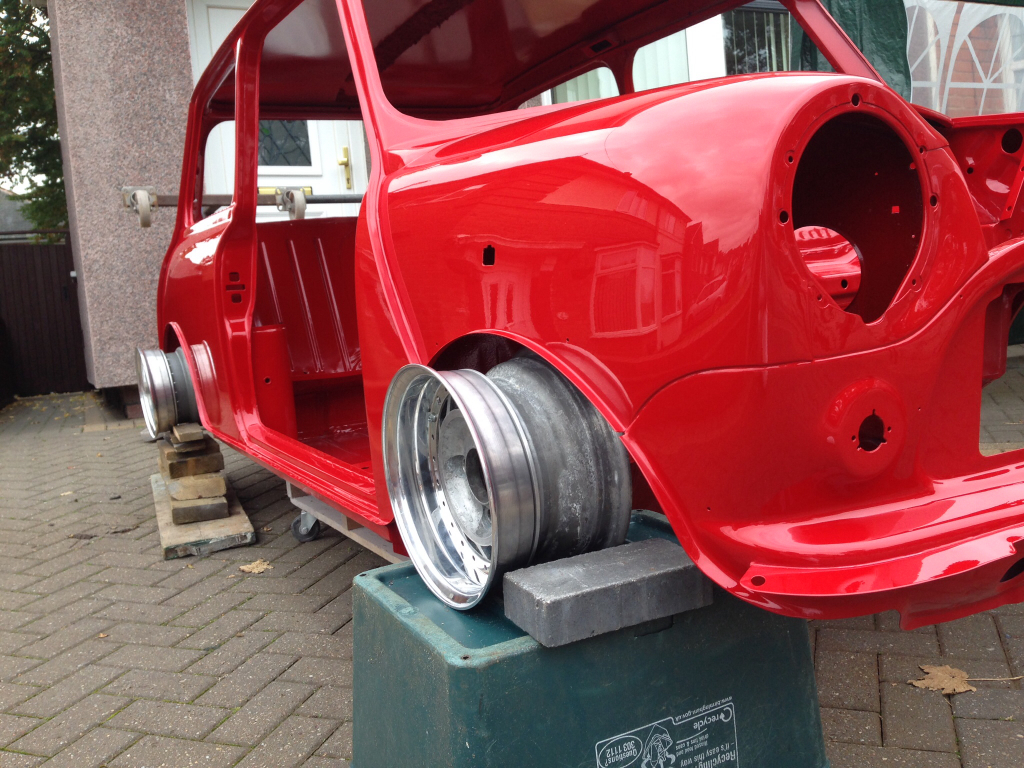
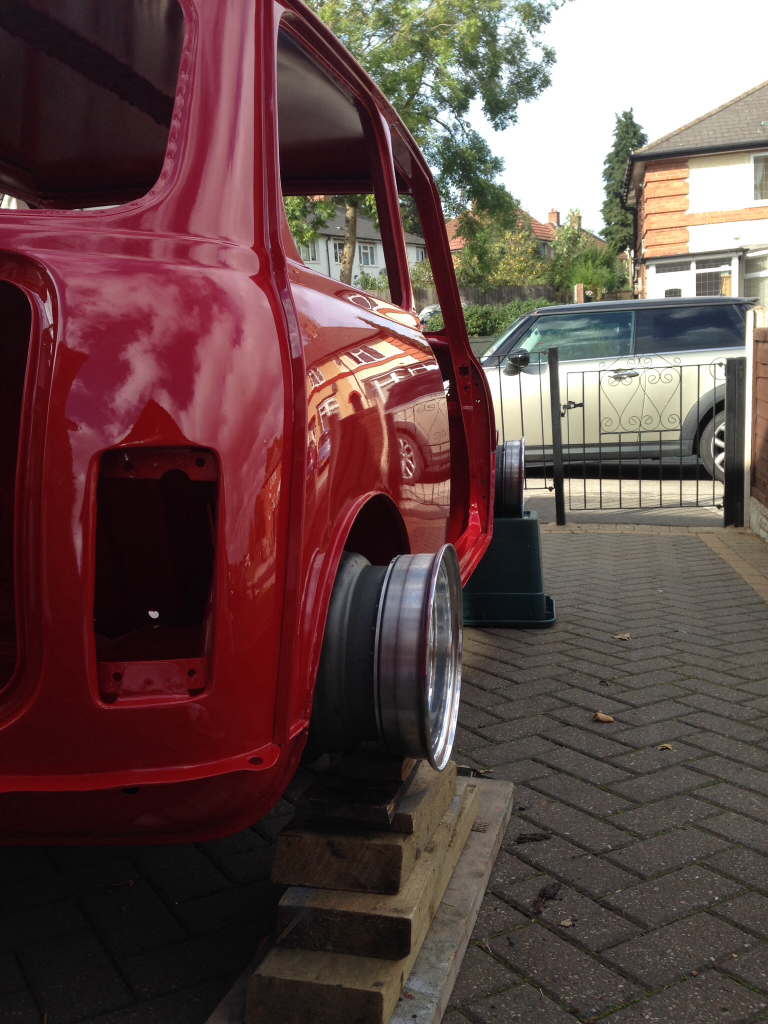
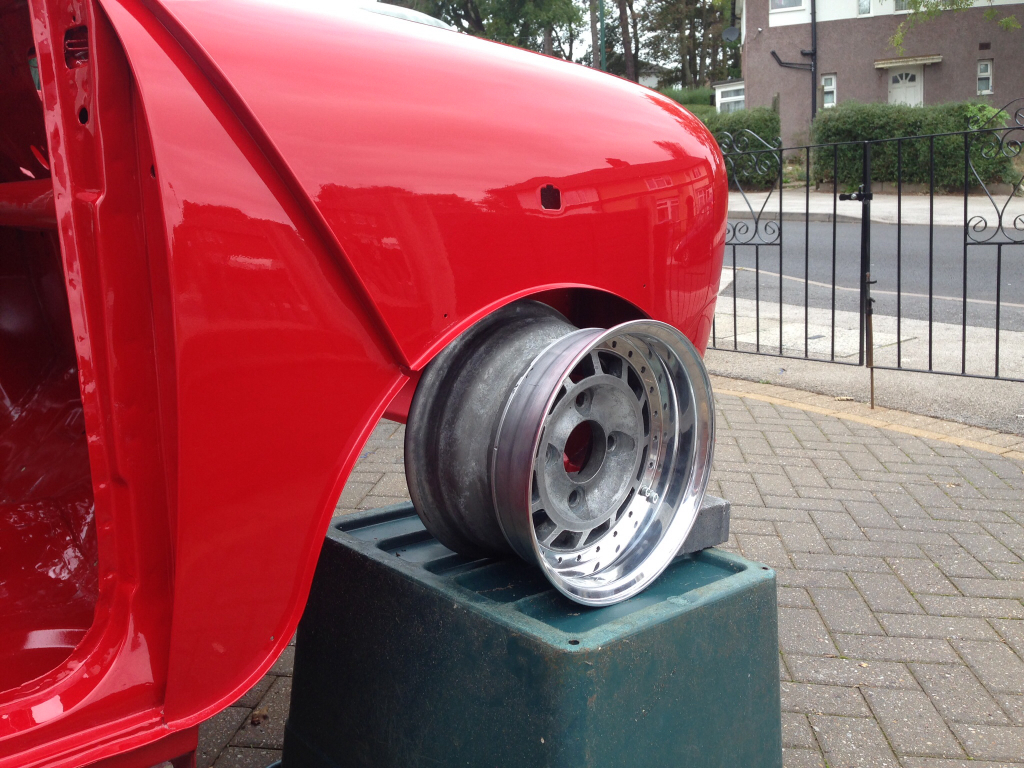
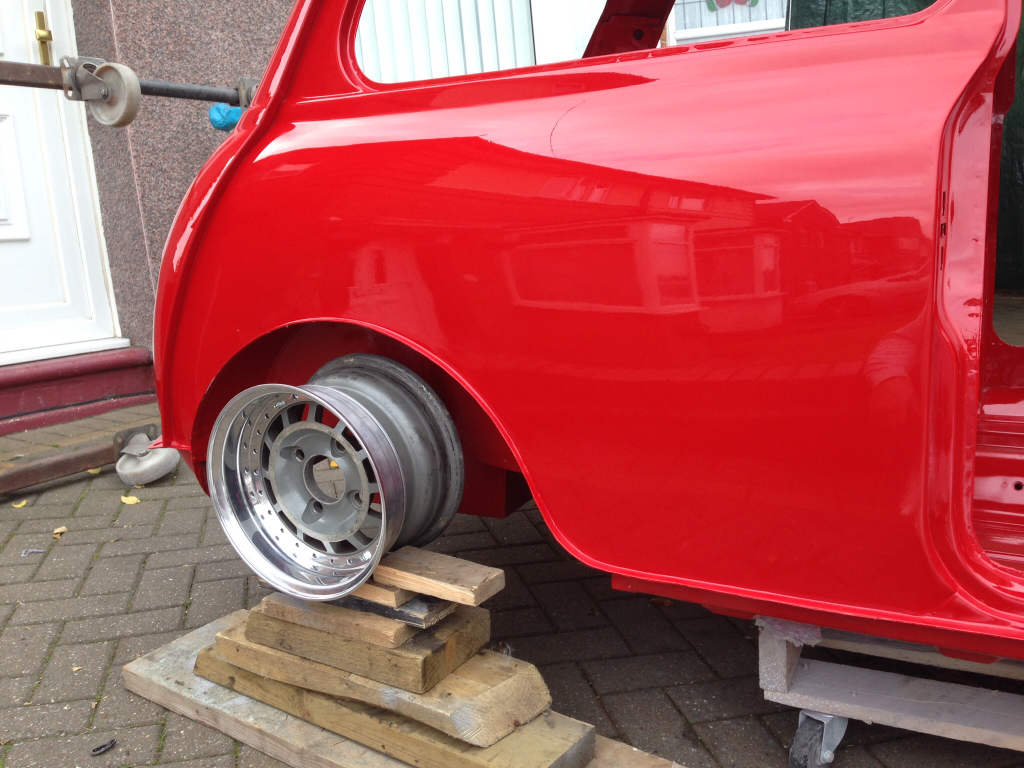
Got it up onto the stand that the bodyshop have borrowed us to make it easier to work on, then took a few shots of the underneath -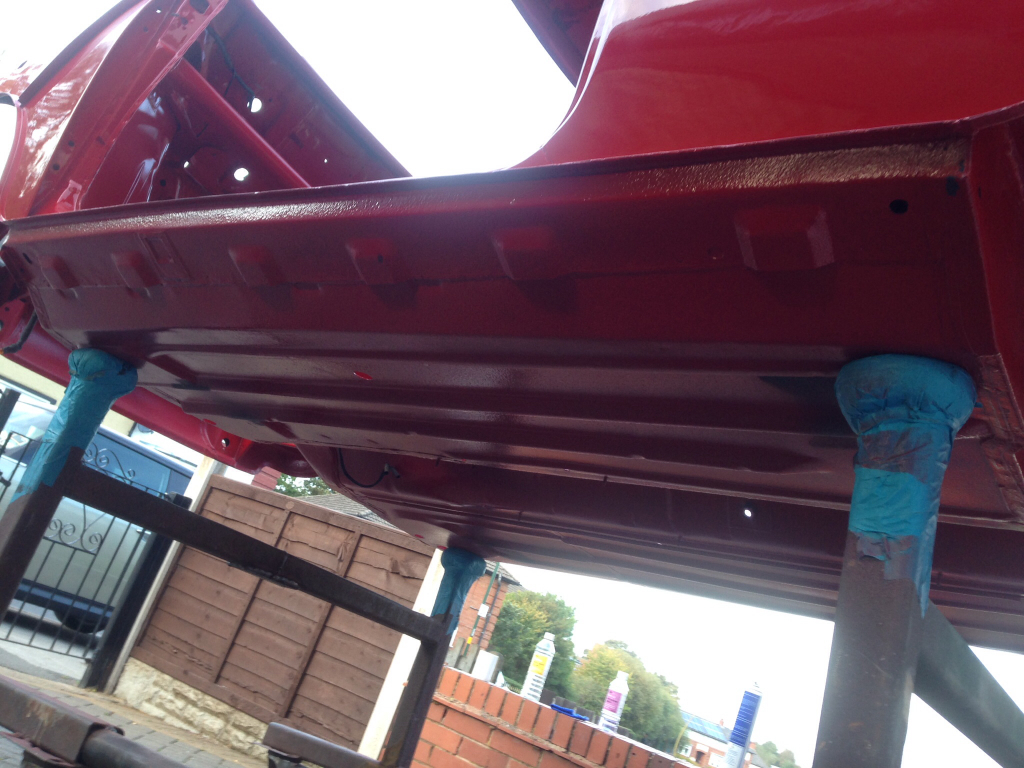
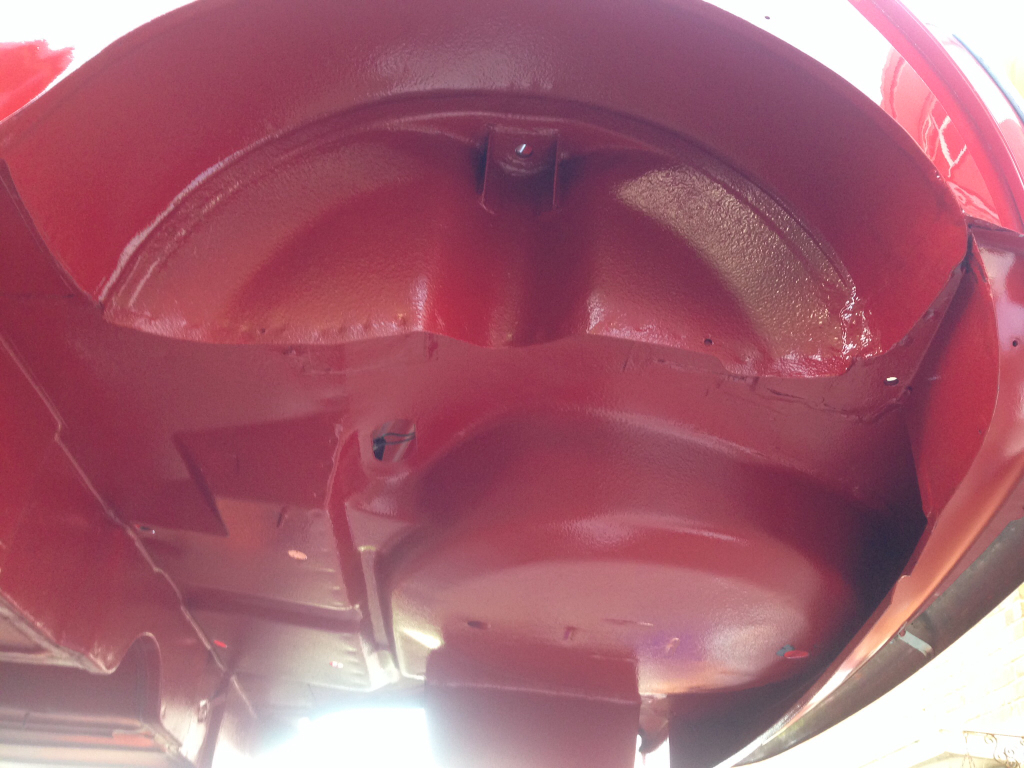
It looks great under there, next I began the process of waxing all the cavities. I use this stuff as I've heard good things about it -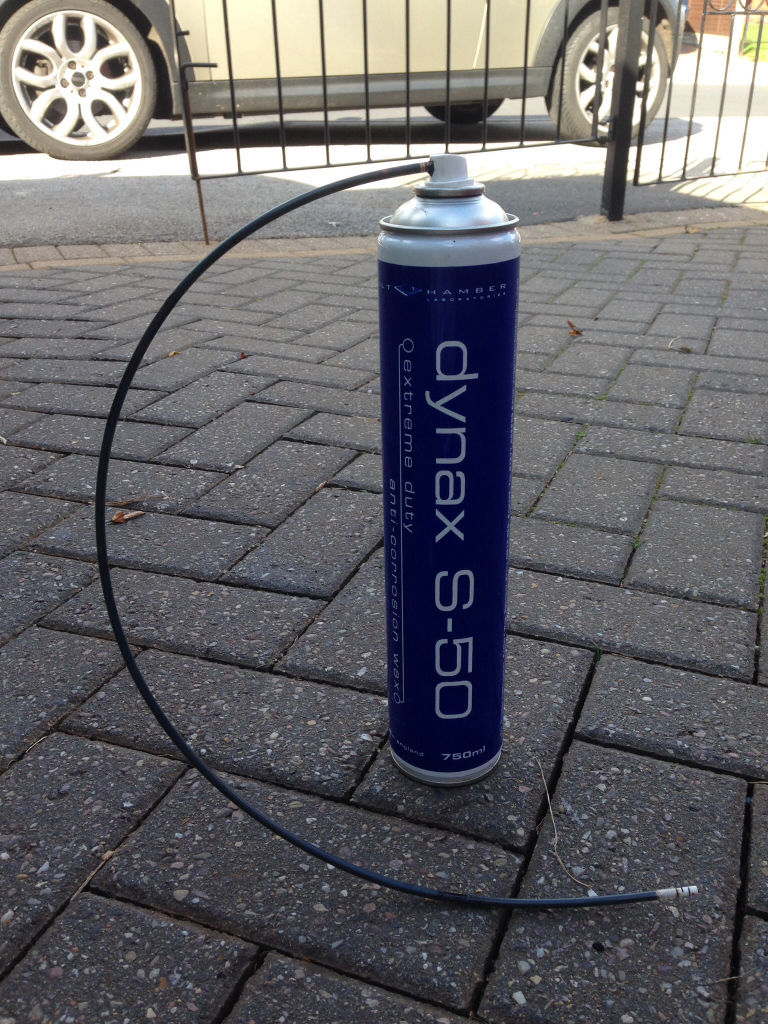
Masked up and waxed -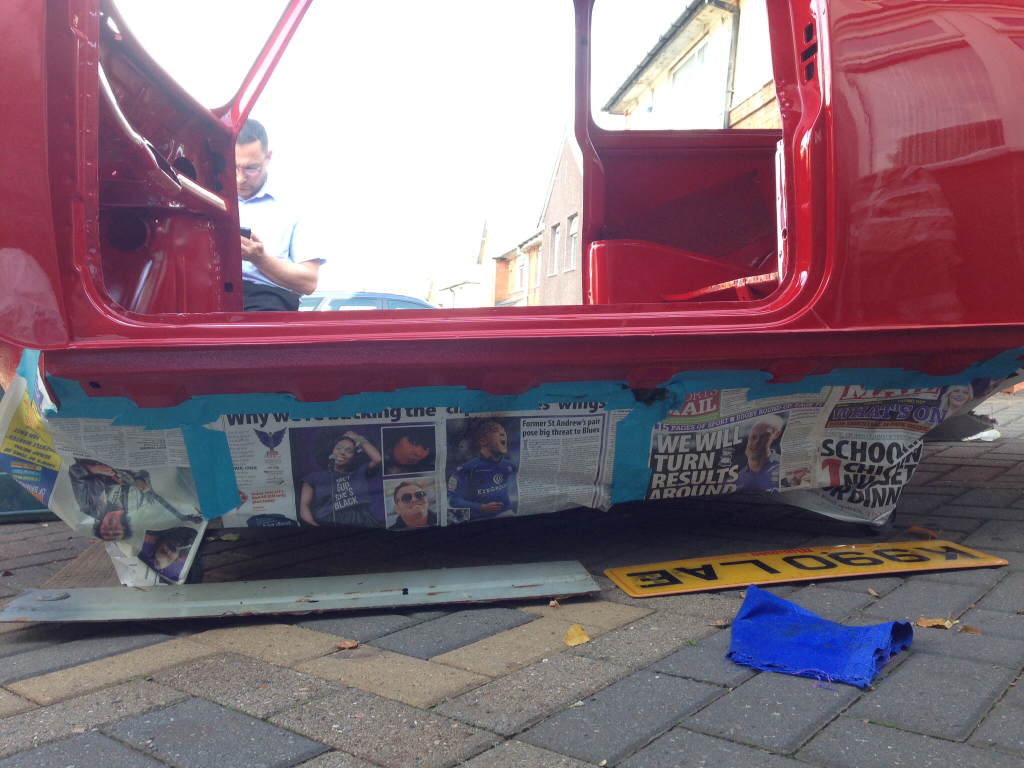
I used the same process to do the rest of the car.
Roughly refitted the front loom -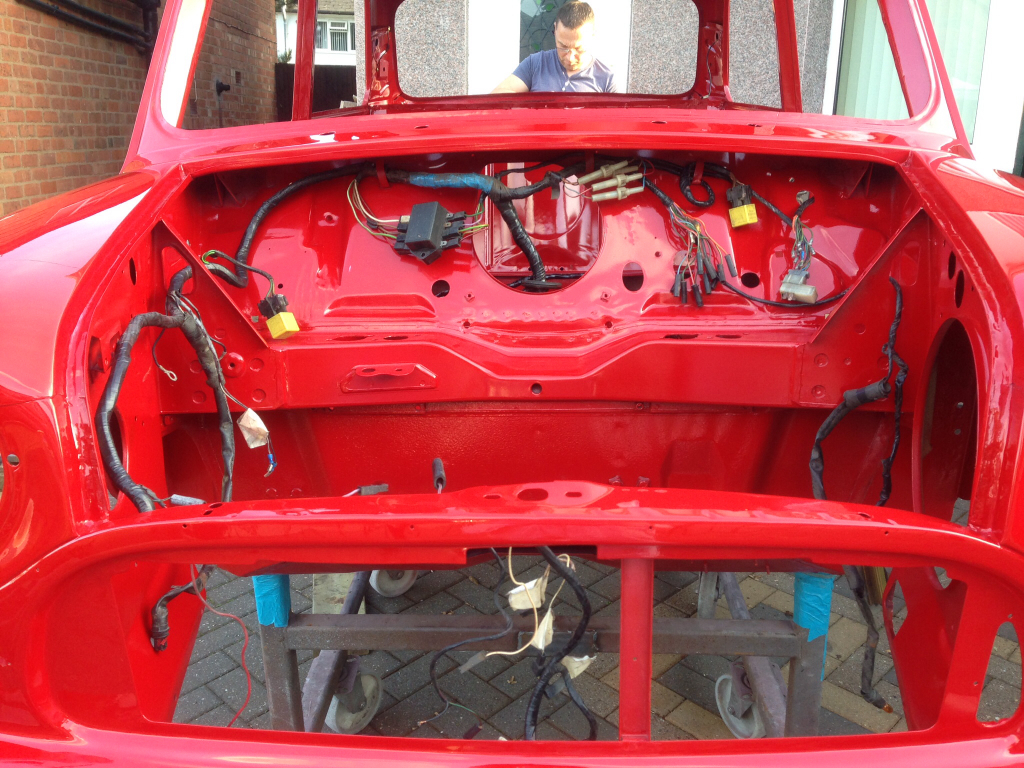
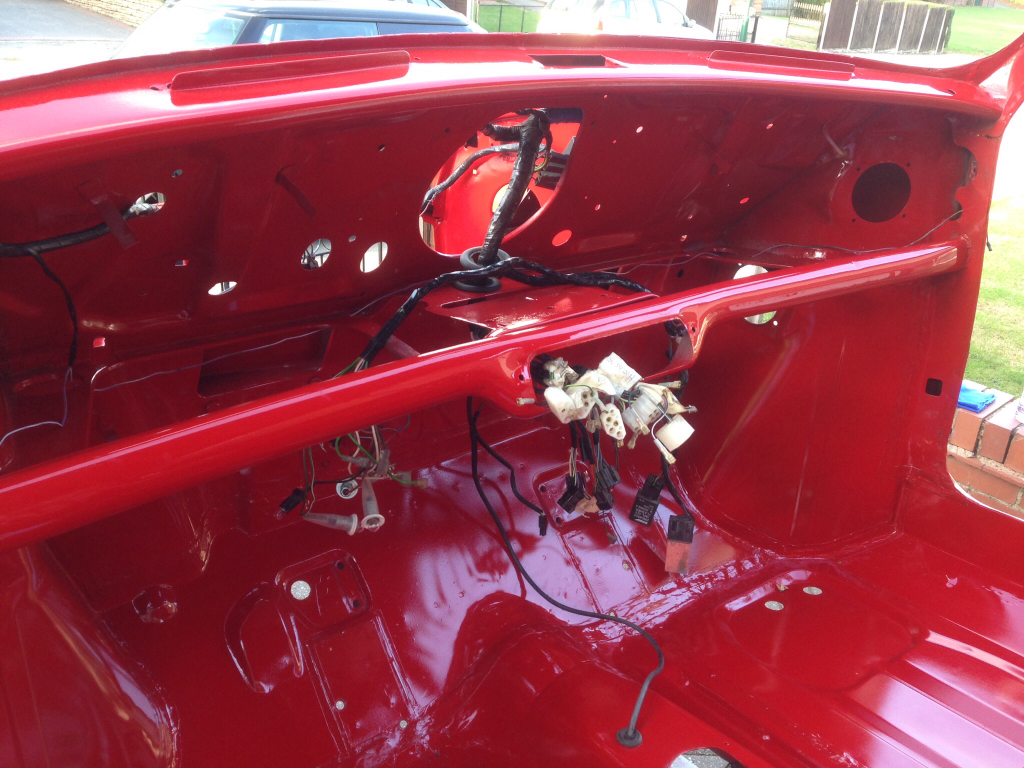
And the rear loom -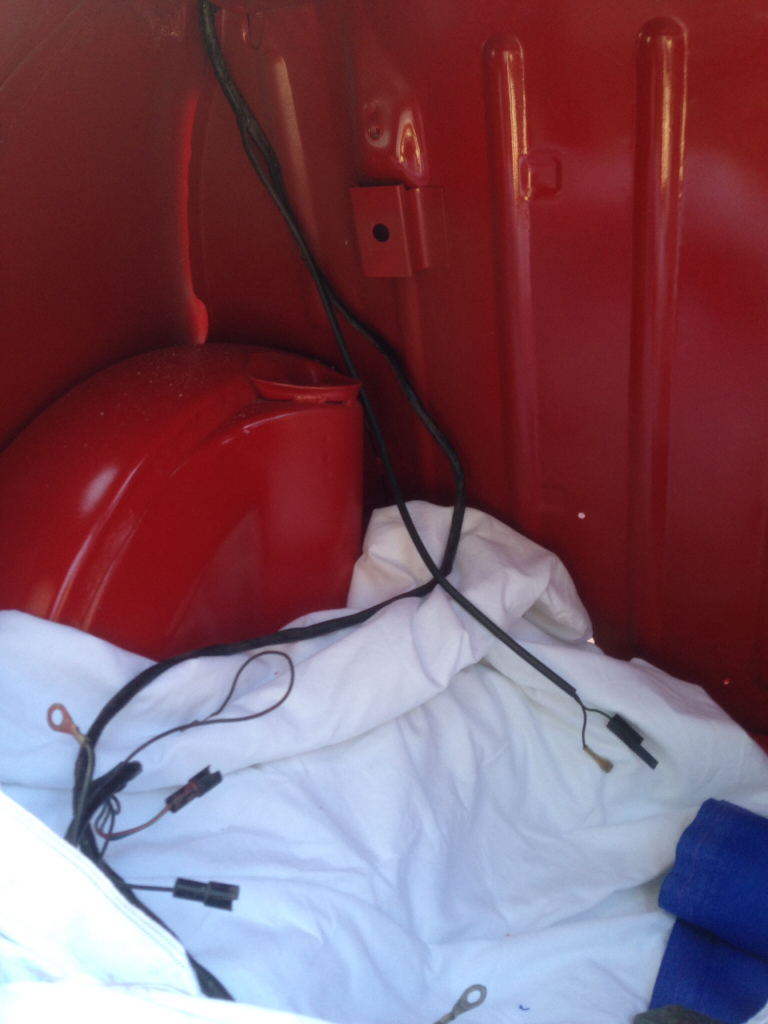
New stainless stricker plates loosely fitted -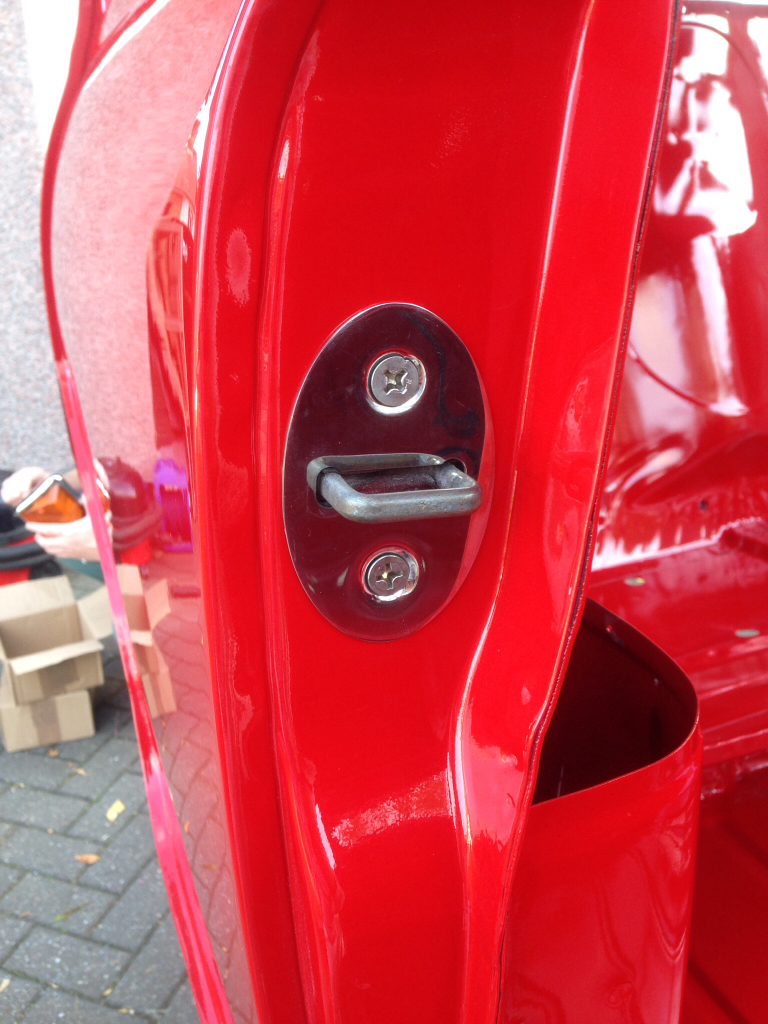
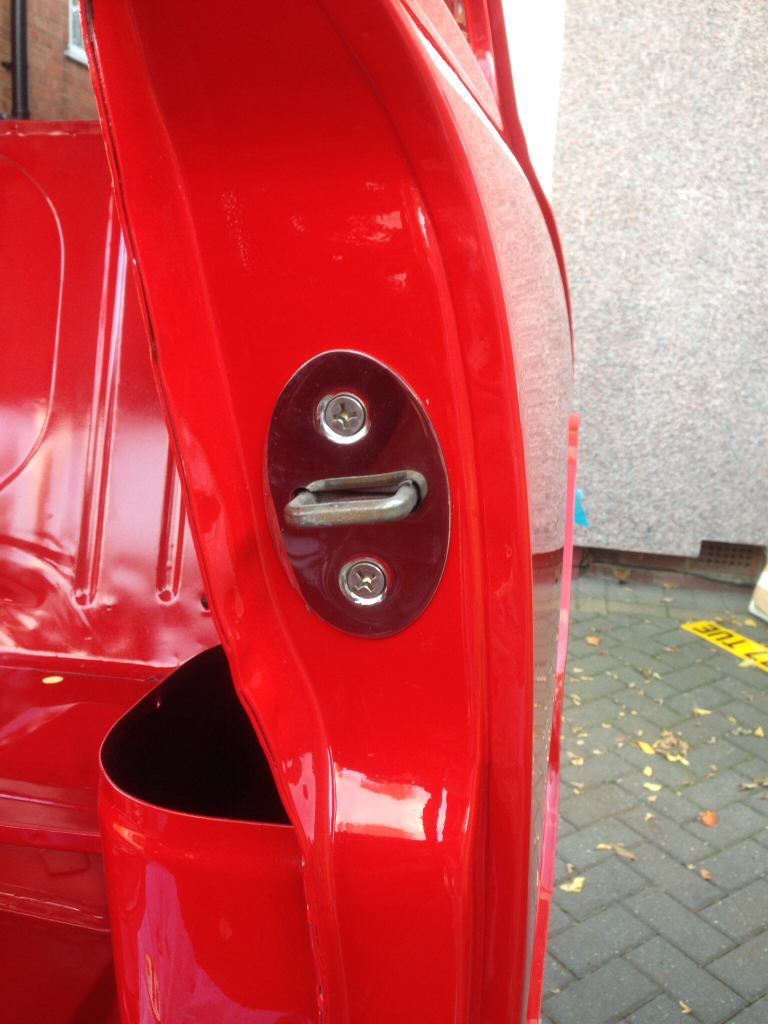
And finally, fitted my new MK2 lights and my stainless bumper -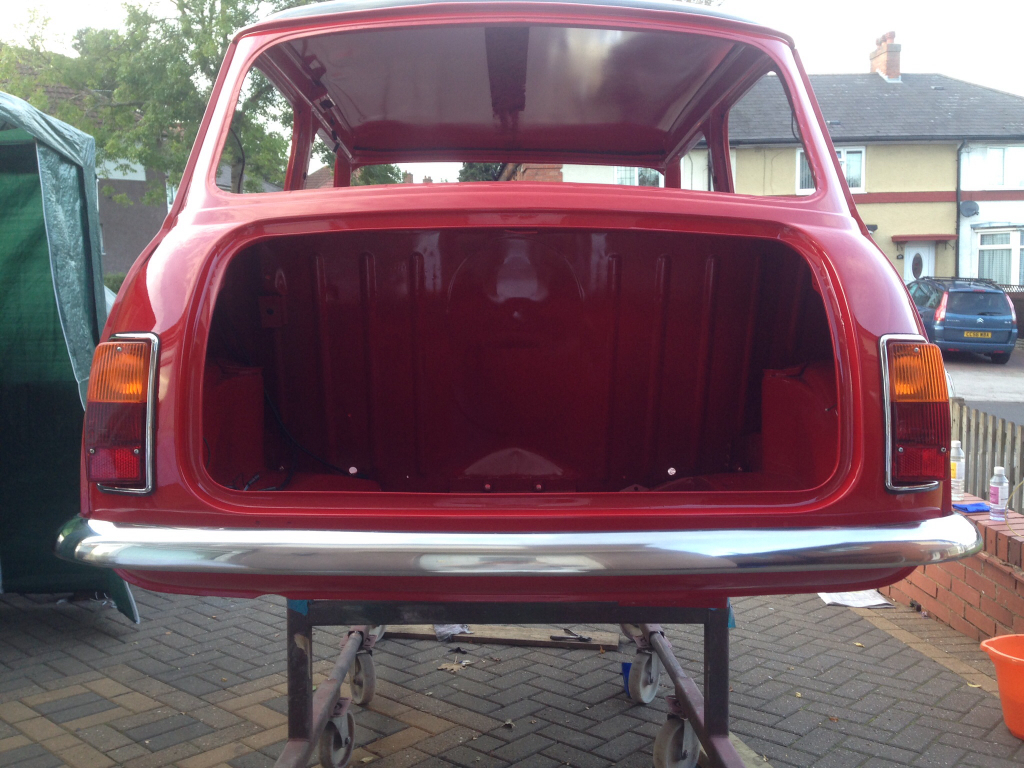
Going to pick up a few things from Minispares tomorrow, I may even make a start on fitting the headlining if Im feeling brave enough