You must be logged in to rate content!
10 minute(s) of a 358 minute read
7-23-2014
Parts update,
After what seems like months of searching, I finally managed to track down some factory MPi companion bin pockets. They,re mint with no damage what so ever, and also have all four seatbelt covers, so I'm well pleased with them.
Here's a couple of pictures -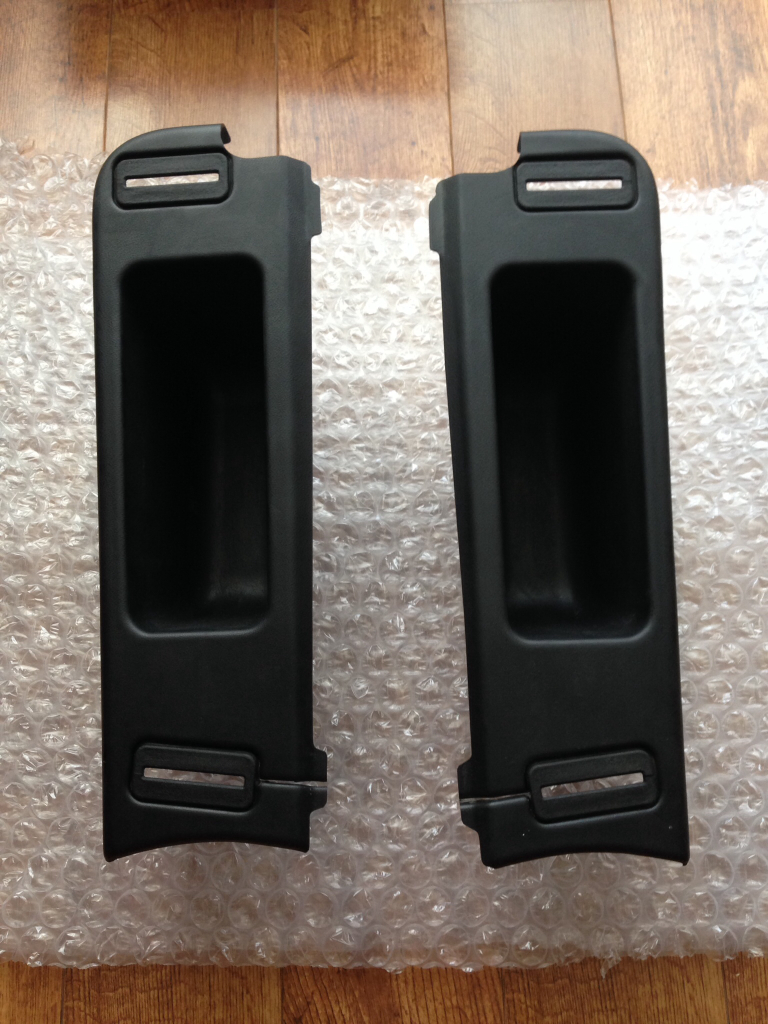
No damage to the screw holes -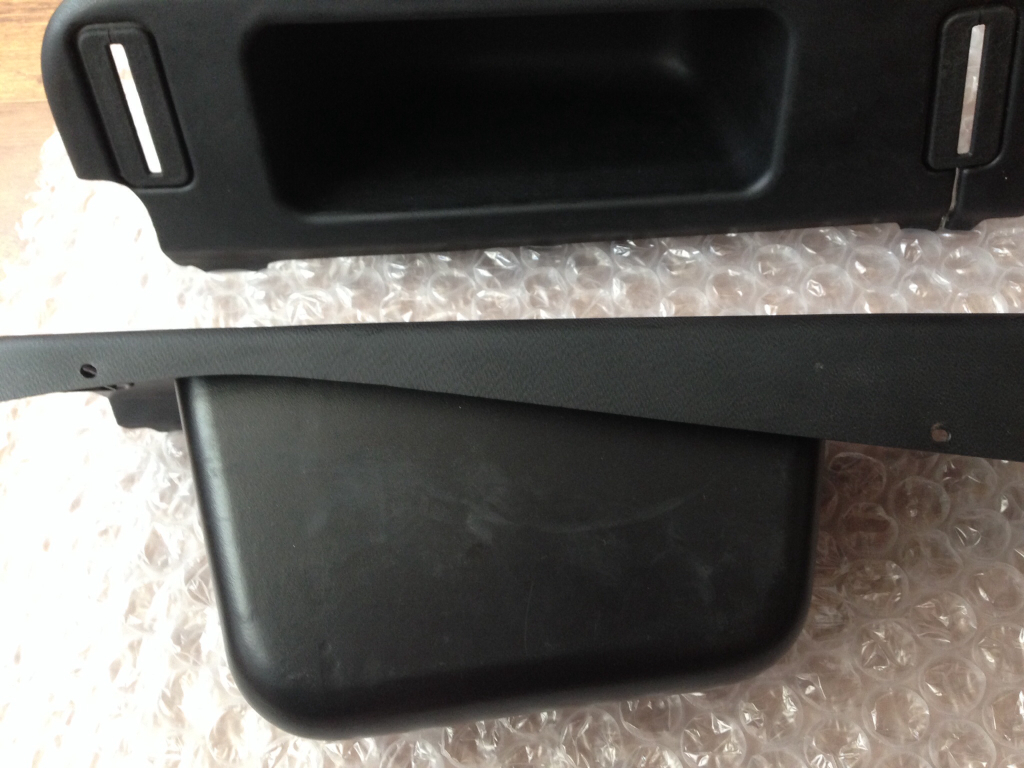
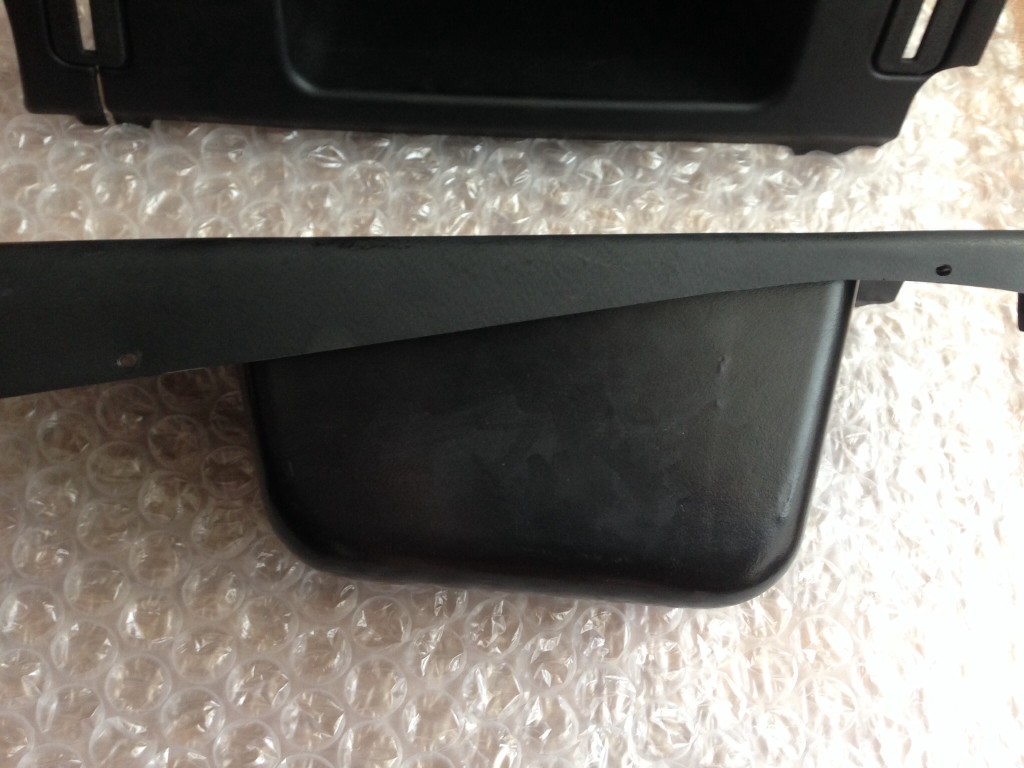
I've also just ordered a door bottom repair piece from M-Machine, so I'll be cracking on with that this weekend. Got two weeks off starting next week so hopefully i can get the welding finished and then get her off for some paint !
7-28-2014
Update,
Haven't got much done unfortunately as I'm still waiting for my door repair panel to arrive. Hoping it will be here tomorrow, then I can start making some real progress.
Heres what I've been doing in the mean time though.
Purchased some lowered shock mounts -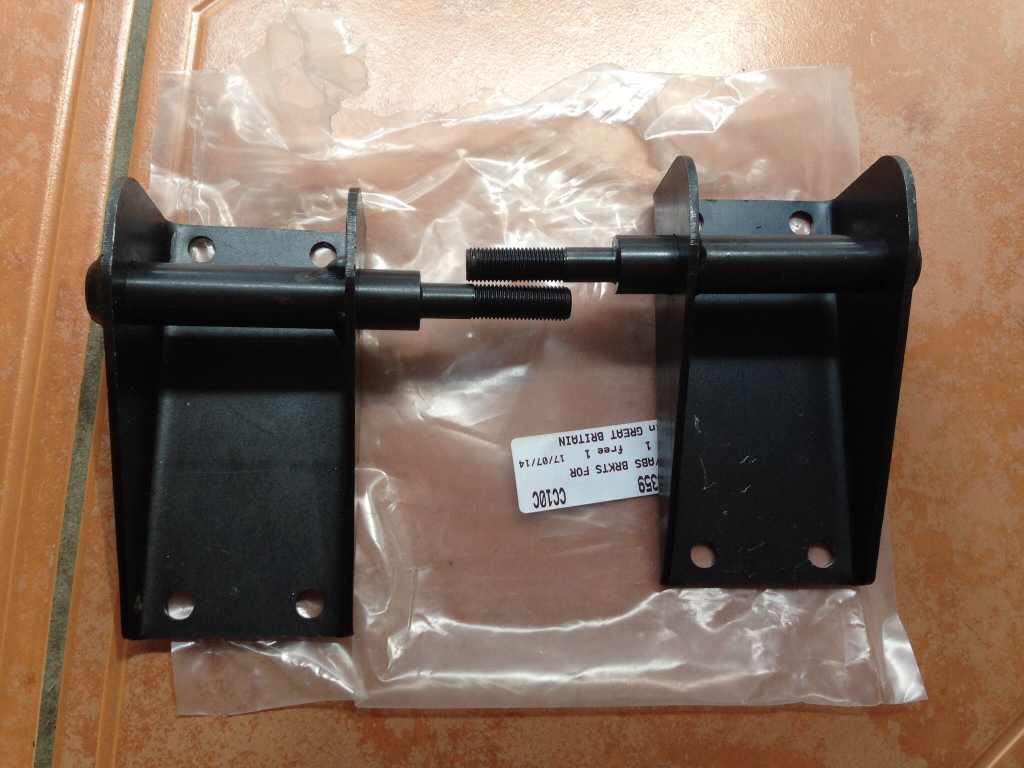
Cleaned up the small bracket that the shock mount bolts into and zinc primed it -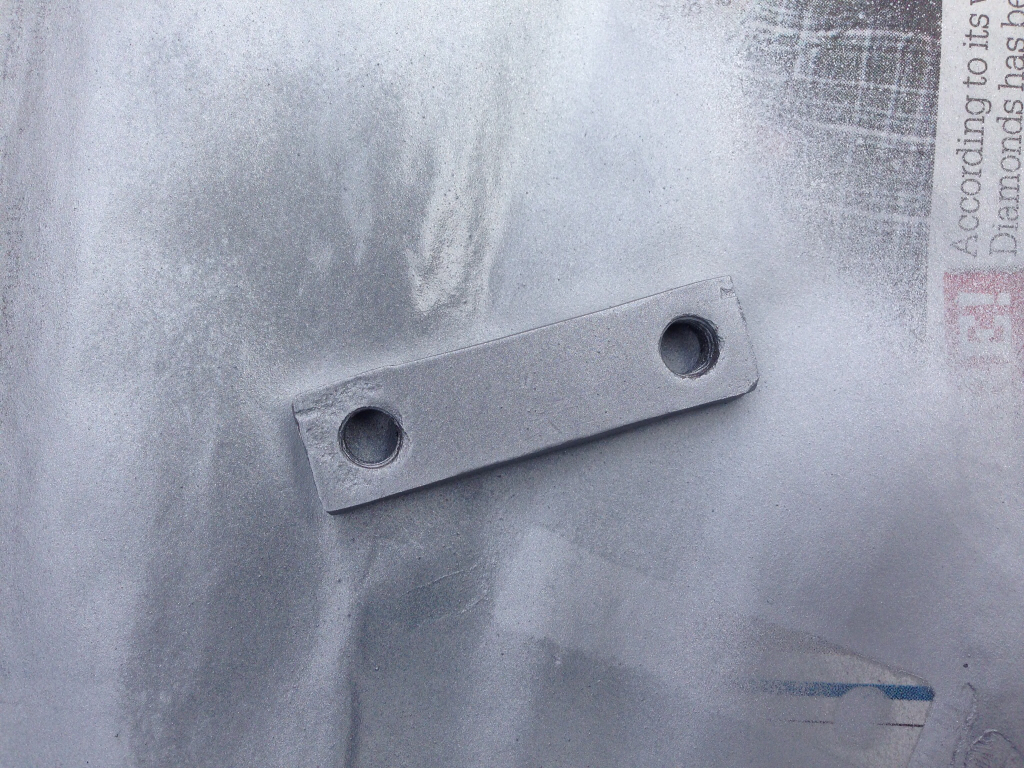
Welded into place -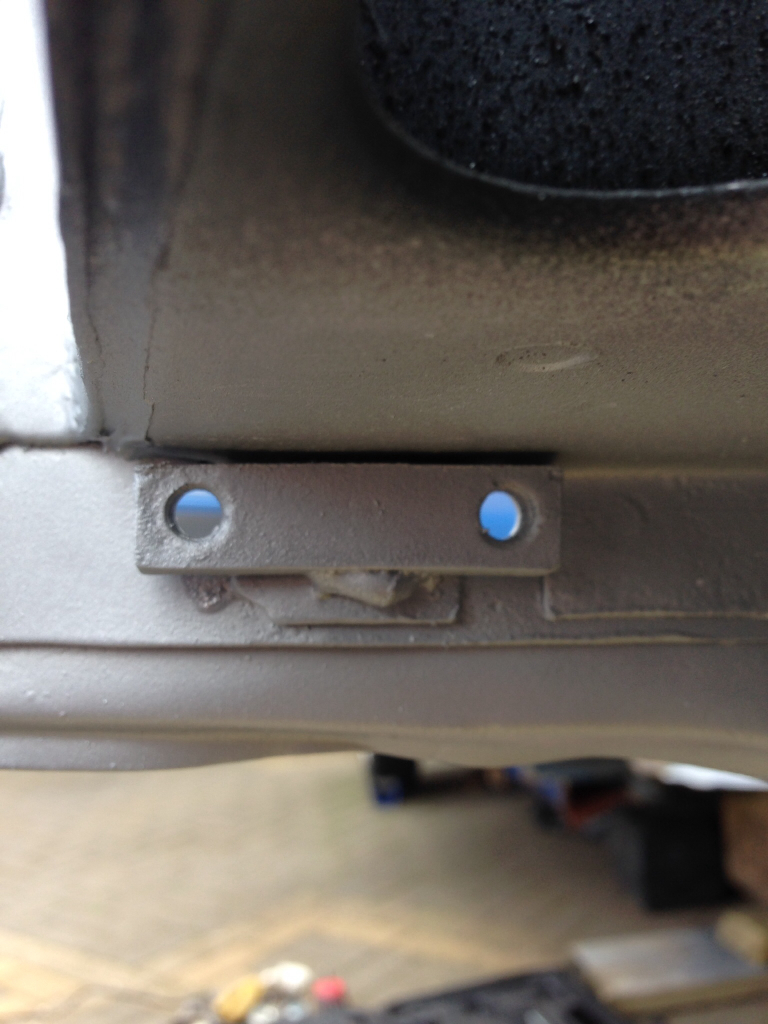
Then I wire brushed the hinge brackets and left them to soak in some Deox Gel for a while -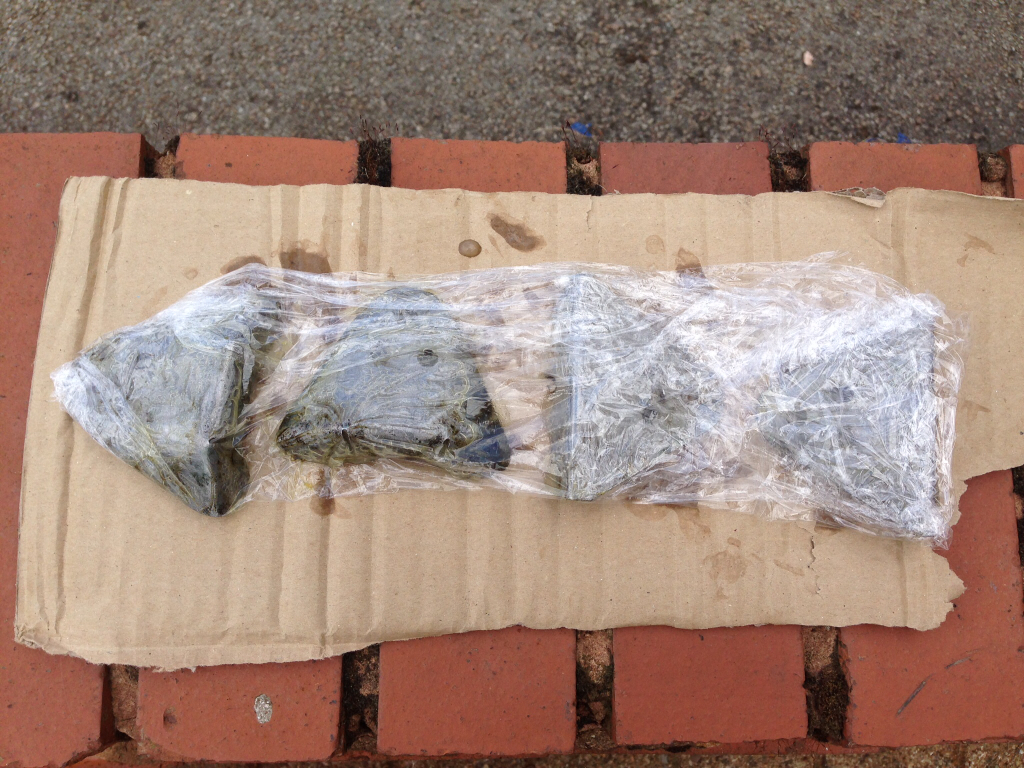
Zinc primed -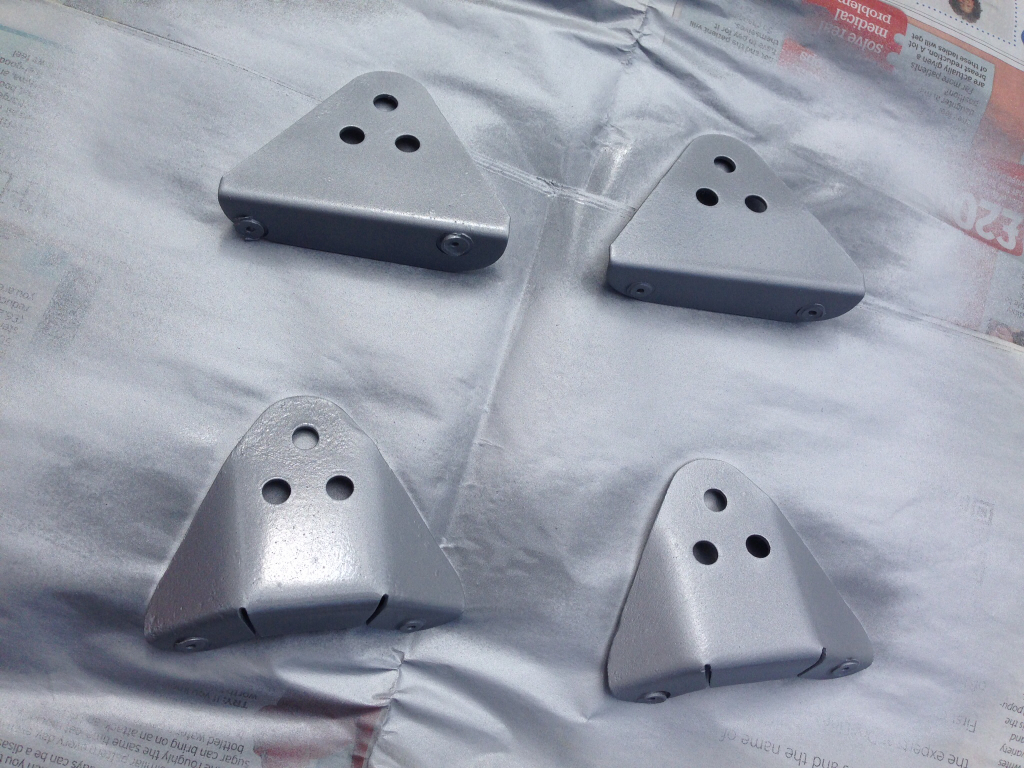
And welded into place -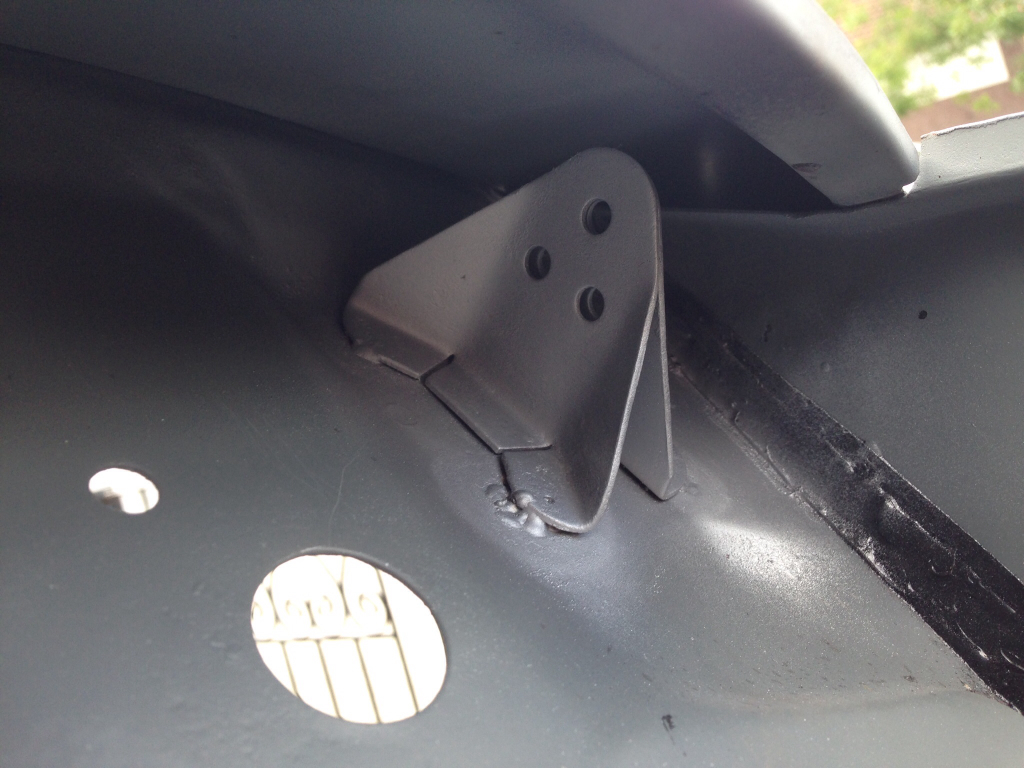
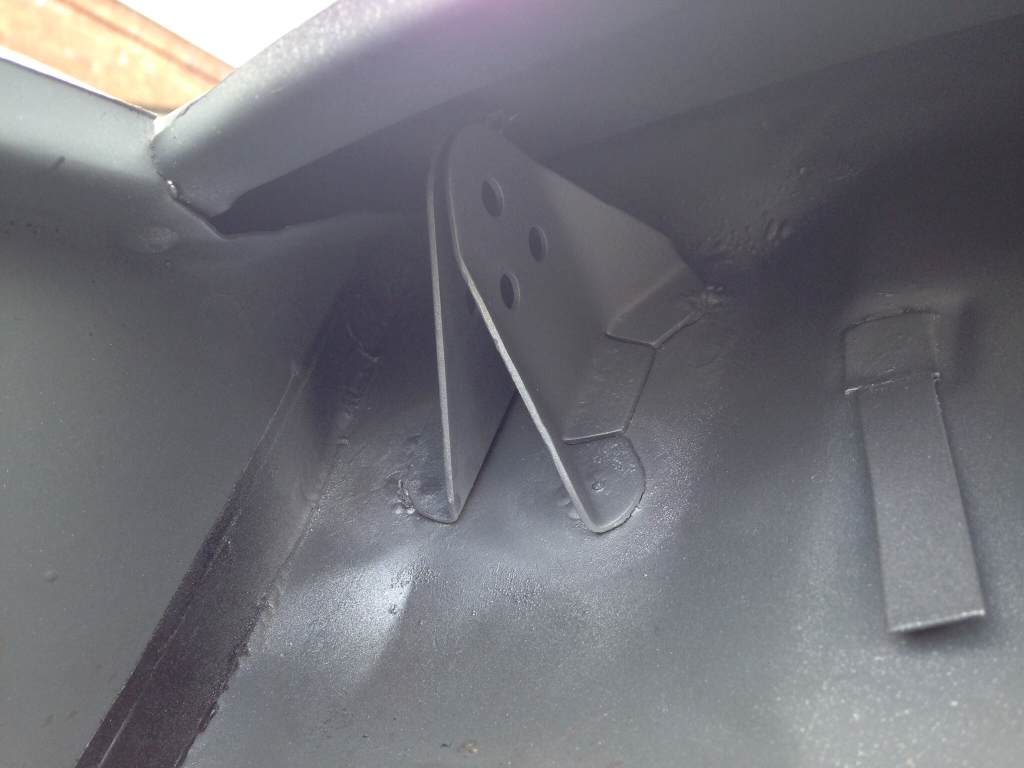
That's all for now but have been doing some more sealing today so I'll put some pictures of that up when I've finished it tomorrow.
7-30-2014
Update, Part 1 of 2.
Got a fair bit done over the last couple of days, lots of pictures, I'll start with the sealing I've done.
Scuttle closers sealed -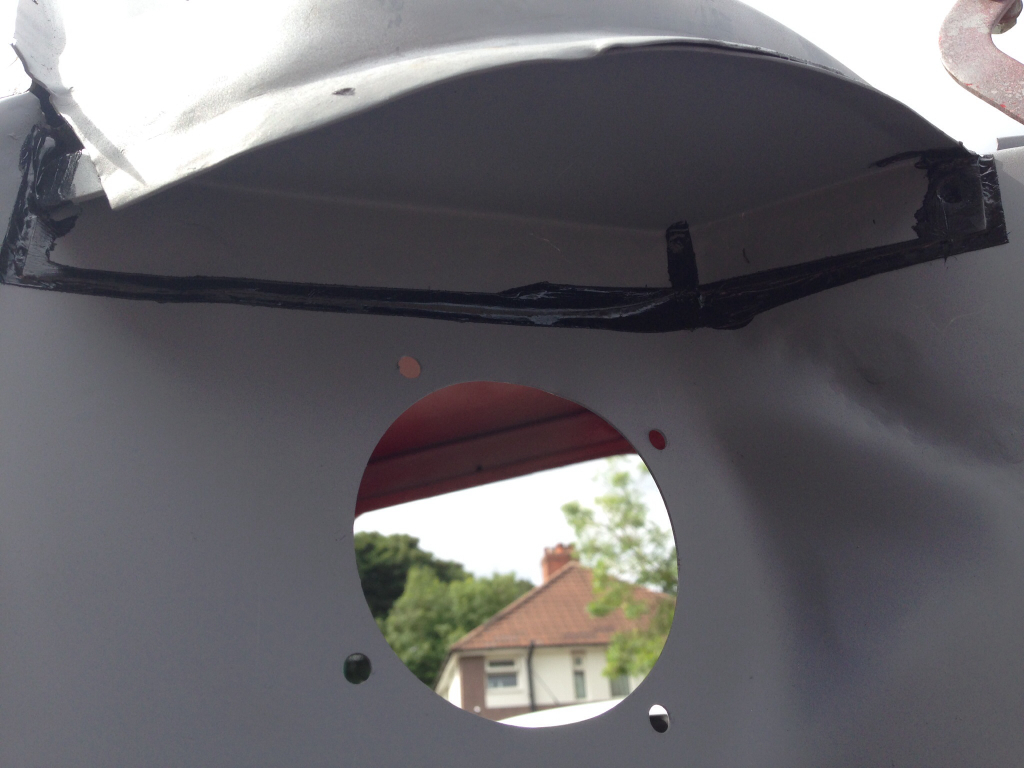
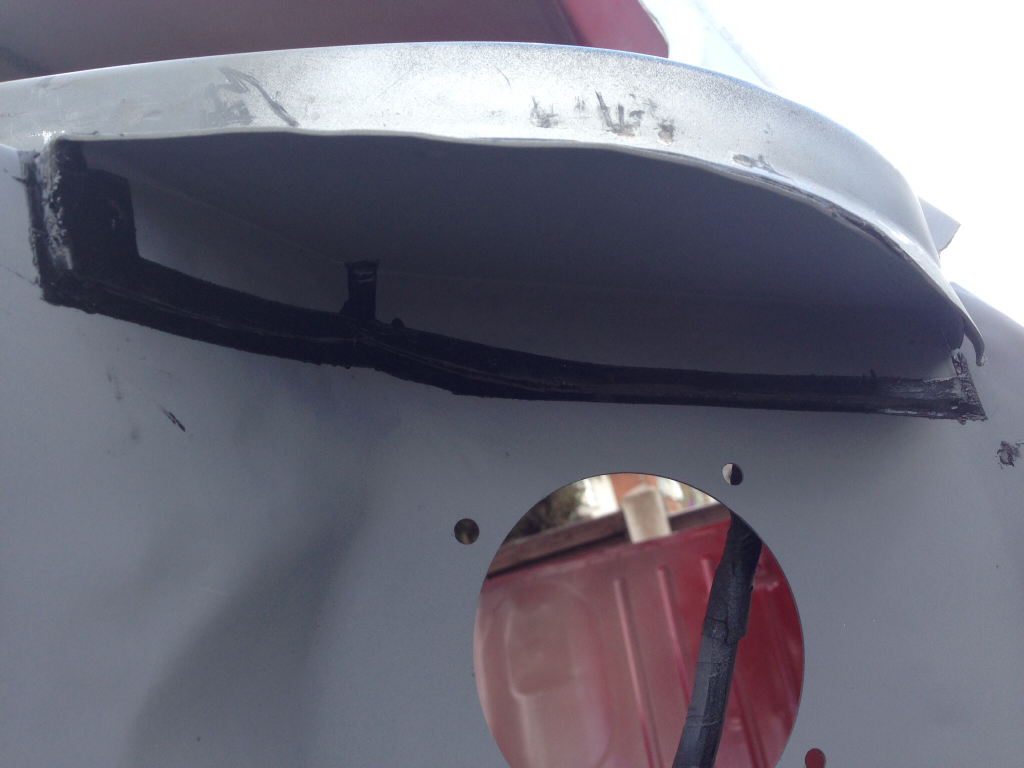
Bottom of toe board masked up -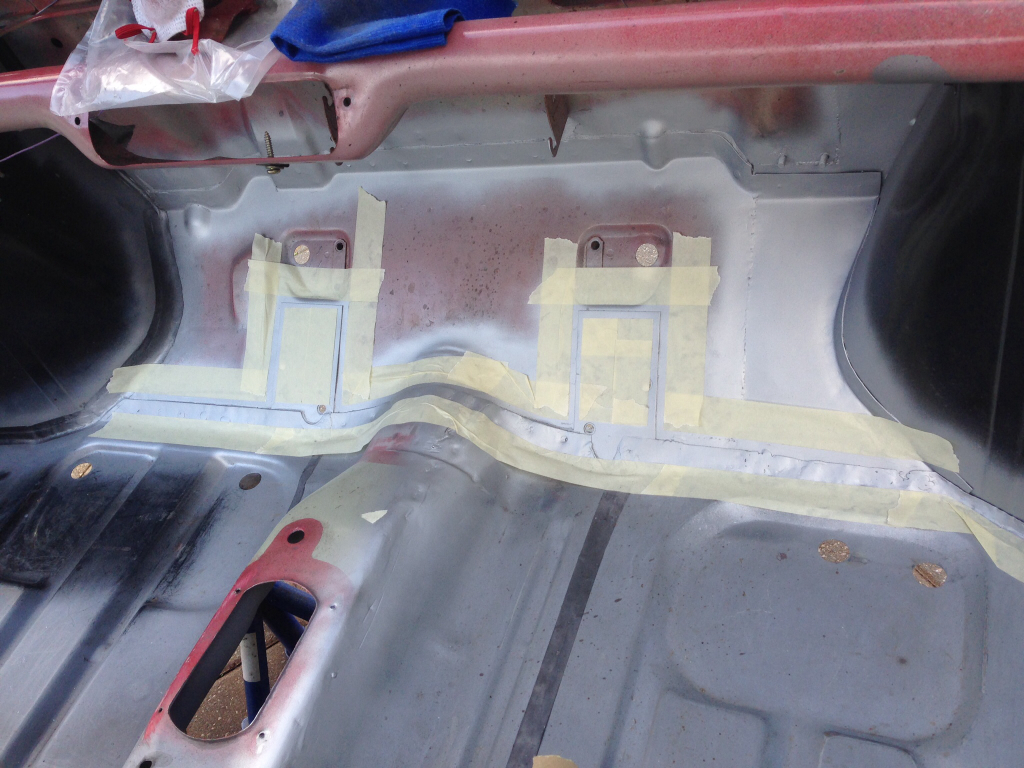
Sealer applied -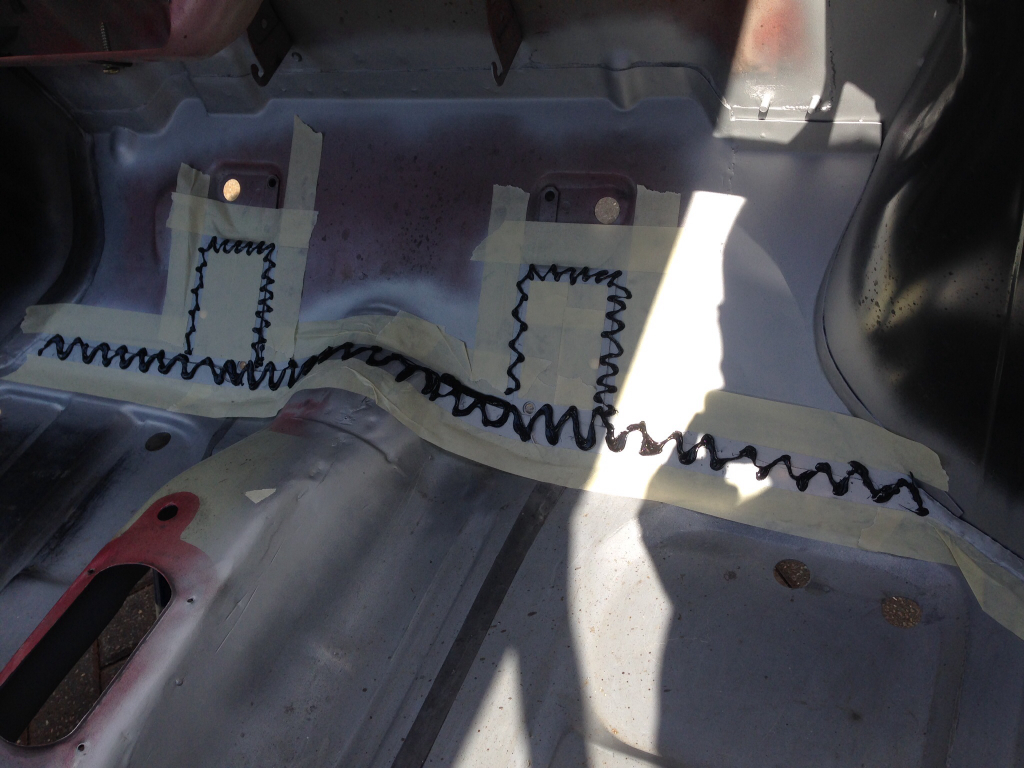
Smoothed the sealer out and removed the tape. Then I masked up the top of the toe board and the R/H flitch -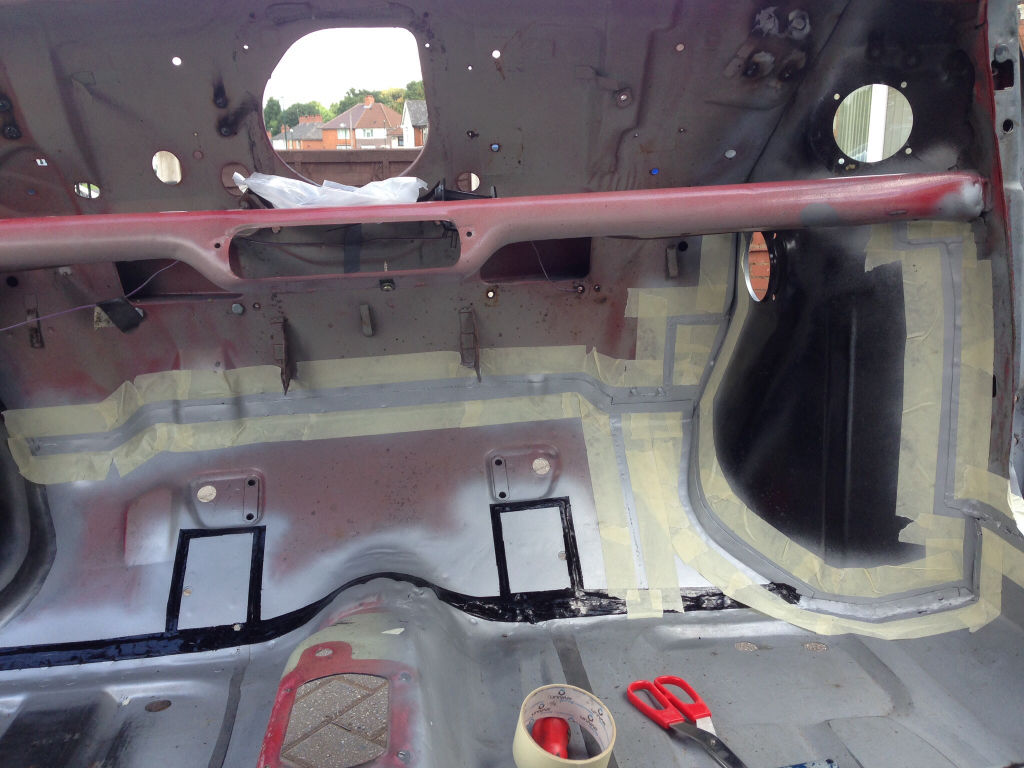
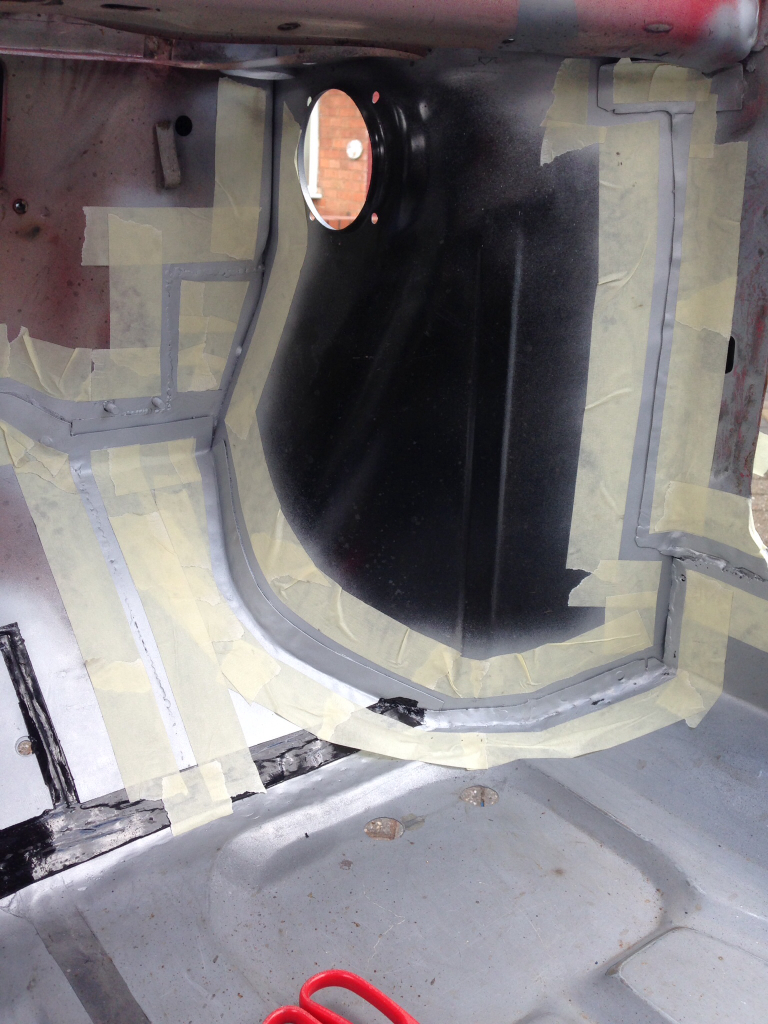
Sealer applied -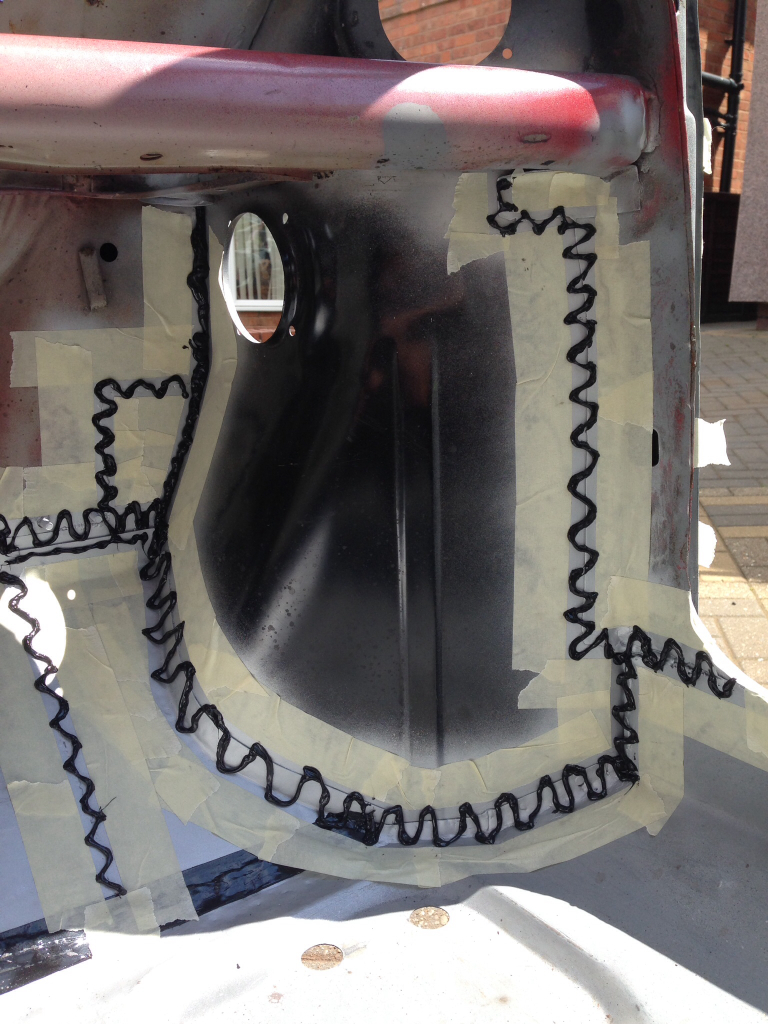
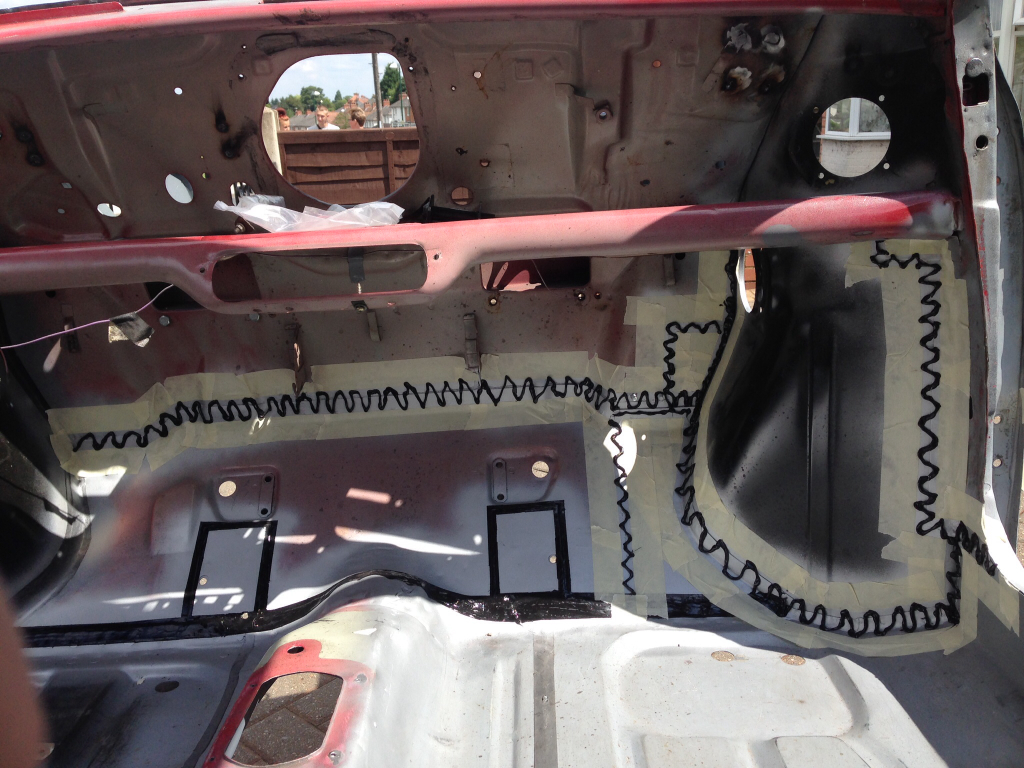
Smoothed out and tape removed -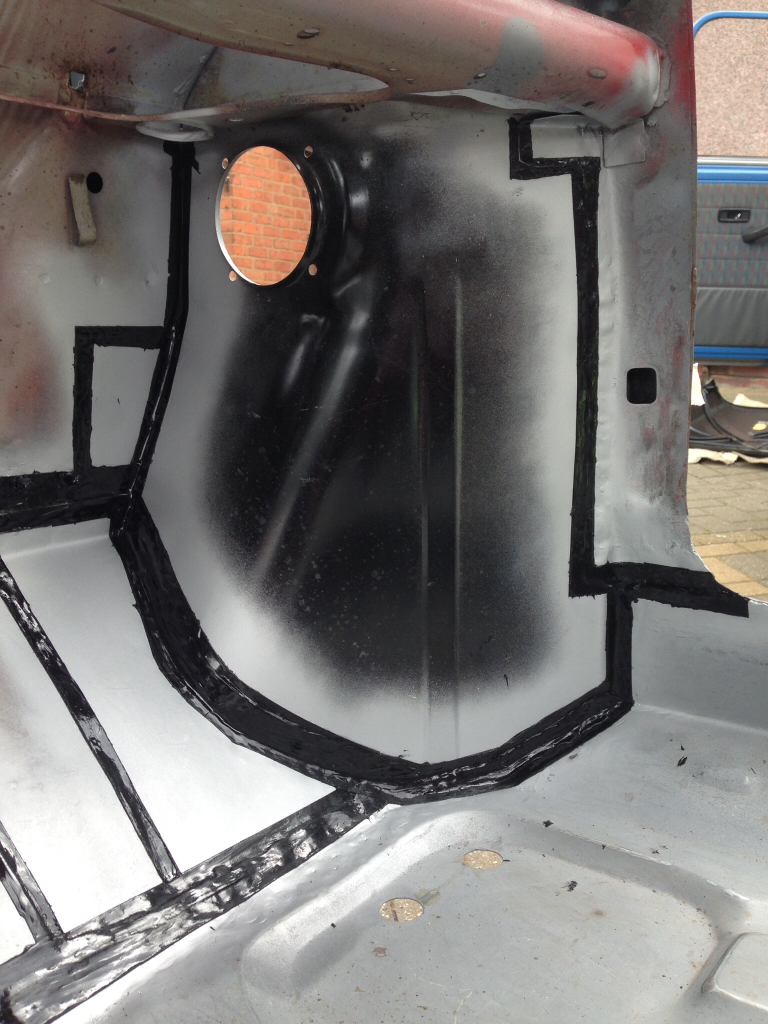
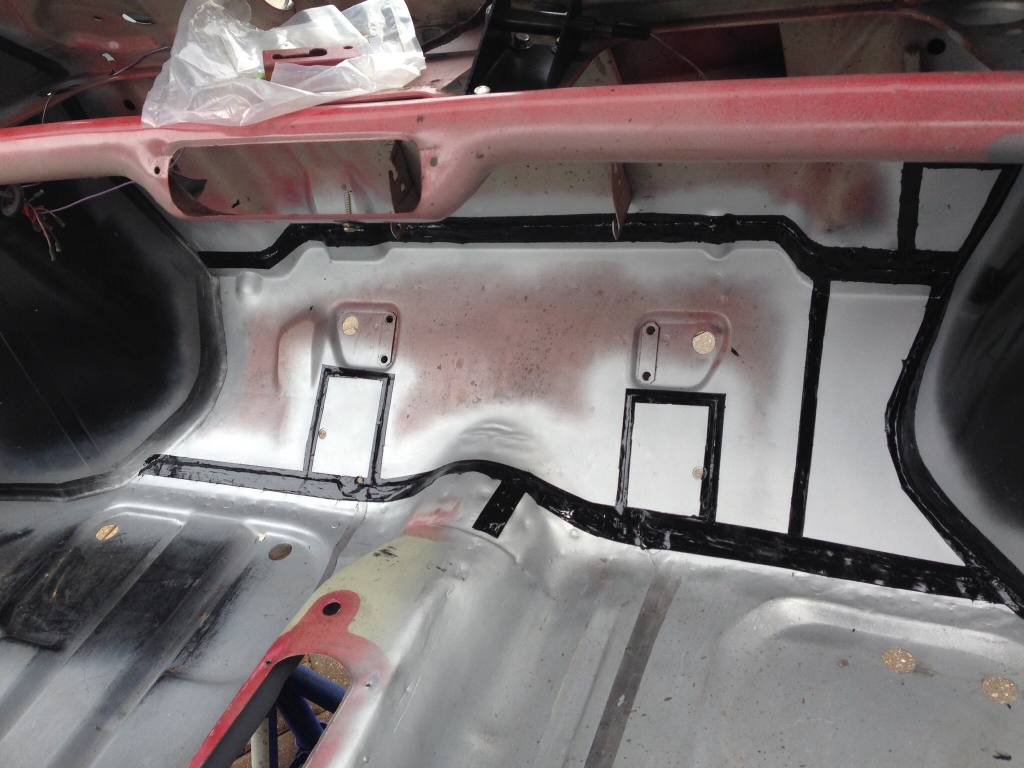
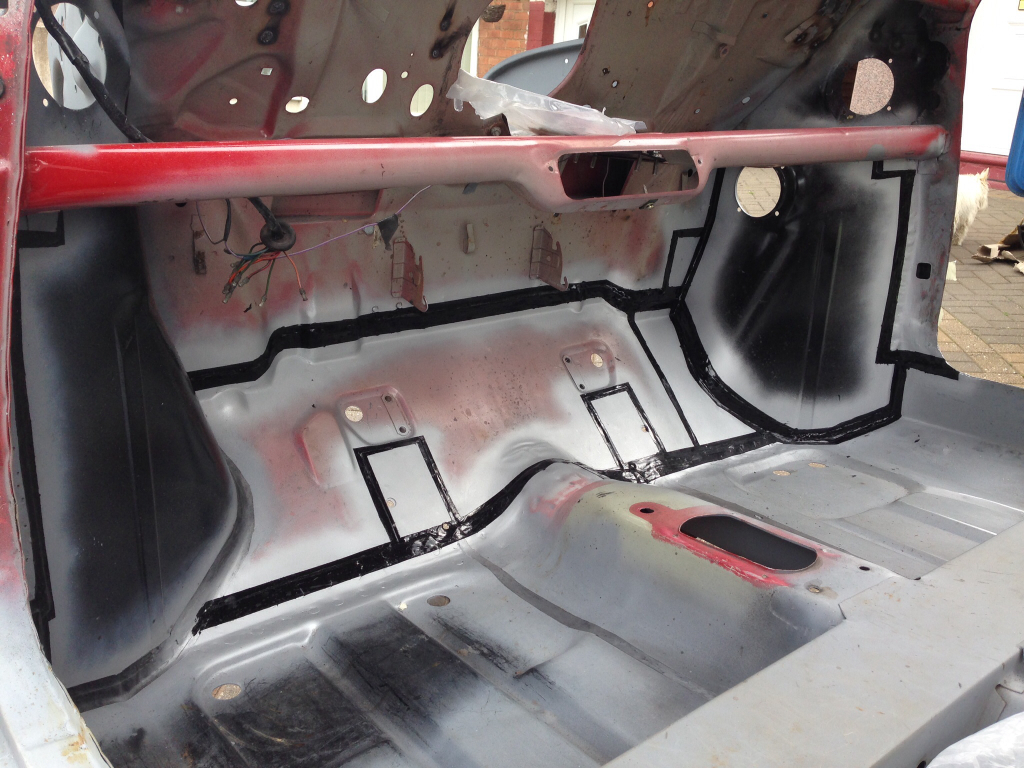
Then I sealed up the bulkhead -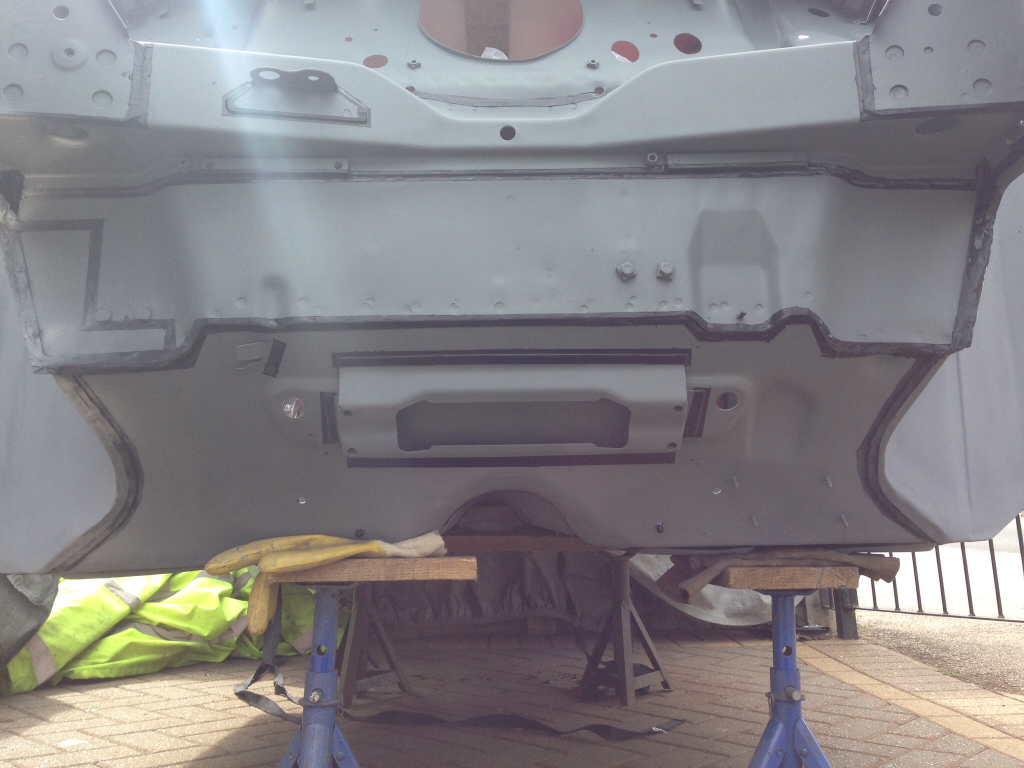
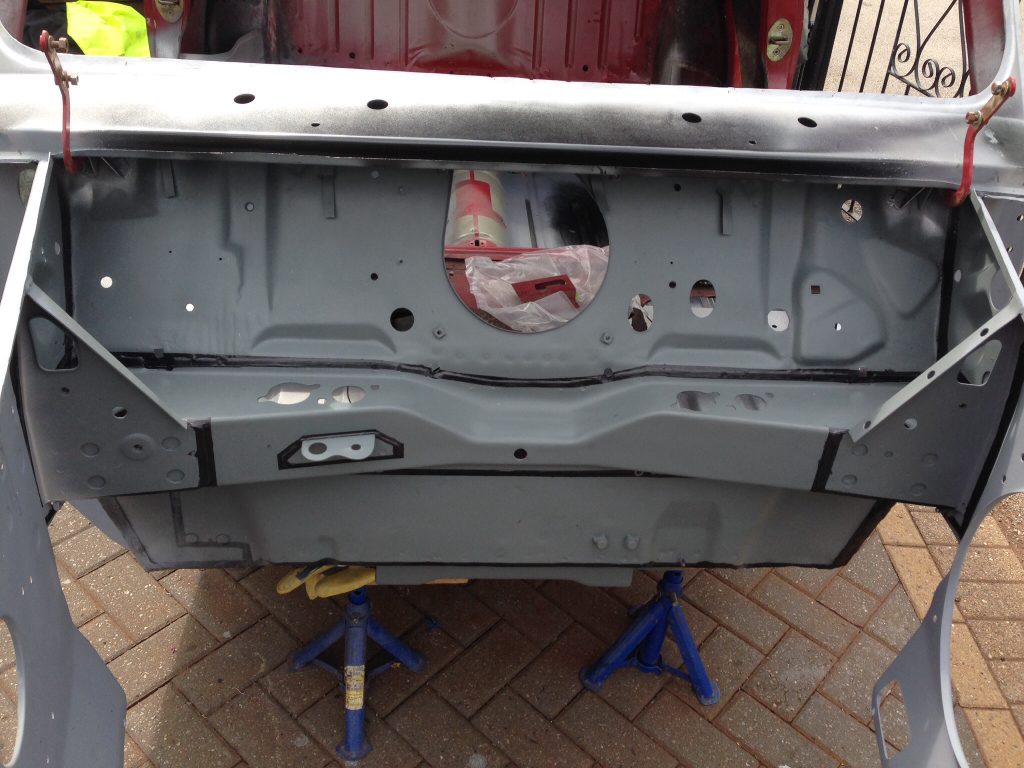
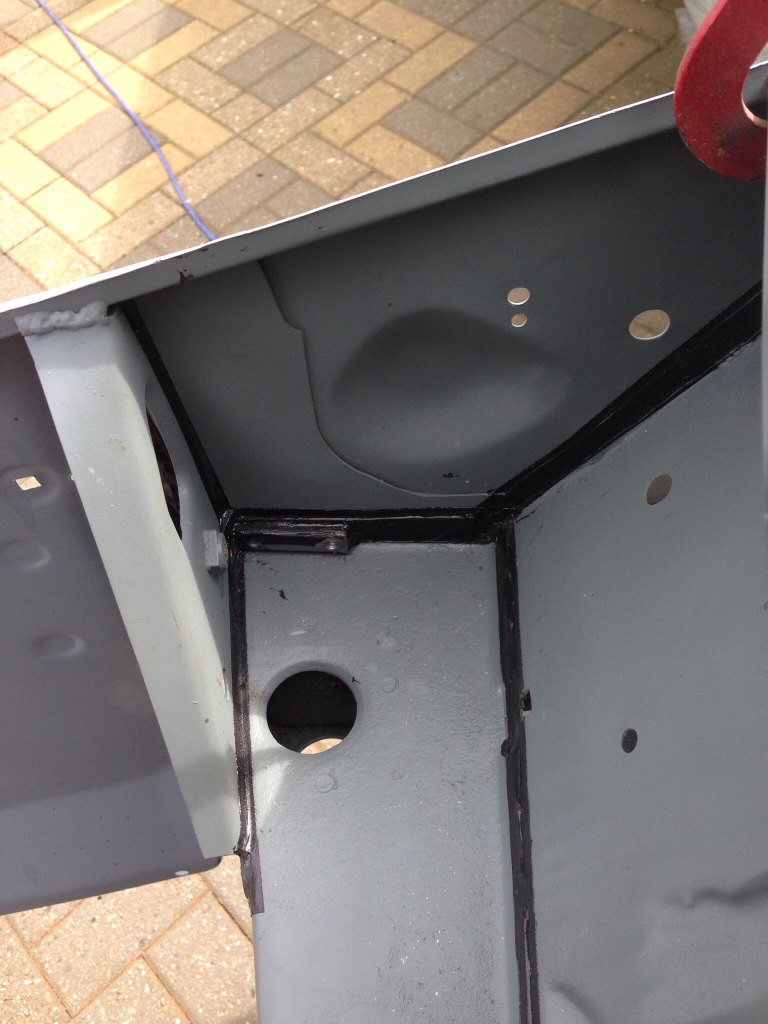
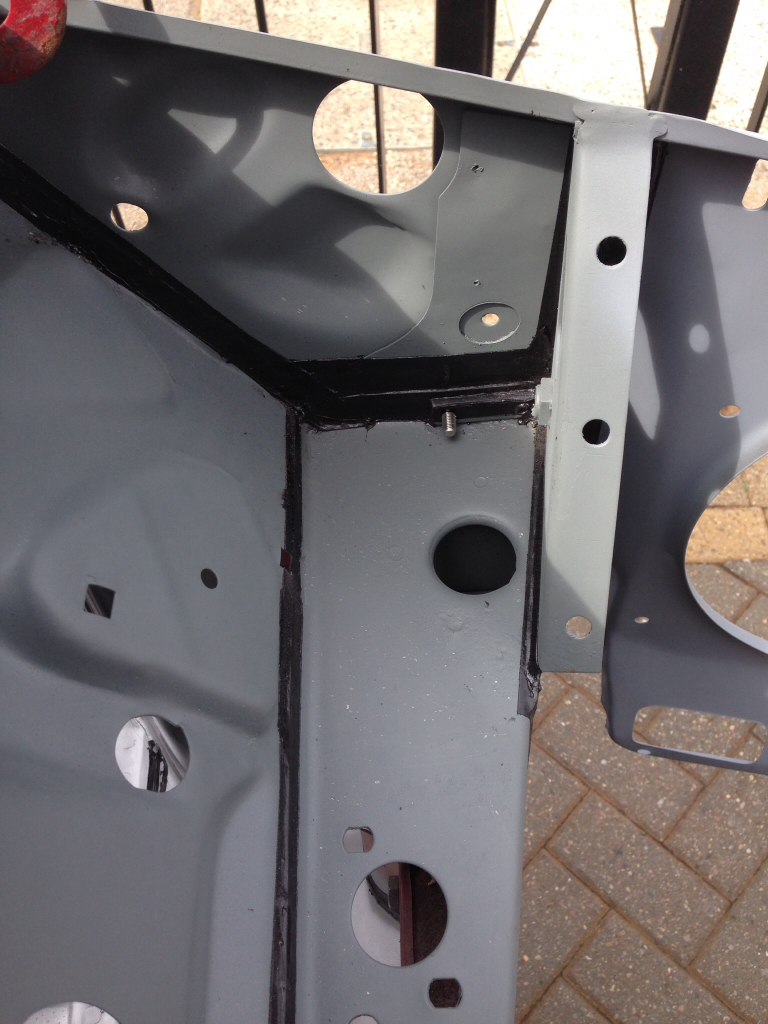
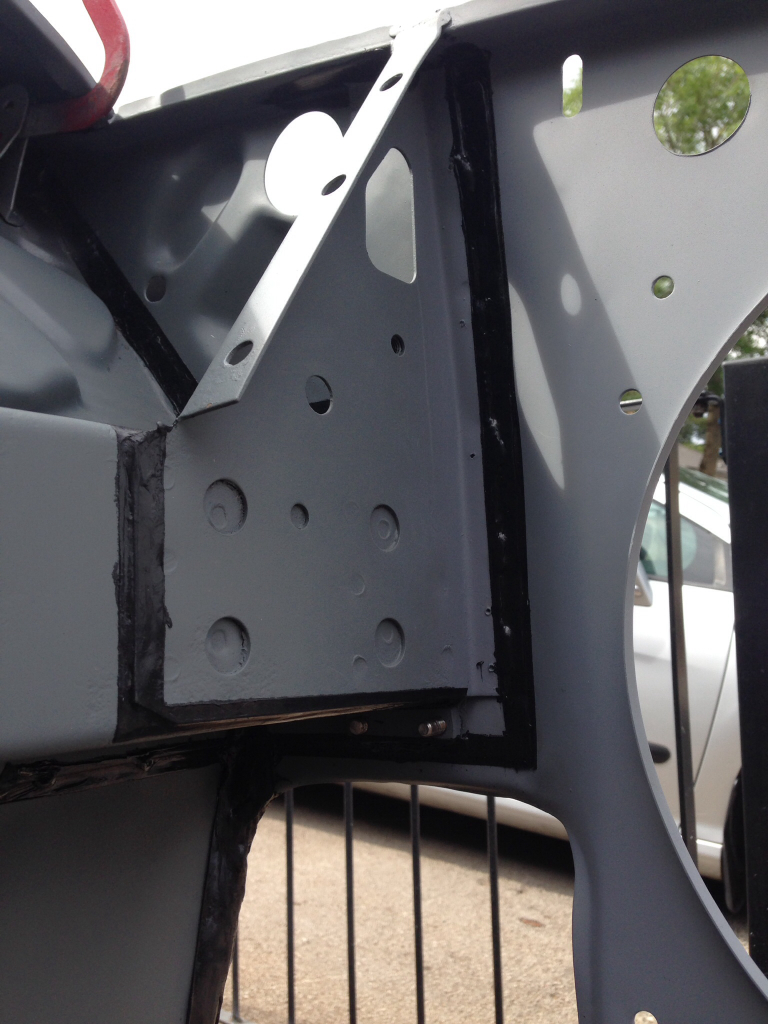
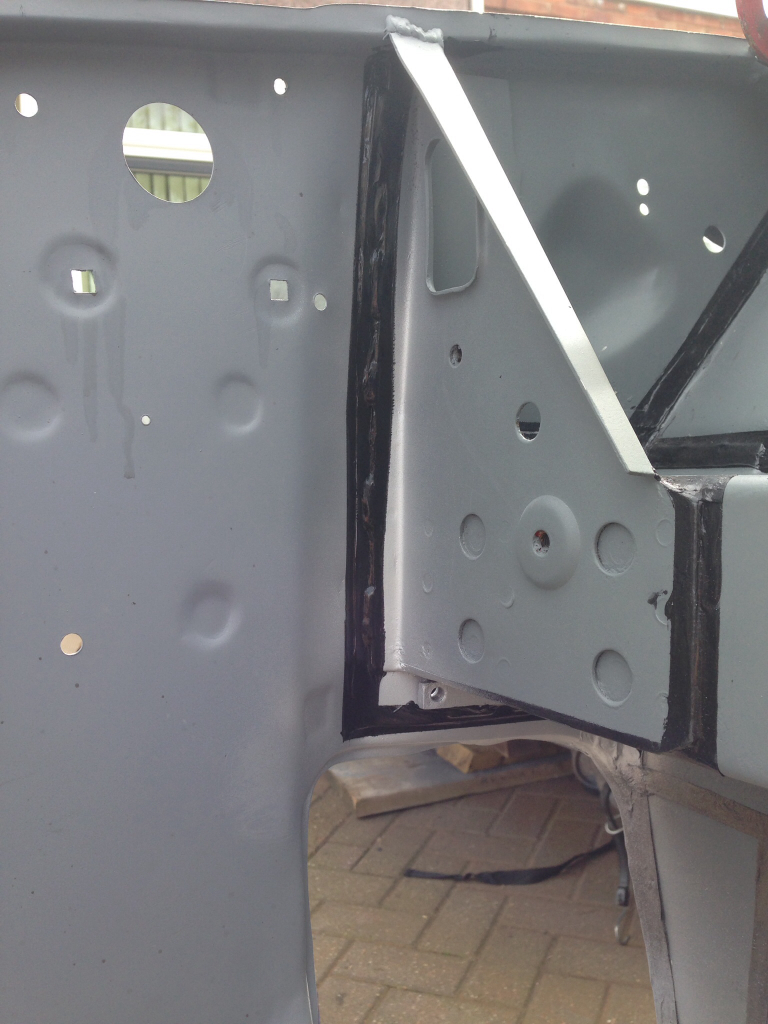
I also removed the last of the bitumen from the back seat pan -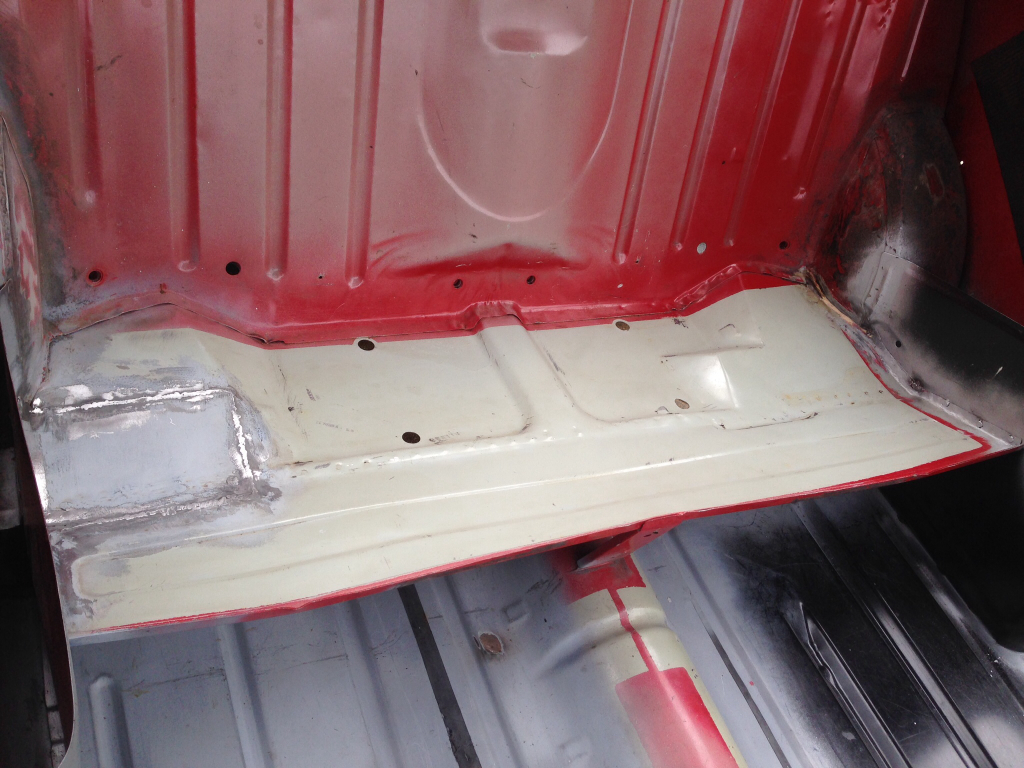
That was Mondays/Tuesdays progress. Today's progress to follow as I can't fit it all into one post !
Update, Part 2 of 2.
Today's progress.
Finally received my door panel repair piece, unfortunately it's a magnum panel, should of asked before ordering from M-Machine as I presumed it would be one of their own pressings. I've had to do some extensive repairs to the door frame as it is really quite bad, but I'm very happy with how it's came out.
Anyway here's a few pictures, the repair panel -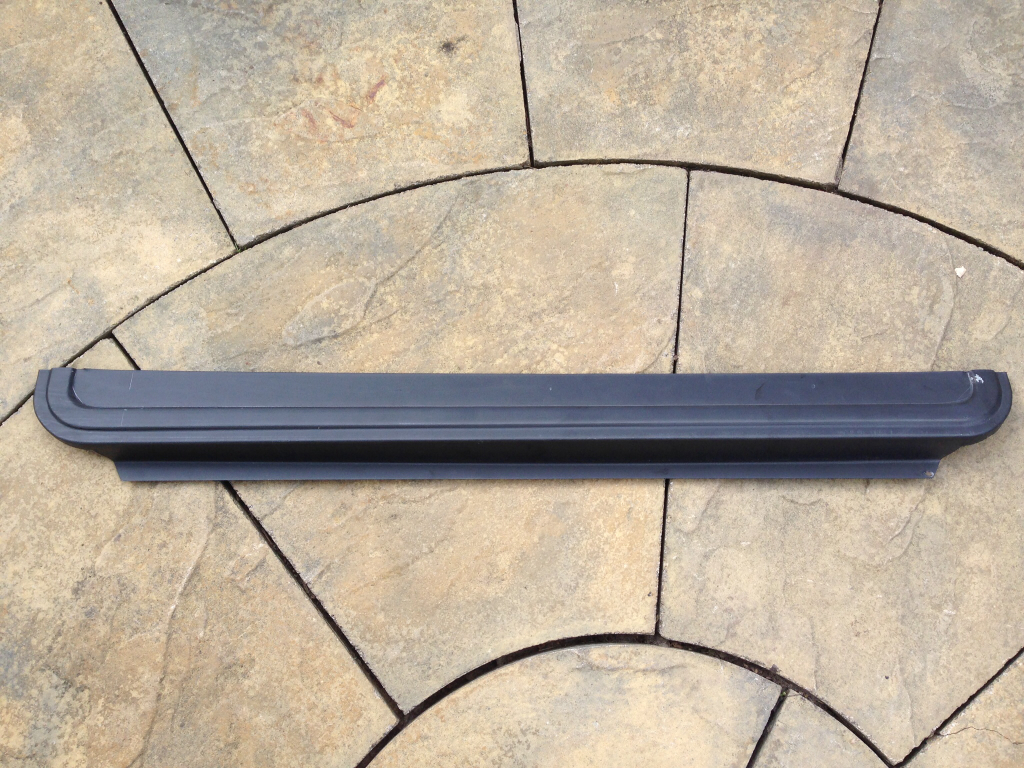
Chopped out the rotten bottom of the door -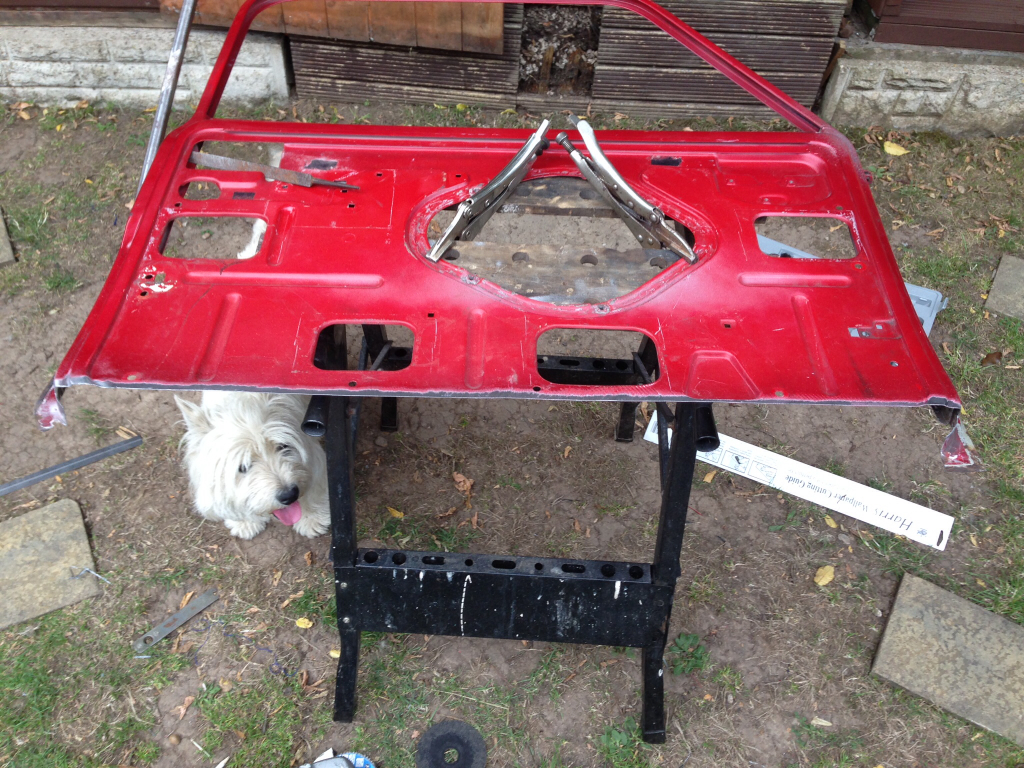
Trimmed the repair panel to fit -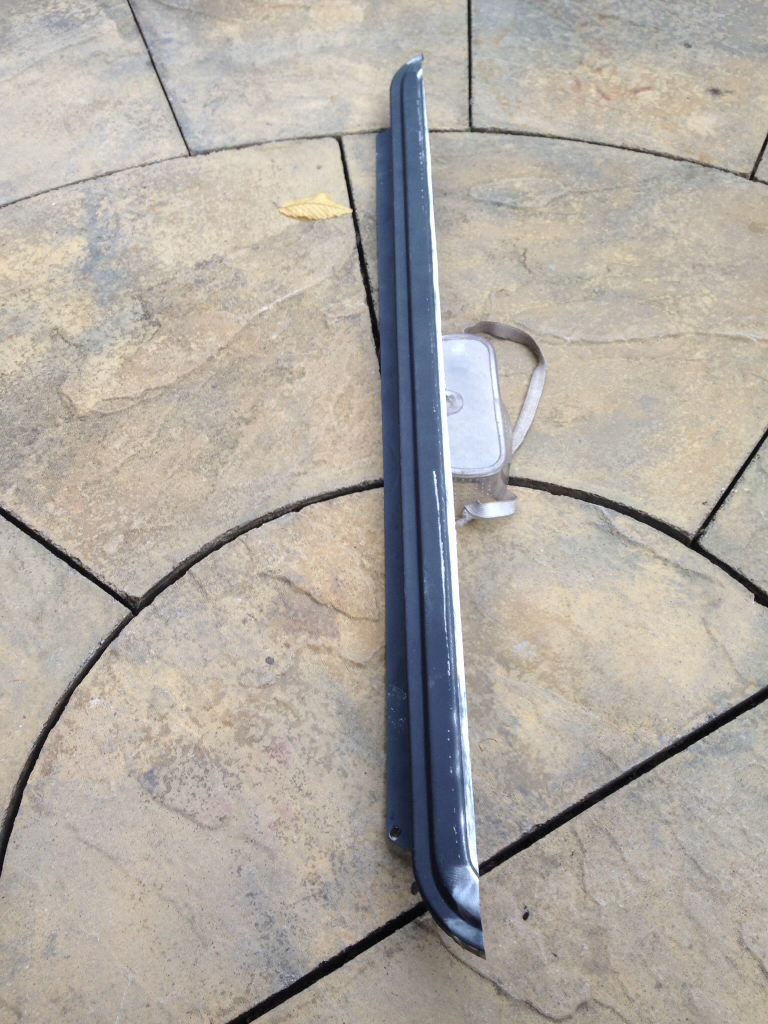
Tacked in place -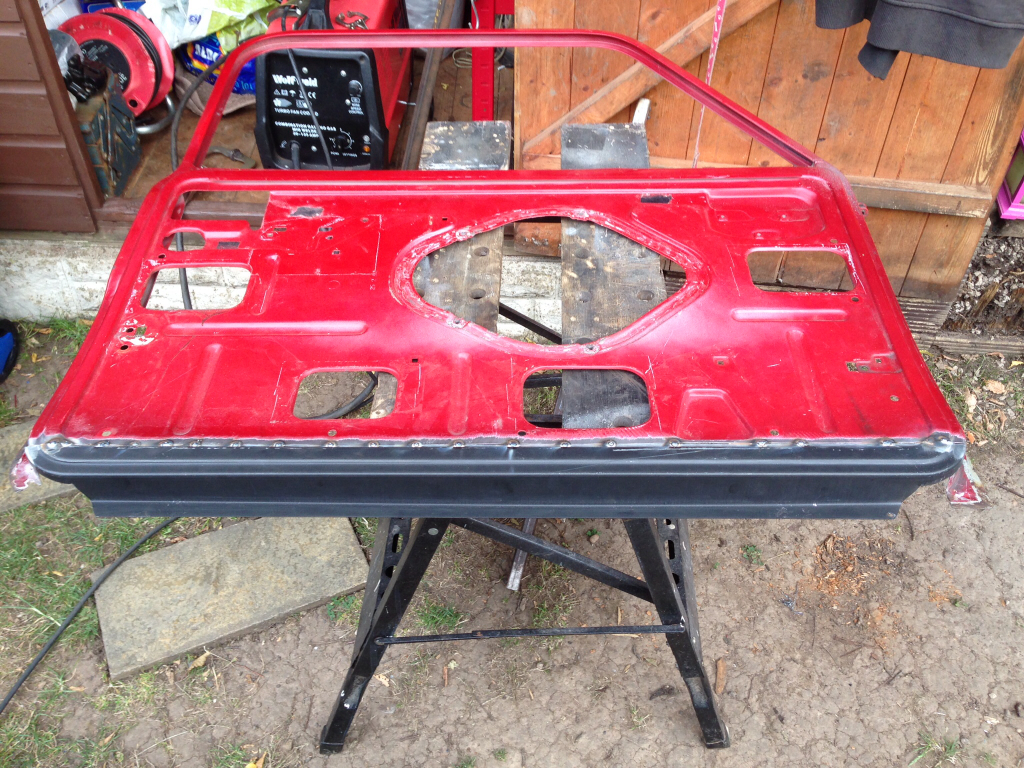
Then tried the door skin on to make sure the repair panel was positioned correctly -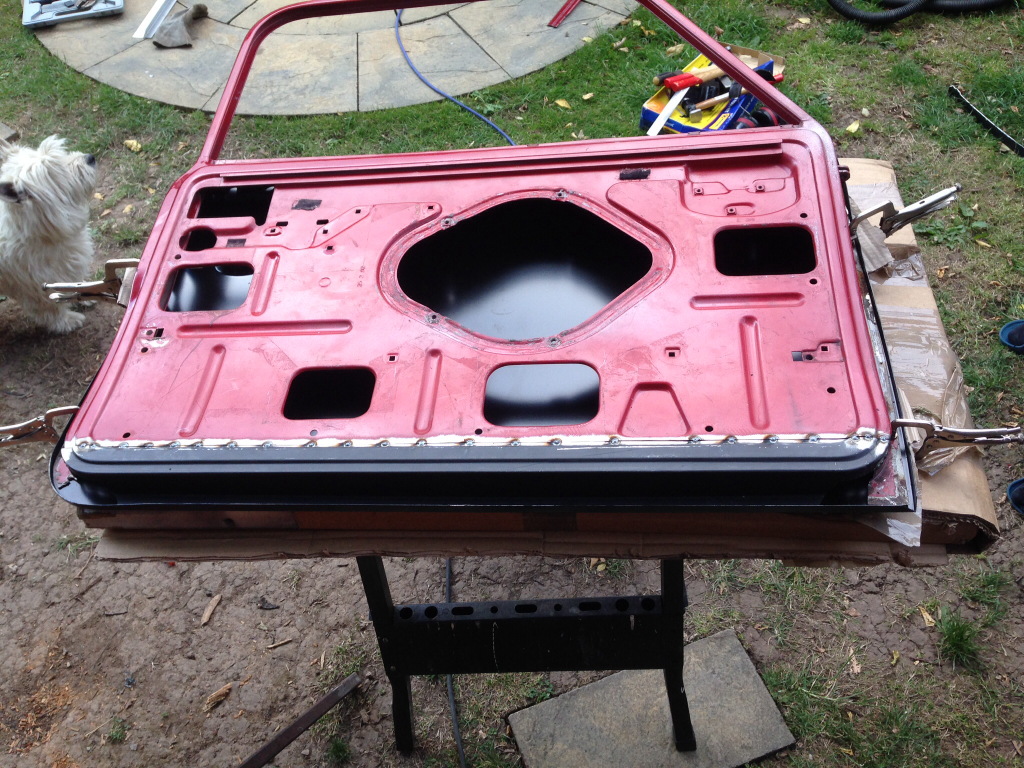
Happy with that, I removed the skin and fully welded the repair -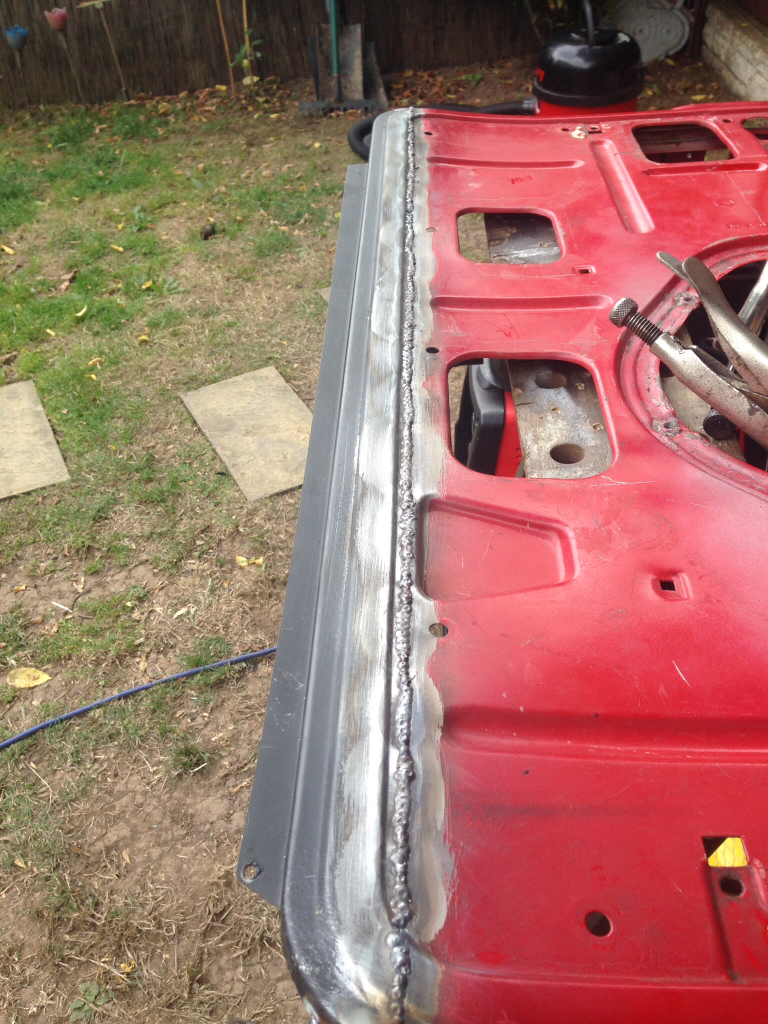
Next to repair was the bottom corners of the frame. Made a repair piece and clamped it into place -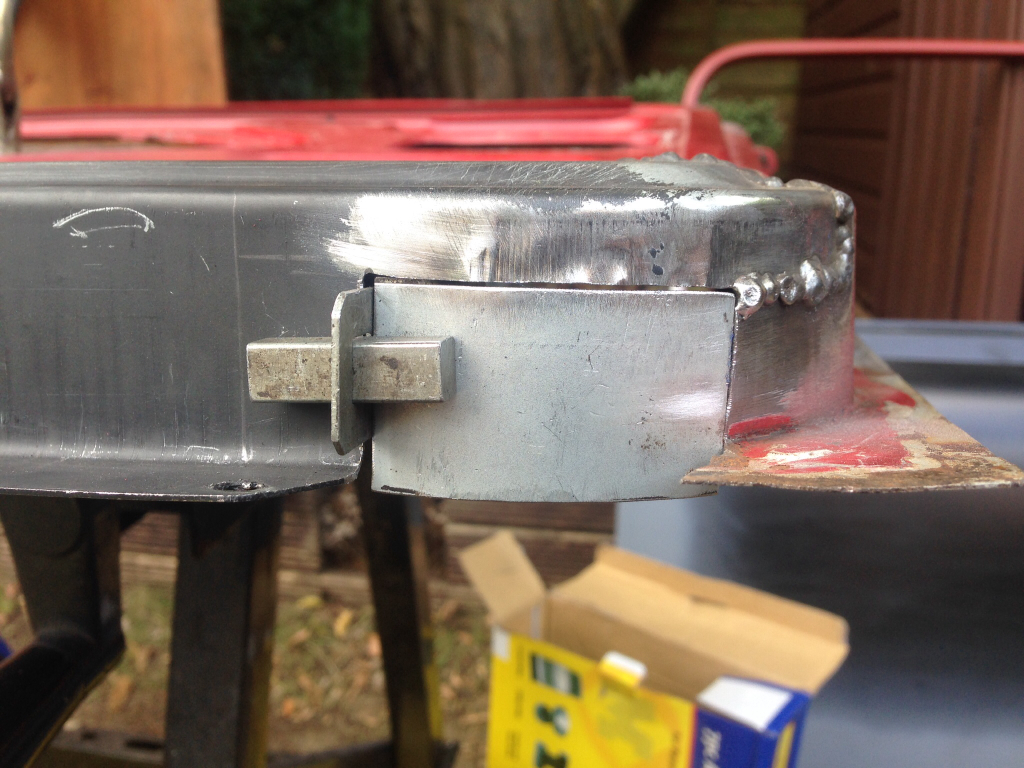
Tacked in -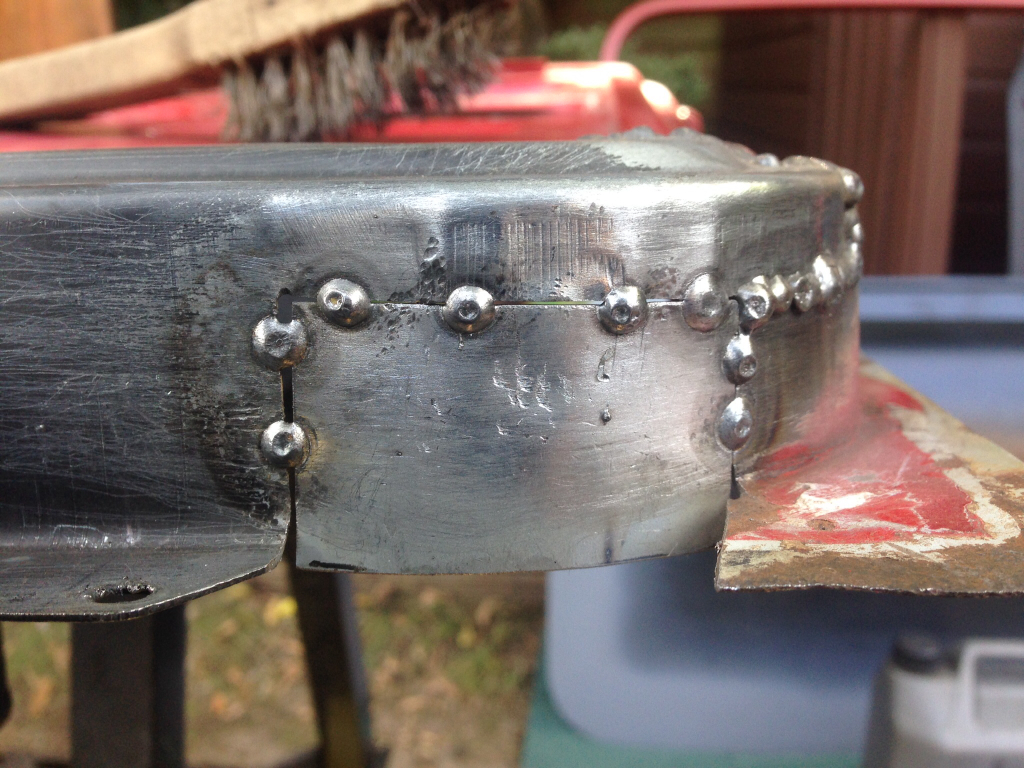
Fully welded -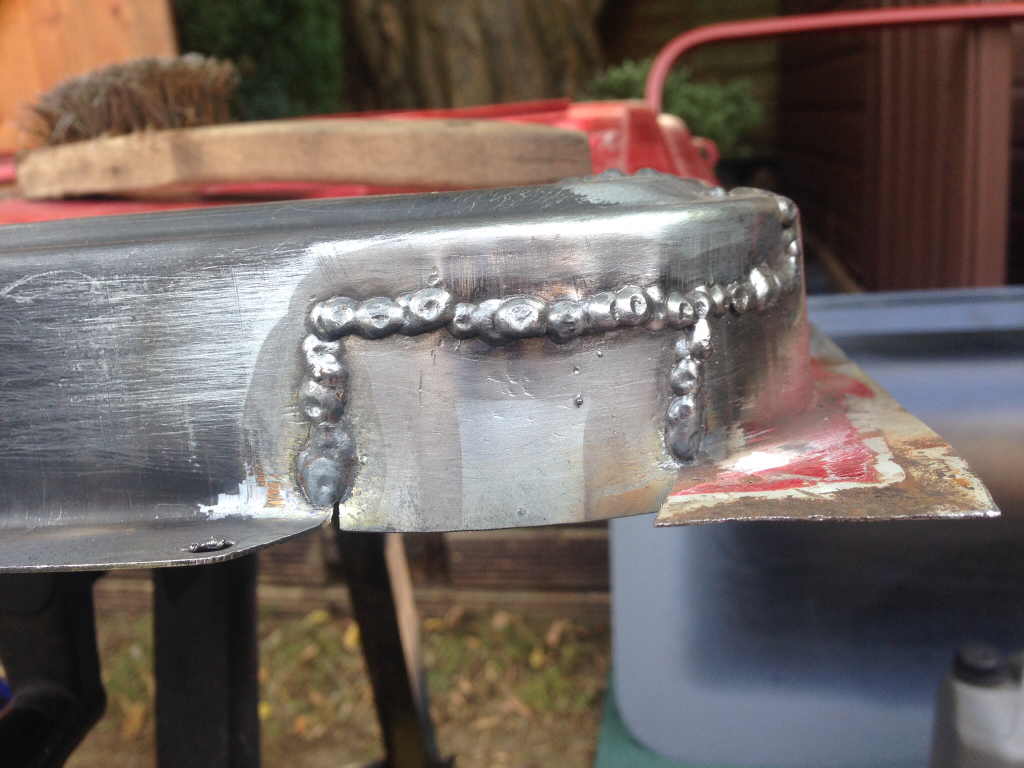
Same procedure for the other corner, clamped in place -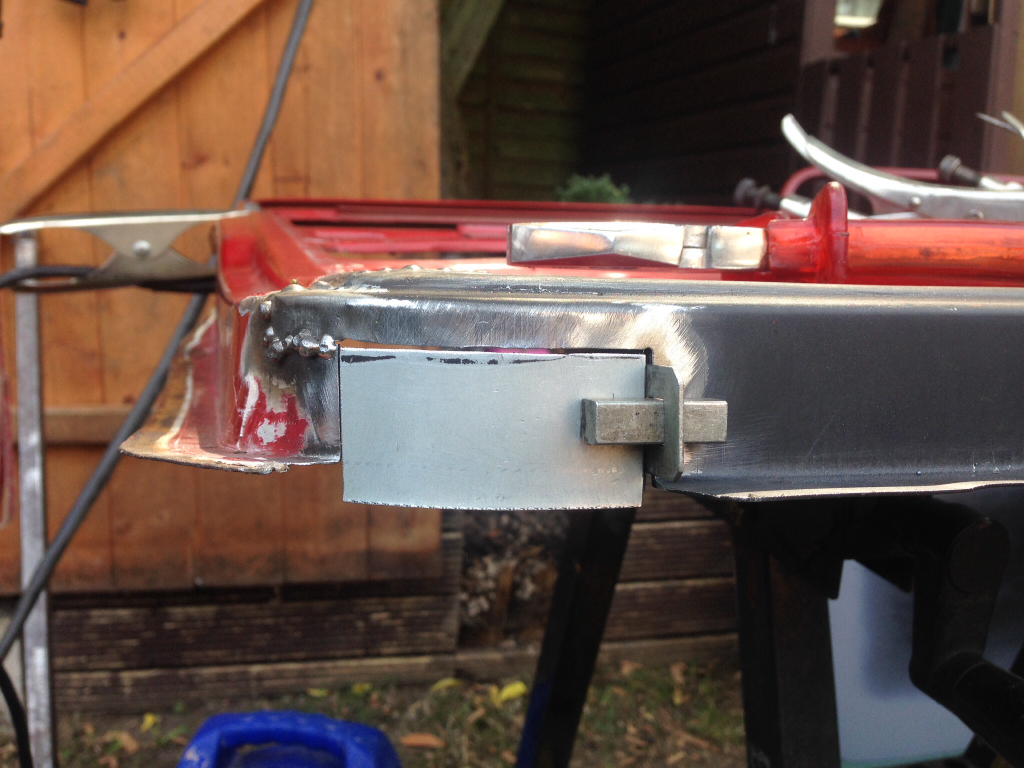
Tacked in -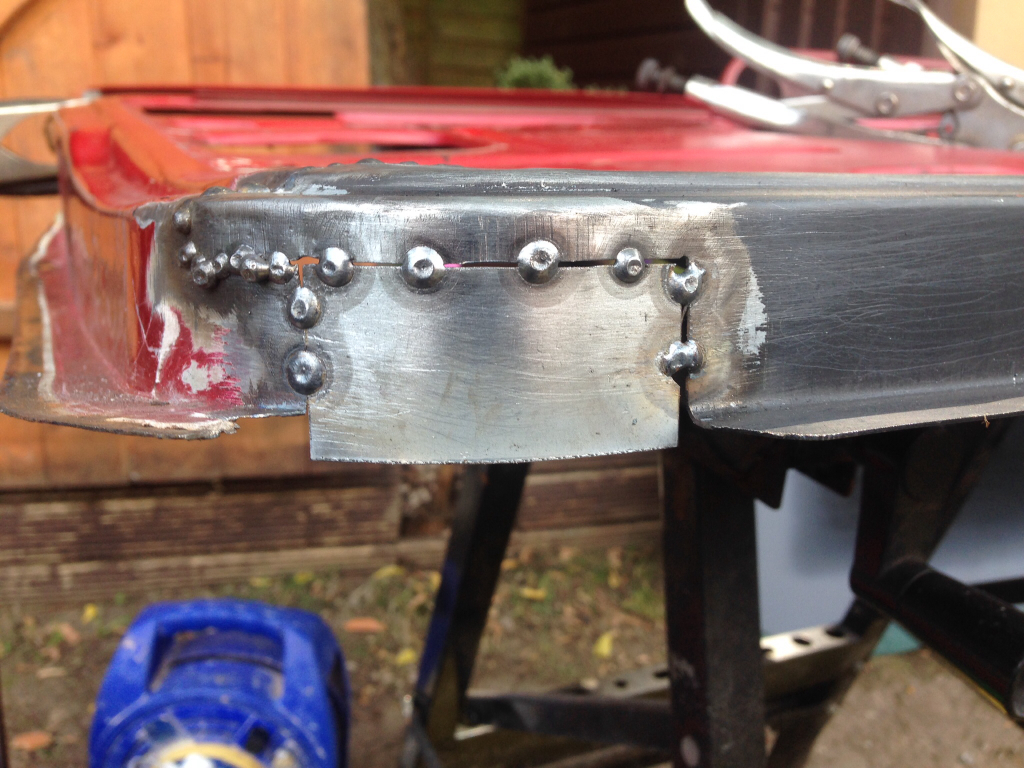
Fully welded -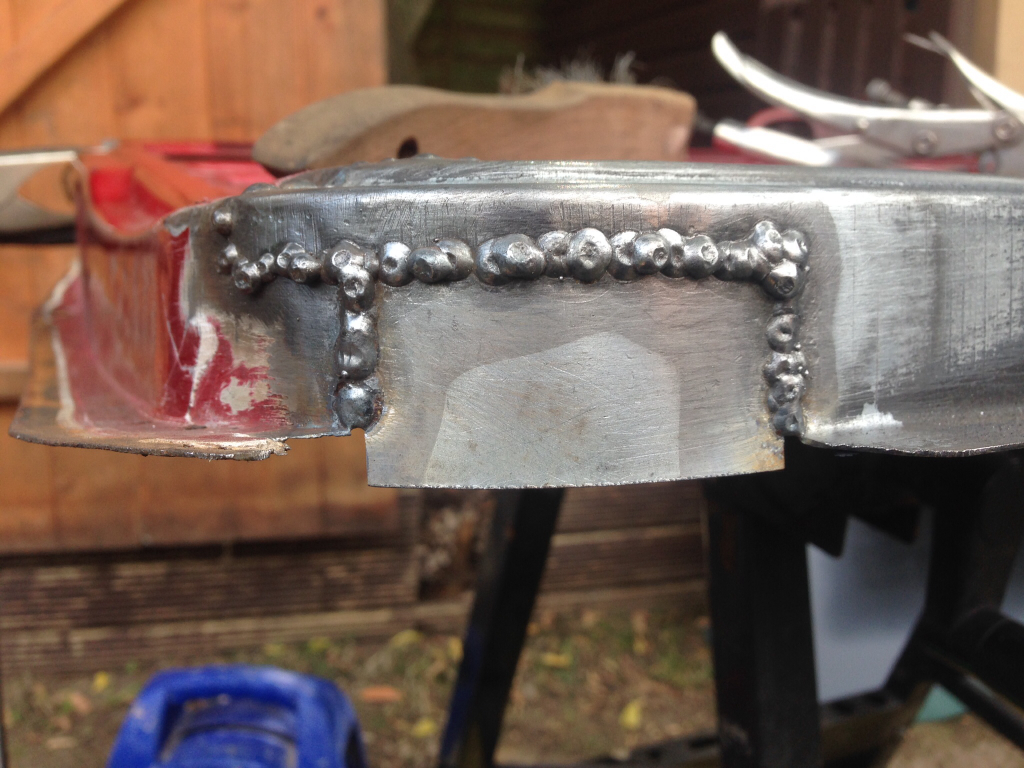
Next was to replace the flanges, cut out the rot -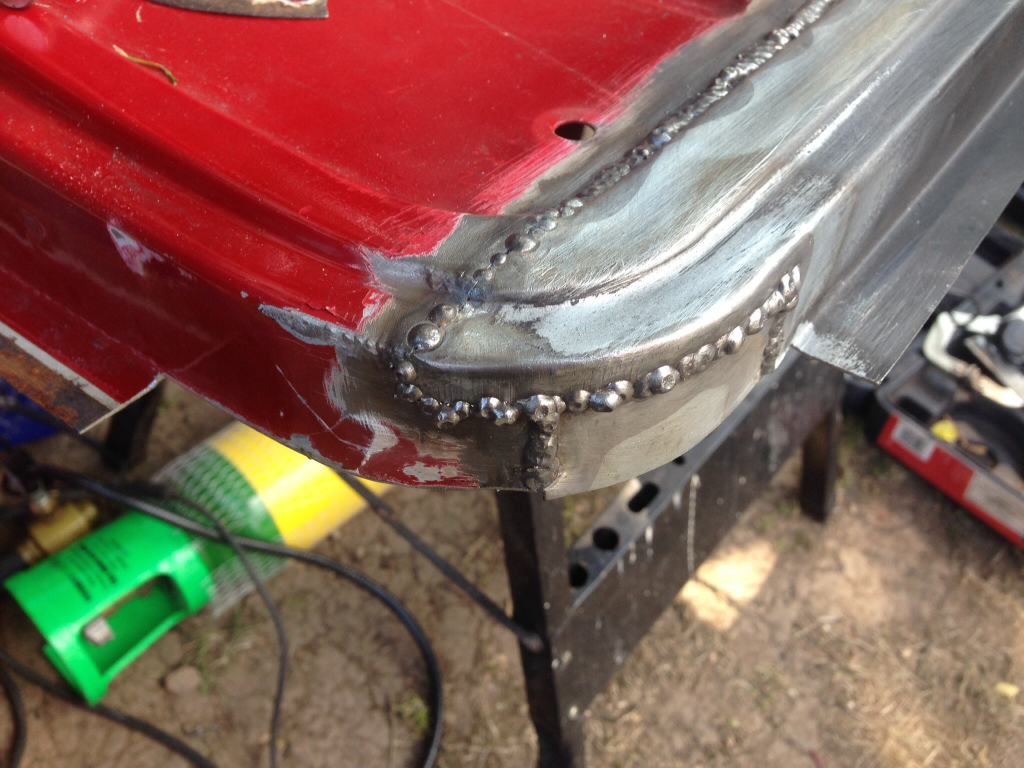
CAD template made -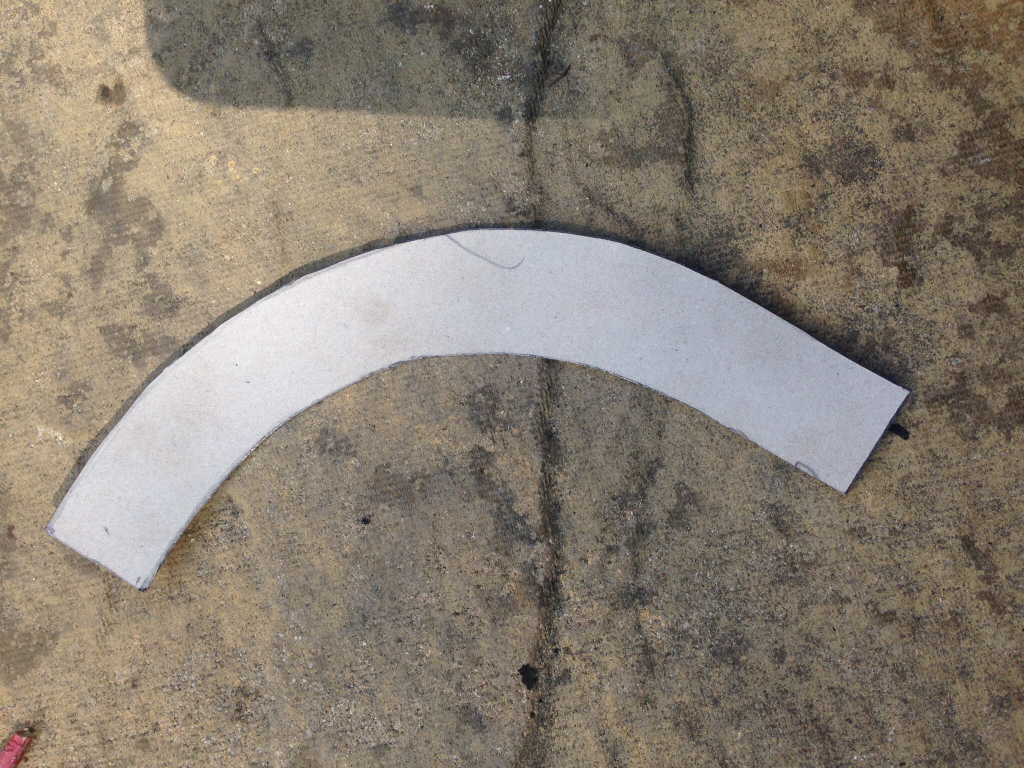
Transfered to steal -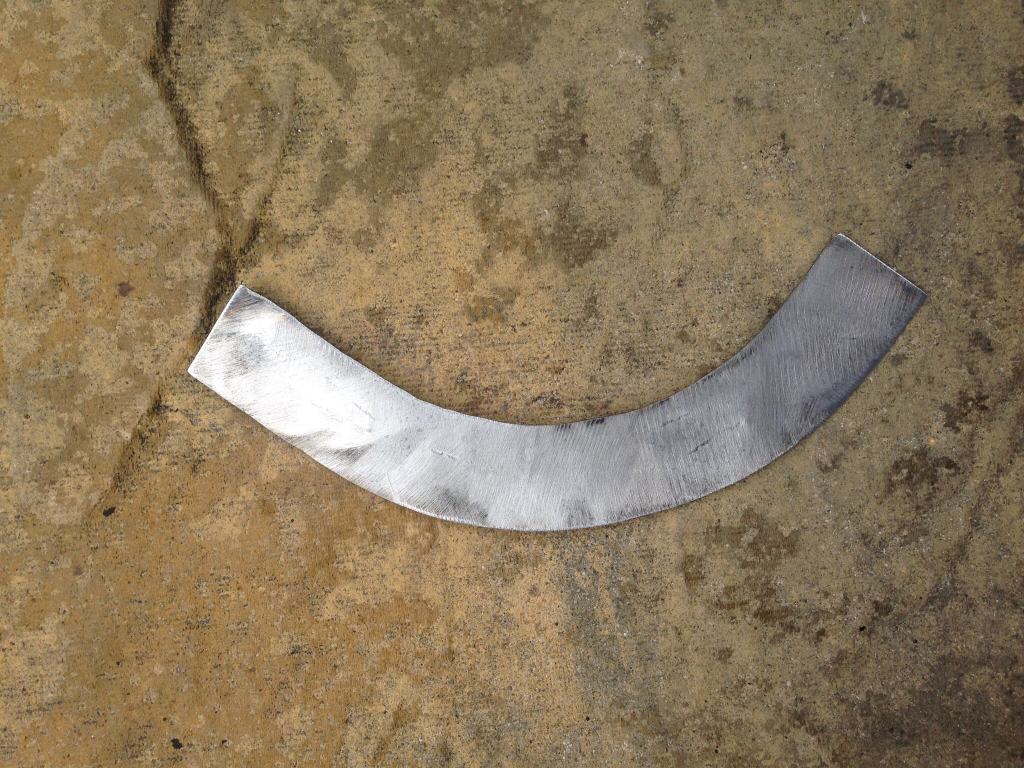
Clamped and tacked into place -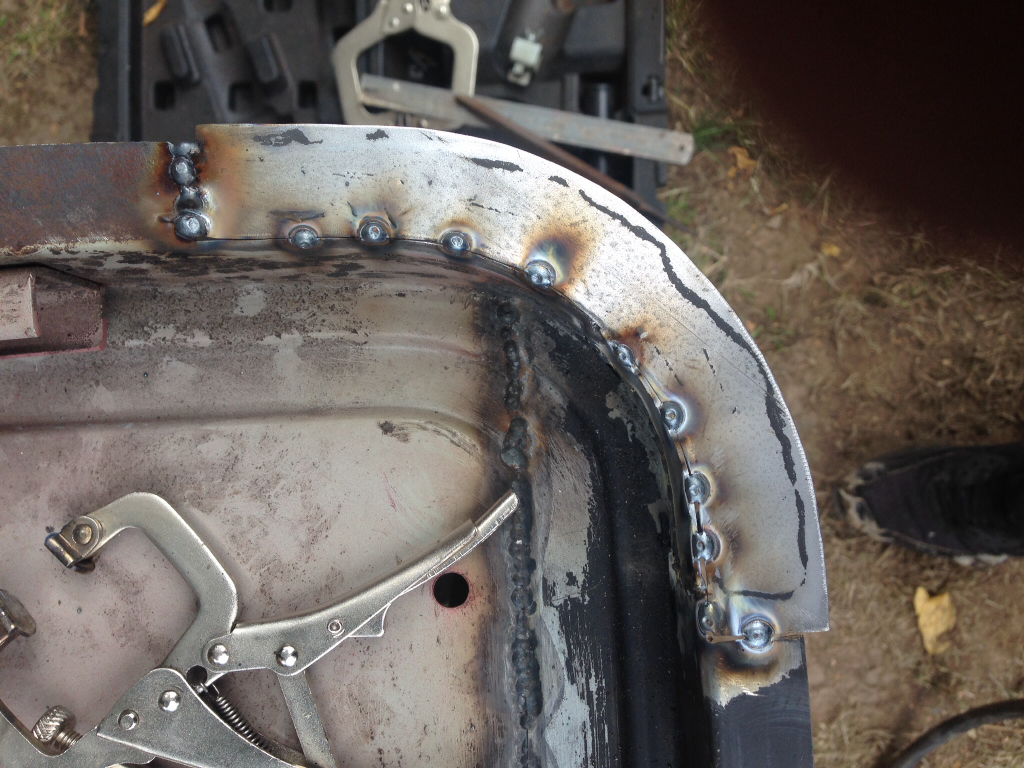
Fully welded -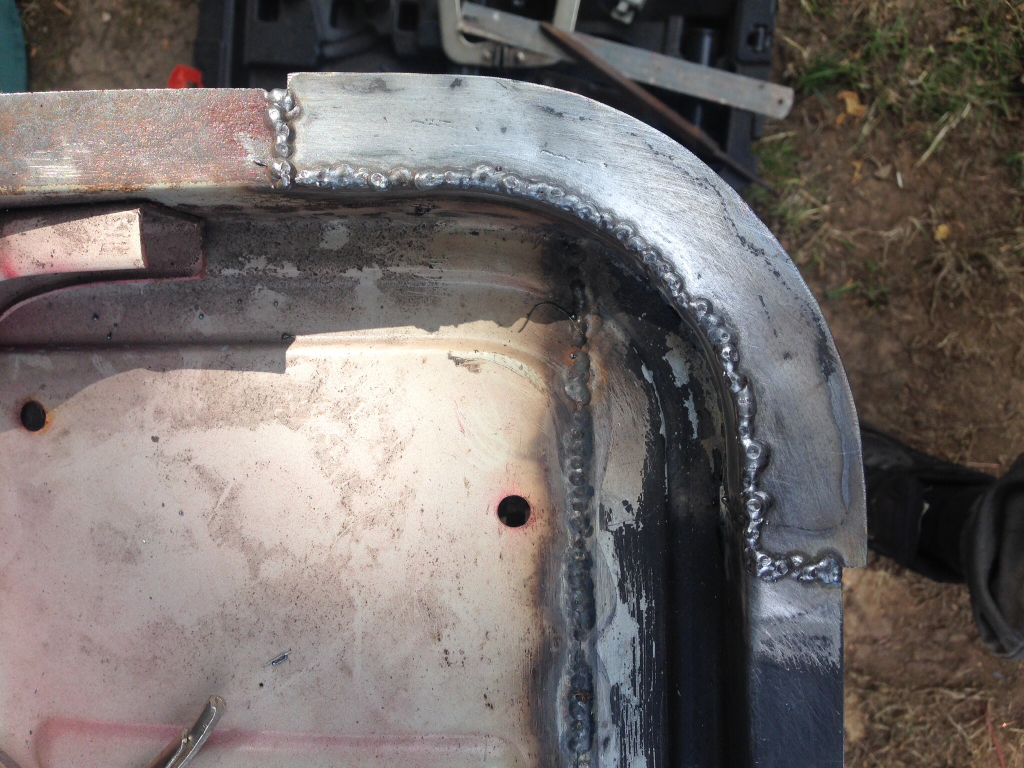
Same for the other side, cut out the rot -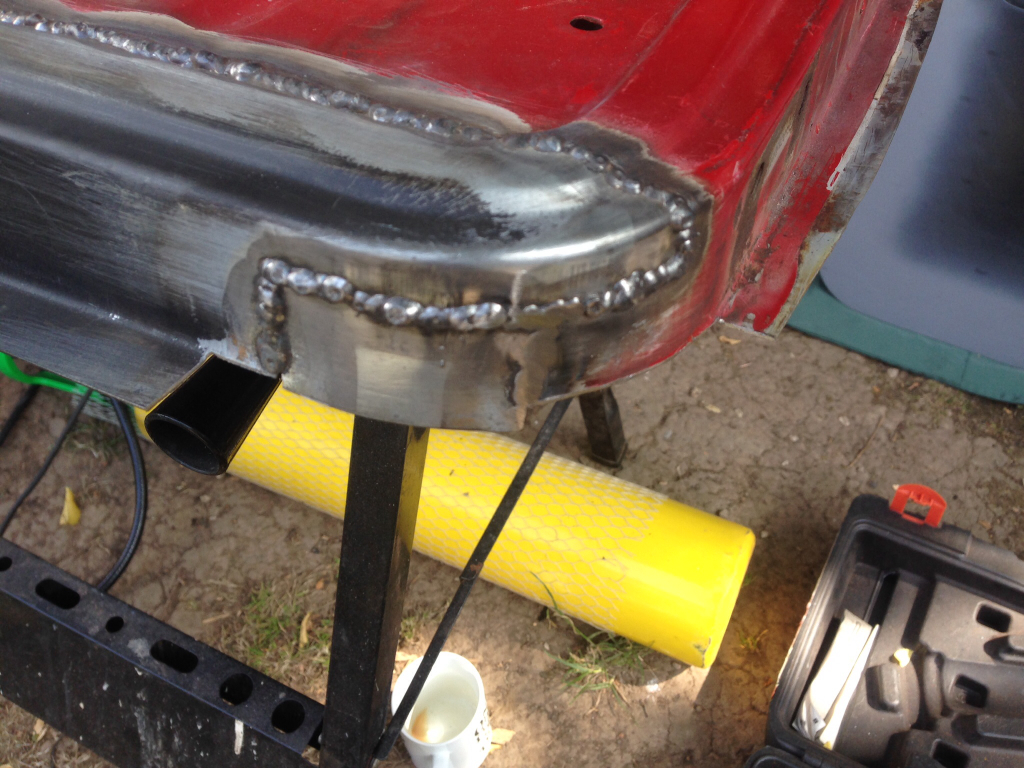
CAD template made and then transferred to steal -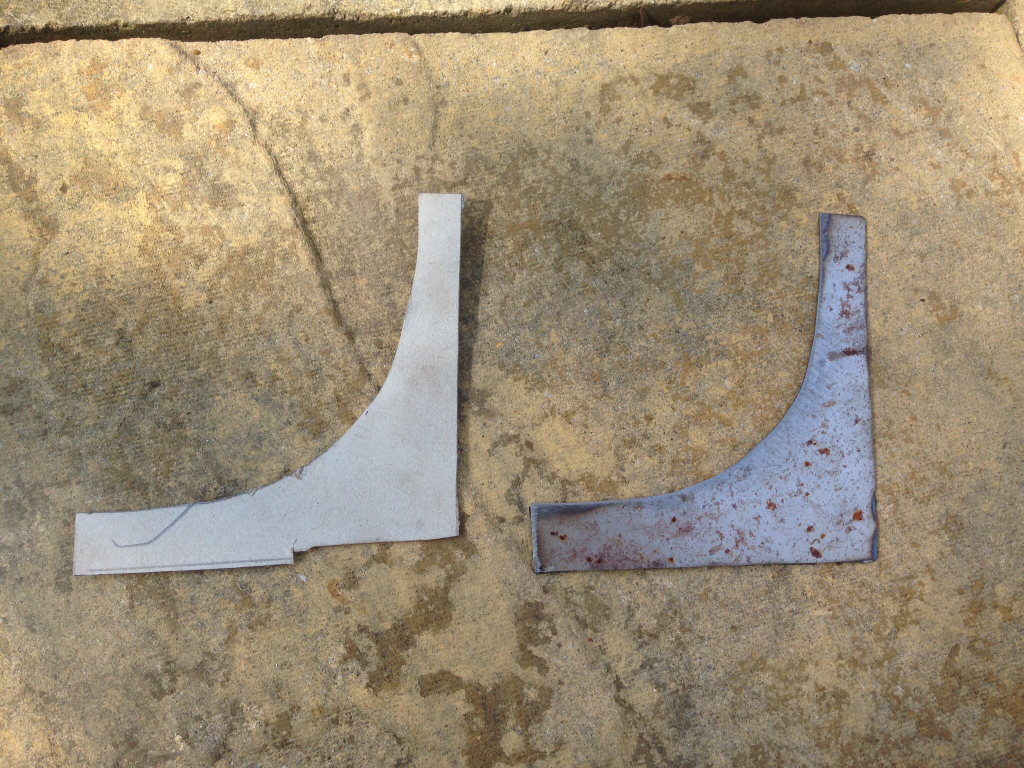
Clamped and tacked into place -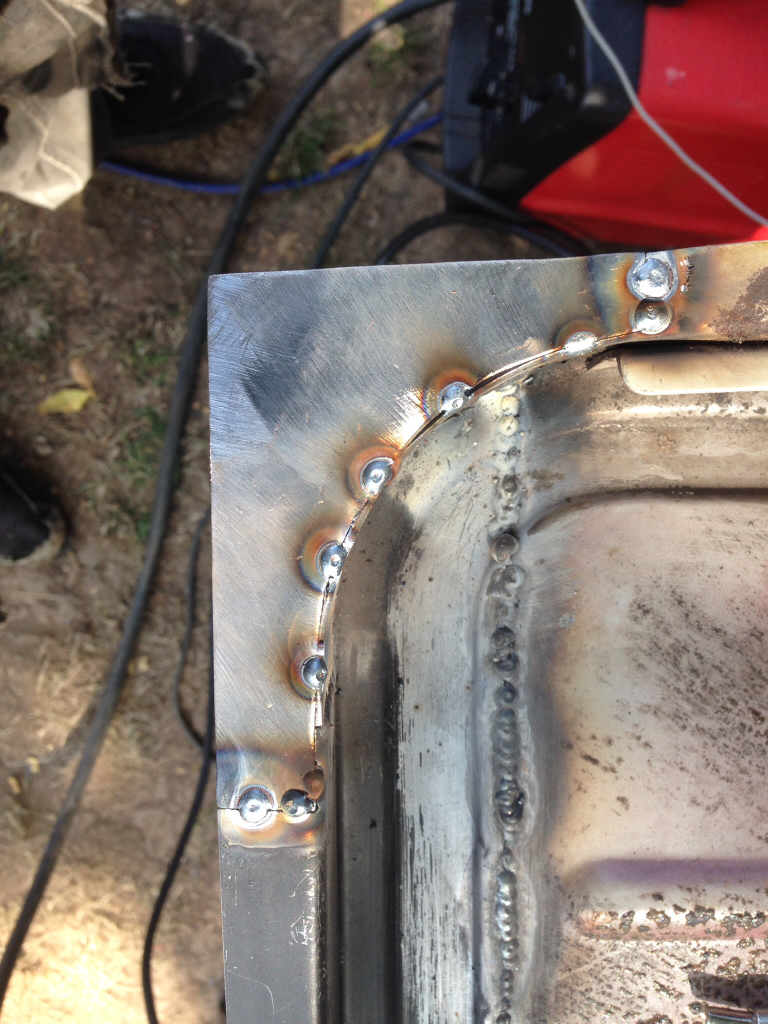
Fully welded -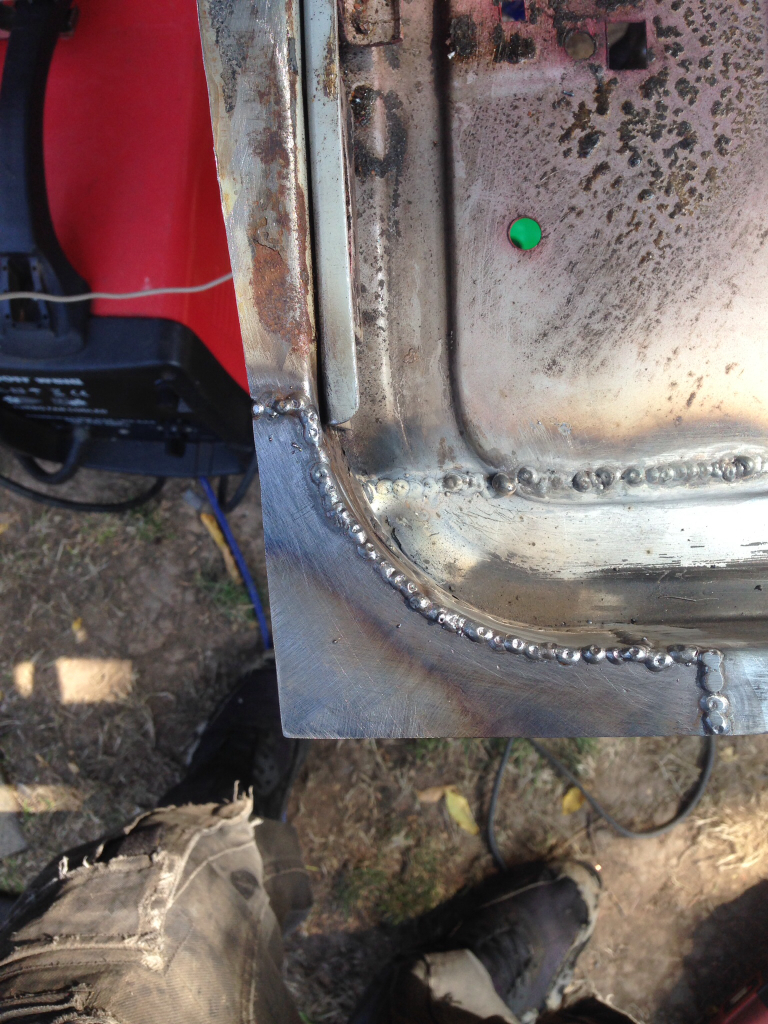
Tidied up the welds and run a roloc disk over them -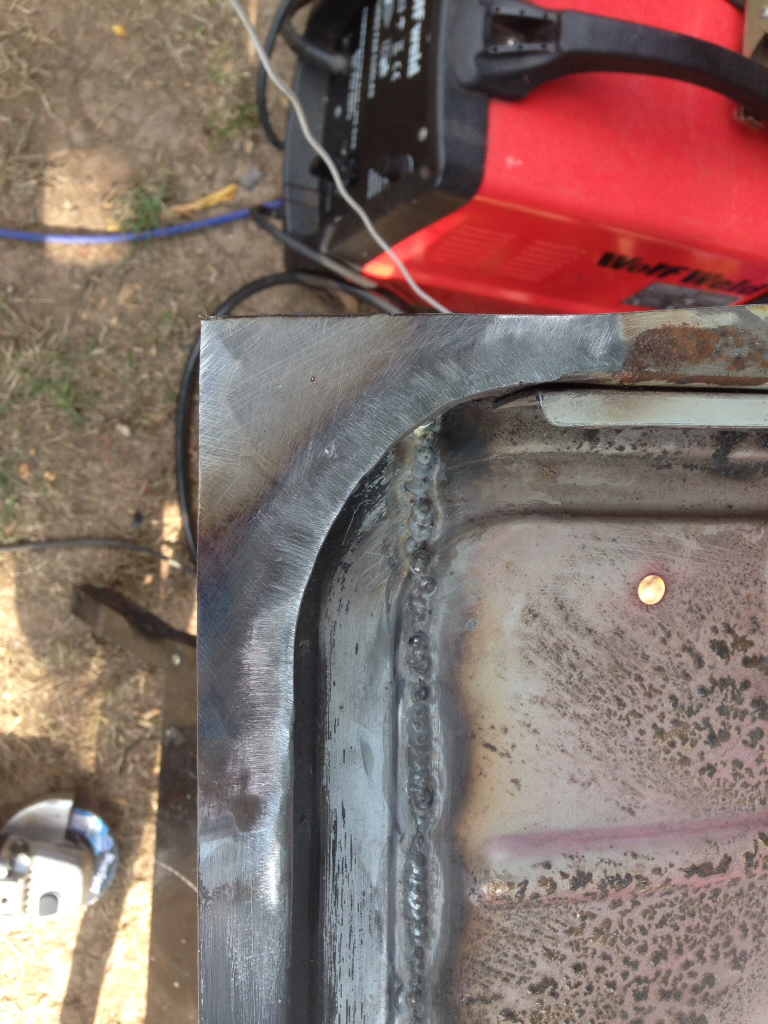
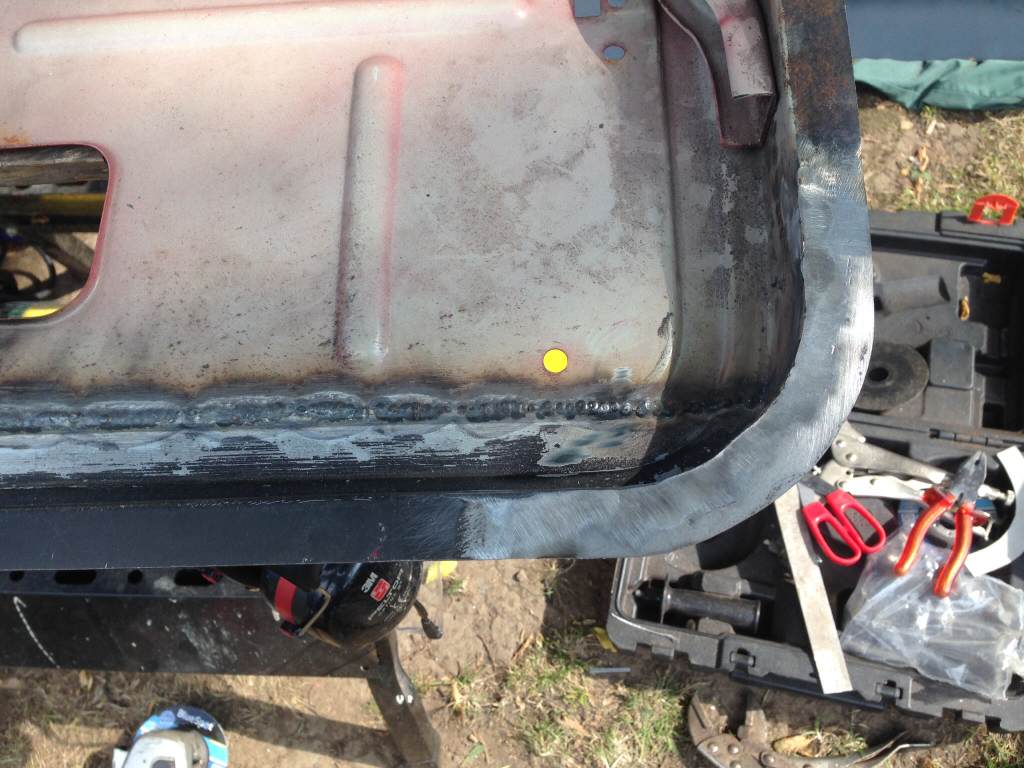
Flipped the frame over and done the same thing, light skim of filler over this and will be as good as new -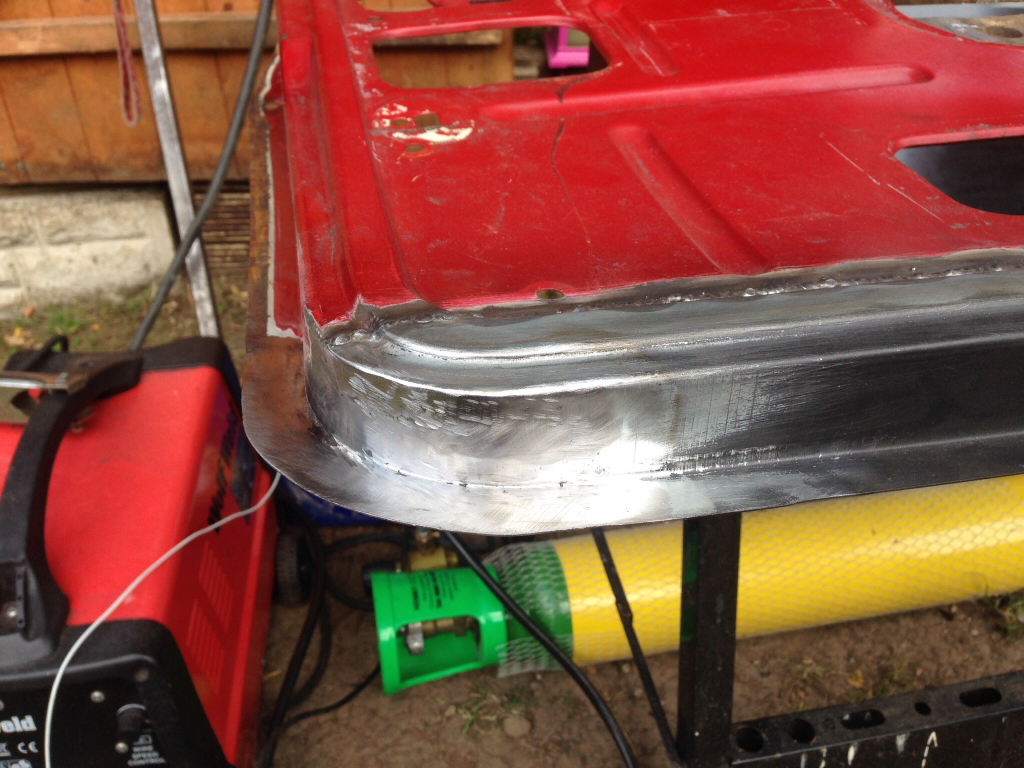
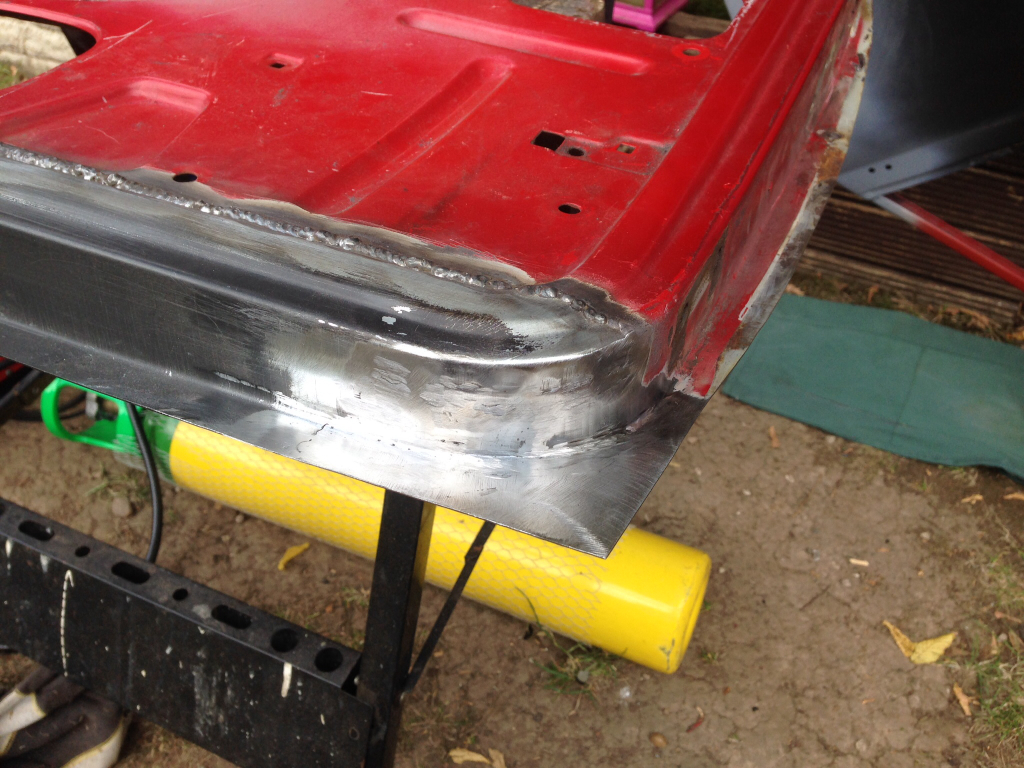
Drilled the three drainage holes in the bottom of the door -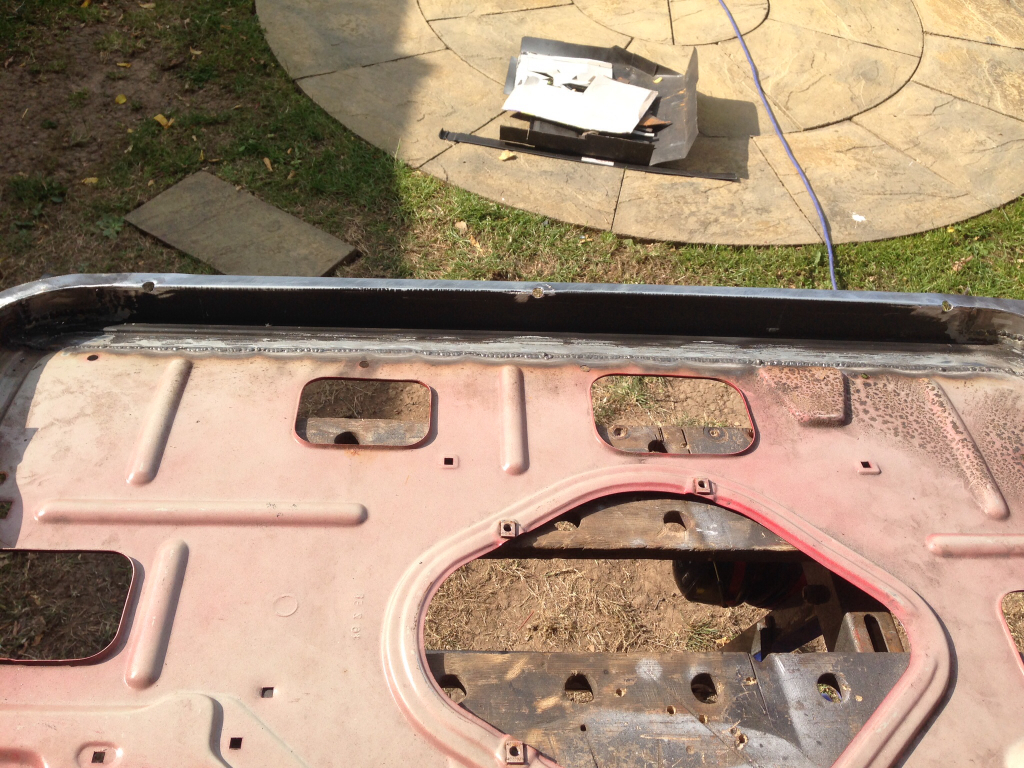
Removed all of the magnum black paint and wiped down the whole frame with some solvents to remove the old waxoyl and grime -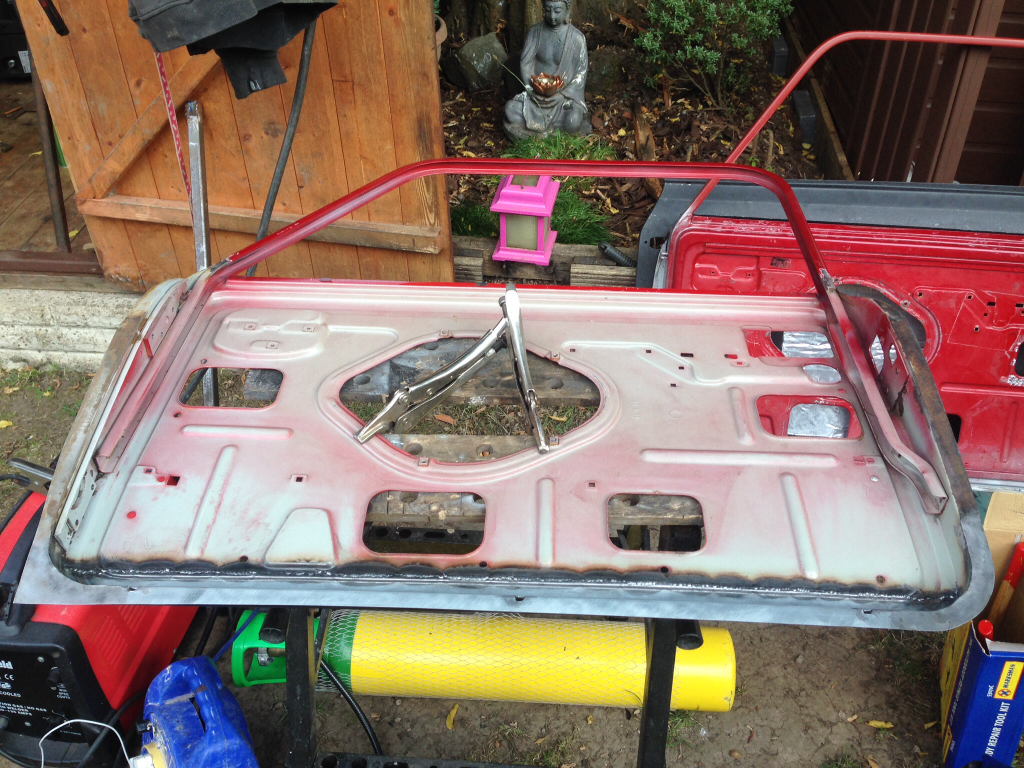
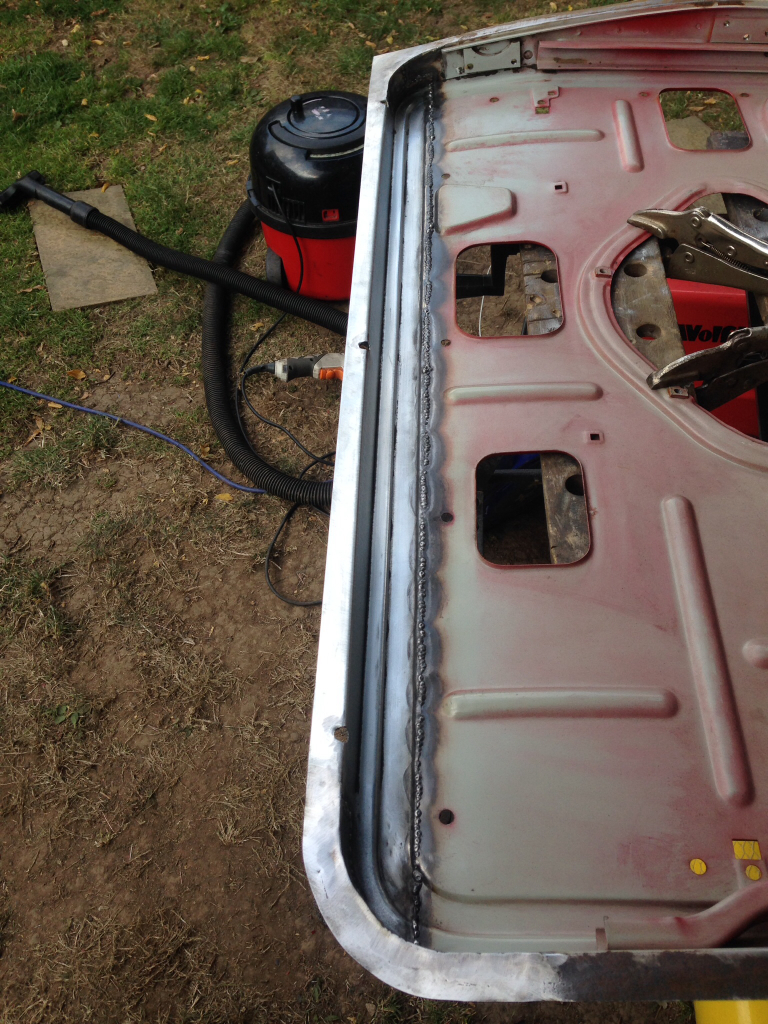
Zinc primed the bare metal and applied Deox Gel to the rest of the frame flanges -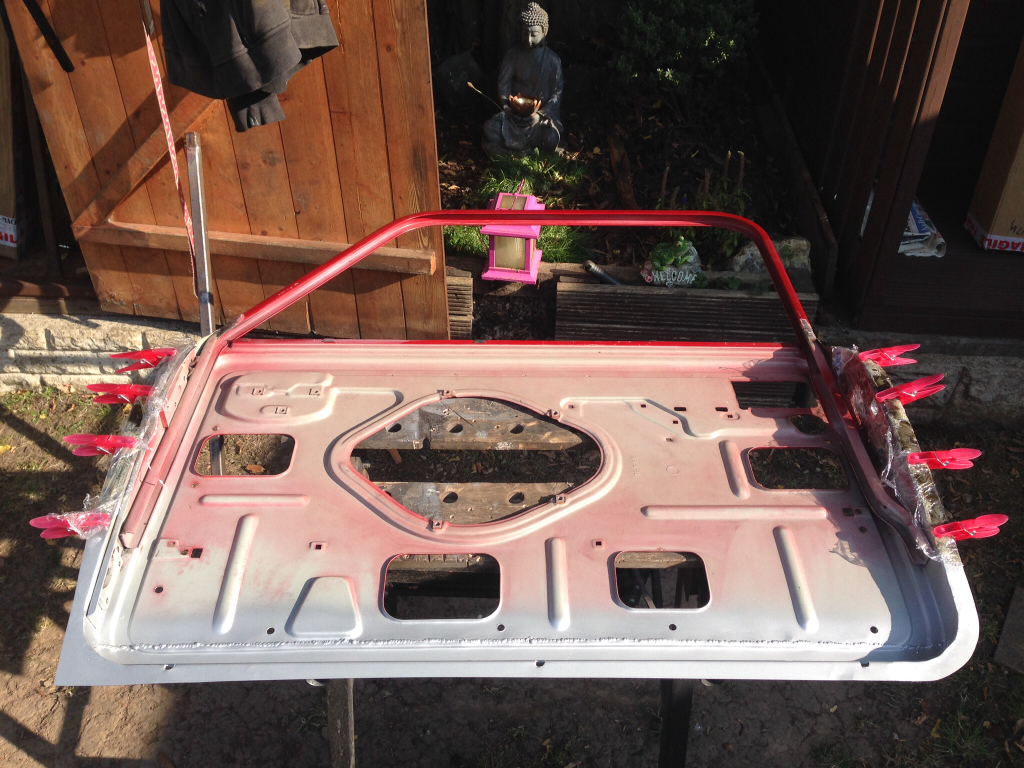
I'm going to leave that wrapped in cling film until tomorrow now to give it time to do its stuff. I'm also going to leave the weld on the back as it keeps it nice and strong, just going to run a small bead of sealer over the top to tidy it up. I'll grind down the weld on the front face of the door and apply a light skim of filler, just waiting for some sanding belts to arrive for the power file before I can do that though !
Last job I did before coming in was to apply a sound deadening matt to the door skin -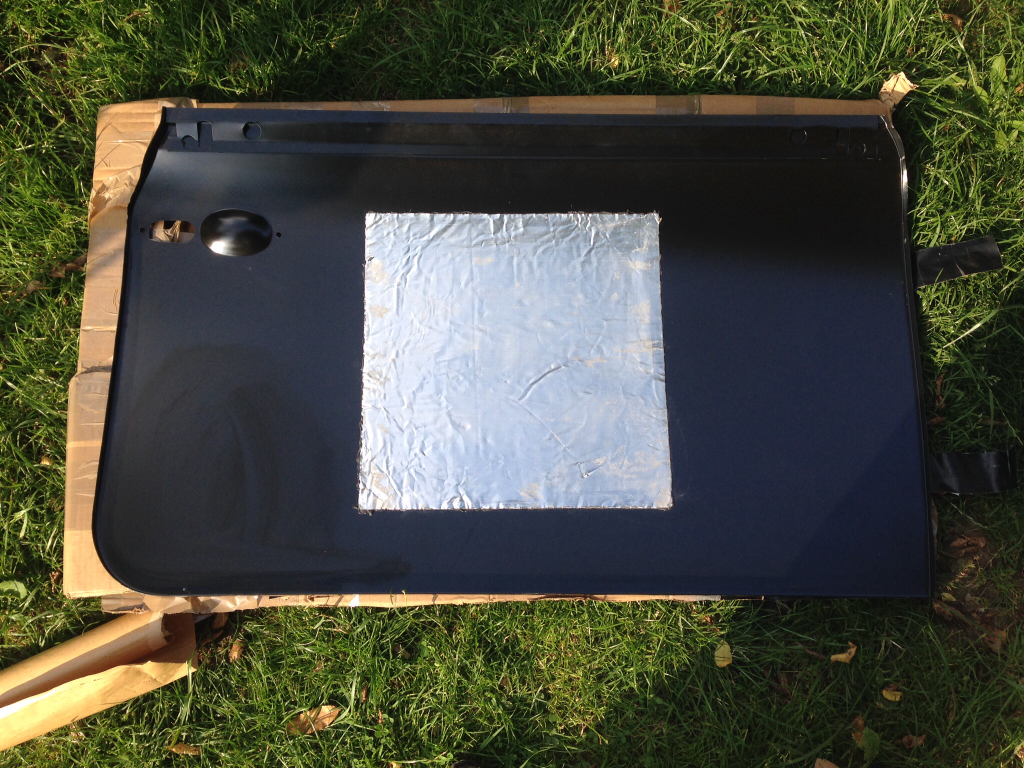
More updates to follow tomorrow, hoping I can get the front end over the weekend !