You must be logged in to rate content!
10 minute(s) of a 358 minute read
6-29-2014
Update,
Got the toe board repair panel welded in today, some pictures of progress.
Had a small hole to repair first, hole in question -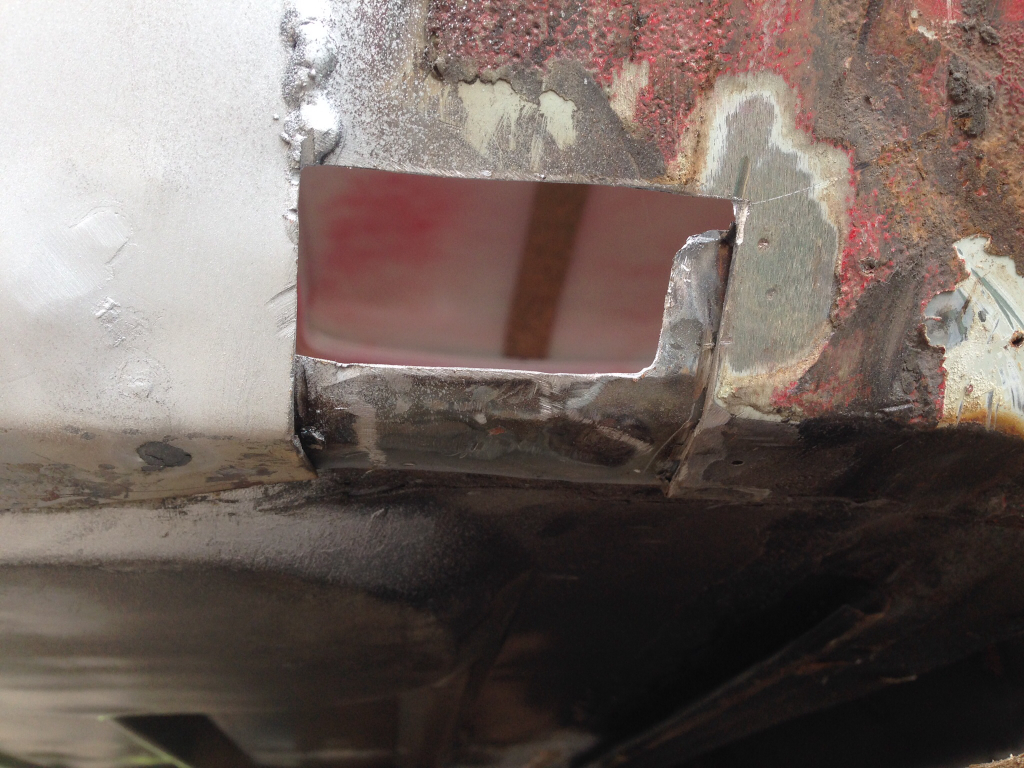
Repair piece made -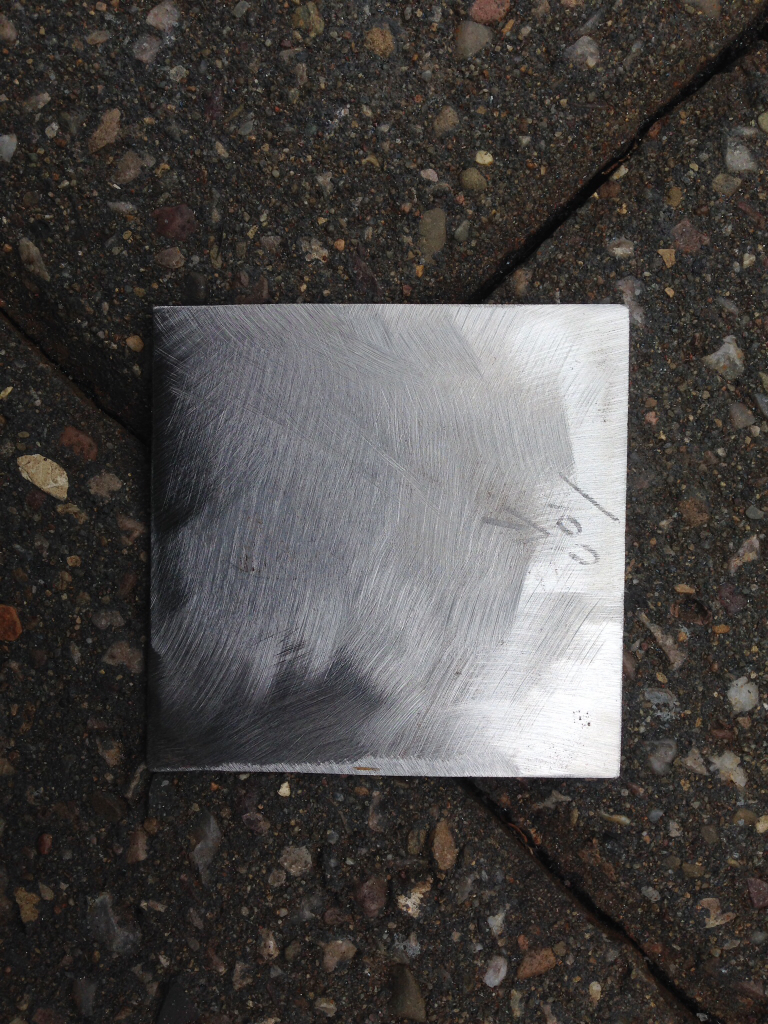
Bend put into it and fitted into place -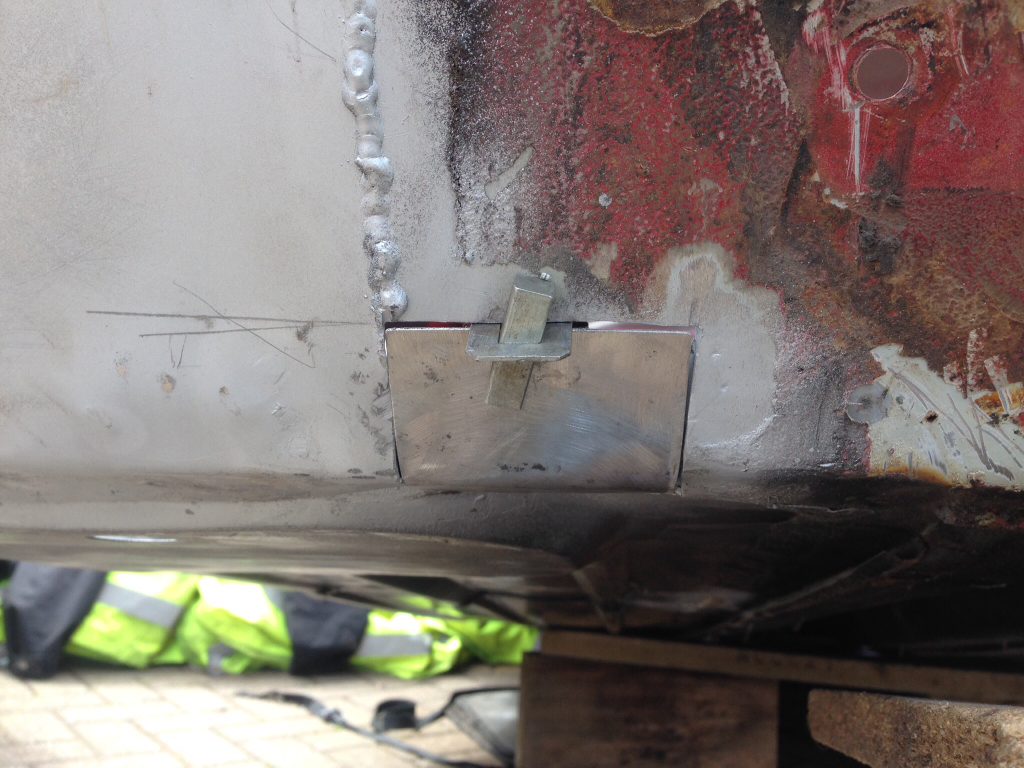
Welded in and ground down all the welds (I also repaired the floor pan lip on the inside on the car, no pictures of this though) -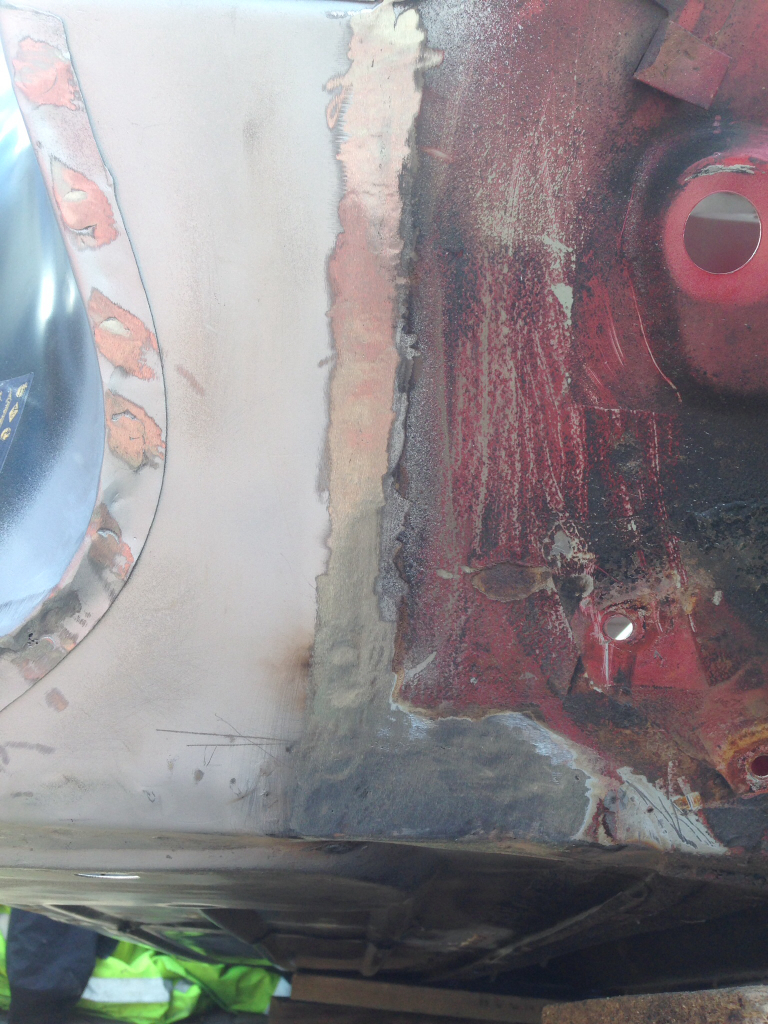
Then I ground down all the plug welds on the inner wing and applied some primer on all the bare metal areas -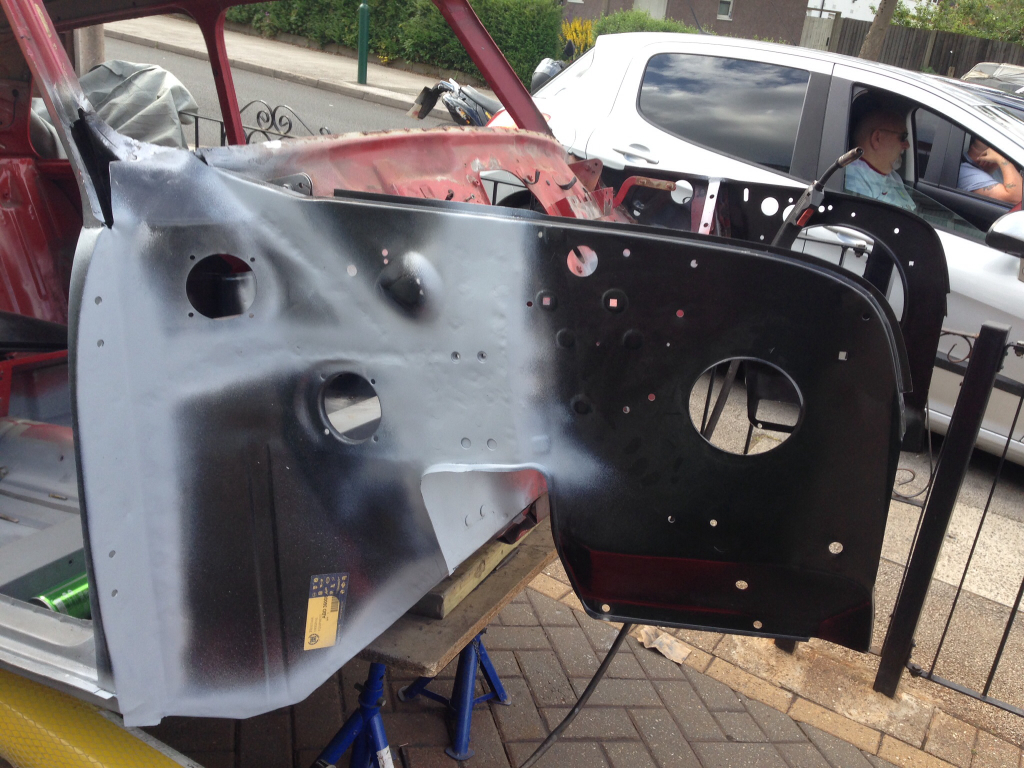
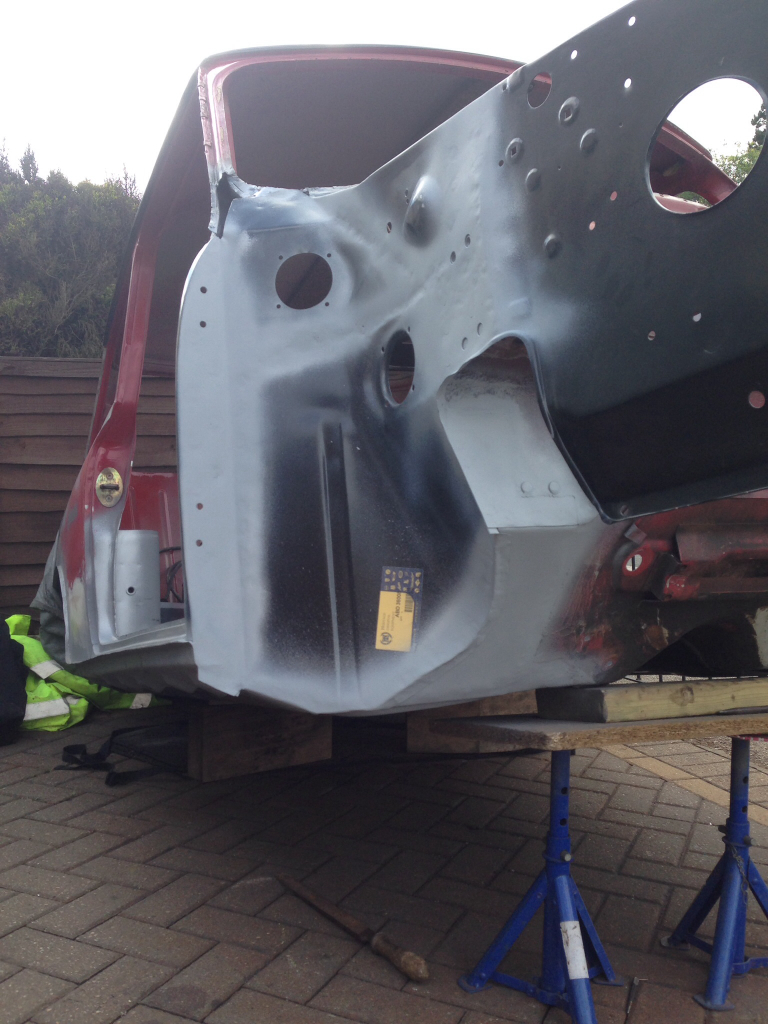
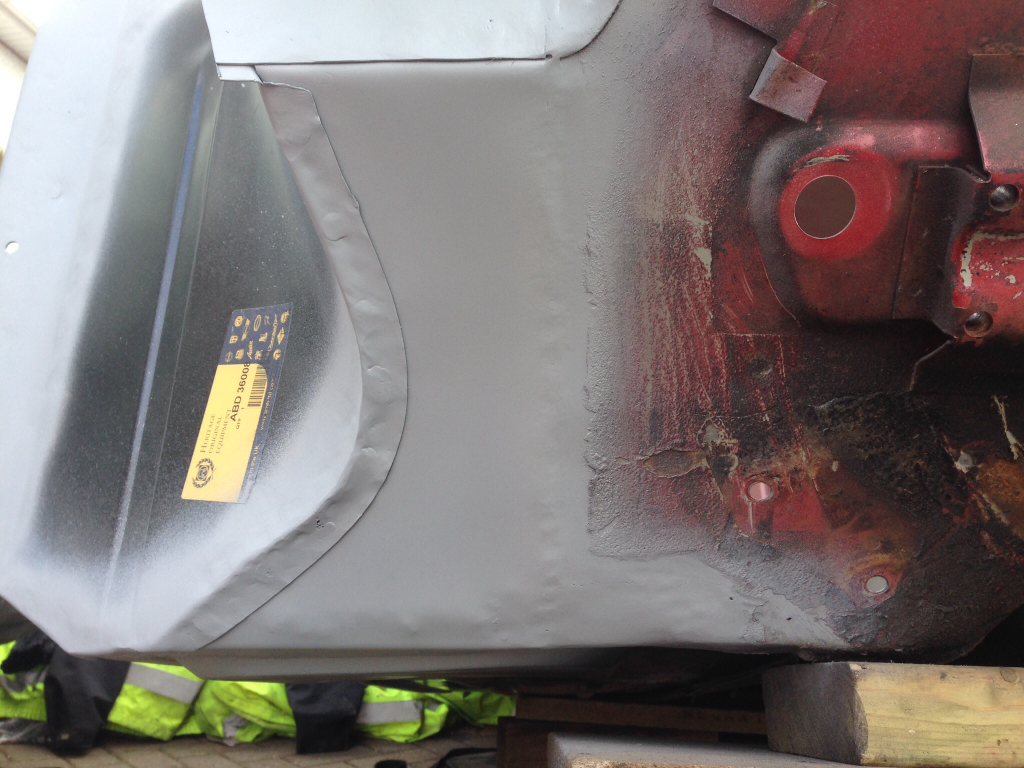
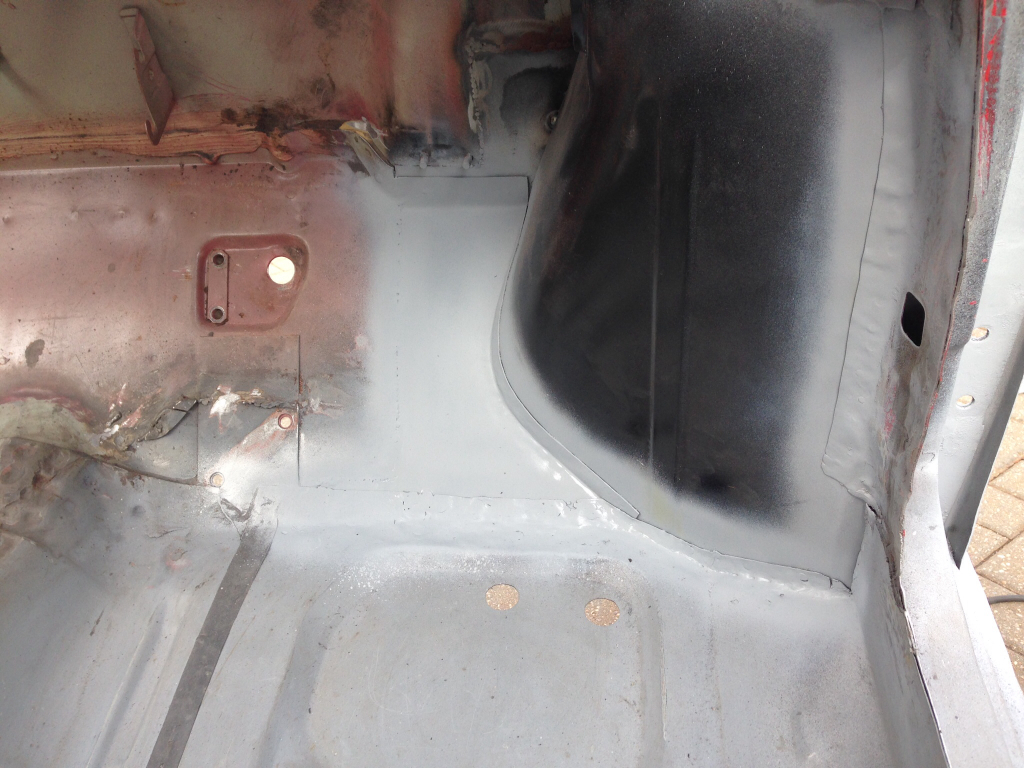
Really happy with this repair, looks really tidy, just got to seal it all up now and then we can start on the front end. Going to flip the car over first though and get it all primed and sealed underneath.
I also went down to the place I'm thinking of having my car resprayed yesterday, I had a look around at some of the other cars they're doing and it looks like there work is of a good standard. They've got all the proper kit, booths and an oven so ill hopefully be booking it in within the next month or so, can't wait.
They had a MK1 Fiesta which has had literally every panel replaced by the look of it, and they also had this in there for some bodywork -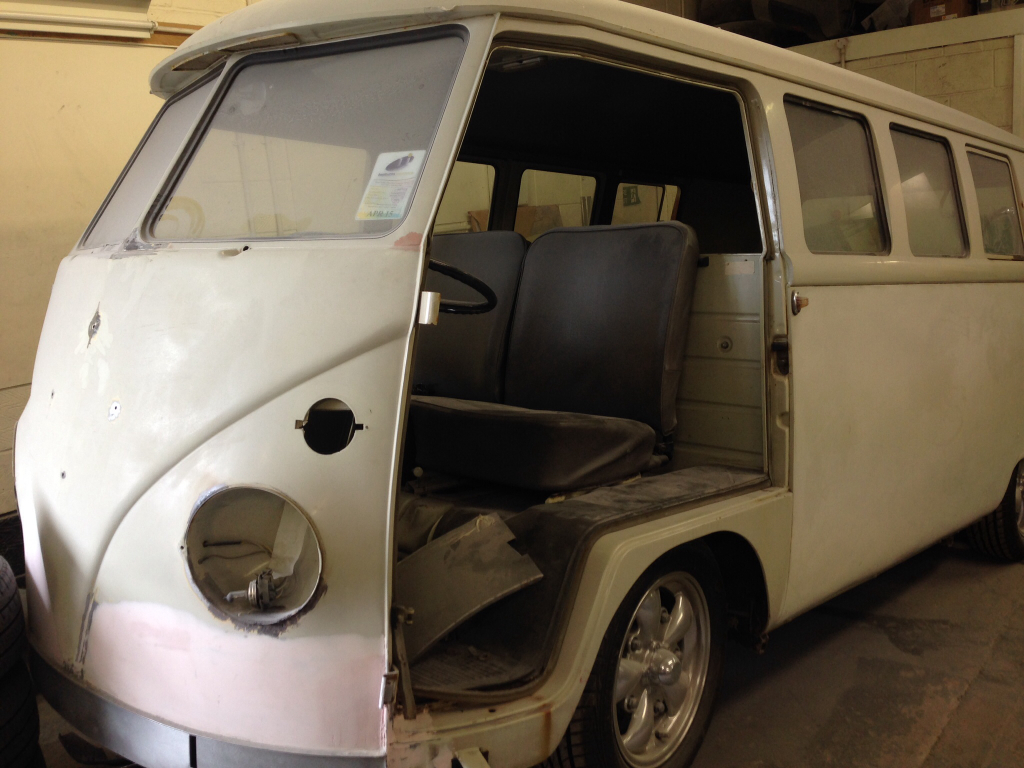
Very nice, I'd love to own one of these, one day maybe !
Anyway that's all I've got done today.
6-30-2014
Parts update,
Received a nice big package from Minispeed today, felt like a kid at Christmas again
The contents -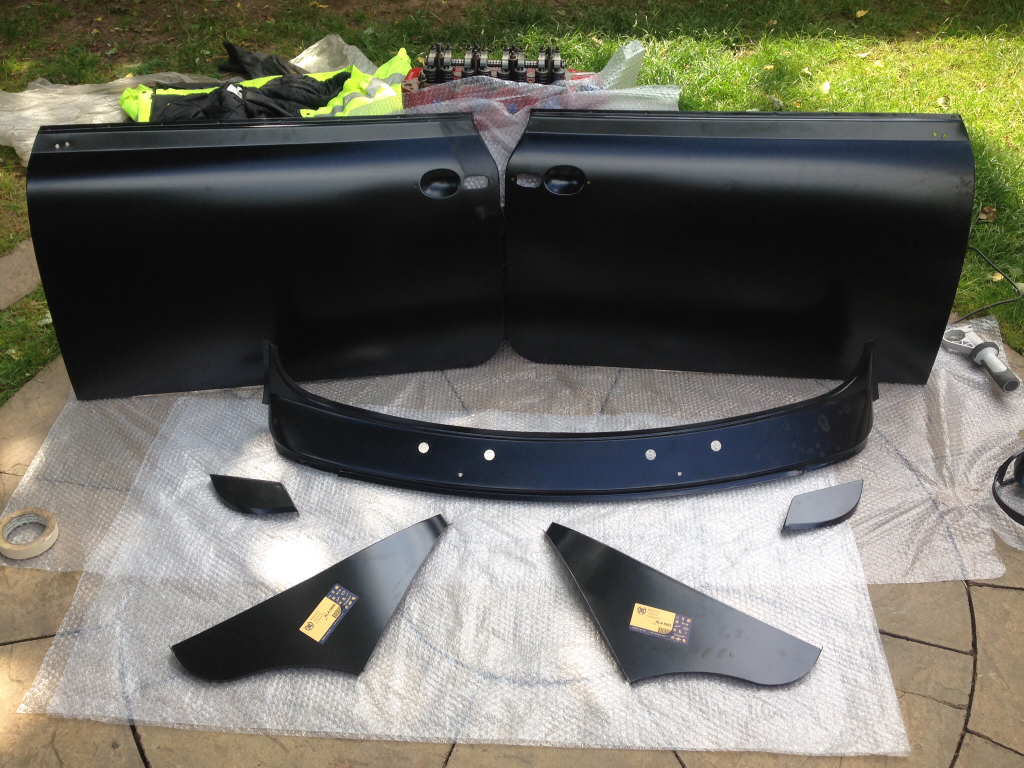
All my Heritage panels I ordered on Thursday. That's pretty much all the panels I need to finish the Mini off.
Still to get are, two wings, front panel, bonnet and a rear subframe !
Happy days !
7-5-2014
Update,
Just to let people know, I've changed the name of this thread in case anyone was wondering.
Reason for this is because when I first started, I wasn't expecting to be doing a complete restoration, but Minis being Minis, it quickly escalated into just that. I think the new name is better suited to what we've been doing, hence the reason for the name change.
Anyway, we've got some more progress done today, I'll start off with what I bought yesterday, and the bits I fitted to my engine.
Some new door hinges, Minispares own, and some new bypass hose clamps. Heard good things about Minspares hinges so I'm hoping they'll be a good fit -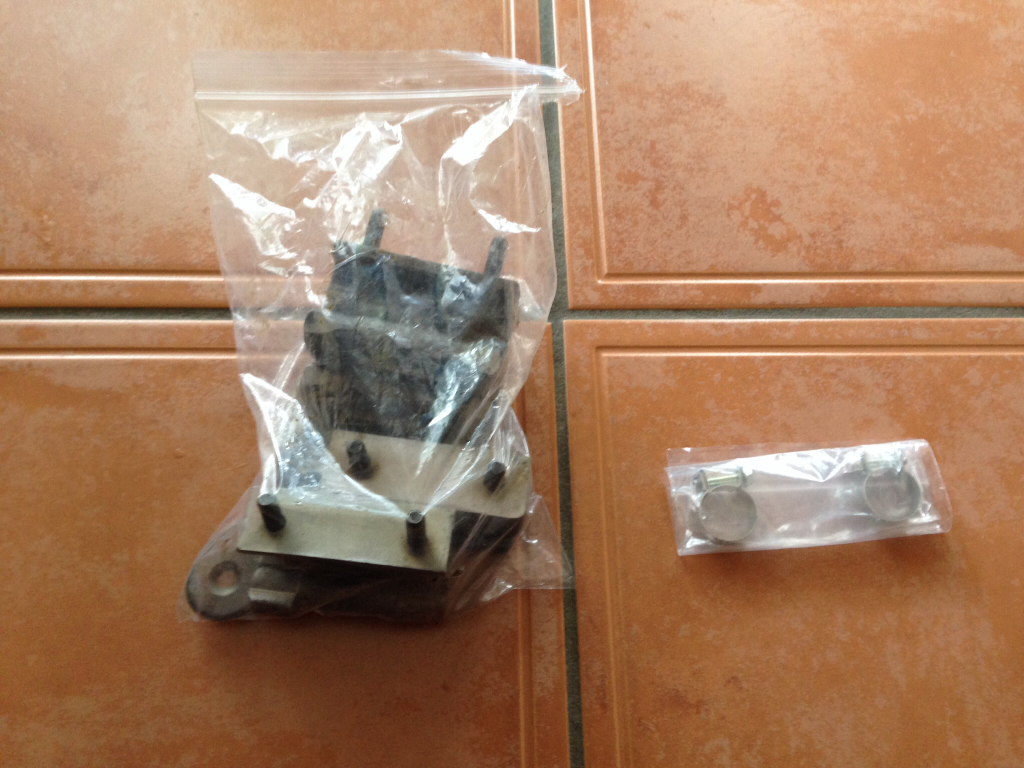
Now onto the engine. Fitted a new uprated water pump, new bypass hose and all bolted into place using a Smiffys Bits stainless fitting kit -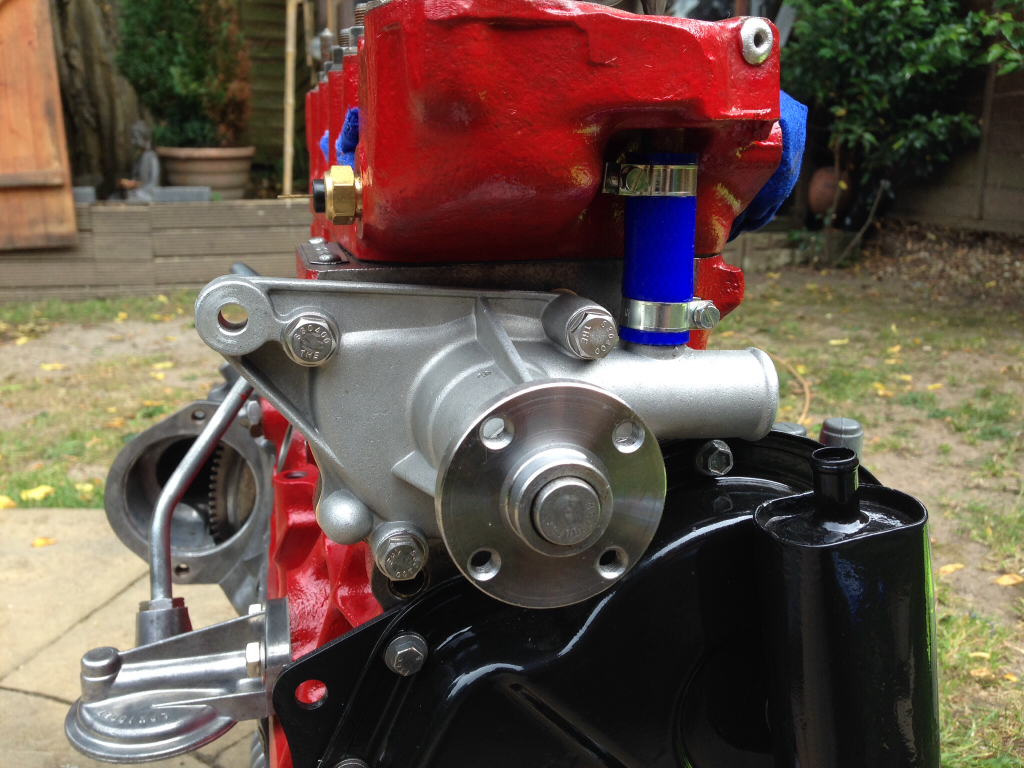
Refitted the thermostat housing. New thermostat, new gaskets and I also bought the ARP stainless bolts to fit it with -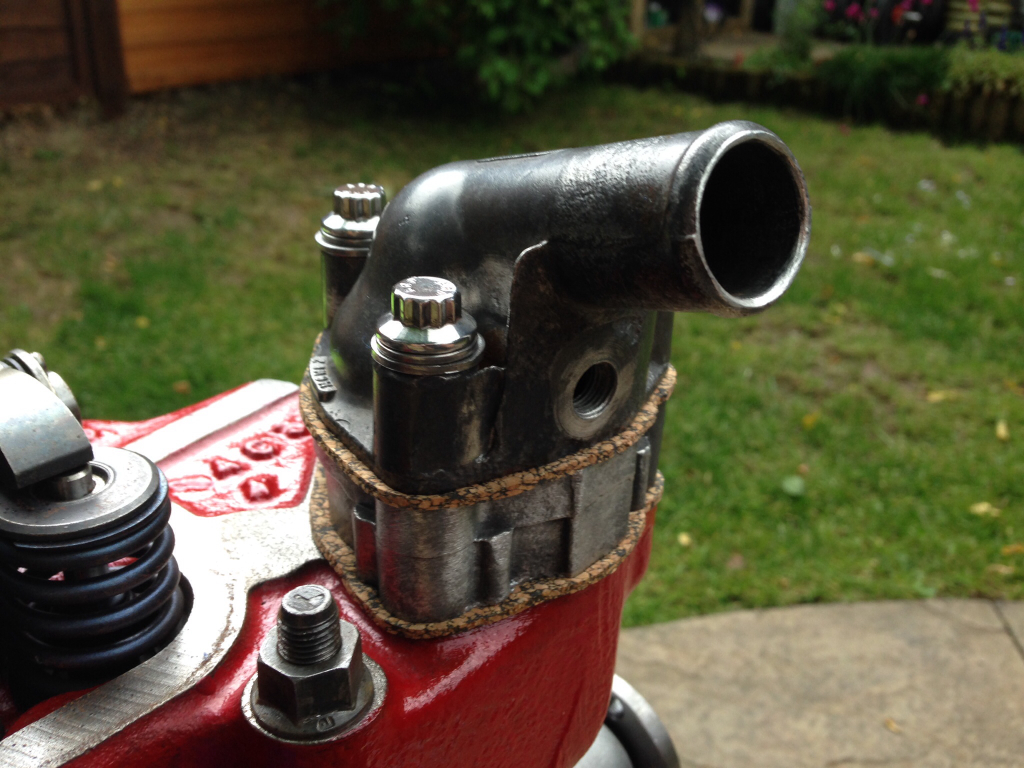
Now onto today's progress, bodywork. Got the scuttle and the scuttle closers fitted, feels like a massive milestone !
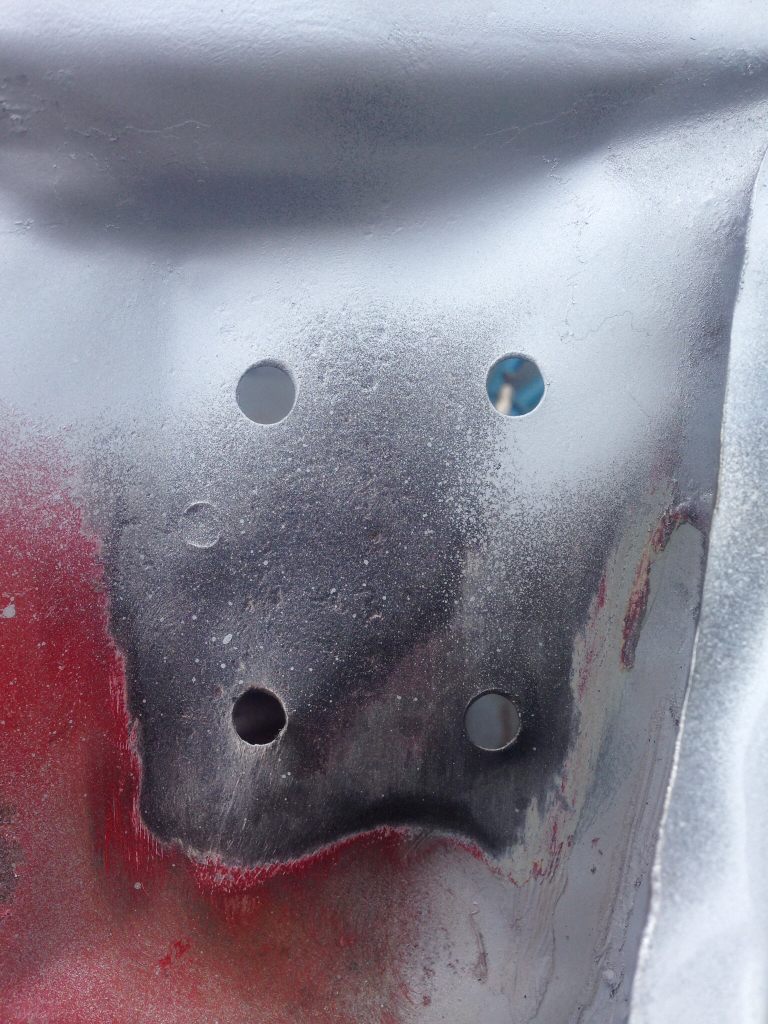
But firstly, I had to remove the bonnet hinge brackets as they are really rusty, going to clean them up and re-fit them -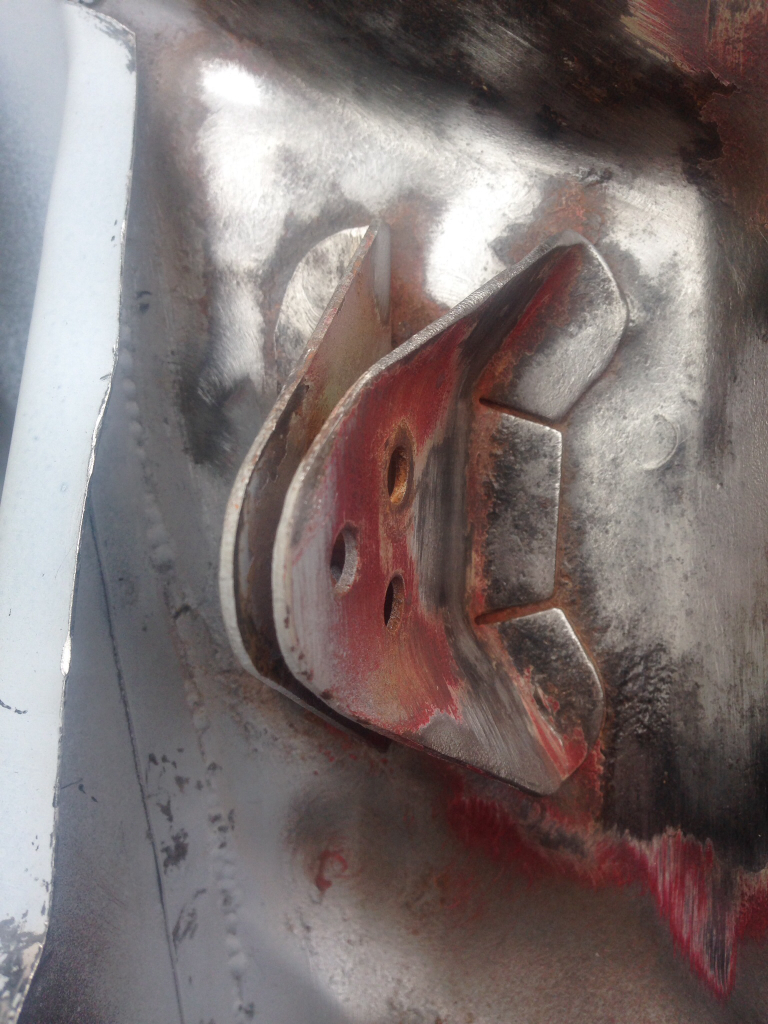
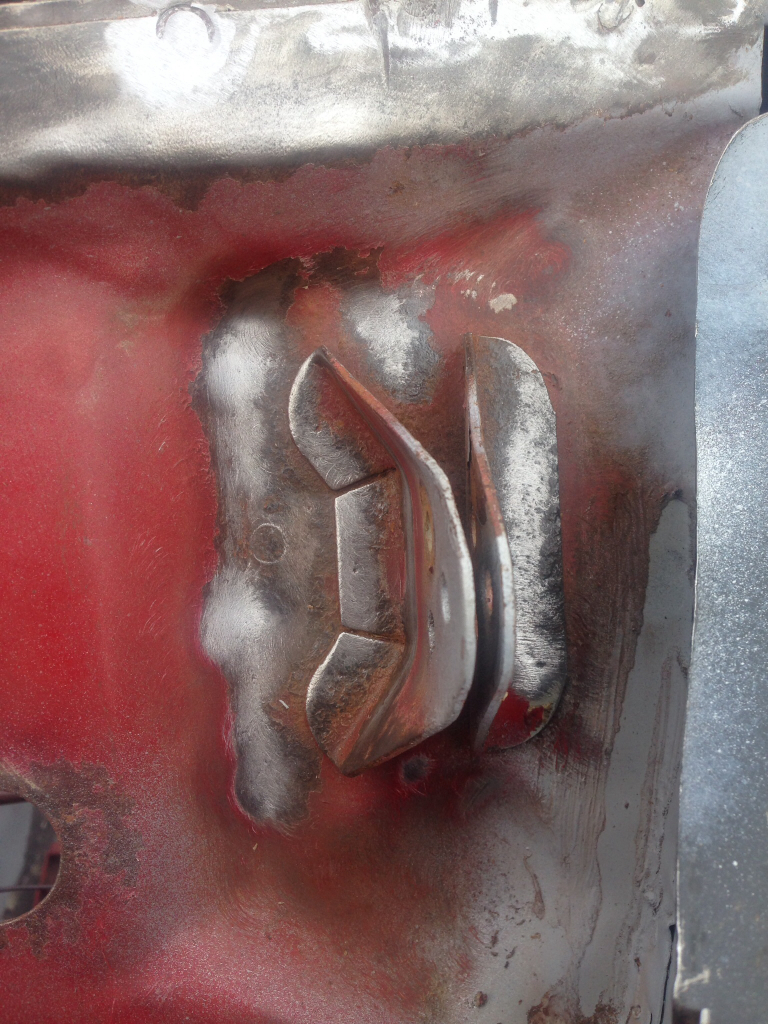
Removed, and the rust cleaned up behind. Will apply some Deox Gel tomorrow -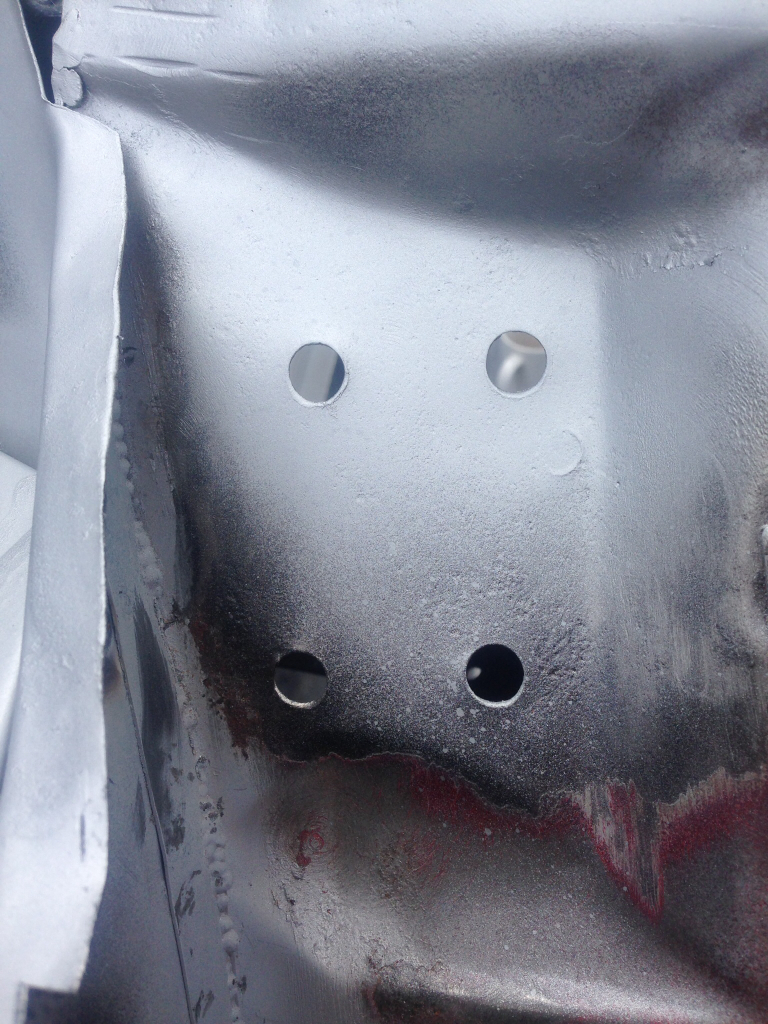
After that was sorted we moved onto the scuttle, we fitted it to the car and marked out where the closers will be sitting. Removed the scuttle, then drilled the holes in the close out panels and plug welded them into place, plenty of zinc was applied before and after -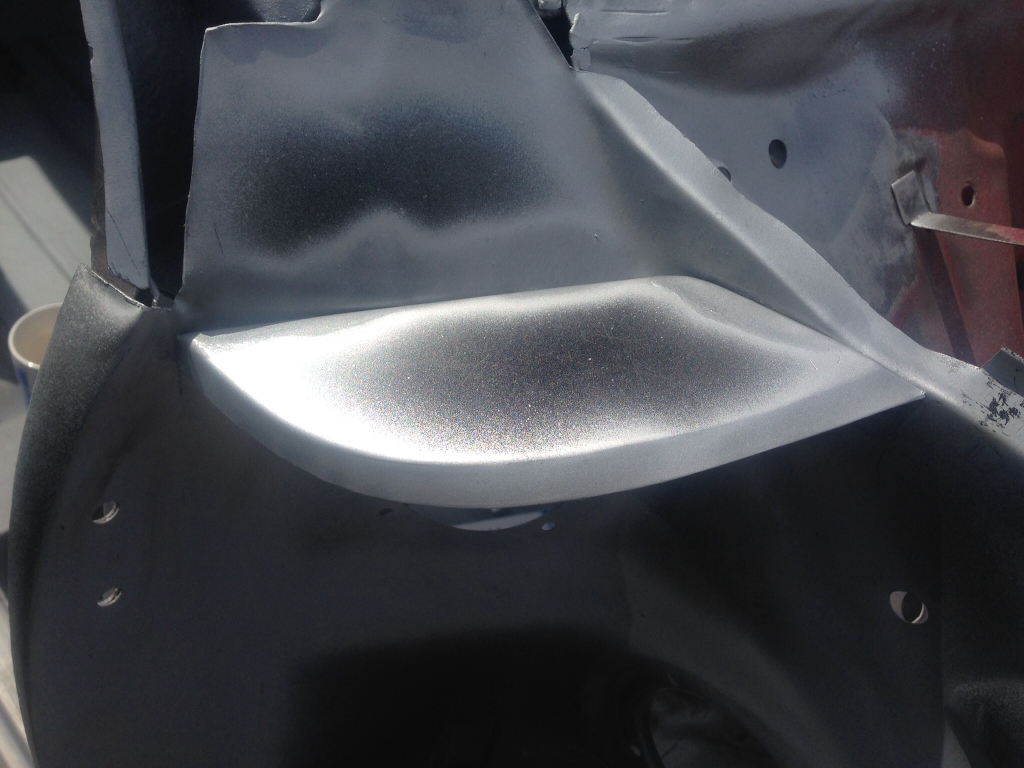
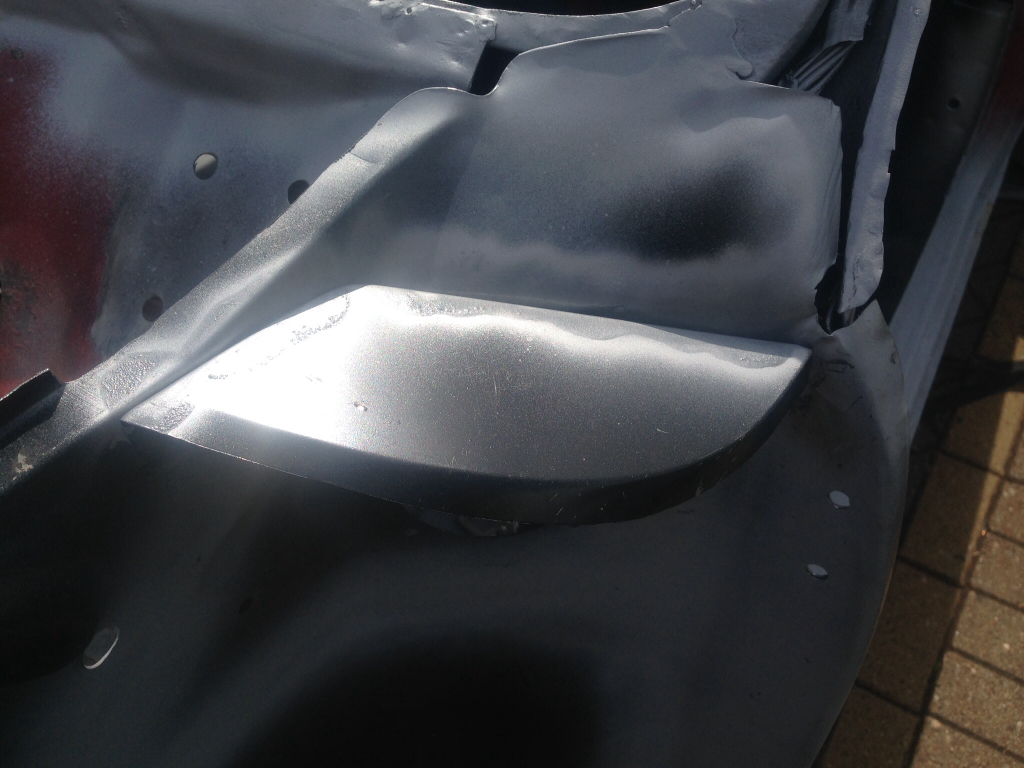
Next we drilled the holes in the scuttle and clamped that into place. We made sure to fit the windscreen at this point to be sure I'd have no problems in the future -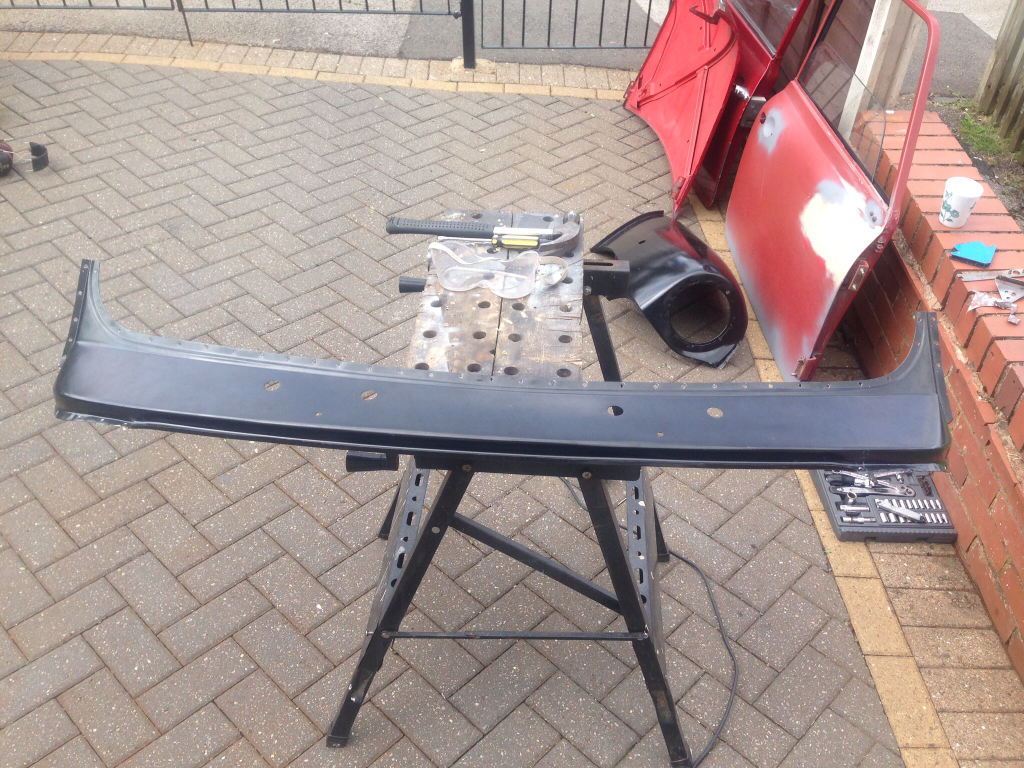
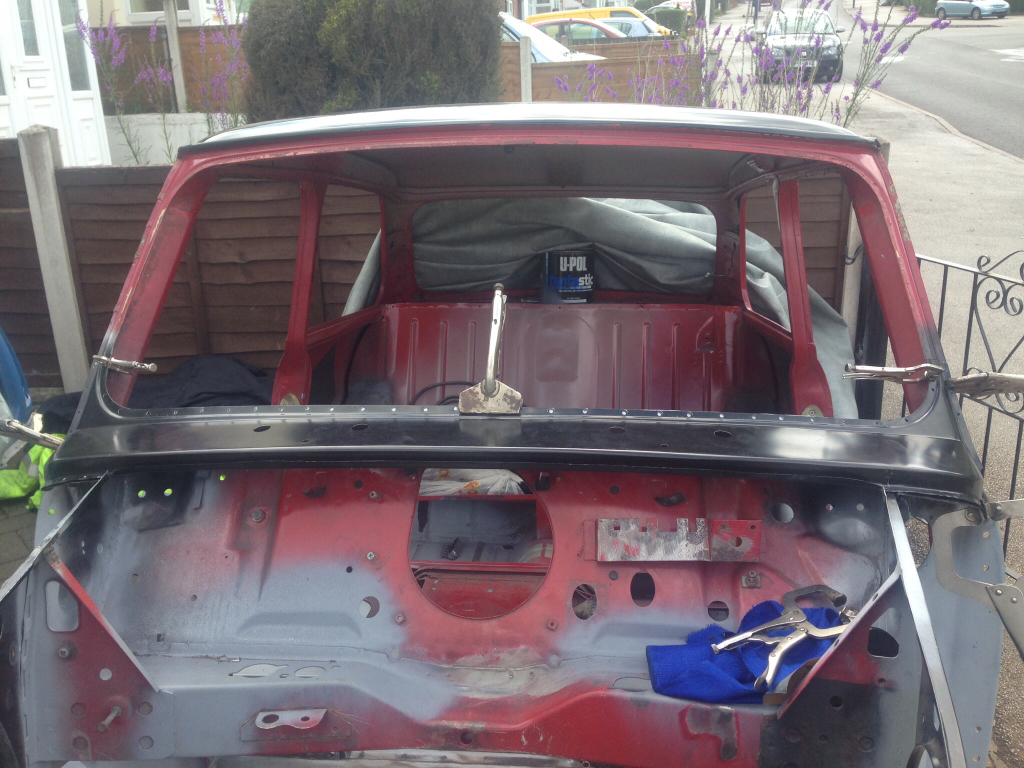
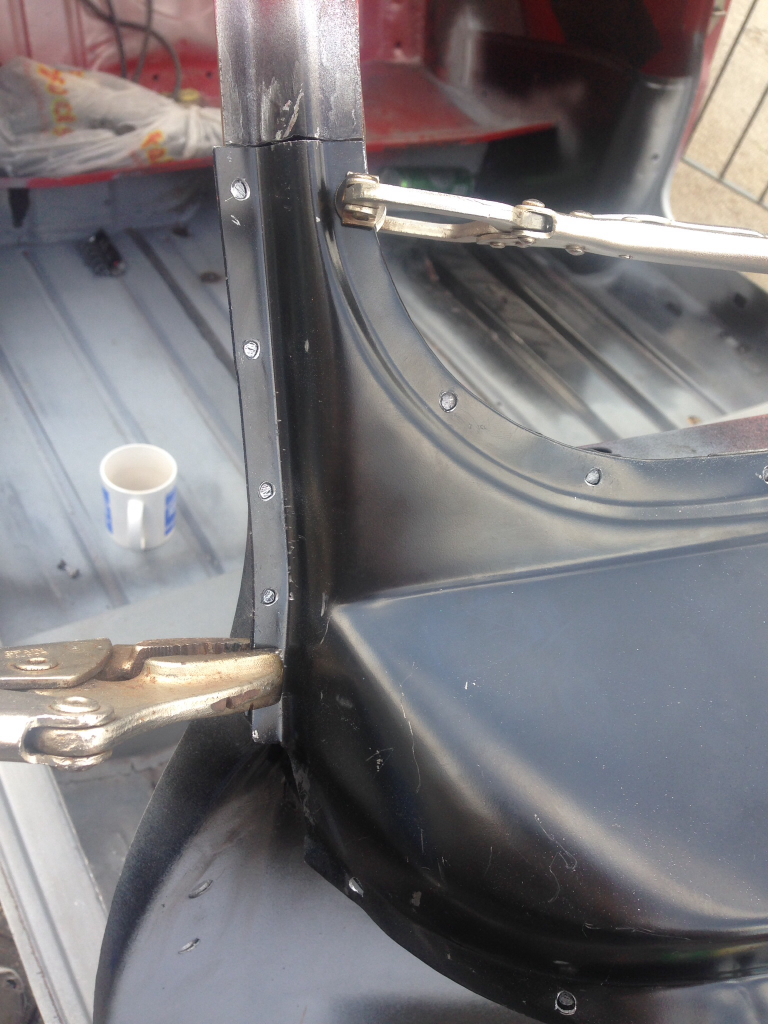
Welded into place -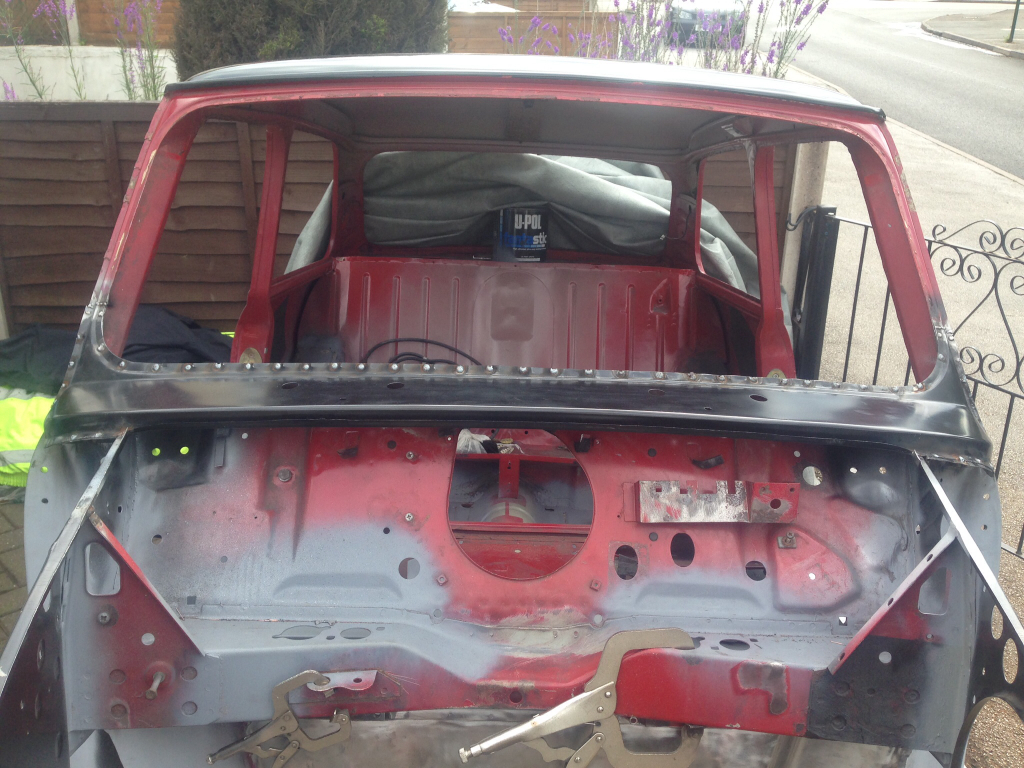
Got a load of grinding to do, but that can wait until tomorrow. Feels really good to have gotten this far, didn't think I'd ever get here when I was finding all those bodge repairs, but I can almost see the light at the end of the tunnel now
Going to make a start on the door skins tomorrow, looking forward to doing those, should be interesting !
7-6-2014
Update,
We had a crack at the door skins today, I think it went quite well considering we've never changed a panel skin before. I'll start with the drivers door.
Completely stripped the door of all the components and set it down on the workbench ready to remove the skin -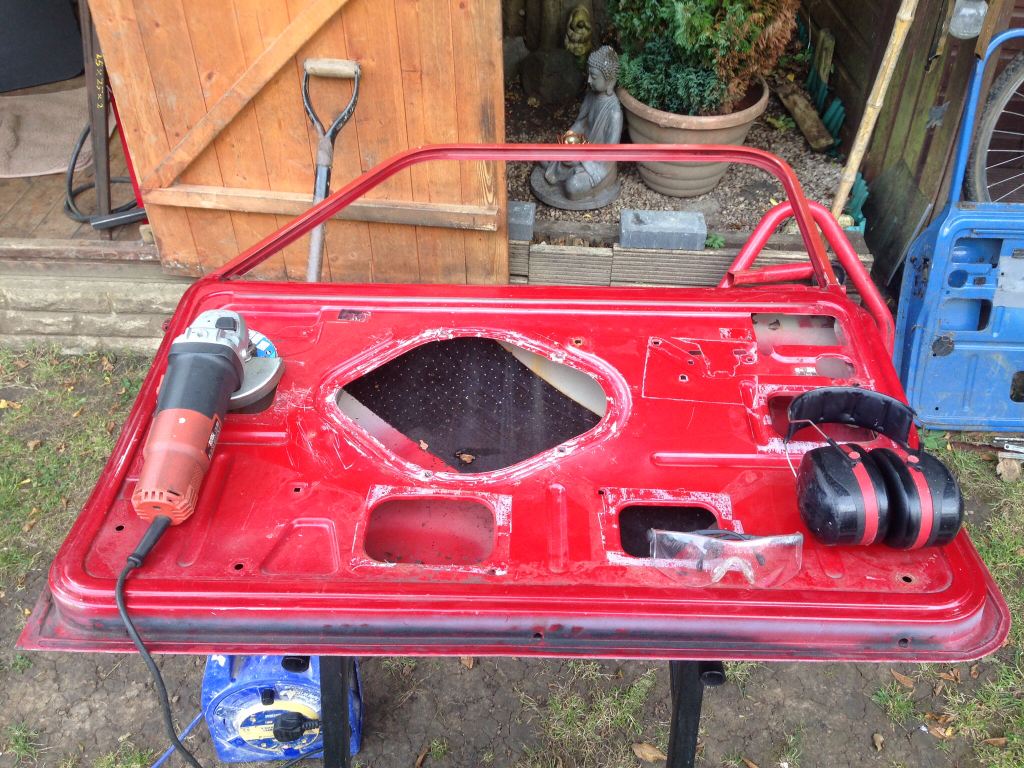
Went around the whole edge of the door with the grinder until it looked like this -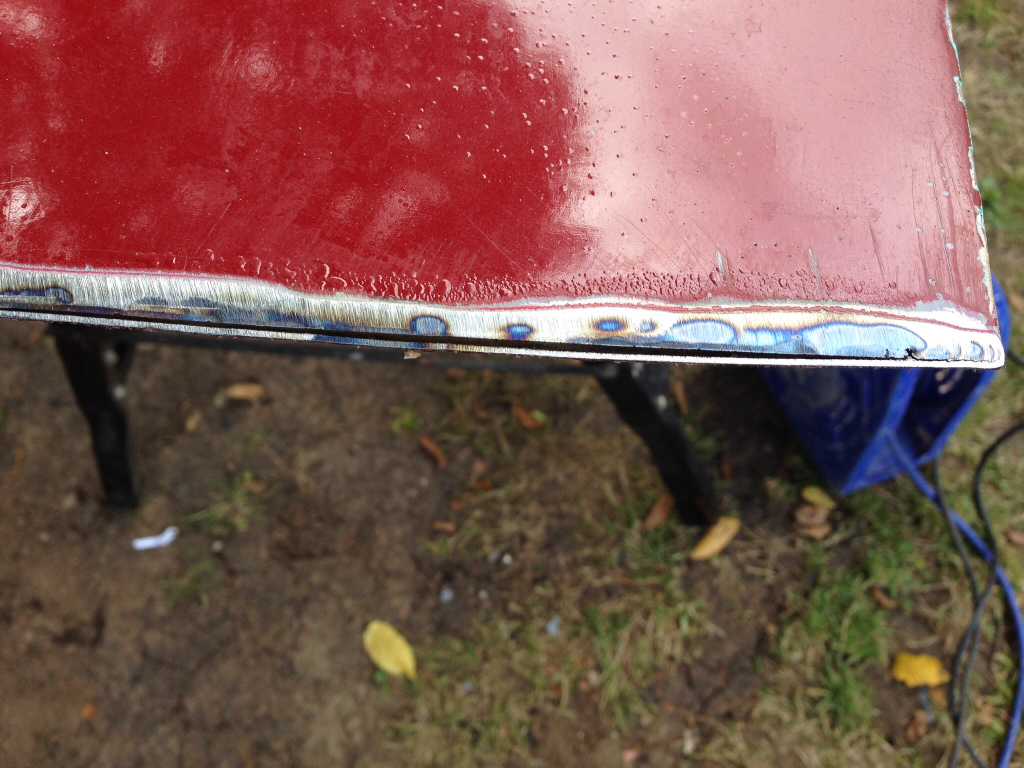
Then just lifted the old skin off, this was the state of it -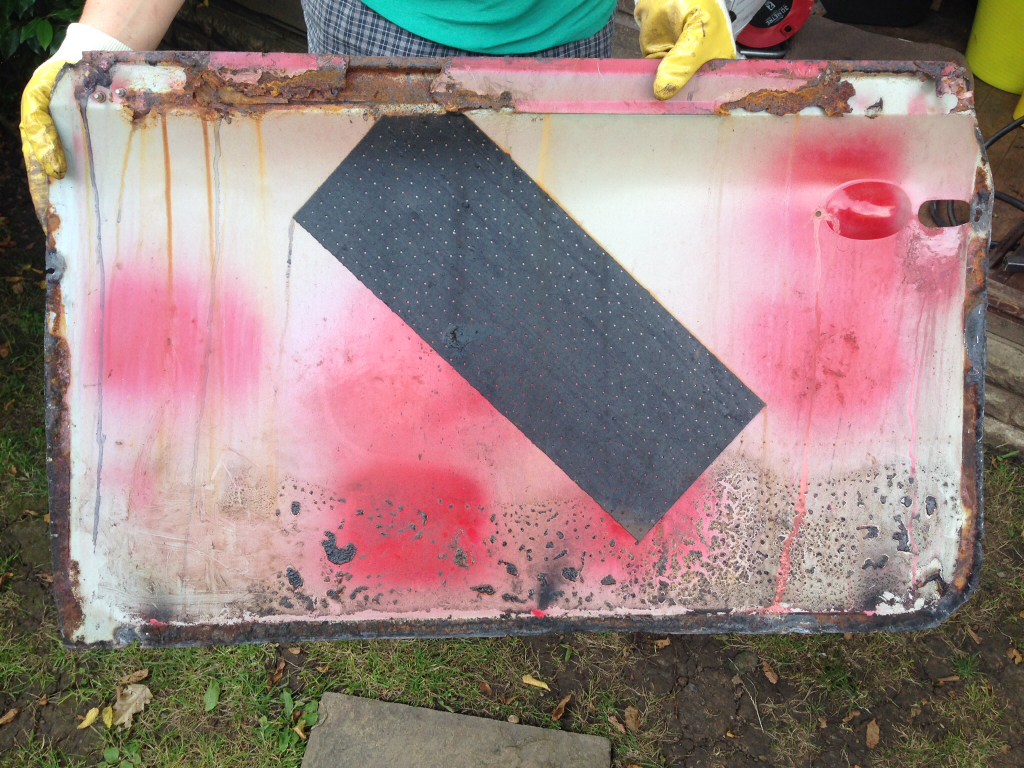
The frame on the other hand is really very good, required no repairs what so ever, just had some pitting -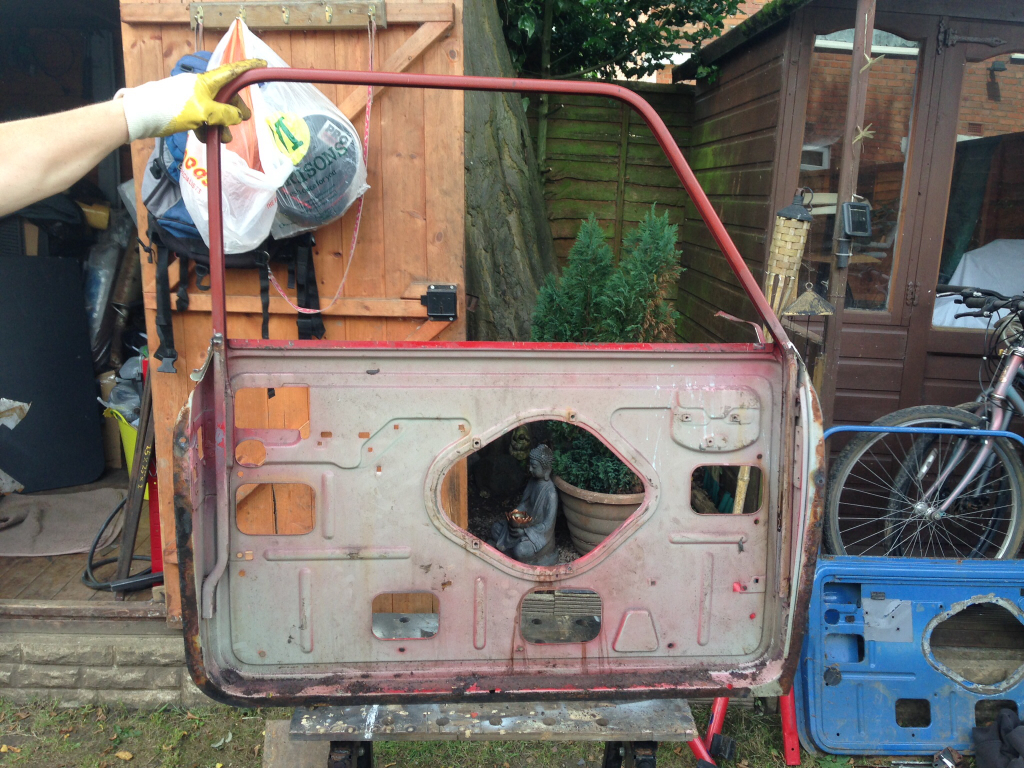
So I give it a quick wire brushing, then give the flanges a good coat of Deox Gel and left it for a while to do its thing -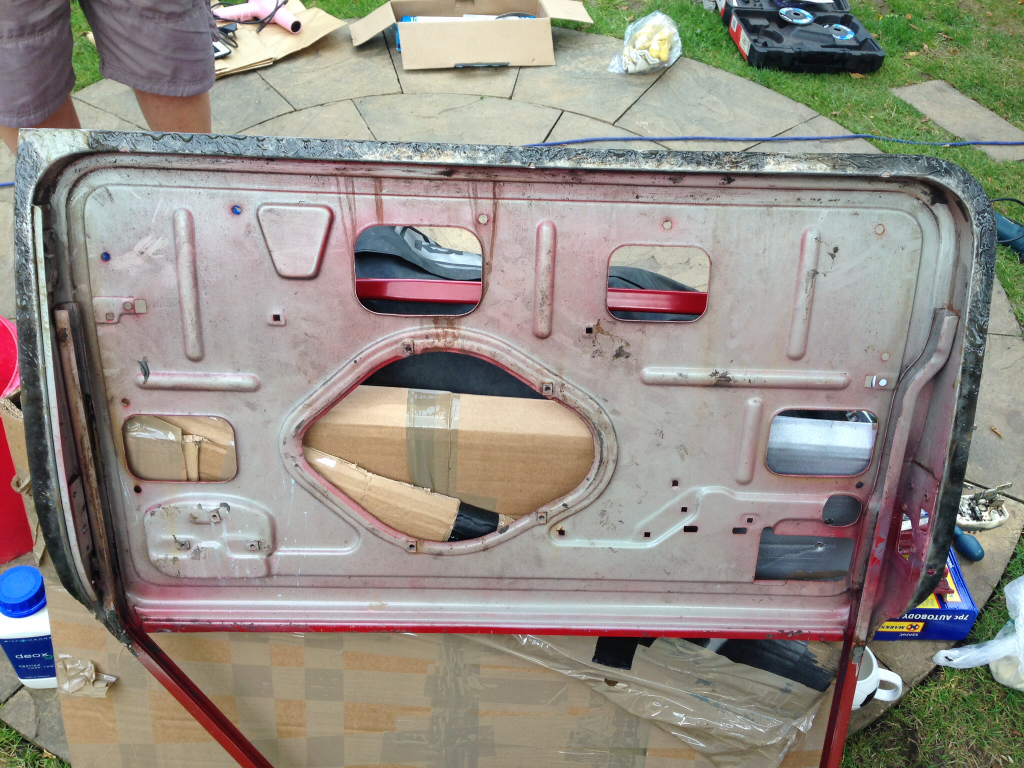
After about an hour or so I gave it another going over with the wire brush on the drill, then washed it all off. Then we prepped the frame and applied a few coats of zinc primer -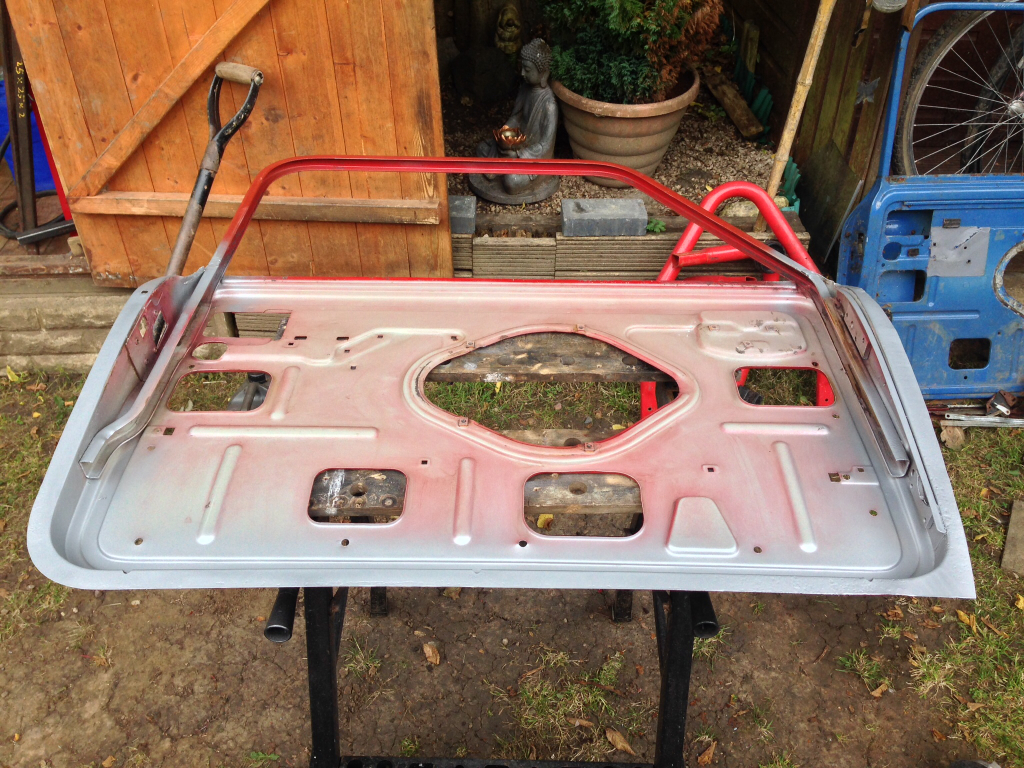
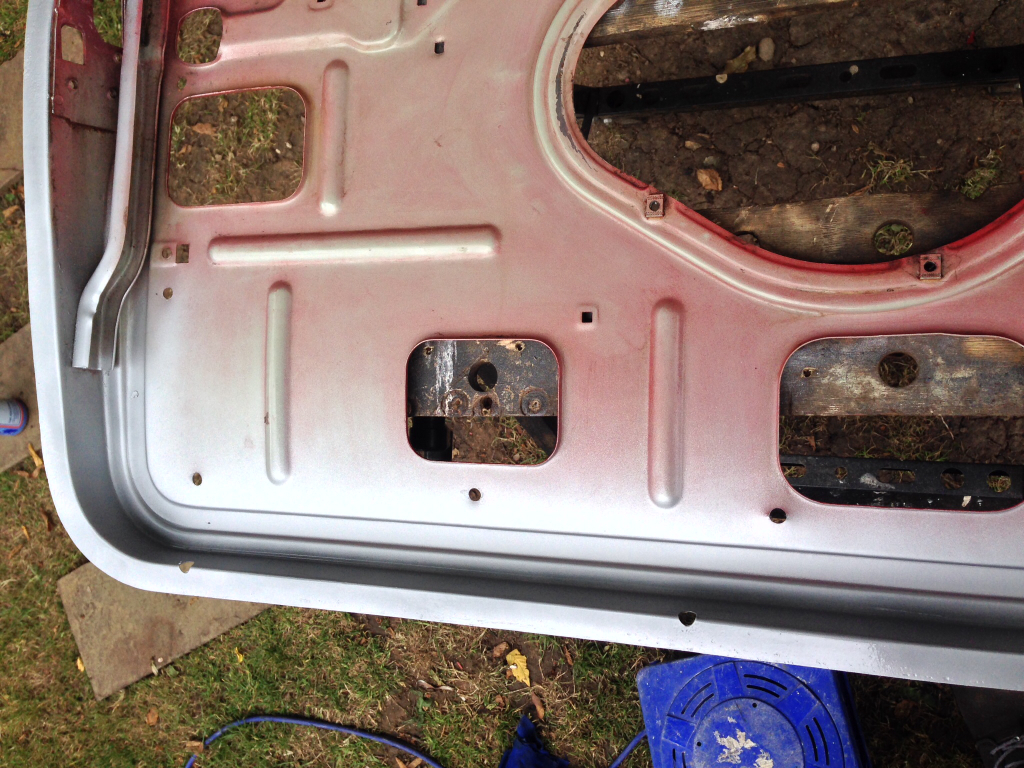
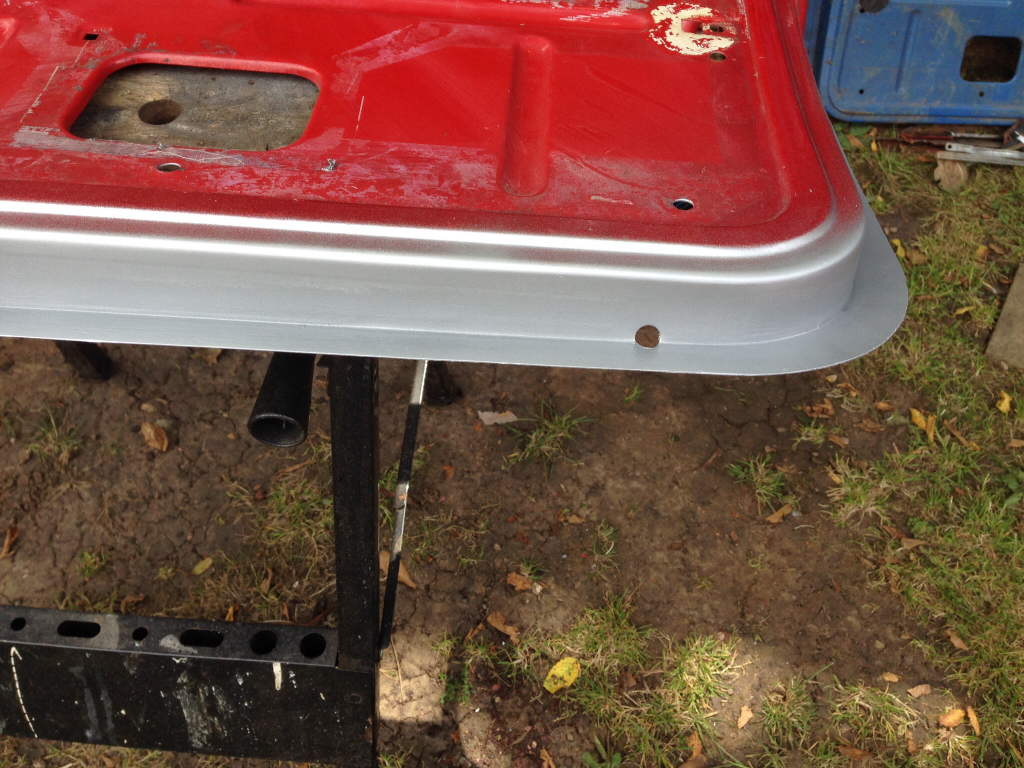
Then we applied a sound deadening mat to the inside of the door skin -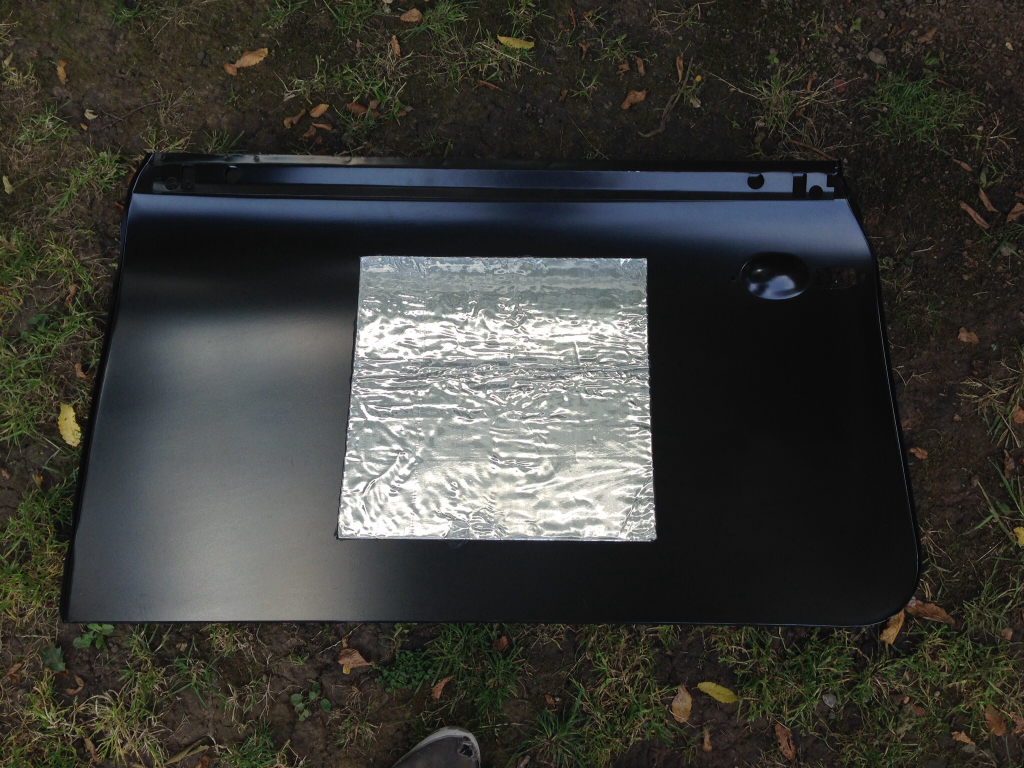
A bit of a jump, but the door skin fitted and welded to the frame. We checked the fit on the car during this and it's pretty good, the door gaps will need some work though. Had a few high and low spots after a quick sanding but not too bad at all -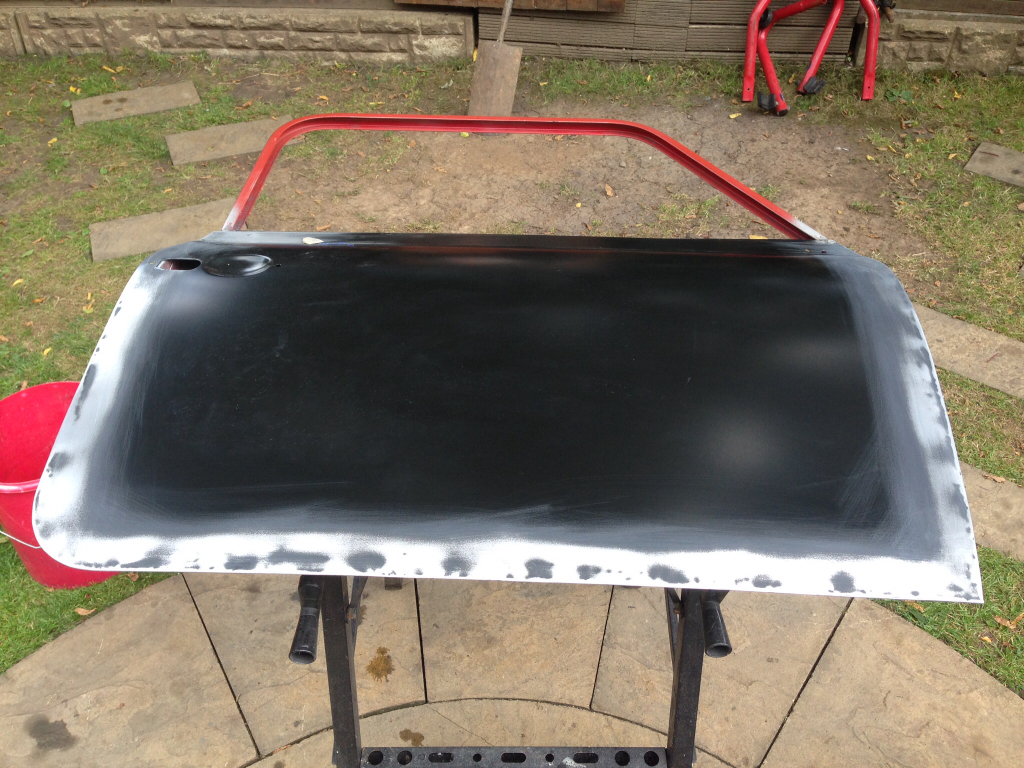
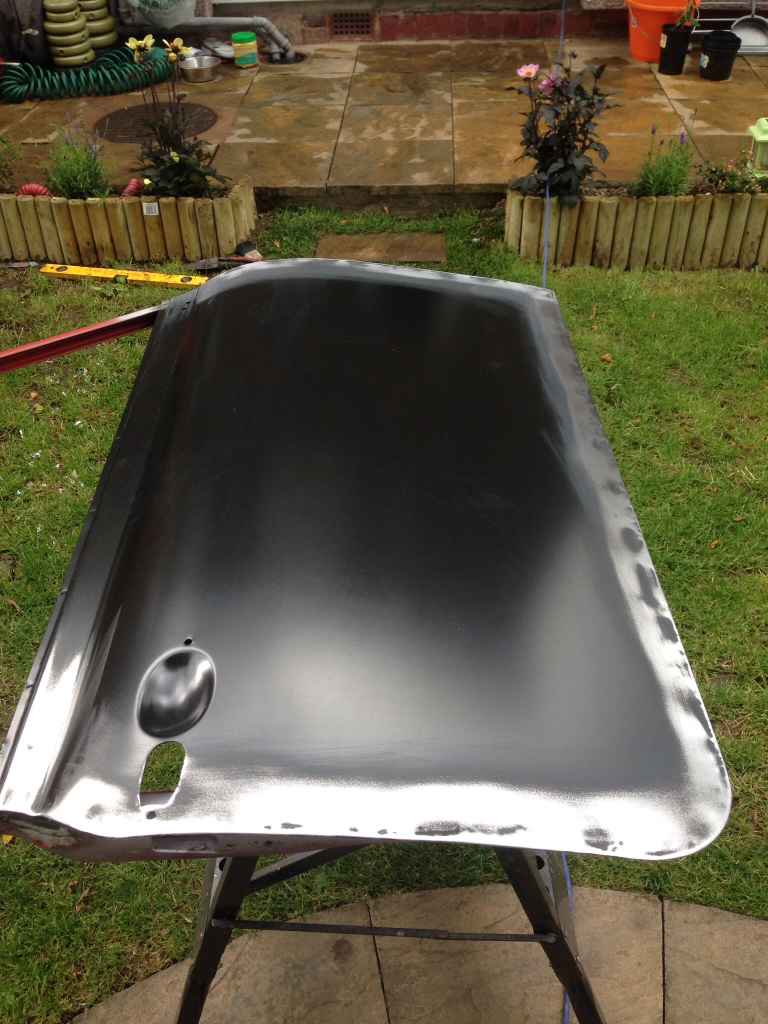
A bit of hammer and dolly work and a quick skim of filler later, it's looking fairly good. It's by no means the final product as it needs more work, but I'm very happy with it for now -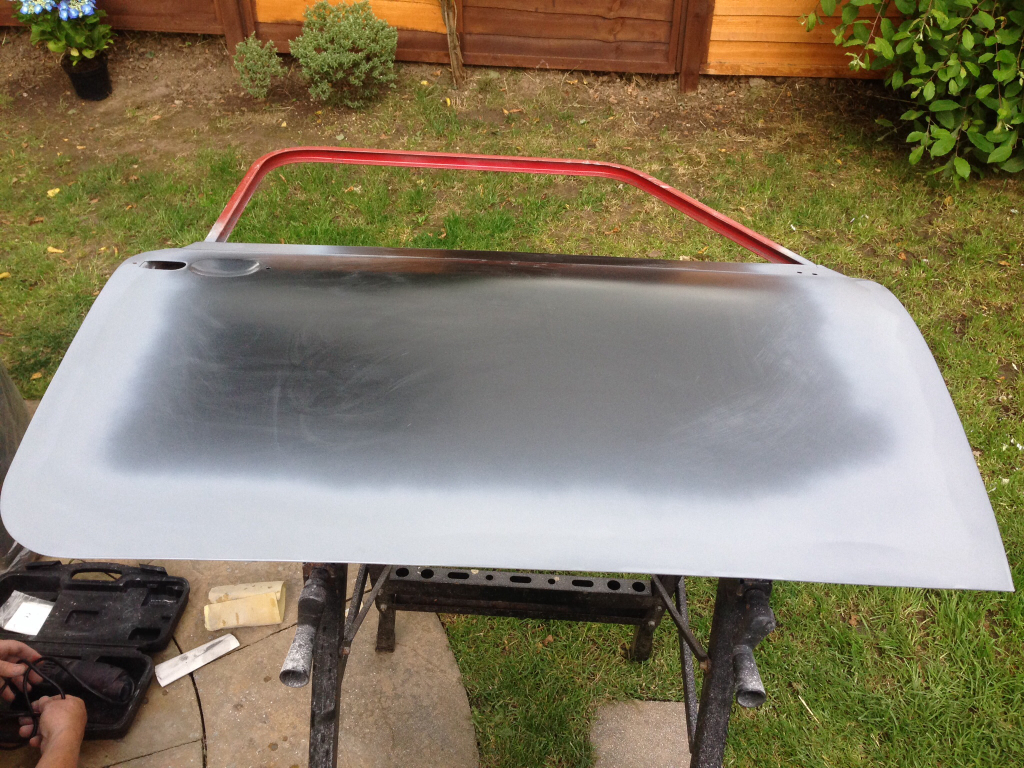
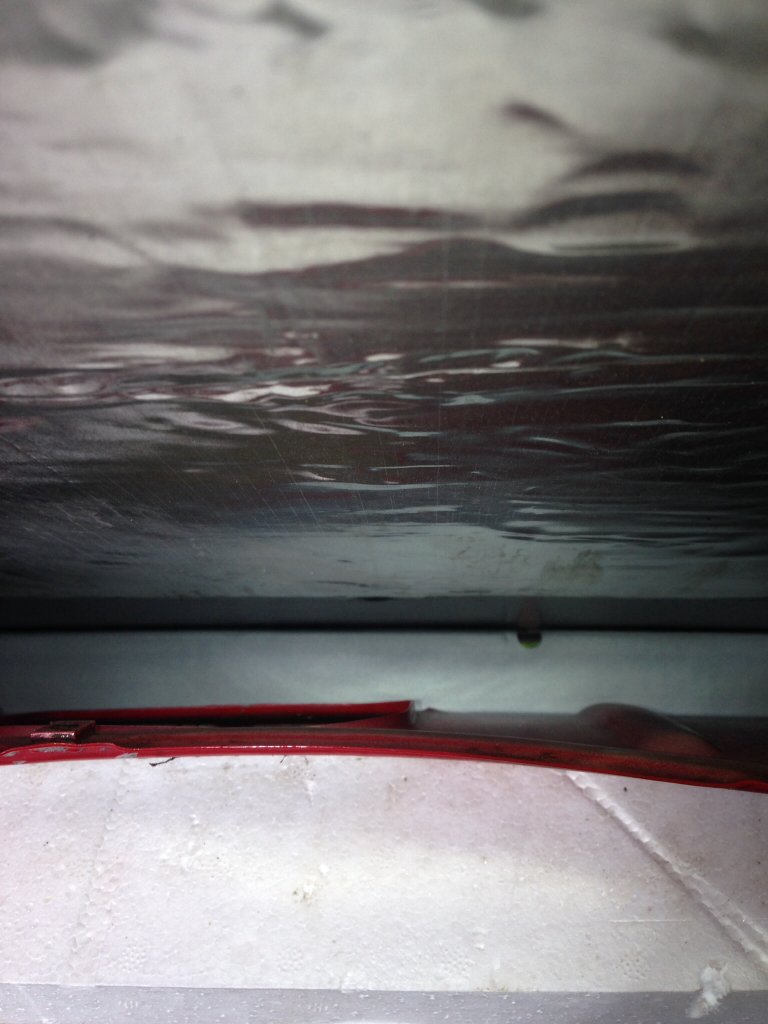
A couple of shots inside the door, looking how it should do -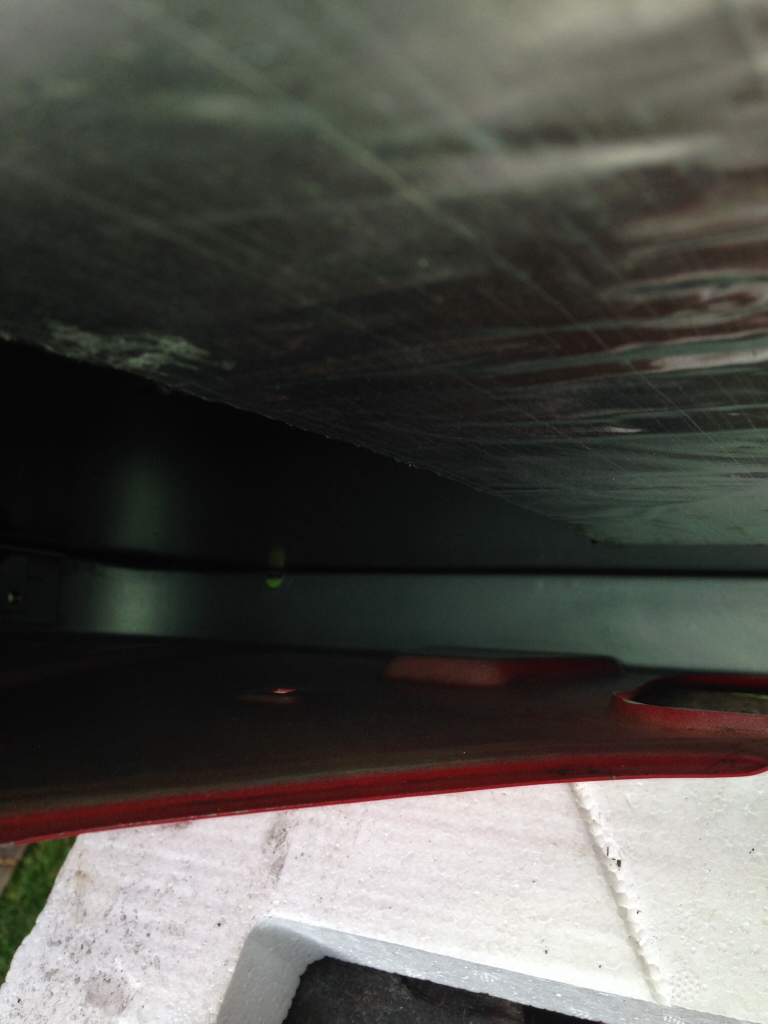
Now onto the passenger door. Stripped the door skin off, and this was what greeted us -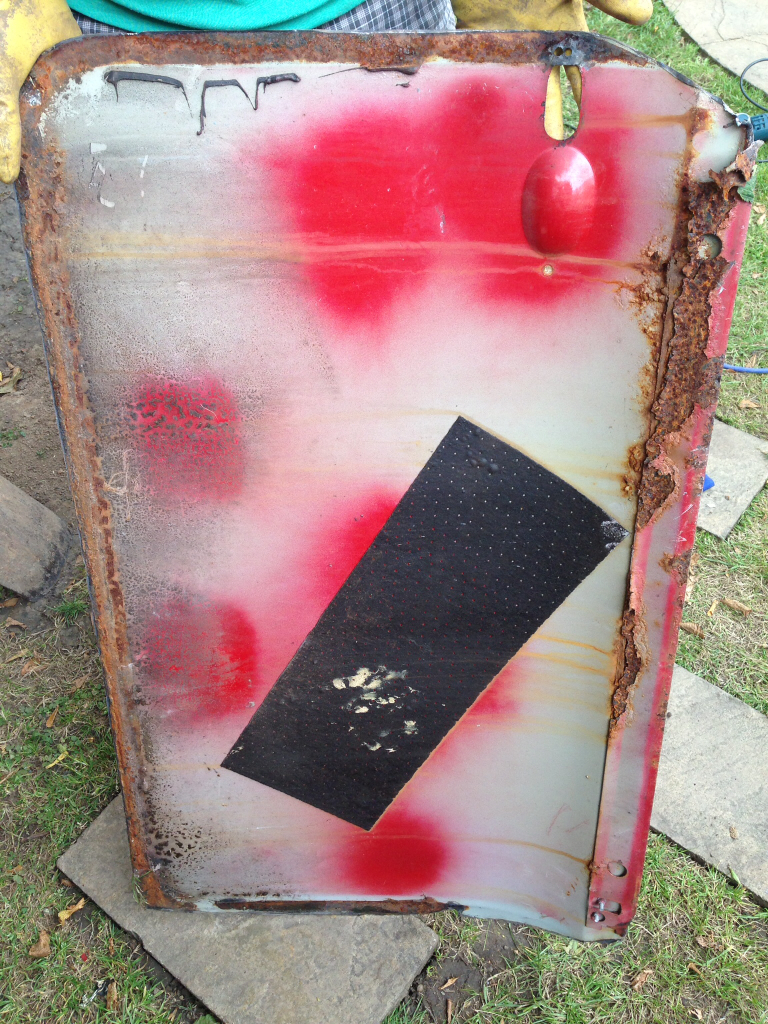
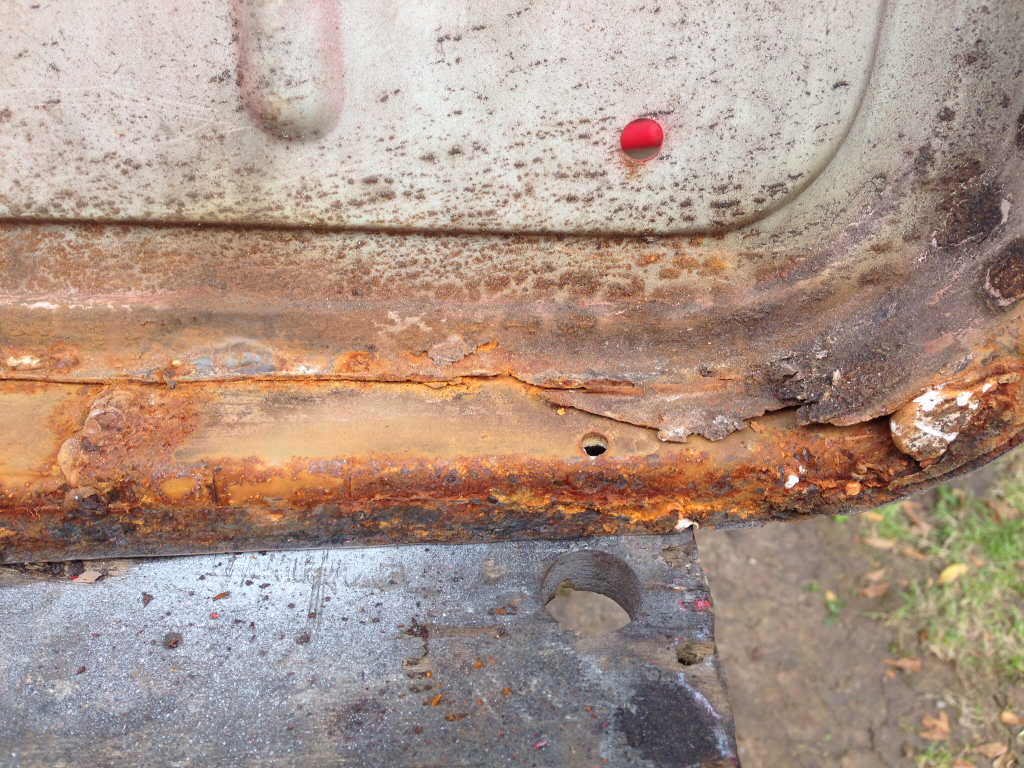
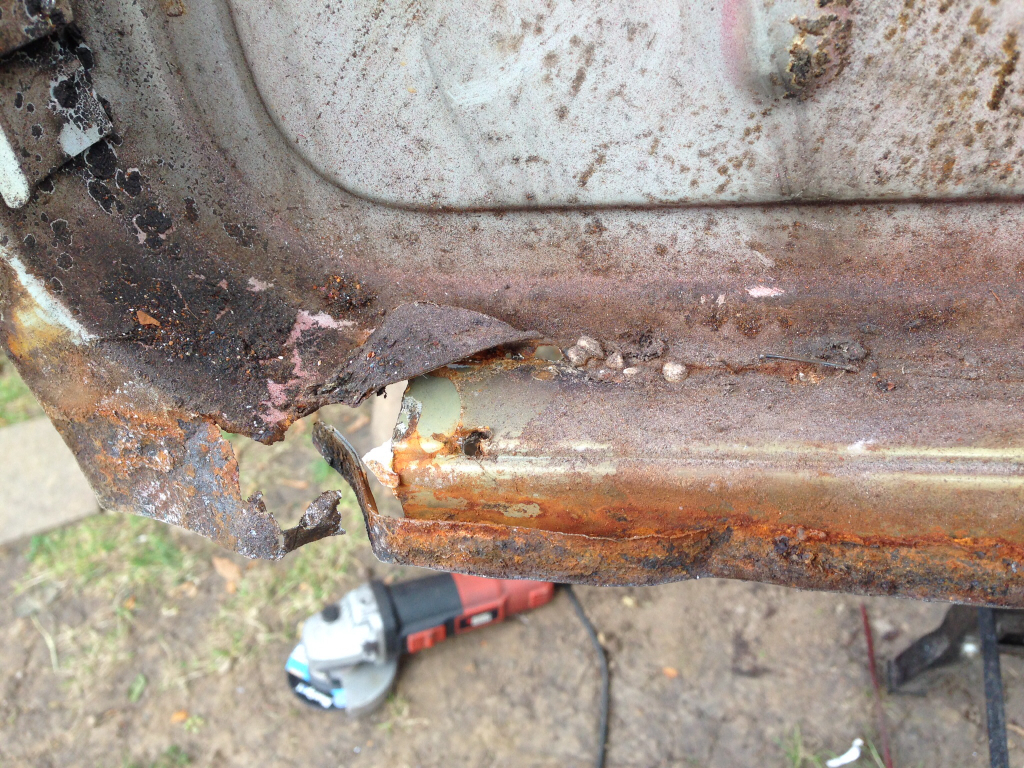
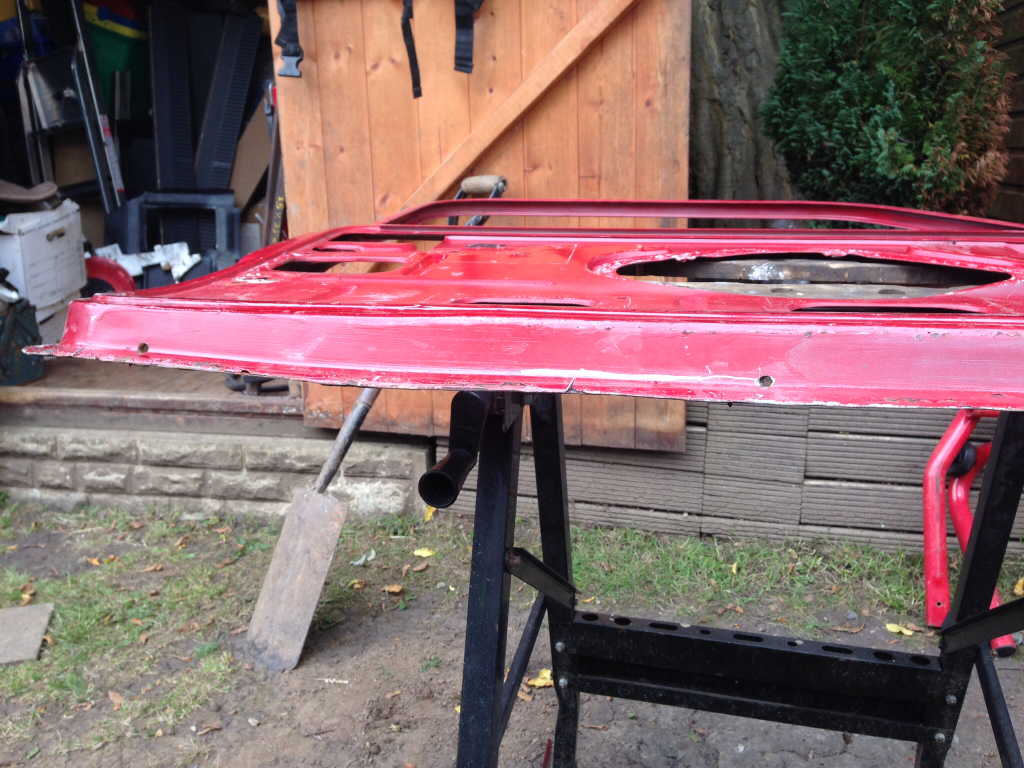
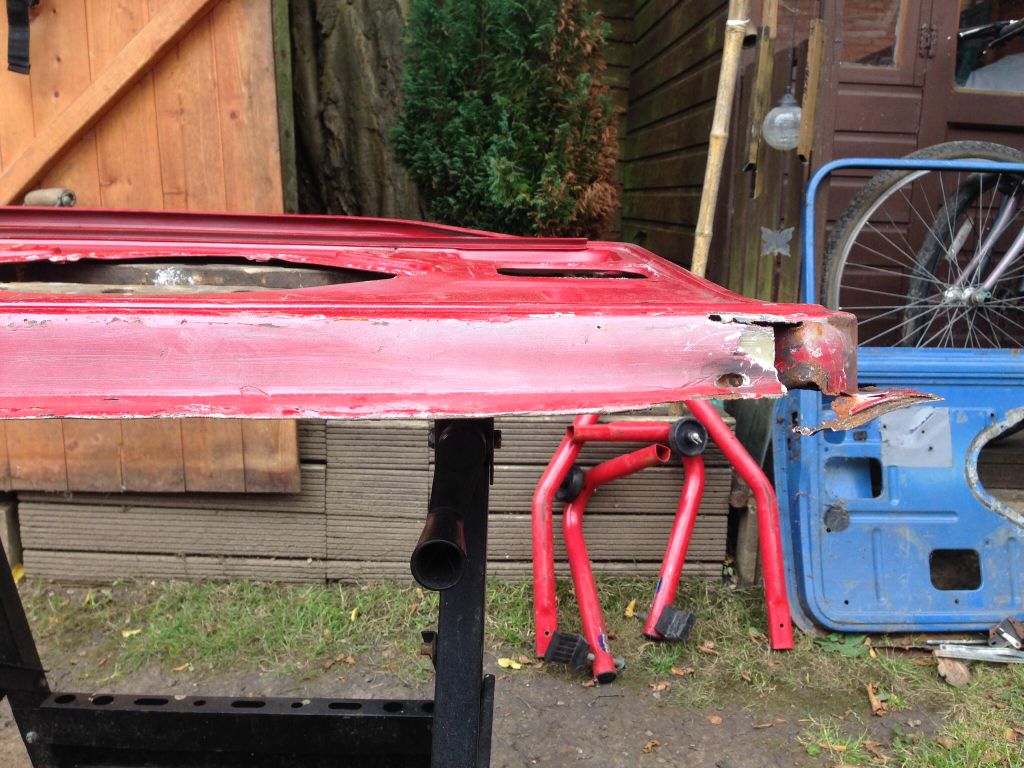
Looks like Captain Bodge has been here too. I knew there was some filler in this door but didn't think it would be hiding that. So it looks like I'm going to have to buy the lower door frame repair and fix this before I fit the new skin.
Anyway that's all we got done today, will be doing a bit more before work tomorrow !
