You must be logged in to rate content!
9 minute(s) of a 358 minute read
5-31-2014
Update,
Got a fair bit to update, so I'll start with my cyclinder head.
Firstly I degreased it, then I removed all of the old paint, rust and de-coked, came up really well -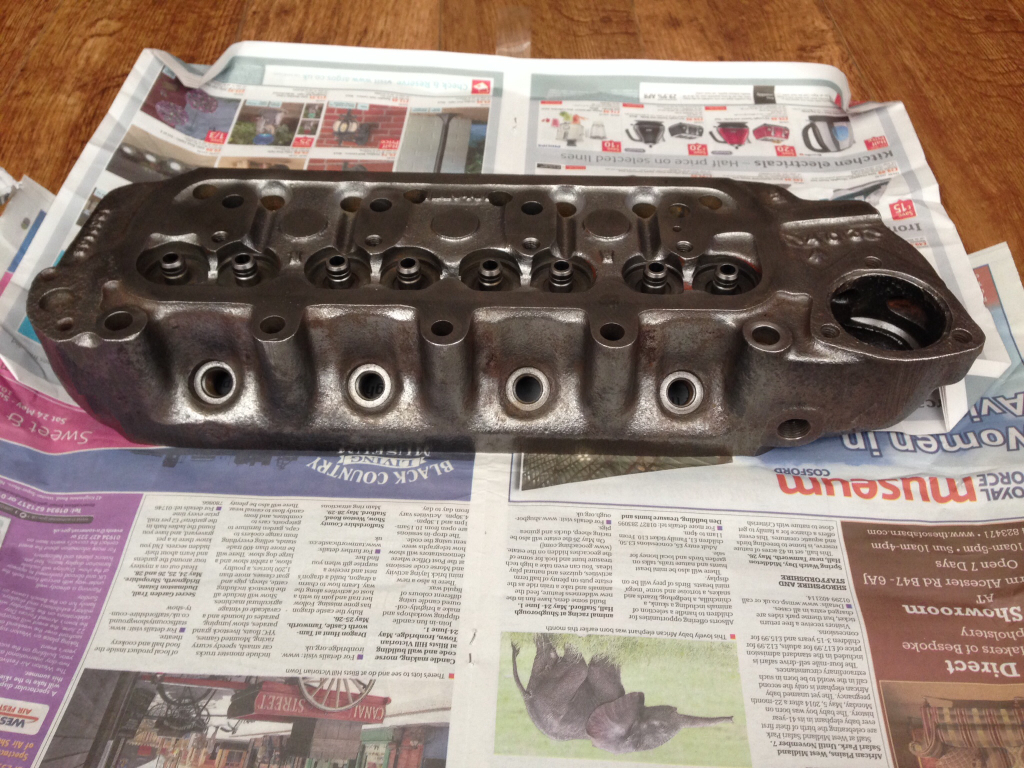
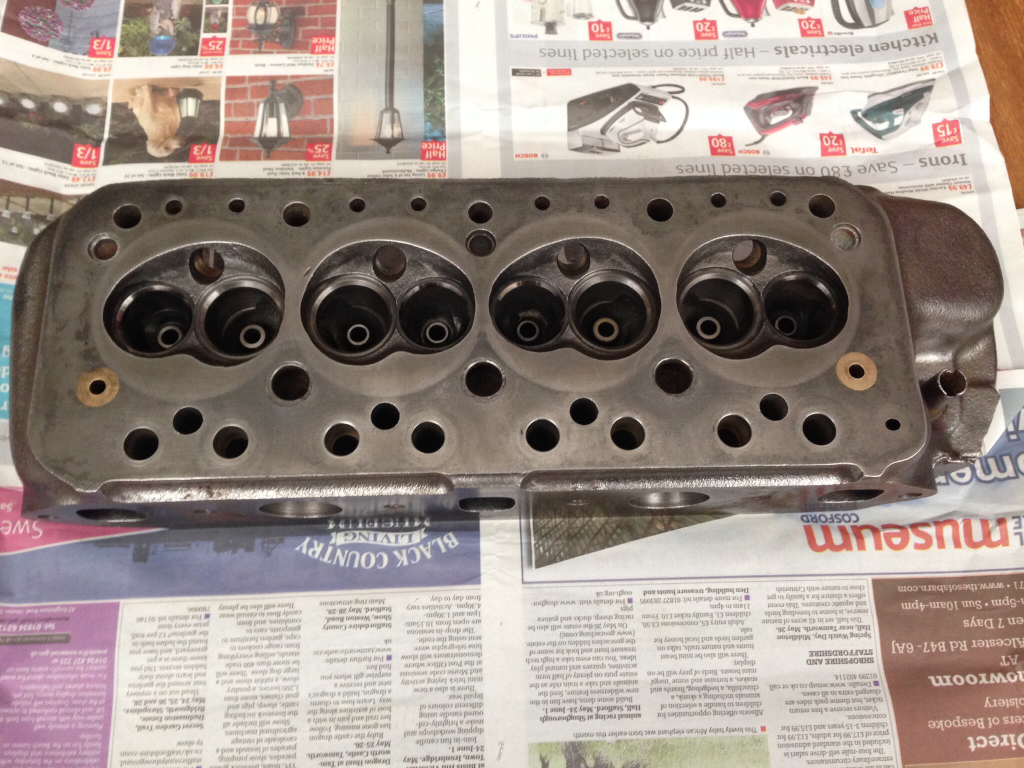
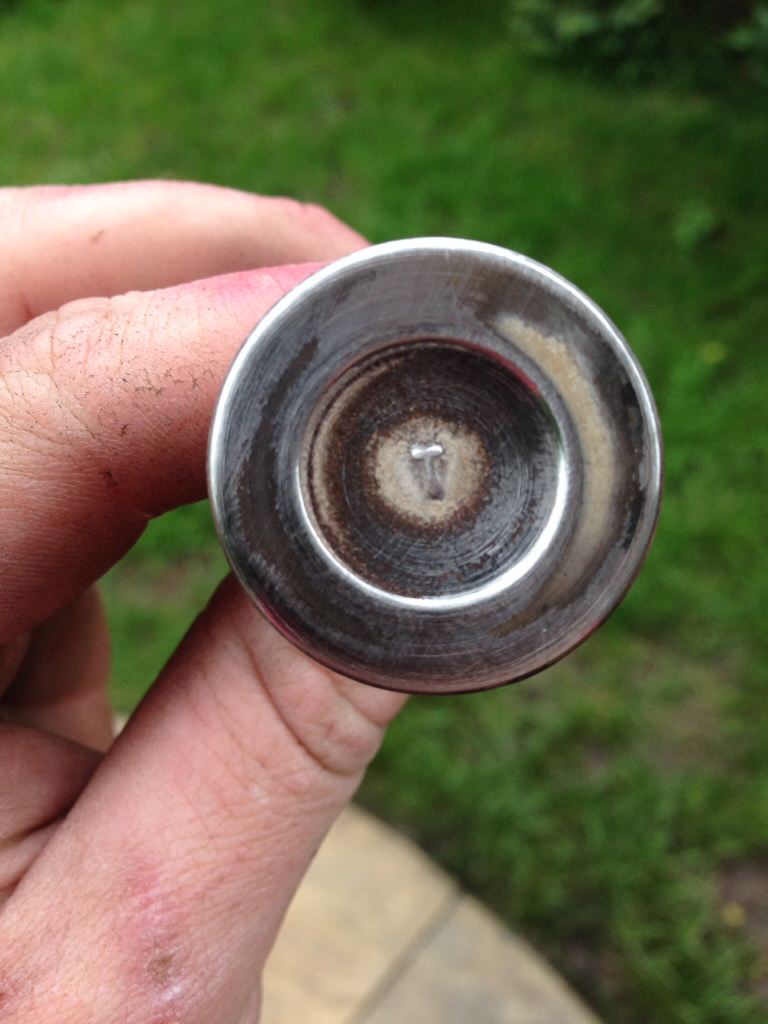
Then I did the same with the valves, my hi-tech valve spinning machine -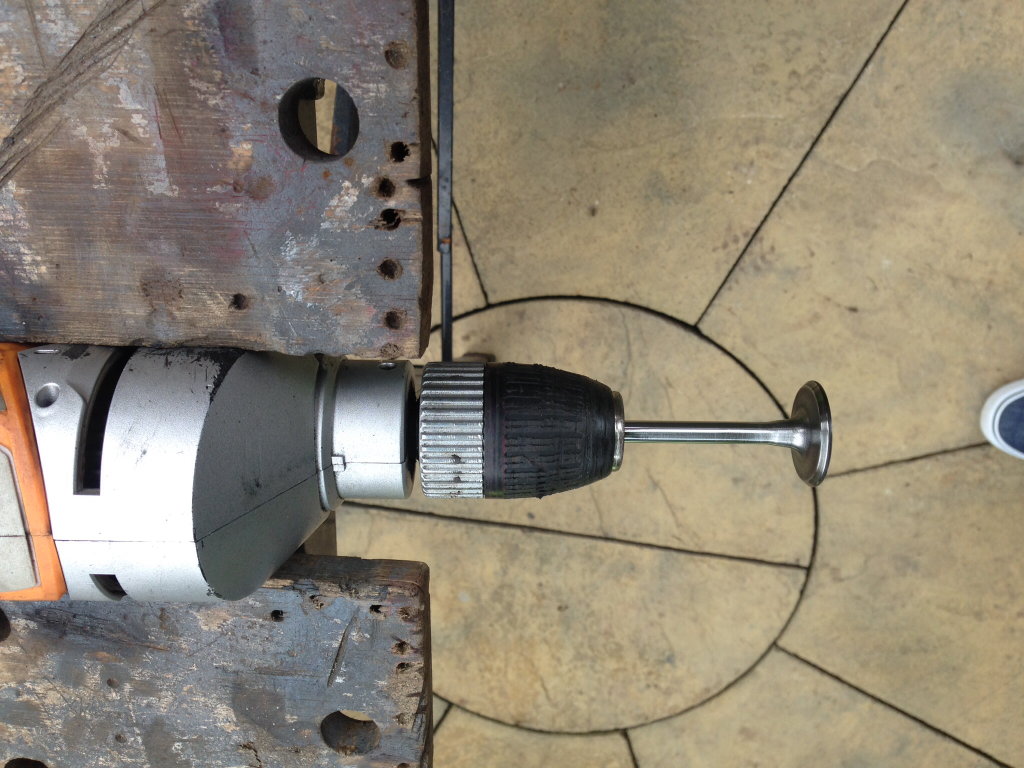
A quick before and after -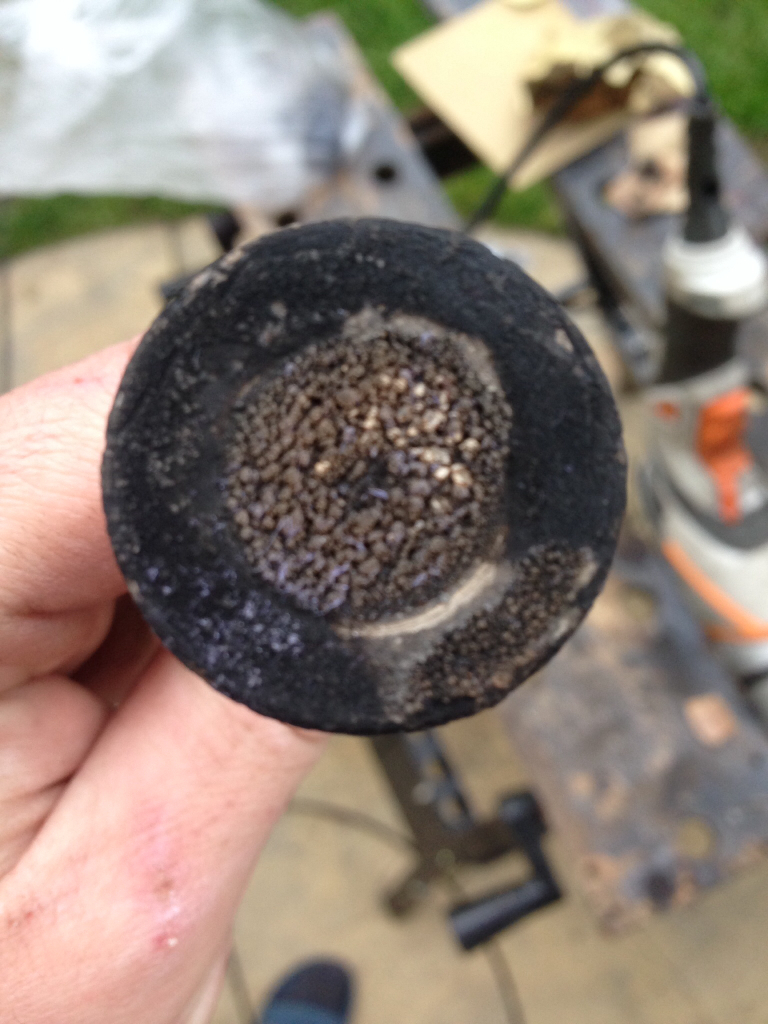
A trip to Minispares later and I've (almost) got everything needed to rebuild the head, inevitably I forgot some things as you do -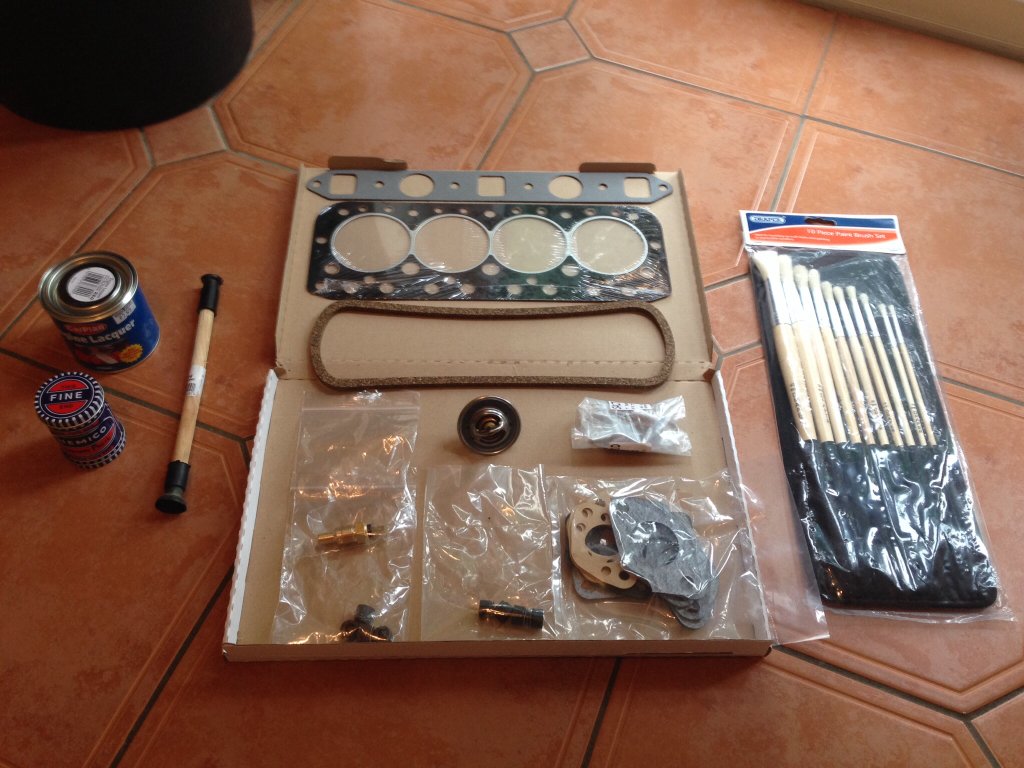
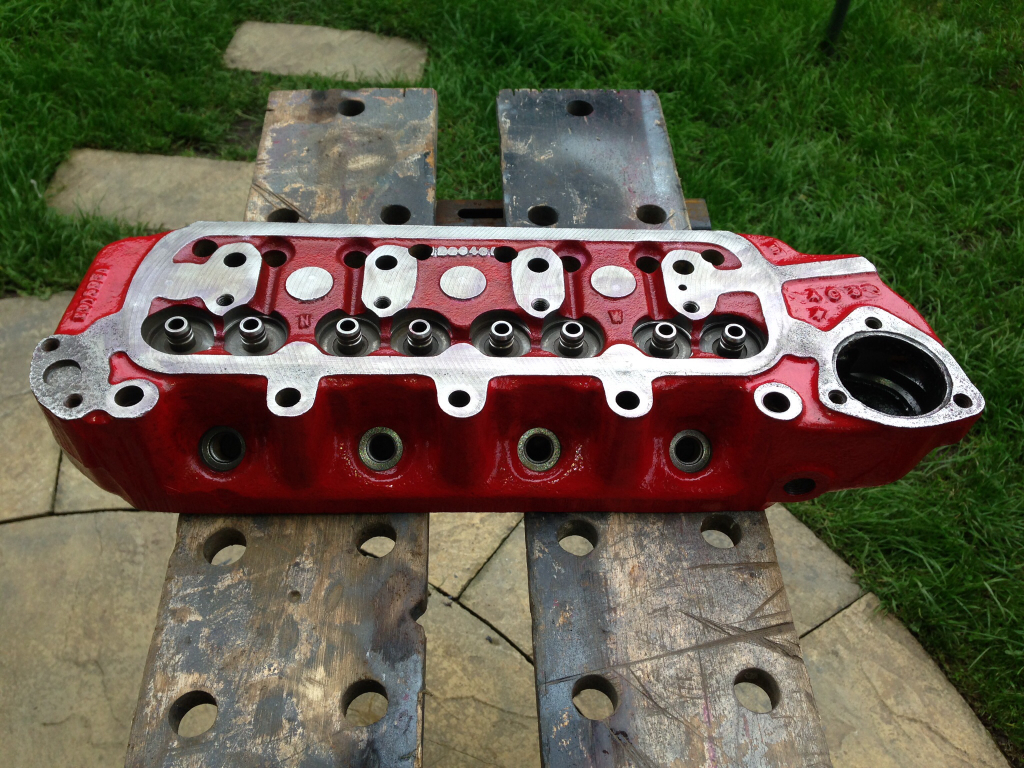
Then I continued by painting the head, had to be red, so happy with how it came out -
-
Then I lapped the valves in, hardly any wear in the guides and well within tolerances -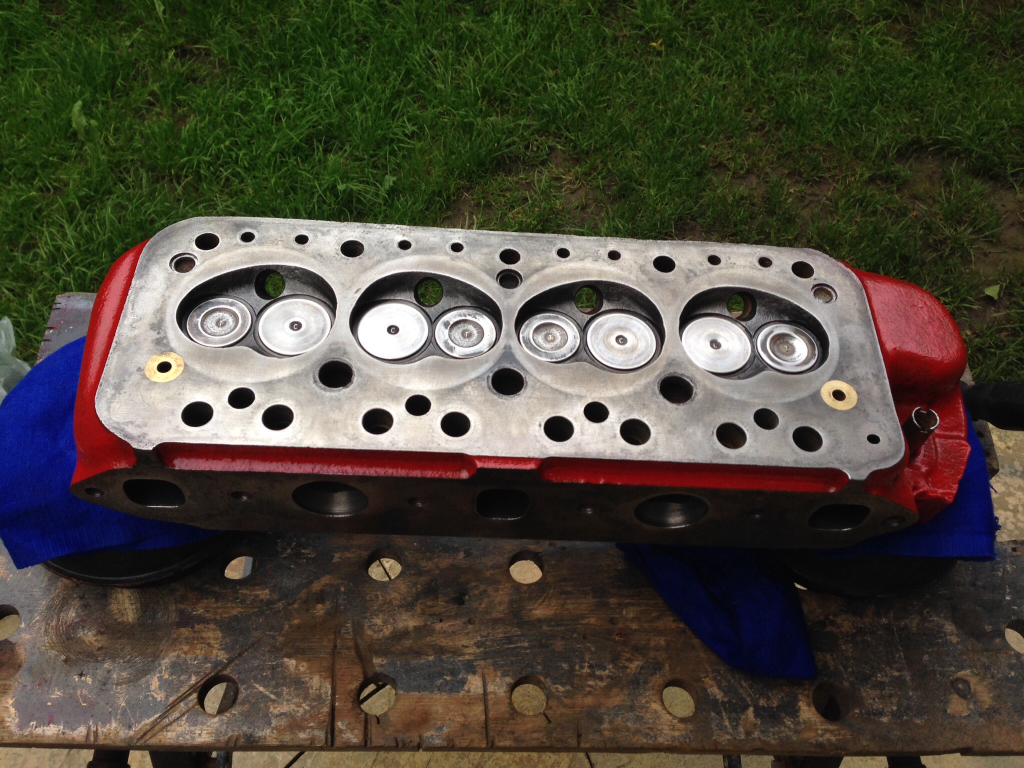
Valve stem seals fitted -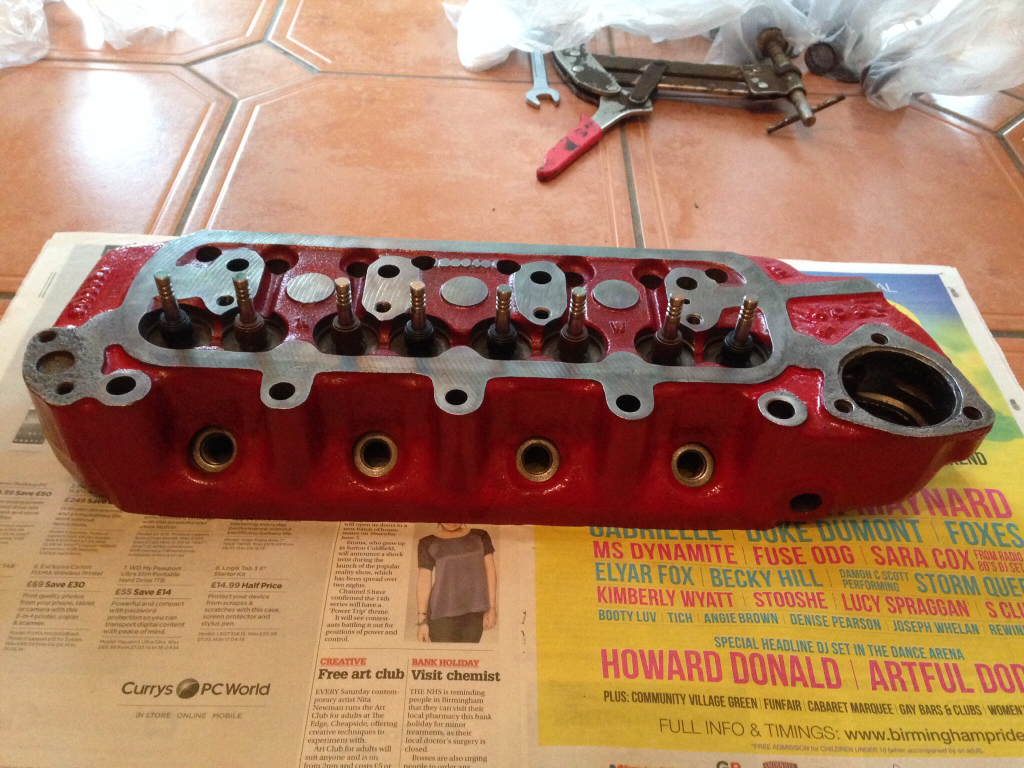
Valve springs fitted -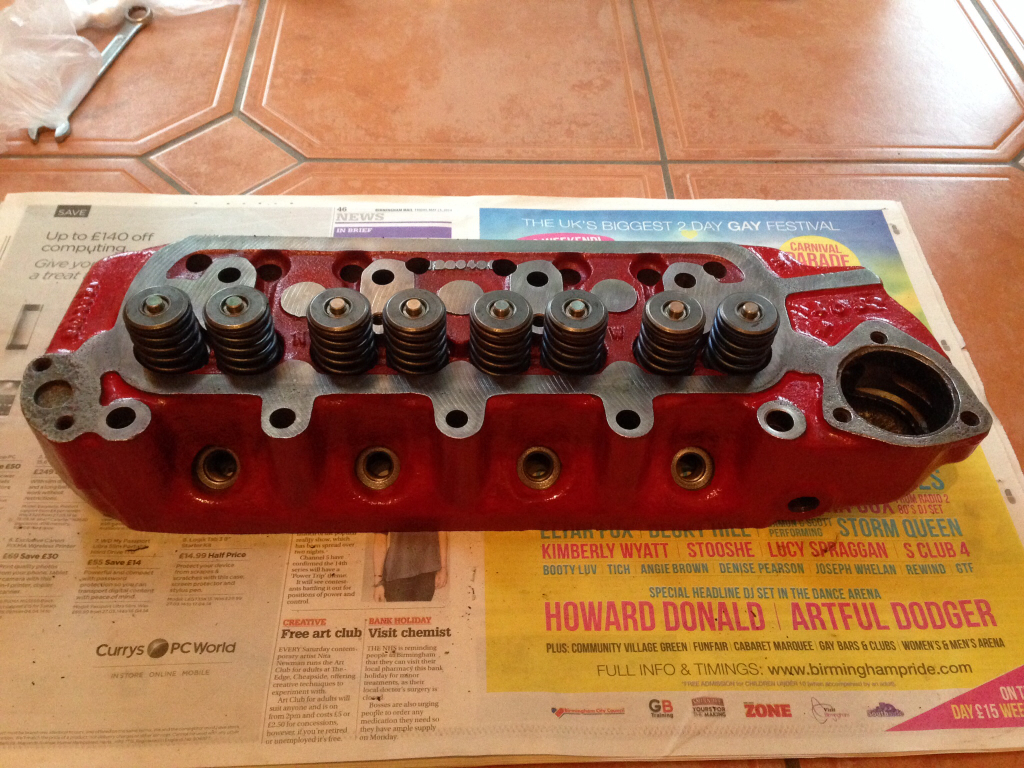
And rockers fitted into place -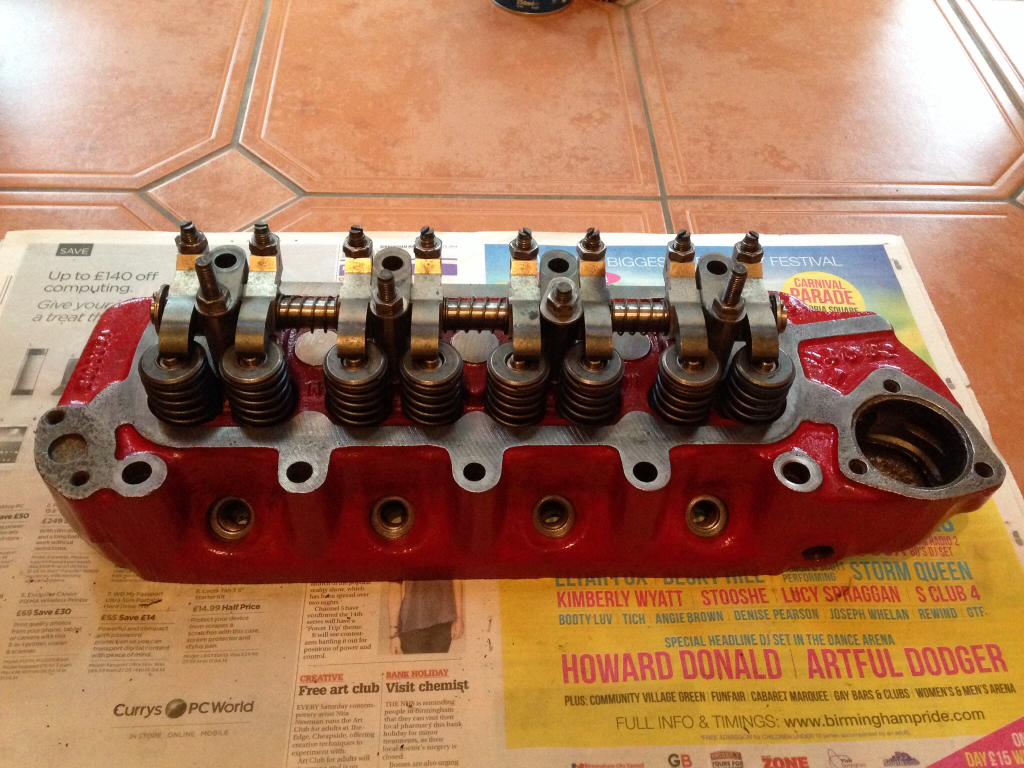
Will hopefully be getting my metro turbo rocker cover polished so should look the business !
Now onto today's work, which was bodywork, and involved fitting the new crossmember. Went in with relatively little effort, a credit to M-Machine for the quality of their panels !
So, here's some pictures of the fitting process, primed the inside -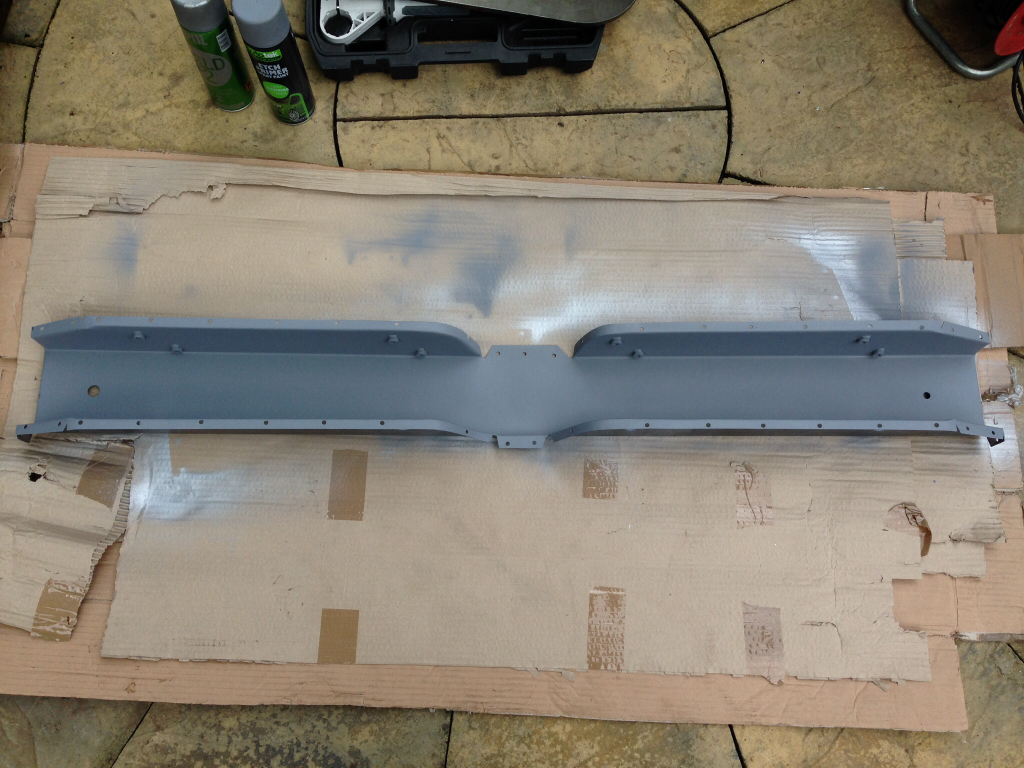
Then applied some top coat to the inside -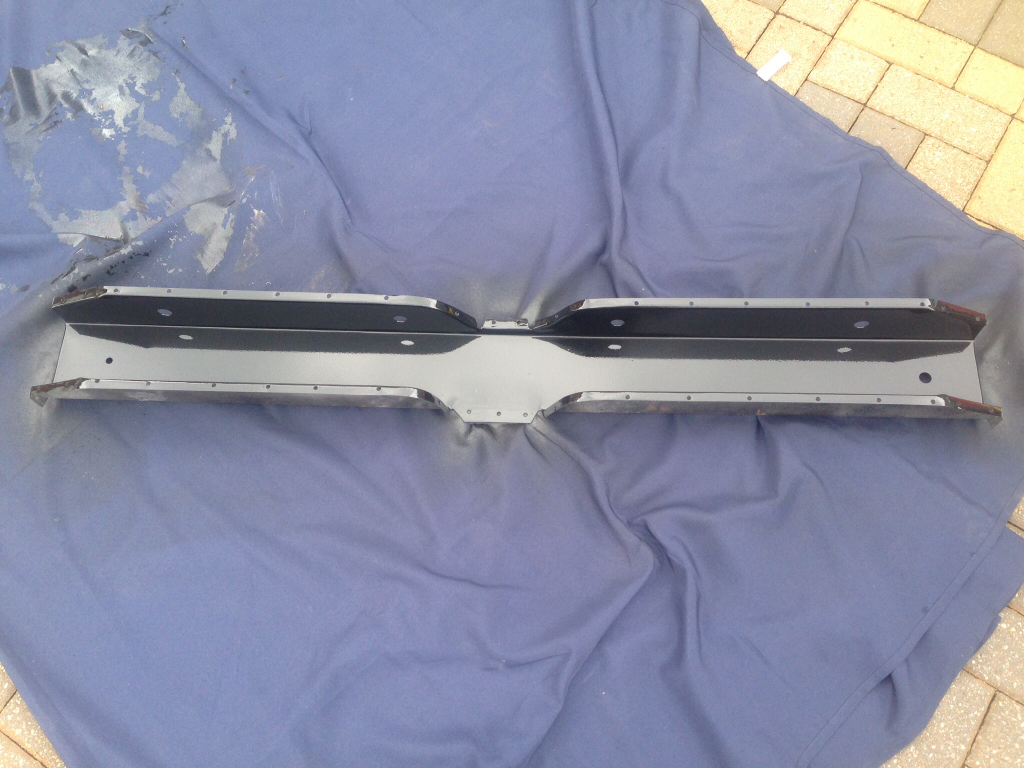
And then a bit of a jump, but welded into place and the bracing removed -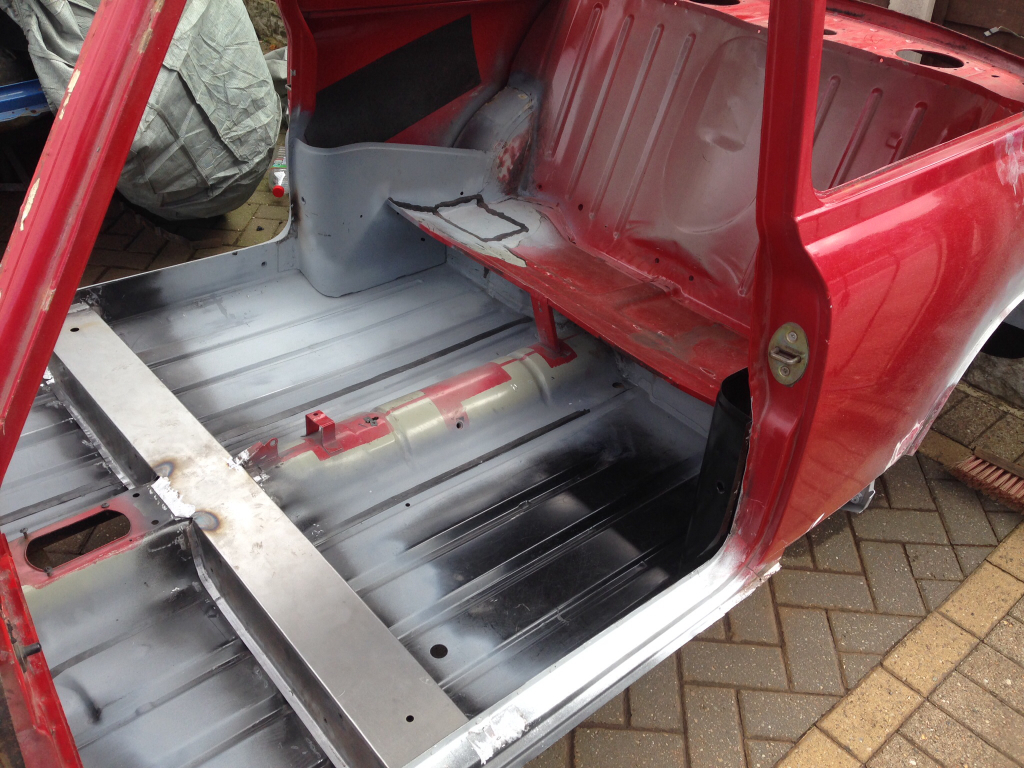
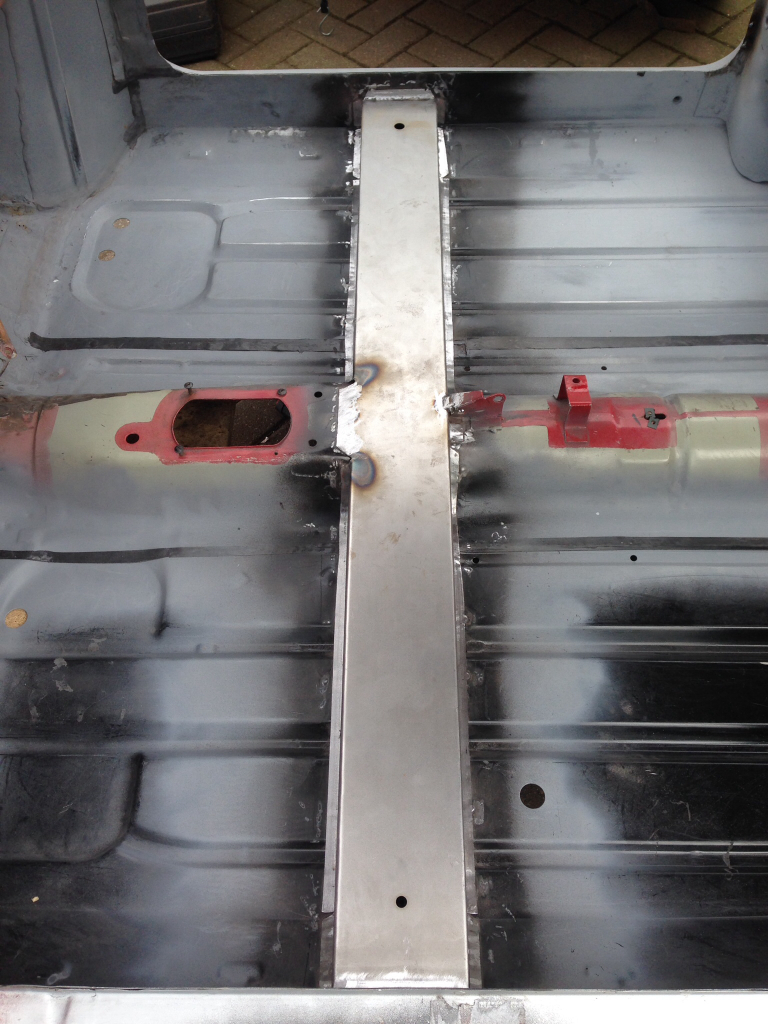
Got the welds ground down silky smooth, thanks to the new electric file, great little tool -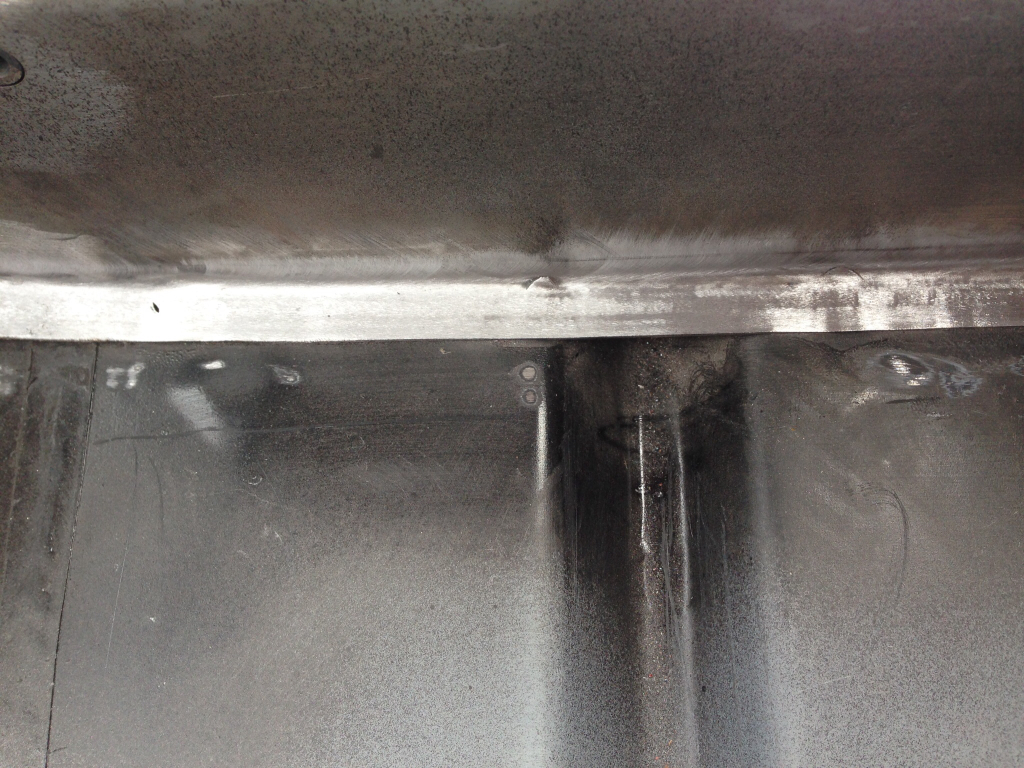
And then primed up -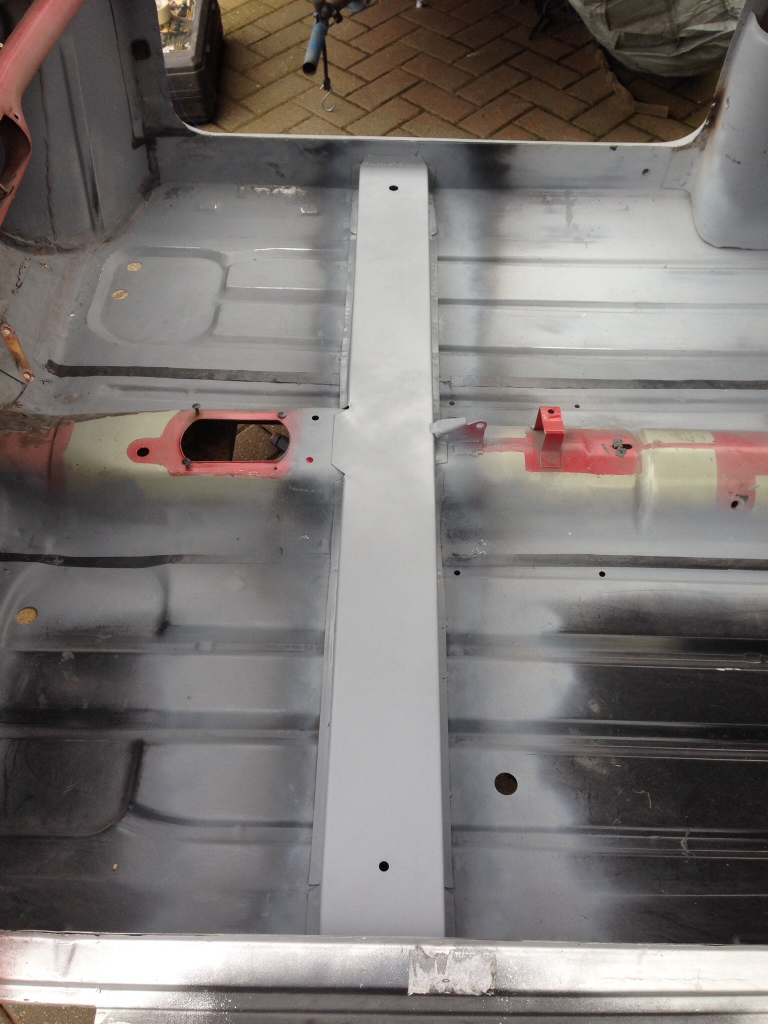
Little hole in subframe closure plate that had to be repaired, so I widened it out to a square shape and made a small repair piece -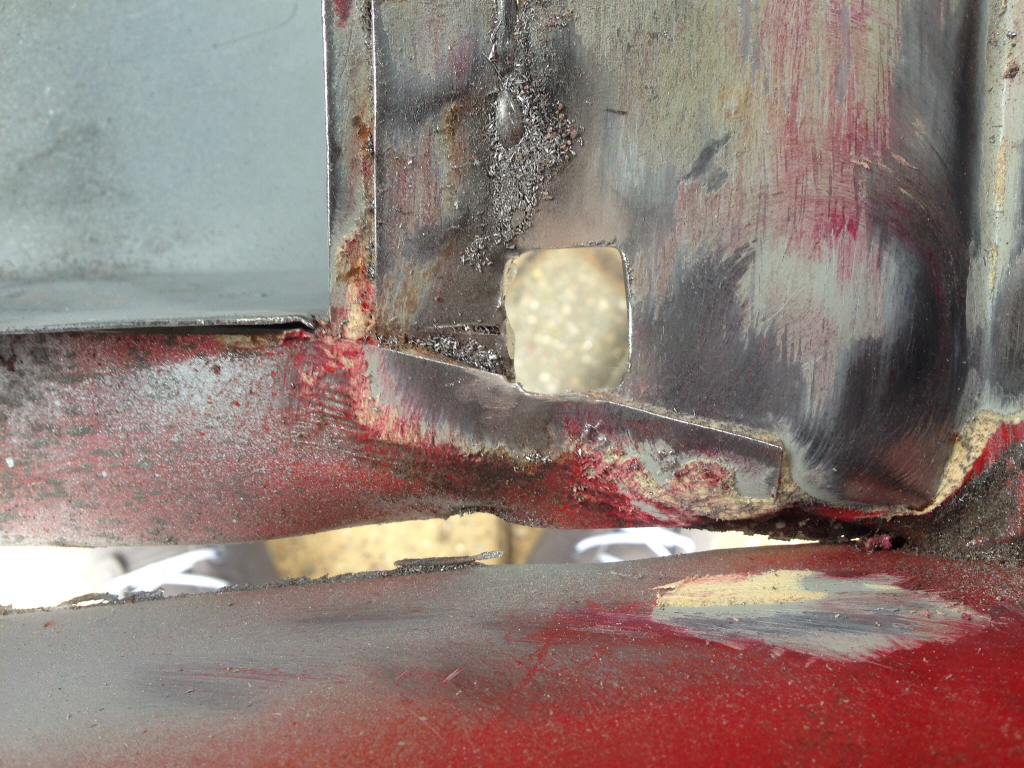
Repair piece -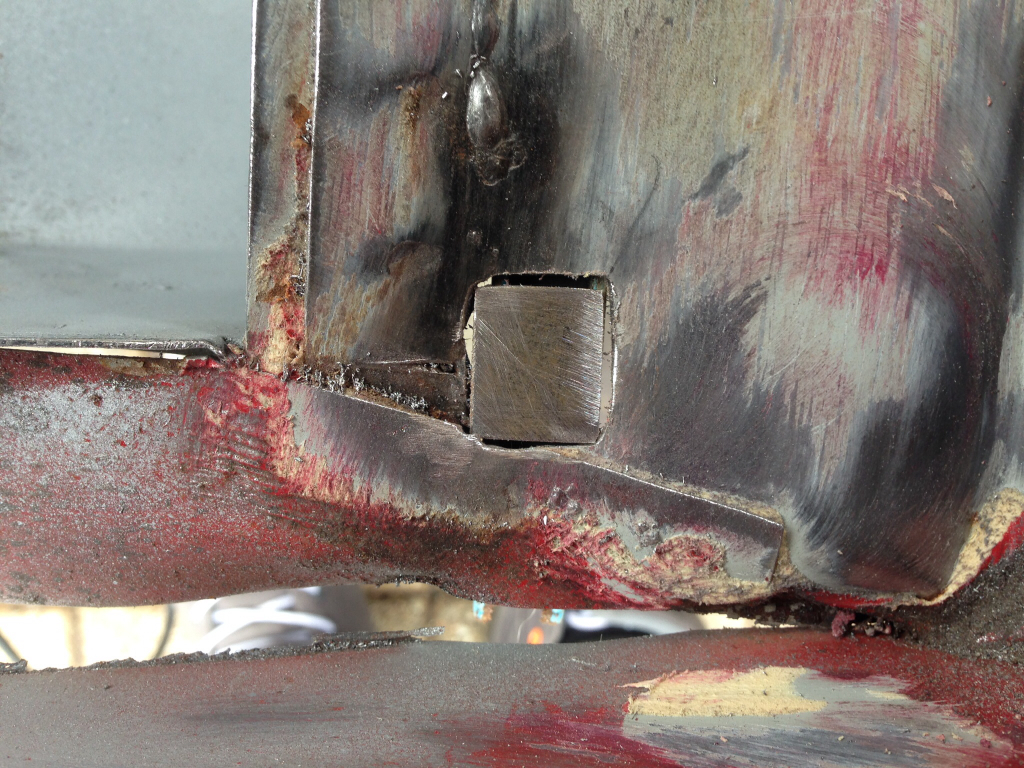
Welded up -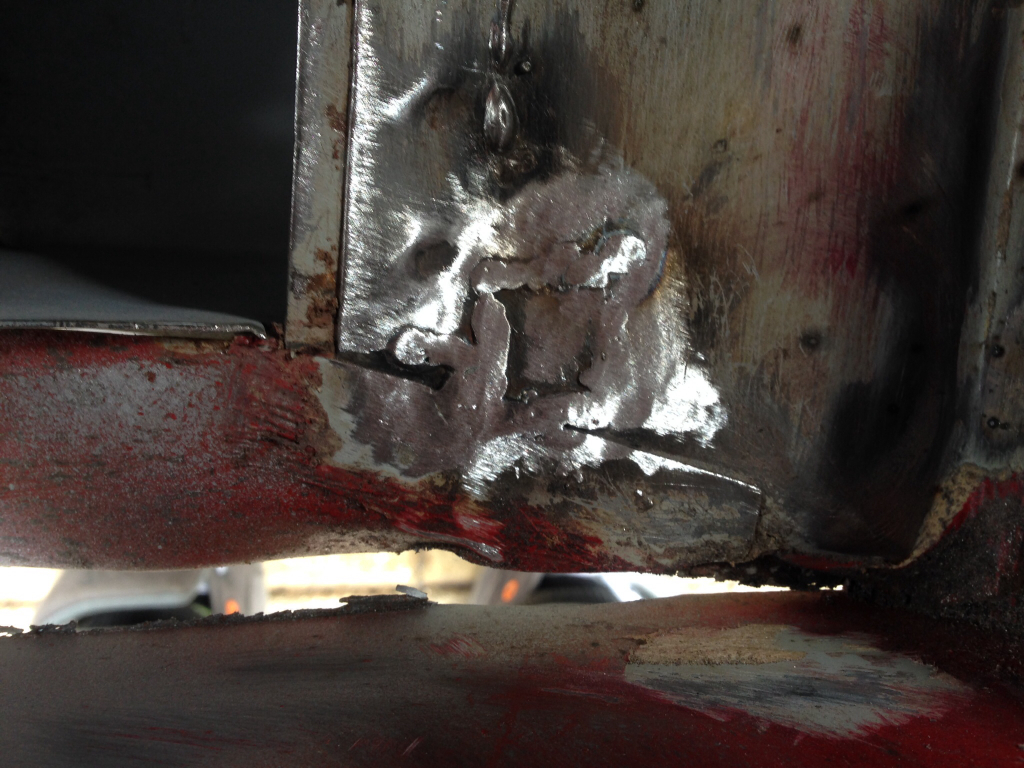
And to finish of the update I also got these in the post -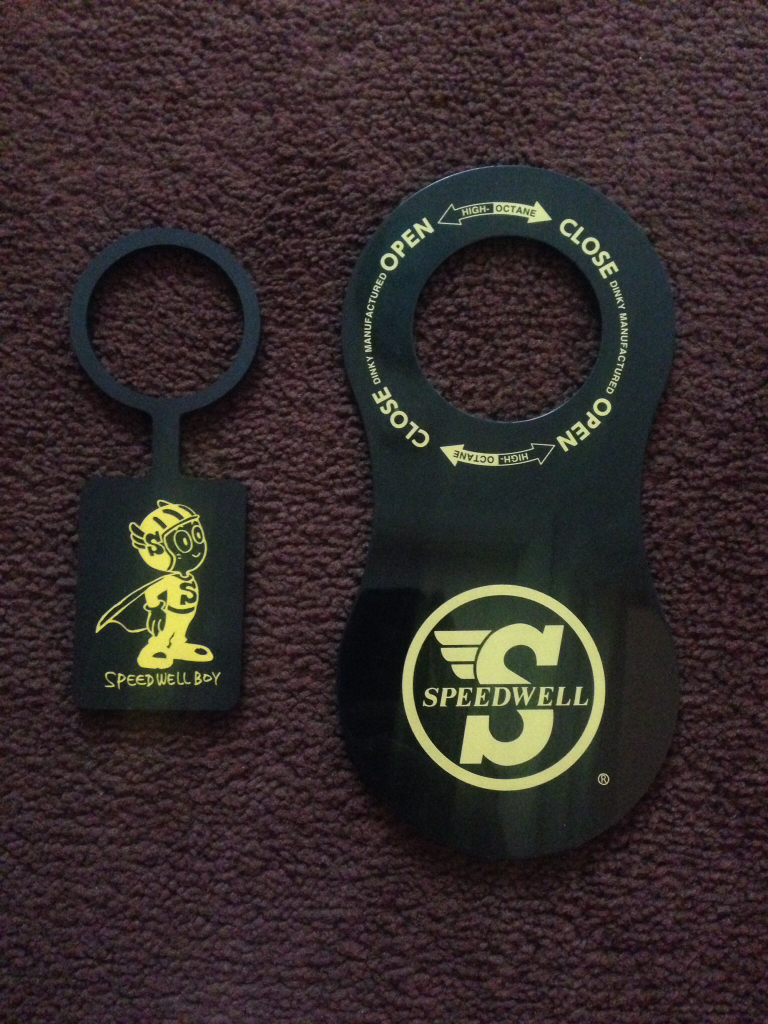
Reverse side of the petrol bib -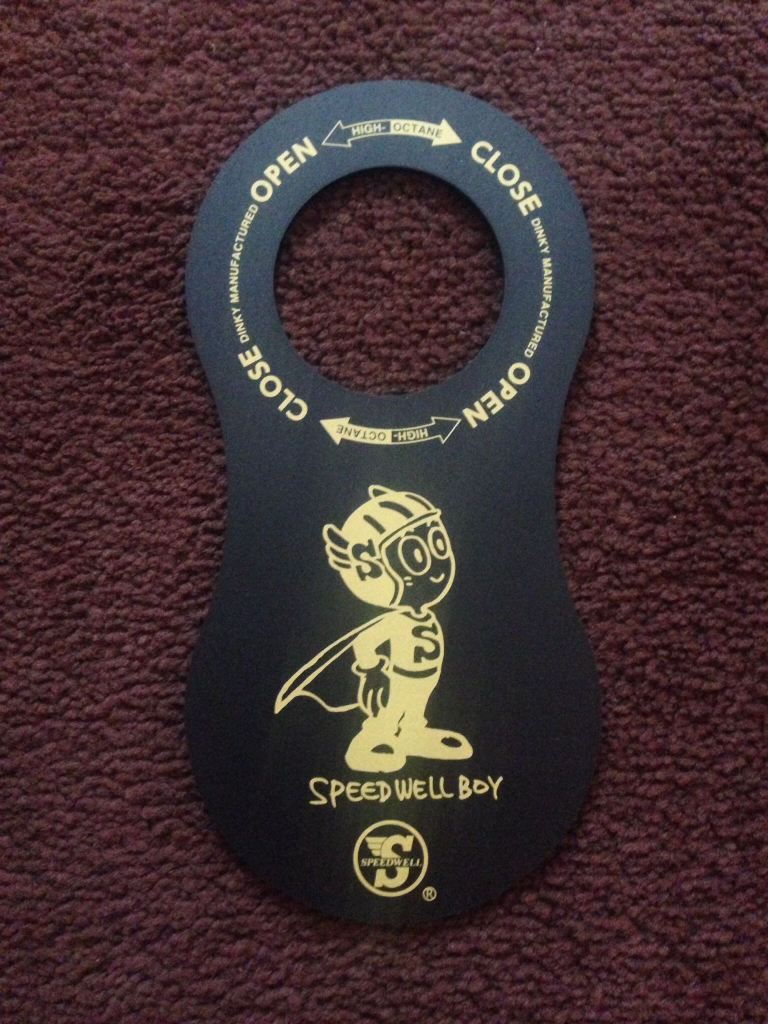
That's it for now !
6-1-2014
Thanks, it took a while to get it like that but it's definatley been worth the graft ! Their was a guy on here in the traders section who was importing the bibs from japan. Take a look, he said he was ordering some more but if not then you could try eBay.
Update,
Felt like doing some engine work today seeing as the weather was so nice, so I got it stripped, sanded and painted. Here's some pics of progress.
Stripped down to the block and box, it came apart so nicely, nothing seized, looks like its been looked after -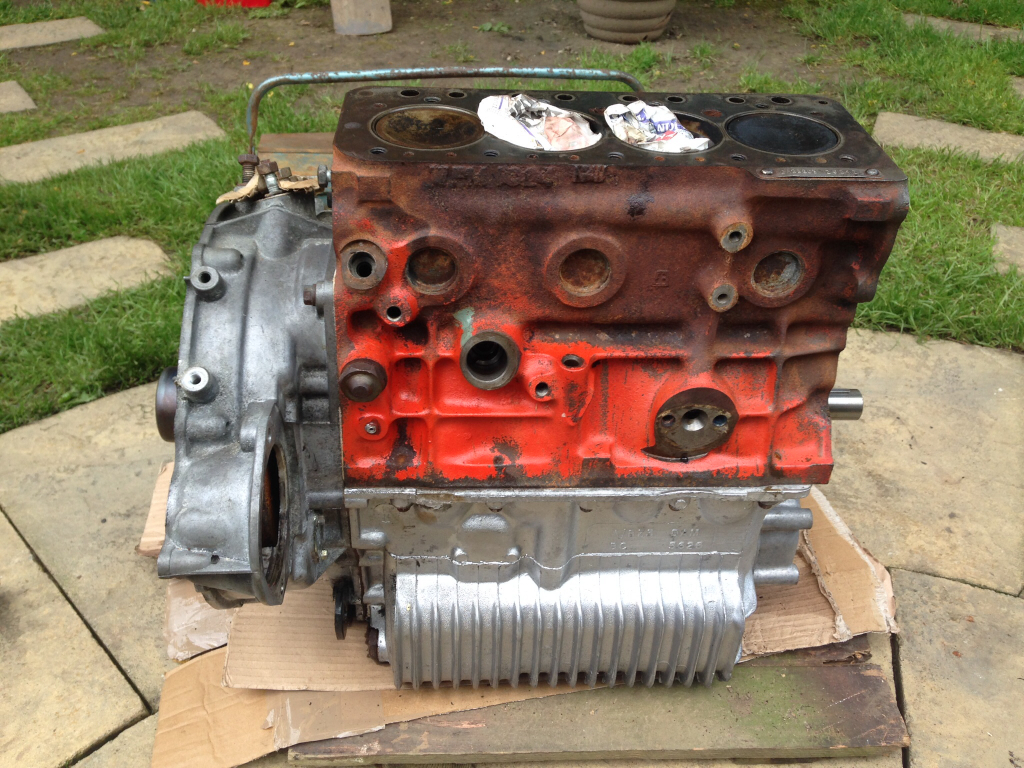
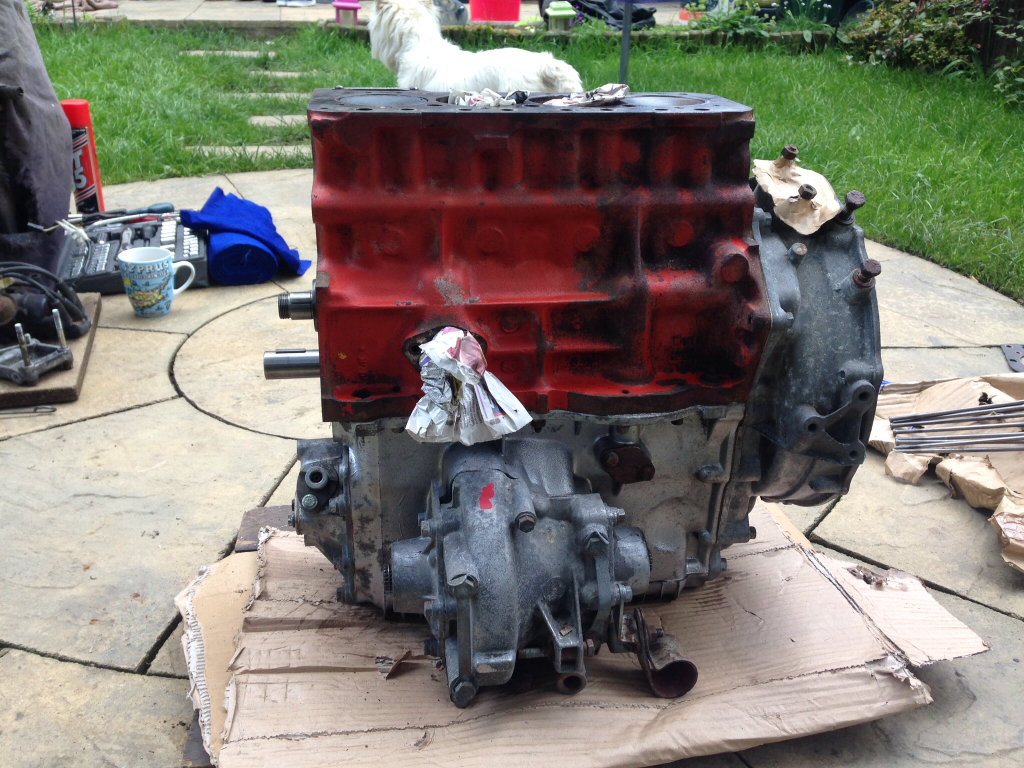
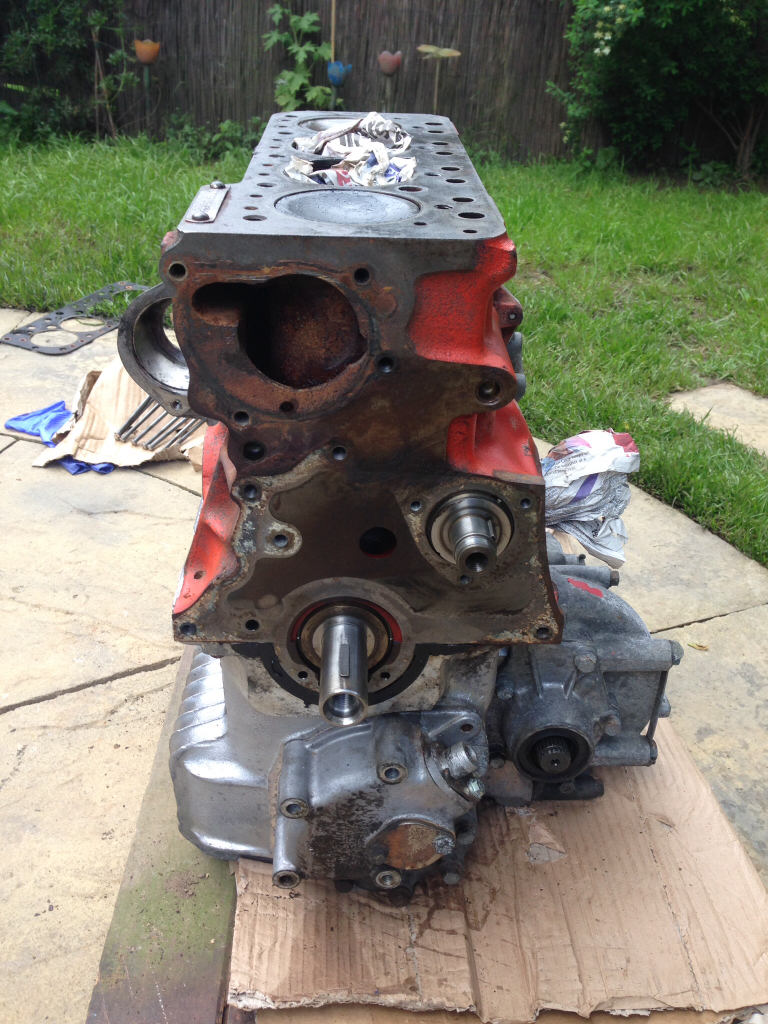
All the parts laid out -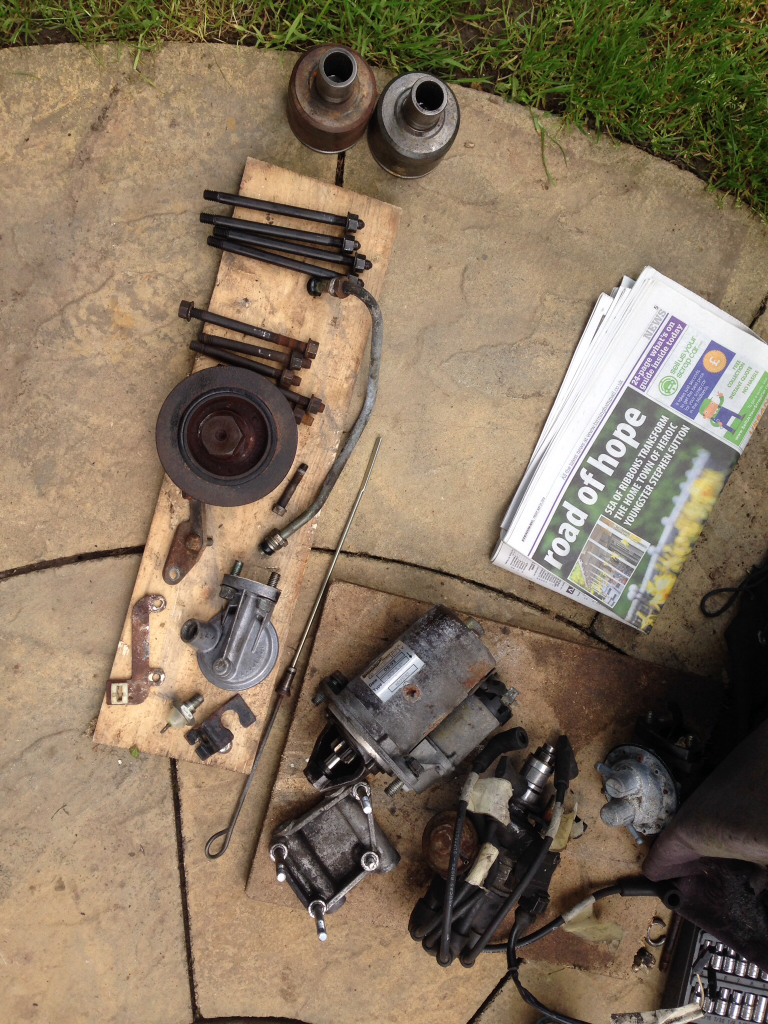
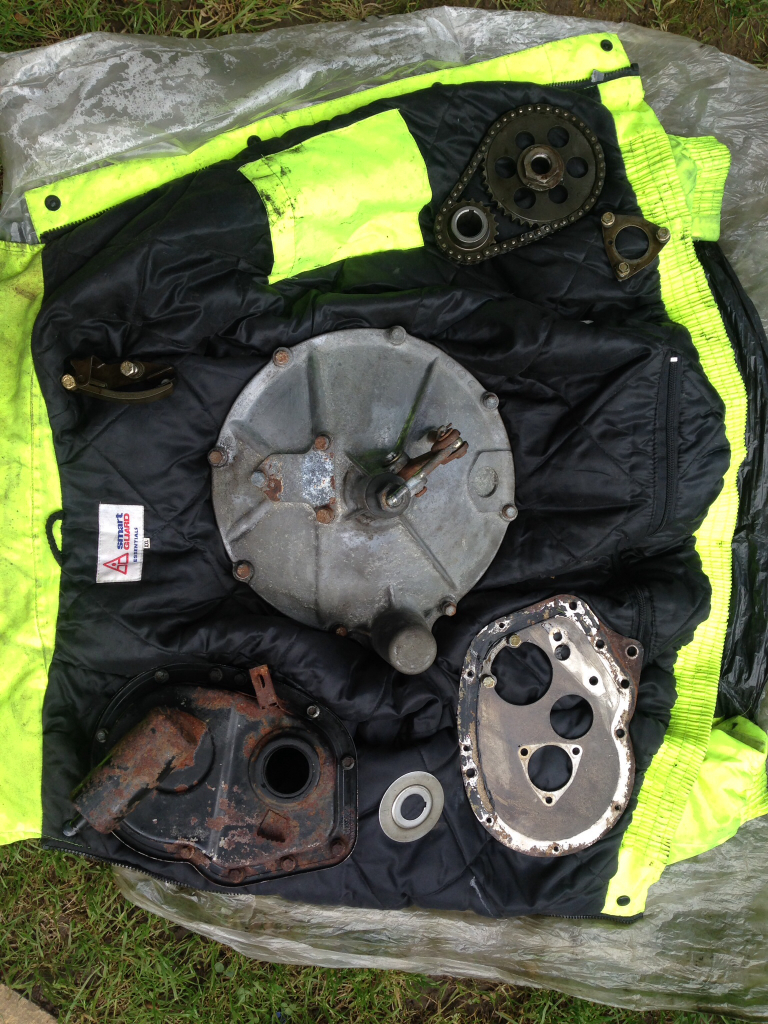
Then out came the wire brush attachments and the block was cleaned up and masked ready for paint -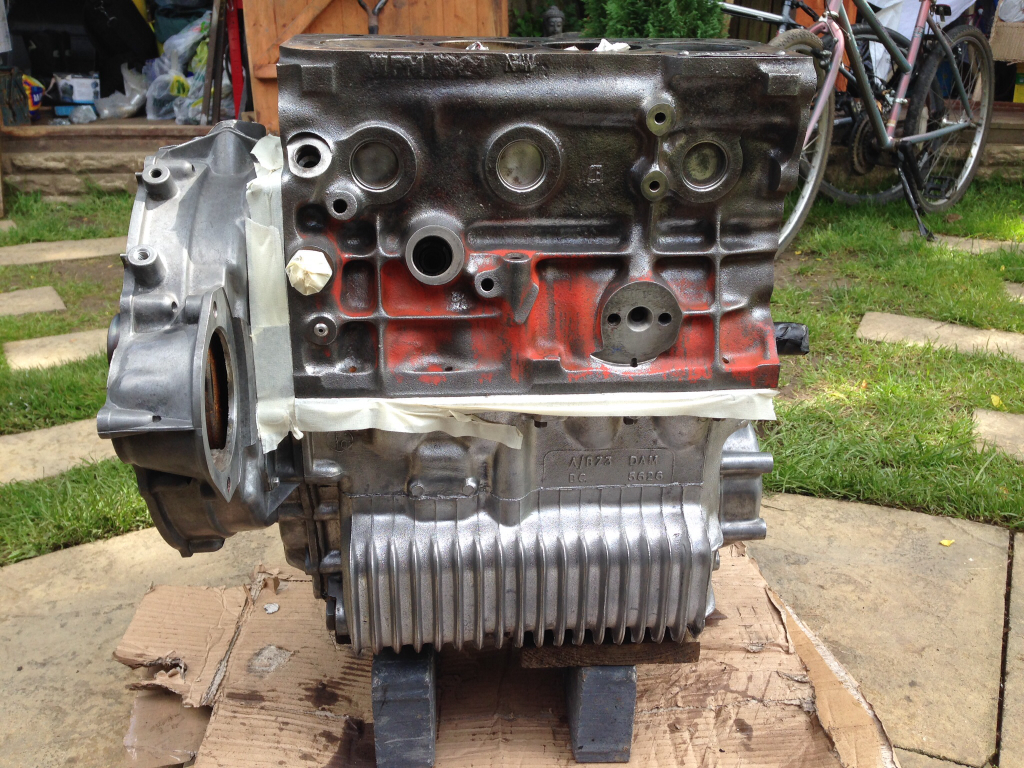
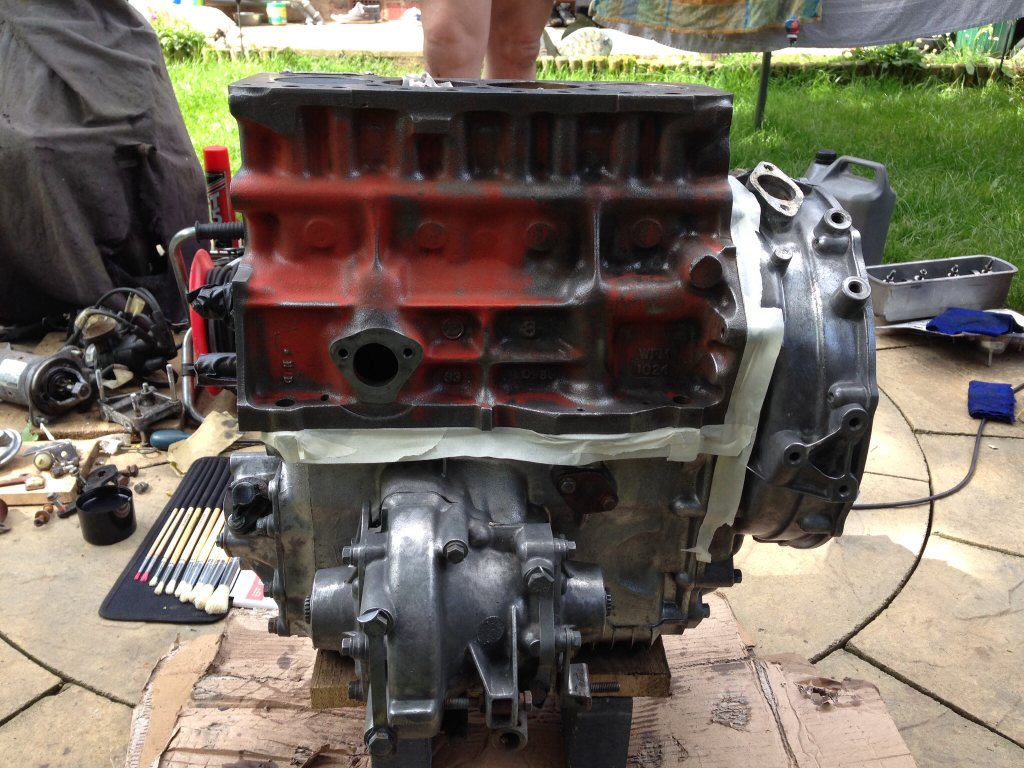
Painted up and all the aluminium cleaned up, will autosol this in the near future -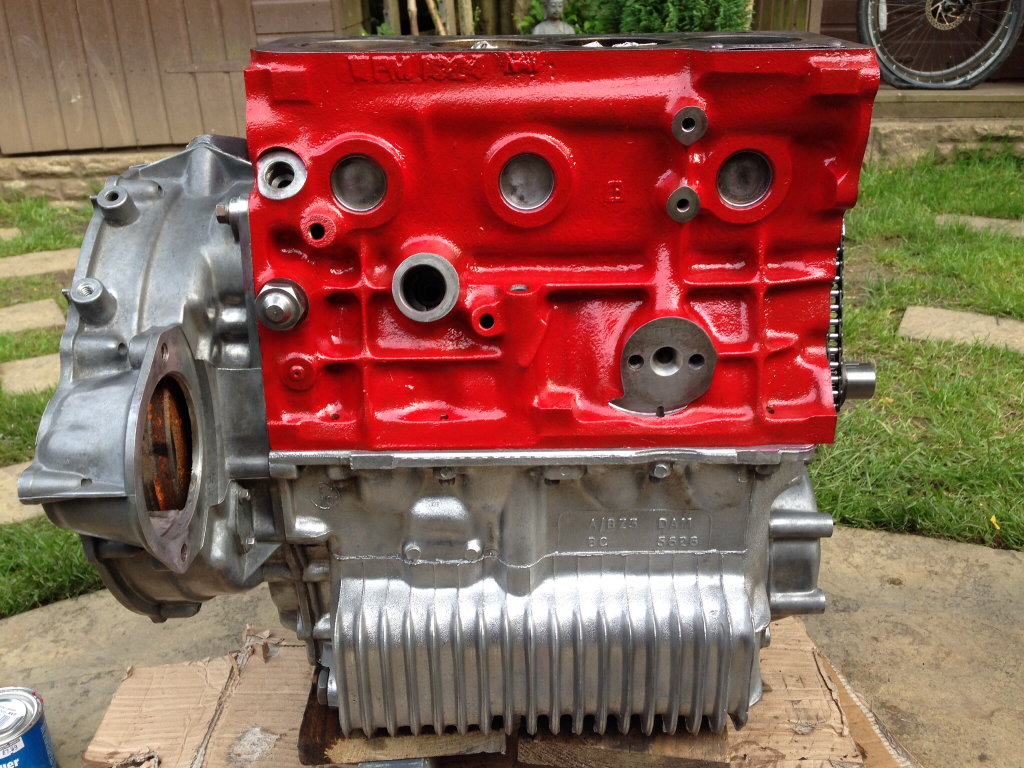
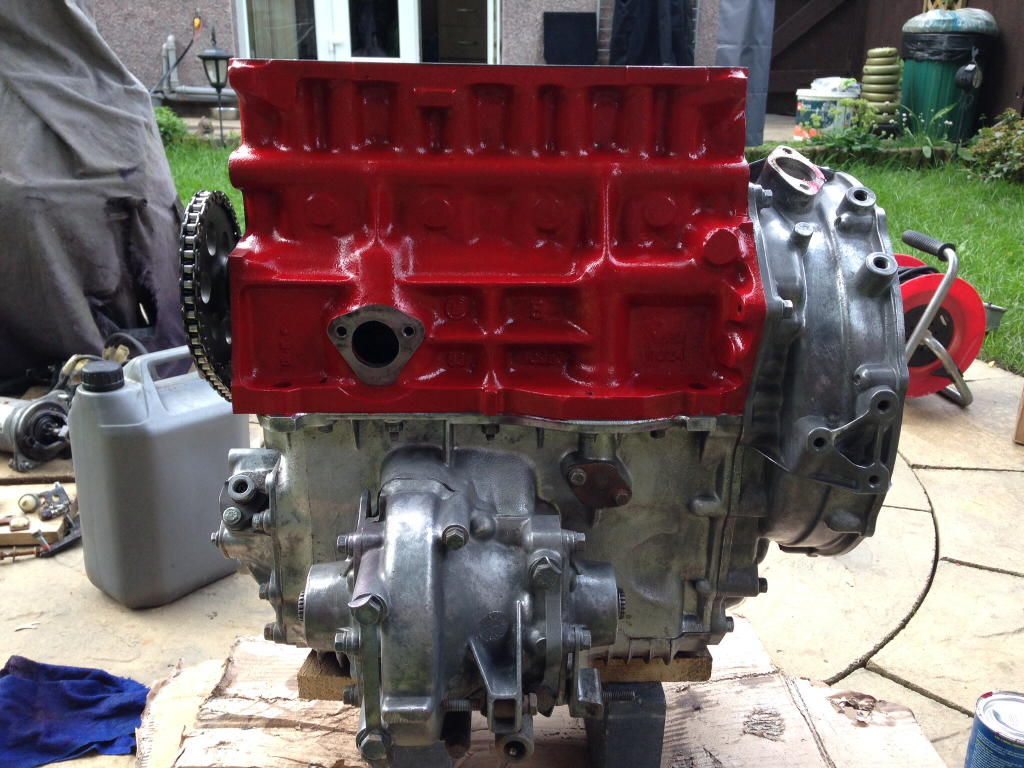
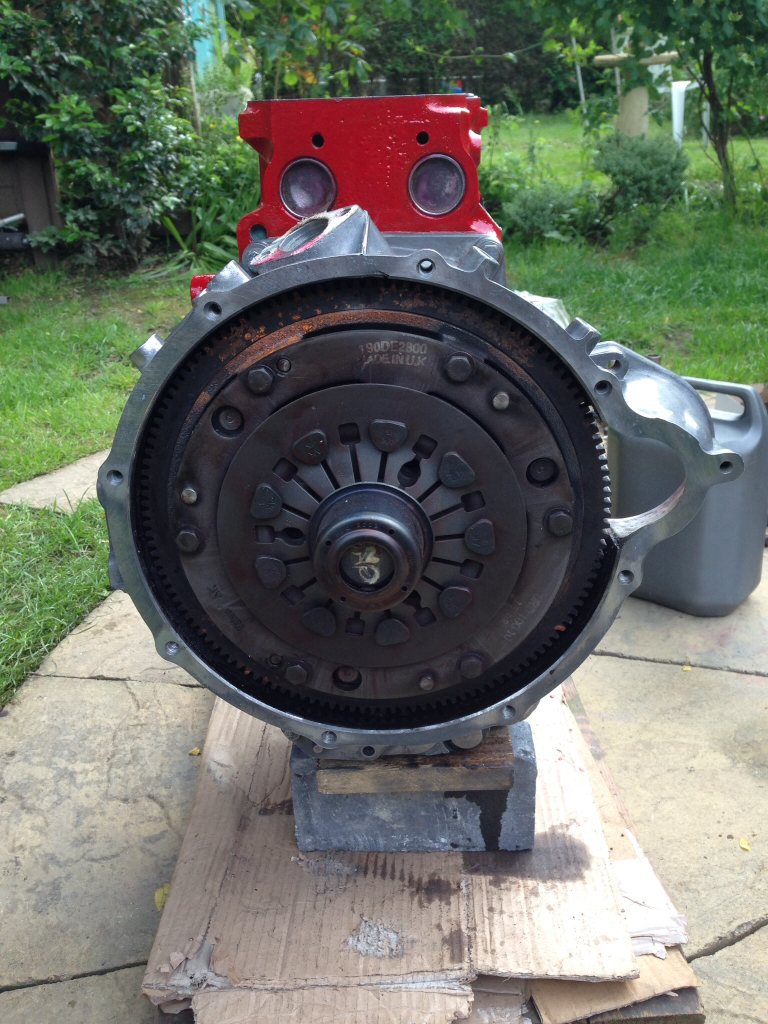
And just for a comparison, came a long way from this -
Before -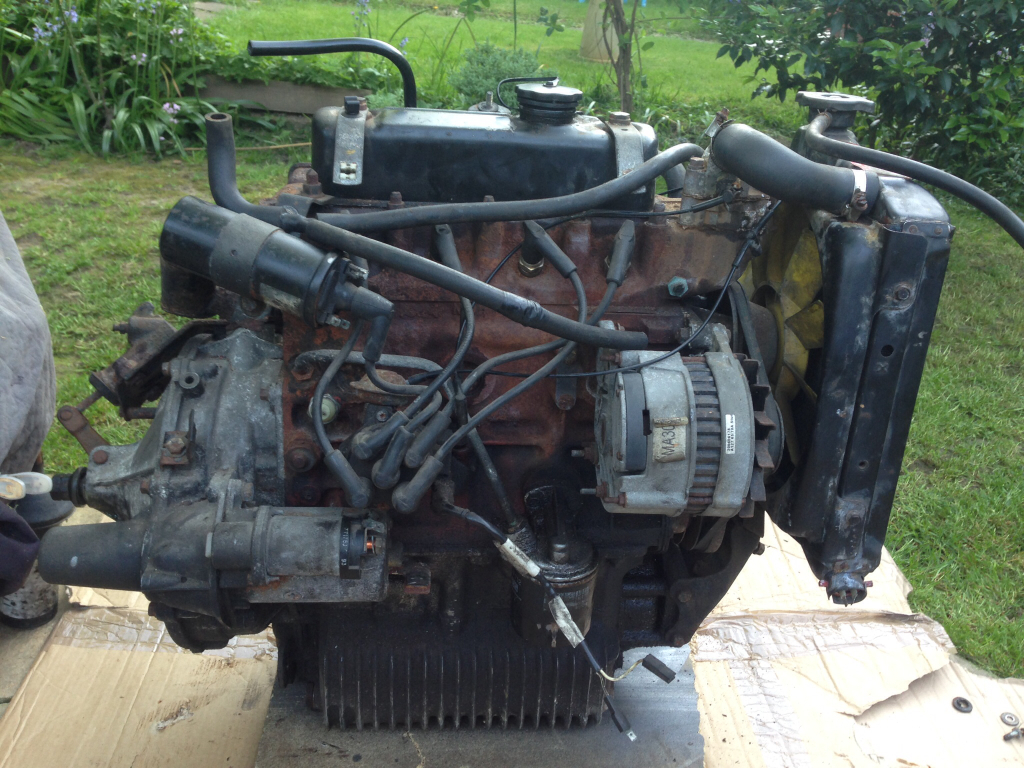
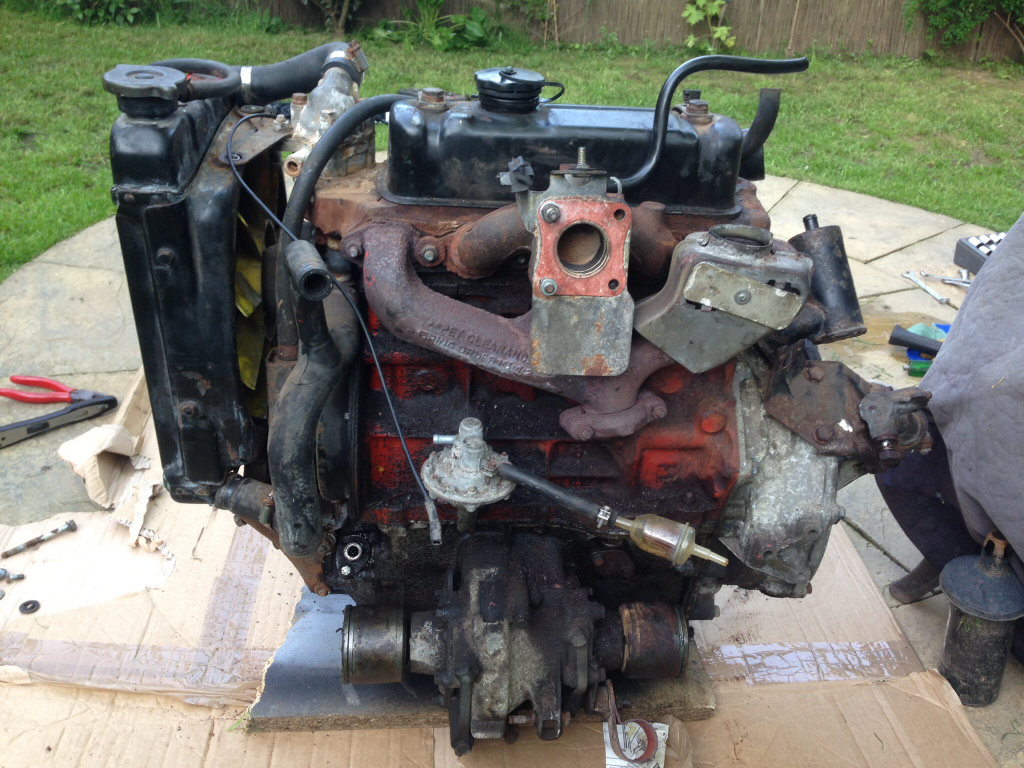
After -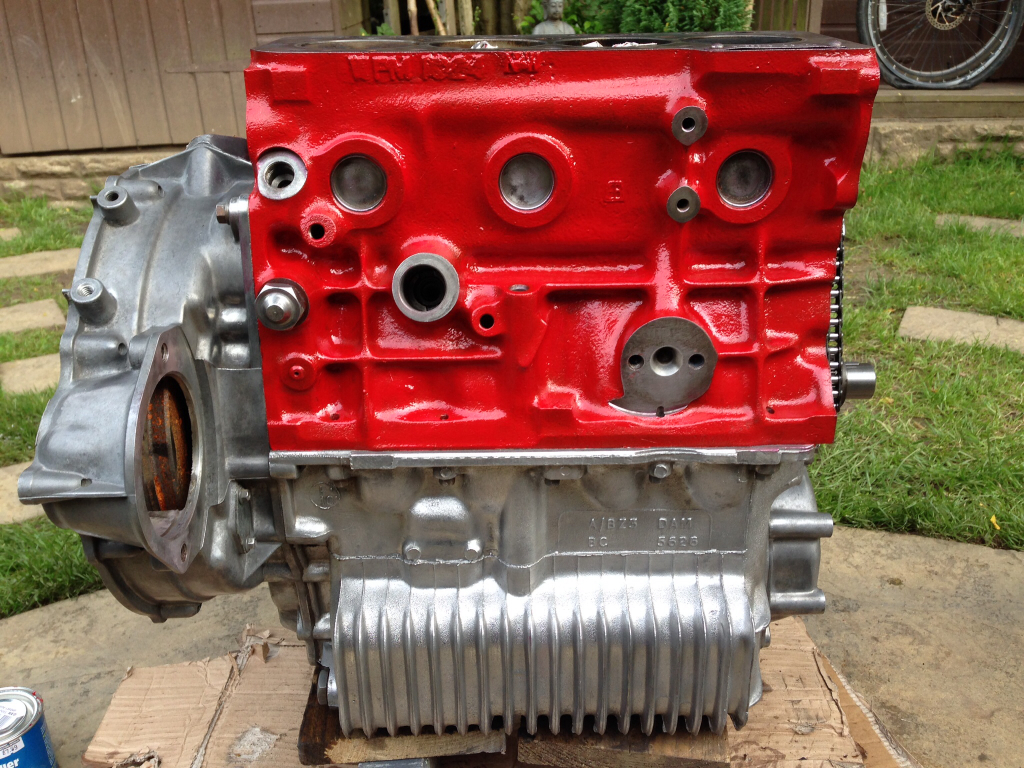
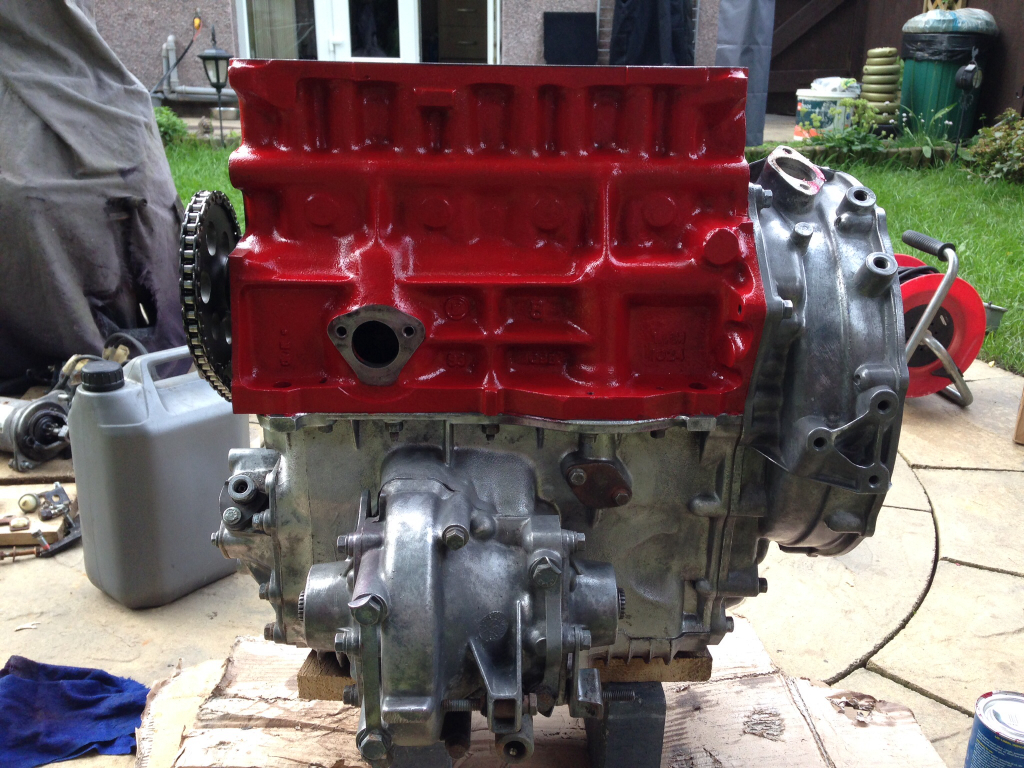
Before -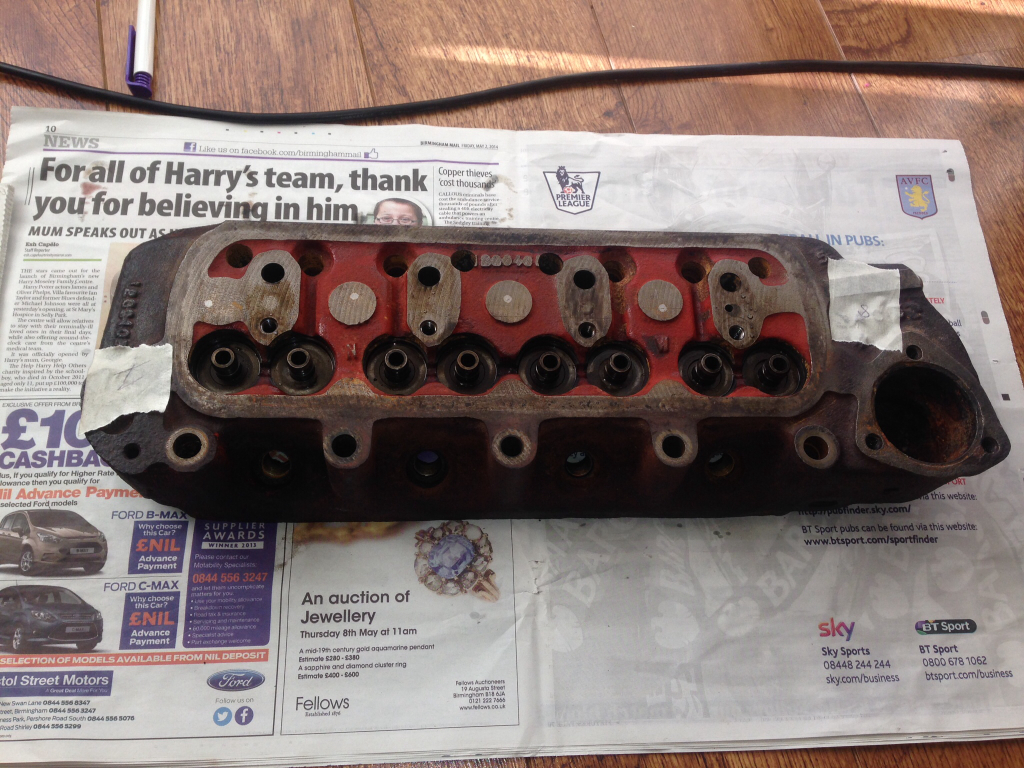
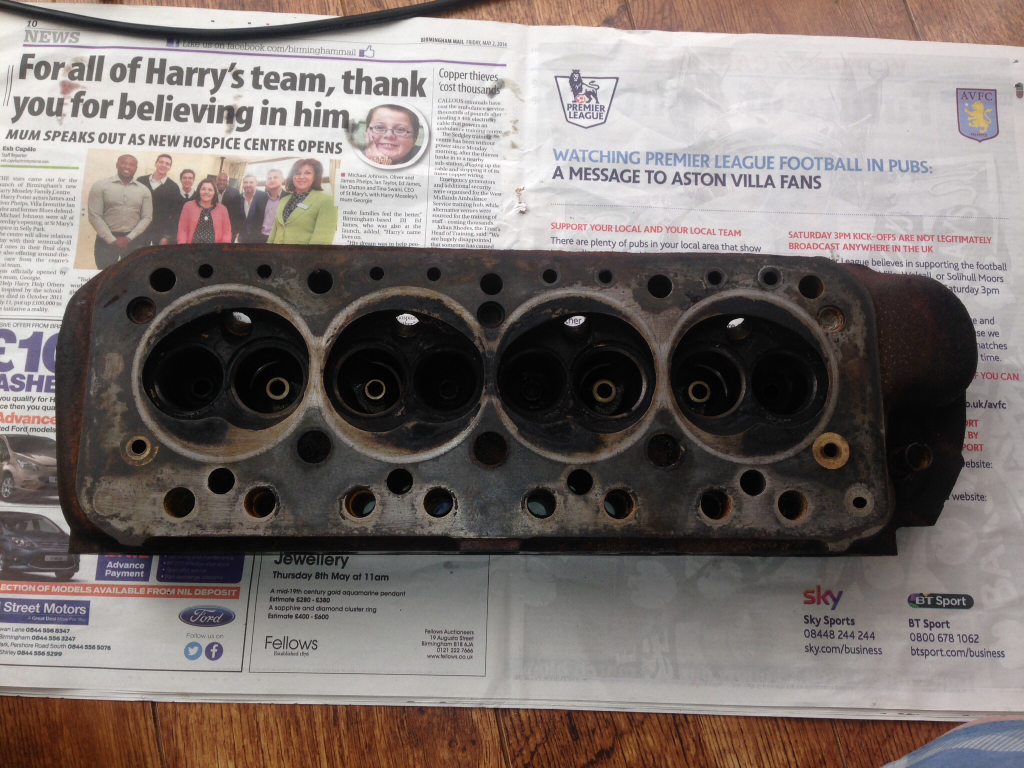
After -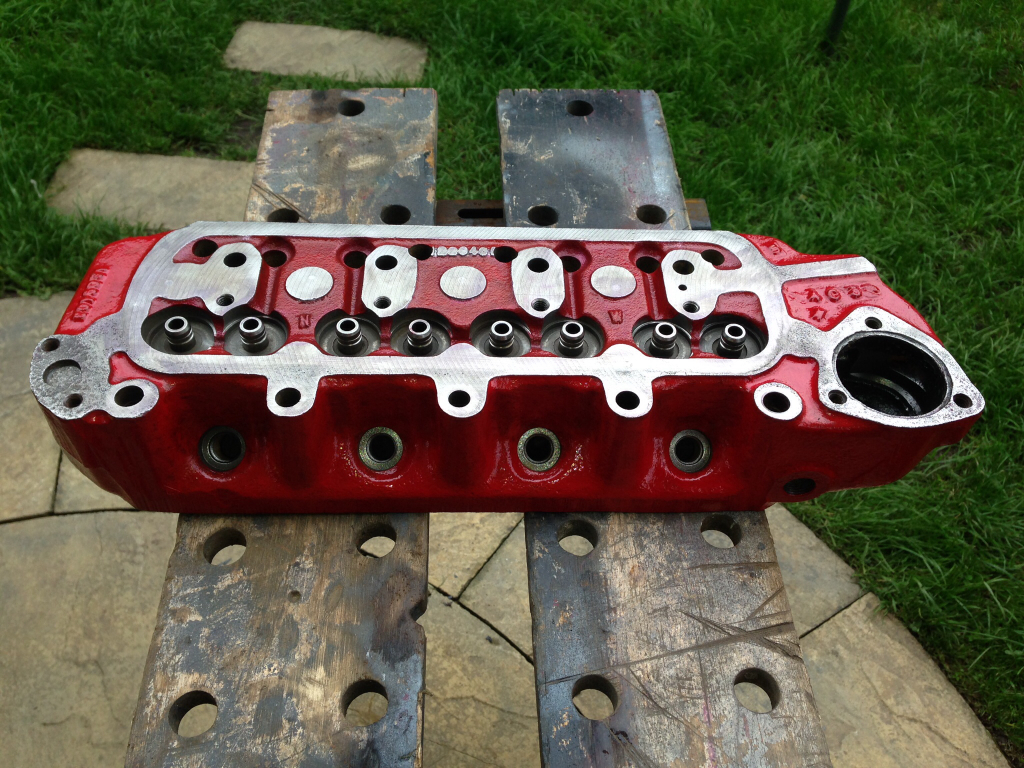
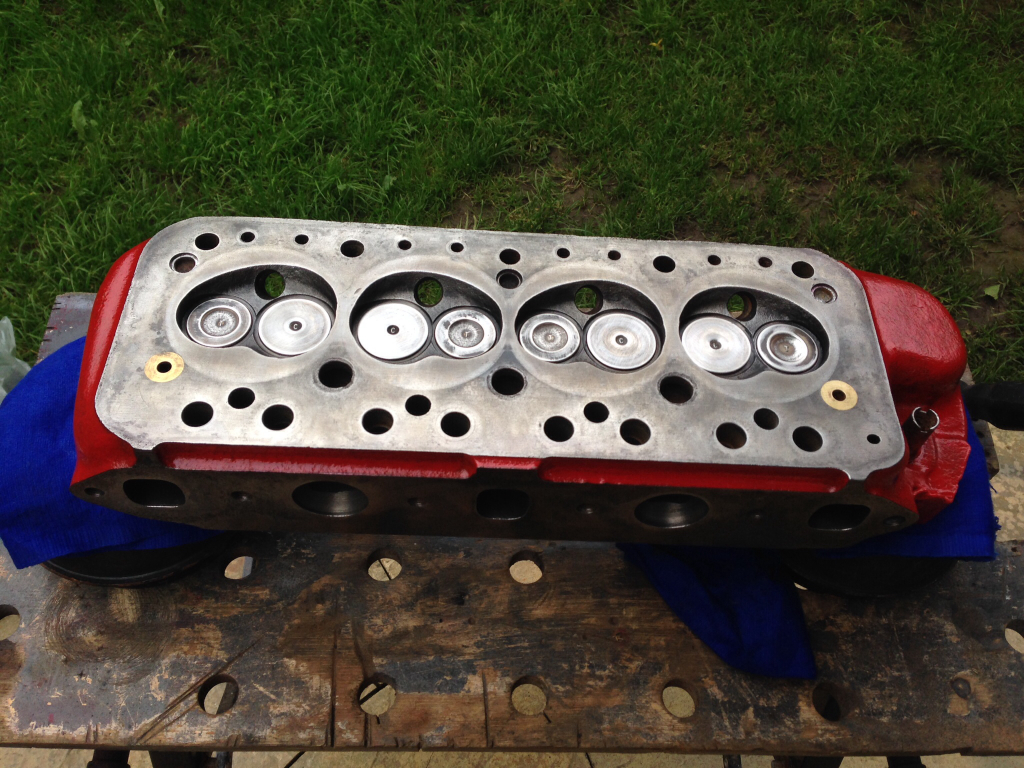
Looks good if I say so my self , going to buy a flywheel puller, as I want to replace the clutch. Better to do it now rather than when it's back in the car !
That's all the progress today, may get some more done before work tomorrow !
6-2-2014
Cheers Ben, took a good day or so but it was so worth it !
Update,
Managed to get a bit done before work today, here's some pics of Progress.
Removed the inner wing, took an absolute age drilling out all those spot welds but came out tidy enough -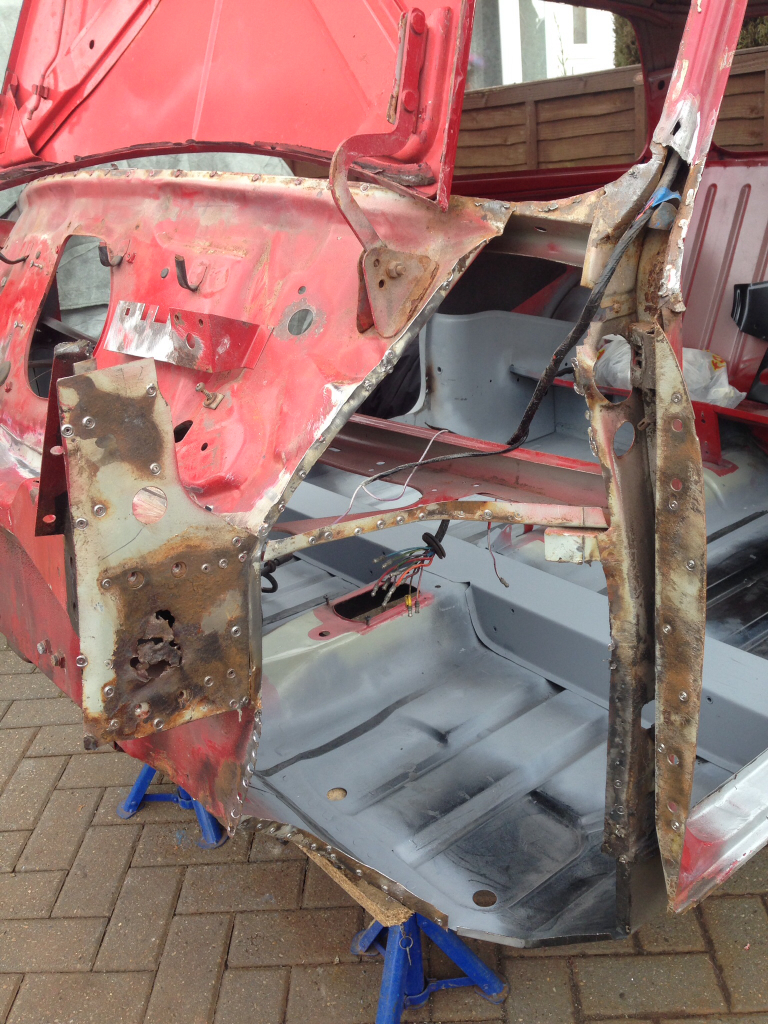
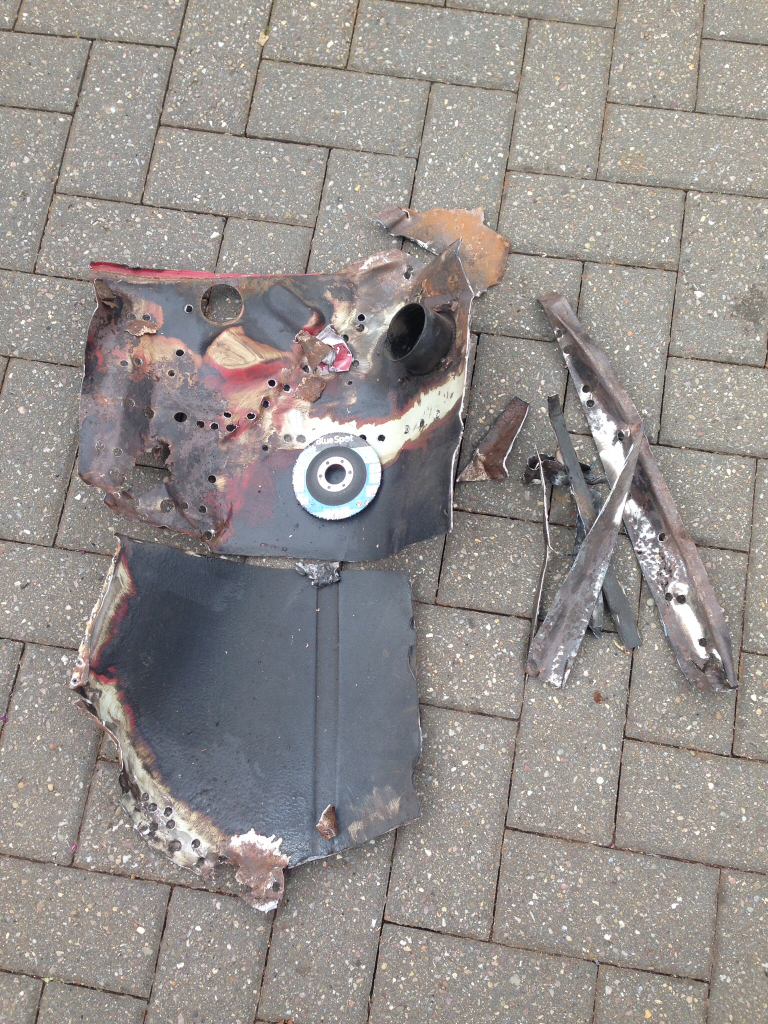
Picked a couple of new tools up from halfords today, flywheel puller and a 30mm socket -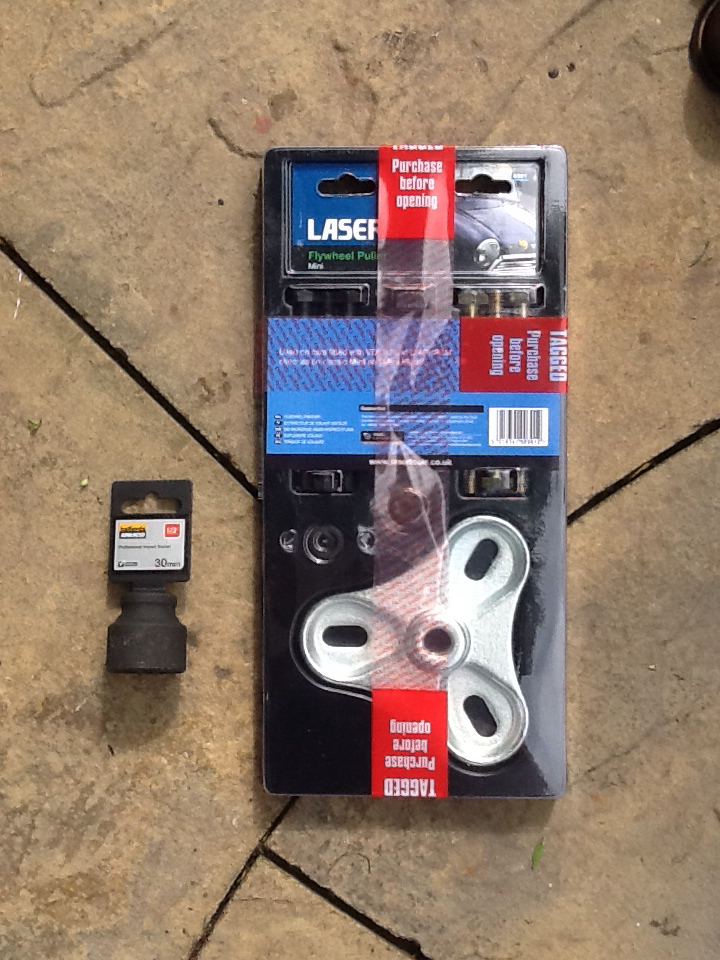
So I went about removing the flywheel, came of with relative ease to be fair, was expecting to be swearing and sweating, but that wasn't the case at all -
Removed the flywheel nut -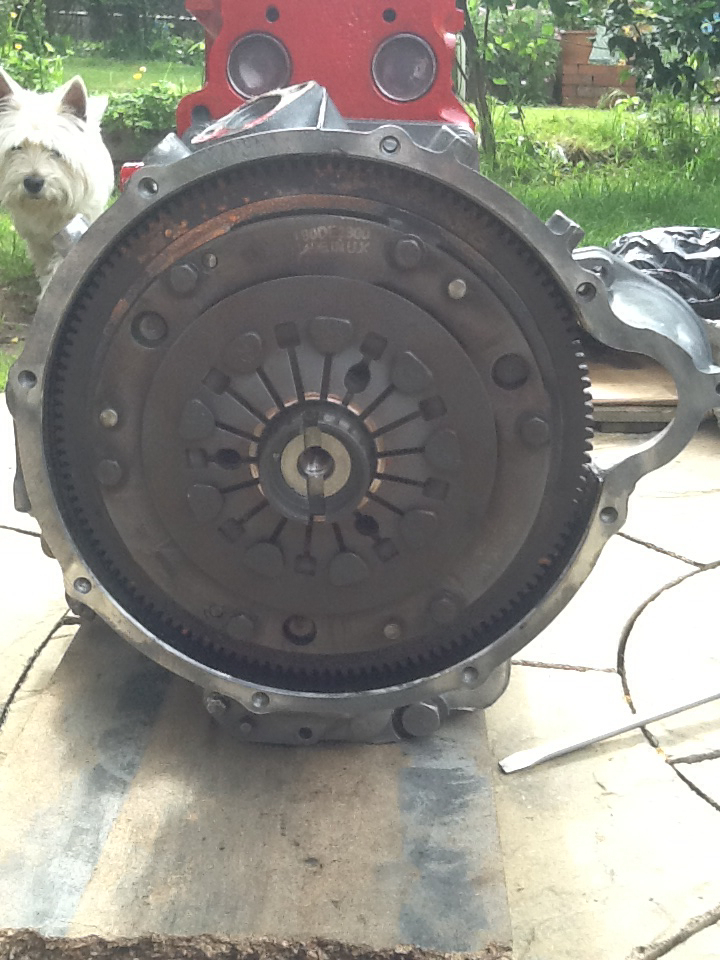
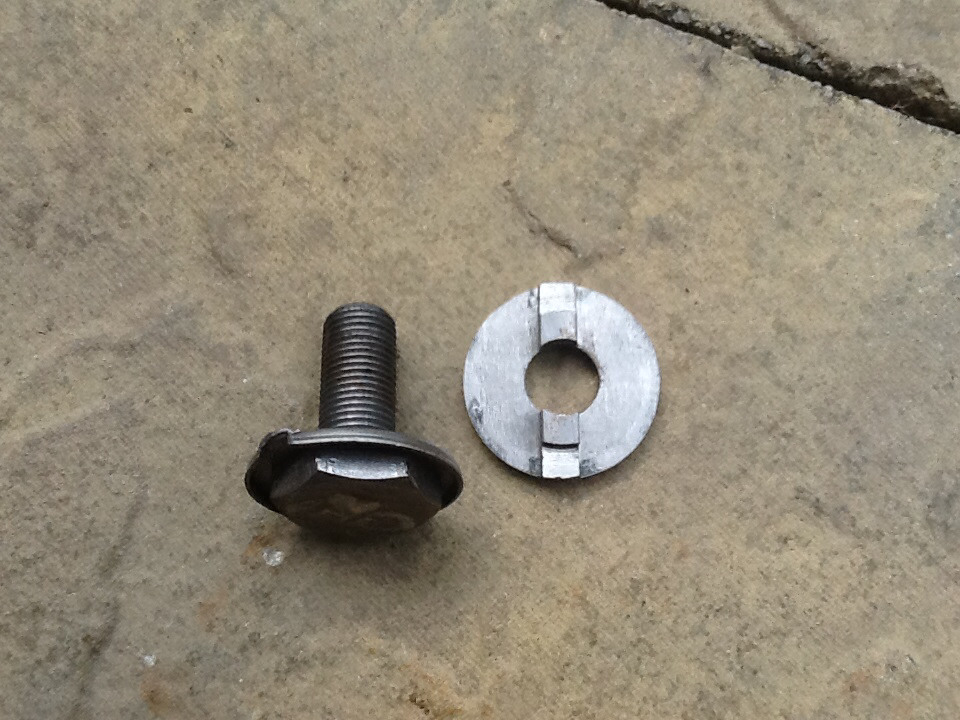
Then removed the flywheel and cleaned the casing up a bit as it was quite oily, looks like there's a leak from the clutch oil seal so will be changing that -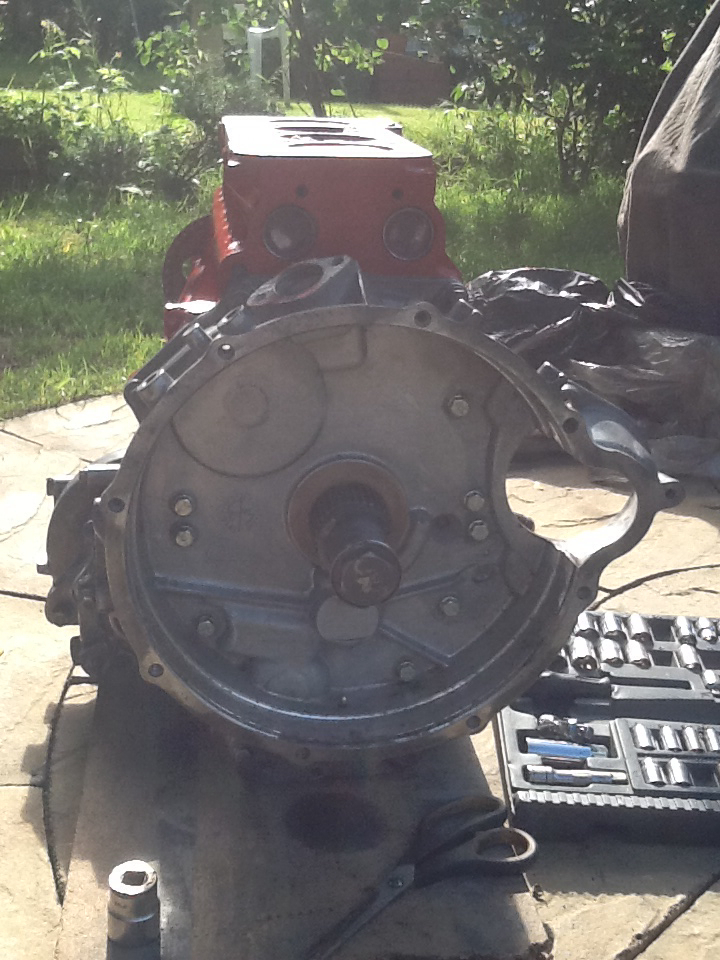
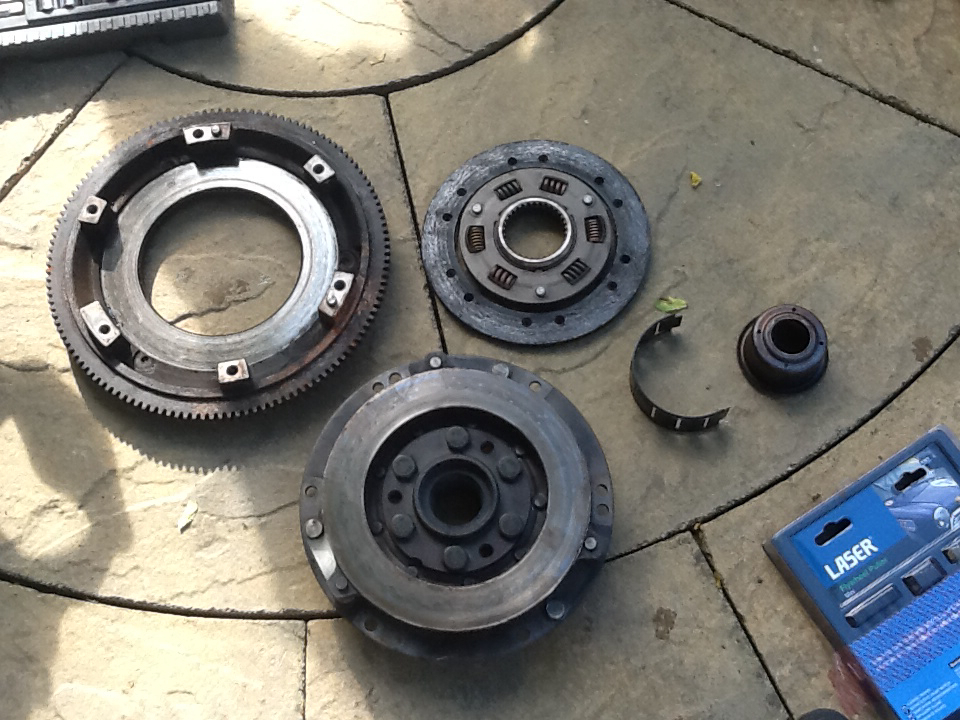
Wasn't in bad condition at all, clutch still has plenty of meat on it, but I'm going to change it anyway, more for piece of mind than anything -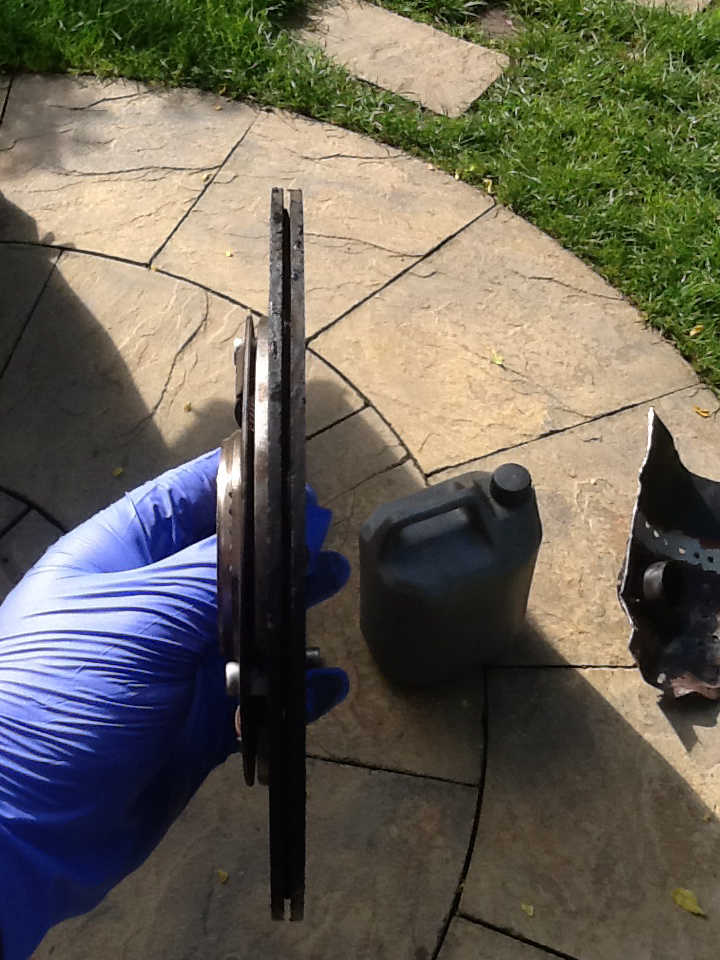
Got to put an order in to minispares for a few gaskets and what not but that's all for today. May do a bit before work tomorrow but it depends on the weather.