You must be logged in to rate content!
9 minute(s) of a 358 minute read
4-10-2014
Update,
I've been stripping my 4 pots down throughout the week before work and have completely disassembled them now, bar splitting them as I've been told this is a BIG no ! Wasn't easy, but got there eventually using a combination of a blow torch, a car pump and brute force !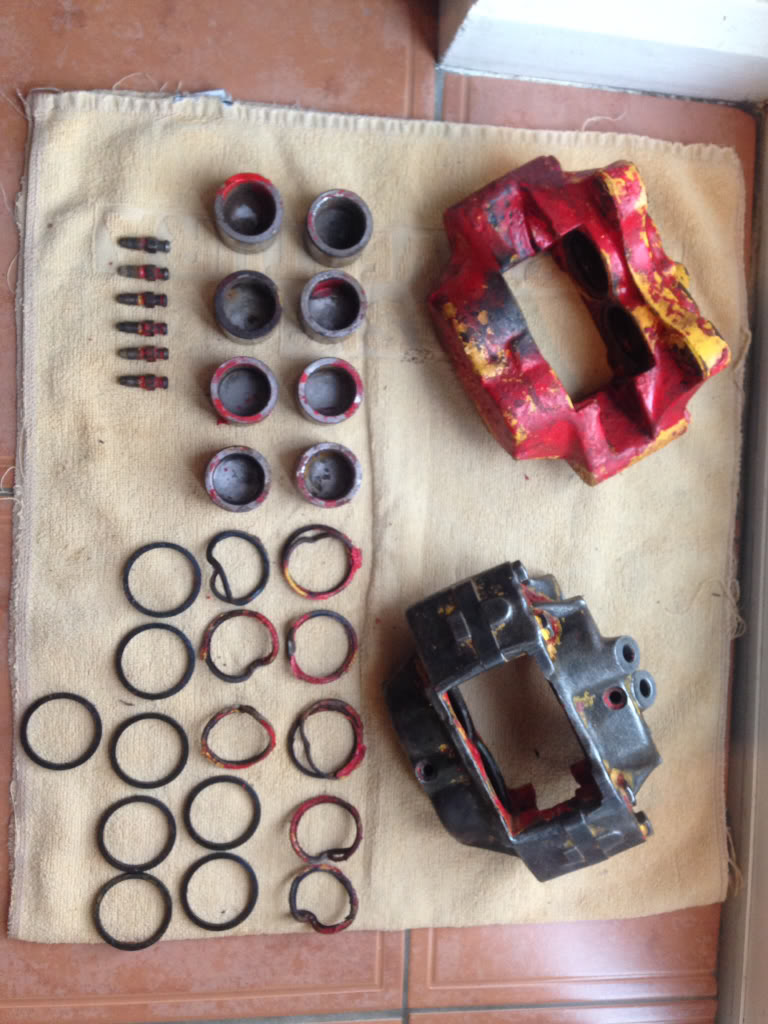
I'm going to take them, along with my drive flanges, up to a place called Bourne's to be blasted and powder coated on Saturday. I'm also going to replace all 8 pistons, bleed valves and all seals so they should look mint and work brilliantly when there finished. I'm going to use stainless steel pistons and valves to minimise the chances of them seizing up in the future. Was going to strip and paint them myself but I'll get a much better finish from powder coating and it will be one less thing for me to do !
4-12-2014
Update,
Went to the Pride Of Longbridge event today, was a good turn out, plenty of Mini's showed up, along with plenty more classics.
Here's a couple of snaps of some of my favorite editions -
Paul Smith ( my personal favourite ) -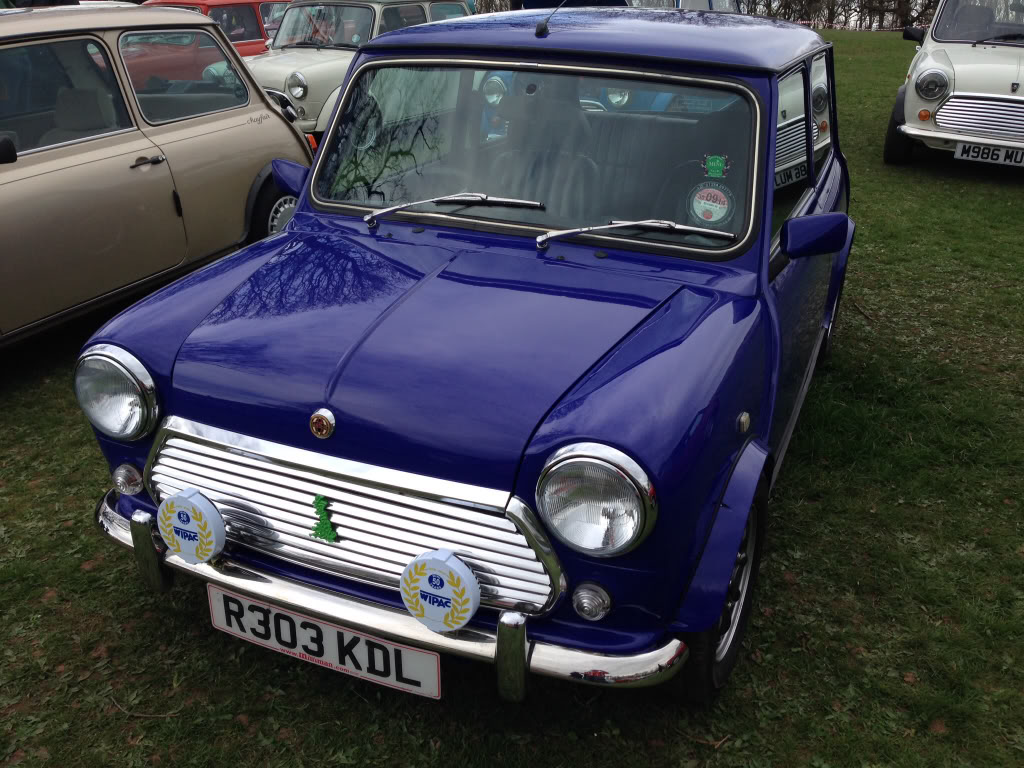
ERA Turbo -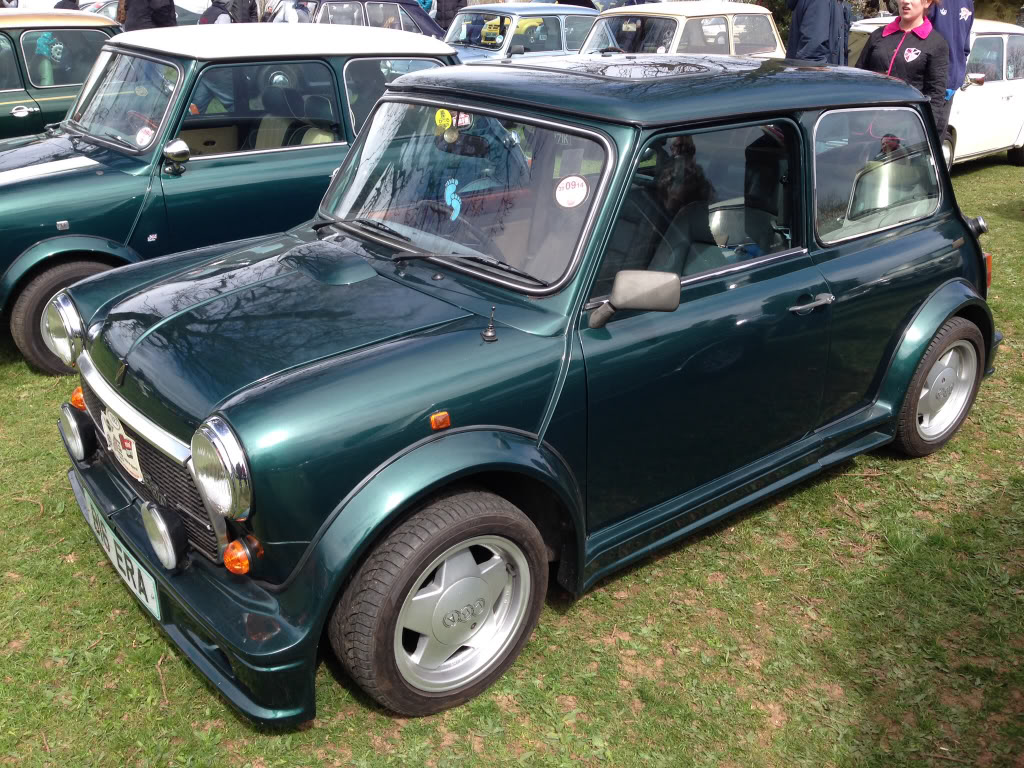
Both stunning editions I'm sure you will agree. Anyway I went there for a few hours with my dad and then came back and cracked on with my own Mini.
Like I said in a previous update I've started repairing the arches, I've completely finished the passenger side arch and that is now primed and has been tiger sealed. I've also made a plate and half welded that in on the drivers side, going to have a full day at it tomorrow though so should get the rear end mostly finished bar fitting a new battery box which is on the way from M-Machine.
So, hole in question -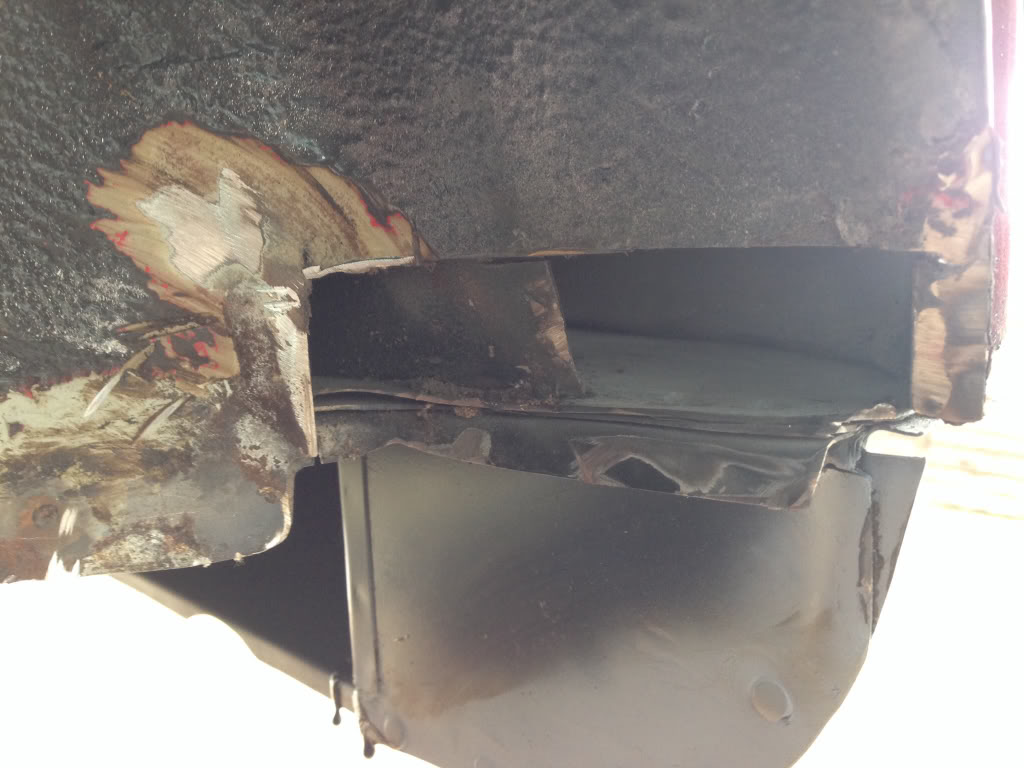
Welded a piece in and tided up a bit -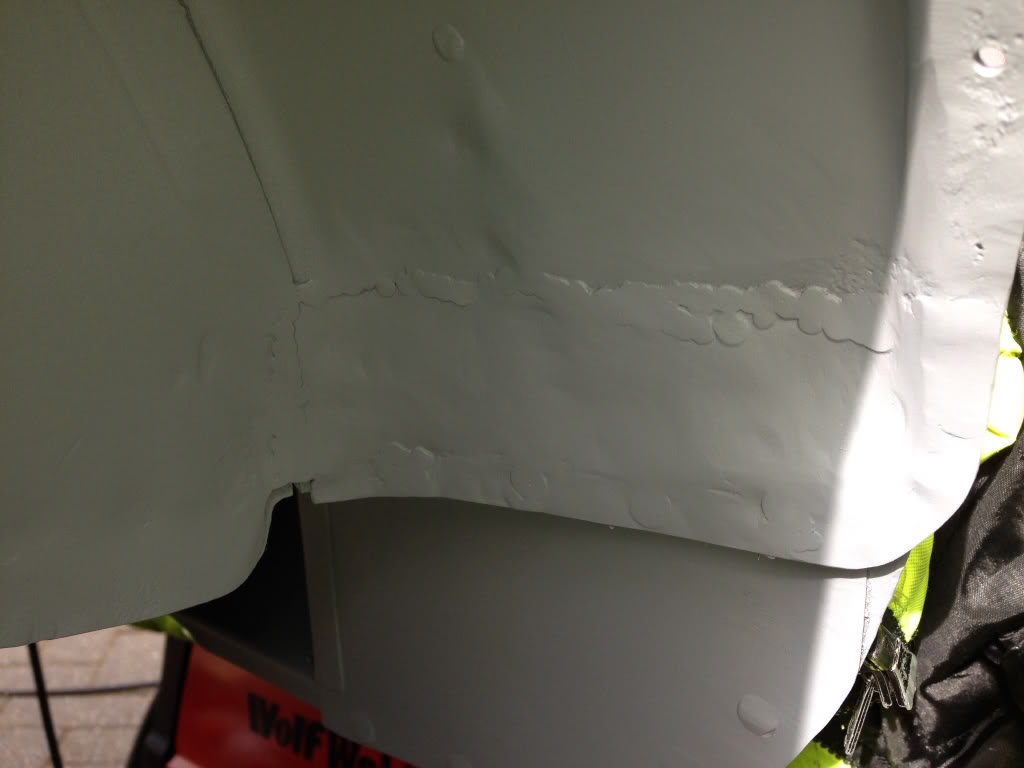
Then I removed all of the black underseal, used Deox Gel on the surface rust, and primed the whole arch -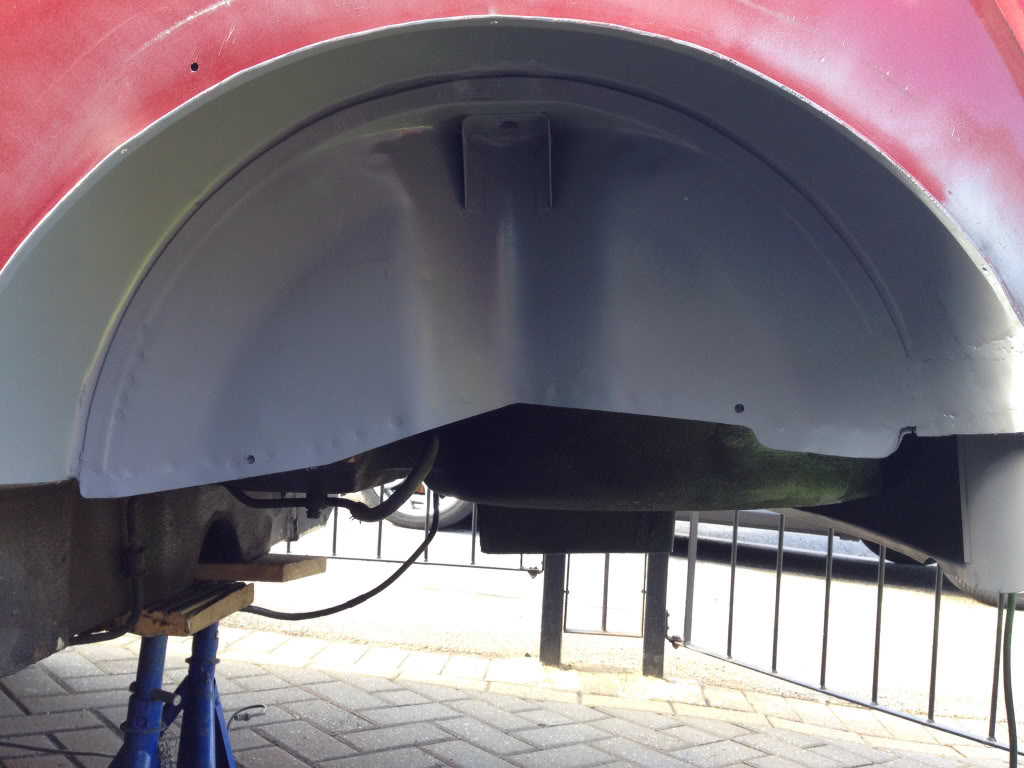
Tiger Seal applied -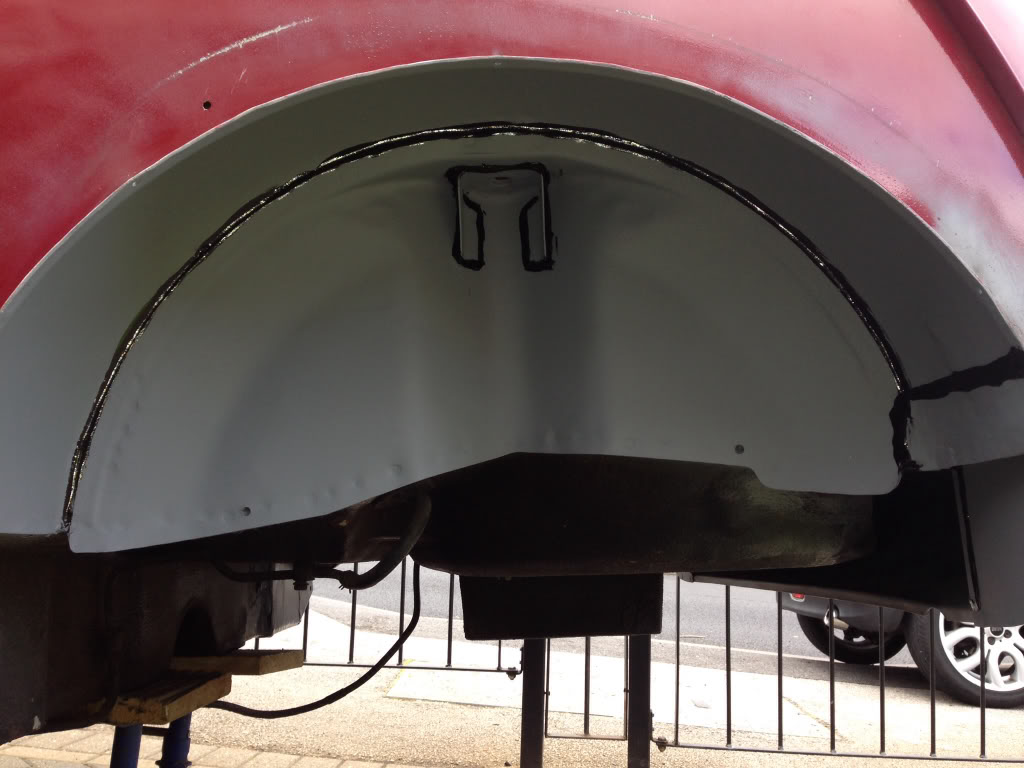
I'm quite happy with the way it looks, really motivates you when it comes out like that, definitely worth the hour or so it took to remove that underseal, horrible stuff ! I'm going to apply another coat of primer tomorrow and then use Upol Gravigard on top of that. Will be the same treatment for the drivers side then the arch's will be painted body colour along with the outer sills and flitches. The underside of the floors and under the boot area will be gloss black.
That's all for today
4-16-2014
Thanks a lot !
Update,
A bit of a late update but heres some of the work I got done last weekend.
Gravigard applied to the passenger rear arch -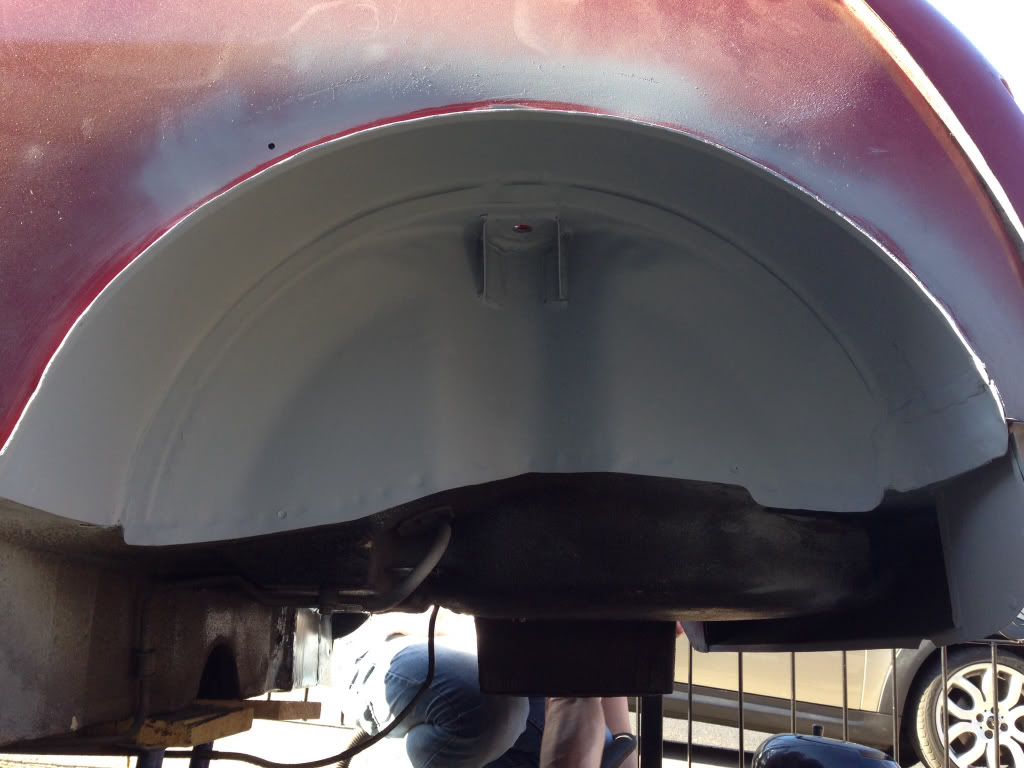
Then I went to work removing a nasty plate on the drivers side arch that's been put on by mr bodge, which revealed this -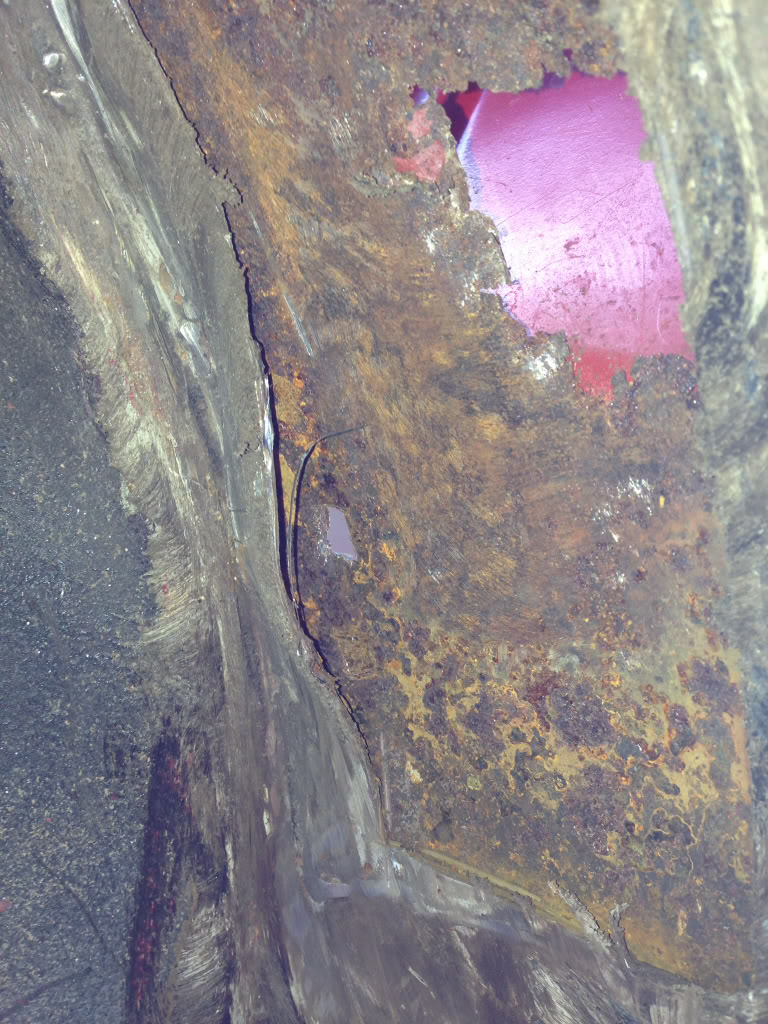
Chopped out the rot -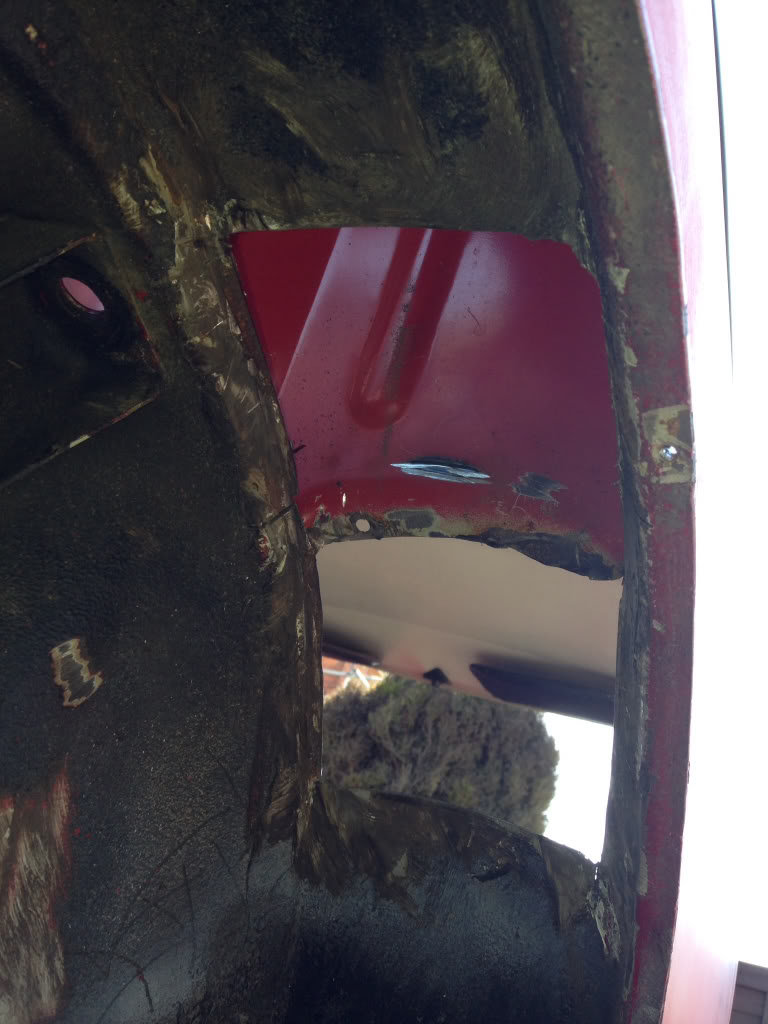
I have begun repairing it but not finished it yet so will upload pictures soon.
Anyway I woke up today to be greeted by a nice big parcel from Minisport -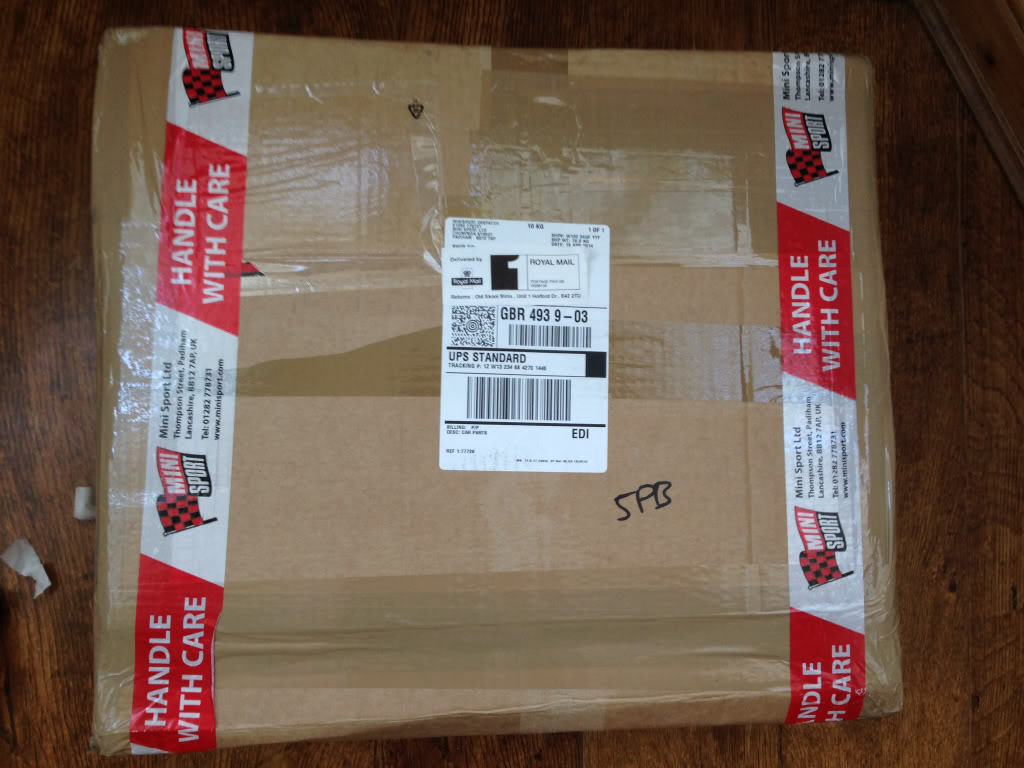
The goodies inside -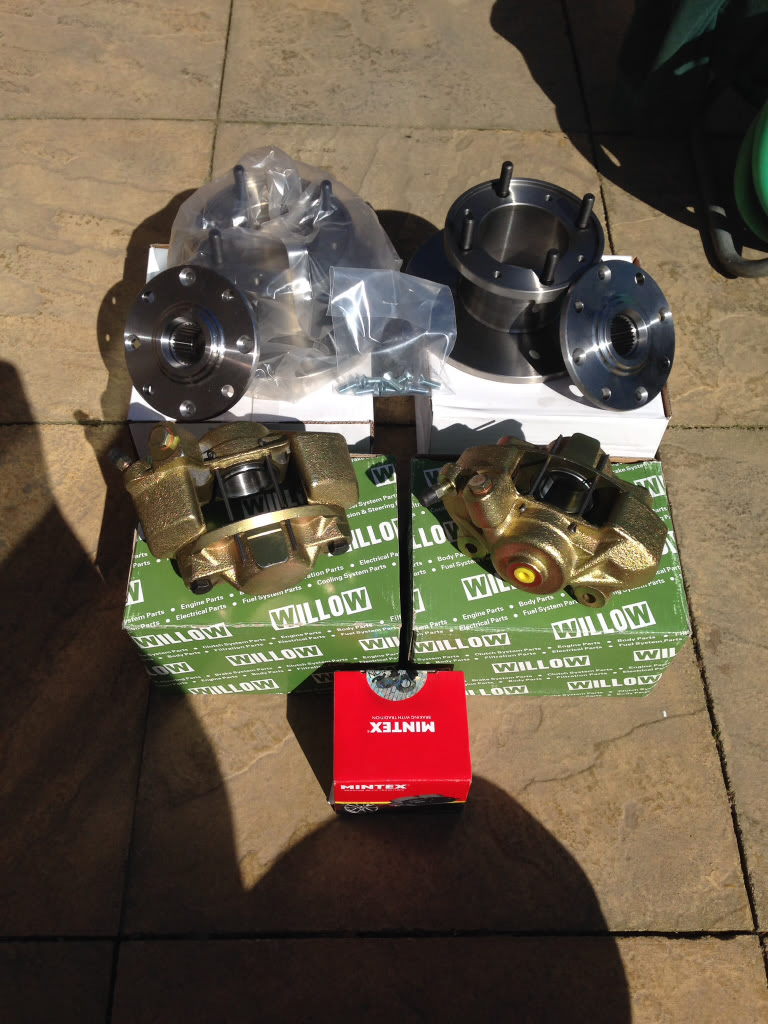
I've changed my mind again and have decided I'll be running 10 inch wheels, they just look so much nicer then any other wheel size, especially in the deep dish style, so I've bought the braking set up, and it's very nice indeed !
I also got a package from M-Machine which contained a heritage battery box -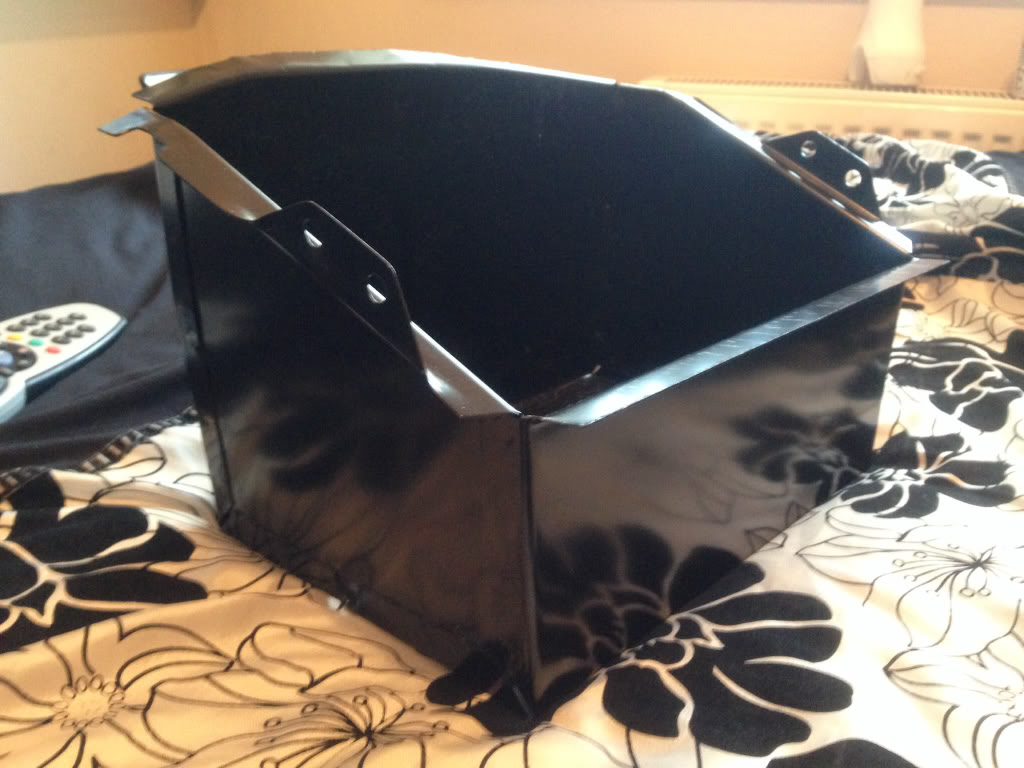
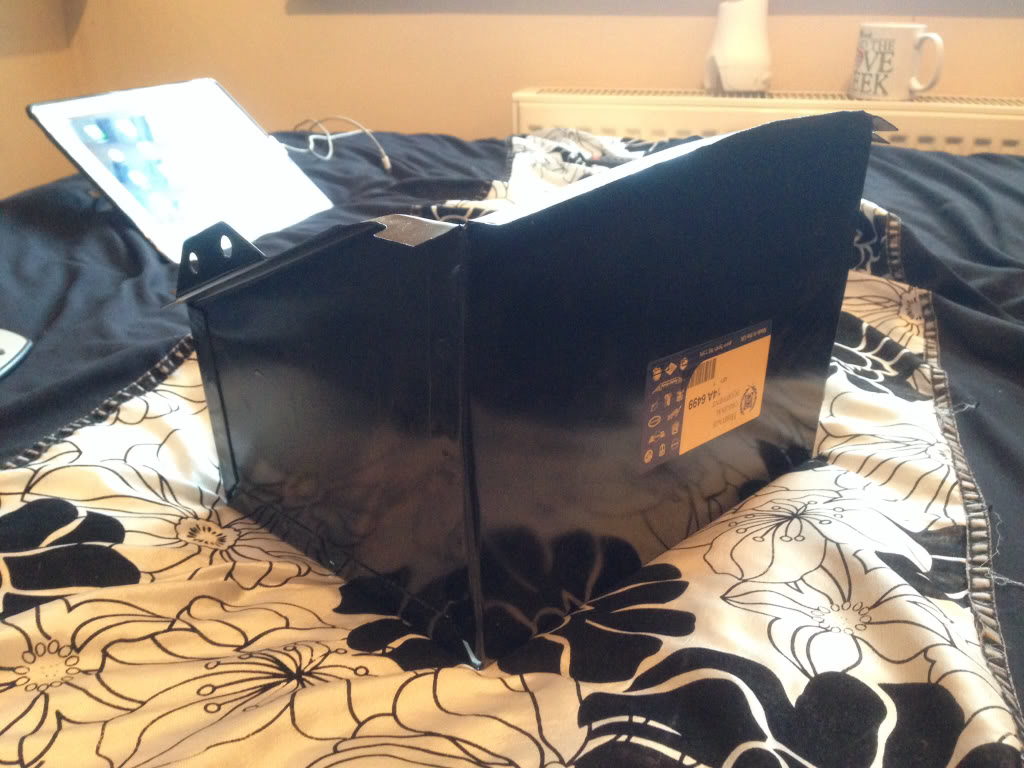
And also received a couple of other bits I've ordered throughout the week,
Dynax UB -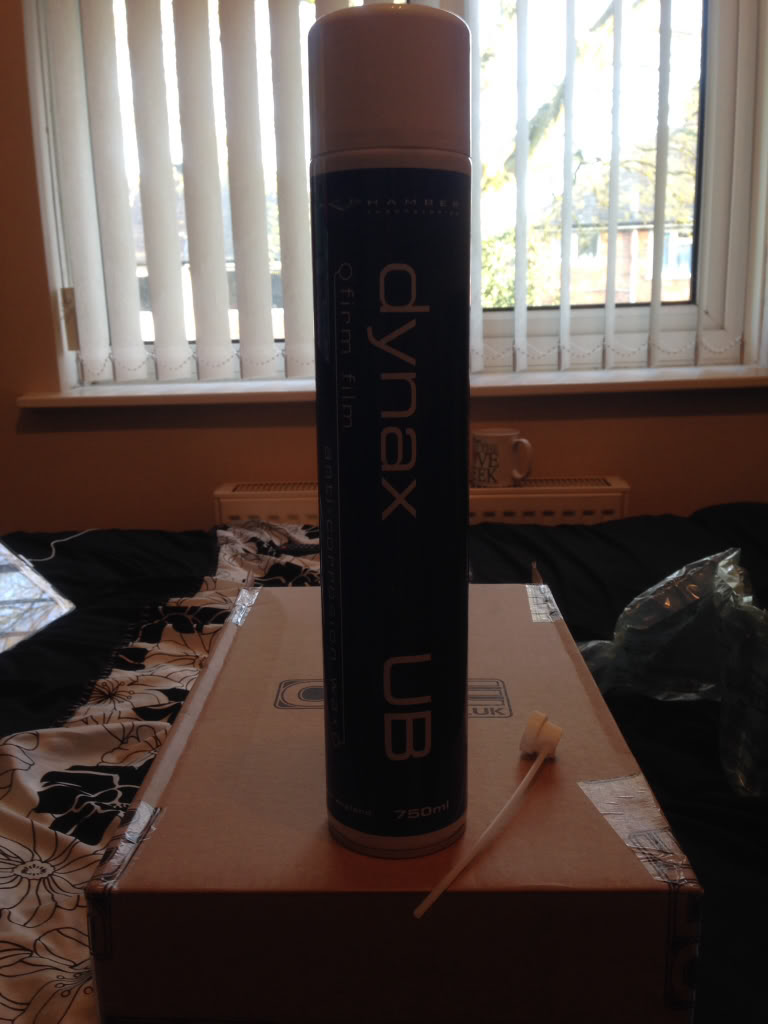
And a MK2 rear light lens, as unfortunately when I bought my set from binley hall the passenger lens was chipped -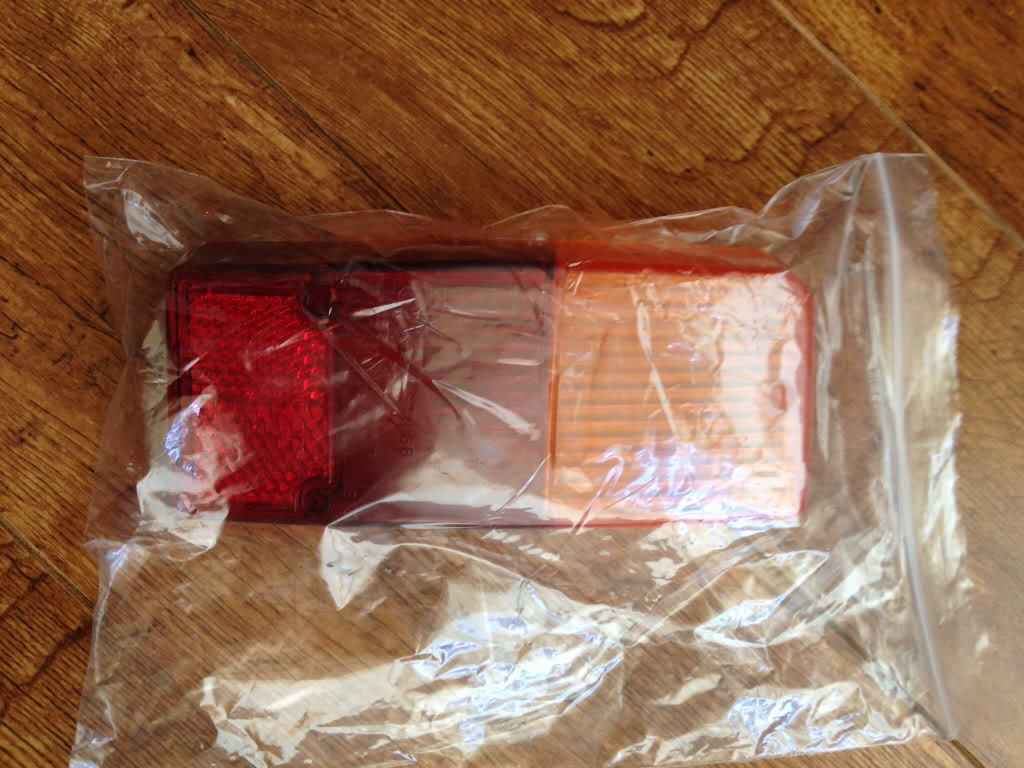
So it's been a busy week for the postman
4-20-2014
Update,
Right, got a fair bit done so I'll start with that arch repair. I've got no pictures of the actual patch I made as I forgot to take some but I have got pictures of it primed and sealed.
So, drivers side arch repaired, primed and sealed -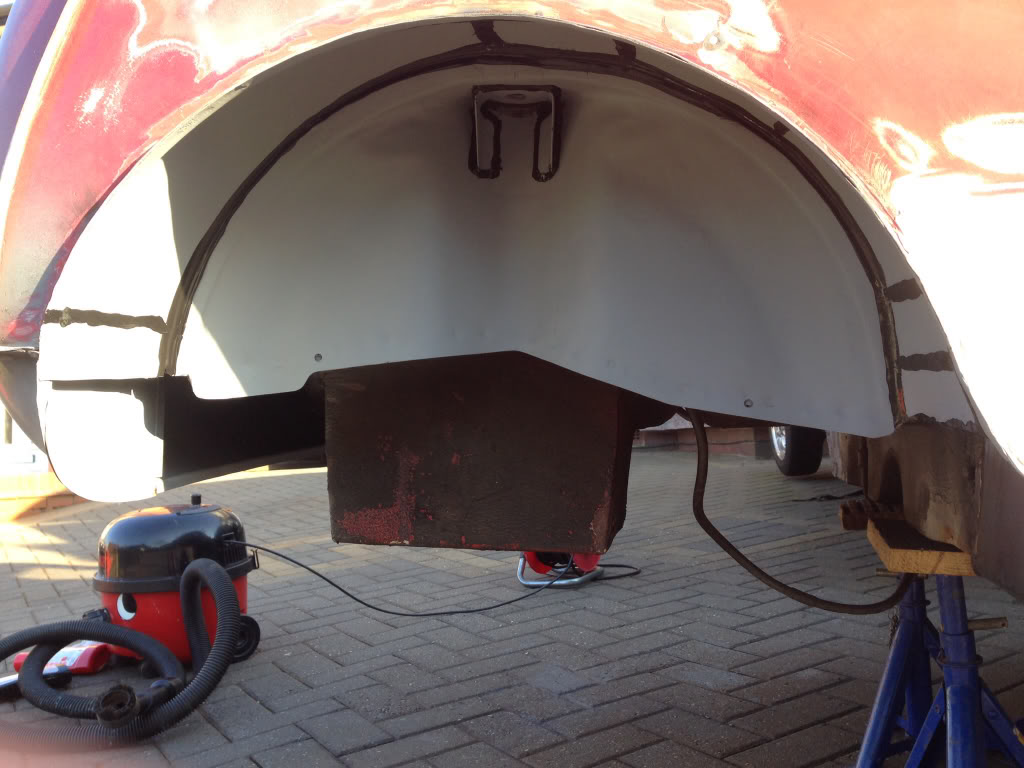
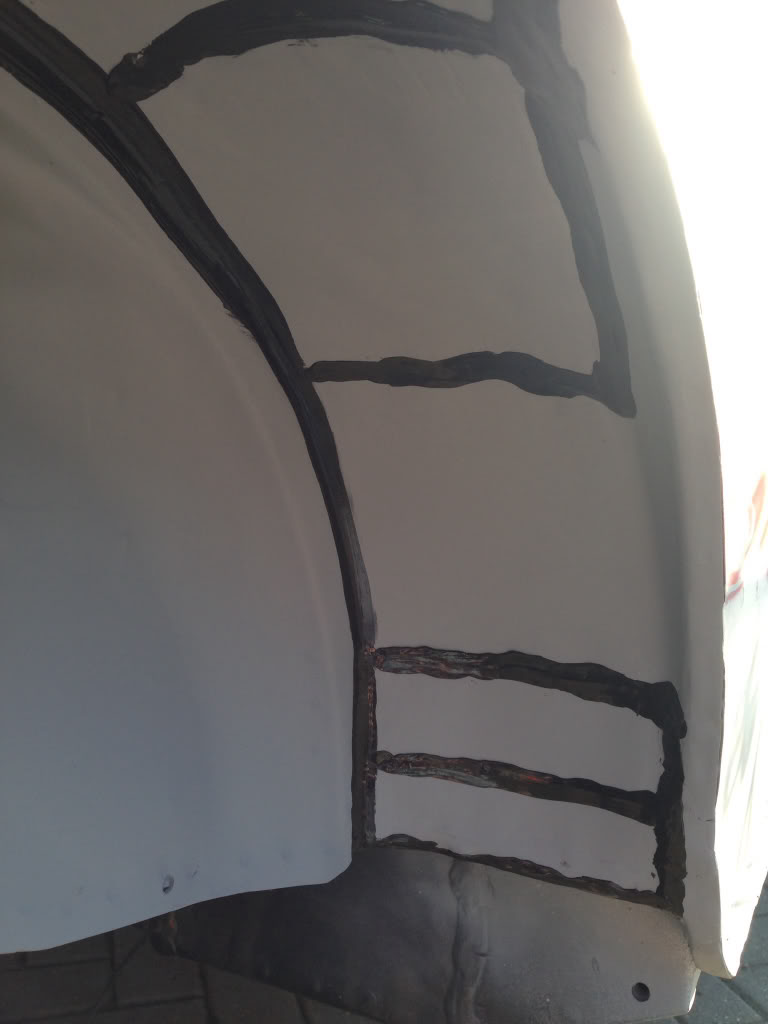
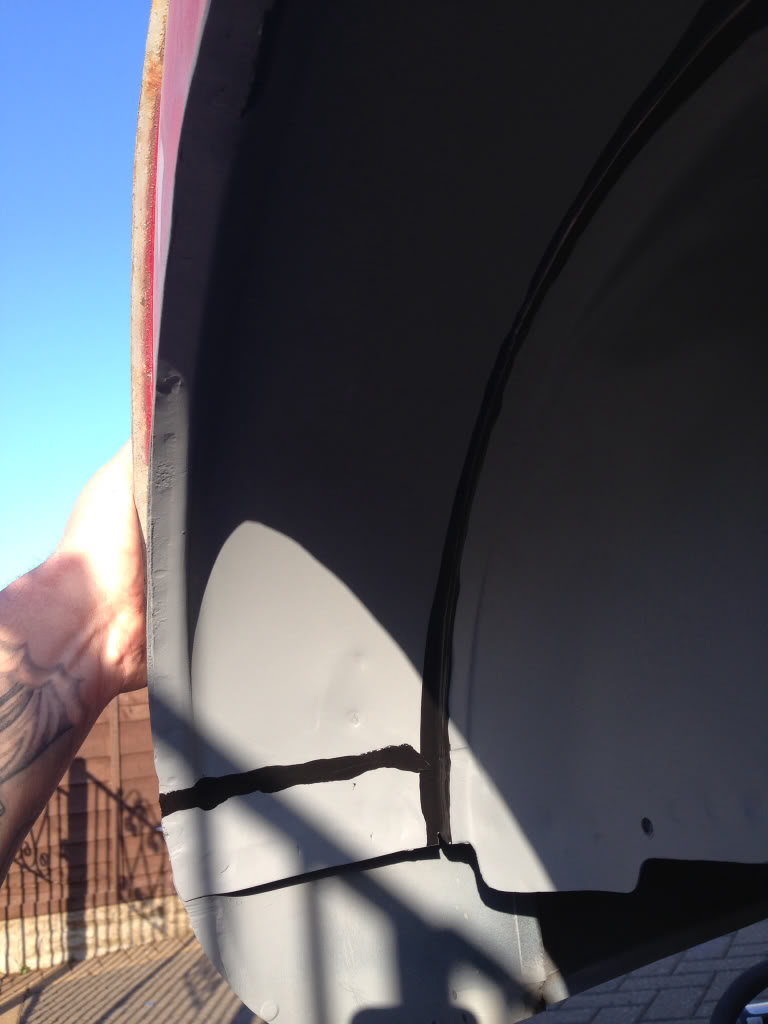
Another coat of primer and then Gravigard applied -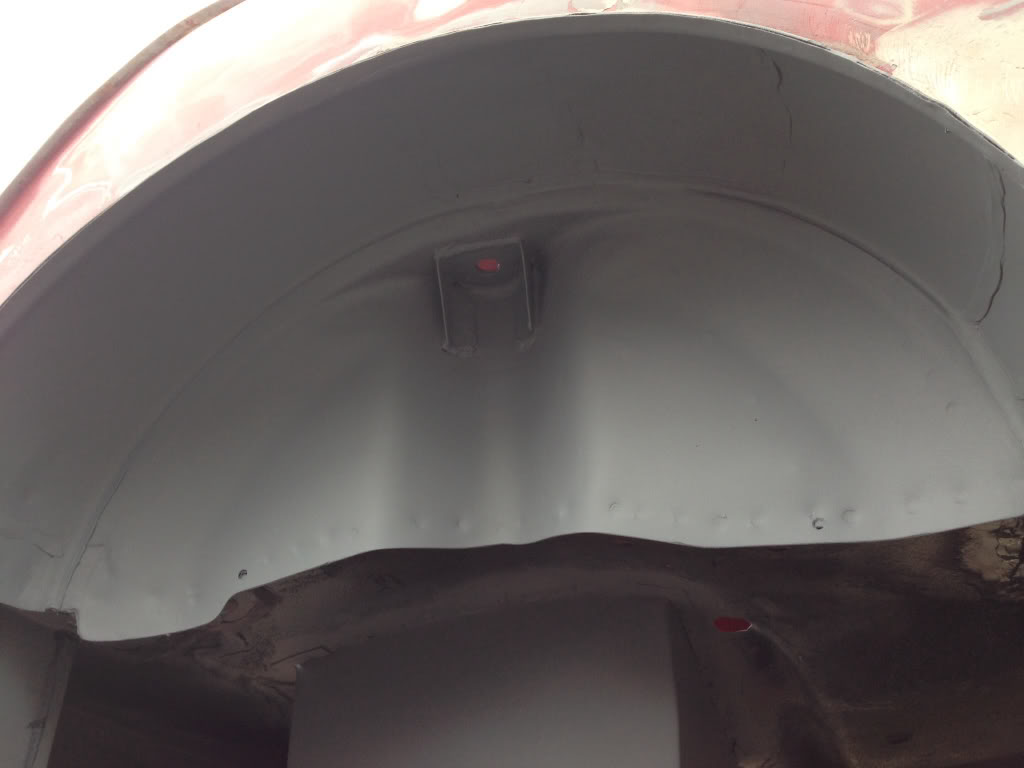
Next on the list was to fit the new battery box.
Old box removed -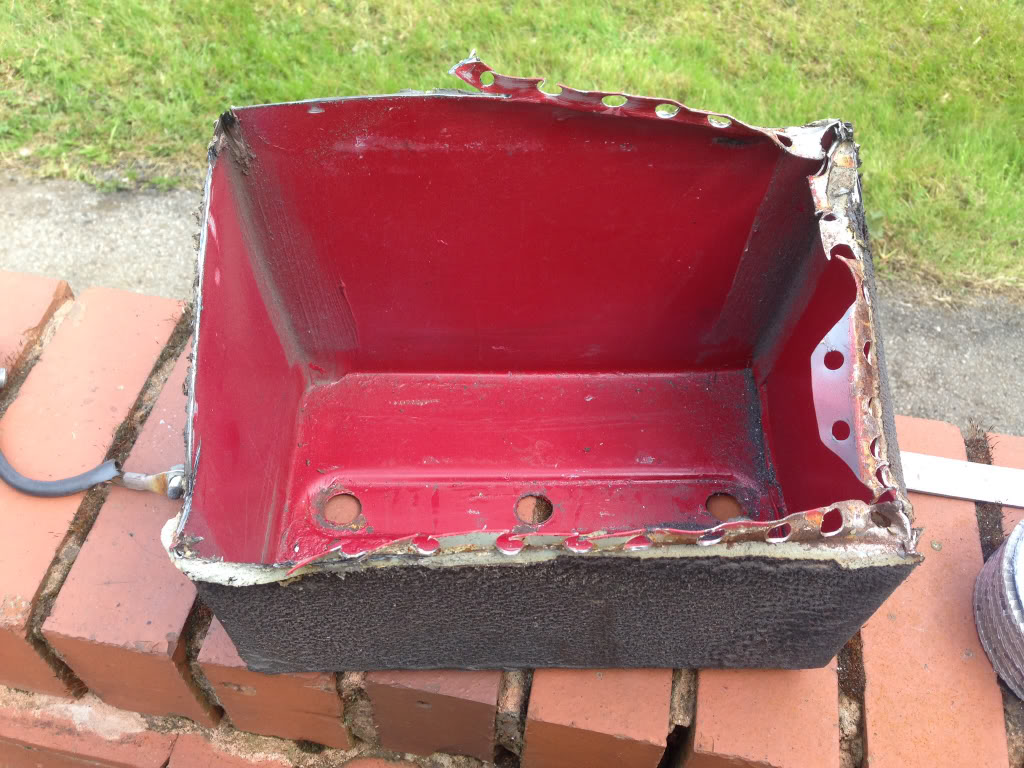
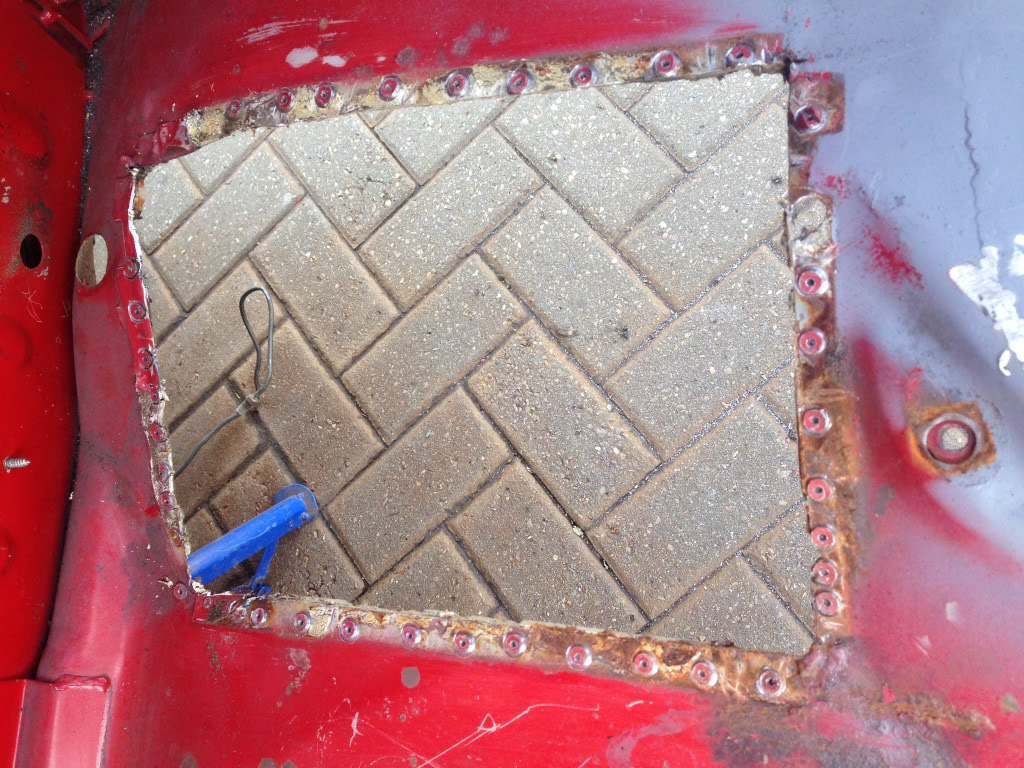
Tidied the lip up a bit -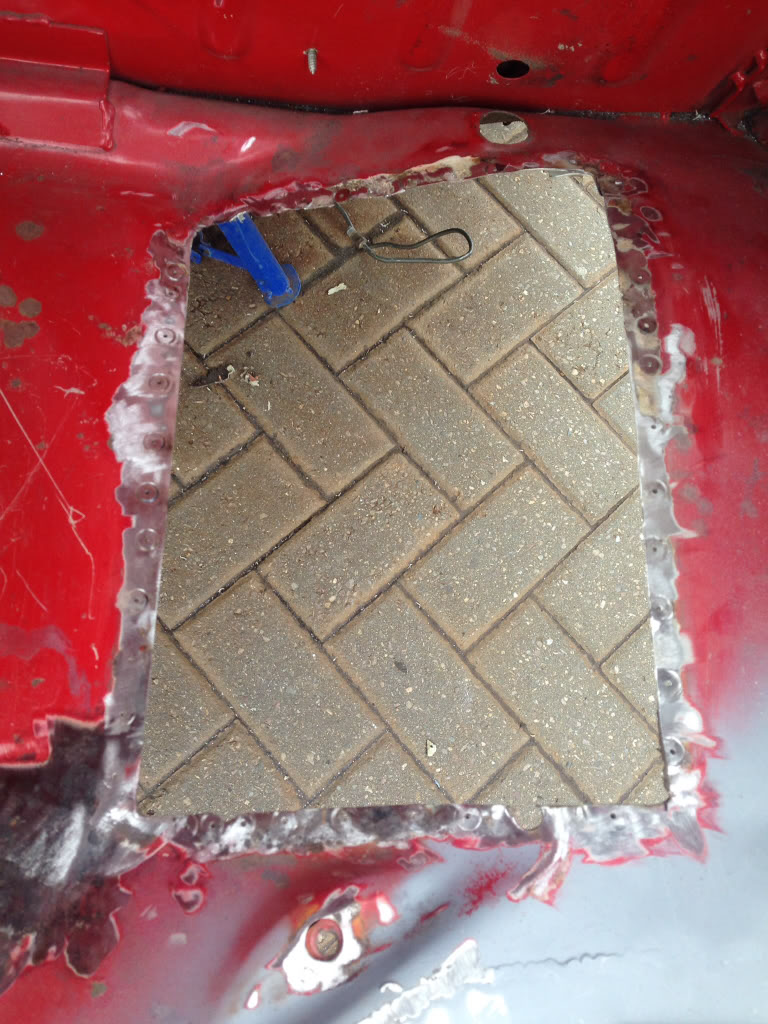
Test fit of the battery box -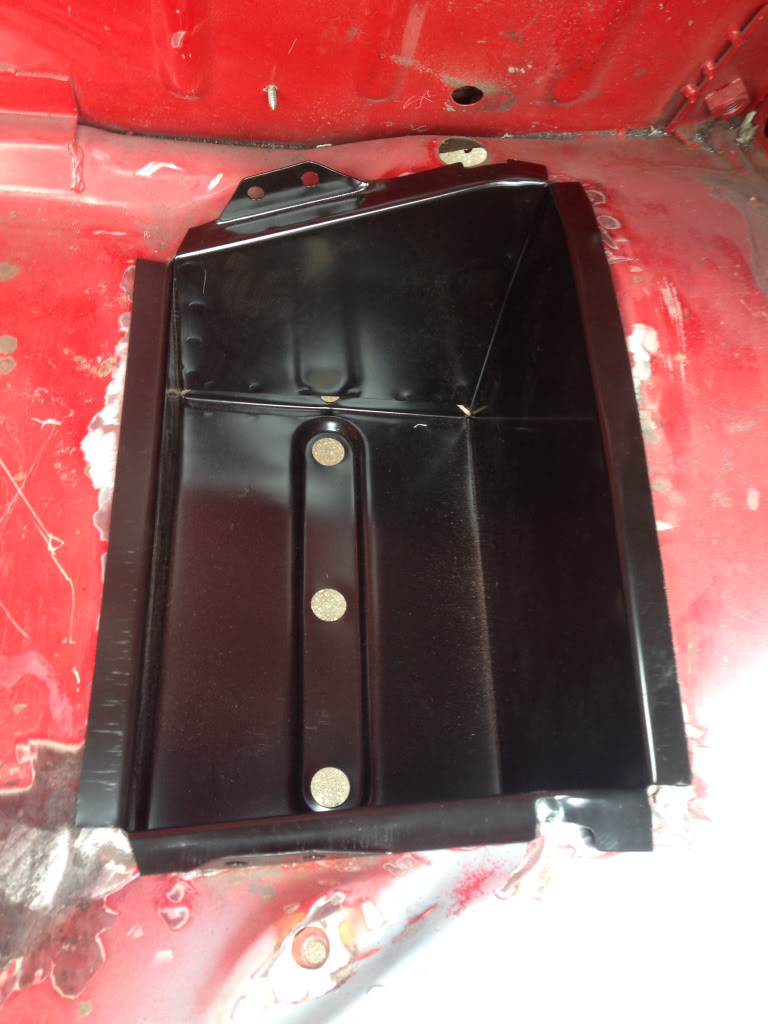
Fits brilliantly as you can see, it's definitely worth buying heritage, so much less hassle. So I drilled the holes for plugging, sanded it down and gave it a dusting of primer. I also sealed all the way round but didn't take a picture of this, you'll see it in the rest of the pictures though -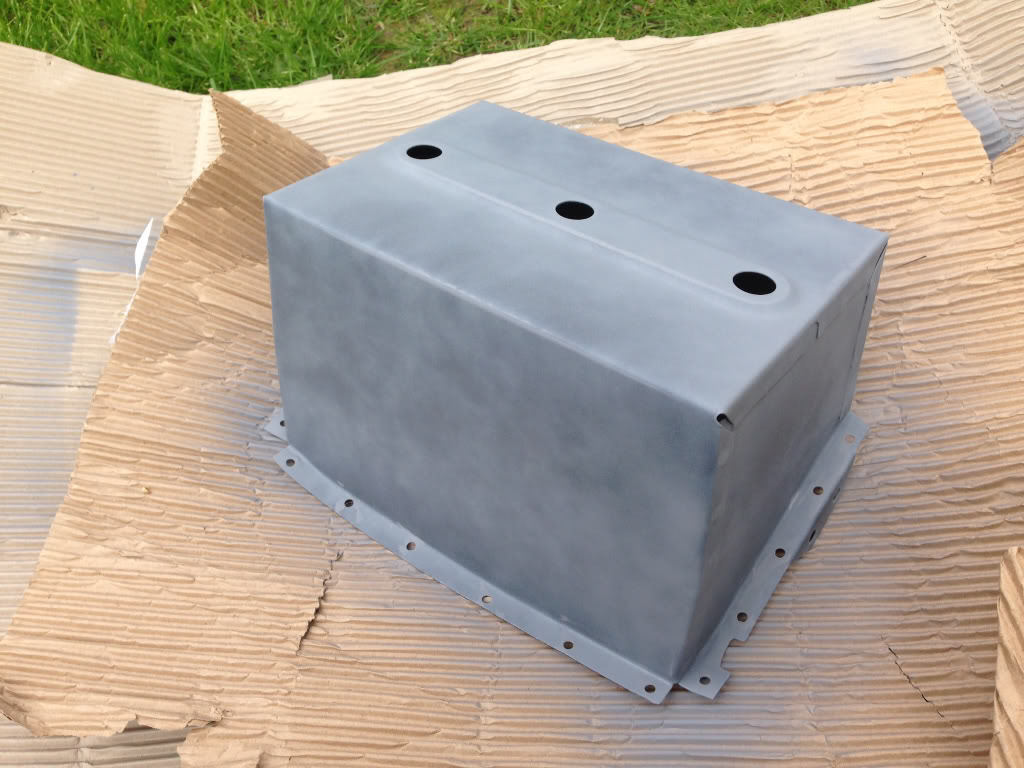
Welded in place -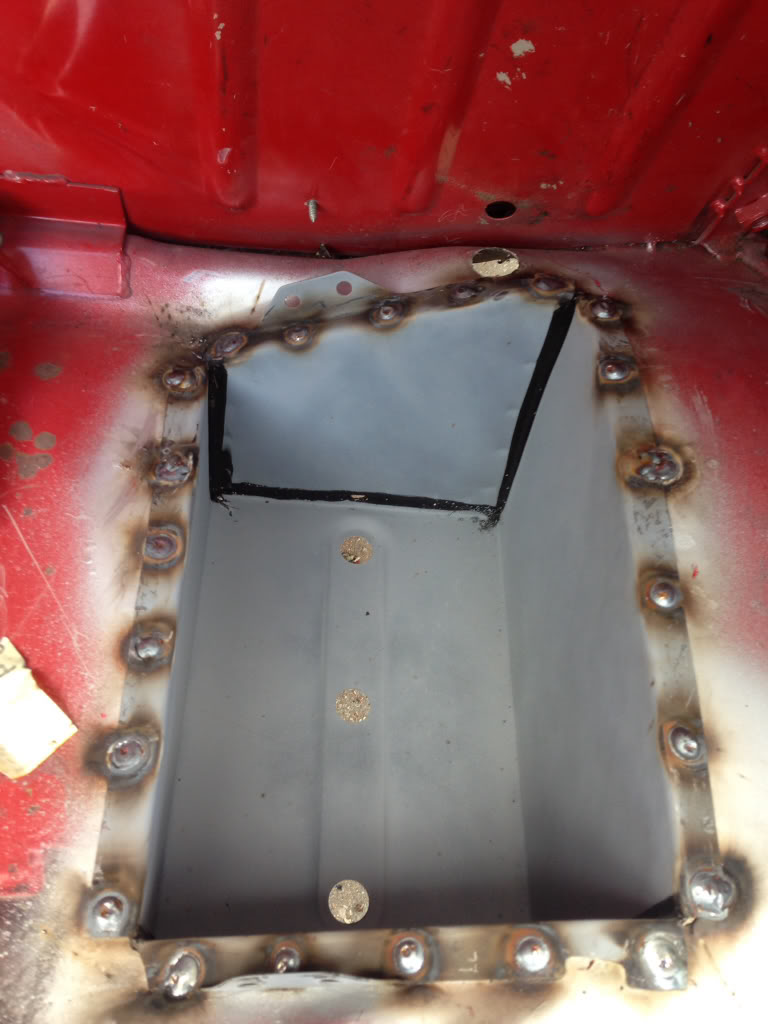
Tidied up a bit -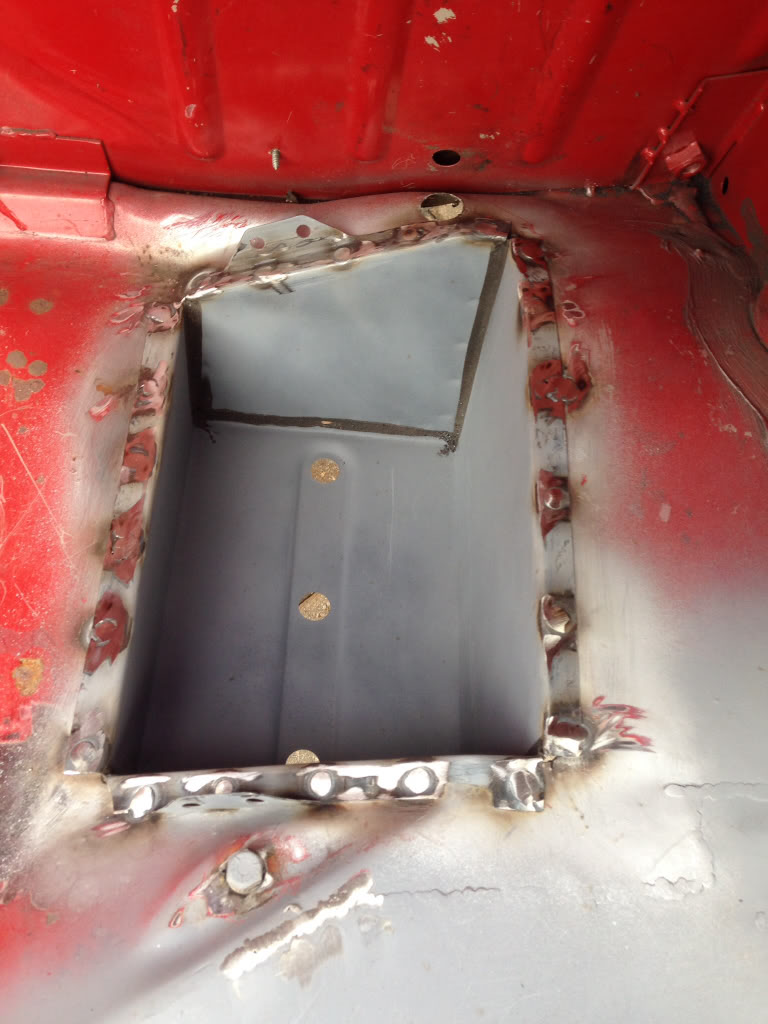
Sits bang on level underneath -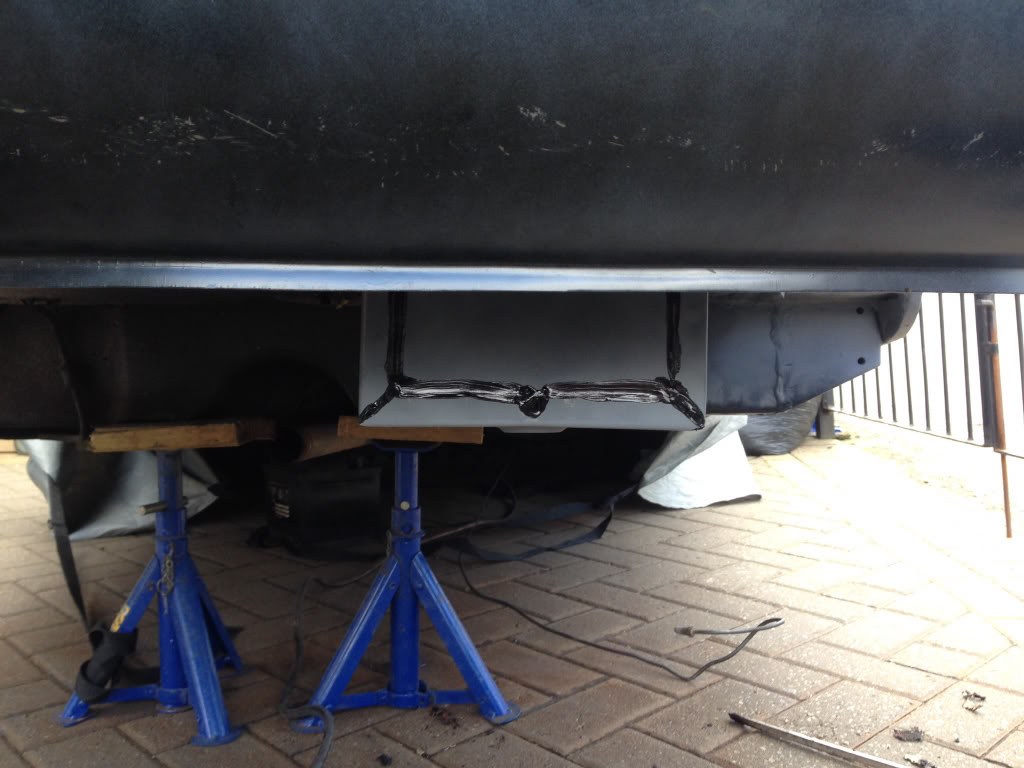
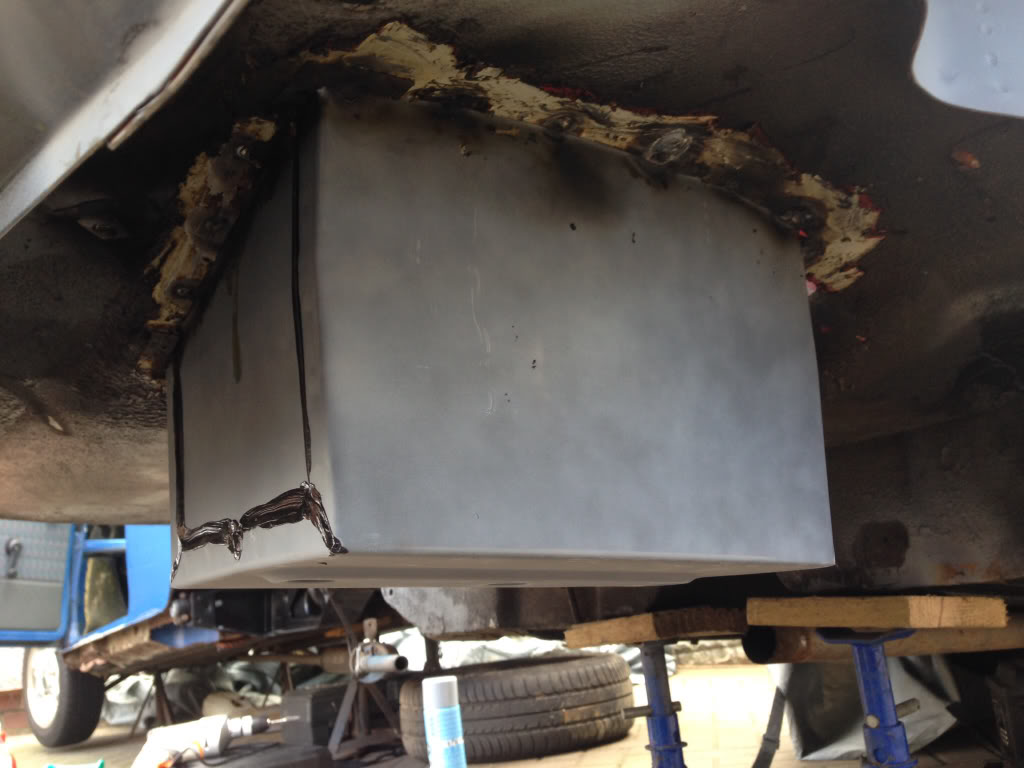
Primed and sealed the underneath ready for Gravigarding -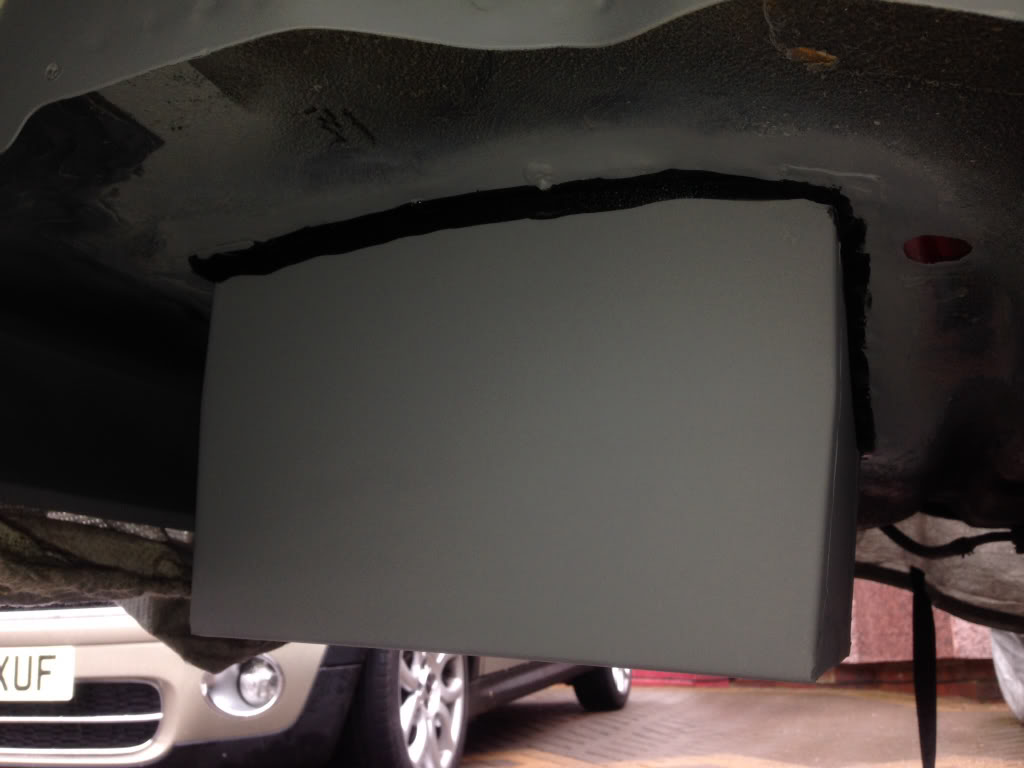
Then we welded in the tank bracket -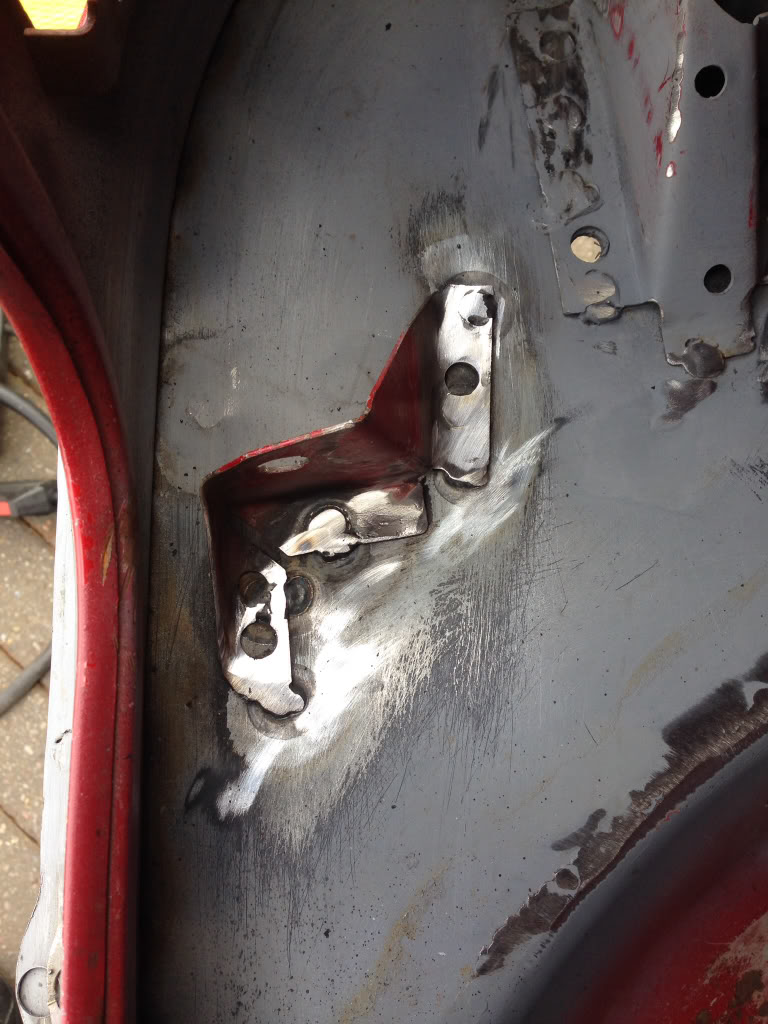
Then we welded the closing panels to the back of the valence and seam sealed everything up -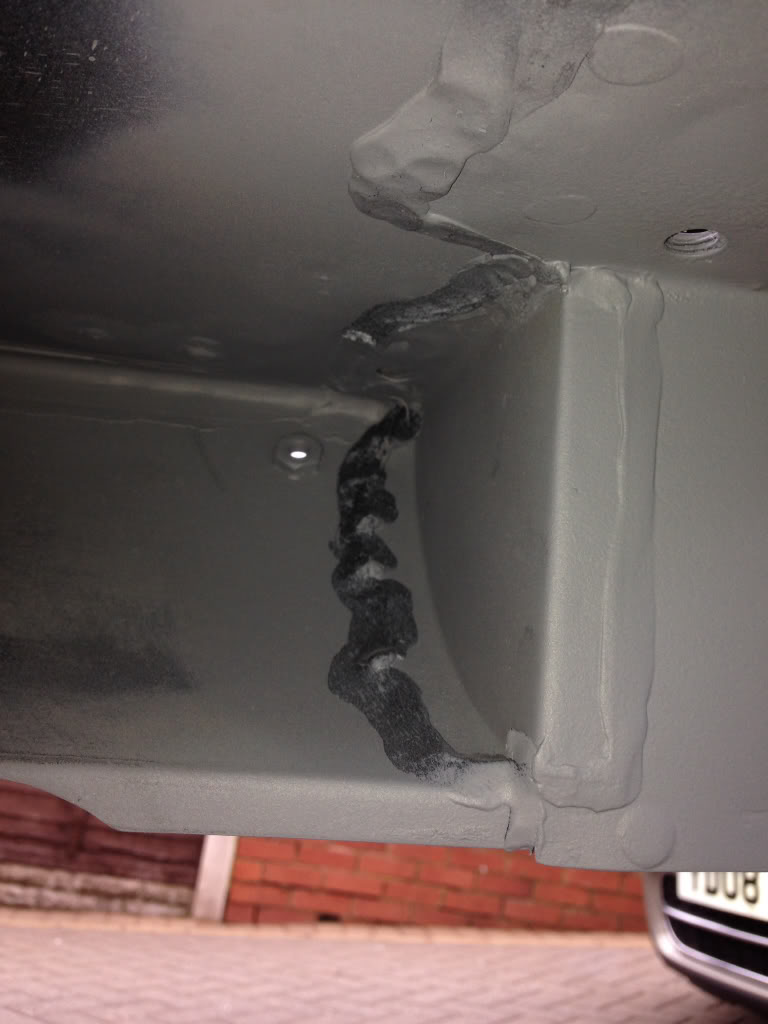
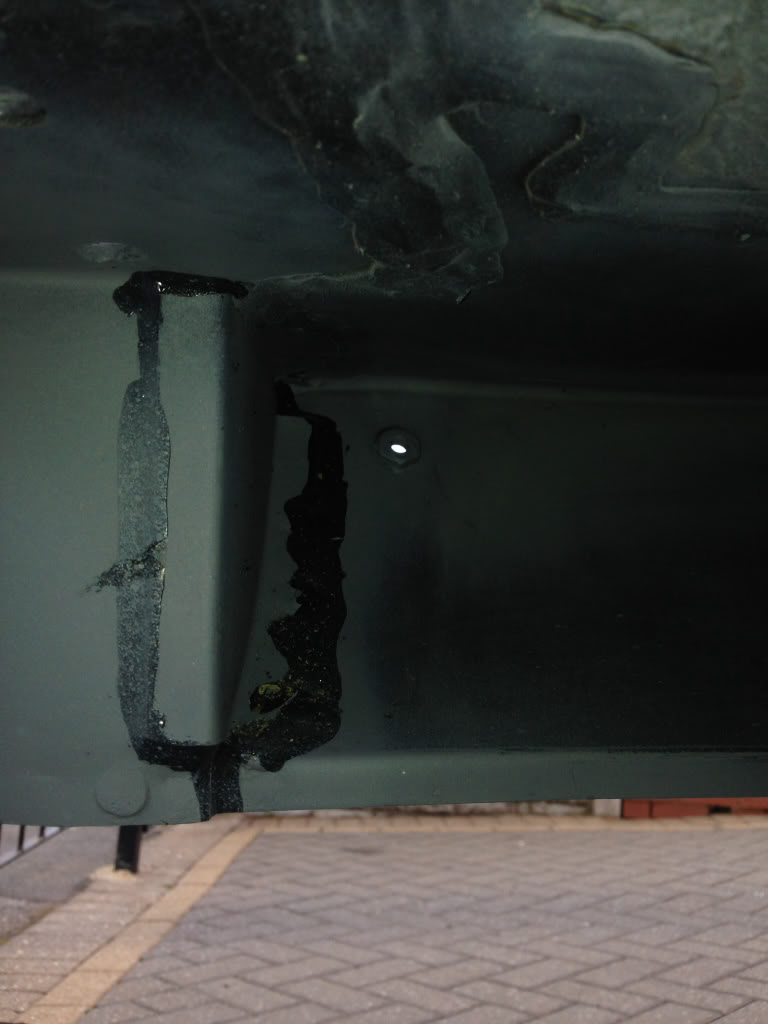
Will be top coating all the underside gloss black and then using Dynax UB.
On a side note, I currently have these for sale -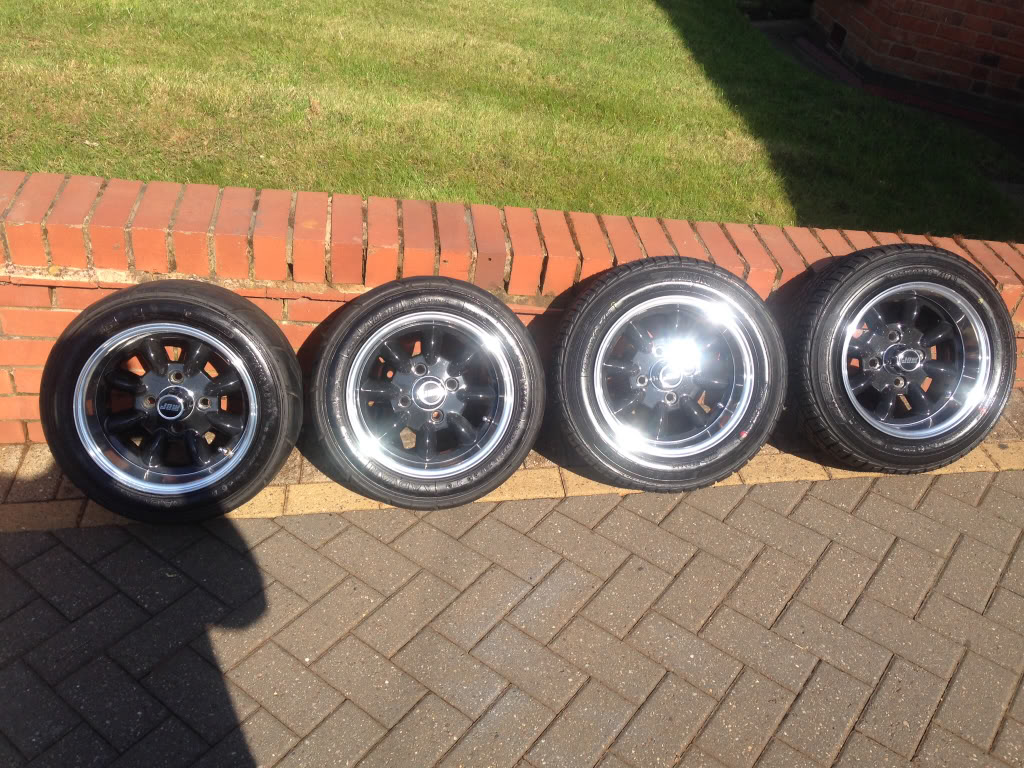
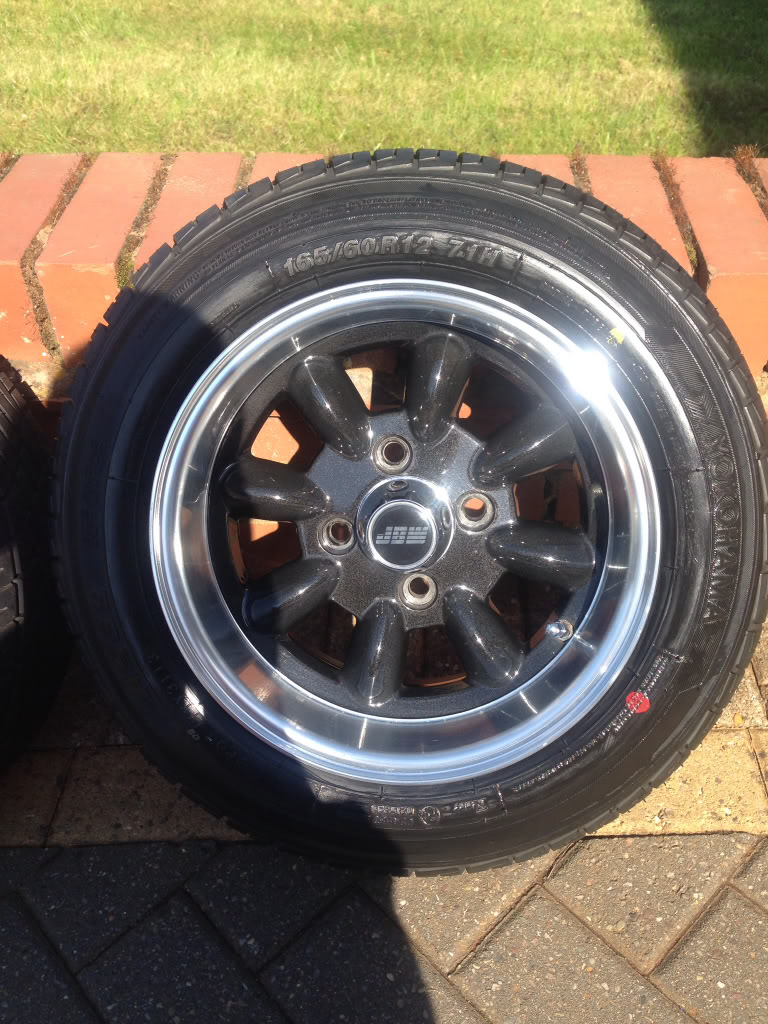
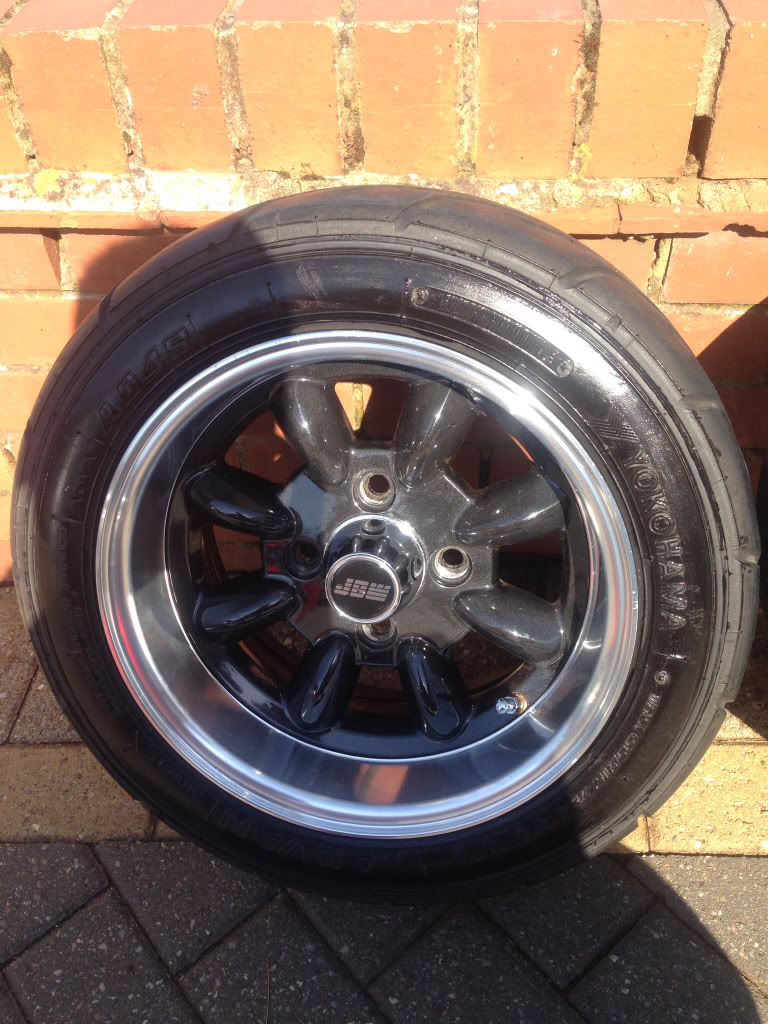
12 x 6 deep dish Minilites, two have brand new yokohama A539 tyres, and the other two have almost new Yokohama A048 tyres fitted. There in immaculate condition, need them gone so make me an offer if your interested, also if you want more pictures and information there listed in the for sale section on here.
Got lots of painting, sealing and fillering to do tomorrow, I hate fillering !