You must be logged in to rate content!
5 minute(s) of a 358 minute read
3-3-2014
Parts update,
Bought these of a guy on here from the for sale section. Come with pretty much everything I need for the conversion, minus the ERA Turbo bolts I need to purchase from Minispares !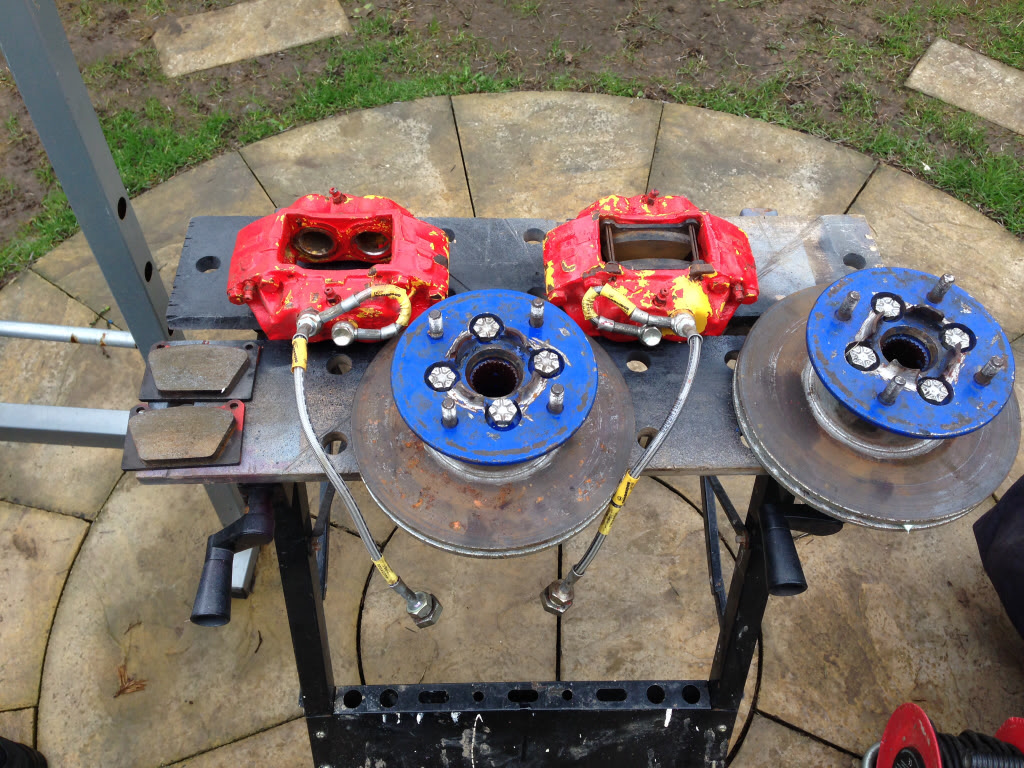
I want to fit better breaks as I'm going to be converting to a 1275, when I find the right engine, and these are perfect for this ! I'm going to fully strip them down and rebuild / paint them, already started to today by removing the bleed valves and what not, but now it's started p***ing down so will carry on tomorrow when I get home from work.
Edit - Forgot to mention I also took delivery of some of this today -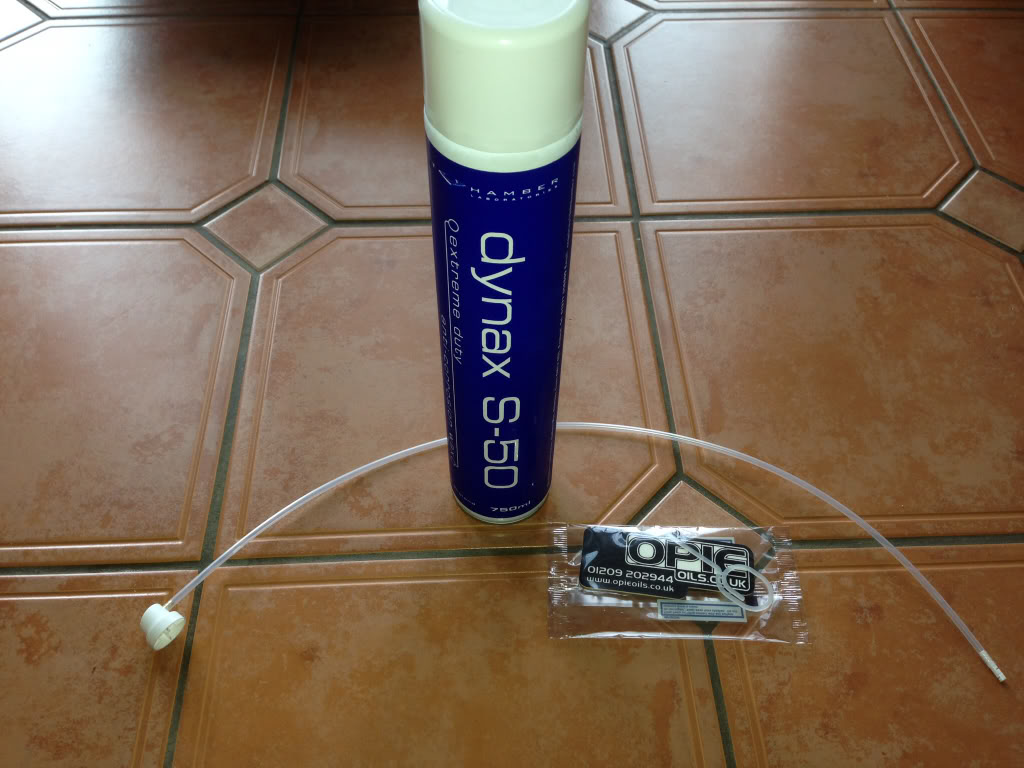
Heard nothing but good things about this stuff on here, so I'll be using this in all the cavities on the car, only bought the one can for now to see how it goes.
I'll also be purchasing a couple of cans of Dynax UB at some point in the future !
3-11-2014
Update,
I've pretty much finished of the drivers side now, just a bit of filling and sealing to do and the odd pin hole to weld up. Anyway here's some pictures of progress that I've made.
Refurbished the disks -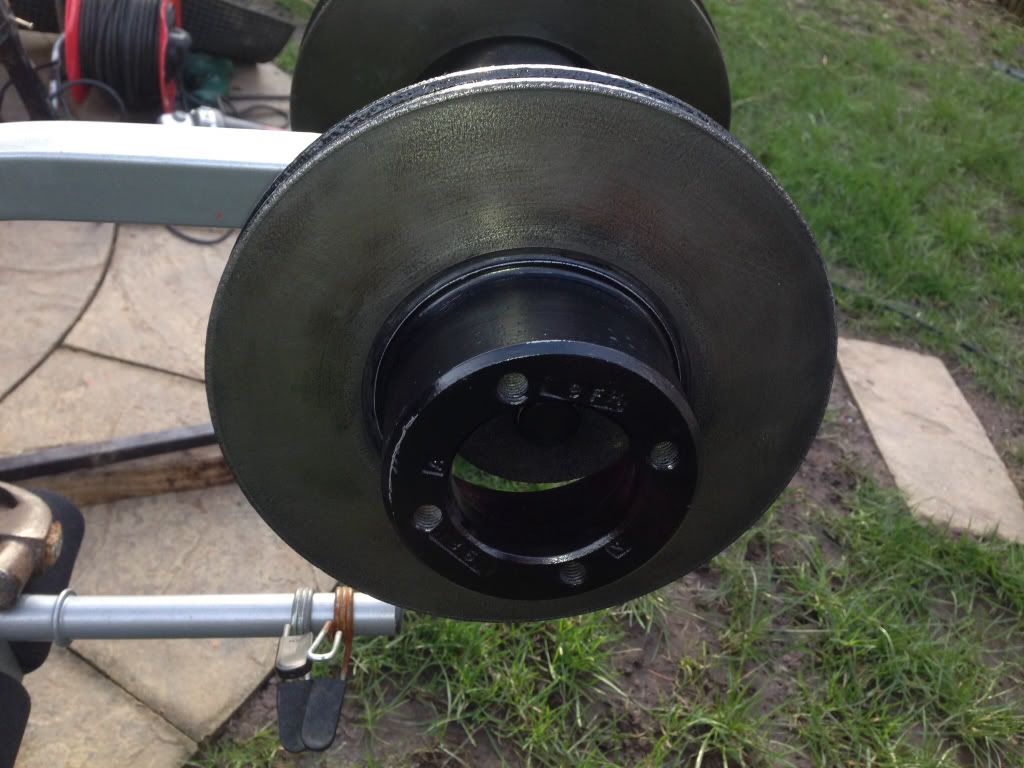
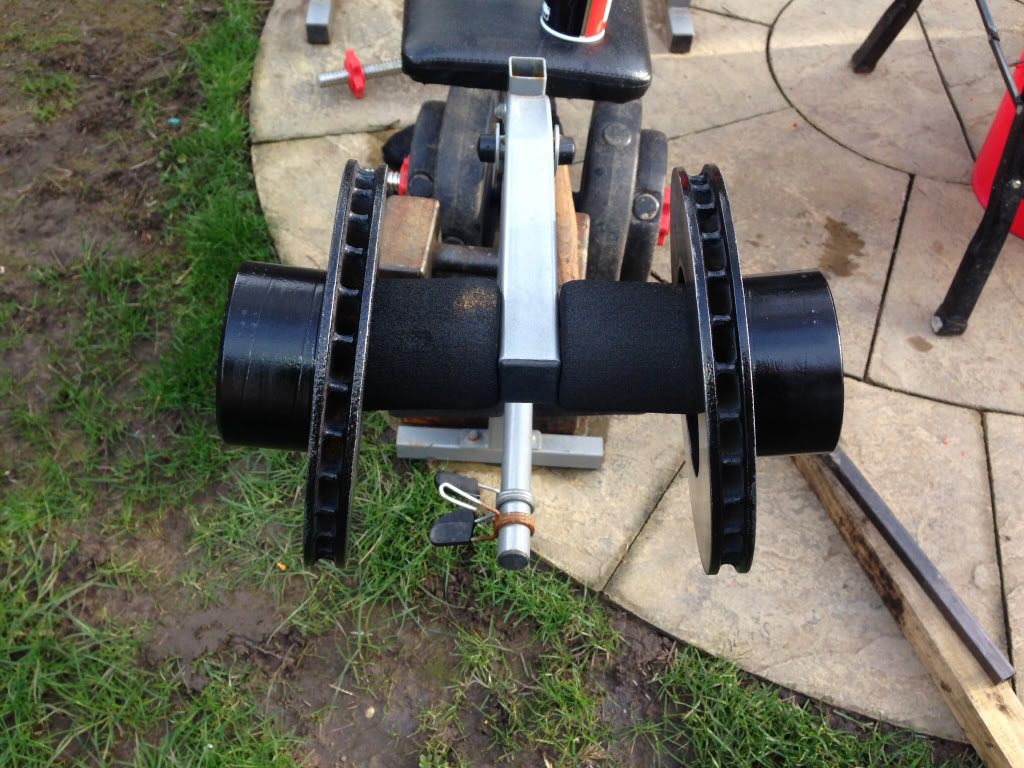
Ground the lugs off the drive flanges -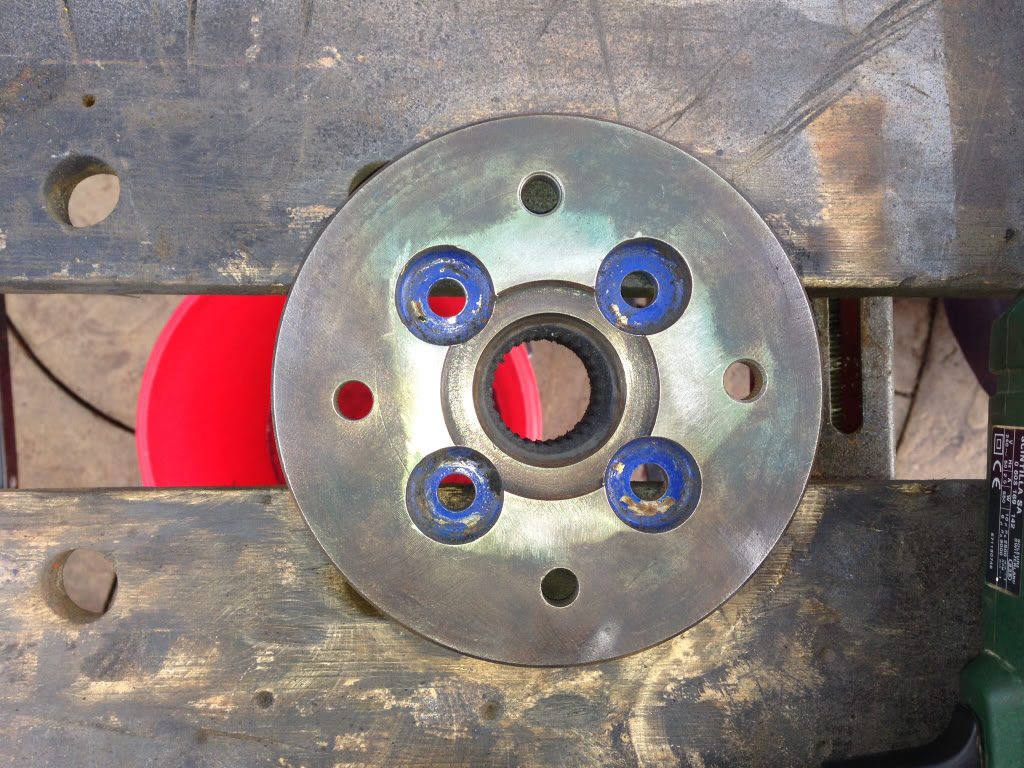
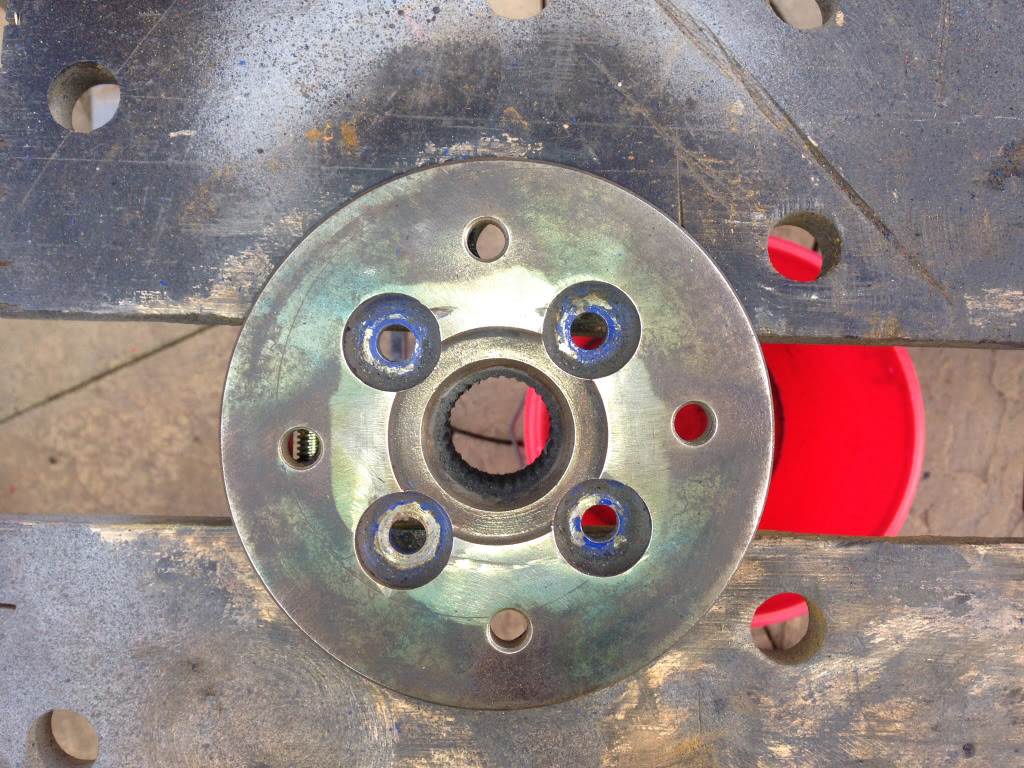
Now to the welding, the hole in question -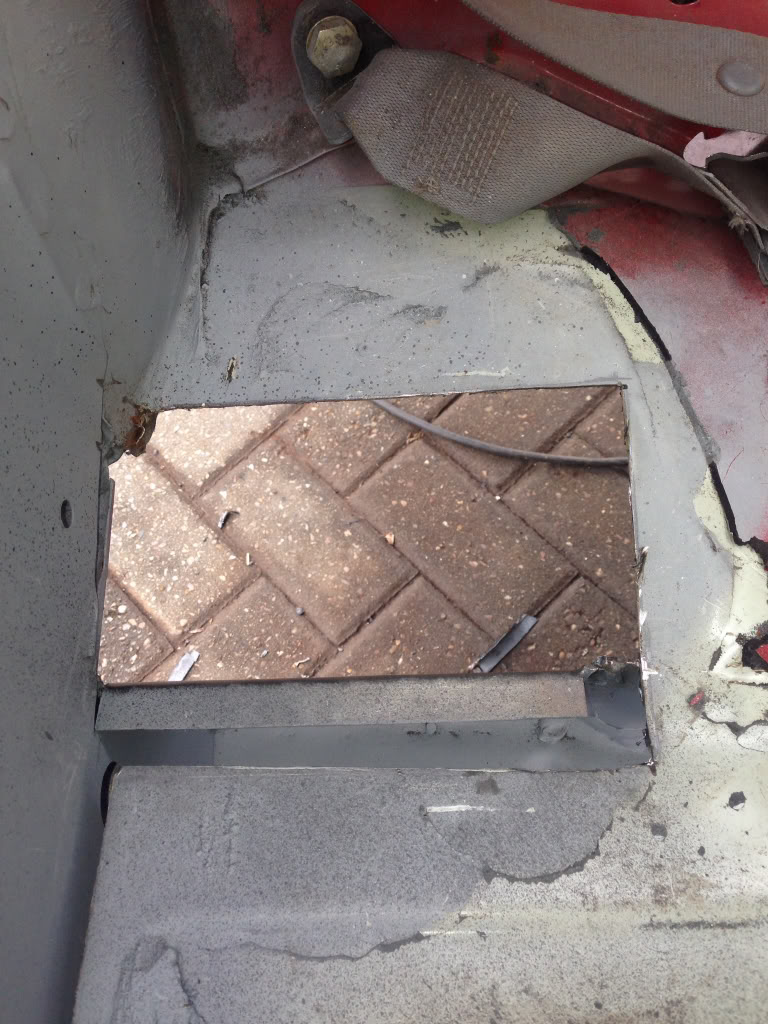
Made these pieces to fit -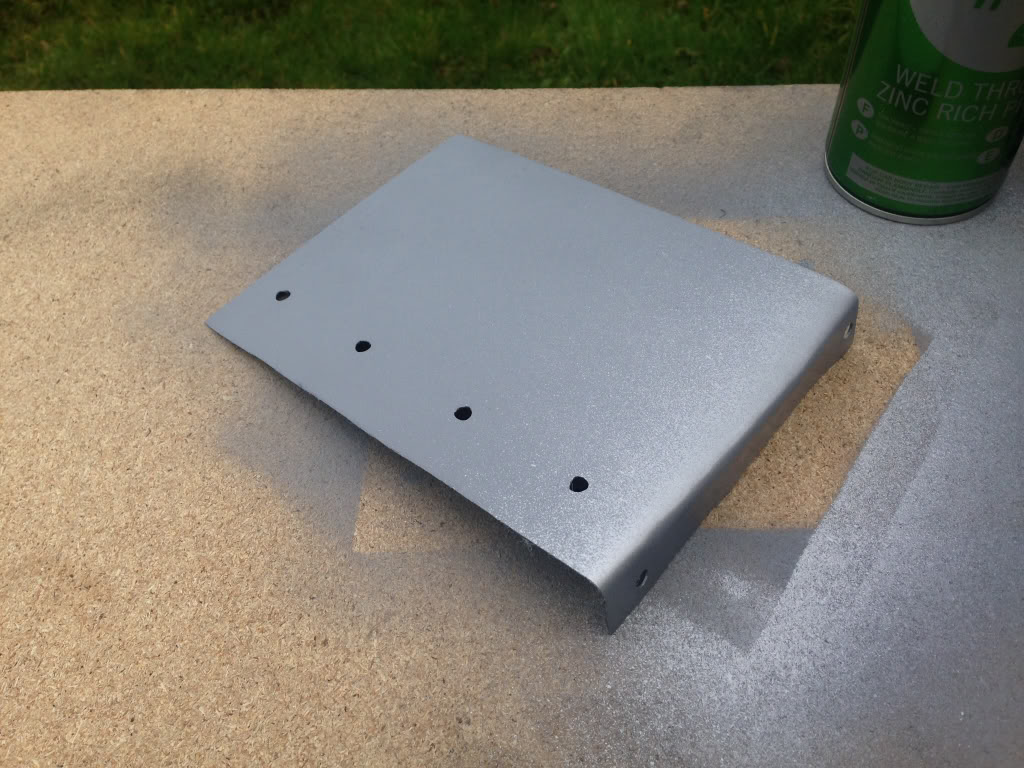
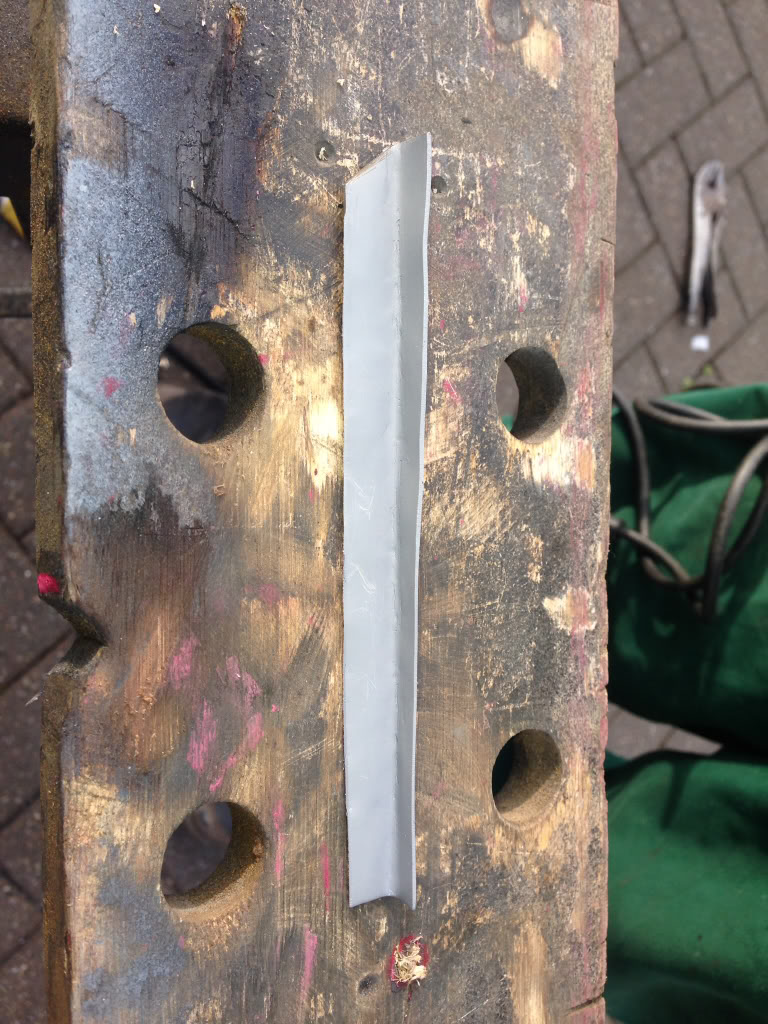
Welded them in -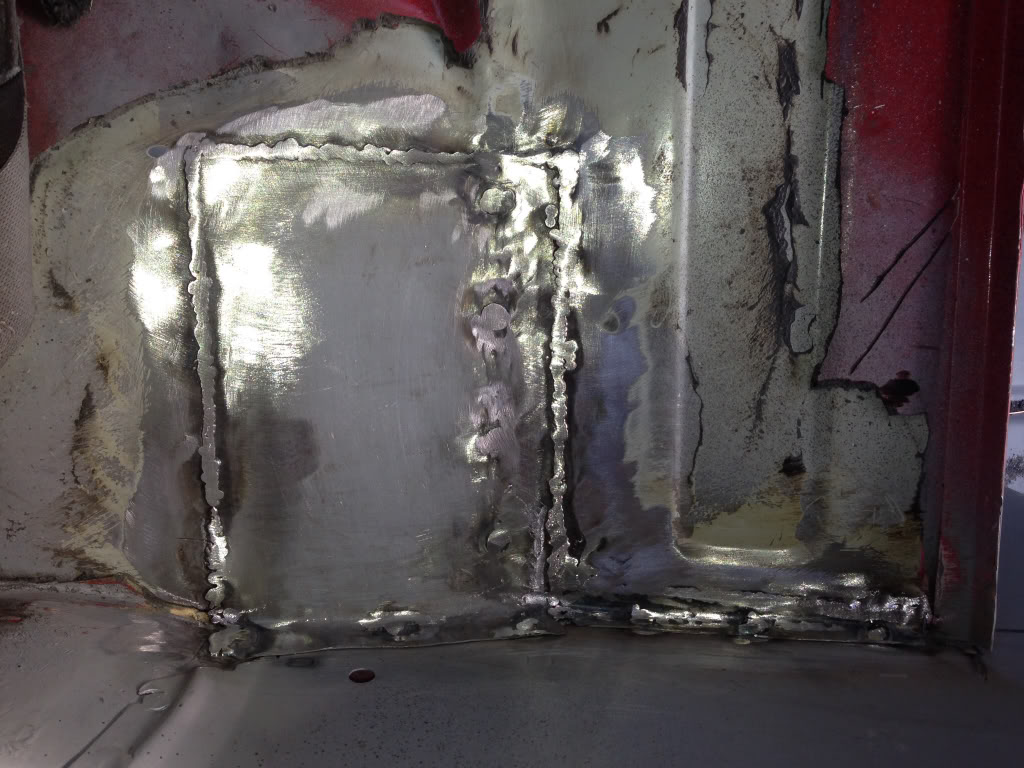
Then tidied up the underneath -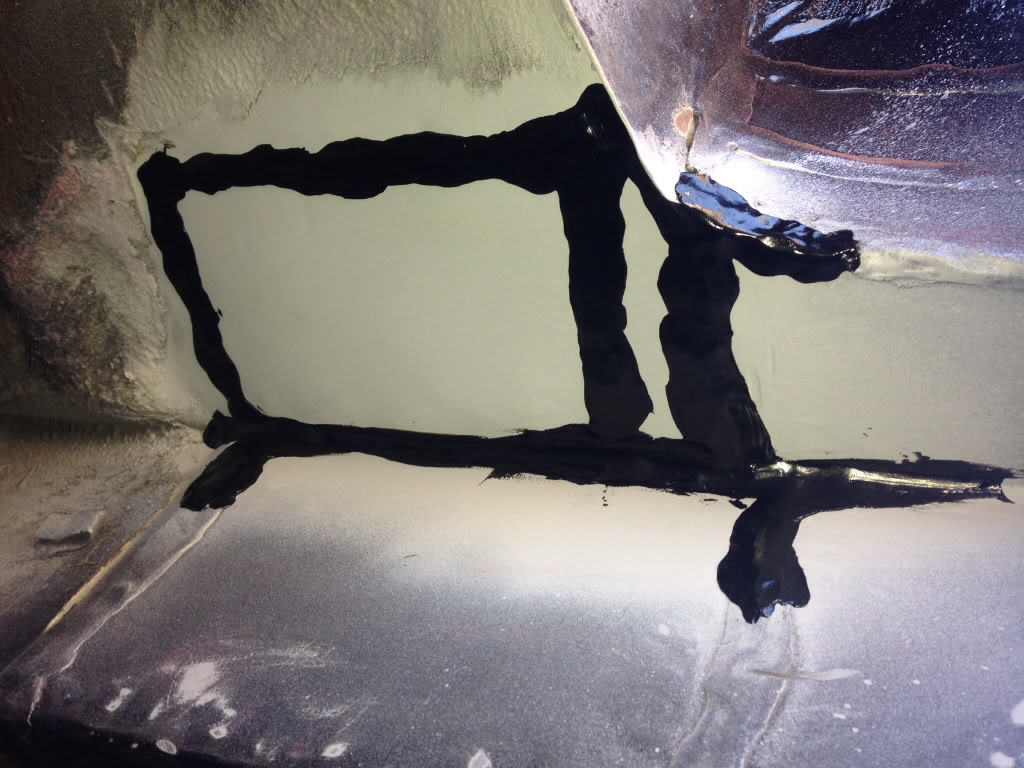
Then it was onto fitting the outer sill, welded up the jacking point as I won't be using it, that's what subframes are for ! -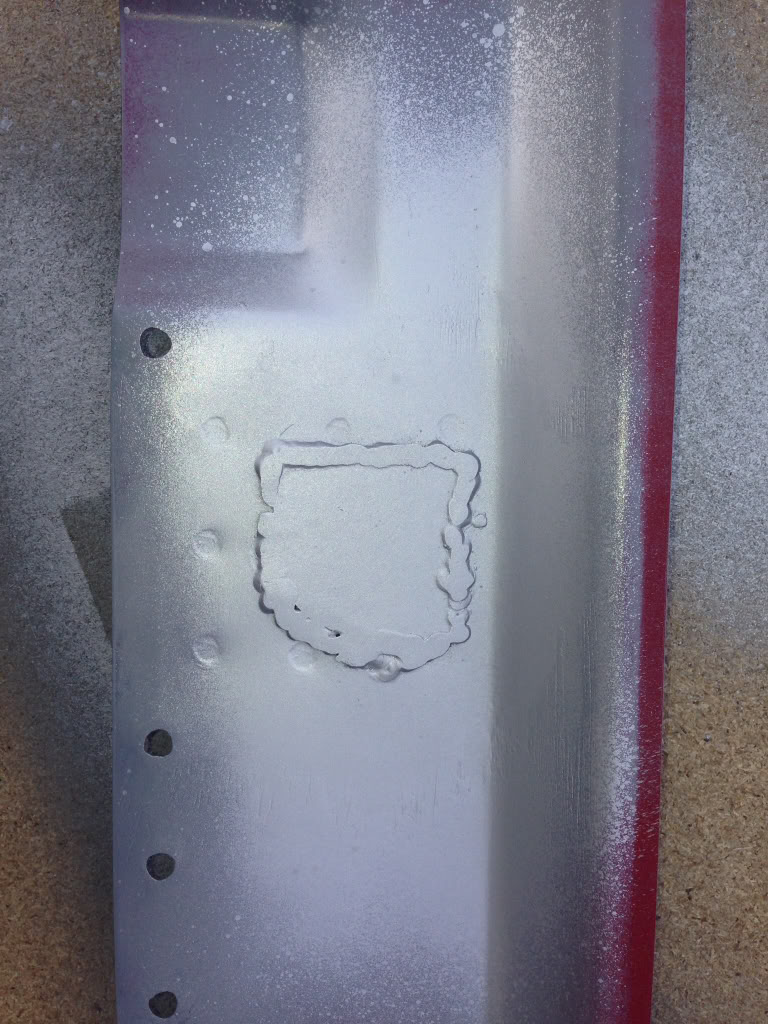
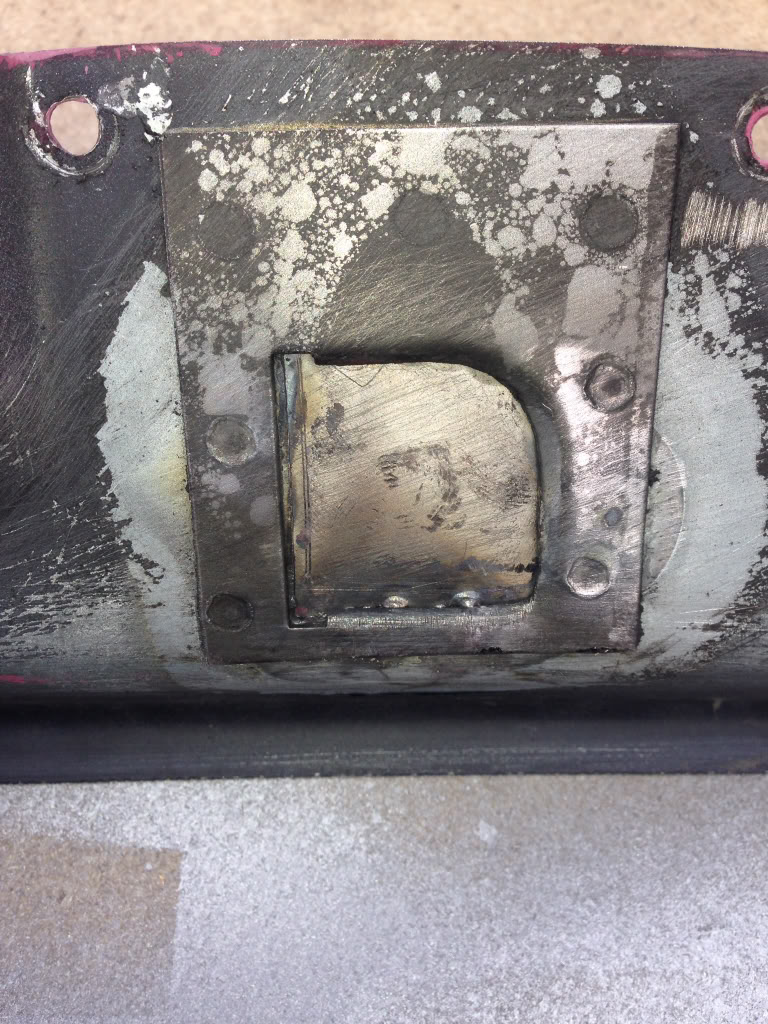
Then give the inside of the sill a good few coats of paint -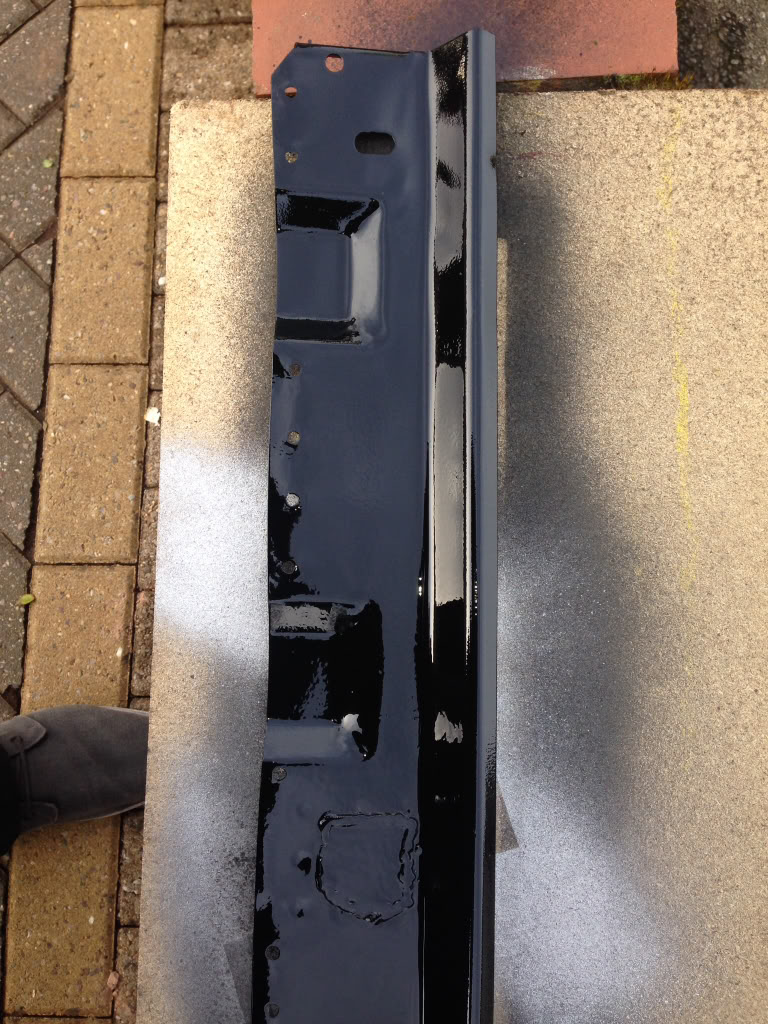
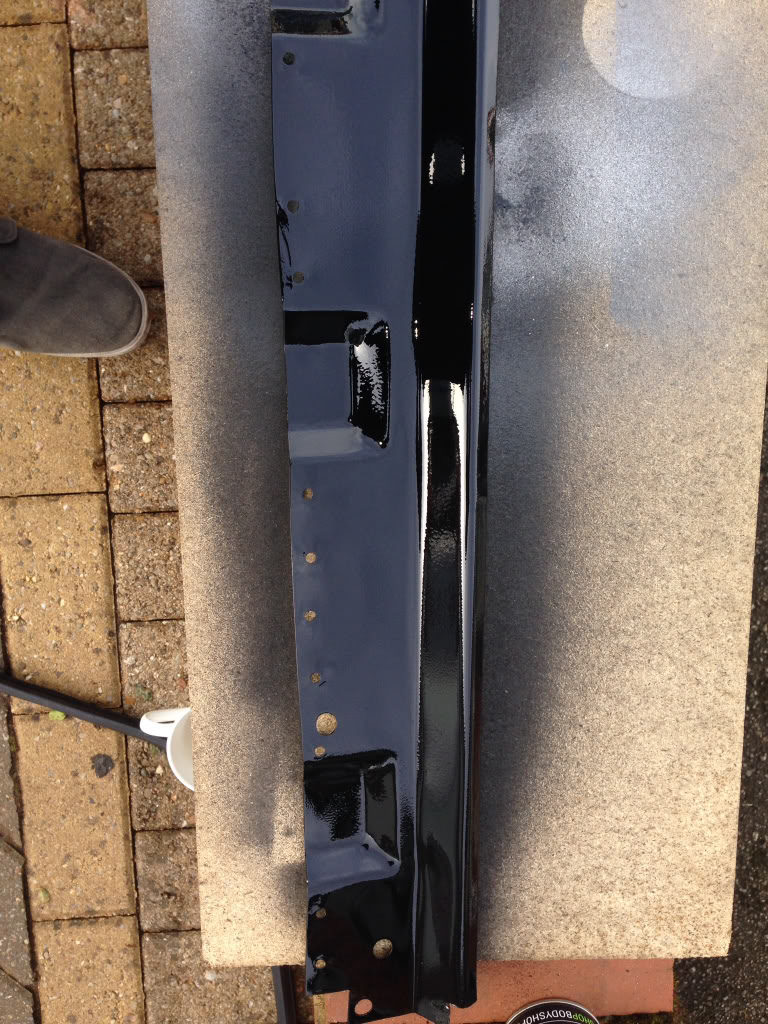
Then we welded it on -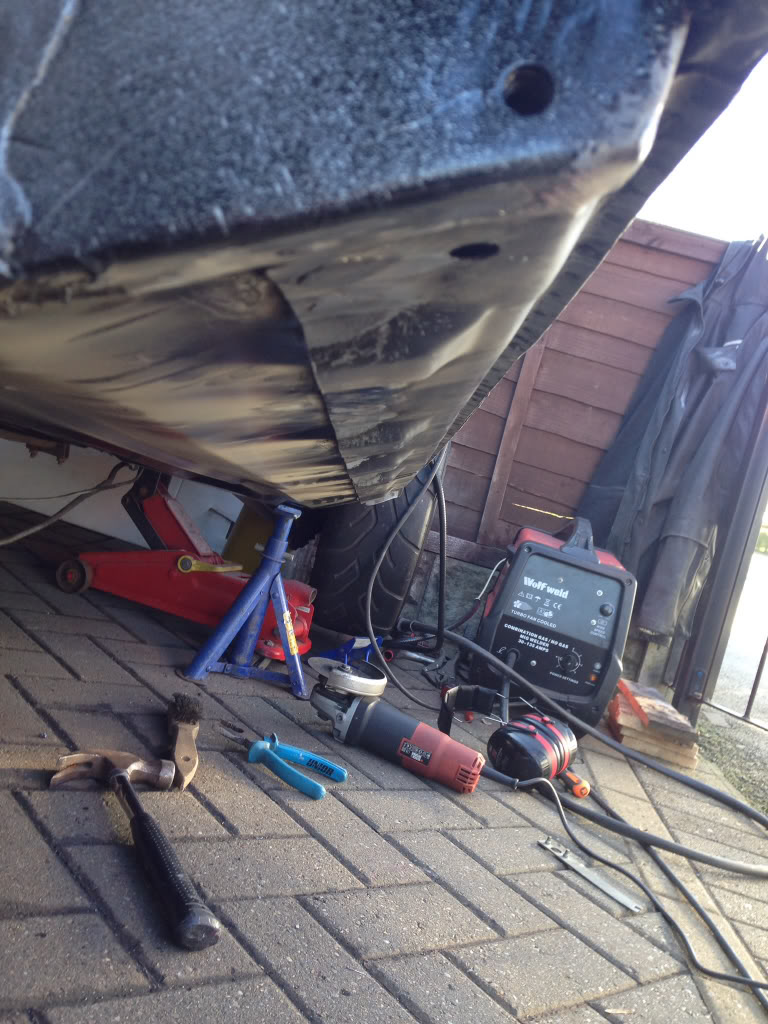
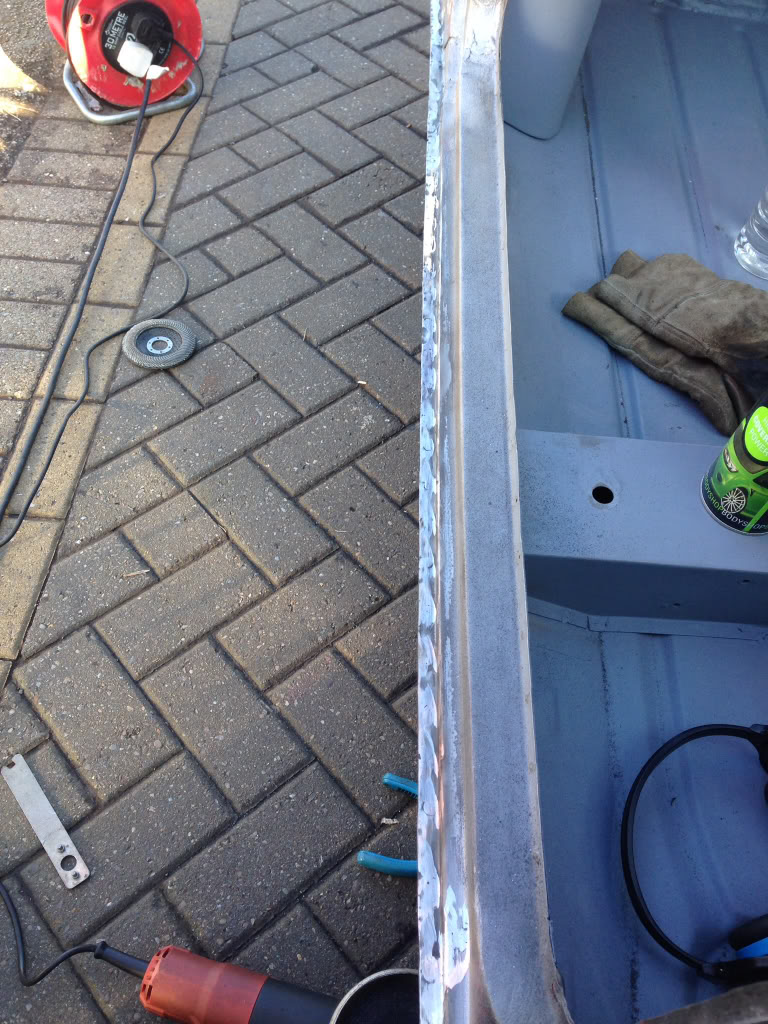
Then all of the cavities got a good coating of Dynax wax to protect them, it's all a lot tidier now as well as I've been out there filling, sealing and painting everything.
So seen as I've pretty much finished this side I started work on the rear.
Removed the valence -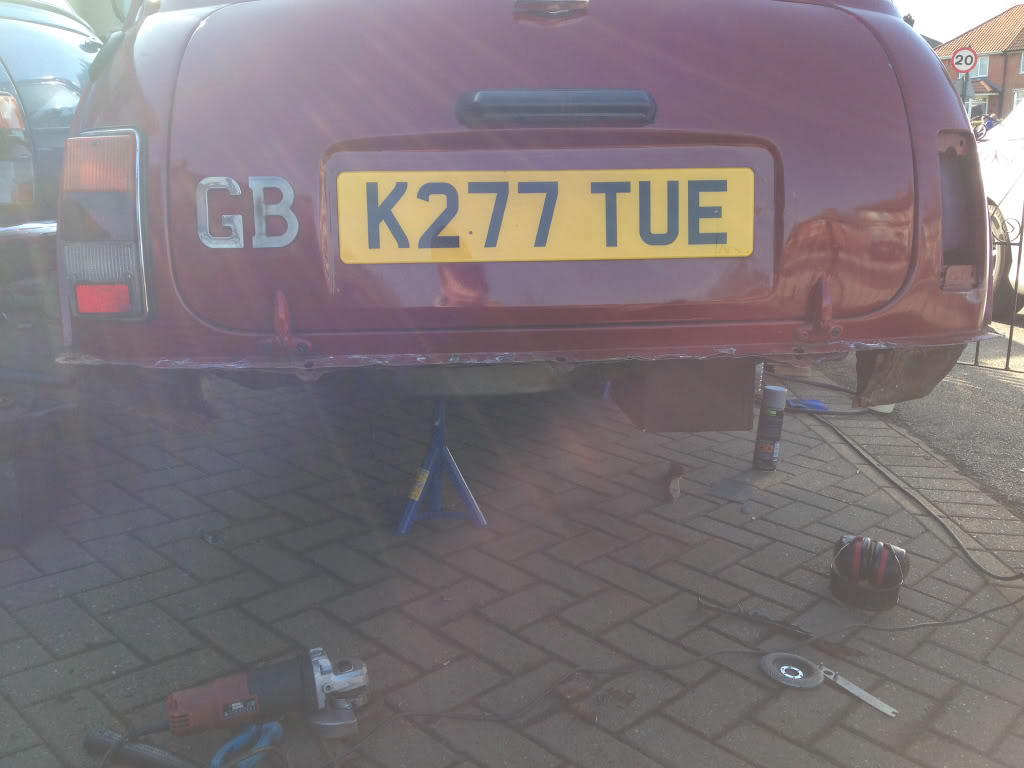
The damage -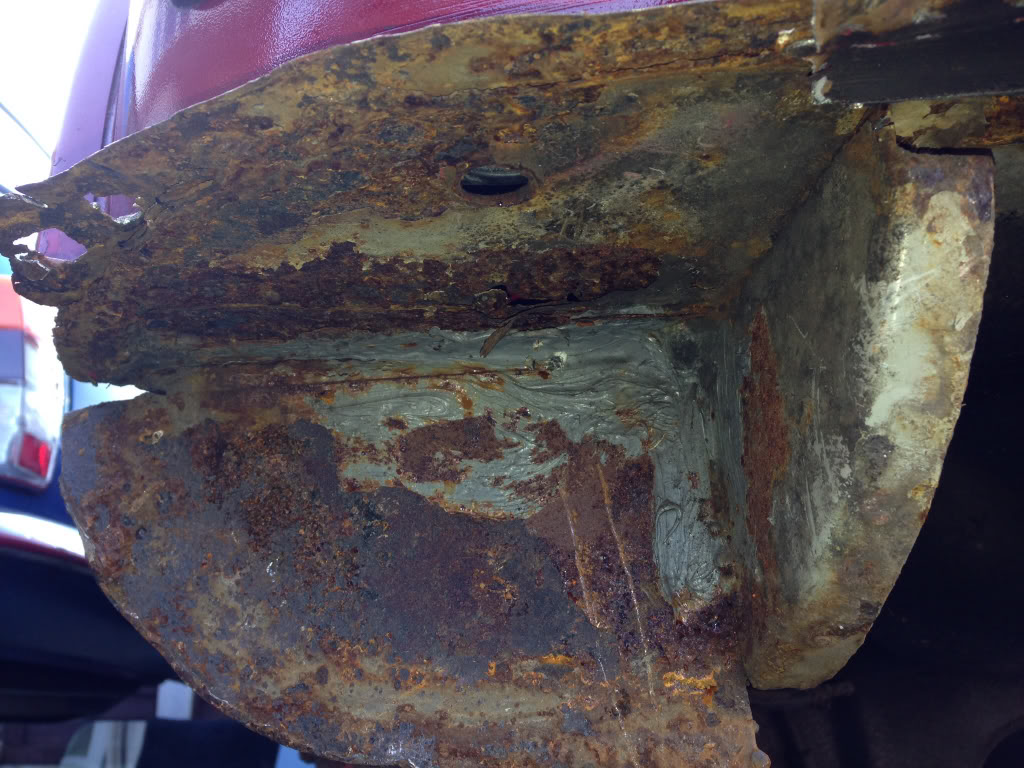
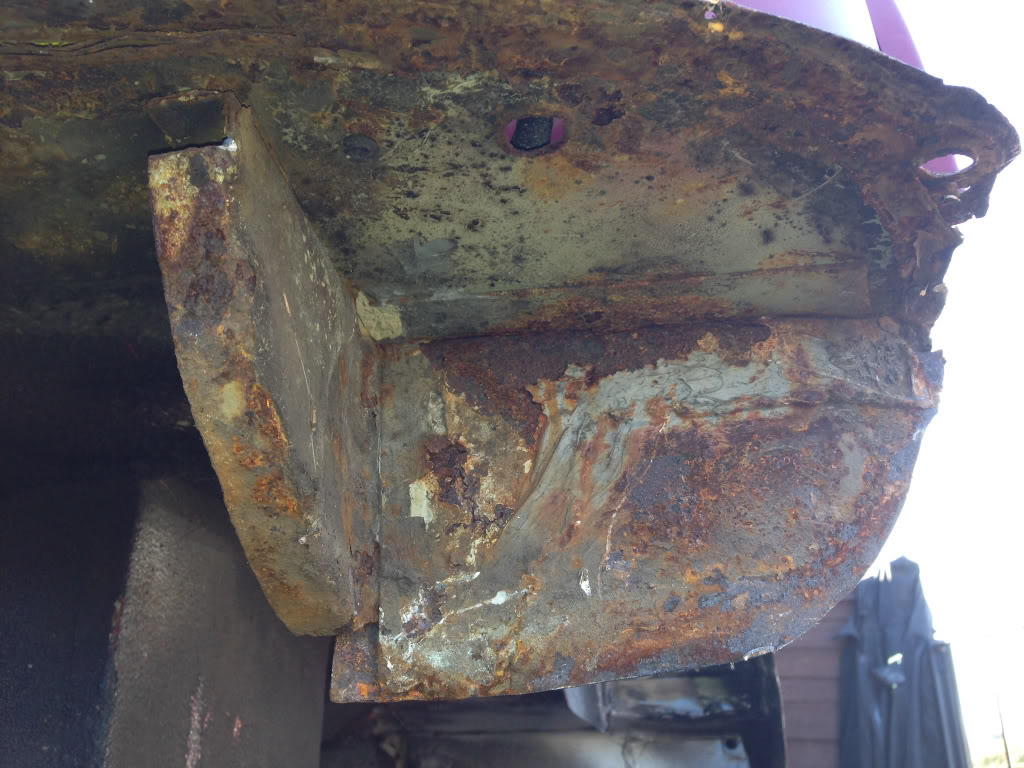
Just makes me laugh at the fact the previous owner (Bodger), fitted a new valence and didn't bother to repair this, what's the point ! The rest of the boot seems to be in good condition but a going over with the wire cup on the drill should reveal any nasties I've got to deal with. To be fair, the metal on the drivers side corner is solid as it passed the screw driver test, but the same can't be said about the passenger side, went straight through. Where the boot floor meets the boot lid flange looks solid too.
That's all the progress, so until next time
