You must be logged in to rate content!
10 minute(s) of a 220 minute read
5-8-2012
hi all, update from the week end
finished off the wiring loom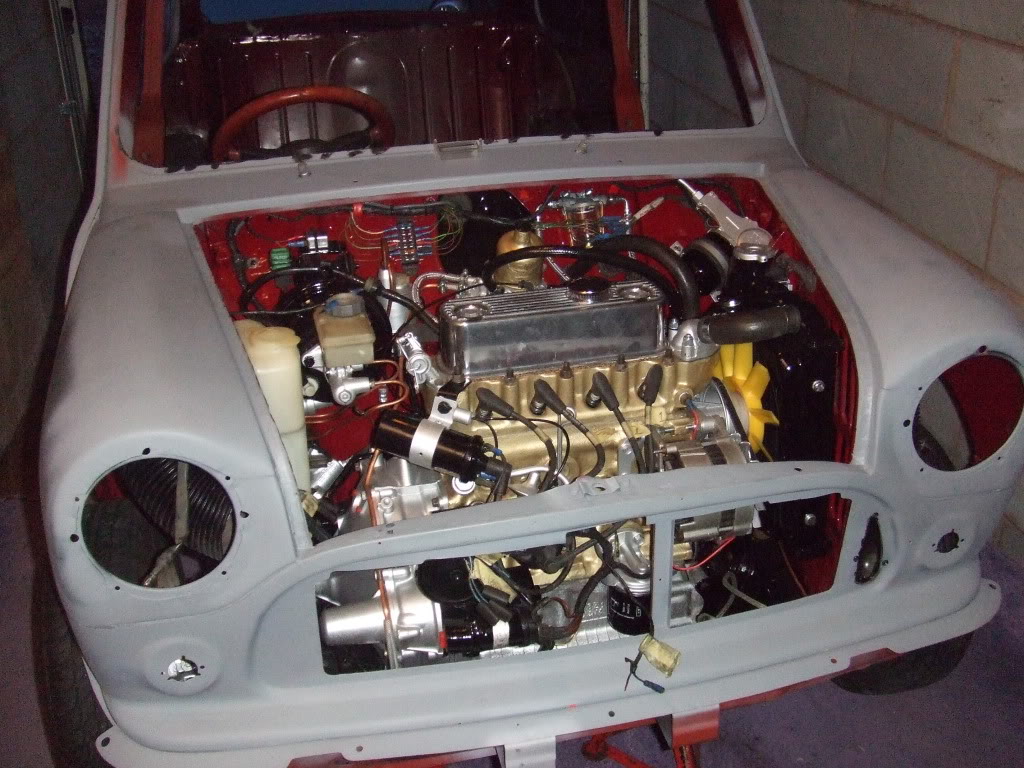
all converted over to blade fuses (and i did my research into the correct amperage conversion before hand)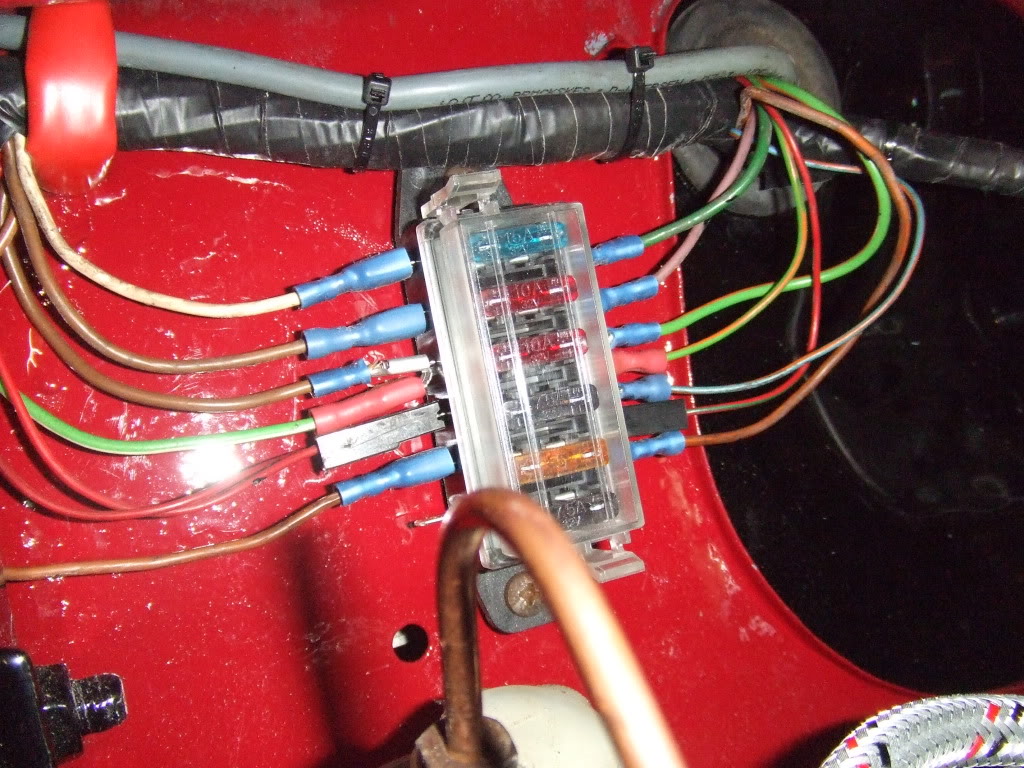
steering column, dials and heater box + pipes fitted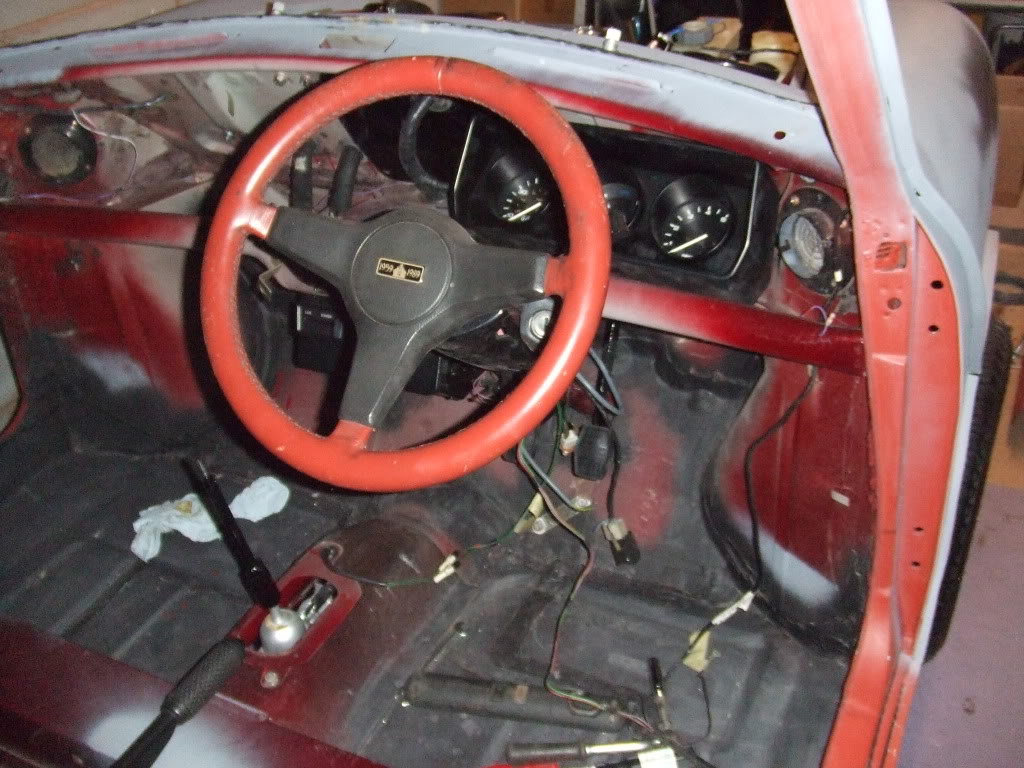
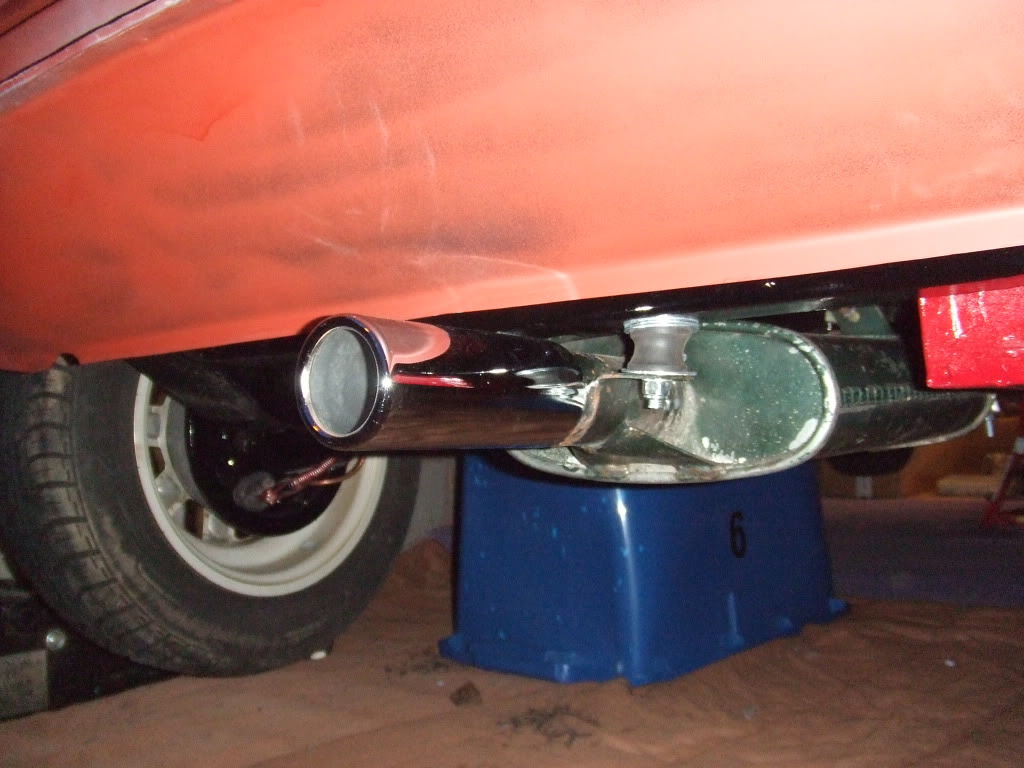
fitted my new shiny exhaust tip, it really finishes off the back of the car nicely 
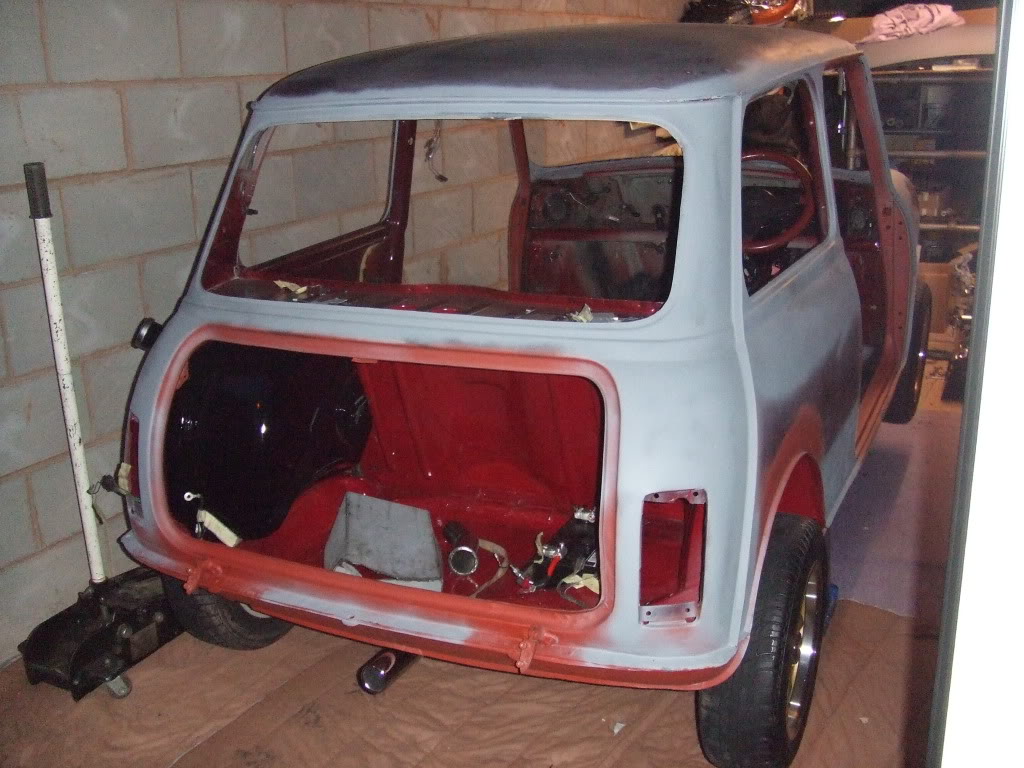
right then, update from Monday - we have life 
unfortunately the first start up is spread over a few video clips...here is the first one...
http://s1127.photobucket.com/user/TH3aRchit3ct95/media/Cliff%20Middleton%20Hall%2003.04.16%204.jpg.html
...and the second...
http://s1127.photobucket.com/user/TH3aRchit3ct95/media/Cliff%20Middleton%20Hall%2003.04.16%204.jpg.html
...third...
http://s1127.photobucket.com/user/TH3aRchit3ct95/media/Cliff%20Middleton%20Hall%2003.04.16%204.jpg.html
...forth...
http://s1127.photobucket.com/user/TH3aRchit3ct95/media/Cliff%20Middleton%20Hall%2003.04.16%204.jpg.html
... fifth...
http://s1127.photobucket.com/user/TH3aRchit3ct95/media/Cliff%20Middleton%20Hall%2003.04.16%204.jpg.html
5-9-2012
... seventh....
http://i1127.photobucket.com/albums/l639/TH3aRchit3ct95/th_IMG_0201.jpg
...and the eighth and final video from Monday morning
http://s1127.photobucket.com/user/TH3aRchit3ct95/media/Cliff%20Middleton%20Hall%2003.04.16%204.jpg.html
we are borrowing a timing light and dwell meter off of my dad's mate Paul (again) tomorrow so we can fine tune the timing of the engine and get it to idle properly without cutting out, i will record another video of that tomorrow and also try to record the sound from the exhaust which has a really nice burble to it 
today we fitted the accelerator pedal, throttle cable, speedo drive and air filter (it is a cheap eBay thing which had the whole in the centre and so wouldn't clear the bulkhead so my dad has had to make another back plate for it so it doesn't catch when the engine shakes back and fourth)
not much left to do now before the final flat down and prime before paint 
5-10-2012
hi all, today we adjusted the timing and got it near on spot on and the engine now idles at 800 rpm without choke 
http://s1127.photobucket.com/user/TH3aRchit3ct95/media/Cliff%20Middleton%20Hall%2003.04.16%204.jpg.html
the exhaust is blowing a bit around the y piece so i need to put some sealer in the joint and move the clamps around and it should be fine 
we also bled the clutch in but the pedal will not travel to the floor as the arm on the bell housing is catching on the shroud around the nut, but we tested the gears and the clutch engaged fine with no crunching so i will leave it alone for now and see how it goes on the test drive 
i have also obtained a brand new genuine chrome Lucas fog light, a new radiator cap, spare interior mirror, and other bits and pieces from my grandad's garage, i just love genuine parts  ...i will upload some pics at the week end
5-12-2012
hi all, today we fitted the dashboard, a lot of people fit custom consoles or later dashes or a centre speedo but i just love this late eighties design 
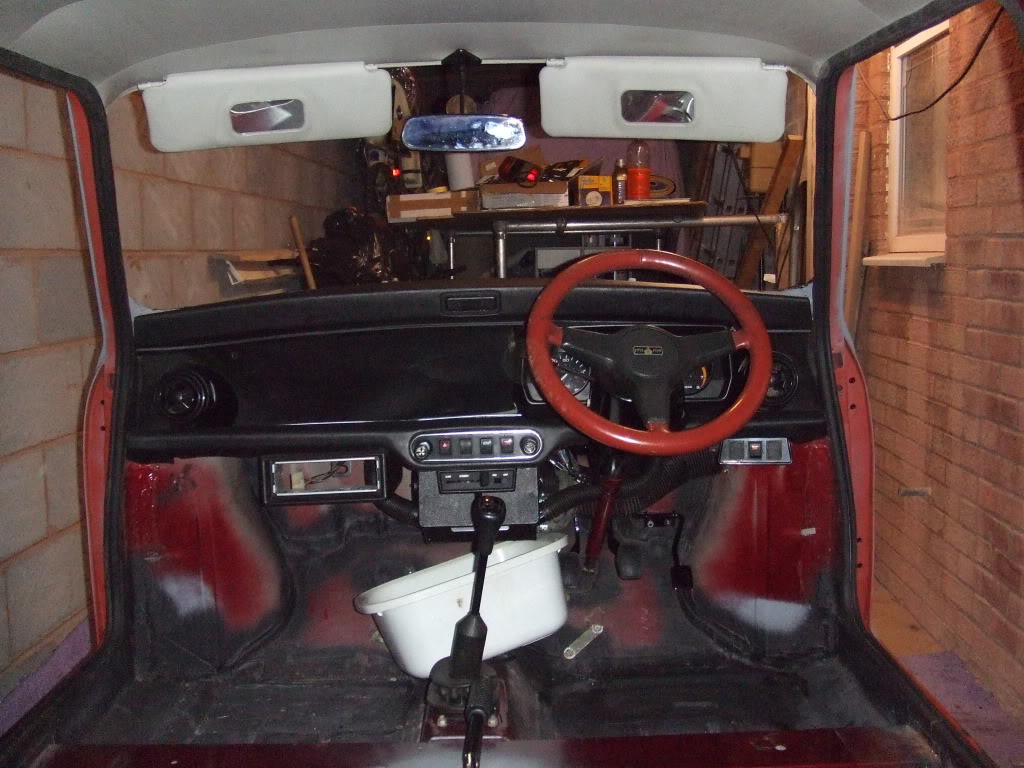
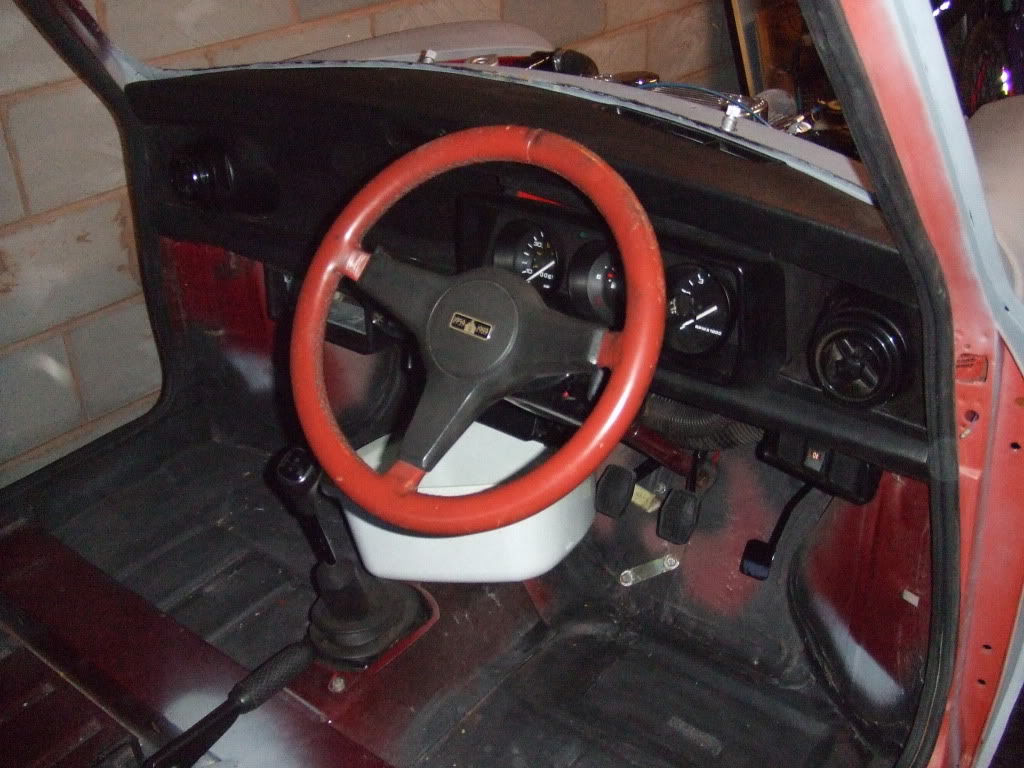
(ignore the bowl under the heater, the matrix has a small leak...nothing some bar seal cannot fix  ) we also fitted my custom boot light, recycled from an LED fog light so it should be very bright and very red
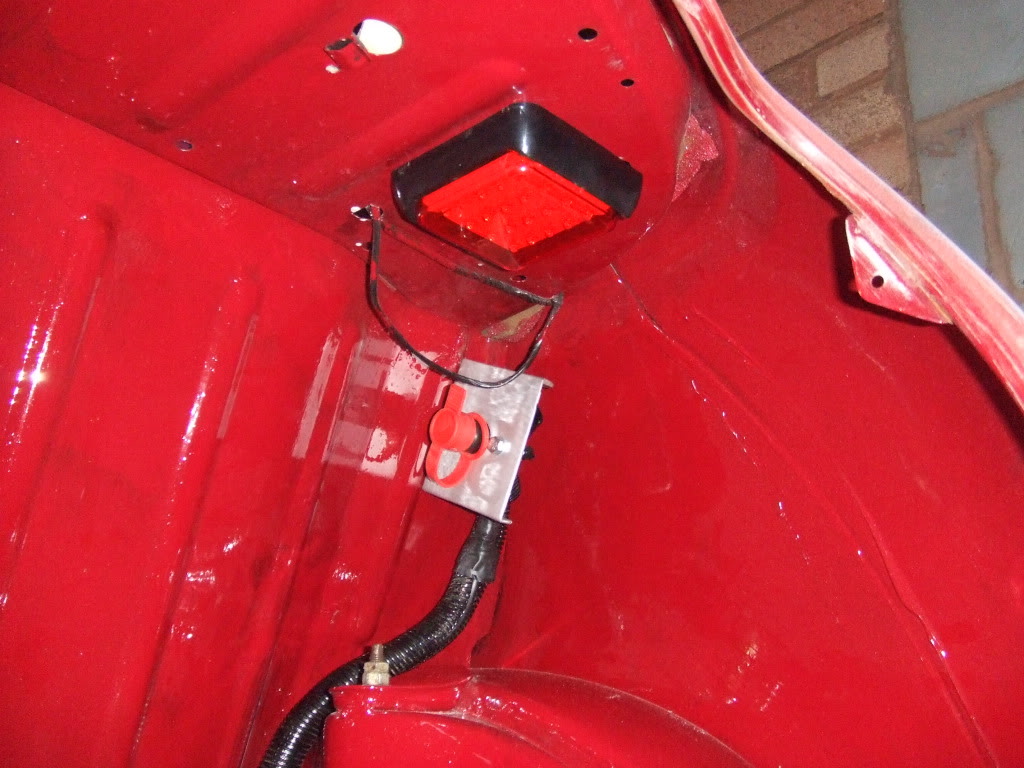
we also fitted the interior light and made sure all the lights and switches work as they should, fitted a coil isolator as another theft prevention and removed the ash tray bracket (dirty habit  )
)
just got to bleed the brakes and we can go for a test drive 
then just refit the doors,bonnet and boot lid and give it another flat down and prime then it's off to paint 
comments welcome as always
5-14-2012
hi all, today we fitted my custom internal bonnet release and finished wiring in the coil isolator switch, tomorrow we will bleed the brakes and fit the bonnet.
i have a month off now for exam leave so i'm going to have thursday and friday off from revision and crack on finishing the sound deadening and cleaning the head lining and dash board
5-15-2012
hi all, photos of previous work
started to lay the sound deadening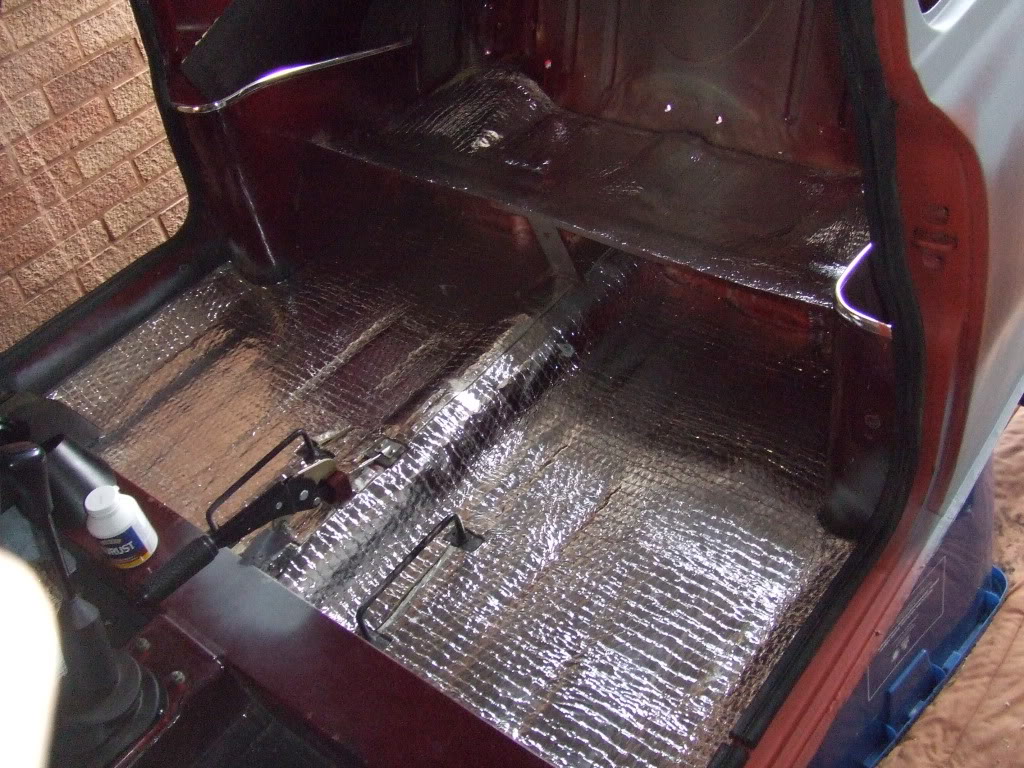
fitted the internal bonnet release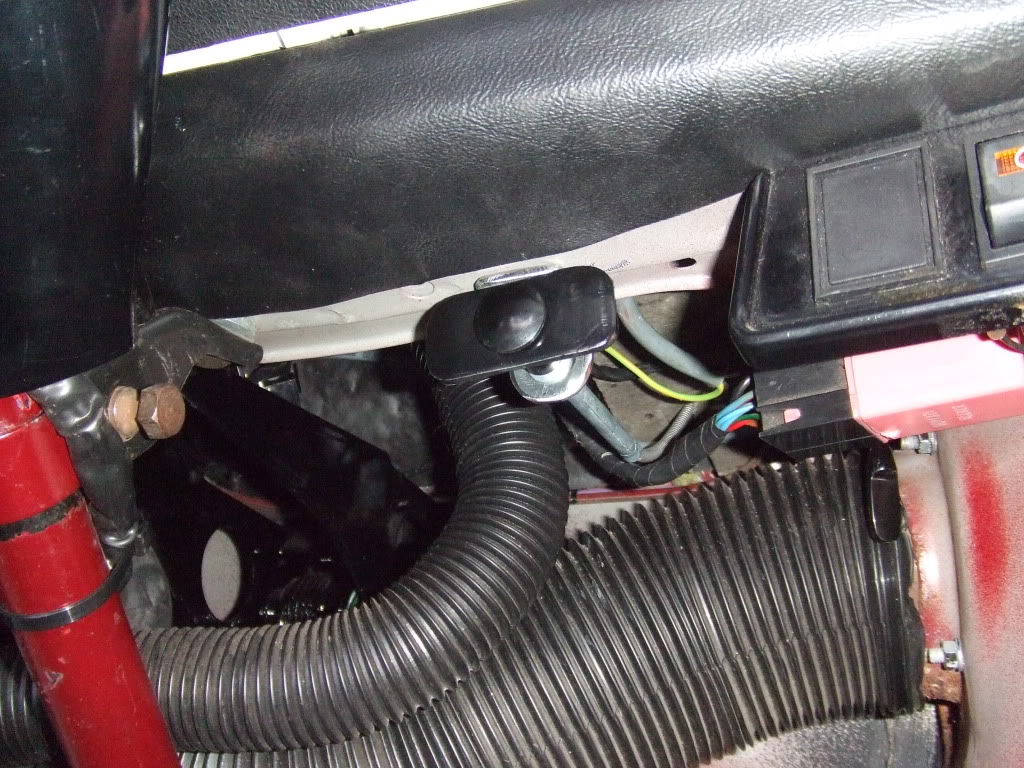
fitted the bonnet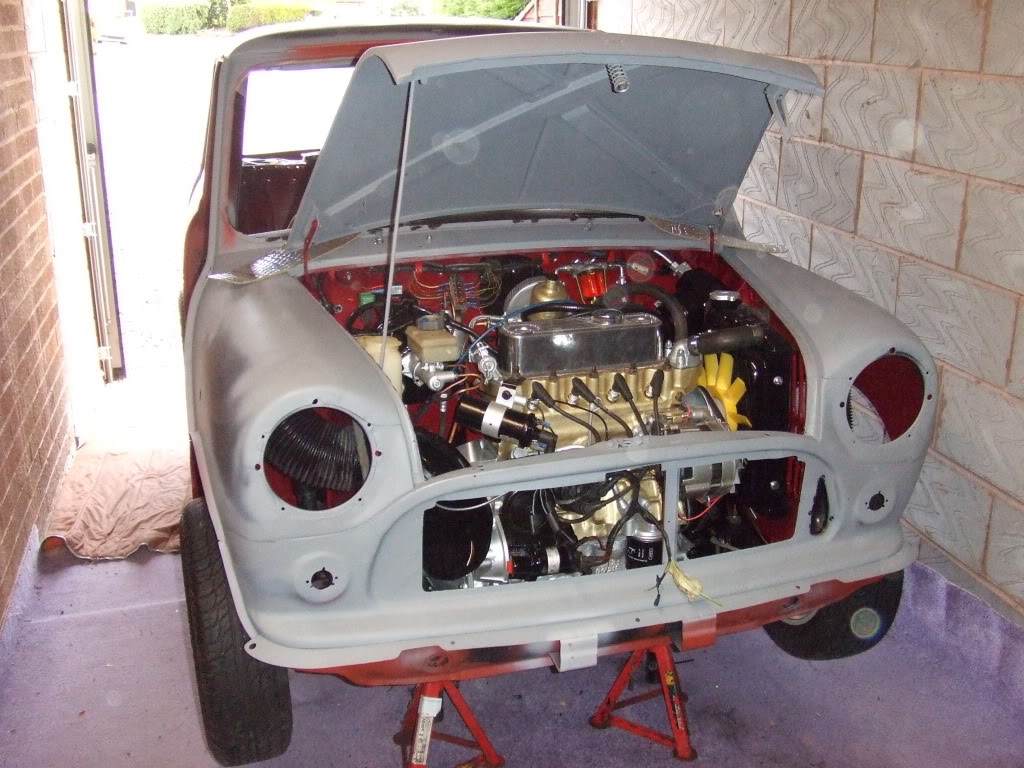
unfortunately all four bonnet bolts needed re-tapping so i did but when i tried to tighten up the new nuts, the threads stripped themselves  but my patience run out so for the first time in this whole build i had to step away and leave it until tomorrow
that's it for now
hi matt, this model of mini produced around 35 bhp and a top speed of 80 mph from new. we have bored it out an extra 40cc's and fitted a stage one kit so i am looking at hopefully around the 50-60 bhp mark, but it has a taller diff ratio (3.44:1 rather than 3.1:1) so it's top end speed will be unchanged but it will have better acceleration which is what i want as you never really get the chance to go above 80 in this country any way  i'm unsure of the 0-60 times, and i am going to get it on a rolling road once complete to get it set up properly and find out the peak bhp
  thanks for all your kind words mate
5-16-2012
hi all, today we finished fitting the bonnet, it turns out that the reason that the nuts wouldn't tighten is that i had run the wrong size tap down them so when i put the nuts onto the bolts, the threads in the nuts only just bit into the threads on the bolt and when i tried to tighten them up, they just slipped out of each other  but it is all sorted now and after a few attempts, we got the bonnet gaps pretty much spot on
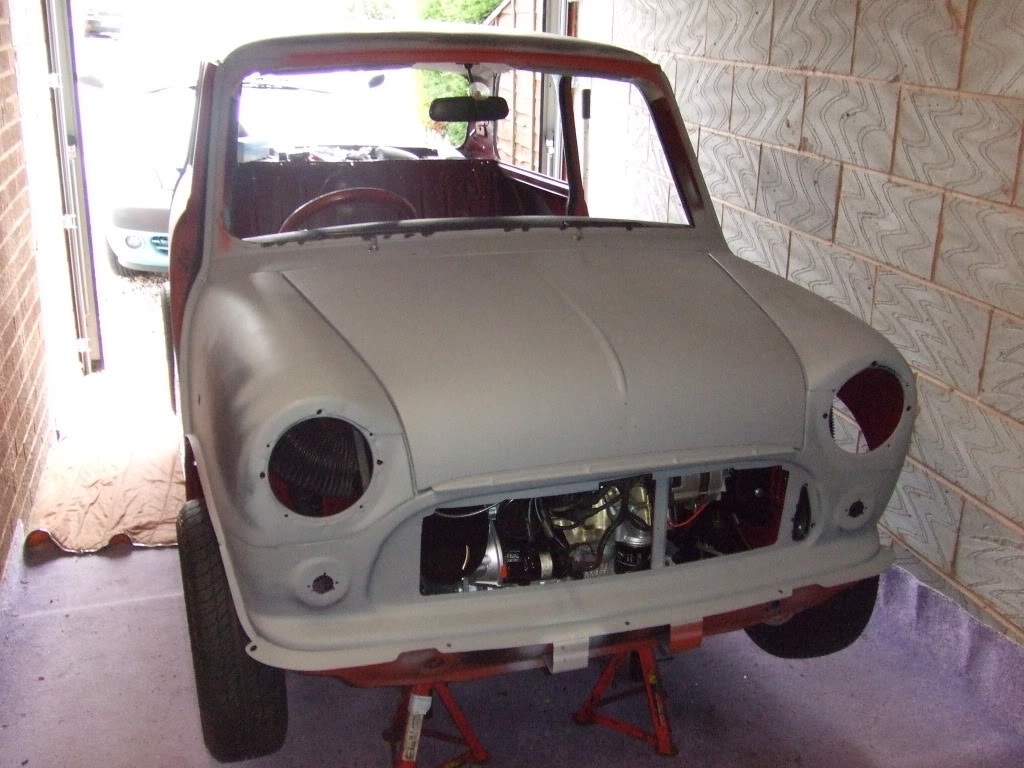
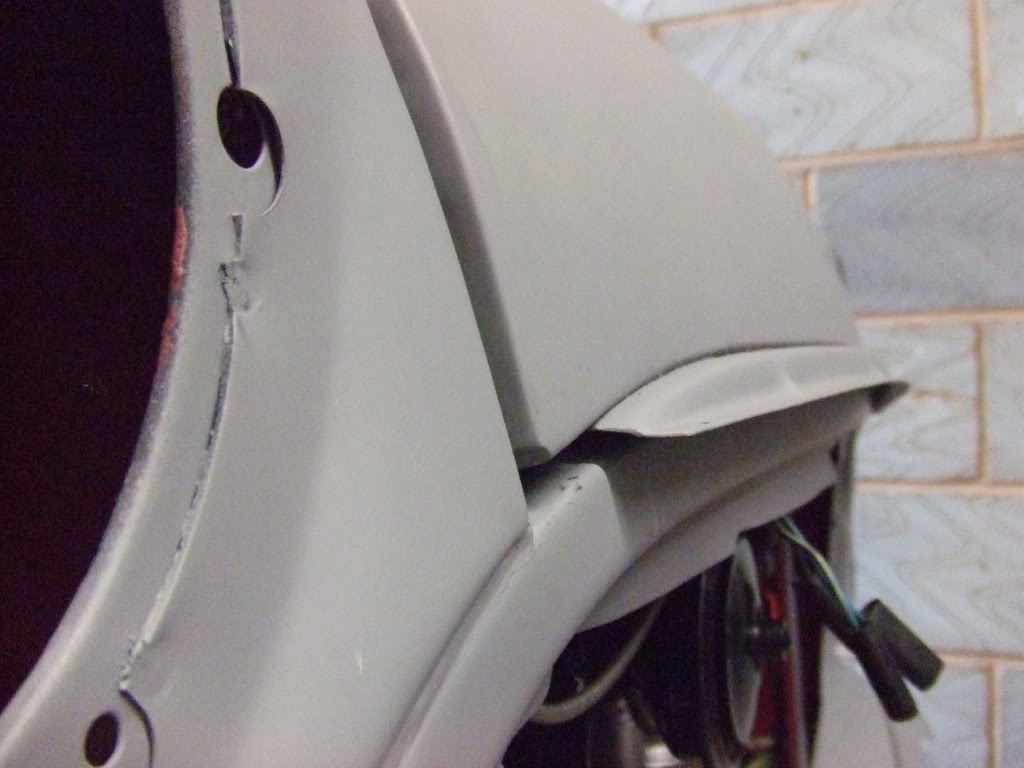
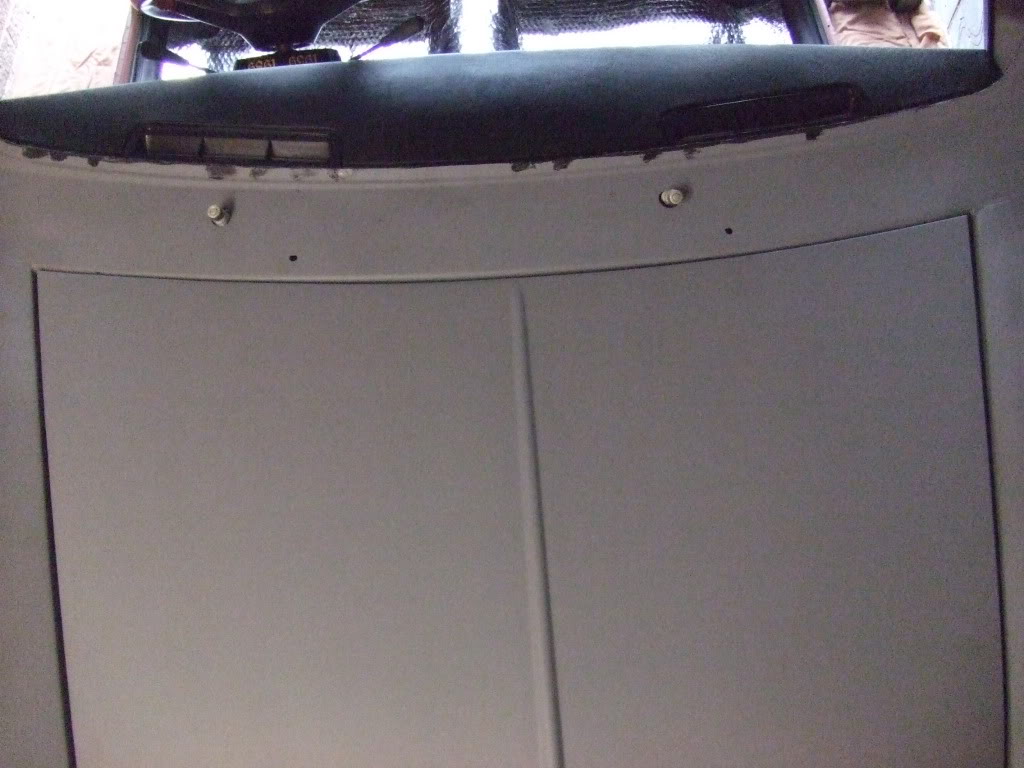
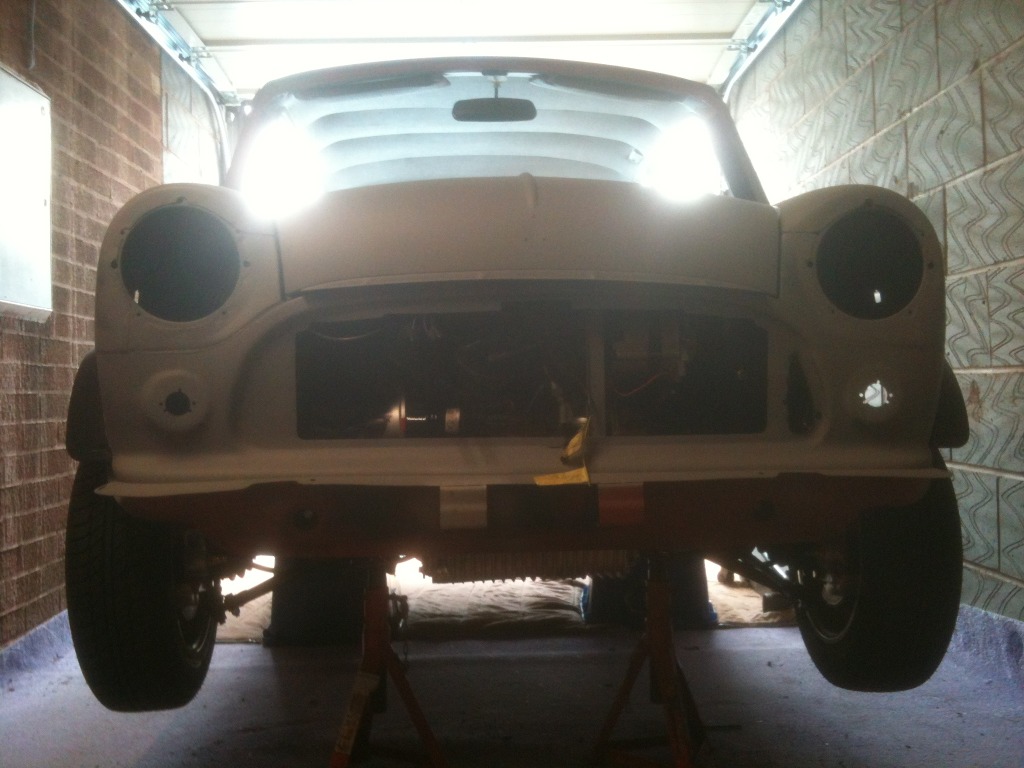
tomorrow we will bleed the brakes and seal a small blow in the exhaust y piece, then it can be dropped down off of the axle stands and back onto all four wheel for the first time in 9 months 
hi all, yesterday i spent a good seven hours cleaning the headlining...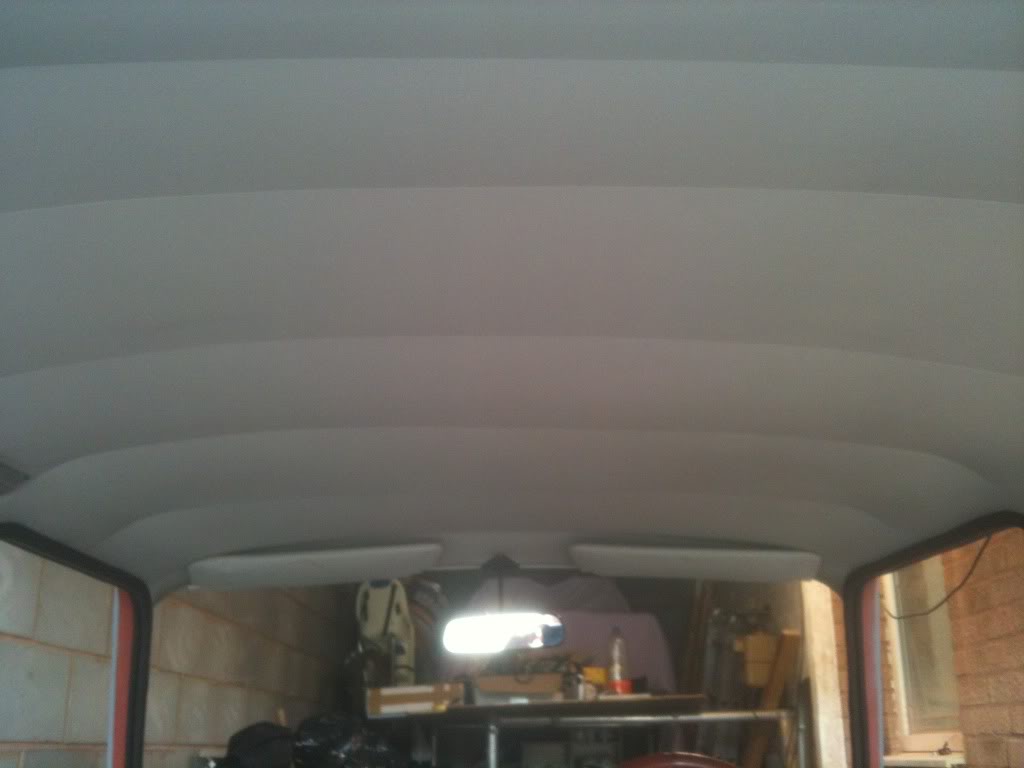
...and dashboard and i also lay down some more sound deadening but i have run out of contact adhesive so i need to get some more to finish the sound deadening on the bulkhead, rear quarters, rear seat and boot floor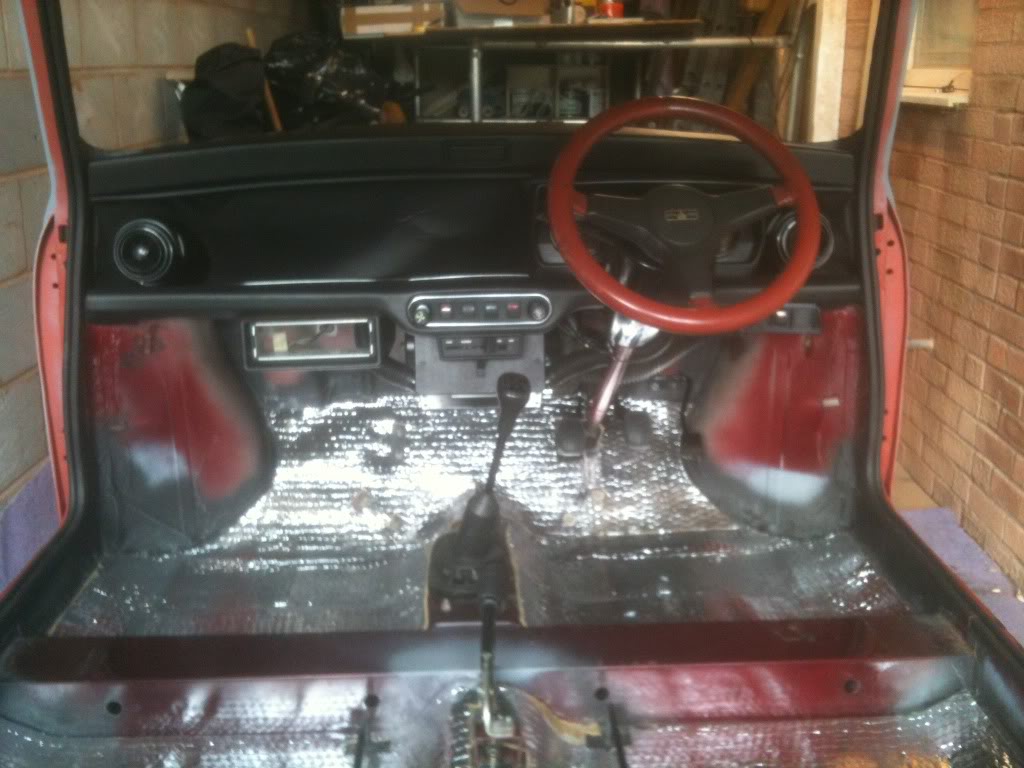
i also tried t cutting the A and B posts, cross member and rear bins but i'm still not happy with them so i am going to get some spray paint matched and give them a new coat of paint, i'm not going to get them re sprayed when i get the rest of the car done as to be honest it just won't be worth the extra work to mask every thing else off and i don't want to pay the extra money 
we also bled the brakes and fixed a leak in the exhaust so now it can be dropped back down onto it's wheels 
5-18-2012
hi all, today I : fitted my new boot seal that fits to the body rather than the lid; repaired and modified the original battery cover; removed, repaired and refitted the back dash panel which had tore at the join between that part that goes down the side of the dial cluster and gave all the pipes for the heater/fresh air vents and seat floor brackets a coat of black paint. no photos because there isn't that much to see really
5-19-2012
hi all, just a quick question - can you still buy new rear bin chrome trim ? as mine are a bit scratched and dented and i could probably get them looking a bit tidier but i would ideally like some new ones, does anyone know where to get them ? i have looked in mini spares but no luck there 
Cheers for any help
5-20-2012
hi all, today we fitted my new original type (special) arches and cut the sill trim to length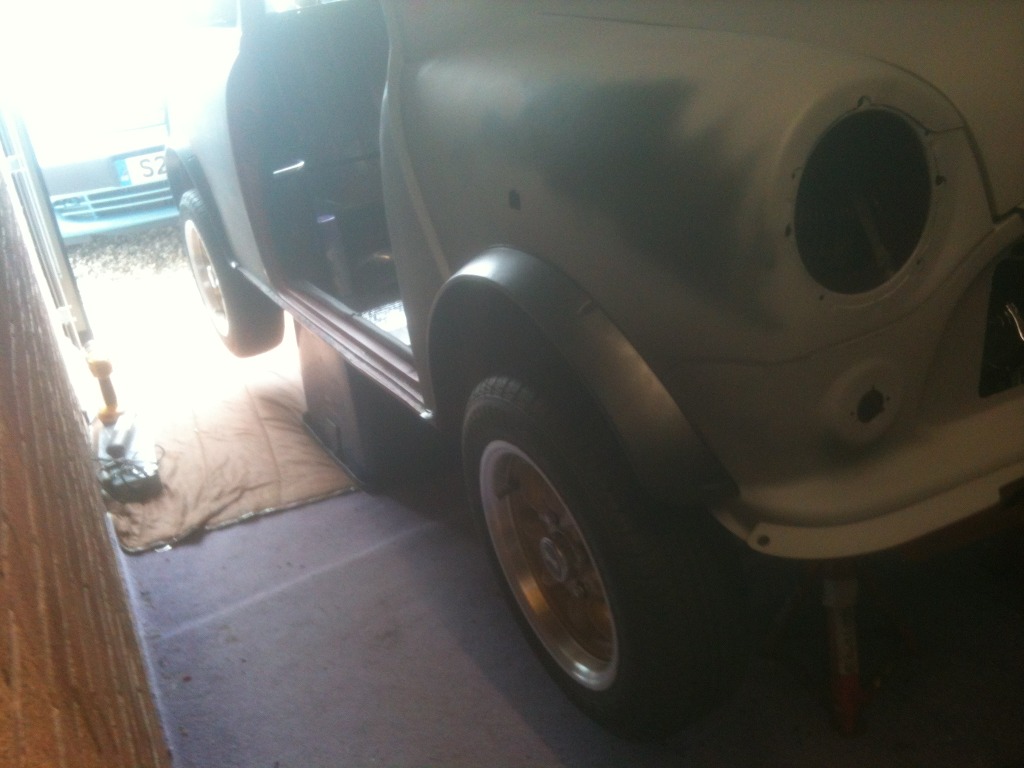
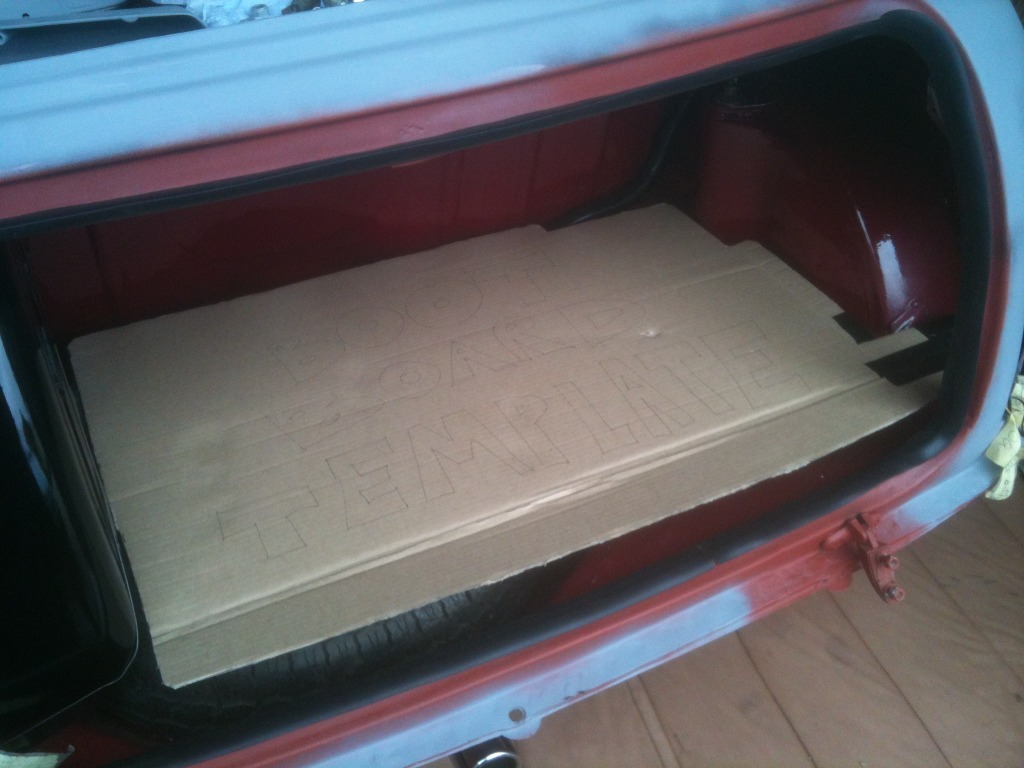
i made a template for a custom boot board which will be similar to that of the original cooper ones, it will be made from ply wood and covered in some of my old carpet and i used the box that my arches came in to make the template - recycle, the possibilities are endless 
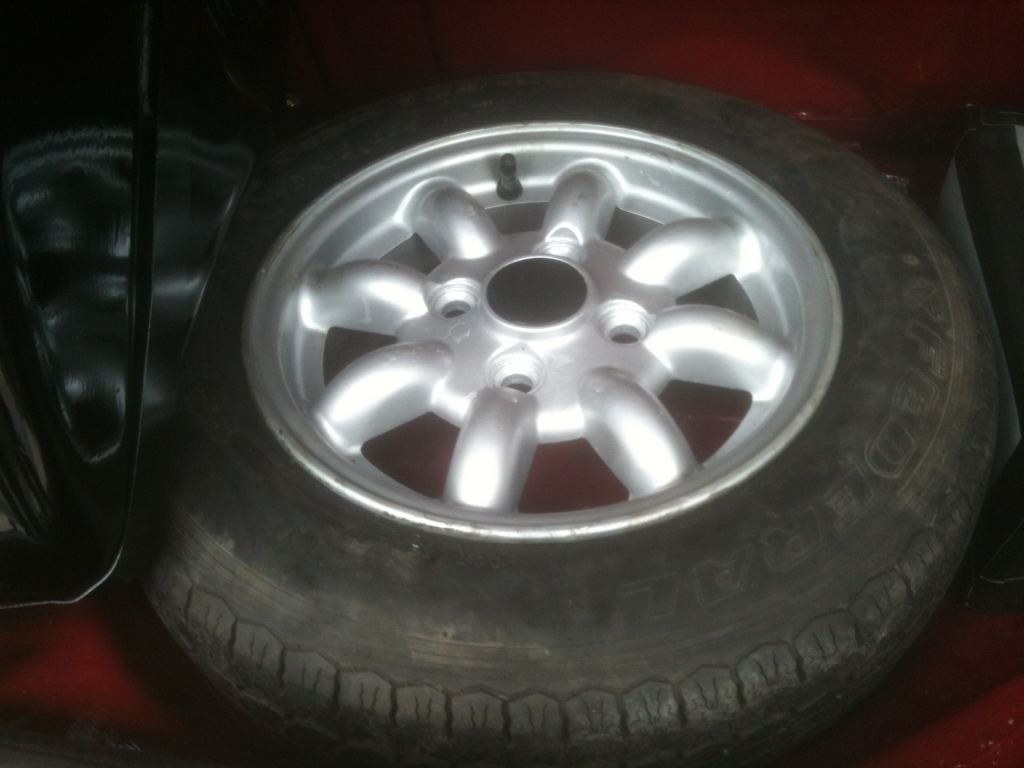
my dad cleaned up my spare wheel which is an original wheel from the factory, it would have been nice to have the original wheels but i like mine non the less 
and we wired in my custom boot light, it is VERY bright as it is an LED fog light  it is wired up to a toggle switch that is released when the boot lock disengages the body. please excuse the poor quality iphone picture
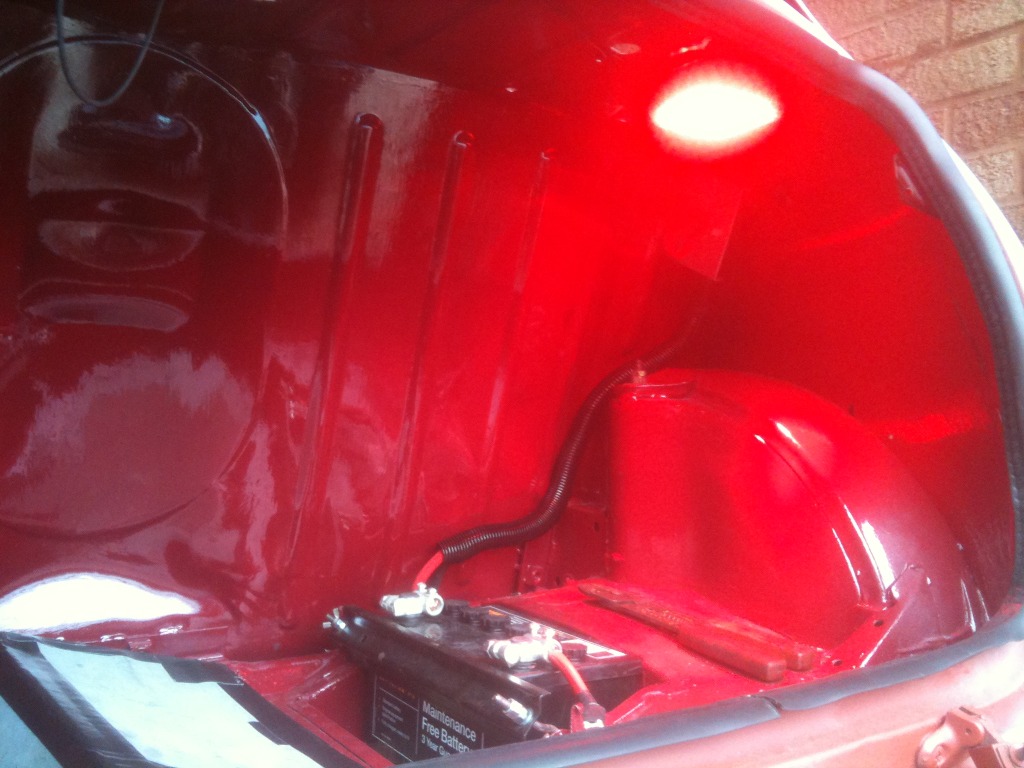
tomorrow we will try yet again to fix a small blow in the exhaust, remove my arches and brush paint behind them and the sills, and then drop the car onto it's wheels and run it up to temperature to put a bar seal in the heater system
5-20-2012
by the way, i have finalised the layout of my Ice system: two 5 1/4 inch speakers under the rear seat; two 6 1/2 inch speakers under the rear seat; two 8 x 4 1/2 inch speakers facing upwards in the base of the rear bins and two 4 inch speakers in the metro door pockets plus a usb head unit in the dash console  i will leave the original parcel shelf speakers in the car but not connected up as they are quite old and won't last long with my musical taste
i was thinking of putting two under the dash board because i really don't like the speakers pods that go on the wheel arch but there isn't any room on the drivers side so i might put a speaker under the passengers side as i have a spare 4 inch speaker. i really want to maintain the factory standard look and that is why i am not putting any speakers in the parcel shelf or on show in speaker pods, it took me a while to except the idea of a speaker board under the rear bench  as regards to all the sound being behind me, all my sound deadening should suppress road and engine noise and there really isn't much distance between me and the speakers
  and if i layer up the sound deadening behind the speakers, it will slow down the waves produced from the back of the speaker and there fore give the speaker more depth, well that's the plan anyway
thanks for your advice any way

Wow this is amazing!
Posted by Diggymart on 6/13/19 @ 12:47:42 PM