You must be logged in to rate content!
10 minute(s) of a 220 minute read
3-14-2012
bit of a boring update, this week my dad has been painting the underside in cherry red paint on his way home from work so it's ready for wax oil on the week end, i will post pics then
3-16-2012
just got a delivery from mini spares, special arch kit (4 factory fitted arches and 2 sill trims), fixing kit and 2 new rubber tear drop front sub frame mounts
change of plans, we can't work on cliff this week end  so we are going to fit the scuttle and front end next week end...we will take the subby, mounts and bonnet to help get the alignment just right
3-24-2012
hi all, today we made quite a bit of progress
underside all painted in cherry red paint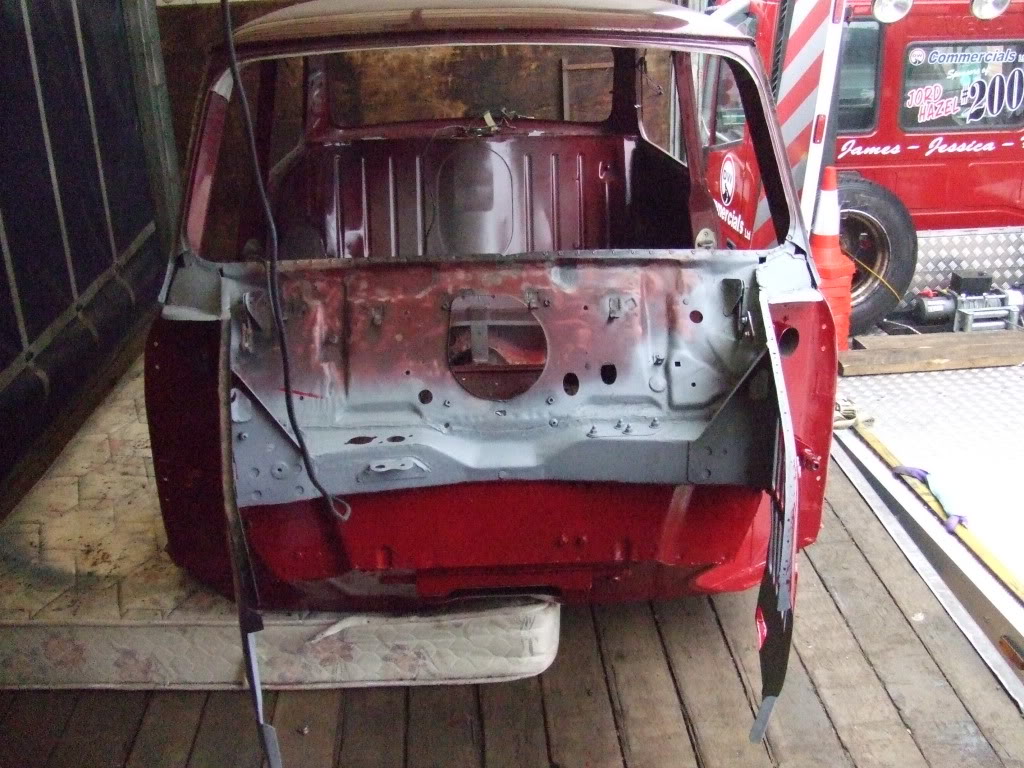
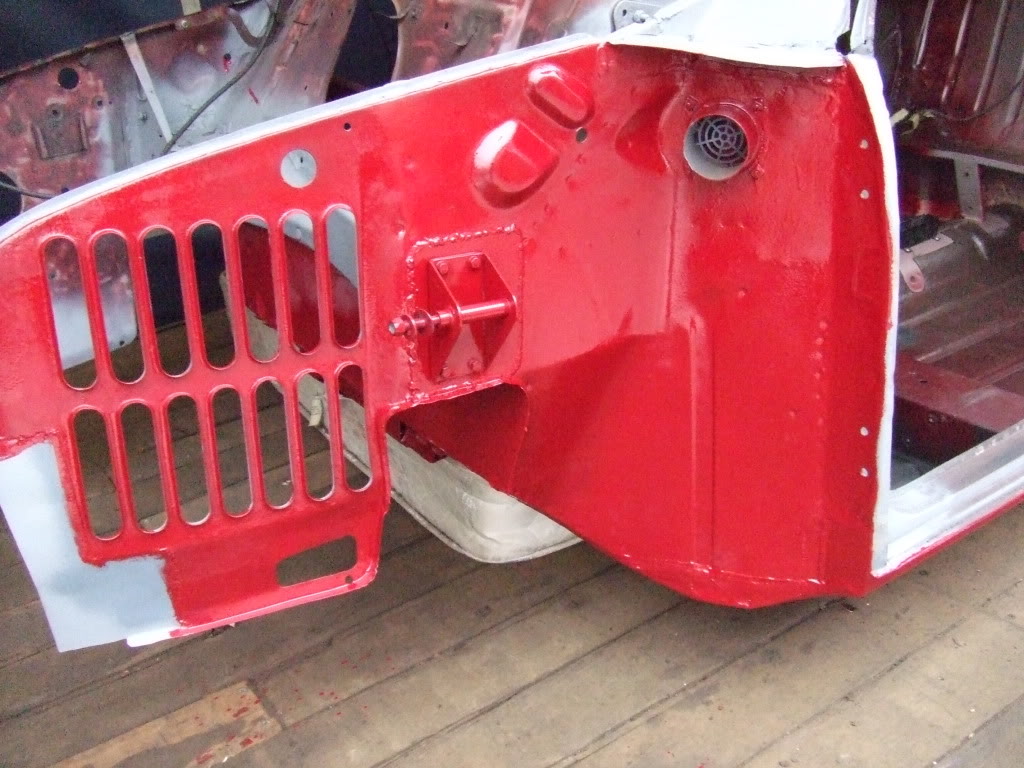
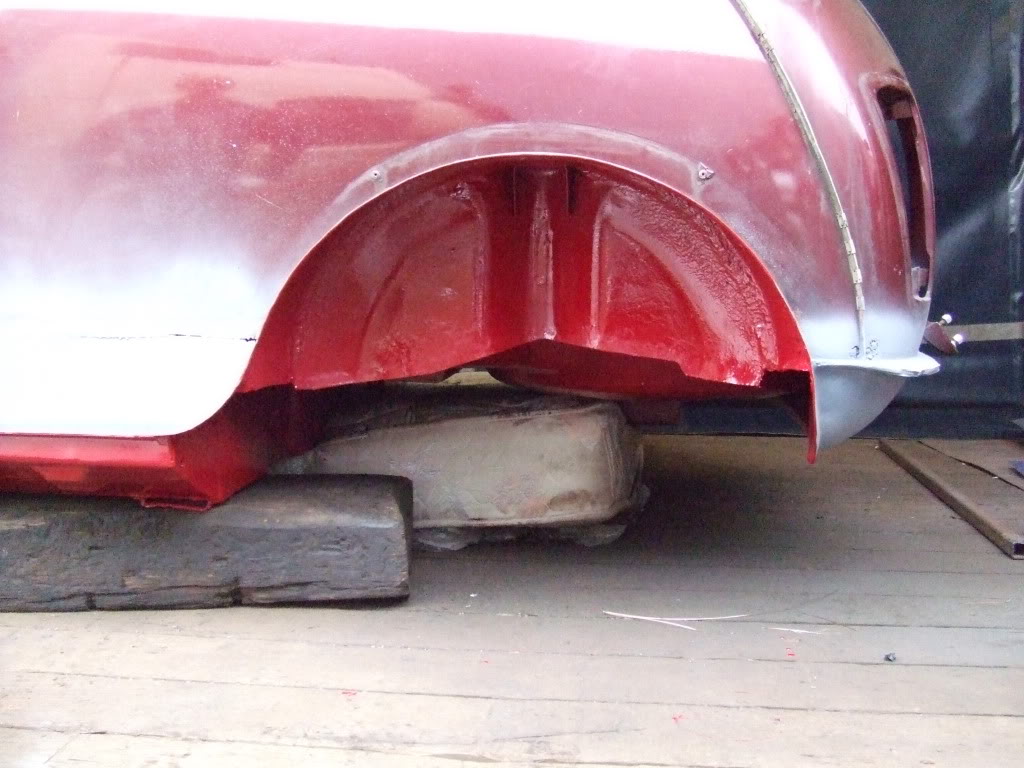
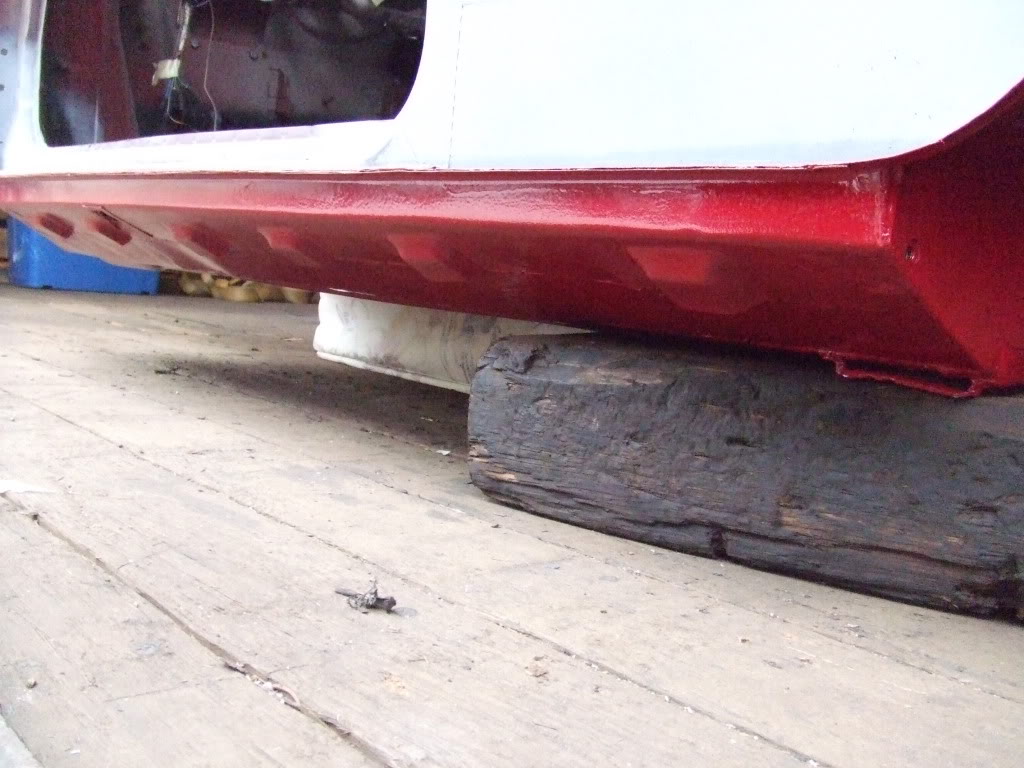
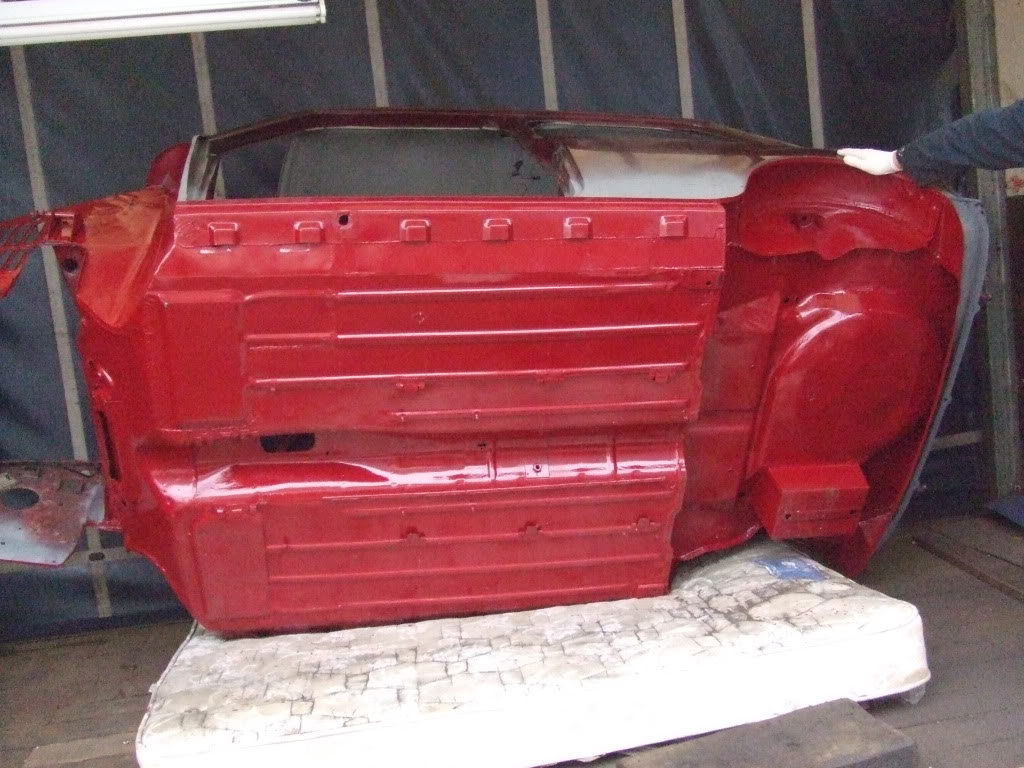
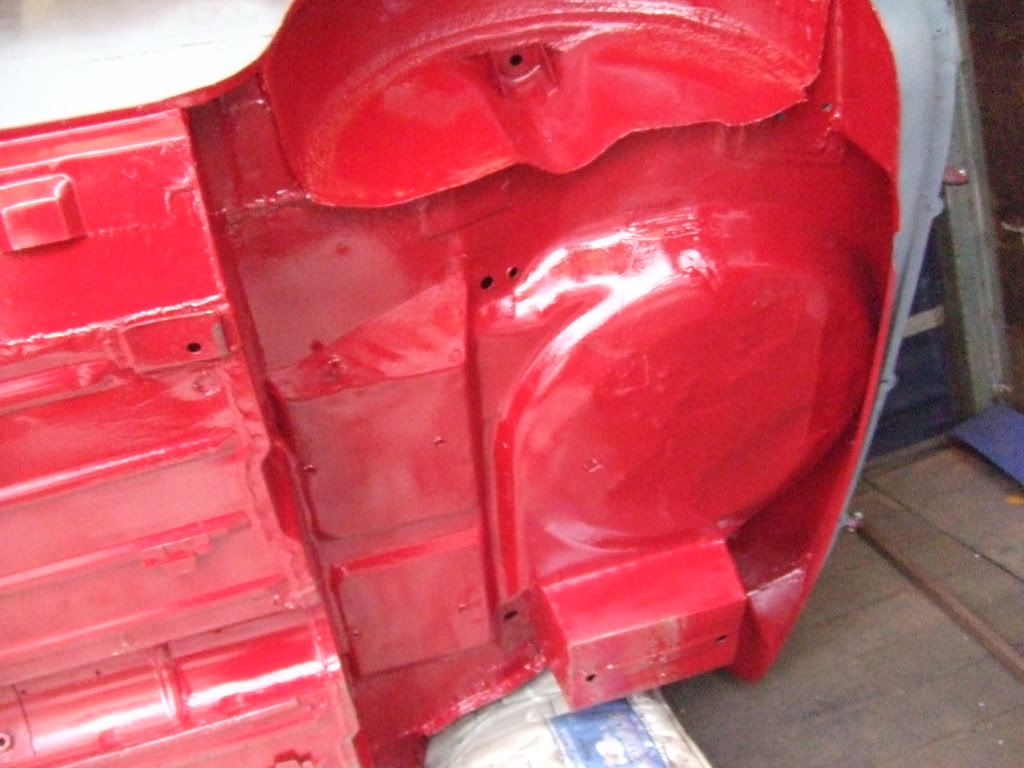
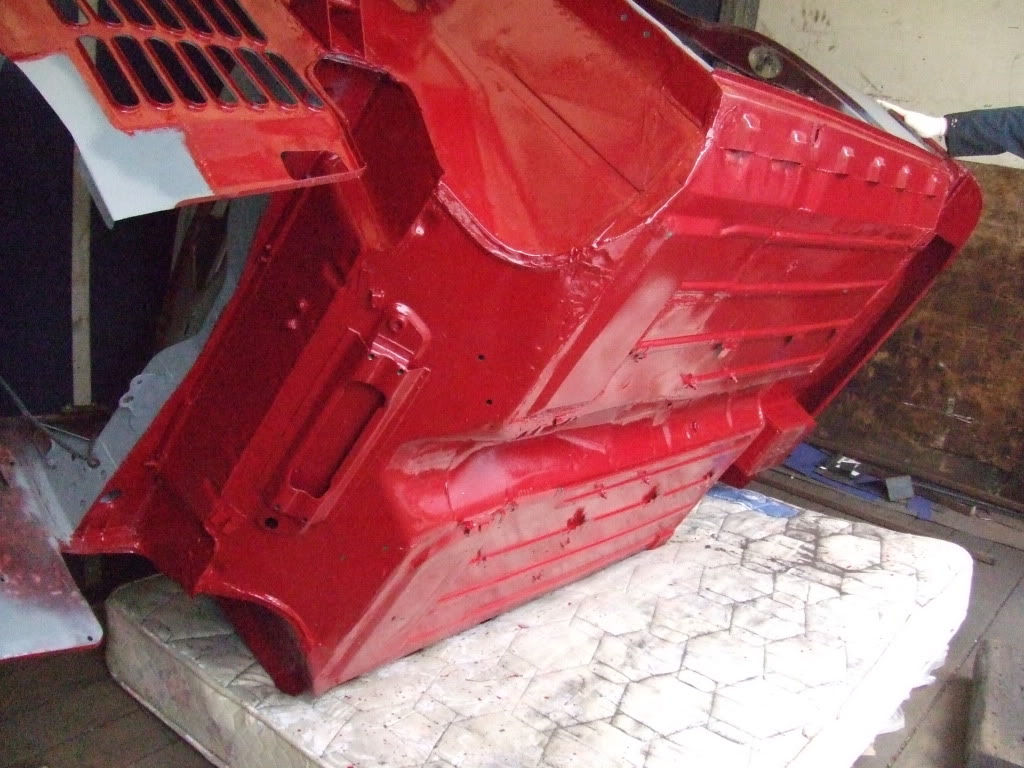
i have decided to paint the engine bay and boot in this paint too so that will be done during the week
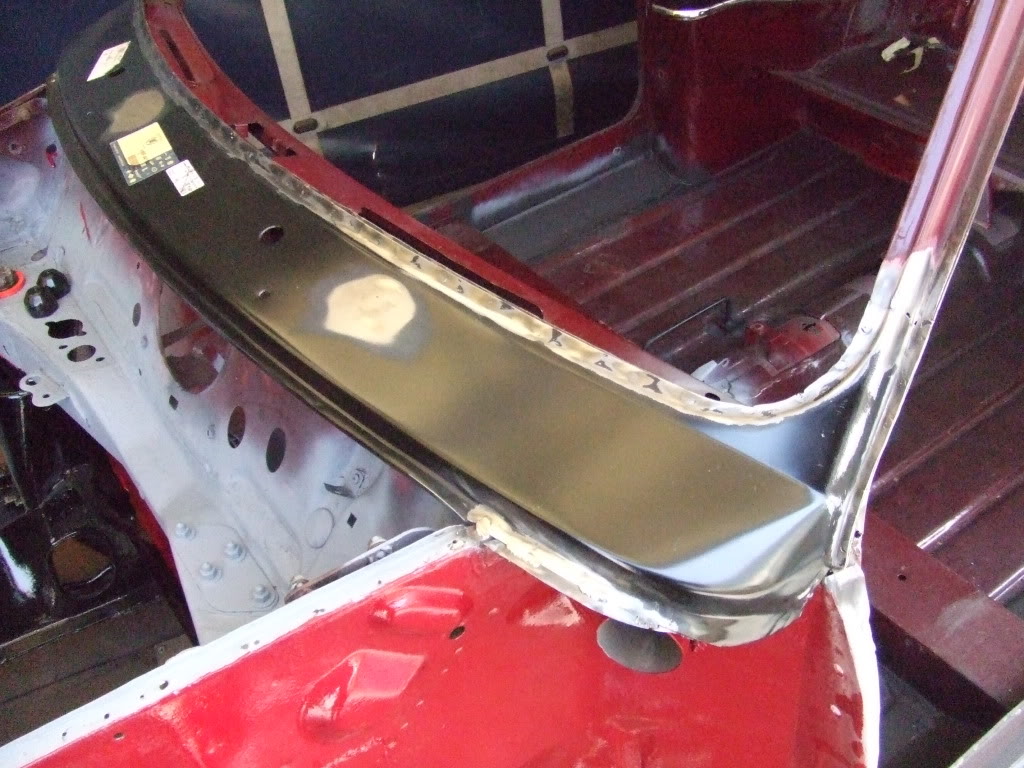
then we attached the scuttle, even though it is a heritage panel we still had to mess around to get it to fit spot on...which it does...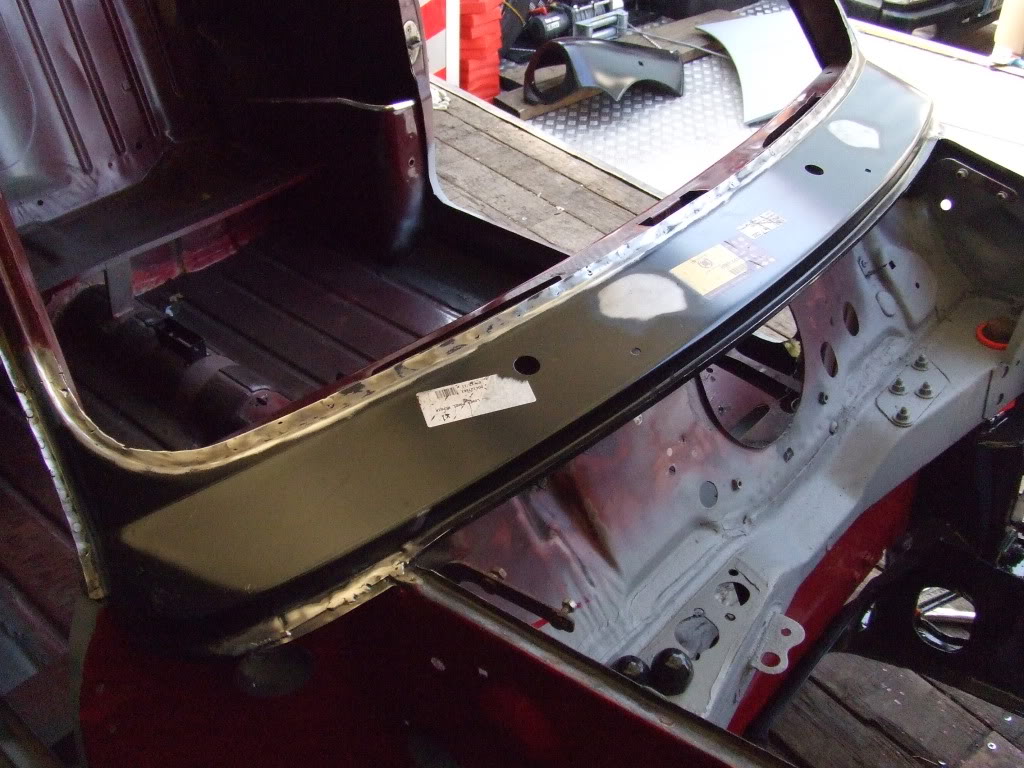
then we bolted on the subframe, the black paint and red poly bushes really stand out against the fresh cherry red paint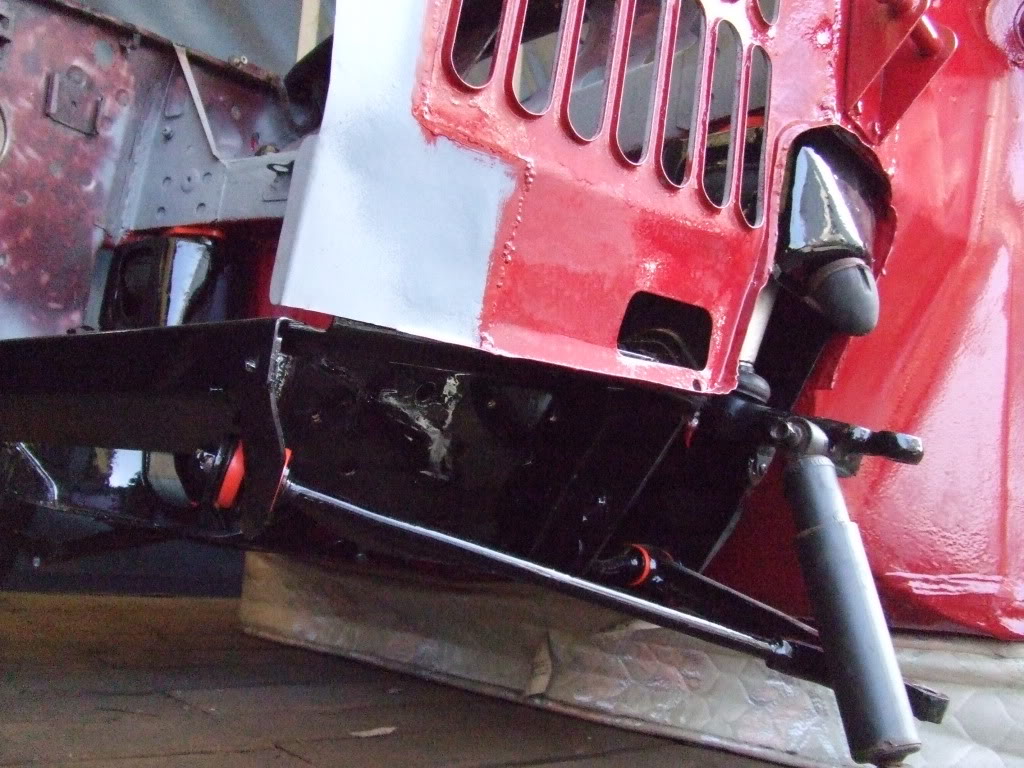
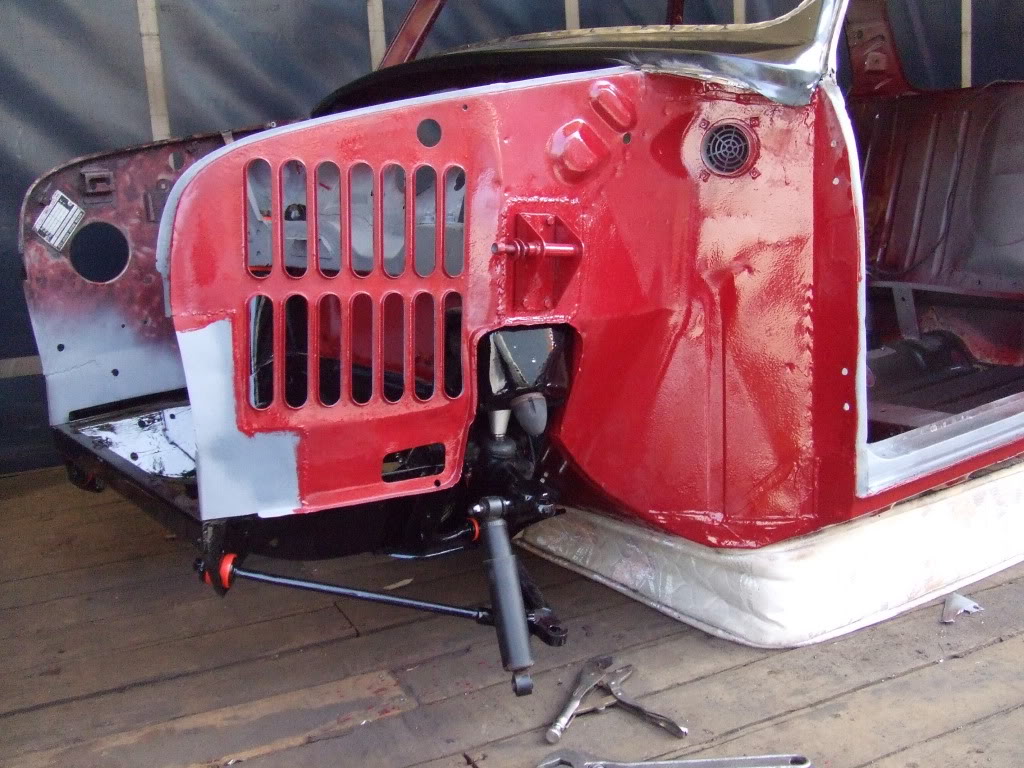
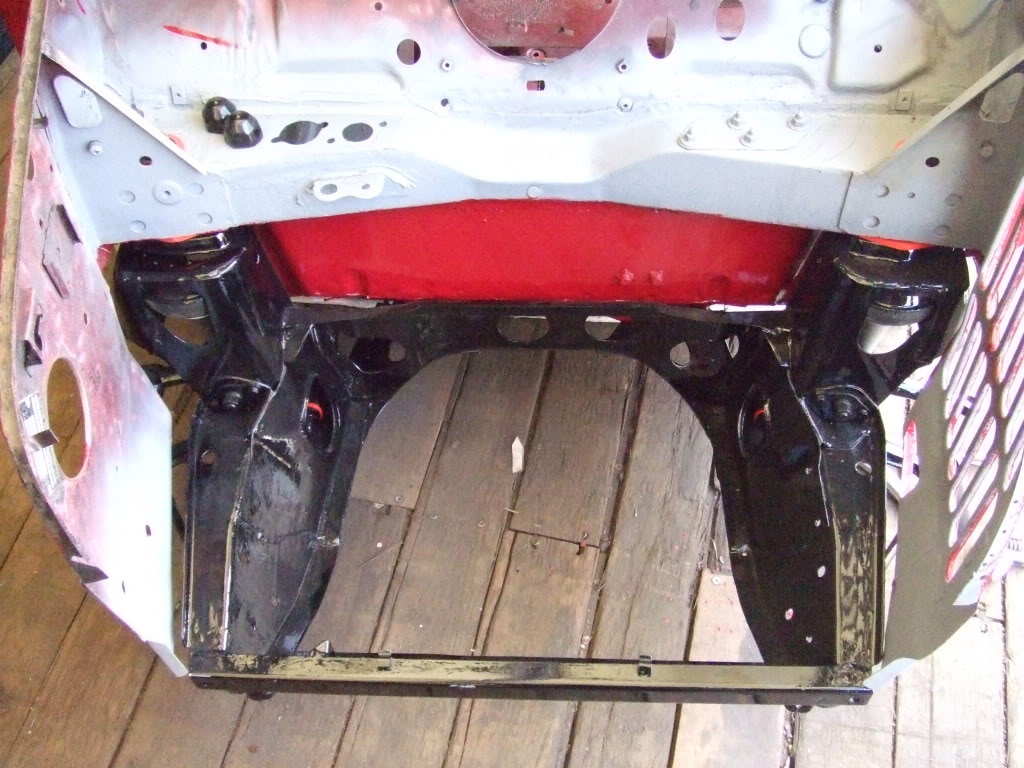
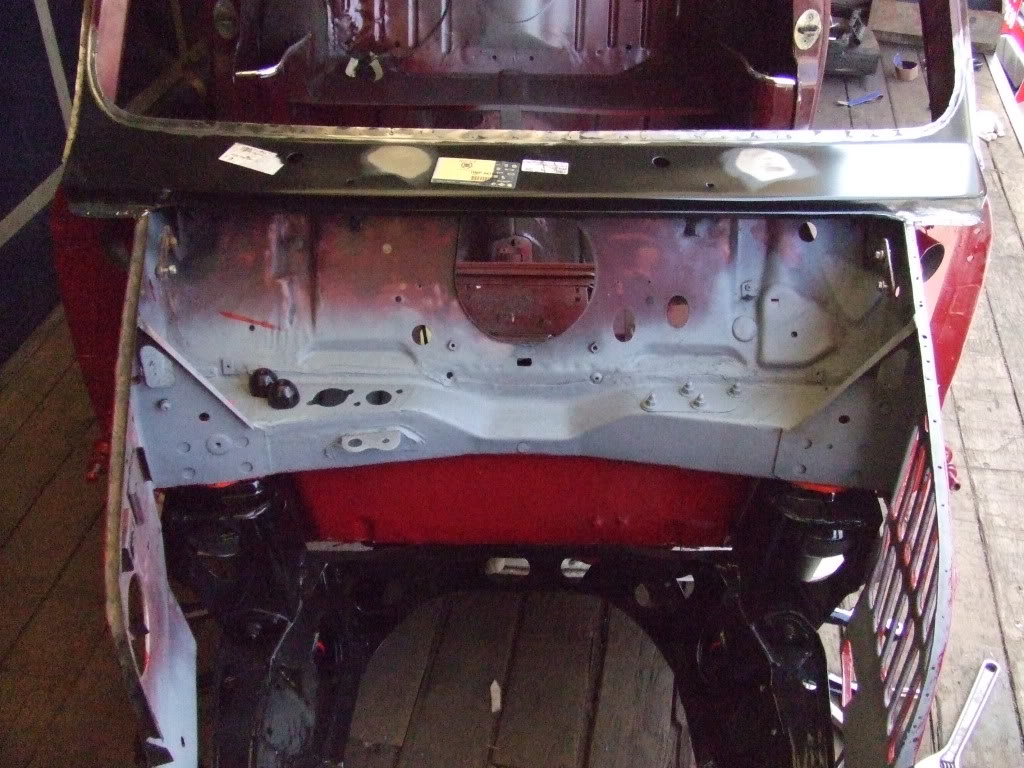
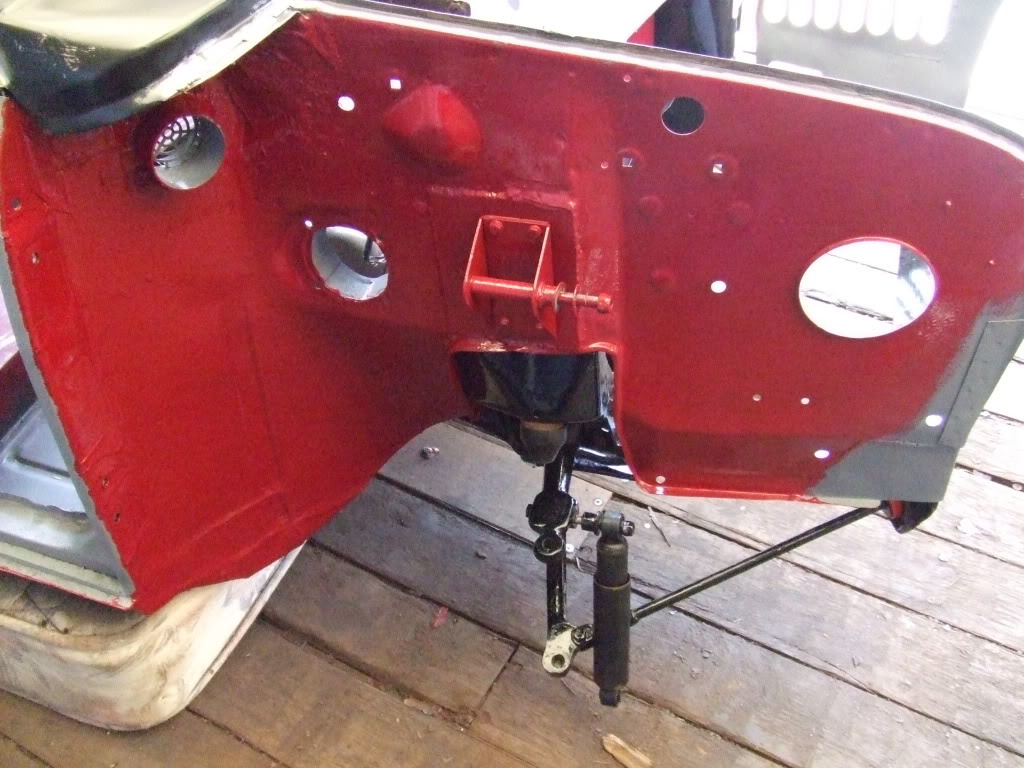
this enabled us to fit the front panel...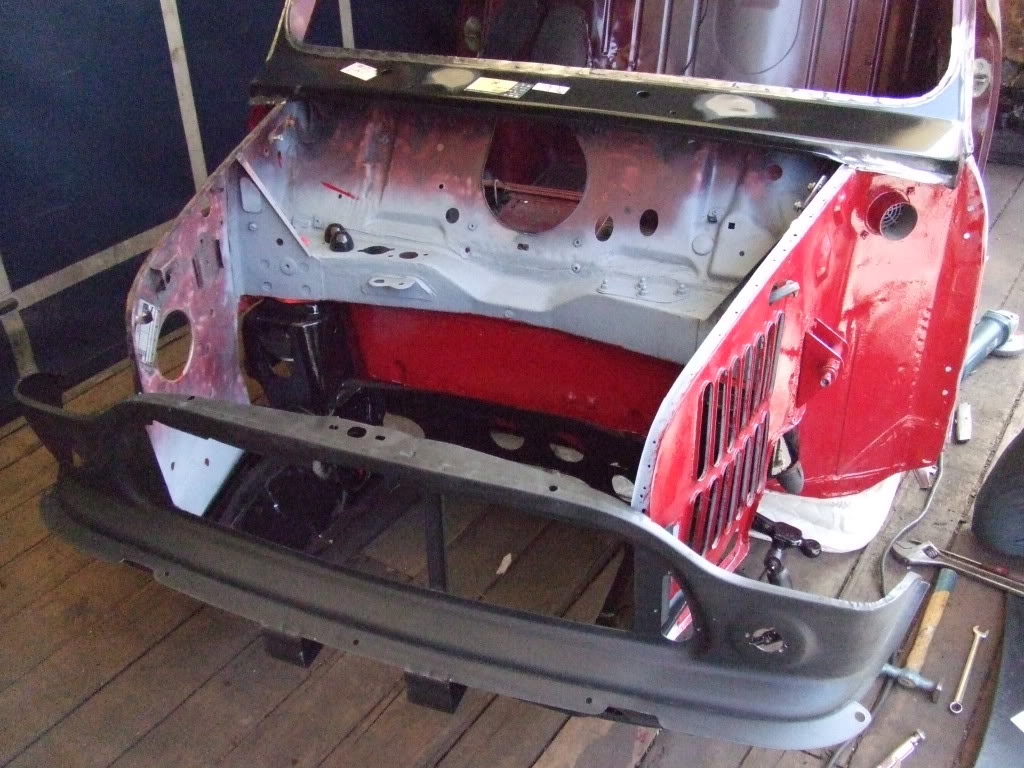
...N/S wing...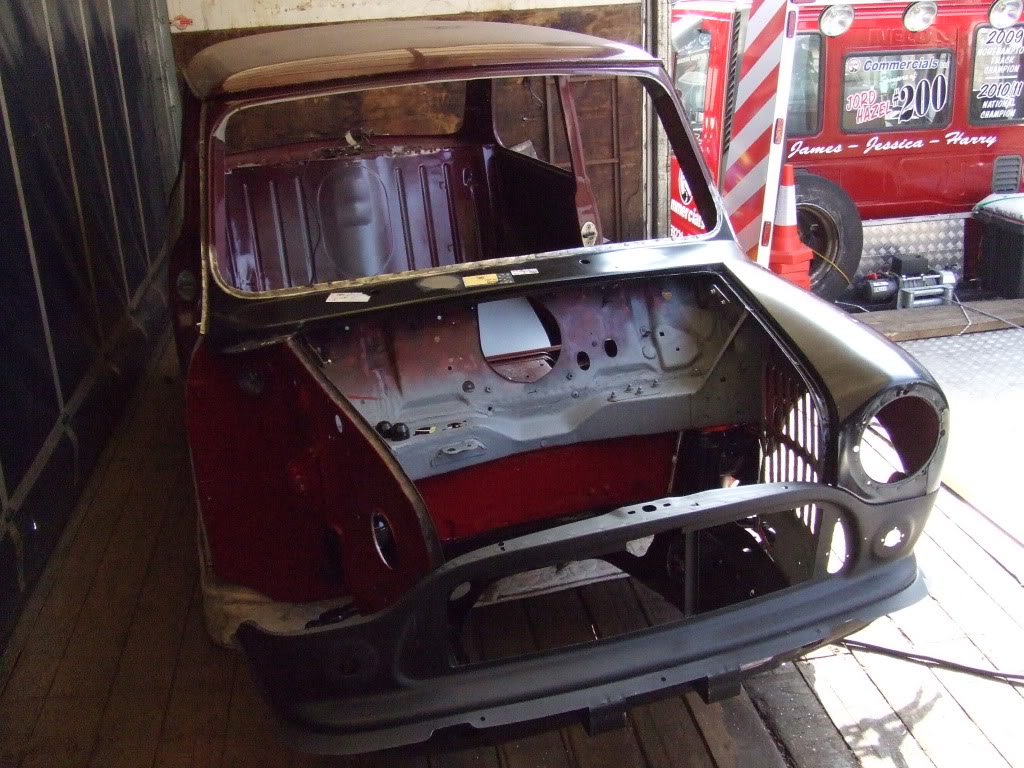
...and A panel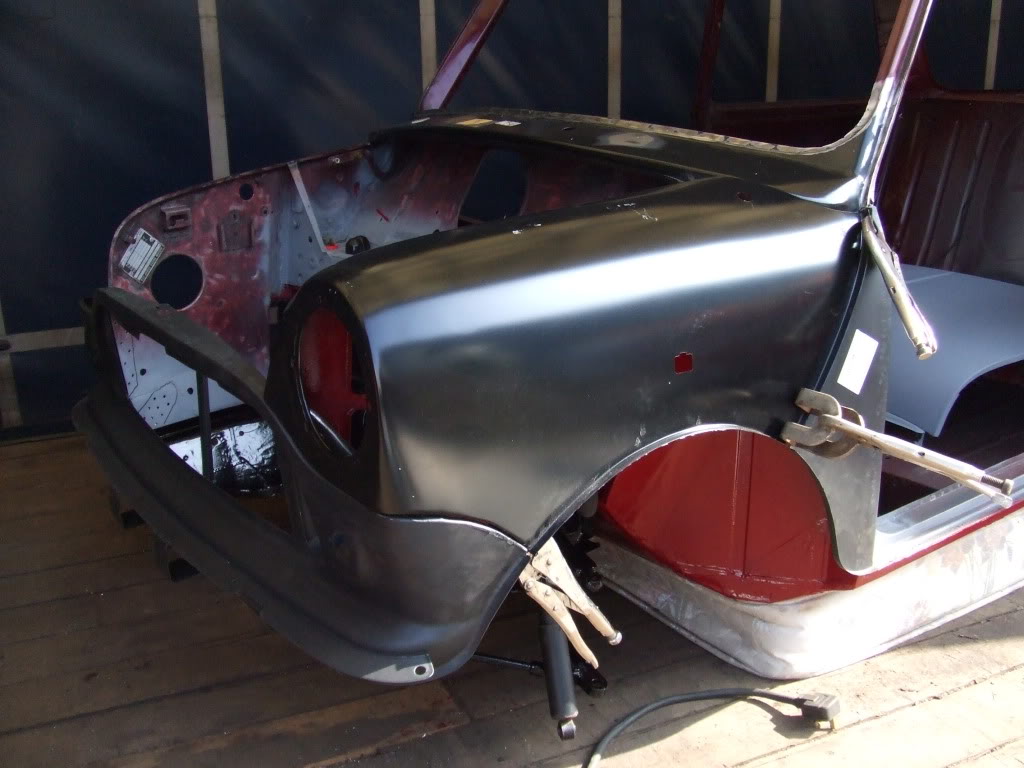
for pattern panels these fit really well and the gaps are good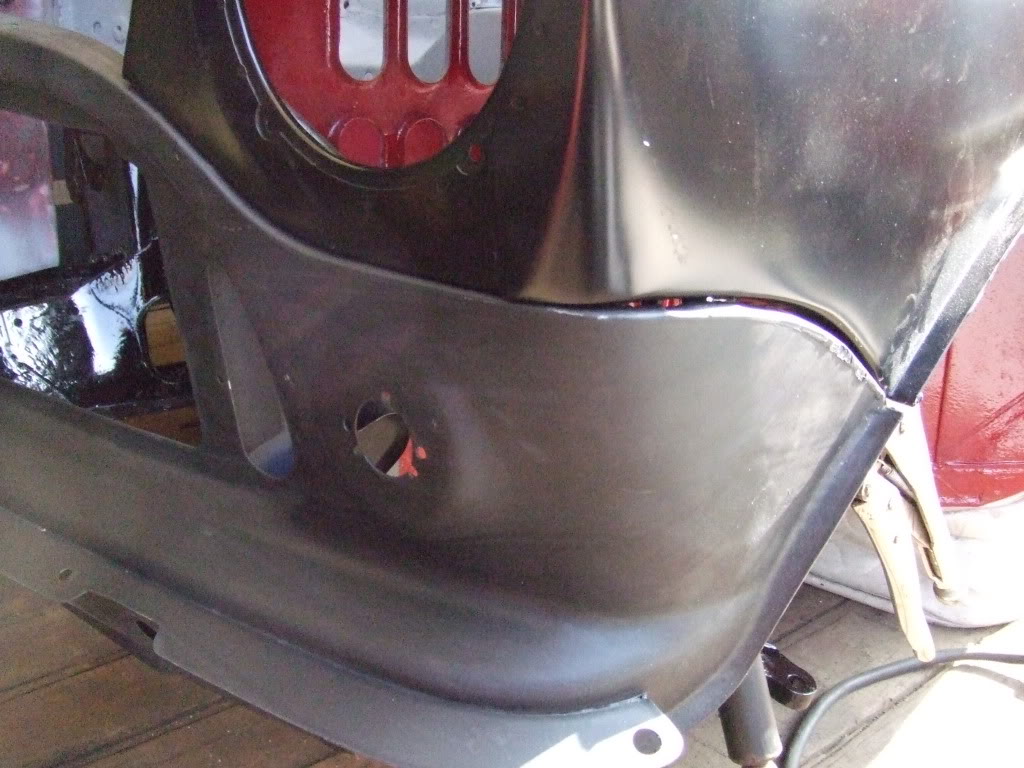
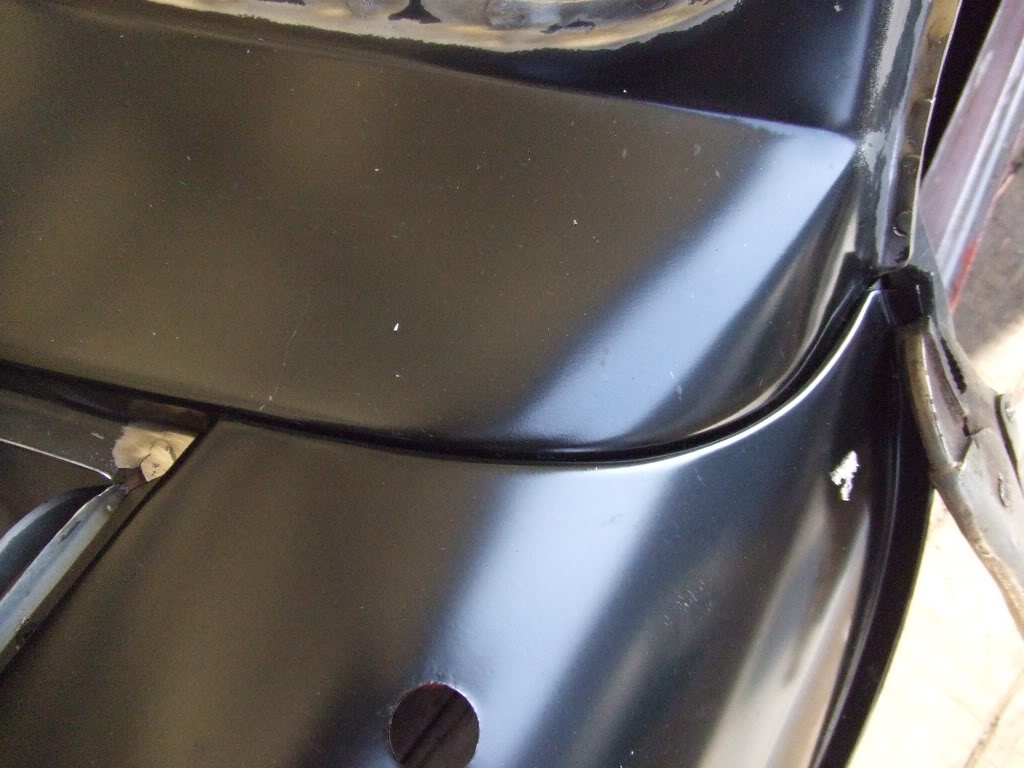
during the week my dad will fit the other wing and A panel then next week end we will remove all the panels whilst they are still attached to each other and weld the seams. then we will fit the whole thing as a solid front end, this will allow us to properly seam weld all the joins and make it stronger.
before we left i primed the exposed metal on the scuttle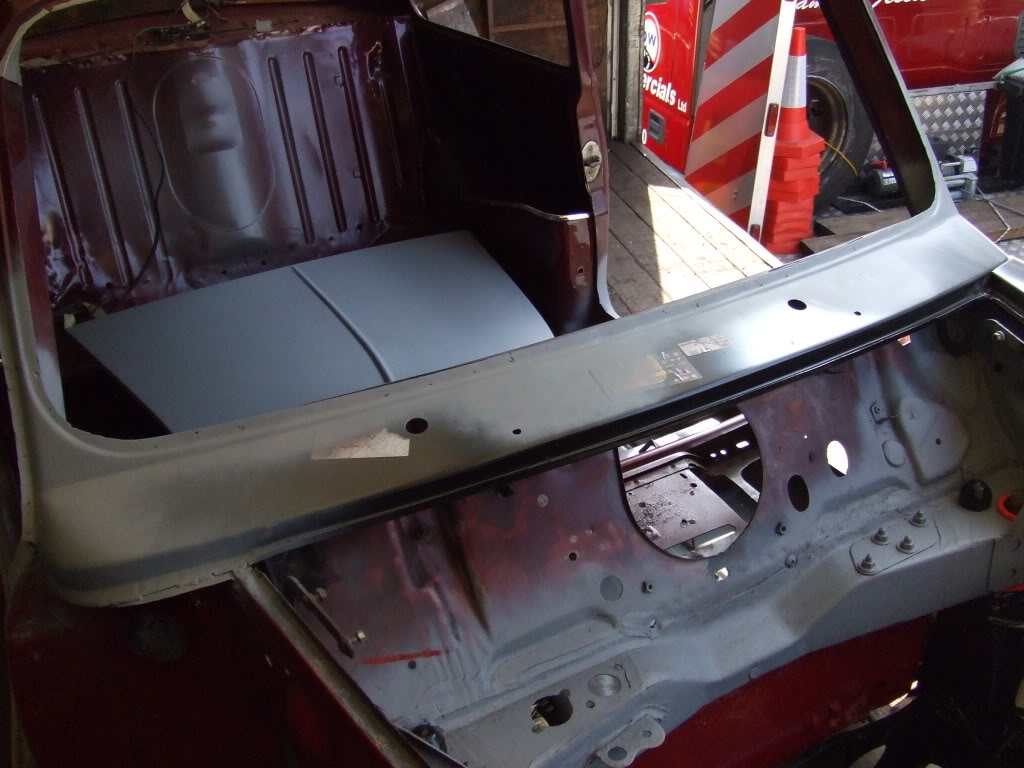
all these panels, other than the heritage scuttle, are from old skool minis...we can't recommend them enough, very friendly and helpful staff.
Cheers
3-31-2012
hi all, today we finished off the front end and painted the boot...
boot painted in the same paint as the under side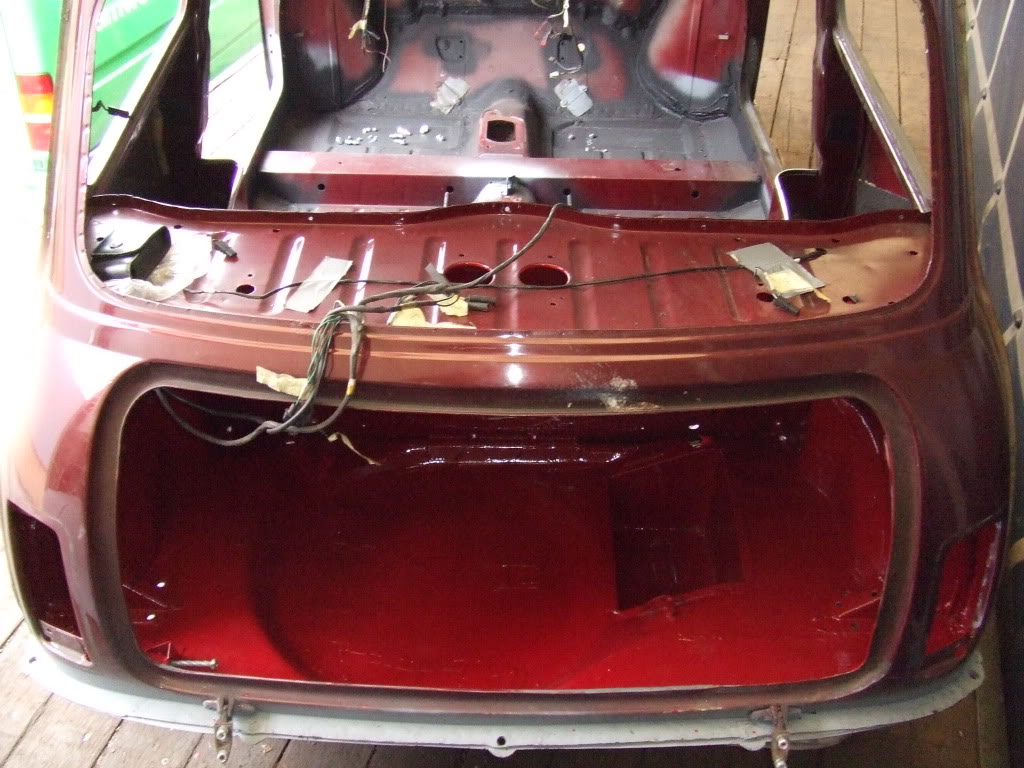
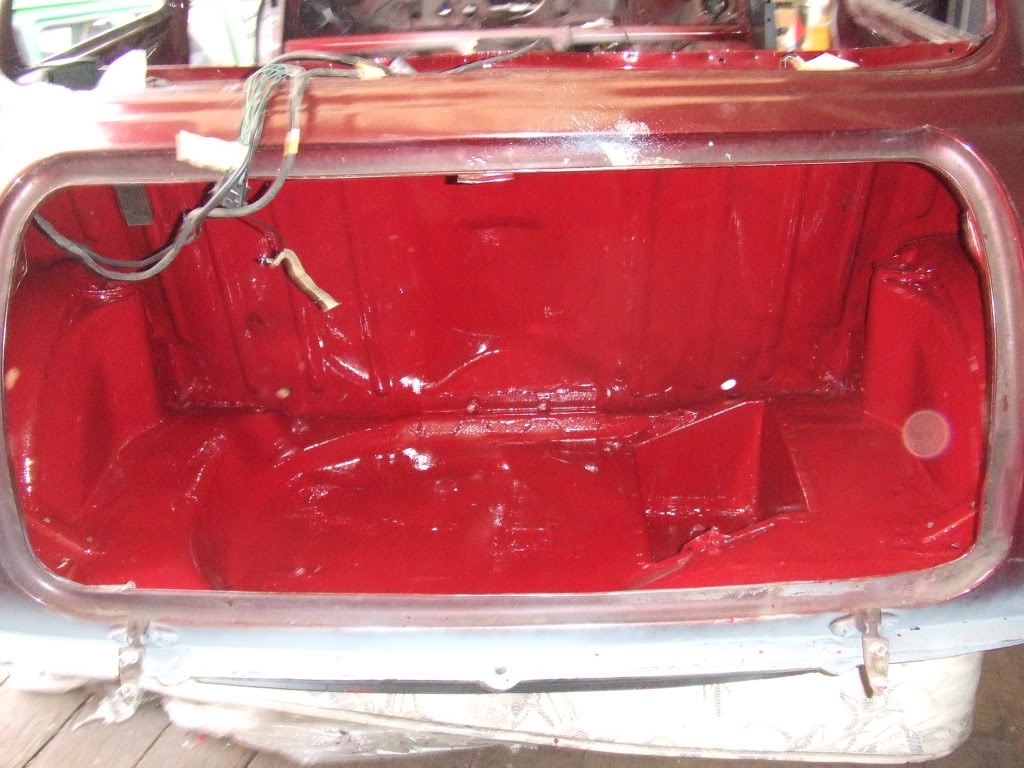
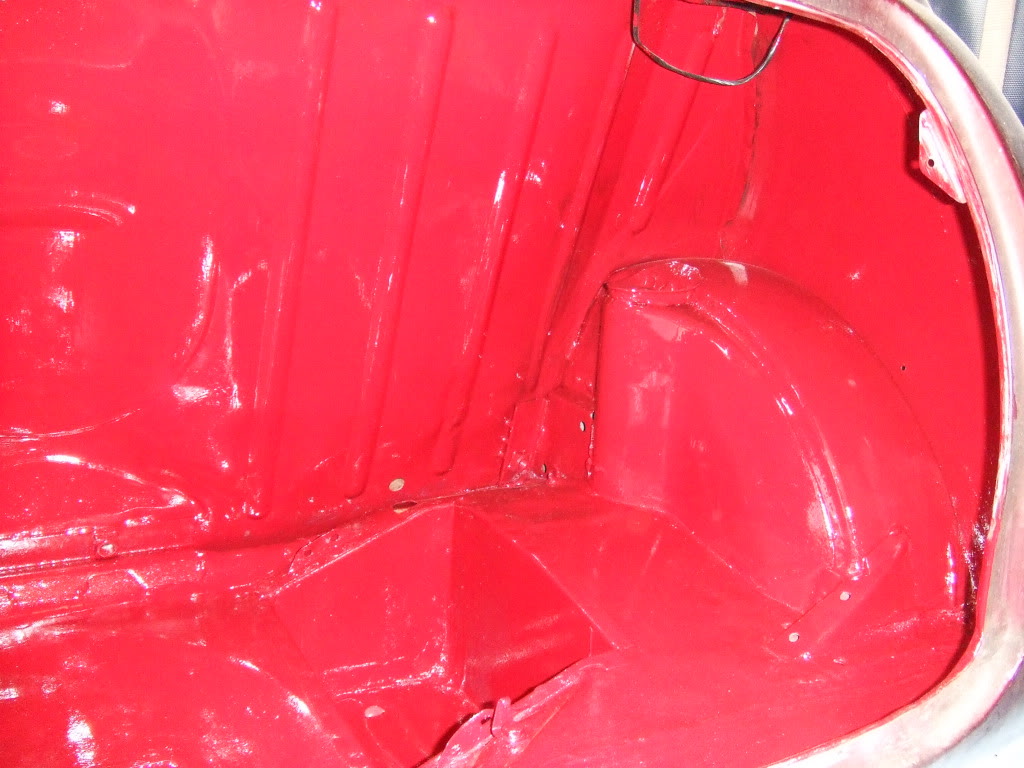
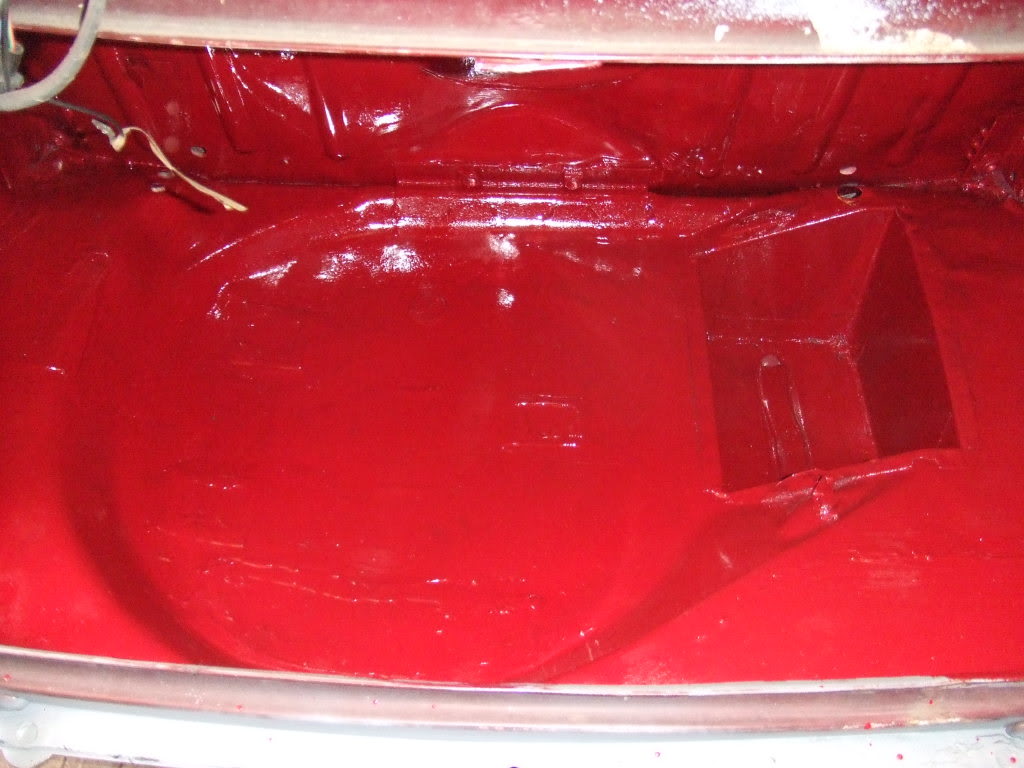
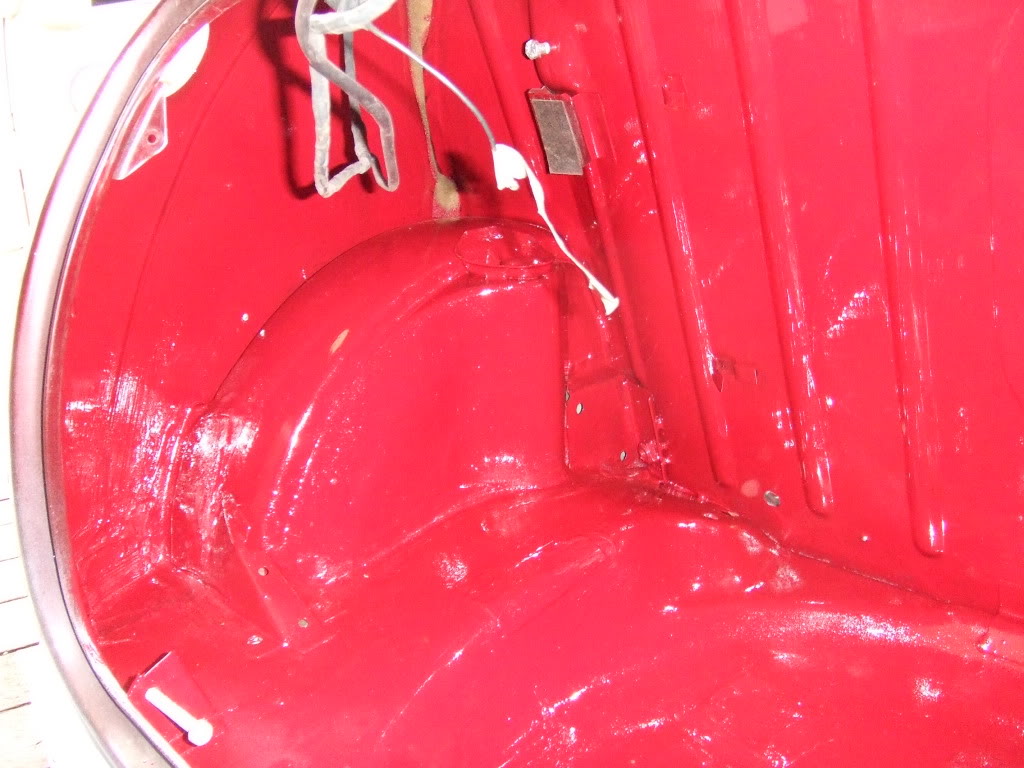
this paint will also be used for the engine bay later this week
all panels lined up and doors put in place to check gaps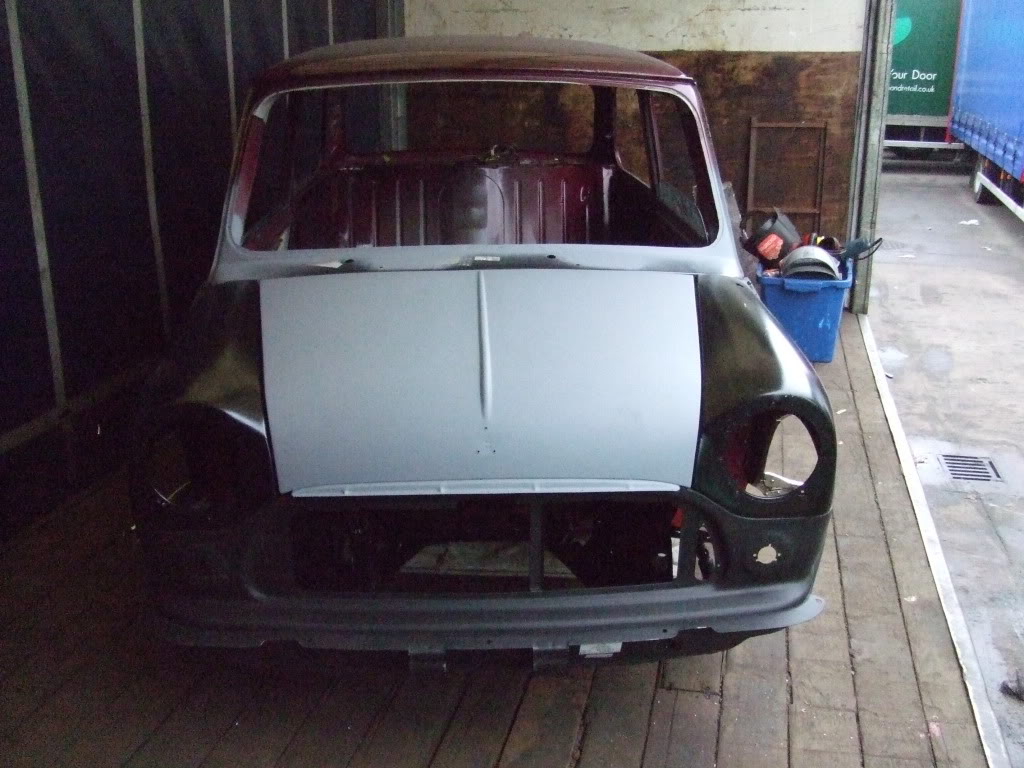
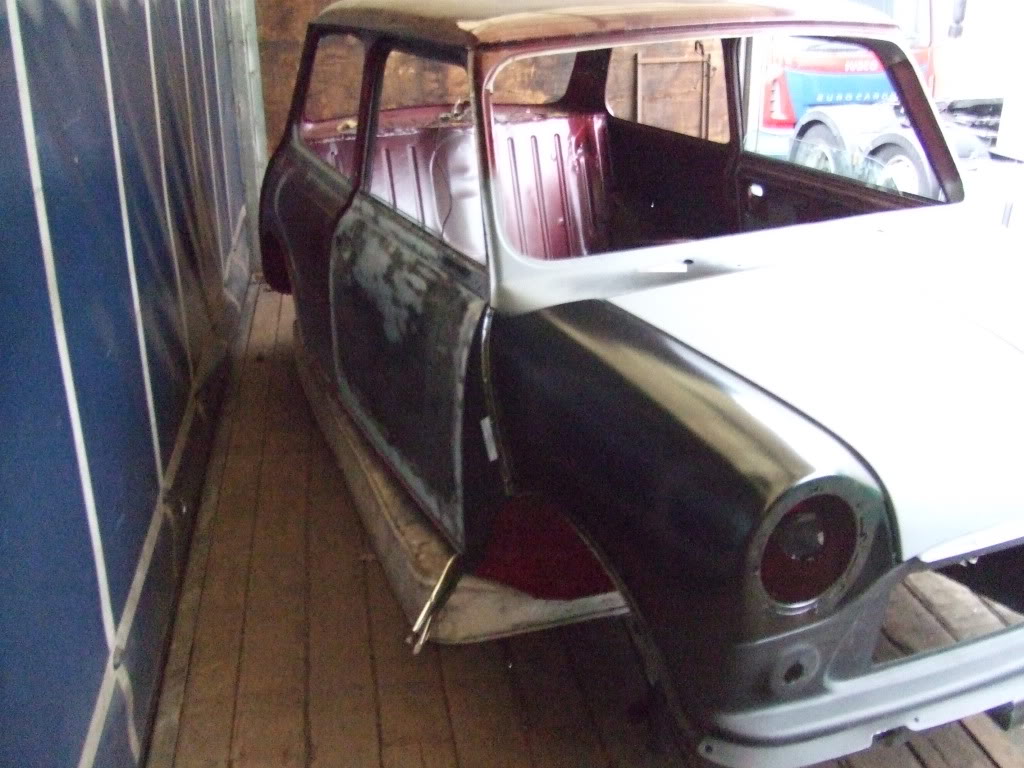
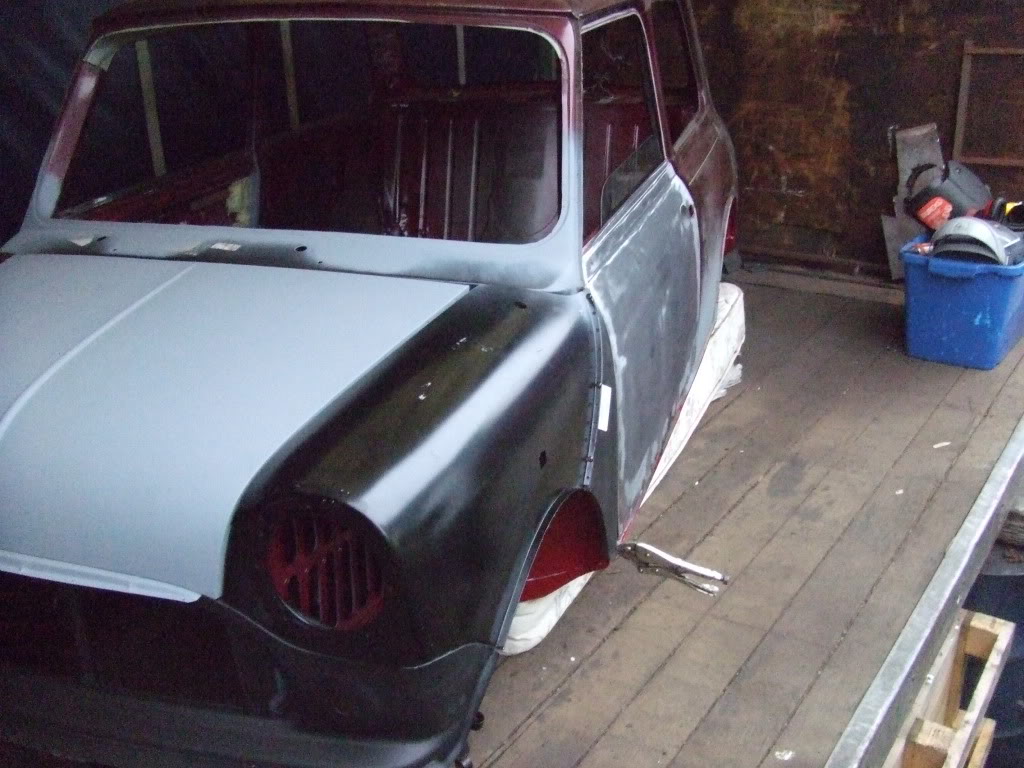
bonnet gaps are nearly perfect 
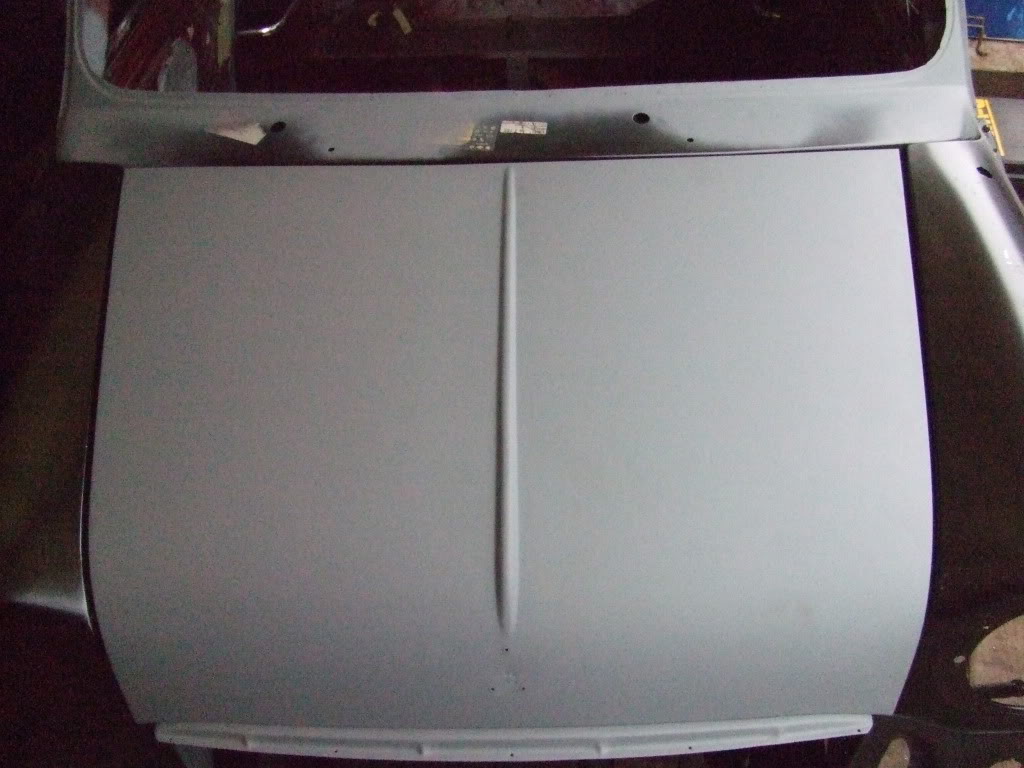
we were going to clamp all the panels together and remove them to weld up all the seams but the gaps were so good we decided to weld it in situ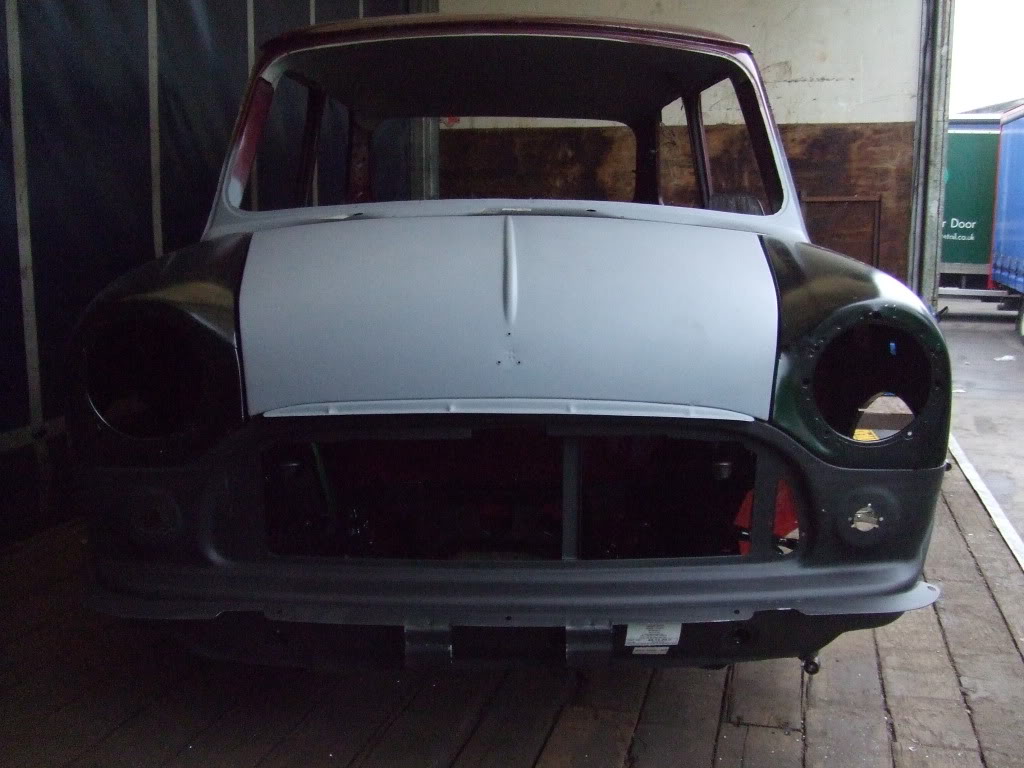
all done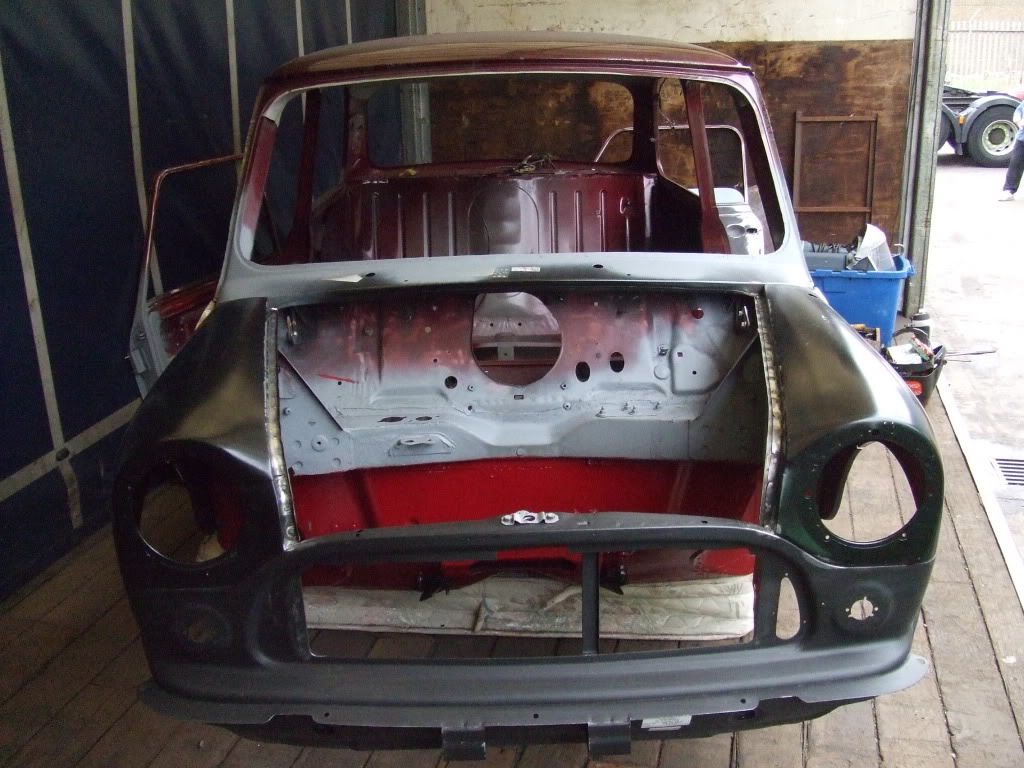
O/S inner wing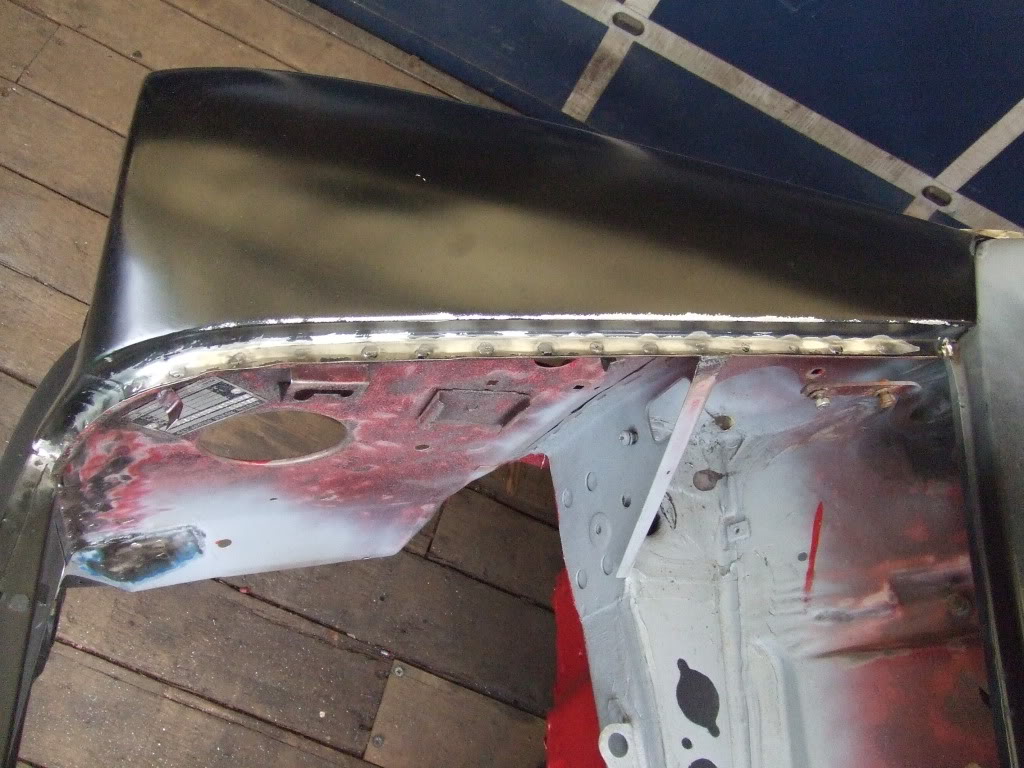
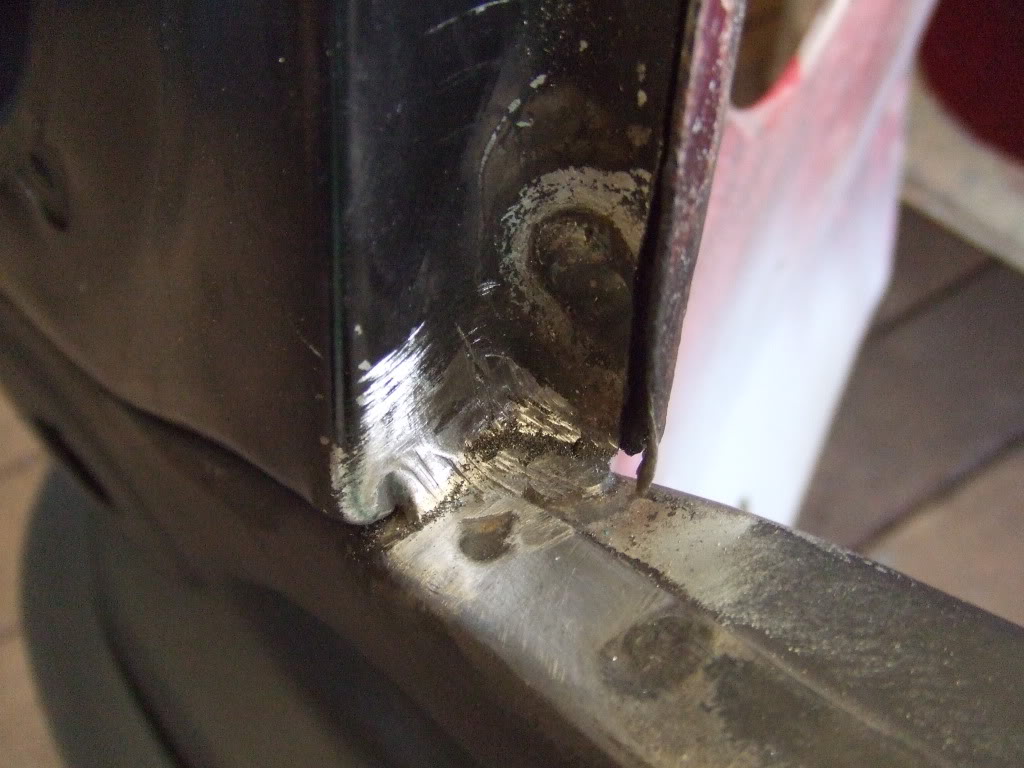
N/S inner wing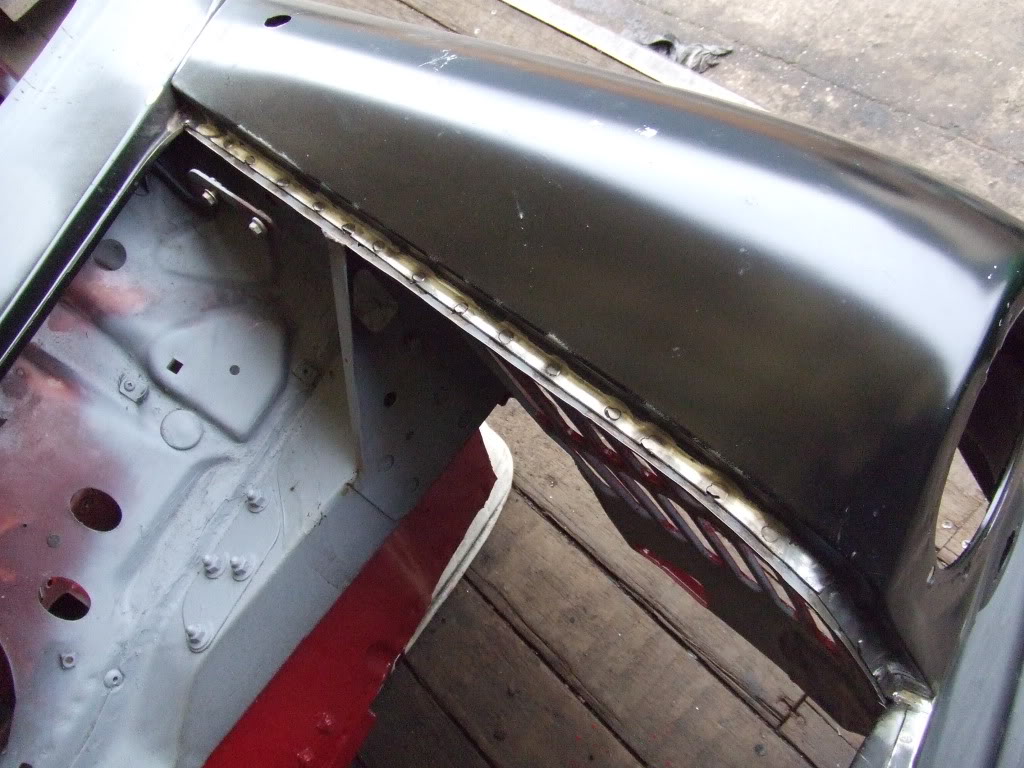
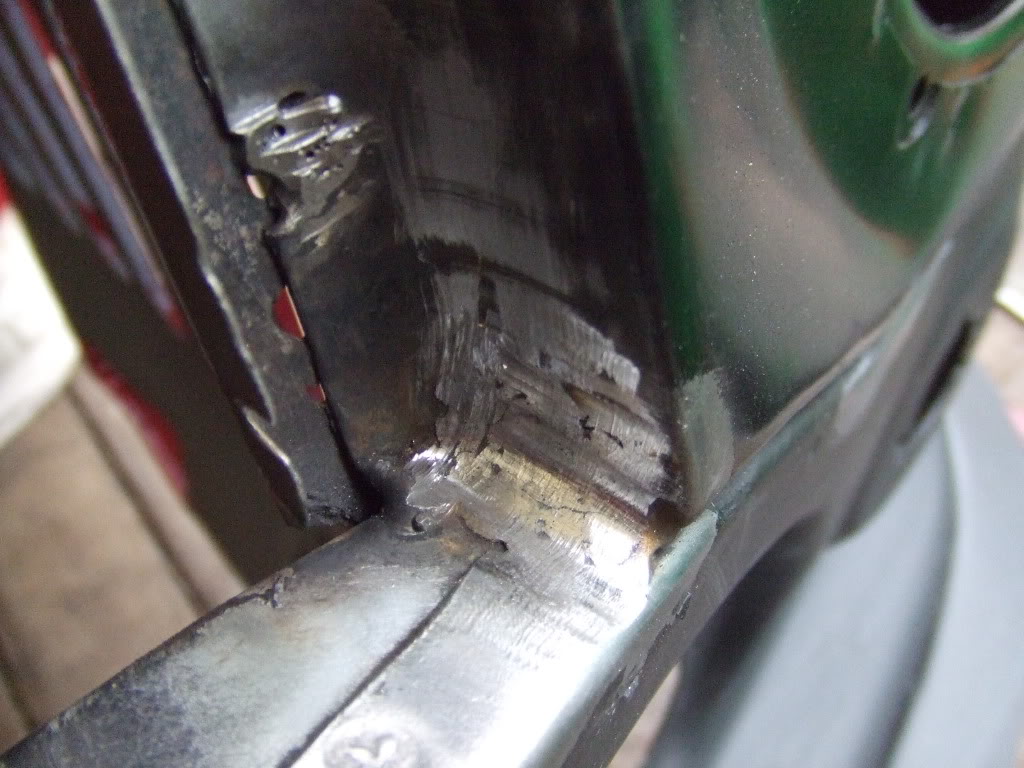
for pattern panels, the alignment and shape is spot on
O/S wing to front panel seam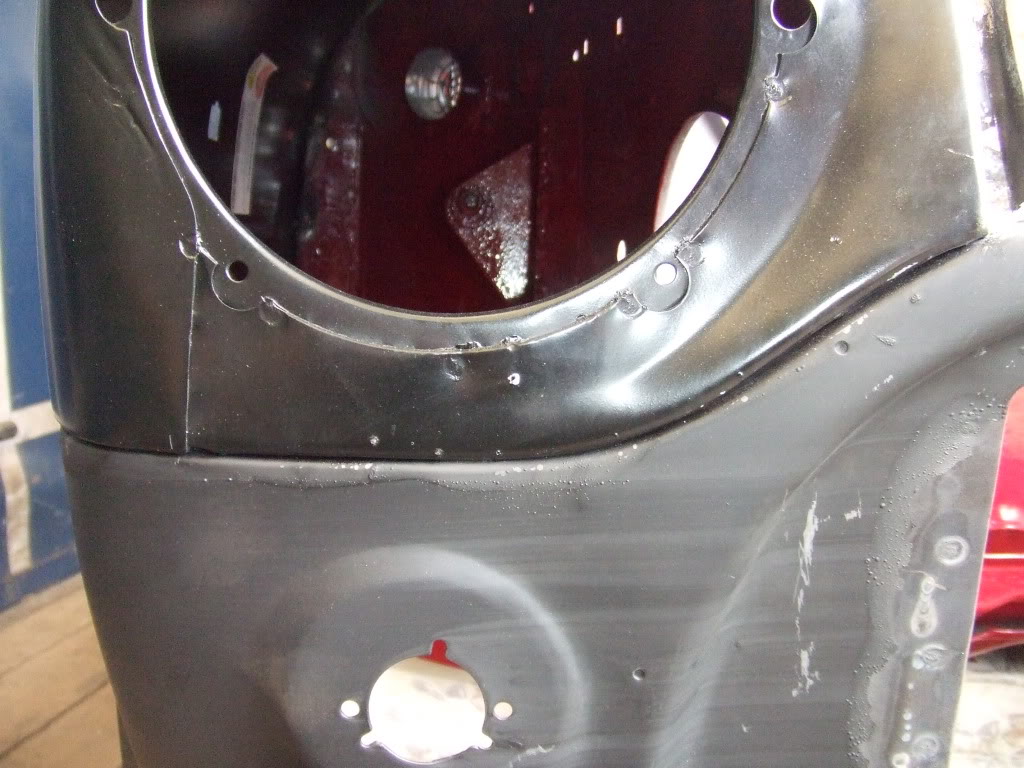
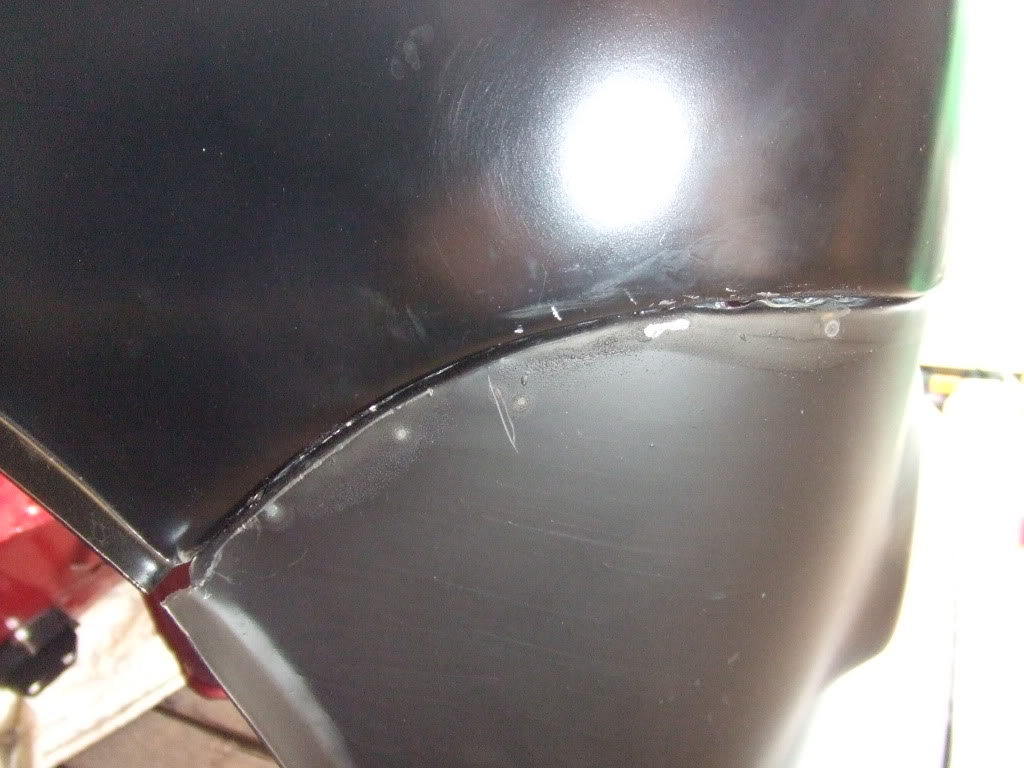
N/S wing to front panel seam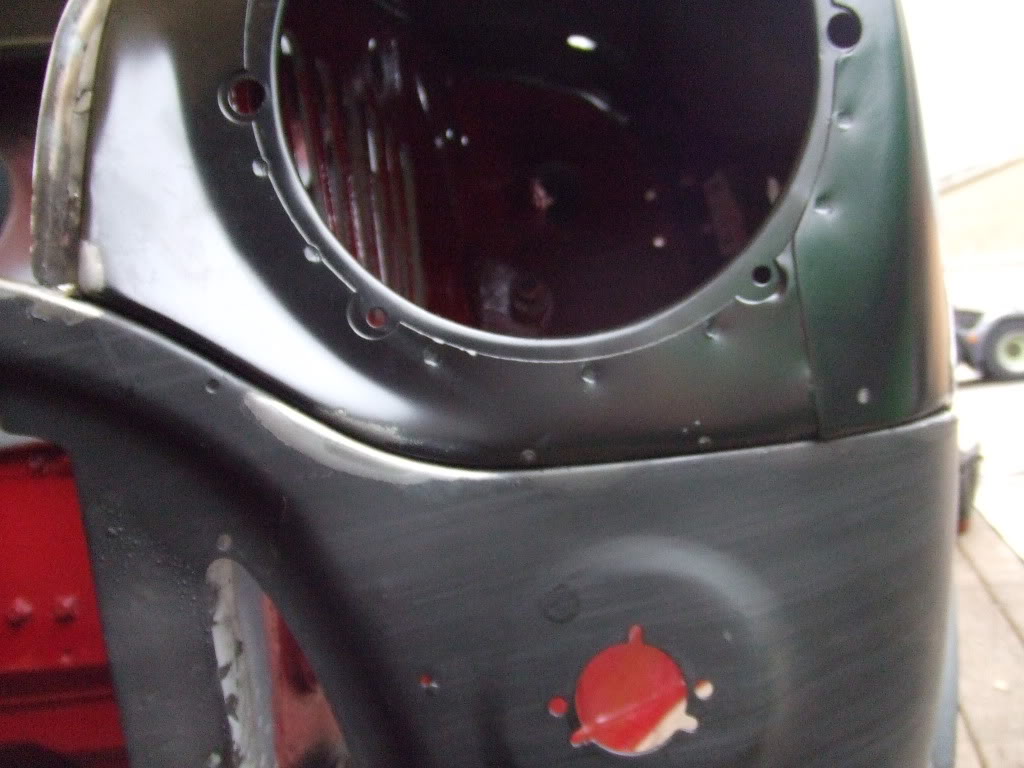
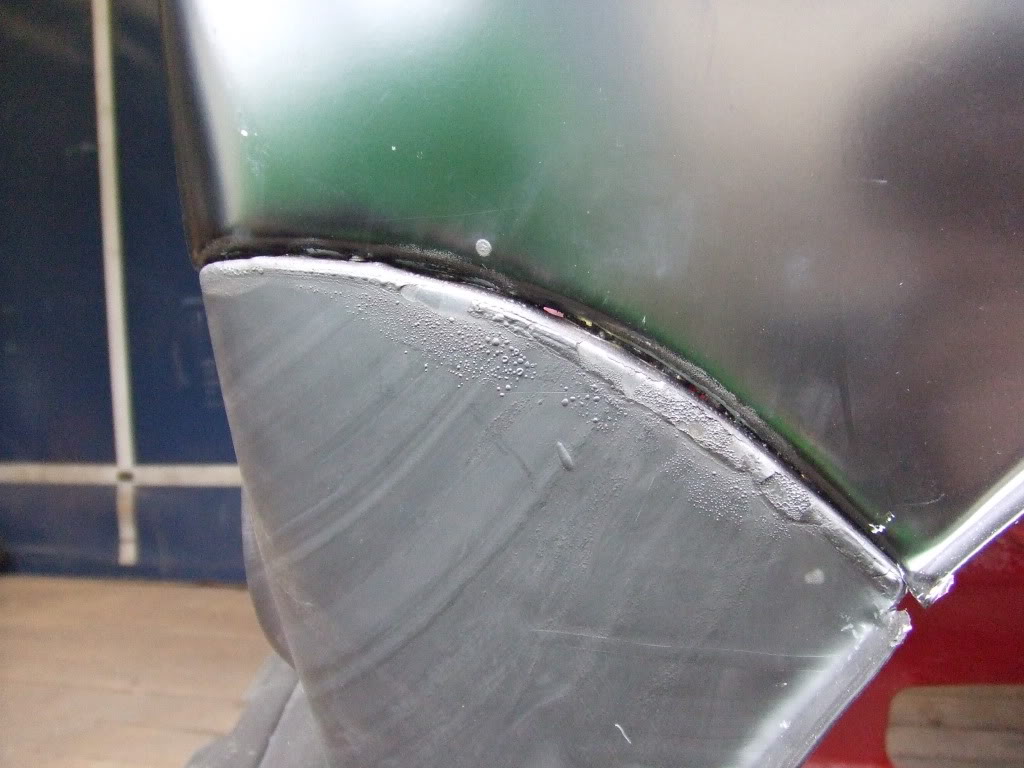
O/S scuttle to wing seam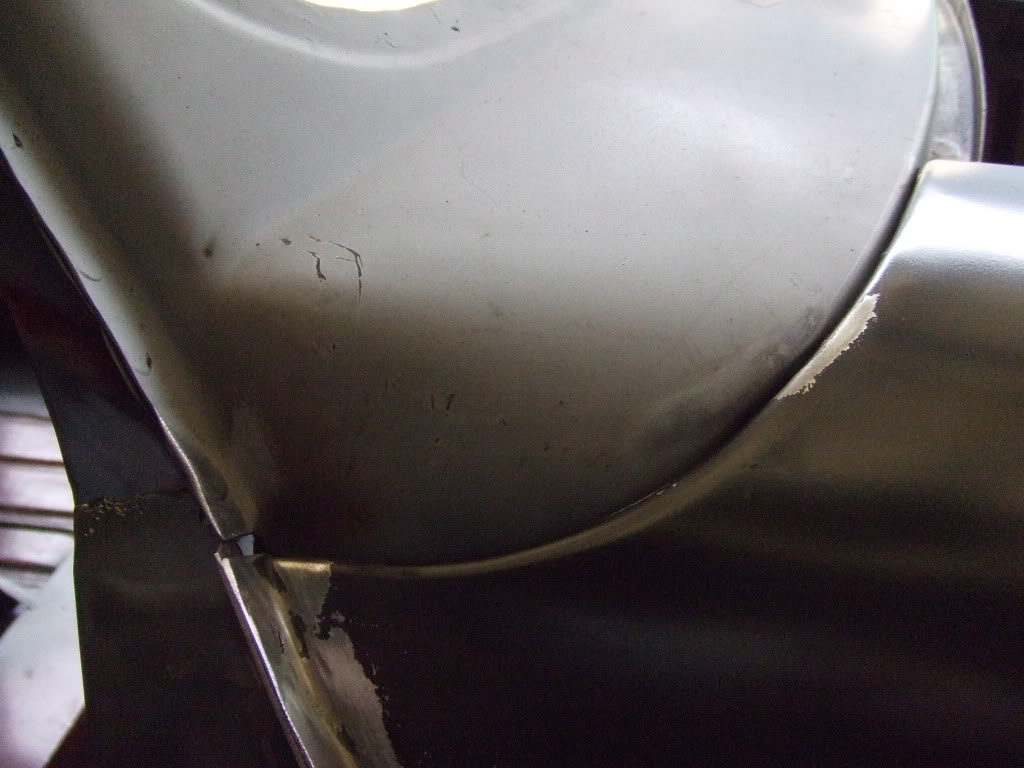
N/S scuttle to wing seam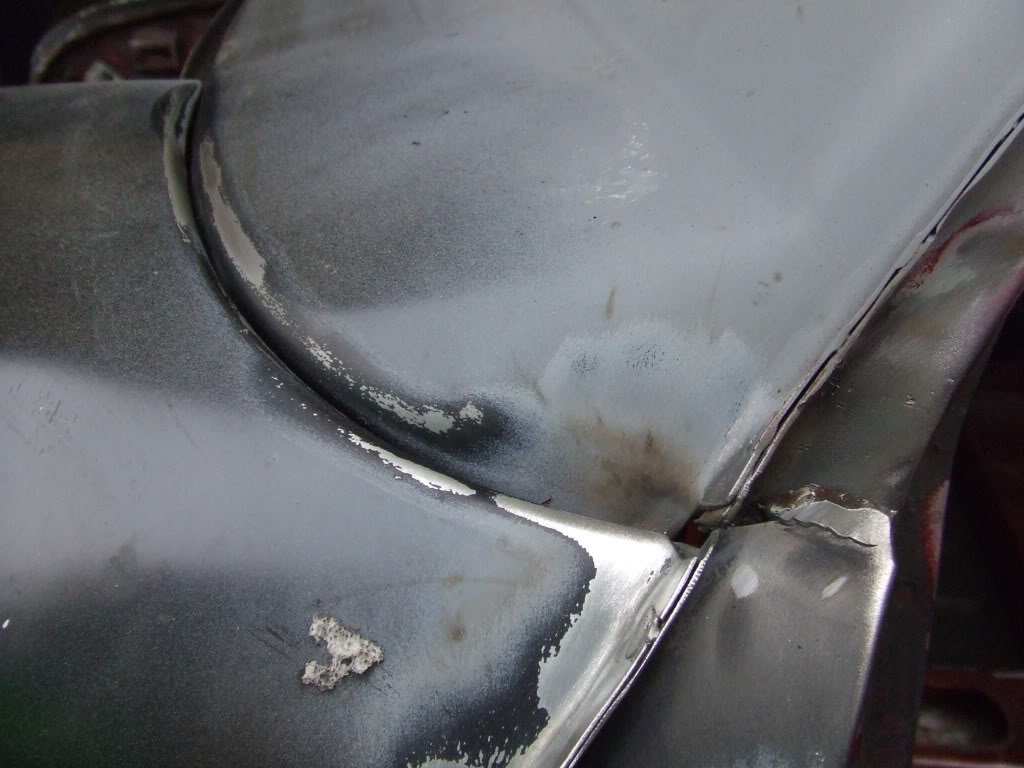
the welding inside the arch/wing isn't too pretty but at least it's solid, plus no one will ever look really close at them
O/S wing the front panel seam weld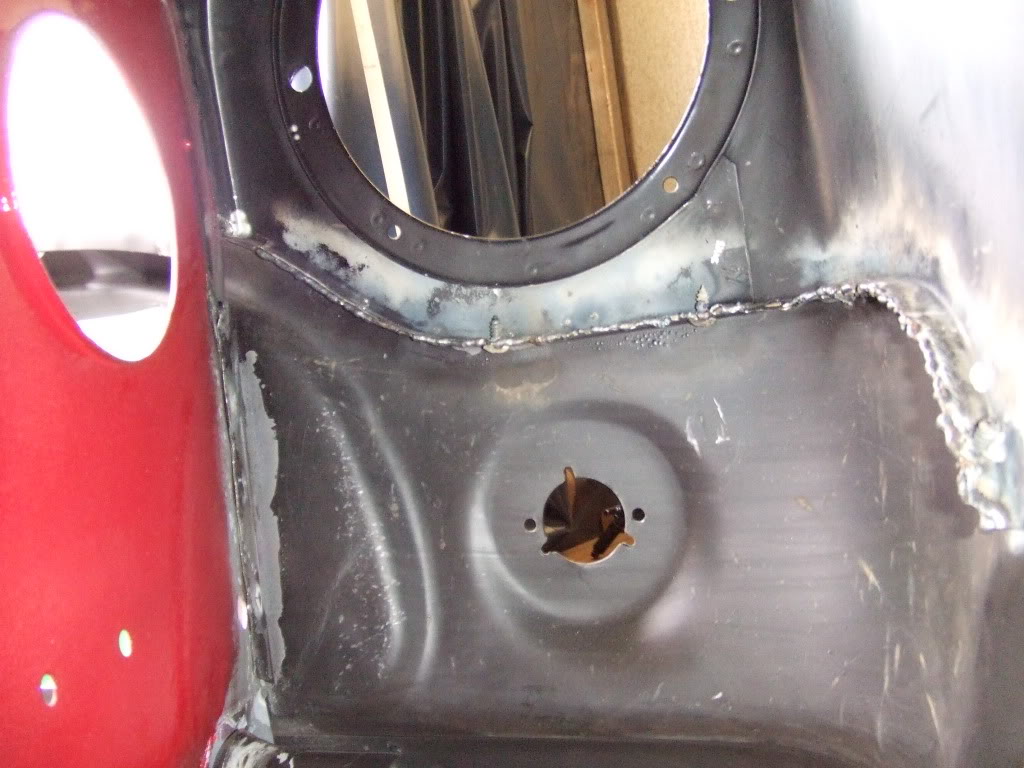
O/S front panel leg to inner wing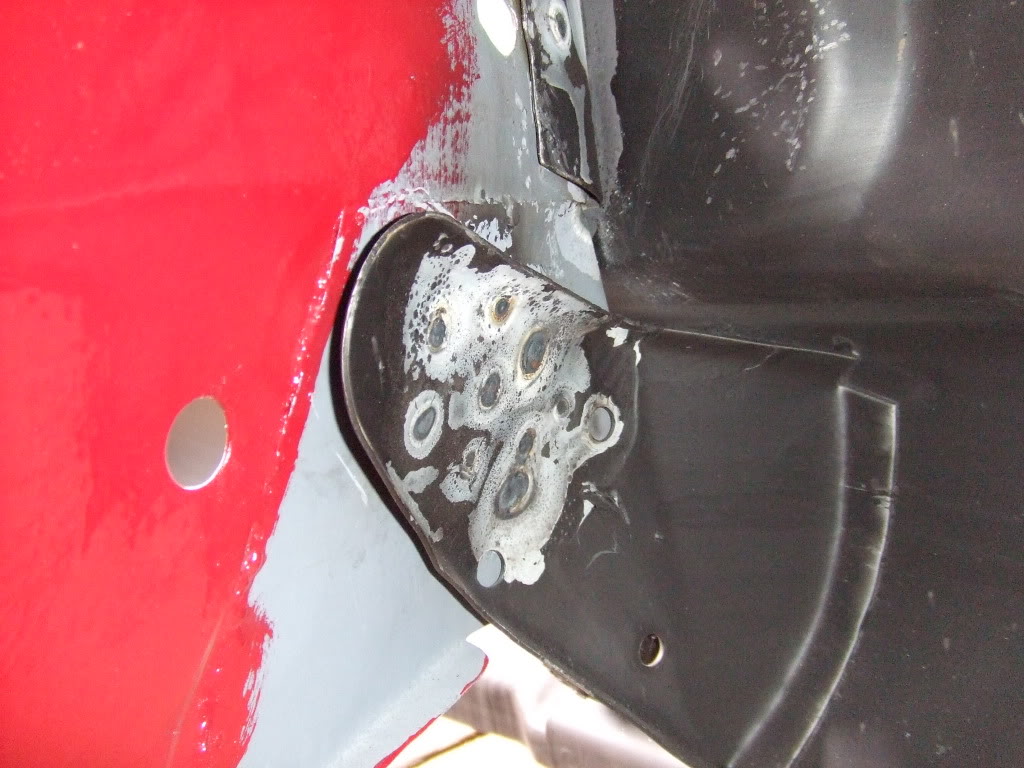
O/S front panel support to inner wing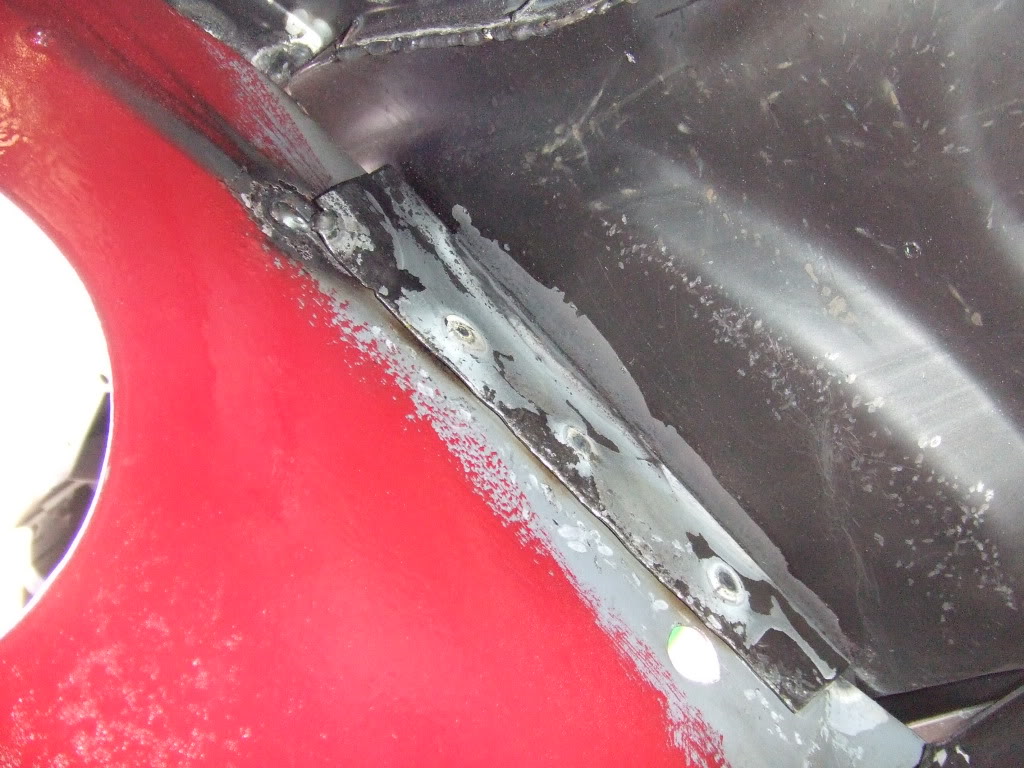
N/S wing to front panel seam weld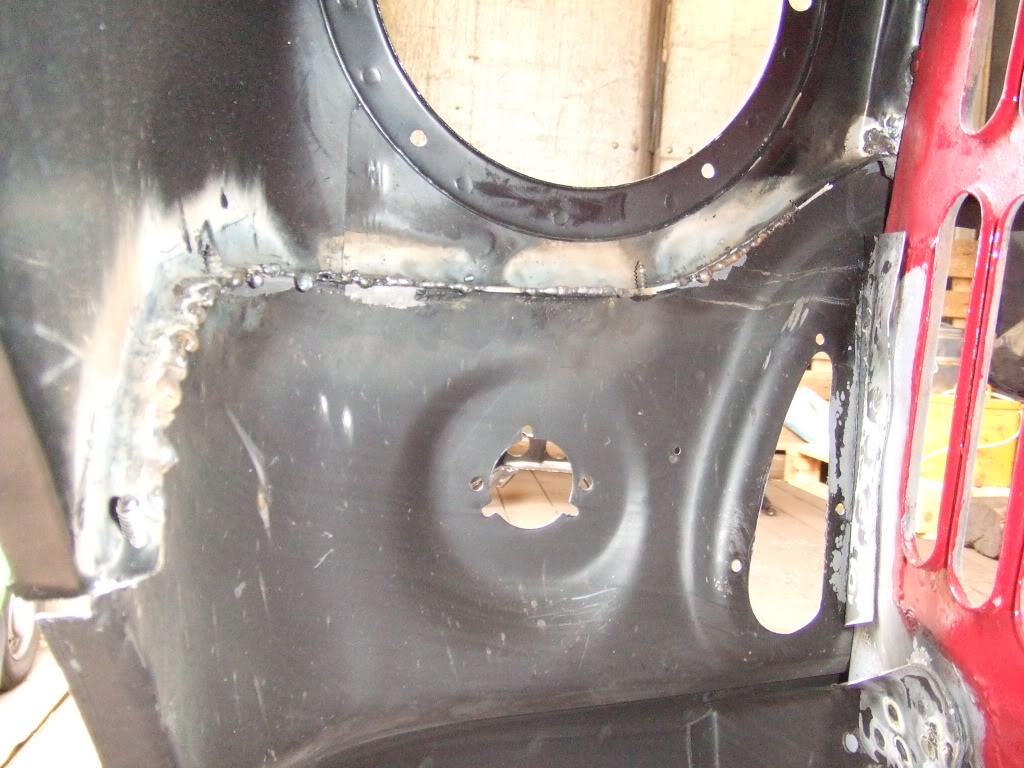
N/S front panel leg to inner wing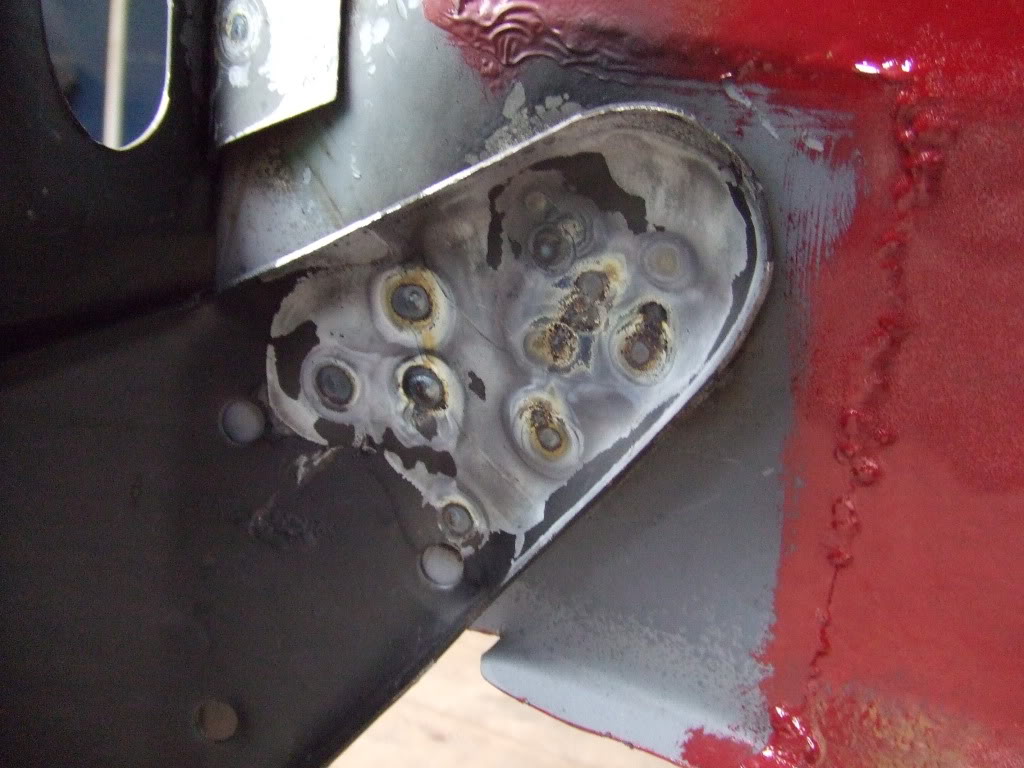
N/S front panel support to inner wing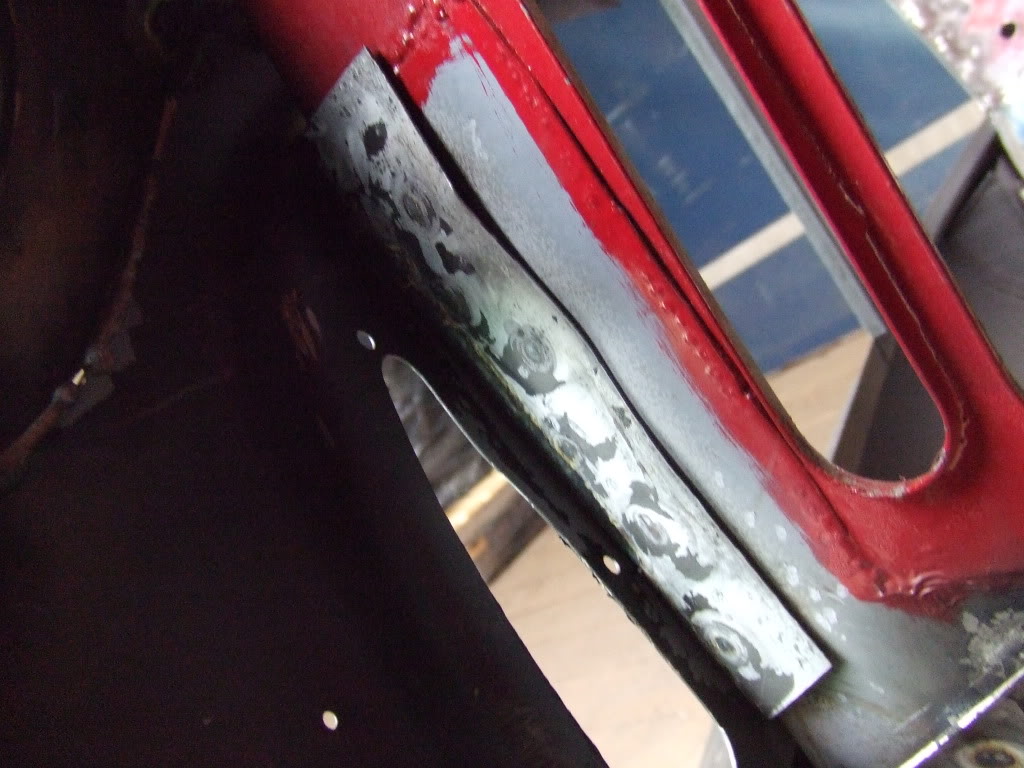
O/S front panel to inner wing welds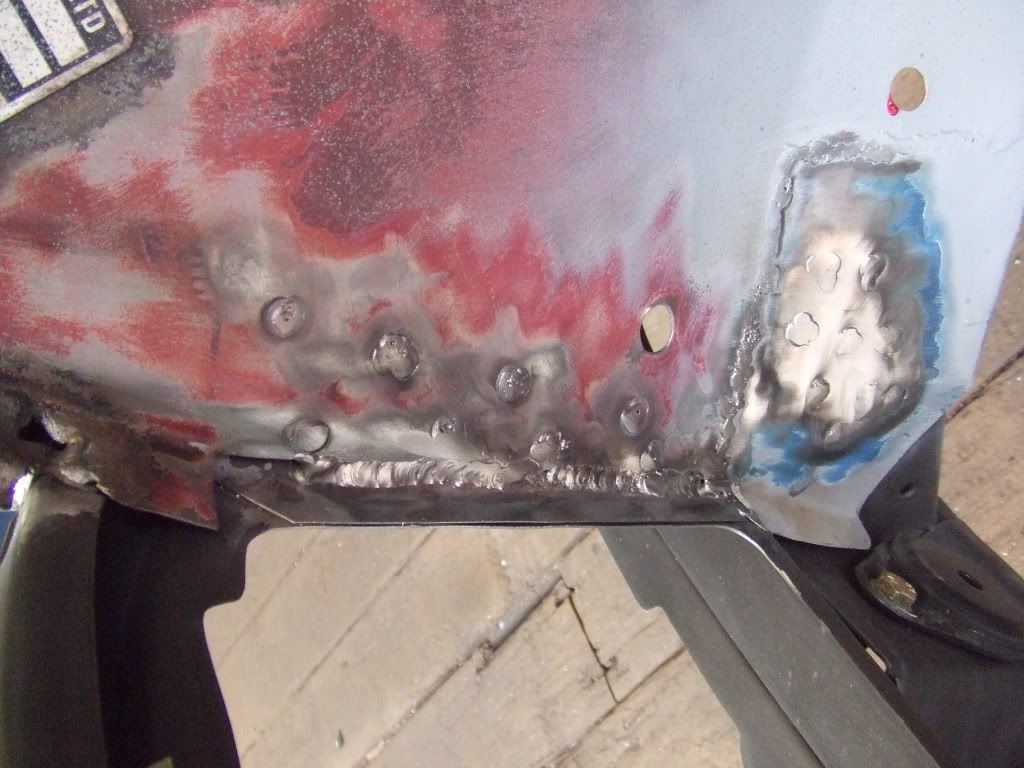
N/S front panel to inner wing welds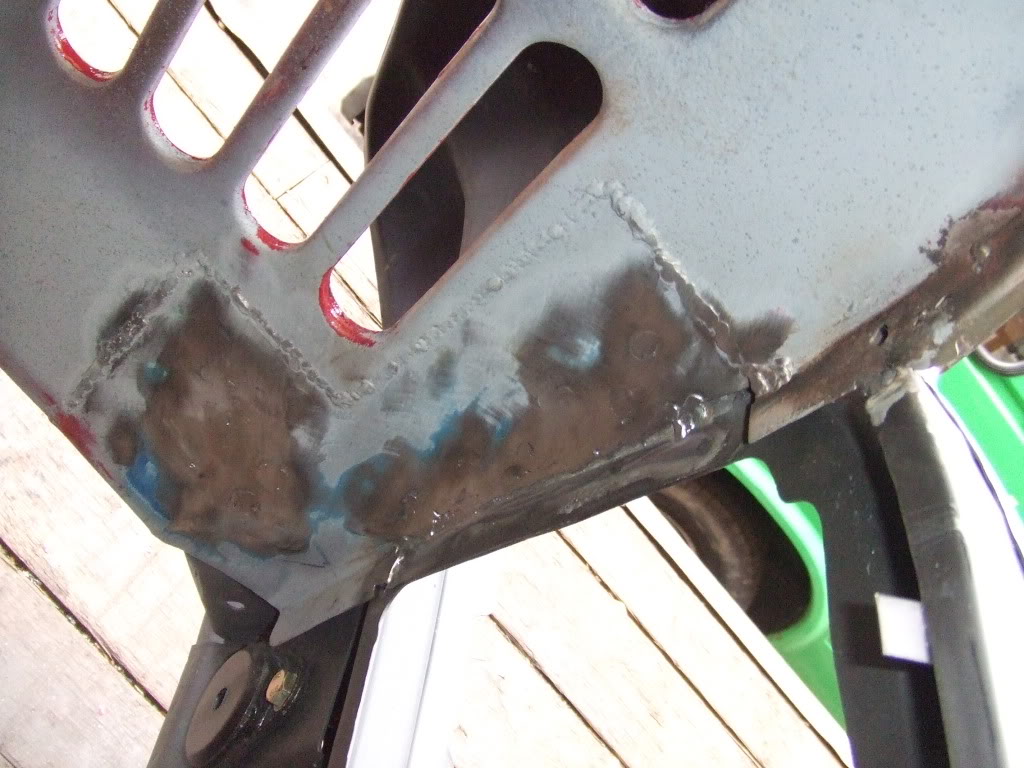
O/S A panel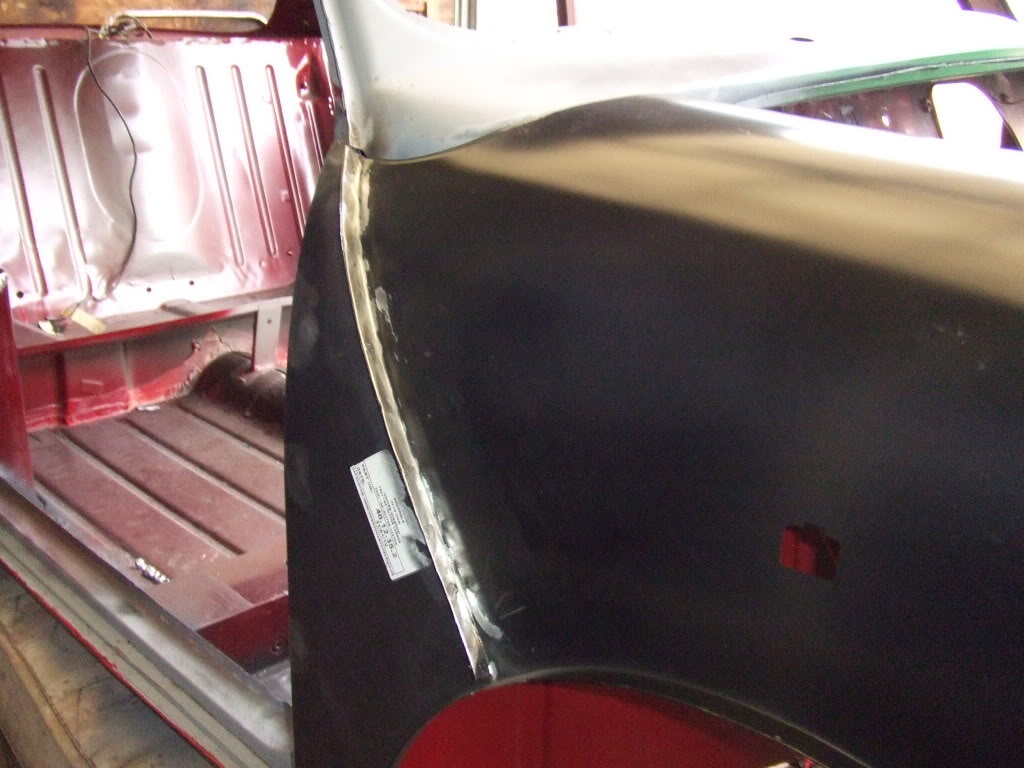
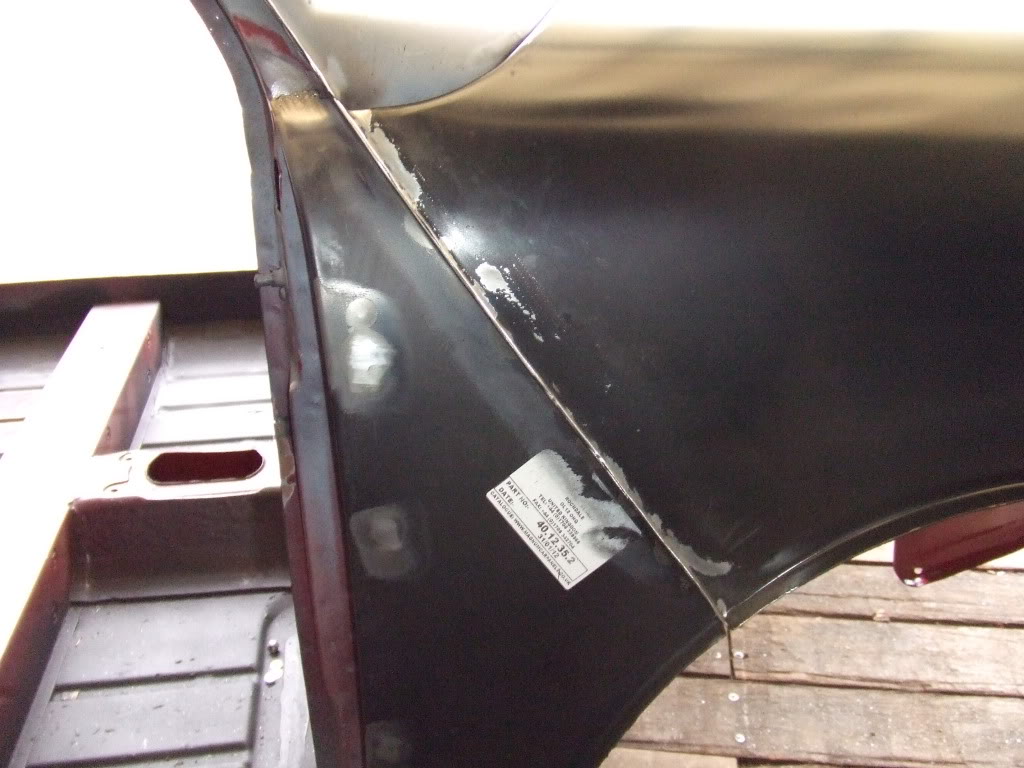
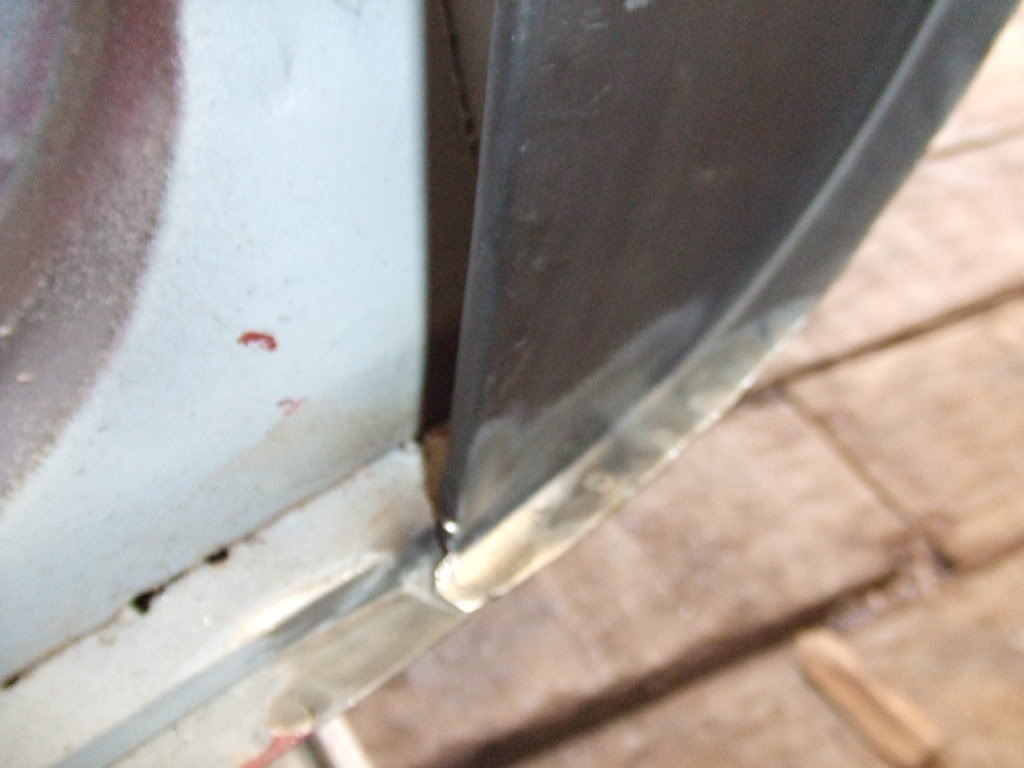
N/S A panel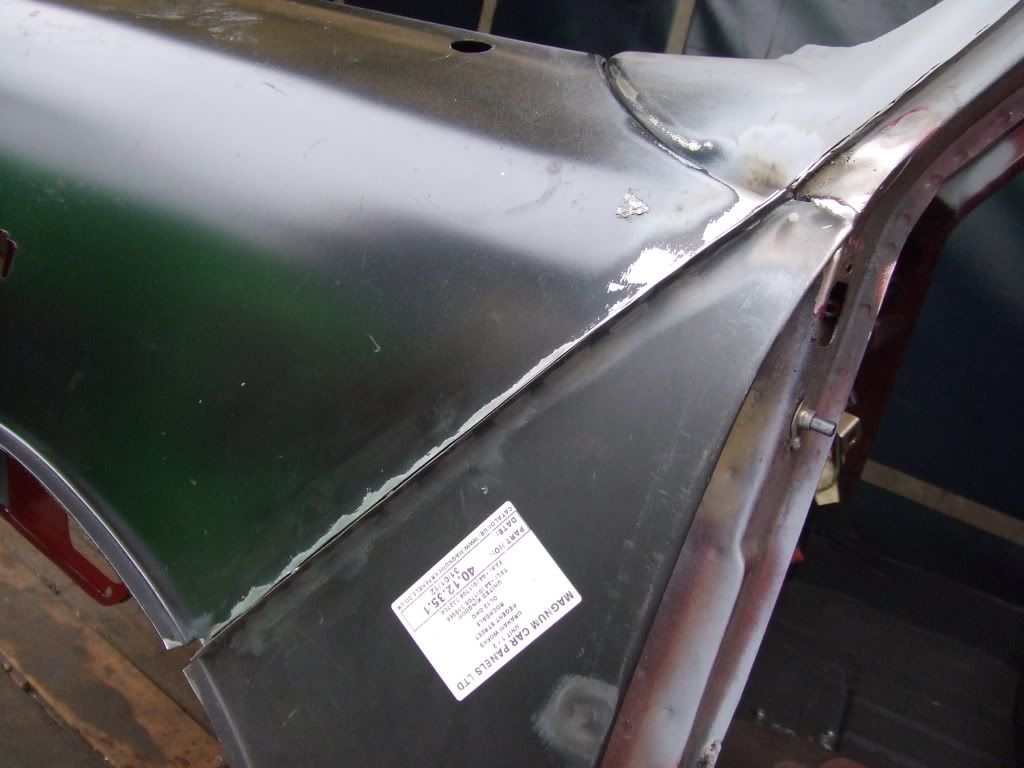
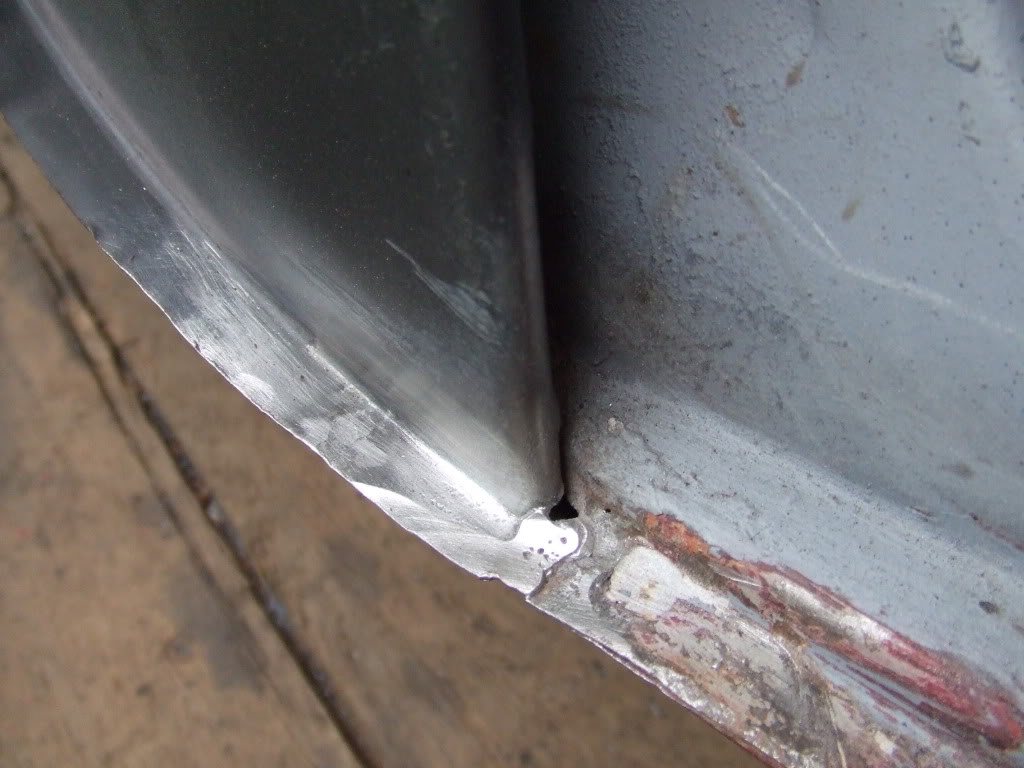
all the welds inside the arches/wings, the panel seams and around the bonnet edges will be seam sealed, primed, painted and wax oiled to protect them
i also attached my internal bonnet release catch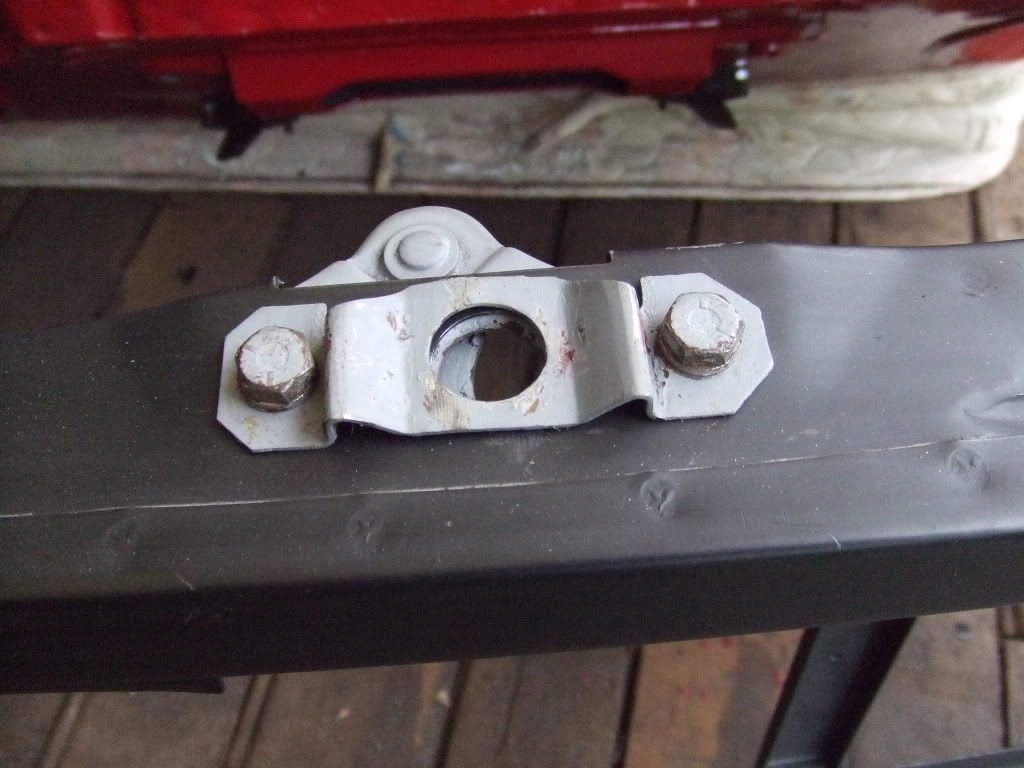
well that's it for now, next weekend we will go over the shell to check for any more rust (mainly around the roof gutters and window frames), then we will flat the car down with the orbiter and some wet and dry...then the car will be given a base/first coat of primer...then we will bring the fully restored and rust free shell home and start assembling the rolling gear and get the car running before we mask it up for painting 
comments welcome


Wow this is amazing!
Posted by Diggymart on 6/13/19 @ 12:47:42 PM