You must be logged in to rate content!
6 minute(s) of a 220 minute read
3-3-2012
today we only worked a half day as cliff is now all done body repairs wise other than the front end 
first we cut out the rusty parts of the flitch and repaired them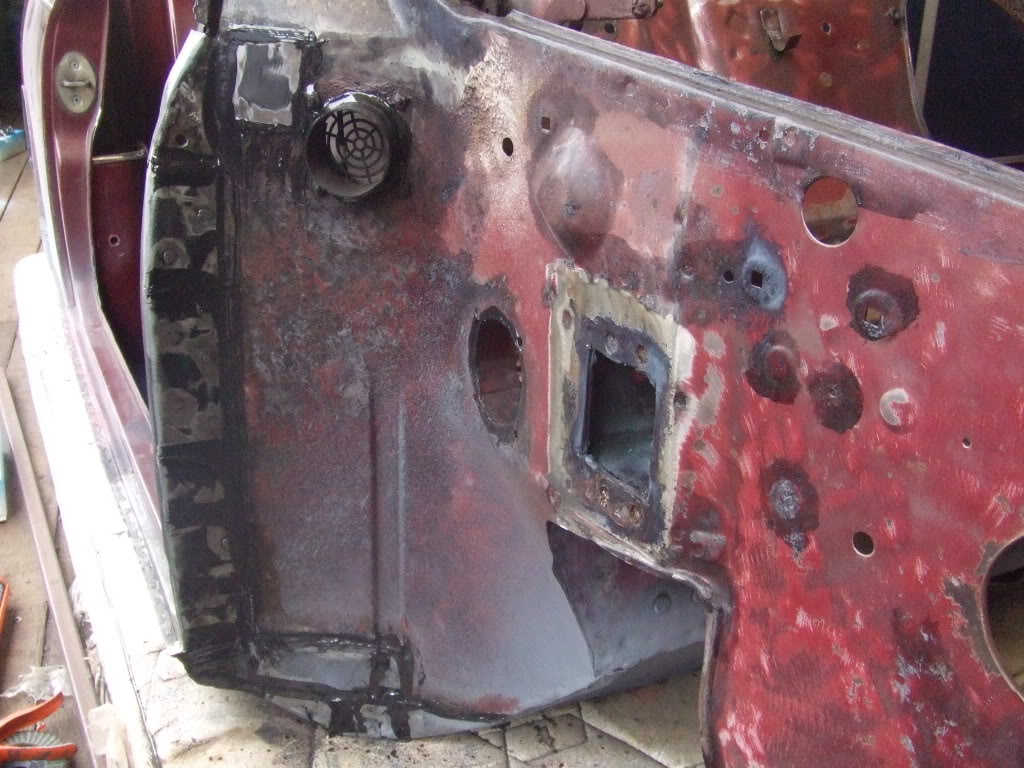
i was going to buy a flitch/hinge repair panel but after the experience we have gained at panel making, we decided to give making one a go any way...it went fairly well and it only took one hour from start to finish...nothing can stop us now 
we also seam sealed all the welds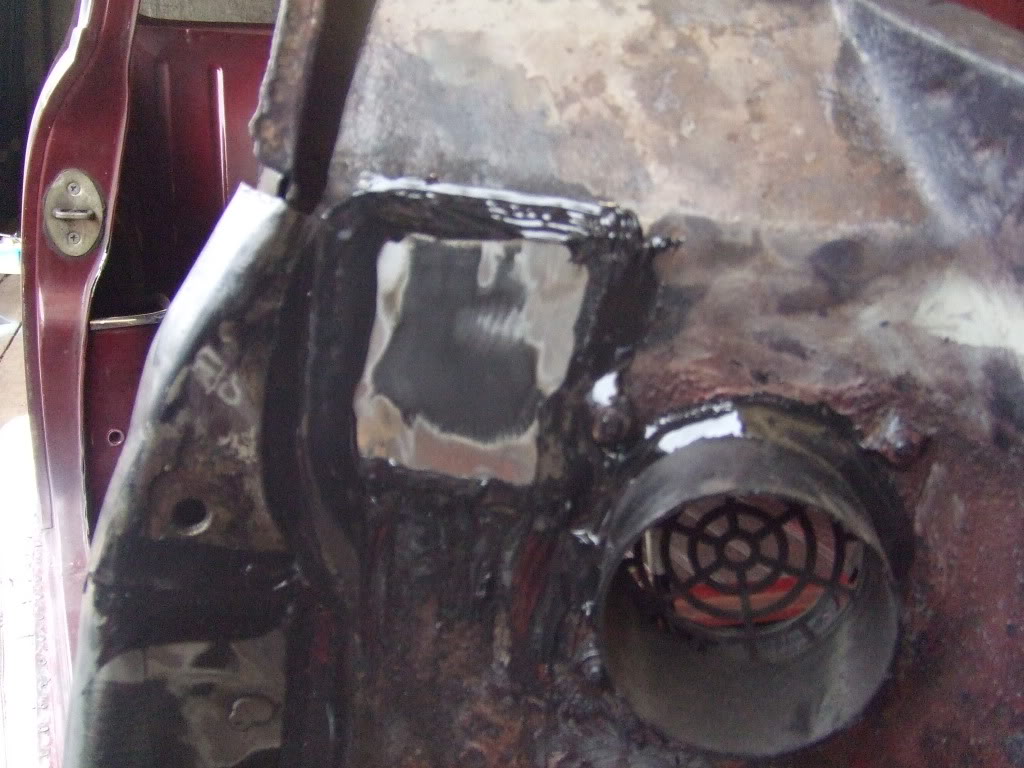
we then repaired the rest of the inner wing, fitted the shock mount, fitted the scuttle closure, seam sealed the welds and etch primed all the new metal + welds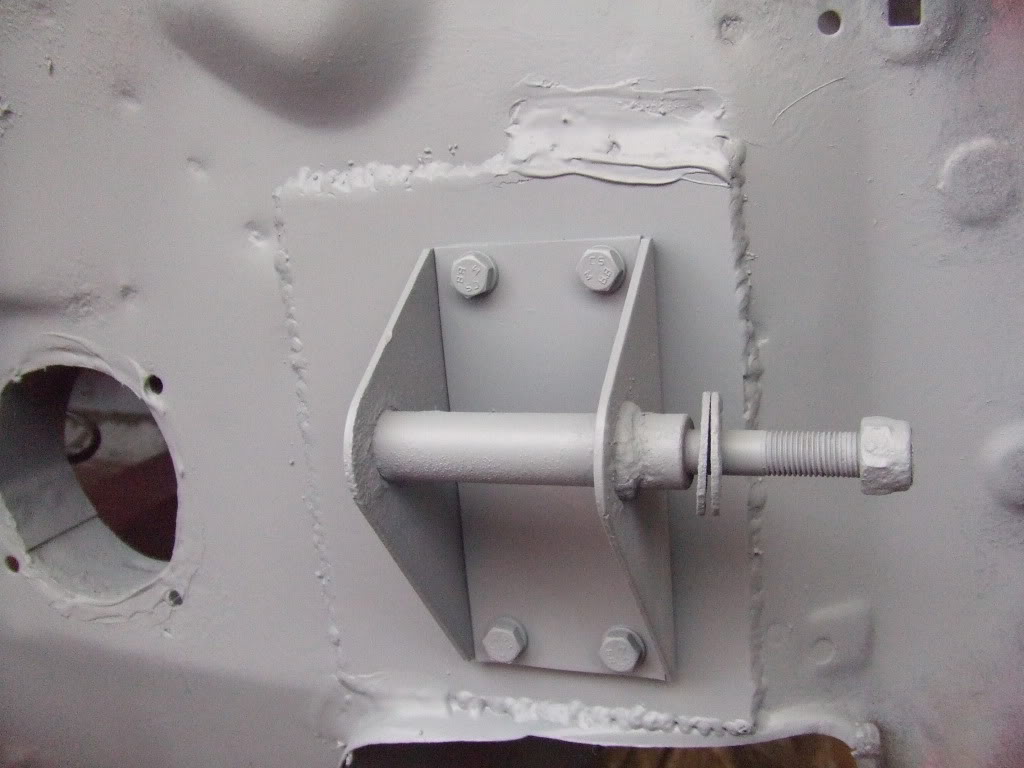
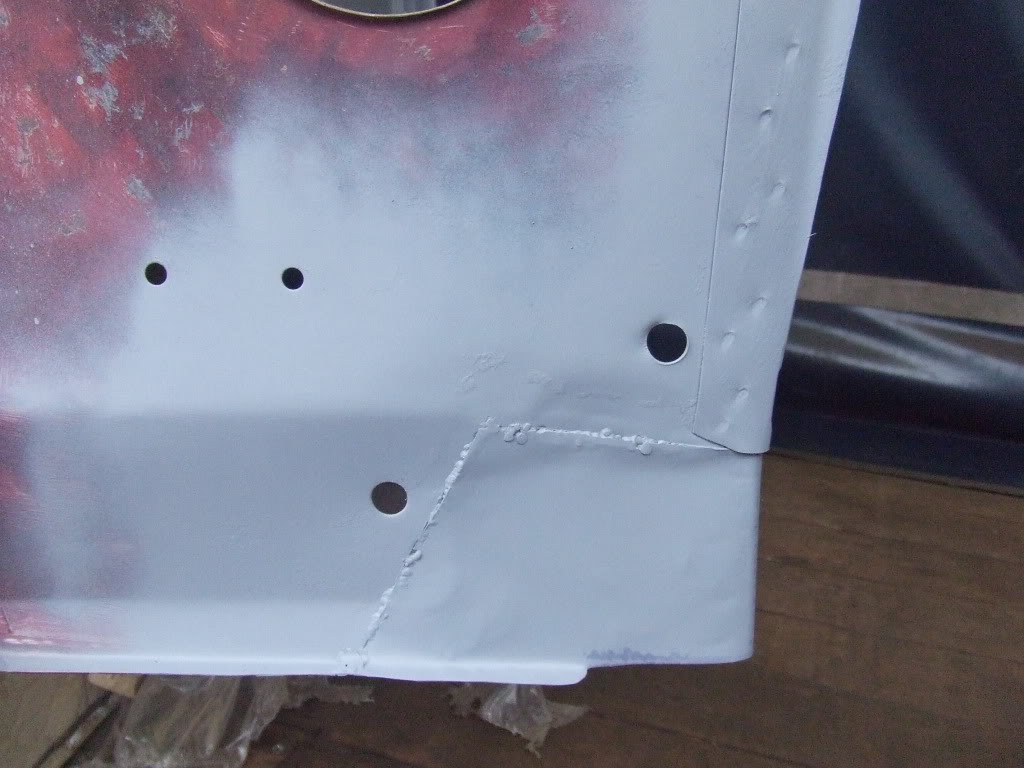
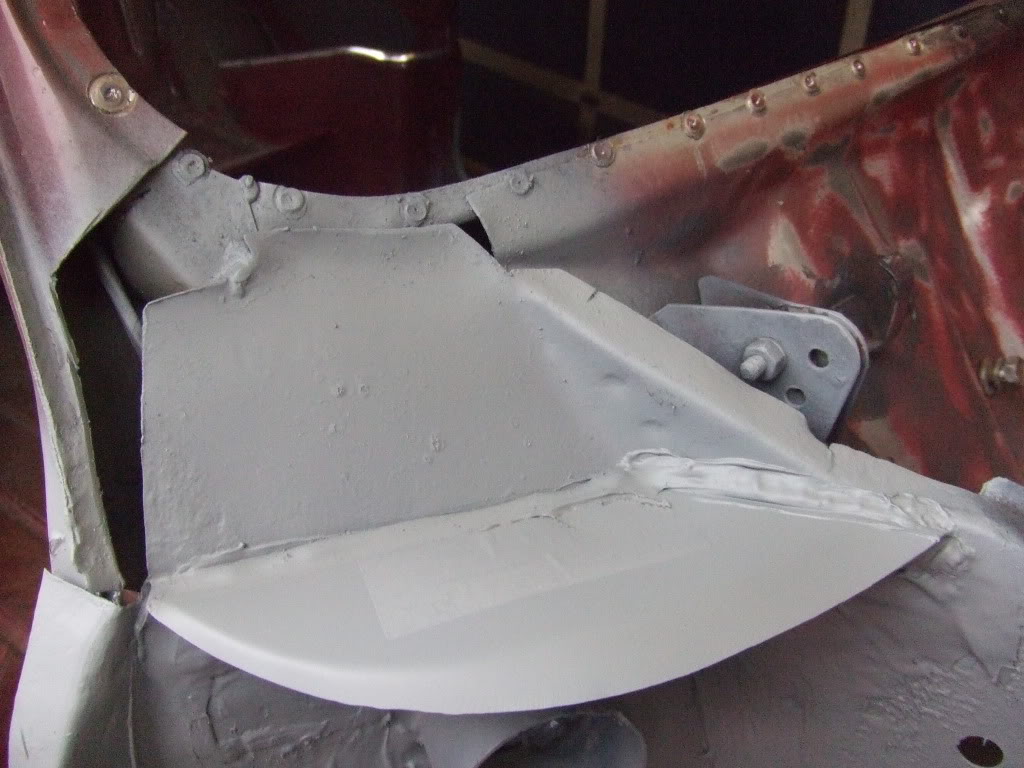
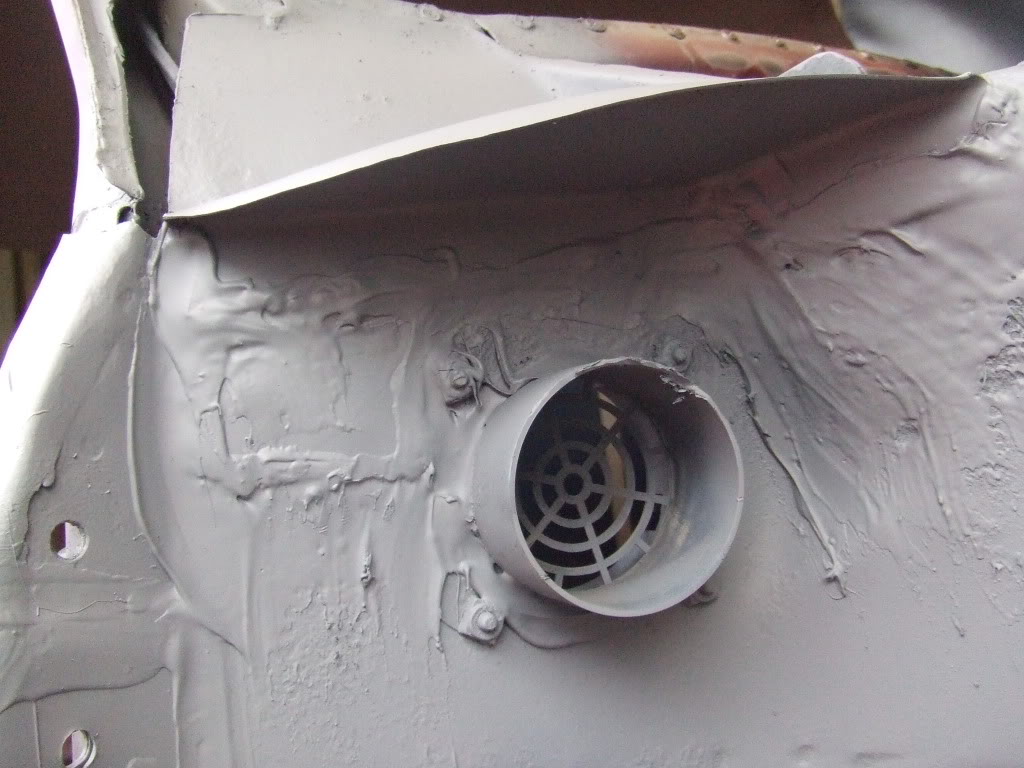
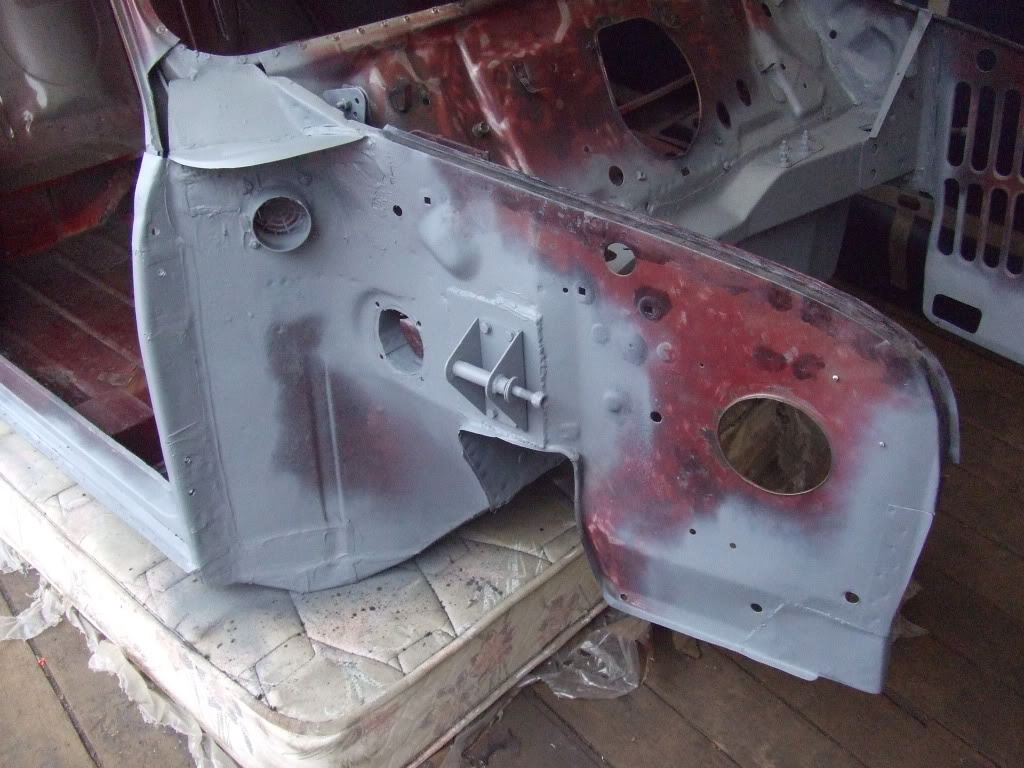
we then repaired the top of the bulk head cross member, seam sealed and then etch primed the new metal + welds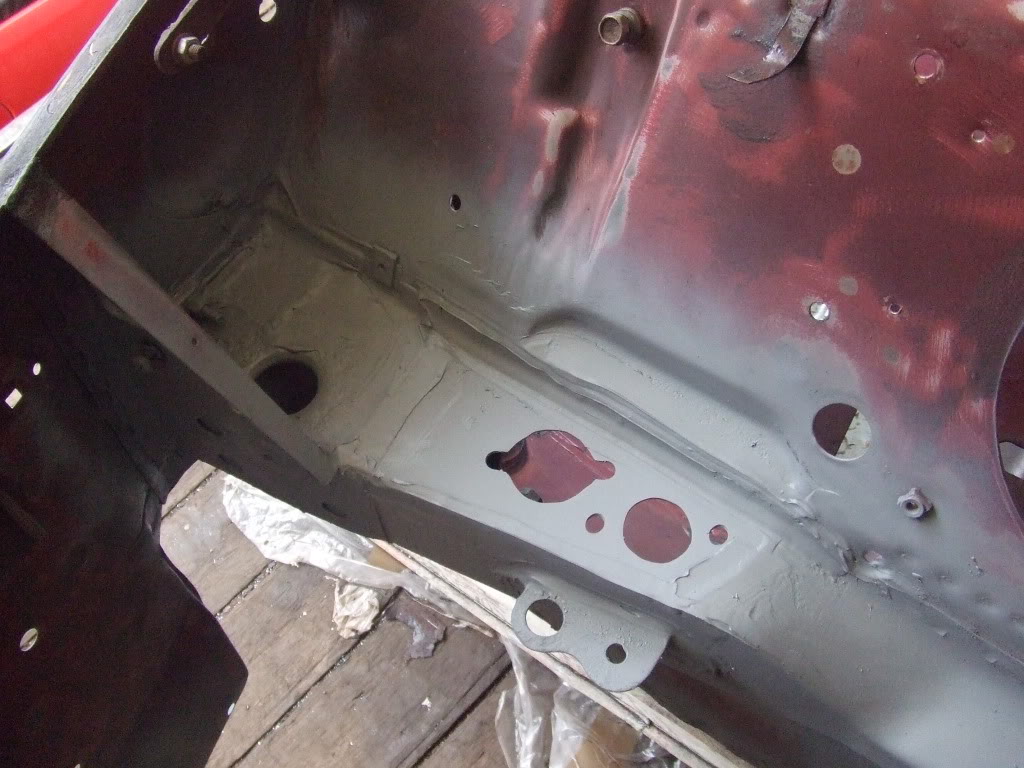
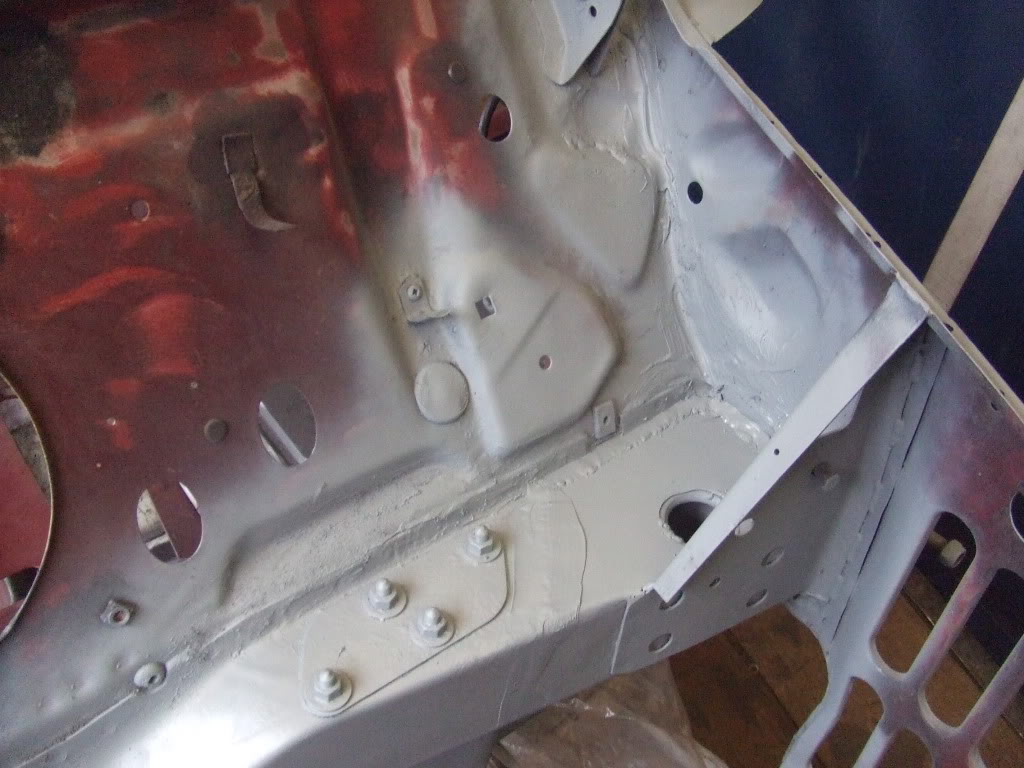
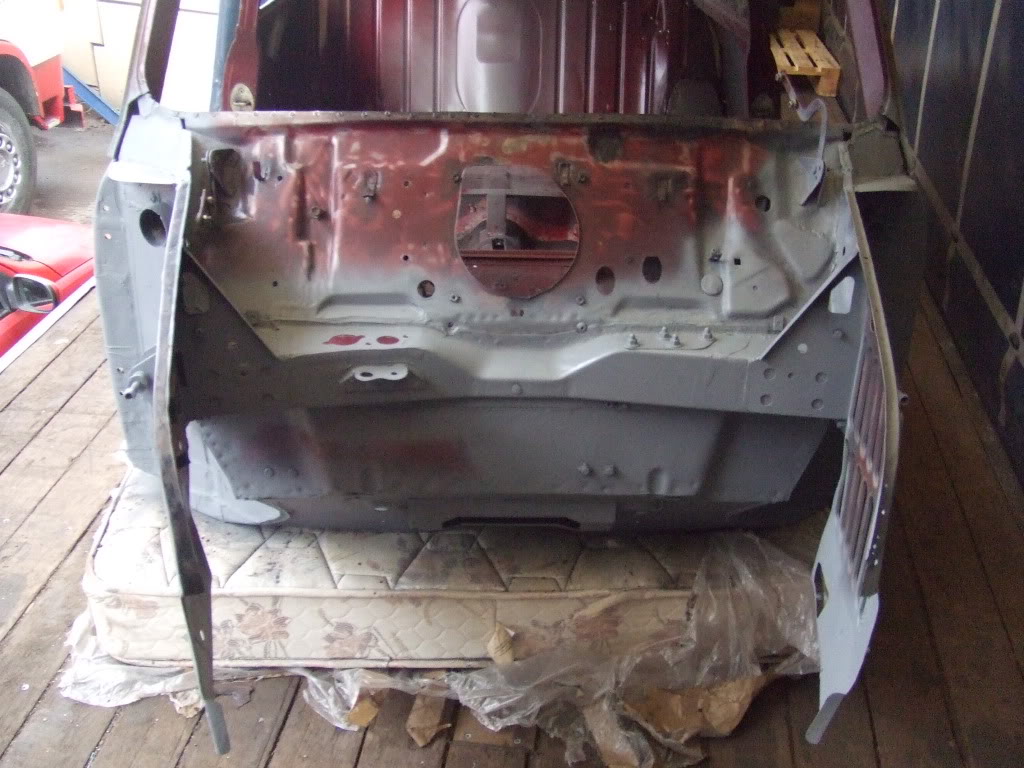
next weekend we will fit the front end panels and then check the car over for any rusty patches...primarily the roof gutters and window frames, hopefully the bubbling paint is just surface rust...we are fed up with welding for now 
during the week i may pop down to the work shop and:
- give the car a good vac out as it is covered in dust and full of flakes of old rust
- prime and stone chip the floor and boot
- stone chip and paint the underside and engine bay in brush able cherry red
well that's it for now, in 6 days we have spent a total of 60 hours on the car  ...10 hours of solid work a day, i need a break and a good lye-in
3-9-2012
hello people, i have not been able to do much on the car this week as i have been working with my uncle to earn a bit of cash for the money pit 
all i have been able to do is give the car a good vac out and paint the cab floor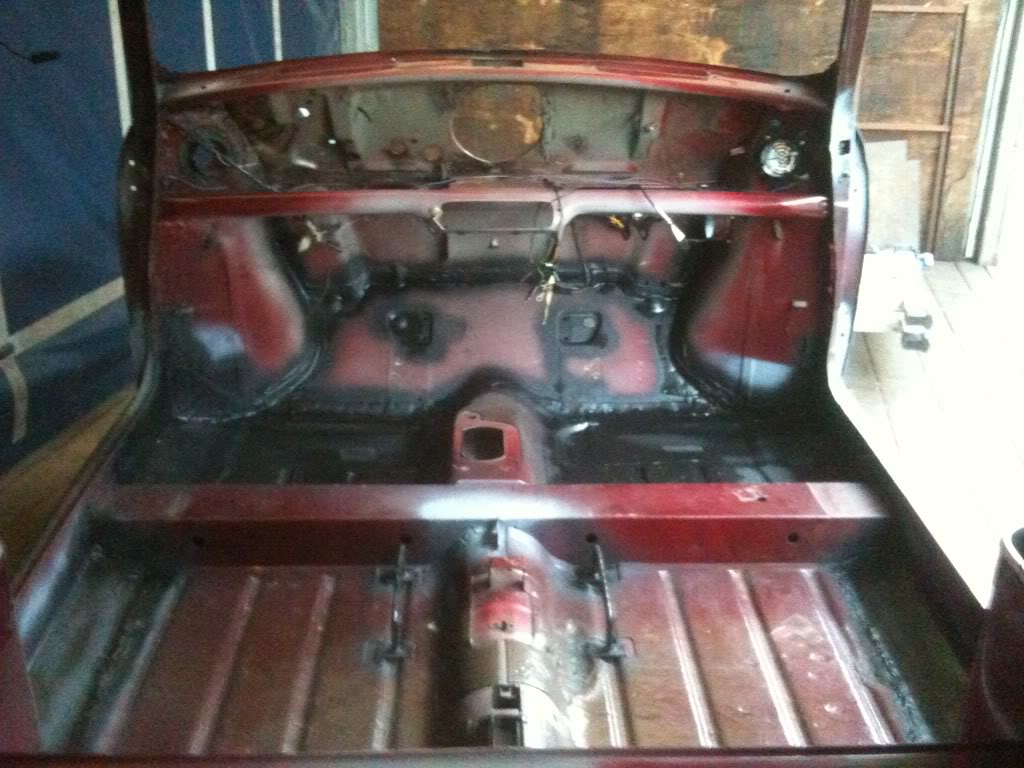
we seam sealed the remaining welds and gave the floors and sills a good thick coat of stone chip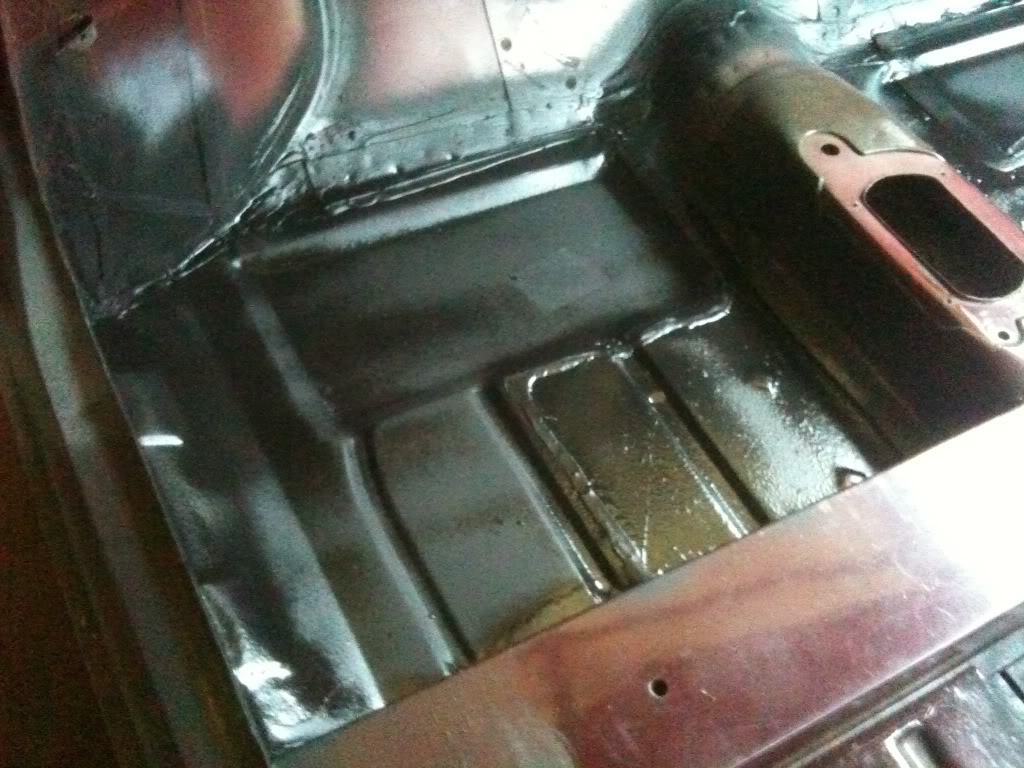
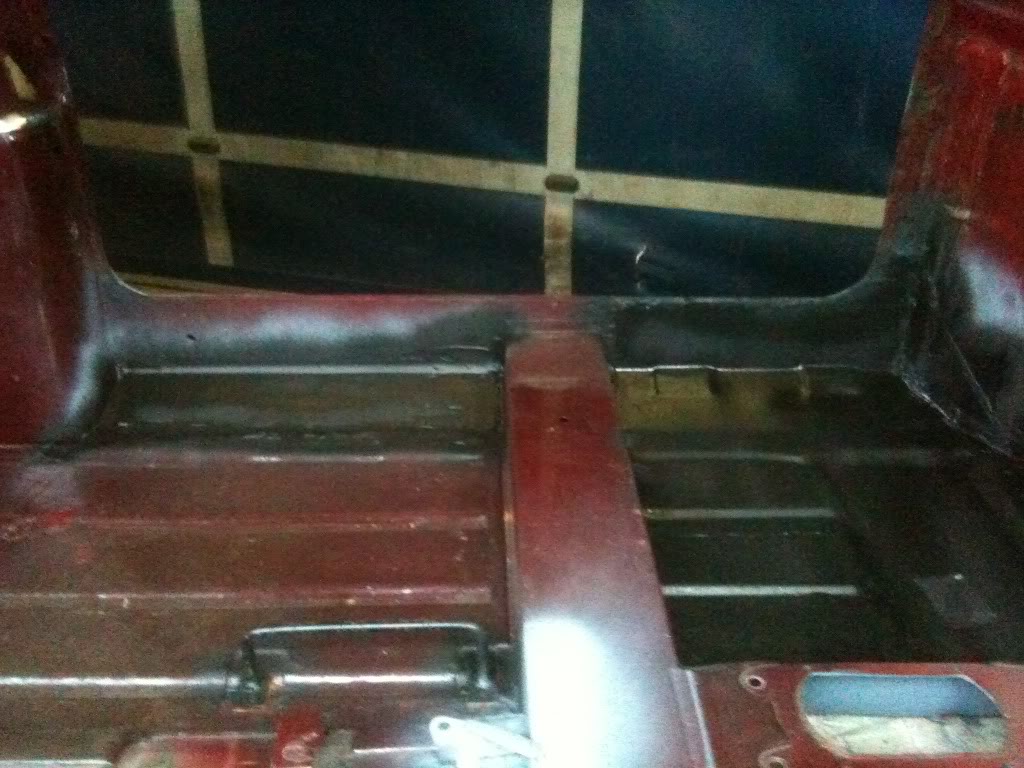
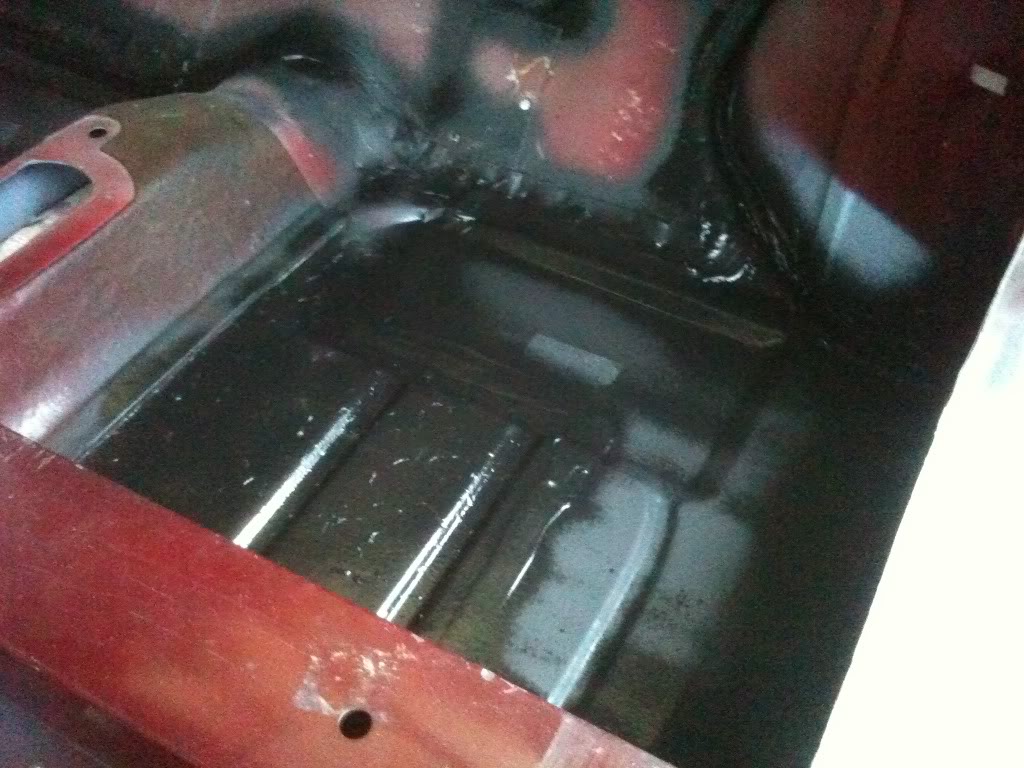
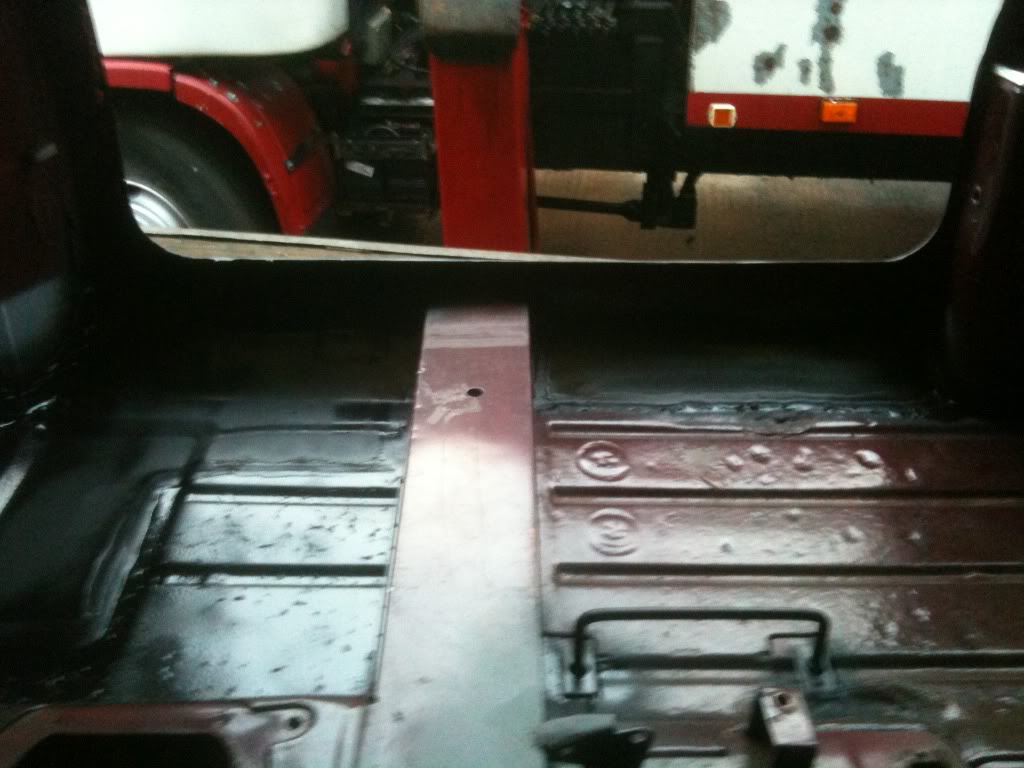
we also cleaned out the rear bins, seam sealed the welds and gave them a stone chipping but there is no flash on my phone and the sun light was fading so i couldn't take a photo ...we will fill them with wax oil when we are finished rolling the shell onto it's sides all the time 
we were also going to finish the boot but we ran out of seam sealer half way through  *typical*
tomorrow we were going to fit the front end but my dad's car needs some attention first so we will just fit the scuttle and paint the underside instead
it'll get done eventually  ..............sooner rather than later hopefully as it needs to be done by the end of may
Cheers
3-10-2012
went down to the unit today, took the photos of the rear bins that we finished off yesterday
N/S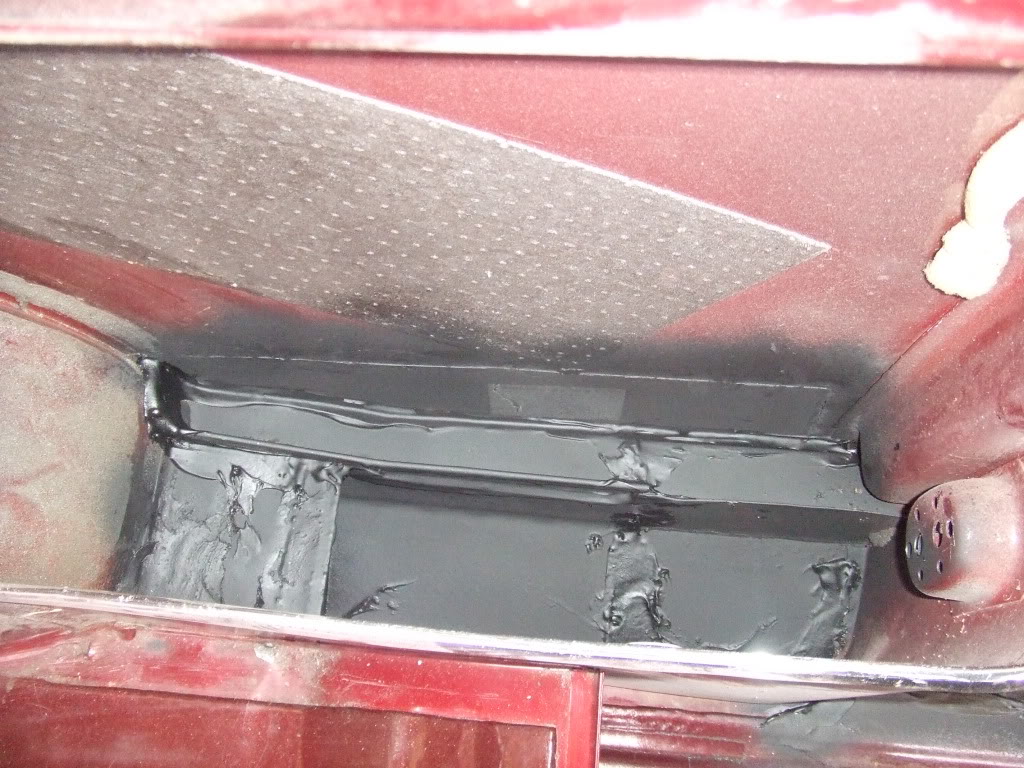
O/S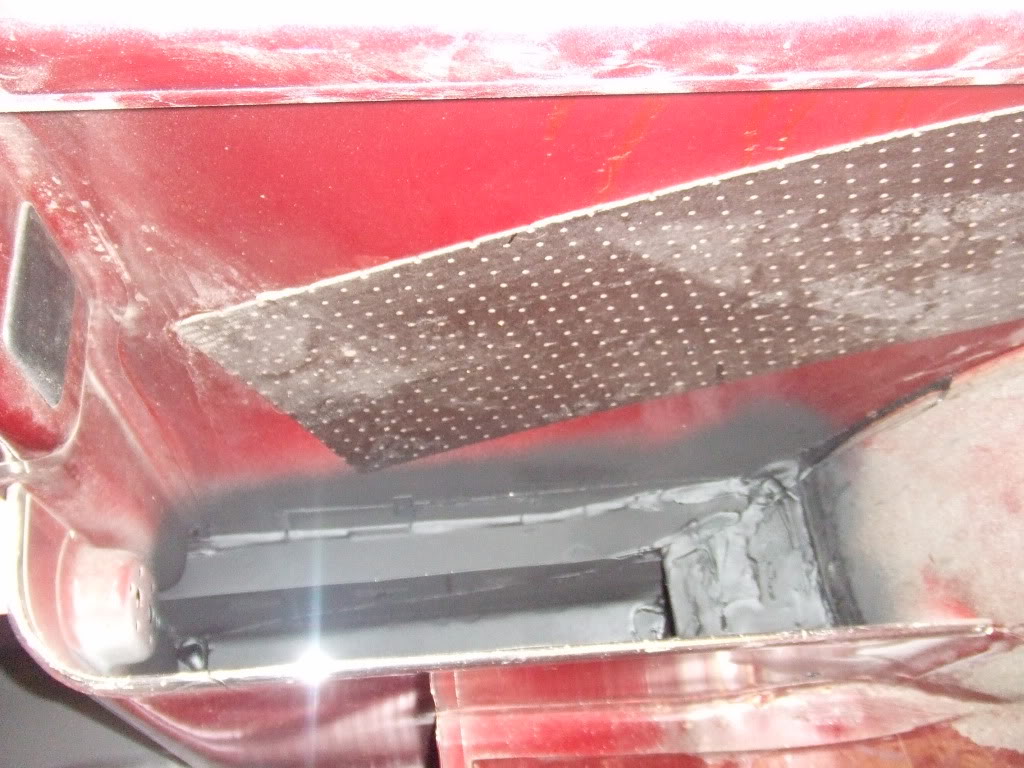
then we seam sealed the repairs in the boot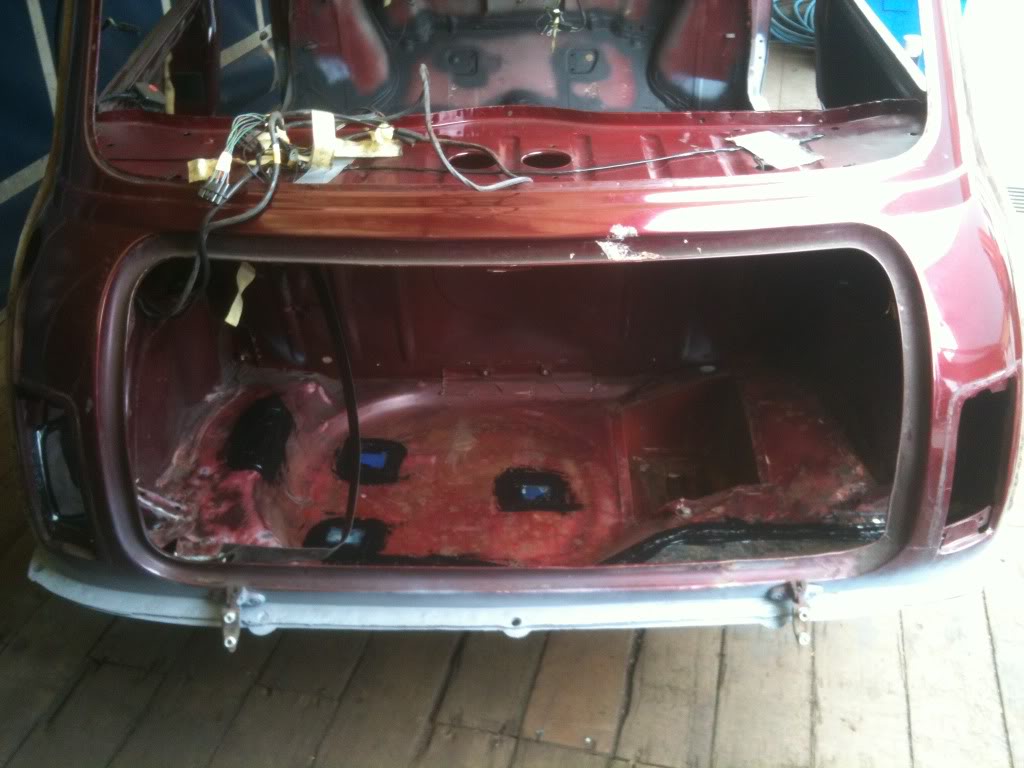
wheel well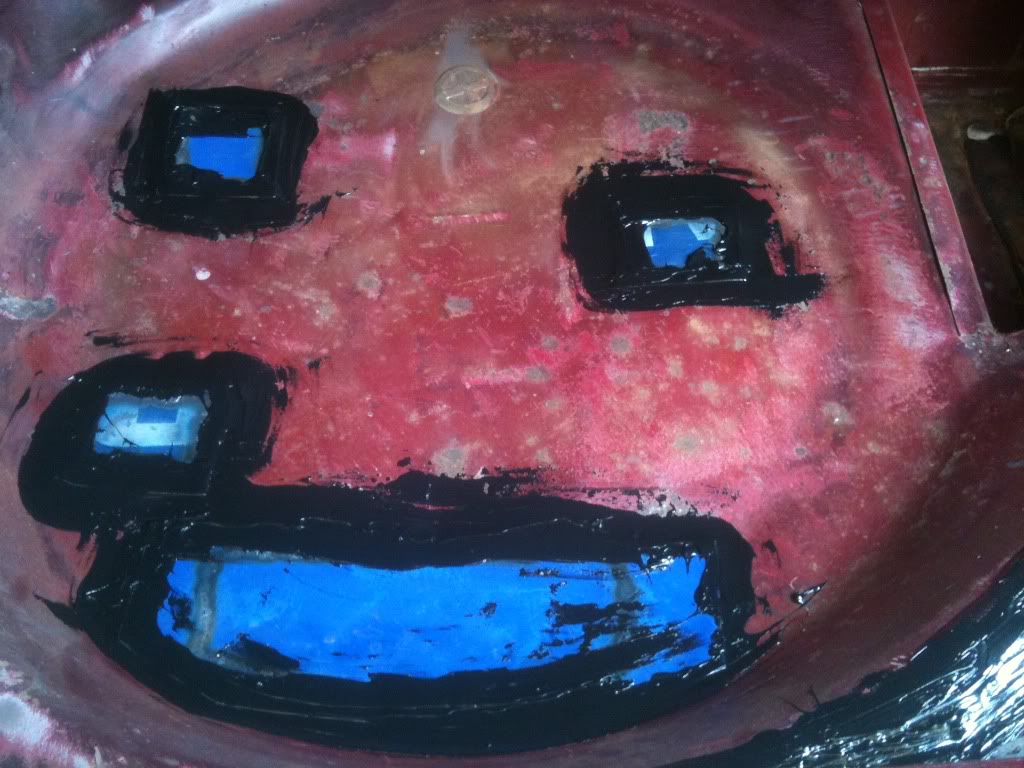
N/S rear arch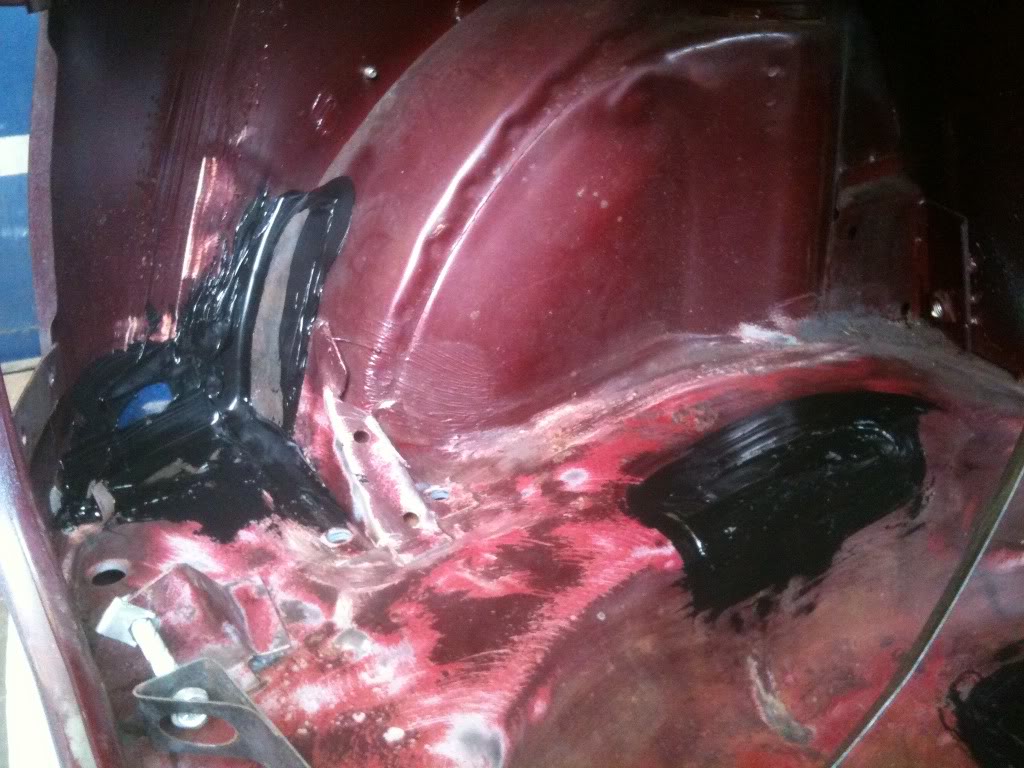
O/S rear arch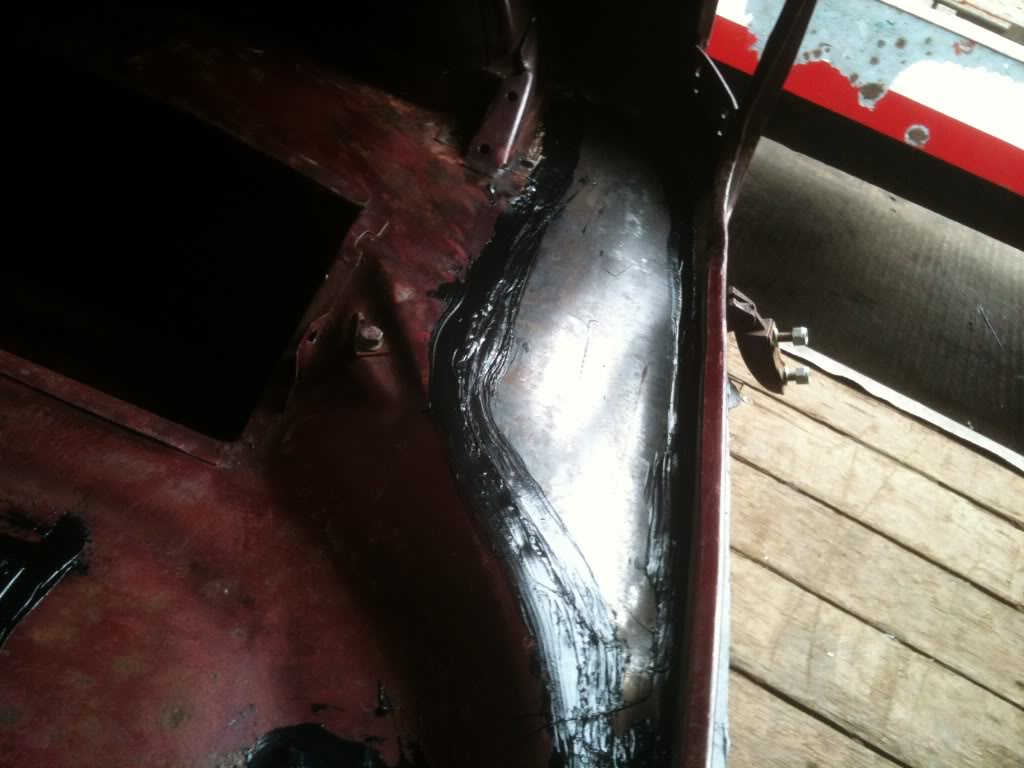
we then primed and stone chipped the entire boot floor, battery box and rear arches...but i forgot to take a photo 
we planed on starting to fit the front end today but we only had enough time to fit the scuttle because it took longer than we expected to repair my dad's car for it's re-test but then, when we thought we couldn't get held up any more, we ran out of gas for the welder  so we didn't bother trying to attach the scuttle...so the plan (version 5 or 6 by now
  ) is to paint the underside of the car and wax oil every where necessary during the week so that we can finally get the front end on next weekend...then next week we will start sanding all the paint down and then it's ready to go off for a re-paint
  ................................................................................................i can't wait
any comments or advice on what i have done is always welcome
Cheers

Wow this is amazing!
Posted by Diggymart on 6/13/19 @ 12:47:42 PM