You must be logged in to rate content!
1 minute(s) of a 266 minute read
10-6-2013
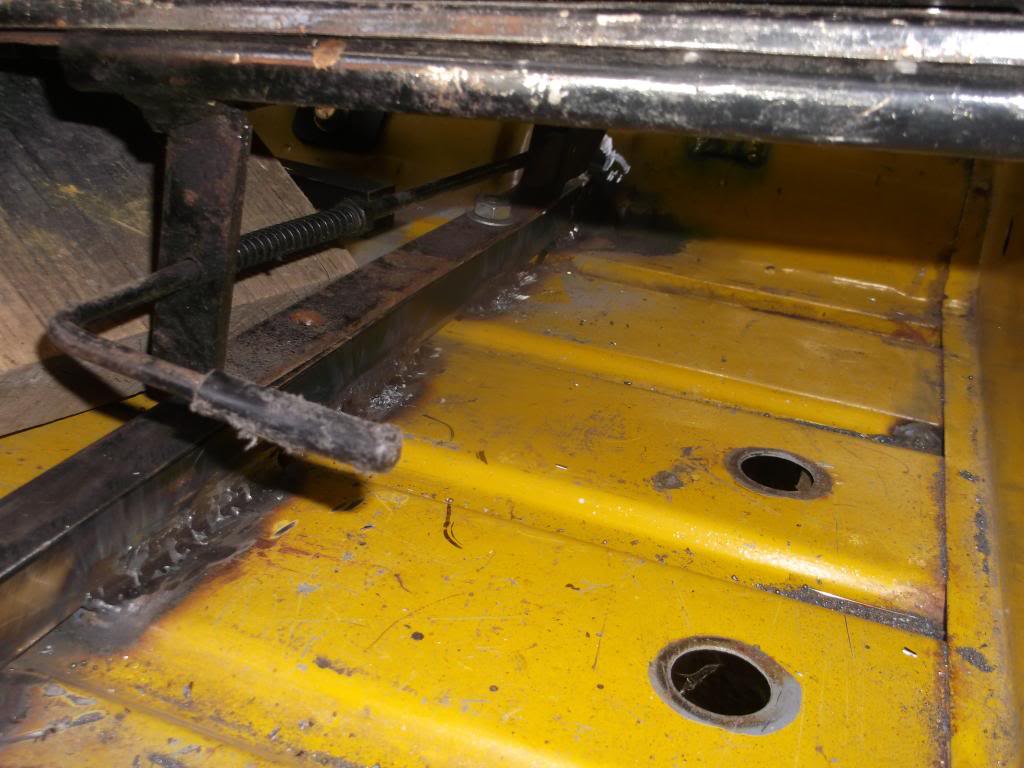
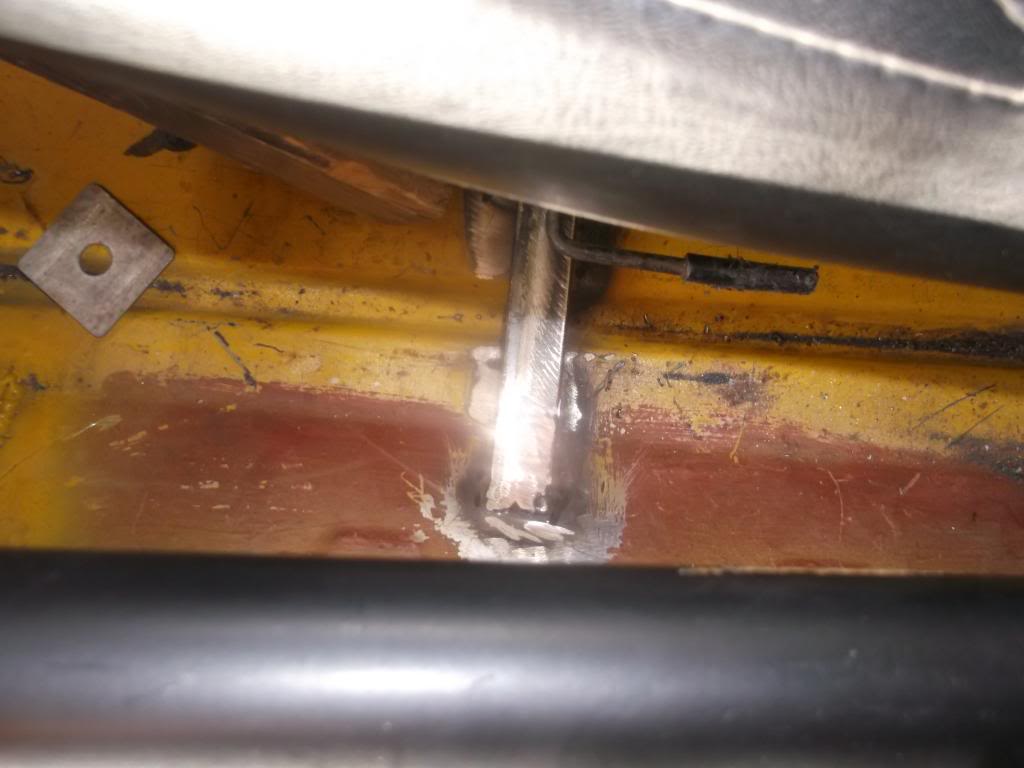
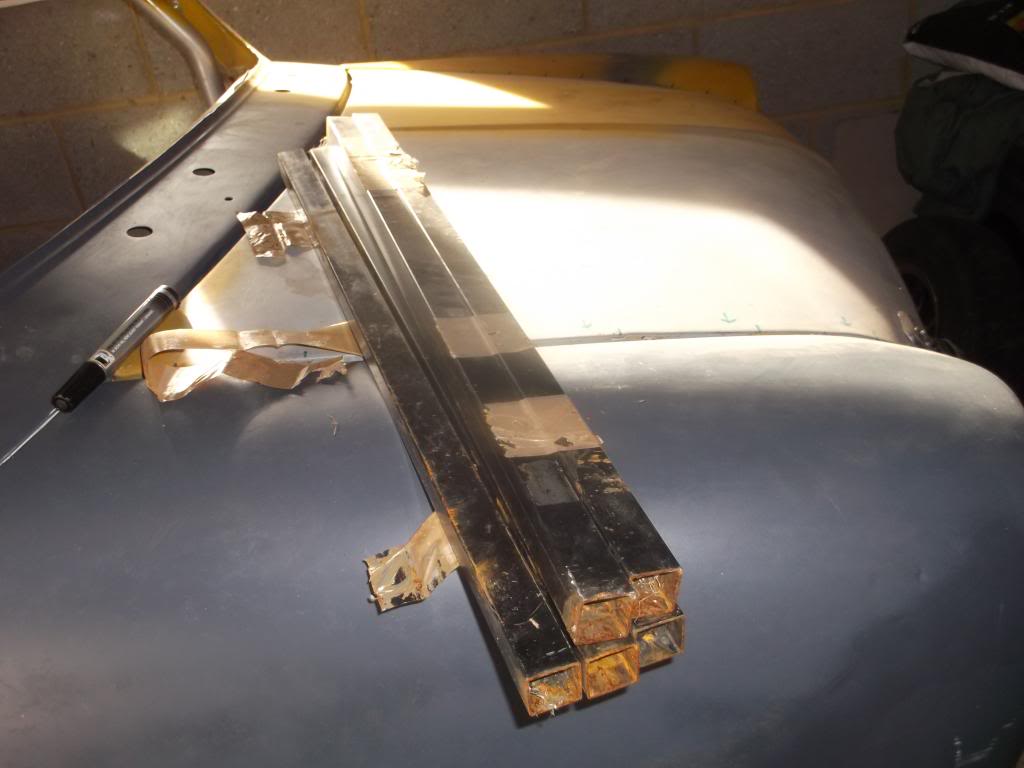
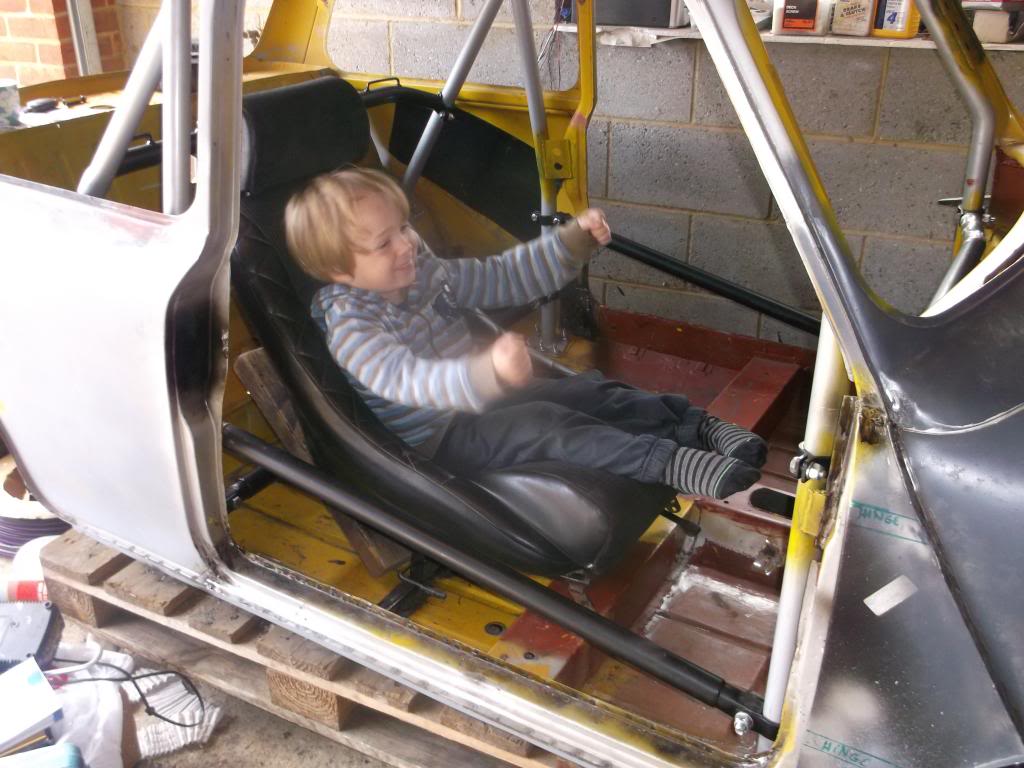
been busy with the extra two door bars, i have cut triangular sections out of the bar and bent it to give it a nice kink which makes it stick out of the dash alot less than when it was straight i have also done the other door bar but have put this behind the seat to add further strength and to make it look more like a race car  also decided to solid mount my seats so i welded some steel tubing i got given to the car angling the edges and bolting it to the seat through the floor, pics
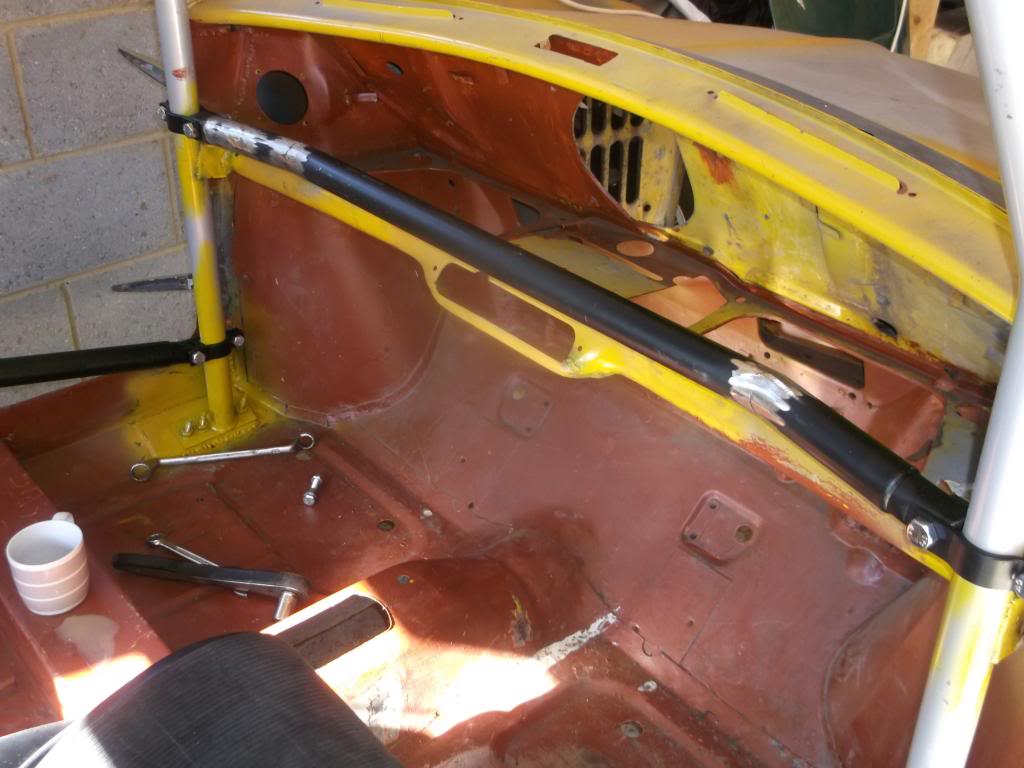
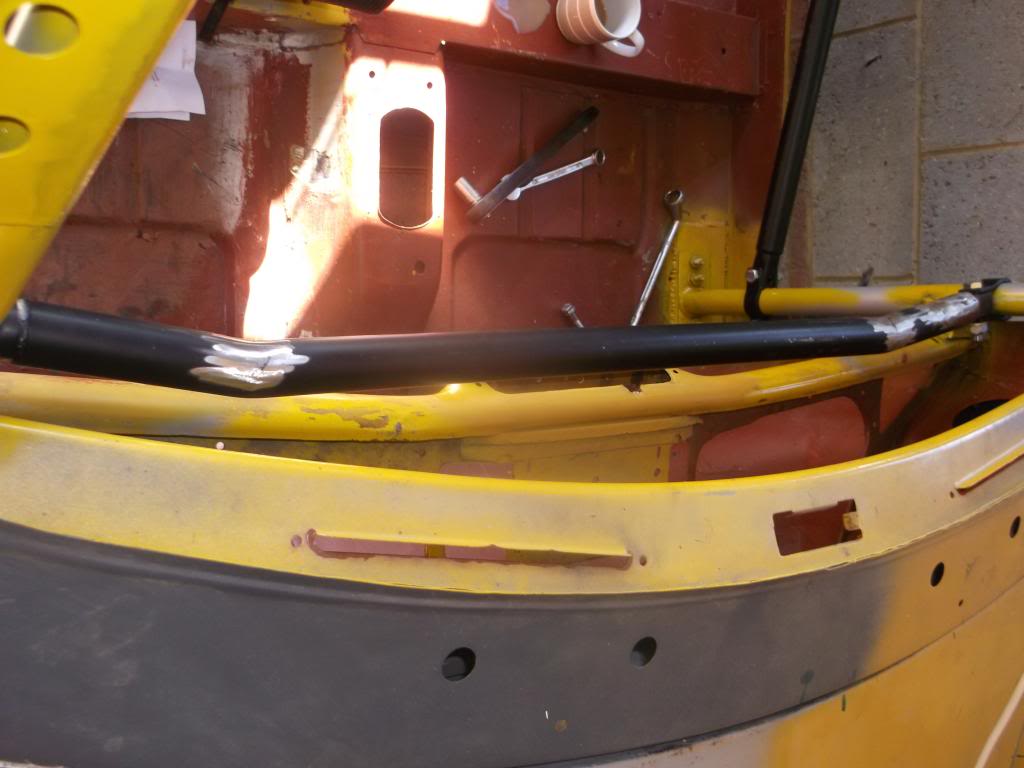
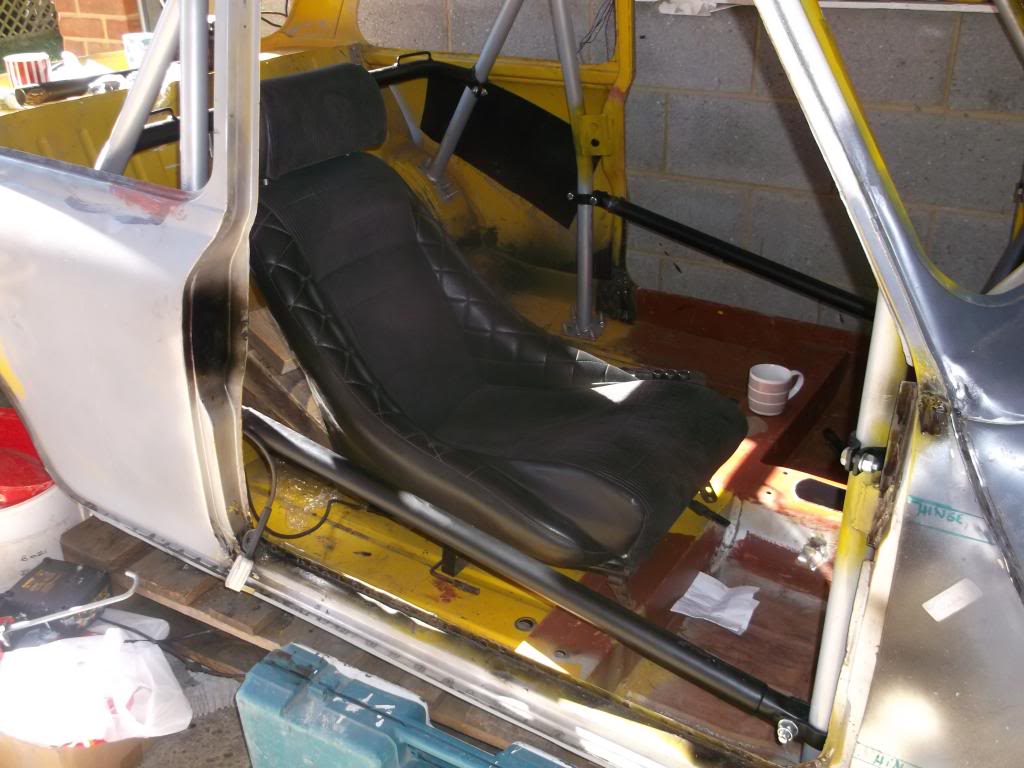
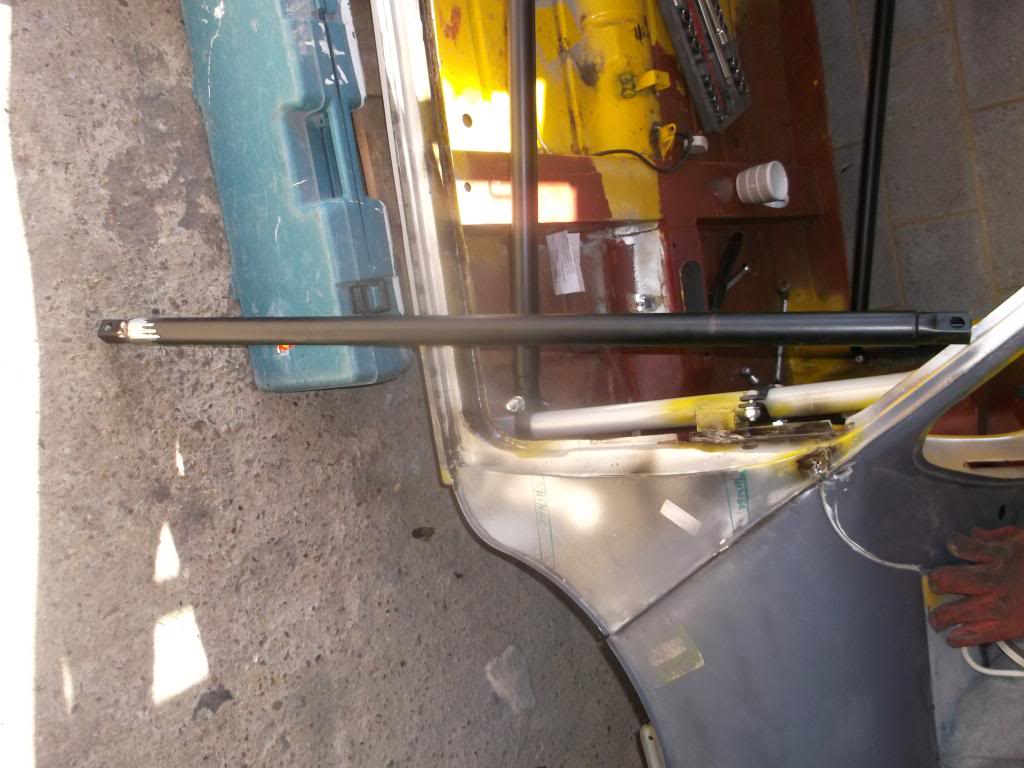
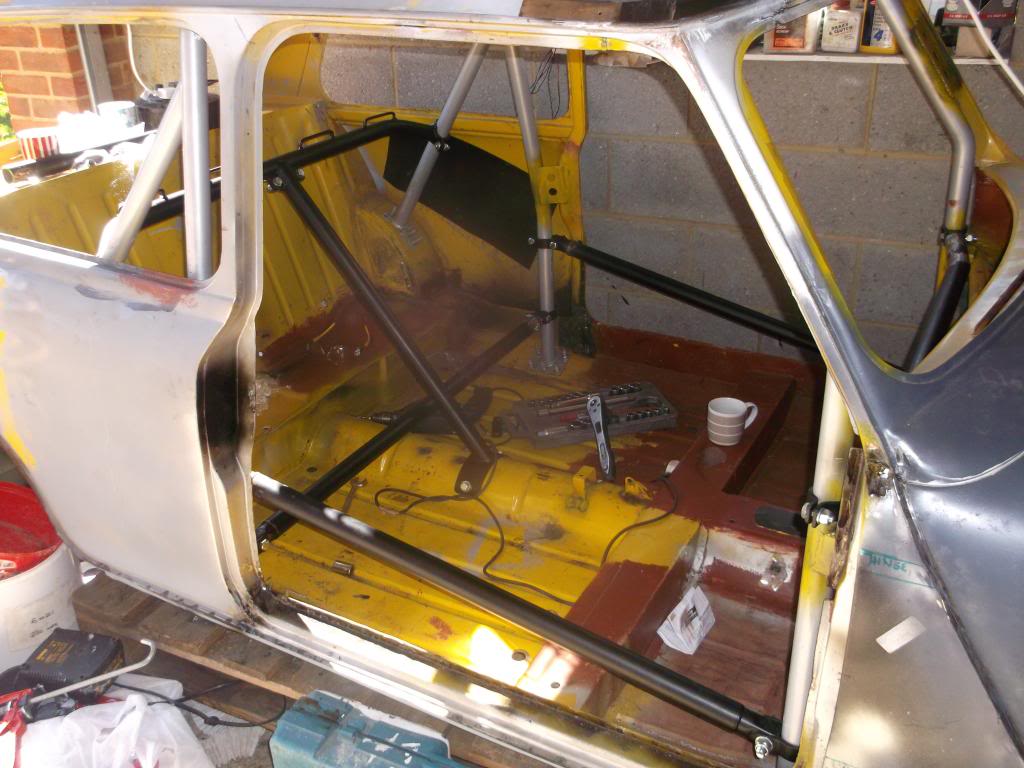
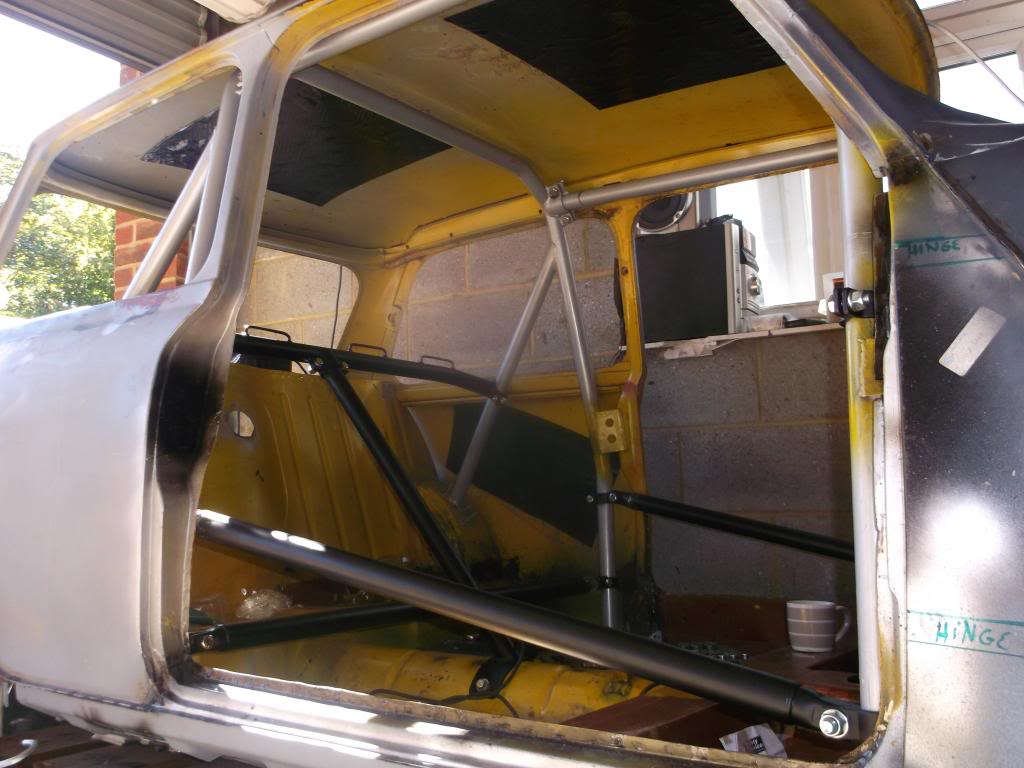
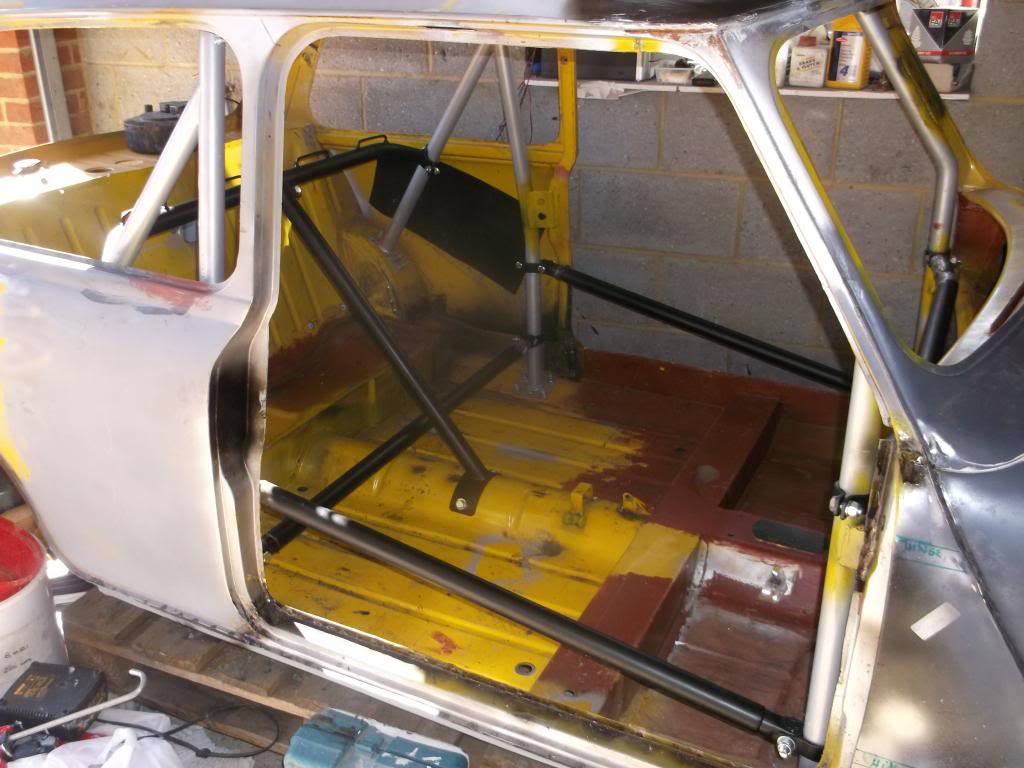
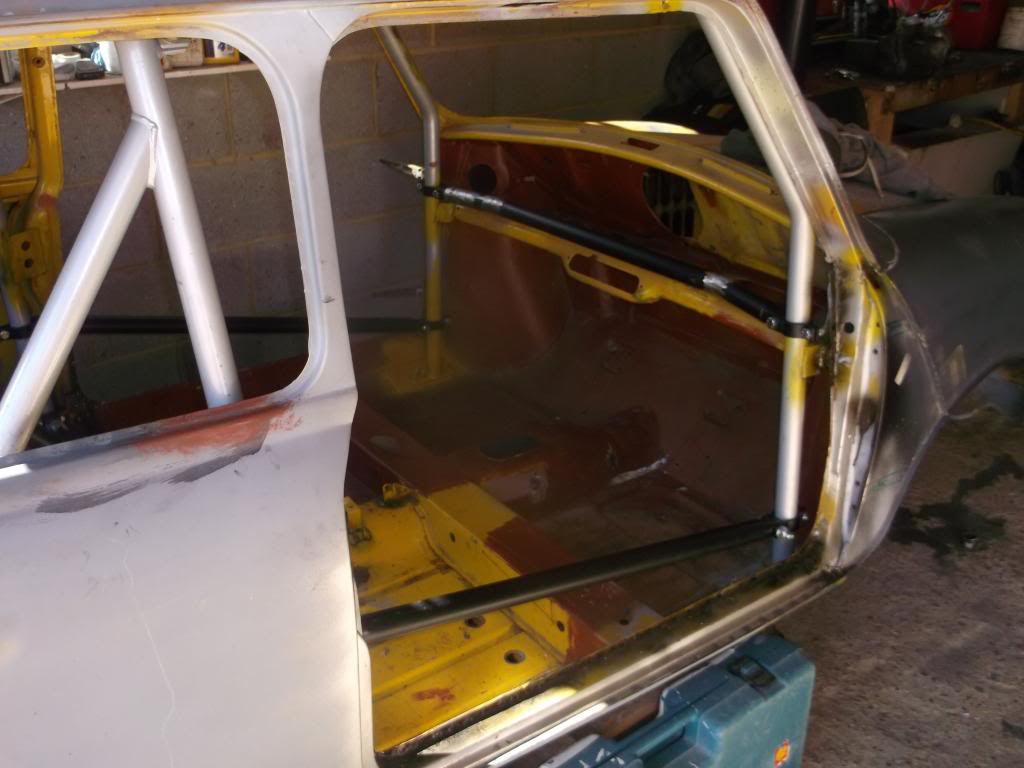
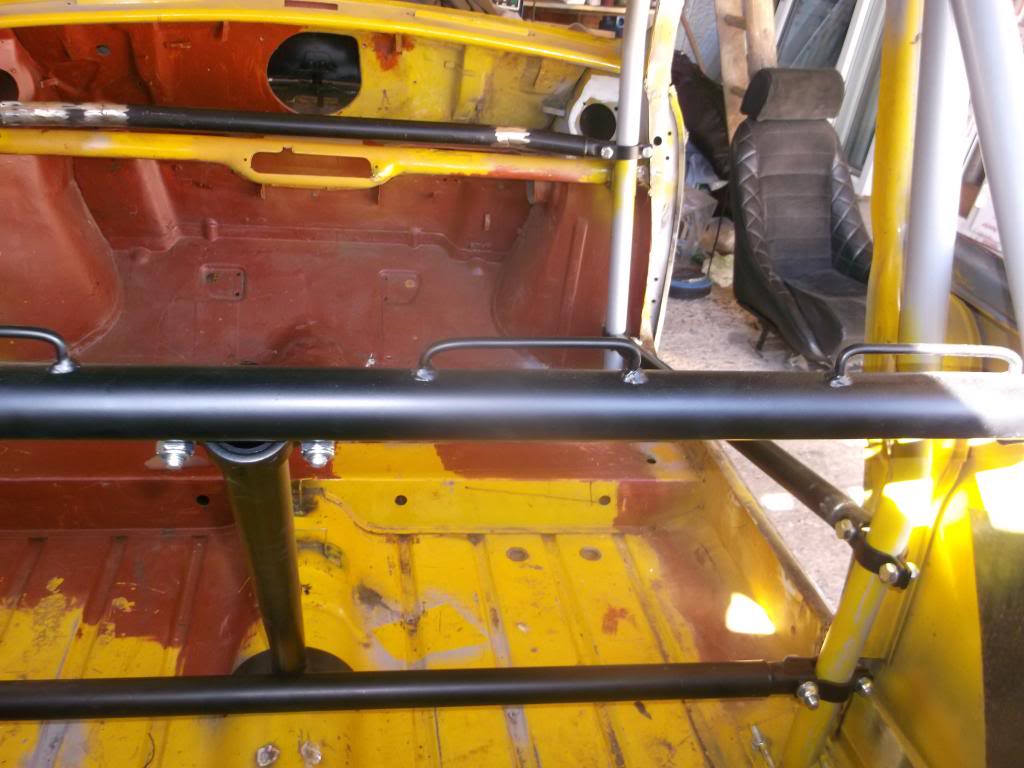
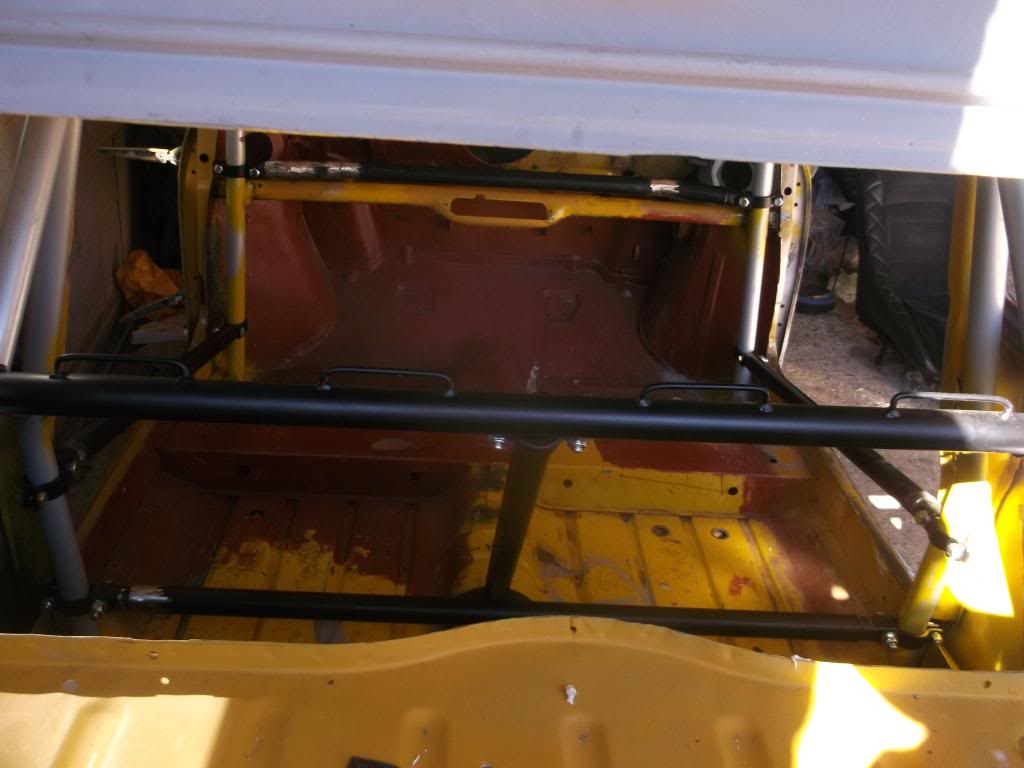
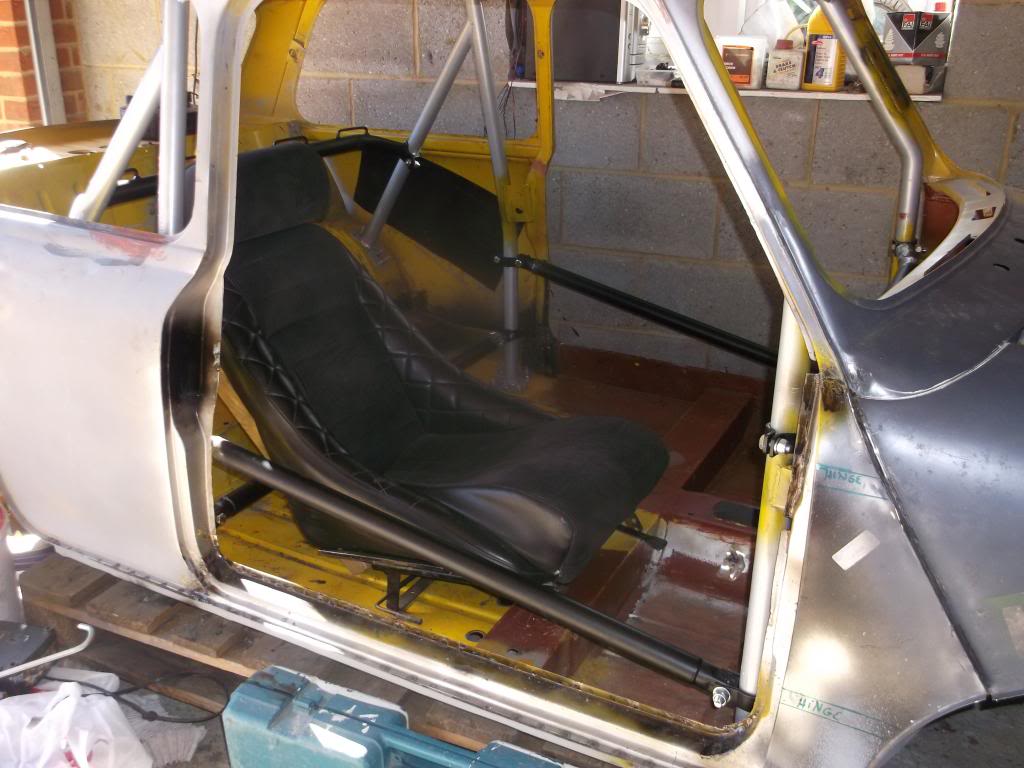
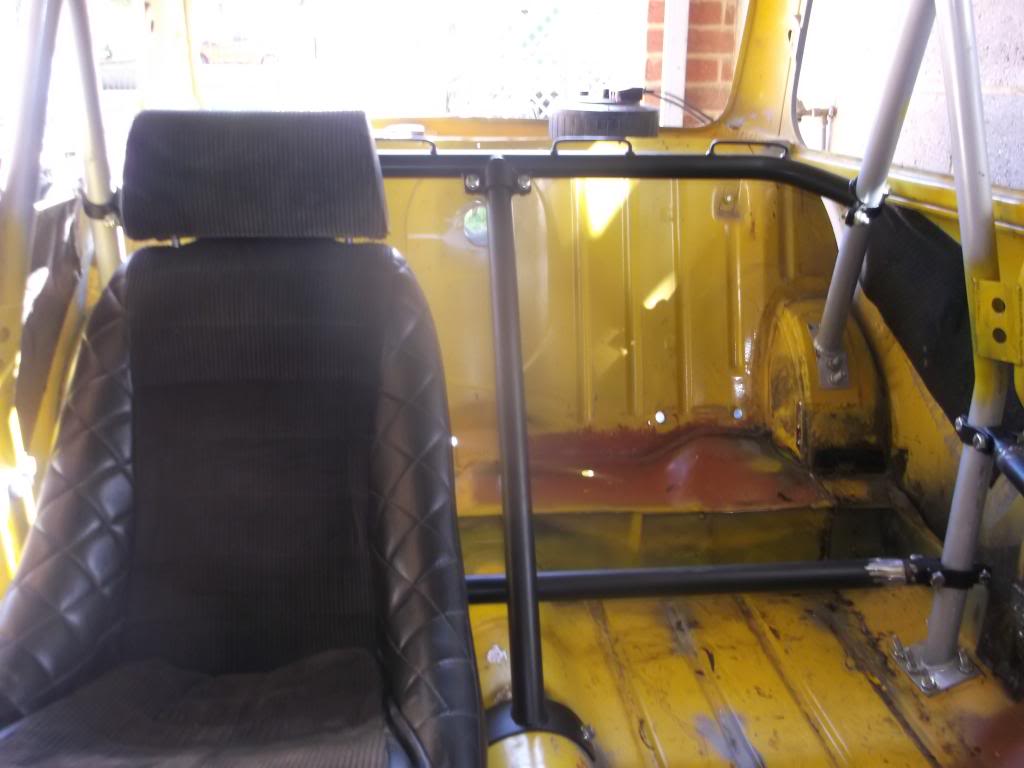
cheeky picture of my brother deciding he wants to drive my car
thats it for this weekend, my work has invited me to proper go karting on the 25th at rye house should be good theres 8 of us going so were going to do teams of 4!!! god i love where i work, have ordered 6 cans of primmer as i keep needing to cover up bare metal but have nothing to do it with so they should turn up tomorrow. till next weekend.................
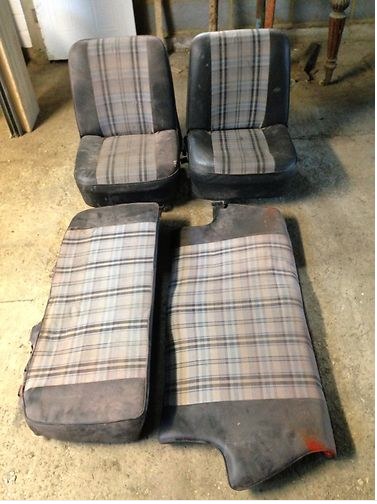
just brought these for £20 for all the running gear there only in dunstable
10-13-2013
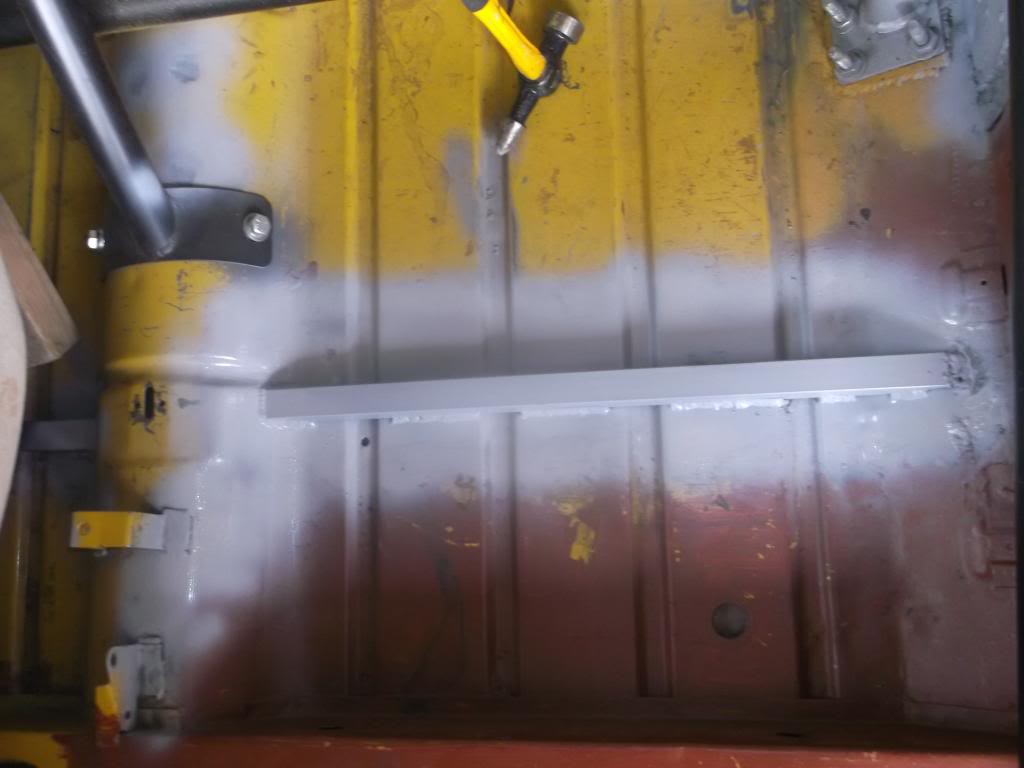
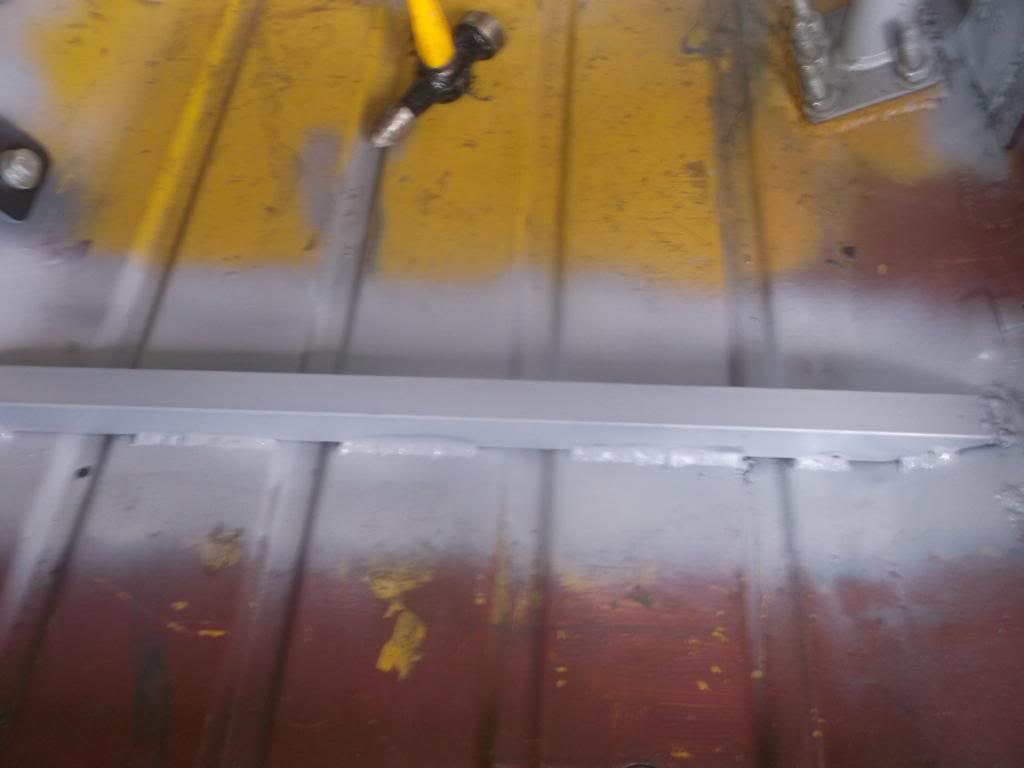
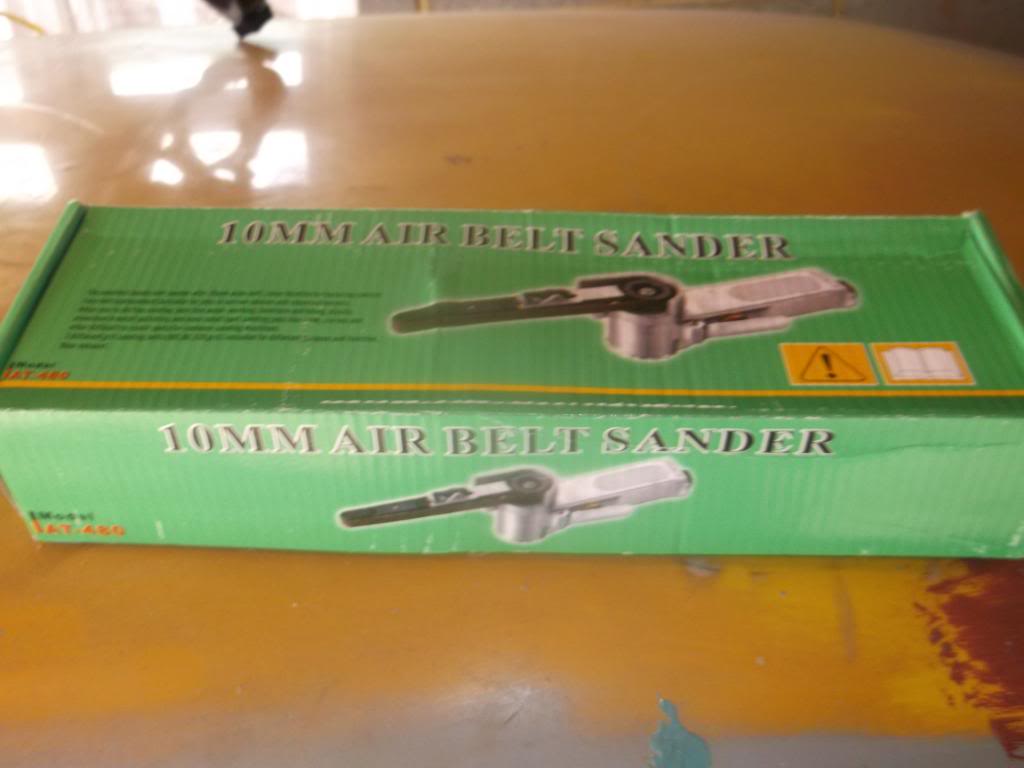
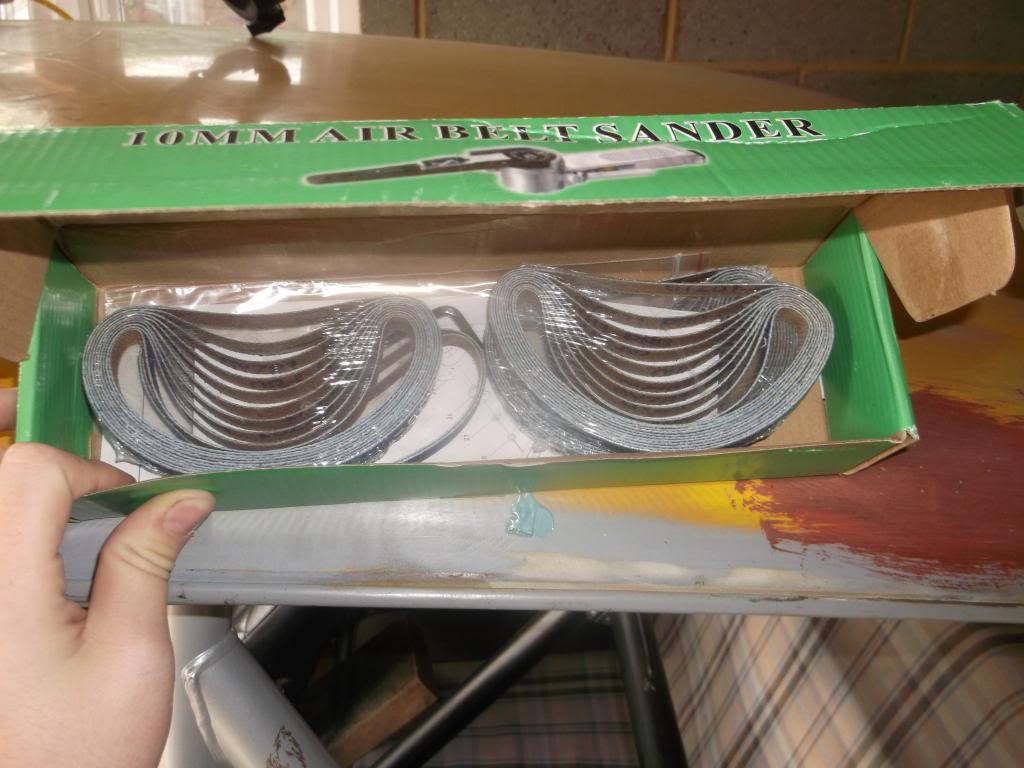
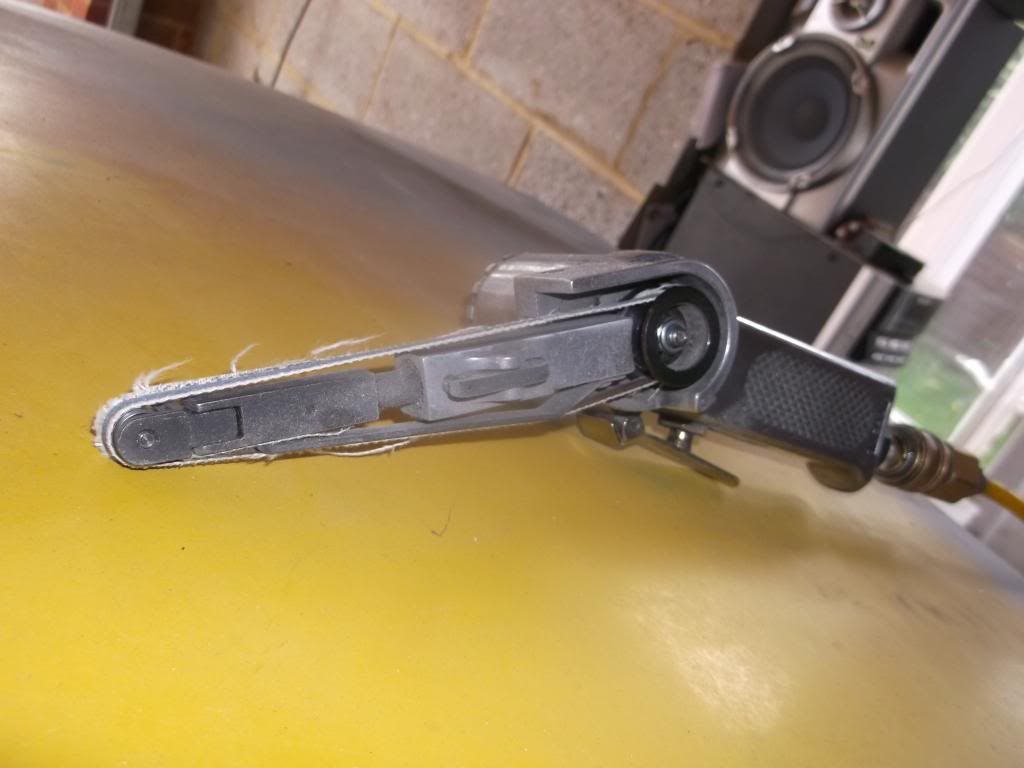
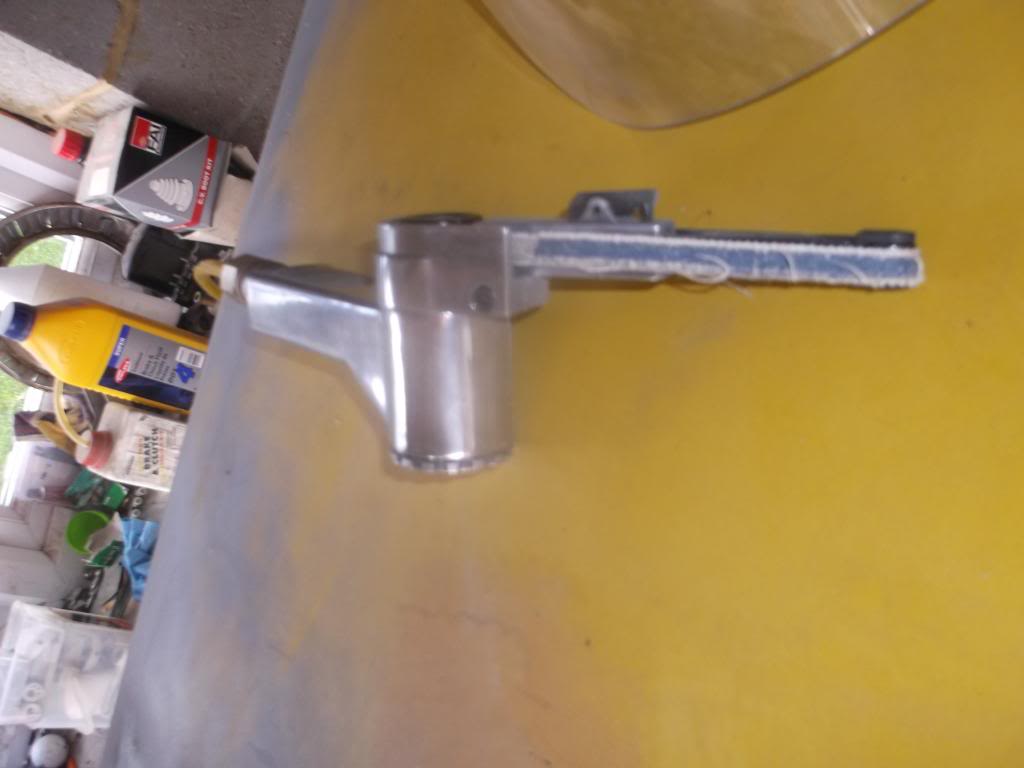
been busy this weekend was at a huge classic jaguar autojumble today with work yesterday i received my air belt sander which is brilliant for grinding down welds in corners, and have been solid mounting my passenger seat also bolted the seats in on the front and found out that i am going to need some of the chrome seat adjusters that bolt onto where it mounts at the front these should give me enough movement to allow me to get it to sot perfect on my mounting bar.
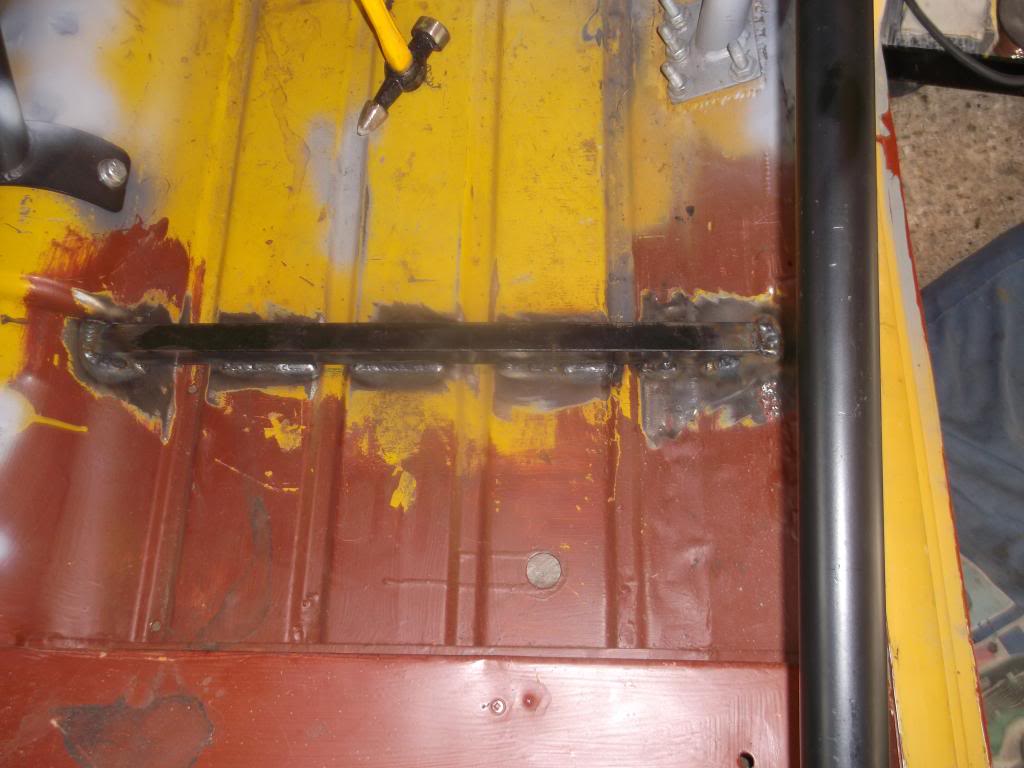
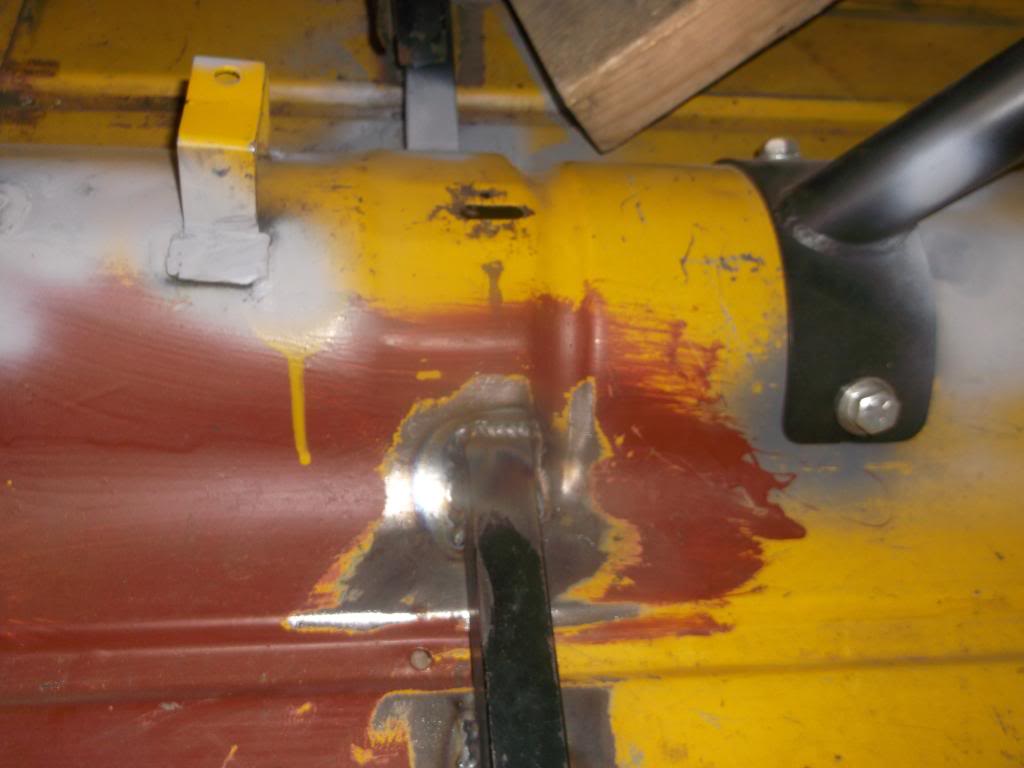
did the passenger seat slightly further back
10-20-2013
curiosity lead to this today
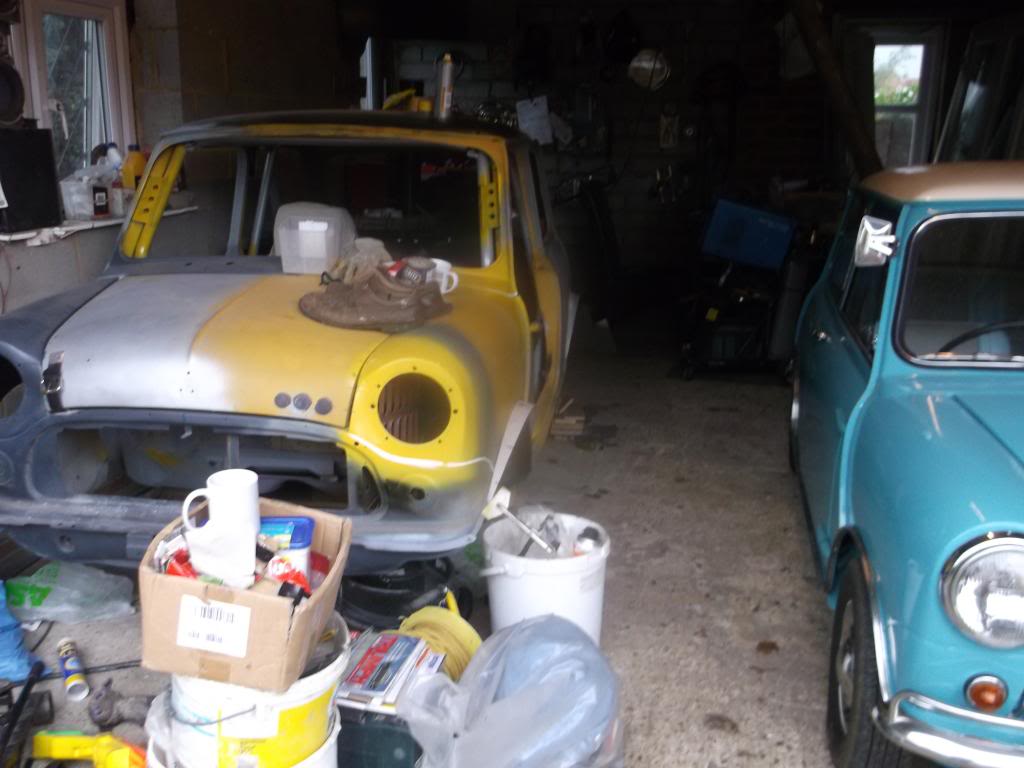
so it started with this:
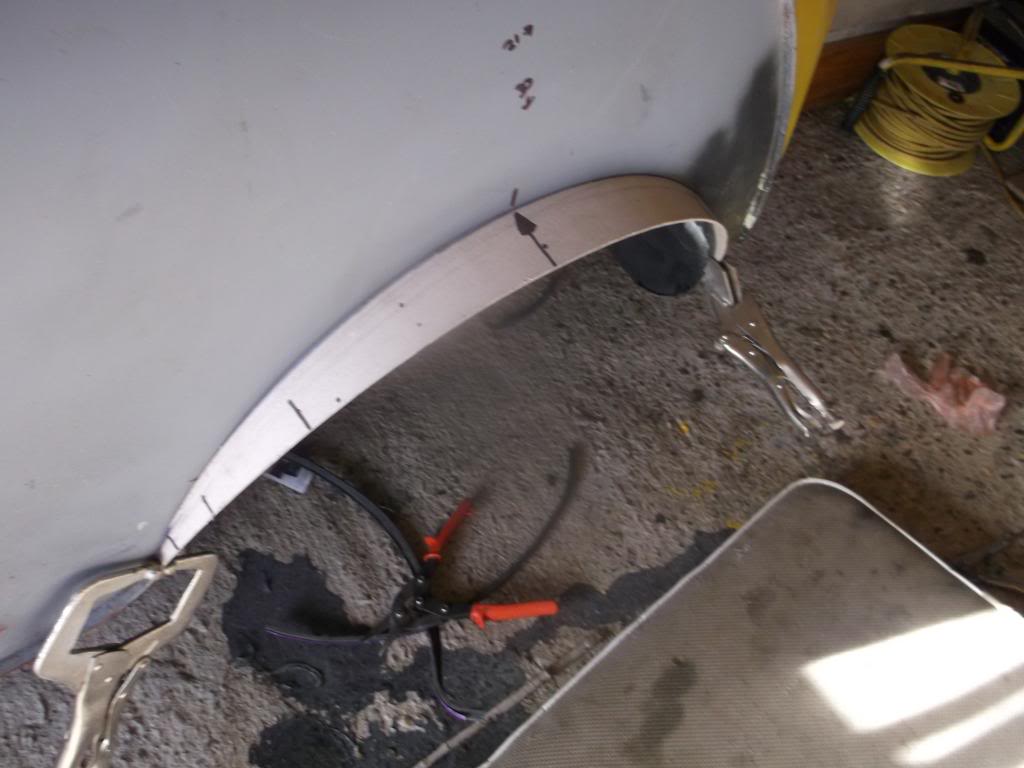
card template
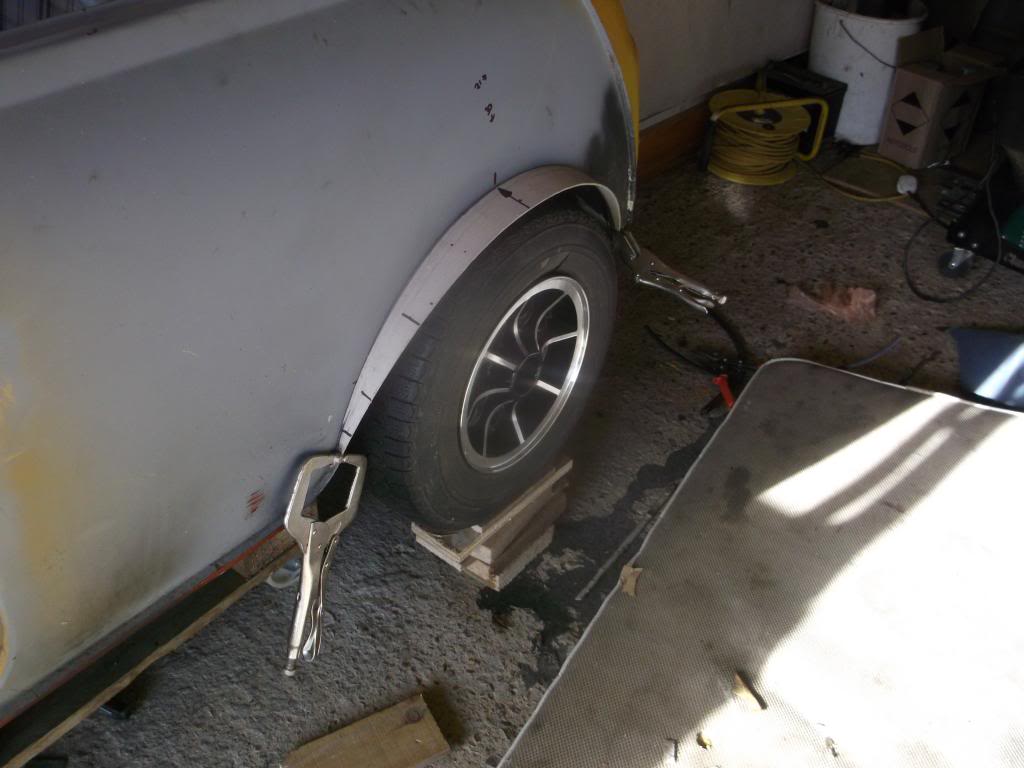
then the second template
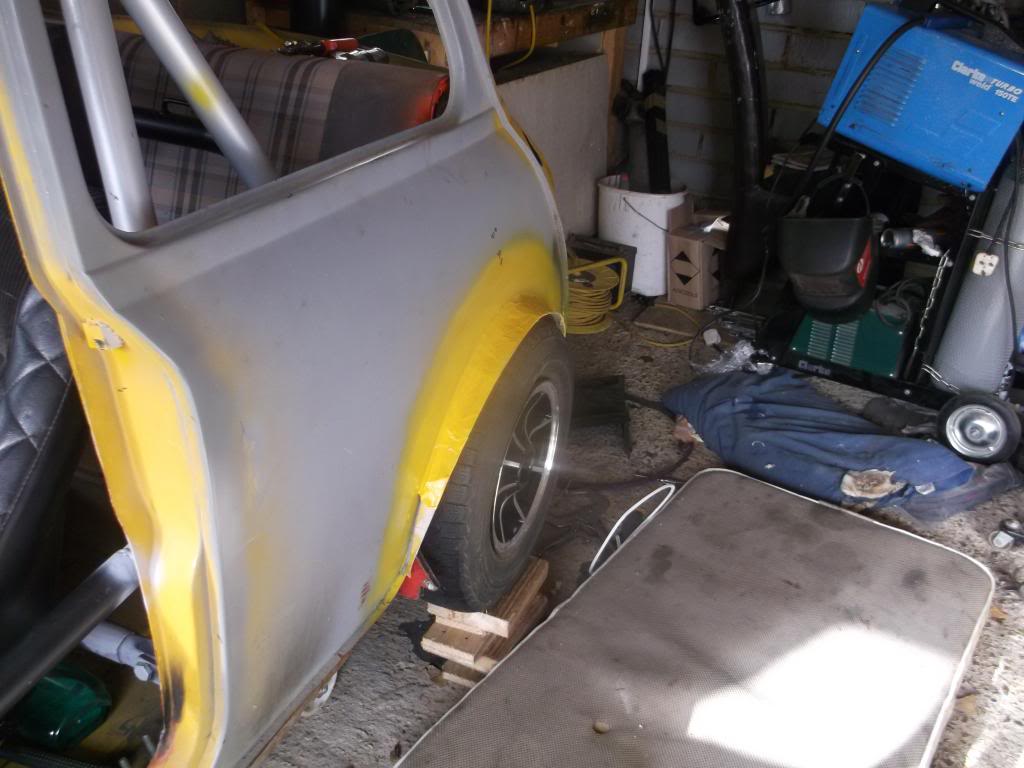
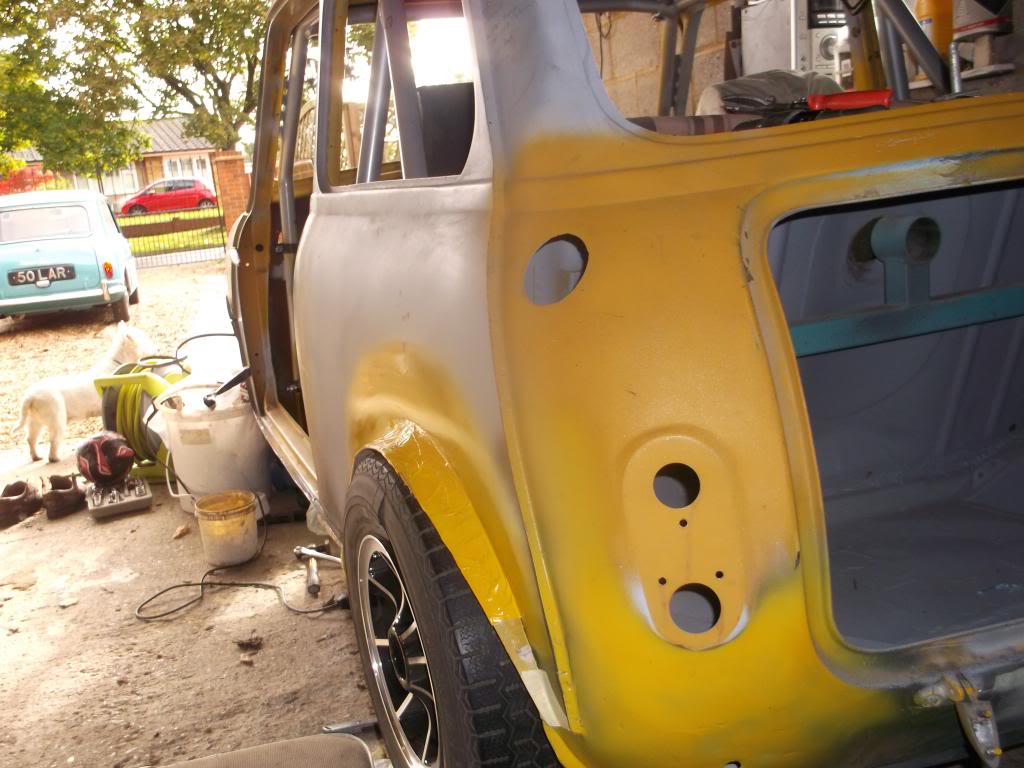
metal cut out
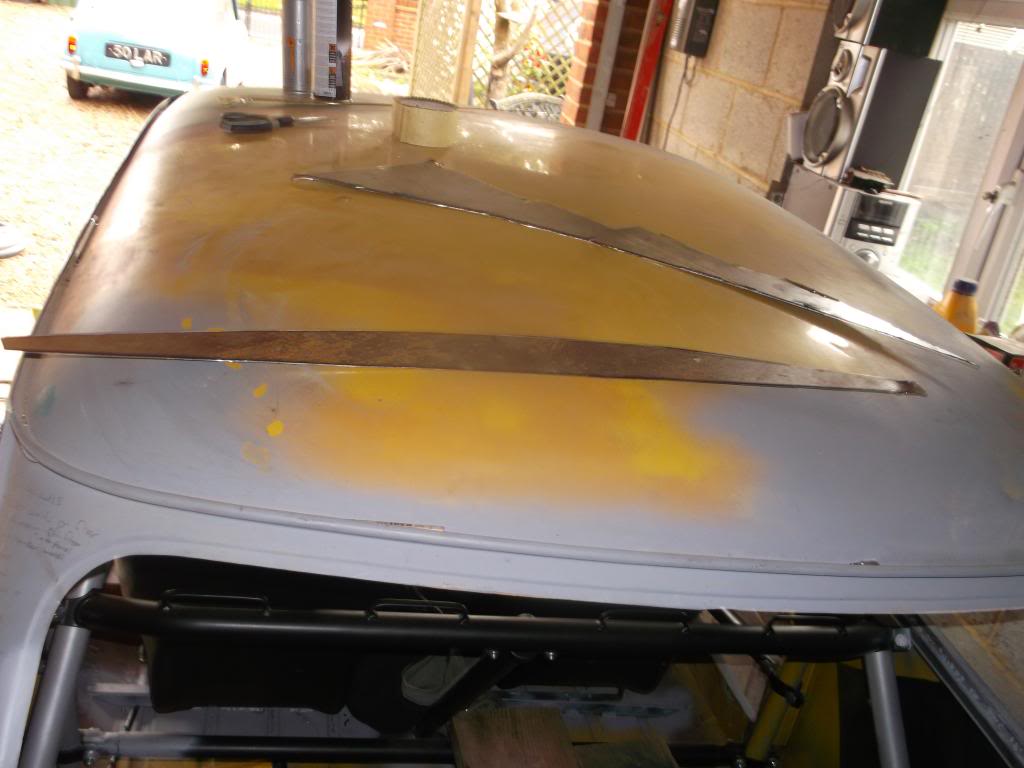
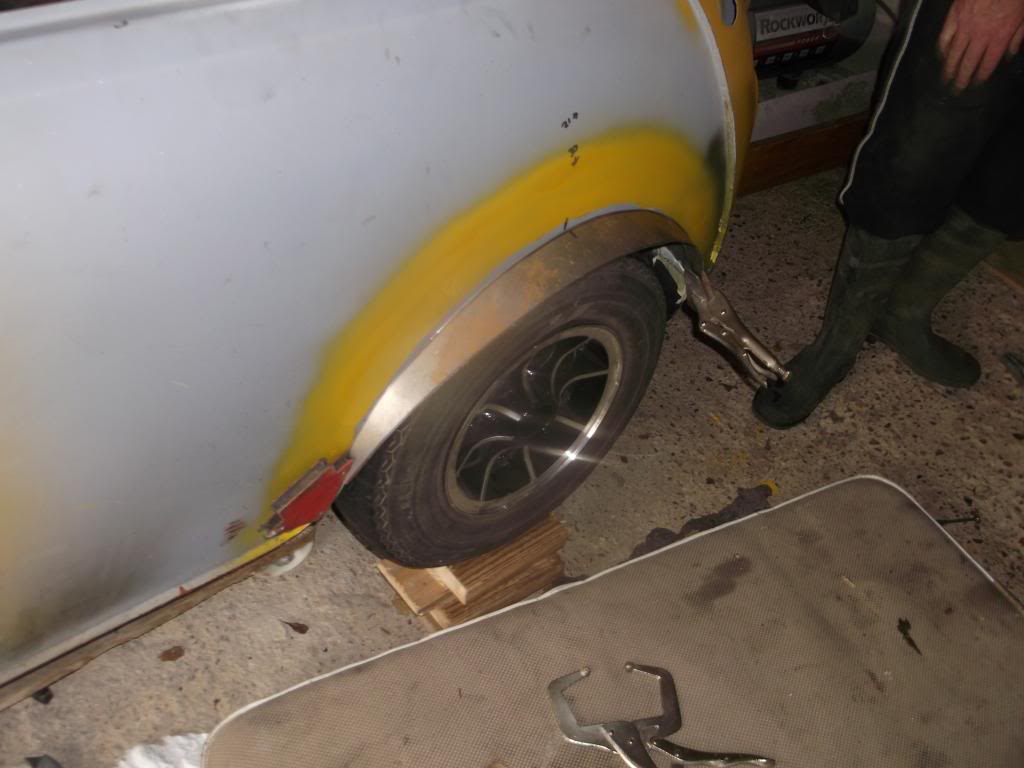
and lead to the end of todays work with this before all of the rain and lightning
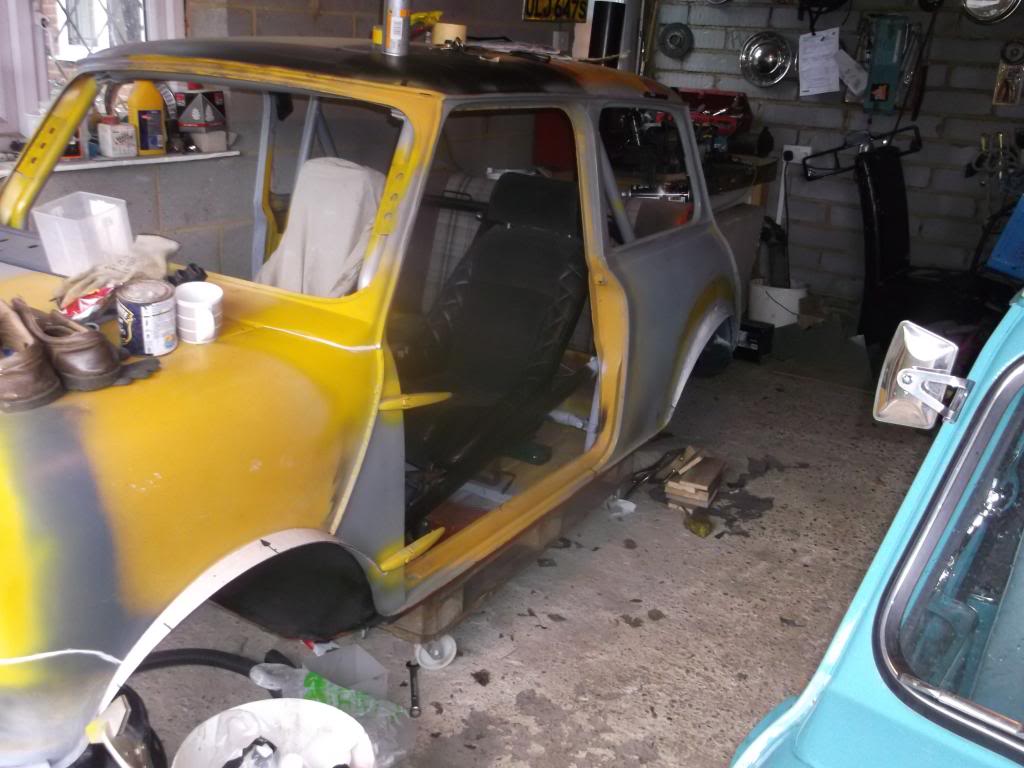
i decided that i wanted some arches so i made a card template, then another, i taped and sprayed this one , until finally my dad cut it out onto steel sheet, i then bent the steel into shape forming it around a bucket with the same radius as the wheel arch, tacked it on, and welded it up, this is not finished as it will not look so stuck on, as i will be making it flow into the bodywork alot more however the basic design is there and is to be improved