You must be logged in to rate content!
4 minute(s) of a 266 minute read
8-14-2013
so i was thinking the other day as i am spraying the underside first i need to get anything that touches the floor welded up so it does not disturb the paint but doing this basically finishses off the inside anyway so i thought i could spray the inside,boot, engine bay and the floor all at once then put the subframes back on and all back together, put the engine in and steering etc and hav the car running and then mask everything up, prep the body and then spray it as this way i would not have to worry about ruining the outside paint by putting things on, is this a good way to do it and has anyone who has done it this way had a problem? as i cant see why i cannot do it like this if i mask things up properly, as it means the car will be more complete sooner as i dont have much work to do before i do the above spraying and i am getting engine components and suspnsion bits for my birthday on the 31st so that will not be a problem
hope how i explained it makes sense
8-27-2013
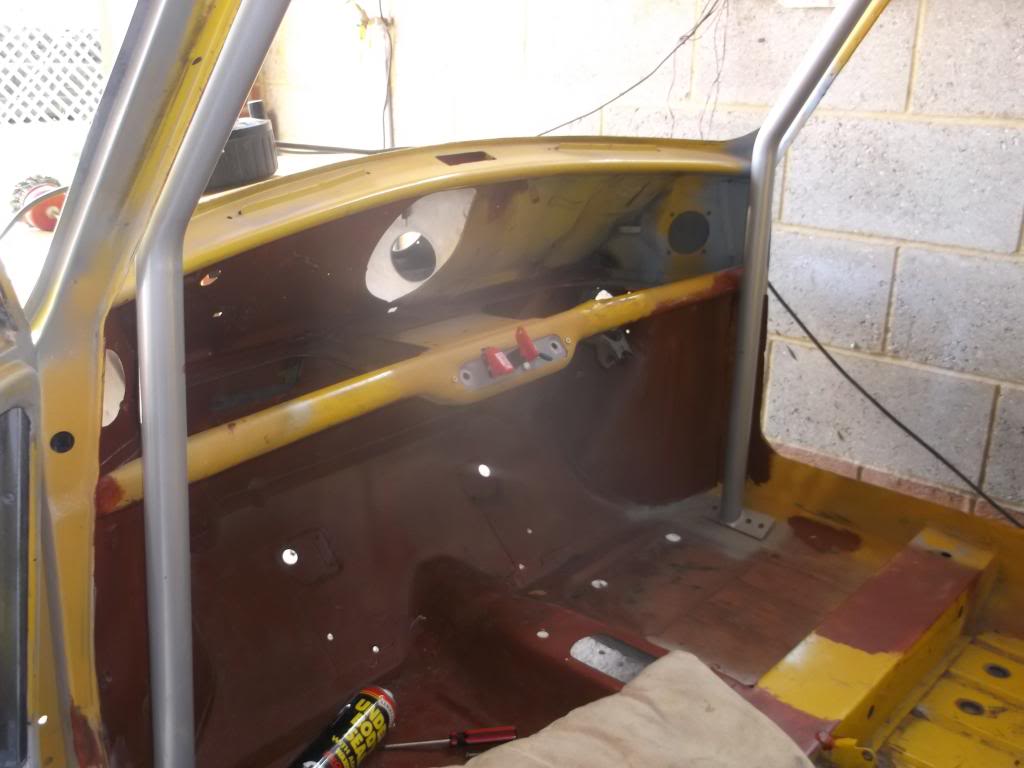
Quite a big update to come I'm out tomorrow so it should be in the evening but the mini forum was not working for me today I'm not sure why anyways I will have the pics and full update then, basically I have cut out all the spreader plates for the cage, made the switch pannel gap smaller so to allow for the mk1 pannel, I have mocked up my switch pannel with battery cut off, lights switch and fuel pump switch,and today I have cut out some of the rear seat and bins, also I weighed my doors and alowing for perpex and hinges on my mk1 style door there was a 10kg difference!!! Meaning I have saved 20kg in total just on the doors alone, hopefully this should cancel out the weight of my cage
8-29-2013
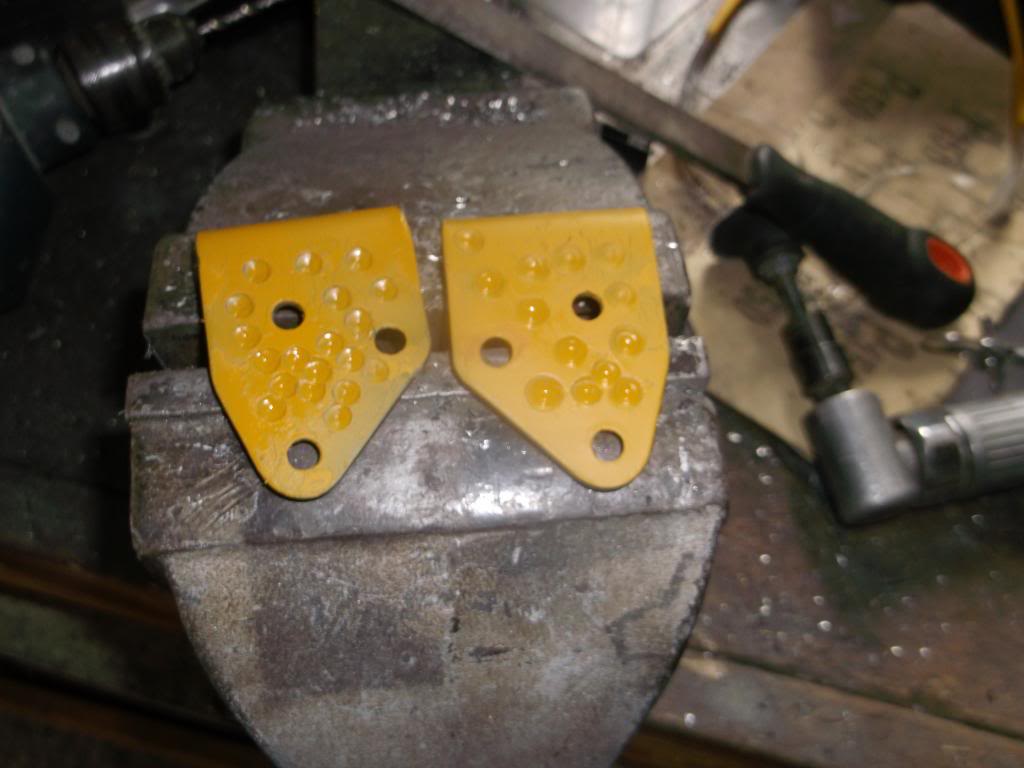
so i just recived my new bottle of gas today so i got cracking on with my roll cage spreader plates piccys
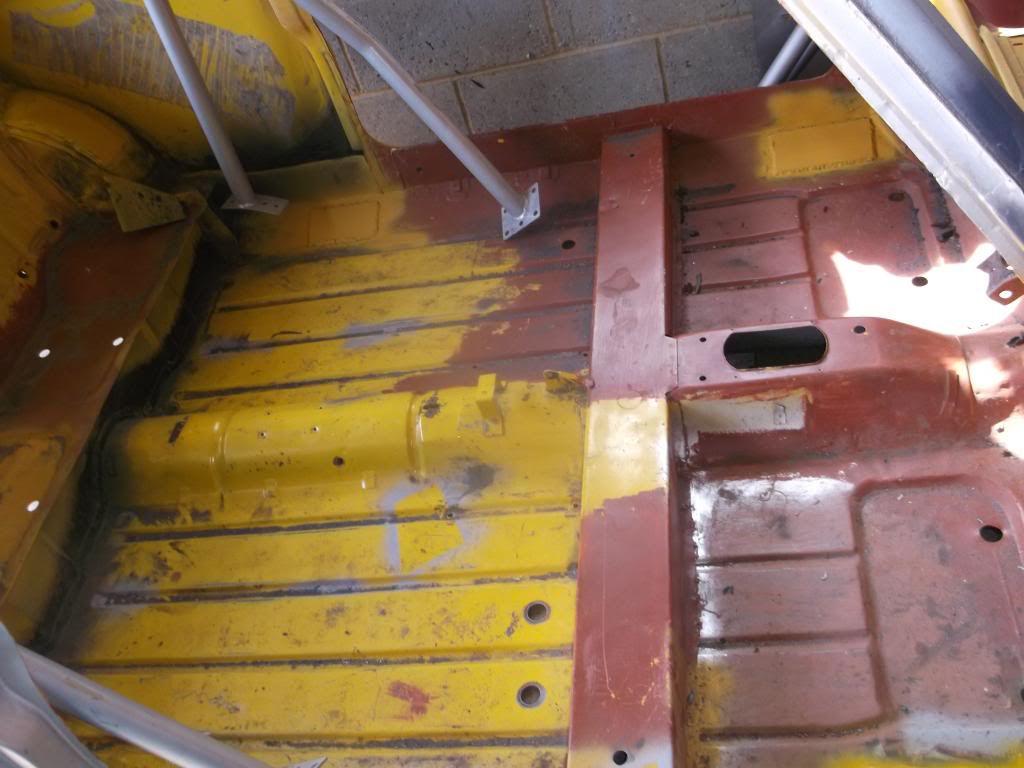
best pic i could get of the plates before my camera ran out of charge
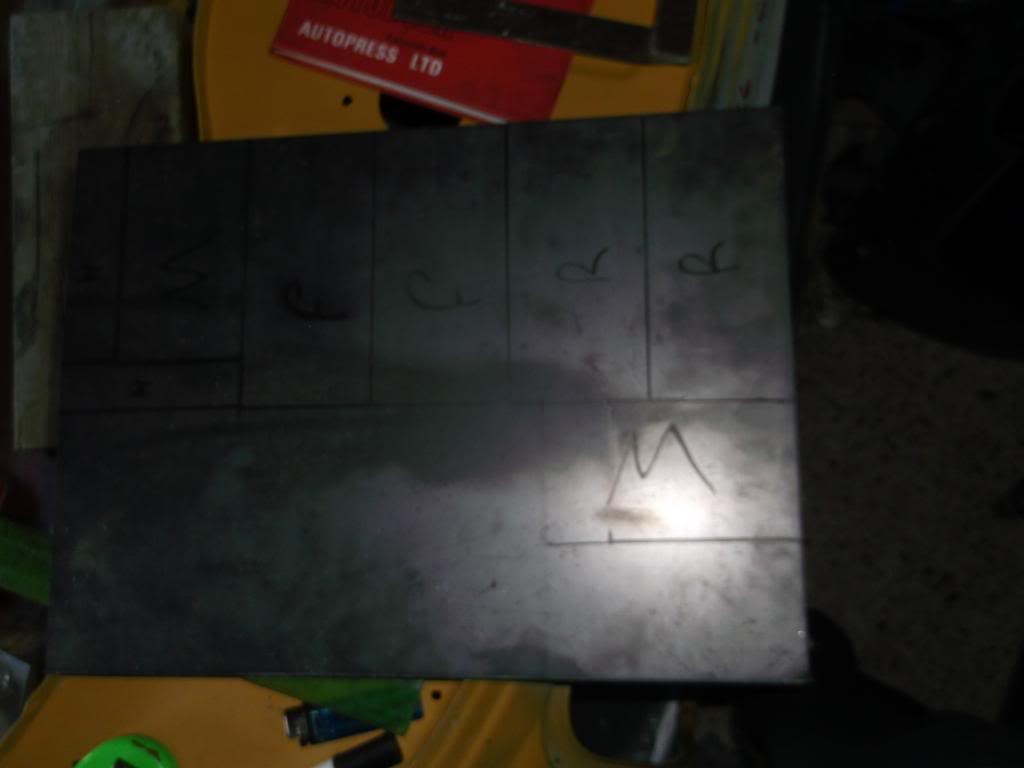
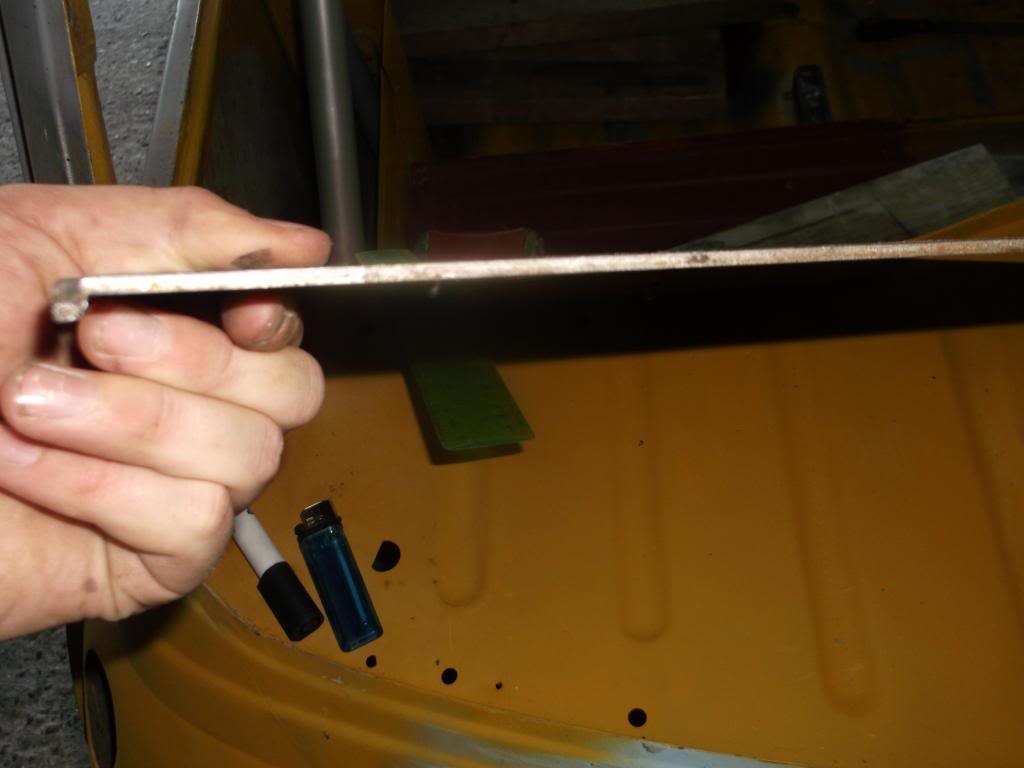
now i just have to drill out the holes and bolt the cage in then i can get it back on the jig for the bottom to be cleaned, stonechipped and then painted then i move onto the boot and then the engine bay then subframes build them up and finally the inside of the car then it is on to the bodywork filling priming and getting gaps tight
9-2-2013
thank you and yes i have de-seamed the rear of the mini for that racer look also compared to my dads i think it makes the car look wider, and a bonus is that i don't have to buy an expensive rear bumper and overiders  and there will be no 3 layer rust sandwich, also the colour is no secret its going to be the original inca yellow with a gloss black roof, I'm back to sixth form on thursday so progress may become slow again as the start of term always means a shed load of great coursework and revision yaaay so the weekends will be the only mini time available for another 6 weeks but hey ho a year left to go but i reckon i can get it ready for my 17th and then test it to the max with the 2015 imm in Lithuania which is about a month after i pass my test whoop whoop looking forward to it already
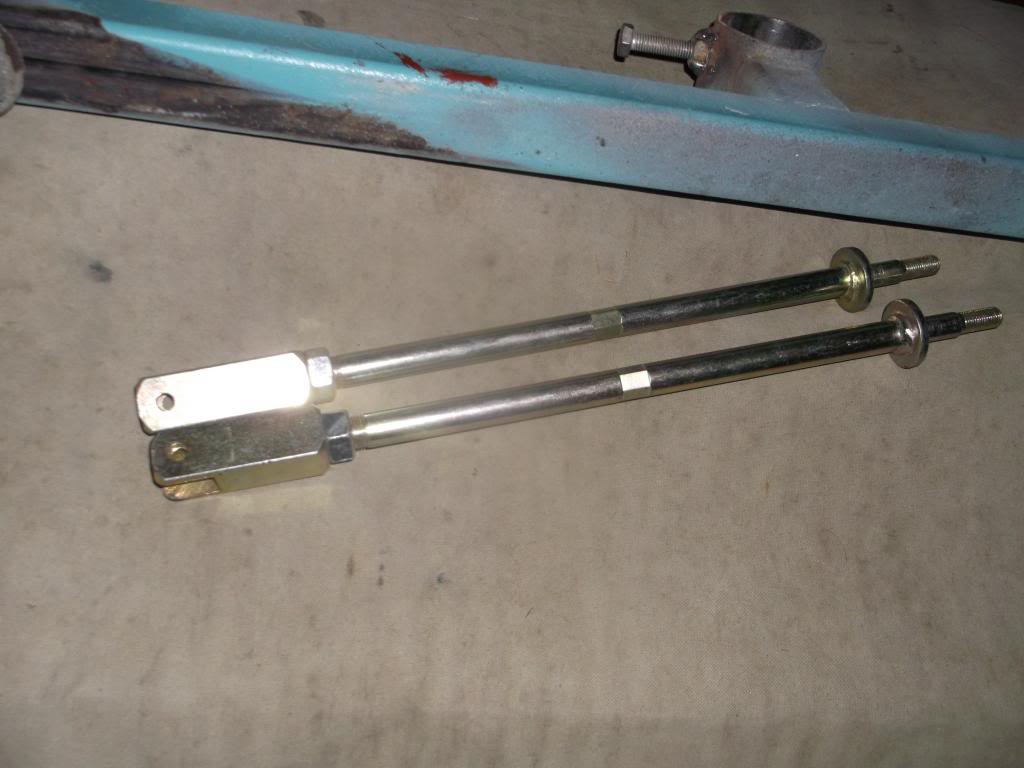
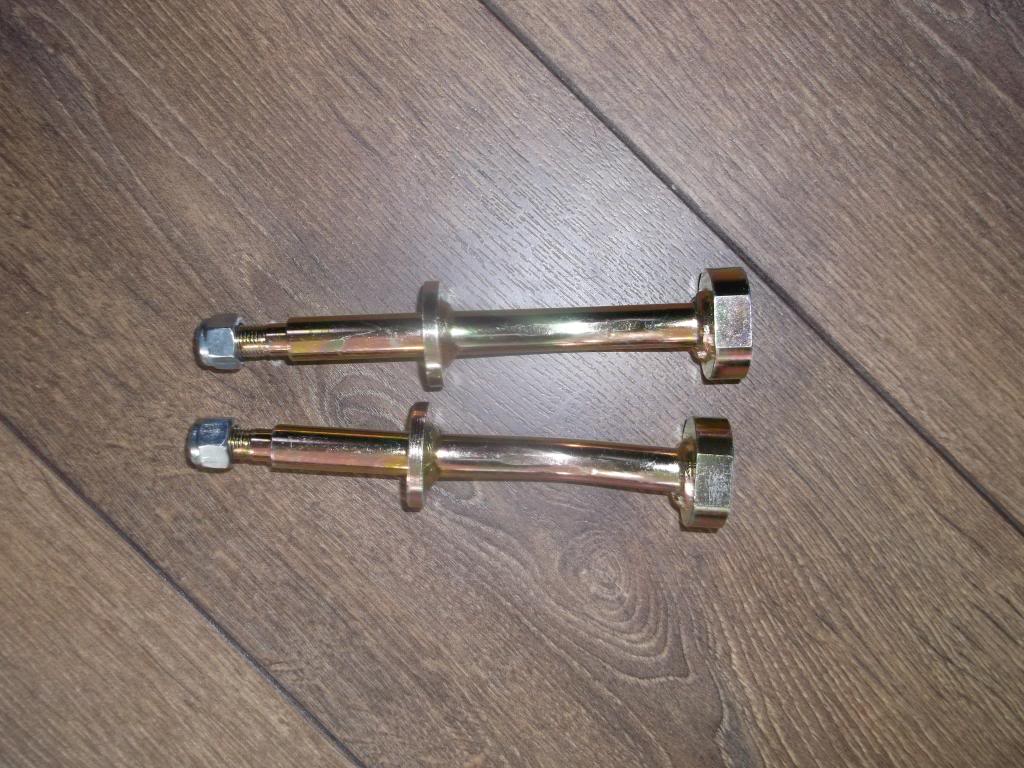
picture of my 99p tie bars, brand new never fitted, they were for a project that he sold bargiiiiiiinnnnn 
9-3-2013
so im doing abit of weight saving on my mini to try to compensate for the heavy roll cage i have put in here are the weights so far
kerb weight
Mk 3 Saloon Mini 1000cc (Manual Transmission): 638 kg
added weight so far ( + )
roll cage + 35kg
roll cage plates + 2kg
roll cage bolts + 0.5 kg
mk1 door hinge a pannel plates + 0.5 kg
but then to save weight ( - )
converted mk1 doors from 16kg to 6kg each
doors - 20kg
flywheel - 5kg
Bonnet Hook Safety Catch - 0.051 kg
no rear bumper - 1.650 kg
no dash Bottom Rail Cover Mk3 - 0.413 kg
no Parcel Shelf Card - 0.721 kg
no Rear Companion Bins - 1.8 kg
no Rear Companion Bin Trims - 0.2 kg
no Rear Seat Cushion - 2.225 kg
also i plan to change all the glass to perspex or similar except the front windscreen does anyone know how much weight this will save, im trying to loose weight off the car without being to radical, as long as it is lighter than standard then i am happy also im making a chart of the weight of my car and the things i remove
9-4-2013
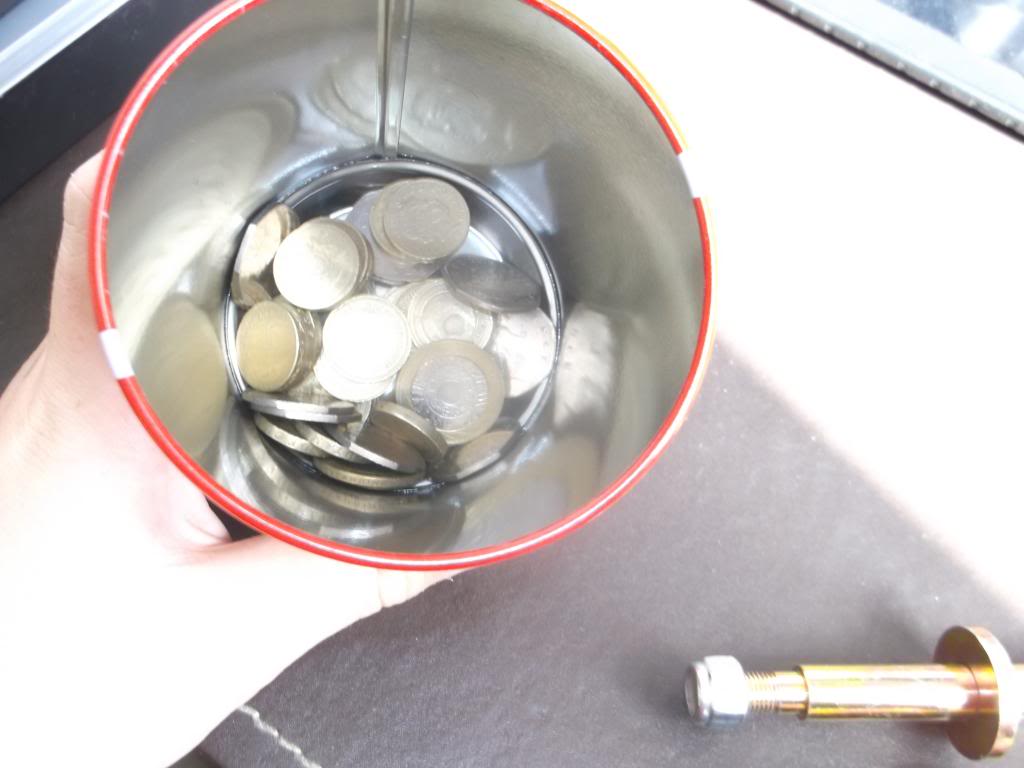
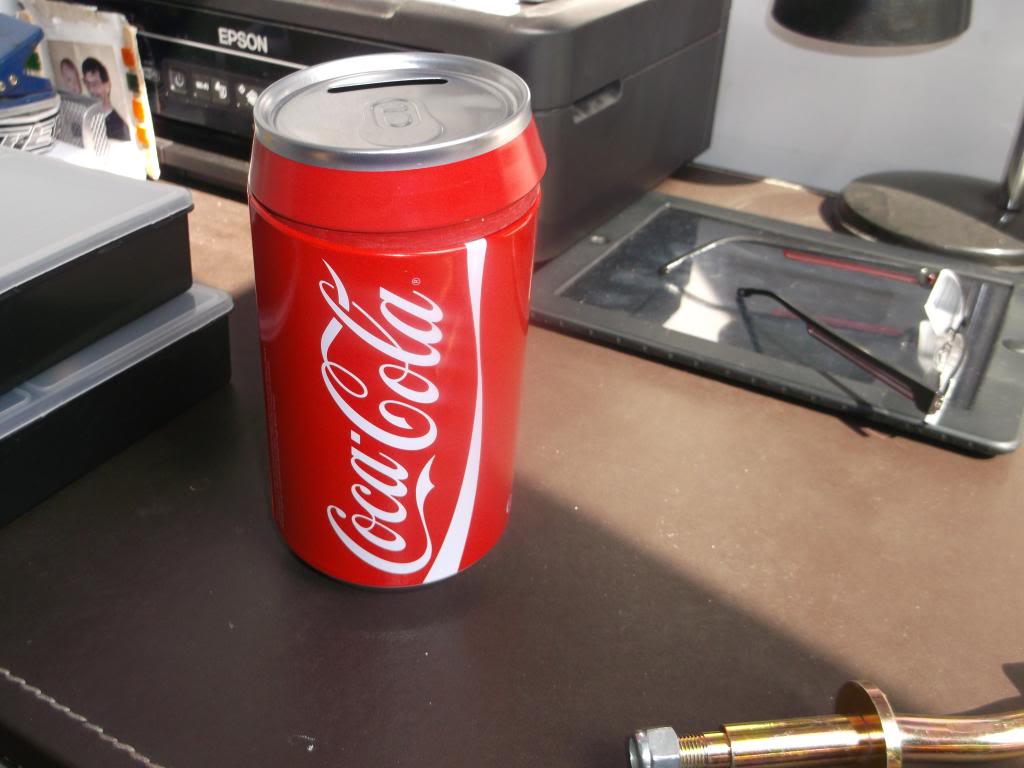
got my cocacola tin for my lottery funds !
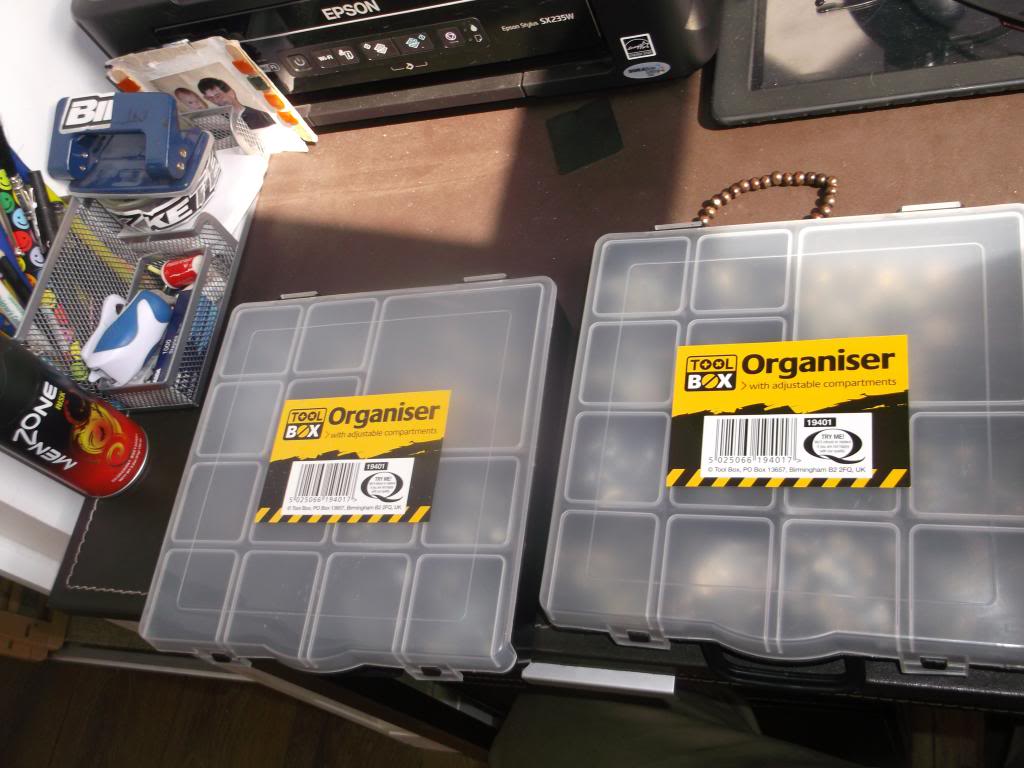
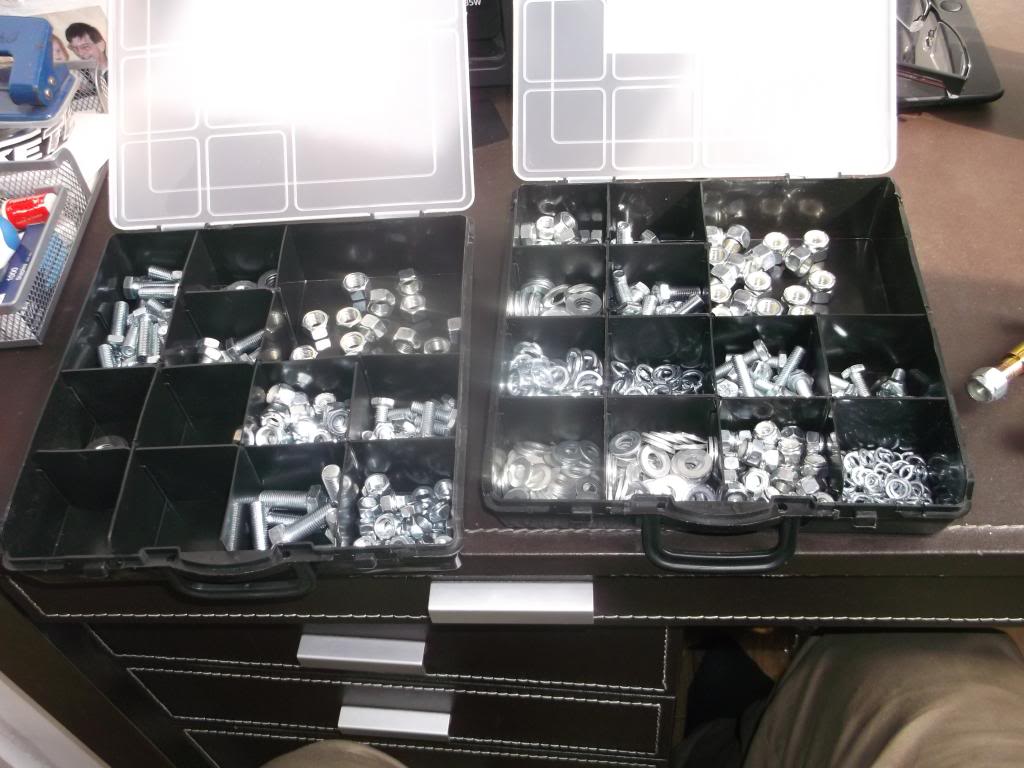
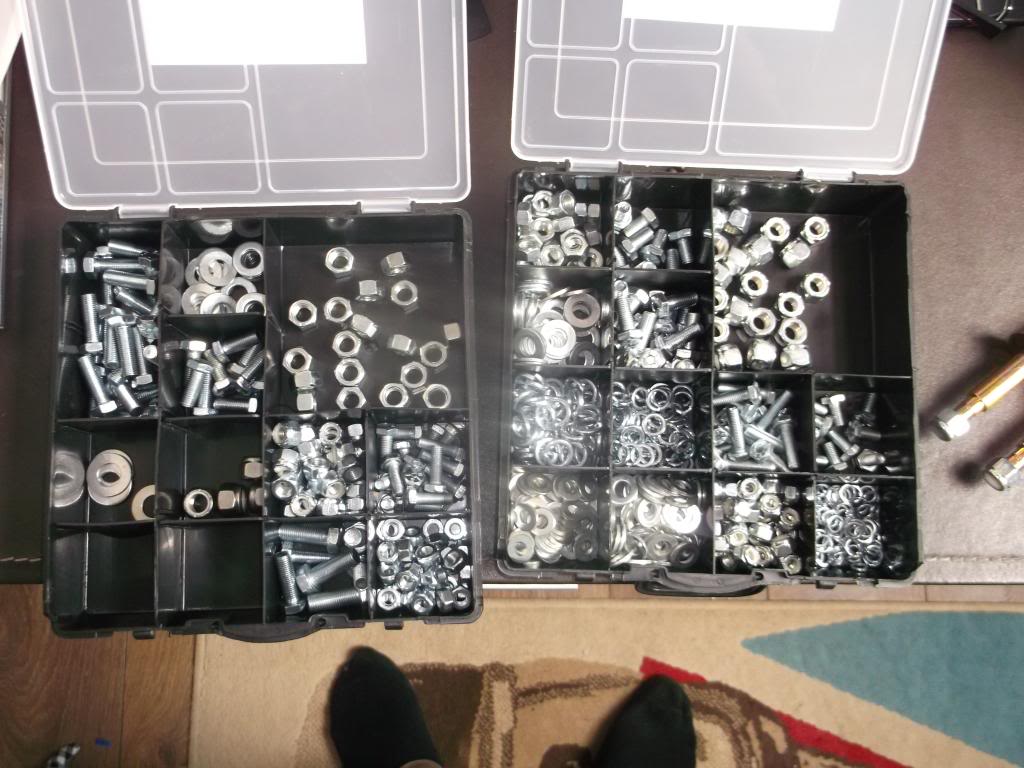
also went to pound land today for some tool box separators for my 650 piece bolt set
9-7-2013
so i have finished bolting in one side of the roll cage completely now and i can safely say i am not looking foward to the other side as drilling through 4mm"s of metal takes its time especially as you have to pilot drill it then go up and size and then up a size again !! o well so i am going to leace that side for about an hour as i think i will go insane drilling out another 11 holes so i shall start to lighten my rear numberplate holder ! such fun
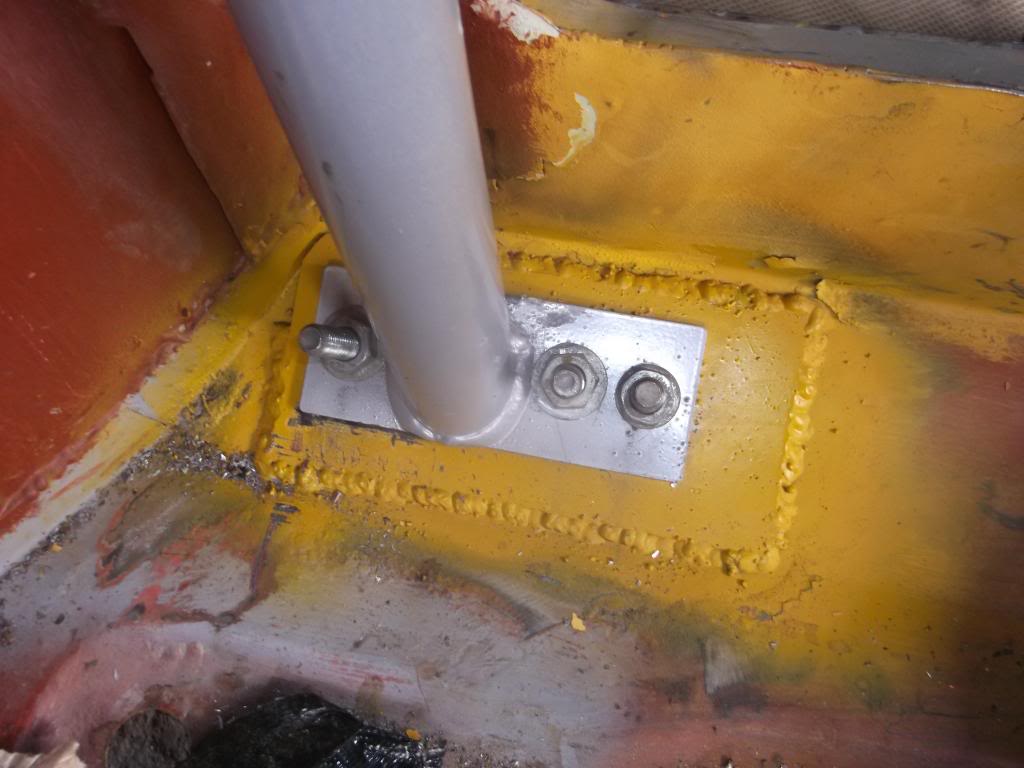
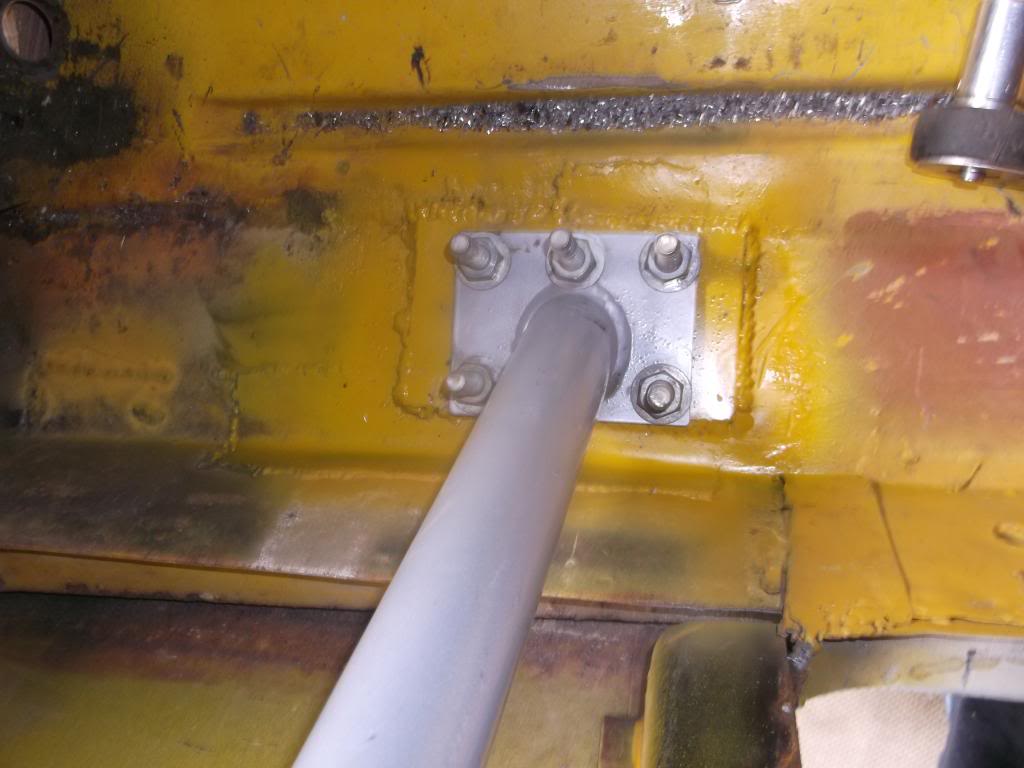
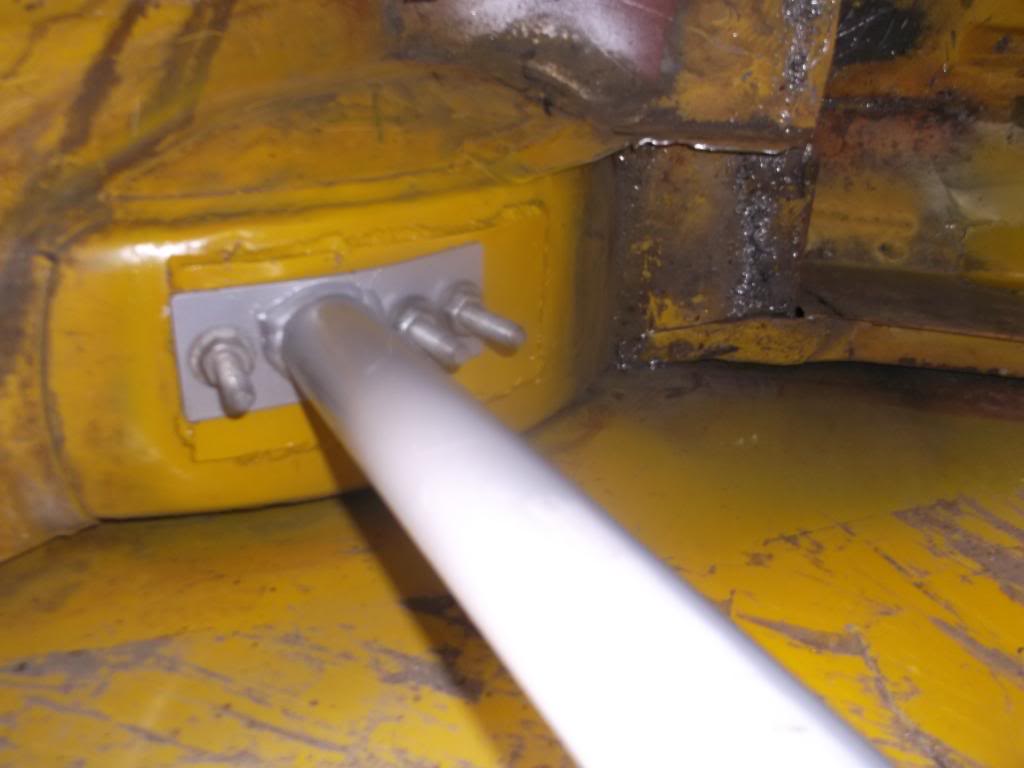
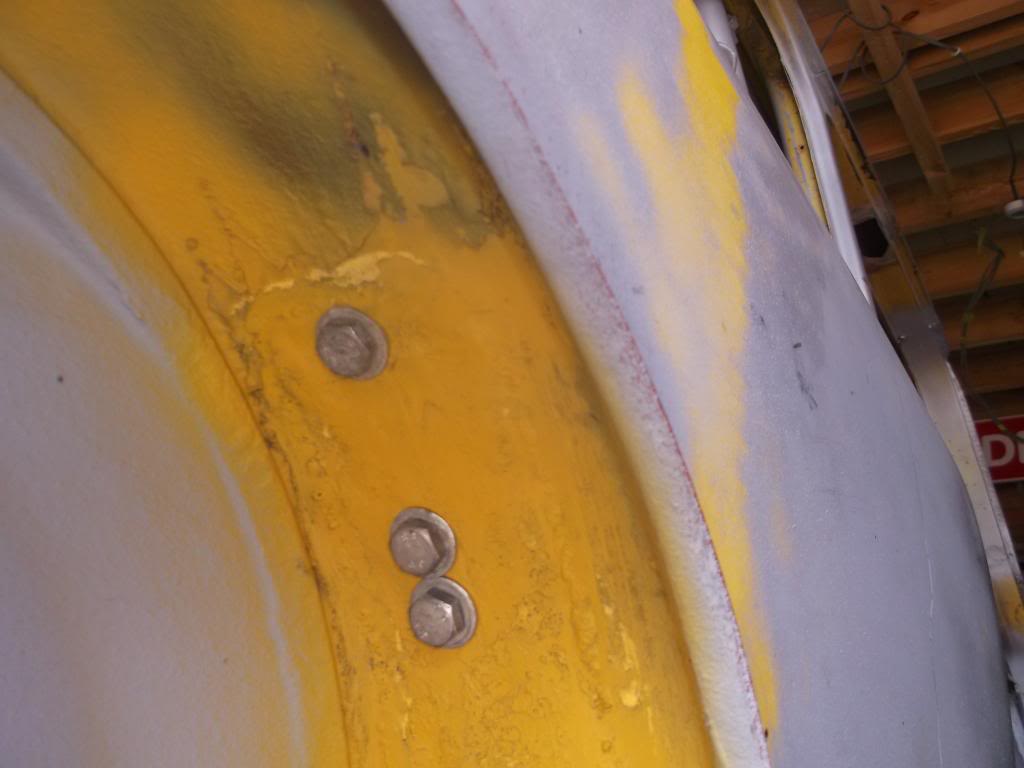
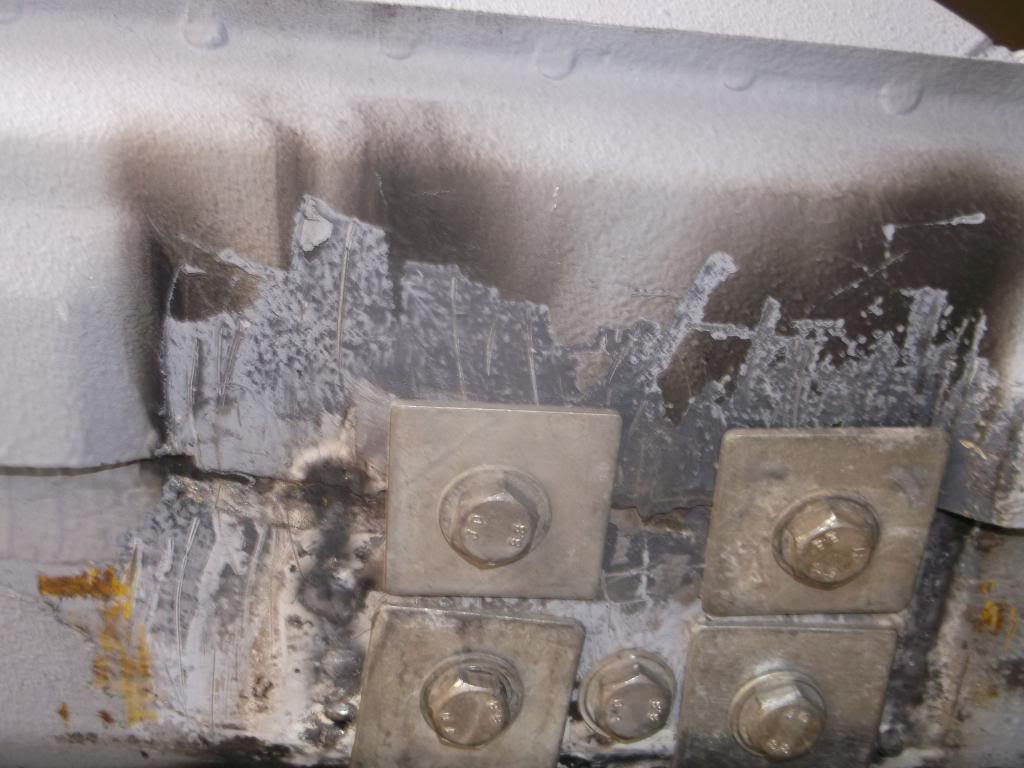
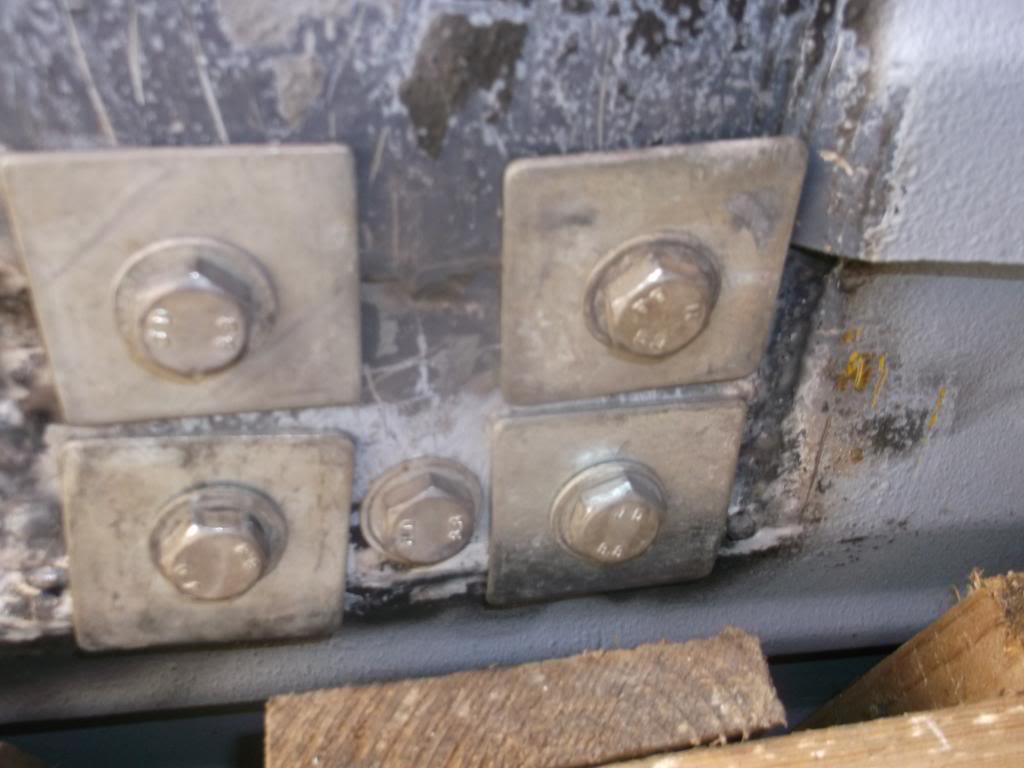
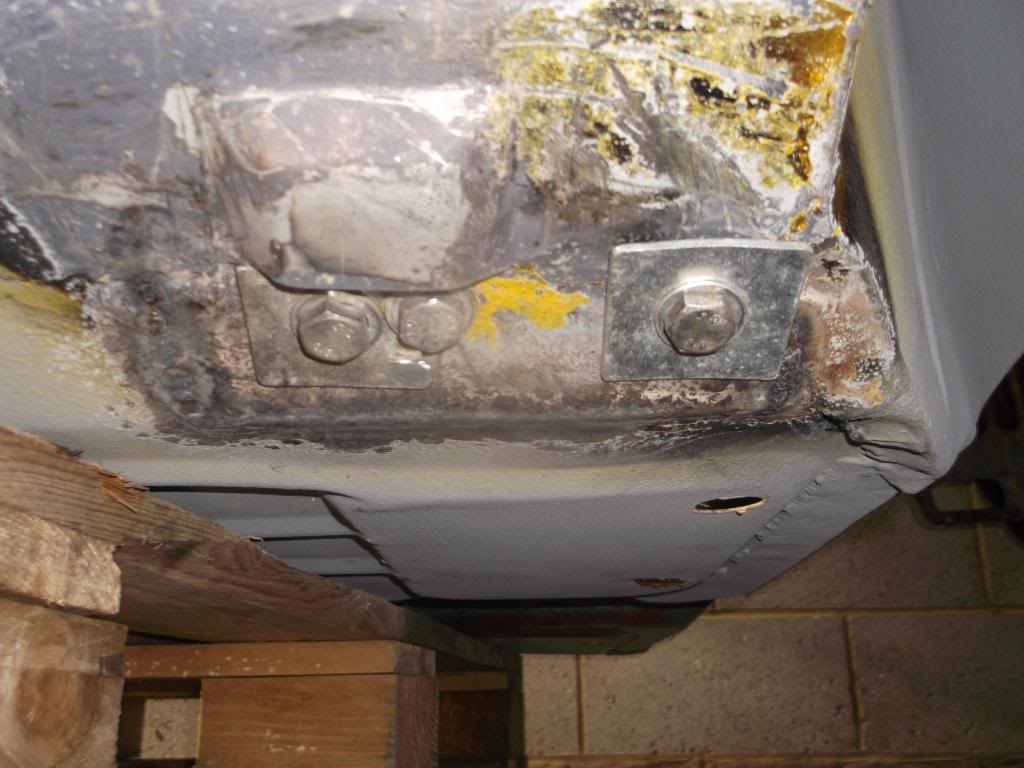
all the welding heat took my loverly stone chip off  not that it matters as i have another 4 litres of the stuff to throw onto the bottom.
so i have just lightened my mk1 rear number plate holder from 500g down to 240g so over half the weight saved i know it may seem petty but when you combine this with other lighter parts then it all makes a difference also forgot to put pictures up of the remote gear selector my dad won for me and its ridiculously short gar stick haha and also forgot to mention that my dads mini is 100% completed and is going in for its mot soon!!!
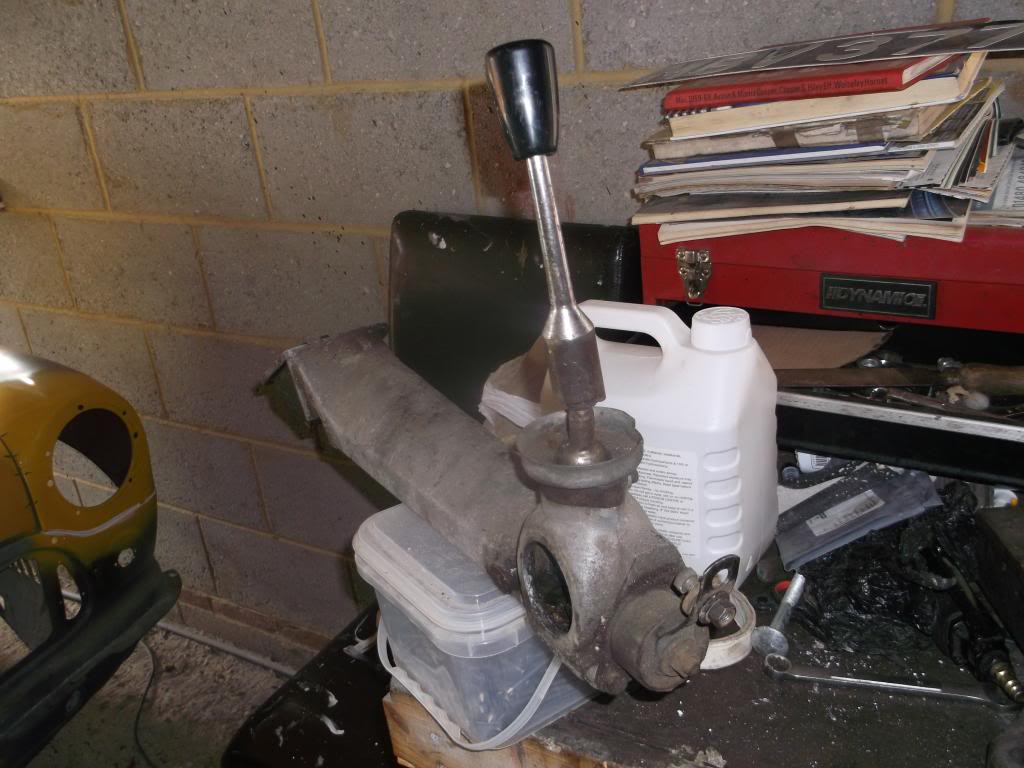
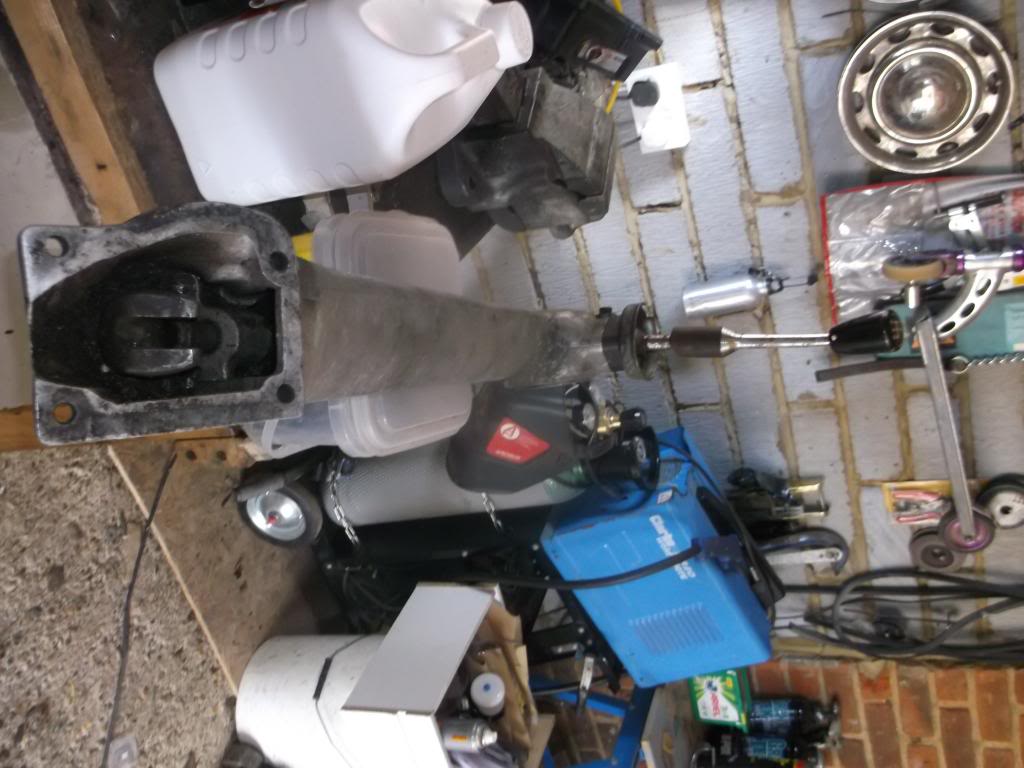
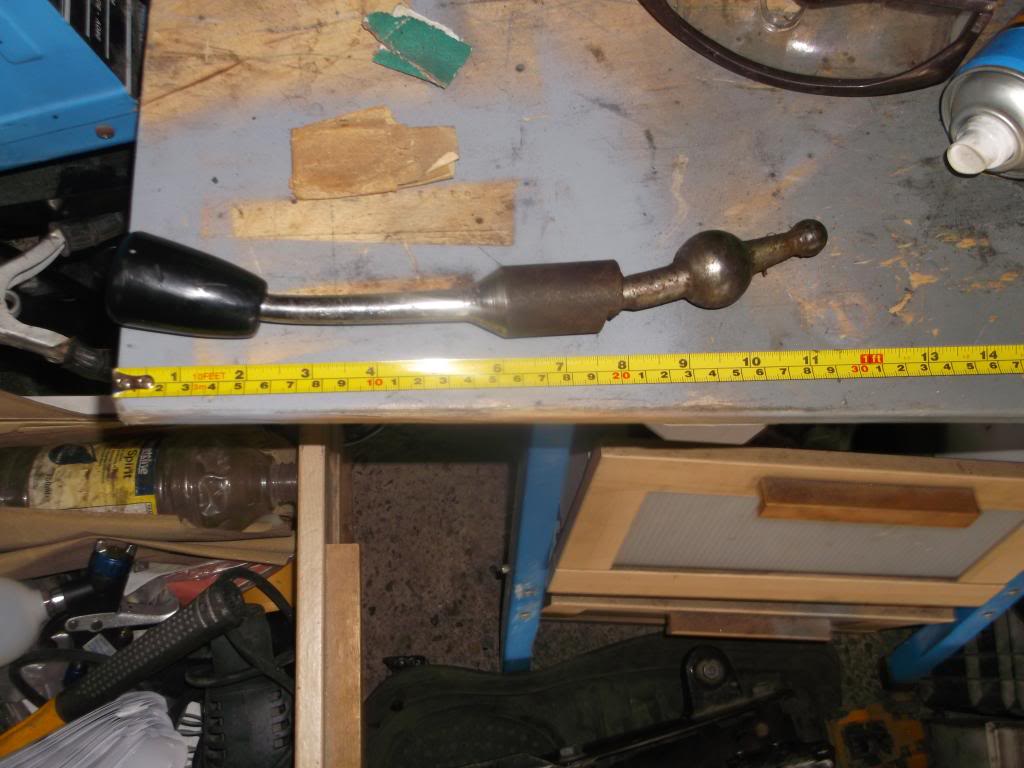
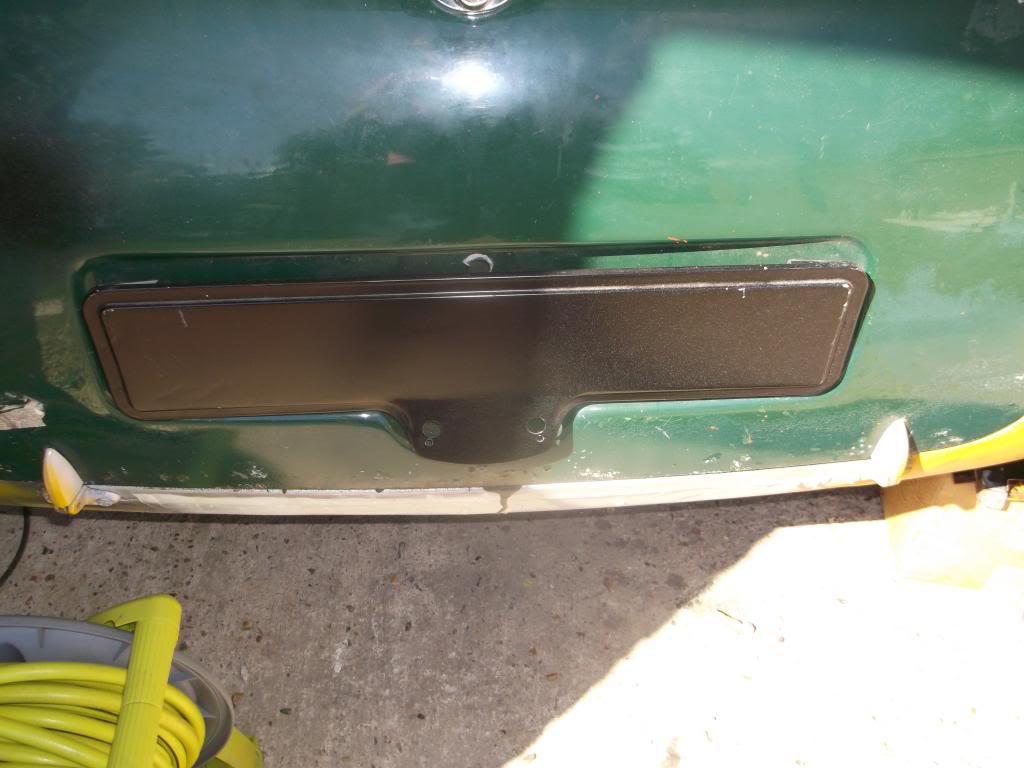
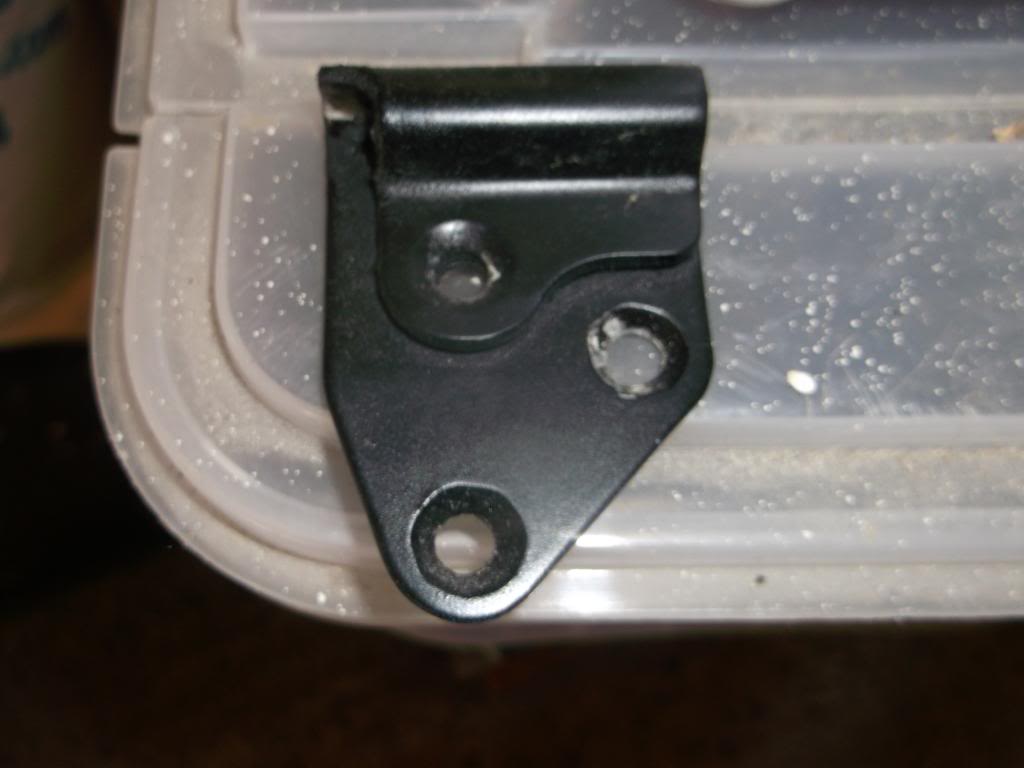
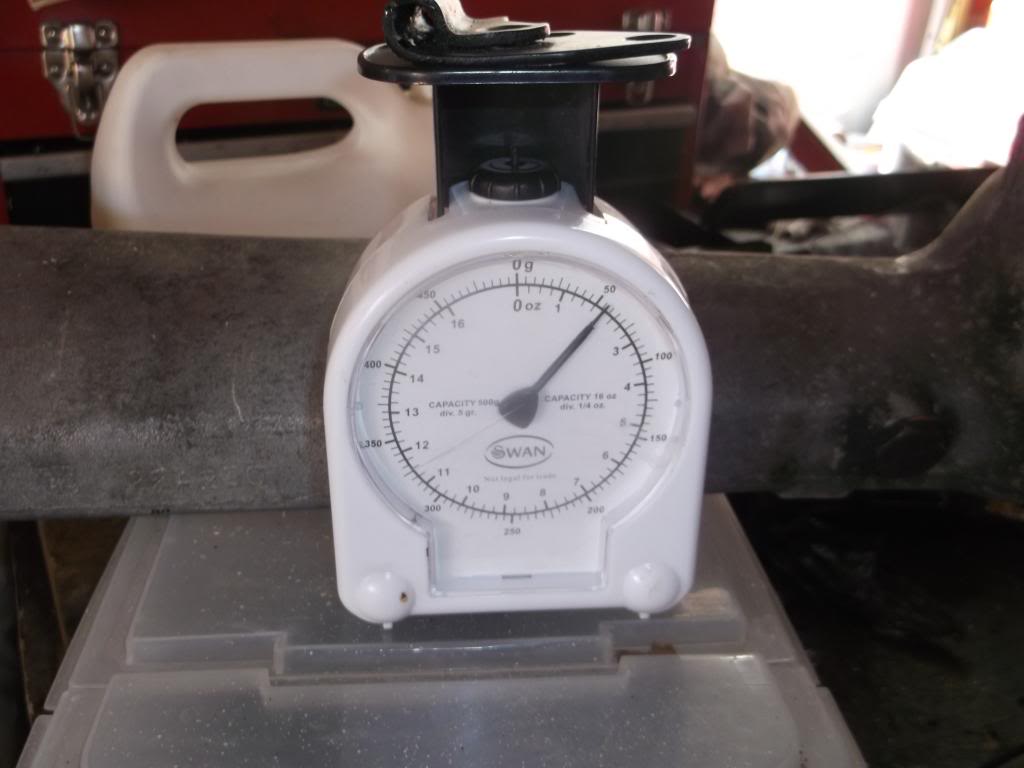
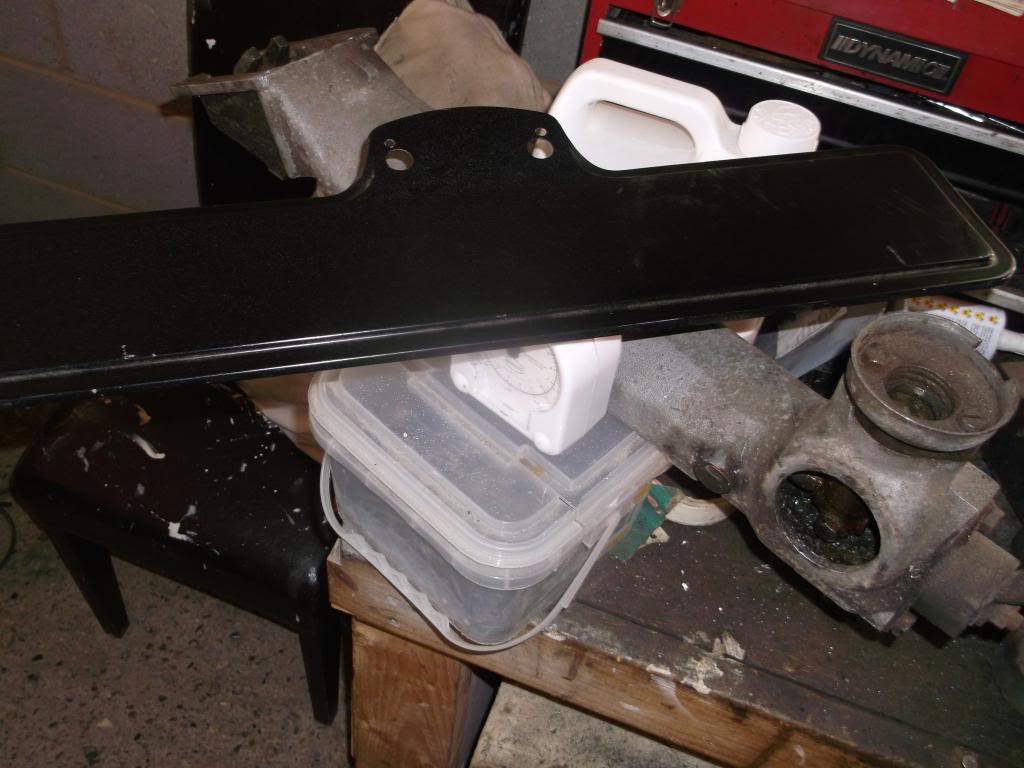
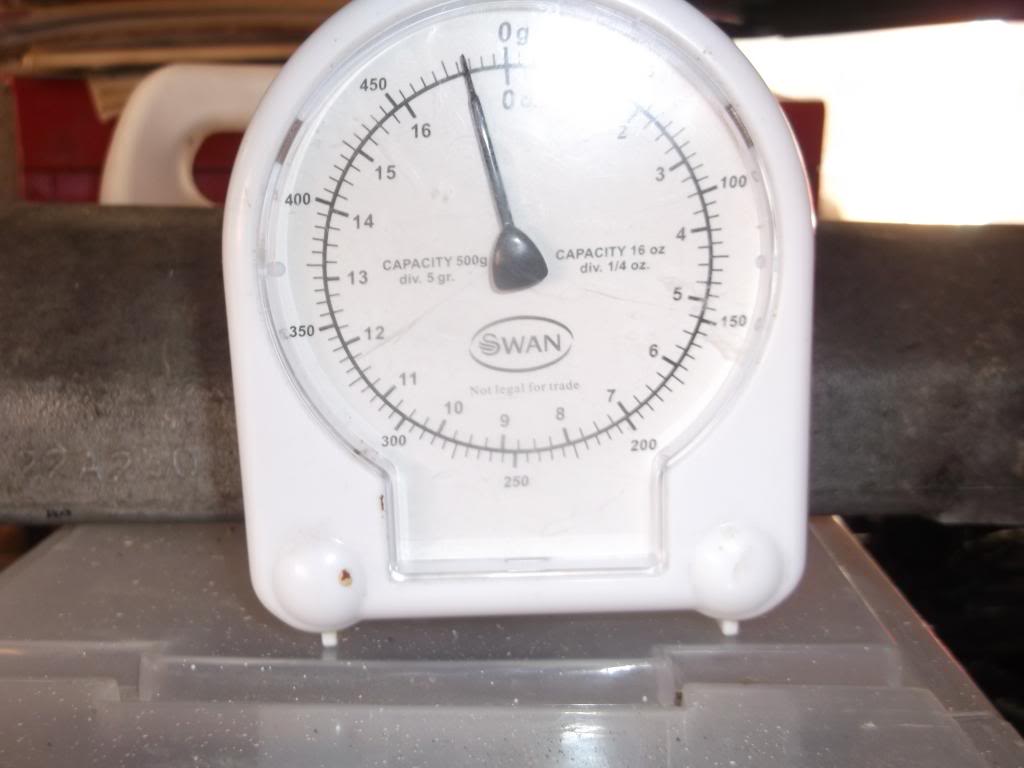
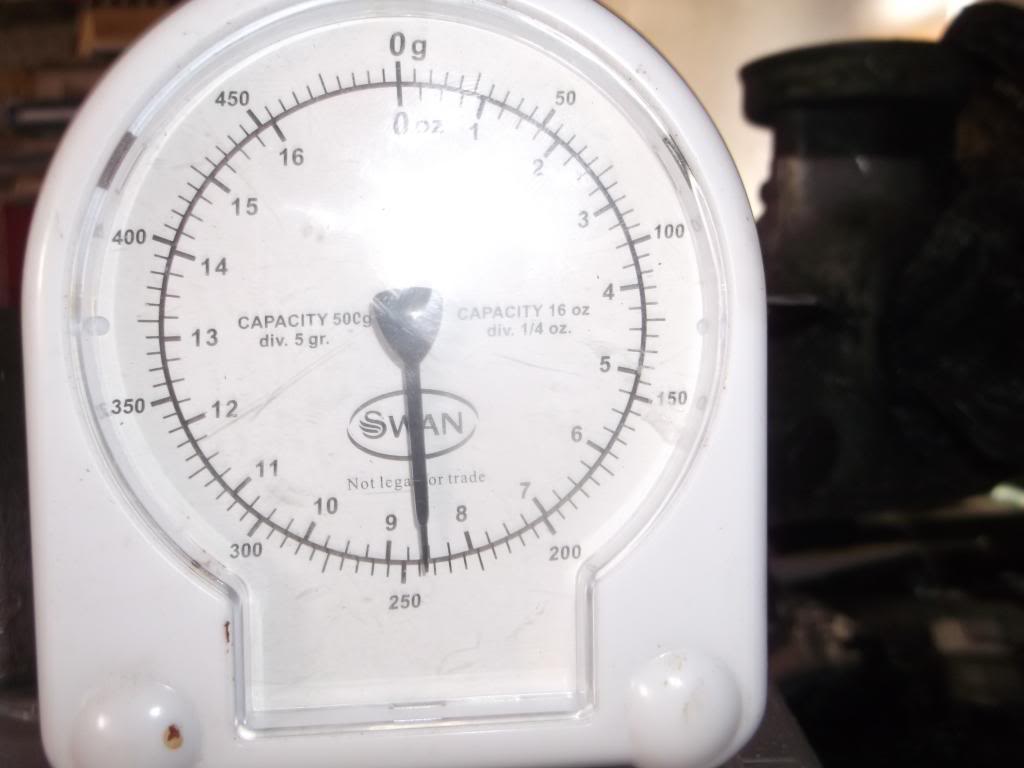
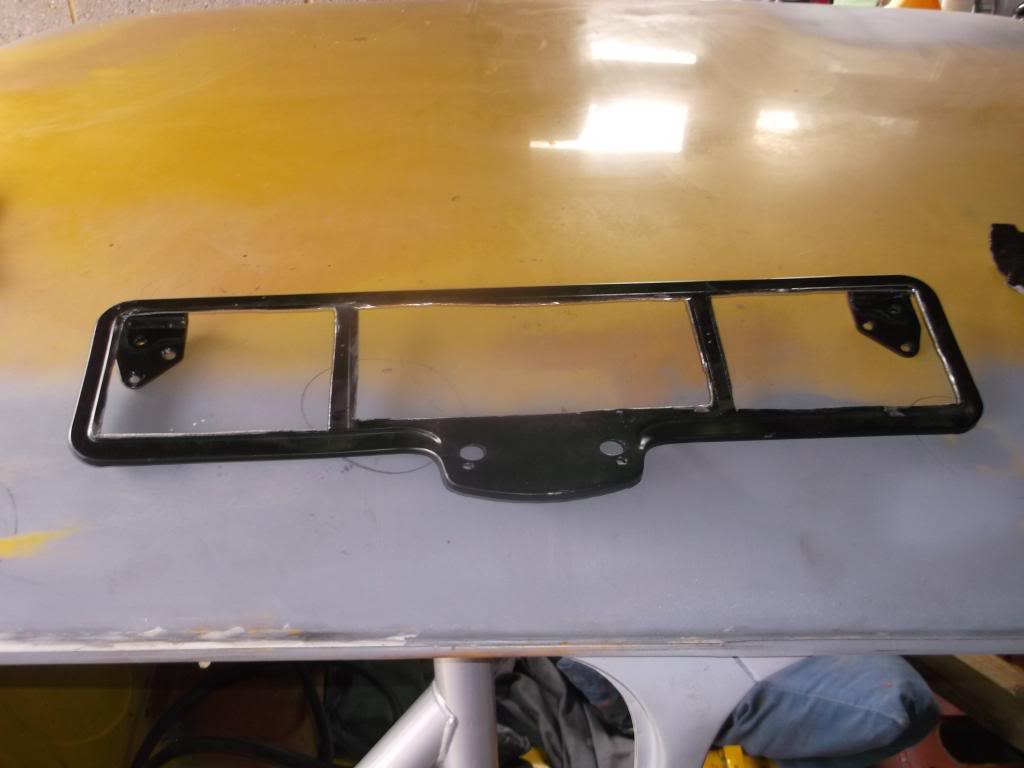
the holes still need to be finished so take no notice to the unfinished edges
decided to have a go at bolting the other side of the roll cage down and i have done all of it now  just some tyding up to do thank god, so here are the pics of the cage, also i am getting door bars a dash bar and a mighty minis harness bar so it should be nice and strong and rigid, do love the look of a cage in a mini makes it look so much more built ready for the track.
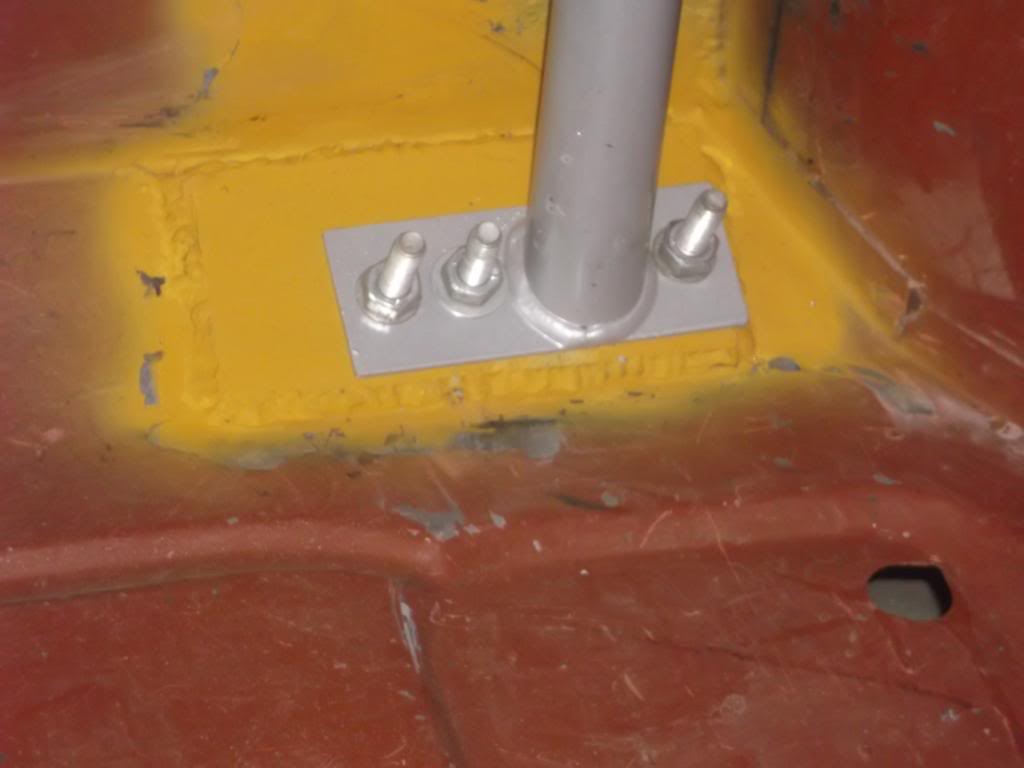
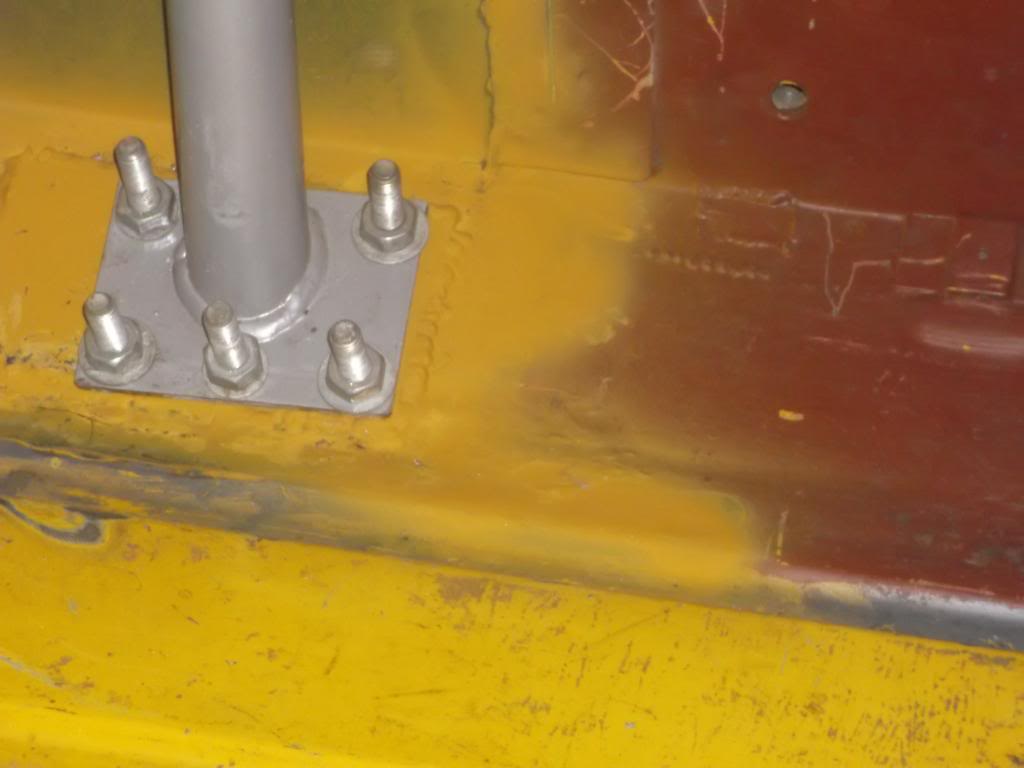
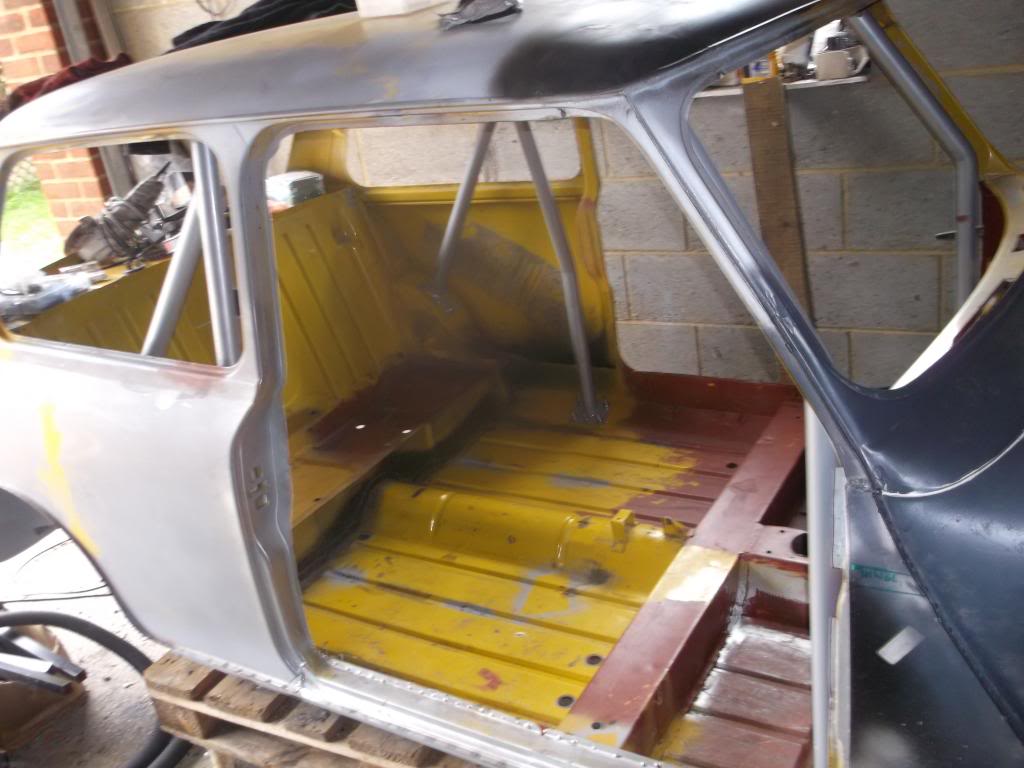
also i shall be adding strengthening plates to the subby mounts and the piece with a gap that joins the middle pillar thats it for today as im off to my aunties for her b day