You must be logged in to rate content!
7 minute(s) of a 137 minute read
1-8-2012
Just a couple of updates. cam should be here beginning of this week specs are 239/254 .657/.630 115+4
once that arrives the engine assembly will begin. also got word that the heads are complete so i reckon the engine will be ready to go inside this month.
the fuel system is complete and ready to go! turned out great! along with my custom scorch stealth alky system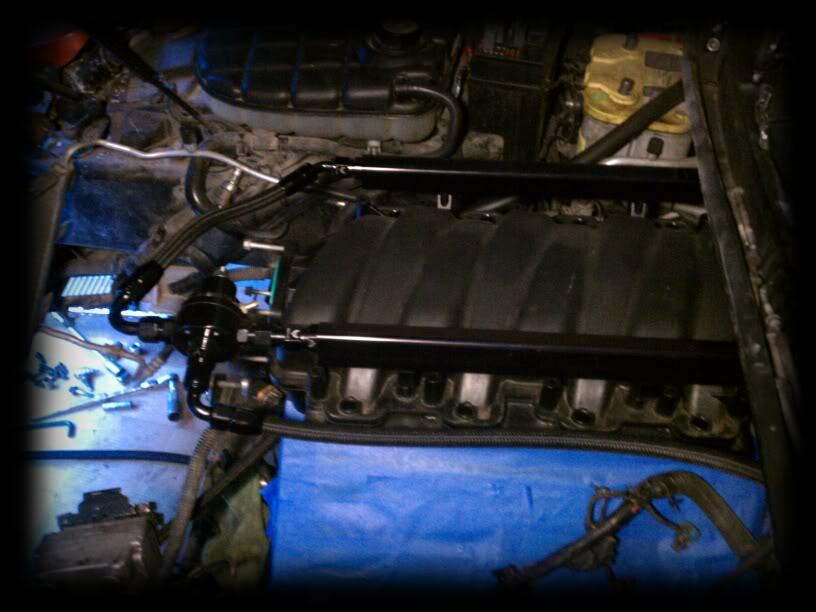
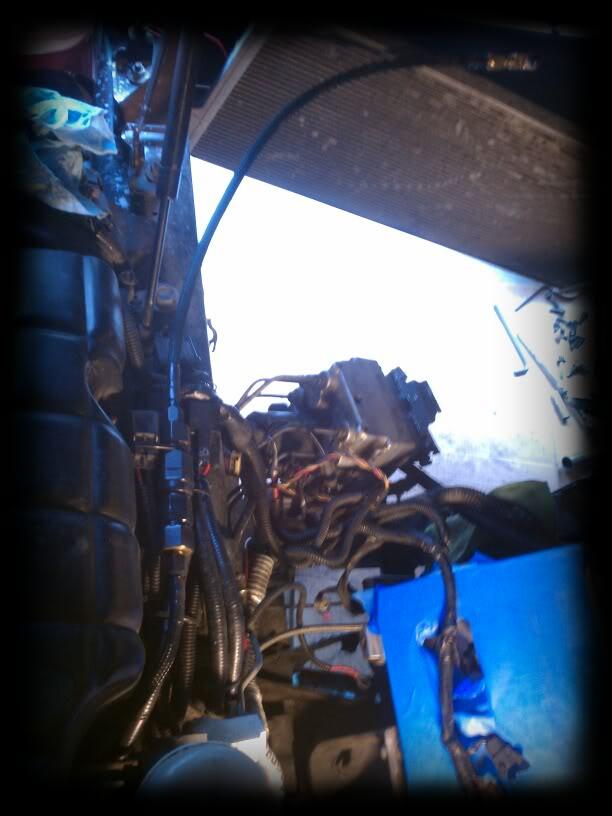
on the other end of things the build has taken a torn for the worst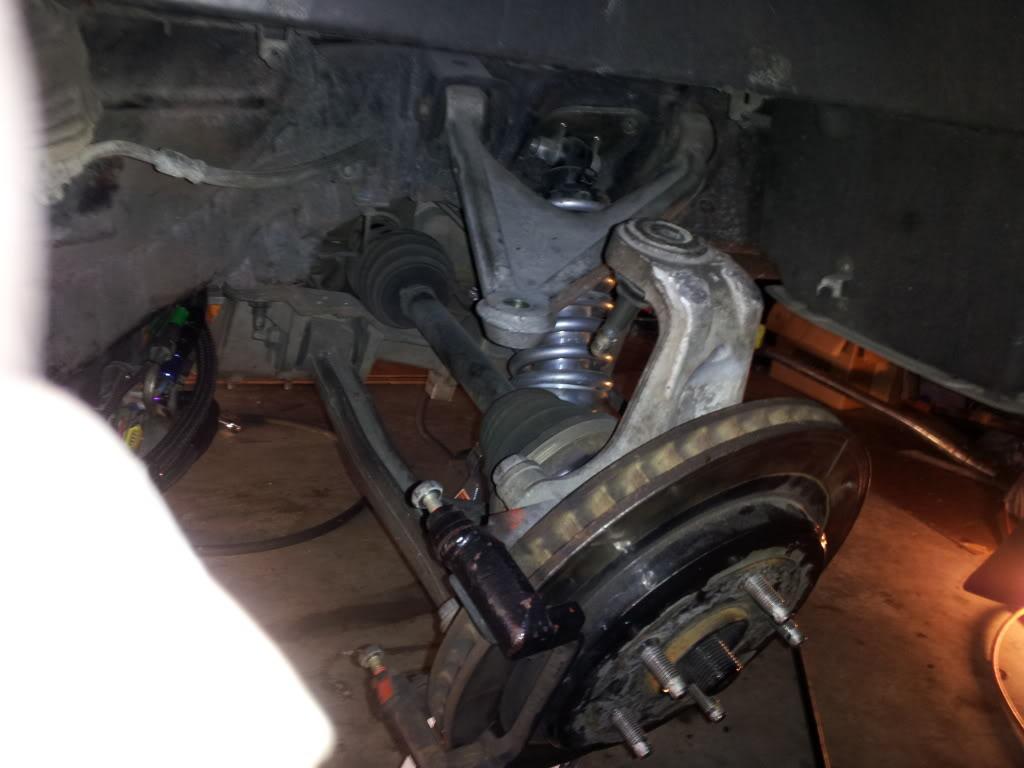
1/16/12
Few updates!
A bunch of parts have finally showed up cam is here so most of the engine should be wrapped up aside from the heads.
After much deliberation and back and forth with chad aka QuickZoh6 @ CBI street cars.. (He knows me well, and knows that the only thing that makes me happy is dew'n WORKÂ) I reviewed my goals which fell in line with being able to still drive it with no issues on the street (rear gear selection) and also be able to not just reach my mph goal but also my ET. We decided to basically stop f****** around and go big or go home! BOOOOM! Nothing was left untouched.. this should handle everything I can throw at it!
Rossler TH400 terminator 4 trans w/ tbrake, etc
PTC 9.5 billet Bolt Together Torque Converter
Fully built rear W/ 500m short & long shafts w/ upgraded clutches etc...
B&M shifter
Quicktime flywheel Flex plate
RPM Extreme duty converter drive plate
DSS propshaft w/poly couplers & Modded TQ tube
DSS 1000HP Level 5 Rear Axle/Hub kit
DTE brace
New cradle and a-arms w/Poly bushings
Ecs safety hoops
Custom scorch tranny cooler system
With good luck I will have most of this all done on Monday with the nice weather
Custom cam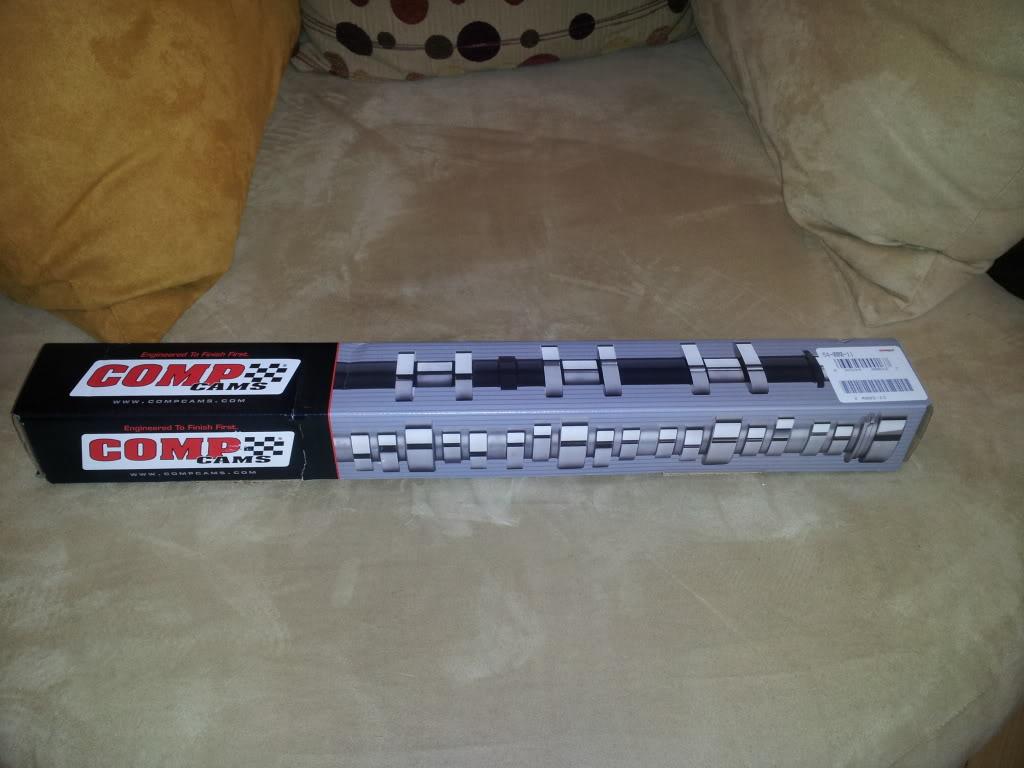
New drivetrain all laid out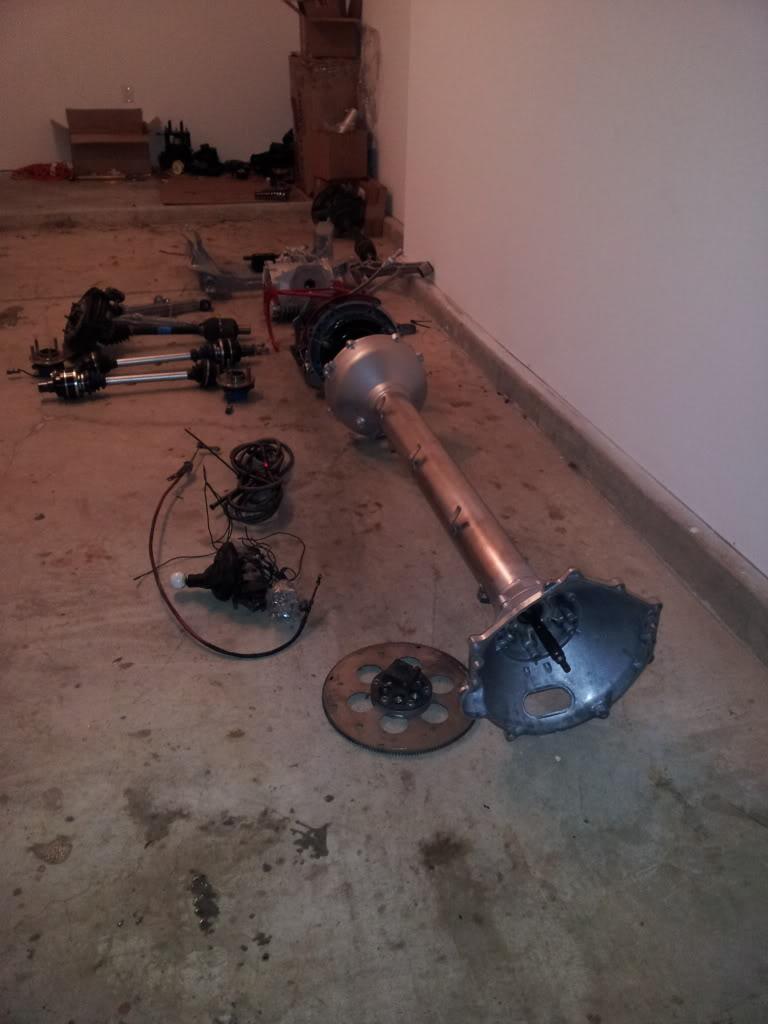
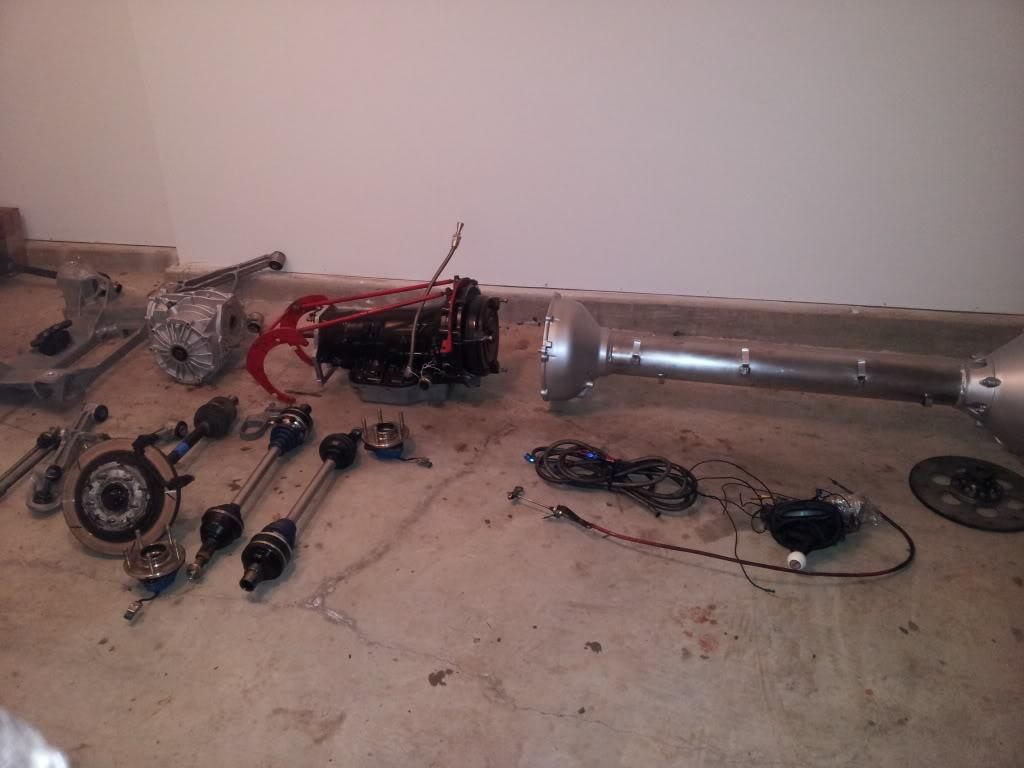
DSS 1000HP Level 5 Rear Axle/Hub kit :
Axle/Hub System for the C5 and C6 Corvettes from DSS. The factory axles are strong enough for most people but if your taking the time to read this you are one of the few who have managed to bring you car into a level not known to most. Our System starts out with a larger outer C.V. that is 33 splines (up from the factory 30 spline) we have manufactured a special hub that not only includes the ABS sensors but is a simple bolt on part. We then increased the internal spline size (bar inside the boot) to 36 spline (up from the factory 28 spline) not only did we make the bars out of Chromoly but used our special torsional design, made to twist with out breakage. So if your in the market for a set of axle that will handle the rest of the upgrades you have done,look no further.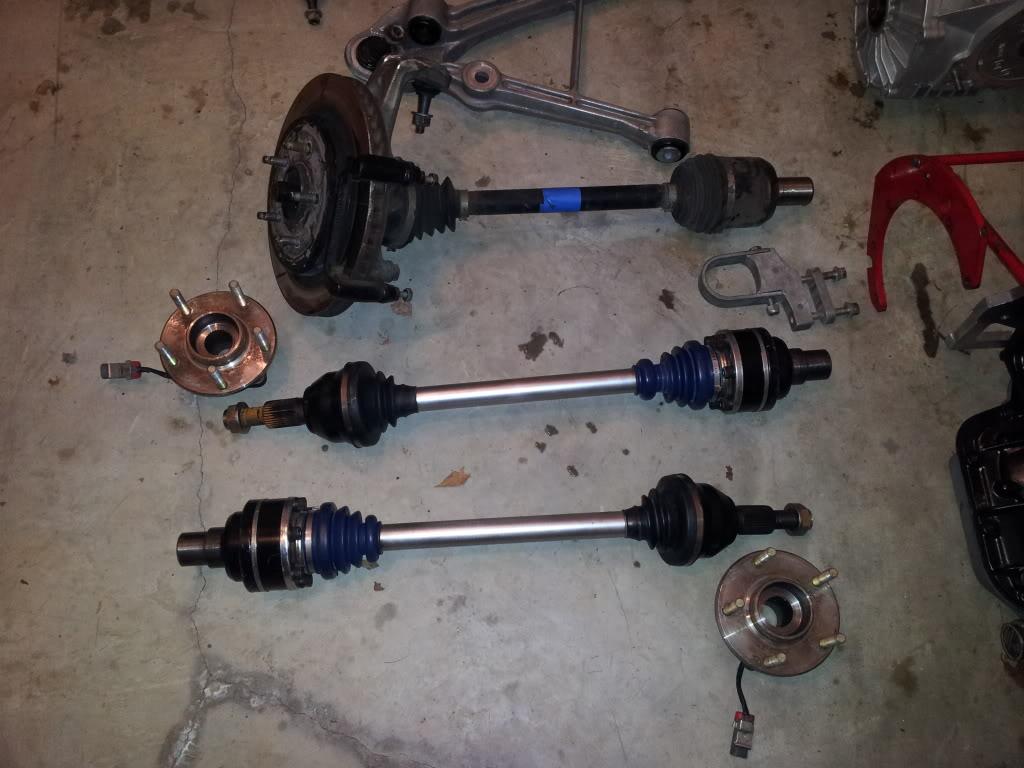
1/17/12
well got alot done and still working on her.. but less typing more pics!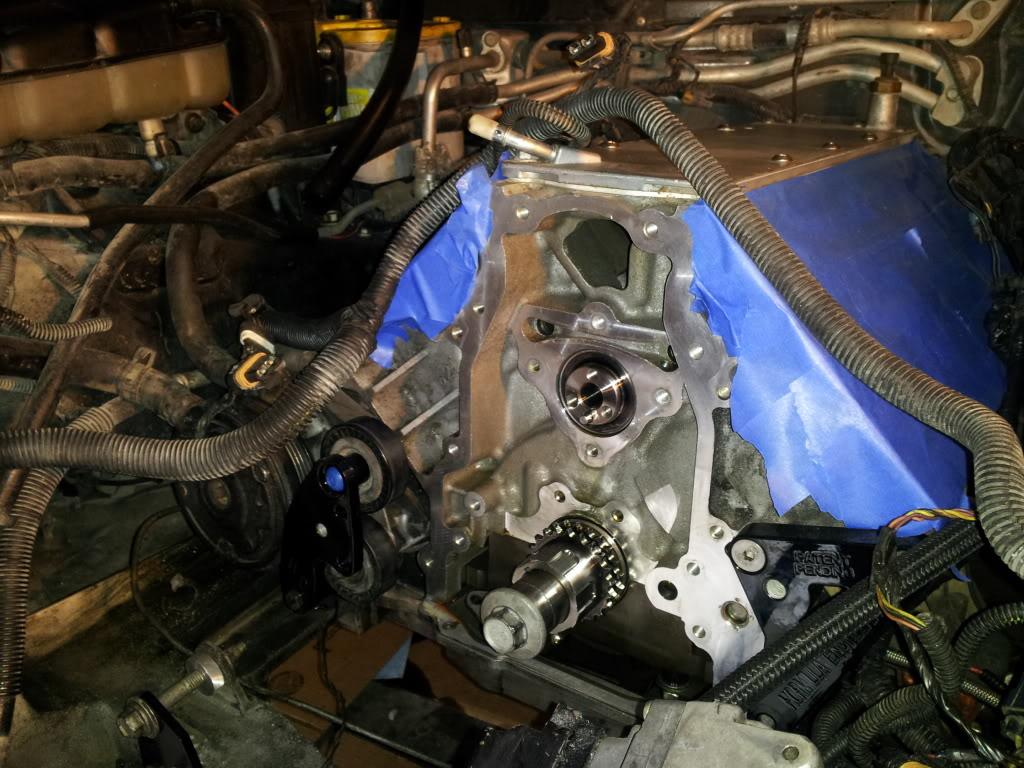
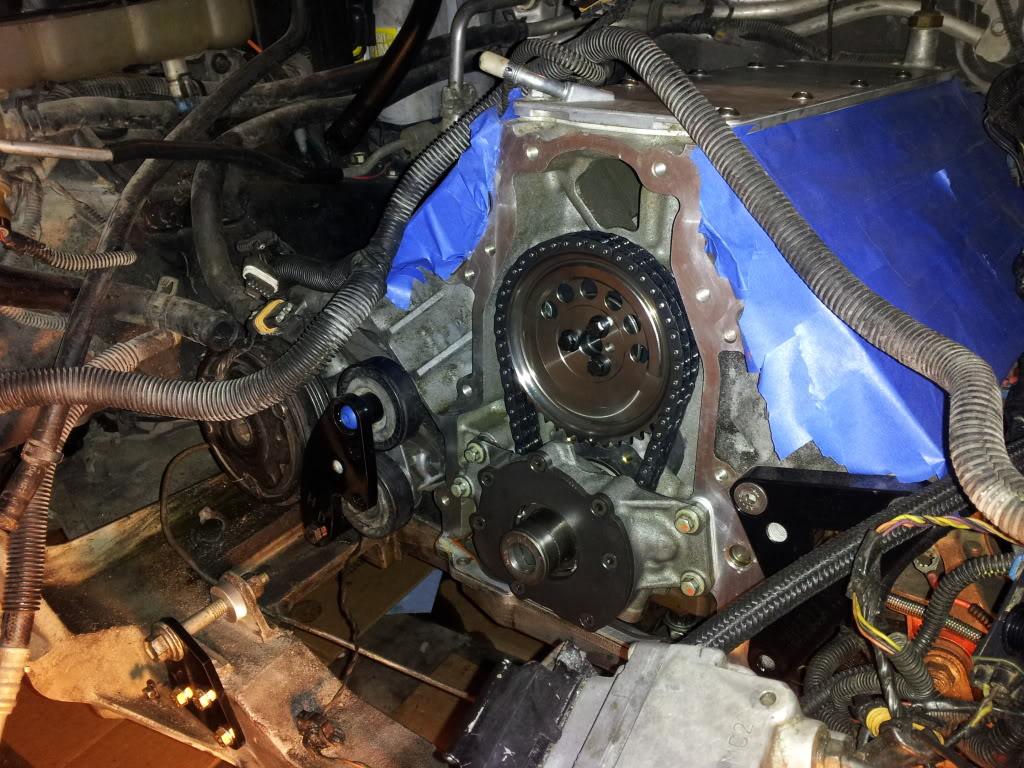
if this isnt sexy then i dont know what is...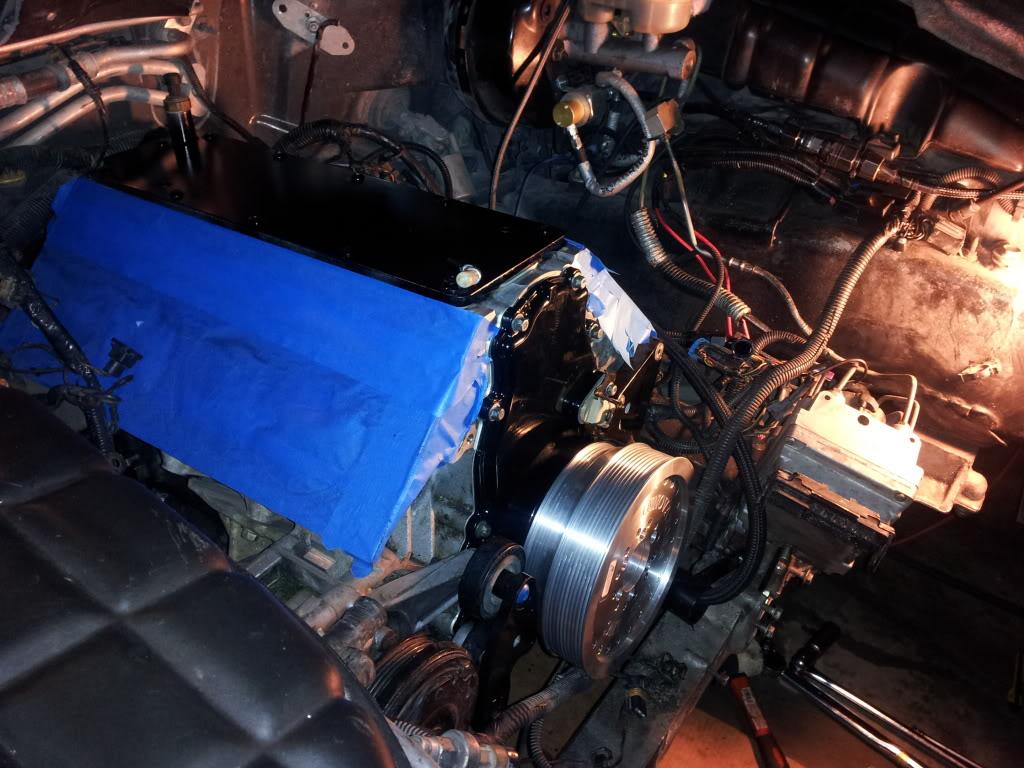
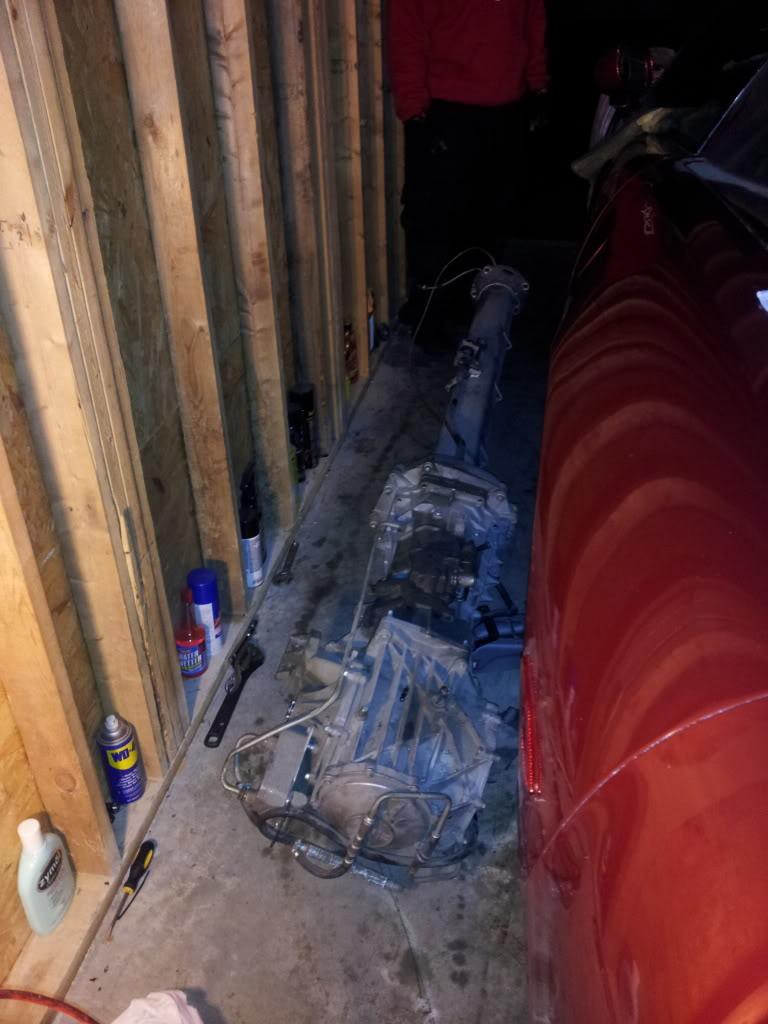
starting on drivetrain... gonna be a long night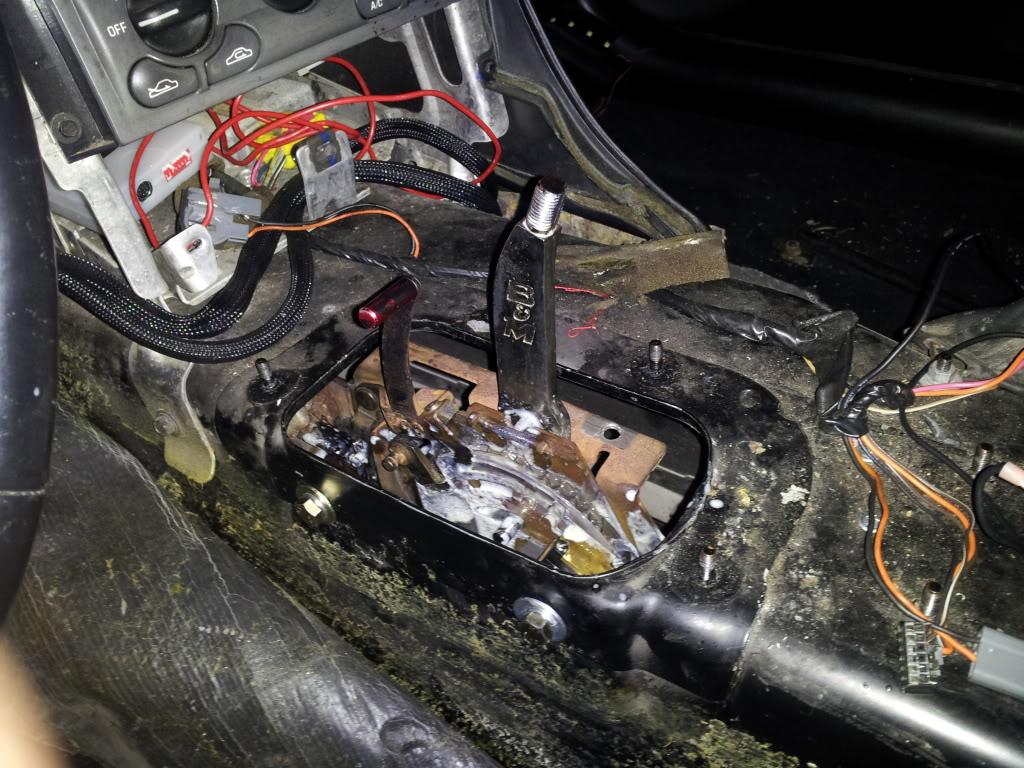
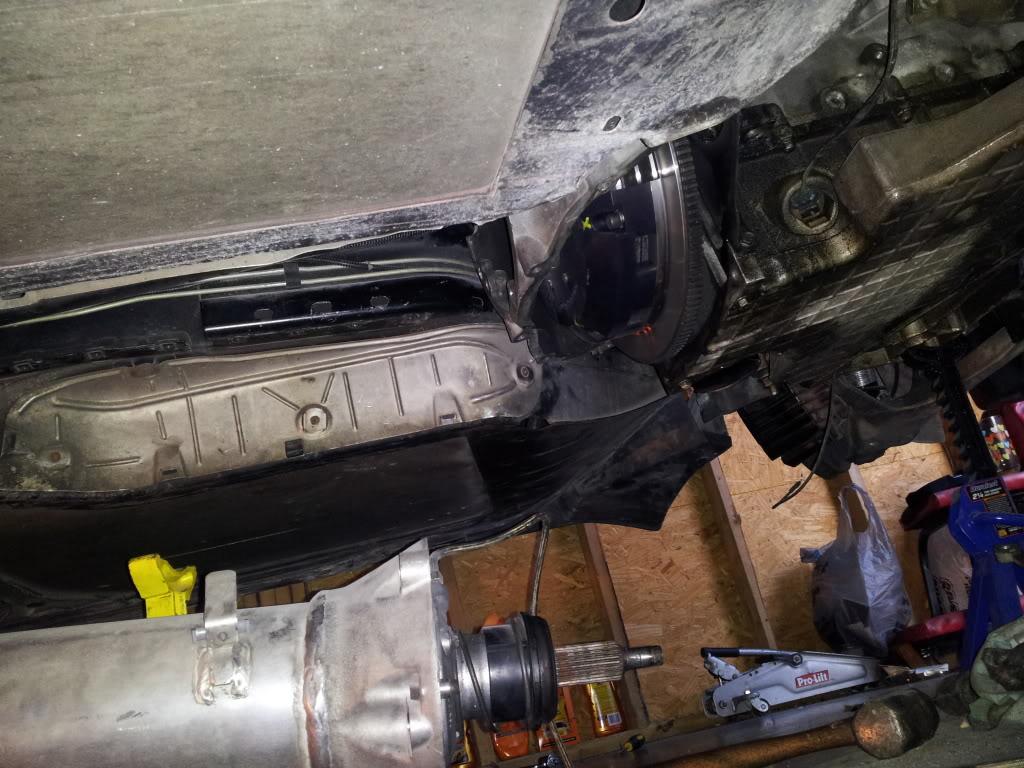
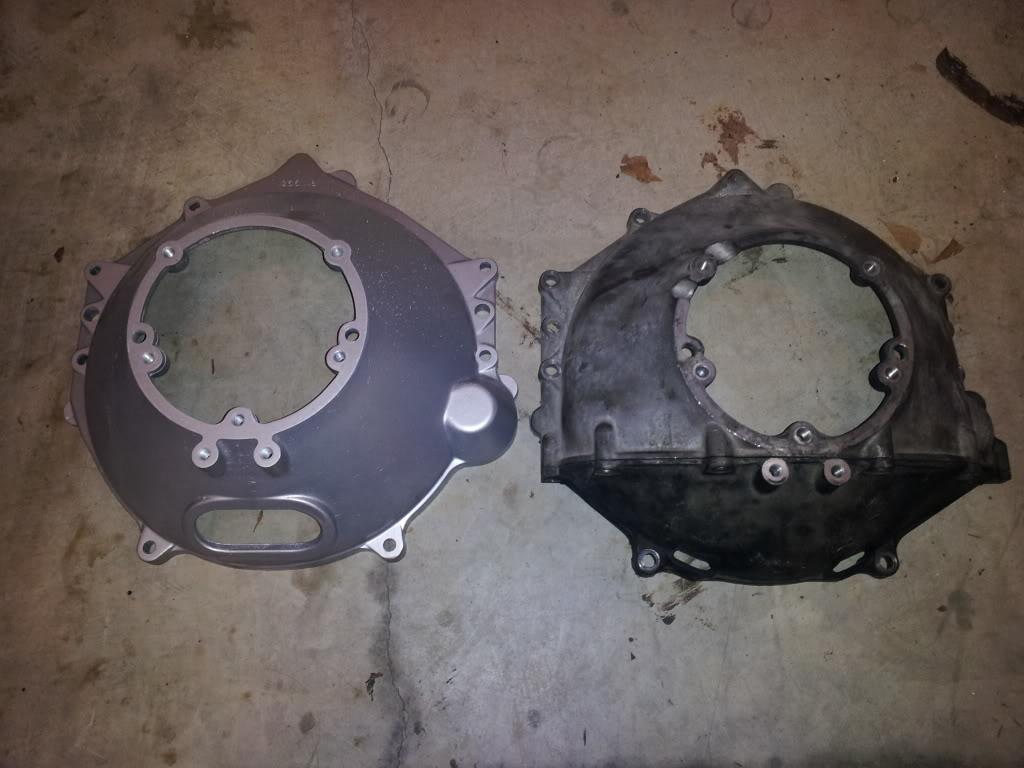
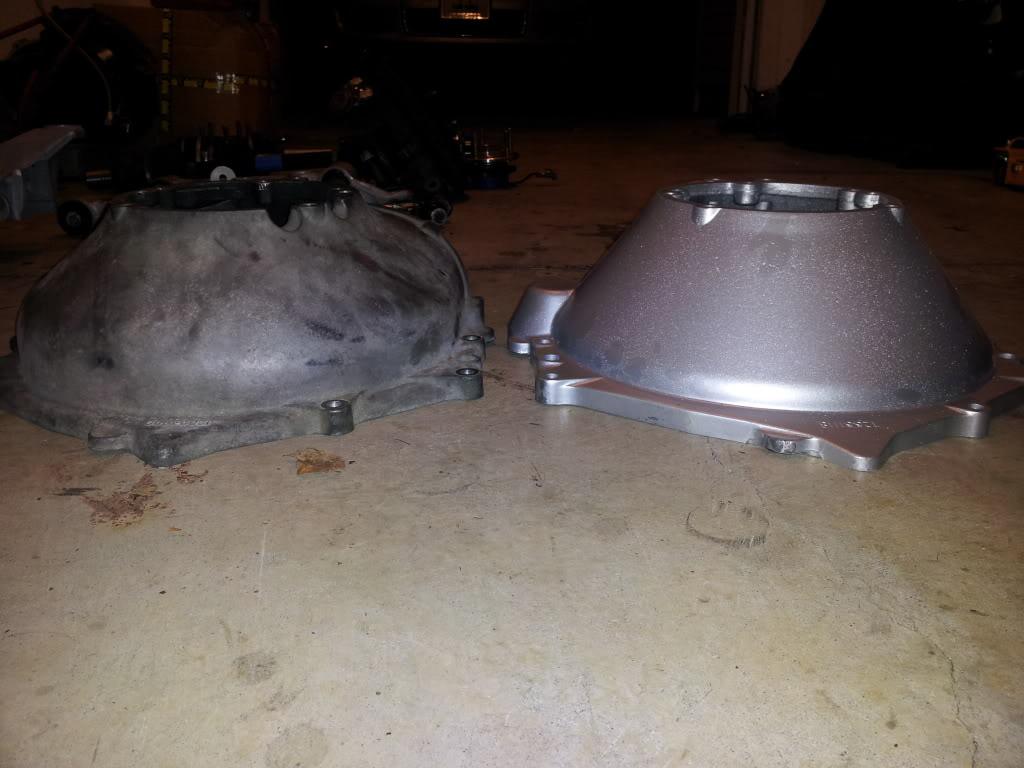
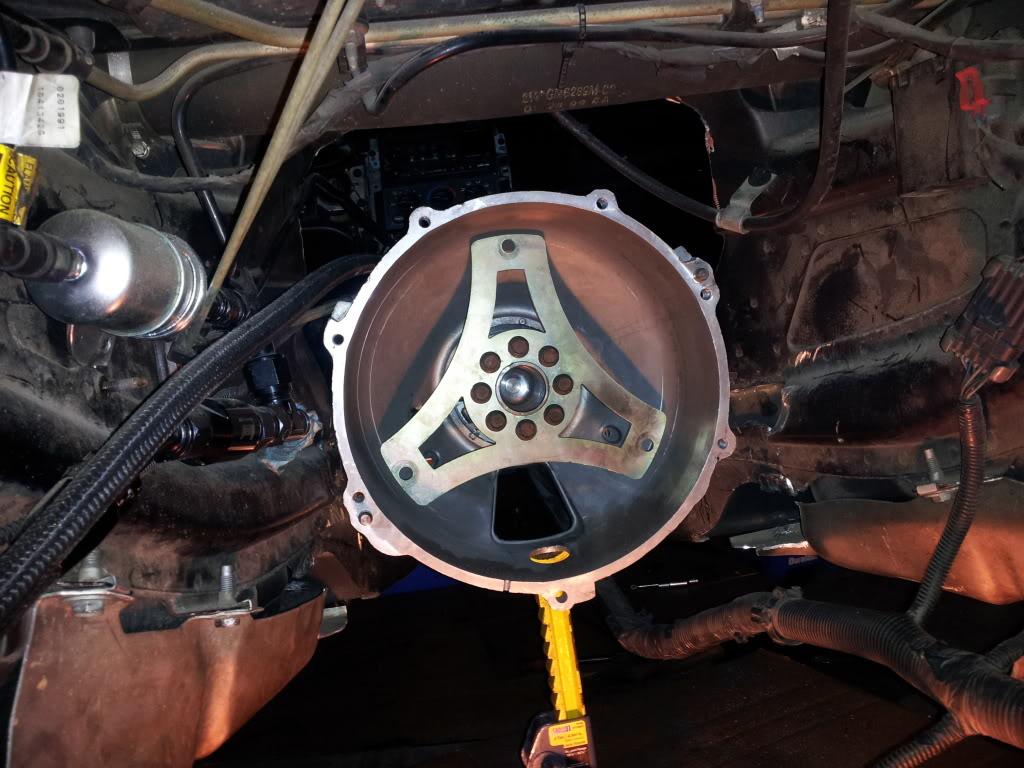
got the last of the manual stuff out of the way... go the bellhousing off and got the new auto one ready to go.. i will be mocking it up first to take some measurements and see exactly where the small cut has to be made on the tunnel!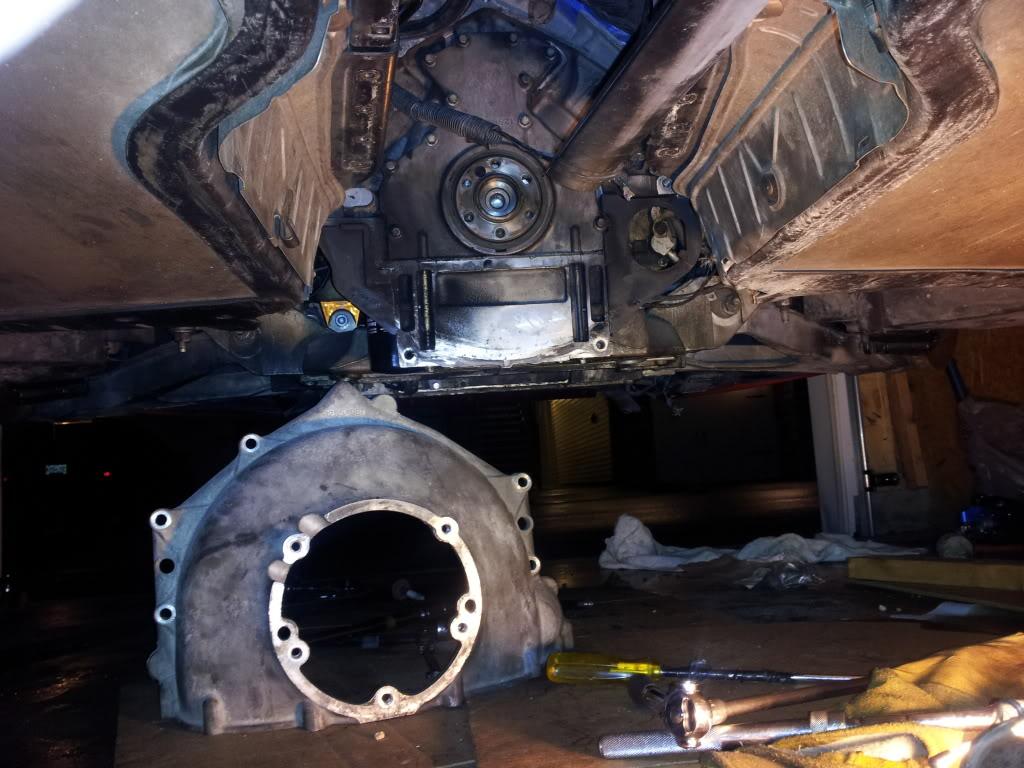
some pics of the differences of the bellhousing.. the auto one is a lot smaller a bit of a diff. design..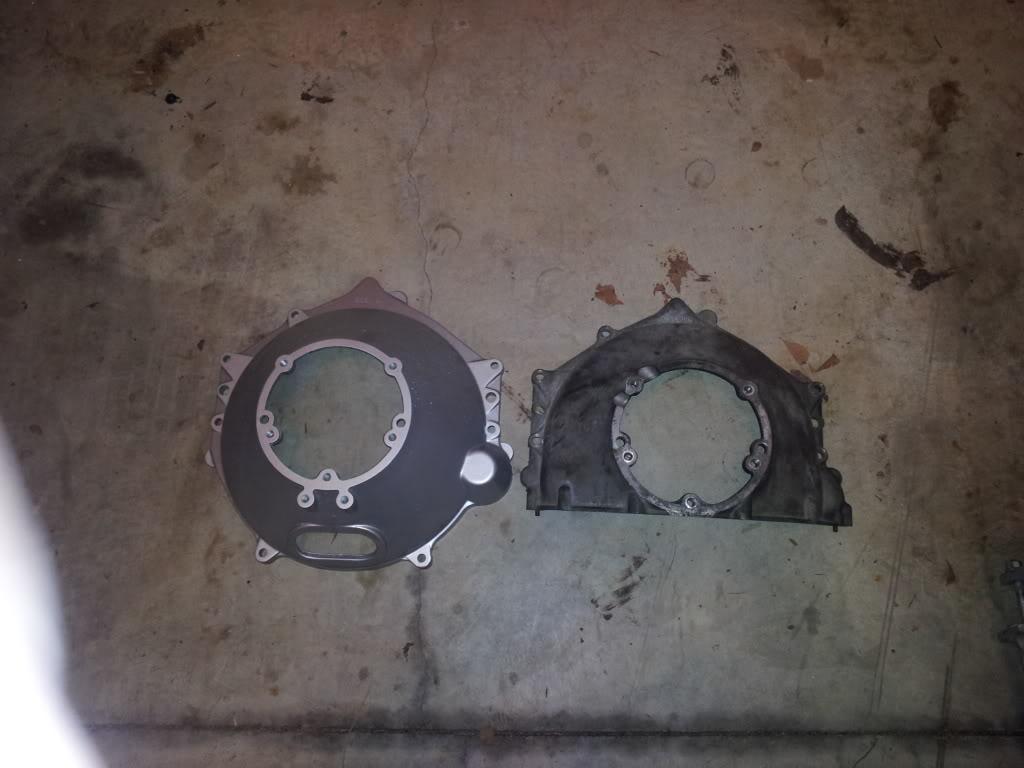
1/22/12
well got a lot accomplished so far...
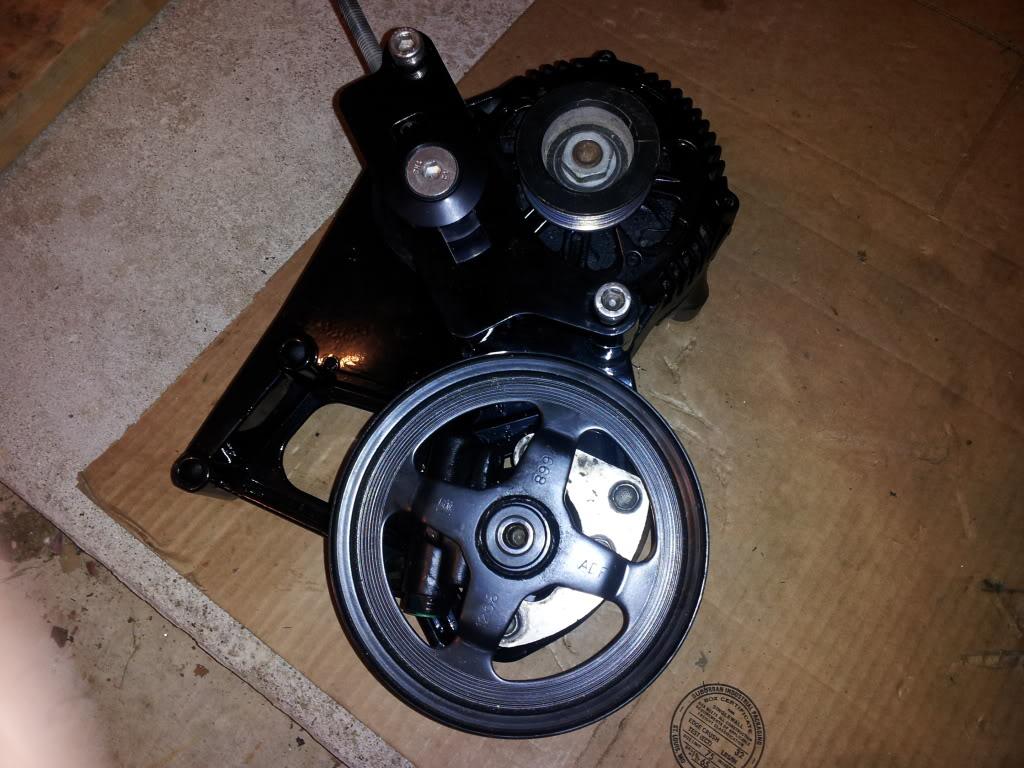
partially assembled alt bracket, alternator, and flip drive kit to check for any clearance or alignment issues. only found issue with lower tensioner and water pump clearance so i had to grind down water pump and bolt on lower tensioner. no problems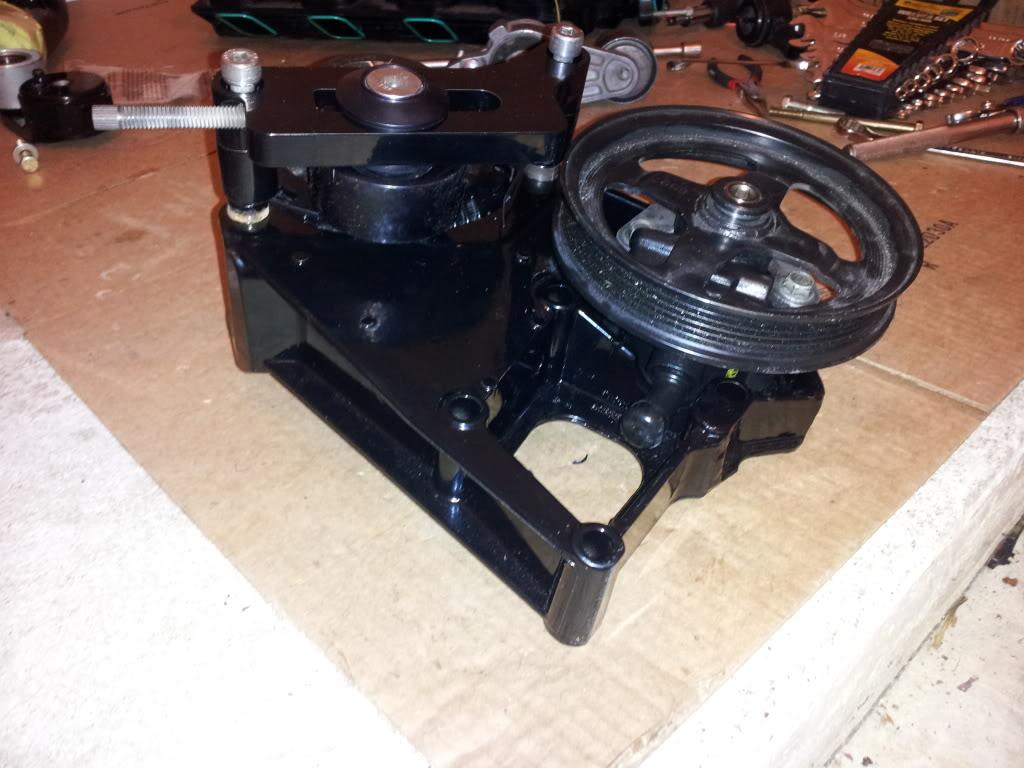
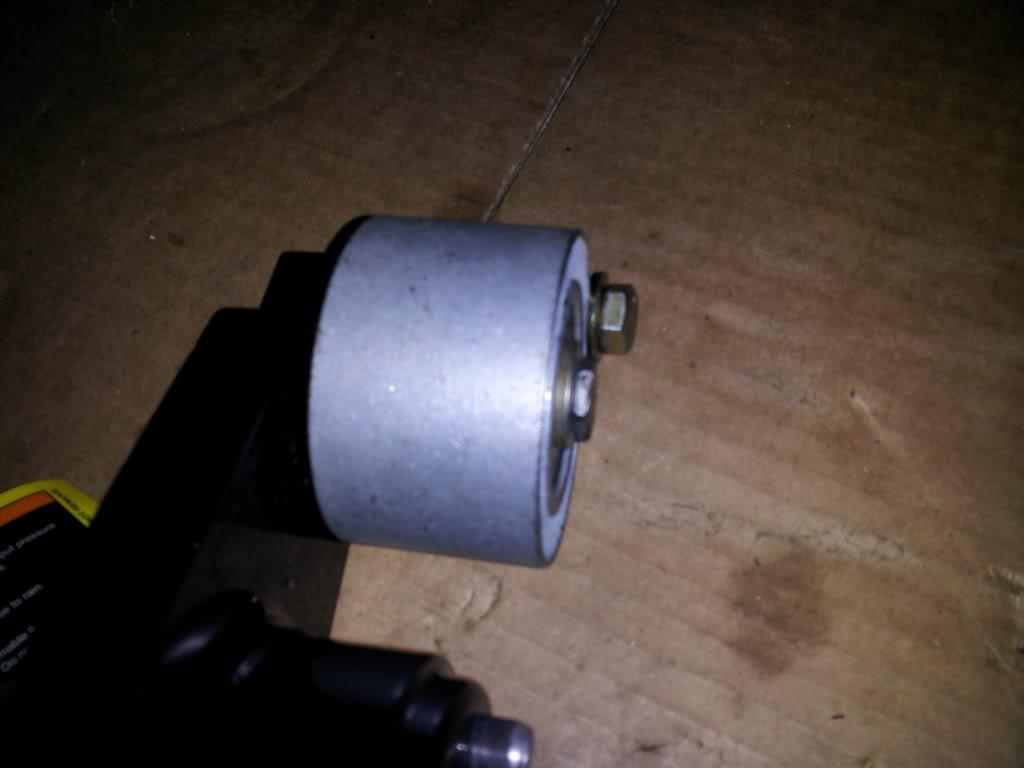
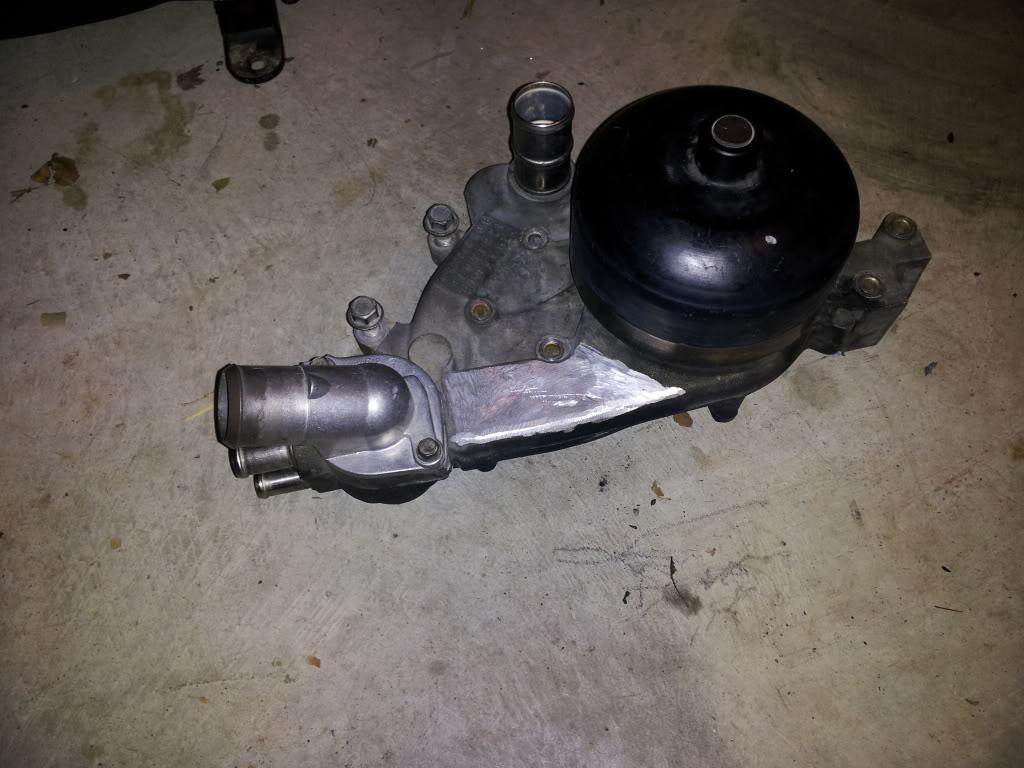
assembled rear cradle and changed out axles and spindles for the new DSS level 5 axles and spindle kit. keep in mind i wont be using the stock rear end mount, it is being replaced by Pfadt mount.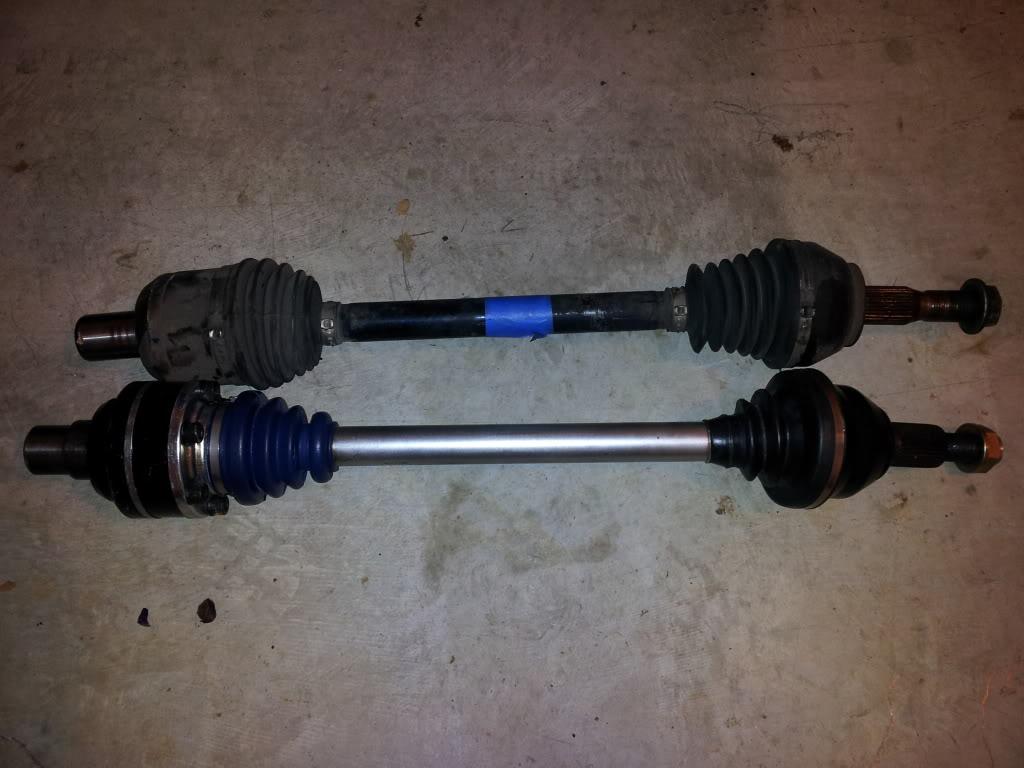
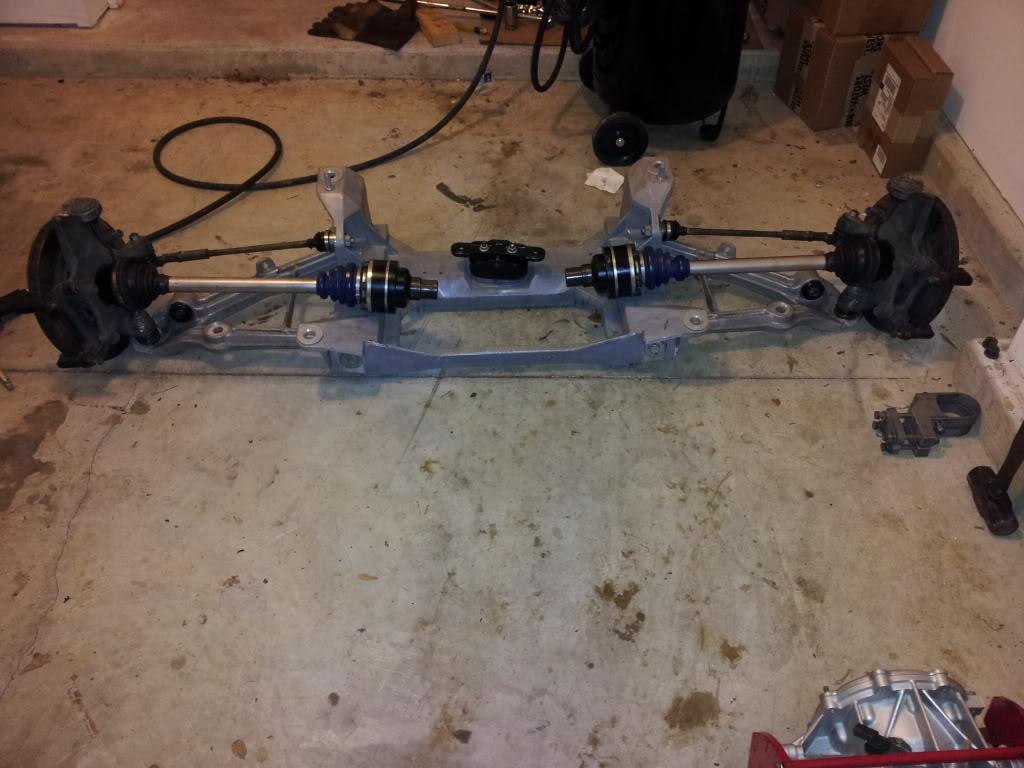
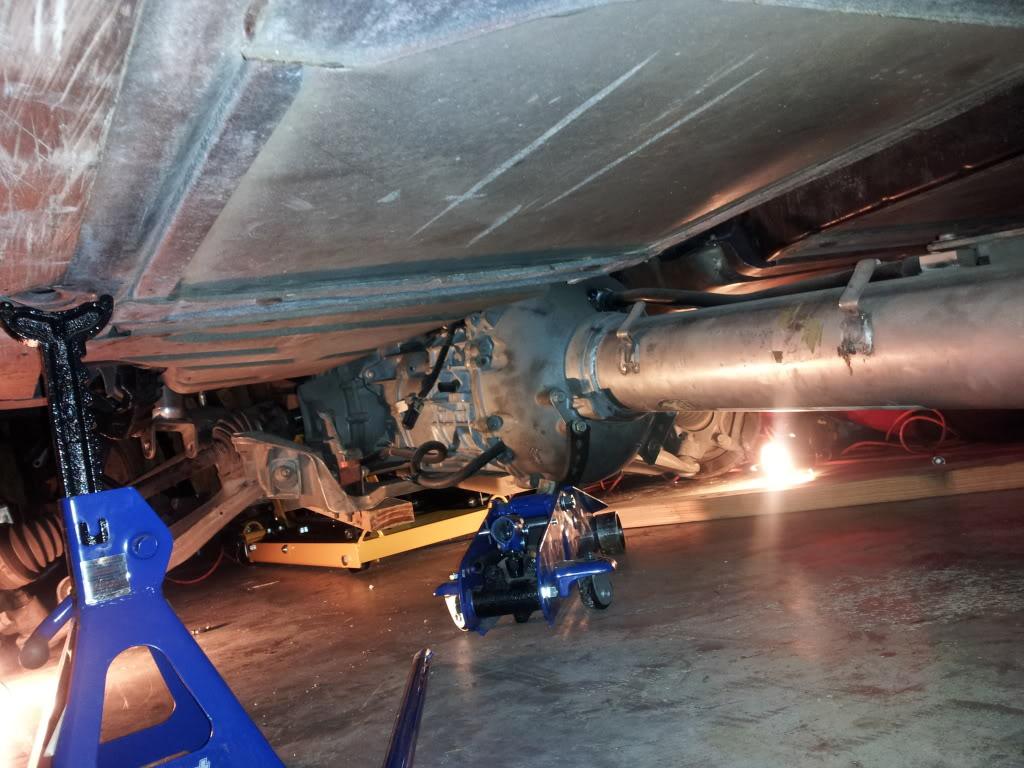
assembled Th400, rear end, along with DTE brace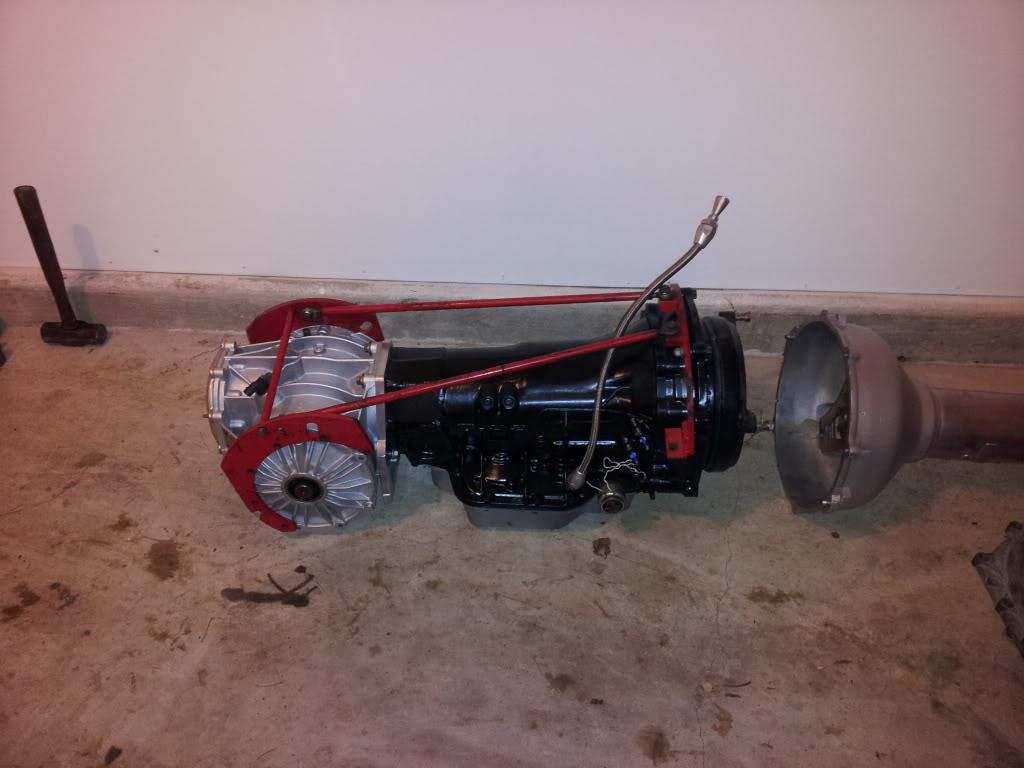
cut the tunnel (wasn't much of a big deal used a sawzall and grinder made it cake walk!) the clearances are very very tight but nothing hits about 1" on all sides.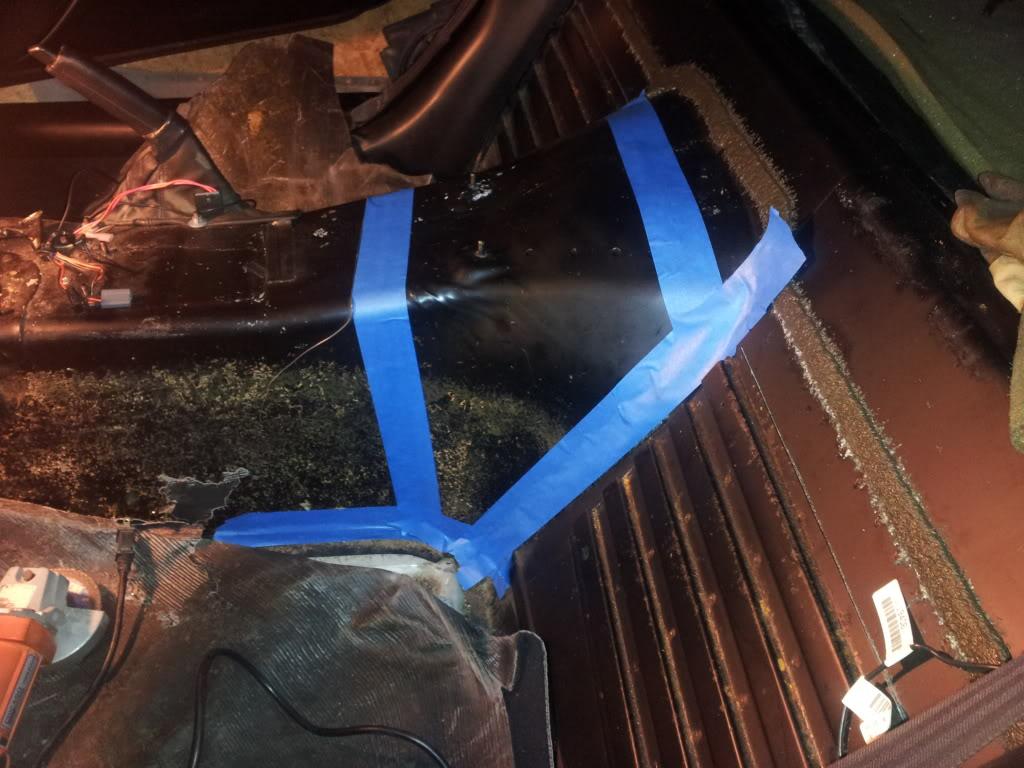
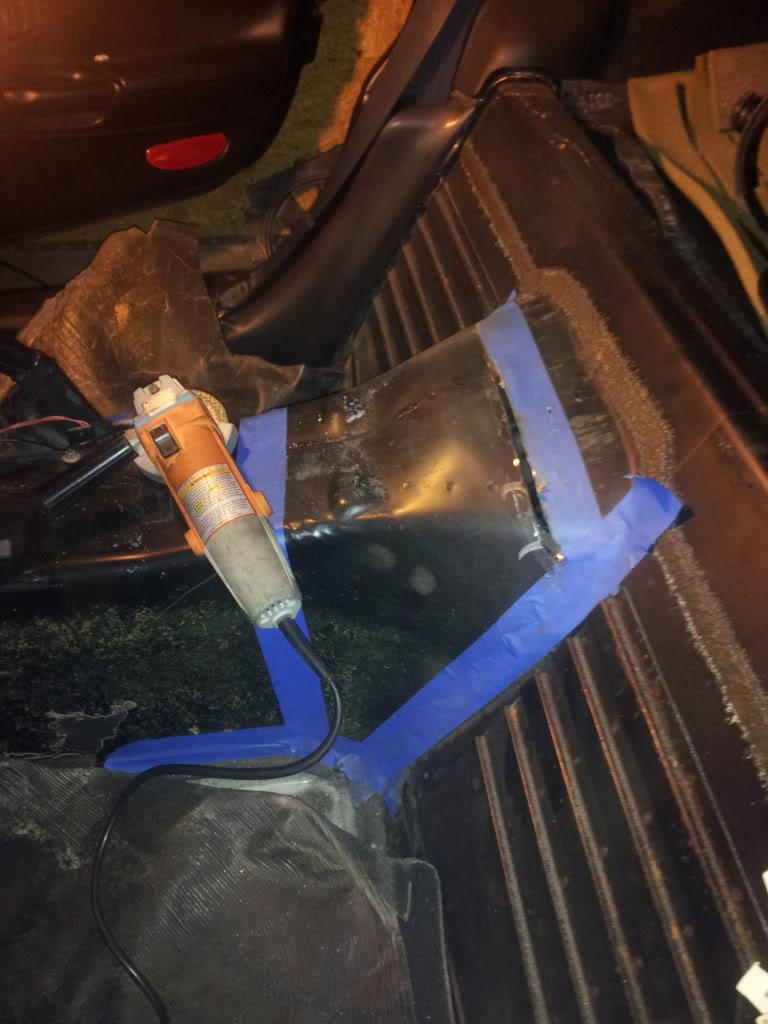

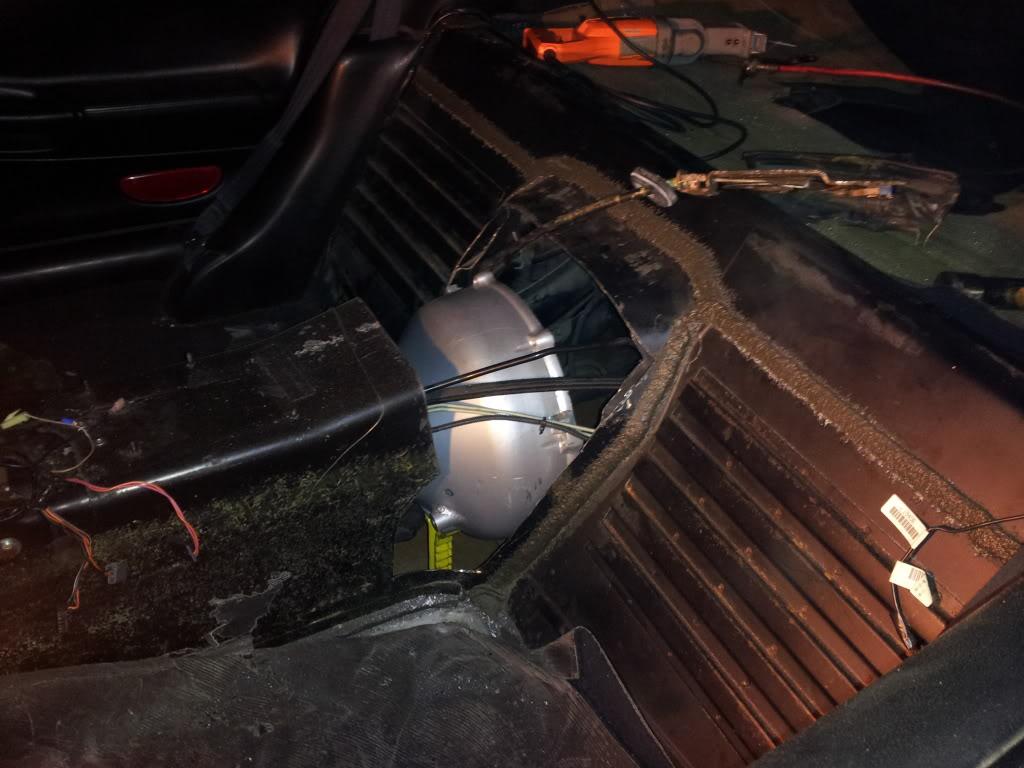
things i still need to get done:
1. double pin crank
2. install flip drive pulleys, lower tensioner, ac belt
3. install trans and cradle
4. run transmission cooler lines and mount double trans coolers shrouded w/spal fan. the fan will be wired to be on at all times. this setup will keep my trans temps at bay no matter the scenario.
5. remove pilot bearing.

What a beast!
Posted by MPower on 11/25/20 @ 10:58:11 PM