You must be logged in to rate content!
7 minute(s) of a 636 minute read
2-19-2020
dropped off the block, manifold, flywheel, cam ,pistons, rings, etc to the machine shop to start work. told me it would be about a week before he could start on the block work, also we are going to look at grinding and polishing the cam. going to order a new cam gear and thrust plate.
2-20-2020
question for anyone that has rebuilt their Chevrolet transmission using the kit & parts i noted above.
did you remove one side (facing inwards) of the bearing shield or leave it in ?? any issues, concerns, and/or recommendations ??
3-2-2020
well got around to re assembling my transmission. been trying to get everything in order for our annual swap meet so been busy !!
laid out everything on my bench then started to reassemble. used my Harbor Freight 20 Ton Press to press on the bushings. i used a lights coat of oil to ease to process. this was really easy to do, as long as you ensure everything is straight and in line.
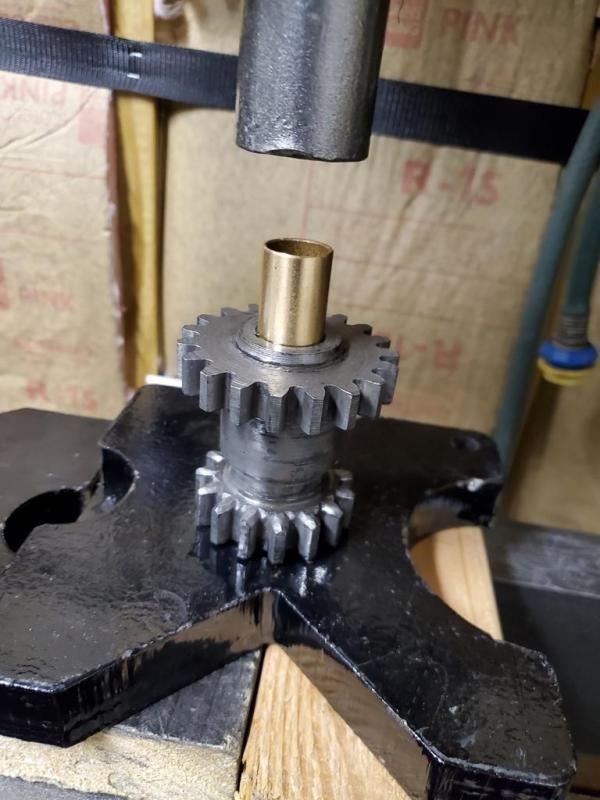
everything lines up and ready to press
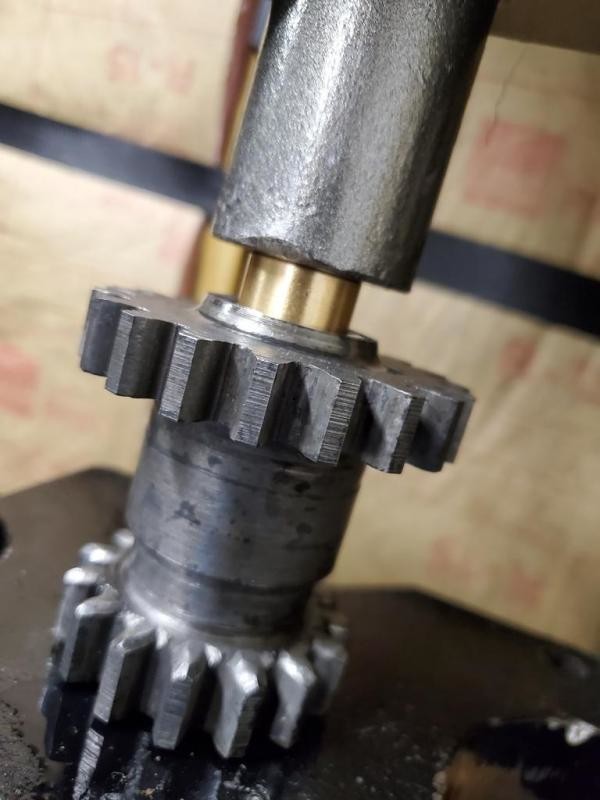
slow and steady wins the race
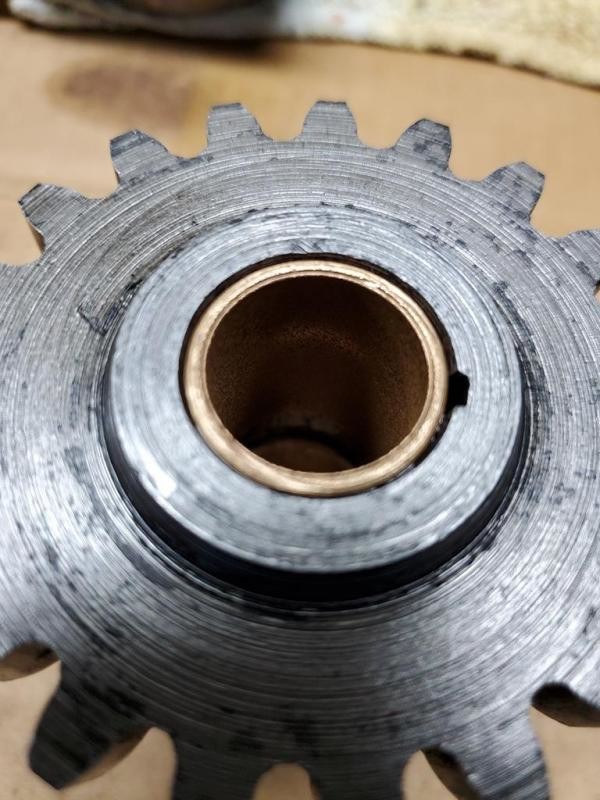
all in
did this for all the bushings on the gears/shaft. took my time and made sure it war correct.
once all the bushings were installed i did test fit each shaft to ensure that they went in smoothly and freely and spun with easily with no slop or play.
3-2-2020
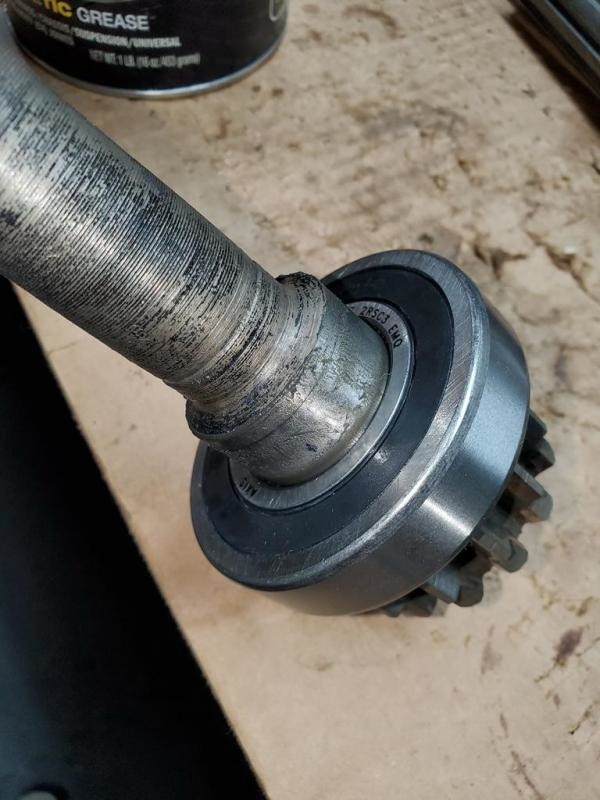
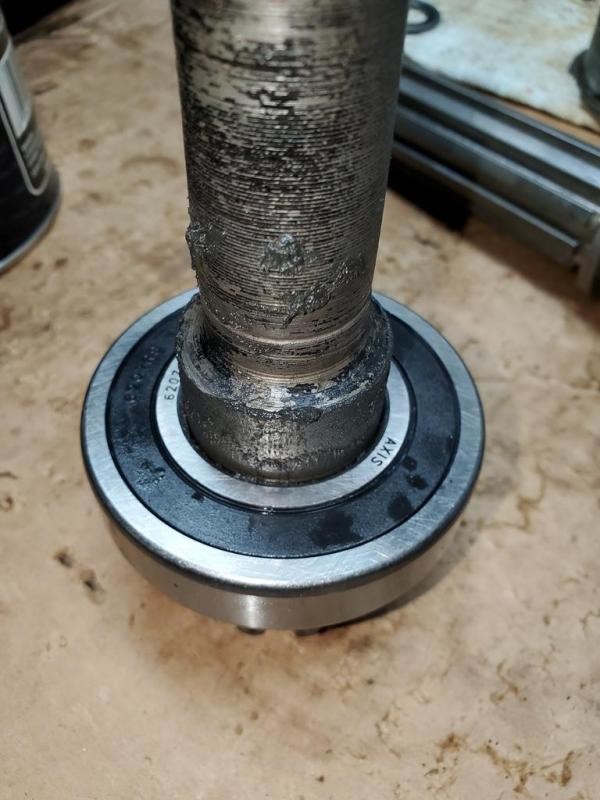
the black gook on the shaft was grease, used grease and oil coat to ease installation...
first to go in was the counter shaft cluster and shaft... then the reverse idler cluster and shaft. used the new shafts in the C&P Automotive rebuild kit.
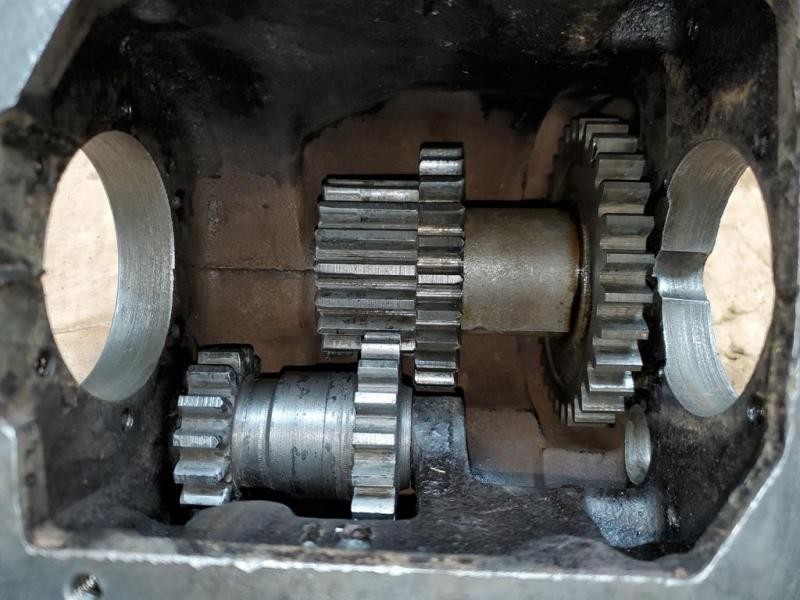
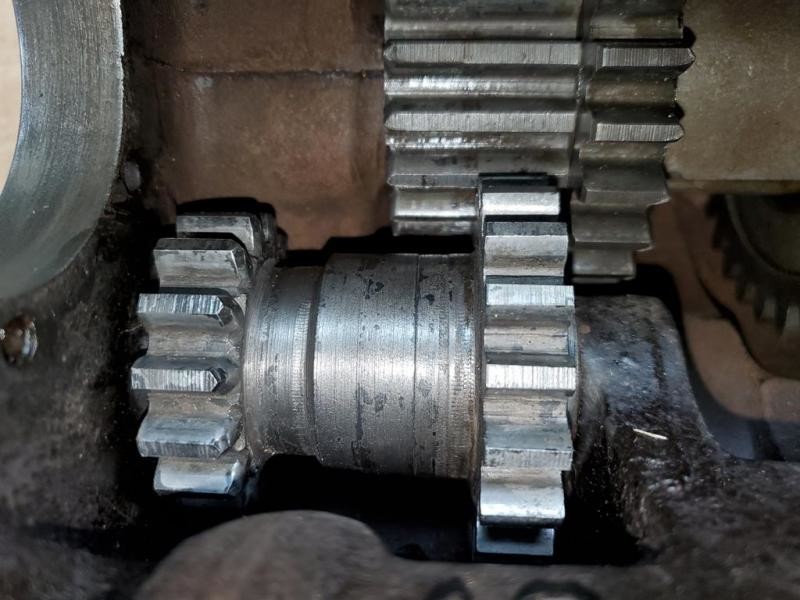
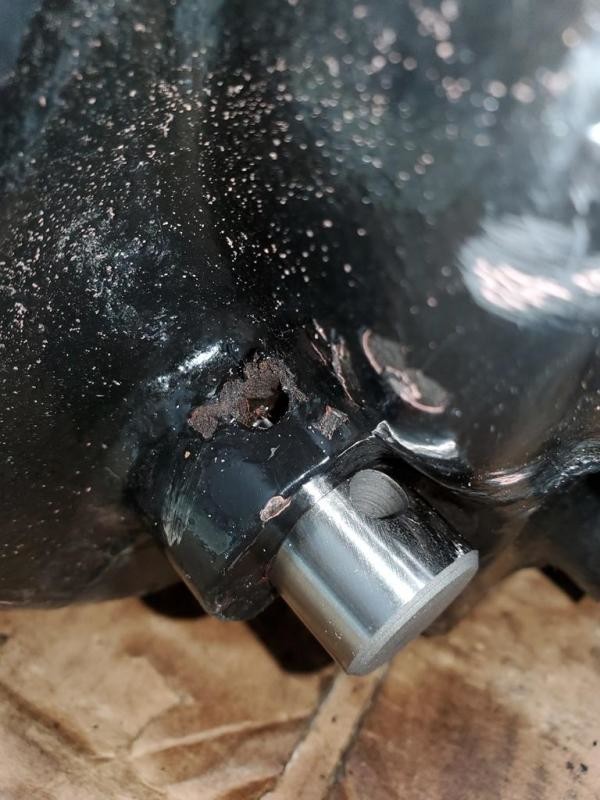
this was a test fit, still need to line up holes and drive in shafts then pin them in.
next up was the main drive gear and shaft,
then the spline shaft assembly and gears. used my press again to press in the bearings into the housing and seat everything.
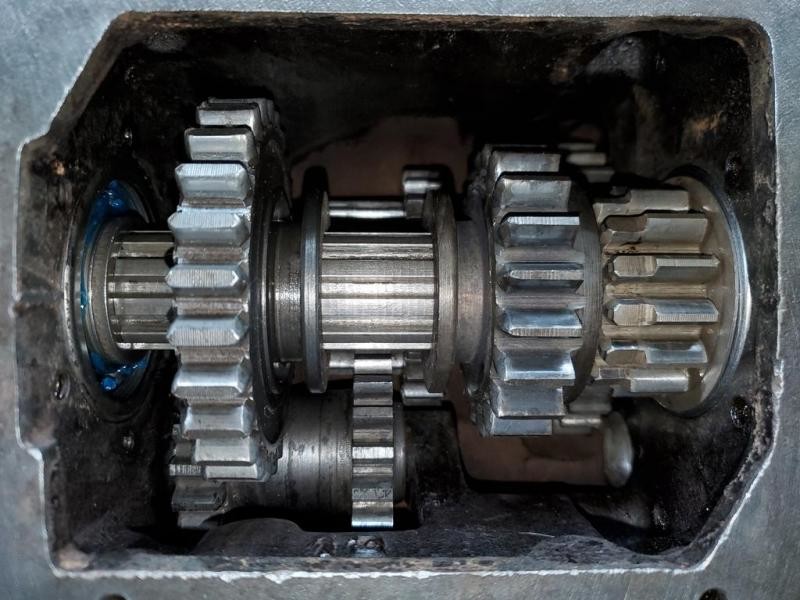
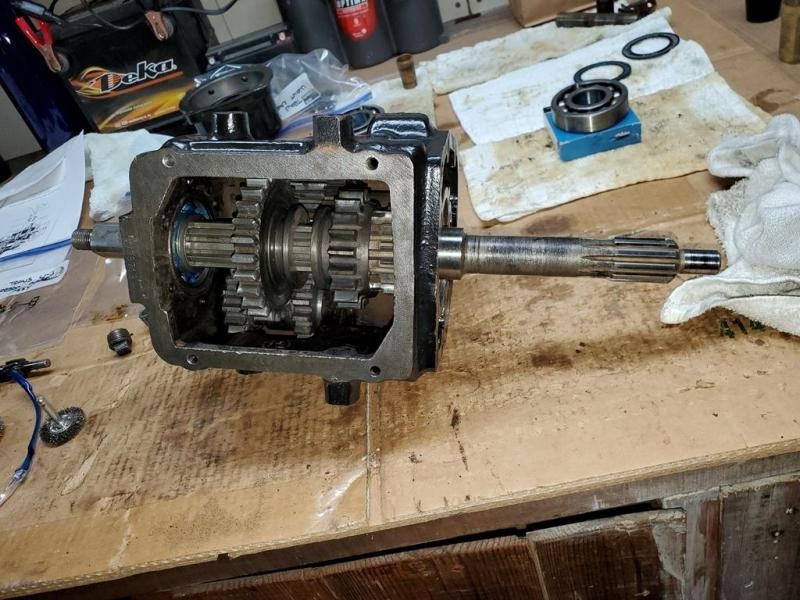
then i made sure that all the gears moved freely and that i could work the gears into all ratios with out an issue
i have not pinned the shafts in yet, just in case.
next up will have to pin the shafts to secure them in place, and then start on the u-joint housing and assembly !!
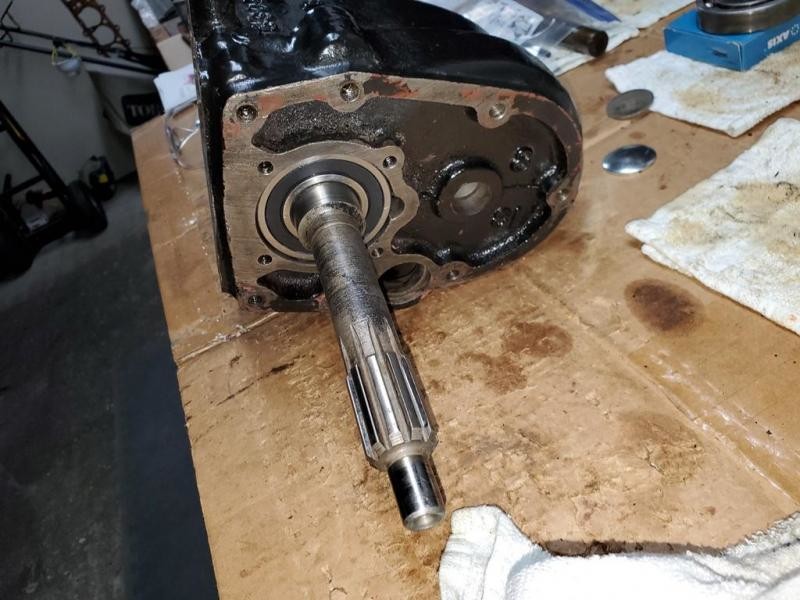
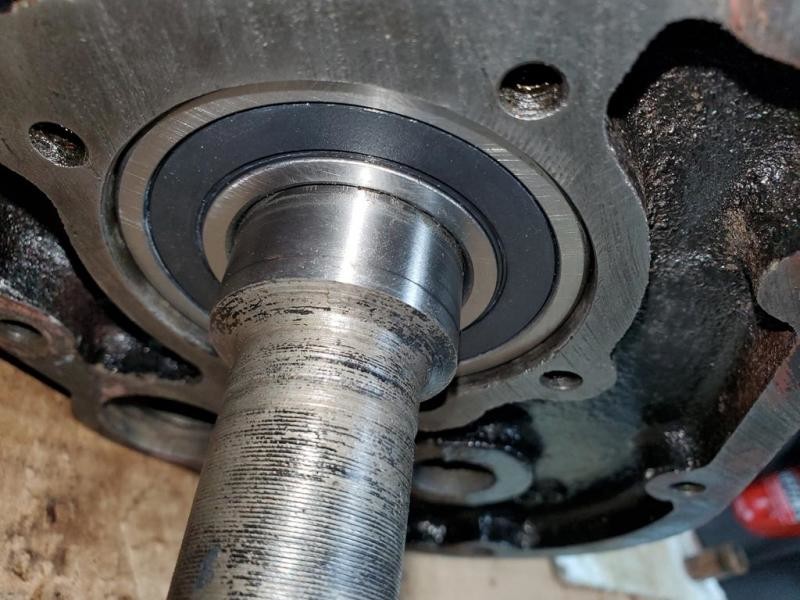
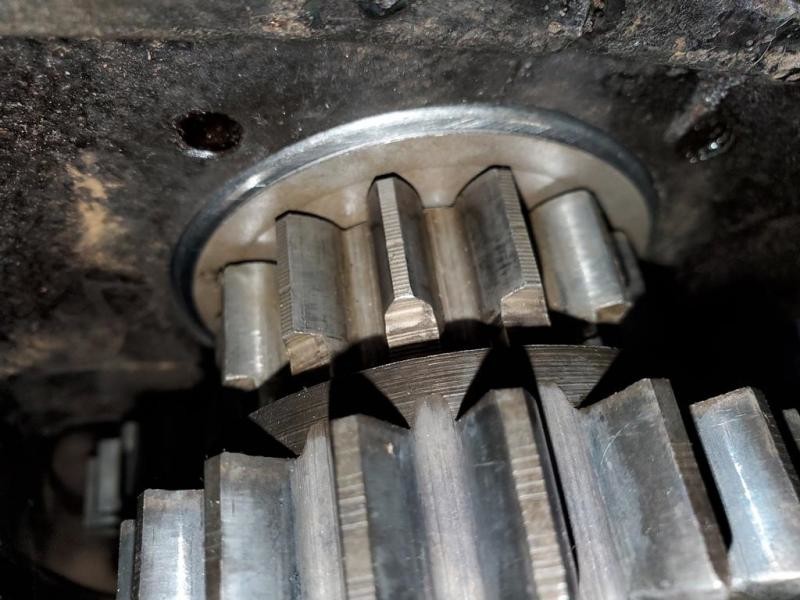
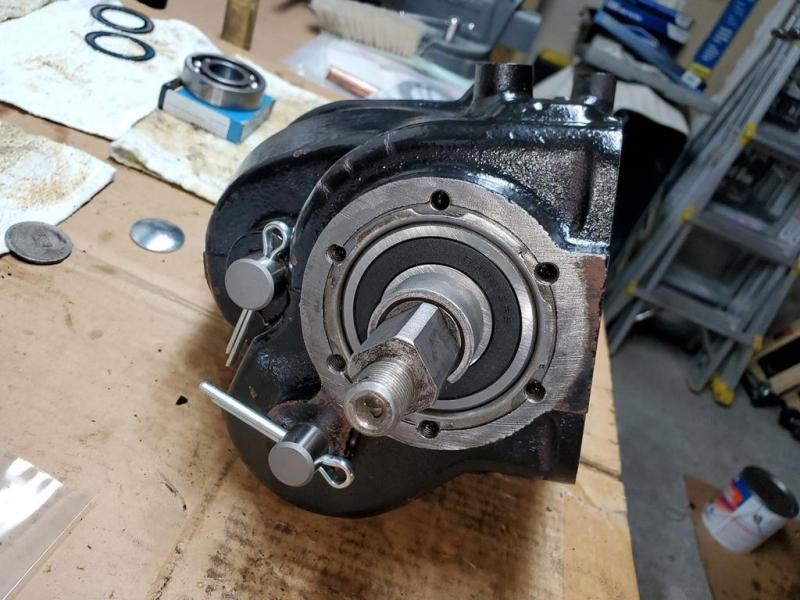
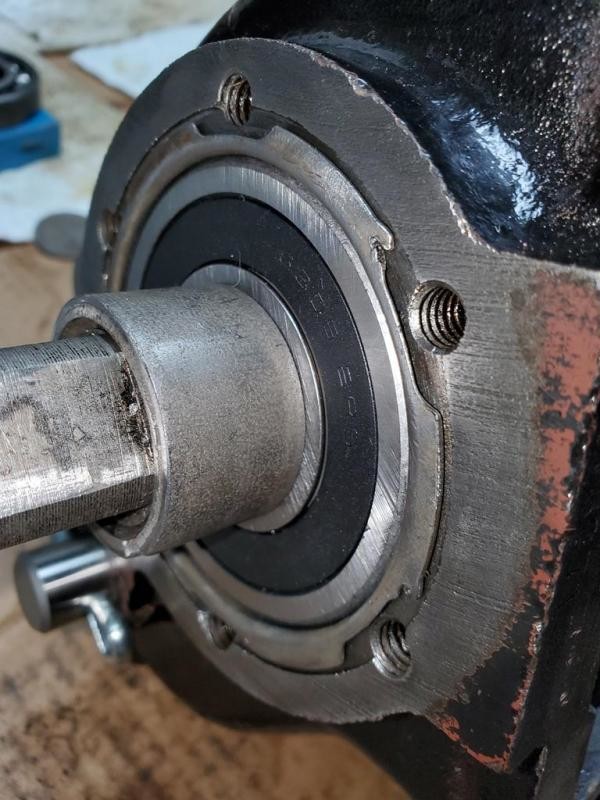
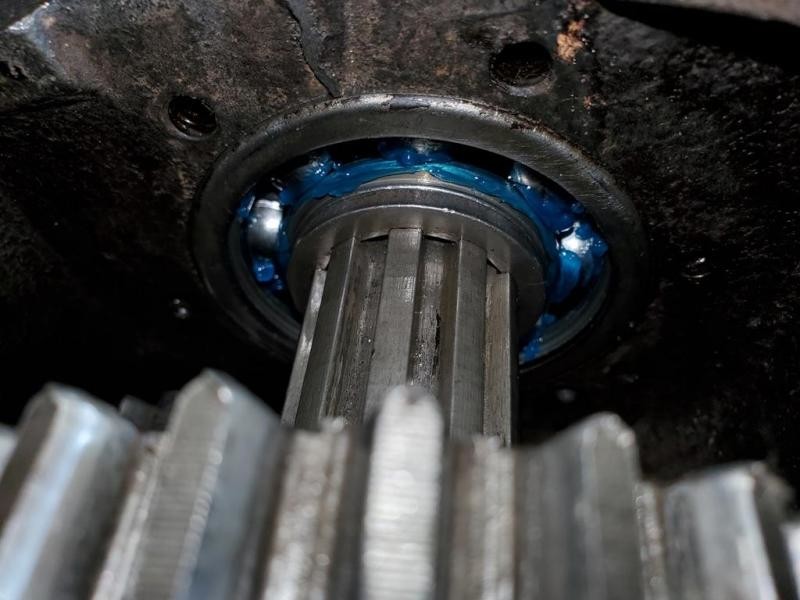
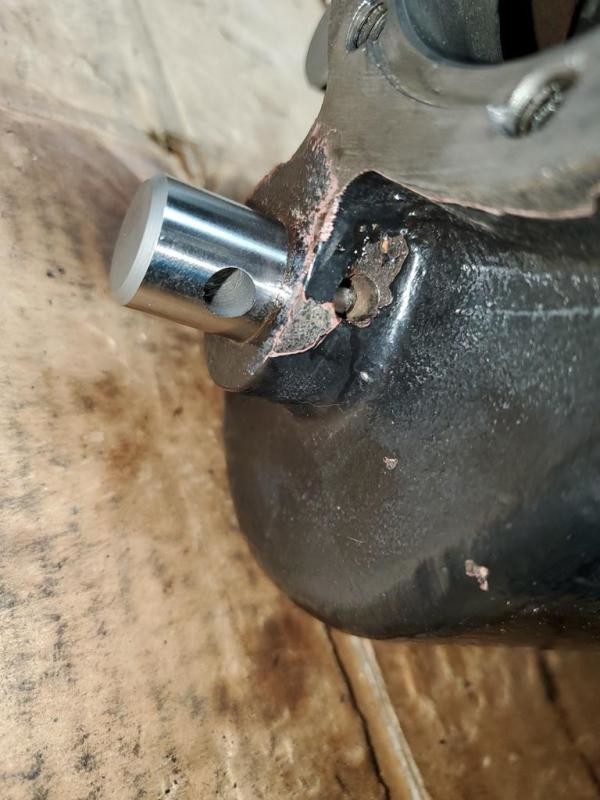
drove in the shafts lined up the holes, put in the pins, and pulled them over. shafts are now in there to stay !!
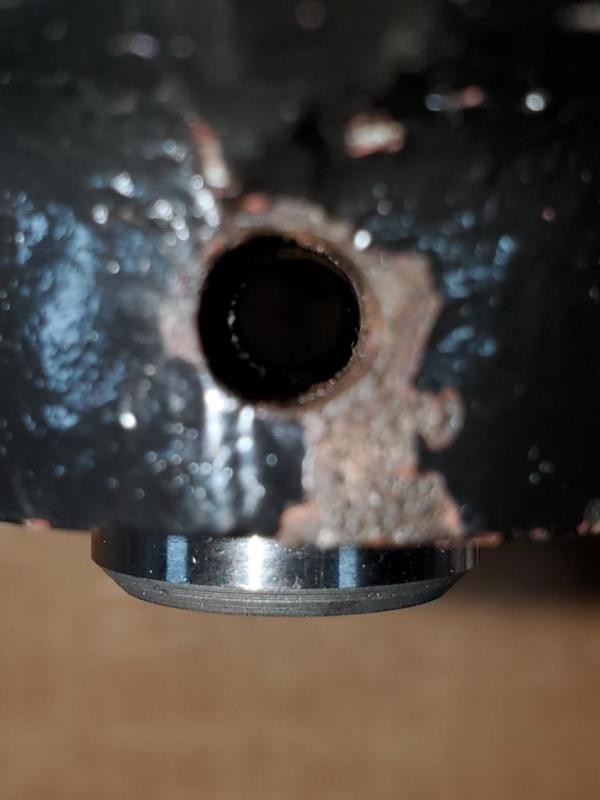
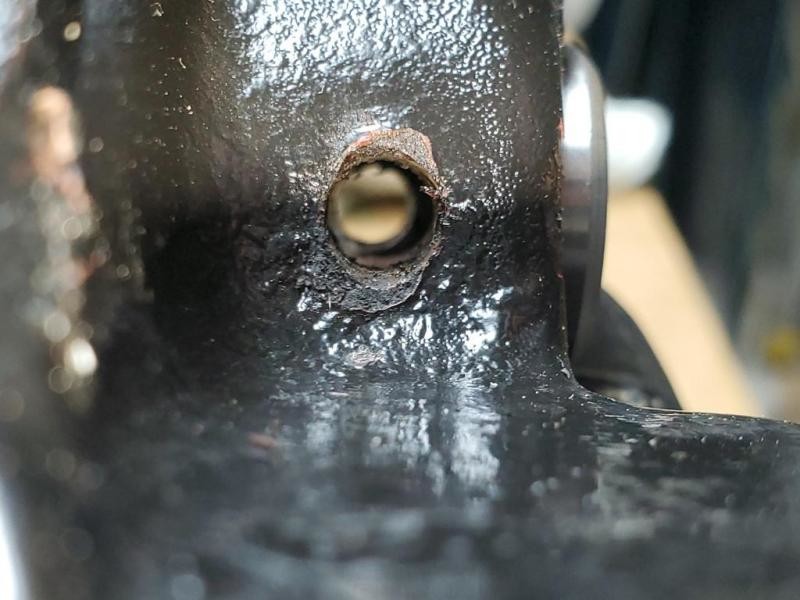
holes all lined up on Upper shaft
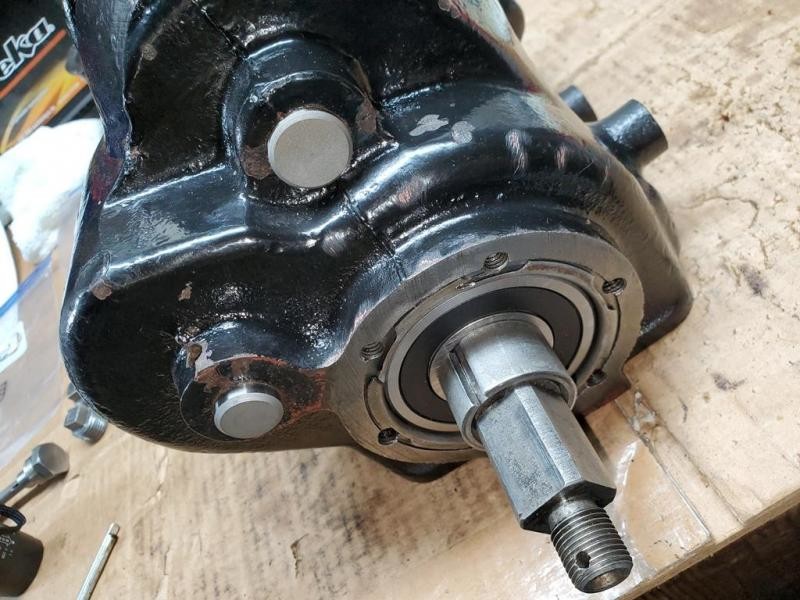
shafts all in and ready for pinning
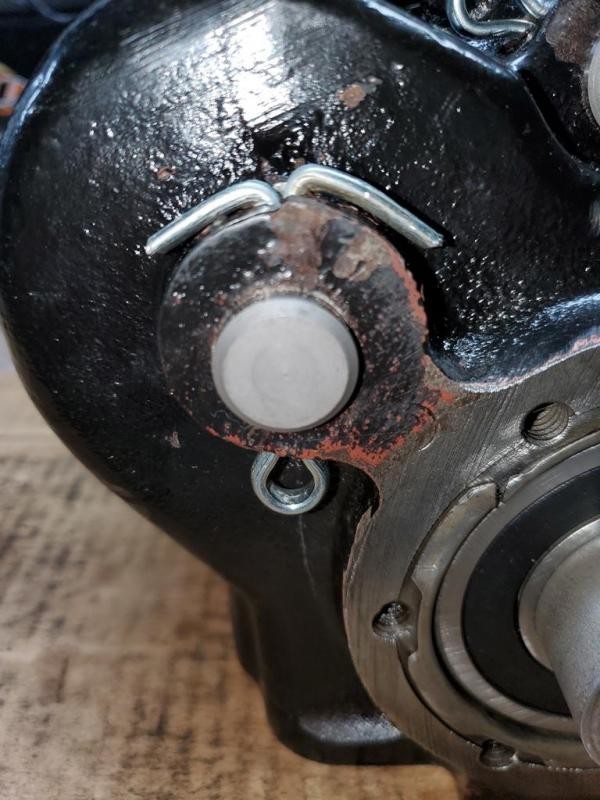
rolled over cotter pin1
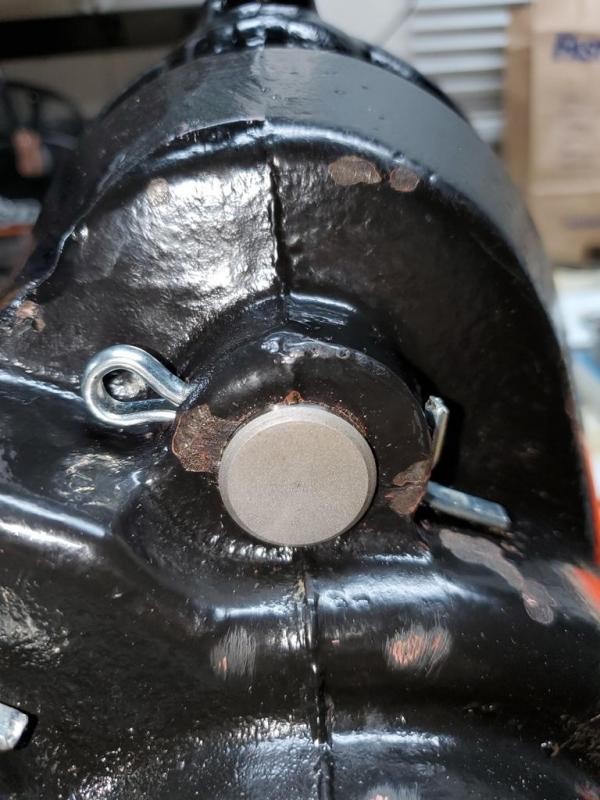
rolled over cotter pin2
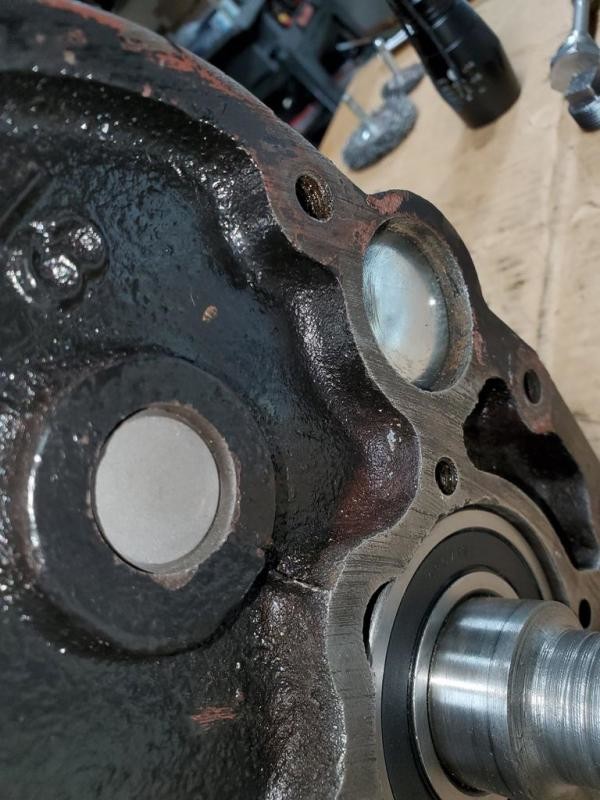
cleaned up the u-joint housing
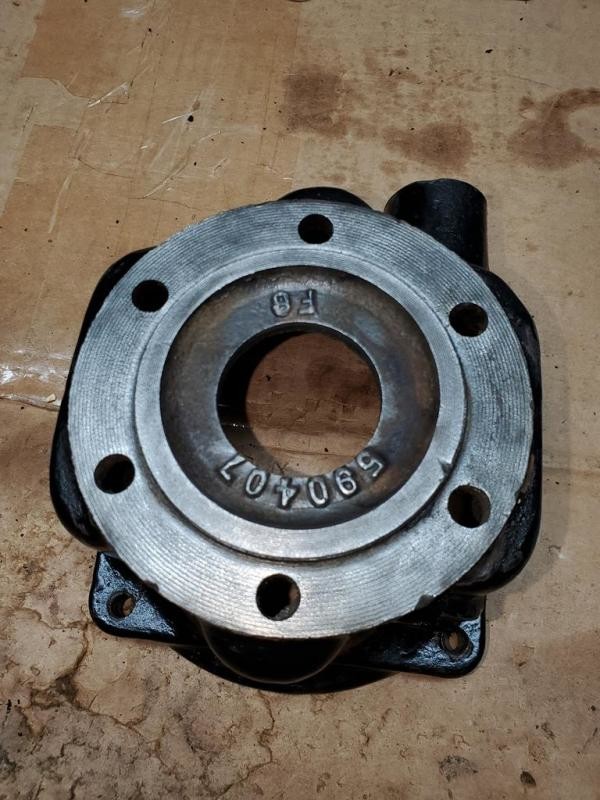
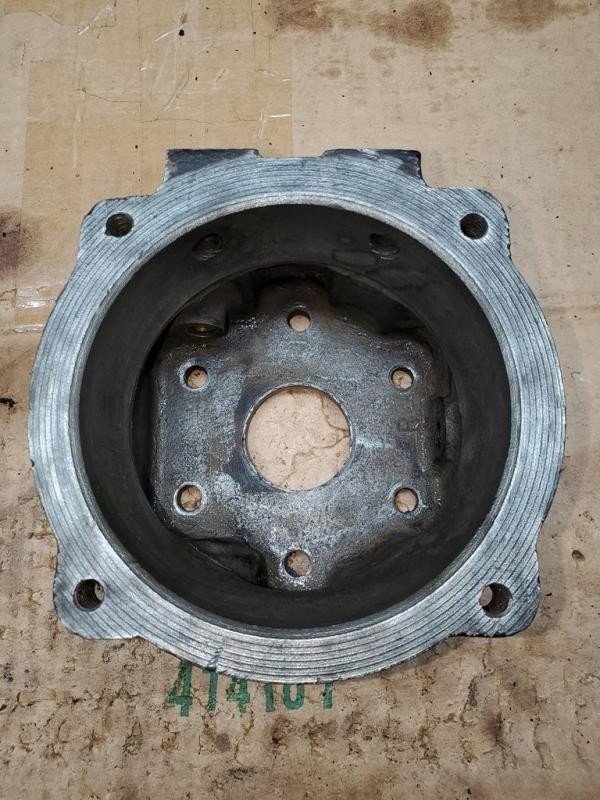
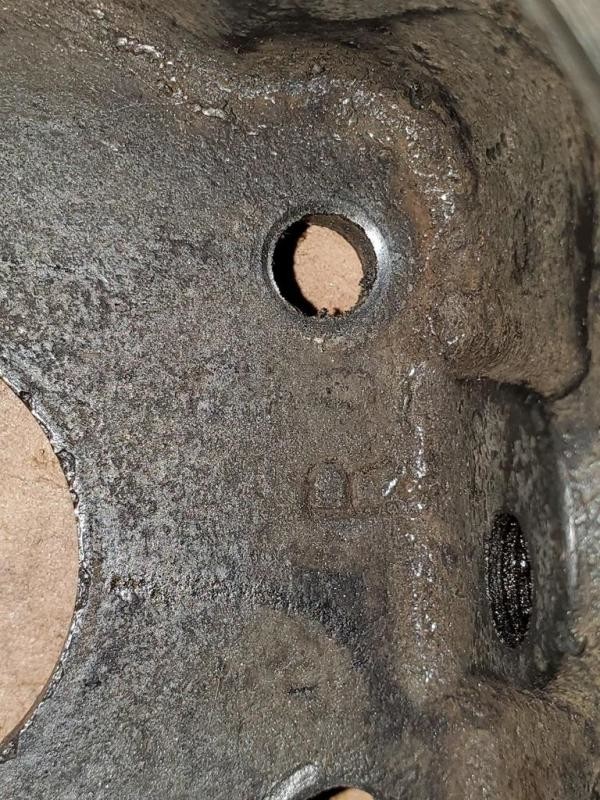
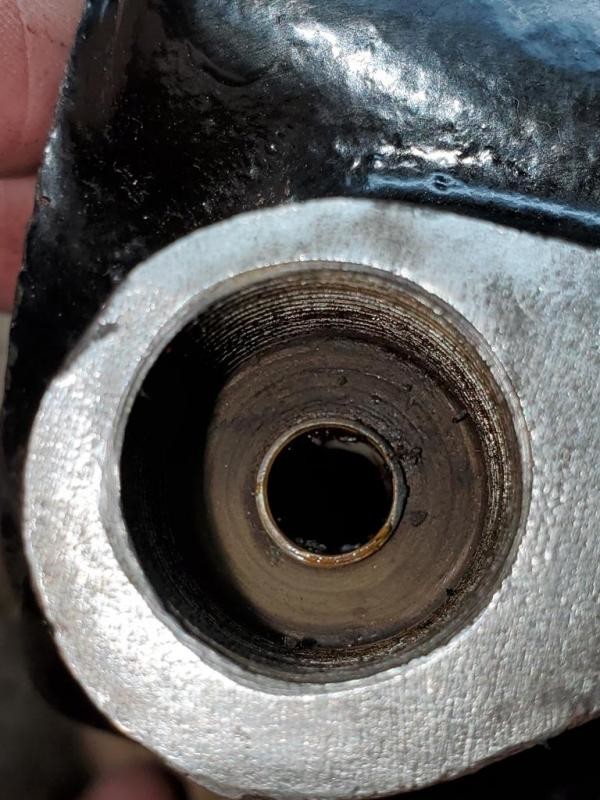
cleaned up the u-joint... what a difference cleaning made
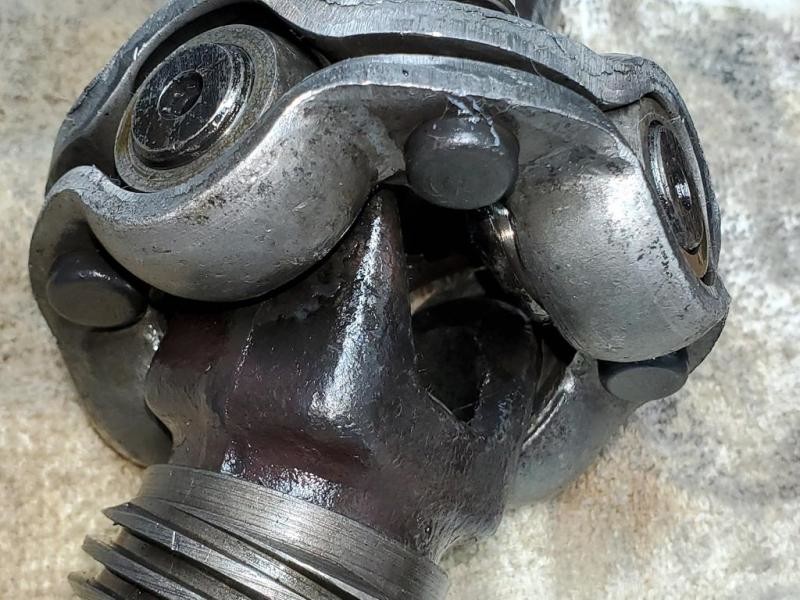
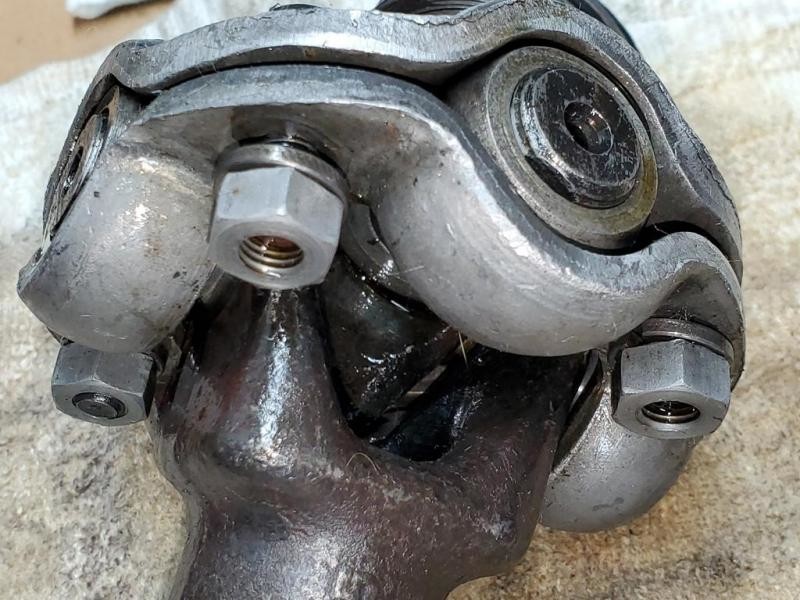
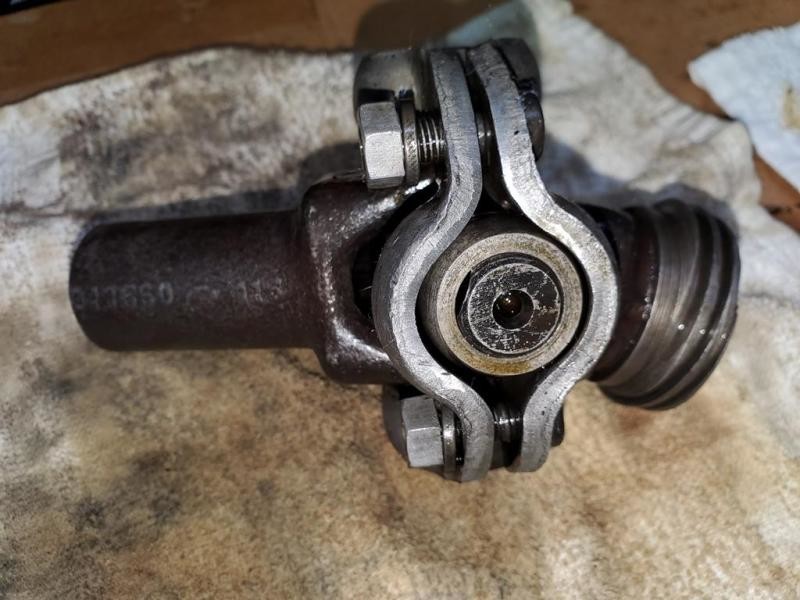
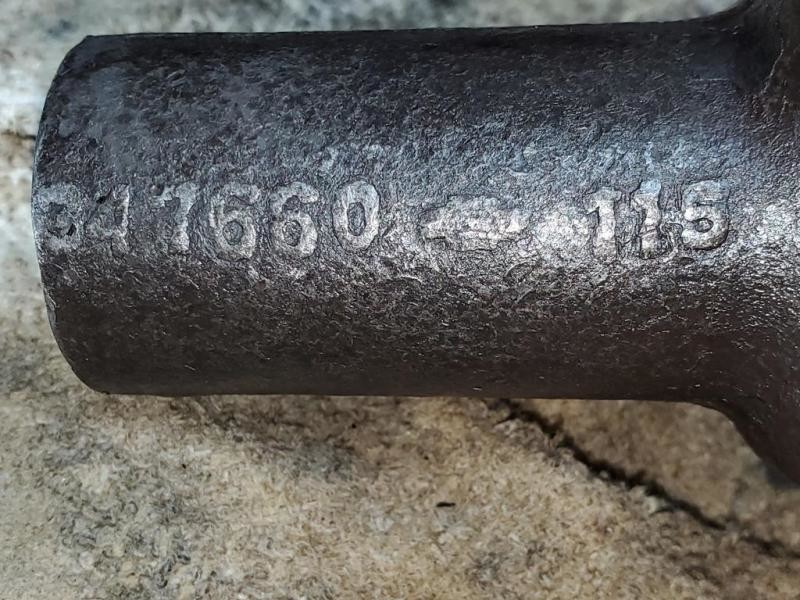
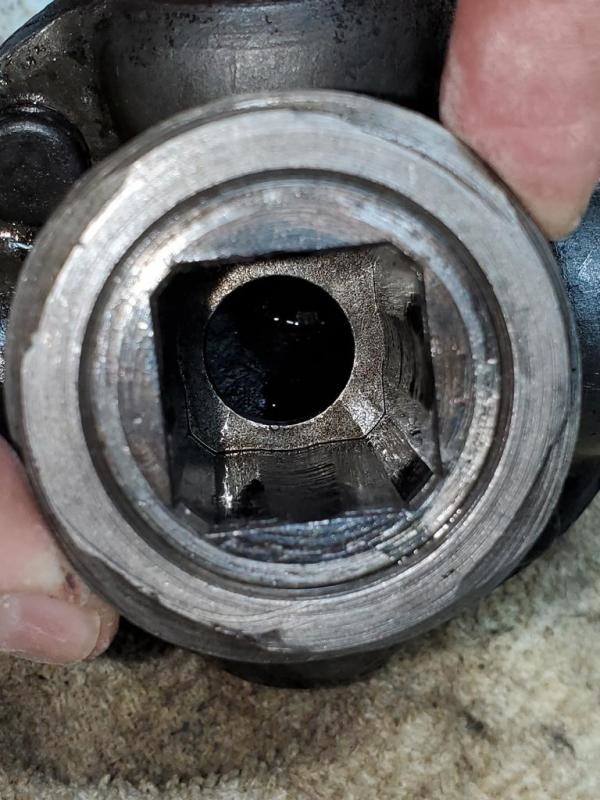
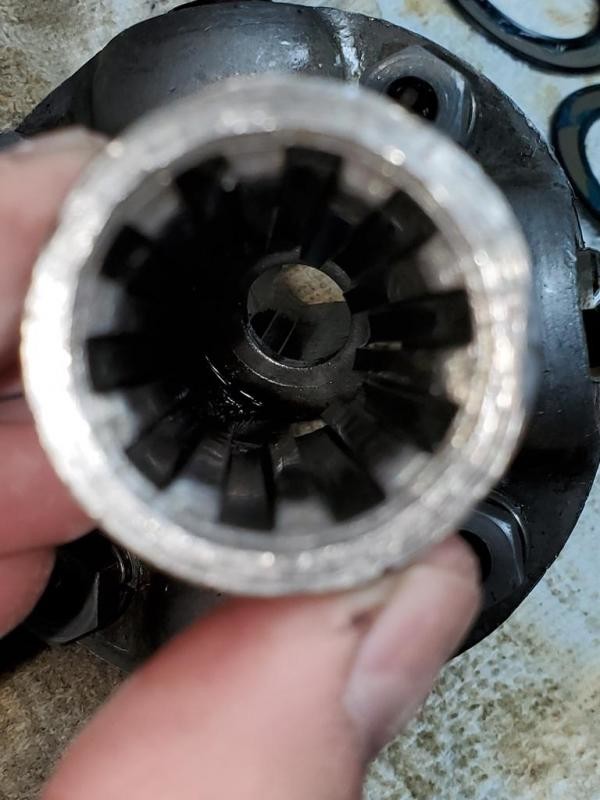
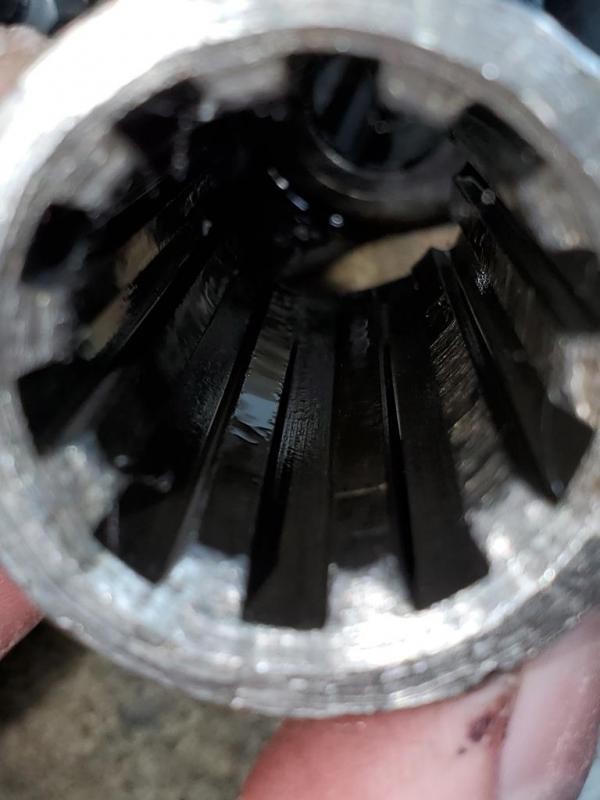
put in new cap
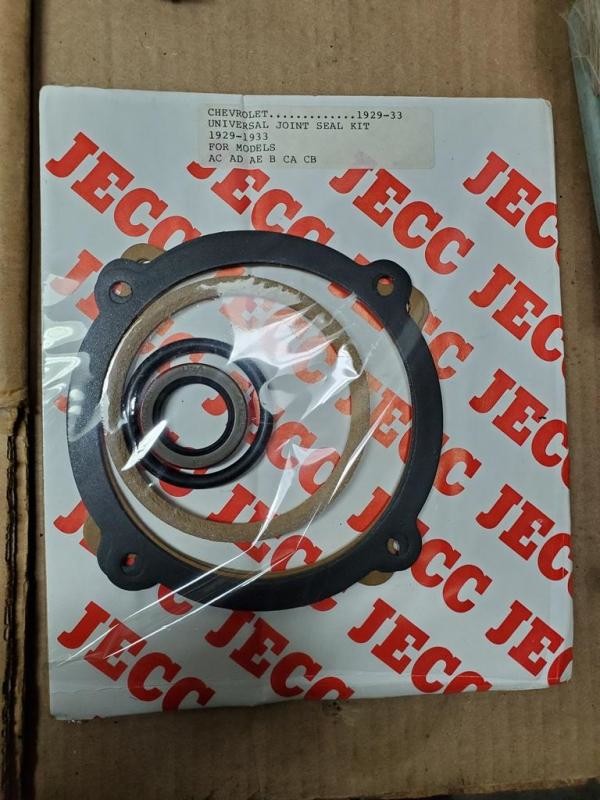
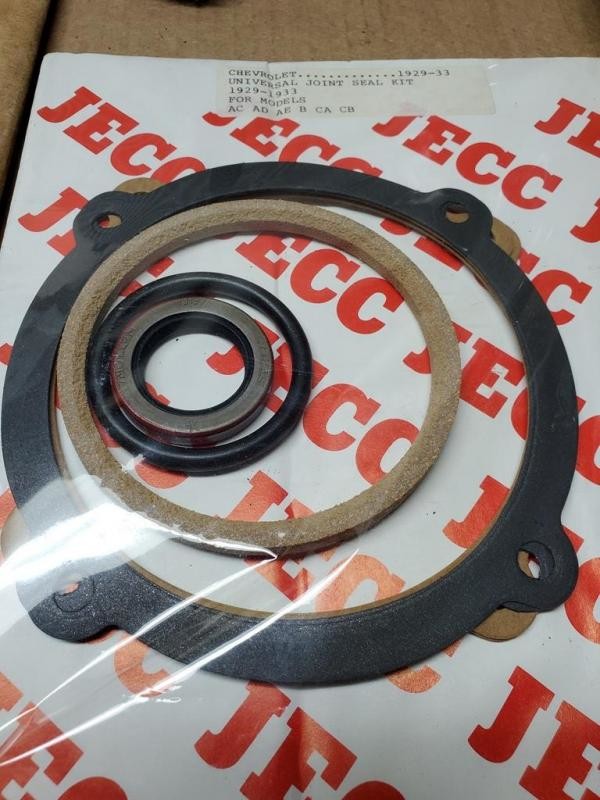
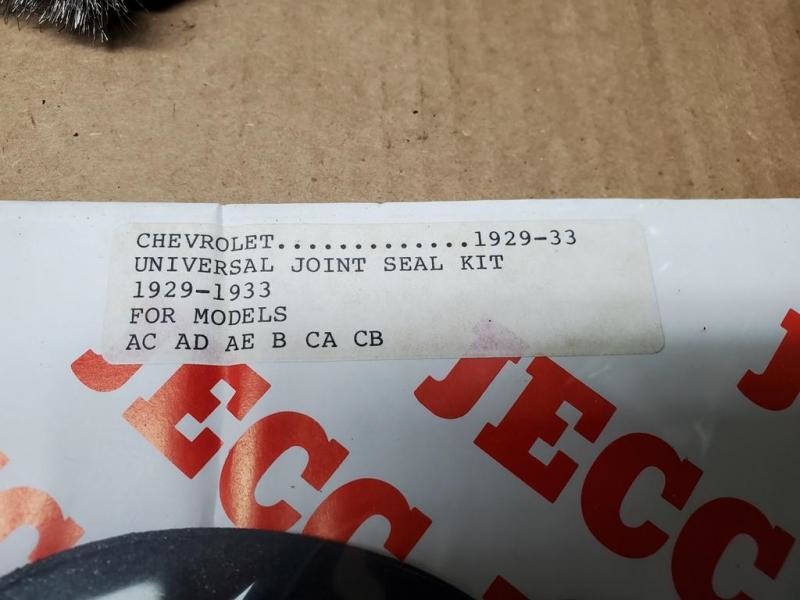
then found this gasket set i picked up somewhere...
know the 4 pieces are shims, 2 thin, 2 thicker, then the cork ball seal, o-ring to replace the cork in the mushroom, but not certain on the application of the lip seal ?!?! it is 1.00 id and 1.500 od.
Great car !
Posted by Diggymart on 9/7/19 @ 3:48:57 PM