You must be logged in to rate content!
3 minute(s) of a 636 minute read
9-4-2019
had some time tonight to work on the welded up fuel pump arm.
wire brushed it and cleaned it up and then set up my bench grinder and away we went.
too my time to try and keep the stock looking profile. after grinding ended up with a thickness of approx .390
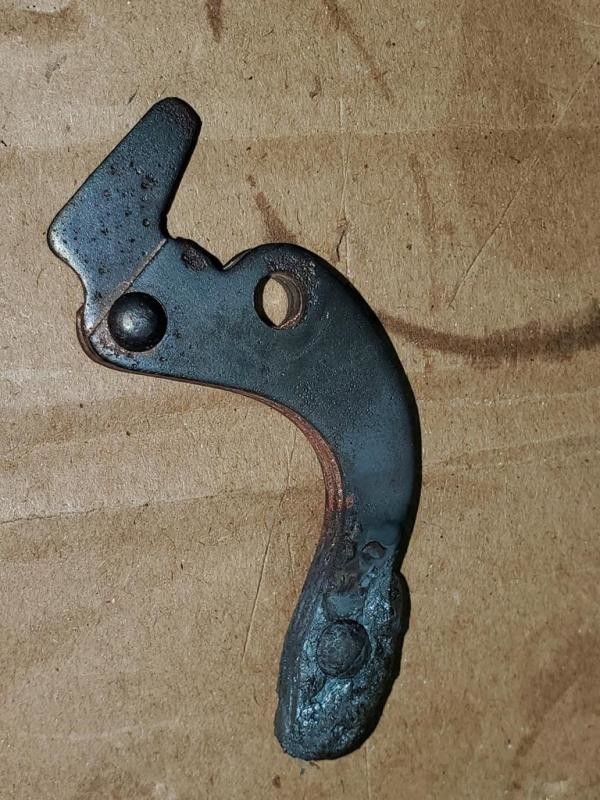
welded up arm (yes TIG welded 2 layers)
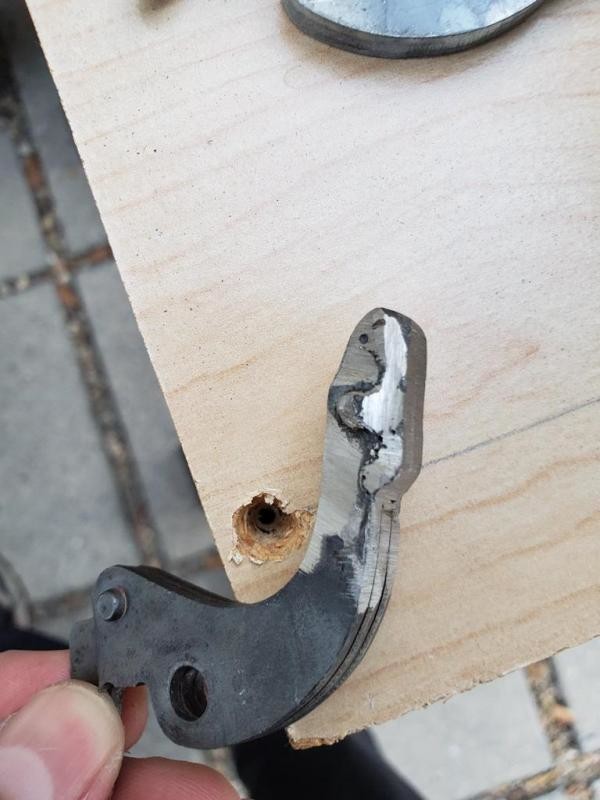
cleaned up and ground profile
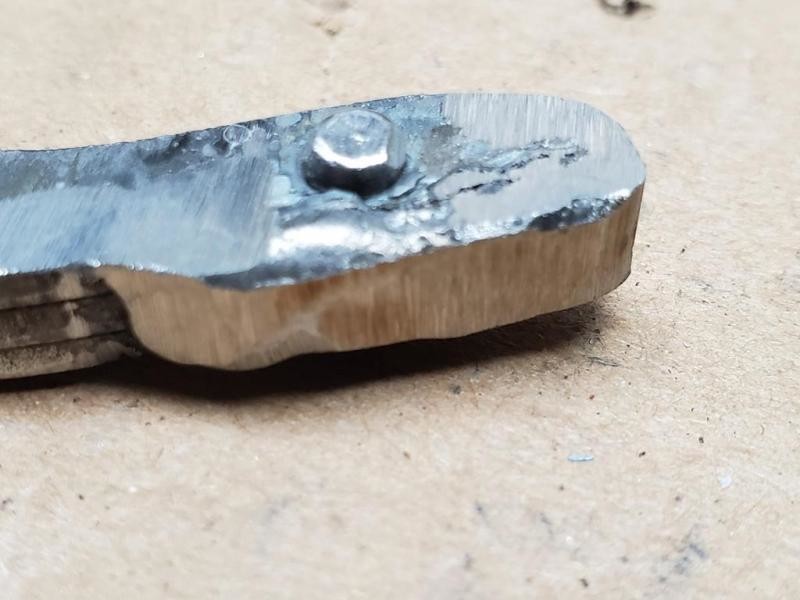
close up of tip
rebuilt the fuel pump, oh yeah while waiting for the welding i did glass bead the fuel pump and my spare one.
so it does look nicer now :) rebuilt it following TFS instructions, and tips from here ;)
went together nicely. drop of oil on each wafer, also a drop of oil around the gasket to help it seal along with glass bowl, a little dab of grease on each pin on the arm inside.
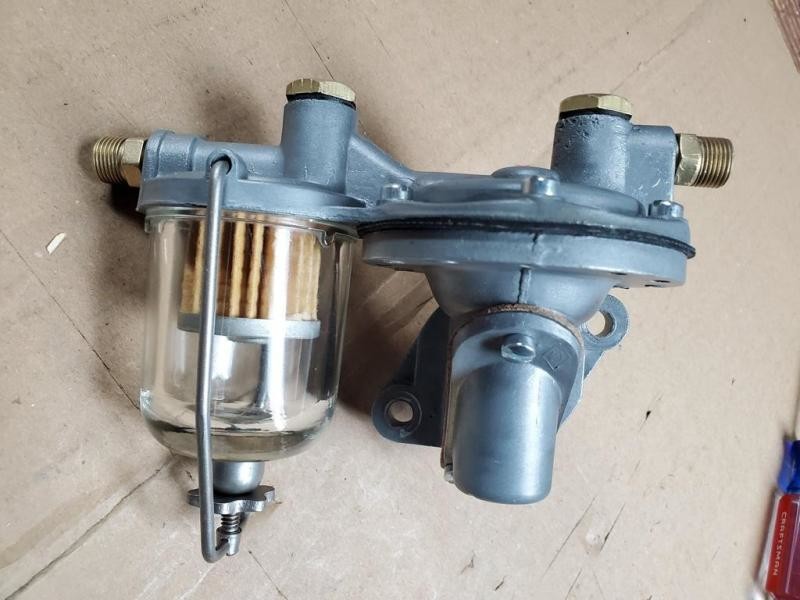
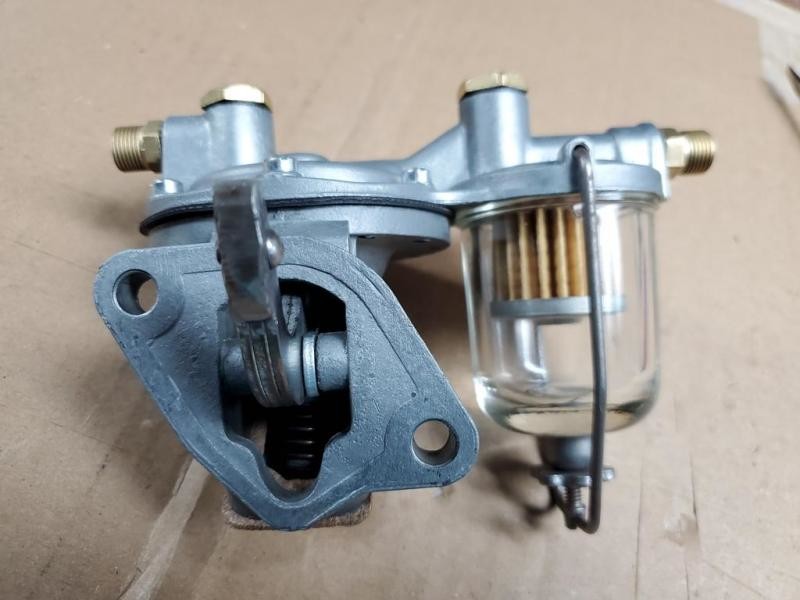
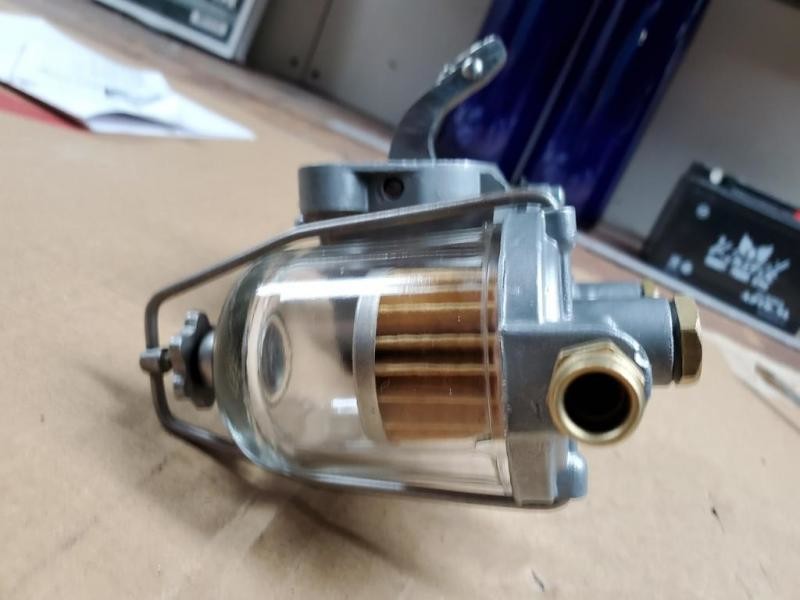
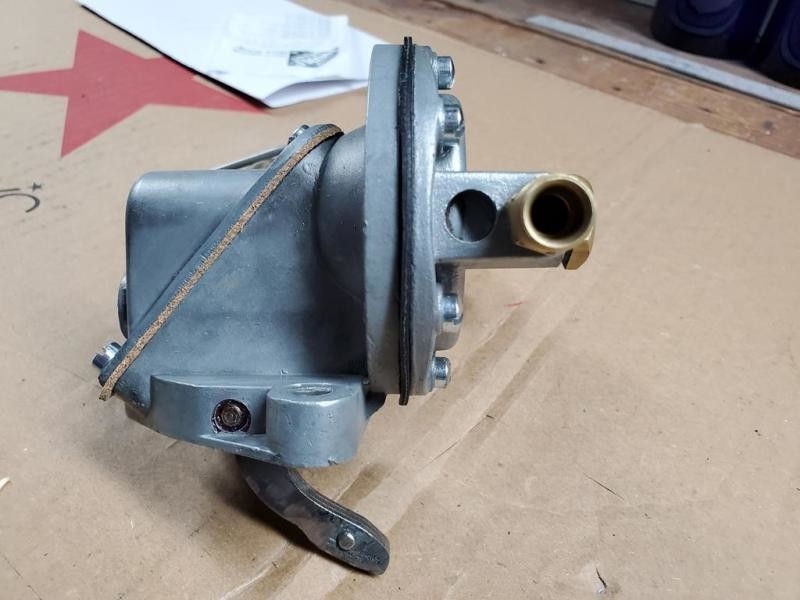
on the bench i was able to get approx 7-8 Hg on inlet and it holds it on output get around 1.5-2.0 PSI
that is full stroke by hand
i installed it on the car with a new gasket and made sure the lobe was low side to pump, high side away. in doing so there was about a 1/4" gap between block and pump mount once the arm hit the cam, then pressed in and tighten down evenly. this is what i was shooting for that way the 1/4" of fere play is null once installed.
ran a test, and was able to get about 6-7Hg on suction side with about 10 seconds of turning over motor, no plugs installed, and about 1.5-2.0 PSI on the outlet.
shot a short video of just a few seconds of turning over, but it does build of vacuum quickly.
that is all i had time for, have to clean up yard, and all loose items, bring trash cans into garage, etc... preparing for Dorian heading this way !! also had to prep my sump pump to keep water out of my garage, they are calling for 5-6 inches of rain !! so everything off the floor !!

Great car !
Posted by Diggymart on 9/7/19 @ 3:48:57 PM