You must be logged in to rate content!
5 minute(s) of a 636 minute read
8-1-2019
well last night went out and adjusted all the brakes, linkages, etc... for the brakes.
check em once check em twice, make sure i had all my pins in and secured
did a courtesy check, spun some wheels by hand stepped on brake, and they stopped.
main point is the pedal gracefully returns to its natural upright position ;) (yes it put the tray back in the upright position as well)
then i realized that i did NOT connect the brake return springs !! ugh, that was a quick minute fix, and now the pedal quickly returns home.
content for now, i know once i get it road bound i will need to drive, adjust, drive adjust once all the new shoes break in and settle, also at that point the will probably be more assertive in stopping and stopping NOW :)
tonight i will shoot for getting the exhaust back in the car. and then i should be back where i was months ago ;) ready to build some head lamps !!
8-2-2019
spent a hour or so reinstalling and securing the exhaust system, down pipe, muffler, and tailpipe. ensured it was all in correctly and seated. did some black paint touch up underneath after doing the brake and exhaust install, few scratches, nicks, etc.
NOW i think i am back to where i was a few months ago BEFORE taking on the brakes and such. next venture will be to build and assemble the headlamps and bar. then get ready to install them on the car. that will get me almost there :)
8-12-2019
alright, time to get back to work, enjoyed the week off and on vacation with the family... but need to get the 1929 completed, or at least really close and running !
started to tinker with the headlamp assemblies tonight, opened up the reflectors i got back from Bill @ Uvira, shiny shiny shiny
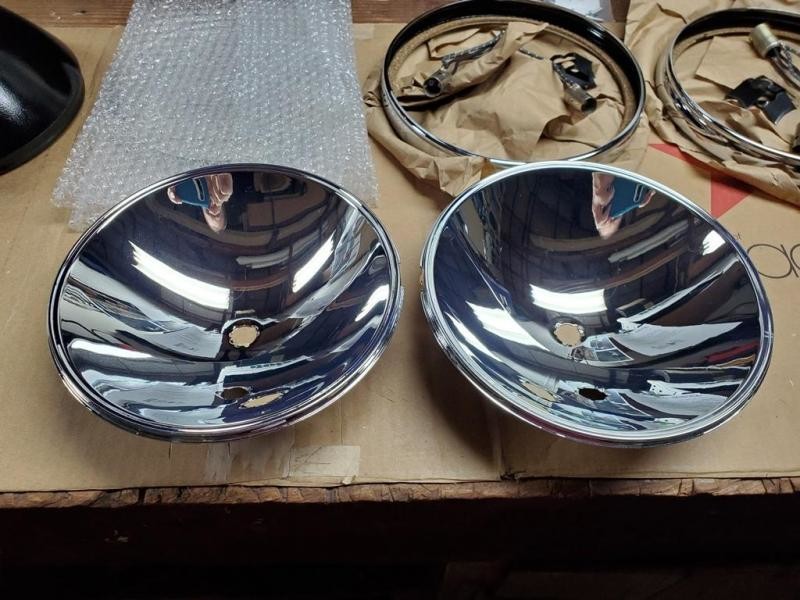
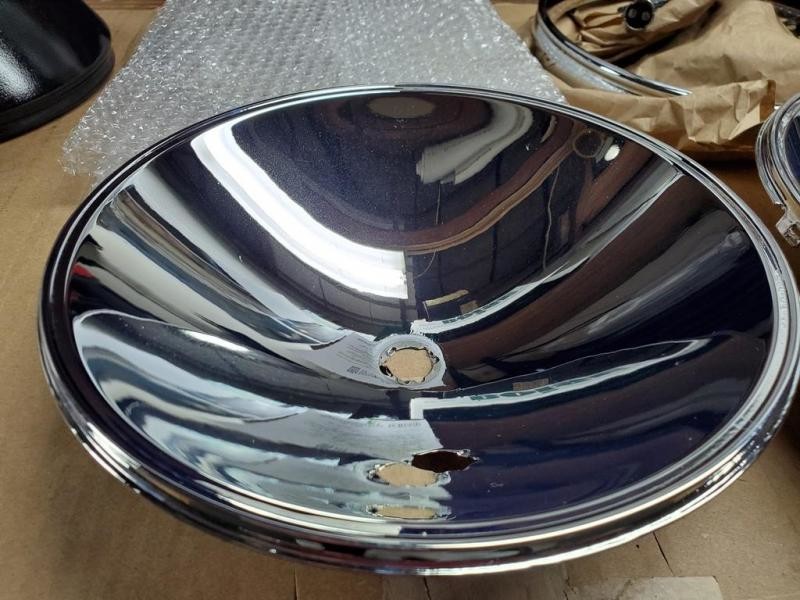
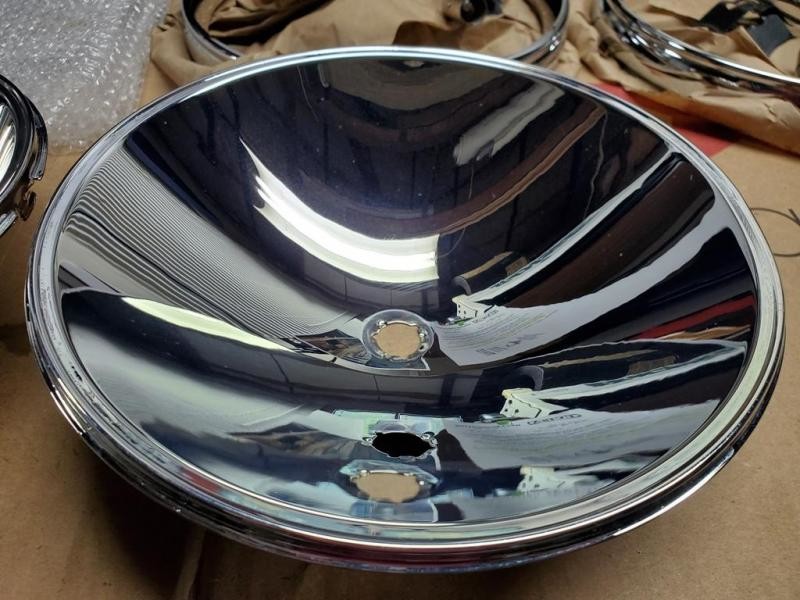
soldered a ground from socket to socket to ensure i have a good solid ground to each socket & light
slipped on the retaining clips over each socket to prep for install
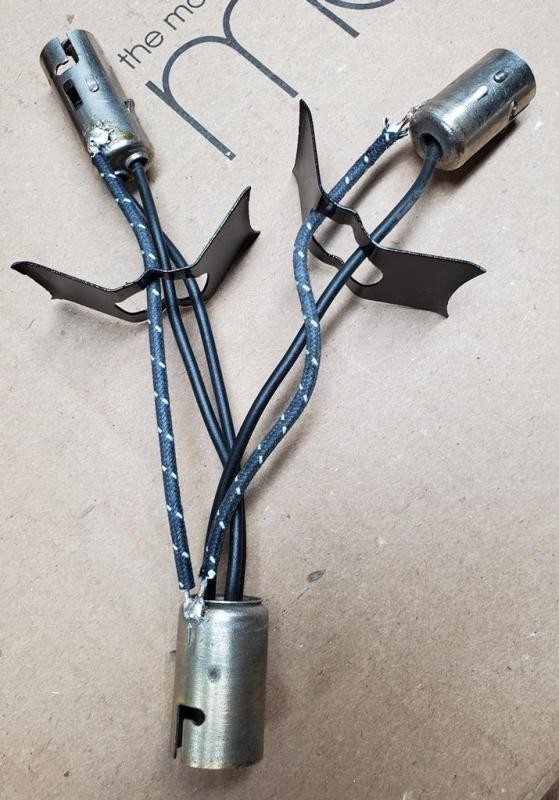
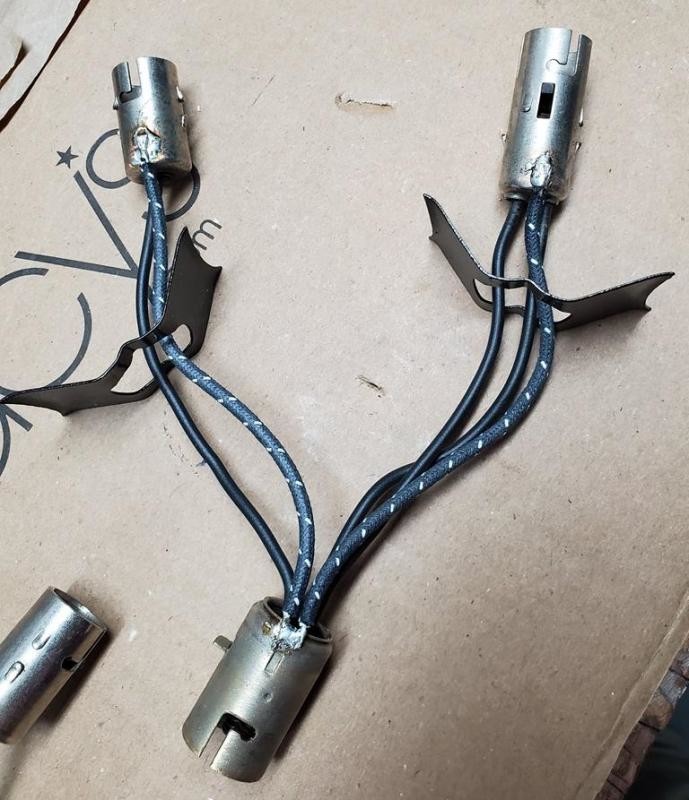
lined up each socket and the pins pushed them through and then spun them gently and slowly to lock the pins into the recesses inside. and then made sure the clips were locked in under the other pins on the sockets.
looks good and should stay in place
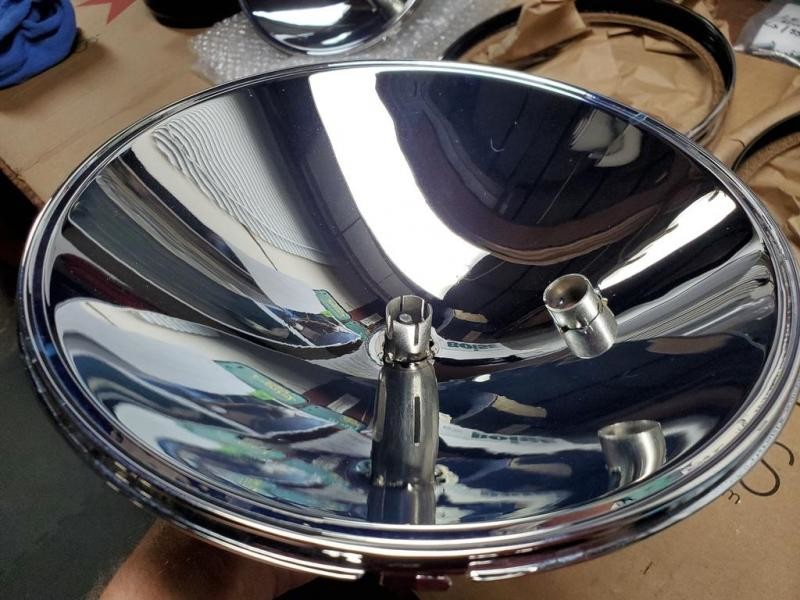
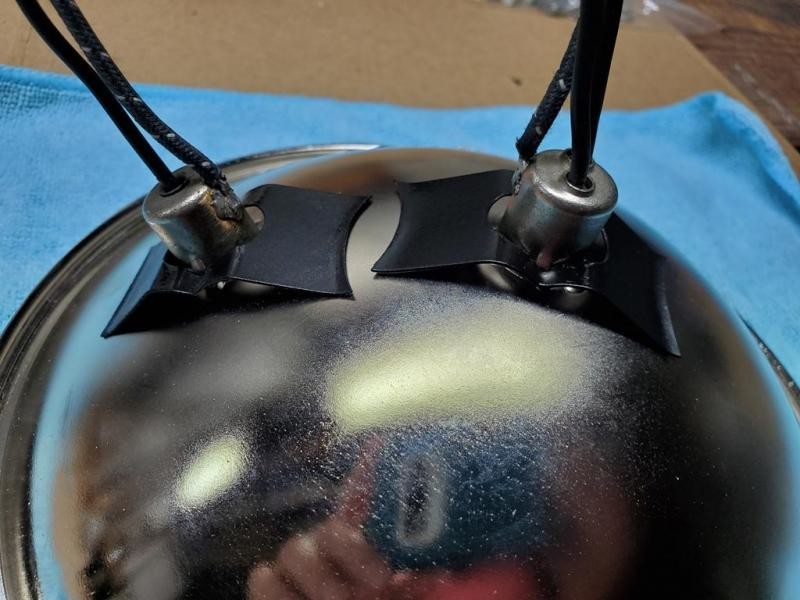
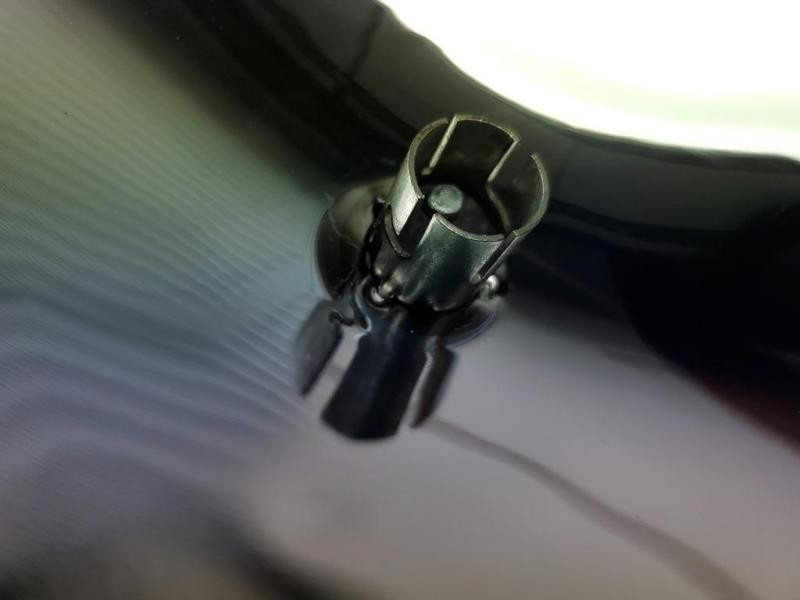
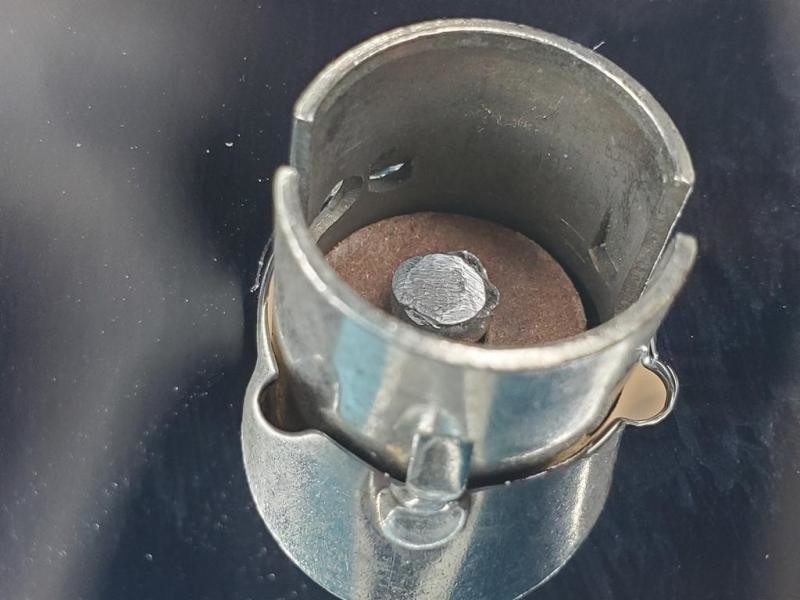
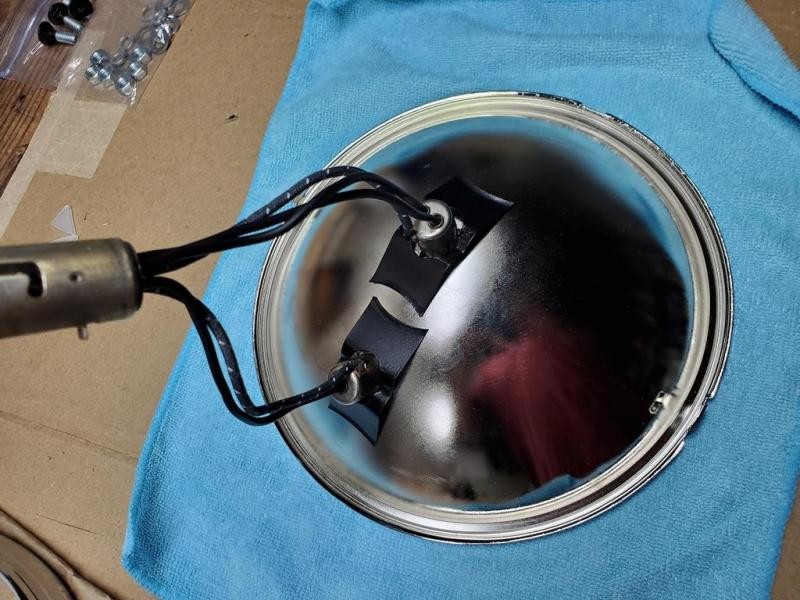
next step i put the main socket into the bucket and bent the clip back in place to hold it. i also sanded the outside of the socket as well as the inside of the socket holder on the bucket to ensure a good solid ground.
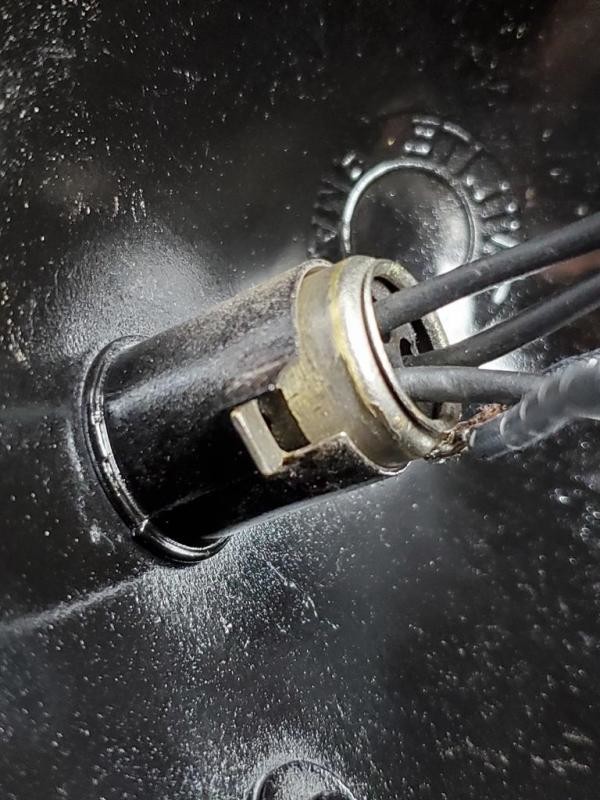
close up of tab sticking straight out on left
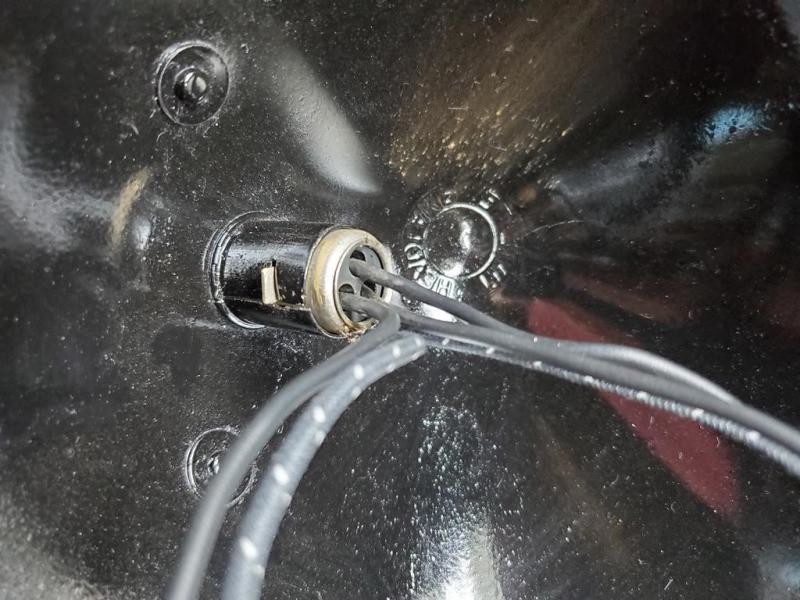
tab bent over holding in socket connector
finally slid in the reflector assembly and ensured all wires were free and clear of obstructions, and then locked in the reflector via twisting it to lock in tabs.
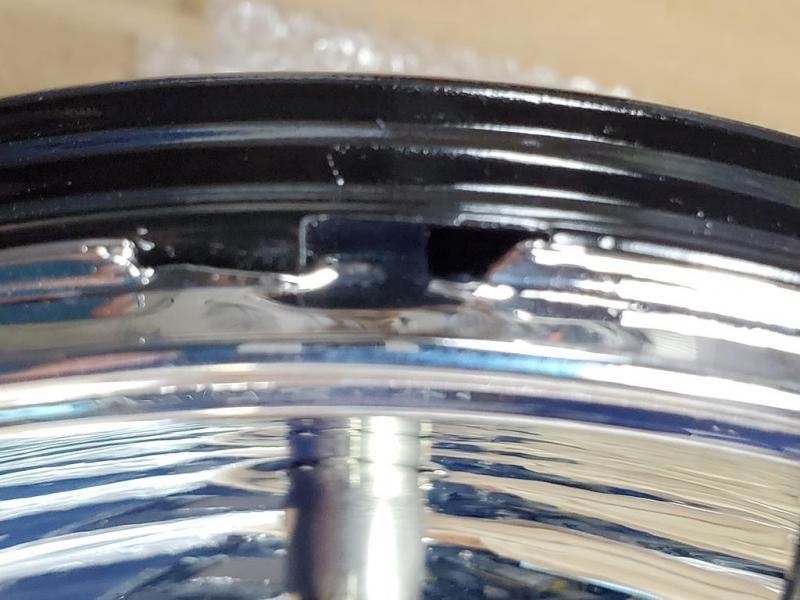
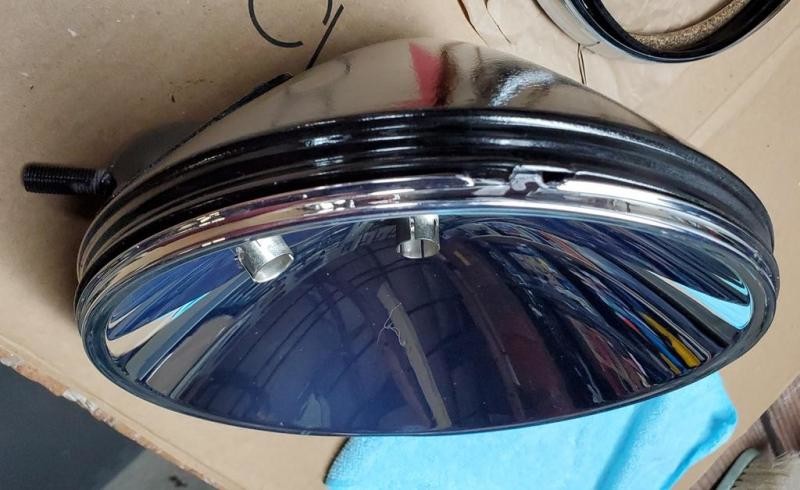
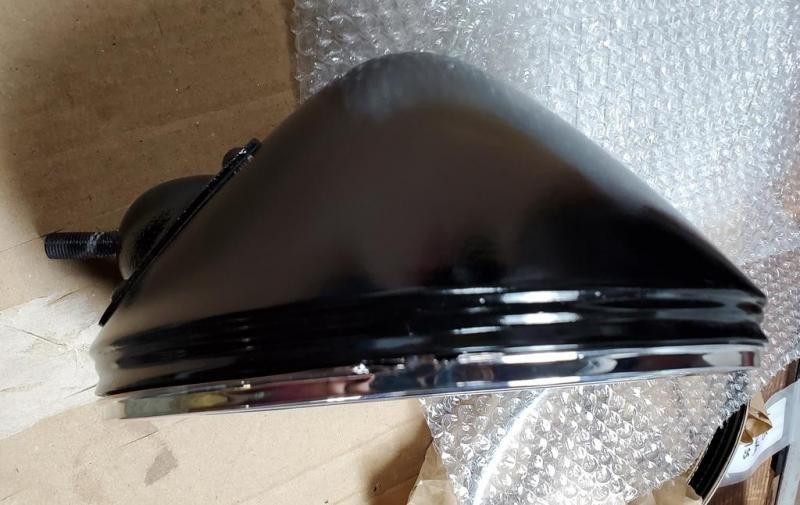
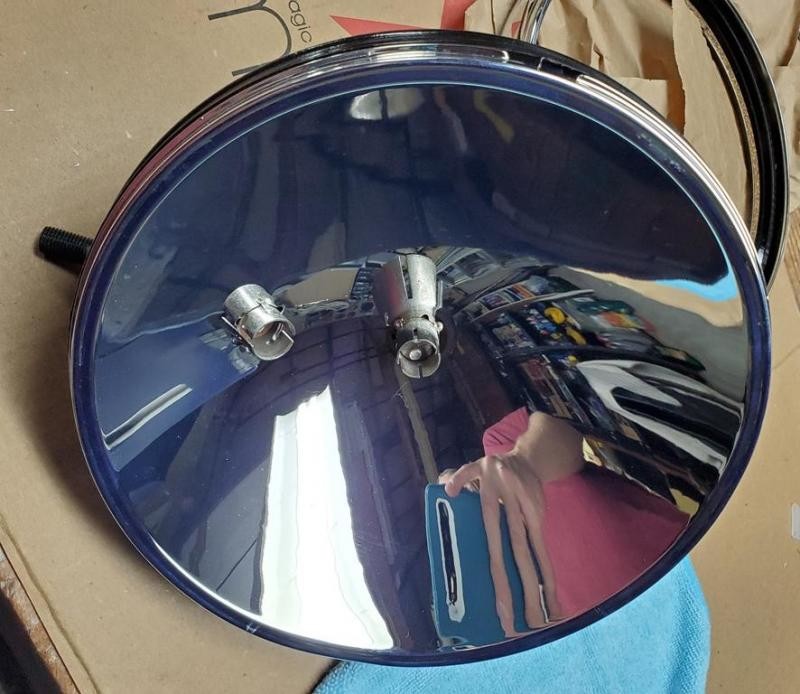
the next step will to build the front assembly and put it on the lower bucket assembly, after i install the bulbs.
i have a stock set of 1000 bulbs which are 21cp - 21cp
ordered a 2 sets of LED replacement bulbs (each a different type/style of LED) for the 1000 bulbs, gonna see how they look and work BEFORE i install on the car.
as for building the top, plan to proceed as follows:
lay the chrome trim ring on the bench, install the glass lens, raise glass face down (outwards) using the metal tab to align
...should the tab be bent over the lens to hold in place or does it also hold the gasket, and go into the bucket assy ?? or just stick straight up ??
install the gasket on top of the glass lens
...does gasket sit on top of the tab, or go inside the tab
place the trim ring on the gasket, flat lip down towards glass
...or does it go flat lip away from glass
Great car !
Posted by Diggymart on 9/7/19 @ 3:48:57 PM