You must be logged in to rate content!
7 minute(s) of a 636 minute read
7-26-2019
on Monday went by platers, talked with them, got the reflectors taken care of.
Monday evening cleaned them up, packed them up and prepped for shipping.
Tuesday dropped them off with the local Postal Service to head to Oregon via 3-day Priority Mail.
Bill at Uvira contacted me on Friday to let me know that he had received my reflectors, and that they would be top priority on his list for Monday, as they are closed Friday. so I was very happy to hear that he went out to get my reflectors and validate them and get back to me on his day off. Bill said if all goes well they should be back on their way to me by Tuesday !!
Got an email Monday afternoon from Bill, reflectors were cleaned and plated, then coated all before lunch on Monday. they are packaged back up and waiting for FedEx to pick them up to return them to me.
Based on tracking, and he shipped the FedEx ground, will be 5-7 business days before they get here. West Coast to East Coast.
so looks like i should have them back mid next week. as soon as i get the box i will open, validate and test fit. want to make sure i get MINE back this time ASAP :)
7-27-2019
well it was a very busy very productive Friday night...
i decide to try and tackle the rubbing pedal issue. i pulled 2 metal toe board plates that go around the steering column and pedal, and removed the screws holding in the toe board, i was able to cock the toe board enough to remove both the clutch and the brake pedal. i used my 20 ton press to tweak and straighten out the pedal arms. did a few test fits, and then trimmed the metal plates around the pedals by about 1/8" inch for insurance. you can not even tell they were trimmed unless you sit them on top of another untrimmed set. but now both pedals move freely and do NOT rub anything !! each time i did a test fit i have to bolt in the floor, bot int he plates, test and double test. then undo it all remove the pedals and press some more. a little at a time.
after i was happy with the fit, i removed all the metal parts i just worked with and sanded them up and prepped them for fresh primer and paint. i will do that tomorrow when i get the rest of the brake parts out so i can paint everything at once.
got up this morning and hit the brakes right after breakfast. in order to remove the cross shafts in the 1929 i have to first remove the exhaust as is is directly under the cross shafts and there is not really enough clearance to get the cross shafts out. dropping the exhaust was pretty easy and simple. put it all on the bench for now until ready to go back in.
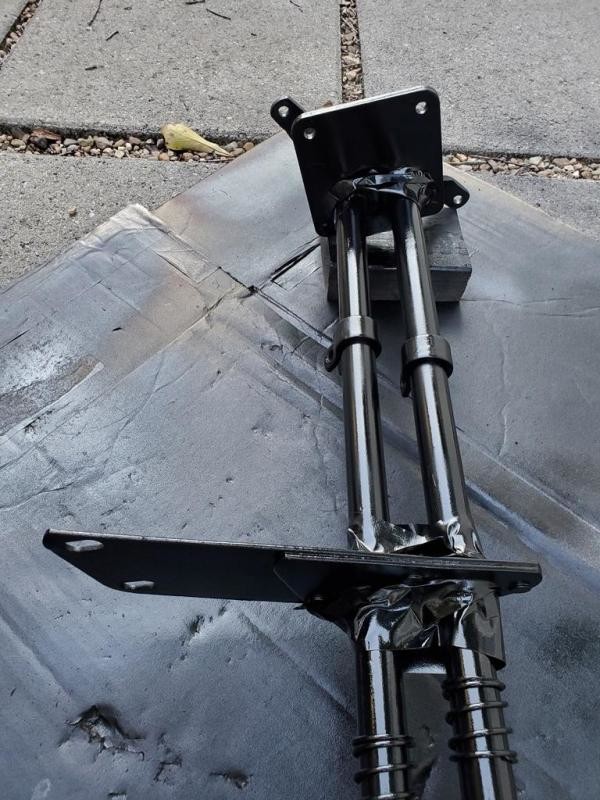
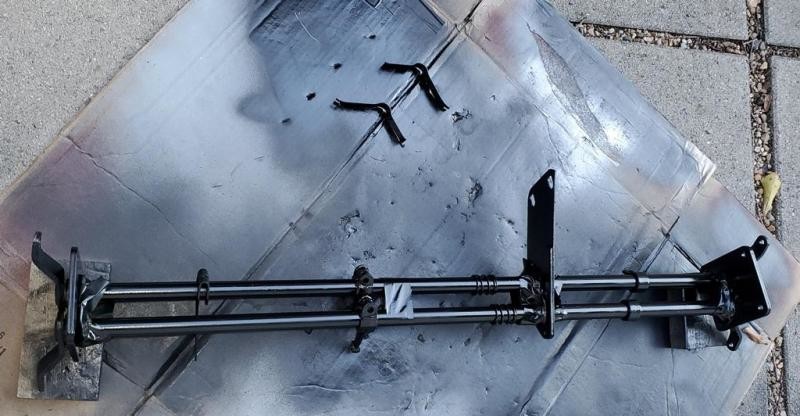
now on the cross shafts, i used my milk crate and some 2x4 to build my some cribbing under the center of the car just to be safe and ensure that it just did not drop and squash me. i removed the center hardware first, then loosened the 2 bolts on each side, then remove all but 1 bolt on each side. then pulled them out slowly while supporting the cross shaft assembly. dropped it down onto my chest and rolled out on my creeper and done. now to tear it down, clean it up, free up the bushings, and then prime, paint, and reinstall.also plan to remove all the spray lithium grease i put in a few years back when i first got the car.
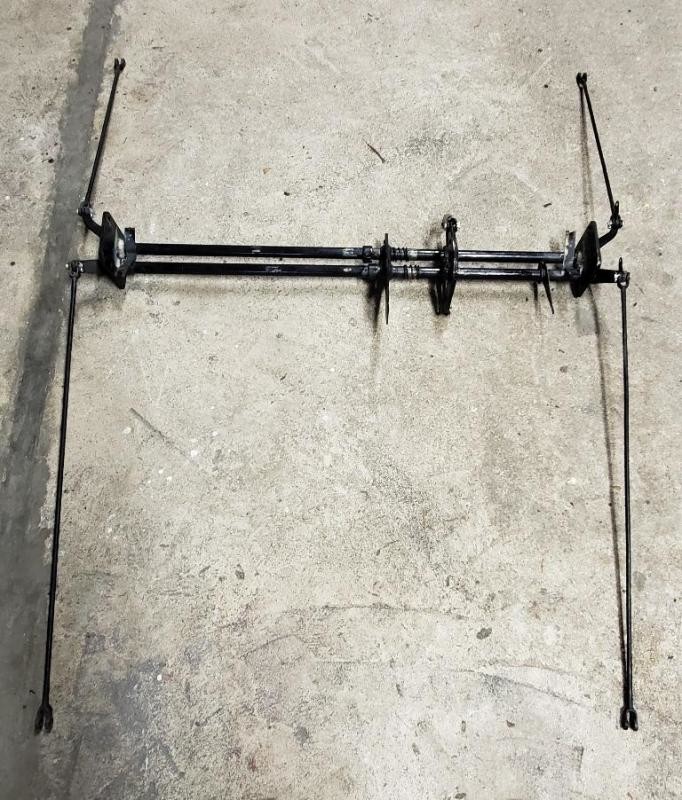
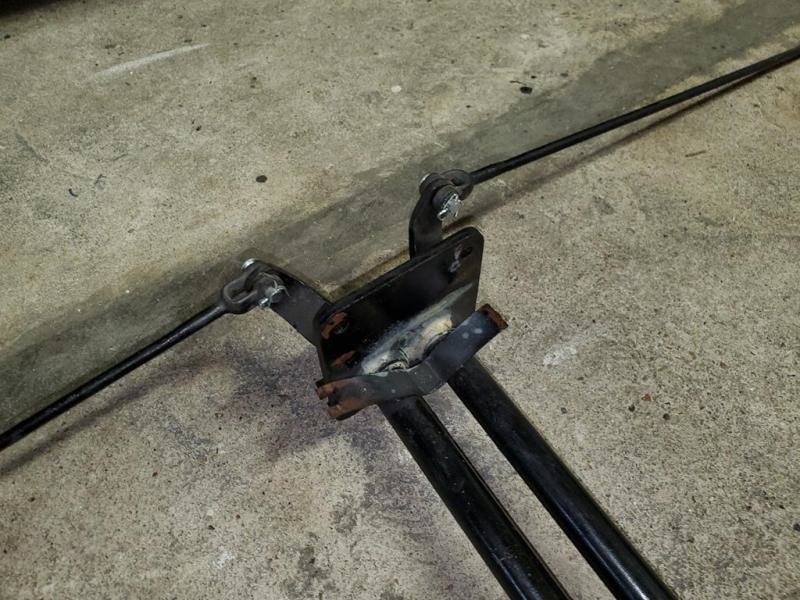
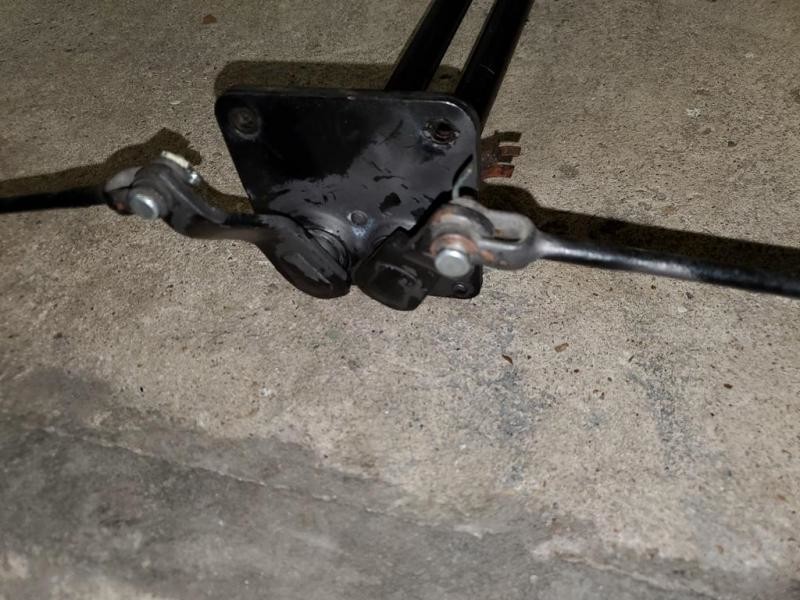
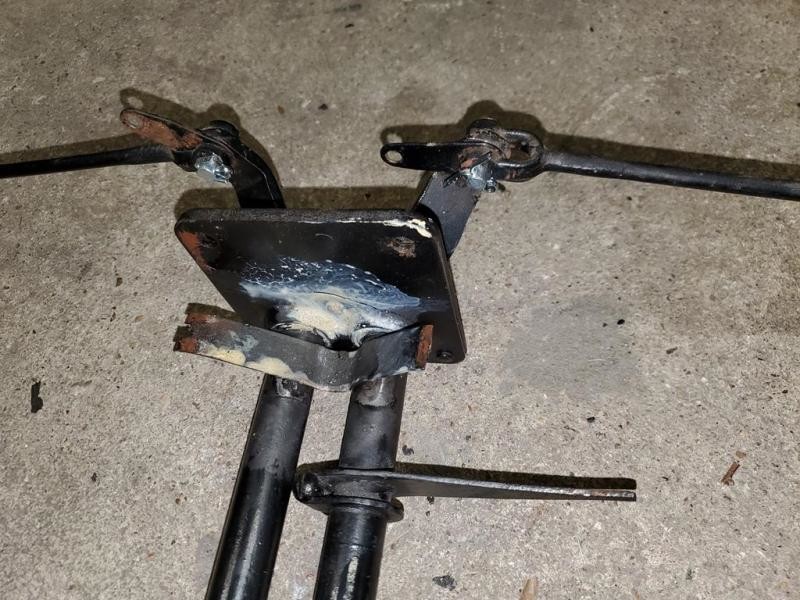
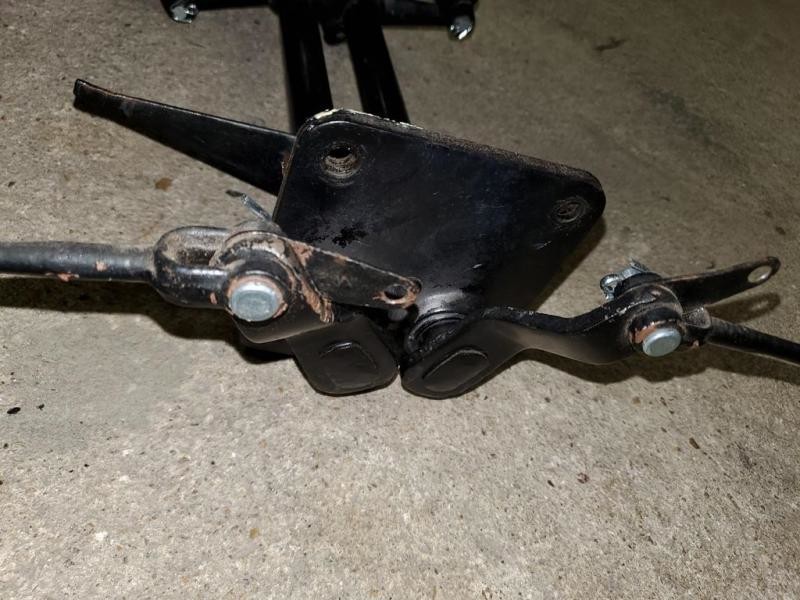
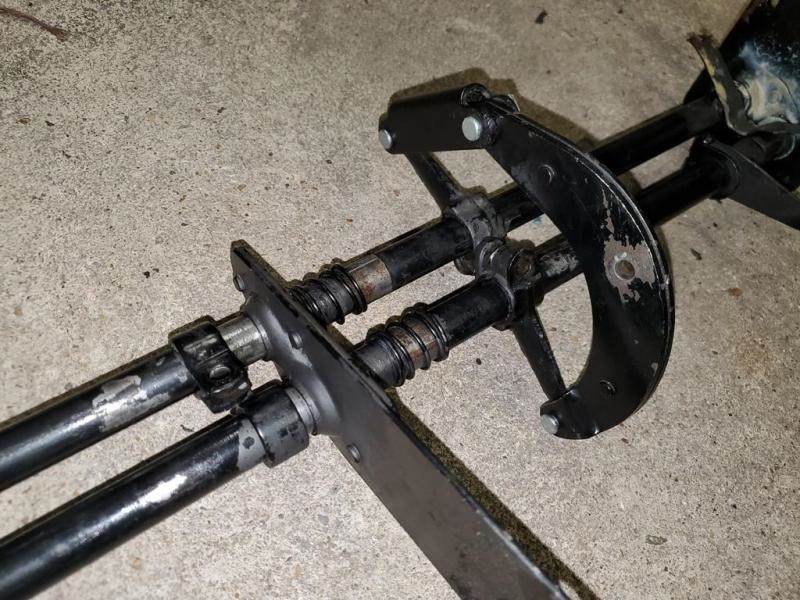
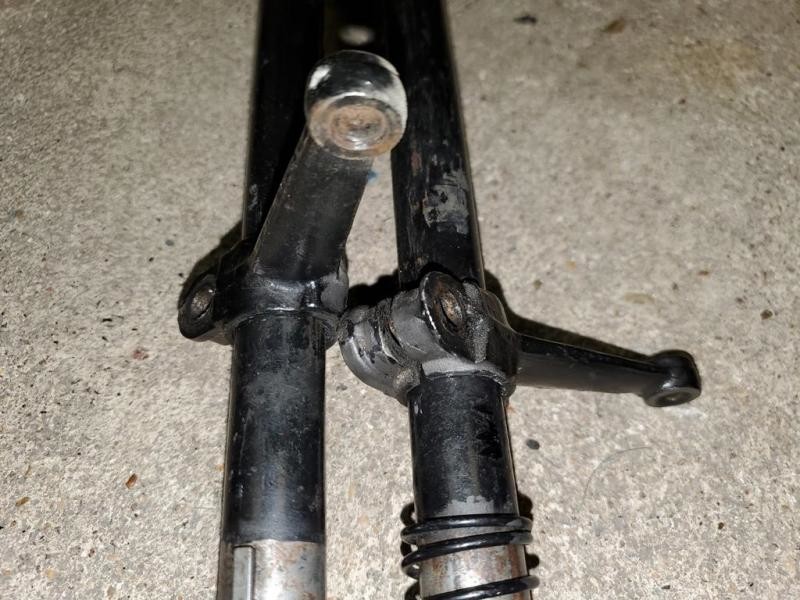
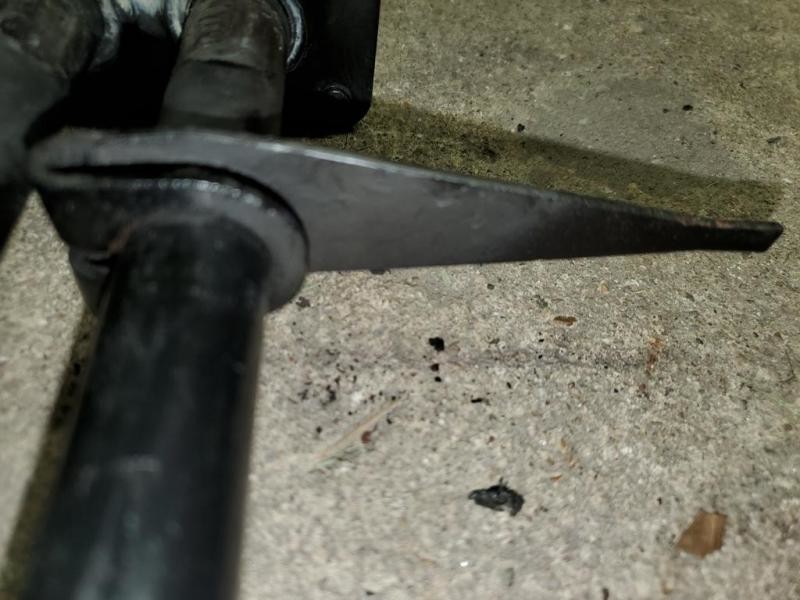
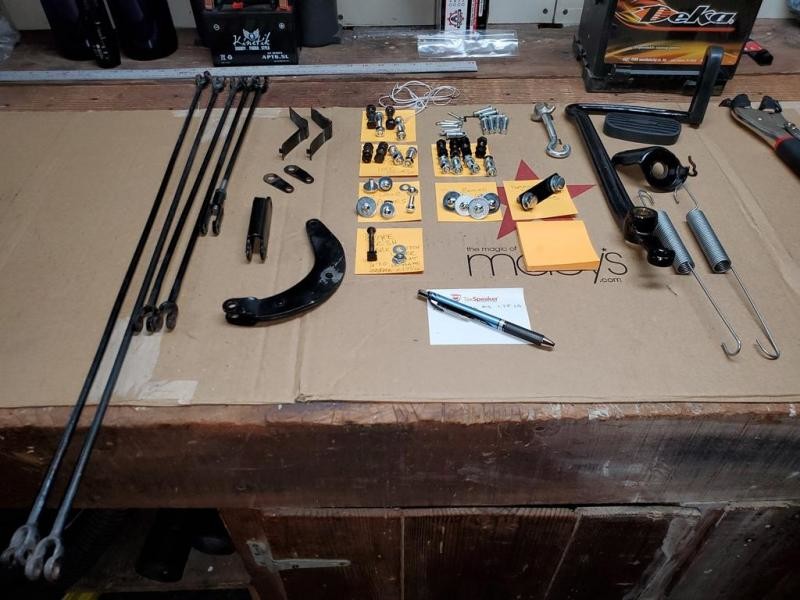
got everything torn down and ready for strip, primer, paint process, laid everything out on the bench and labeled the hardware and pieces so i do not forget what is what.
now onto the fun part, freeing up the shafts !!
what i did was strip off the paint on the shafts just outside where the bushings are now. about 2-3 inches. then used brake clean with straw to blow out all the debris and grease/oil in the bushings. then gently tapped the bracket down the shafts using a block of wood and my mallet. when the bracket/bushings hit the cleaned shaft they moved easily and freely. it looks like the PO painted the shafts and then put brackets back in place, so there was paint, and crap on the shafts. i cleaned them up with some fine sandpaper, i did this for both ends. then put the bracket/ bushing back in position. and i could easily spin the shafts by hand with no effort at all. did not take any pictures of the gunk on the shafts under the bushings, hands were messy, and was not about to touch my phone to try and get a picture, i was in the zone of cleaning !!
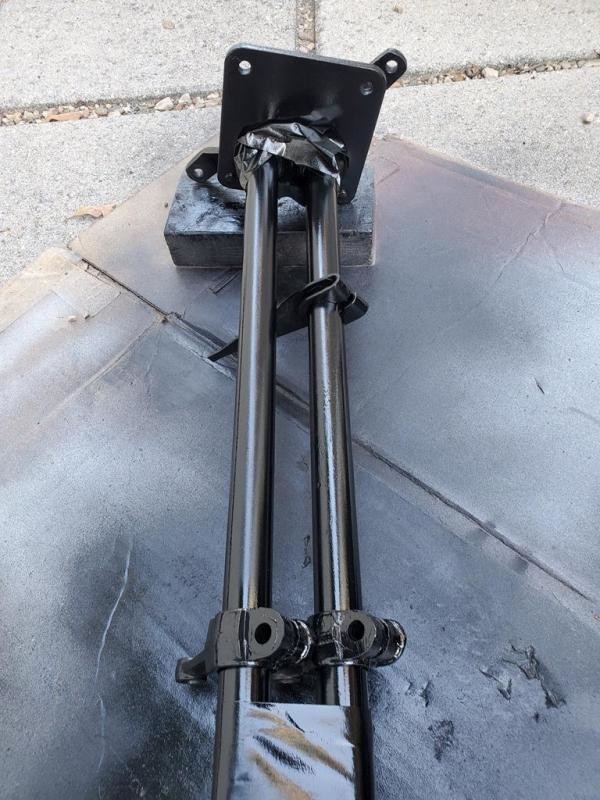
then i cleaned up the shafts from end to end, and all the attached hardware, so i can prime, paint, and reassemble.
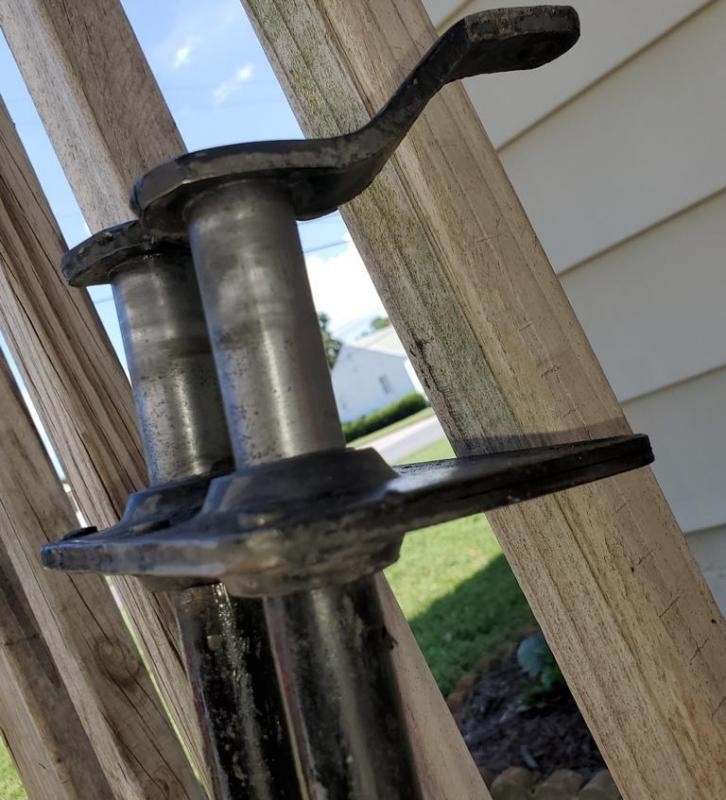
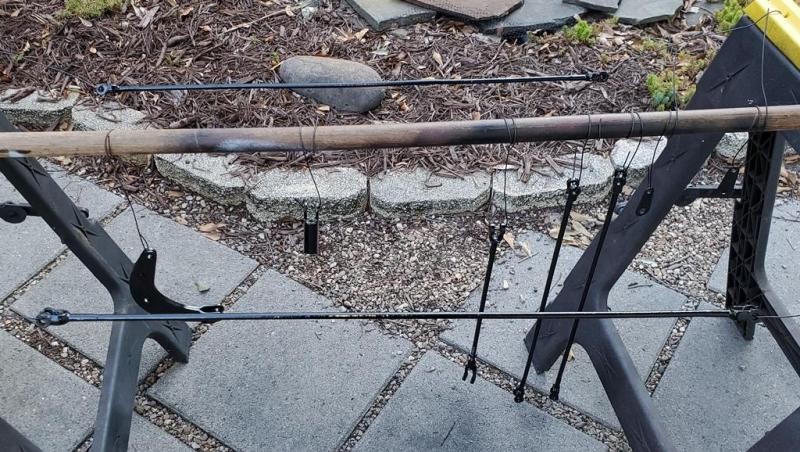
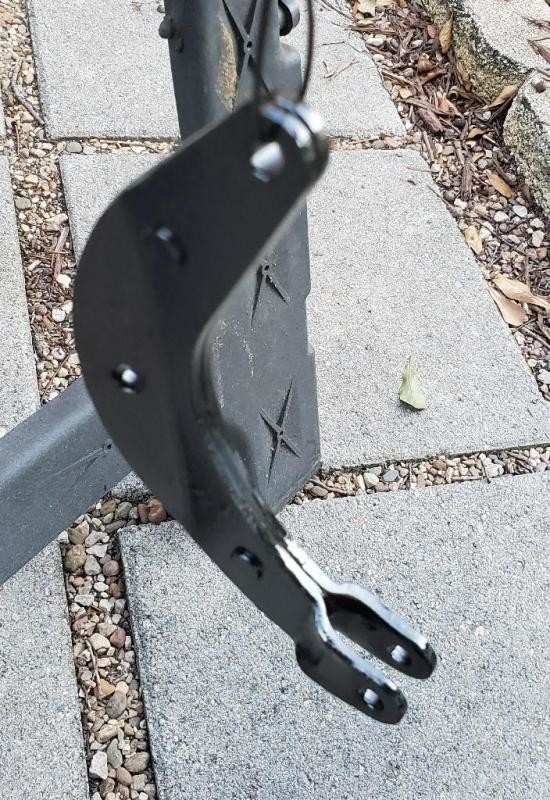
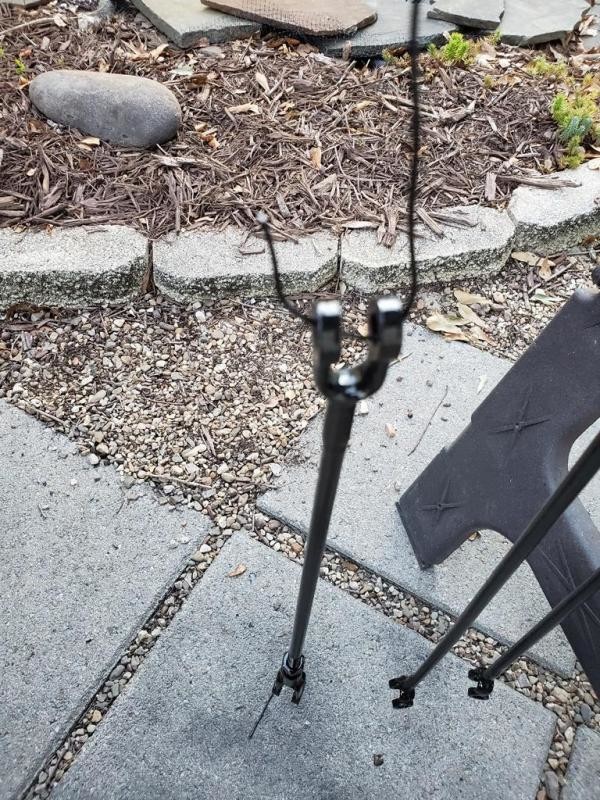
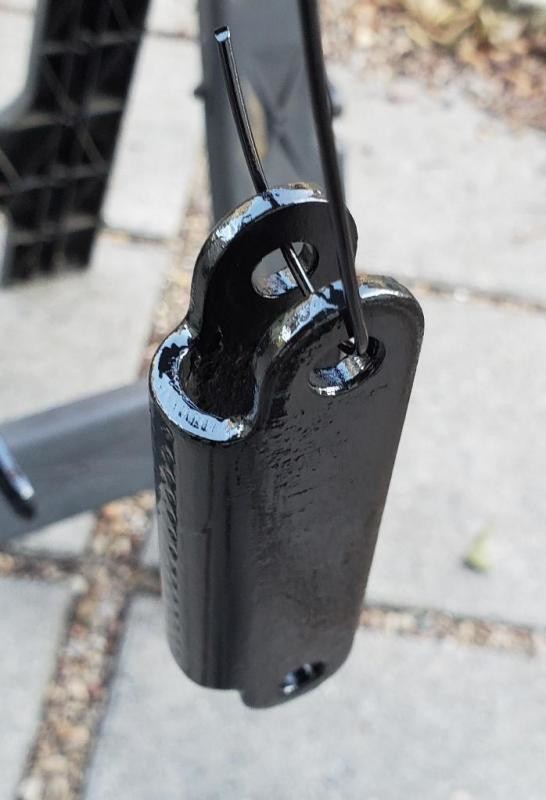
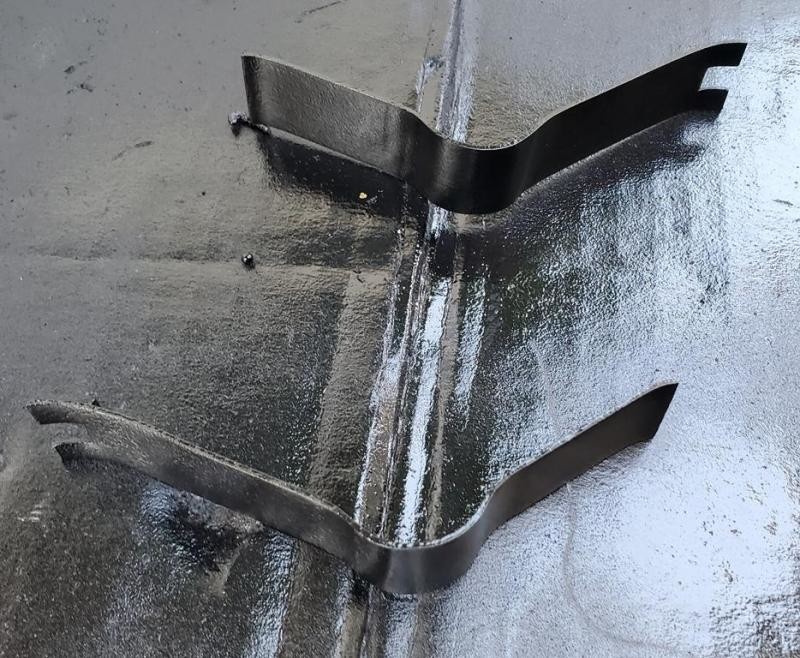
once all cleaned up i taped off the shafts areas, and bushings and then primed and painted the shafts and pieces. this will be a 2 step process to ensure i get everything painted and do NOT get paint on the bushing areas of the bushings

Great car !
Posted by Diggymart on 9/7/19 @ 3:48:57 PM