You must be logged in to rate content!
4 minute(s) of a 636 minute read
3-25-2019
ok guys
got the buckets, rings, and crossbar back from paint :) going to start working on rebuilding the headlamps. pulled the information from the MPPL, IOC, & Repair Manual. None of them provide detailed information on HOW to put together the headlamp assembly correctly, other that the color of bucket is Black and the Rim is Chrome, and note that the parking light is ABOVE the headlamp.The PO did not have them assembled correctly as I have learned. so I am going on what looks like the proper way to assemble and install.
I will first BUILD the headlamp assembly, then once i have both done move onto installing them on the bar :)
I have for assembly:
Reflector x2 (Redone by Uvira)
Pigtail 3-way x2 (New from TFS)
Bucket x2 (stripped, primed, and painted Gloss Black)
Clamp x2 (stripped and primed)
Bulbs 1110 x2 (High/Low beam)
Bulbs #55 x2 (Parking Light)
Gaskets/Seals x2 (New Cork Style from TFS)
Lens x2 (Have NOS plus originals which are worn -> road blasted) pict is of old
Rims x2 (New from TFS) pict is of old
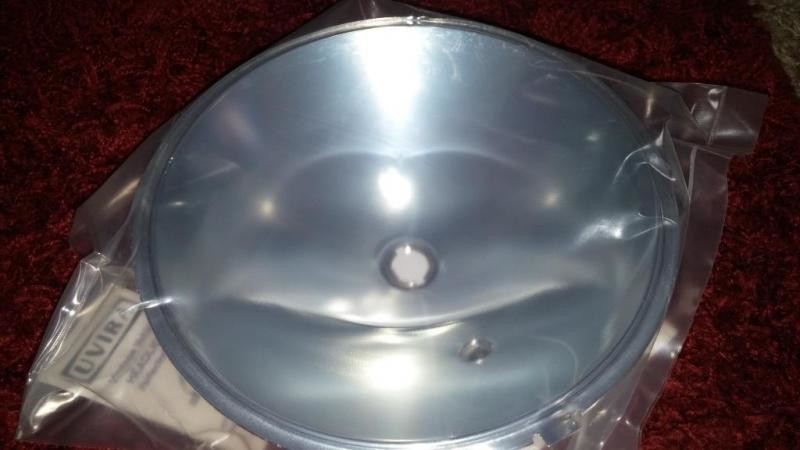
fresh aluminization reflectors by Uvira
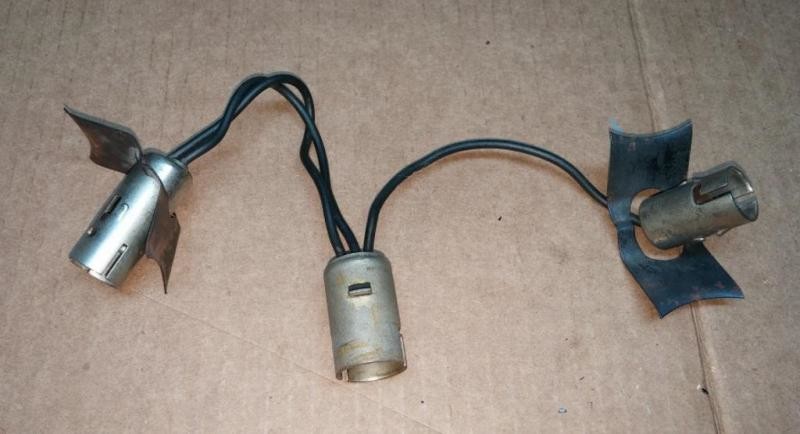
3 way pigtail for headlamps
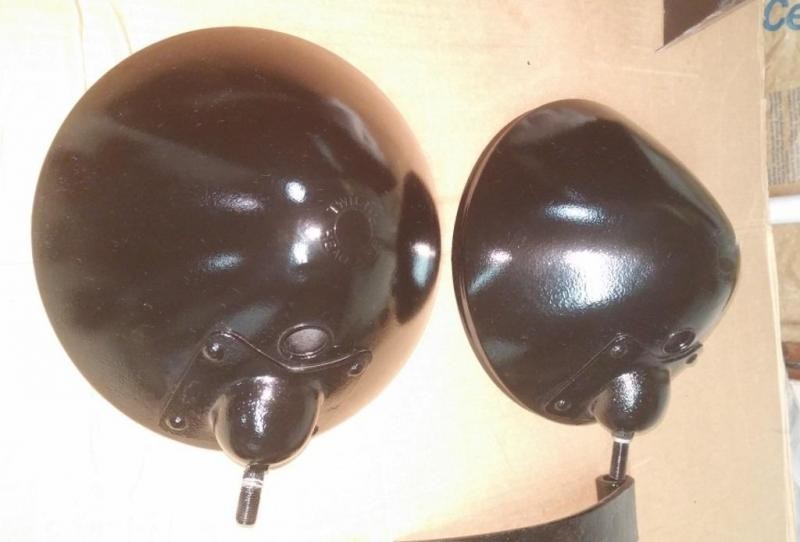
freshly painted headlamp buckets
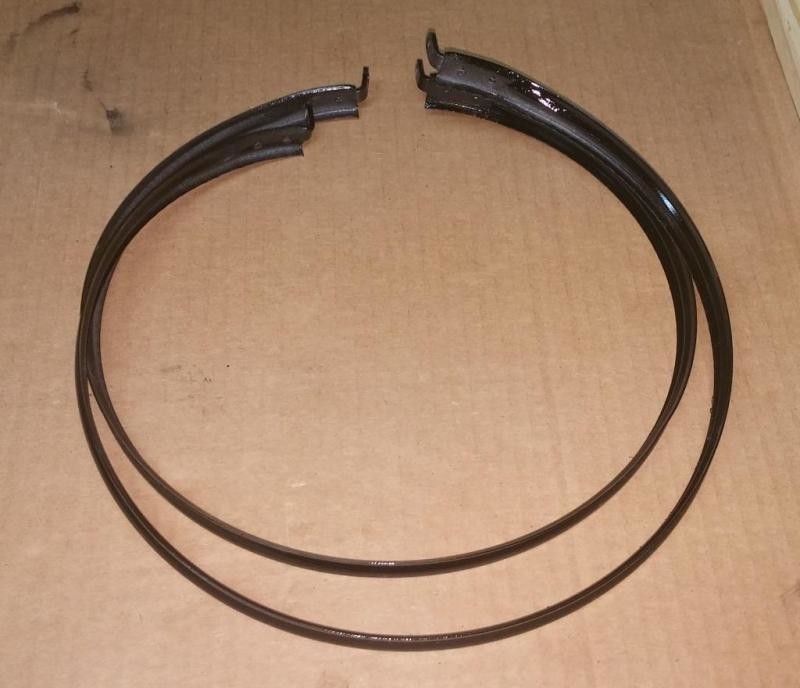
headlamp rings
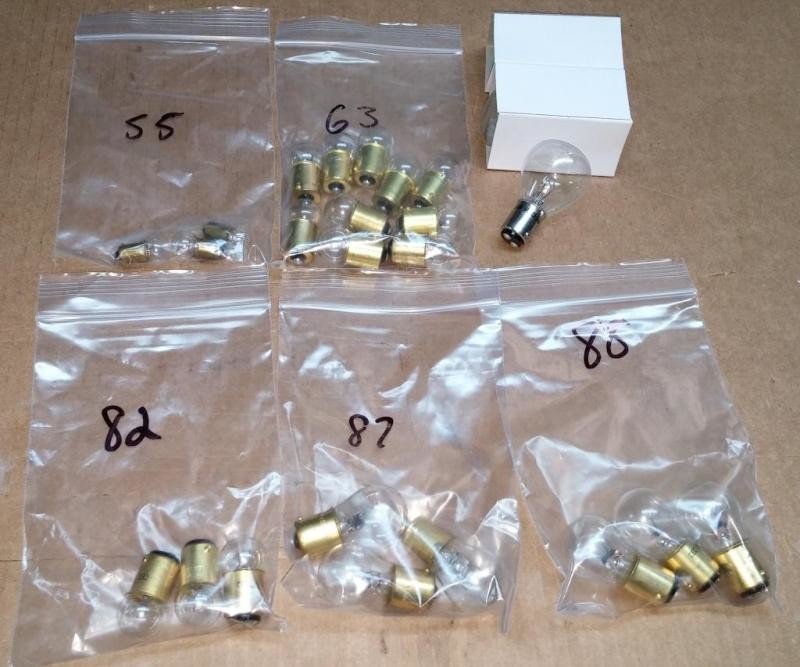
my bulb assortment, well some of them anyways
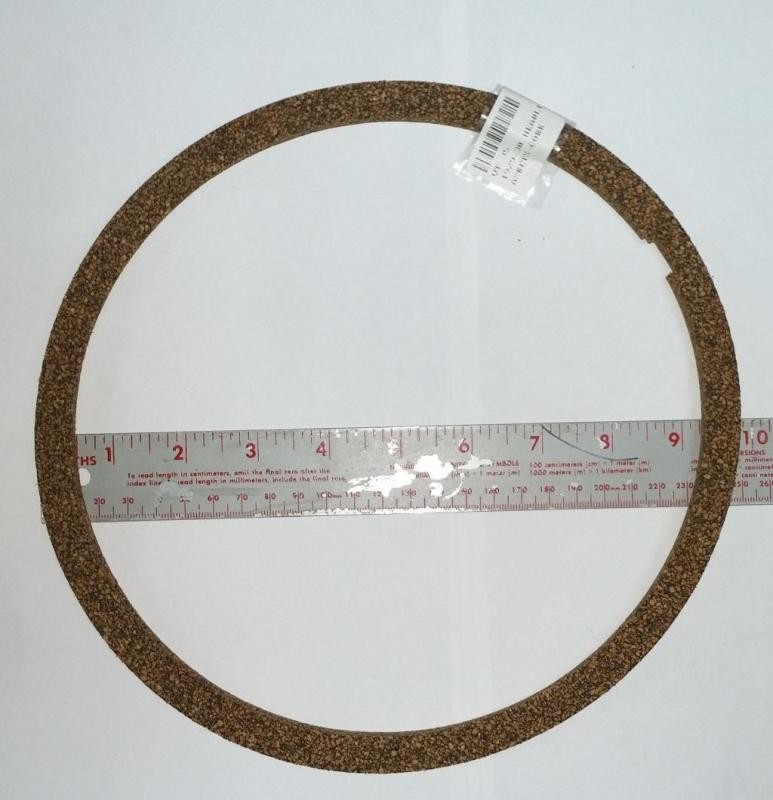
new cork gasket for headlamp from The Filling Station
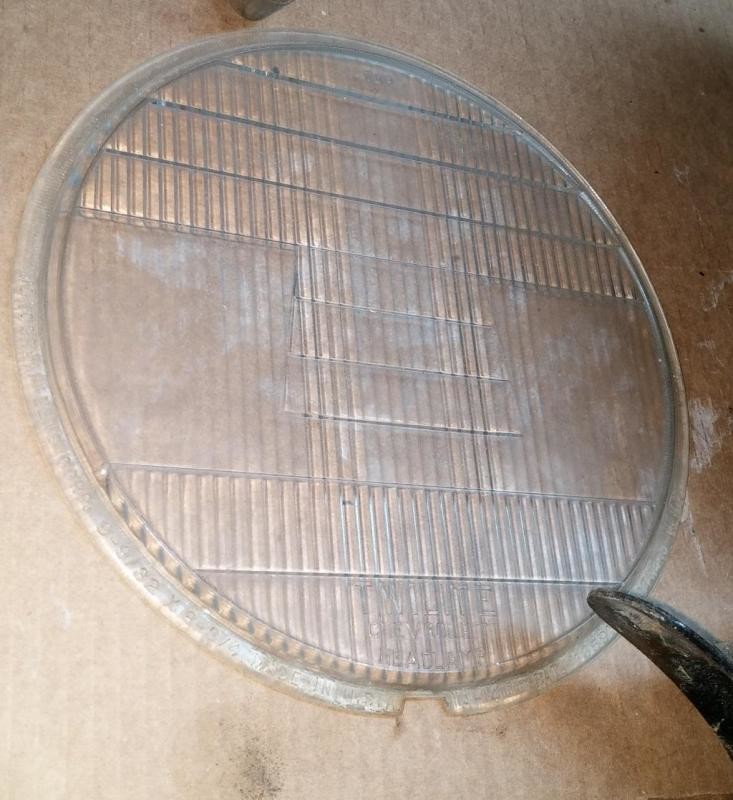
original headlamp Lens, i have a set of NOS that i will use, this are pretty road blasted
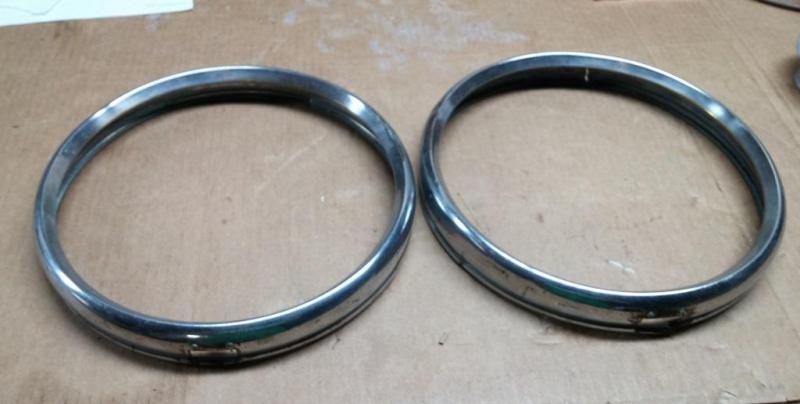
Original rings that we re on car, i have a set of New Chrome ones also from The Filling Station
Here is my Plan of Action:
install the Pigtail into the reflector
...install headlamp socket in center of reflector w/ 2 wires secure w/spring clamp, parking lamp socket above headlamp w/ 1 wire secure w/spring clamp, left hanging is main connector w/ 3 wires
install reflector into bucket
...install main connector (left hanging above) into bucket, and secure (bend tab over into place)
???which way is up on connector or only goes one way or not relevant ???
...use tabs and slots to install and secure
...ensure parking lamp is above headlamp !!
install clamp ring around bucket and reflector
...ensure hardware is at bottom of assembly and do NOT over tighten
???are these one way install or can they be installed either way flip front to back ???
install bulbs into sockets in reflector
...test bulbs to ensure they work and function correctly
install seal/gasket
...use notch to align properly
install lens
...install with prism side IN and text "TOP" legible from front top outside
install rim
...seat and secure rim to bucket
...ensure gasket is seated, lens secure
repeat for other headlamp assembly
I am not certain on this, due to that mine were not truly assembled when i got it, assume the gasket goes between reflector and lens to seal out moisture ?? could be wrong on the location ?!?
Great car !
Posted by Diggymart on 9/7/19 @ 3:48:57 PM