You must be logged in to rate content!
5 minute(s) of a 636 minute read
6-29-2018
Well i made up new cables, used 1/0 cable cloth wrapped from Rhode Island Wiring, bought the Fusion (Pre Solder) connectors and clamps.
The cables from Rhode Island were very nice, I had them pre cut the cables to my lengths, no charge. since i have no way to cleanly cut 1/0 cable. read the instructions and watch a few videos on how to solder on the connectors. they went on pretty easy and looked great, then used from electrical heat shrink to seal them up and clean them up a bit.
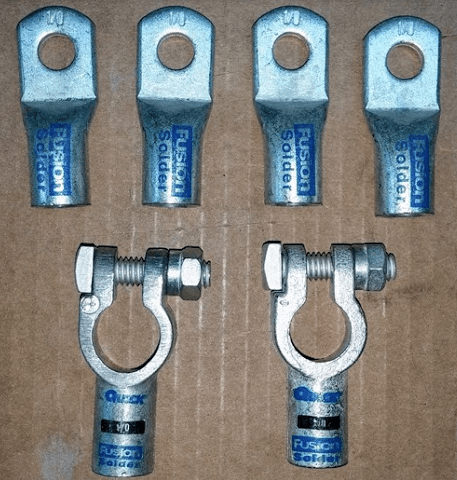
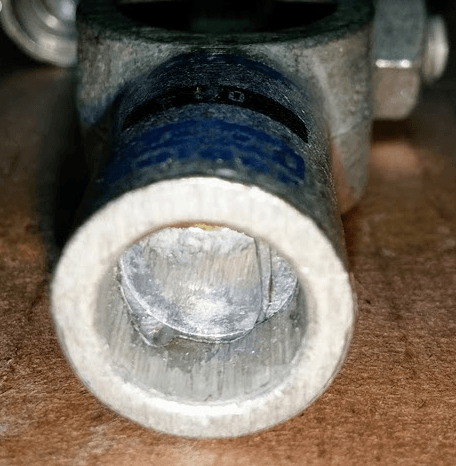
Here is a quick shot of the Cables Soldered and Assembled. the connectors and clamps are at those angles as that is how they will sit when installed in the 1929
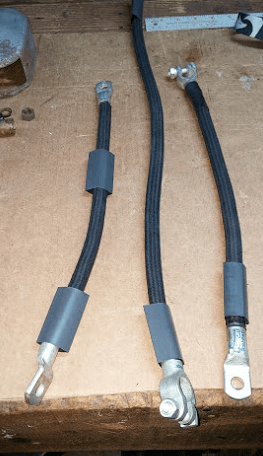
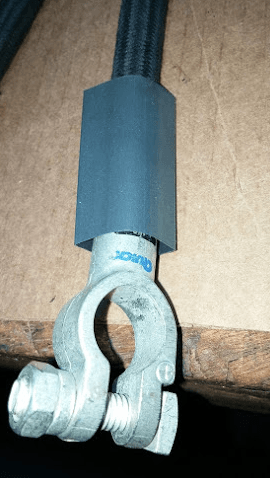
had no way on hand to heat up and shrink the tubing, so ventured over to a fellow AACA members house and used his heat gun to shrink the Tubing
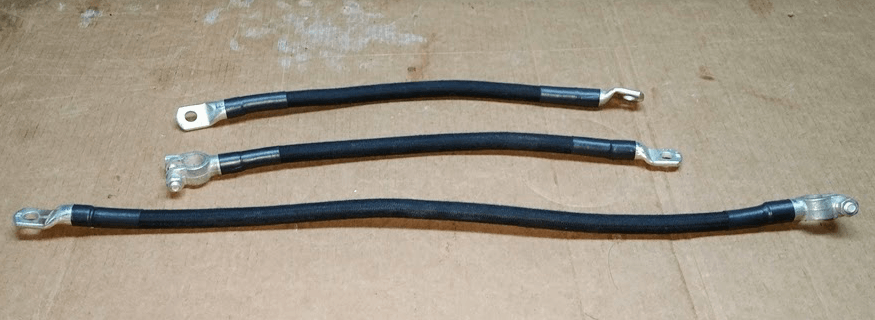
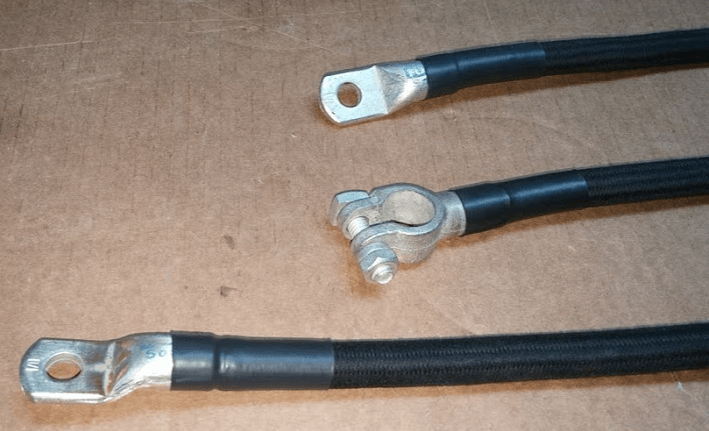
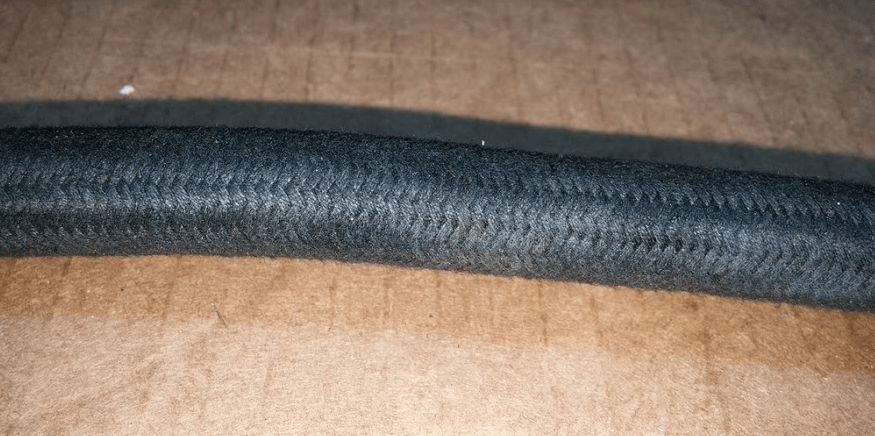
They came out really nice and I am happy with them.
The LONG cable is for the starter. the other two are for ground. one from frame rail to disconnect switch, one from disconnect switch to battery
I am installing a disconnect switch as well. this way i can disconnect the battery from ground when in storage, also will hard wire charging cable to the battery clamps. this will make it easier to access and charge the battery while installed.
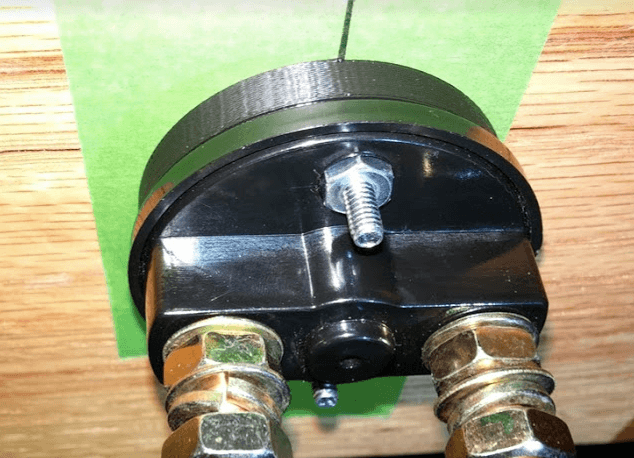
Pictures of the Disconnect Switch
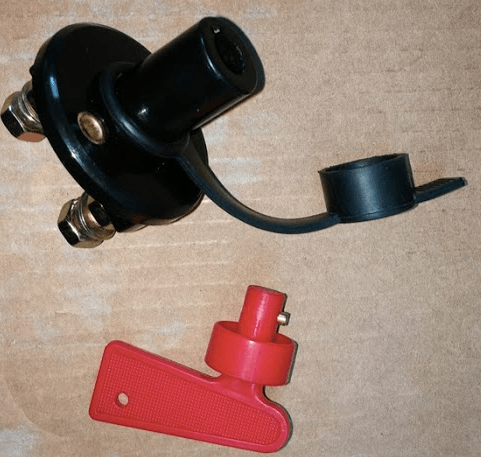
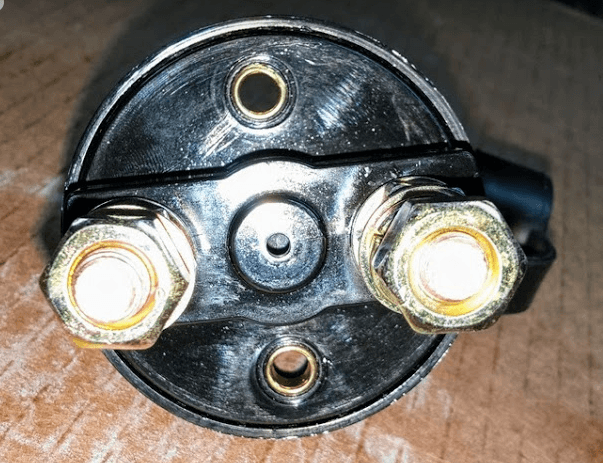
I plan to mount it just under the passenger seat in the floor wood.
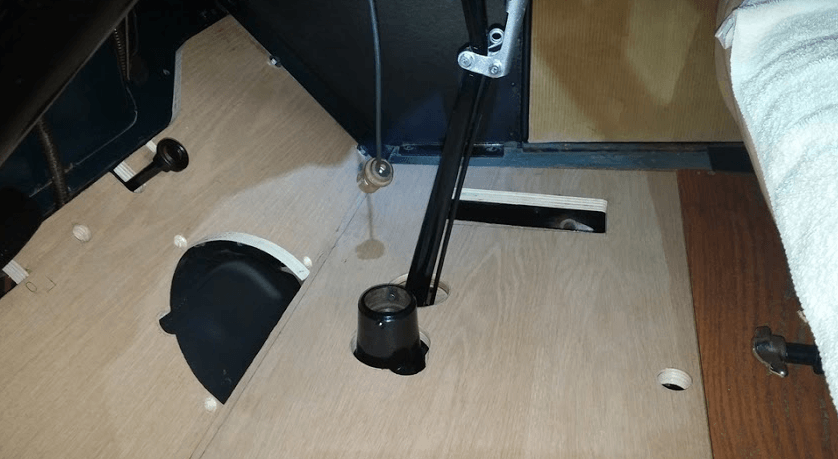
..would be top right in this picture, this allows for easy access and it is out of the way of feet and getting in and out.
I plan to mount it under the wood, so only the center post of the Switch will be visible, and can place the key or cap on it when needed.
however the post was way to long and stuck way above the wood, so i needed a way to lower the switch and securely mount it. 3d Printing to the rescue, i designed a spacer and printed it out in PLA on my handy dandy 3d desktop printer.
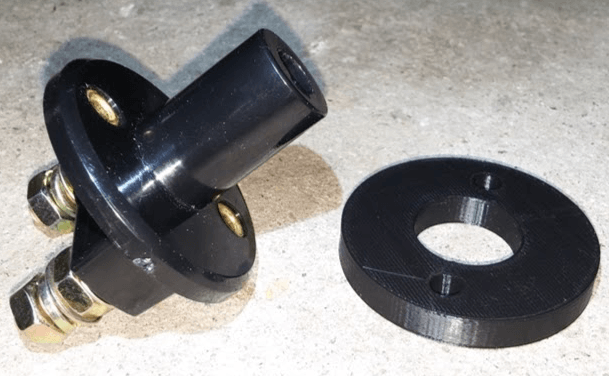
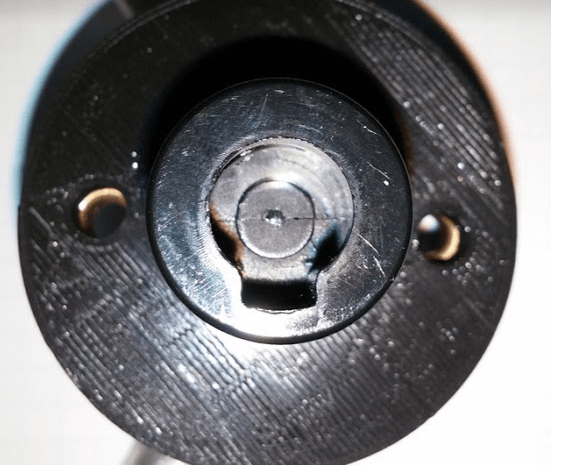
the holes line up perfectly and fits nicely.
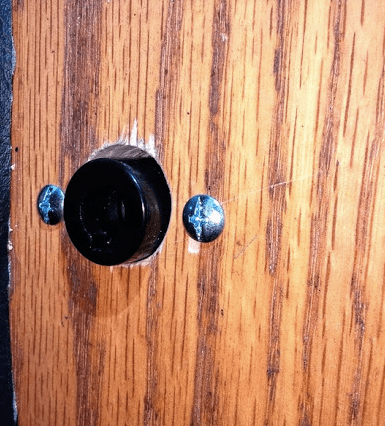
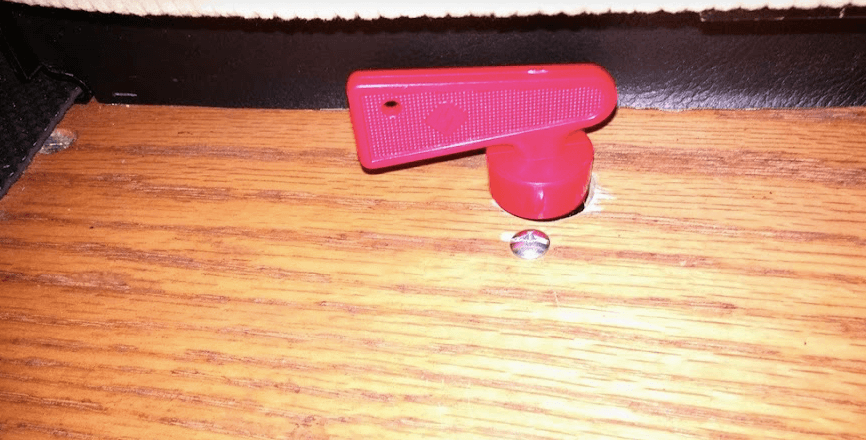
When it gets permanently installed i will use machine screws, flat head slotted so they will sit flush with the wood.
spent some time working on the Floor Wood. I spent a week or so trying to match up finishes and colors on what Ted (Chistech) di on the Oak he installed under the seat. After many tries and not getting close I threw in the towel and pulled the seat, sanded and stripped the piece of wood and then put 3 coats of Helmsman on it and the Floor Board & Toe Boards. I put on a coat, let it sit 12 hours, lightly sanded with 220 sand paper, then applied another coat.
have to say that it came out really nice, probably too nice. 2 coats would have sufficed, but directions said 3 to seal... I also used the Satin finish, did NOT want a shiny coat.
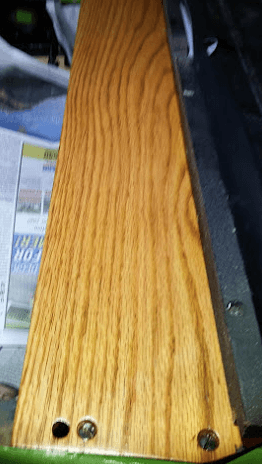
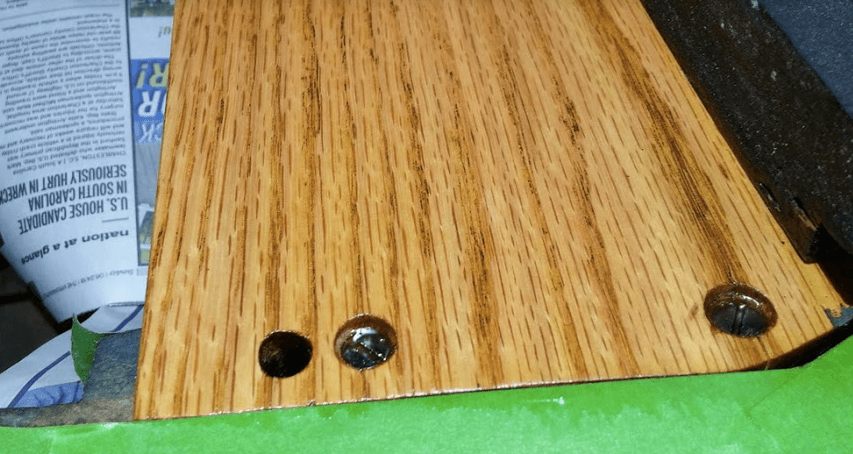
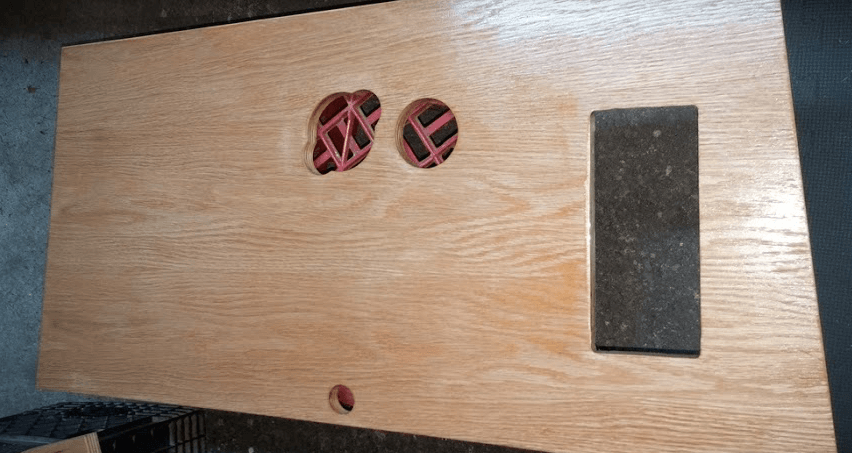
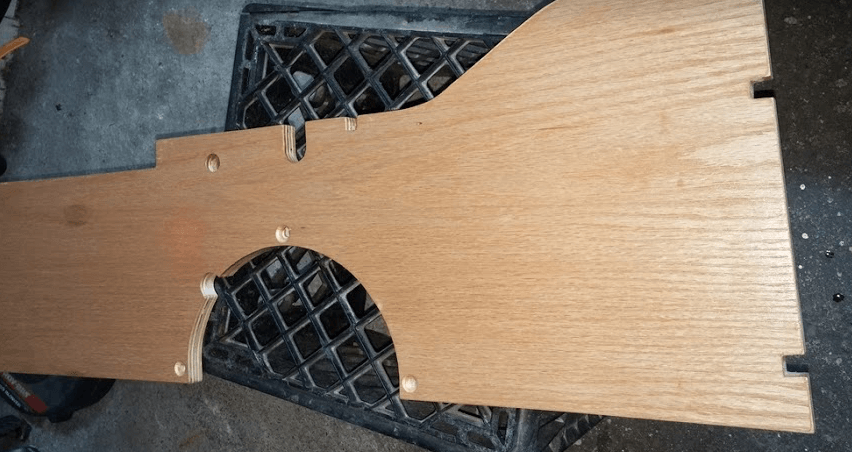
I will let them CURE for the next few days then install them and secure them for now
Just for reference...
Here is a comparison of the finish colors of The Original vs Now
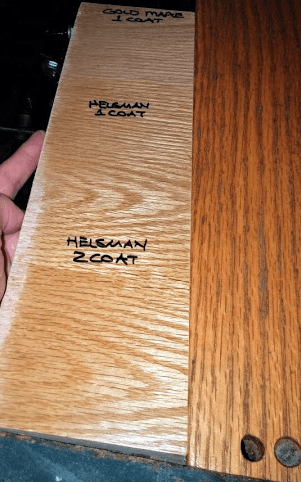
Side by Side you can see the Color Differences
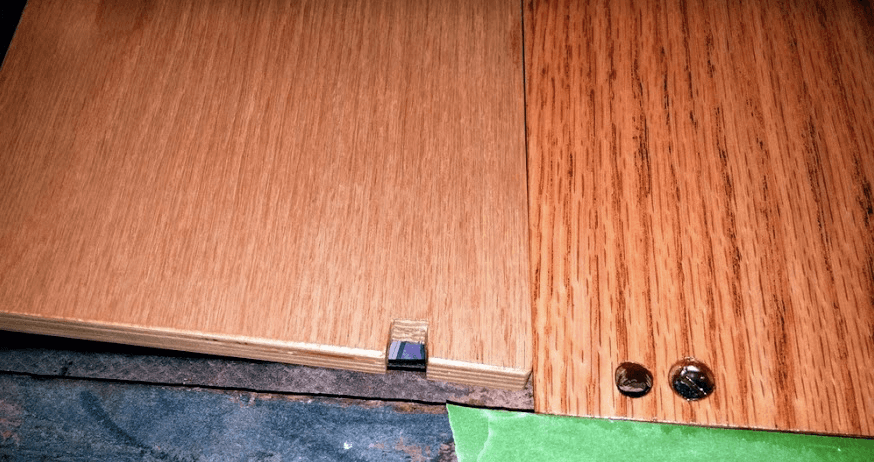
Looks a lot closer
Great car !
Posted by Diggymart on 9/7/19 @ 3:48:57 PM