You must be logged in to rate content!
5 minute(s) of a 176 minute read
2-13-2009
The airbag wasnt that difficult to take out. I removed it when I was pulling my air conditioning/heater out. First thing is to disconnect the battery and I pulled the airbag fuse just in case. Trying to recall from memory, once you take the dash pad off (just held in from the factory with velcro strips, but be careful, the piece will shatter if you force it too much) there should be a couple bolts on the top that you remove, then take the glove box out and there may be 2 or 3 bolts at the bottom you want to remove, then the whole airbag/bracket should come out. Its actually pretty heavy. There's a wiring harness you will need to disconnect and then there was a little silver box for the airbag that I just unplugged and took out. If you run into something I forgot, PM me and i'll take a look, but its pretty straight forward once you get everything apart.
As far as the console, i havent gotten that far yet. May try to pull the carpet insulation today if I have time. Ill let you know once I get there or if someone that has done it can explain it.
Had another somewhat decent "Chicago Winter Day" and decided to work some more on taking some weight off this bad boy.
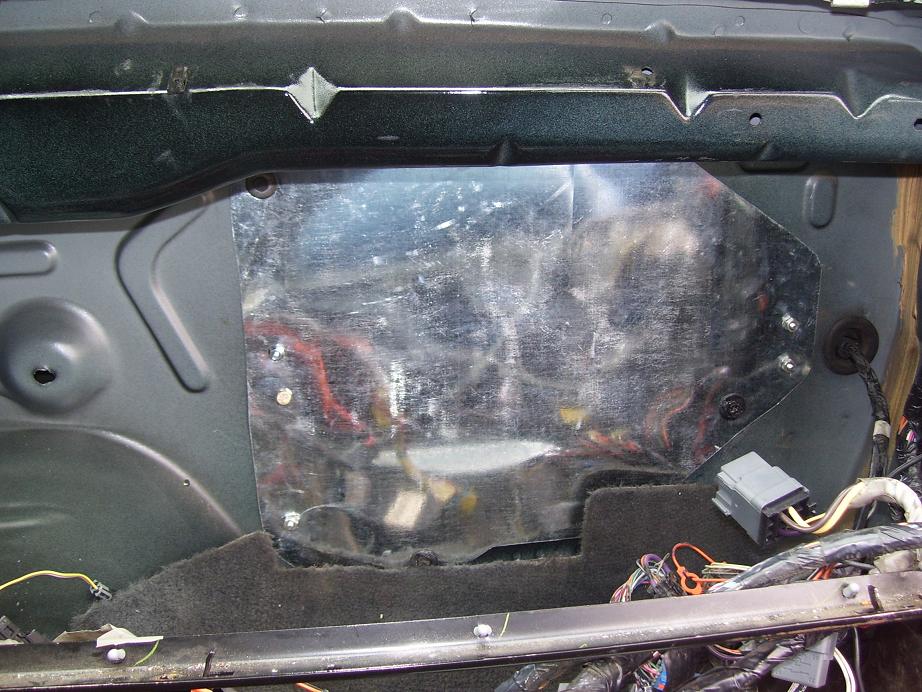
Finally finished up the A/C and heat delete panel. Not bad for under $5 and maybe 45 minutes total time to make. Ive been holding off on this for awhile since I lost my drill bit chuck and finally found it the other day which was perfect timing since I had the dash off. Had to mix and match nuts and bolts, but since it will all be covered, its ok. Might replace them down the road if it bothers me enough though.
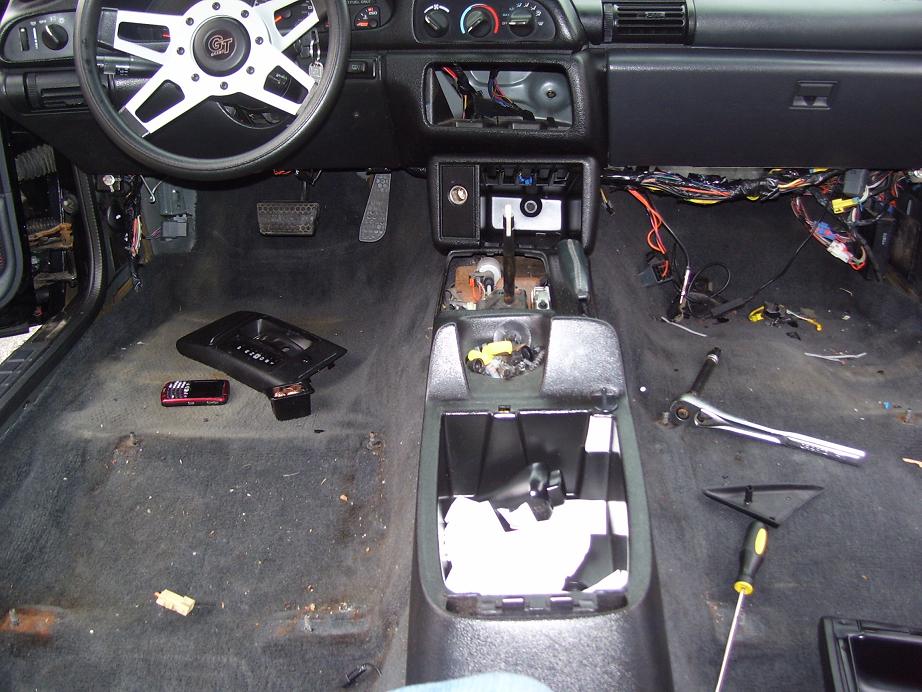
Wanted to pull the insulation off the back of the carpet, heard thats good for another 15 pounds and is a free alternative to race carpet. Although a good shampooing is in the future for the carpet. Just had to put the rear armrestpanels, kick panels, seats, and center console and it came right out. Pretty heavy though...lets see if i can change that!
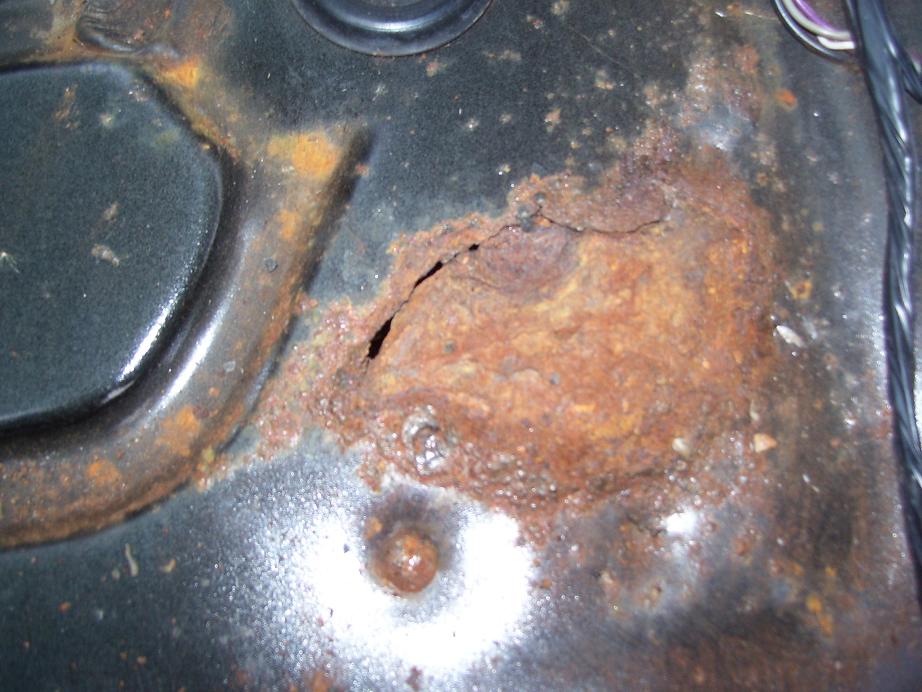
Then I found this on the rear floorboards, probably from leaking t-tops. This was the worst side, but still needs attention. Probably take care of this when the roll cage gets installed.
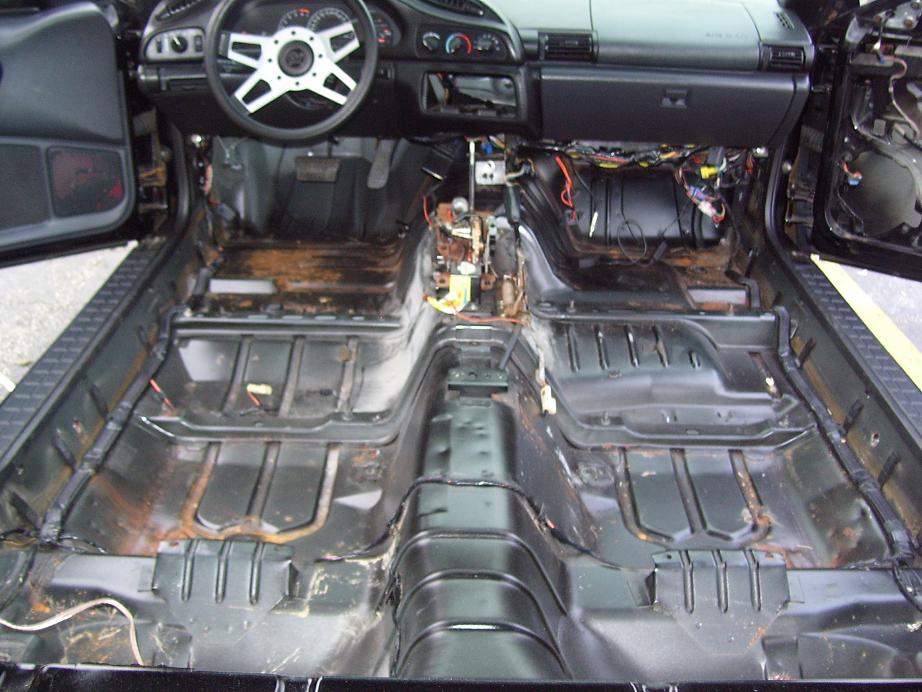
A shot with the carpet out, found $.87 cents under the carpet!! Whooo...Big Gulp at the gas station!
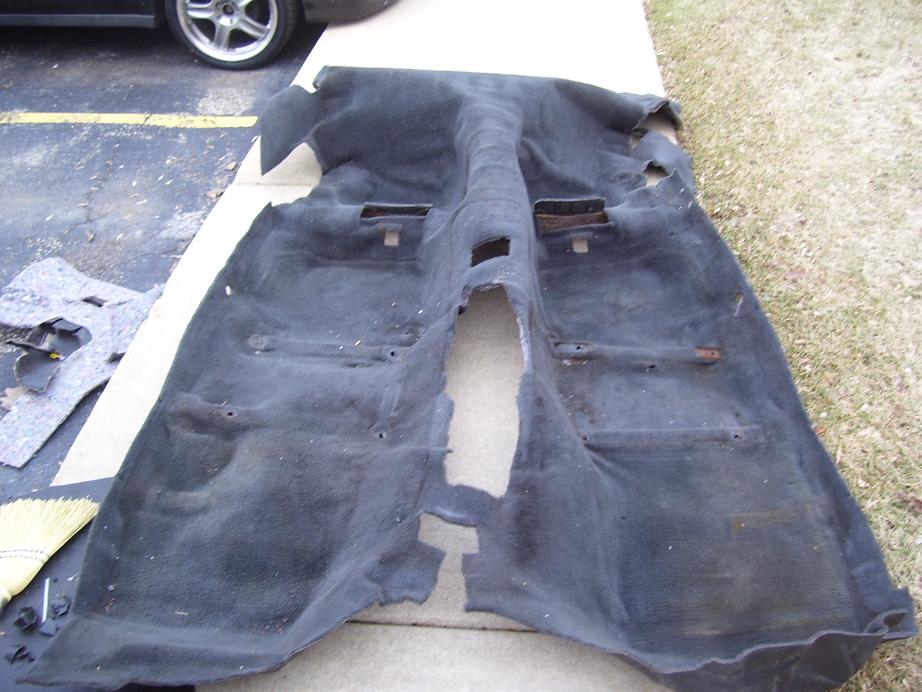
The carpet laid out...
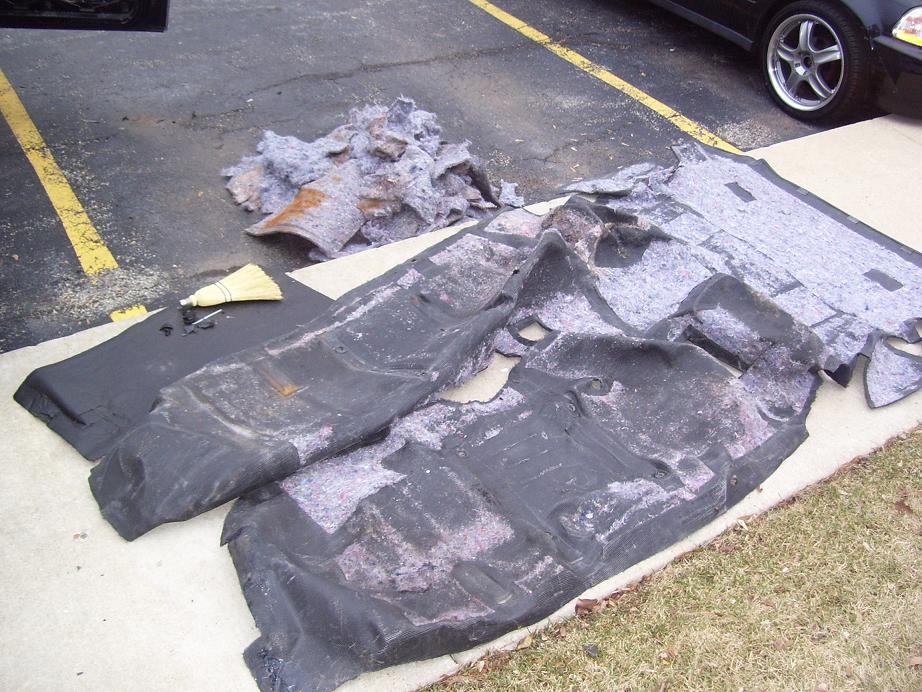
After 45 minutes of peeling insulation off, here is the end result. Got about 95% percent of the insulation off. Stuff really is on there good. Ended up taking a butter knife to help get under the insulation. Some peeled right off (more towards the back) where the front was on there pretty good. You can see the huge pile on the left of what I took off. Seems worth the trouble. Took two trips to the dumpster.
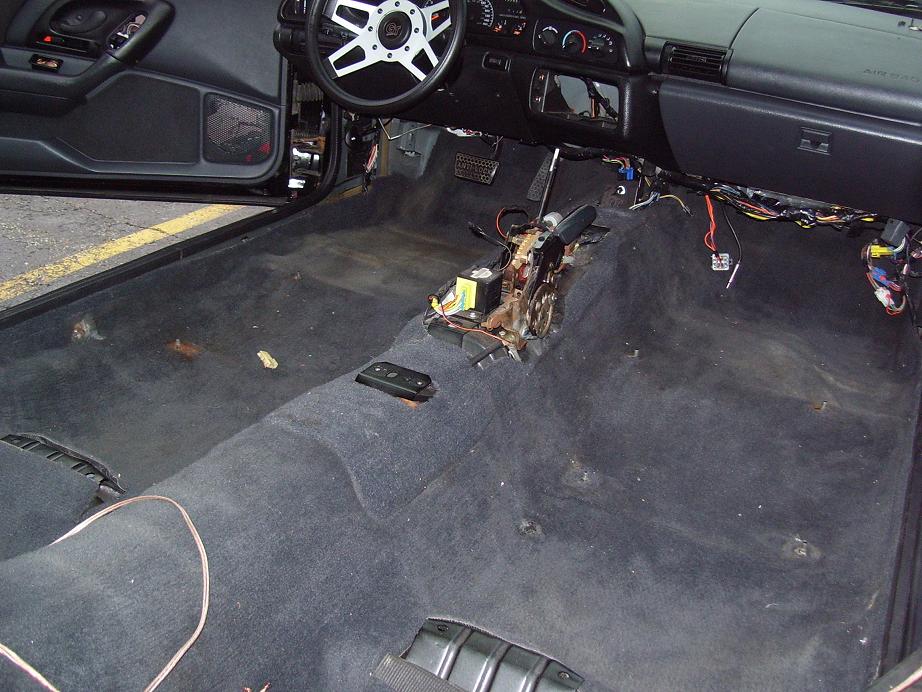
And installed back in...just have to reinstall the rest of the interior and I believe thats it other than when it comes time for the cage.
The part number for the silver spoke wheel is 415 and the part number for the adapter kit is 3196. I bought them both at AutoZone and they had both in stock. The only thing you will have to do is put a couple washers between the adapter and the steering column base, otherwise the wheel will rub when you turn it. Found that out the hard way. Other than that, its straight foward.
