You must be logged in to rate content!
9 minute(s) of a 176 minute read
10-31-2009
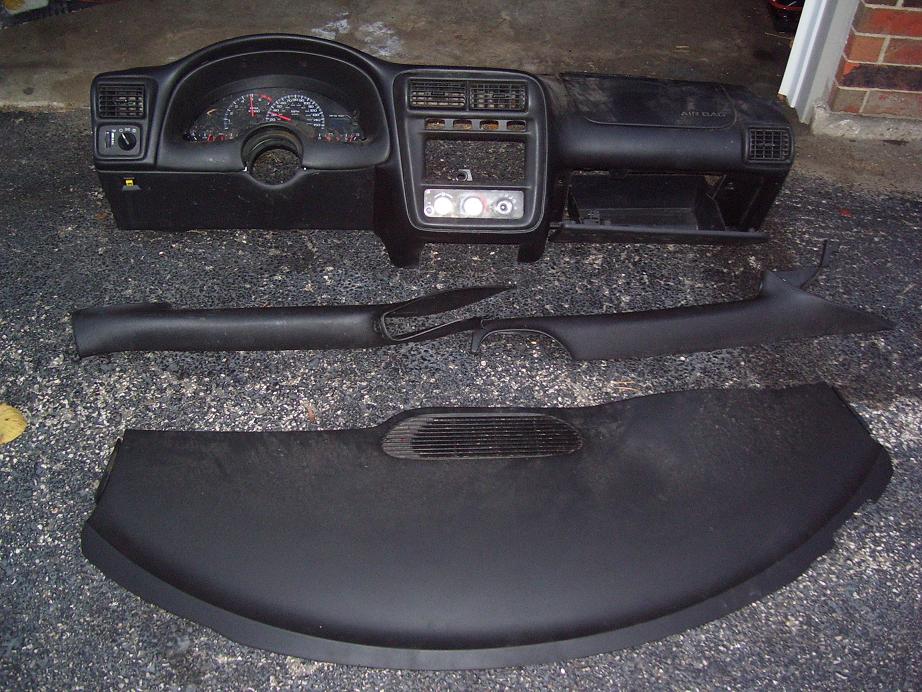
Had the day off work yesterday so I decided to go to a local Pick And Pull Junkyard. Someone had taken a Z28 LS1 Camaro in for the Cash for Clunkers and the junkyard was parting it out. The engine was toast since it was ran without oil, but managed to take the complete dash and dash panel and pillersall for $100. Not any performance gain but would make the interior look a little nicer. I will have to figure out how to rewire the dash cluster though. (Any ideas anyone??) I also need whatever fills those four slots on the dash. I believe its a panel that says "CAMARO" PM me if anyone has an extra...
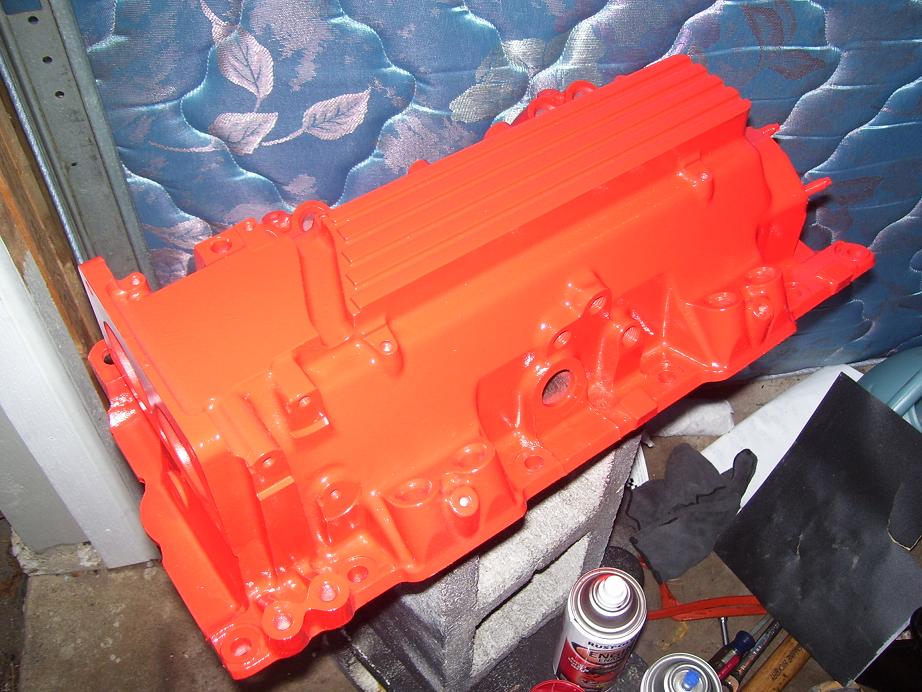
Also pulled the intake manifold off the car to paint it and polish up the fuel rails. Think the red will look good with the black block and engine bay and compliment the red MSD wires.
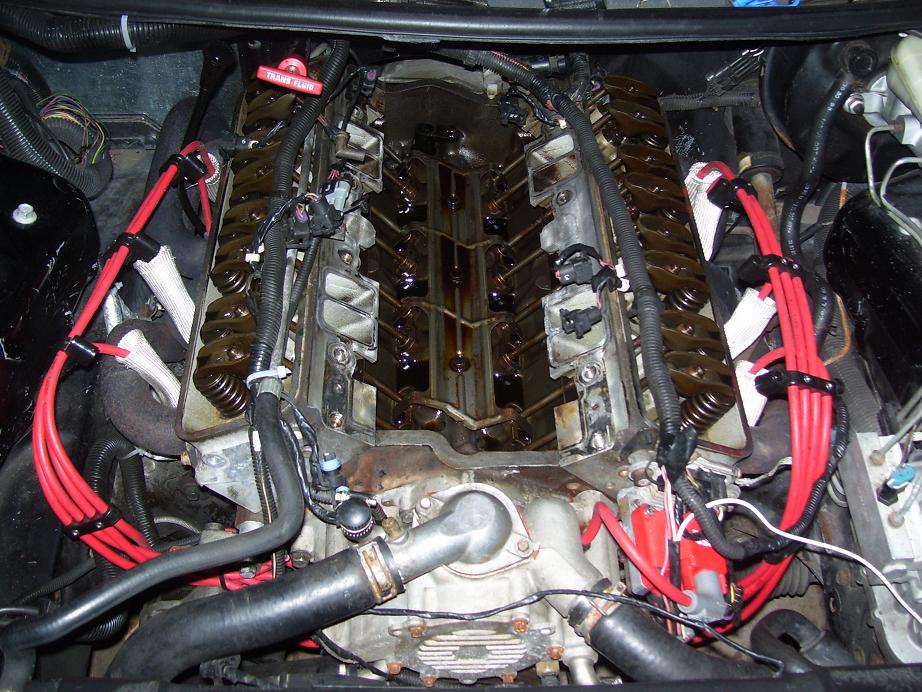
Here is the LT1 minus intake and valve covers...
Here is the intake after I painted it, still need to sand and polish the fuel railsthough...
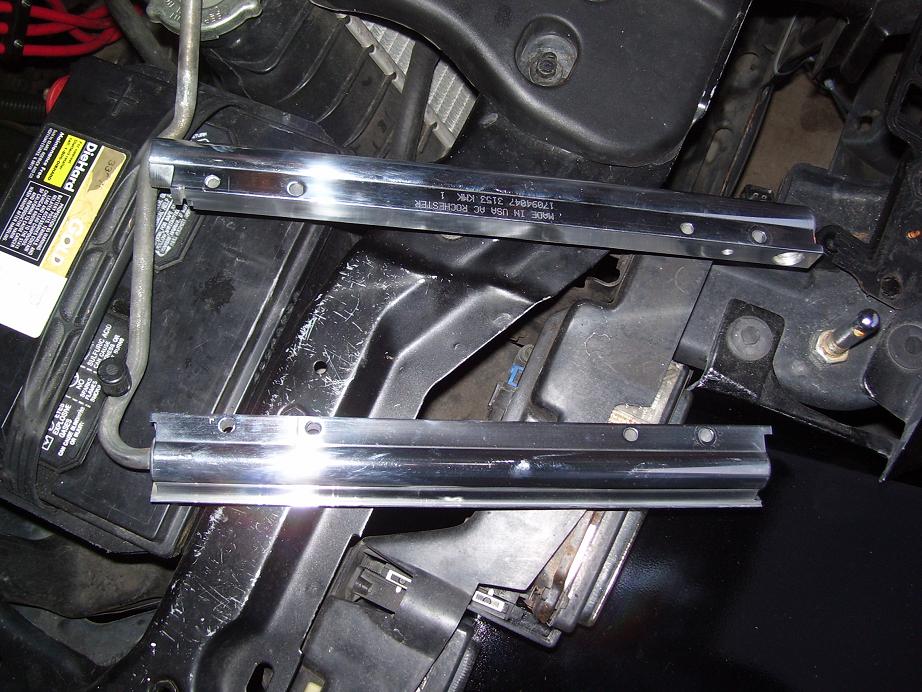
I polished the fuel rails, just have to hit them with some Mothers Metal Polish and reinstall them. BTW, if you want to do this, wetsand the rails starting with 800, 1000, 1200, and 1500 grit sandpaper and then finish with some polish.
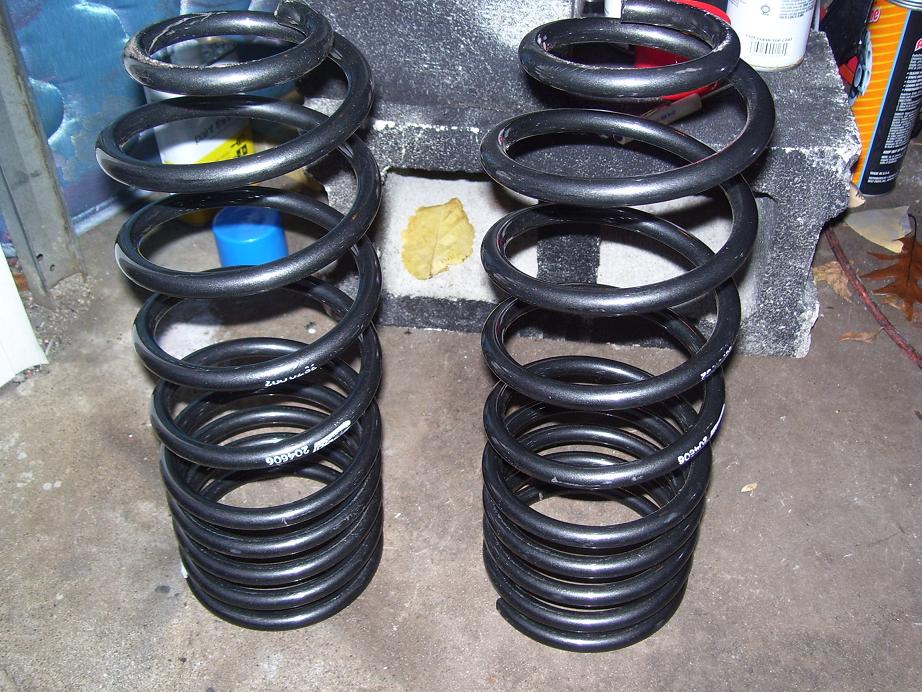
Also had one of my friends give me some leftover parts from his car. They are Eibach lowering springs for the rear. Should be good for an inch to and inch and a half. I want to lower the front about 2 inches to make up for the front being raised up from weight reduction. If anyone has front springs, PM me...
11-16-2009
Updates 10/16/09
Bought a third gen Camaro RS to daily drive/restore/modify so Ive been busy with that. Id post pictures but I want to keep this on topic. Im going to make a build thread for that as well on thirdgen.org under my old name as Camrs89.
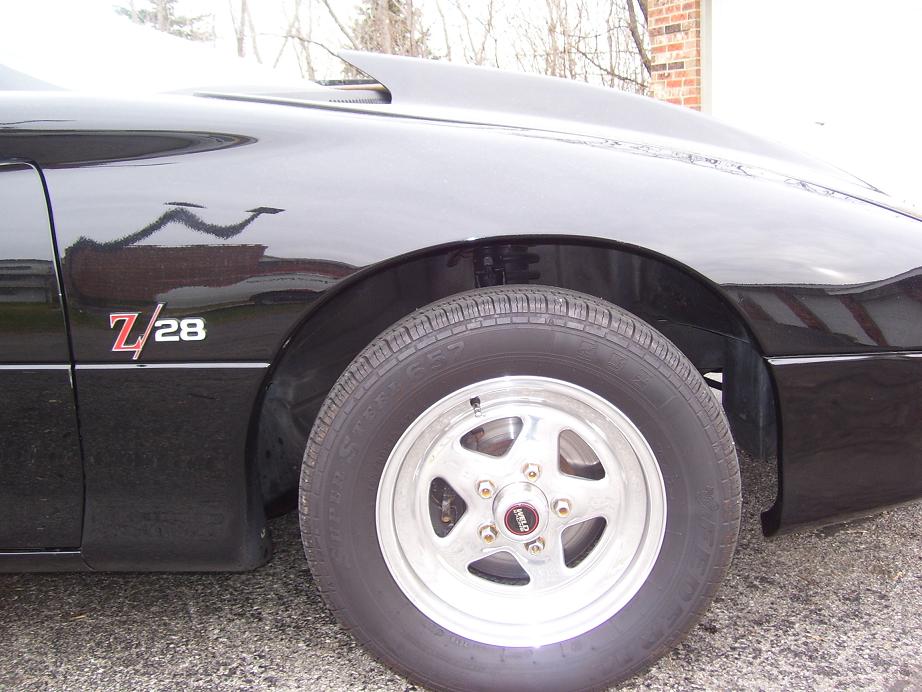
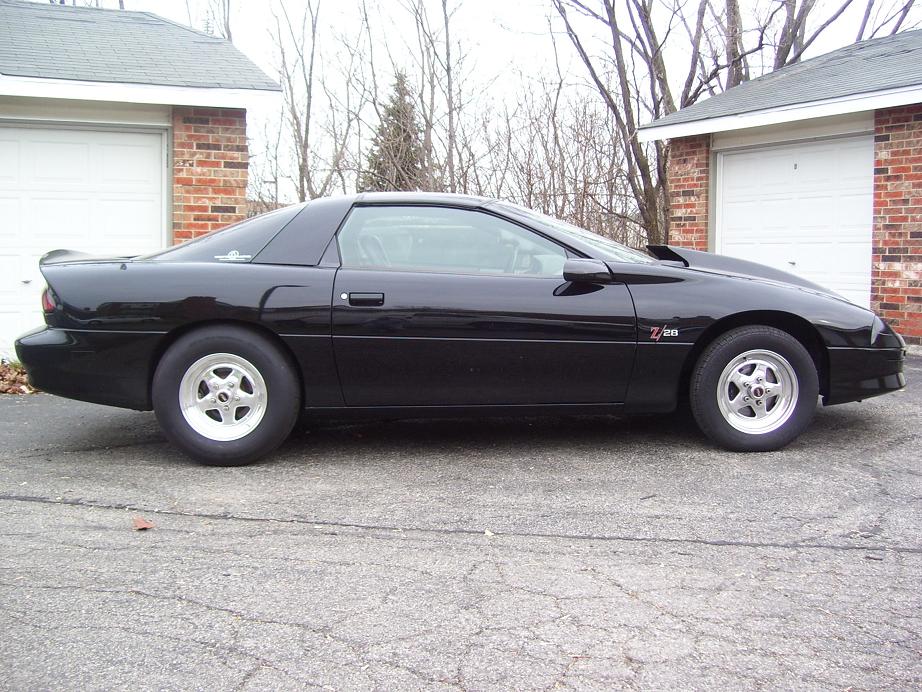
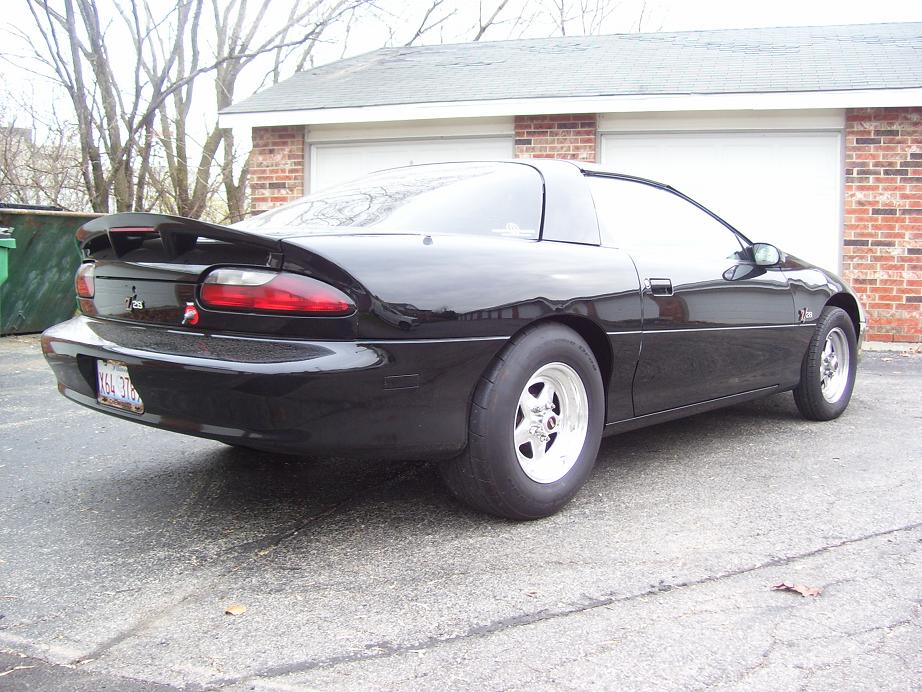
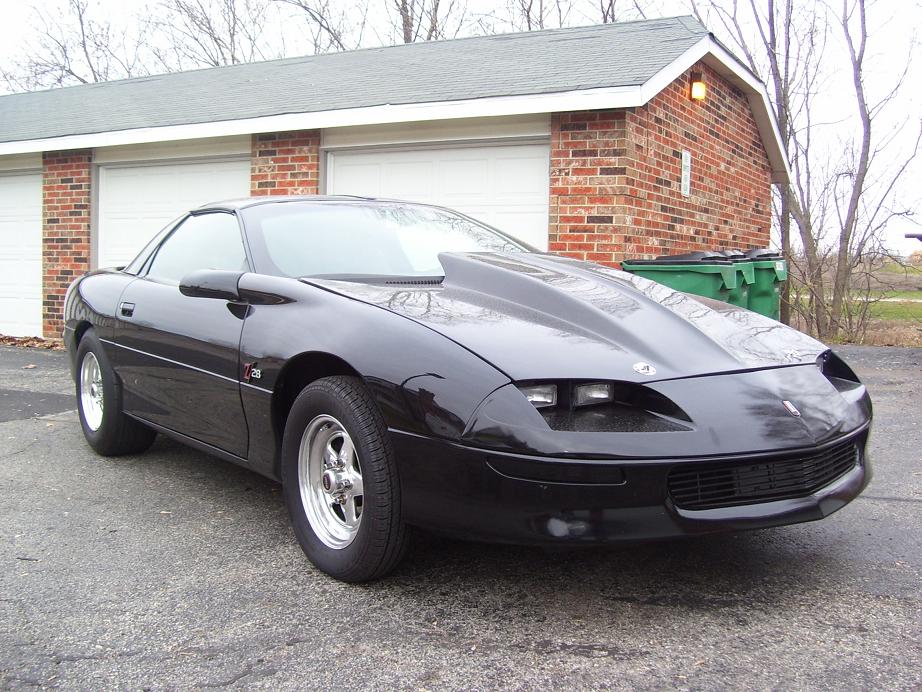
Did however drive the 94 to work the other day to put in the Eibach rear springs my friend (AM MUSCLE) gave me for my car. They dropped the right rear from 29.25 to 27.5 fender to ground height and the left rear from 29 to 28 inches. Really filled out the rear gap and seems pretty even all the way around.
The springs were really easy to install. I lifted the car up on the rack about a foot or so and jacked up the rear axle as well. Pulled the carpet back on the inside and unbolted the top of the shocks. Then I SLOWLY let the rear end drop and was able to slide the old springs out. I took the rubber bushing? and installed it on the top of the Eibach springs and slid them in making sure they were jacked the axle back up so I could bolt the shocks back on. After tightening the bolts and reinstalling the carpet, the rears were done.
I do need to figure out what I want to do for the front. Can I cut the springs down or whats the best way? I have 4 inches of gap between the tire and the wheel. Although the car is level right now at give or take a half inch at 27.5, I would like the gap to close in a bit.
Took a couple pictures this morning since it was dark after I got home last night...
Really like the even gap all the way around. Makes the tires look more aggressive IMO
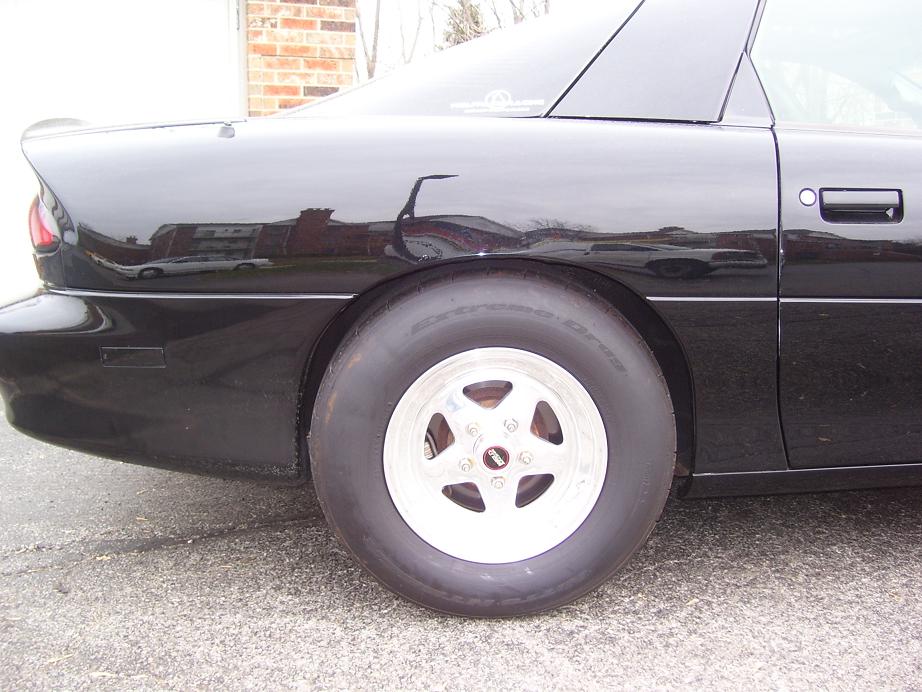
Still need to figure out the front, 4 inches of gap here...
11-20-2009
Awhile back I purchased some Competition Engineering SFC's from Summit Racing. I actually had a chance to install them this afternoon/evening at my friends house.
I bought the bolt on ones, which I was going to bolt on and then weld in to double the strength, but my friend was low on welding wire so I am going to have to pick some wire and weld them up at a later date.
Install wasnt too difficult once I found drill bits that actually worked. The instructions provided were pretty straightforward. I got the car level on 4 jackstands about a foot or so off the ground. Then they tell you to pull your door sill plates off and pull your carpet back some (which reminded me I need to POR15 the floors soon) Heres a picture of how far to pull back the carpet...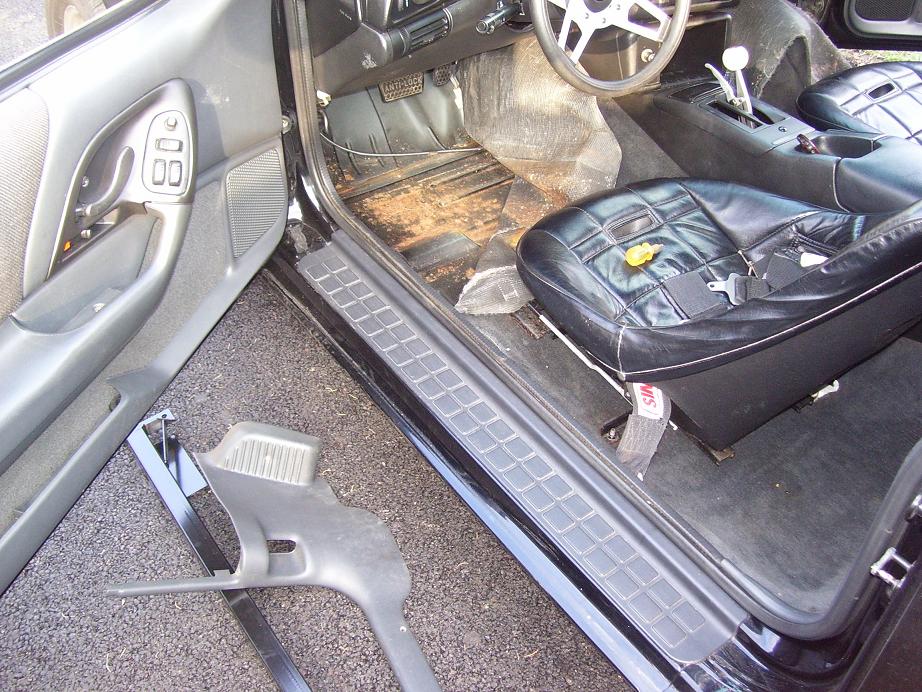
Then with a 18 mm socket on an impact on the LCA bolt and a wrench holding the nut, I zipped the drivers side loose, pulled the bolt out and slid the SFC on and reinstalled the bolt. Then I found where the front of the connector is supposed to go and you need to drill 2 holes into the floorboard. I took a Sharpie Marker and marked the two spots I needed to drill. Grabbed a 13/32nds drill bit and drilled the holes. Then you need to install the bolts through the holes and put the provided nuts on. The Competition Engineering SFC's make a little bracket on the connectors that the fuel lines run in, so you need to slide those in. After that is all done, I went to the back again and there are two more holes you will need to drill. After those holes are drilled, they give you a plate you slide in above the LCA mount and the bolts will thread into the plate for added strength. Here is a picture of the rear bolts, you can also see the plate tab that is hanging down a little bit also...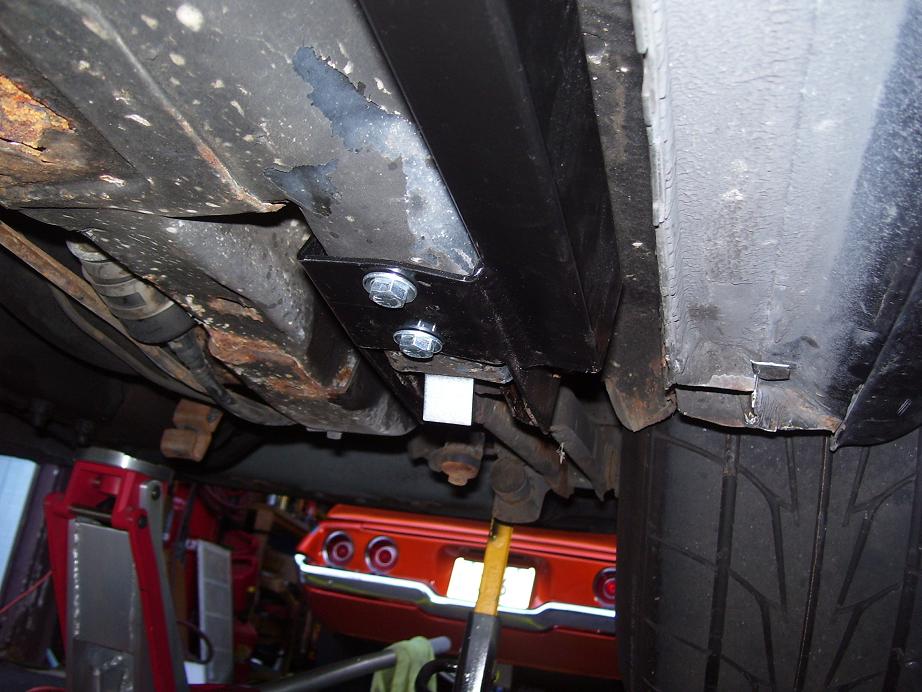
Then I did the same thing to the passenger side, except I could not get the LCA bolt out all the way. My solution to this was to notch the LCA a little to slide over the bolt. Once the bolt is tightened, it will not move anyways, so I slid the SFC on, tightened the bolt down and mounted the SFC to the front of the car as seen here...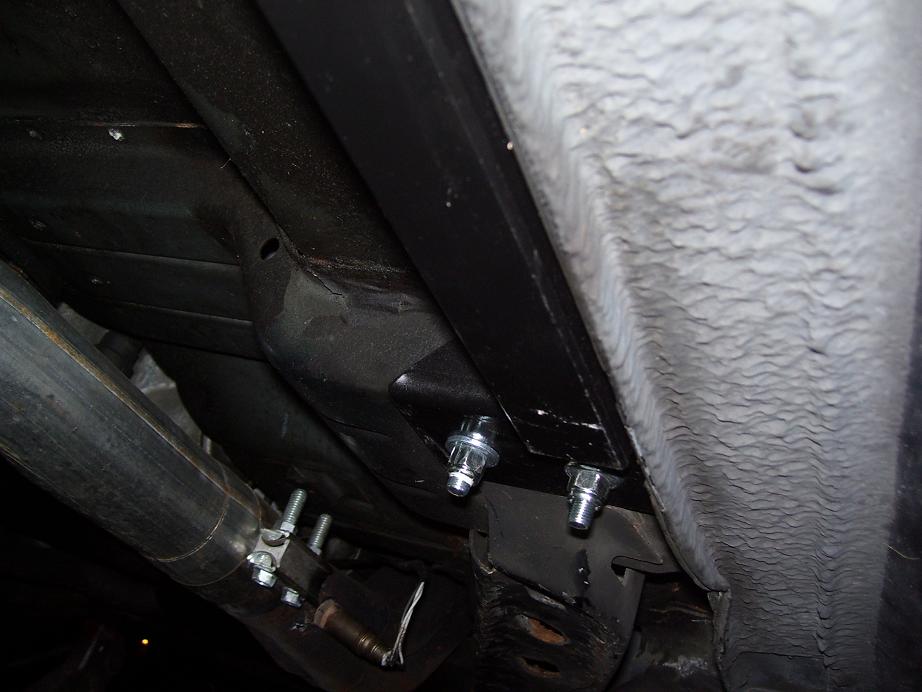
Then I just repeated the steps I did on the drivers side and installed the back support...
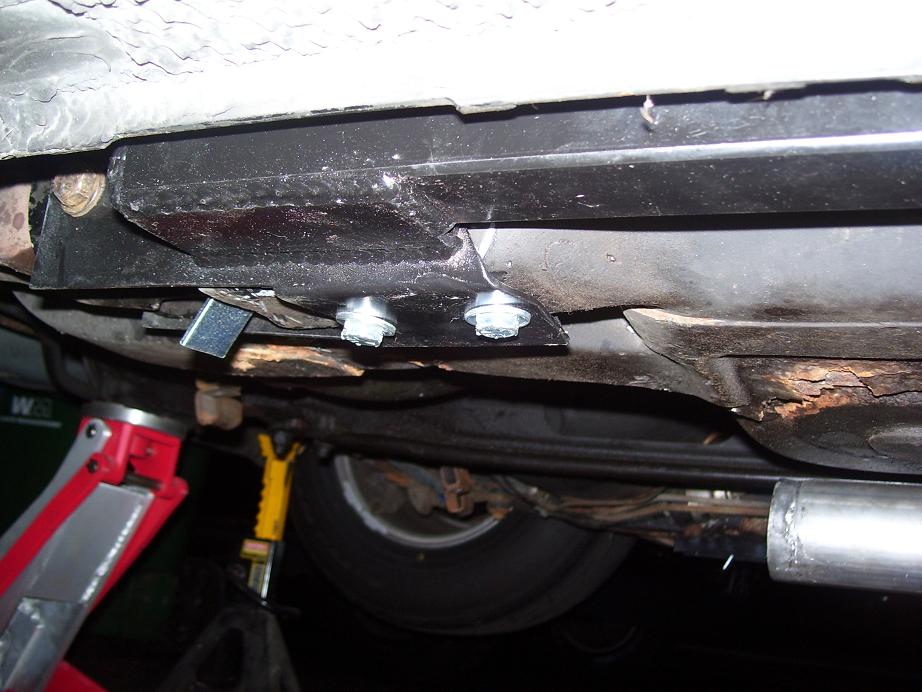
After that, just lower the car back down and make sure all the bolts are tight. I drove a couple miles home and the Camaro did seem alot stiffer and less "rattley" Worth the $200 IMO.
Minutes after posting my last post, my neighbor in my apartment complex sends me a text saying theres a huge box at the main enterence for me. Turns out I got my bithday gift a day early from my parents. They bought a center console from MF1274 on here and had it sent to me. Thanks again to both my parents and Mike.
This will go nice with the LS1 dash I picked up at the Pick and Pull a couple weeks. I still need a 97 gauge cluster and have a LS1 cluster I will trade if perferred? I think this will complete my interior minus having the roll cageinstalled. Still need someone to do it as my buddy is backed up with work.
Just snapped a couple pictures of the console after I pulled it out of the package. Looks to be in really nice shape. Just need to figure out how to make it work with my B&M ProStick.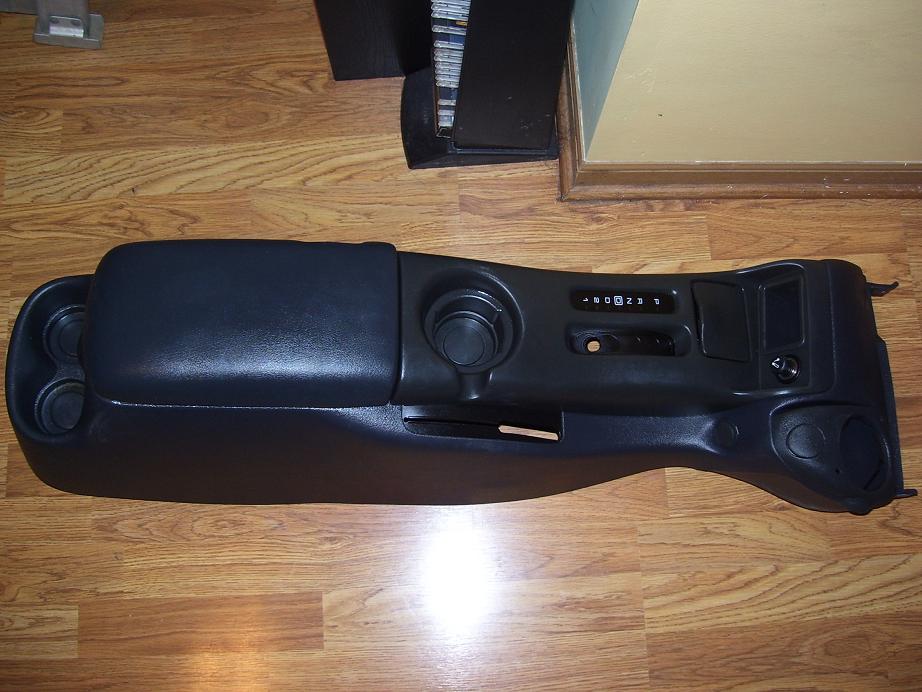
And yes, my dog wanted to get in the picture on this one lol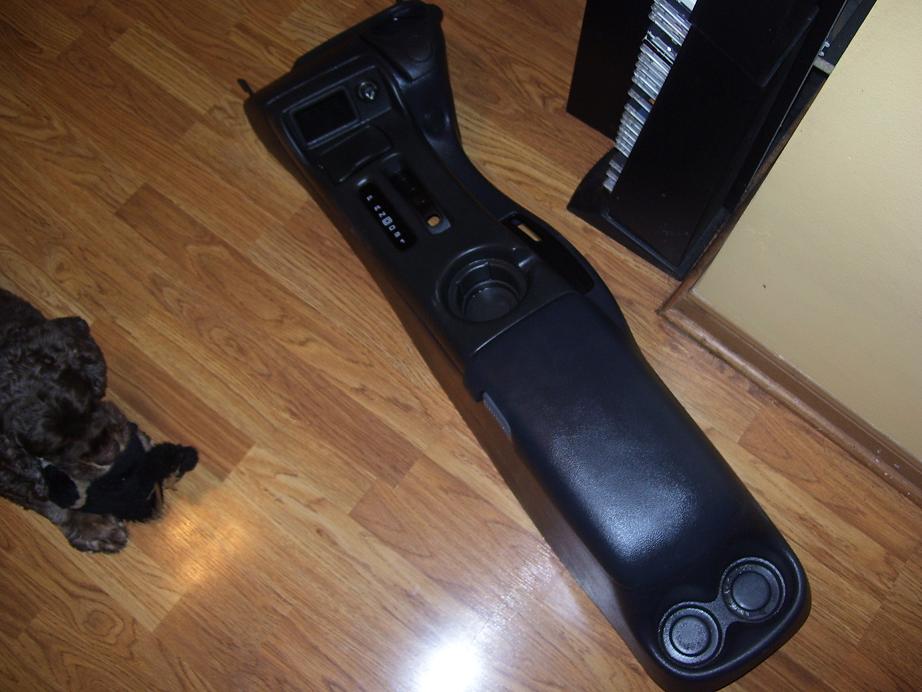
So hopefully in the next couple days I can get the dash and console swapped in the Camaro. I also need to transfer my gauges to the LS1 pillers too. Ill keep you guys updated
