You must be logged in to rate content!
6 minute(s) of a 176 minute read
7-26-2009
09
About a month ago, my friend and I attempted to paint the new cowl induction hood. Took several pictures along the way...
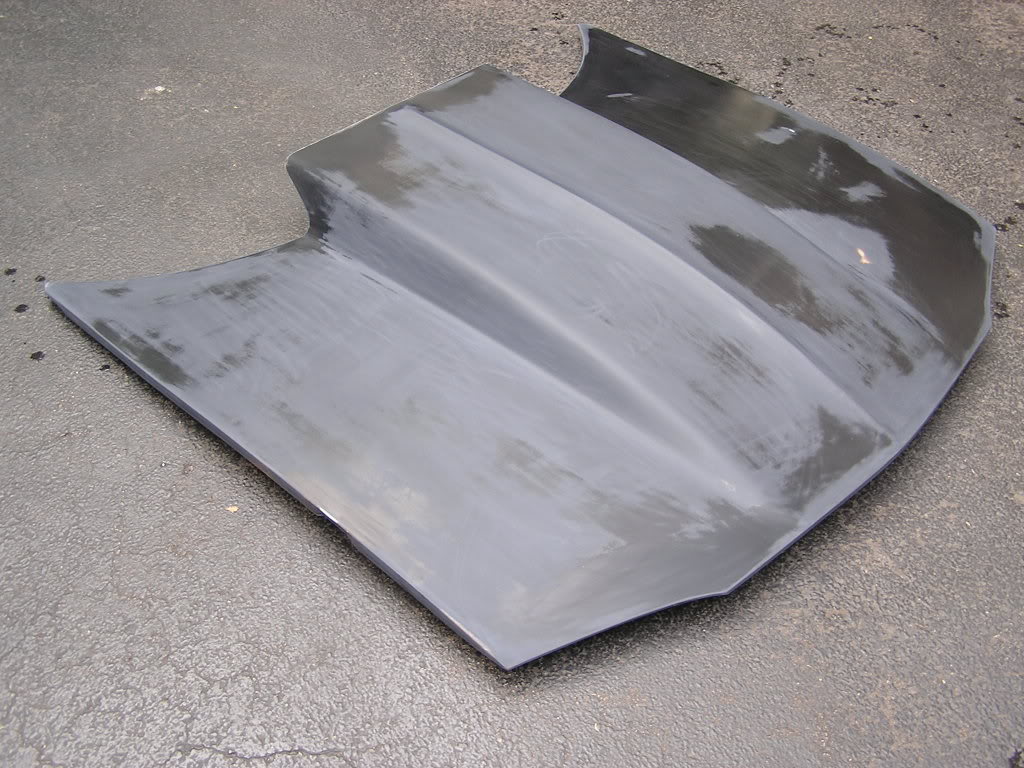
Took the hood off the Camaro after test fitting it. I had to trim the front edges of the hood to give it a more factory look to the hood. I did have to trim the underside of the hood to clear my LS1 airbox, but other than that, nothing more than just basic block sanding.
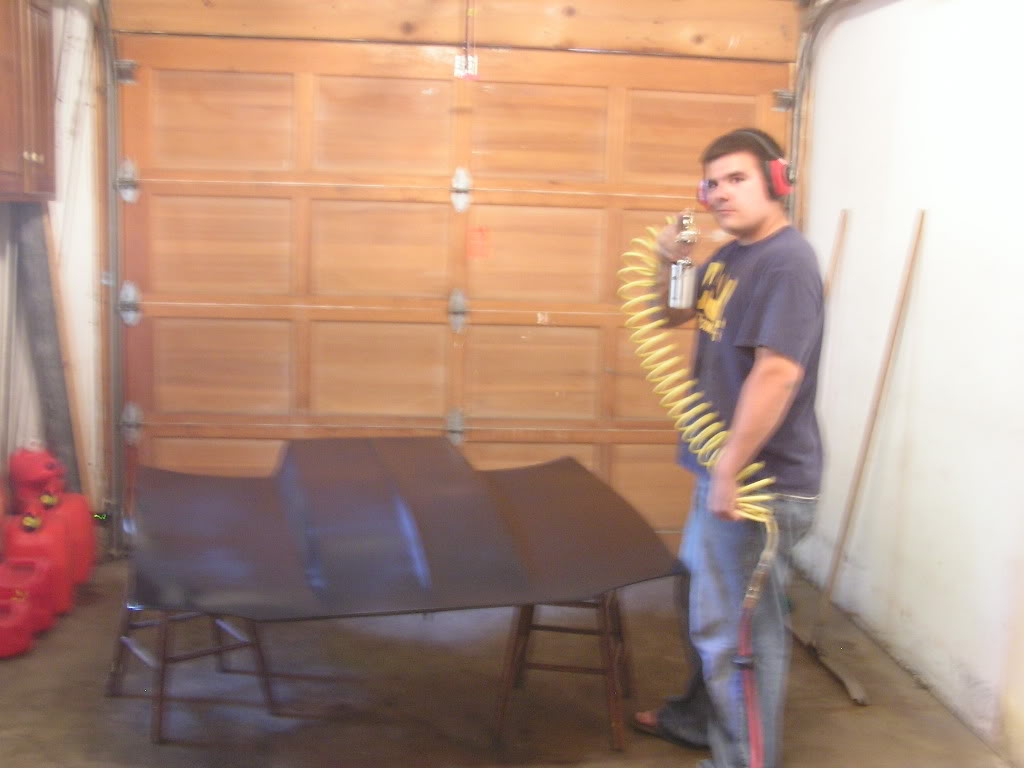
My friend Frank getting ready to spray the basecoat...
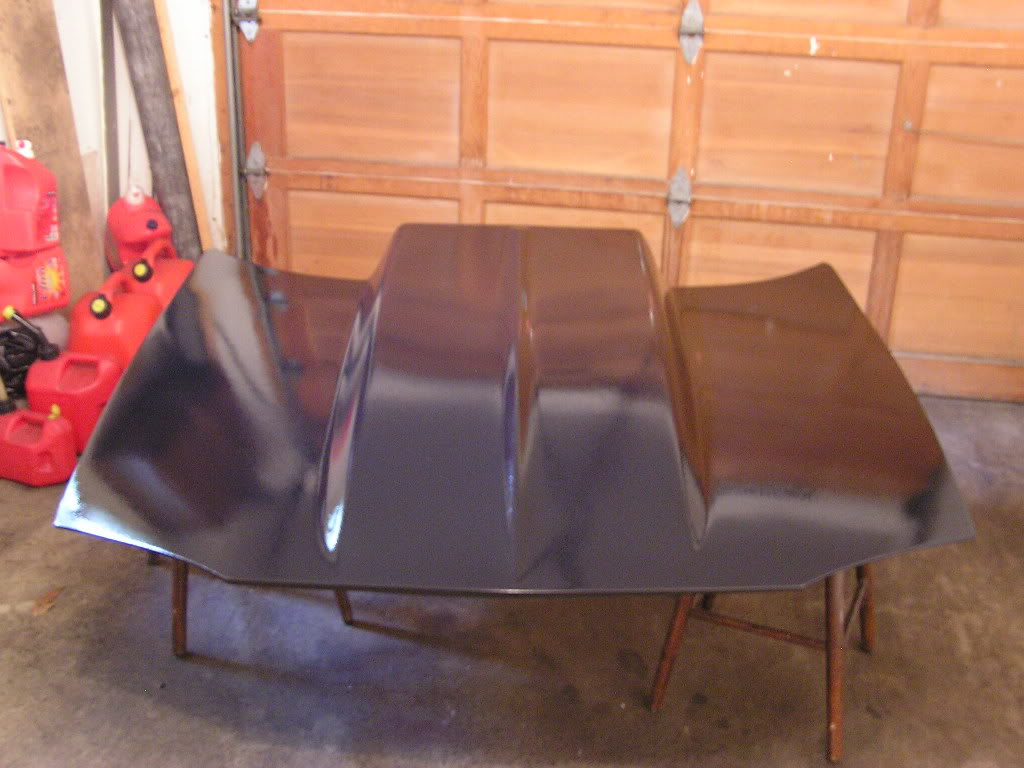
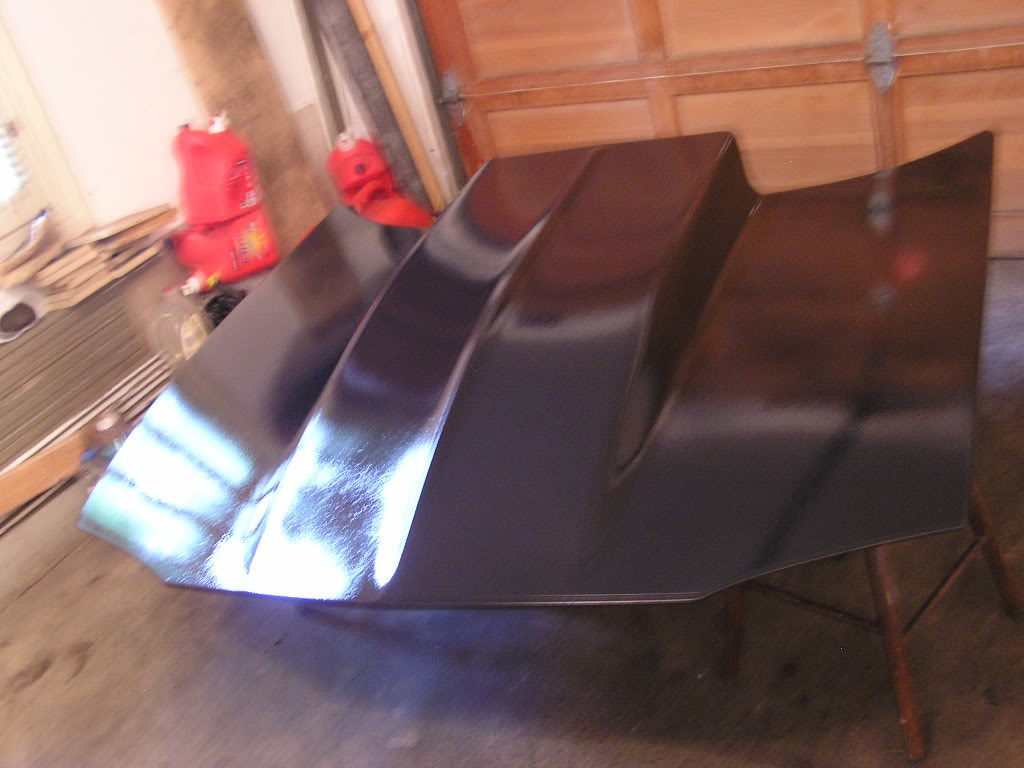
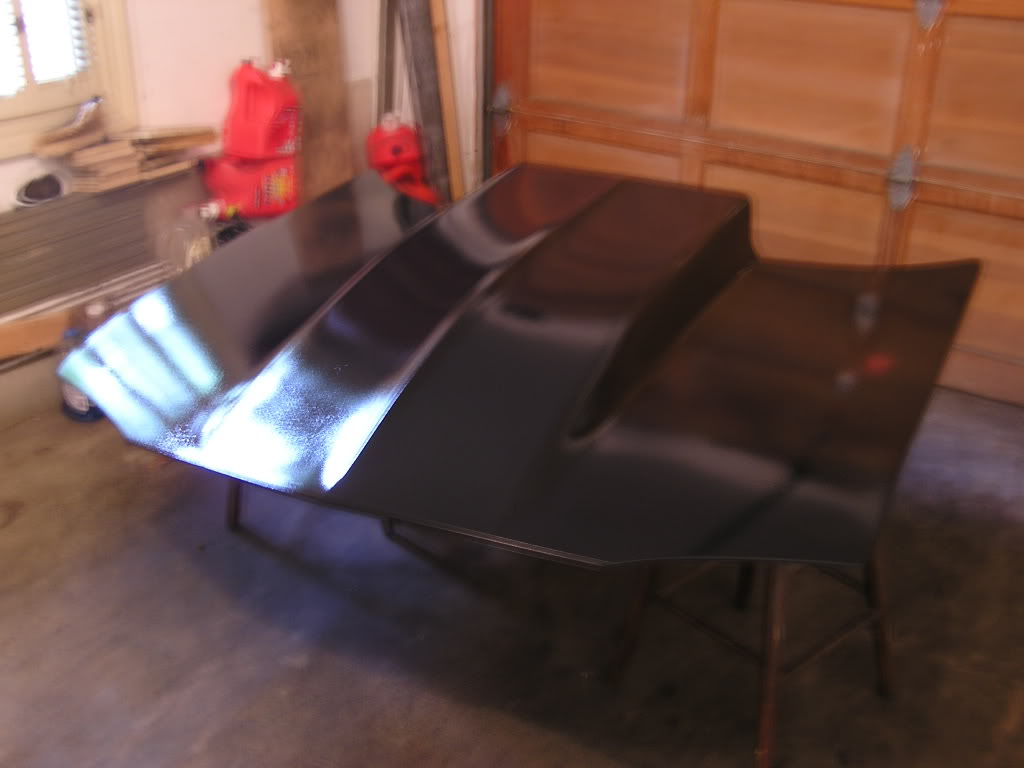
The hood is painted (although tons of orange peel, more on that in a bit)
Ended up being really humid that day and the paint had major orange peel on it basically looking like a matte finish. So we just stopped at the basecoat, I let it cure in the sun outside for about a month so the paint would harden so I could sand it.
Basically neither one of us has any idea on colorsanding new paint, so if we missed something or Im doing something wrong...PLEASE LMK!!
Started sanding the hood with 800 grit to get the major orange peel out. This was the most time consuming. But was able to get a relatively smooth surface to continue wetsanding. Next I moved up to 1000 grit, that basically took any remaining orange peel "pits" out of the paint...
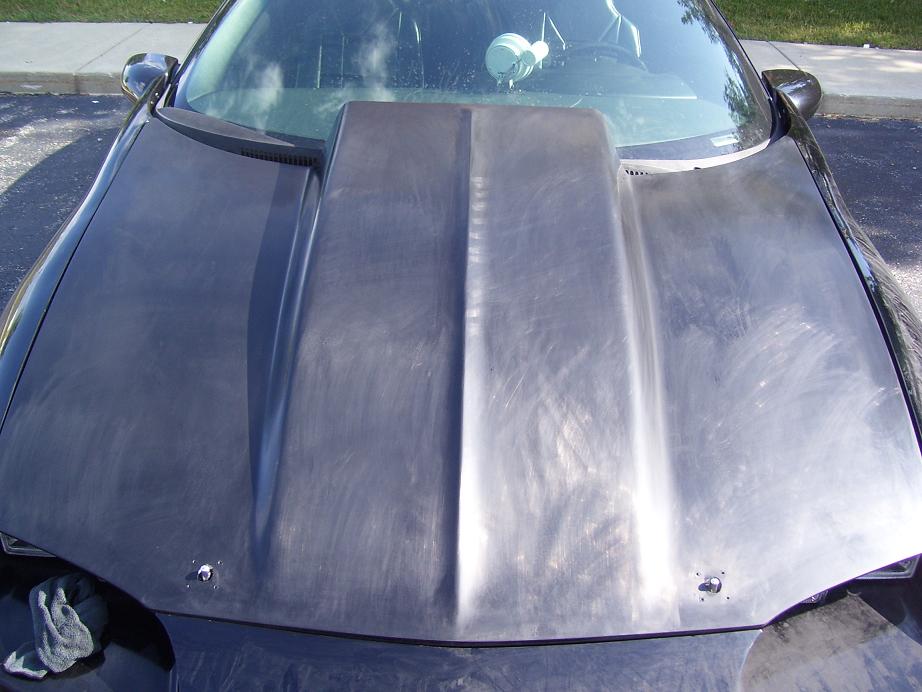
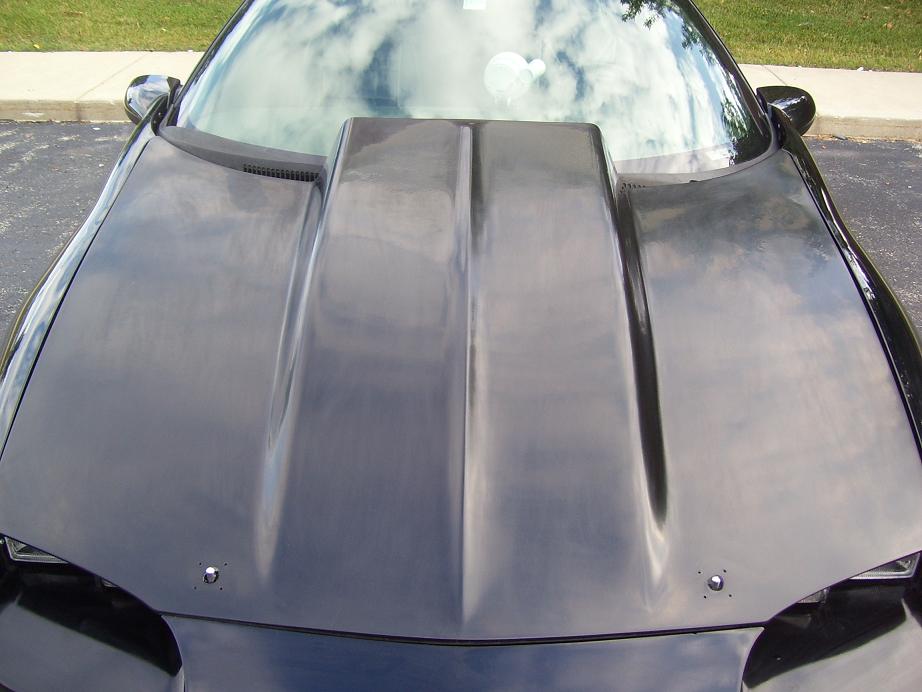
Next I hit the hood with 1500 which when talking to a friend told me I should stop at this point and spray the clear, but it has a very dull finish and alot of sanding swirls. I dont know if I can clean all this up with some compound and a buffer or if I should move up to 2000 grit. Basically on hold right now till I figure this one out. Here is a picture of the hood after wetsanding with 1500 grit...
8-5-2009
If you dont mind I have a request for some pictures. Can you get some of how your coolant hoses are routed now from your waterpump without the heater core pipes? Also some of how your power steering lines run now? What tools did you use to cut out that panel to cover where the HVAC stuff went through, just some dikes or powertools? You mention early in the thread that driving with the power steering is "not as bad as you thought", how bad is it really? Im still confused on how people are using the stock rack without the pump, I know when the serp belt isnt on its damn near impossible to turn the wheel. Perhaps a junkyard rack from a Fiero would be a cheap way to get a manual rack. And what is that metal line that is on the passenger side of the intake manifold that goes to a rubber line, for some reason I thought it was something that could be deleted and I noticed you still have it. Keep up the good work, if the rain holds off Im going to get a baseline 1/8th mile time today with my car completely "fat" so I can see how much each of these weight reductions affects the time. Test and Tune in Masassas, VA is $15 tonight if anyone else is interested.
9-1-2009
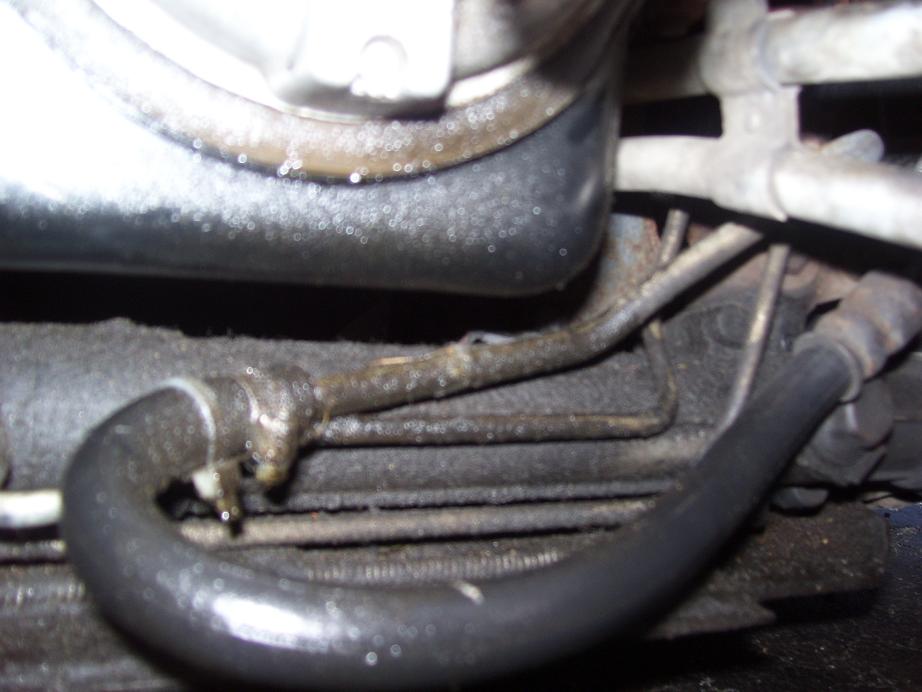
Grabbed some pictures for you. My power steering lines are just looped, basically the line comes out from the gearbox about an inch, I cut the metal line and looped the rubber line onto it and put a clamp on it. The only time I noticed not having power steering was below 10 mph. Daily drove the car for about a month in Chicago traffic and actually forgot I didnt have PS after a couple weeks.
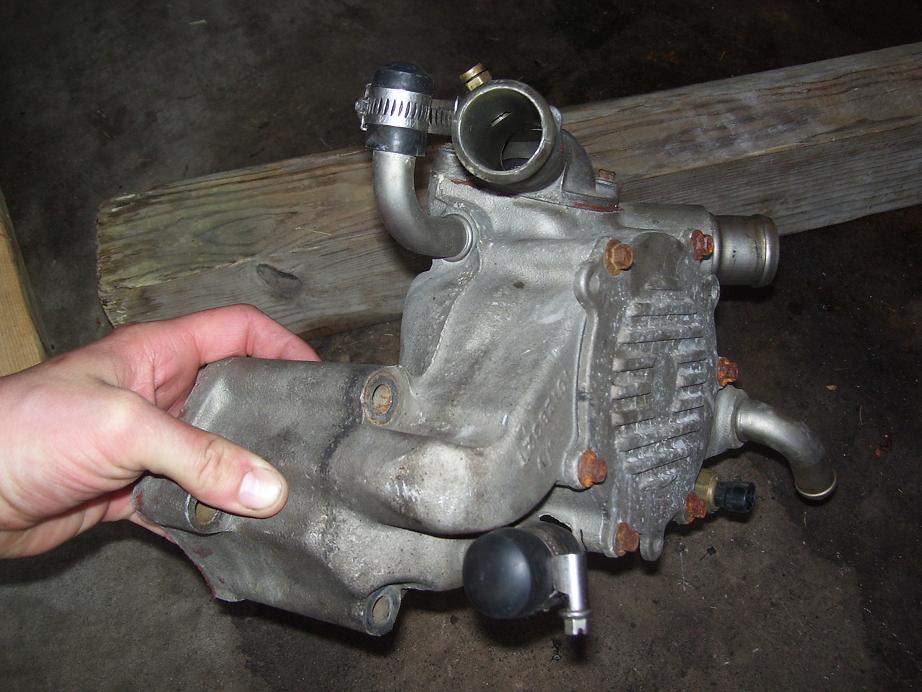
I have the water pump off right now since I am swapping out opti's, so took a picture of my water pump. You can see where I capped off the 2 outlets. You can buy the bypass caps at any parts store for a couple bucks and just put a clamp over it. Havent had any problems so far.
9-12-2009
Sorry, guess I missed this post. Anyways, here you go man, forgive me as the car is filthy...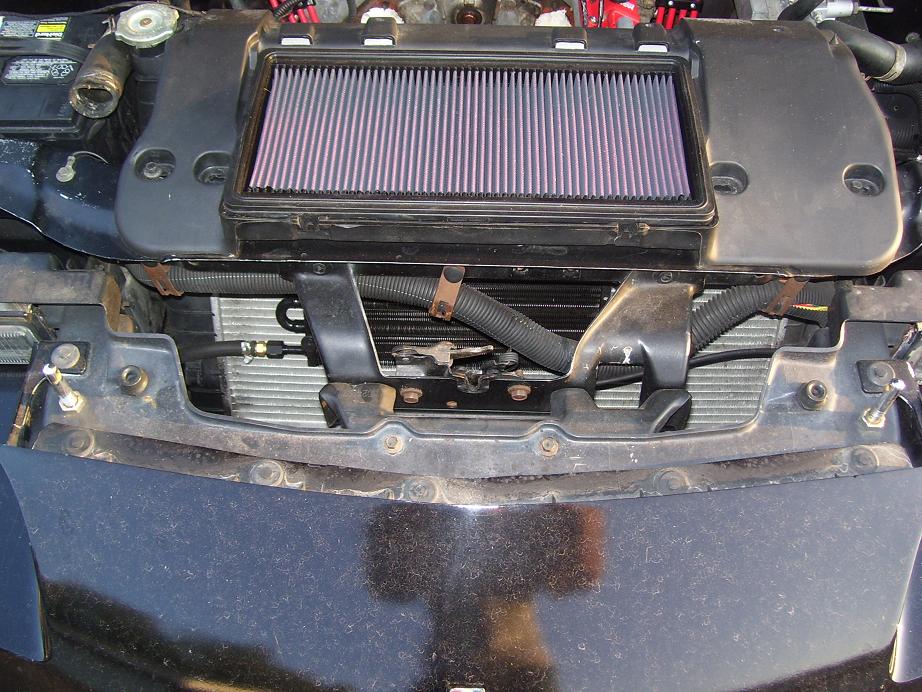
B&M Shifter Install
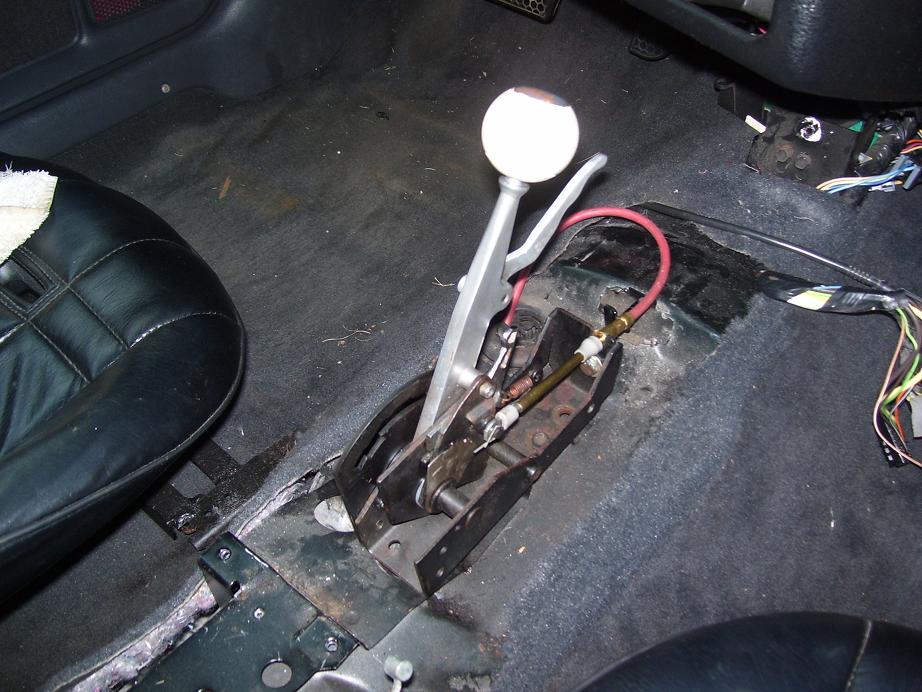
I got around to start the shifter install the other day. Pulled the console out, unhooked the wiring to the factory shifter. Then I disconnected the cables to the factory shifter. (Also pulled the E-brake out since it will not work with the 15 inch Prostars) Then I unbolted the factory shifter and removed it. Next, I loosely bolted the B&M shifter down using one of the factory bolt holes...
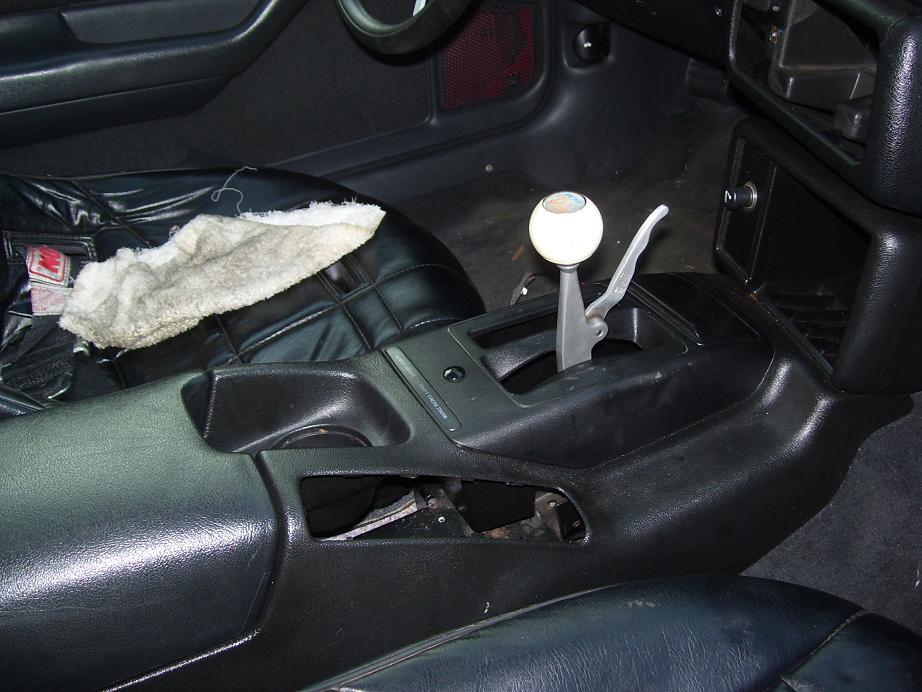
After I got the shifter close to where I wanted it, I test fit the console over the shifter to see how much I need to trim. Looks like just a little on the front of the console where the handle for R is. Otherwise looks like it should clear pretty easily...
Tomorrow, I want to get underneath the car and hook up the cable to the transmission before I start bolting the shifter and console all the way down. Should look good in the car and be safer to manually shift the trans at the track.
