You must be logged in to rate content!
8 minute(s) of a 767 minute read
9-22-2021
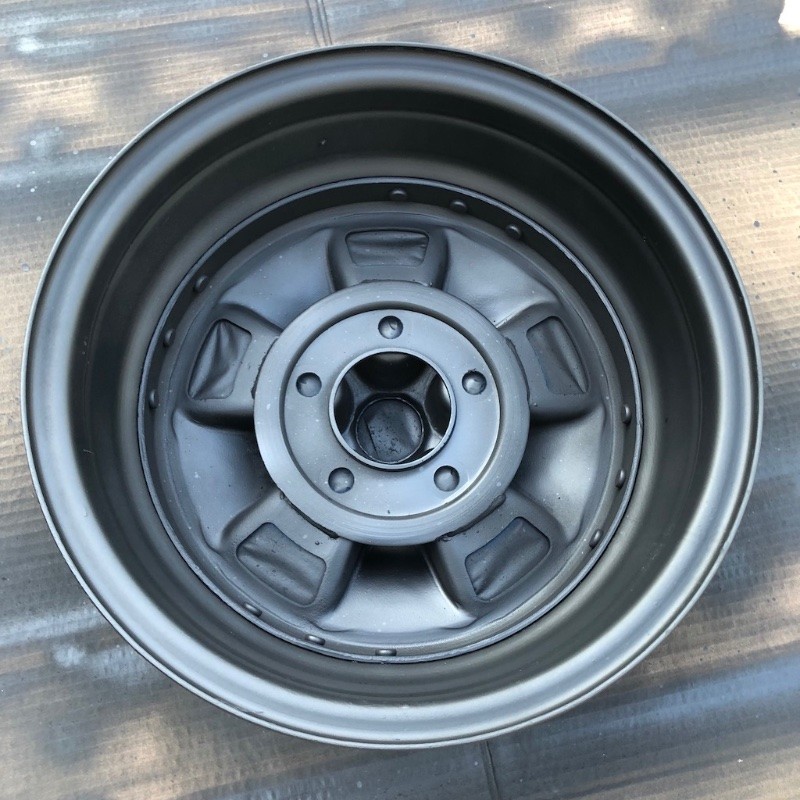
Holy thread revival! There's finally an update worth talking about. I haven't been doing much with the car (aside from the odd video) but when Don came across a very nice set of original 1968 styled steel wheels that had been in dry storage for decades, I had to snag them. Thanks Don!
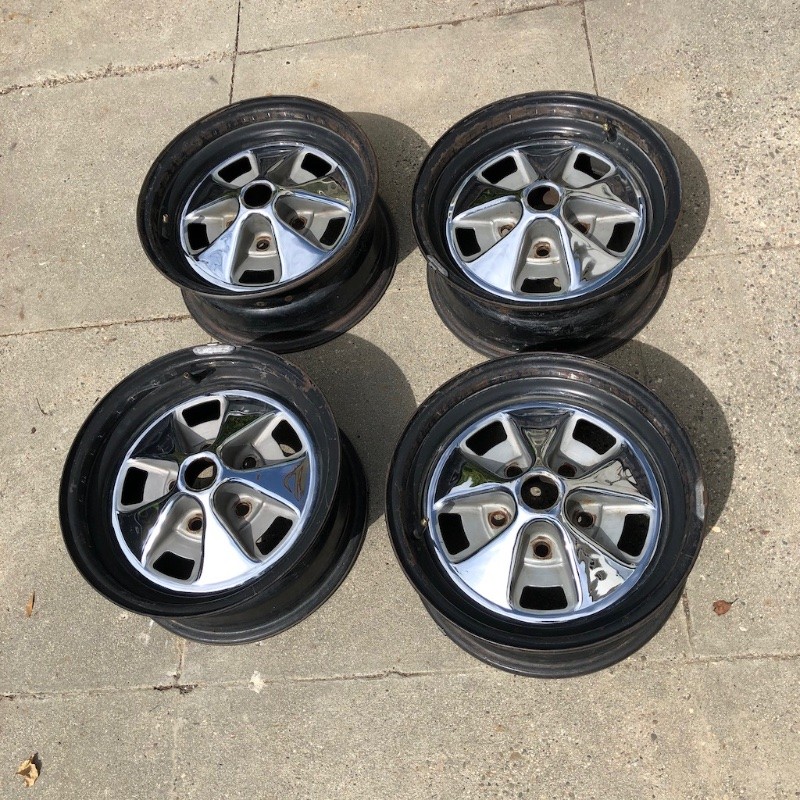
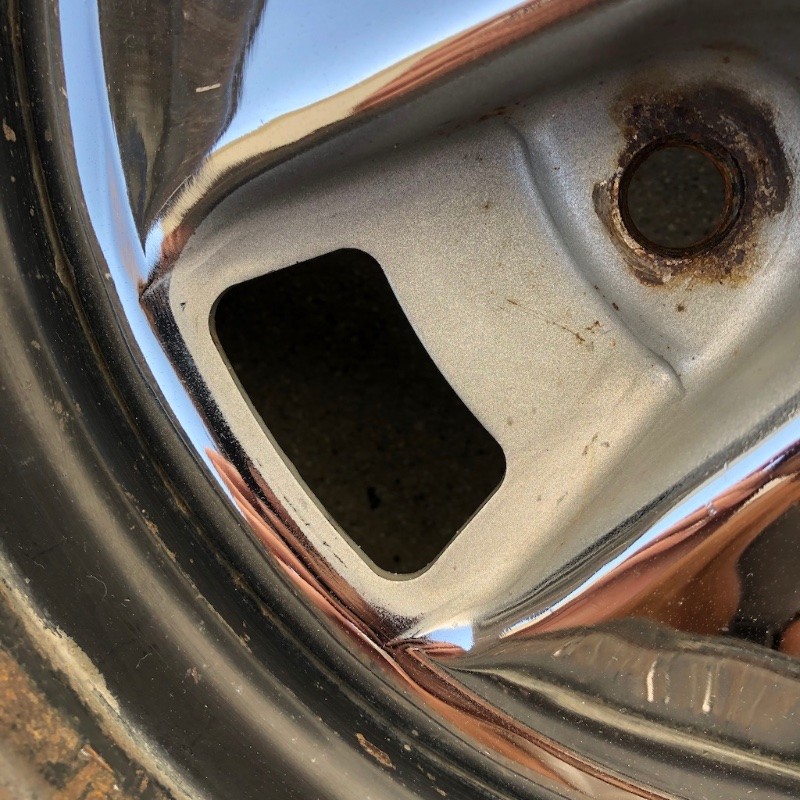
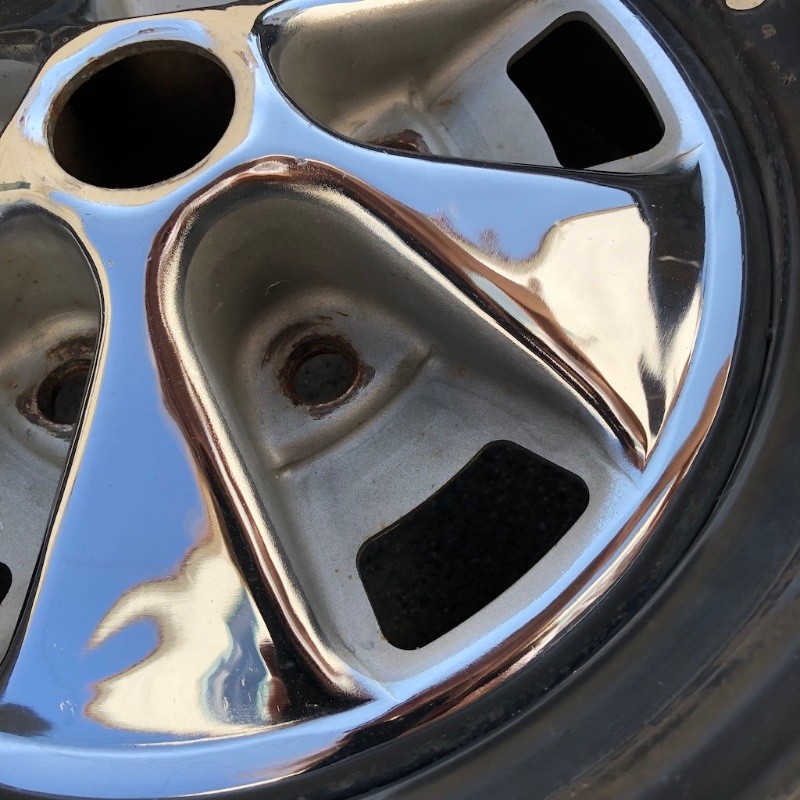
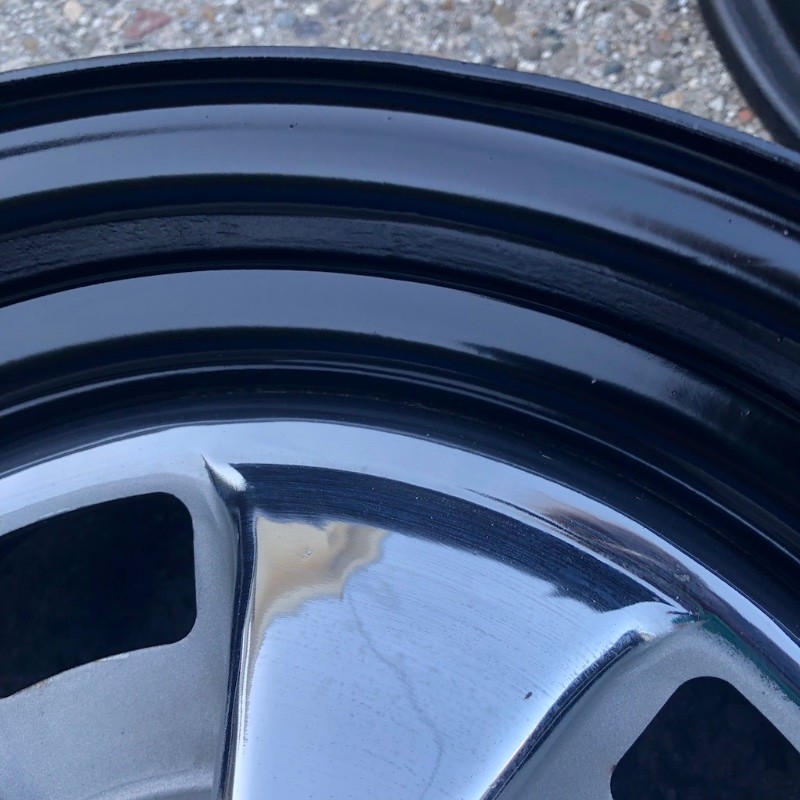
In general they are in excellent shape for their age. There was some general crusty-ness, especially on the back sides, but most importantly, the chrome is in great shape with no pits or major issues. The silver paint is almost completely intact, and I can get a good sense for where the factory masks ended. Just a little crusty around the lug nut holes. I did some general cleanup and removed the valve stems and balancing weights. Here are some pics of condition and silver paint edges.

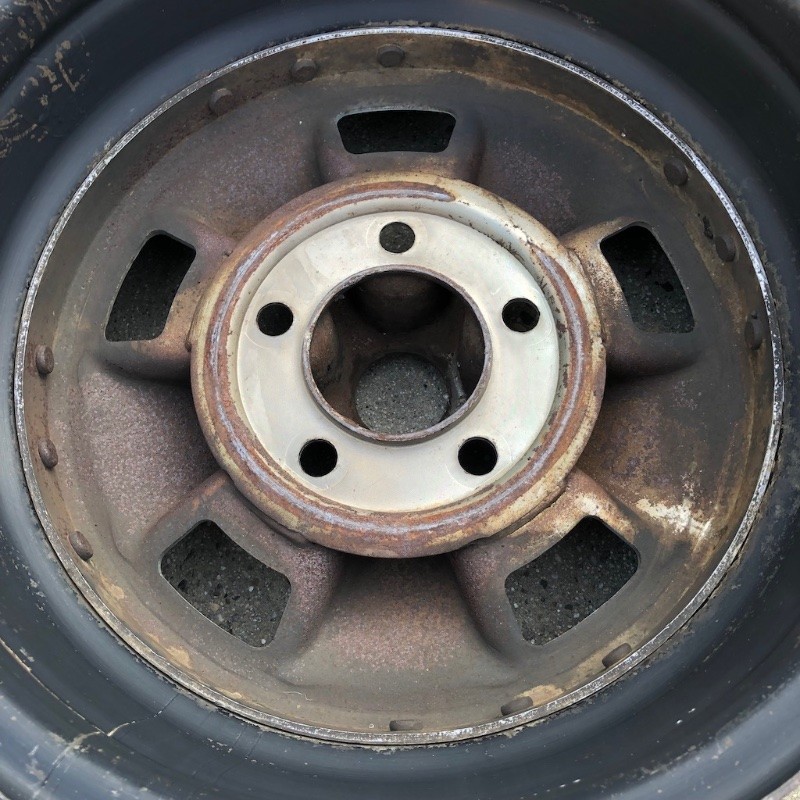
I debated a bit about how to go about cleaning these up, and even whether I should just leave them alone since they're only original once. But unsurprisingly, I had to try to cosmetically restore them. Can't be putting rusty wheels on my car. So, I went to town on all the rusty backsides with an array of wire brushes.
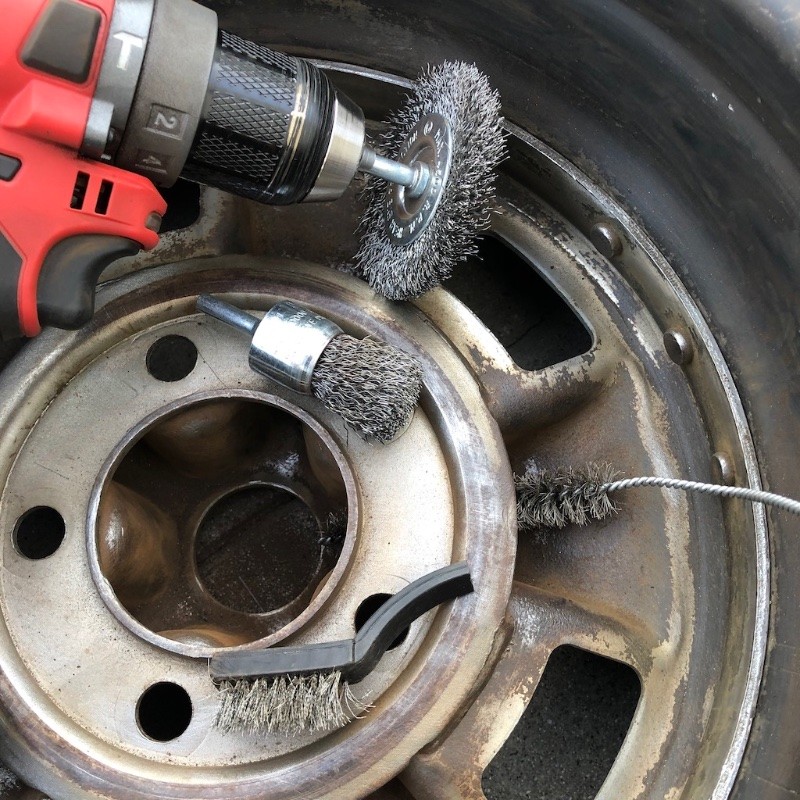
This was a pretty successful operation, at least to remove most of the loose rust on the surface.
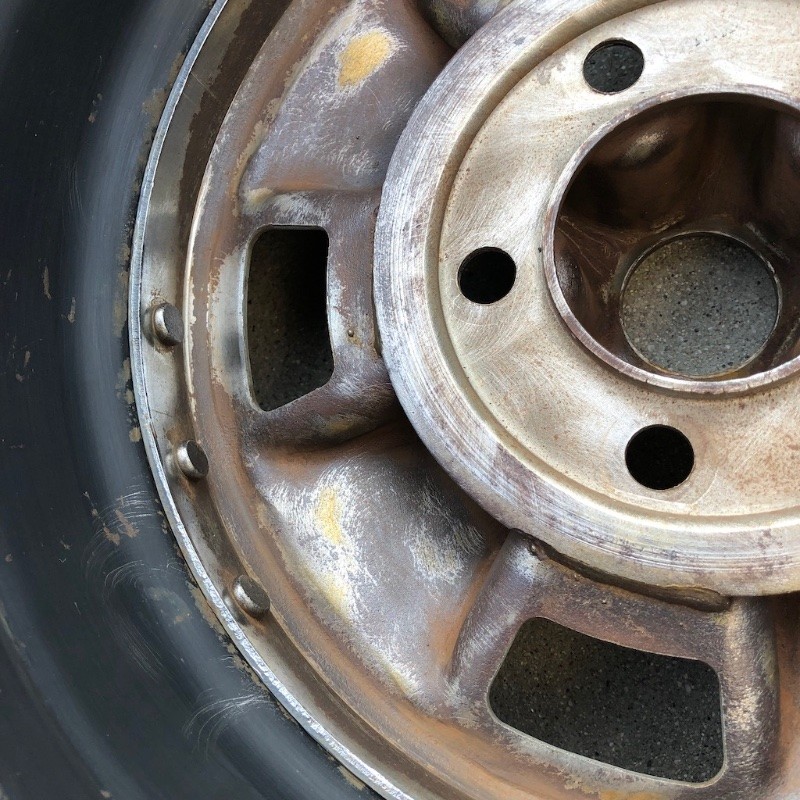
Next I thought I'd try something new. There was no way I could remove all the rust. Even if I had access to a good blast cabinet (which I don't), I don't know if I'd risk messing up the chrome anyway. So I grabbed some of this Rustoleum "rust reformer" which supposedly you can paint directly over rust.

So, after giving everything else on the backs and sides a good scuff with scotch brite pads, and trying to make sure I got rid of all the loose rust, I washed away all the debris and let the wheels dry in the hot sun. A few hours later when they were fully dry, I wiped them down with wax & grease remover and went to town.
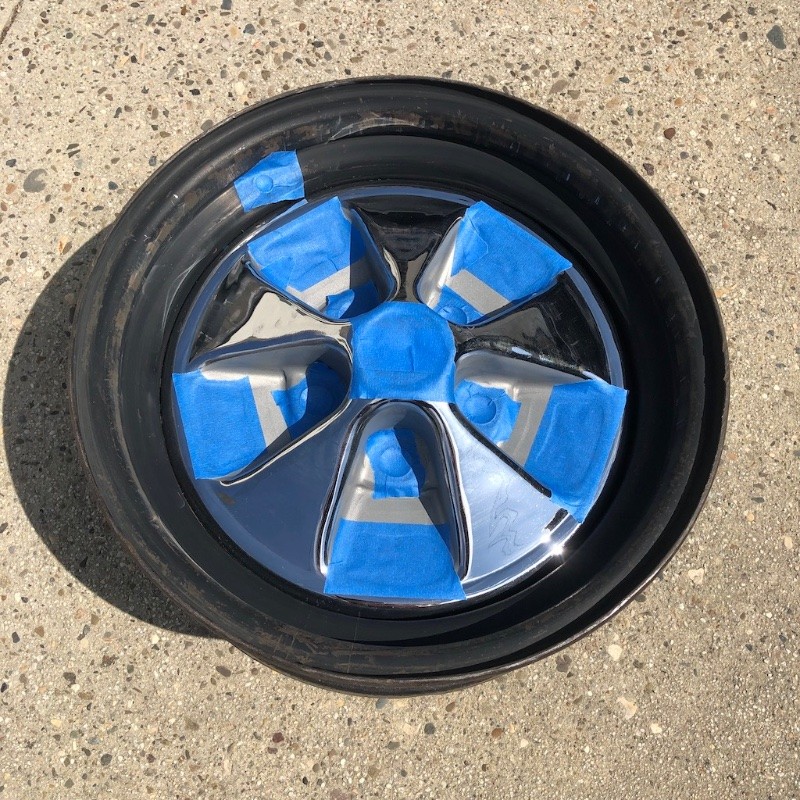
First I had to mask off all the holes, of course.
I was pleasantly surprised by how easily this stuff goes on and covers, and you supposedly only need one coat.
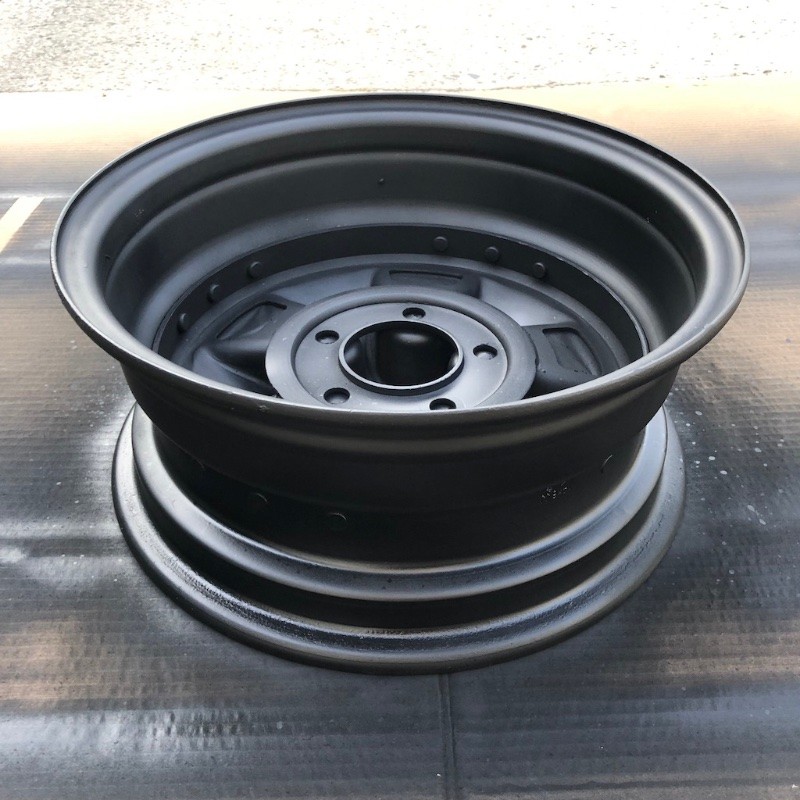
It's basically a flat black finish, and it looks pretty nice. You can just call it good there, or paint over it after 24 hours. I decided to throw a coat of satin black epoxy paint over the top of it, just for good measure. So that's what I did, the next day or so. This shot shows you the difference in finish between the epoxy (2 wheels in the foreground, albeit still wet) and the rustoleum stuff (background).

Backs and insides are officially looking good! Next will be on to the fronts, which I'll save for another day. I just finished up the black outer sections on the fronts tonight, and still have to find the right method for the silver. Open to tips from anyone who has repainted these wheels before! It's basically tape vs. a rag soaked in thinner to wipe off the edges.
9-24-2021
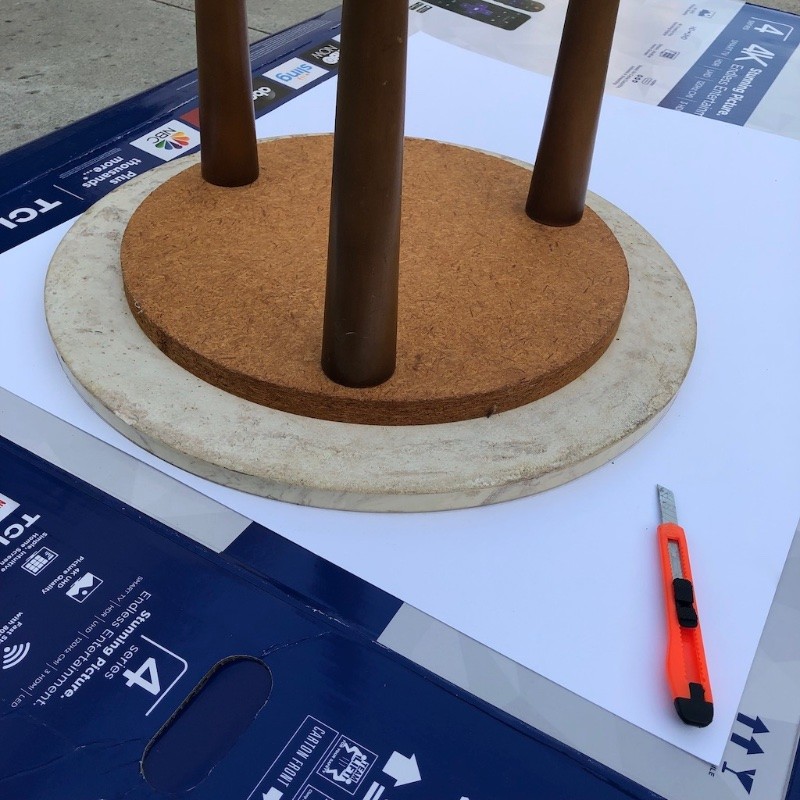
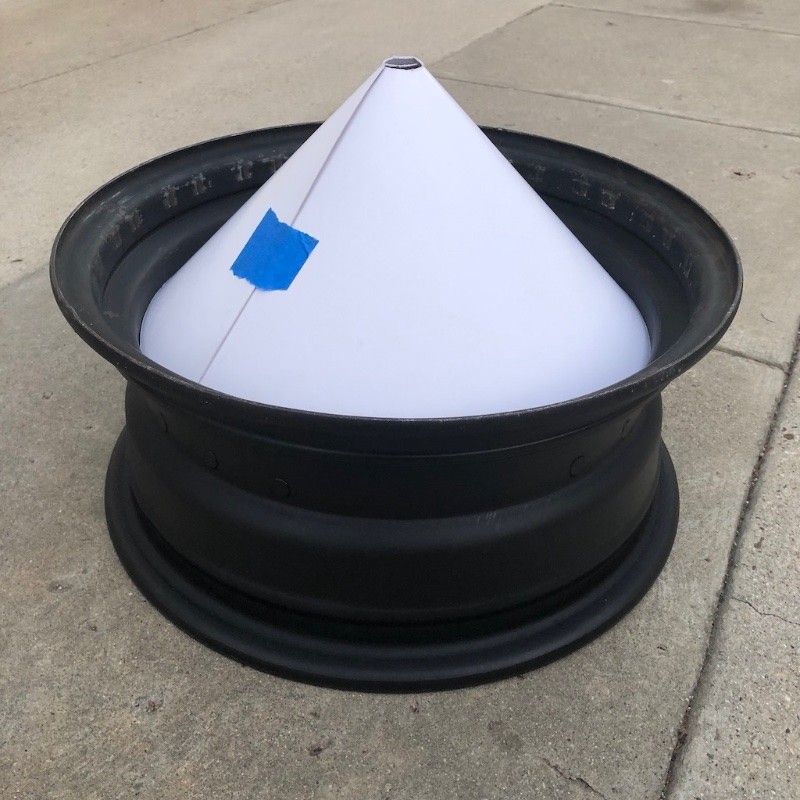
So to bring this up to speed, here's how I finished up the black outer section on the front of the wheels. Got them all cleaned and scuffed up, then I had to figure out how to mask off the wheel centers. I figured some sort of cone would be a good way to do this. After some experimentation with scrap paper and cereal boxes and whatnot, I figured out about how big of a circle I would need to get a steep enough 'cone angle' to fit down inside the bottom of the crevice.
I went to my local art supply store and got some poster board, then started looking around my house to find anything that was a perfect circle I could use as a template. I was almost thinking I would have to rig up some kind of large compass, then I looked at this little table in my living room. It's about 18" in diameter and worked perfectly.
Then I used some geometry to find the center of the circle. No, I did not remember how to do this from high school, but thanks to a quick search on YouTube it all came back.
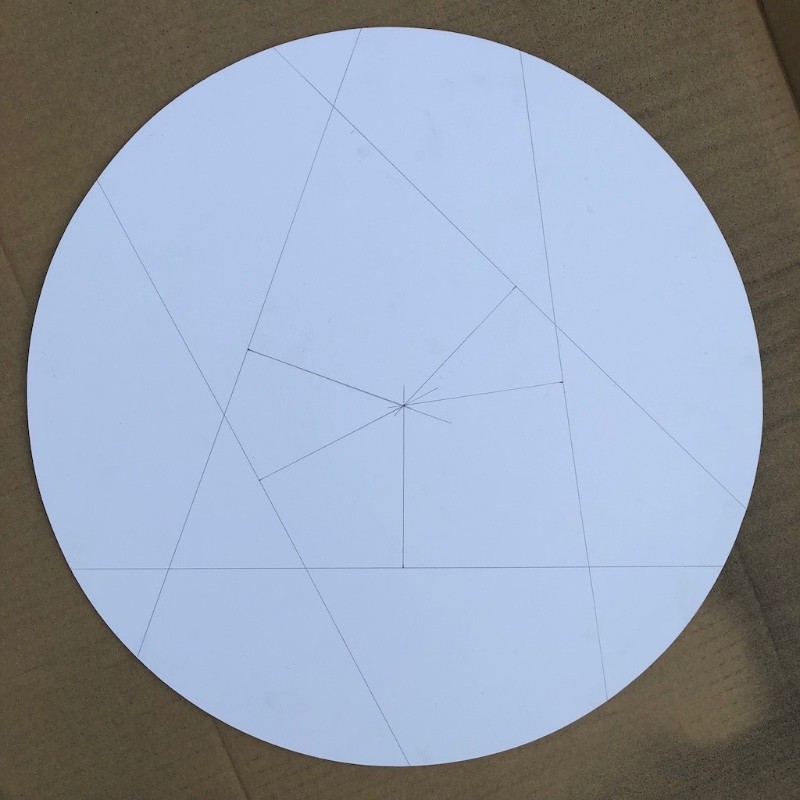
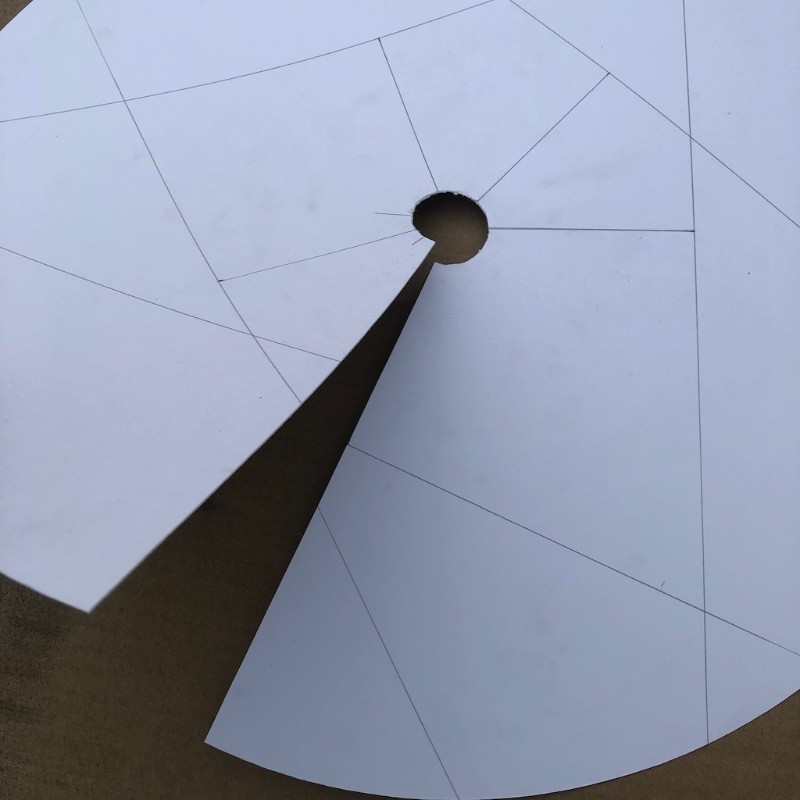
Then I made a relief circle cut in the middle and a line cut, and I now had the makings of a cone.
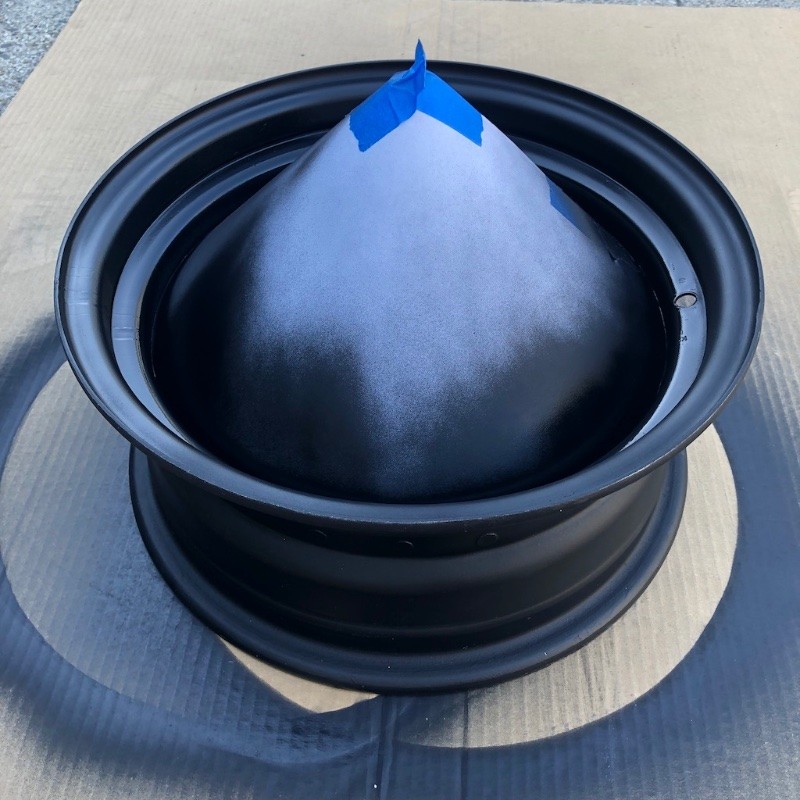
Next I figured I'd go ahead and use the Rustoleum as a primer coat of sorts, like I did on the backs. There was still some surface rust and whatnot so it seemed like a good idea. This worked out well!
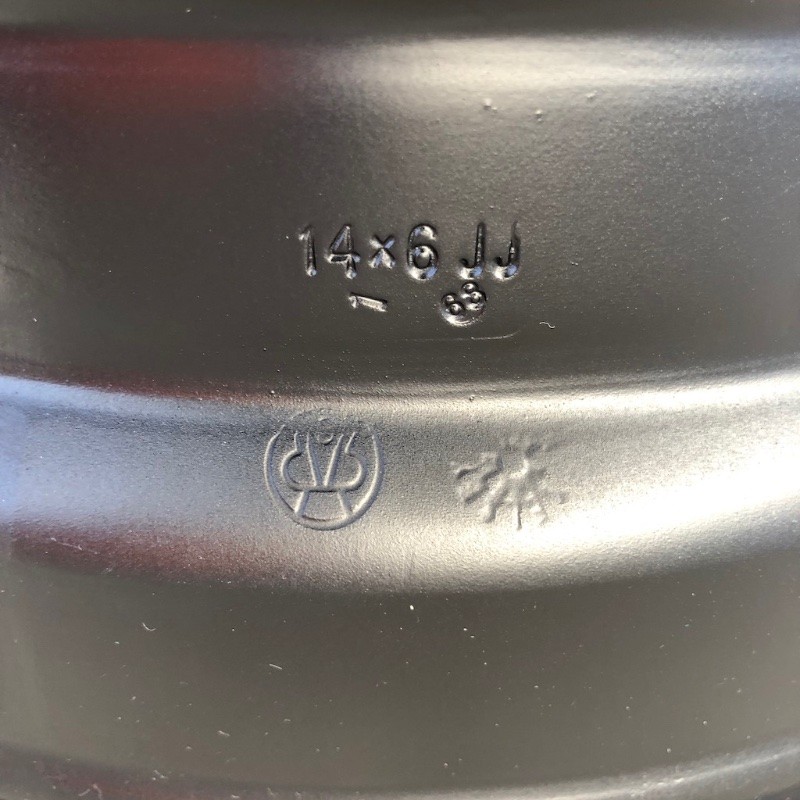
As an aside, I thought it was cool to see these markings.
Anyway, after letting the first coating dry for 24 hours, I went over all the outers with VHT satin black wheel paint. I did two light-ish coats and one medium-wet coat. I sprayed a bit extra along the inner areas to let some of it flow down into the crevice. I would pull the cone out right after spraying to let the wet paint flow down a little. Happy with the results!
Tried to take a pic to show how well the paint covered but it's hard to see - I guess that's a good thing! It got down into the crack pretty nicely.
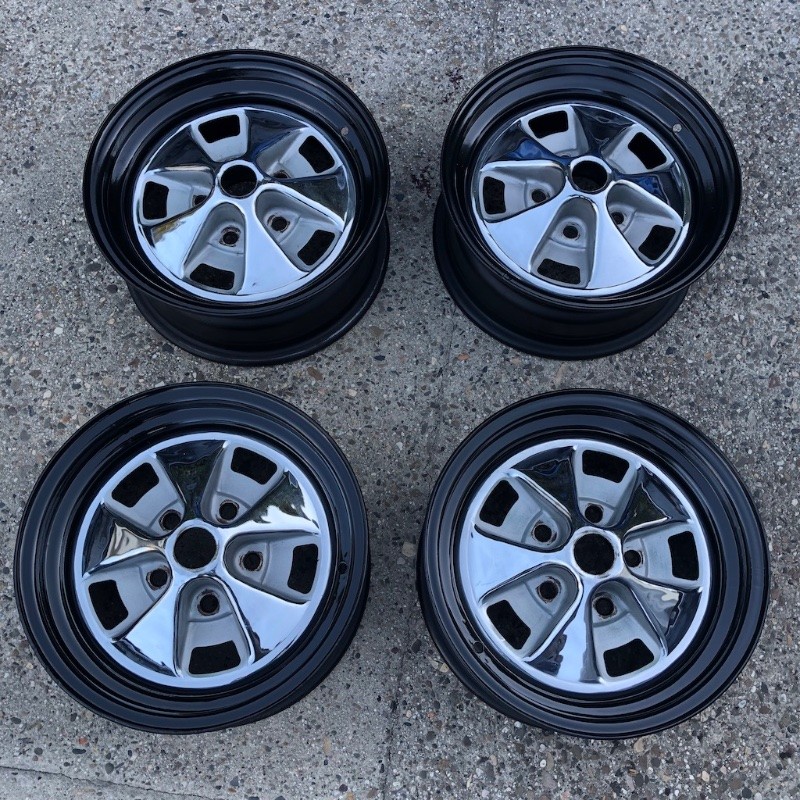
Anyway, these wheels are now way too pretty to put trim rings on and scratch the crap out of my new black paint. What do you think, should I just run them with the black outers? ![]()
Silver is next! I'm looking forward to seeing these finished, but not really looking forward to the masking adventure that probably awaits me. They almost look good enough as they are now, but I'm gonna freshen up the silver anyway.

So nice in honor of your grandparents.
Posted by Diggymart on 1/3/20 @ 8:04:16 PM