You must be logged in to rate content!
6 minute(s) of a 767 minute read
7-12-2019
Long road indeed! The road continues...
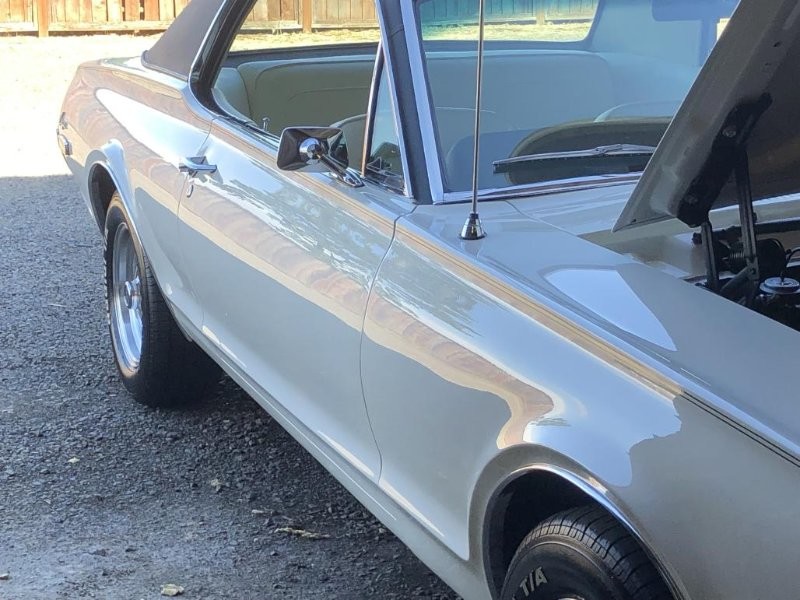
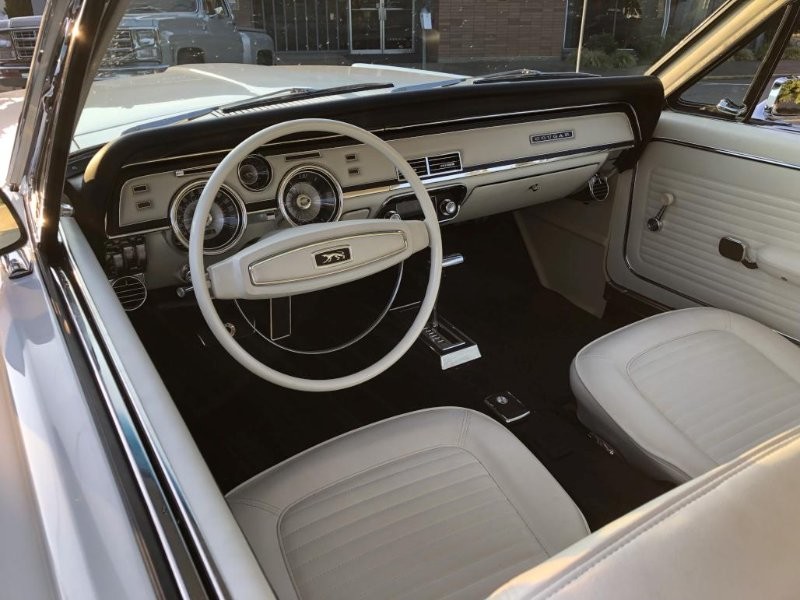
So as I mentioned before, I took the car to a pro detailer who went over much of the paint with some 3000 grit and buffed it out. It came out very nice. Kinda hard to appreciate in pics but here ya go anyway.


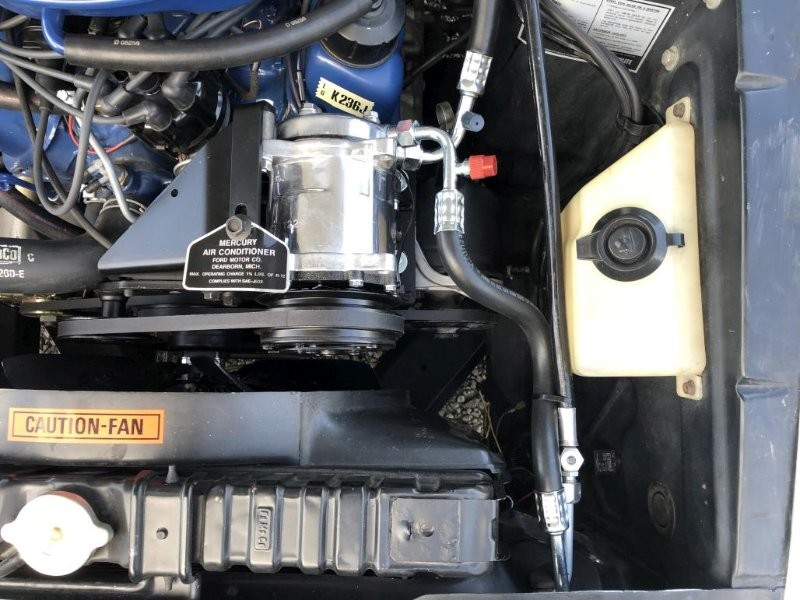
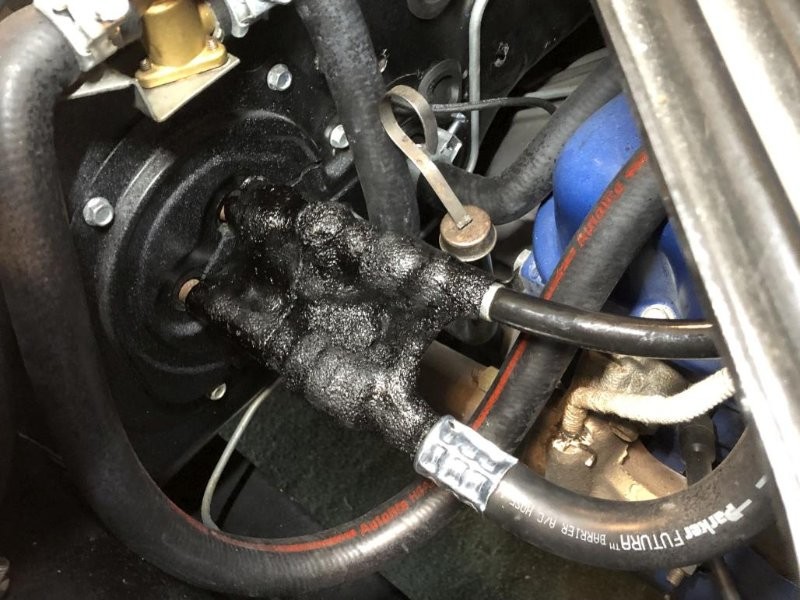
My next project I wanted to tackle was the A/C. I had the under dash stuff in place (original evaporator) and I had a new condeser and drier in place, so I just needed to figure out the compressor and hoses. I got to looking at my original Tecumseh compressor and it looked ok, seemed to spin fine, but given its age I really had no idea what kind of condition it was in internally. My original hoses were all looking pretty crackly and dry rotted. So... given that the cost to replace the factory hoses and service the old compressor would be similar or higher, I decided to go for the modern upgrade to r134 and the more efficient Sanden compressor. I got this kit from Original Air Group (which is a division of Classic Auto Air). As much as I like originality, I wanted the A/C to be functional, serviceable, and efficient, and this seems to be the best way to achieve that. It's all reversible too.
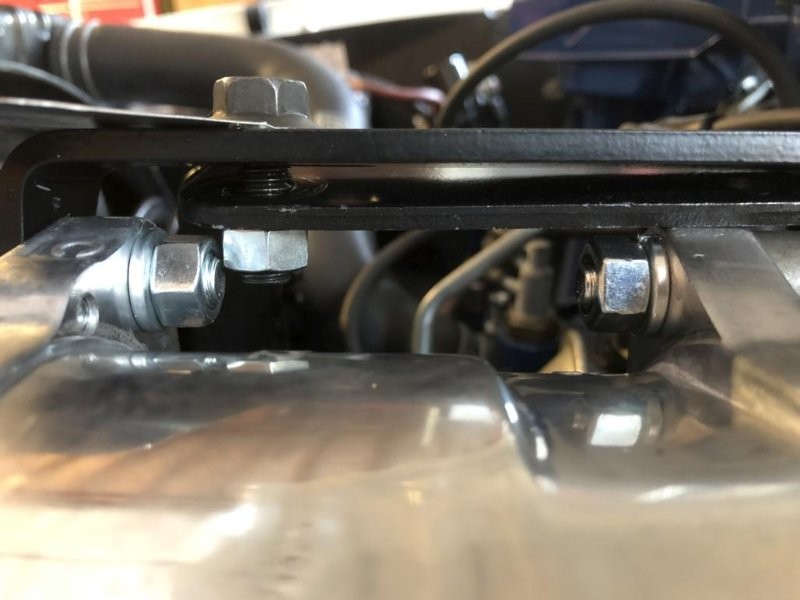
Installing the kit wasn't bad, but it wasn't all rosy either. For one thing, a lot of the nuts and bolts almost conflict with each other, and it's hard to get tools in there to tighten them.
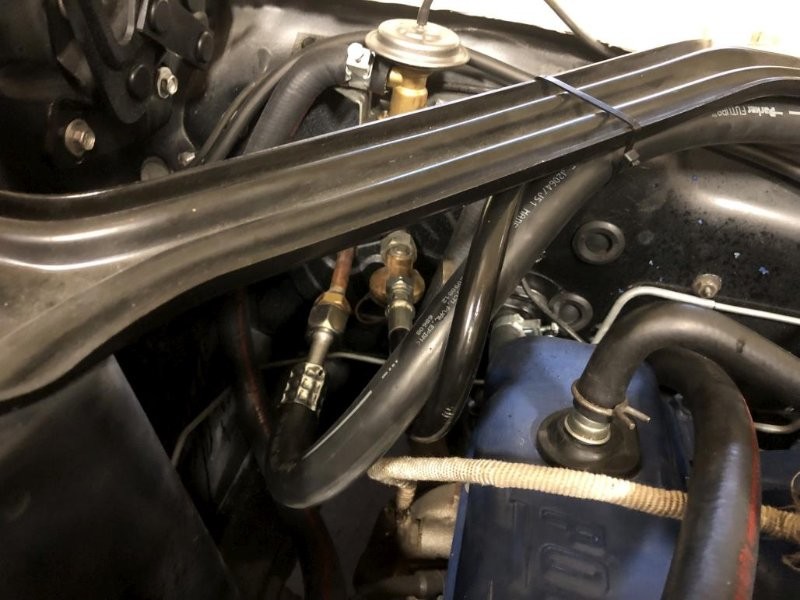
For another, the discharge hose they supplied is too long. I ended up having to zip tie it to the sight glass hose (sold separately) in order to get it to route reasonably.
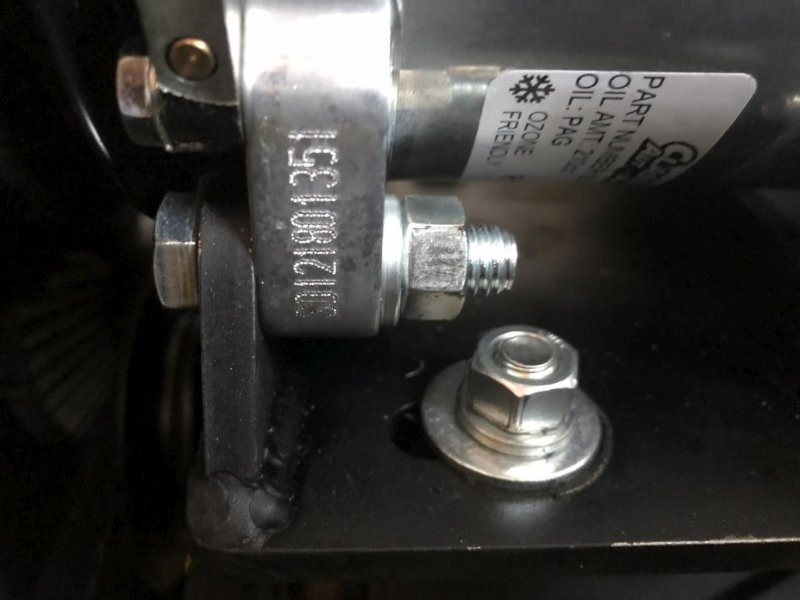
For another, the suction hose gets in the way of the power steering pump dipstick / filler tube. I had to angle this hose up enough to just barely allow the dipstick to be removed.
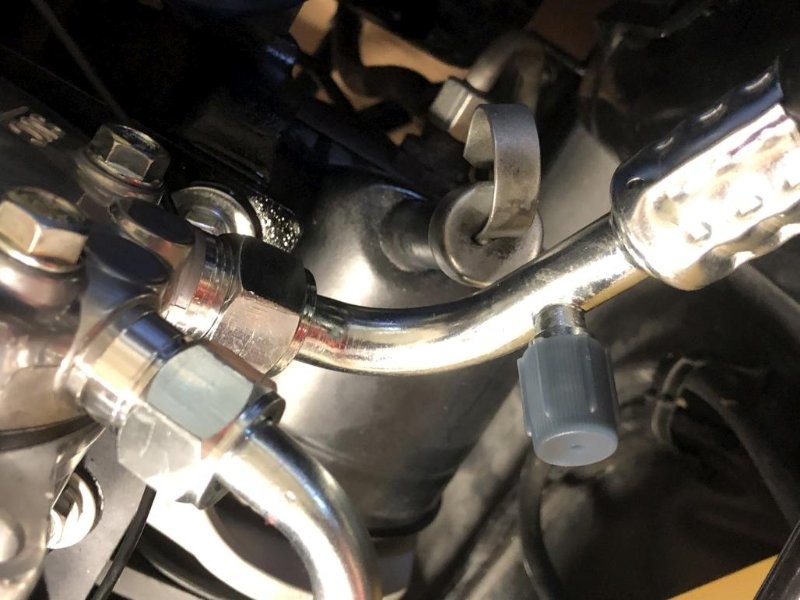
Here's how it turned out on the other end, this'll work fine.
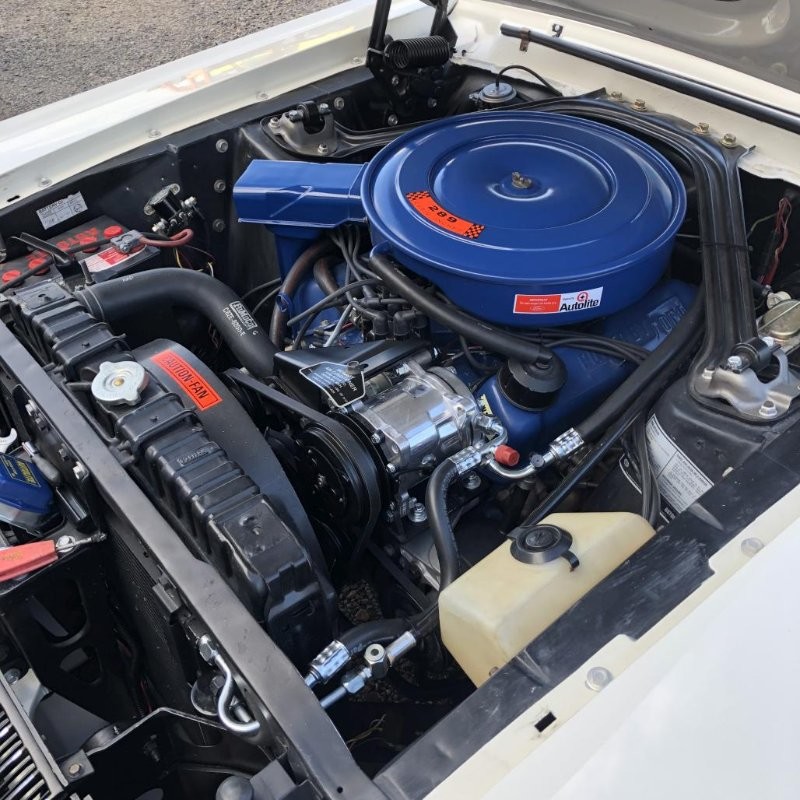
At the end of the day, it doesn't look too bad. And I had to put on the compressor tag just for giggles, even though it doesn't apply anymore.
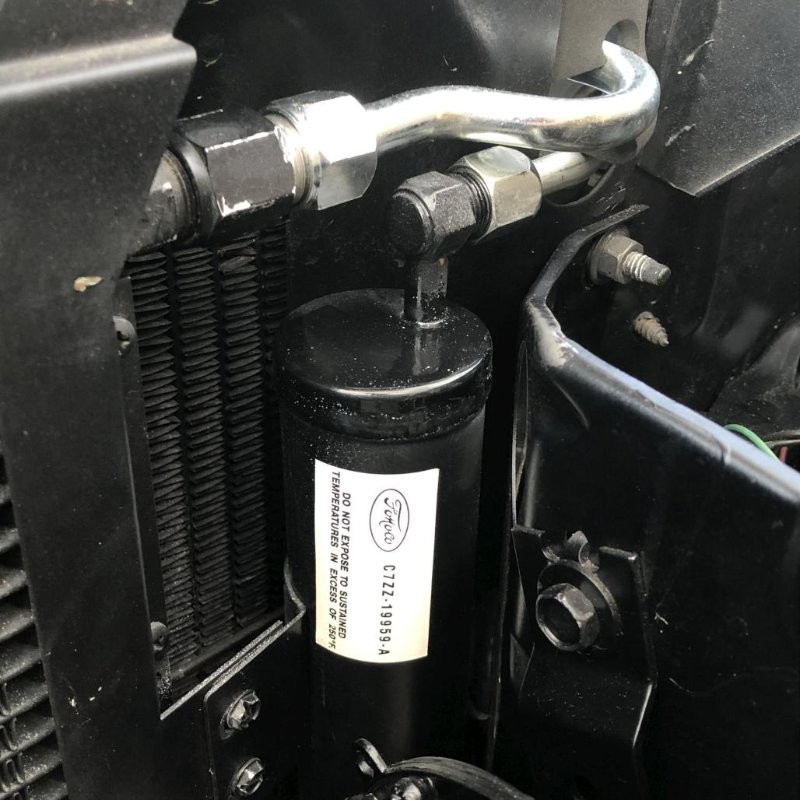
I didn't use their drier since I had a new one already, which has been sealed from the element all this time. It turns out they sent me the wrong drier anyway. But as a final touch, I slapped on this decal to make it look original-ish.
After everything was hooked up, I went to get the system evacuated and charged. I gotta say... it sure is nice having cold A/C in an old classic car! Driving it home after picking it up, it was still very warm out, and it felt so luxurious to have the windows up, and cold air blowing out of the vents. I'm also impressed with my factory blower fan, it's strong and quiet.
So, overall I'm happy with the functionality of the kit. The fitment issues are a little annoying but everything works as it should. More to come!
BTW - I did put the proper cork tape over the evaporator lines.
Anyway, I've still been chasing some issues. I've been having an intermittent charging issue, which I go into in this thread, and a running hot issue.
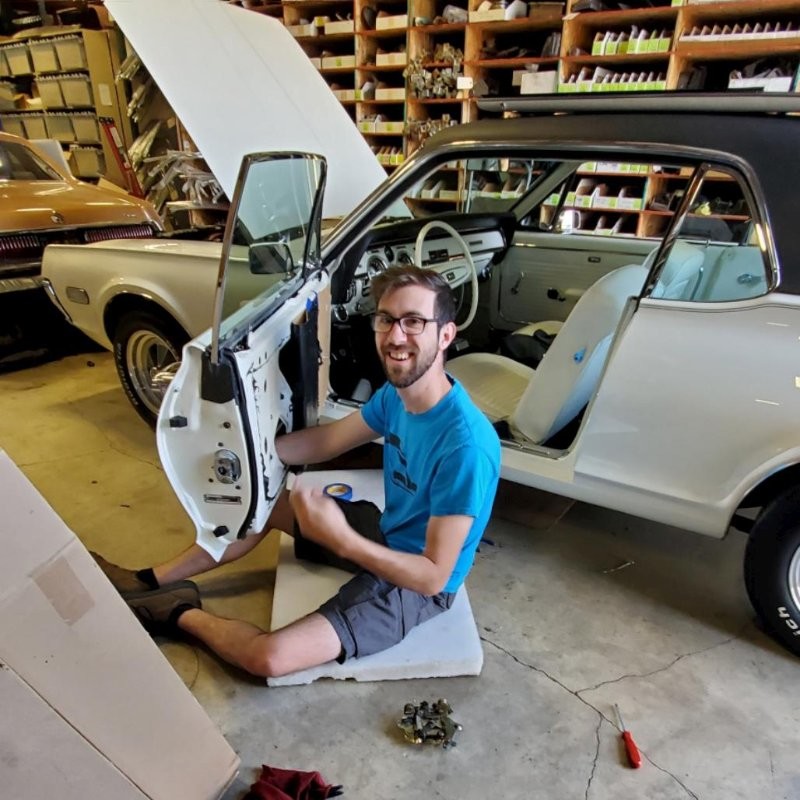
Just to pile it on, one evening I decided to go get a burger. So when I got to the restaurant, I locked the doors and went in. When I came back out, I couldn't unlock the driver's door. Turning the key made the lock knob come up about halfway, and the door wouldn't budge. Luckily the passenger side still worked, so I climbed in from that side.
So a couple days later I investigated. I wasn't thrilled about having to take the door panel off, but there was no other way. I was able to get the door open by jiggling the lock knob a bunch. And another time I was able to use a long screwdriver to release it.
Darrell captured me during this super fun time. I was about to flip him off but he was too fast.
Well there's yer problem. The lower tab on this piece was completely broken off. This piece can get sloppy and hogged out from years of use, but I didn't expect to see it totally broken.
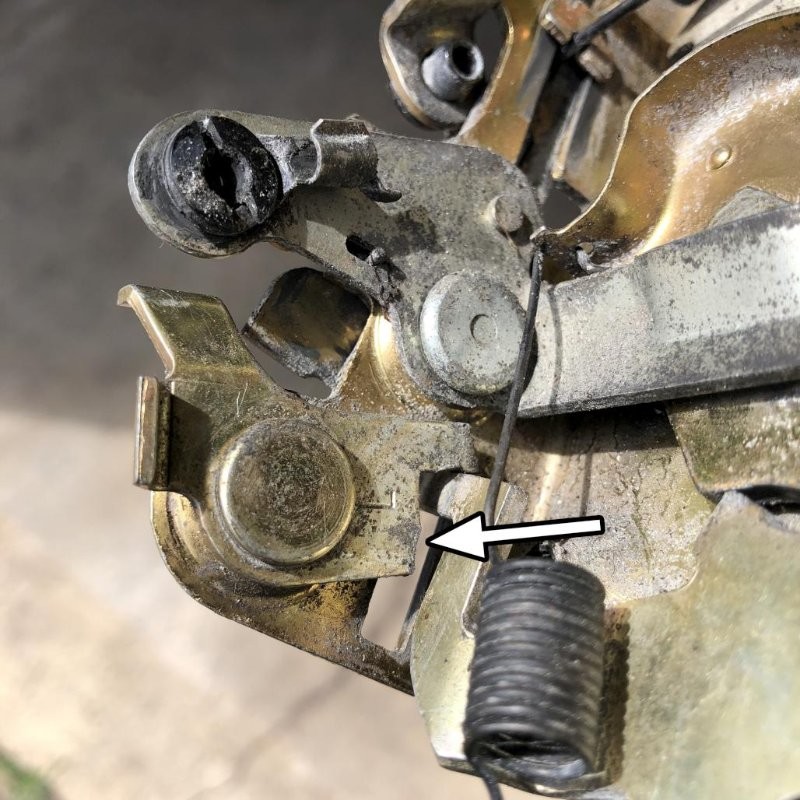
Since this latch is gold cad, it's either a service replacement or a repro that was put in at some point. So I found a good original one that wasn't too worn, cleaned it up and lubed it, put it in, and made sure the button lever was adjusted. Problem solved, door panel back on.
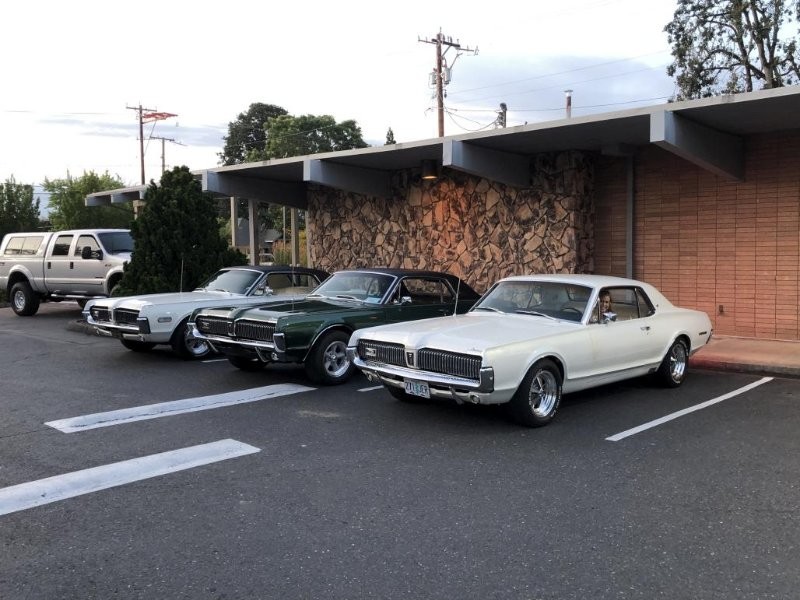
On a more fun note, I participated in my first car show of sorts since doing the resto. First Friday in Silverton, OR,
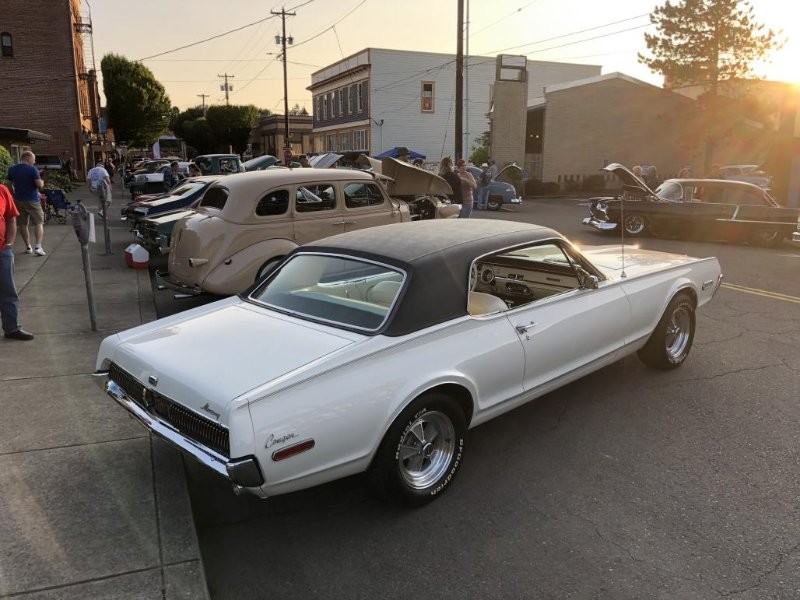
I even ran into a couple of familiar faces...
I want to get out and take some quality photos for the WCCC calendar, but things have been pretty crazy. That's pretty much it for now! Just need to keep working the bugs out.

So nice in honor of your grandparents.
Posted by Diggymart on 1/3/20 @ 8:04:16 PM