You must be logged in to rate content!
7 minute(s) of a 767 minute read
5-24-2019
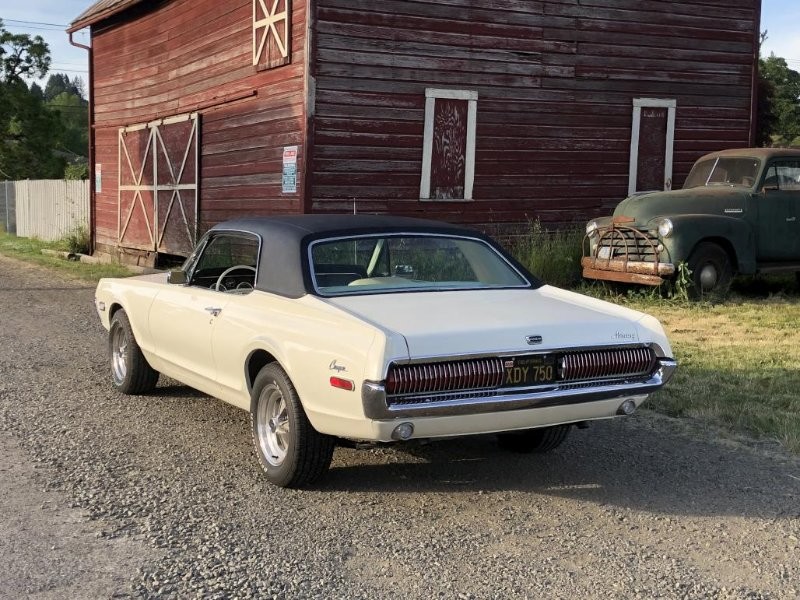
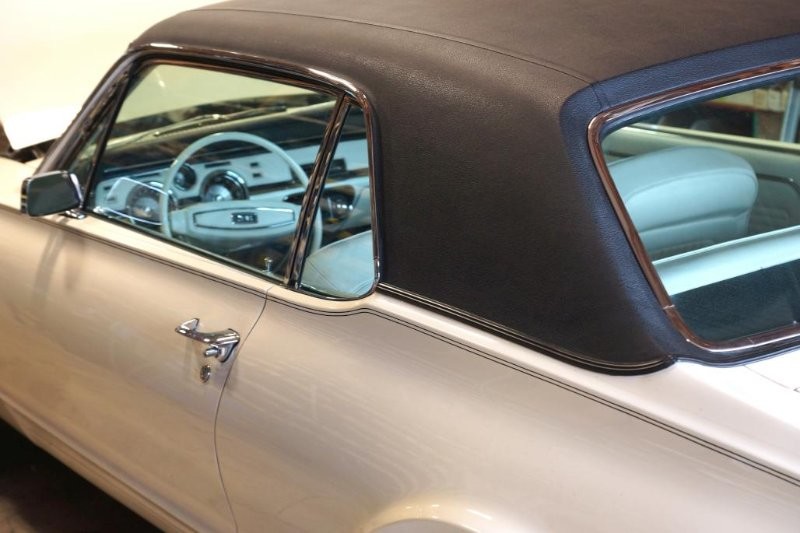
Random update time! I've been driving the Cougar a little to shake it out (and use up gas so I could change the faulty sending unit). Here's a random shot from a couple weekends ago.
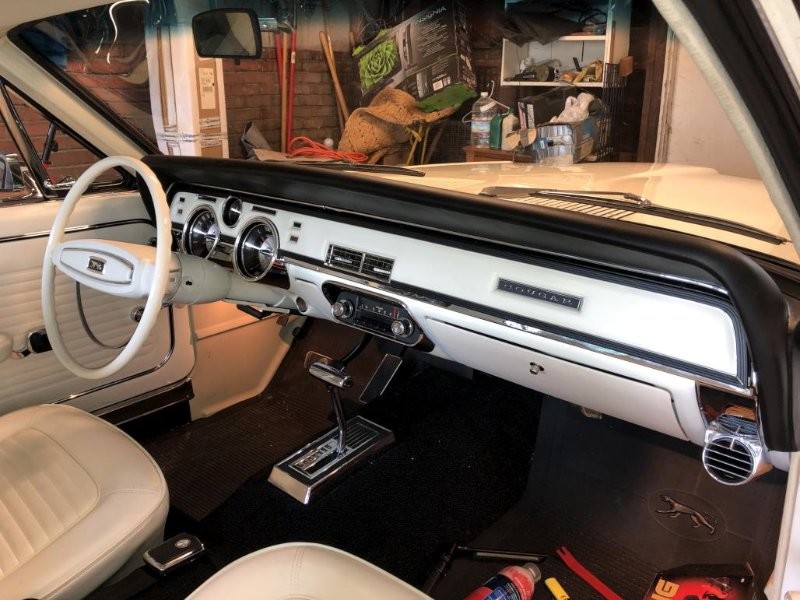
Having determined that the instrument cluster was ok and there were no wiring issues back there, I could put the face pad back on. Also got the under dash lights installed and working.

Next.. One experience driving at night with regular sealed beam headlights lights (misaligned) was enough to convince me to to the halogen headlight upgrade kit. I also opted for the regular clear bulbs instead of the blue-tinted ones that come with the kit. Out with the old...
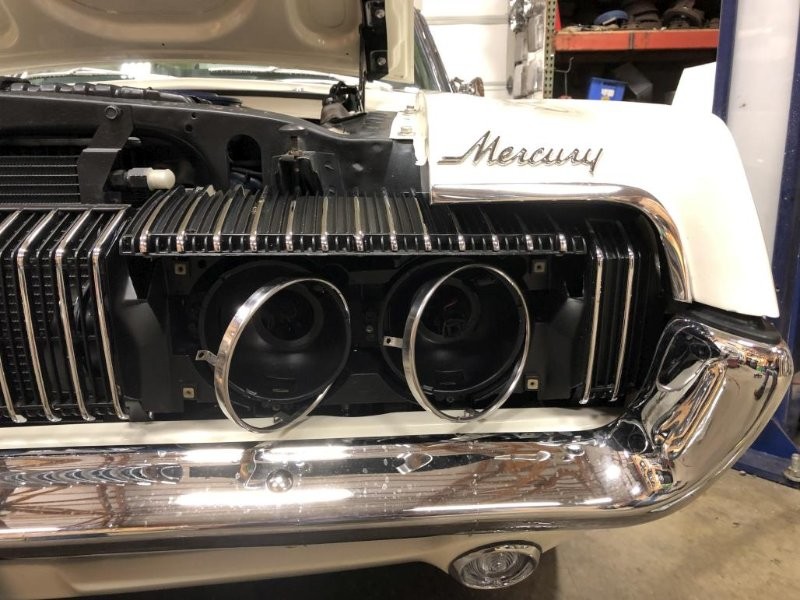
By the way, with the electric headlight motors, what I had to do was unplug the bulbs first, then turn on the headlight switch to open the headlight covers, then disconnect the battery. The springs that hold on the trim rings are a pain in the @$$ as most of you probably know. Who knew that changing headlights would be so cumbersome? For the record, this is the proper orientation of the springs:
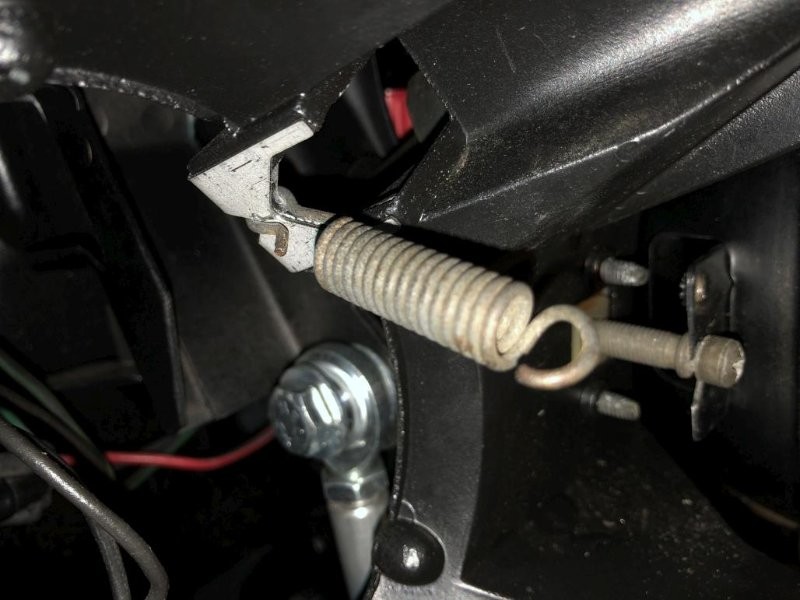
This is another instance in which I think it's worthwhile to have a special tool. If you google "headlight spring tool" you'll see some options. Don ended up buying a used Snap-On version (HE52A or HE52B) for the shop, and I got to try it out. Made the job much easier. There are also versions with a T-handle and a hooked end which look like they'd work well too. Some drum brake tool kits come with such a thing.
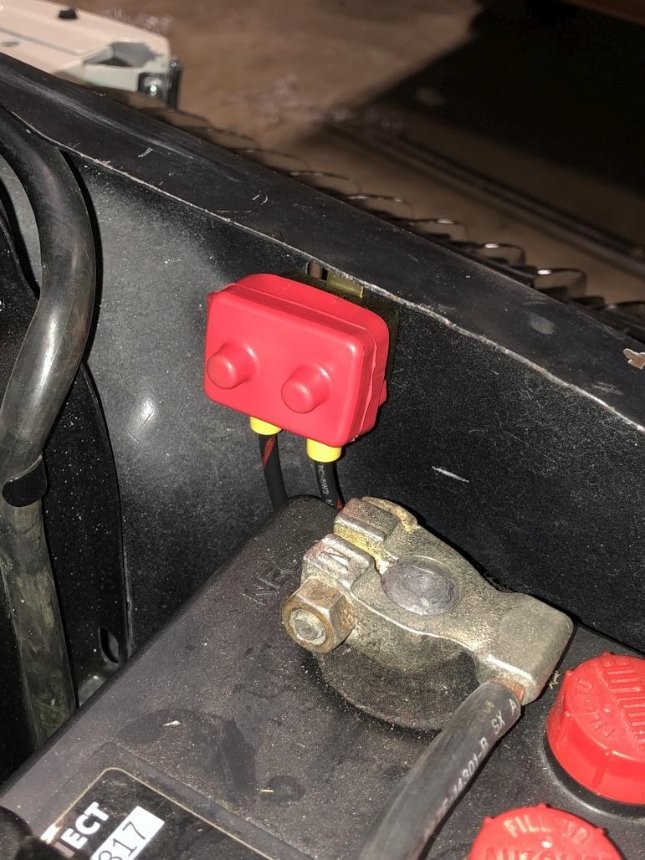
Anyway, I like the kit overall, kudos to Rocketman for making it user-friendly and almost totally plug-and-play. All you have to do is rearrange some plugs, make one cut and a couple crimps on the new power wire, and figure out where to route wires and hide the circuit breaker and relay box. I connected the power wire to the + side of the starter solenoid, since it already had a ring connector the right size. Then I ran the wire behind the battery and hid the circuit breaker under the lip of the core support, using an existing hole to mount it:
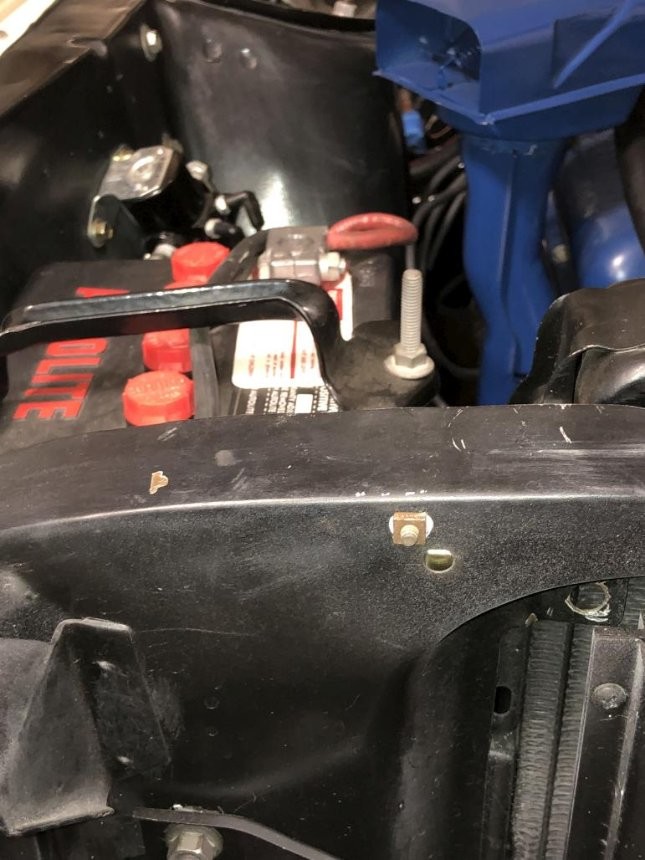
From the front, all you see is this little square nut, which I thought looked vaguely original. (Man my black under hood paint looks like poo now. Needs some detailing.)
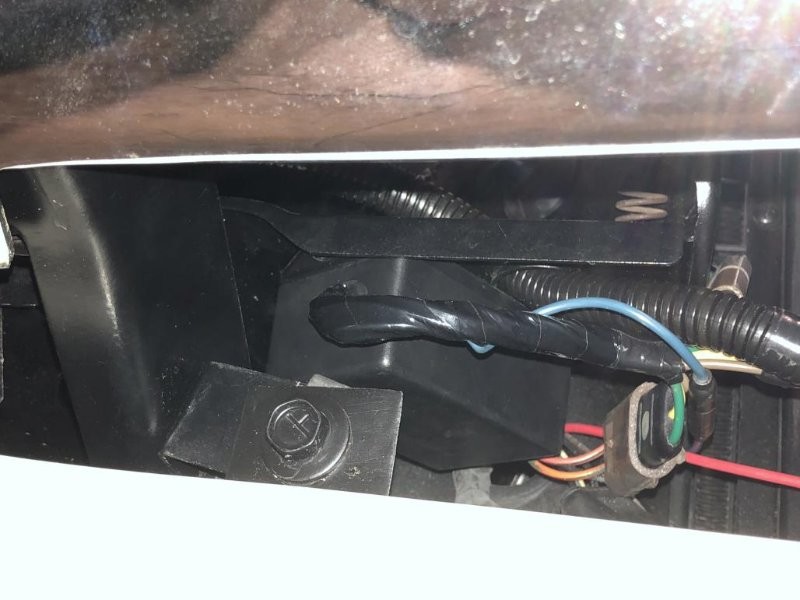
The other end of the wire, I ran down beside the radiator and through the hole where the wiring harness passes through. The relay box, I ended up attaching to the underside of the RH headlight bucket using an existing hole in the corner.
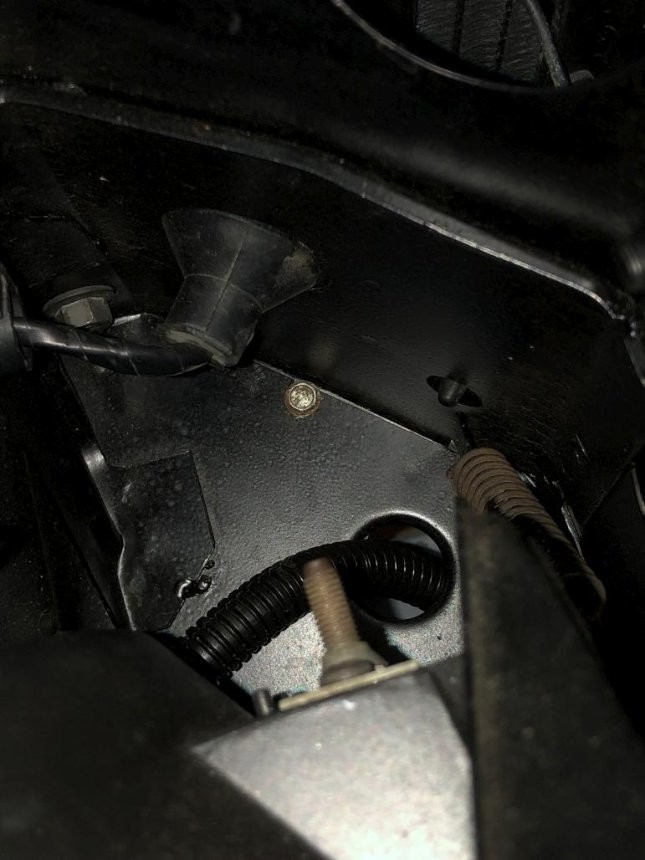
From the top, all you see is this little bolt in the back corner of the headlight bucket.
Long story short... BAM!
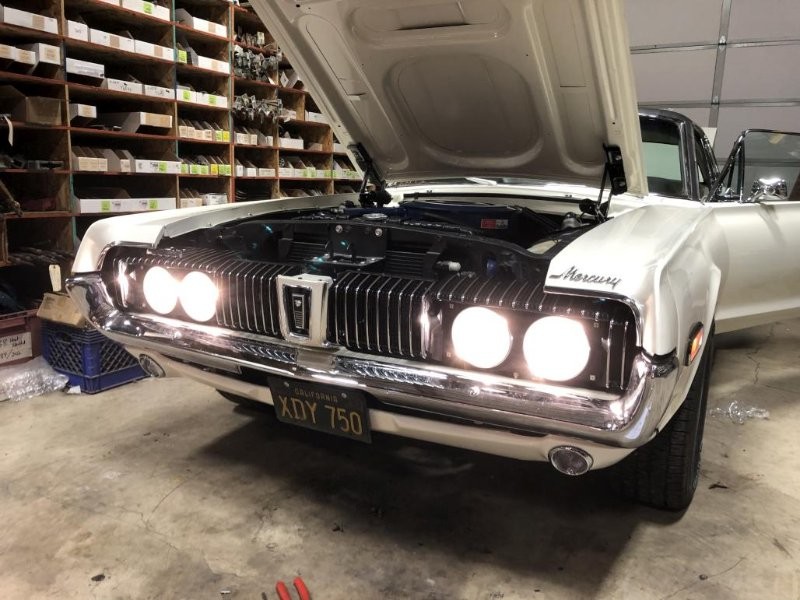
Much better light output. I still need to aim them, and for that I'll use these guidelines from Daniel Stern Lighting. I've used these specs on my other cars (also equipped with E-code headlights) with great success. It should be noted that these new Octane headlight lenses that come with the kit are indeed E-codes, meaning they have the (superior) European beam pattern. So that will make these easier to aim. Anyway, more coming in next post, I've reached the 10 attachment limit...
In other news, I've still been trying to get the tuning dialed in. Finally found out that I had some pretty significant vacuum leaks at the intake manifold. So as much as I enjoy going backwards and redoing things, I got to pull the intake back off to re-gasket it.
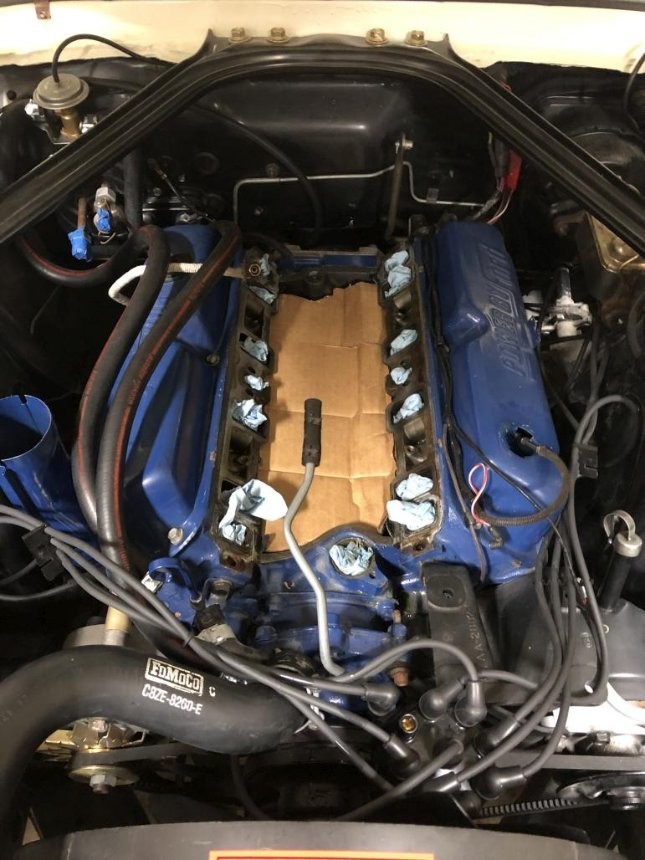
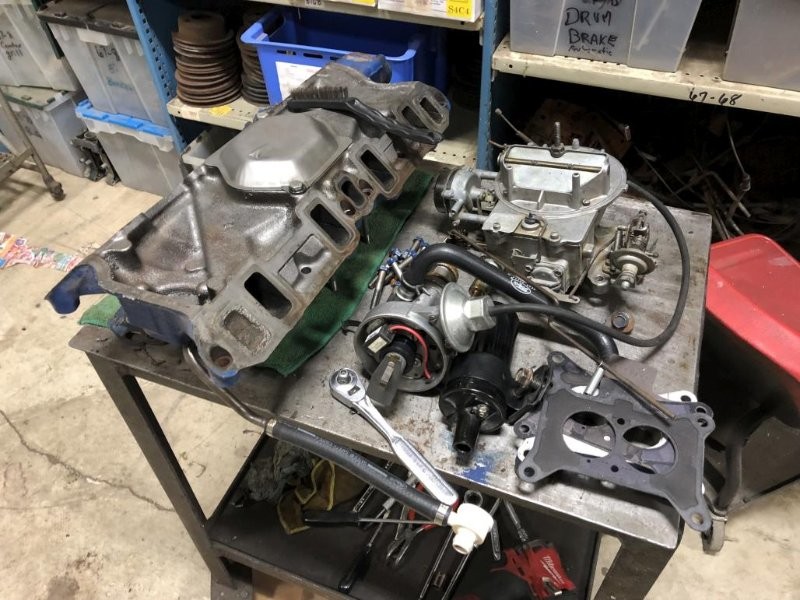
I couldn't remember whether I had used sealant on the gaskets the first time - turns out I had only put sealant around the water ports, and the cork end pieces. The air ports were just dry. After some googling, I found out that many people recommend a thin layer of sealant on both sides, around every port. So, after getting all the surfaces cleaned up, I got new gaskets and did just that. As of writing this, the intake is back on and torqued, now I just need to button everything else back up. I'm looking forward to seeing how much better she runs now, fingers crossed that I won't have any more vacuum leaks.
Next, in more fun news, pinstripes happened! This was just yesterday. Don was having pinstripes done on another Cougar here, so it made sense to egt them done on mine at the same time. This is Spiderman, a well-known pinstriper here in the PNW.
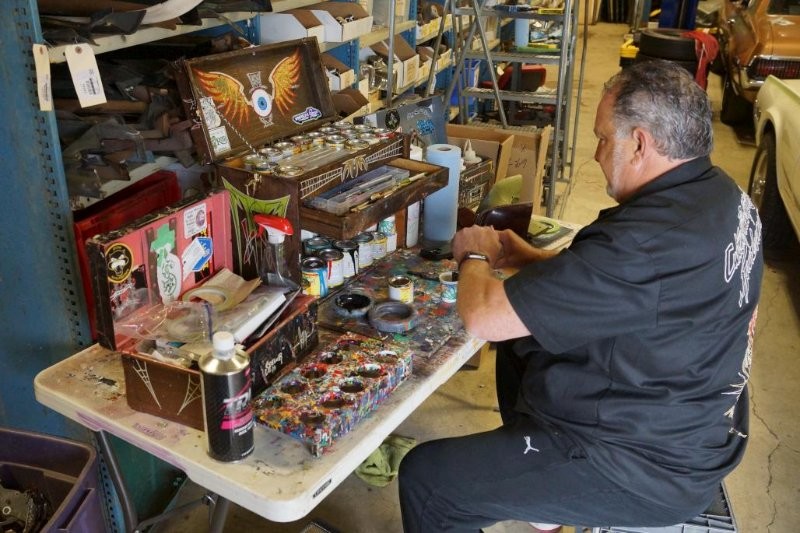
First he put down some tape guide lines. The top one is to guide him on the first stripe, and the bottom one is kind of like a track for his support finger to ride on.
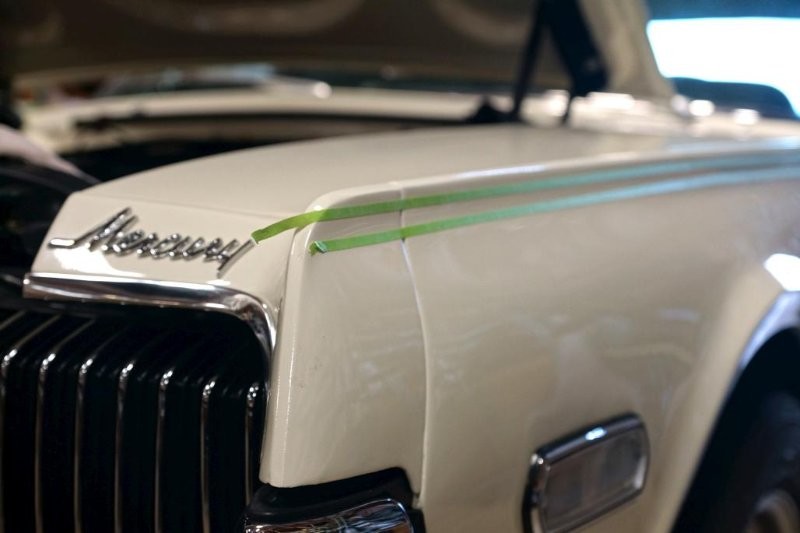
So it begins:
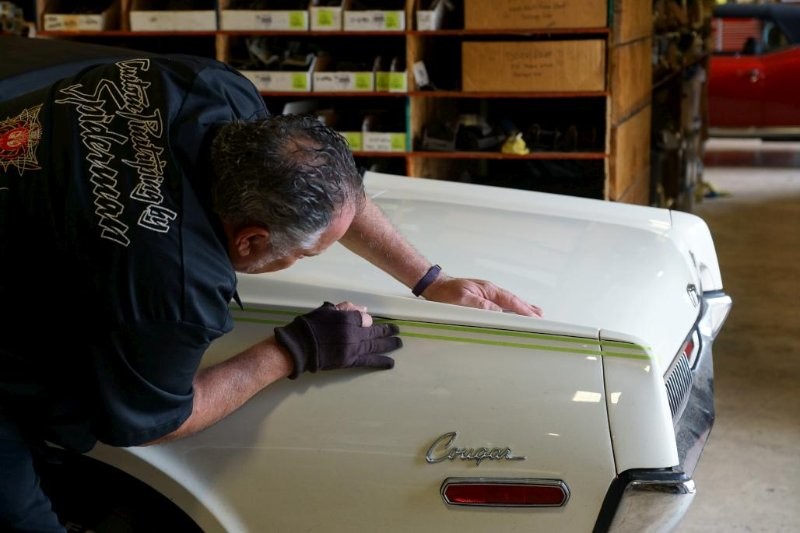
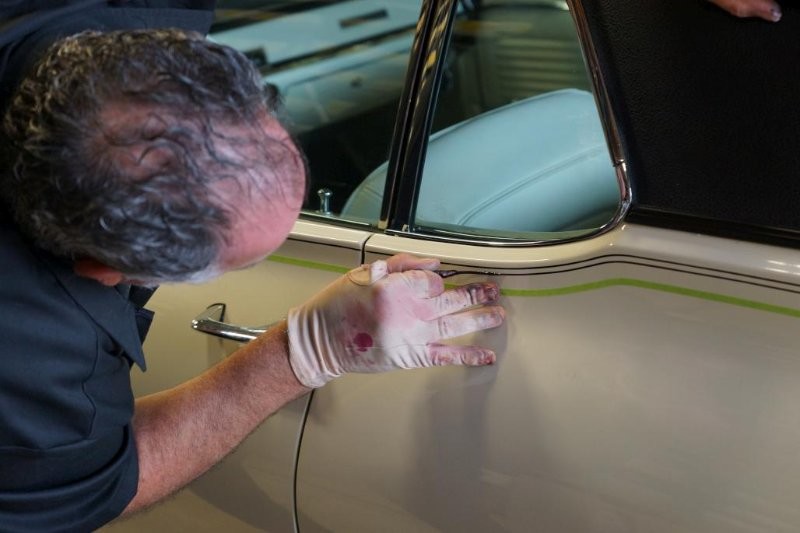
He didn't like how the first stripe way laying out, so he wiped it right off with a wax & grease remover, changed gloves, fiddled with his brush and started over. Especially impressive was to see how well he dealt with this curve in the body line:
The end result is a really clean & classy pair of pinstripes that look very close to factory, but a little better IMO. They're nearly perfect but I like that you can still tell they were hand painted. After all the research I've done on original pinstripes, I decided not to have him put gaps at the panel seams, like a '68 would have had from the factory. After looking at the end result, and how the stripes flow from one panel to another (without wrapping around), I thought that it looks great and didn't want to mess with it. After all, I'm not really going for total concours.
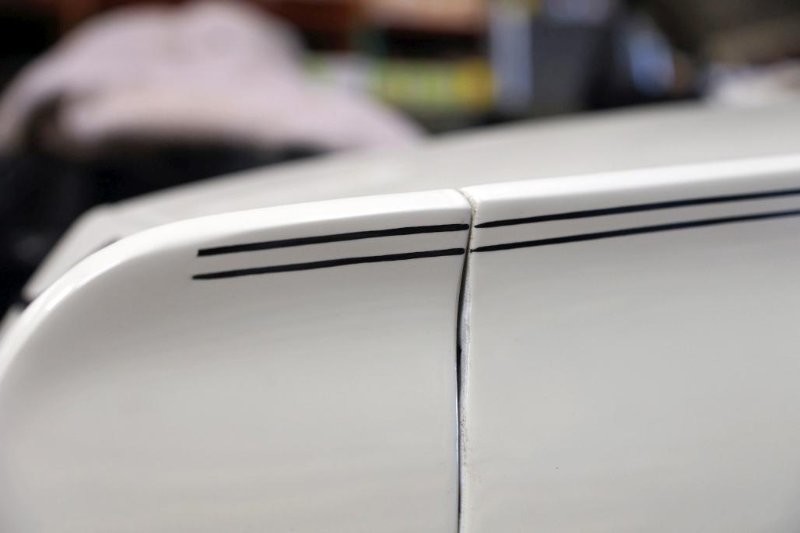
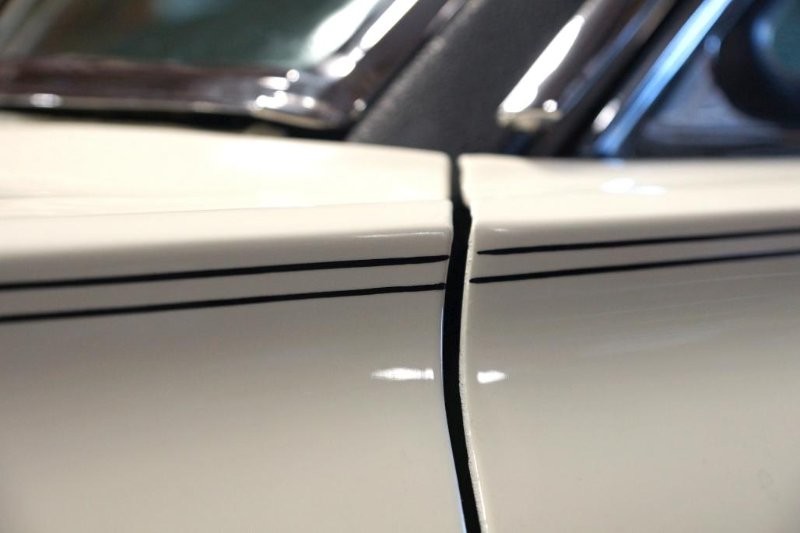
I'm happy with how they turned out! Really adds a touch of class to the car. Anyway, that's all for now!

So nice in honor of your grandparents.
Posted by Diggymart on 1/3/20 @ 8:04:16 PM