You must be logged in to rate content!
4 minute(s) of a 767 minute read
5-9-2019
That's about the last thing I haven't checked at this point, so it's very possible! I did put in a new repro temp sender when I was building the engine so that may be the culprit. Of course the only thing to replace it with would be the exact same thing. Also wondering if I advanced the timing too much. Scott (CougarCJ) also suggested that it's not out of the norm for these cars to show more than halfway up on the temp gauge, and all is fine as long as the needle doesn't go up into that last little bit at the end... but of course it would make me feel better if it was in the middle.
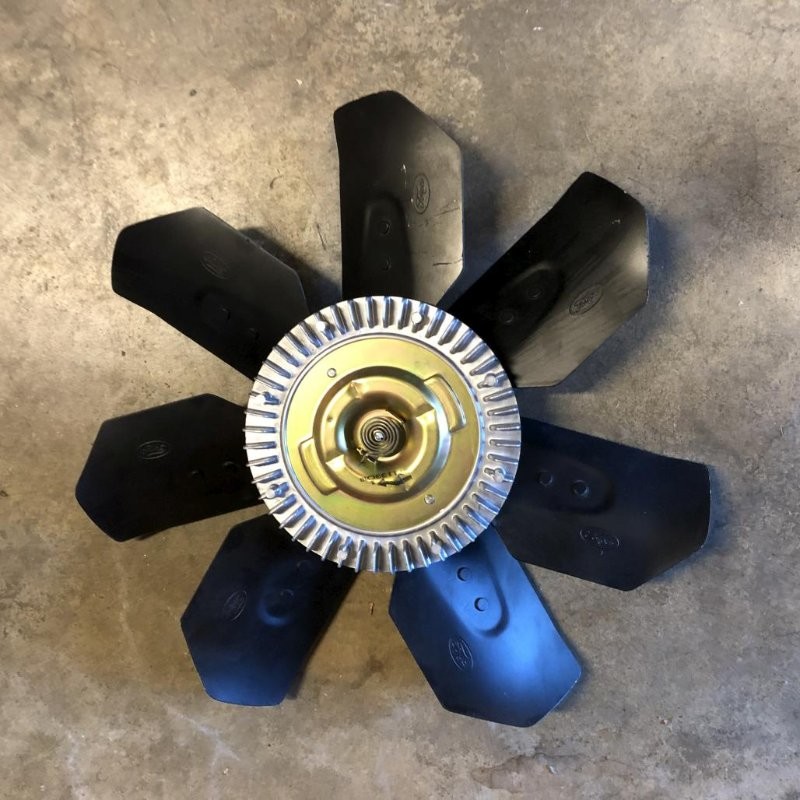
On that note... I changed the fan clutch, which was probably a good idea, but it made no difference. So that wasn't the problem.
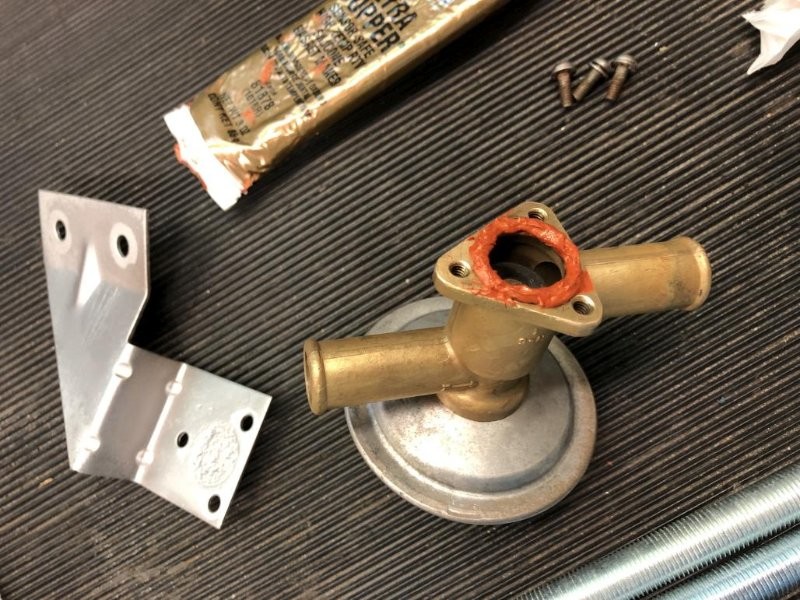
Then, since I was thinking about the cooling system, I figured it was time to install the heater hoses. To start with, I got a good original heater control valve (with A/C) and put in a new o-ring with some high temp sealant.
Then I had to figure out how the hoses route. Surprisingly, I couldn't really find any good pictures on the internet of how they're supposed to go. The best I could find were a couple of original illustrations to go by, which was helpful, but real life doesn't always work out as cleanly as an illustration. Anyway, this is where I ended up for the routing. Don't forget that the short, left side heater core hose is sold separately. Of course I used the "concours" hose clamps. Note that 2 more individual clamps are needed for the water pump bypass hose.
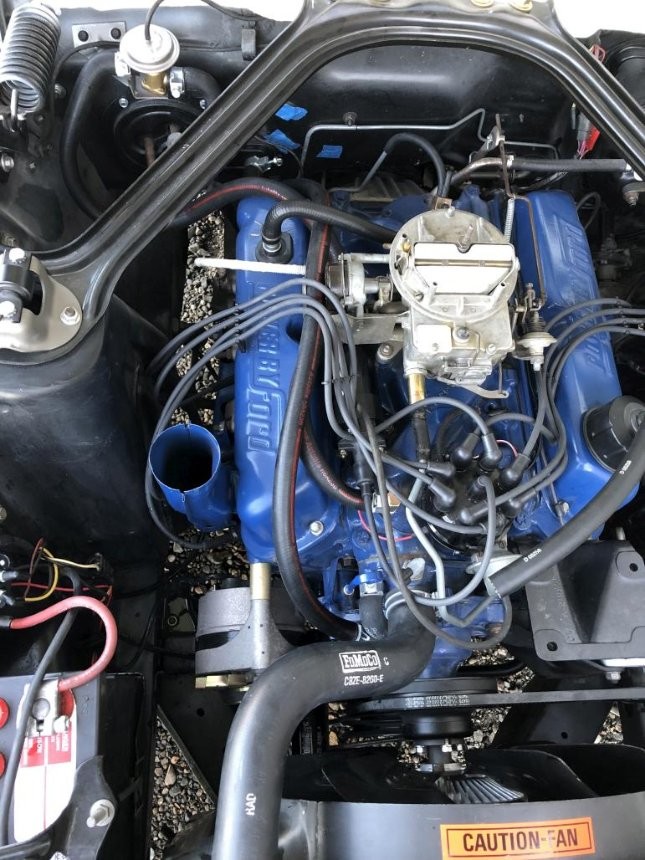
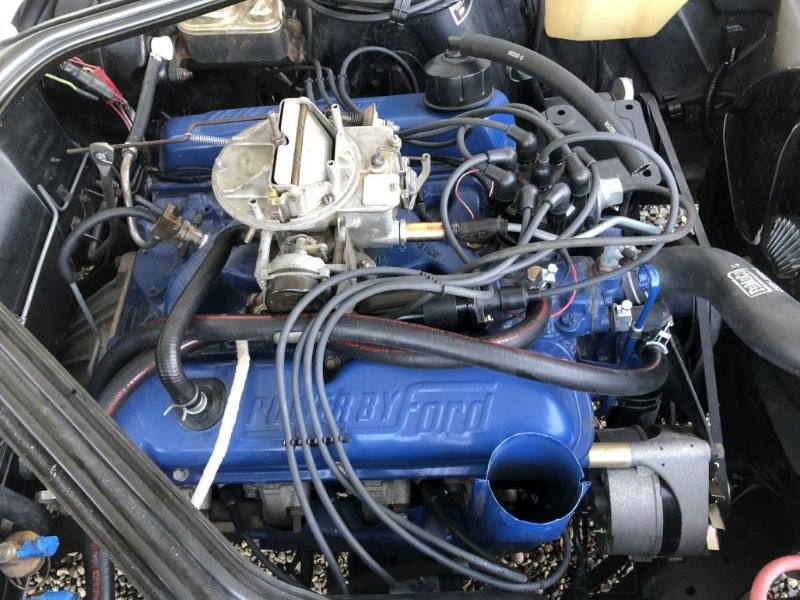
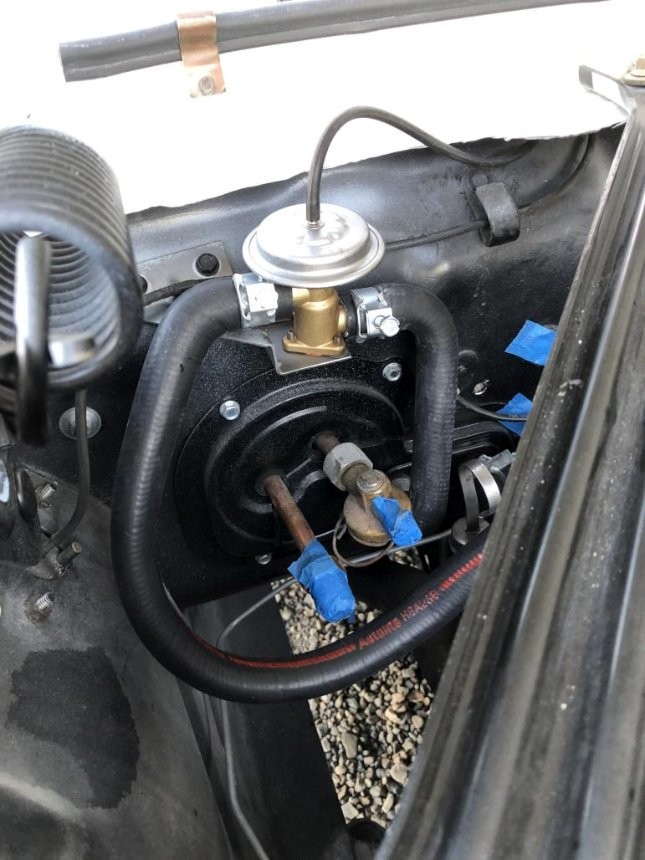
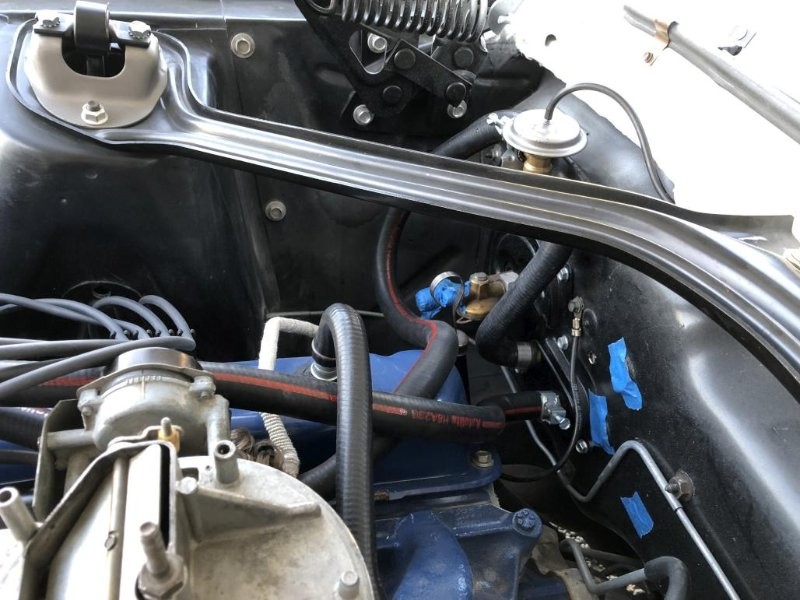
Hopefully I did that right and people in the future will find that helpful. The hoses needed a fair bit of trimming, even a little on the elbow sides. I found it worked best to have the elbows on the firewall side.
While I was at it, I went ahead and replaced the PCV hose.
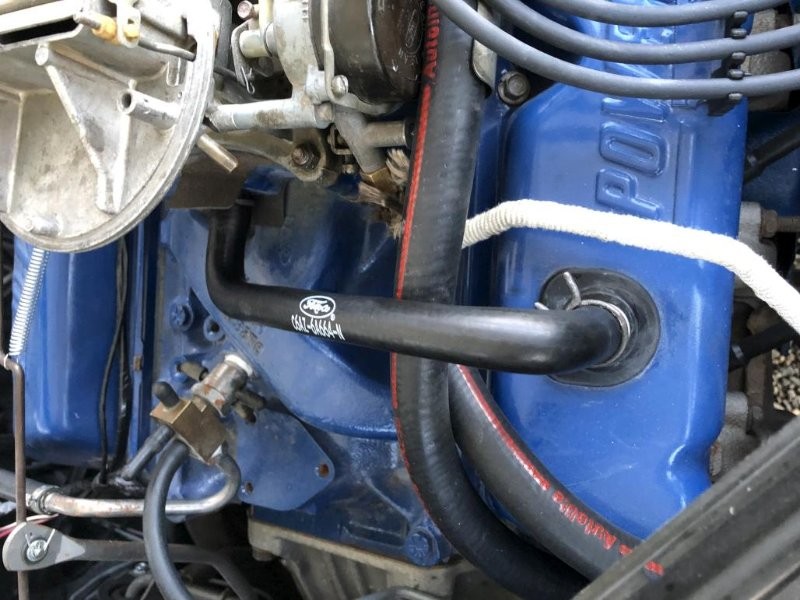
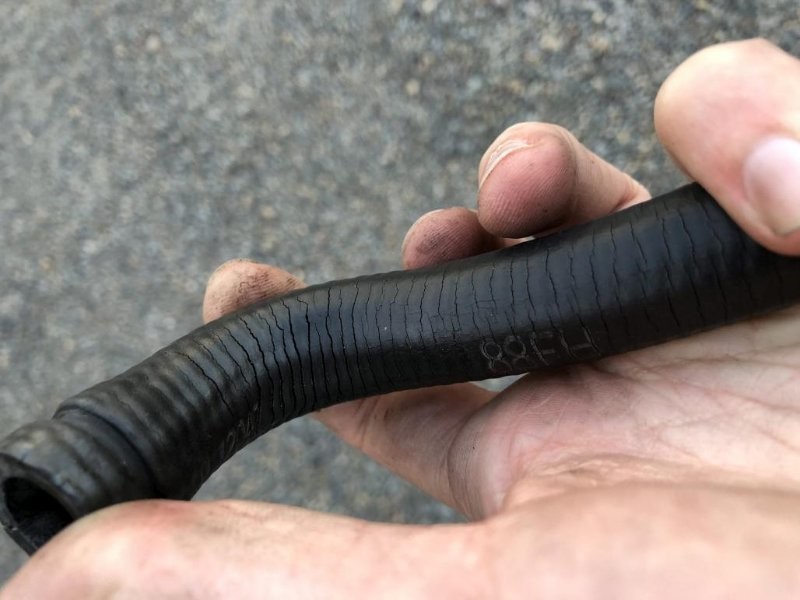
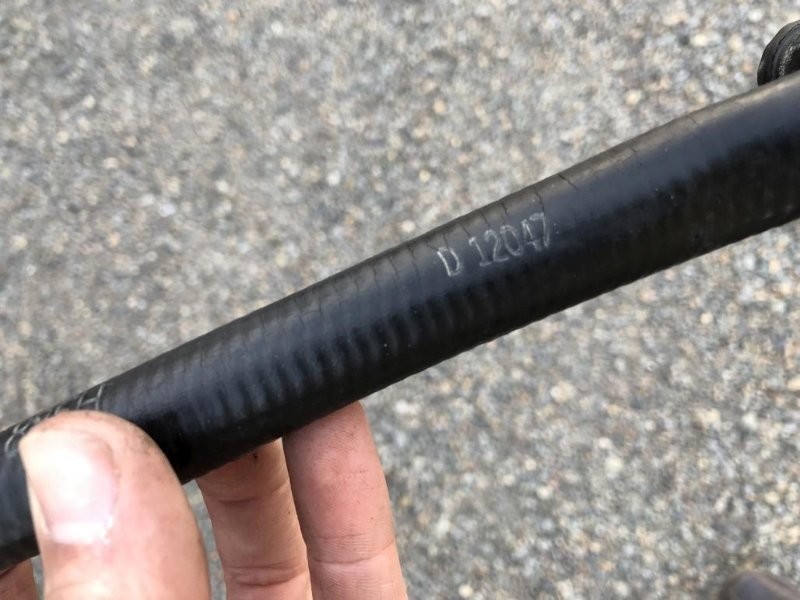
I still had my original on, because I thought it was cool at the time. But the original hose looked like this...
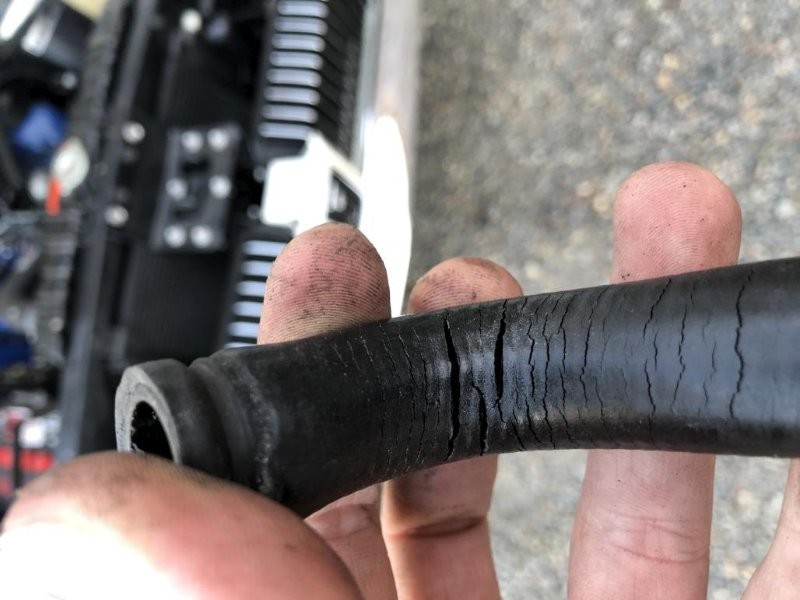
Just for nerdy posterity, here are the date codes and other numbers on the hose. 88FH and D 12047. Whatever that means.
A note about the spring wire hose clamps that hold this hose on - having the correct tool for these makes a big difference. Before I knew there was a special tool, I would struggle with regular pliers and they'd always slip. If you search for "hose clamp pliers" you'll see a bunch of different versions, but what works best is one with rotating heads with the right size slots for the clamp. The one we have here at the shop is a K-D Mfg. Co. No. 429. There are new ones out there that look similar but pay attention to the configuration of the little round heads, many of the new ones are designed for different types of clamps. Here's one that looks like it would work.
Anyway that's all for now!

So nice in honor of your grandparents.
Posted by Diggymart on 1/3/20 @ 8:04:16 PM