You must be logged in to rate content!
9 minute(s) of a 767 minute read
5-6-2019
Well I've still been tinkering around, making some progress! It's nice that the major stuff is done and it's just down to some details now.
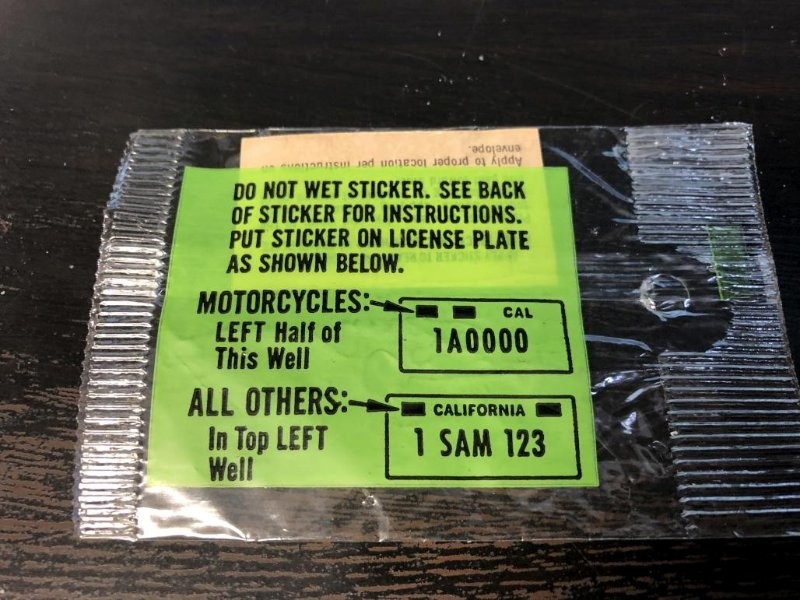
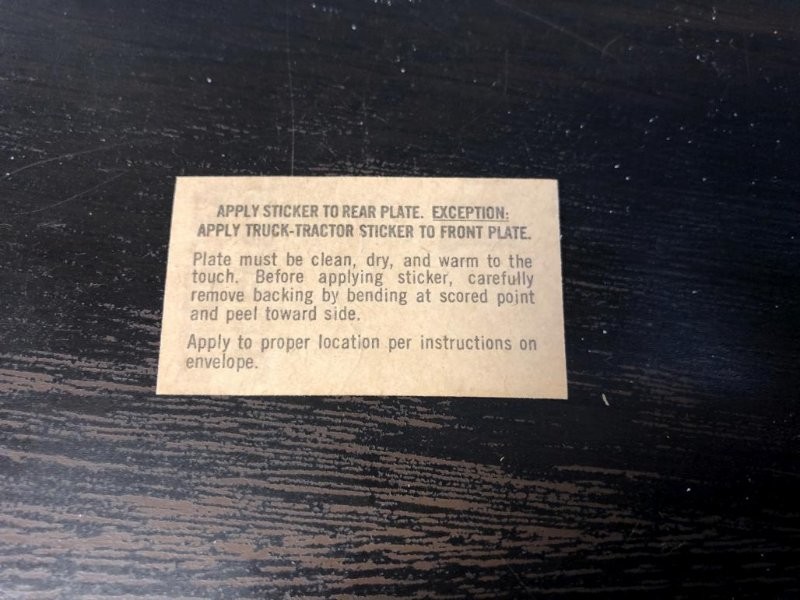
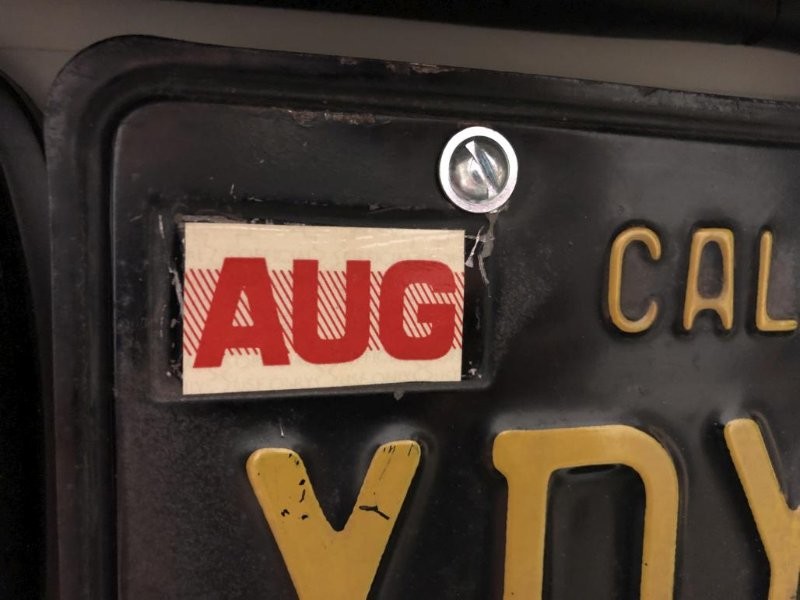
One fun thing is that I found a NOS month decal for my license plate. Thought it would be cool since I still have the original CA plates on it.

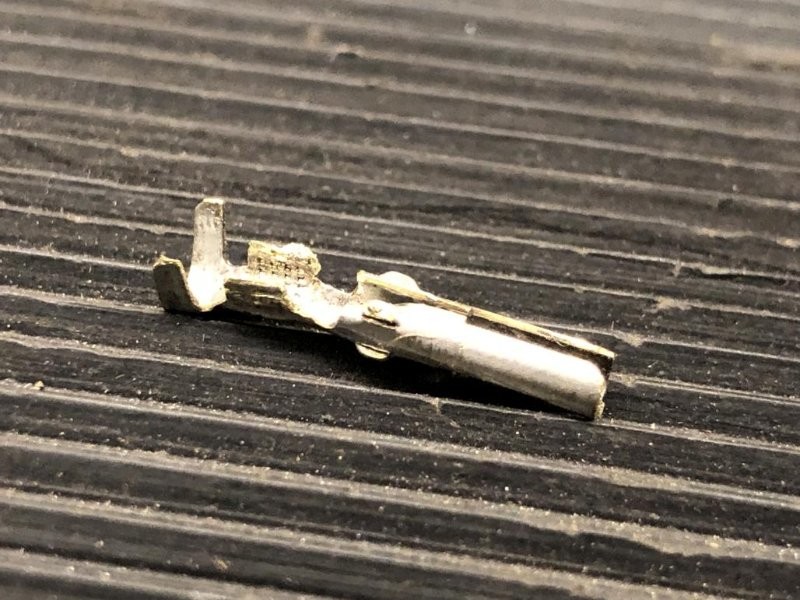
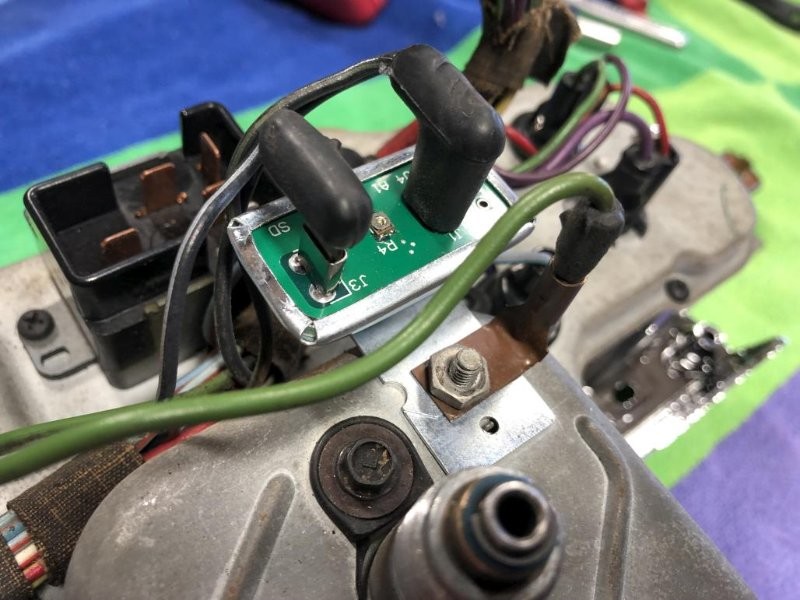
My next little adventure happened because I was trying to dial in the tuning and such. I went down a little bit of a rabbit hole to get the ignition system all happy. I've had a Pertronix Ignitor 1 in the distributor this whole time and it's been working fine. But then I found out that it was only getting about 8V from the coil, because of the factory setup with the pink resistor wire. So doing some reading online led me to the conclusion that it would be better to get a full 12V to the Pertronix. So in order to do that, I switched to a Flamethrower coil which is designed for a full 12V, and embarked on a project to replace the resistor wire with a regular wire so the coil would get said 12V. So... I ended up popping the relevant pin out of the ignition switch plug, carefully opening up the pin, removing the resistor wire and running a new "normal" wire from that pin to the + side of the new coil. Kind of a pain but it was probably the cleanest way to do it.
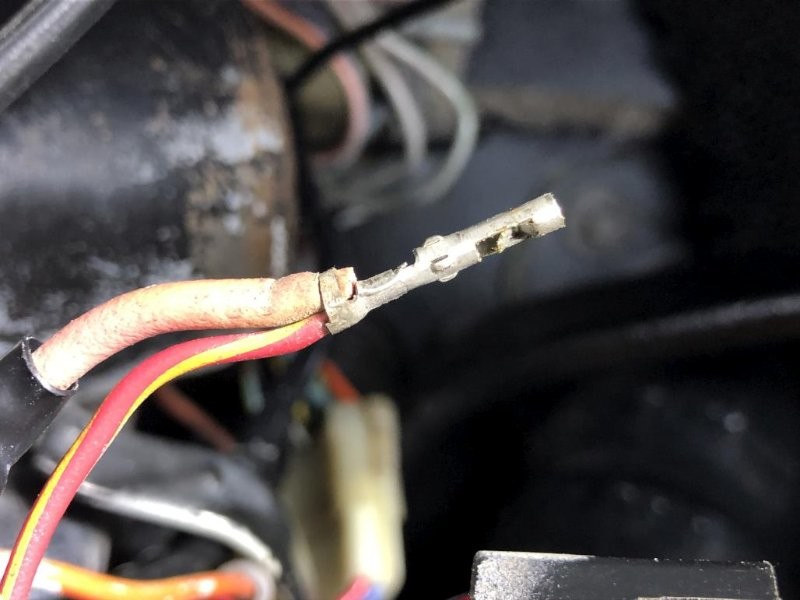
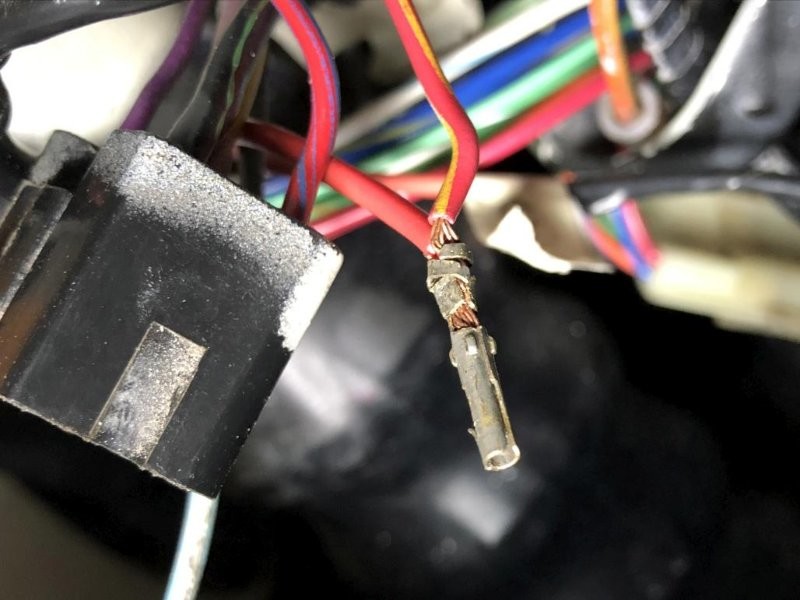
The above extreme closeup makes my crimp job look like crap. These wires and the pin are really pretty small and hard to handle. I stripped back a little extra on both wires to intertwine them so I think the contact is good. Once pushing the pin back into the plug there is no bare wire visible.
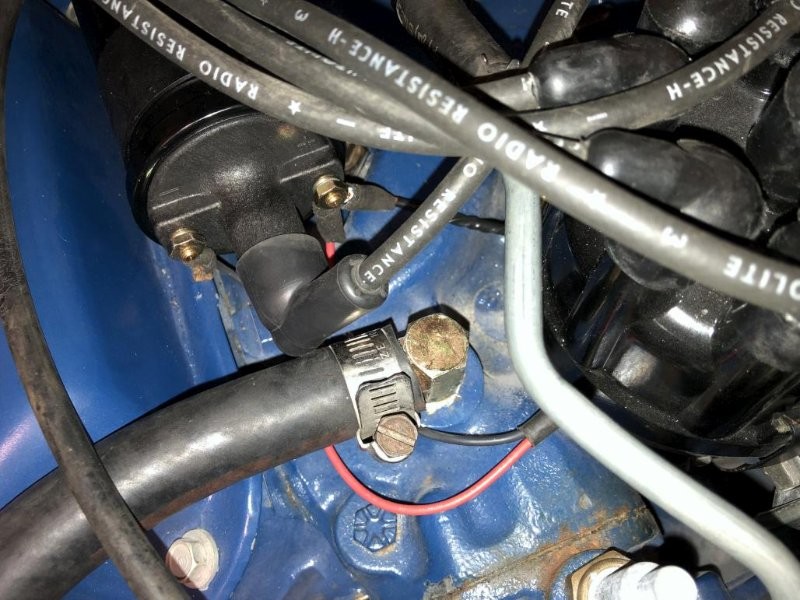
I had wrapped the new wire in black tape to make it blend in under the hood, then connected it to the coil + side, along with the Pertronix unit. Job done!
Anyway, so far this is all working out just fine. Though to be honest I'm not sure how much of a performance difference it made. I'm still chasing some timing and carb adjustments to really dial everything in.
On another note about ignition - as nice as the "concours" plug wires look, I don't think they're that great functionally. They're hard to push all the way into the distributor posts, and when I was messing with the timing, I put my hand on top of the wires to turn the distributor and got shocked. Methinks that shouldn't happen. So probably going to switch to boring plain black Pertronix 7mm plug wires.
More to come in a second post...
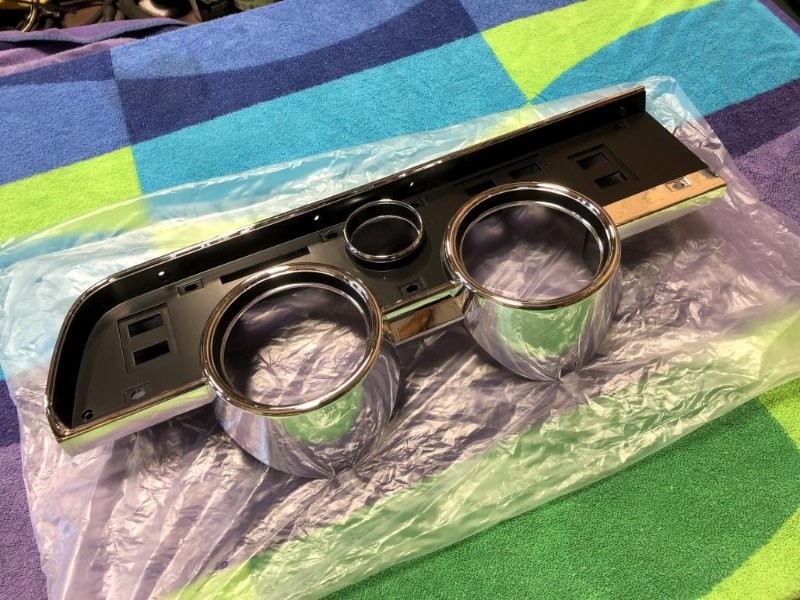
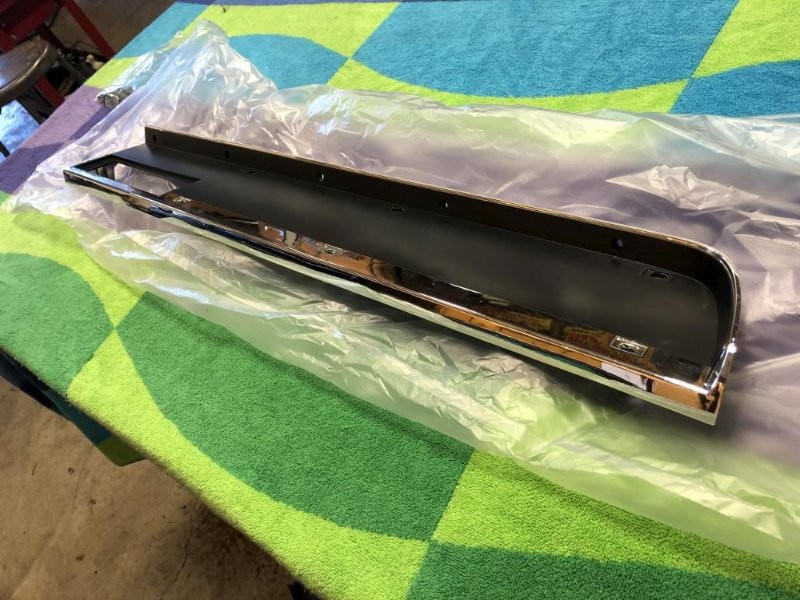
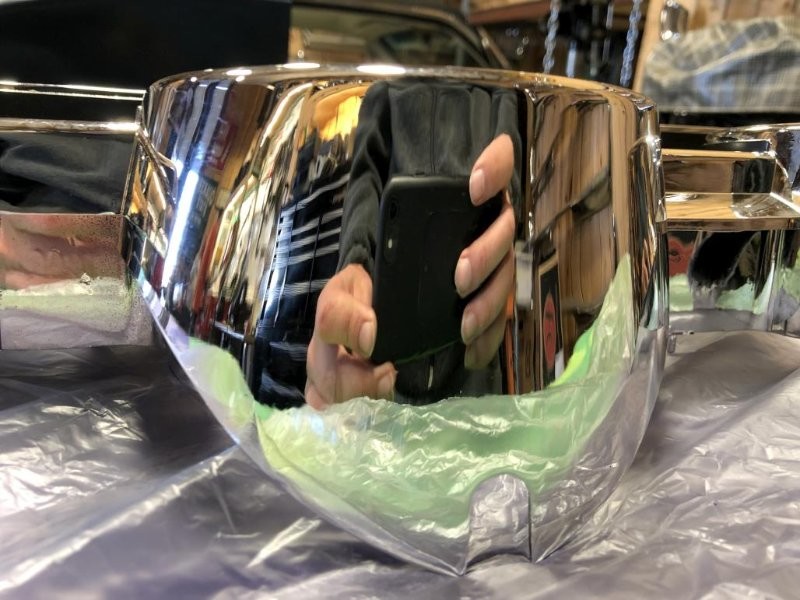
In fun shiny news, I got my vacuum plated dash pieces back from Vacuum Orna-Metal in MI. They turned out nice! Great mirror-like chrome shine. If this looks like deja-vu, it's because I had previously installed some "spray chrome" pieces which were okay but not quite what I was going for. So out came the old and I got to re-assemble everything again. So shiny though...
Gauges installed:
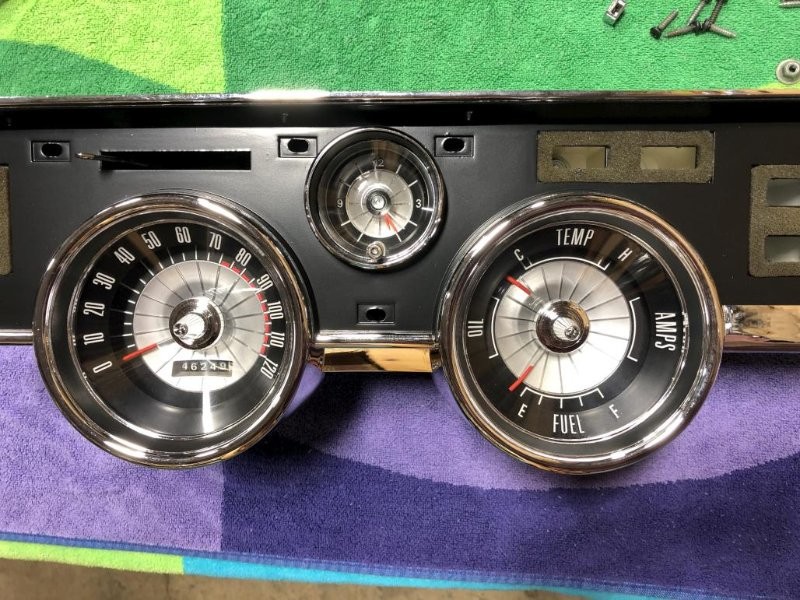
Annoyingly, the issues I've been having with the clock have persisted. When I test it on the bench, outside of the cluster, hooked up to a 12v power supply, it works fine and dandy. But once installed in the cluster, it doesn't work at all. Must be some kind of mysterious ground problem. I ended up giving up and saying "I don't need no stinkin' clock anyway" and put my blank panel back in for now. But during the troubleshooting process, I barely tugged on one of the wires for an illumination bulb, and it pulled right out of the socket. So I ended up having to do a little repair to the wiring.
While I was in there I went ahead and installed a solid state instrument voltage regulator. Not because I needed it, but what the heck.
Anyway, after all that fiddling around I was ready to put the dash pieces in the car. They look great! Still a little torn on whether I should try to solve the clock issue since it is nice to have something there, but I wanted to move forward, so it's just the blank plate for now.

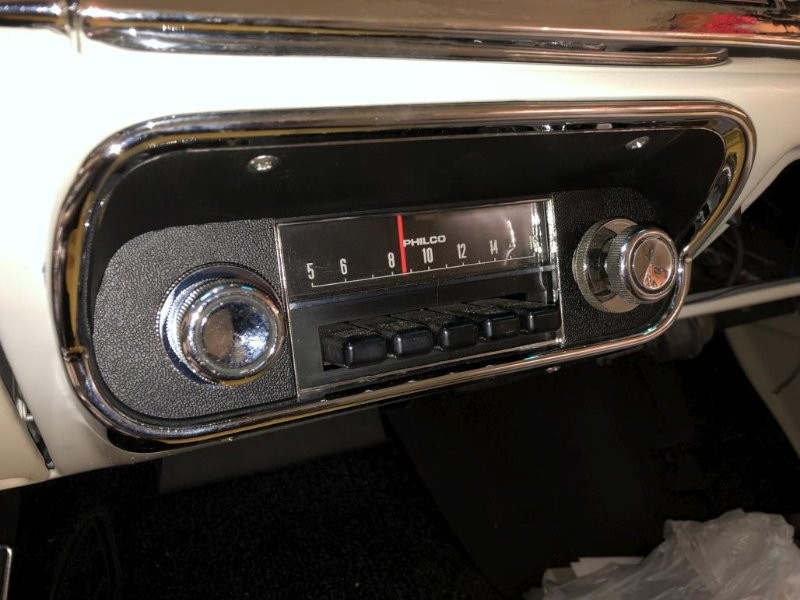
Then I could finally put my original AM radio in place (not working at the moment but it looks nice) with a new radio bezel and the hardware kit for it.
I also semi-repaired a crack on my dash face pad, in preparation for reinstalling it. More details of that are in a separate thread. Still haven't installed, as I may be needing to pull the cluster out again... :wall:
FINALLY, by this point, it was a complete enough car to actually drive it home for the first time and get it out of Don's way. The drive home went well, but I was on too much alert to really enjoy it. Driving in traffic for the first time I wanted to be sure the brakes were working right, and that it wasn't going to stall, etc. But I made it home without issue.
This past Saturday, it occurred to me that I could actually just take it out and drive it, for fun. What a concept! So I did just that, with the valid excuse that I needed to put in some shakedown time to discover any issues. And I did find some, but let's start with some pictures out in the wild!

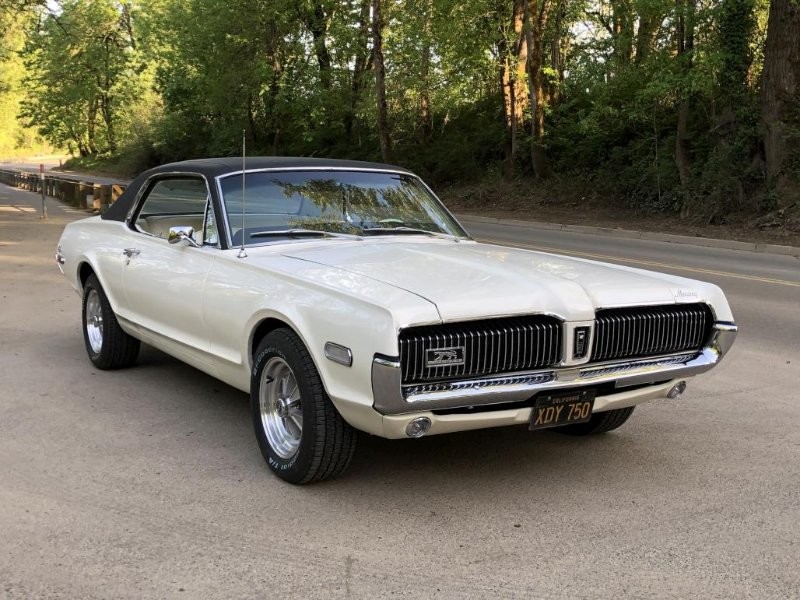
This time it was actually fun, because I was able to mostly relax and just drive. It felt good and reminded me of what I love about these cars. It just feels like a "real" car, something well built that has a strong and elegant presence that you just don't get with modern cars. Piloting it around feels like a special occasion.
That said, some issues arose. Nothing that prevented me from getting back home, but take a look at this gauge.
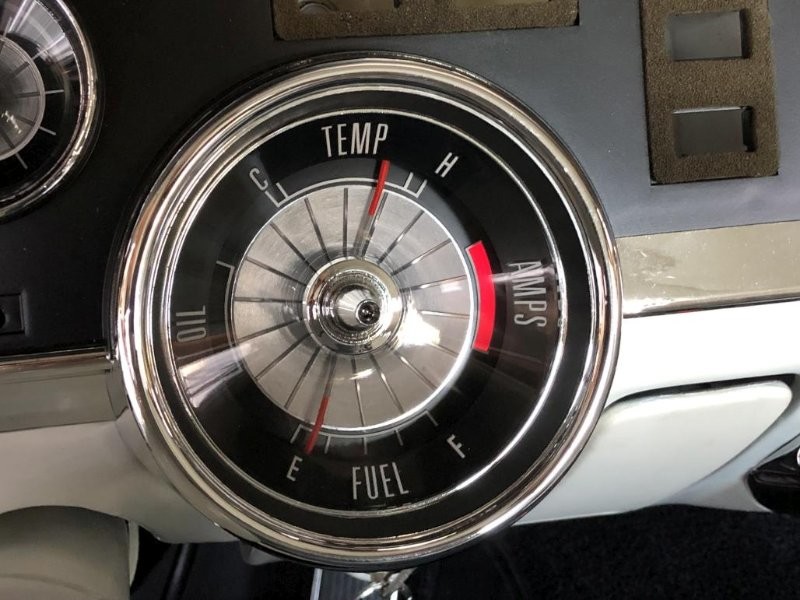
So nothing is good here, except I guess the oil pressure is ok. The AMPS light was intermittent and mostly very dim. So obviously some sort of charging problem. Alternator is nothing special, but it's a new / reman unit from the auto parts store. That's the obvious thing to check, but I suppose it could be a voltage regulator issue as well. Any tips on how to test that? My VR is also a new solid state unit (new several years ago anyway).
Temp was high the whole time, but I think I've figured that one out. After I parked, shut it down and it was still hot, I checked to see if I could spin the fan, or if the clutch was engaged as it should be. It span easily. So, time to buy a new fan clutch.
Next, the fuel gauge is wrong. I filled up the tank and it only read about 1/4 full. So that's most likely a problem with the brand new stainless steel sending unit. Great! Richard, the WCCC electrical guru, suggested that it may not be grounding to the tank very well because it's stainless. So I might try a test lead to see if running a dedicated ground wire does anything. Otherwise I'll have to drive on blind faith for a bit until the gas gets low before I can pull the sending unit out and see what's up.
Anyway, plenty of things to do still, but it's gratifying to be at the stage where it's actually a car that I can drive and have some fun with! That's all for now, but there will be more updates to come.


So nice in honor of your grandparents.
Posted by Diggymart on 1/3/20 @ 8:04:16 PM