You must be logged in to rate content!
7 minute(s) of a 767 minute read
12-14-2018
Thanks guys!
So, I skipped over some stuff. I was scrolling back on my phone photos and realized I never posted this stuff. So let me go back in time for a sec.
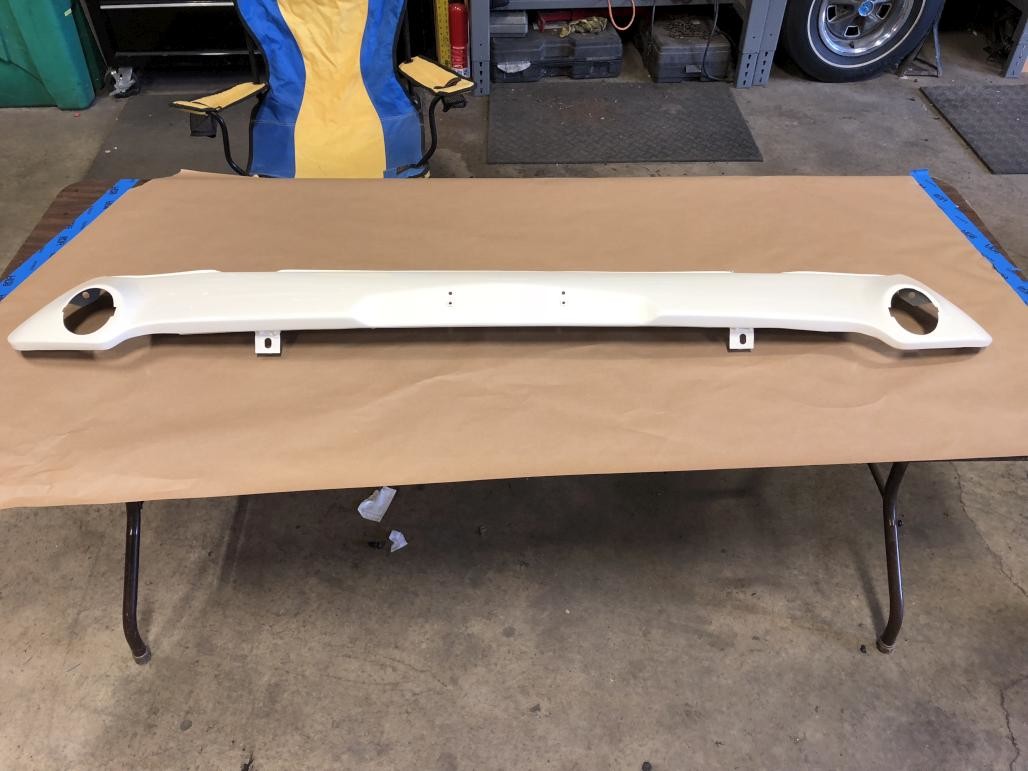
Front bumper installation! Kinda awkward and it helps to have a second person. In the end, I left the brackets slightly loose on the bumper to allow for some movement / adjustment once on the car. To this day I still need to cinch them all down, but they are hard to get to once on the car! Also, a big piece of foam like this is super handy for things like fenders and bumpers.
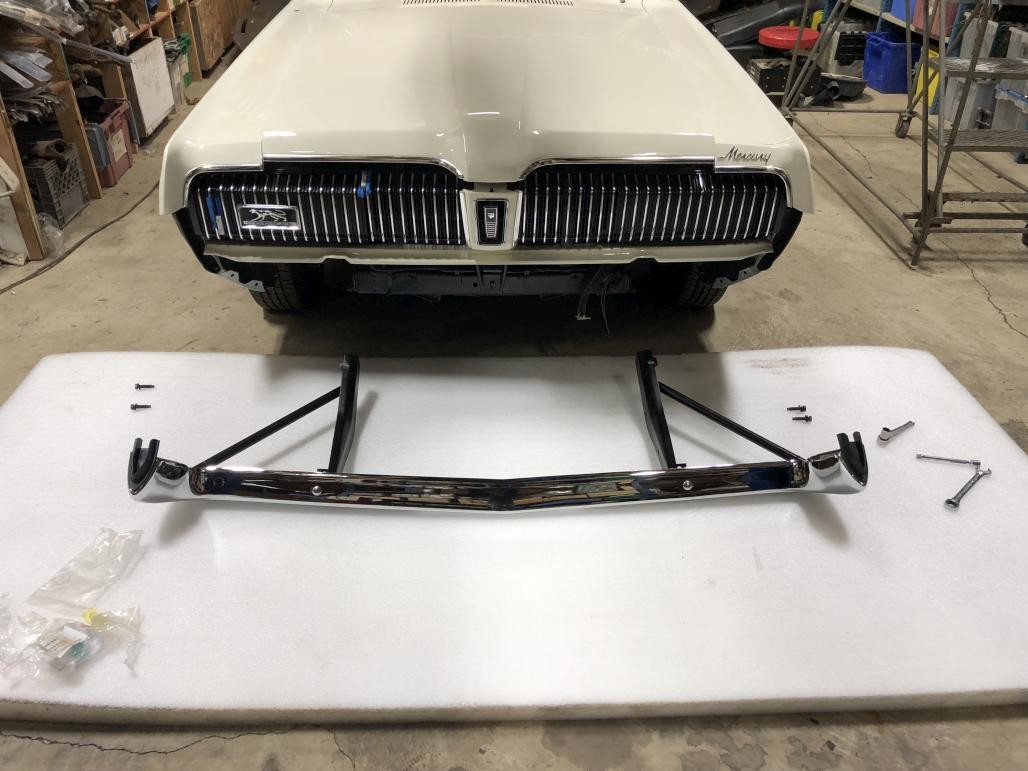
The bumper hardware kit gives you everything for the front and rear, I definitely suggest it if you're replacing the bumpers.
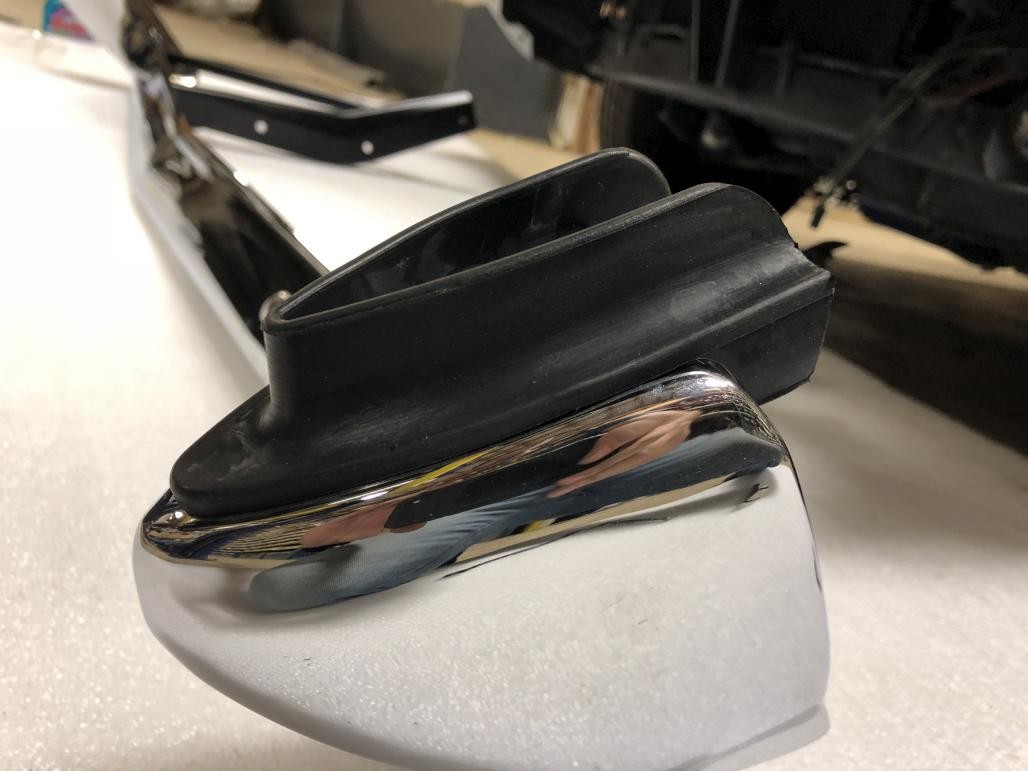
It's great that the rubber filler pieces are now available. My originals were rock hard, deformed and starting to crack. Word on the street is that new ones are in the works for the rear bumper too. But for now, here is the fender to bumper piece:

And here is the upper filler piece (put these in before installing the bumper!):
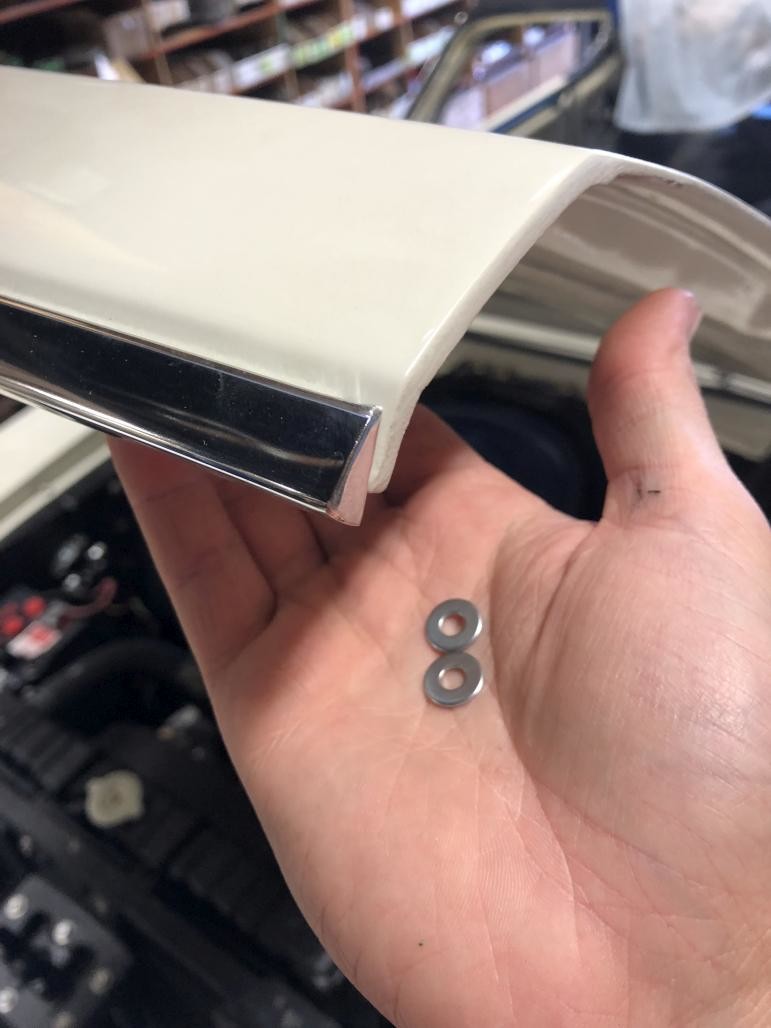
Now for a little detail - it seems that there was a slight design flaw on these cars, which causes the hood trim pieces to not quite line up with the fender extension pieces. We had recently taken the trim off of another car for a video, and noticed that the ends had been shimmed. So I did the same. It just took a few little washers. I used two on the outermost screw holes, and one on the next inboard holes.
Much better!
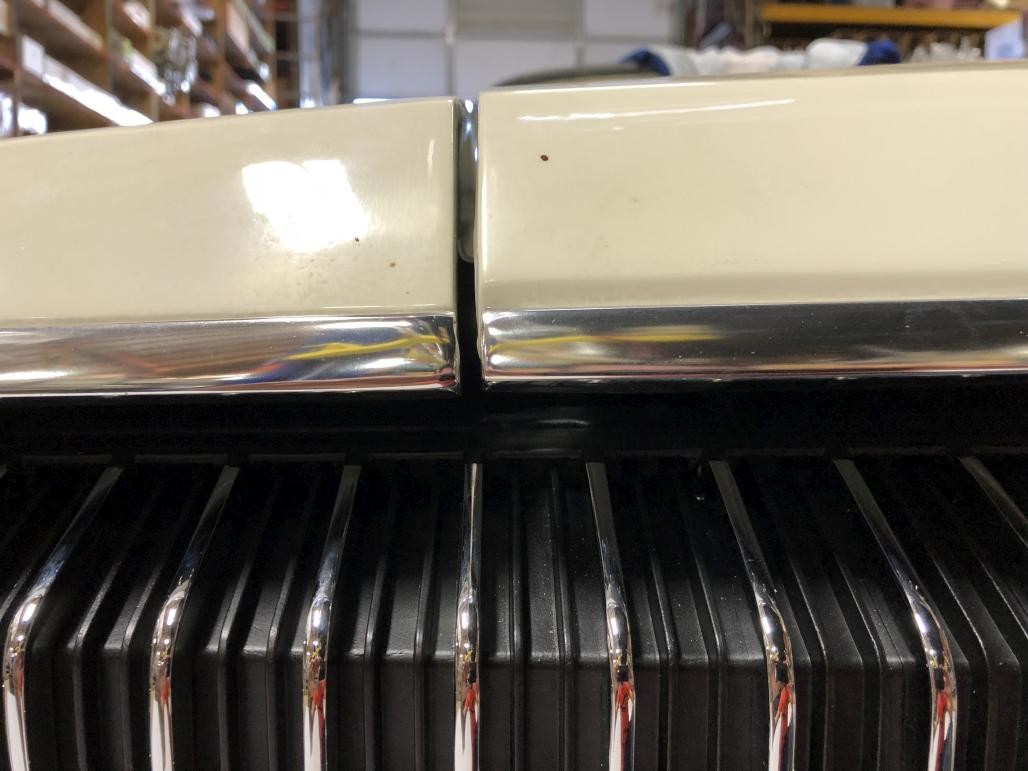
Front view that shows things lining up nicely:
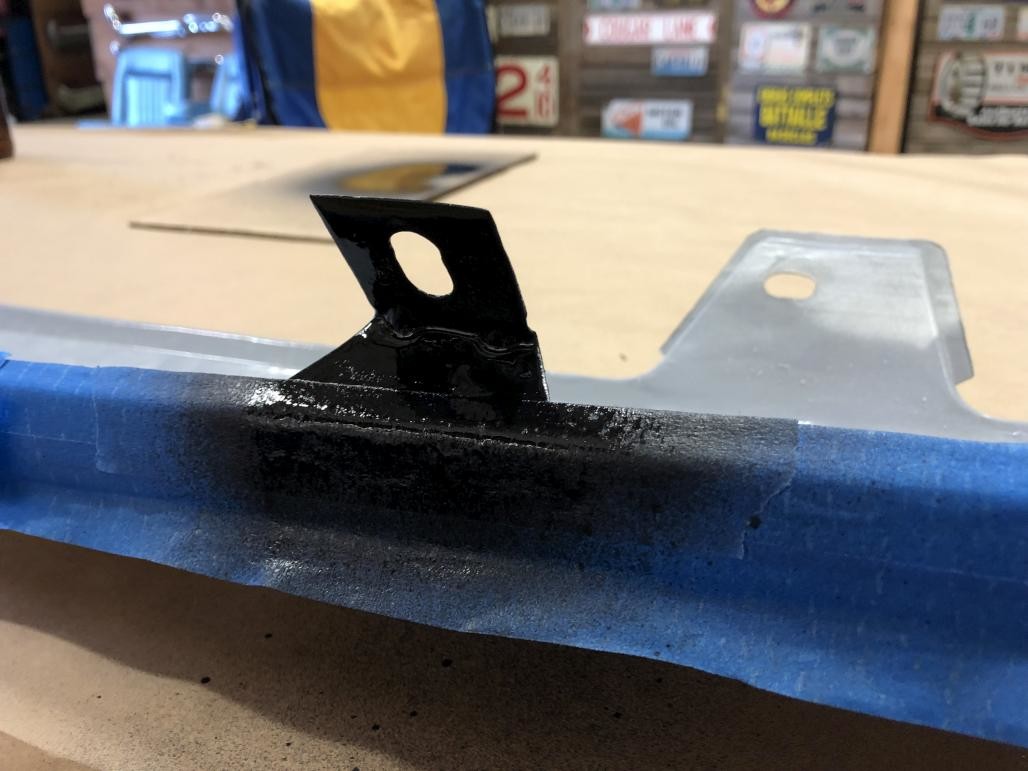
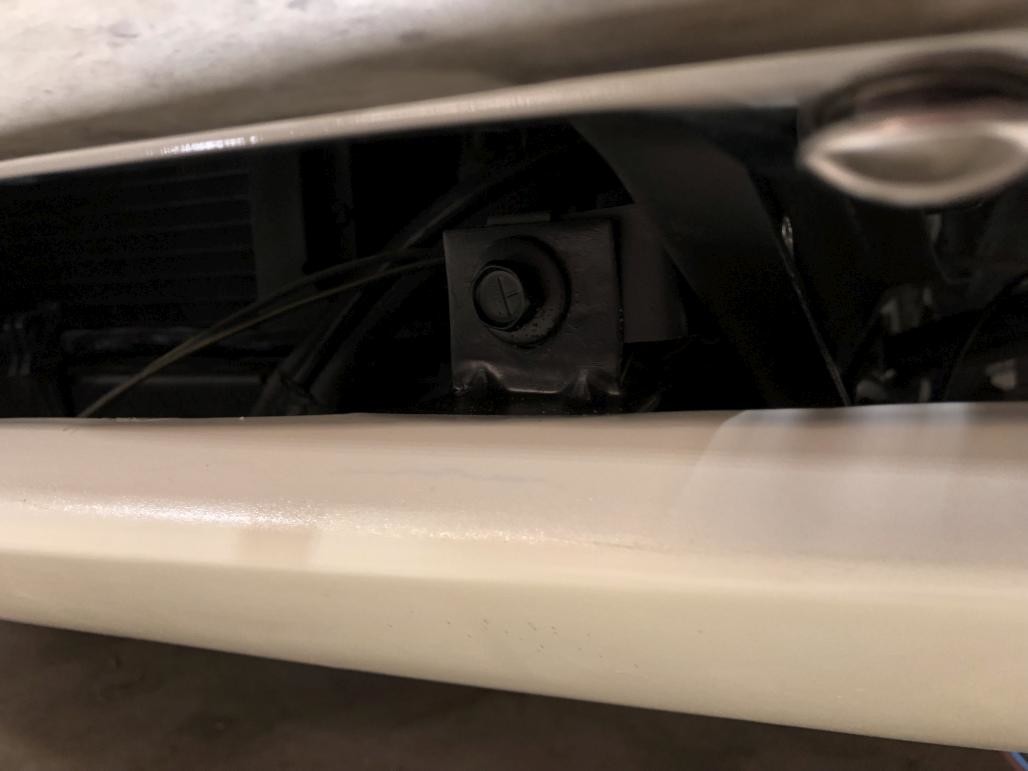
Next, here's another fun little detail idea I had. I've noticed on a lot of cars how the mounting tabs for the front valance kinda stick out like a sore thumb. With my car being white, I knew it would be even more obvious. So I thought it would look good to black out these tabs, so the valance would have a more seamless look. Here's a before shot:
In process:
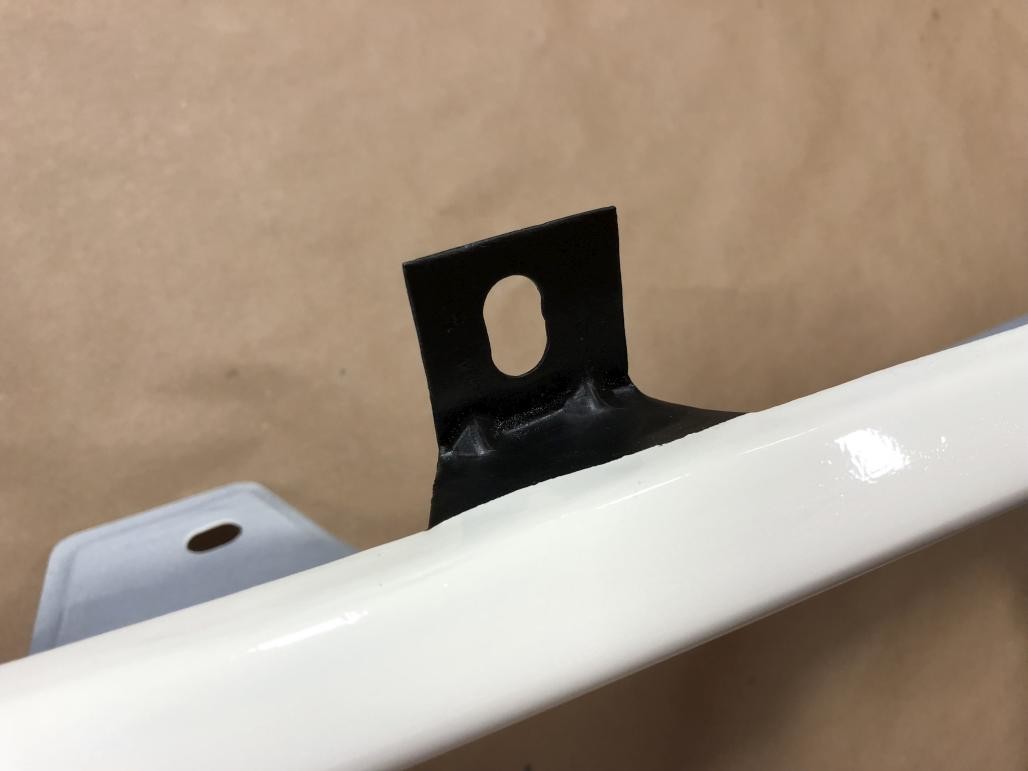
Done:
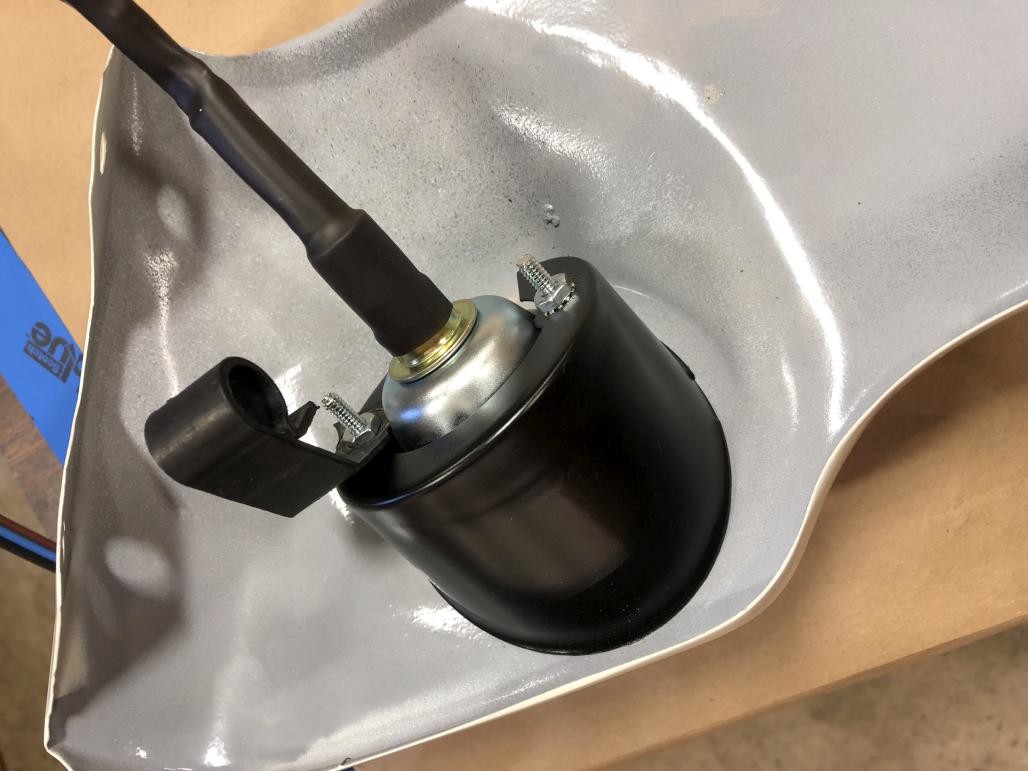
Next, before installing the valance, it's easier to do the turn signals now. I repainted my original spacer cup things, and kept the old clips (even though they're no longer usable - the modified wiring for the repro turn signals makes this area too stiff to bend around into the clips).
Front view after installing the valance.
Here's a closeup of one of the blacked out tabs, and of course I had to paint the bolts to match.
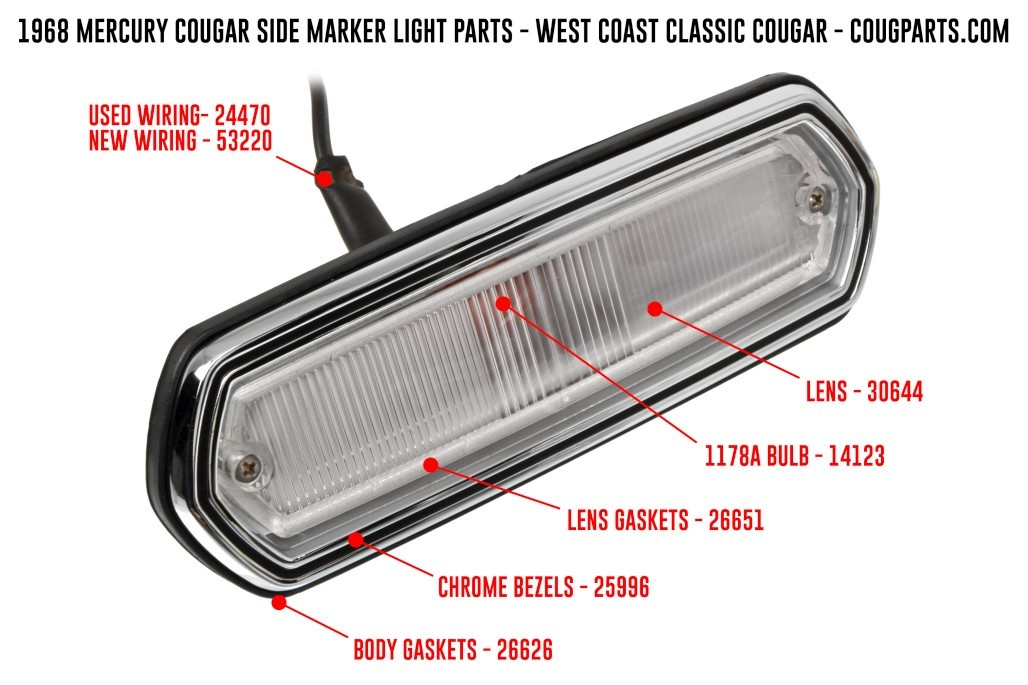
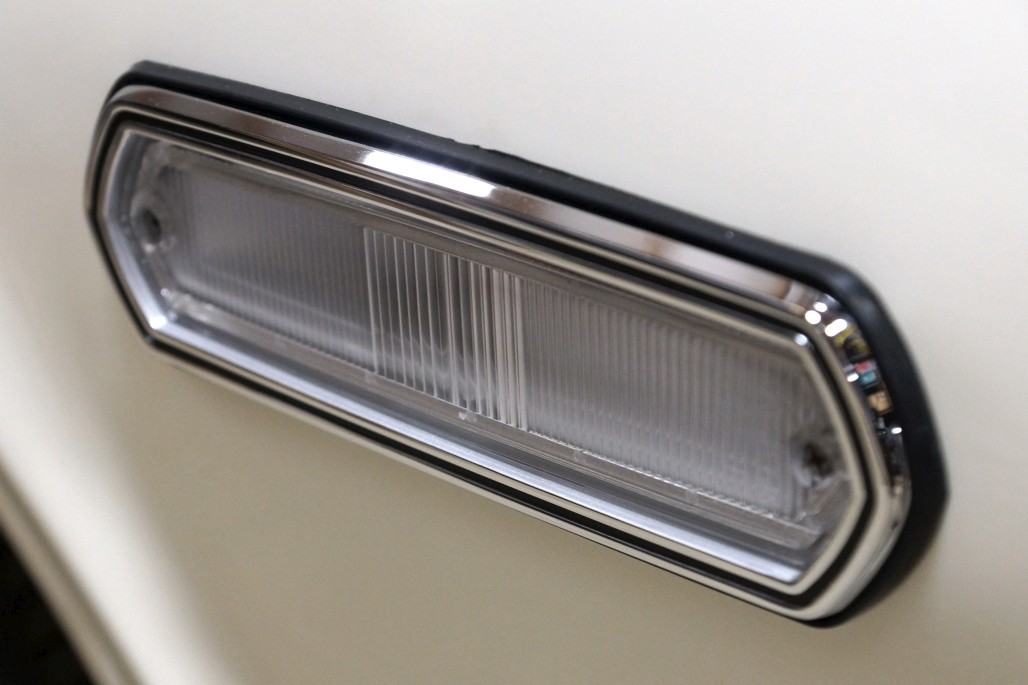
Next, I installed new side marker lights. The only original parts I reused were the wiring and the screws for the lenses (they are unique, don't lose yours!). The bulb socket is pressed in to the light housing, so you just have to get creative to liberate it from the old one and press it in to the new one without damaging anything. While I was assembling my stuff, I went ahead and made this graphic for WCCC. So if you punch any of these item numbers into the website, they'll come up.
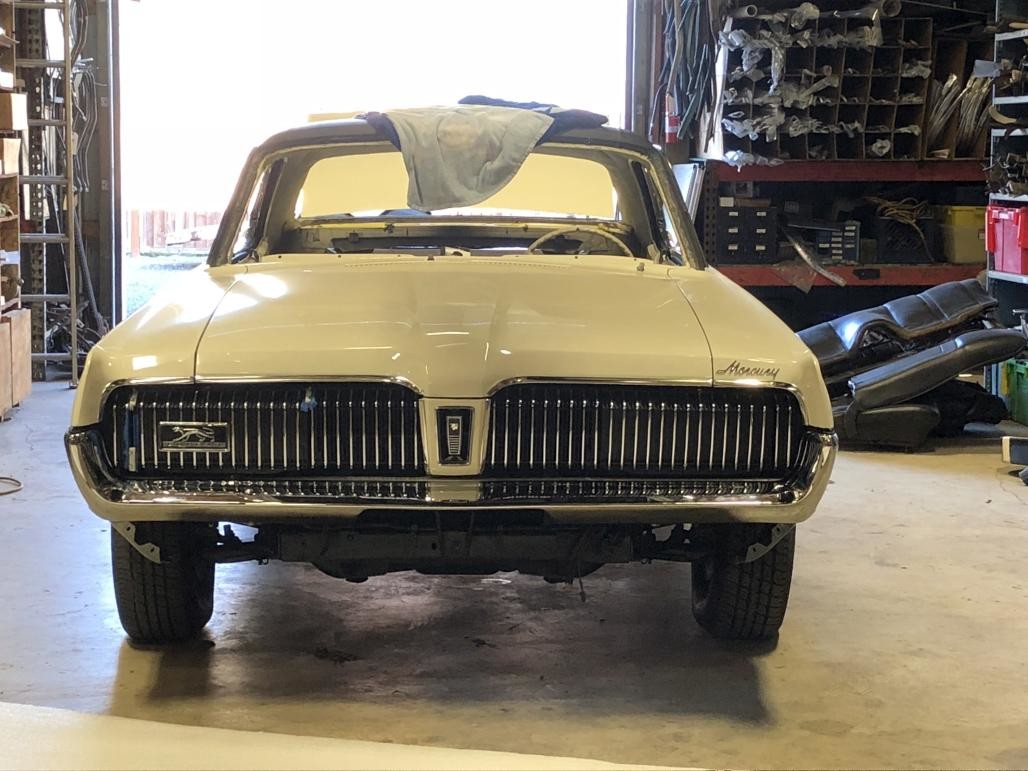
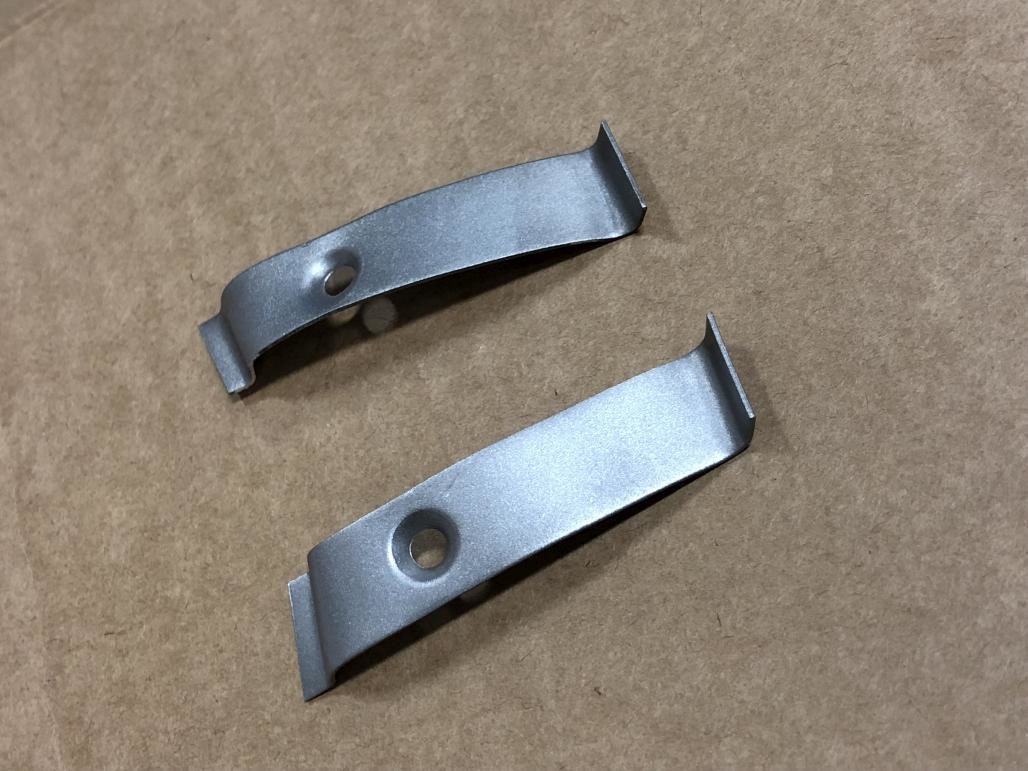
I also reused my old backing plates and attaching nuts. Of course I cleaned them up and painted them black, but no picture of that. They went on the car fairly easily. Also worth mentioning that I had already installed my front fender splash shields first, after finishing up the grille project.

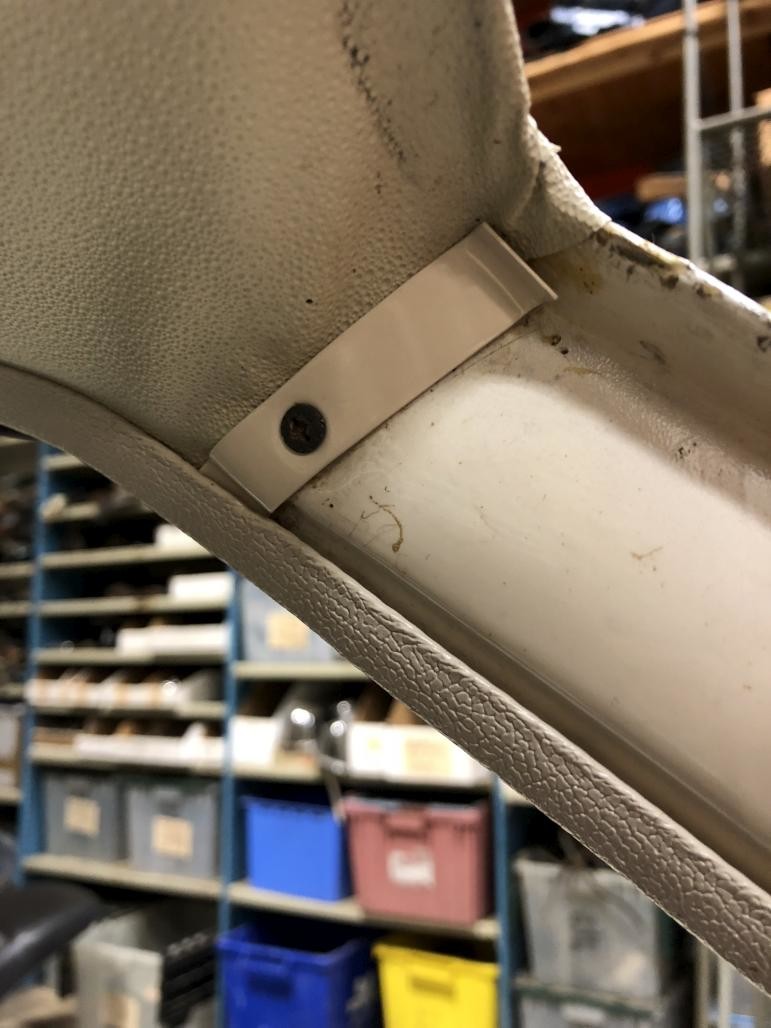
Another tiny, almost insignificant detail - I knew that I was going to install the windshield soon, so I wanted to clean up these little guys. They are unique to the 1968 Standard, and they retain / finish off the A-pillar edge of the headliner, since there are no full-length pillar pads like you'd see on the Decor or XR-7 trim. Blasted, painted and reinstalled. I know, I need to clean the glue off the A-pillar.
Finally, I never really showed the finished side glass, so here ya go:
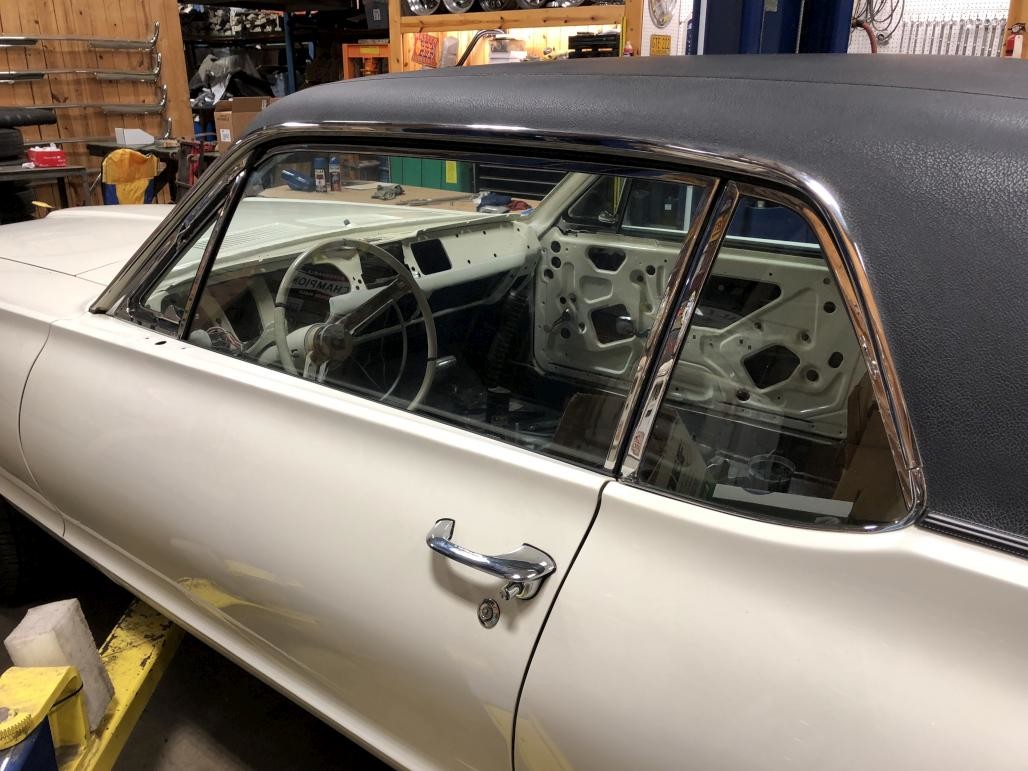
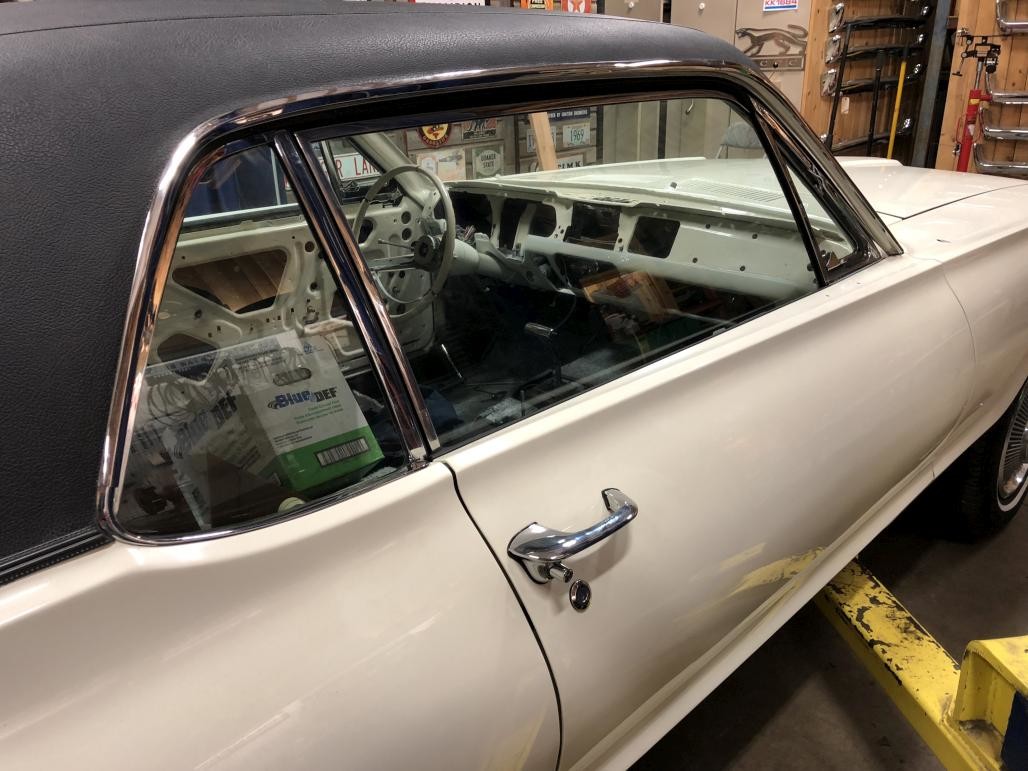
The one issue I still have with the door windows is, I can't seem to get them to roll all the way up at the front, and fit snugly into the corner of the vent window track. They just stop a little shy. And it's not the actual window stops, as I had them loose and they weren't bottoming out yet. Has anyone run into that issue? I think they are close enough to be okay, but would like them to actually roll all the way up...
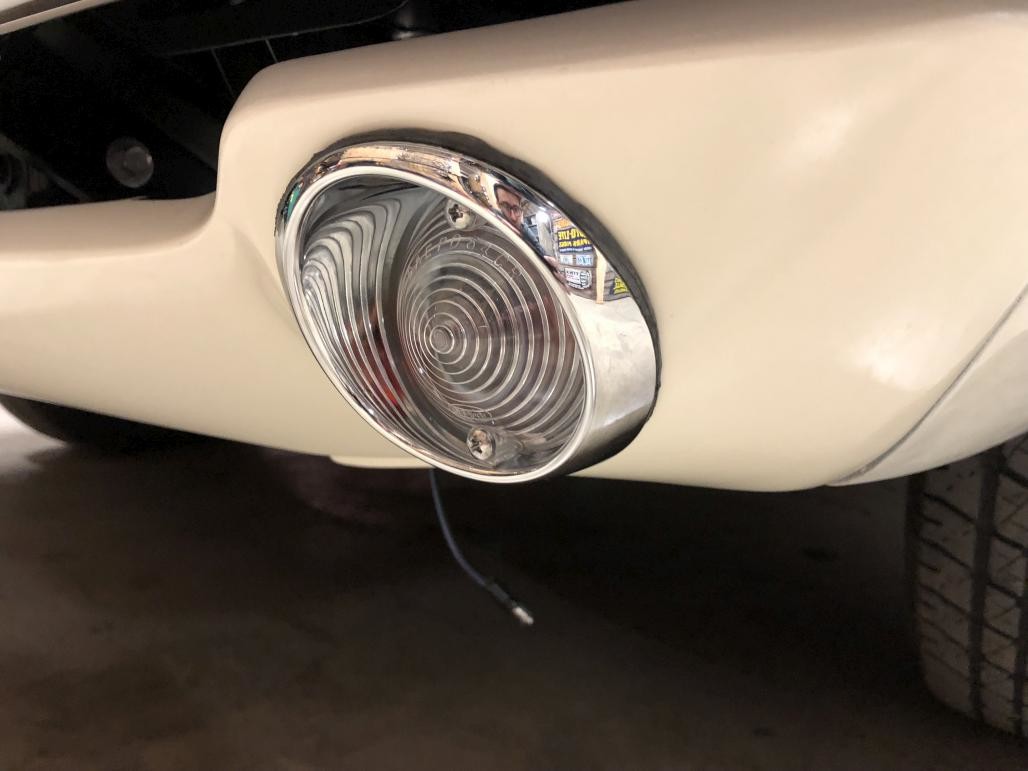
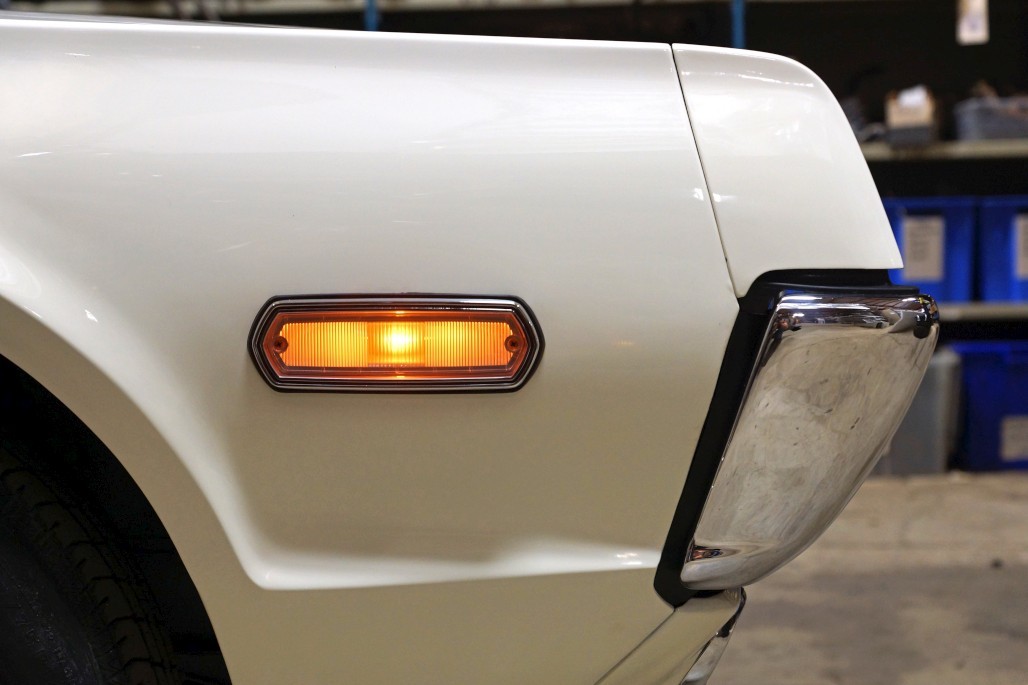
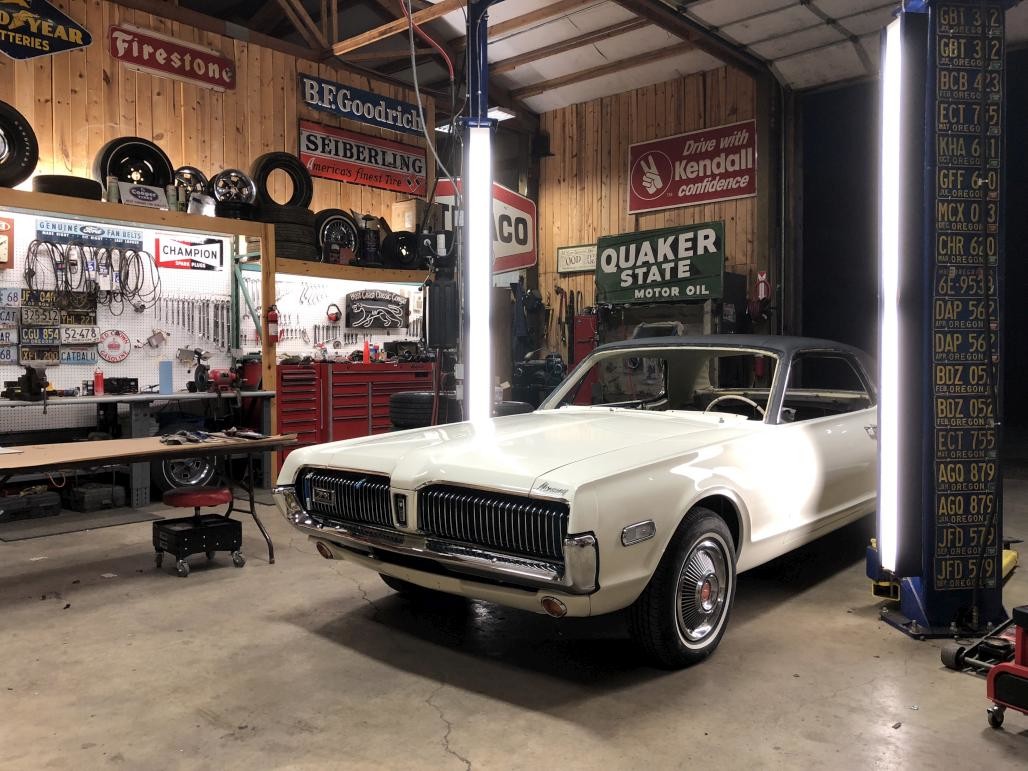
Anyway, that covers the stuff I missed before! More to come soon, I'm still making some progress almost every day. Here's a finishing shot, but ignore the amber lenses on the turn signals. I put those in as placeholders because they came in the kit and we were out of the clear lenses for a little bit.

So nice in honor of your grandparents.
Posted by Diggymart on 1/3/20 @ 8:04:16 PM