You must be logged in to rate content!
13 minute(s) of a 767 minute read
12-9-2018
Time for another update! I've been keeping busy, trying to make as much progress as possible before it gets too cold to have any motivation... would like to be done by the end of the year, but we'll see about that. I spend almost every evening after work and every Saturday working on it these days.
Firstly, after finishing up the front end with a rechromed bumper, rubber fillers upper and lower, and my valance with new parking lights, correct clear lenses & amber bulbs, modified with Cougar-specific wiring, I pulled the car outside for the first time in a while. Wow! I'm digging it.
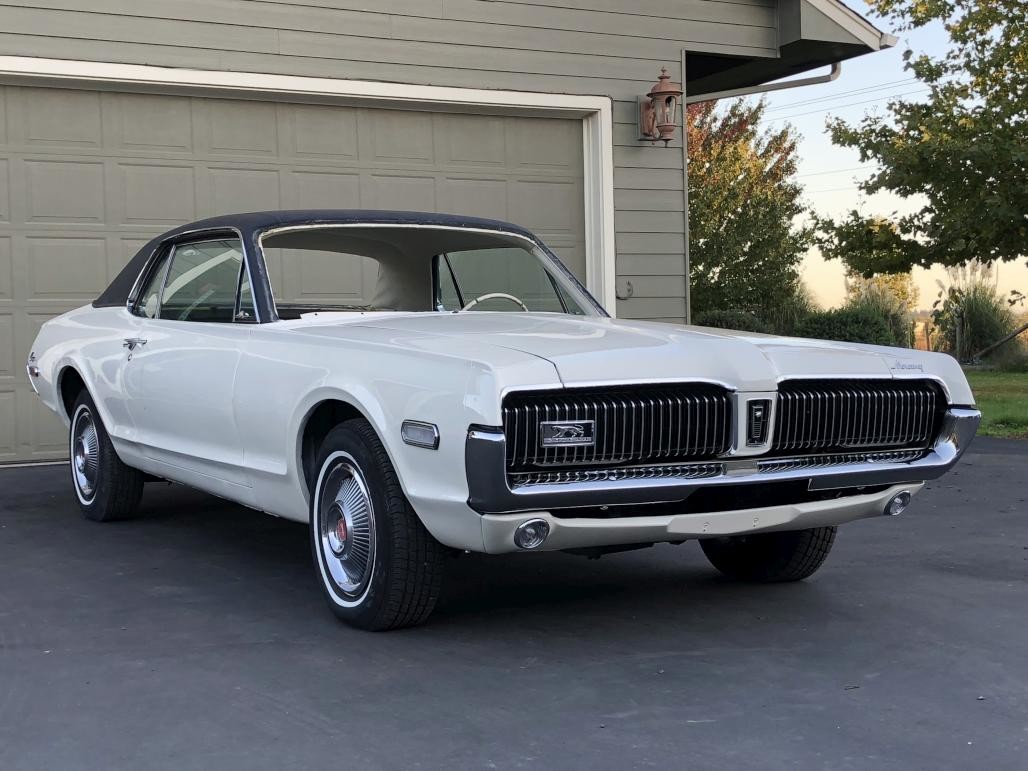
Alright, back inside and back to work.

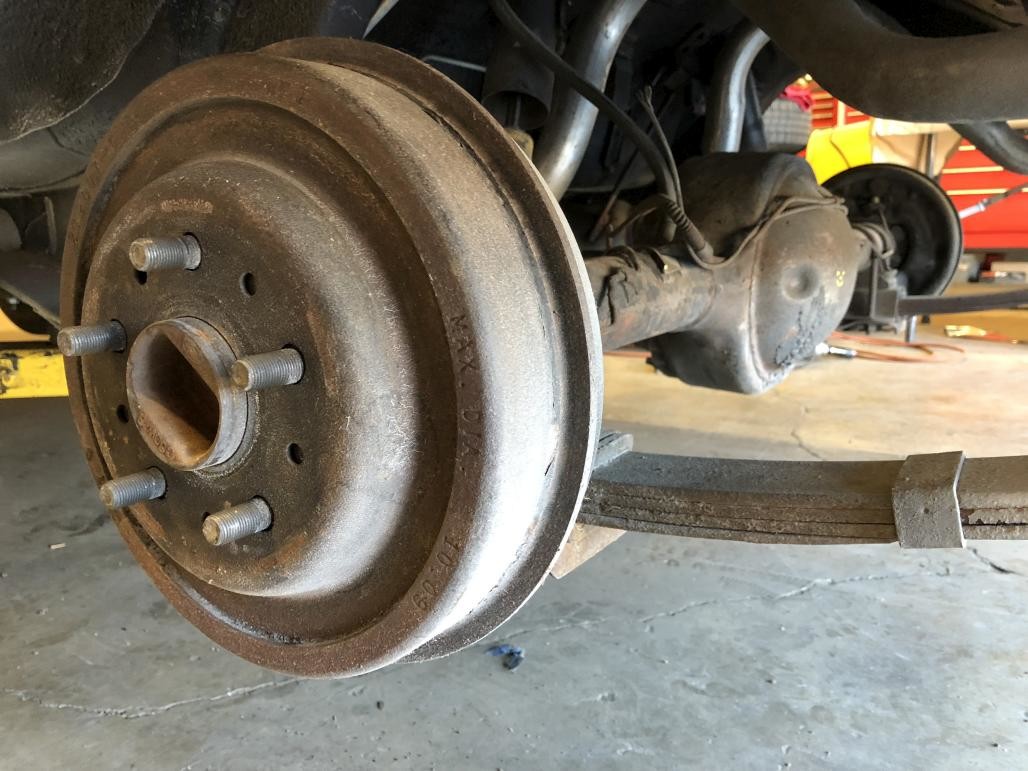
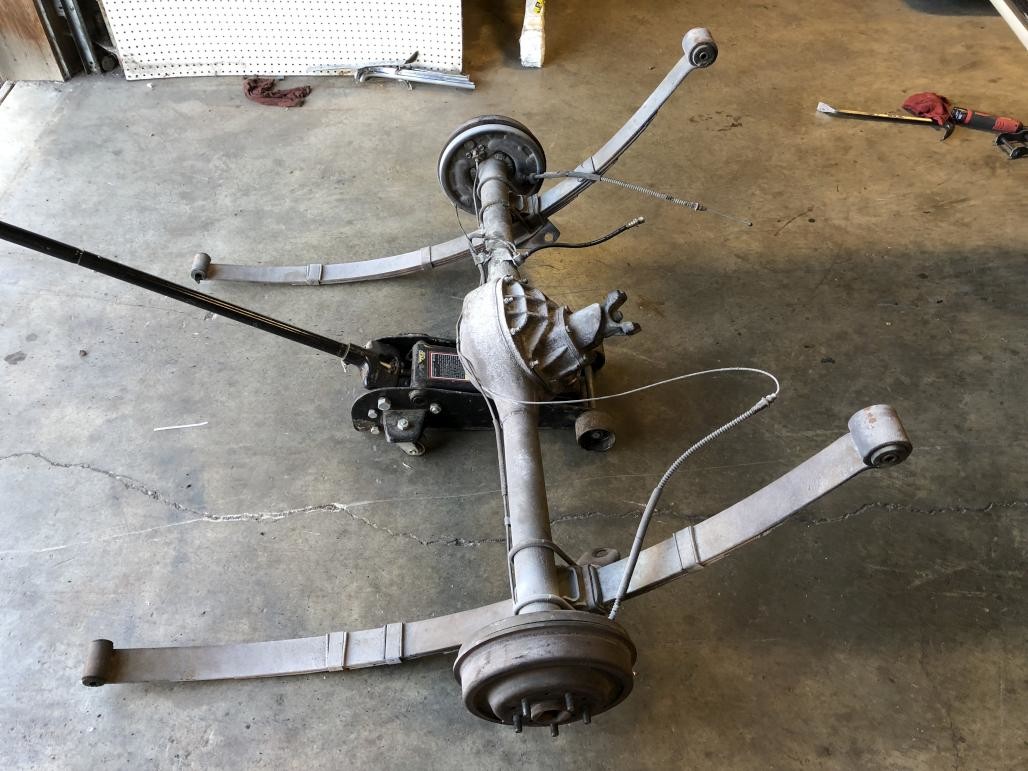
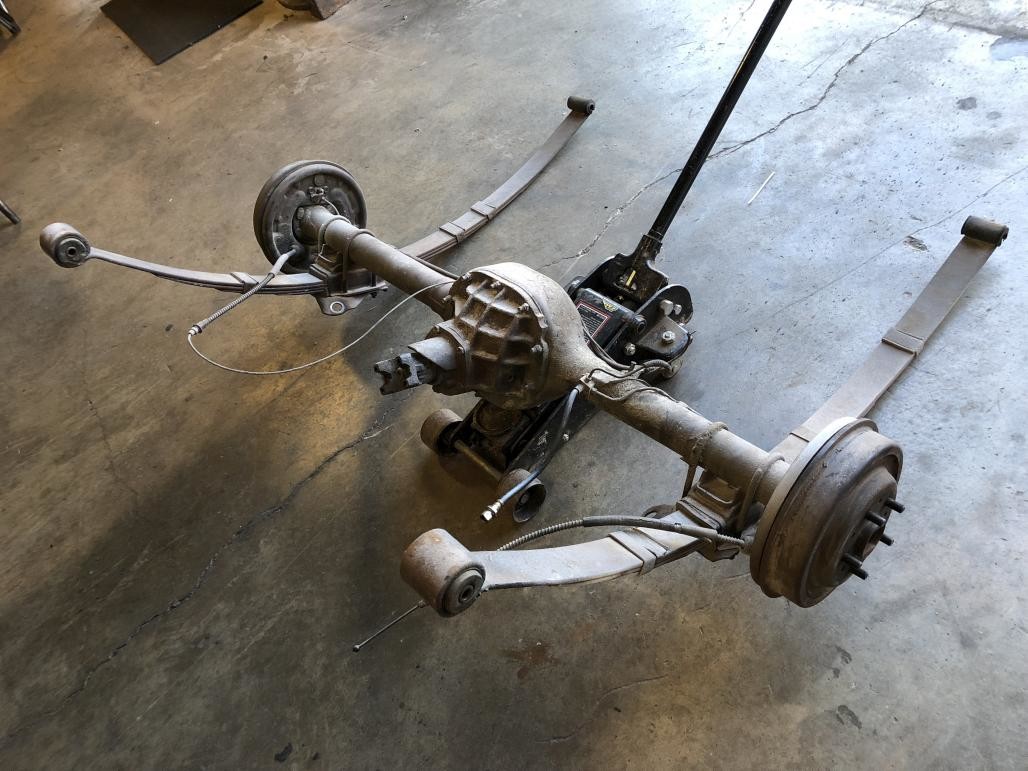
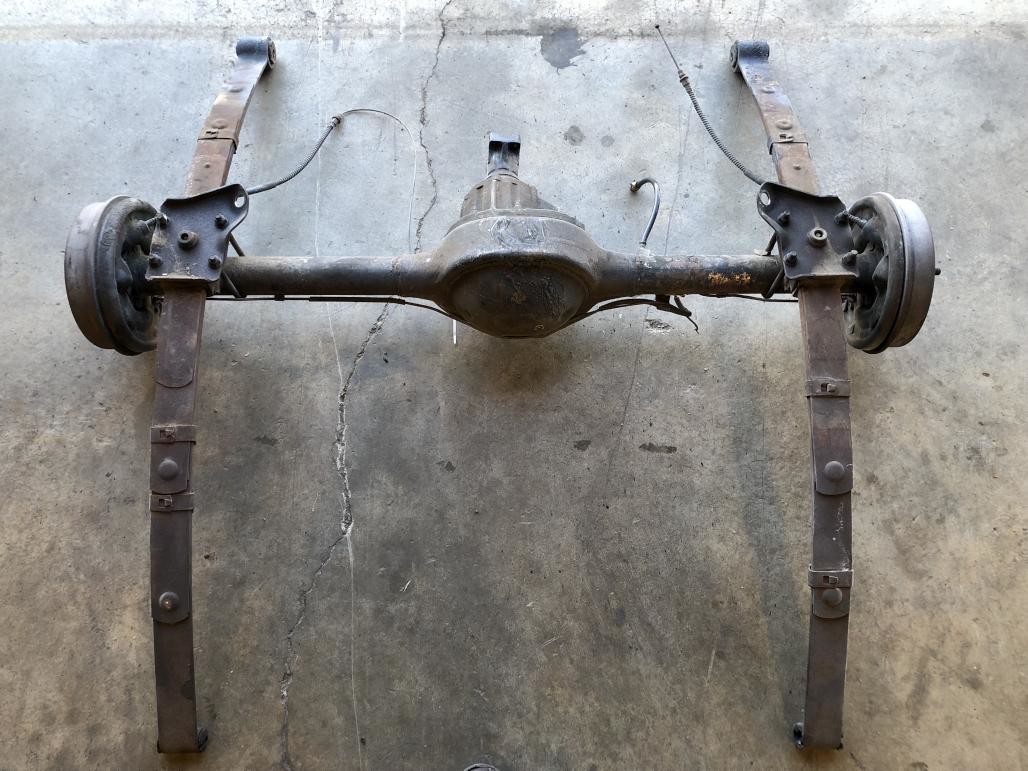
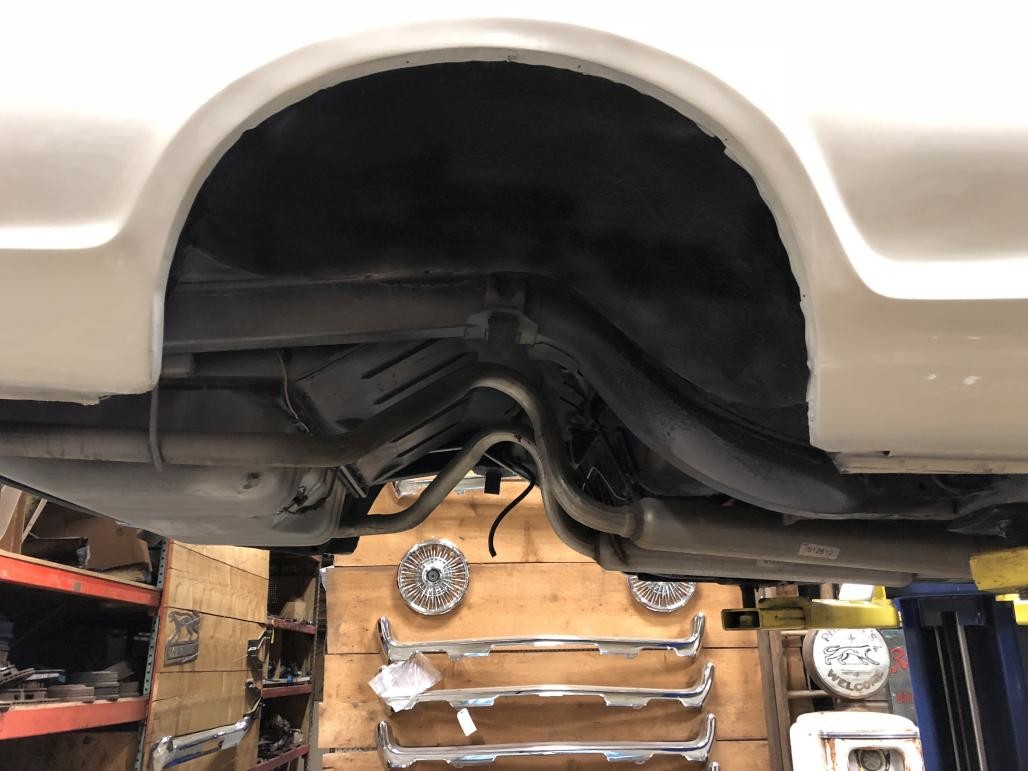
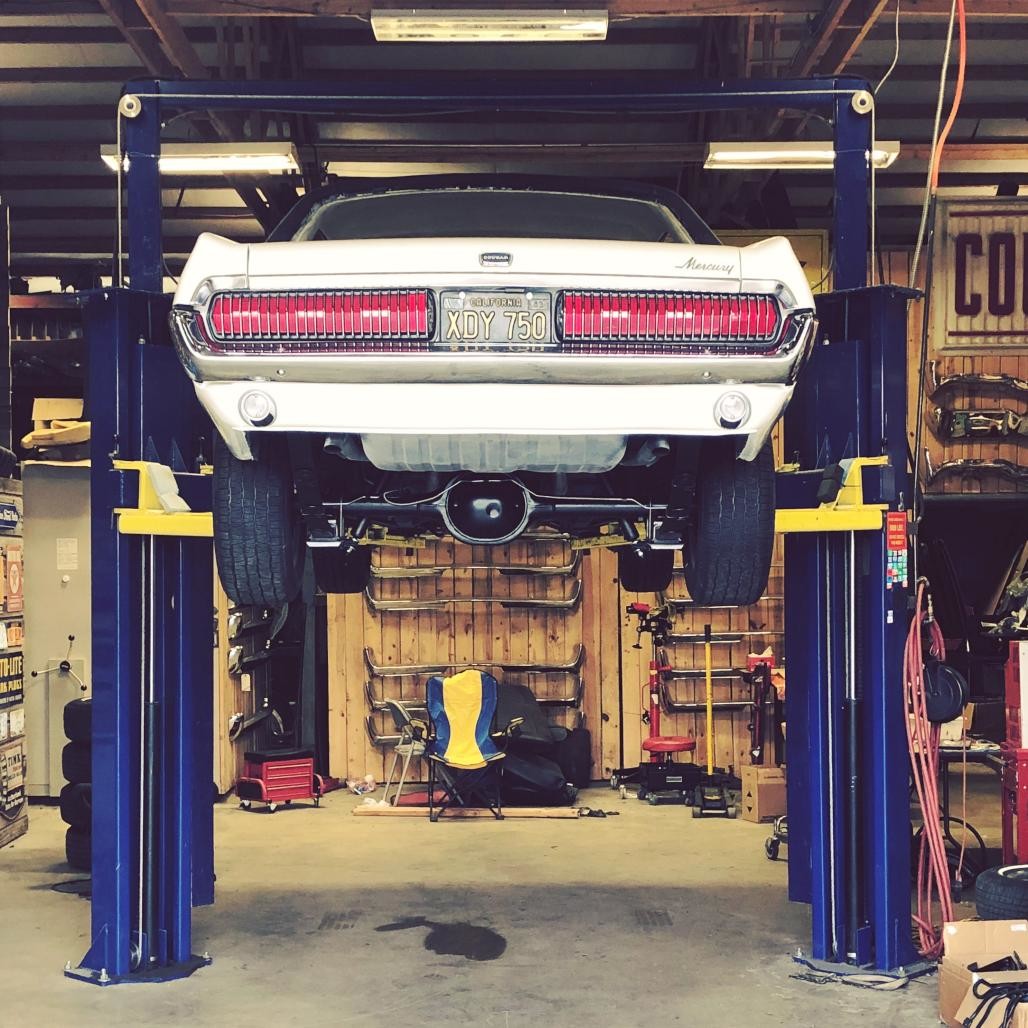
The one major area of the car that I hadn't touched at all yet was the rear axle, suspension and brakes. This was bugging me, and I really wanted to refurbish it so it would be on the same level as the rest of the car. Some "before" shots:
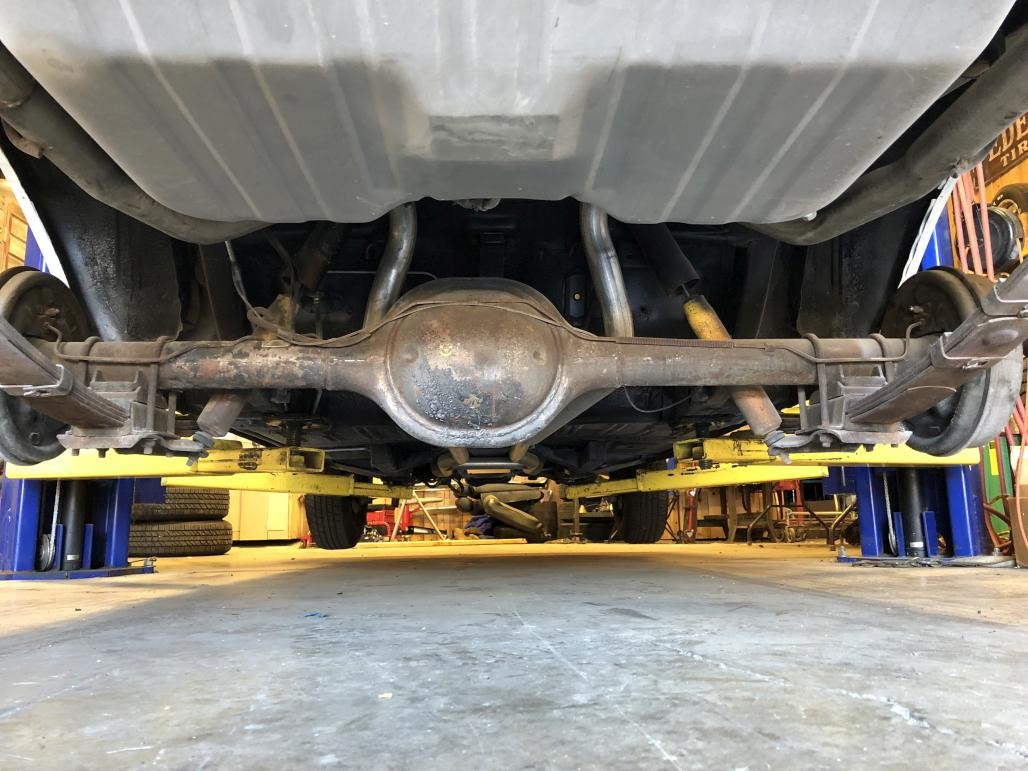
Out with it! It looks simple but it actually took me a couple / few hours to get the whole assembly out. First time doing this. Also, all this stuff together is heavy!!

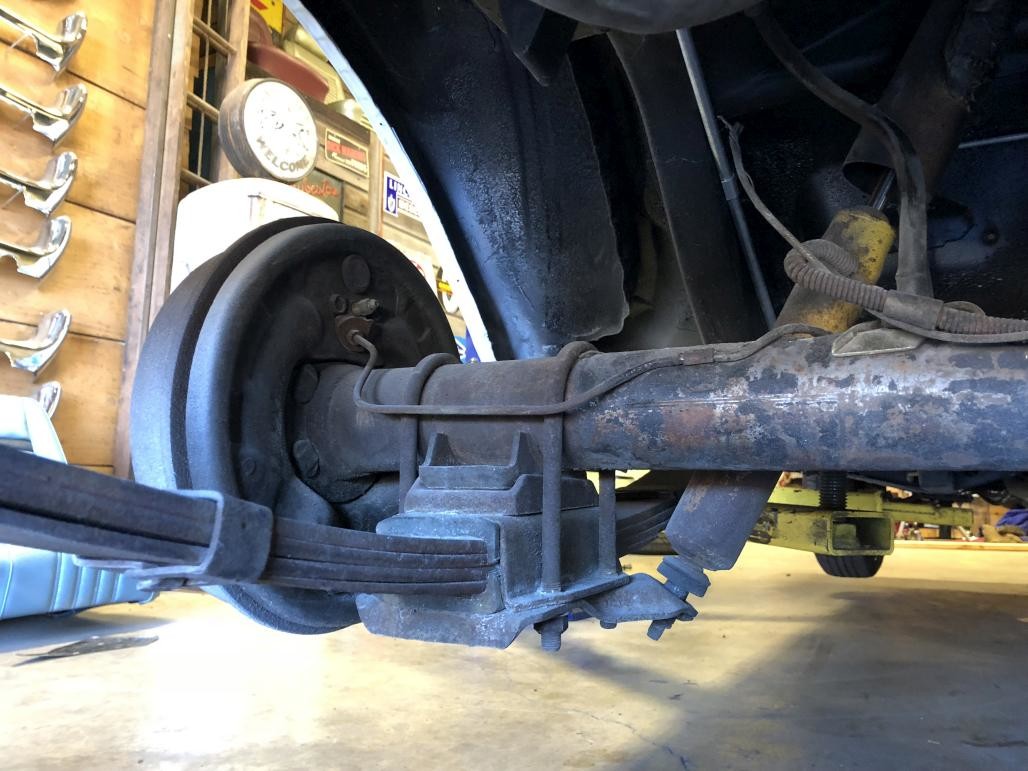
The leaf springs had never been replaced, I observed the Ford part numbers on them (no pic, sorry)
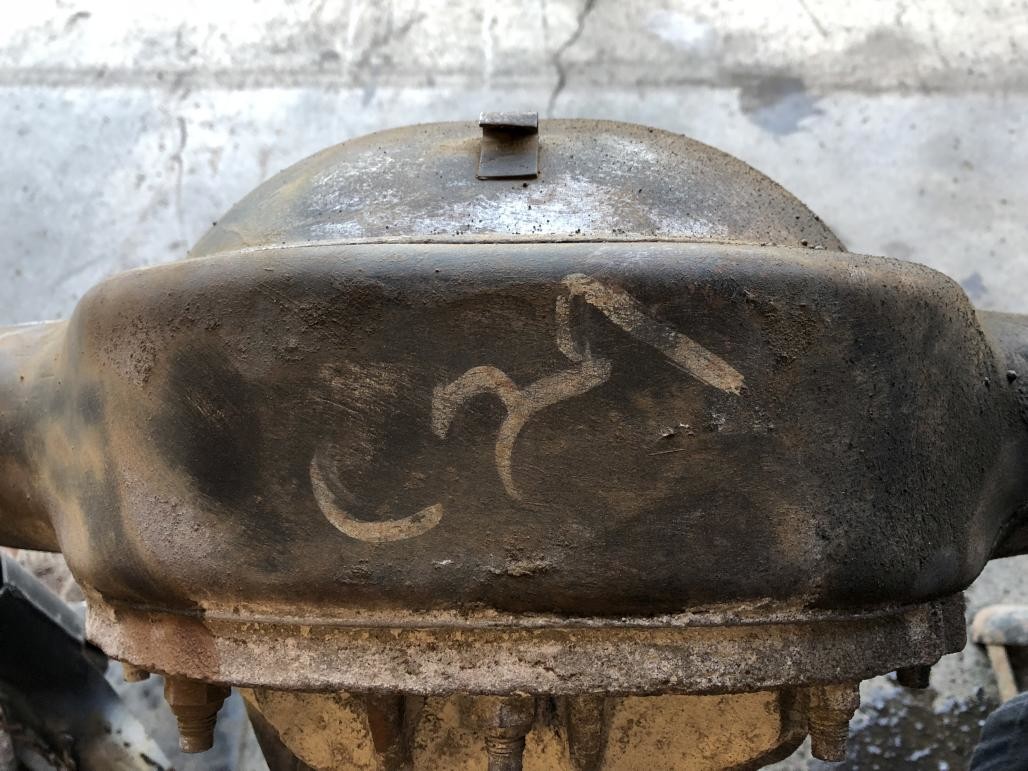
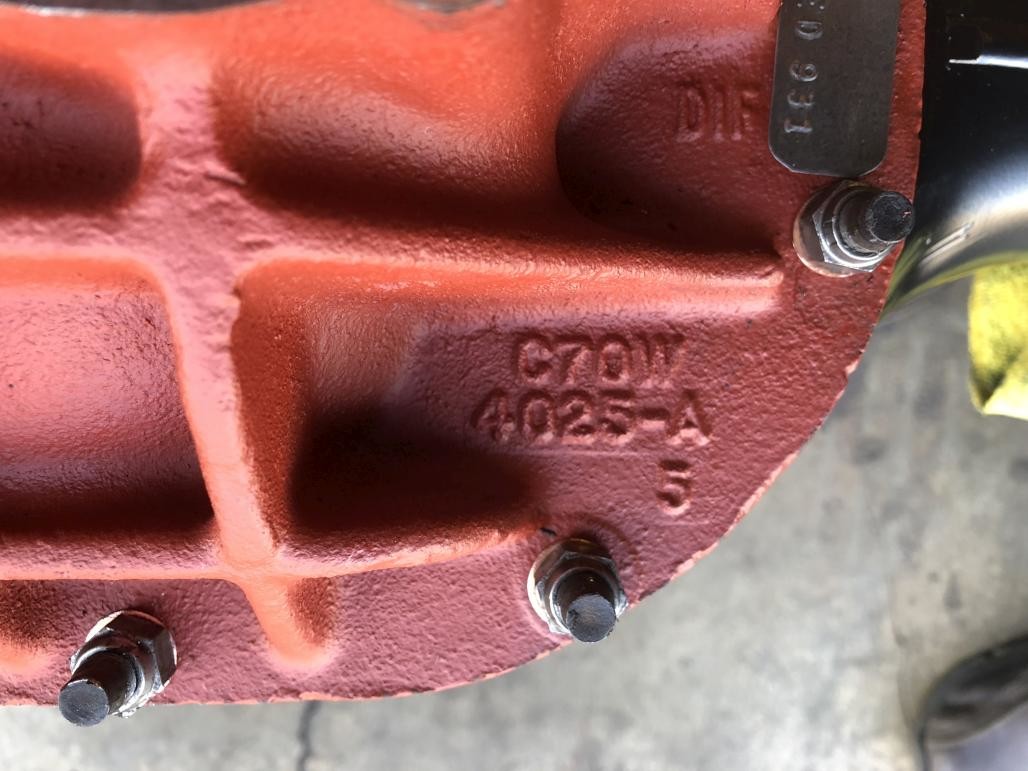
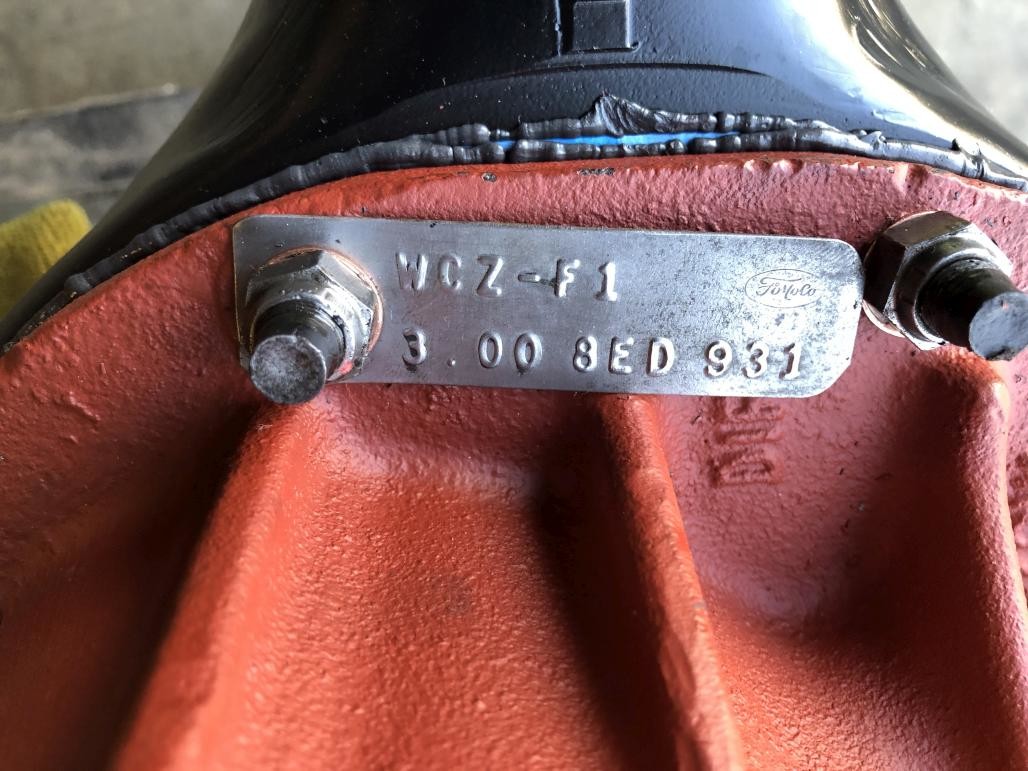
Documenting the original paint markings on the top of the axle housing:
Starting disassembly:

Empty hole. This gave me a chance to address some of the white overspray. I just fogged over it with some satin black VHT chassis paint (not done yet in this pic).
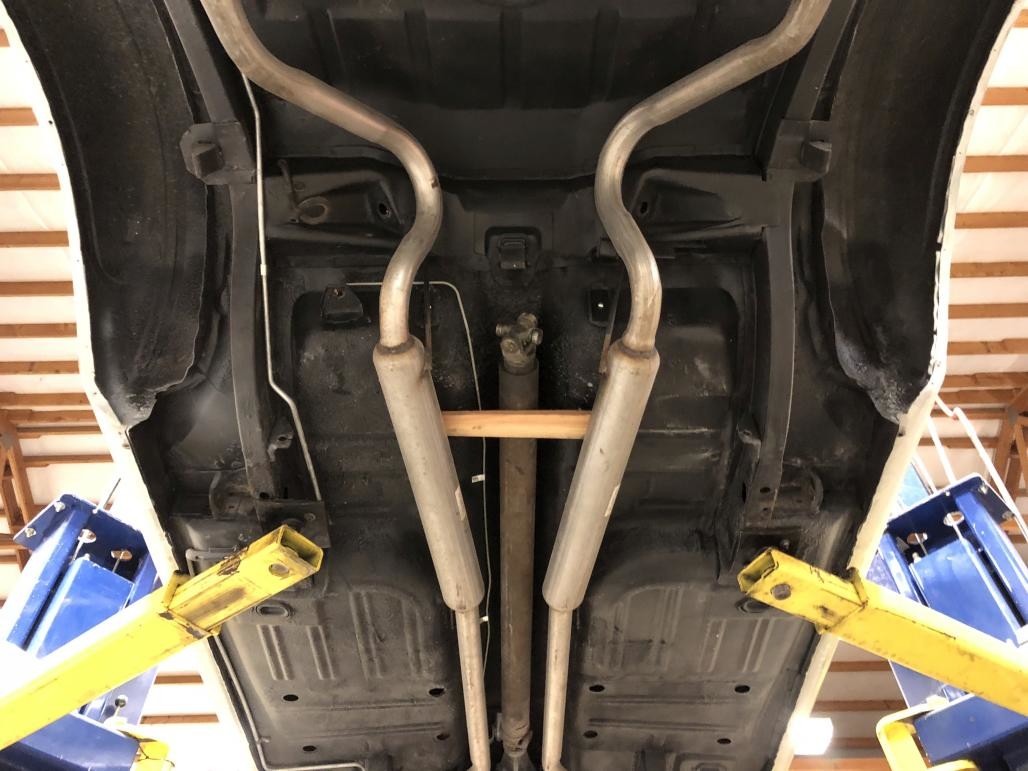
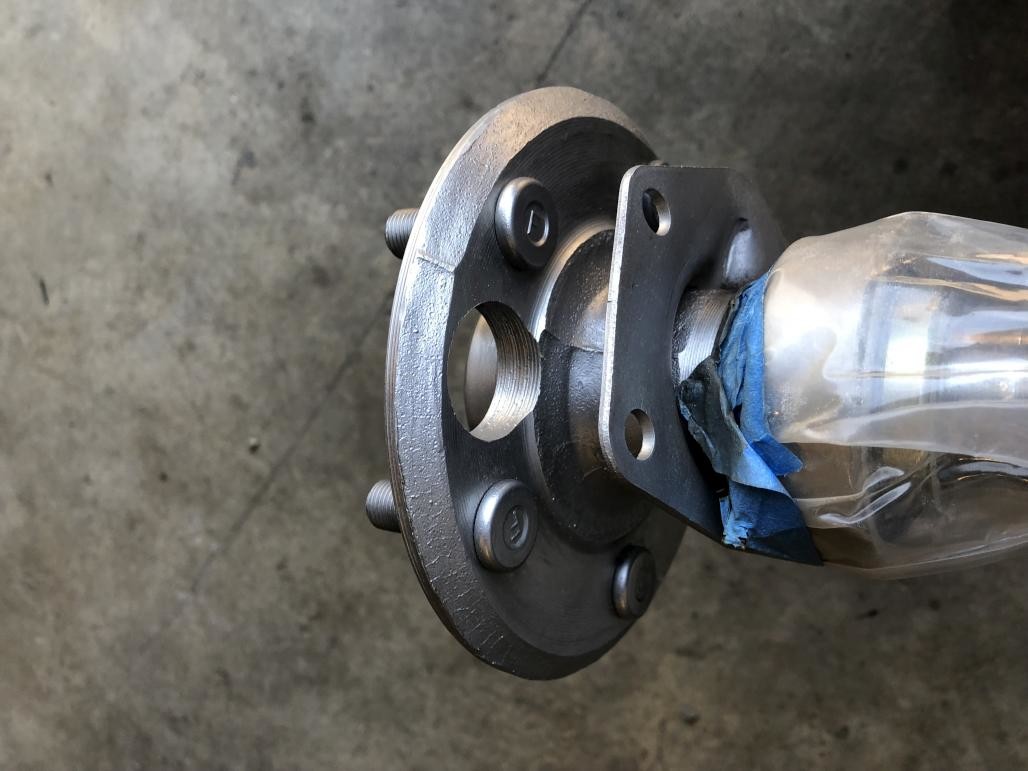
To hold up the driveshaft I just stuck a piece of wood over the exhaust for it to rest on. Maybe not ideal, but the welded-on sticks that the exhaust shop did back in the day seemed strong enough. (Exhaust was done roughly 10 years ago when I backed into a steep driveway and ruined the original single exhaust. Those are long glasspacks, they have a nice mellow yet burly sound). The driveshaft is now the only remaining significant piece that hasn't been refinished in some way. I'll probably do that at some point.
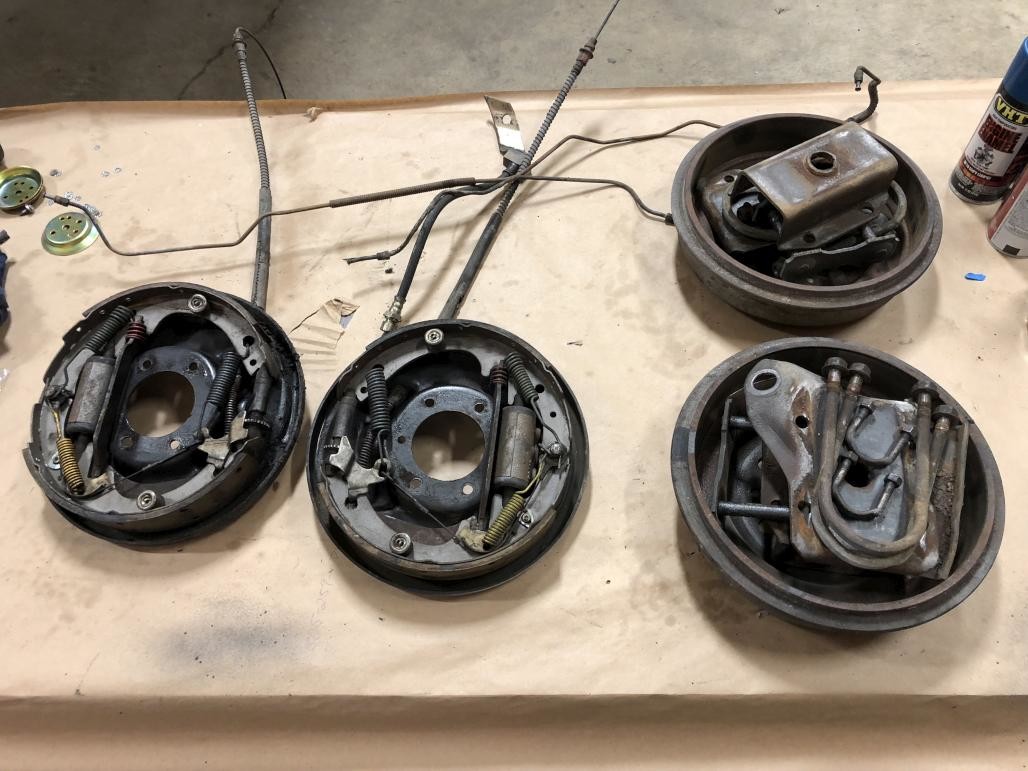
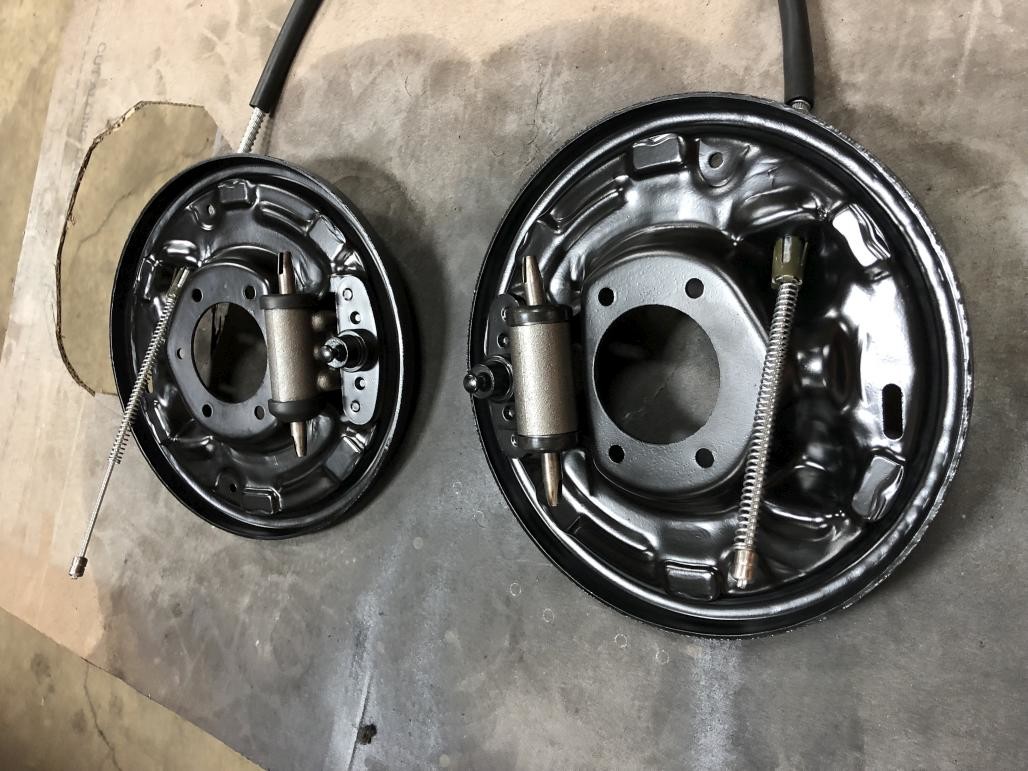
Brake stuff disassembly begins. Also trying to keep track of all the other bits and pieces. I took a good reference pic of each backing plate with everything installed so I would remember how it all goes together. This is also a first for me, rebuilding drum brakes.
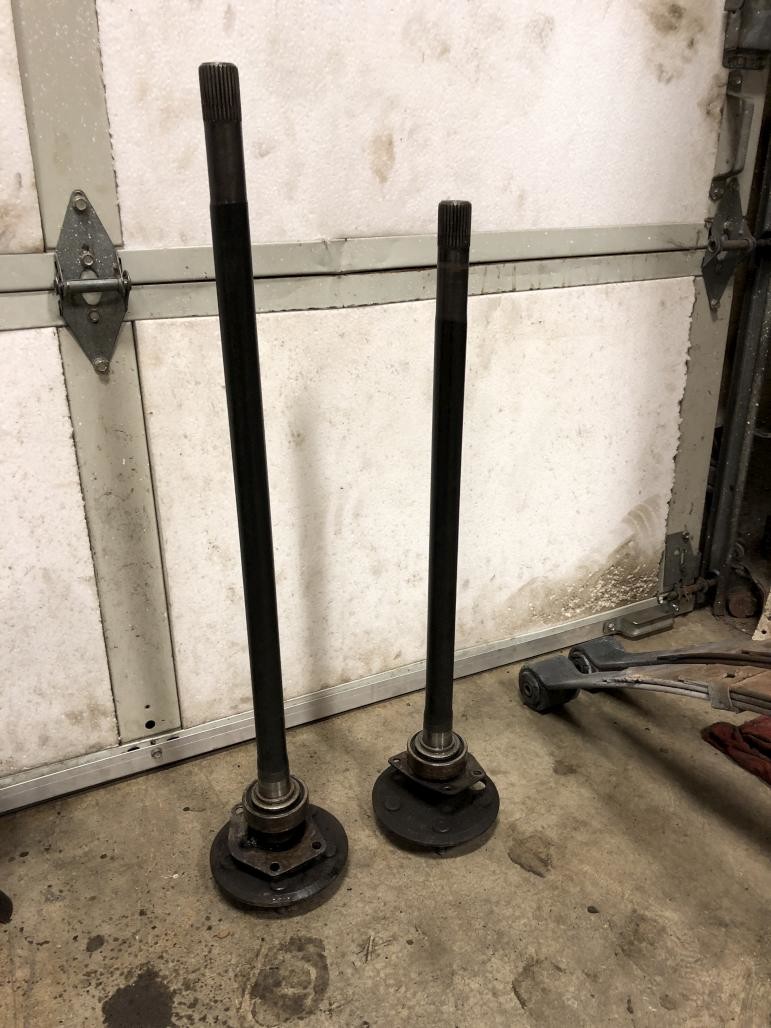
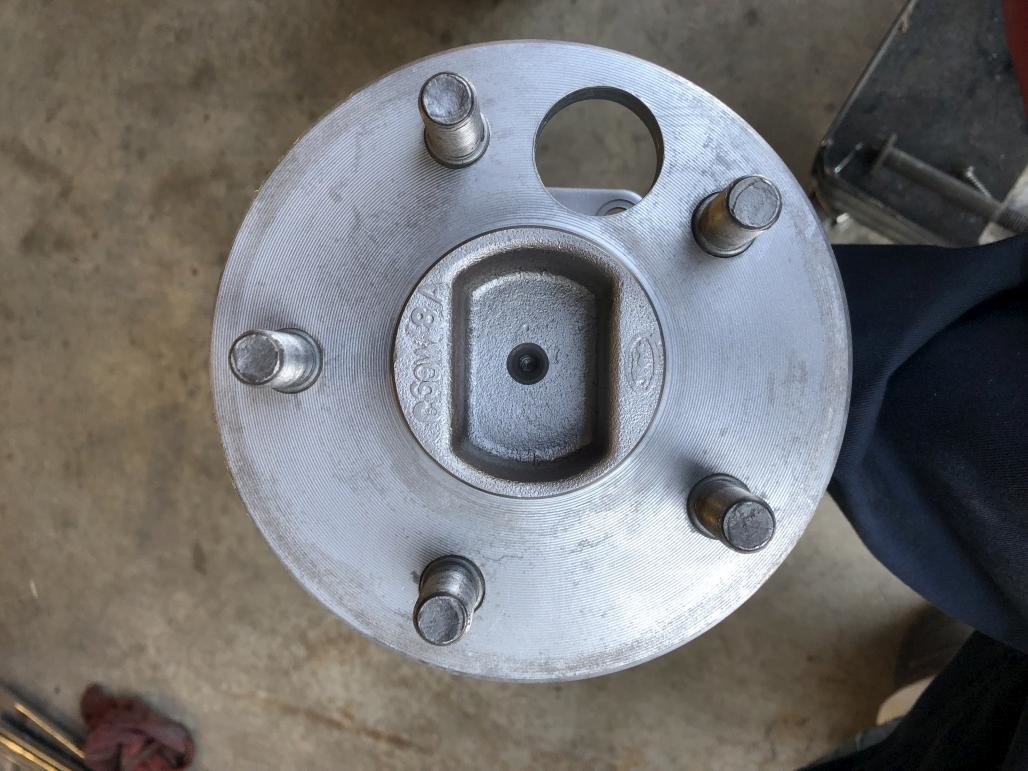
Axles out. I was able to pull one out by hand, but for the other I had to use the backwards drum trick that I was previously unaware of (thanks for that one Scott B.). Put one of the drums on the axle backwards and just start the lug nuts enough to be on the threads. Then you can use the drum like a slide hammer to pop the axle out.
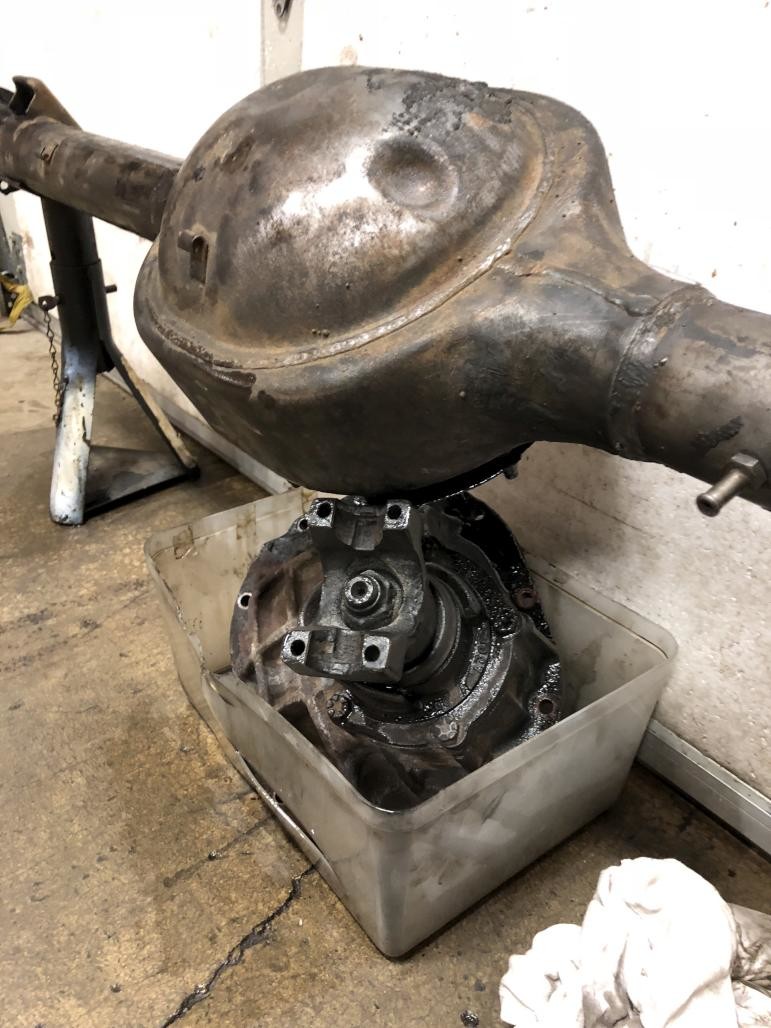
Pumpkin out. Made a mess. It was surprisingly hard to separate it from the housing. I finally realized that I had to pry off all the copper washers before it would budge. New ones are a must for reinstallation.
So at this point, I took the axles and pumpkin to a reputable shop to have them rebuilt / bearings replaced / etc. In the meantime, it was time to clean things up and make them pretty. The axle housing itself was a little challenging, being covered in years of crap. I tried to wipe out most of the old oil from the inside, using rags and Brakleen. For the outside, to start with, I attacked it with wire wheels. That worked to an extent and knocked most of the crap off. But then I started to eyeball the blast cabinet. I wondered if it would fit in there? Or maybe I could leave the side door open and have it sticking out a little?
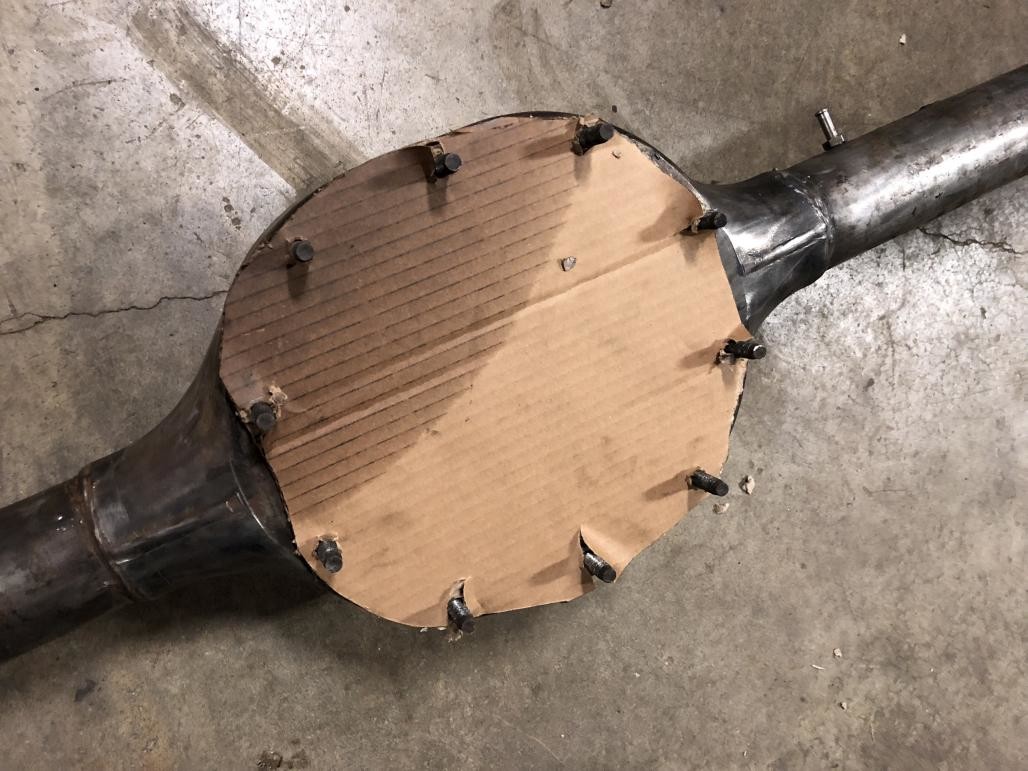
To prep for this adventure, I made a cardboard cover for the diff opening, and masked off the end holes. I knew I wouldn't completely avoid getting sand inside, but wanted to at least minimize it.
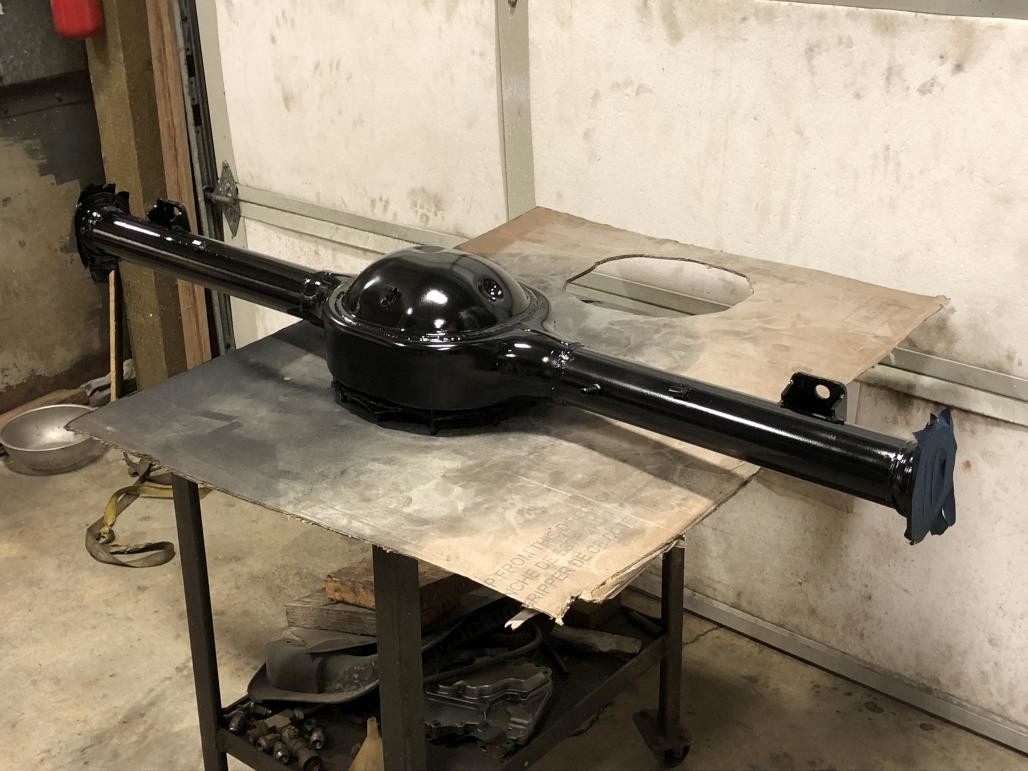
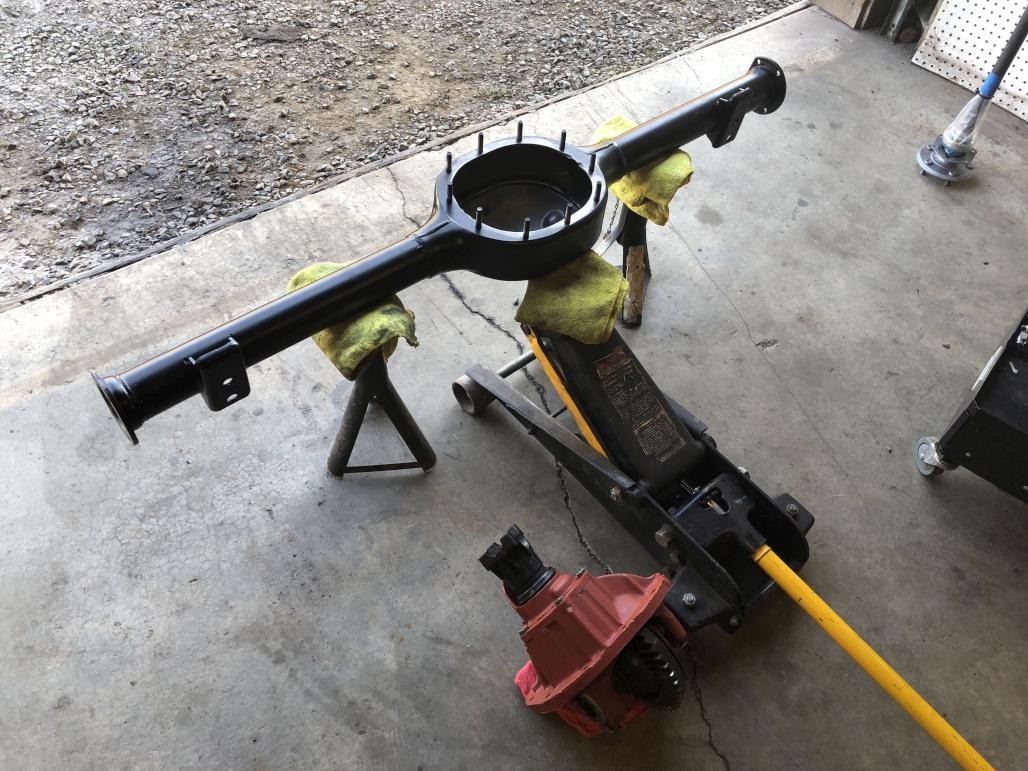
It took a while, but I got it done. So nice and clean! I then took it outside and washed it out with water to get all the sand out of the inside. I know, water + bare metal = bad, but I dried it off as quickly as possible with compressed air and a heat gun. Then wiped down with wax & grease remover to prep for paint.
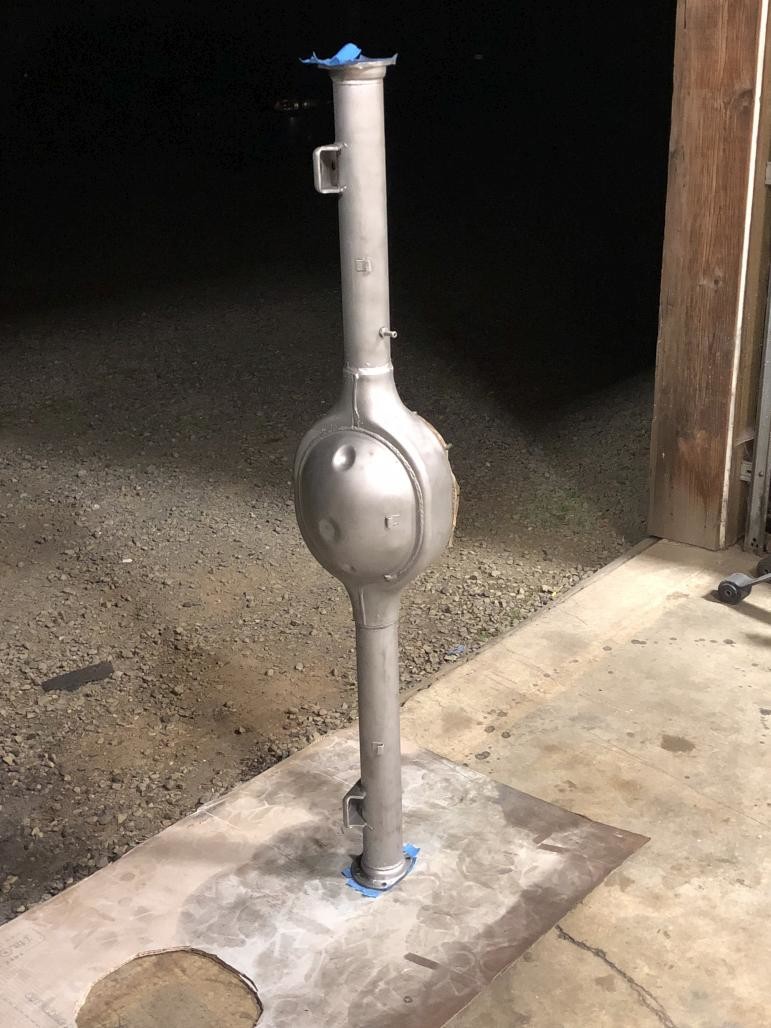
And then, paint. Once again I went with the VHT chassis paint. I like that stuff.
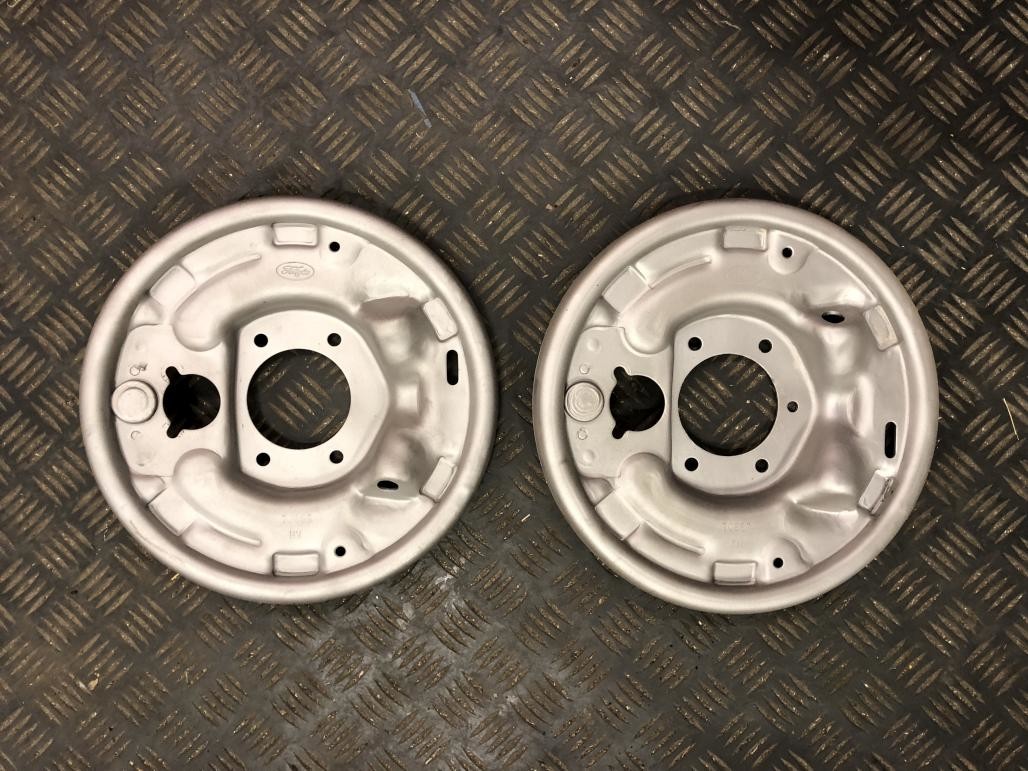
Backing plates blasted:
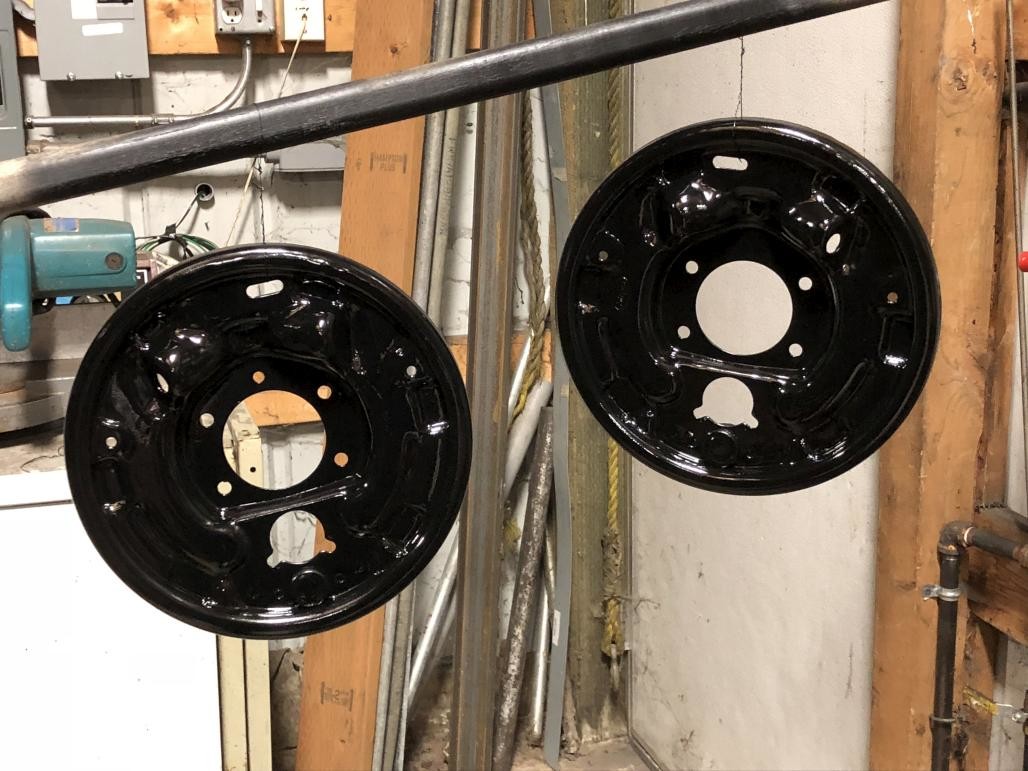
...and painted (still wet)
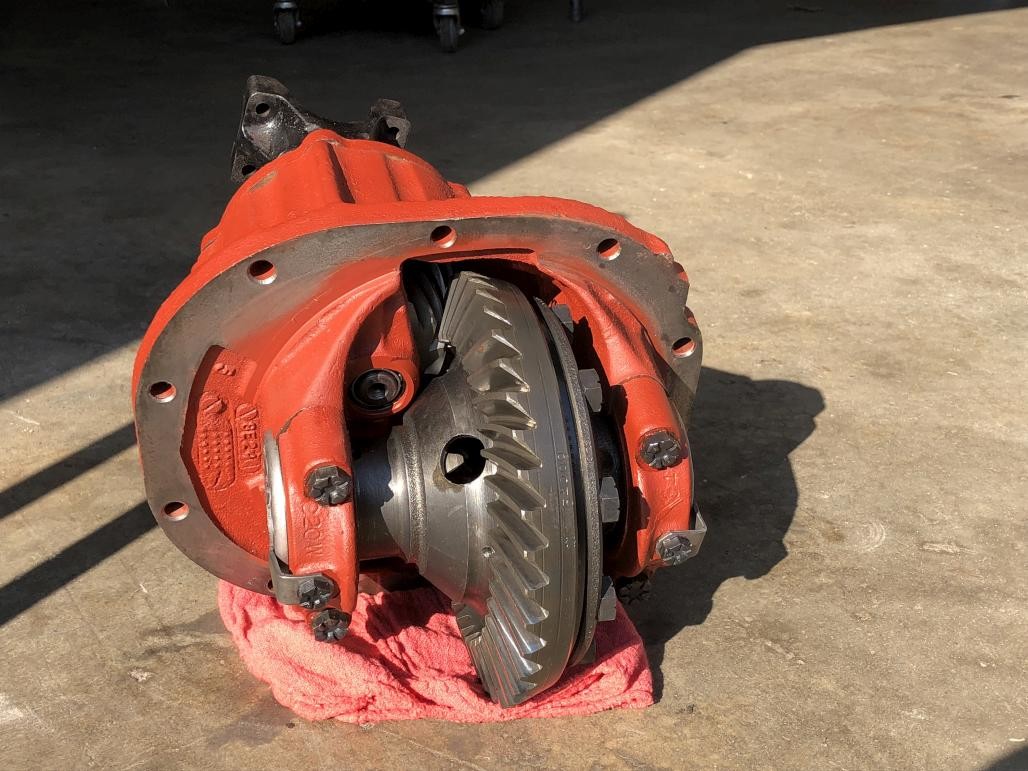
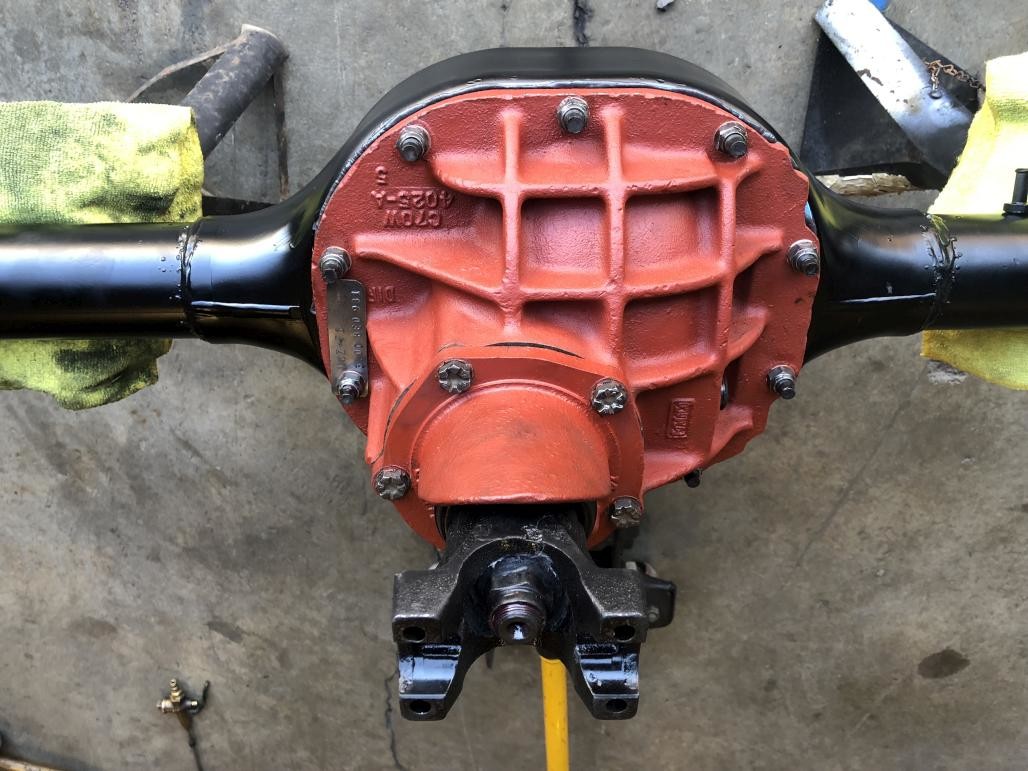
Then, I got my stuff back from the shop! I had asked them to clean up and paint the pumpkin red oxide, since it would be easier to do while it was apart. It came out great.
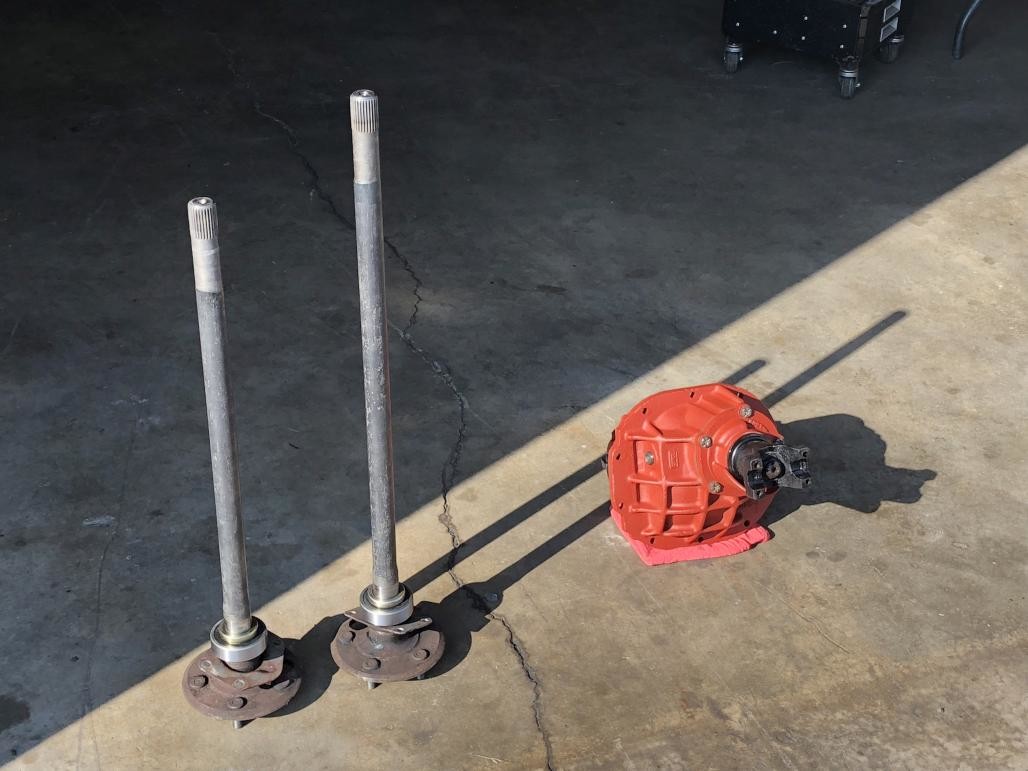
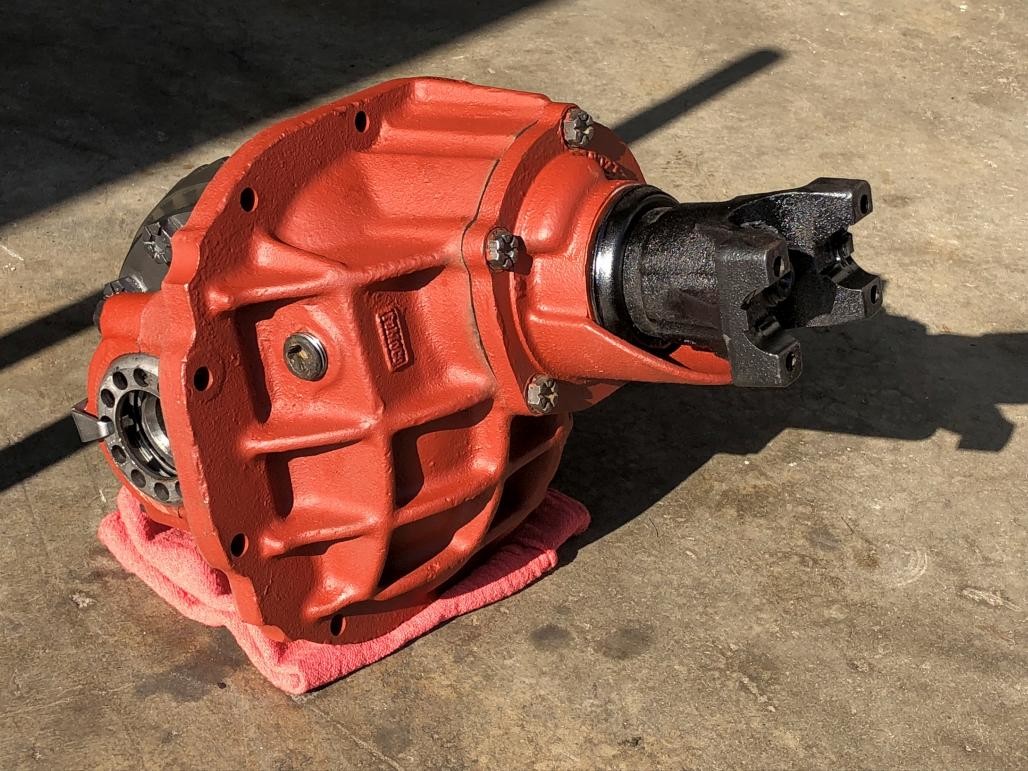
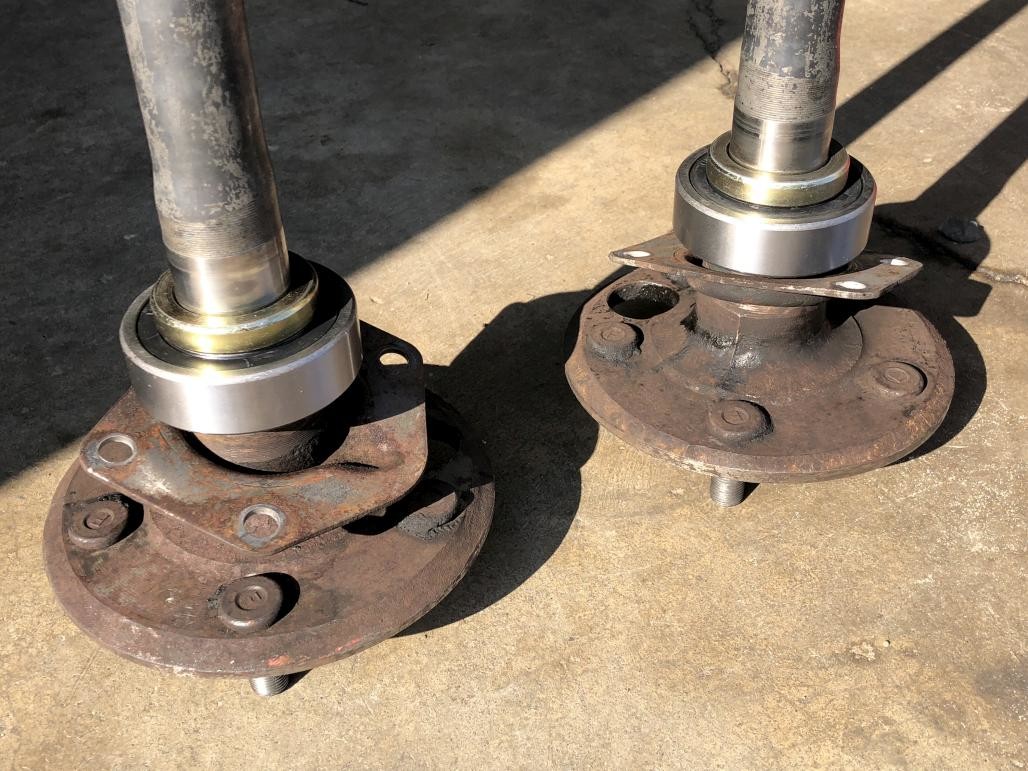
New axle bearings. My only disappointment here is that, while they did clean the gunk off the axles, they didn't really "clean" them. At least not how I would have liked. Still rusty and ugly. I should have asked them up front to also do something about it while the bearings were off, but anyway...
...so I initiated another bold (or stupid?) plan to fix that. Got some thick plastic sleeving from the WCCC shipping department, and zip-tied it below the bearing, and further up the axle. Also followed up with some tape.
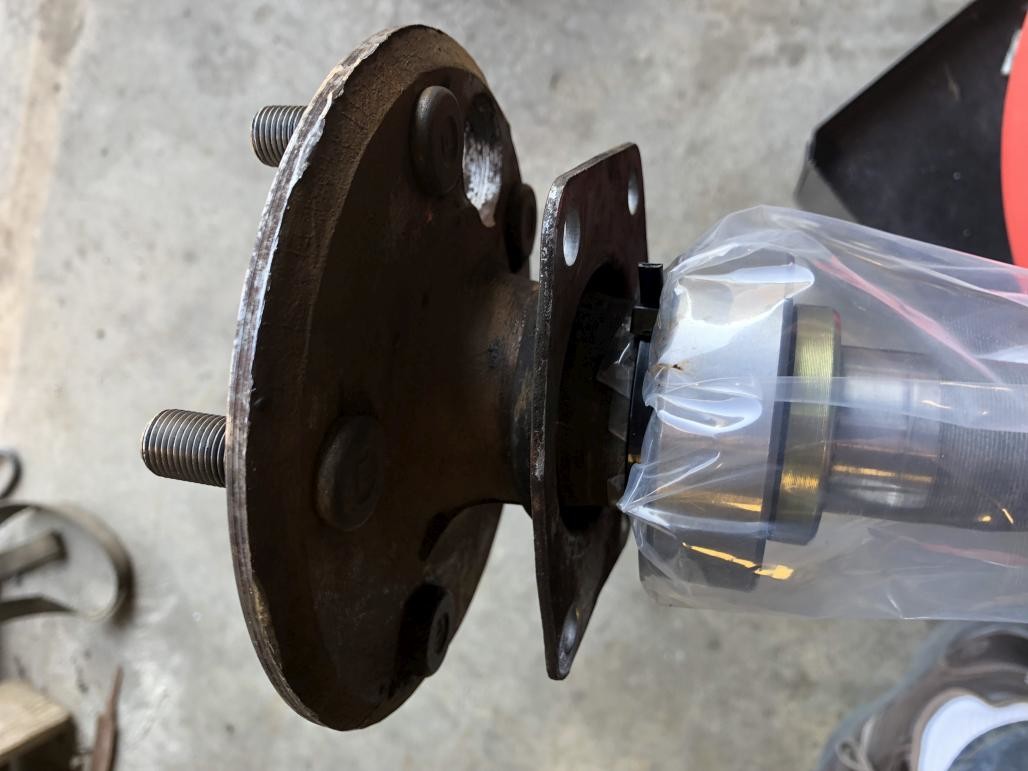
Then blasted and clear coated these areas.
The only issue was, my masking method wasn't 100% effective, and sand did find its way inside and got on the bearings. I was worried it would get inside, which would cause them to grind and wear out prematurely. After carefully wiping it away and blowing the area with compressed air, though, they felt fine and smooth spinning by hand. So I think I dodged a bullet there.

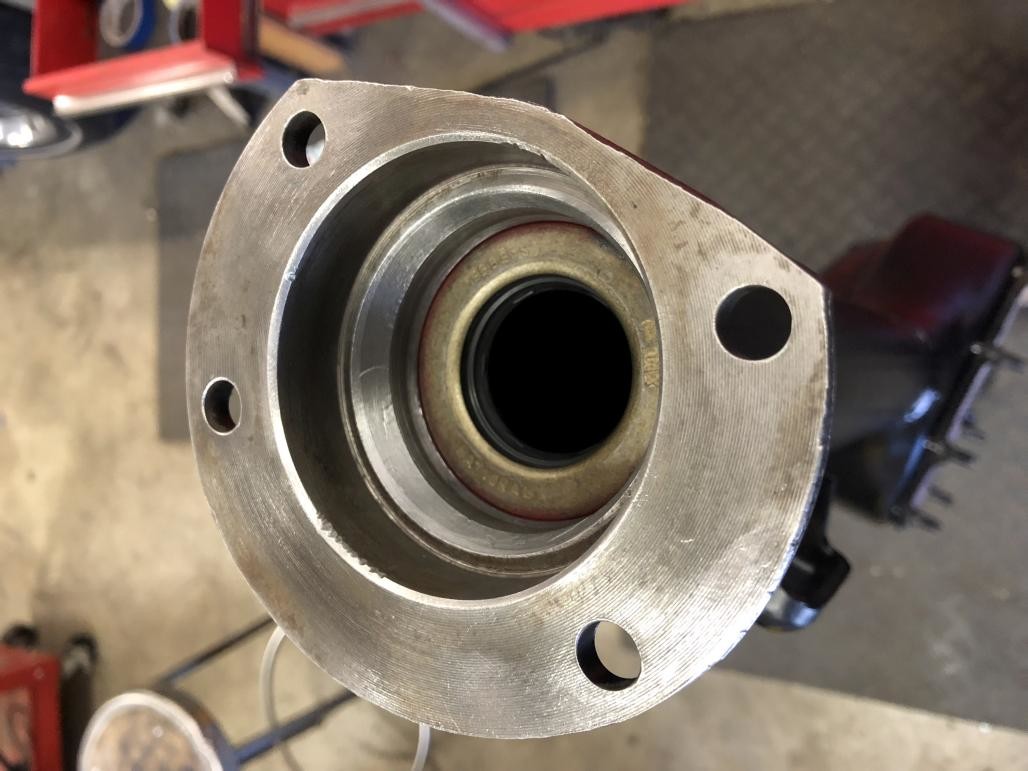
Installed new axle seals:
Here we go! Getting ready to put everything back together.
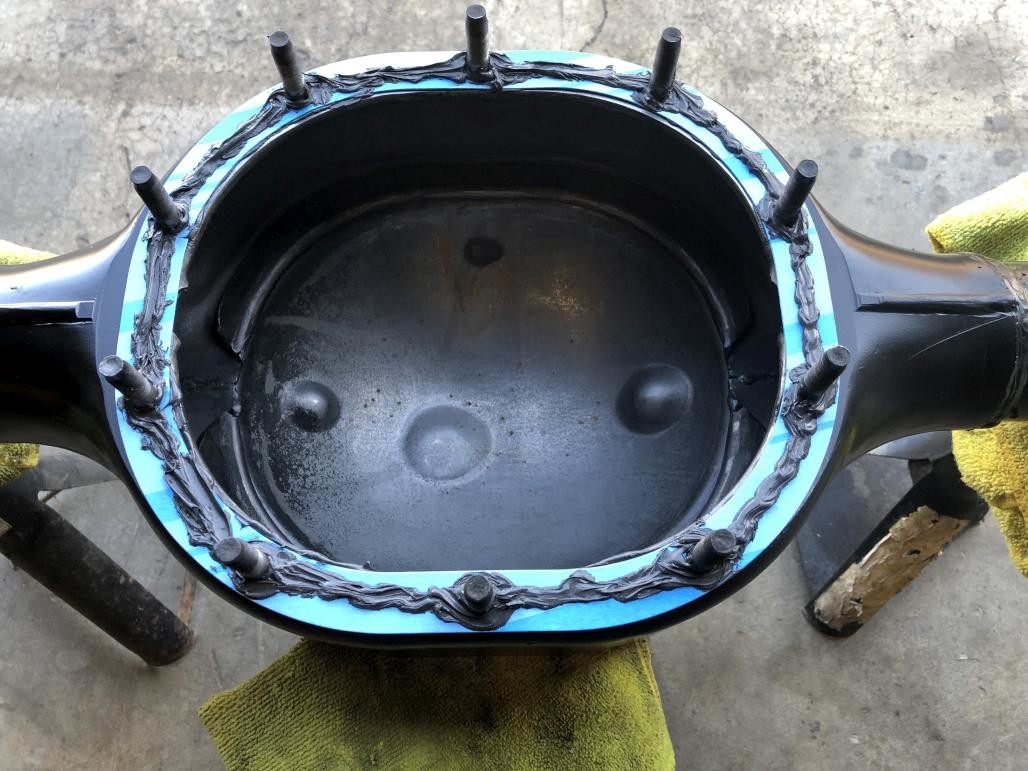
New gasket with Permatex ultra black goop (both sides):
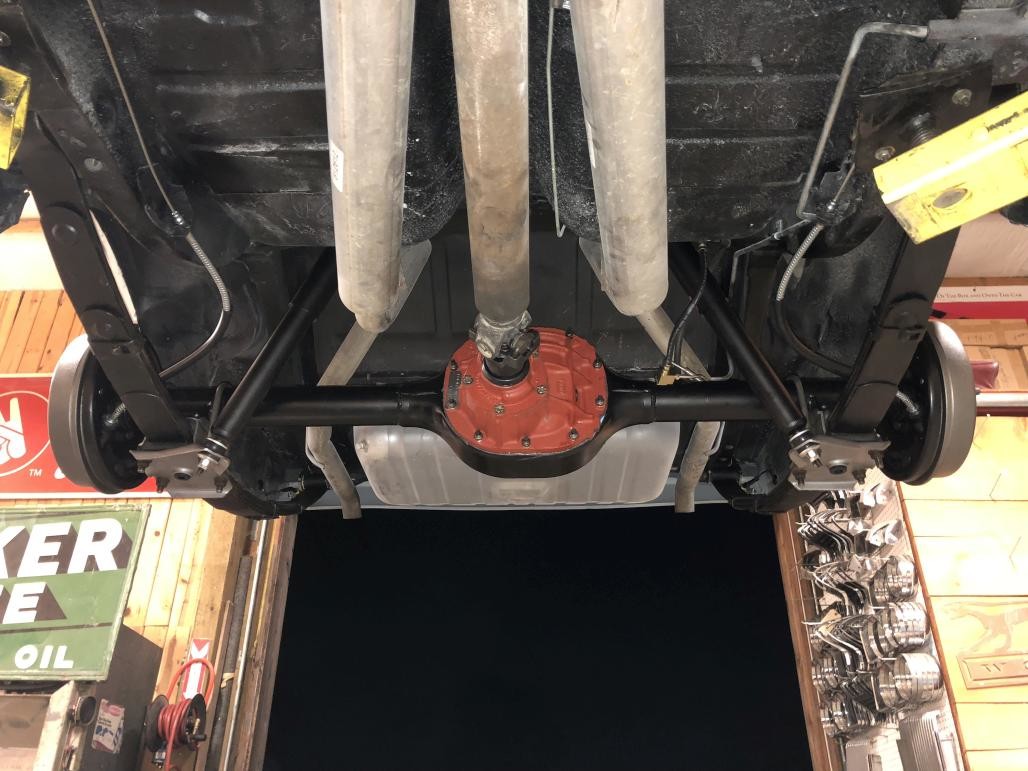
Pumpkin reinstalled:
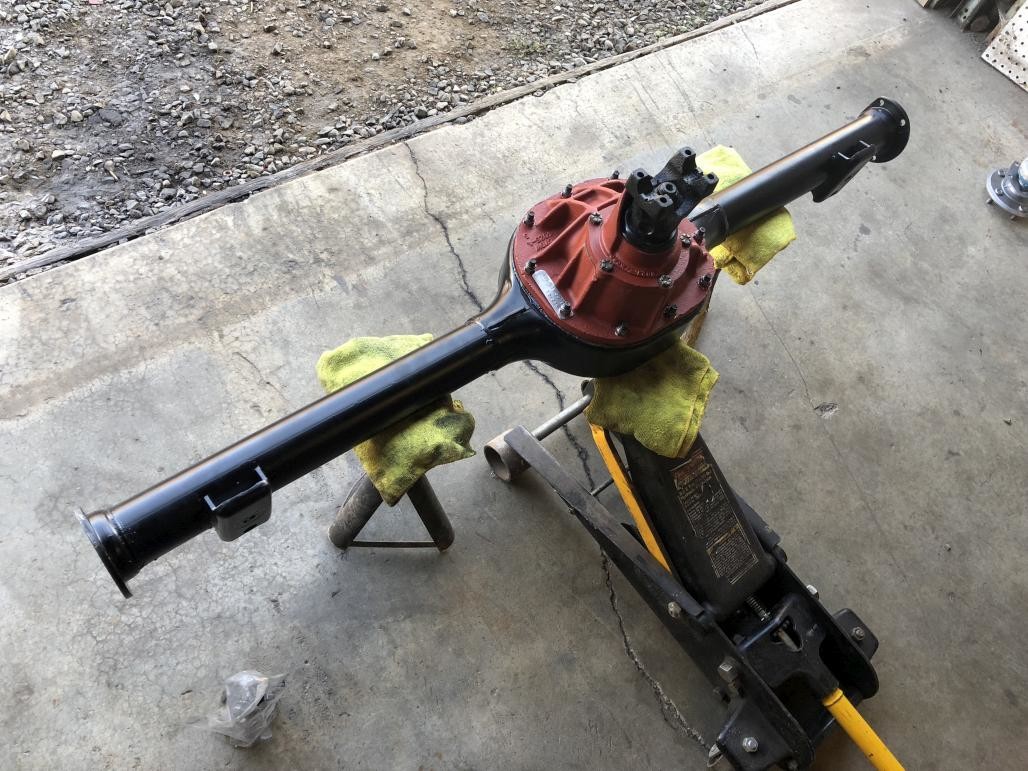
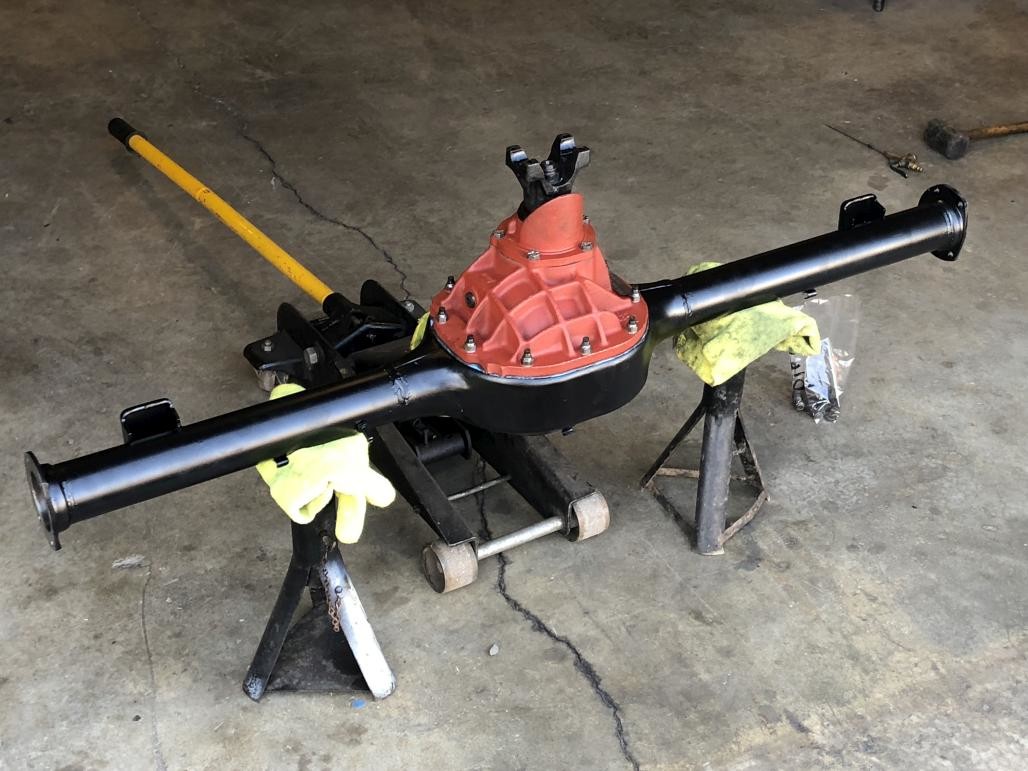
Looks good! Some closeups:
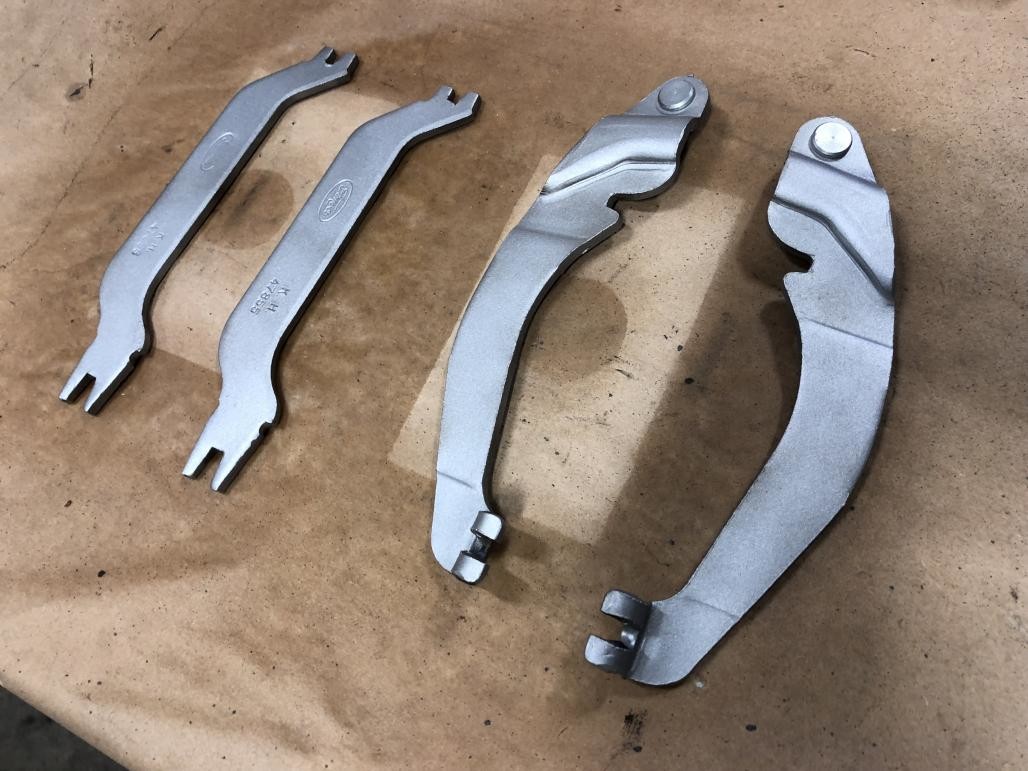
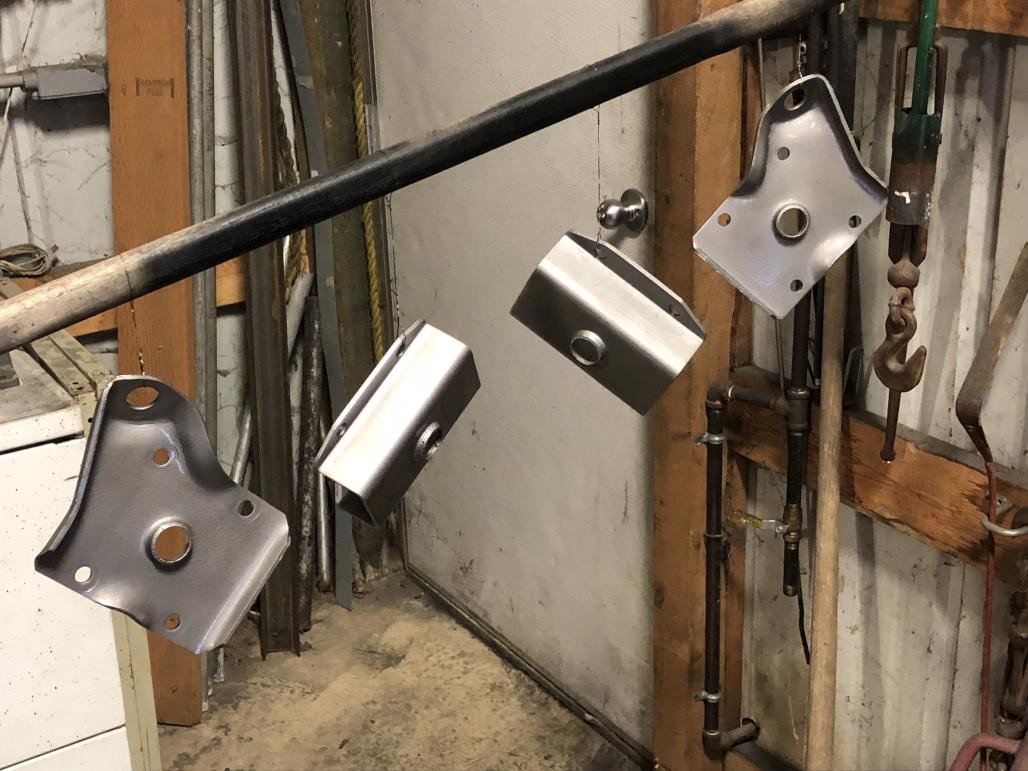
Moving on, there were a bunch of bits and pieces that I blasted and clear coated, to keep the "natural" look:
Then, I started to put together the brakes. Here I've put in new wheel cylinders and parking brake cables (I used these: LH / RH)
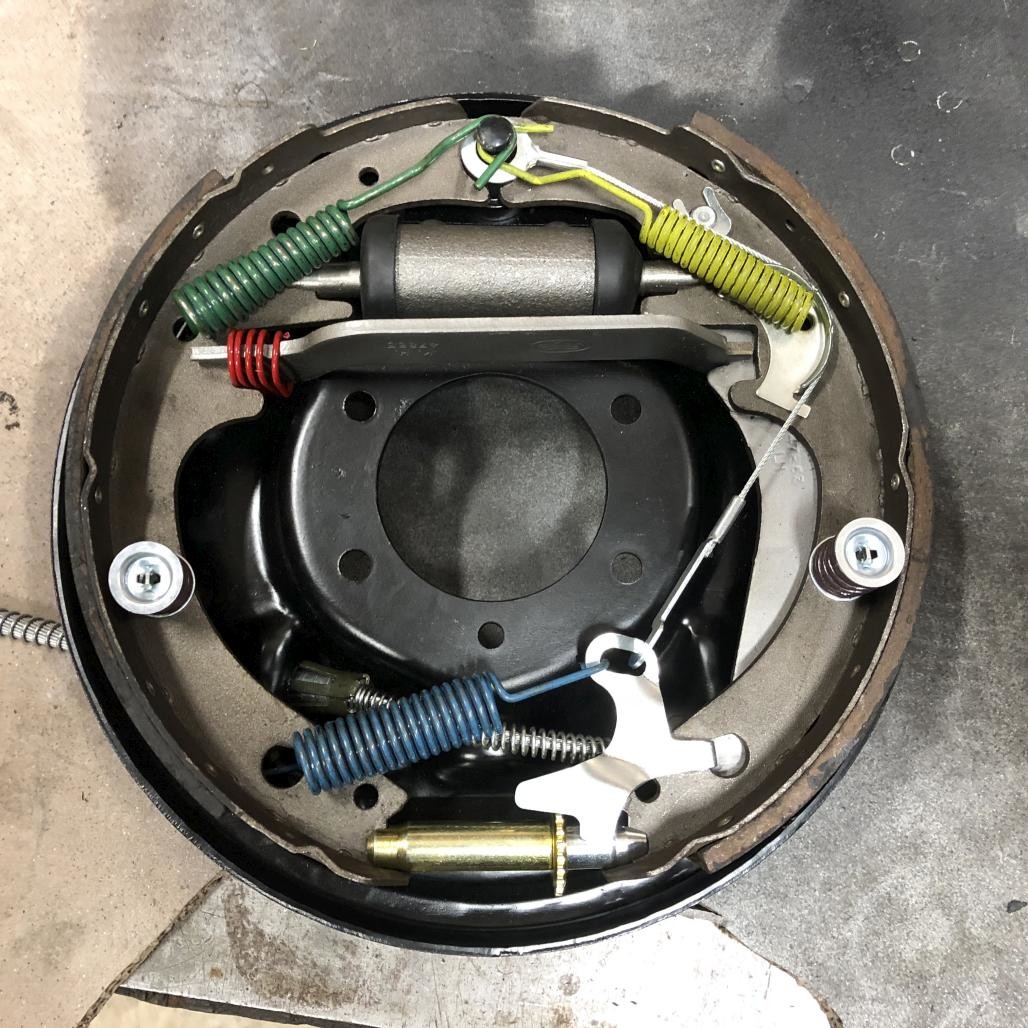
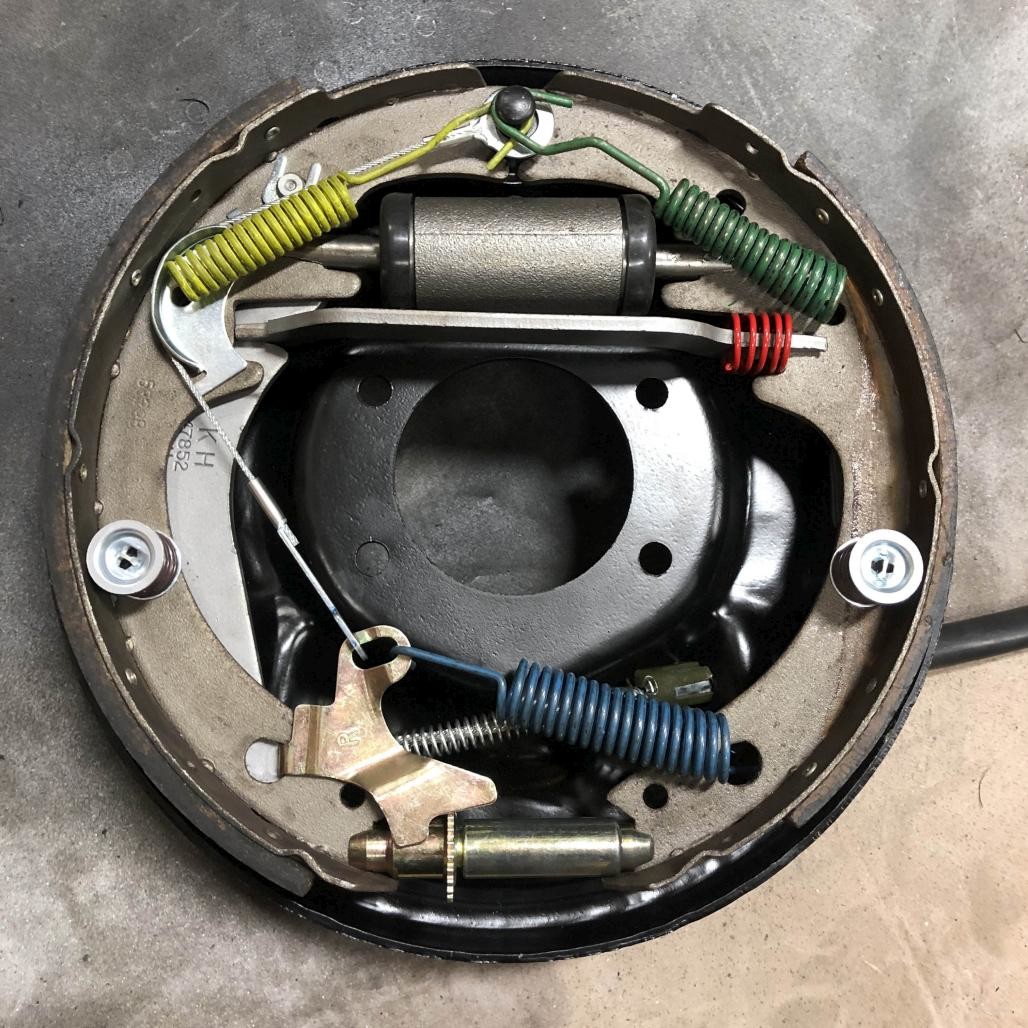
Then fast forward to everything put back together with new springs, hardware, and adjusters. These are a pain in the butt to put together. I actually reused my old shoes because they were good quality and still had plenty of material left on them.
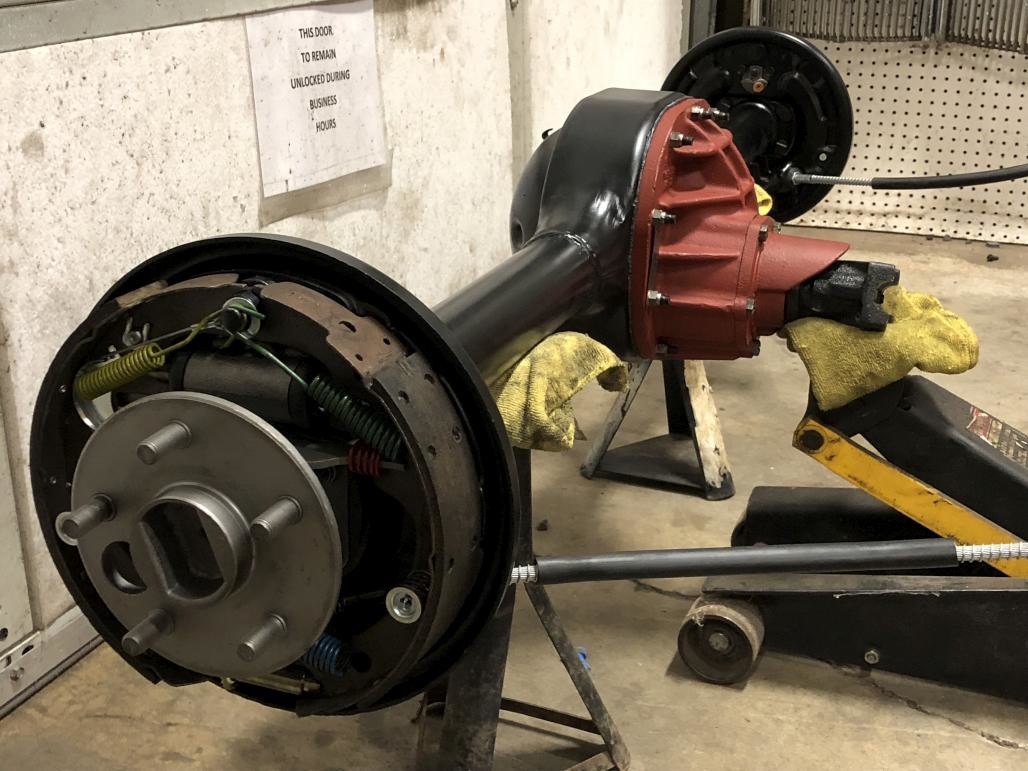
Back together with axles reinstalled! A rubber mallet came in handy to drive the axles all the way home once they were started. Also can't forget the inner and outer gaskets.
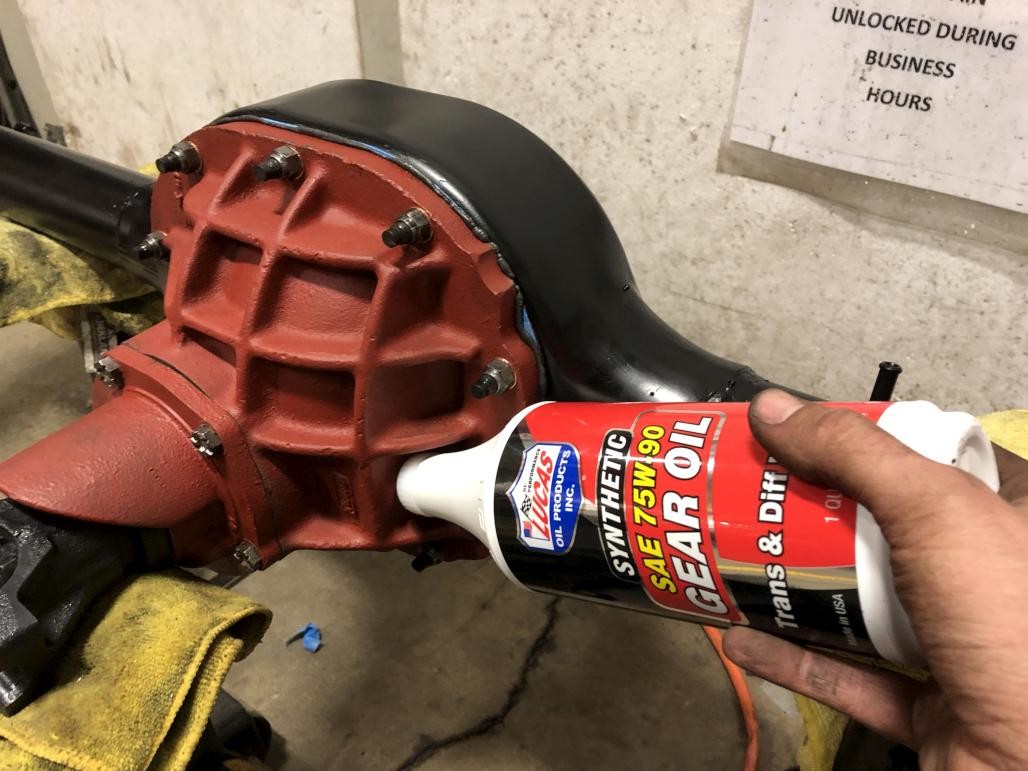
Then, I figured it would be easier to fill up the fluid now, rather than messing around with a pump and hose setup underneath the car. I made sure to set it level and fill until it started to come out of the fill hole. I then closed it off and spun the axles, and tipped it one way, then the other, to make sure the fluid would travel to all the places it needed to be, then topped it off. It took less than 2 quarts.
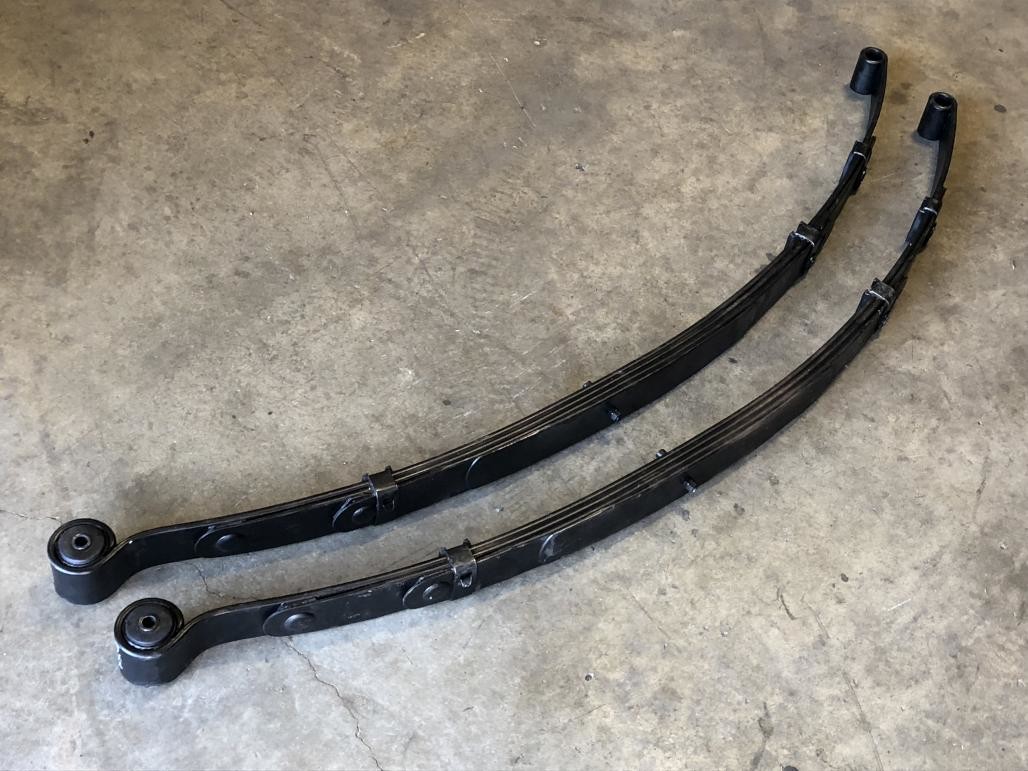
Here are my new leaf springs. There are a bunch of different variations depending on options, engine, etc. I got the relevant ones for my car, but with the slightly upgraded Competition Handling specs. I think that means an extra leaf?
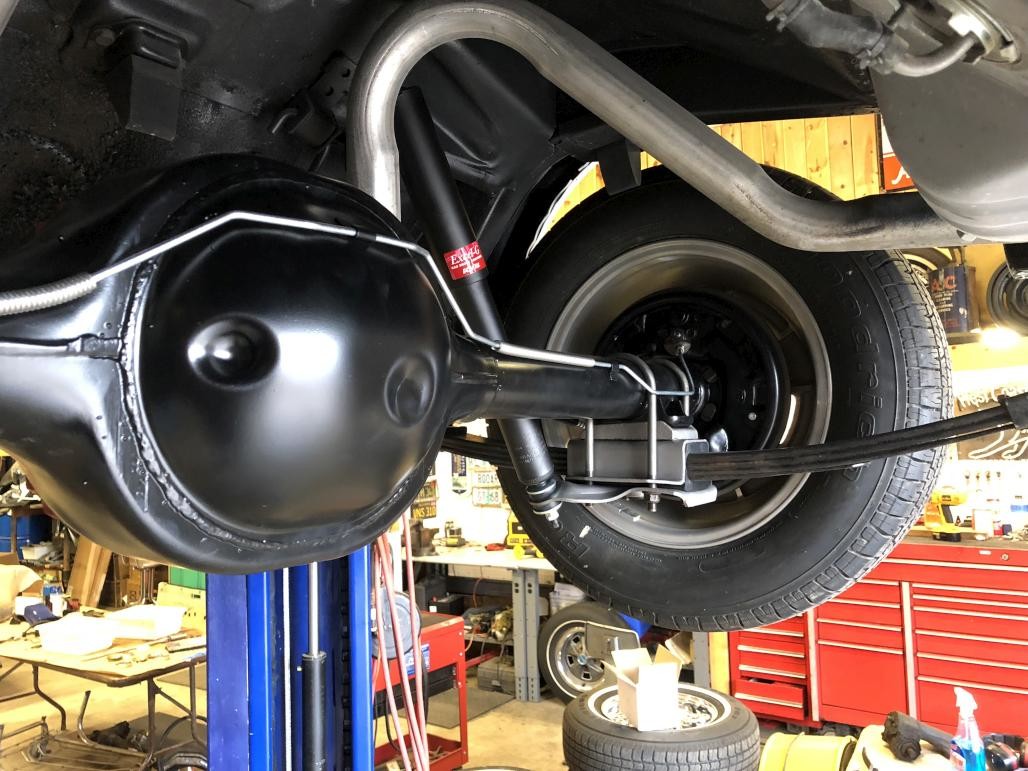
And then, with help from Darrell and Scott here, everything went back together fairly easily.
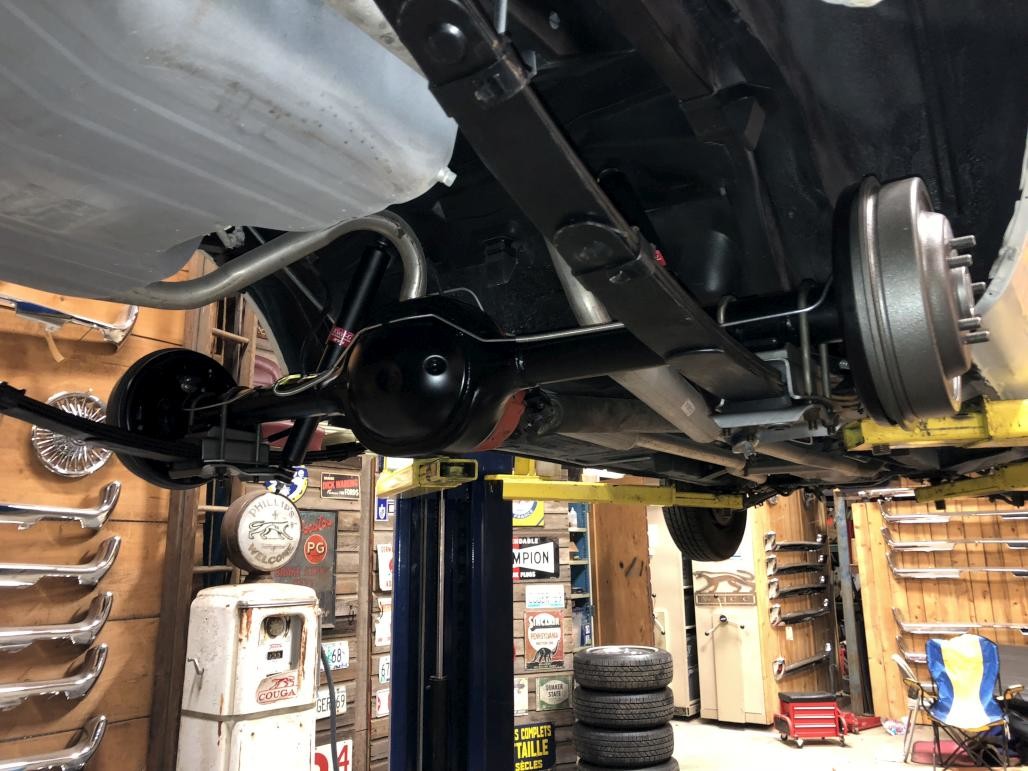
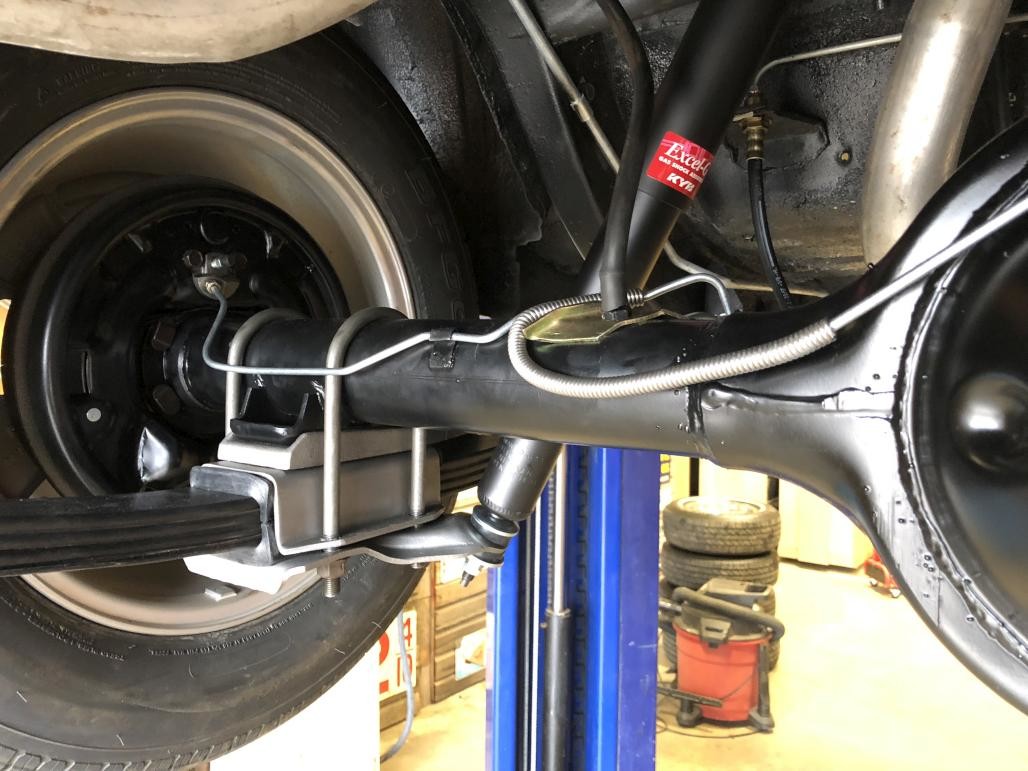
As you can see, I also put on a new rubber brake hose as well as new steel brake lines. Fitment required a little tweaking, but I got 'em on there.
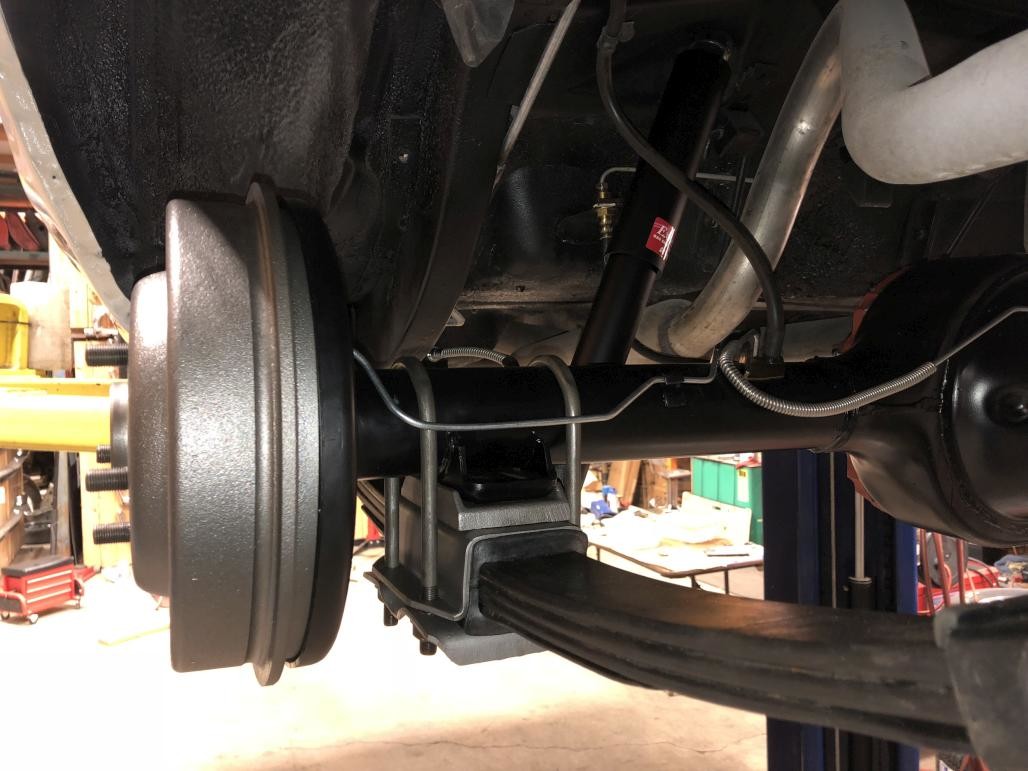
I went for the longer U-bolts since I chose the Competition Handling leaf springs, and of course used new rubber pads. The shocks are KYB Excel-G's, same as what I used on the front. Also needed new shackles.

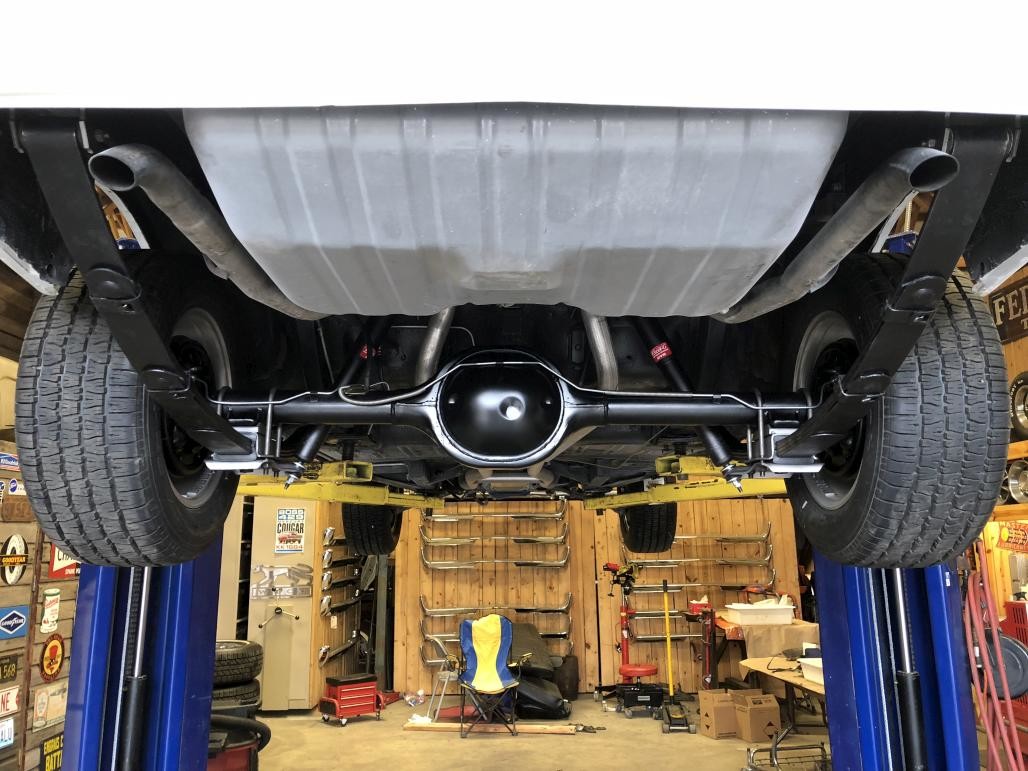
In all, the process took about a week. Very glad to have this done. It looks so much better, and I can already tell that the rear suspension is a lot stiffer than before.
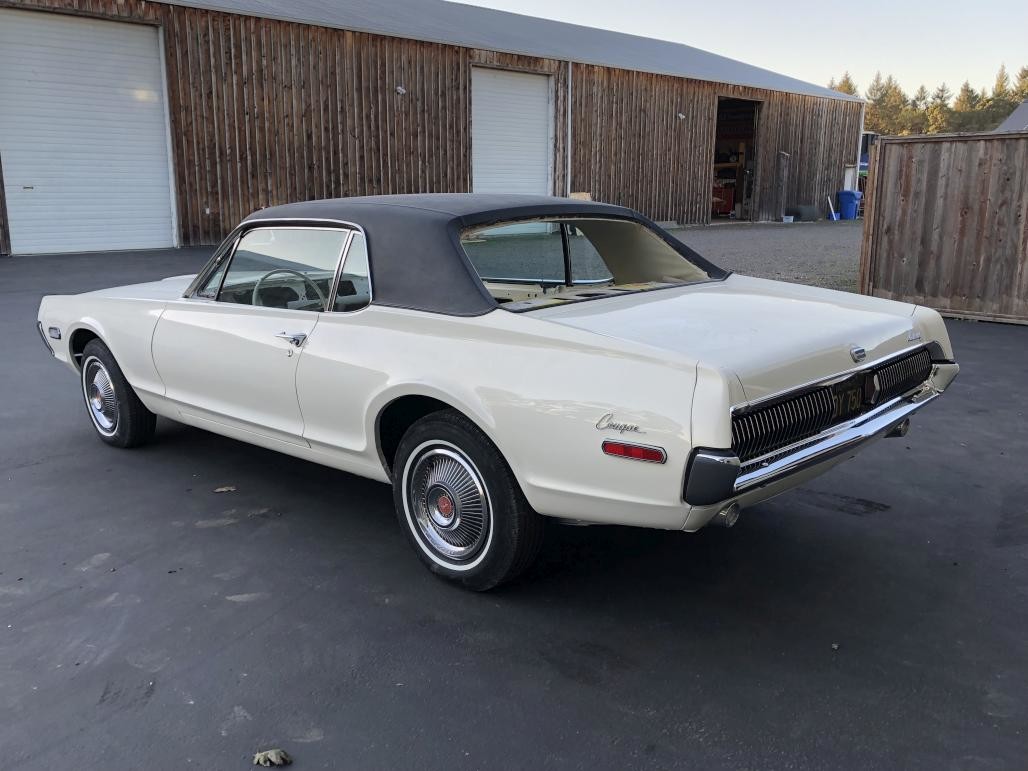
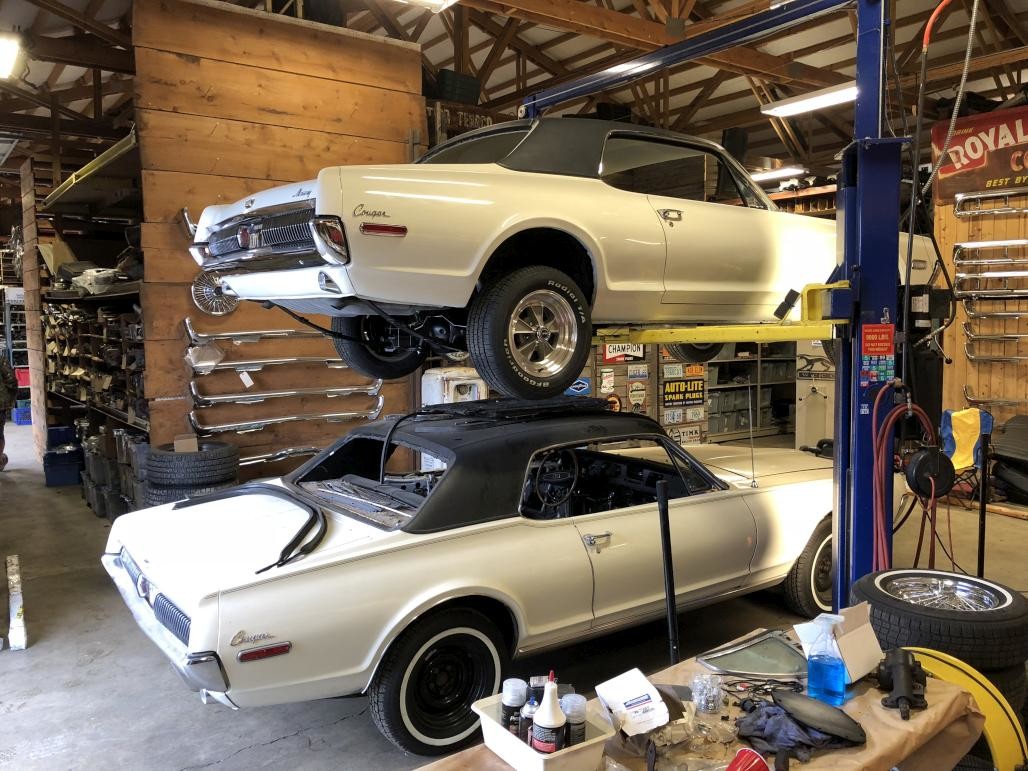
So that's one big project done! I have more to update but I'll close with this for now. My car had a twin for a bit, this is the car that Don recently had for sale. Mine is on top. You can also see that I put on some of our Legendary GT5 wheels to test out / model them for pictures. I'll have to get some pics on the ground outside soon.

I'll let that be all for this post. Progress is happening!

So nice in honor of your grandparents.
Posted by Diggymart on 1/3/20 @ 8:04:16 PM