You must be logged in to rate content!
14 minute(s) of a 767 minute read
9-12-2018
Alright, part 2 of the update. Grille restoration! This is something I've been looking forward to for a while. The grille is basically the crown jewel of the whole car, as I think most of you would agree, so I wanted to make sure it was nice.
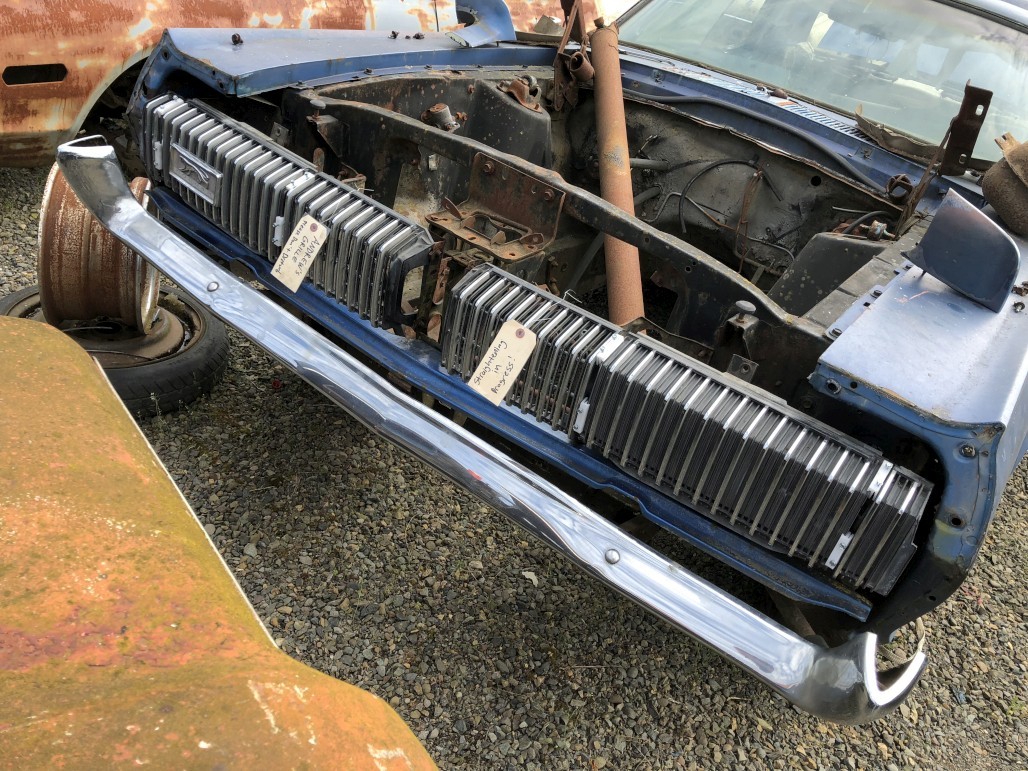
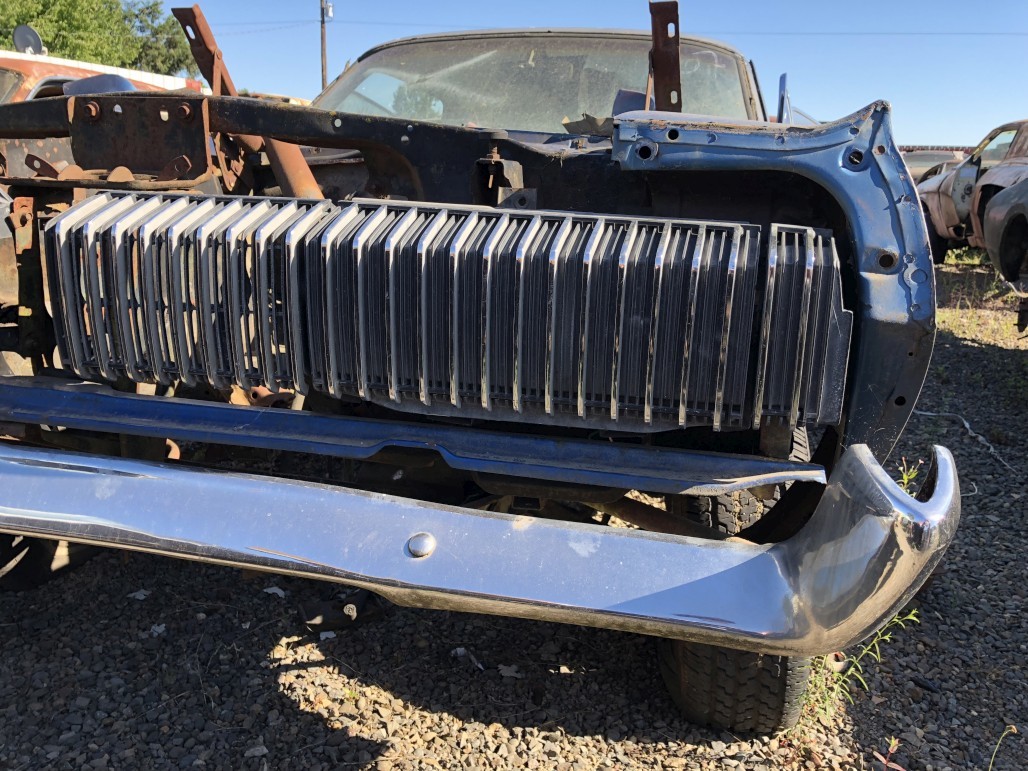
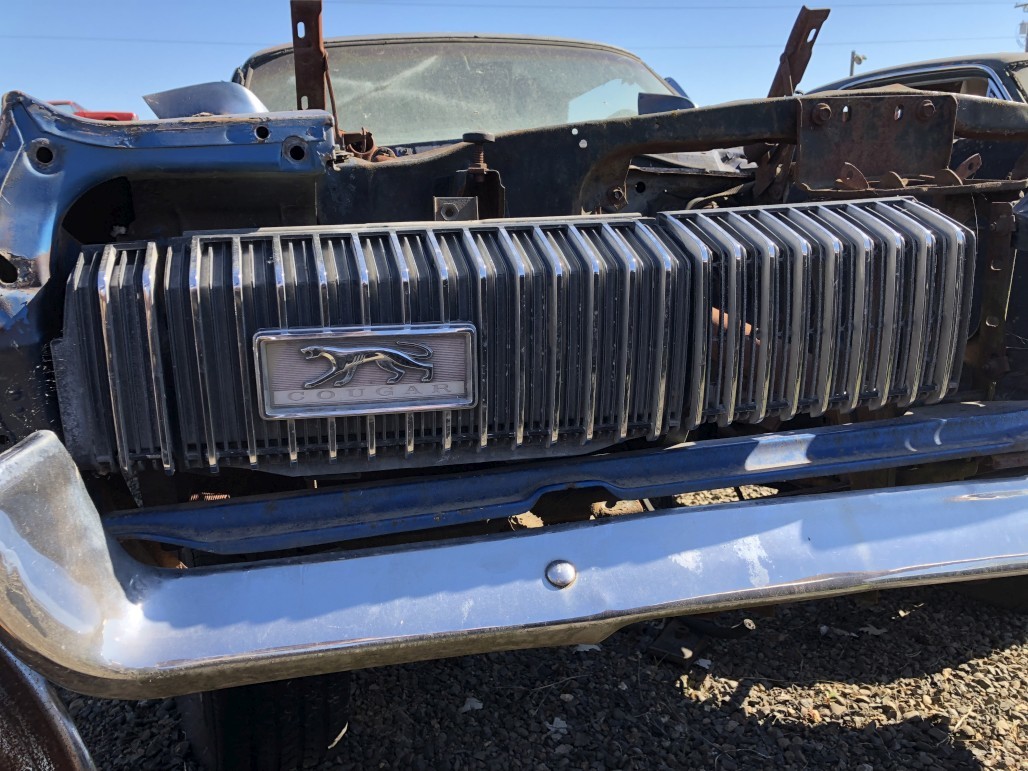
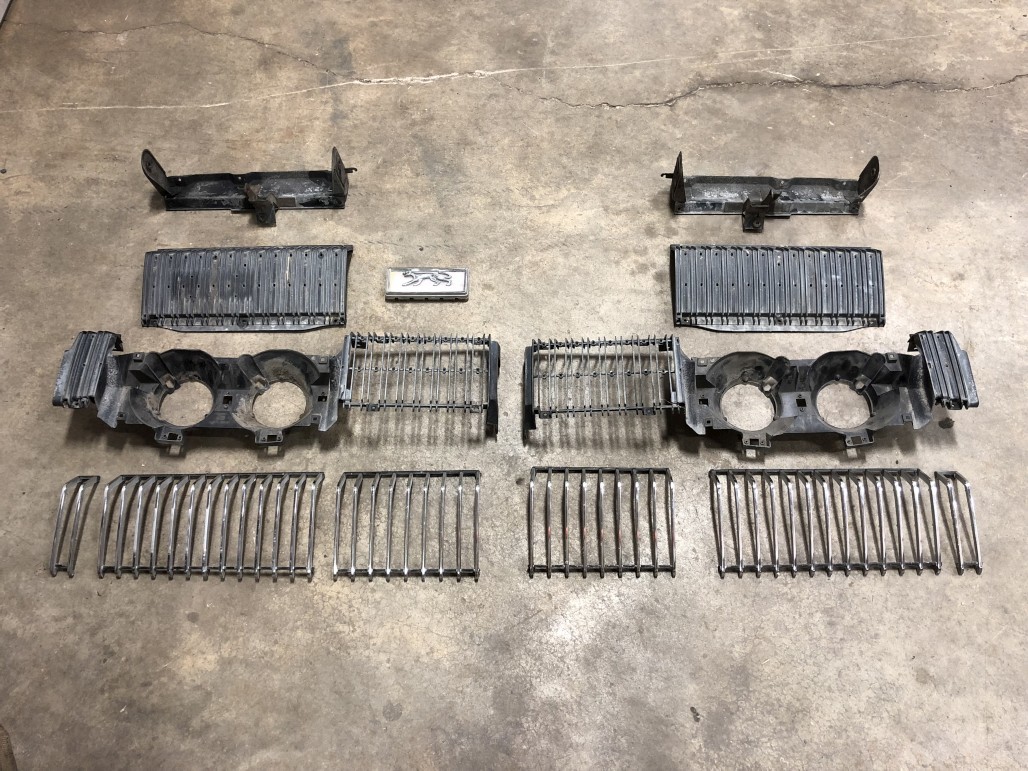
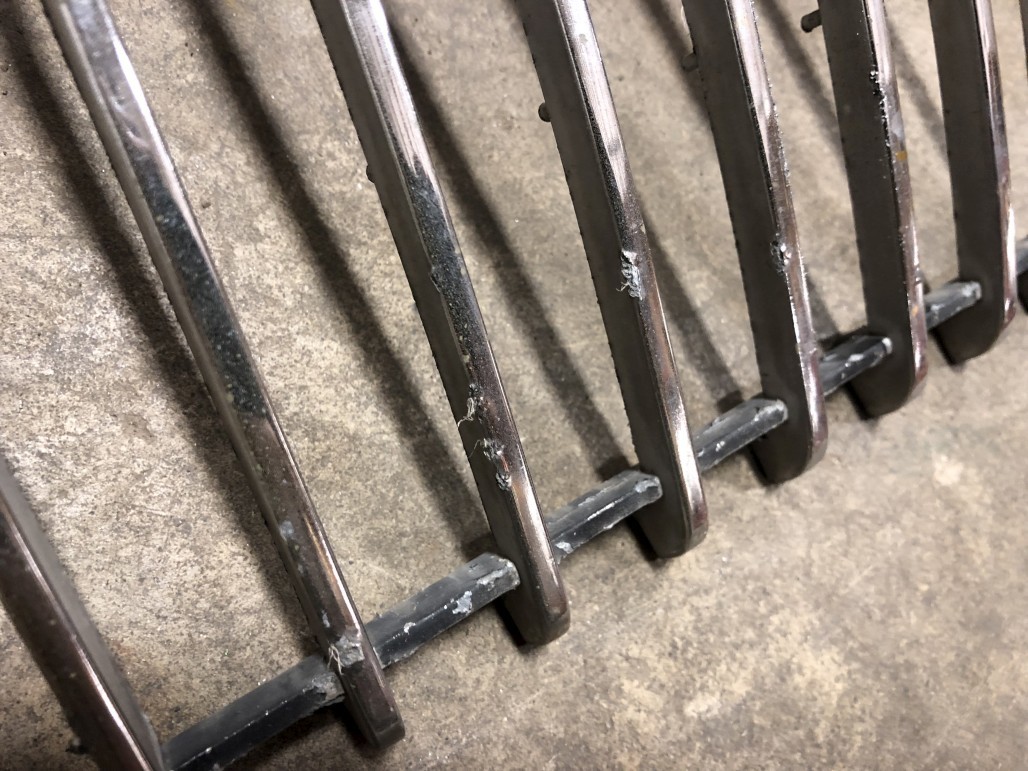
First, some "before" pics of what they looked like to begin with.

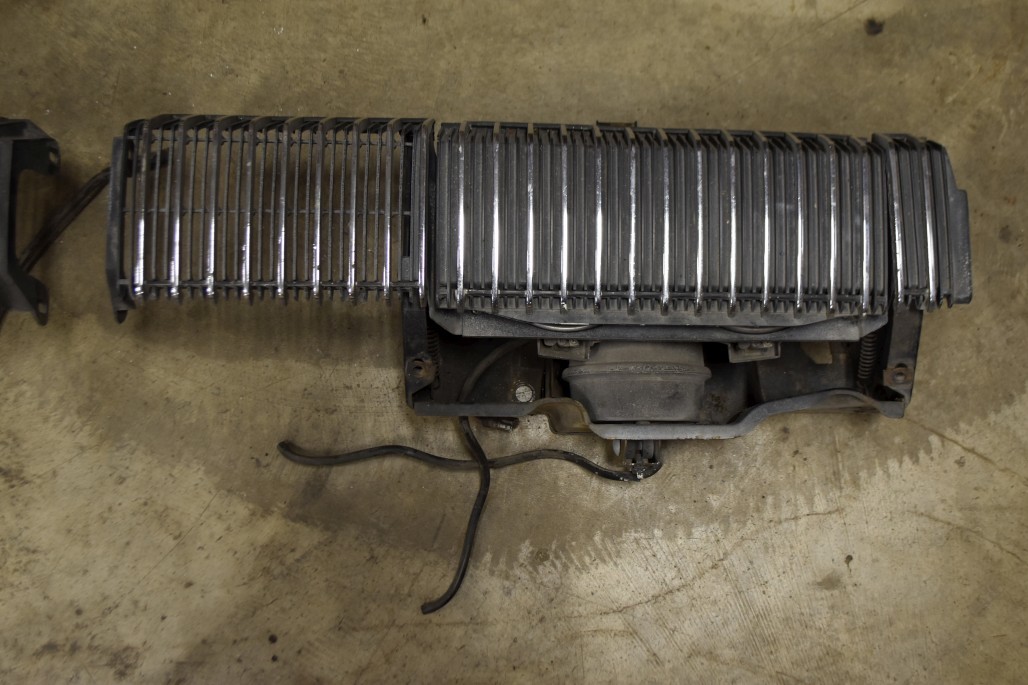
So, months ago, I attached my grilles to a parts car and installed the straightening kit to get things back into shape. Sadly WCCC doesn't carry this anymore but I got lucky and found an older set on the shelf. I let it sit on the parts car for months and checked it a couple times, making small adjustments to the spacers. Also labeled it to make sure nobody messed with it, it is a junkyard after all!
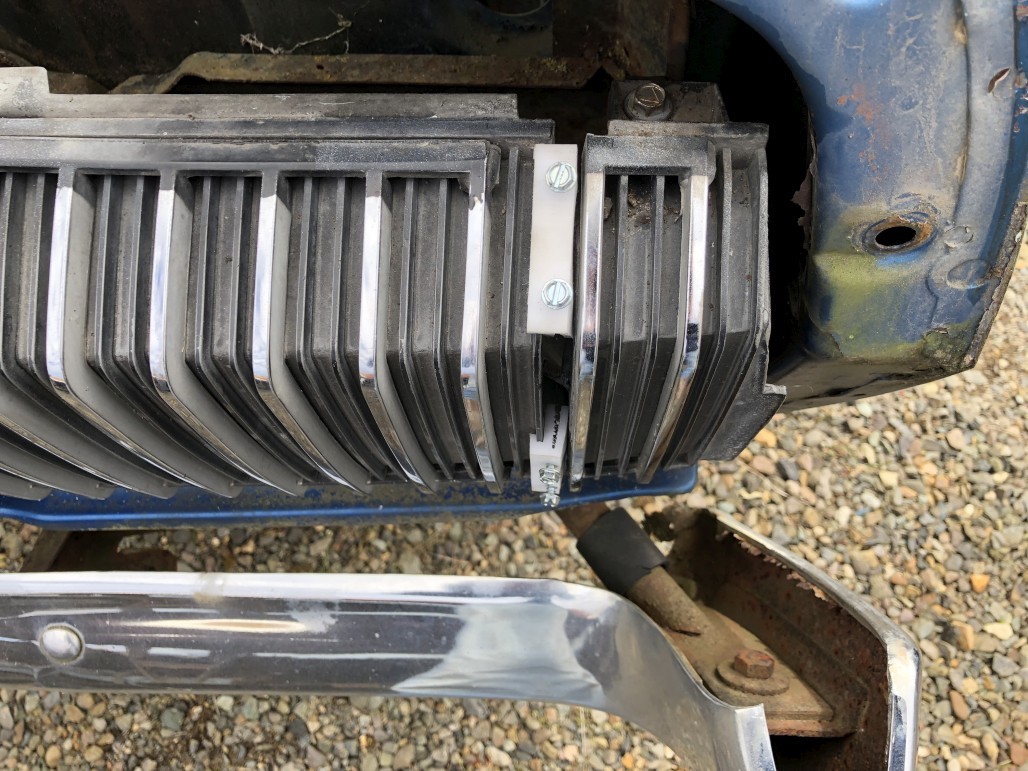
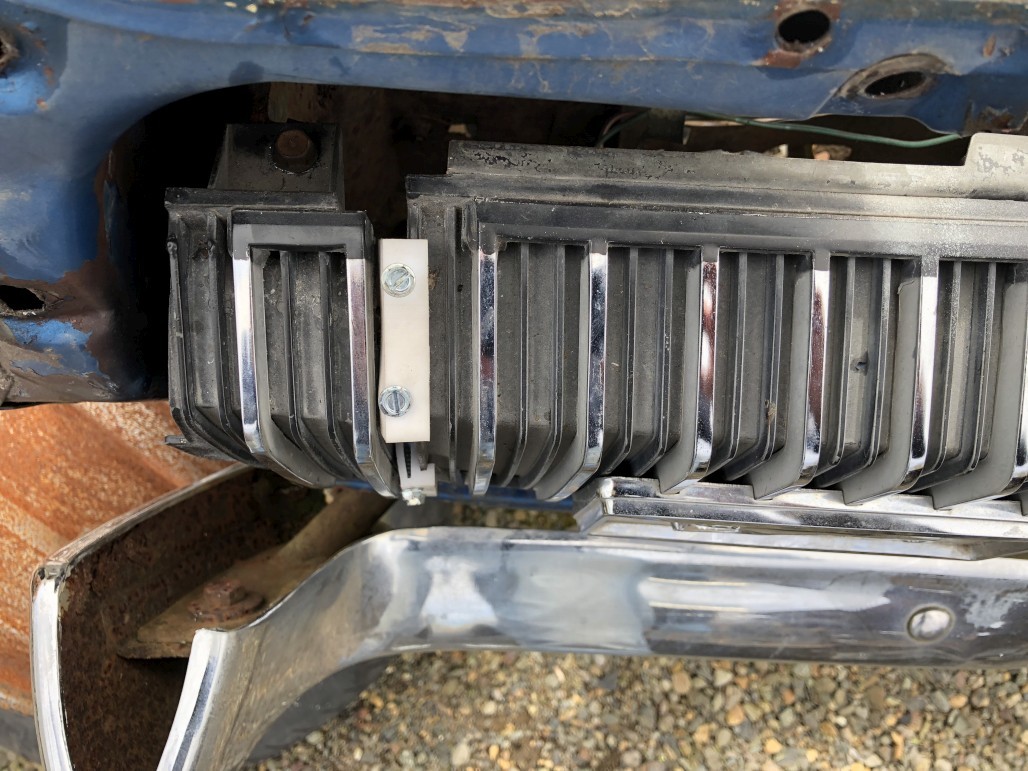
Passenger side was worse. These things helped a lot though, and eventually when I took the spacers out months later, things stayed straight!
On the PS, you can see that the eyelid still isn't quite lined up with the inboard section. I dunno if that side is more bent up than the other, or if I didn't do enough adjusting on that side. But more on that later.
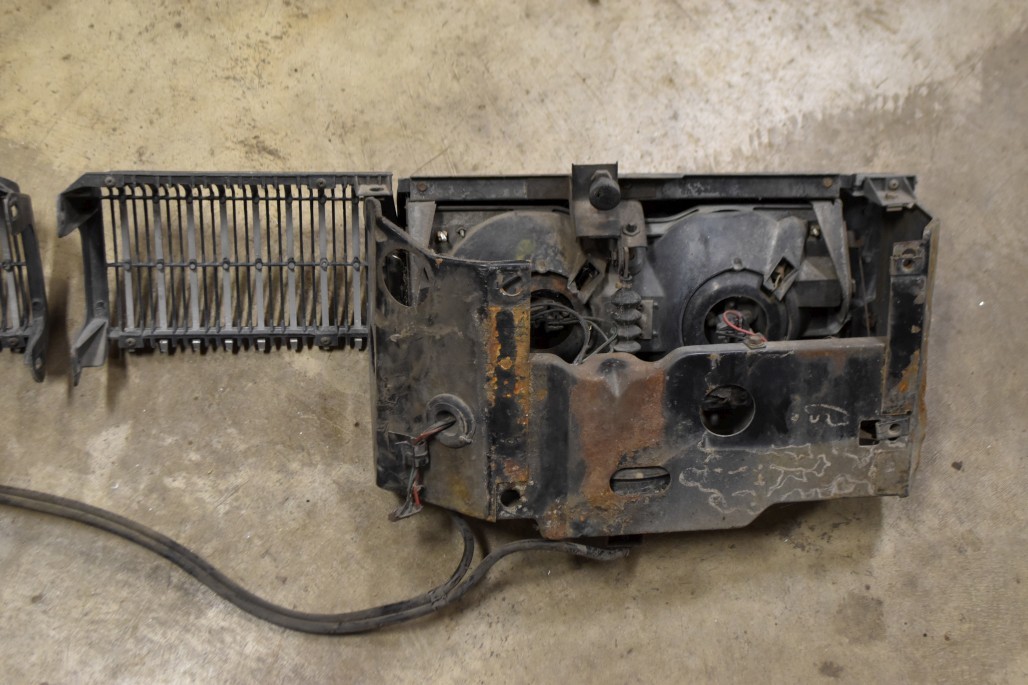
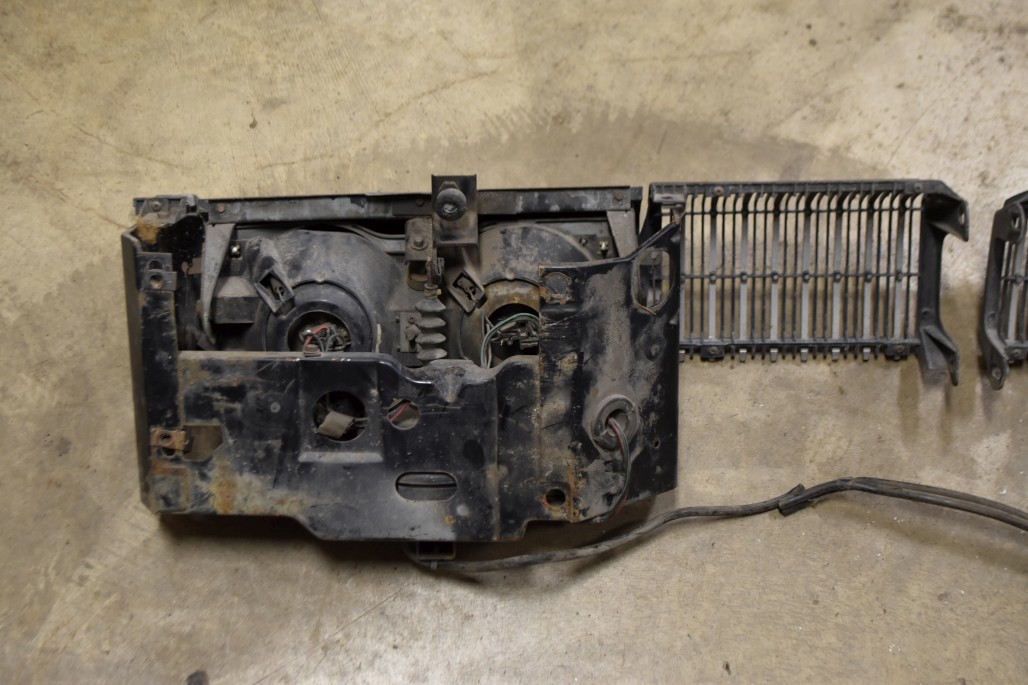
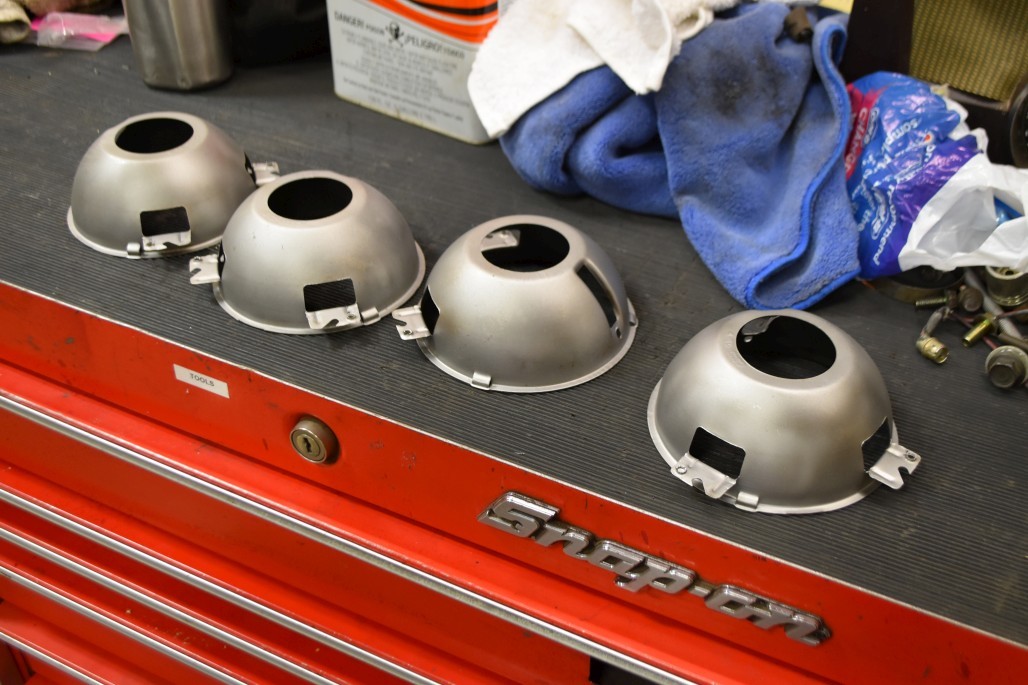
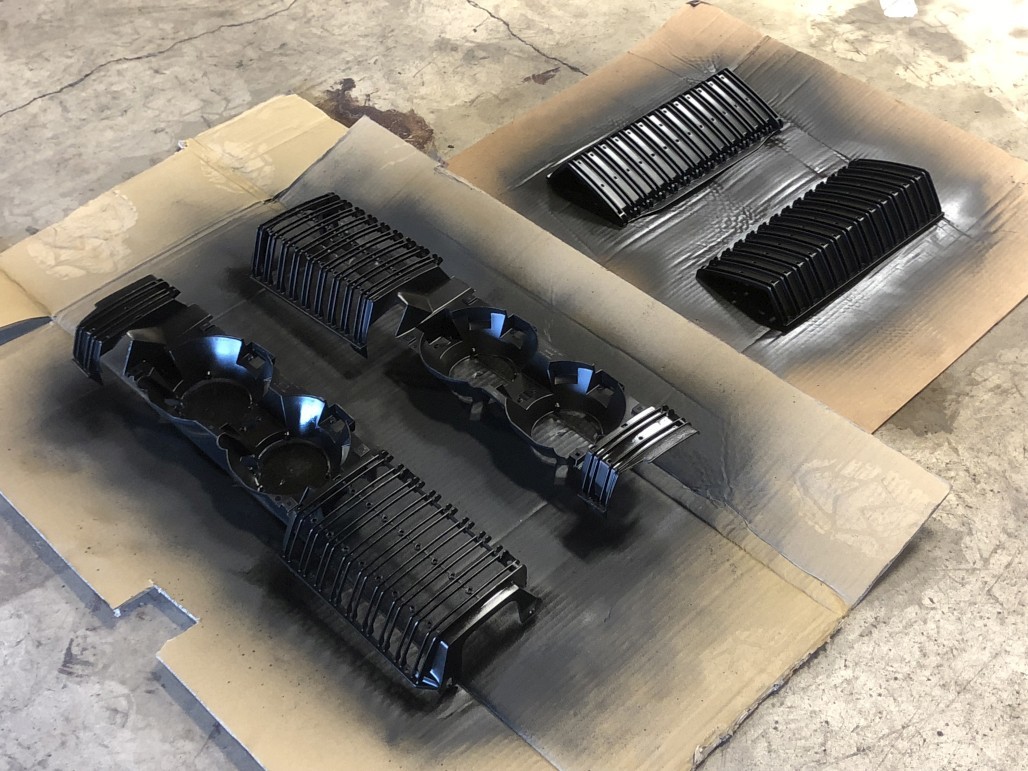
Meanwhile, of course I sandblasted and repainted the buckets and all other loose pieces. Didn't take pics of all of that process but here's a couple.
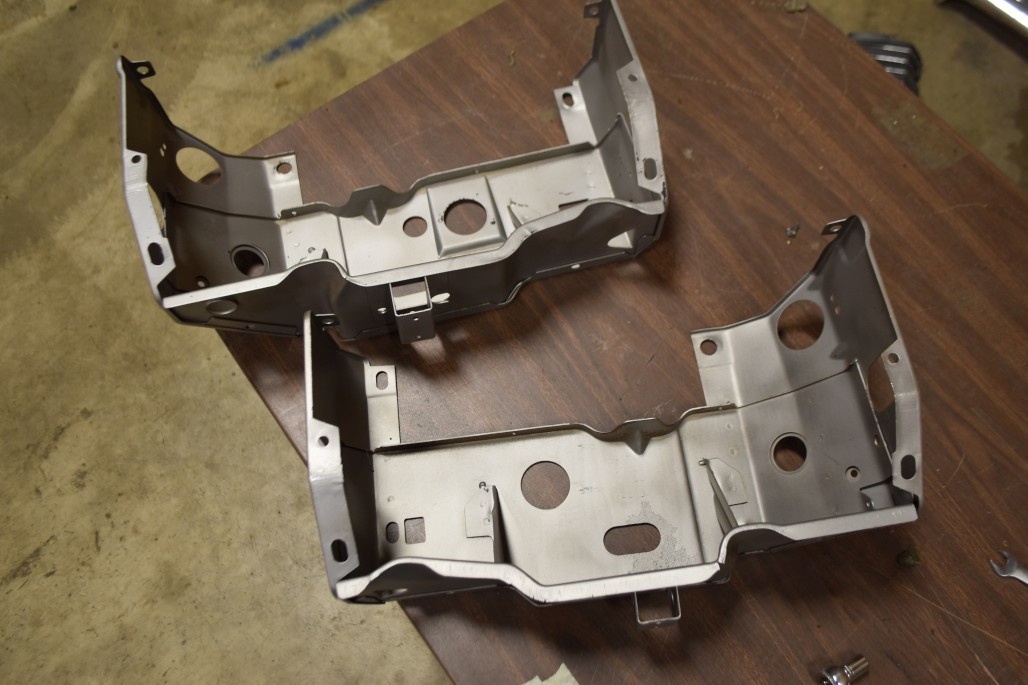
I also had some foresight here, for once. A few years ago I was more of the mindset that I wanted things to be all original and stock. But the idea of electric headlight motors won me over. I want my grille to stay straight once I do all this work, and to reliably open and close without robbing engine performance. To do this conversion, there's only one hole you need to drill in the passenger side grille bucket. Simply line up the two existing holes and mark the third. I'm not sure why it's designed this way, as the driver's side just utilizes the existing two holes.
Anyway, once everything was relatively straight, it was finally time to completely disassemble.
This video shows how to take off the chrome bars, and this one deals with the walking cat emblem and other grille freshening tips.
My original chrome bars were pretty tired.
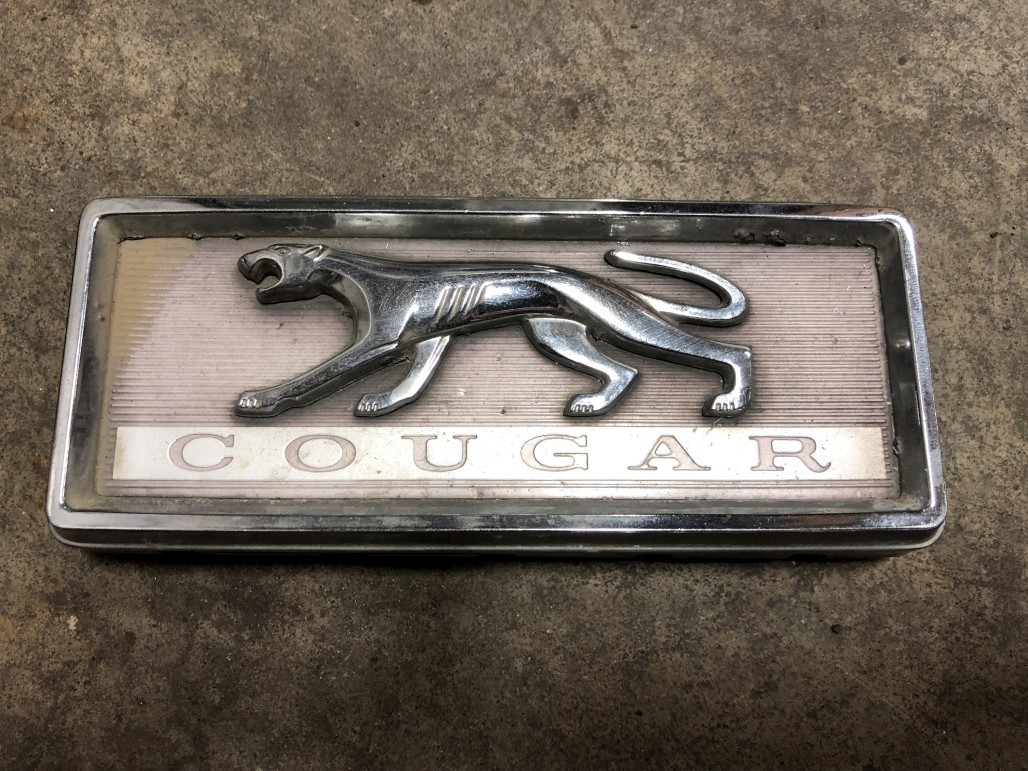
Original walking cat emblem for comparison:
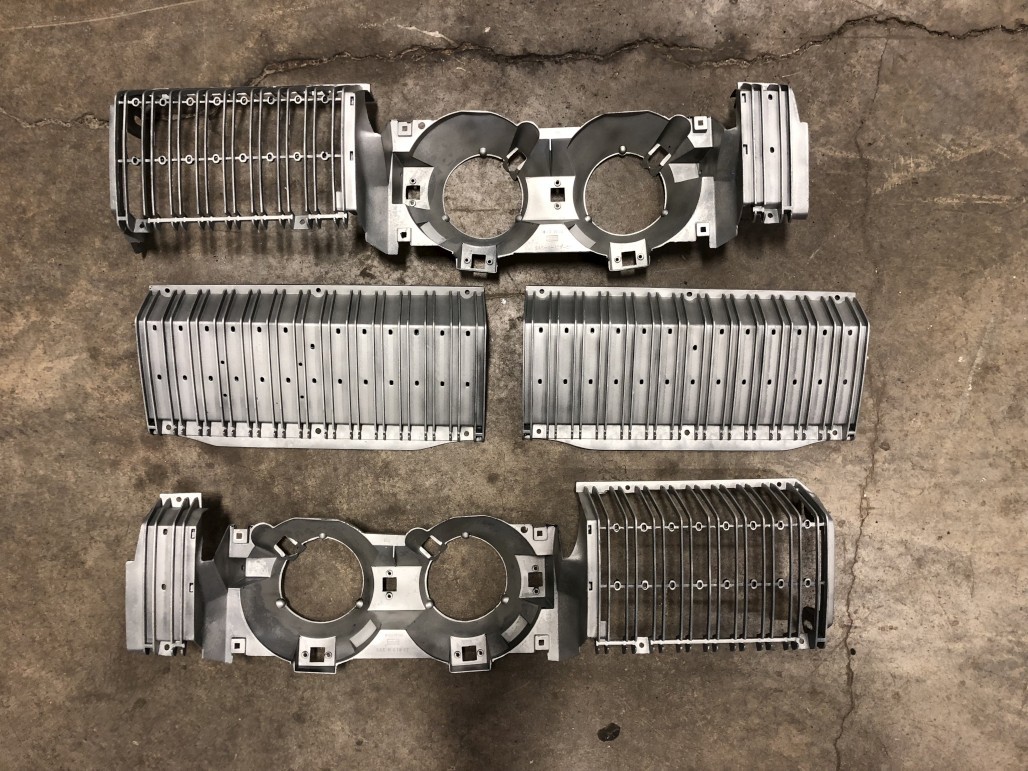
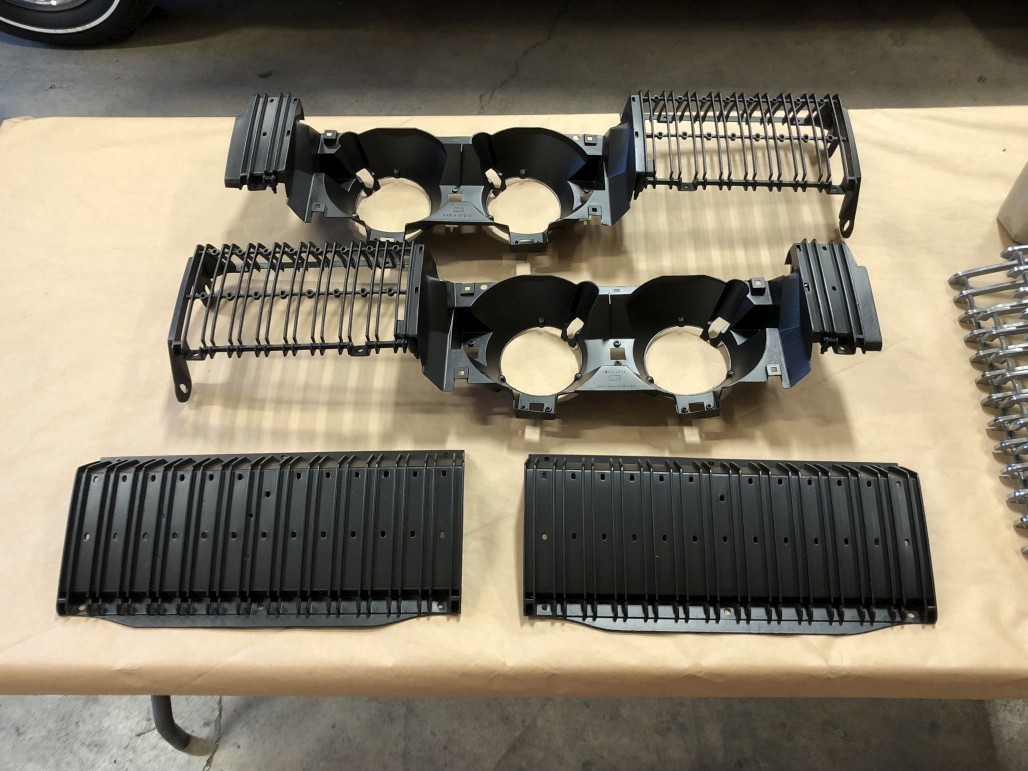
Sandblasting the grille pieces took a long time. The original black paint on these was really baked on.
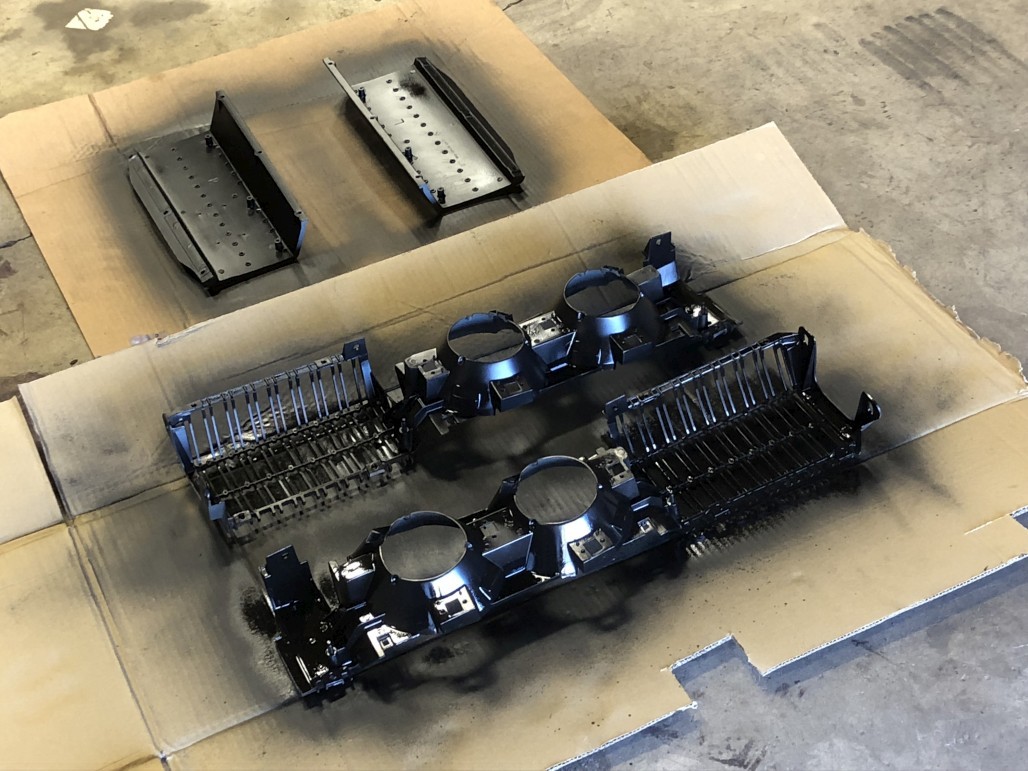
Gave them all a good wipe down with wax & grease remover, then hit them with the SEM Trim Black. Have I mentioned I love this paint?
So next, I had to take the plunge and buy rechromed grille bars. It's expensive but for me this was mandatory. Everything I'm doing is an attempt to make the car brand new and shiny. Skimping on the brightwork is not an option.
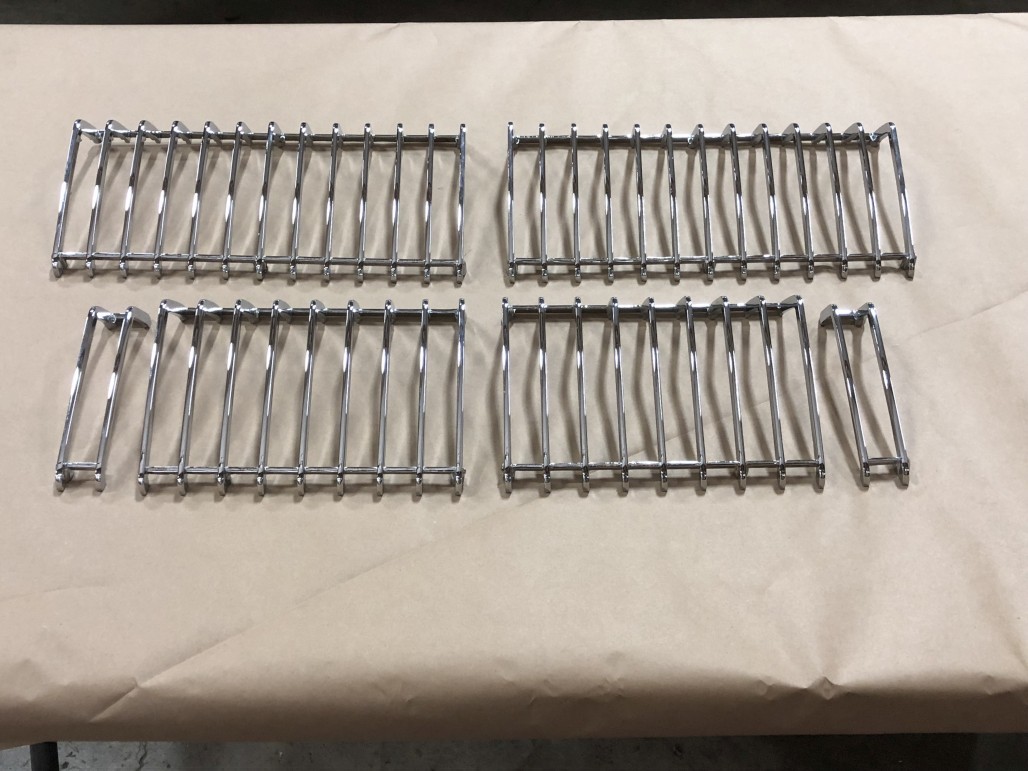
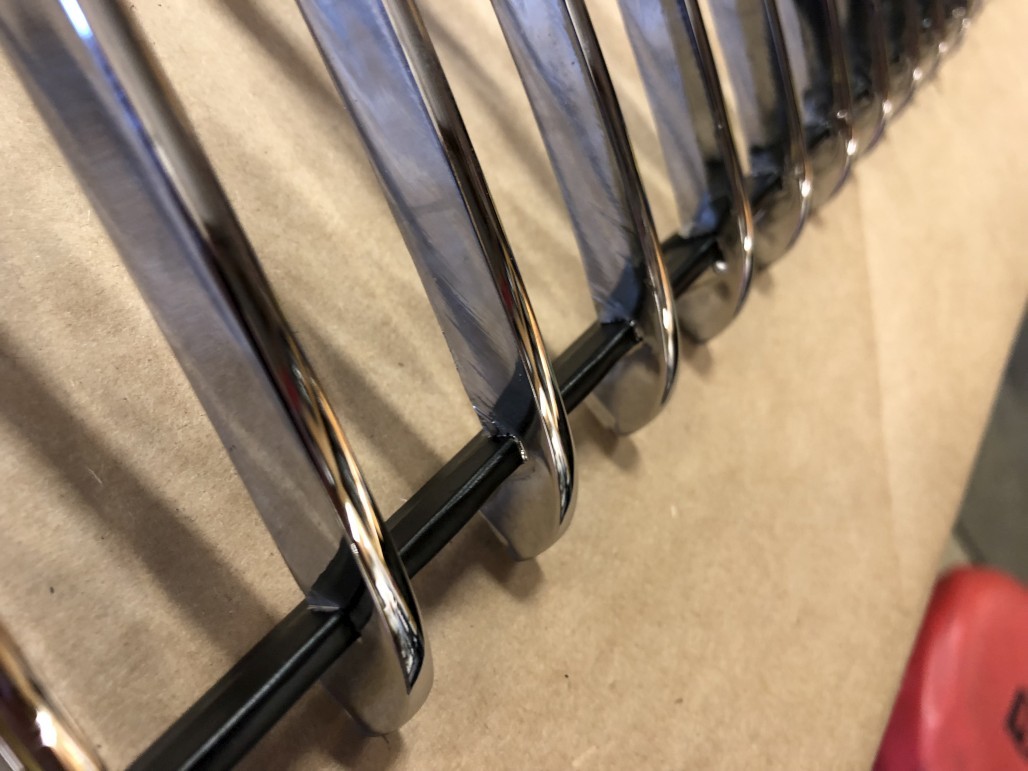
Shiny! The only slight downside is that the edges all get rounded off. Originally these bars had more of a square edge. Oh well, the shiny-ness far exceeds any original grilles at this point.
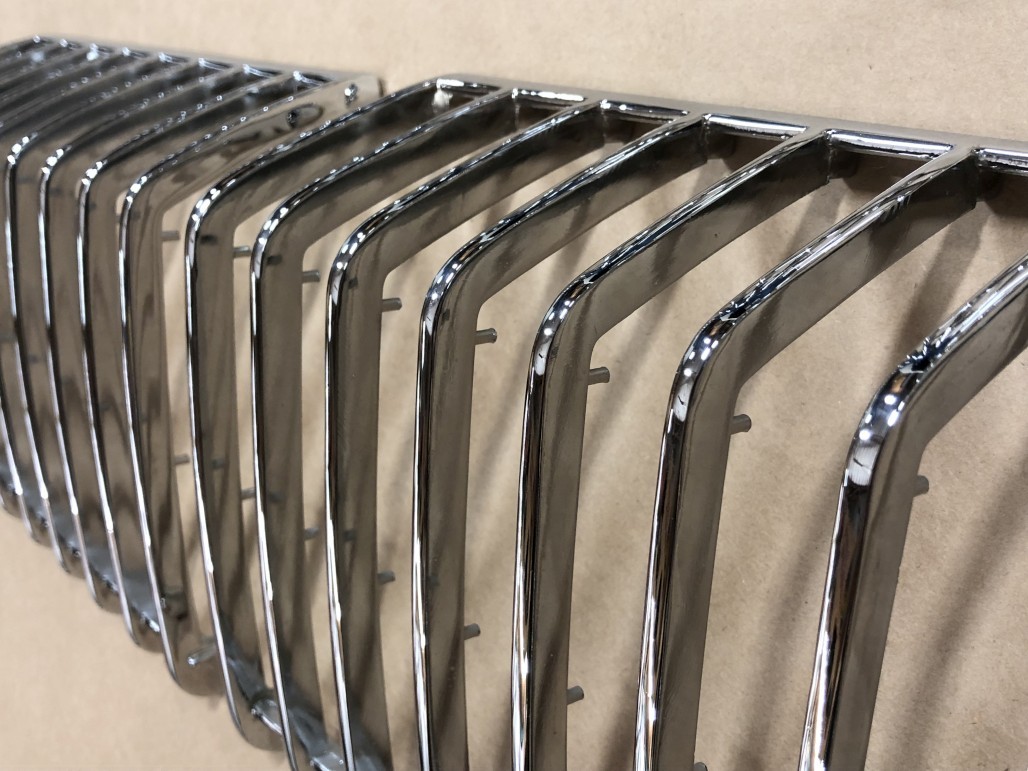
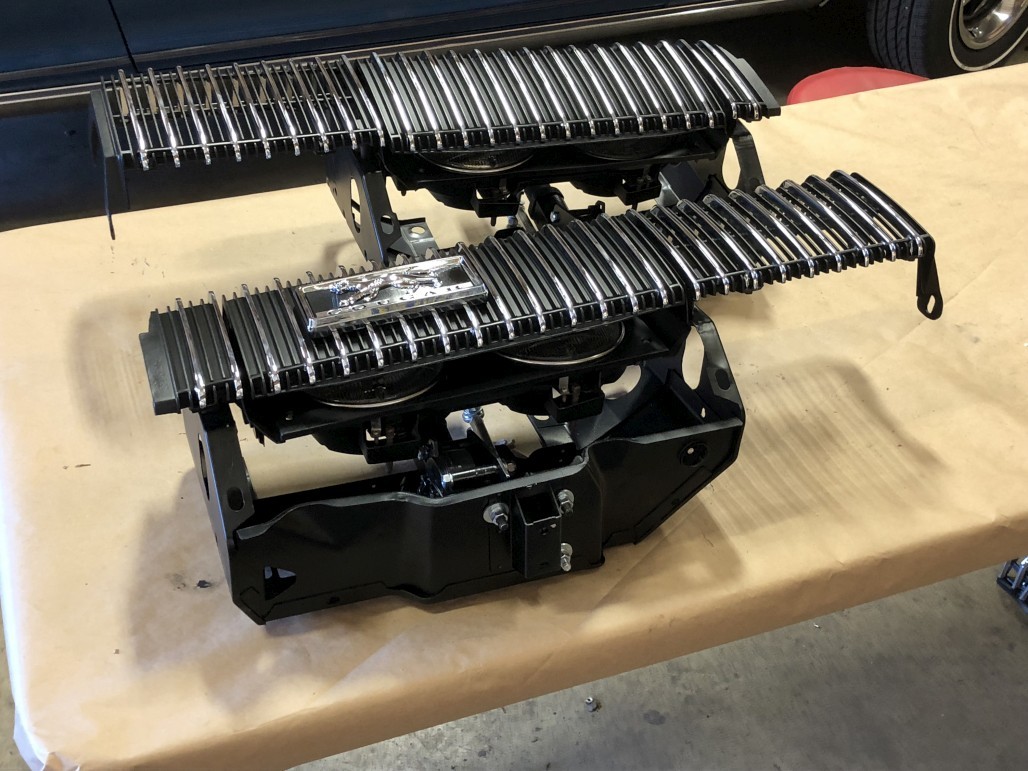
Being freshly chromed, they come completely bare and need detail painting. I debated a lot about which way to go. Should I go with the original argent silver sides and black horizontal sections? Or just black out everything but the faces of the bars? A third option I hadn't considered hit me when I placed them on the freshly painted grille sections...
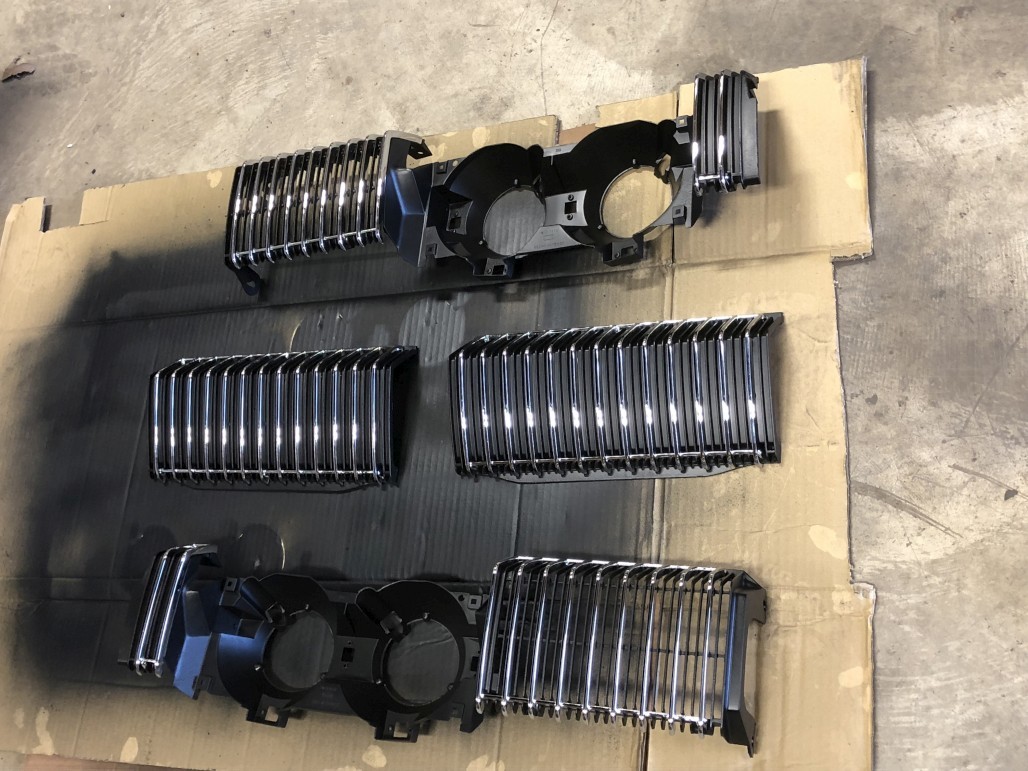
Option 3: leave the sides of the bars chrome, and just black out the horizontal support pieces and tops. It's a lot of extra work for a subtle difference, because the sides actually appear black when they're against the black background pieces. But they will catch light and reflections at certain angles, and I think it looks great.
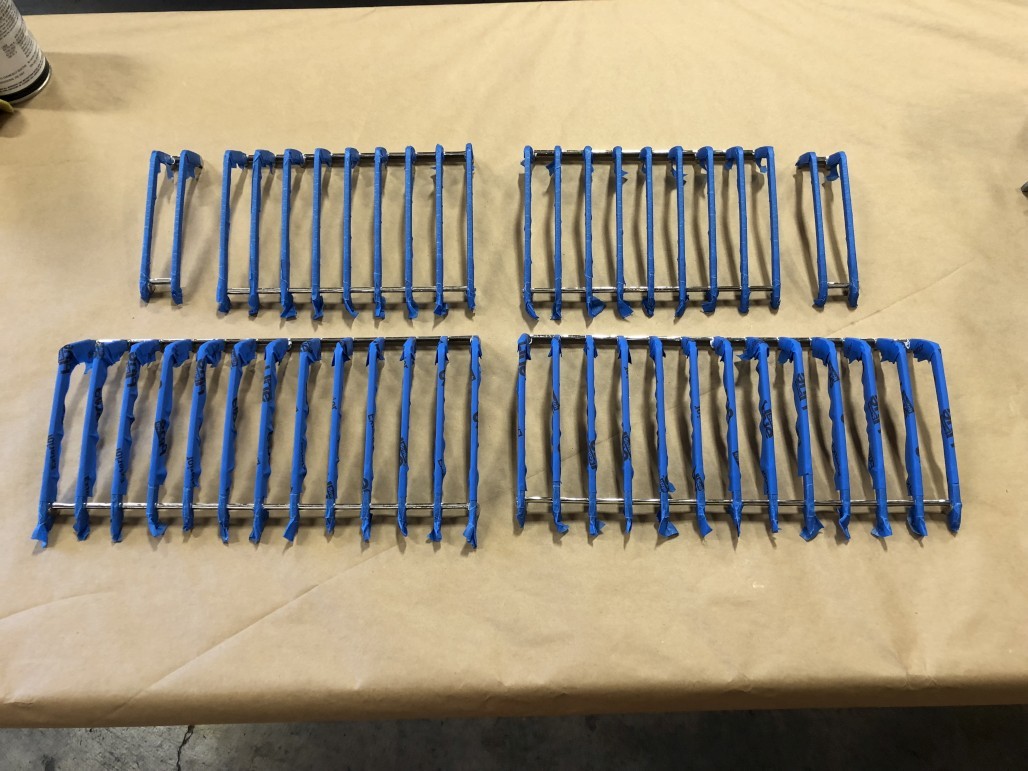
So, the masking marathon began. This took a lot of painstaking hours.
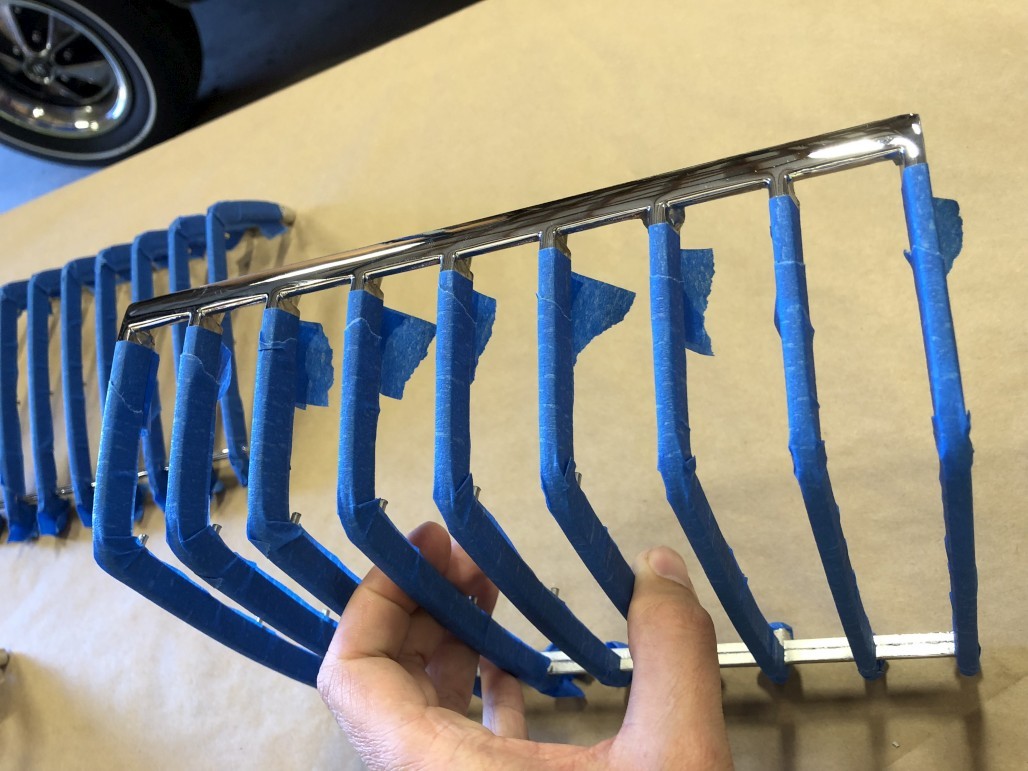
Now, this is where I wish I would have had the guts to put these in the blaster and lightly blast the exposed chrome to rough it up before painting. I was really dumb not to do this. However, I had painted my taillight bezels with the SEM paint over bare chrome, and it stuck well. I had heard that this paint has self-etching properties, so I was banking on that. But these rechromed items are so highly polished, I should have taken that extra step. Anyway... paint turned out nice!
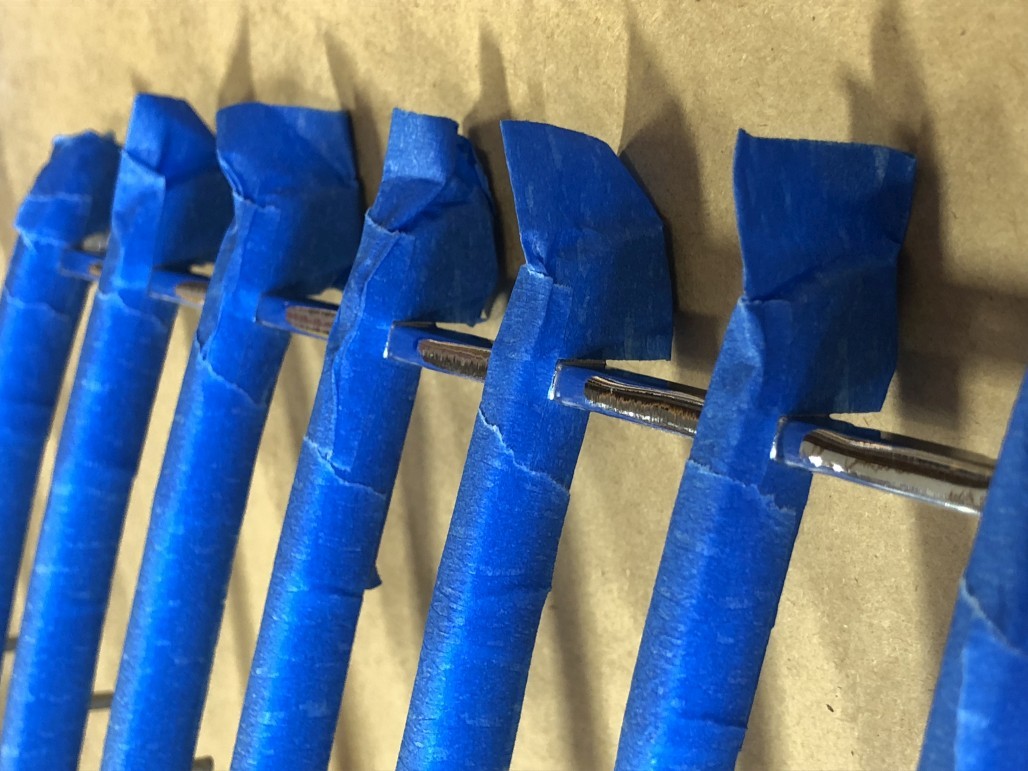
You can see in the pic below that I didn't get super crisp lines on the sides here. The tape pulled up a little paint with it. Not a great sign for adhesion. But I'm hoping it'll hold up fine as long as I'm gentle with it.
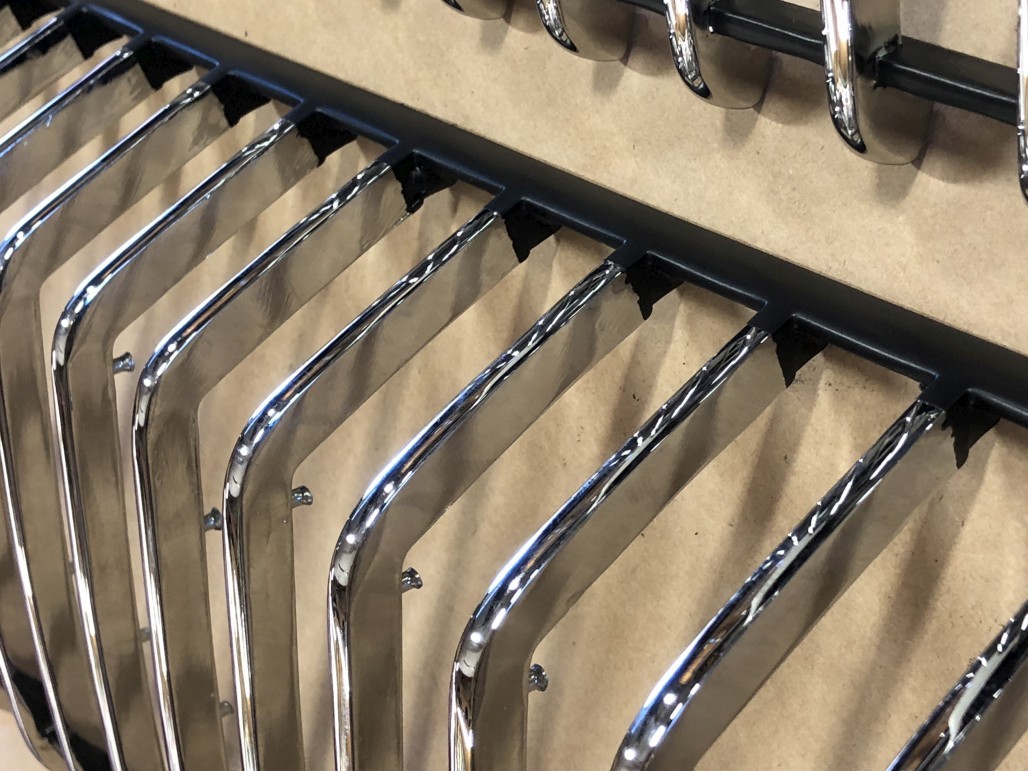
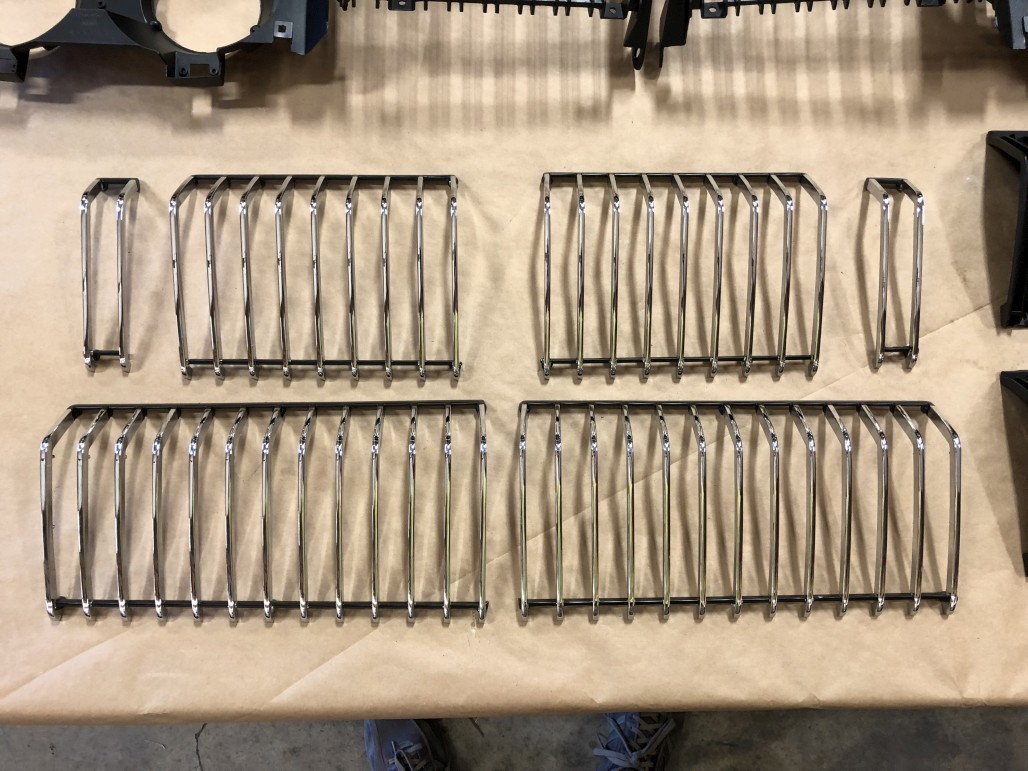
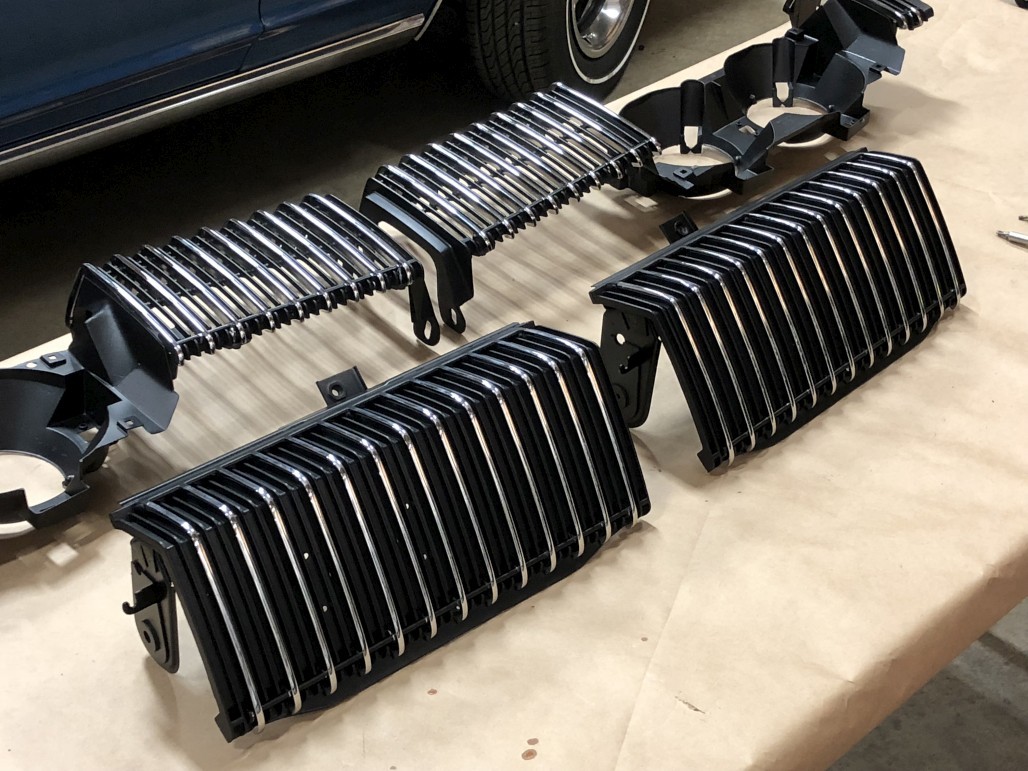
Here's a better shot of these all dry and ready for assembly:
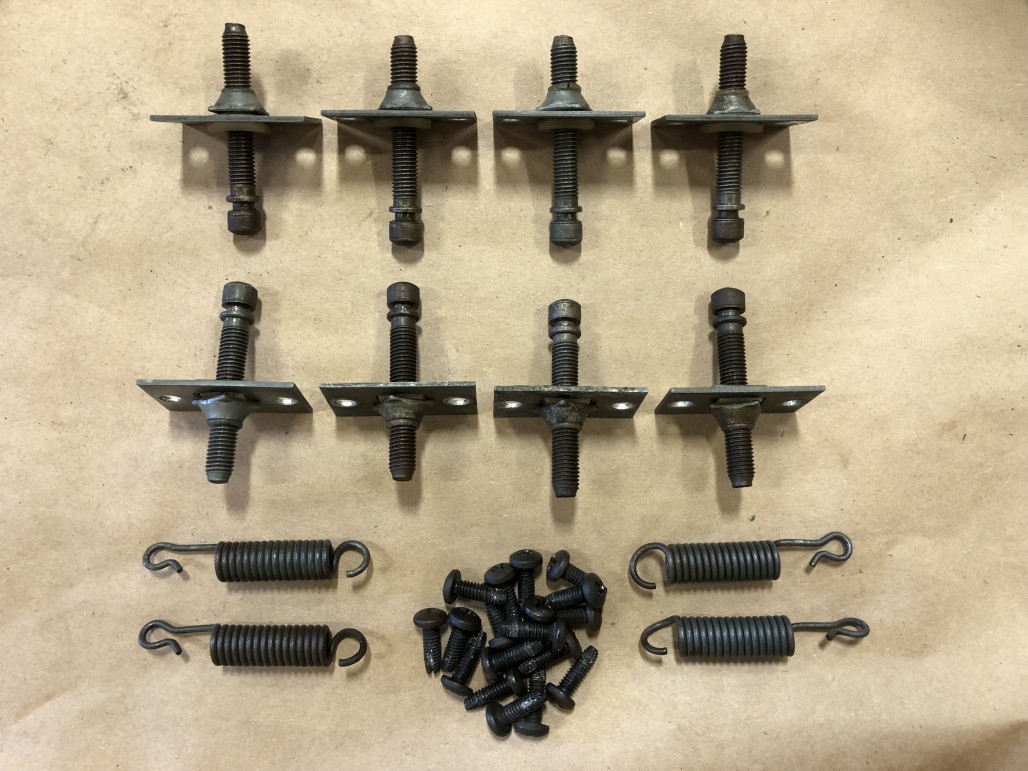
Time to gather up the fasteners. This time I was smart enough to bag and tag everything. If you're doing this, it might be worth just getting new screws for the grille bars. I found that some of my old ones were too short and didn't reach all the way through, but was able to scrounge a couple replacements where needed.
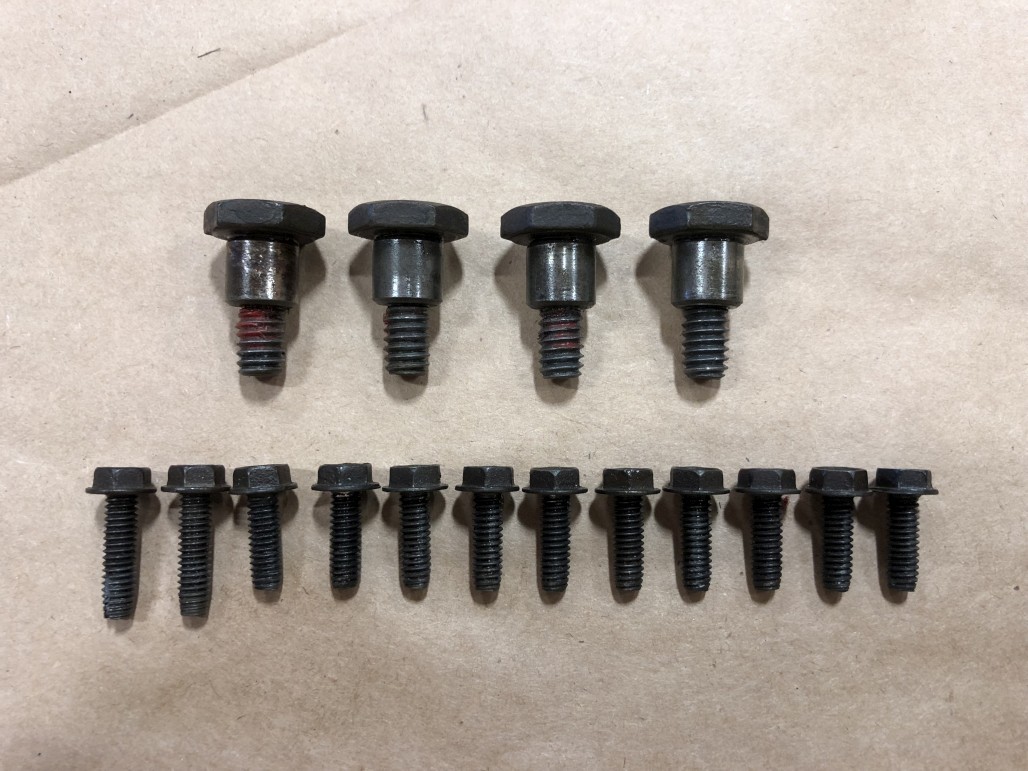
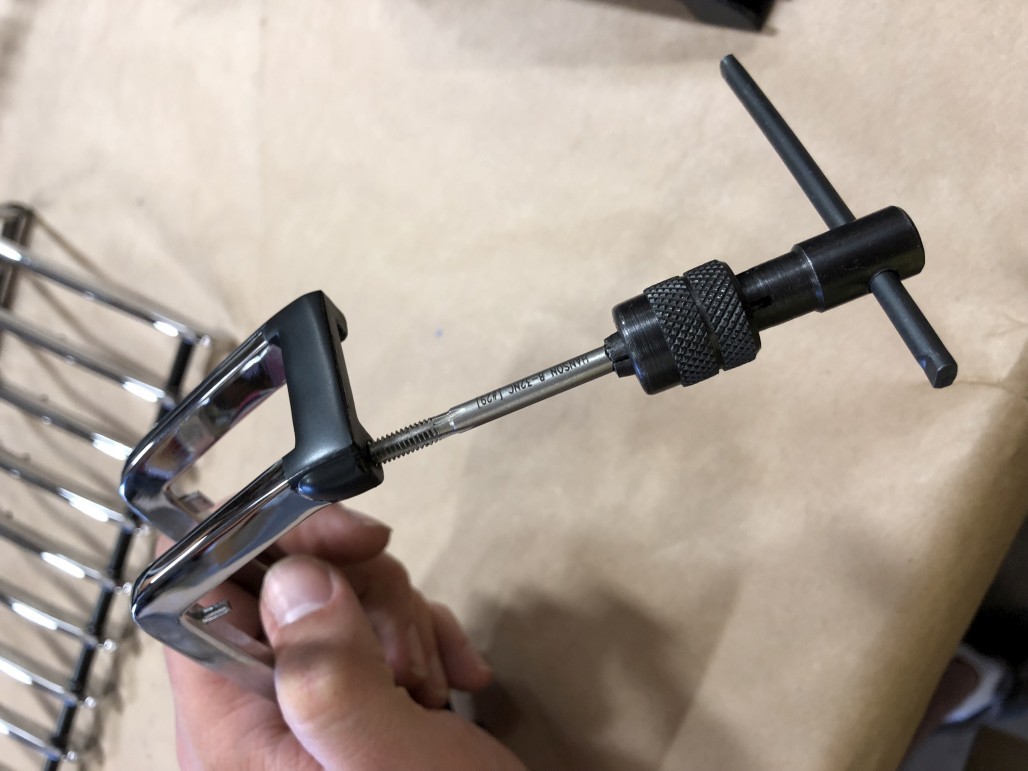
Also important to note - after rechroming, it's pretty much mandatory to re-tap the threaded holes. These are 8-32 NC.
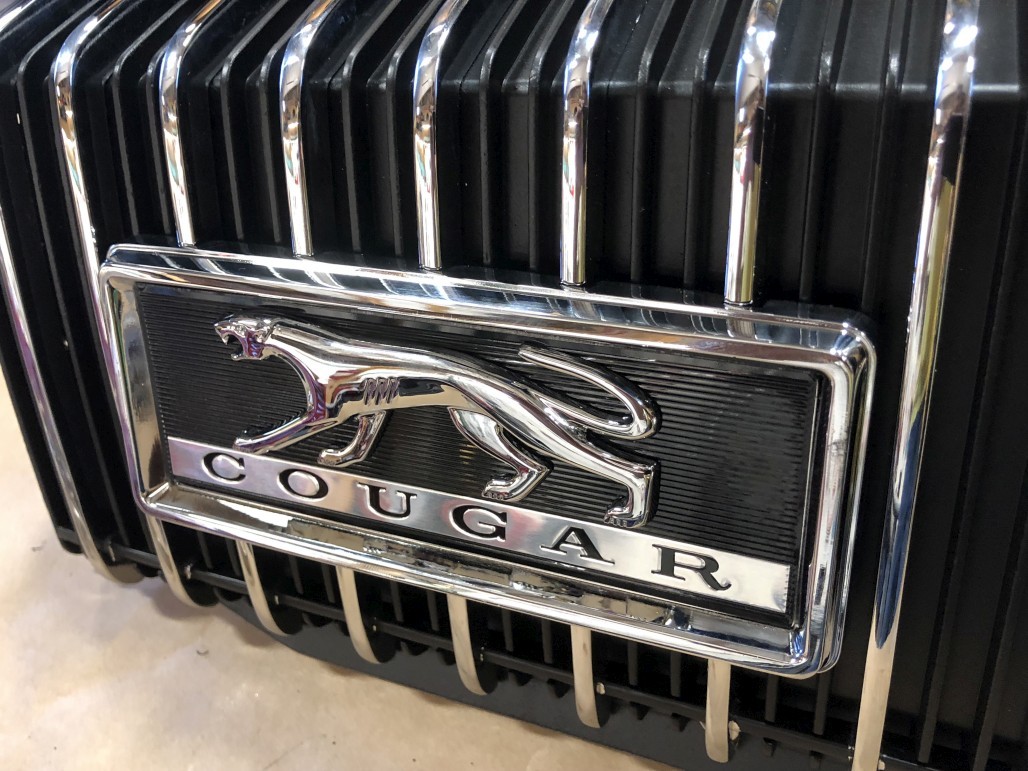
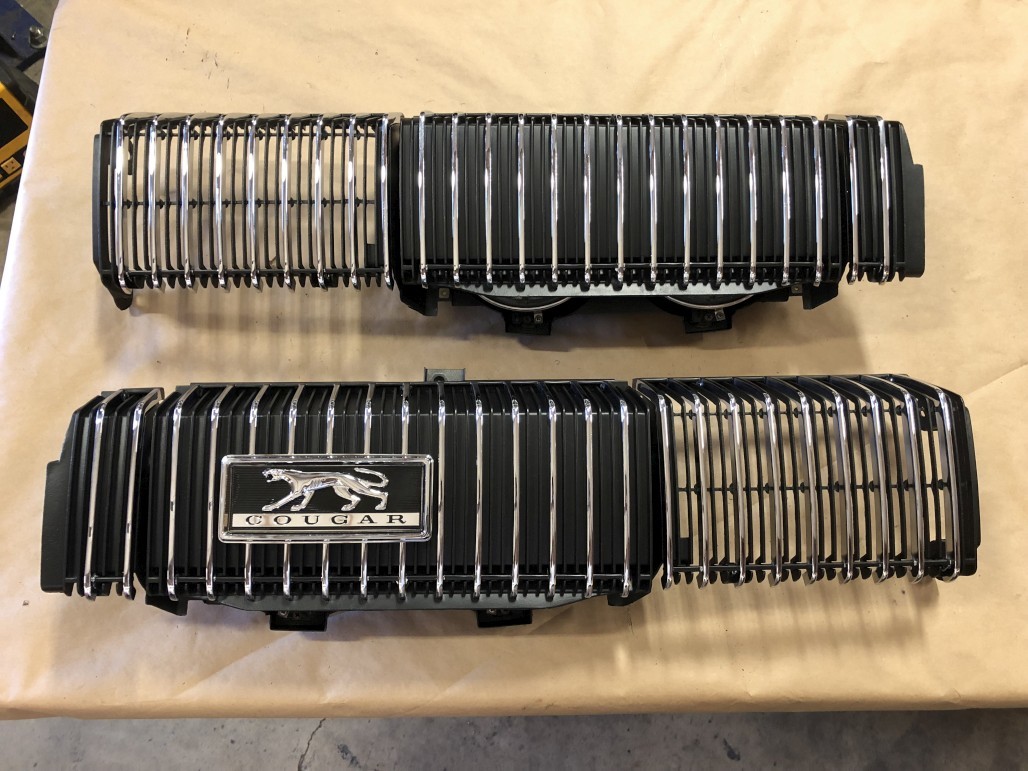
Ta-da! Oh yes. Very satisfying moment here.
Also mandatory: new Cougar emblem / corral / decal for the RH eyelid.
Time to put all the little bits and pieces back in. I was able to reuse most of my old stuff. If you find you're missing any of the hardware, WCCC has everything. Here are some links:
Headlight adjusters: used / new
Headlight springs: used
Screw for headlight cups
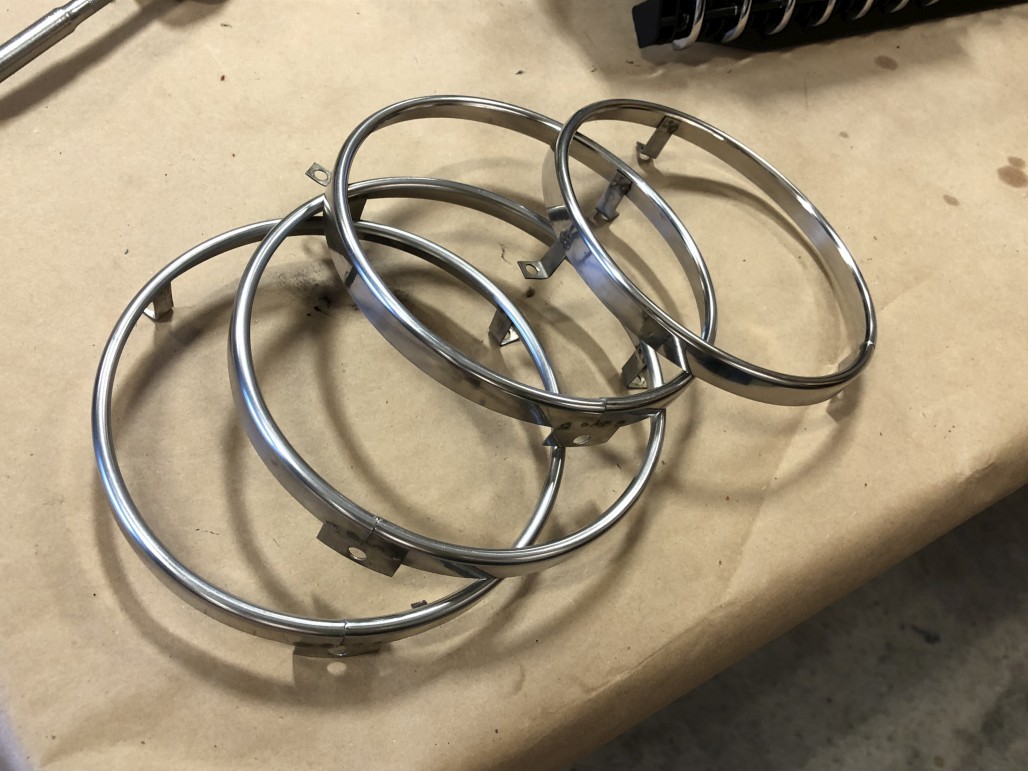
Headlight retaining ring, used
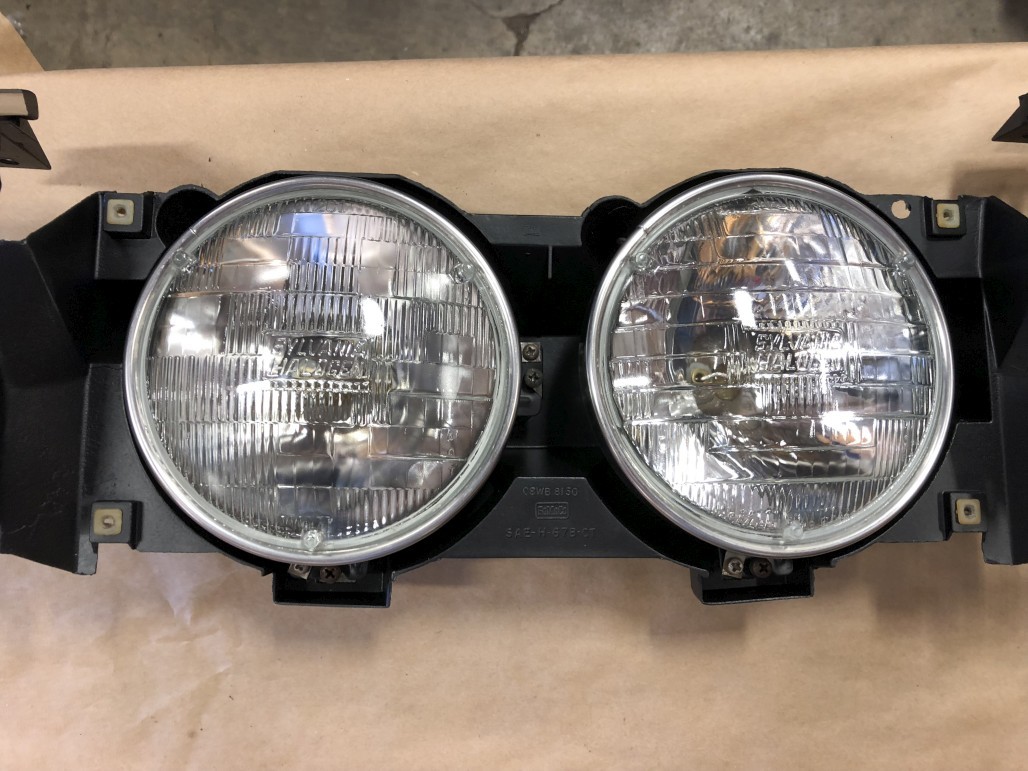
I also reused my original nylon inserts and screws for the moment, for the rectangular cover pieces. Those are fairly easy to replace later if needed. As for the headlights, they'll work for now, but I'm considering doing the H4 halogen and relay upgrade kit. For the moment though I'm just trying to get things together and functional.
Next it was finally time to re-introduce the headlight doors to the larger grille sections. I ran into some issues here and have some important tips to share.
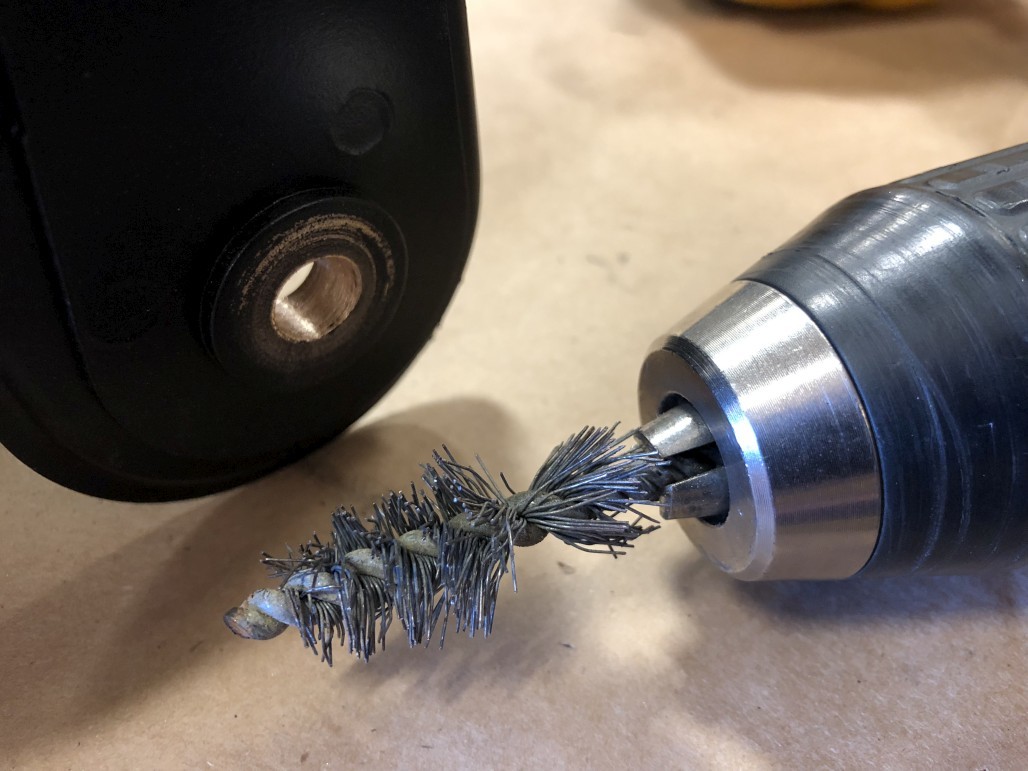
Firstly, clear out any paint from the brass inserts that the eyelids pivot in. I didn't do this at first, and the first time I installed them, the doors were binding up pretty bad. You want them to swing open and closed with almost no resistance. So this is how I cleared them out:
Next tip, DON'T OVER-TIGHTEN THE PIVOT BOLTS
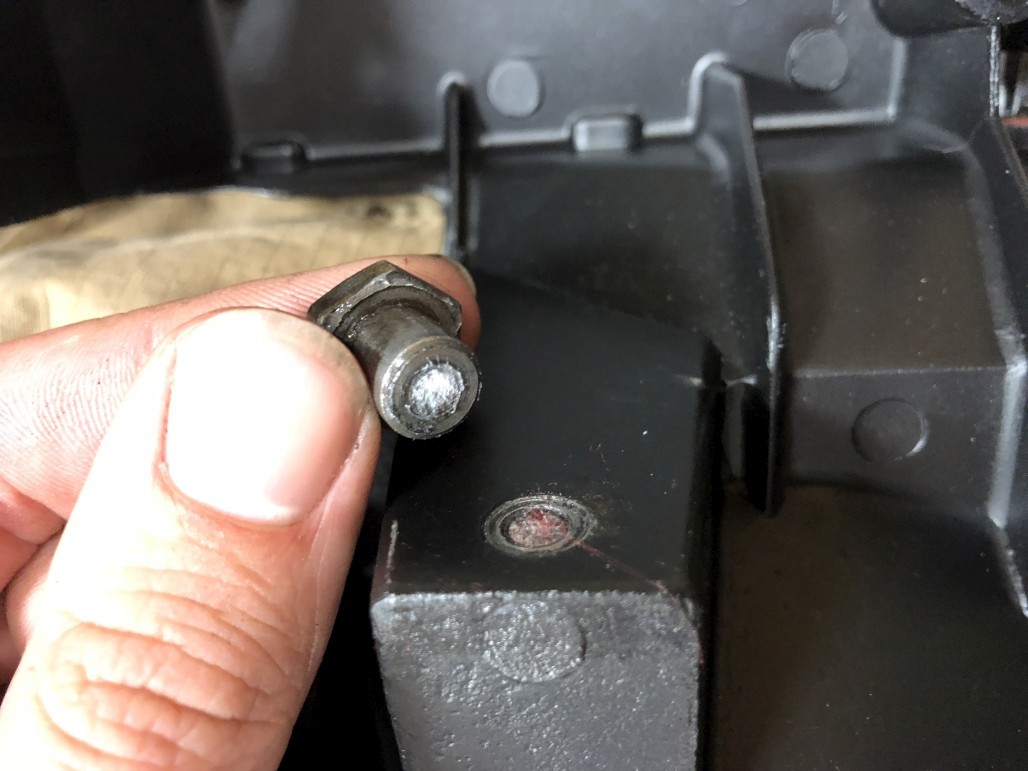
Yeah. This was a moment accompanied by many bad words. I took a deep breath and went into surgeon mode. I got pretty lucky, and was able to drill it out without compromising the threads in the grille. If that hole got ruined, I would have had to find a whole 'nother grille half and start over. Not good, but crisis averted. I re-threaded the hole on the grille afterwards and all is well.
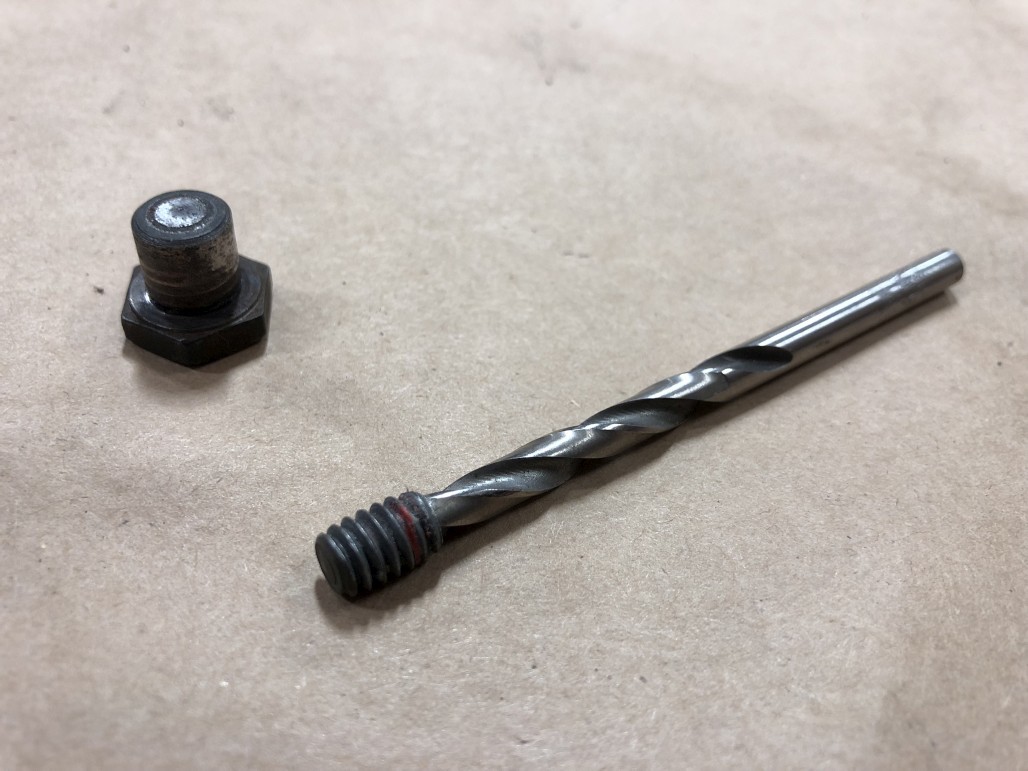
So, what's the right way to do it? You might notice on the pivot bolts there's usually some remnant of red threadlocker visible. This is for a reason. These are just meant to be snugged down, and the threadlocker will keep them from backing out. Don't forget to put some grease on the moving parts as well, for good measure.
Also almost forgot to mention something I found out later. Put the eyelid adjusters / bumpers in before you reattach the eyelids to the frames. The back one is very tricky to get in otherwise. When I did this, we were out of stock on the premium bumpers and elongated adjuster bolts, so I reused my original adjuster bolts and went with the economy bumpers. Hopefully they will hold up ok, and it seems like I have just enough travel on the original bolts to get the eyelids where I want them.
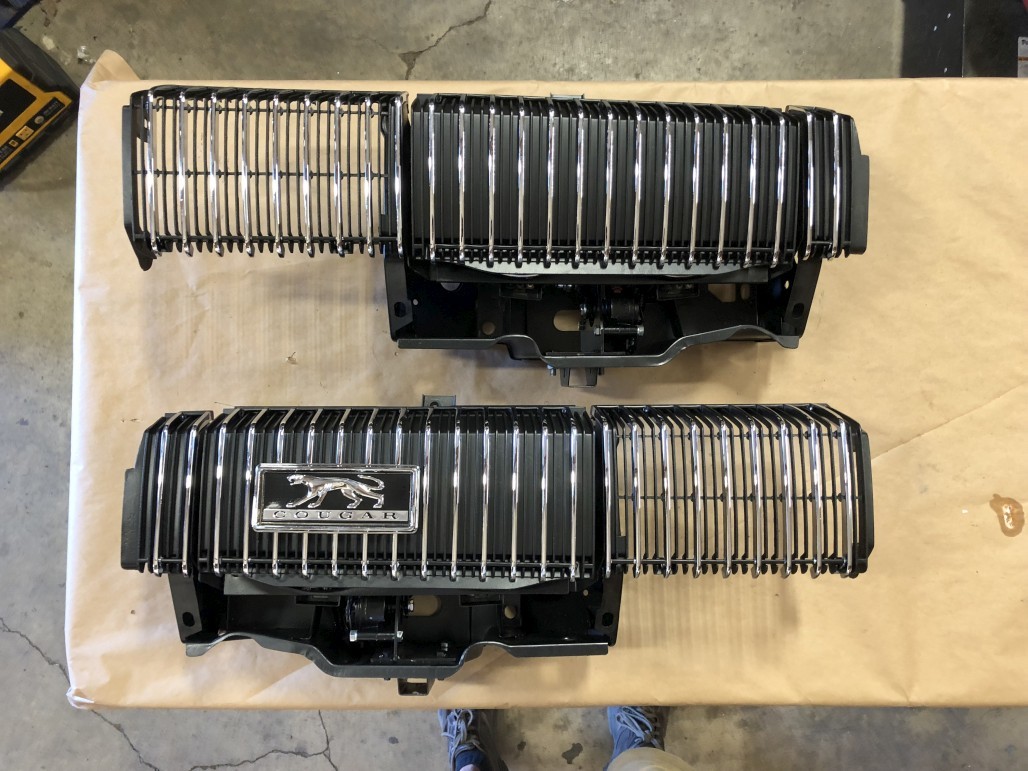
Anyway, finally I got things married back together:
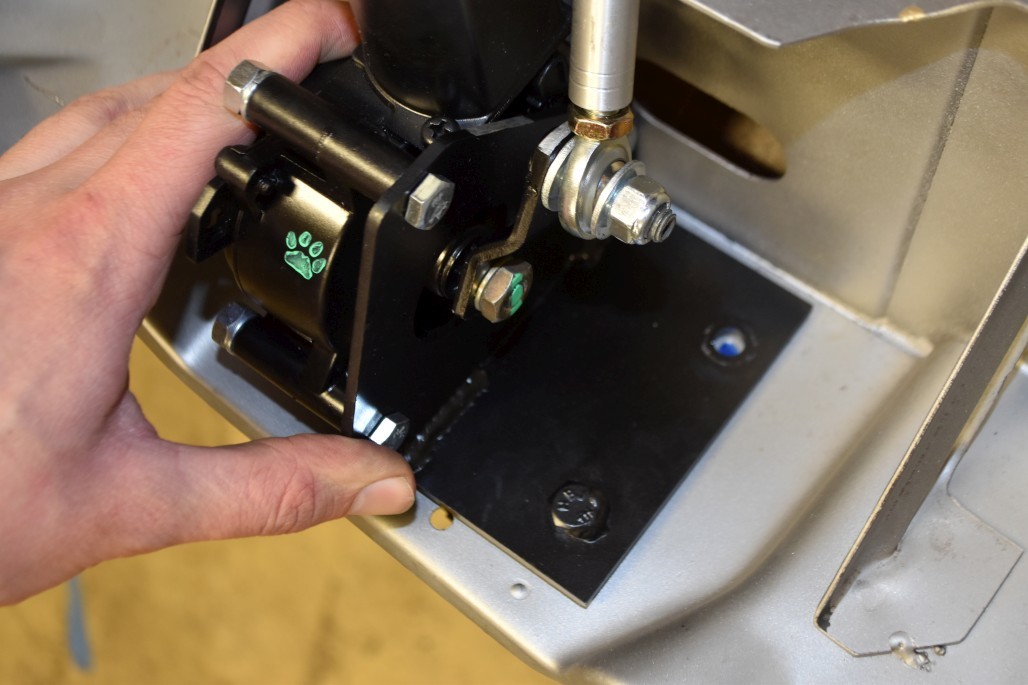
Here are the buckets with the electric headlight motors installed. Now is the time to put them in, much easier with the grilles off.
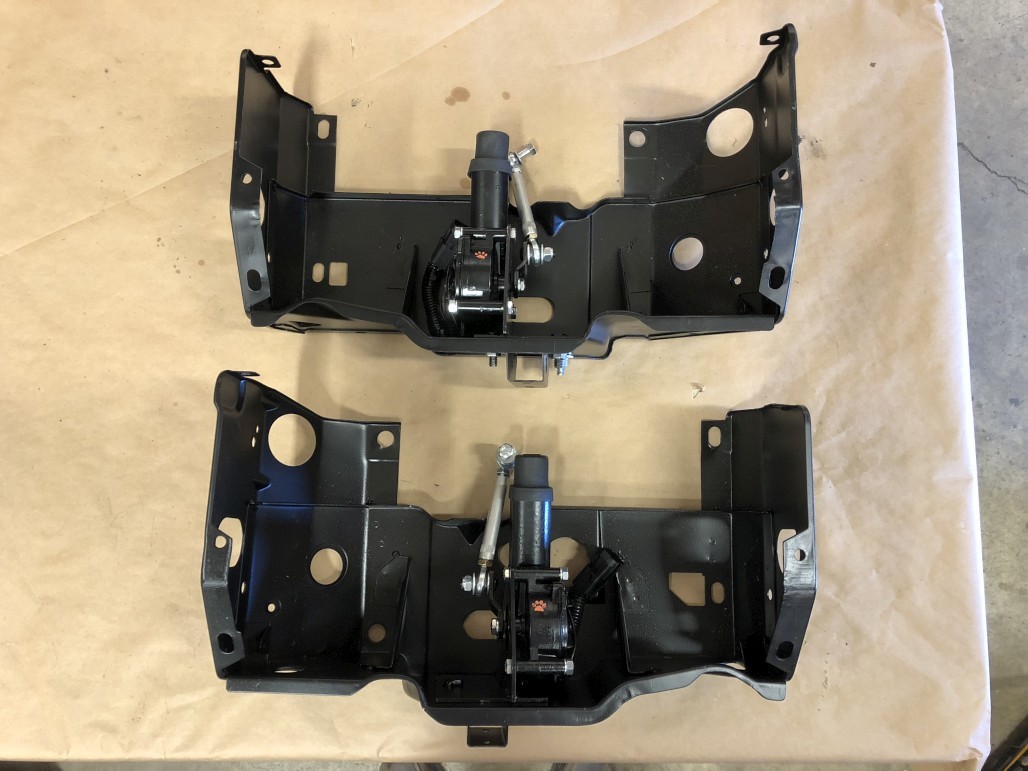
And here they are reassembled. I cleaned up and reused my old hardware in this case, but there is a handy hardware kit available for this purpose.
Woo! Also worth mentioning - with the electric conversion, you only need two of the eyelid springs instead of the original four. It will still keep the eyelids in place and prevent bouncing, but put less tension and pressure on things, which could be a potential factor for things re-bending. Install each spring in the inboard position.
Anyway, here's my car, ready to receive its refreshed grille. Also note that I installed the restored hood lip trim pieces.
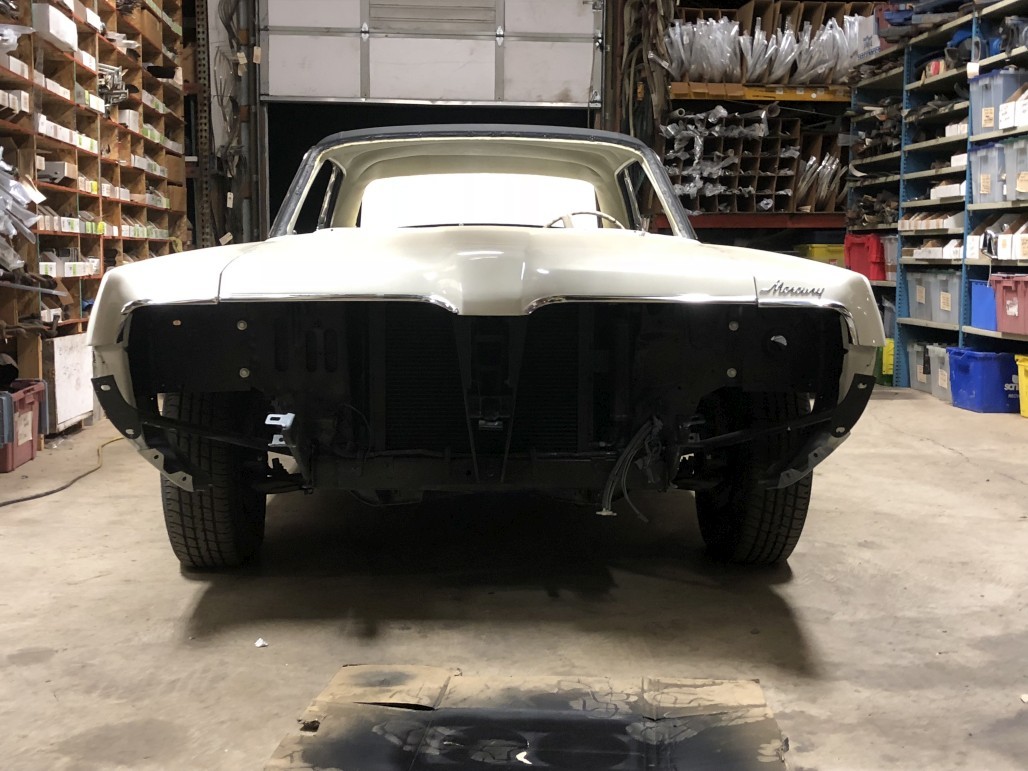
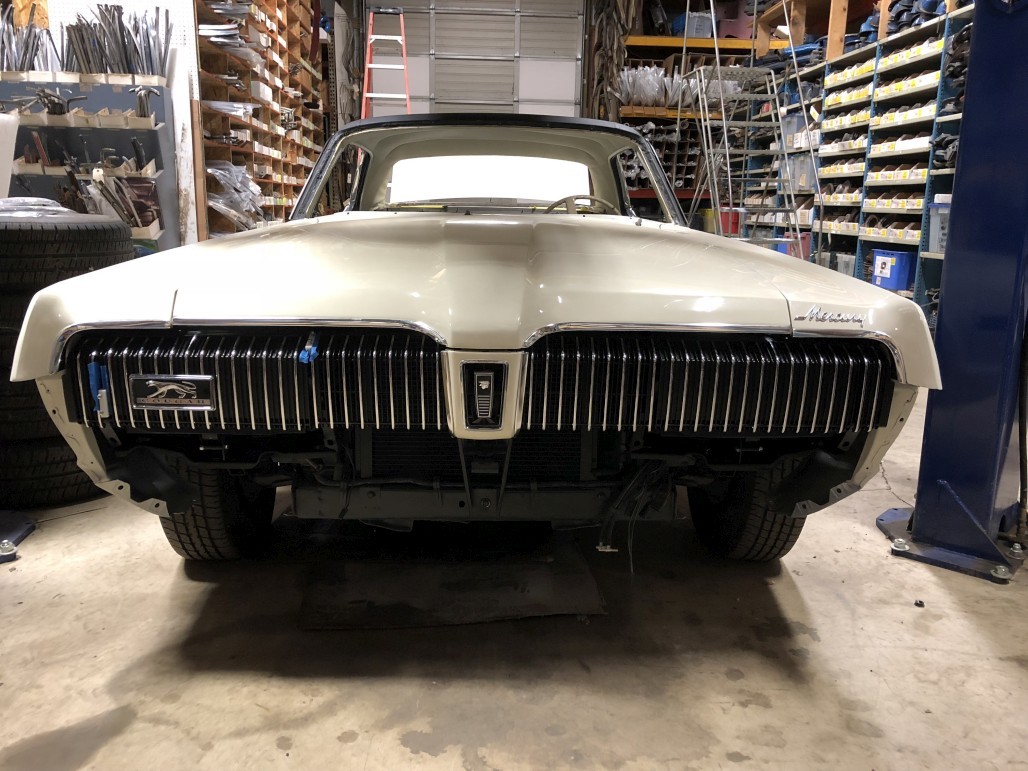
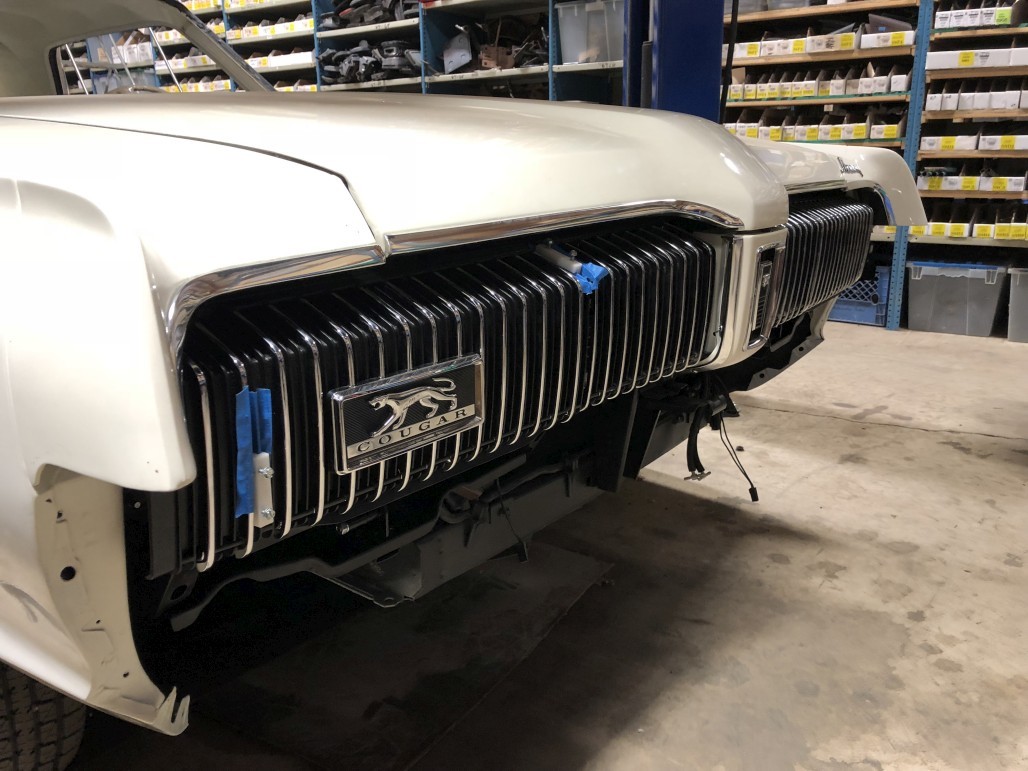
Installed! This was a little fiddly but I got it on there, along with the center piece. Still need to do some adjusting so everything is even, but it's looking pretty good. You can also see that I'm now trying to correct the alignment of the PS headlight door a little more.
I might as well link to the fasteners I used here. Here is the grille to body hardware kit and here is the center grille hardware kit. Take a look at yours and see if those weird studs are still in place on the core support. 3 out of 4 of mine were gone. The new ones are a little tricky, not a super tight fit, so you may have to fiddle with them a bit while tightening the nuts down. Anyway, more pics.
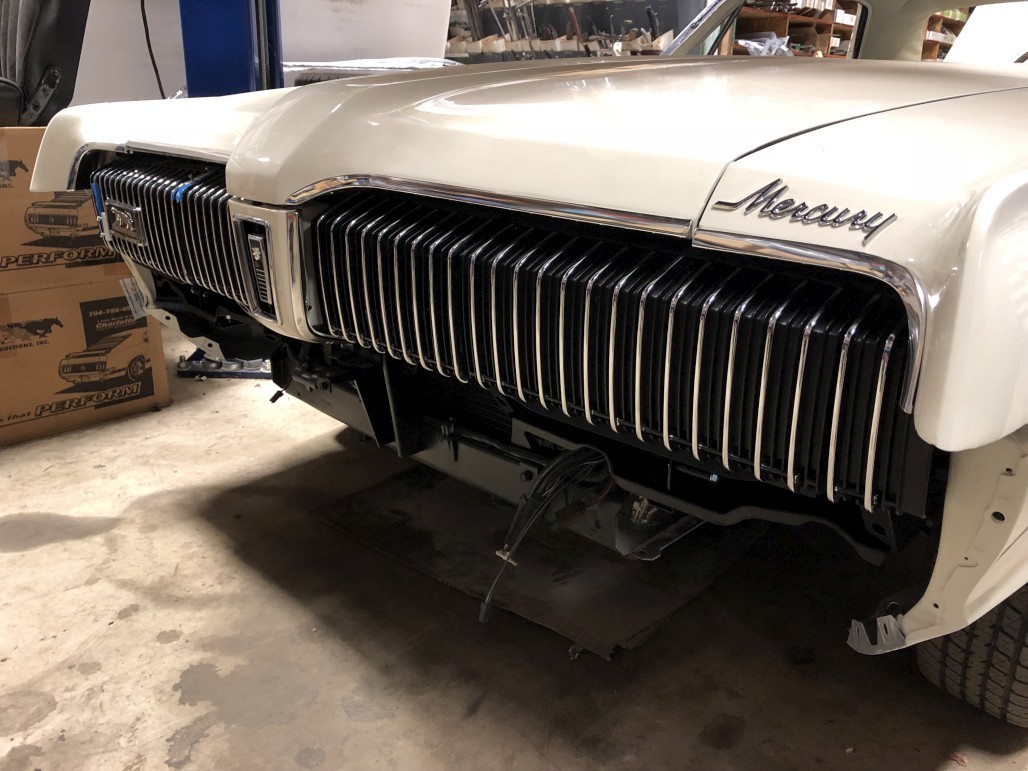
Lastly, and most recently, I put on the stone guard. It didn't just drop into place, the middle tabs needed some bending to get them to line up to the grille. Maybe that's why it has a little bit of an arc in the middle. I may need to do some further adjusting on this piece. It's crazy how everything on these cars has some wiggle room in every direction. Not at all like today's precisely engineered cars.
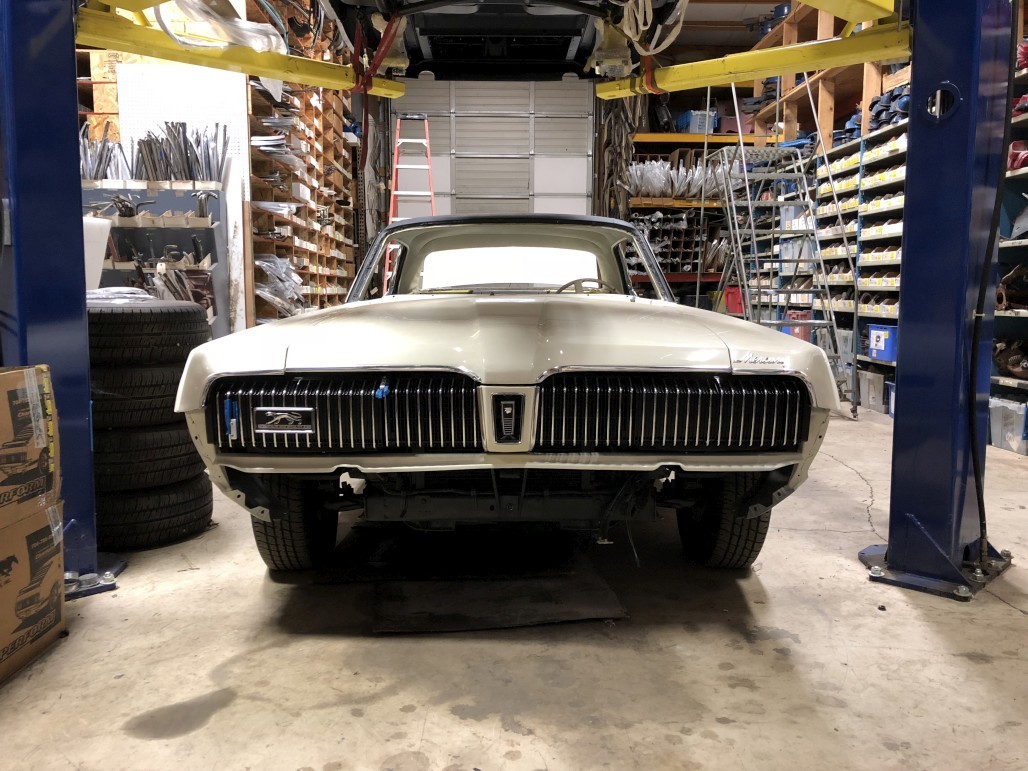
So that's where I'm at currently! Next step will be to put on the front bumper, which is pretty exciting. I'm still leaving the grille stuff loose for the moment. Once the bumper is on, that will give me a reference point to make sure the grille pieces are straight, as well as the stone deflector.
It's quite a crazy process, but this step was pretty satisfying to get done. More updates to come eventually!

So nice in honor of your grandparents.
Posted by Diggymart on 1/3/20 @ 8:04:16 PM