You must be logged in to rate content!
10 minute(s) of a 767 minute read
9-11-2018
Time for another update! I've been picking away at things as best I can, and things are going pretty well. I'd like it to be going faster at times, but it takes however long it takes. I'm going to split this update into a couple parts, starting with the miscellaneous.
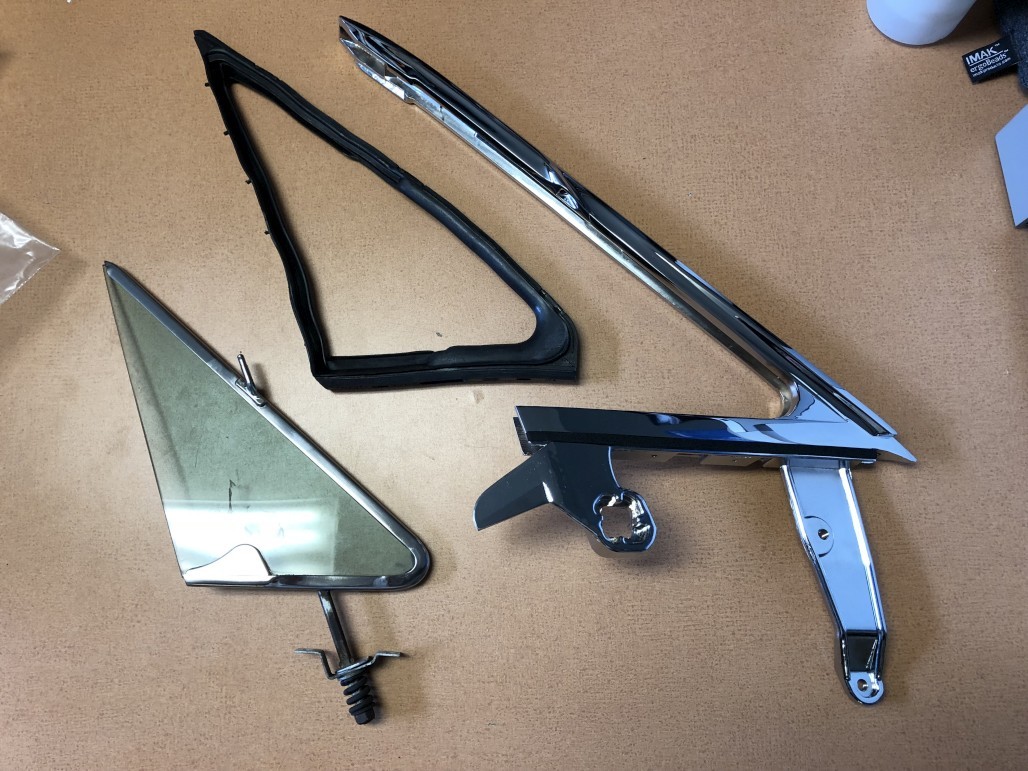
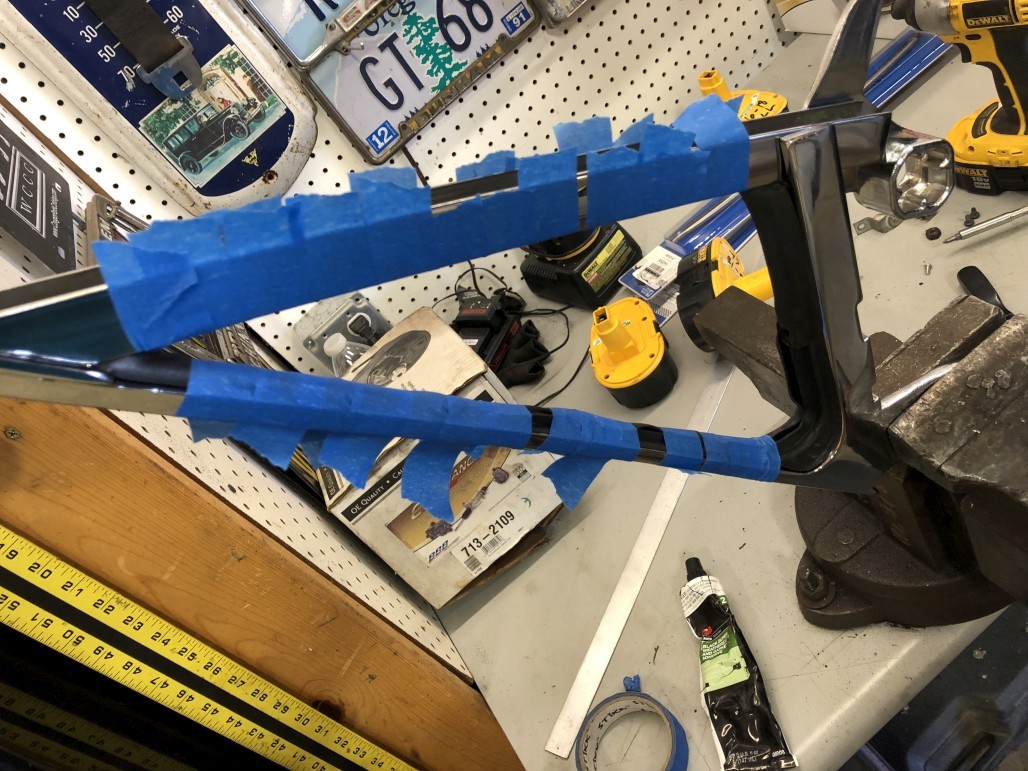
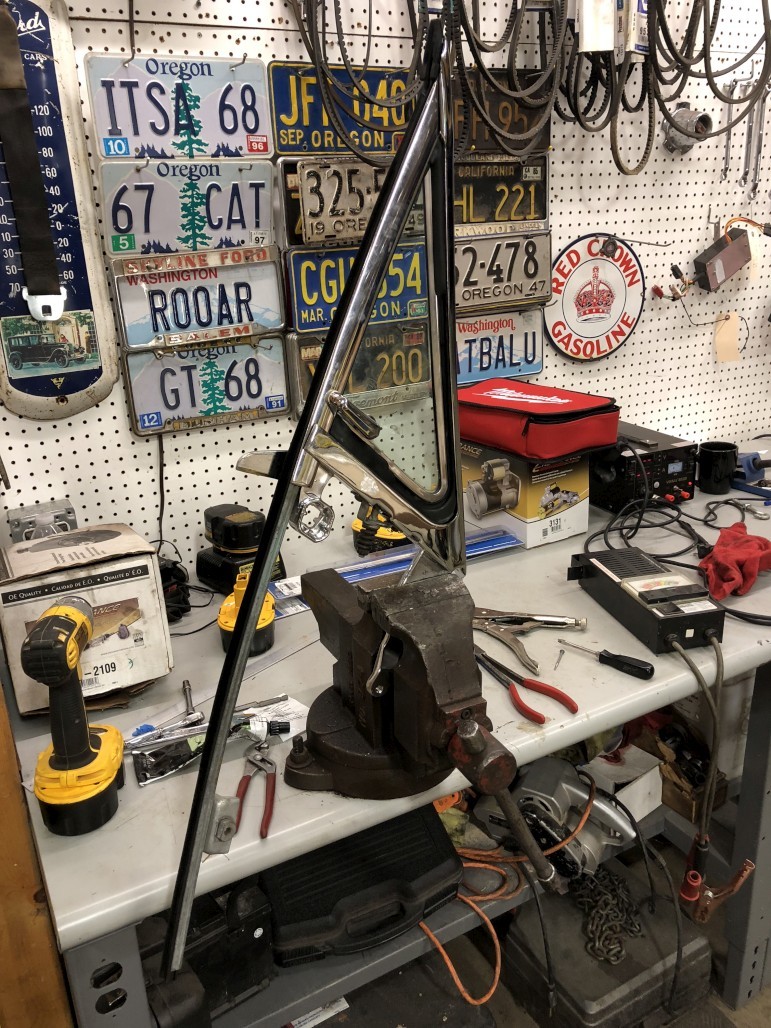
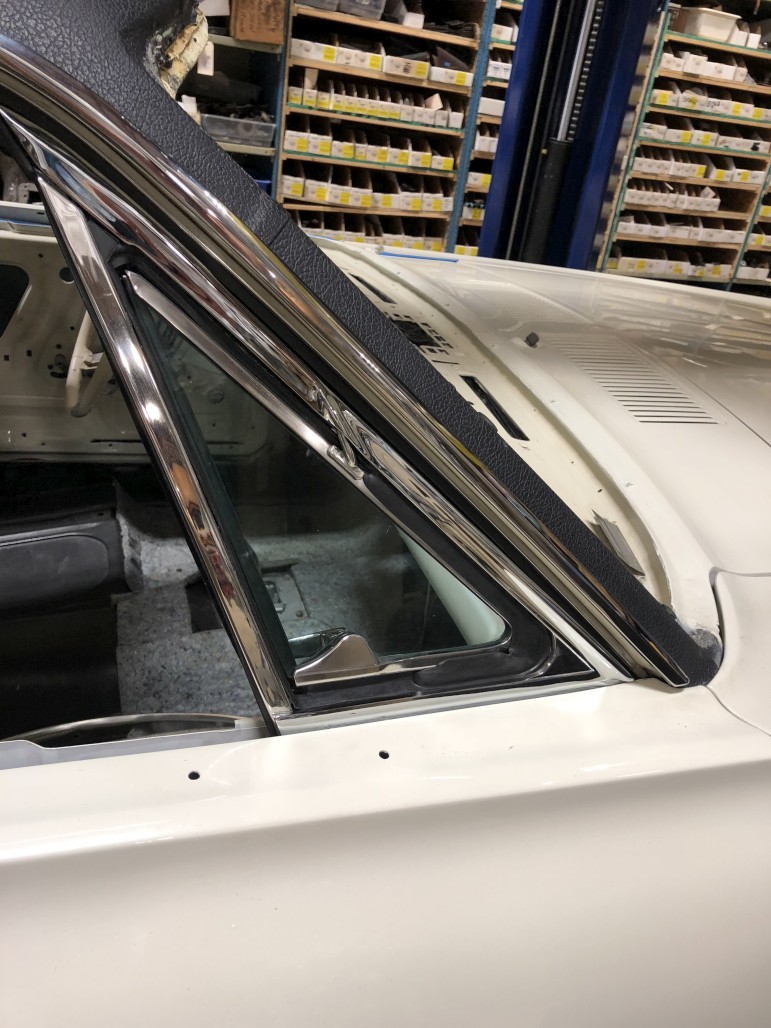
Continuing on the window theme, I started to assemble the vent windows. My originals were quite pitted, so reusing them wasn't really an option. I've heard that rechroming original frames doesn't usually turn out too well because of how the polishing process takes away a lot of the detail and edges. So I decided to give the reproductions a shot. This was a mixed bag and I'm still not totally sure how I feel about them now after assembling everything. They do look good and have a nice shiny chrome finish, but there are some issues and challenges with fitment. Anyway, here's the passenger side before assembly. I opted for the premium seals.
And here it is mocked together along with a restored vertical division bar (yes I scratched it a little :( )
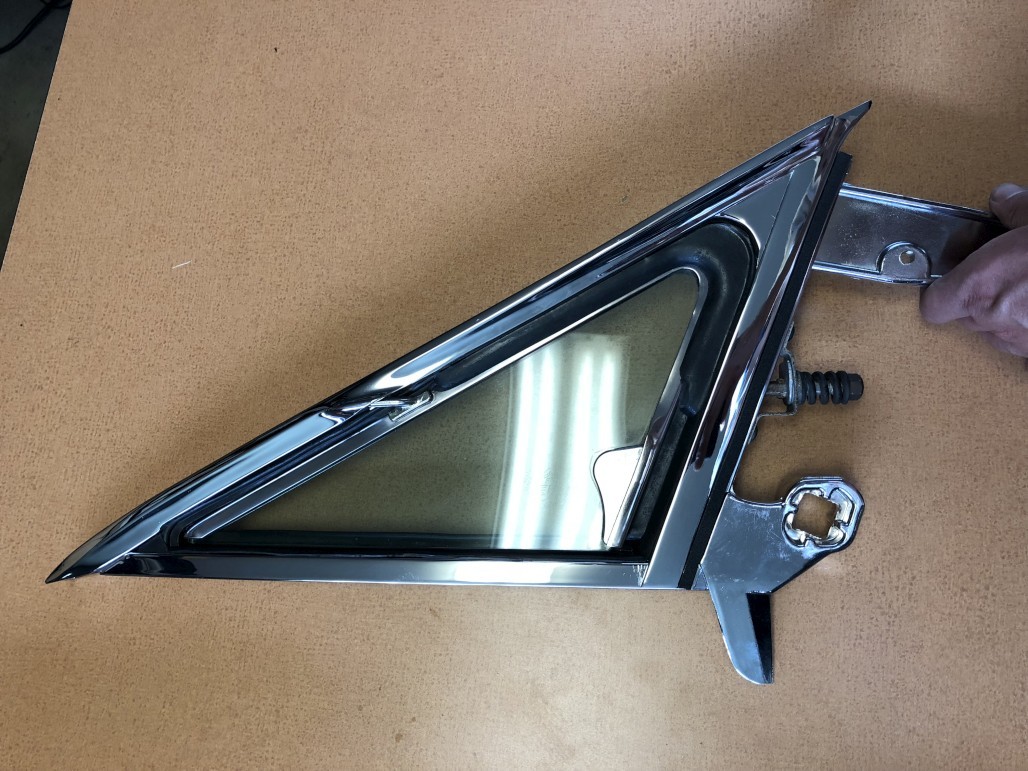
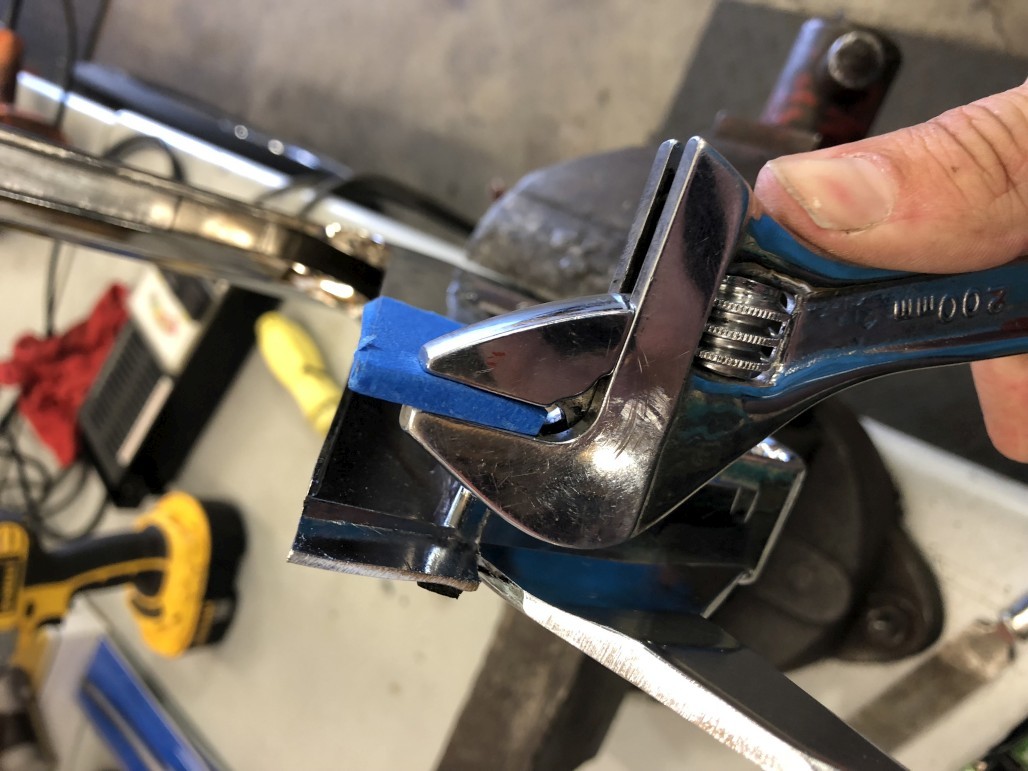
So that all seems fine and dandy, right? Well, not quite. Once I tried to put on the vertical division bar, I found that the repro frame piece didn't really line up with it at the bottom (hence the scratches). So in order to get a better fit, I had to carefully twist the lower back ends of the window frame. This was the safest method:
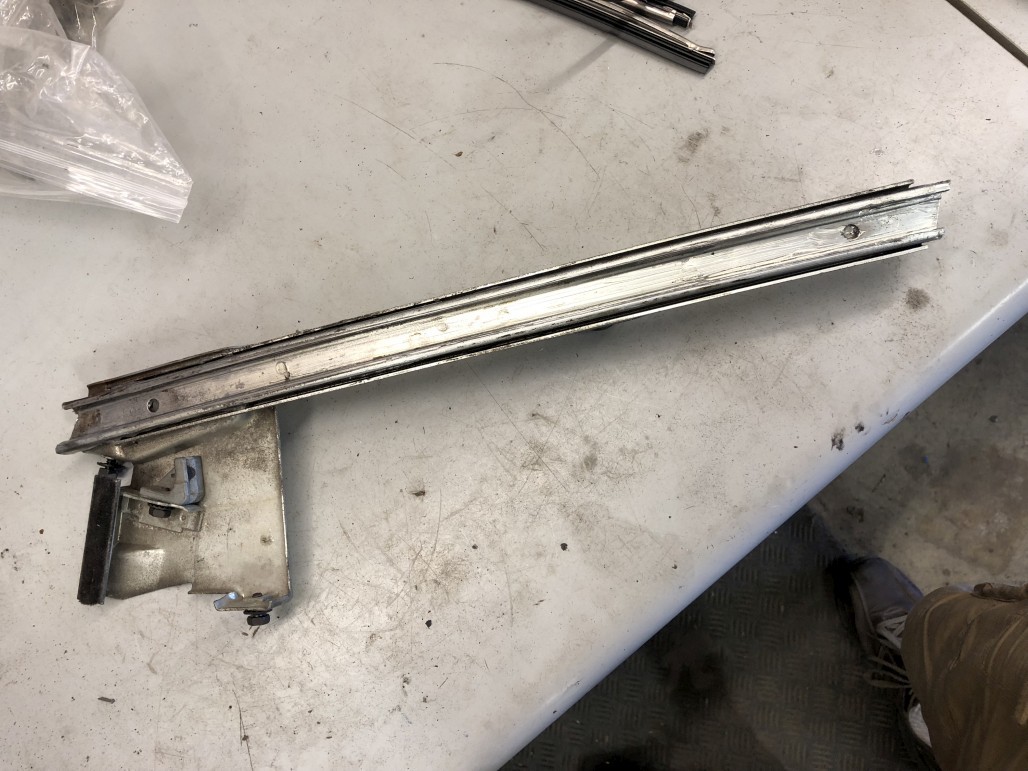
Next - originally the division bar would have been riveted to the window frame. But there's no way to get the head of a standard rivet gun into the channel to put new ones in. So the only option is to tap threads into these holes and find the flattest screws possible to attach the bar to the frame.
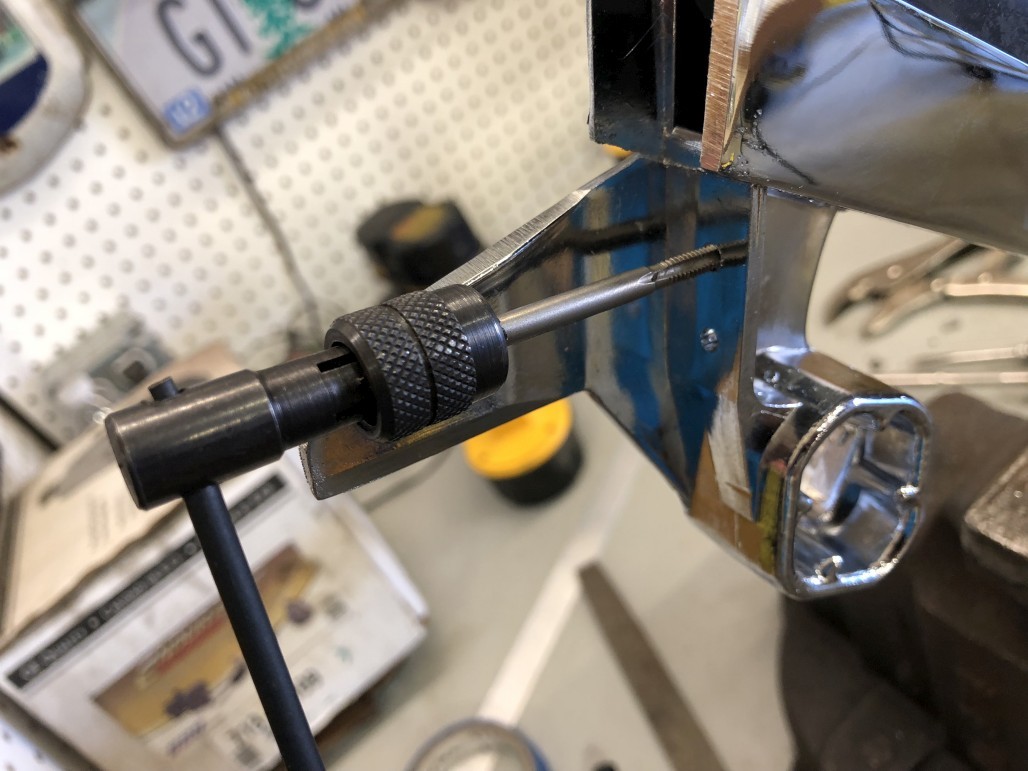
The flattest screws I could find ended up being allen head screws. In hindsight, this was a bad idea, especially driving them in with an electric driver. Stripped the heads pretty badly on the way in. Guess I won't be taking this apart again... should have looked for torx or something.
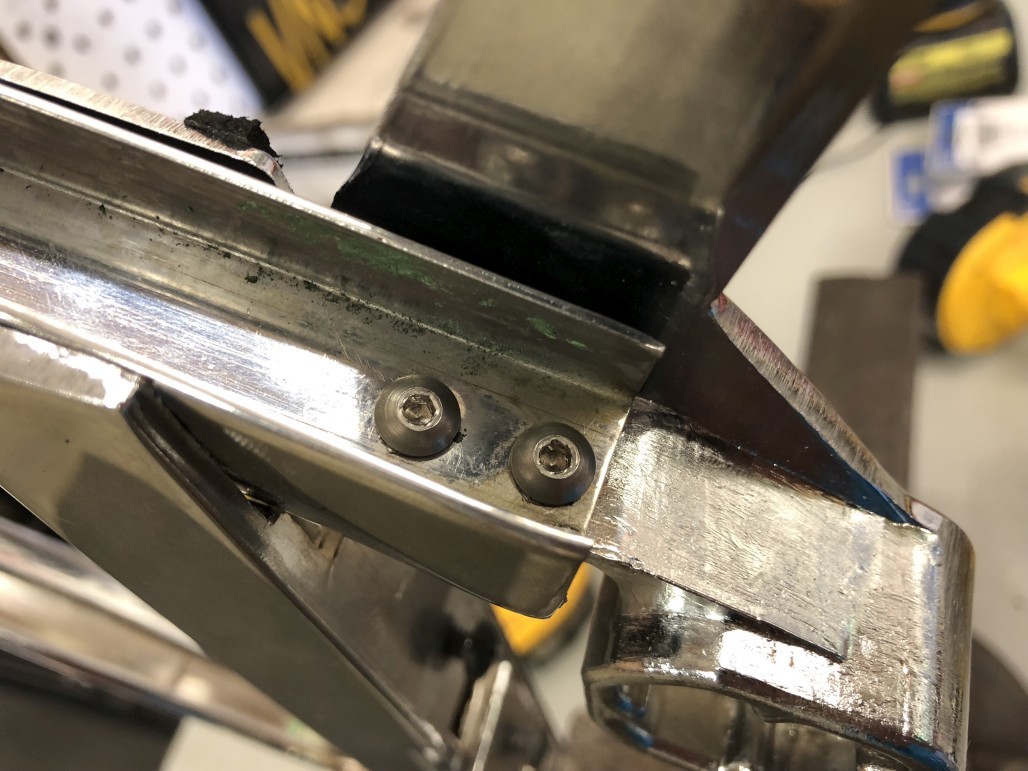
Anyway, the reason those need to be low-profile is that the front channel for the door window clips into the division bar and sits right on top of those fasteners. Before that, though I had to get the seal and glass back in. For some reason, all my messing around, taking things apart and putting them back together resulted in a fit that was not as good as the first mockup. I ended up having to glue the seal in with weatherstrip adhesive to try to keep it in the right position. It still doesn't look great as I write this, but not sure if I want to deal with improving it further at this point. Pain in the butt.
Then I could put the glass back in and install the glass rail and a new felt strip / window run insert.
Don't forget these little vent window to door seals. I also opted to attach the long narrow door shell seals on top of the foam ones that came on the repro frames. This is because I found that there was still a bit of a gap between the window frame and the door shell when doing some test fitting.
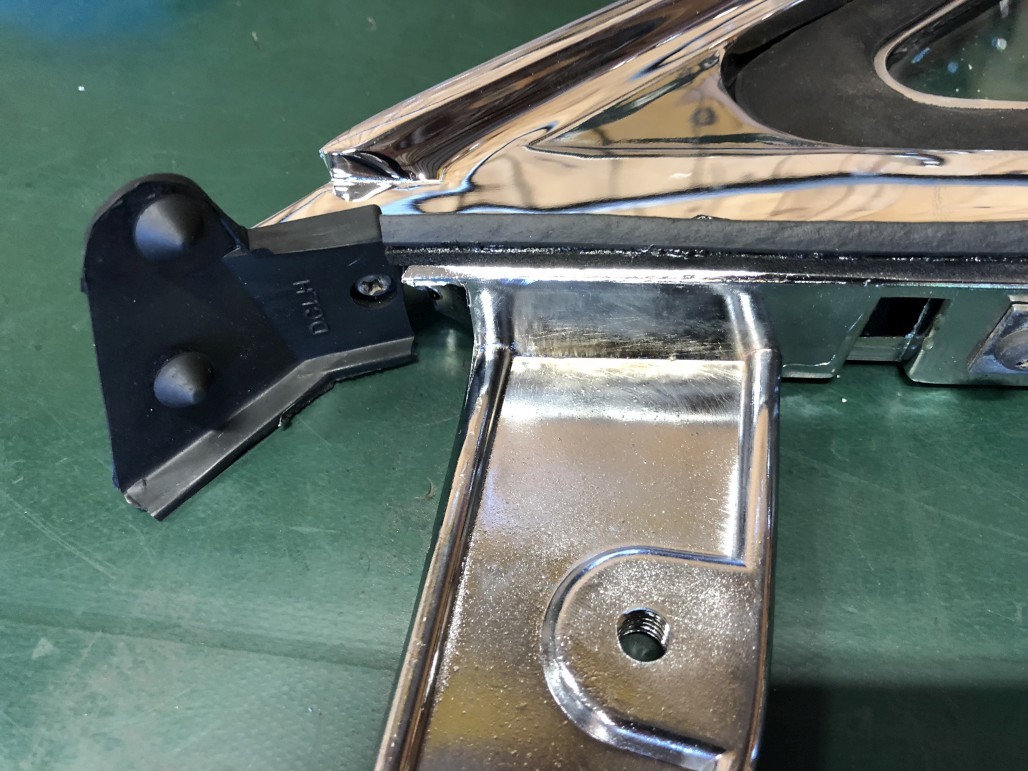
Those front corner seals suck. Or at least maybe something is up with the design of the new window frames. I'm not sure. But when installing the vent window assembly in the car, I had to stretch this seal waaaay forward of where it's supposed to be, in order to clip the two "nubs" into the door. Weird. I still need to do some adjusting, but here's a shot of it in the car. I still haven't done the other side because I moved on to other things.
Also cleaned, lubed and installed the back slider for the door glass, and installed the door glass itself. No pic of that yet. Further adjustments are still needed. That whole door window system is ridiculous and difficult in every way, I really don't like it. But it looks nice when it's all together.
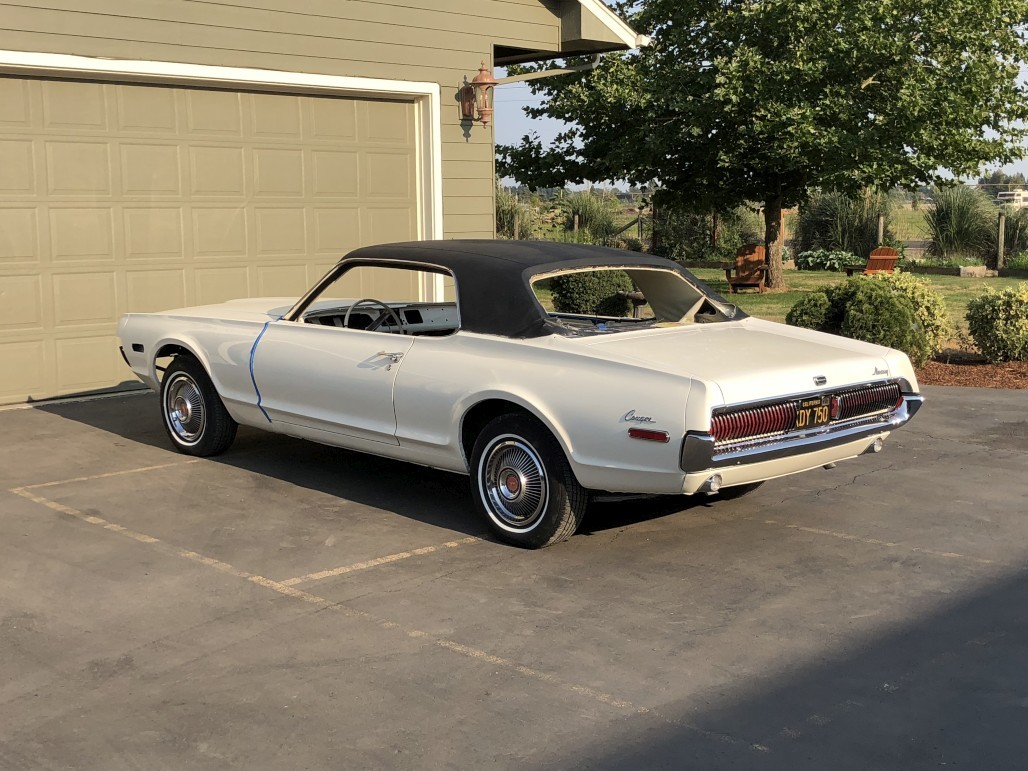
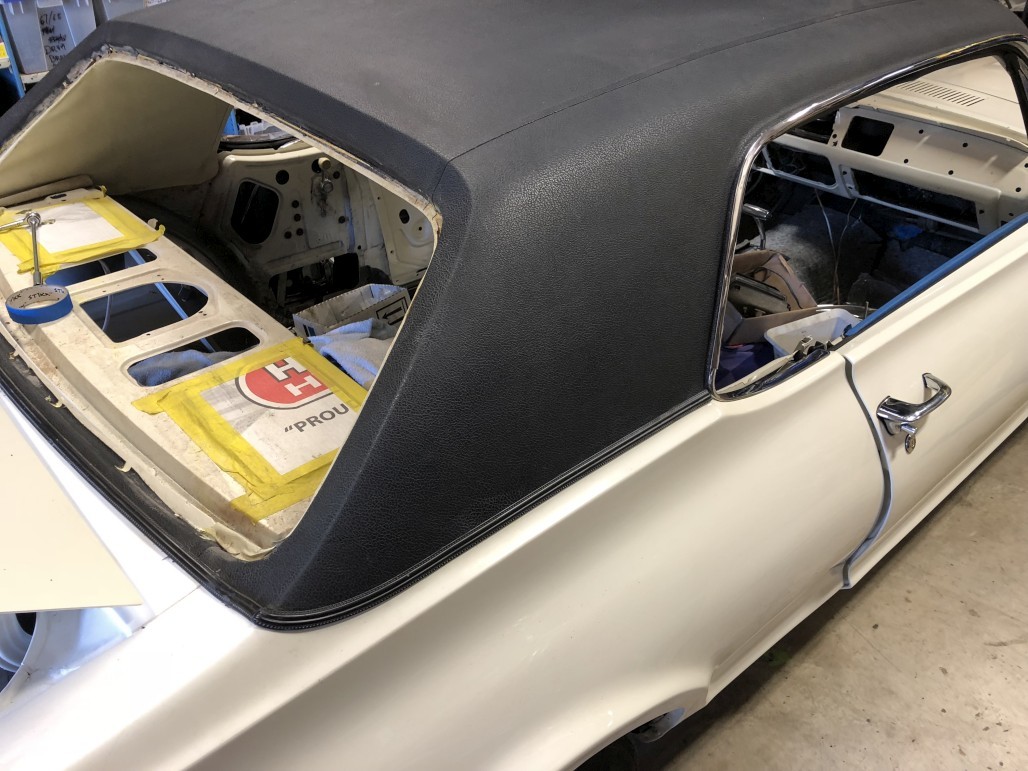
Alright, that's enough of the vent window saga for now. Next, I finally got something done that was bugging me for a while - sticking the back of the vinyl top back down! I was a little worried as to whether it was doable and that the top would still be okay. I called in some help for this one, our local upholstery guy. But first, here's a rarely seen outdoor shot of the car:
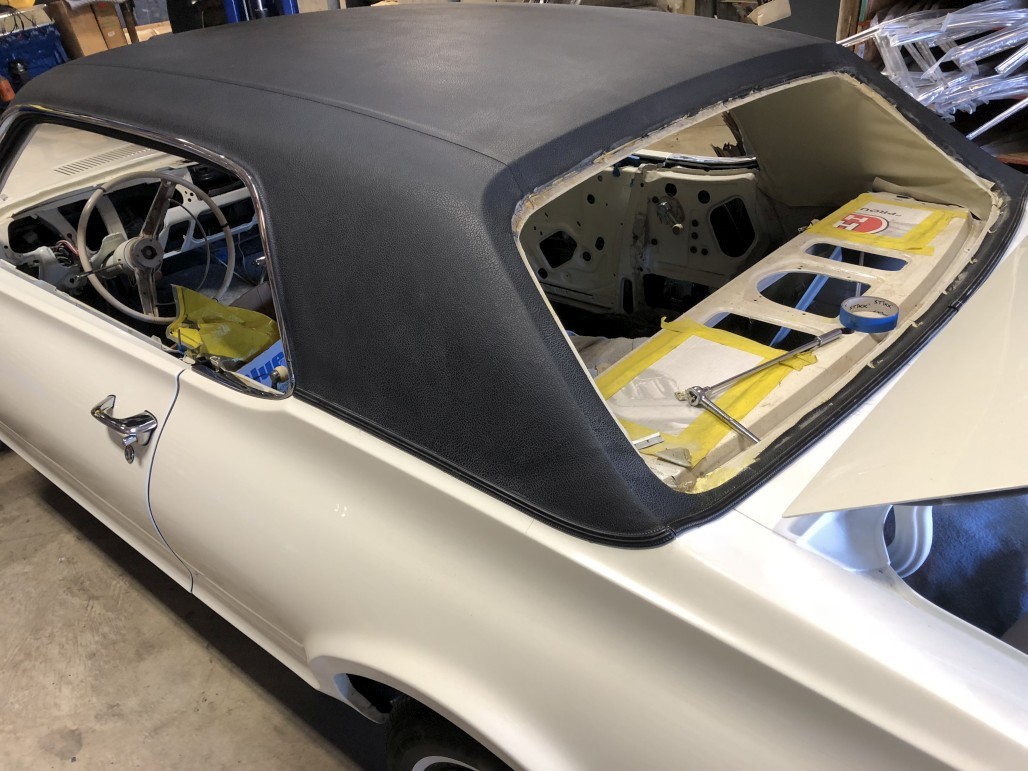
The first step was to clean off the old glue from the body and try to smooth the transition of the old and new paint jobs.

Then Matt the upholstery dude stopped by and went to town with his heat gun and spray-on contact adhesive, did some stretching and finessing, and boom. I jumped in with my trim pieces and we cooperated to get those installed. Very glad to have this step done. Thanks Matt!
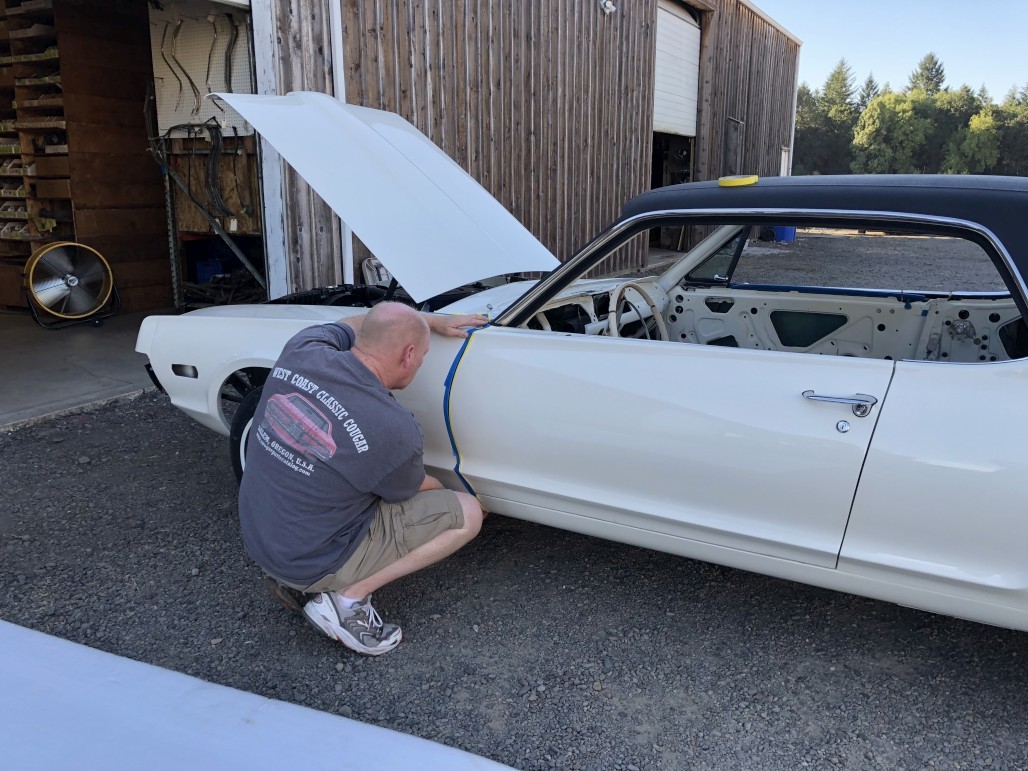
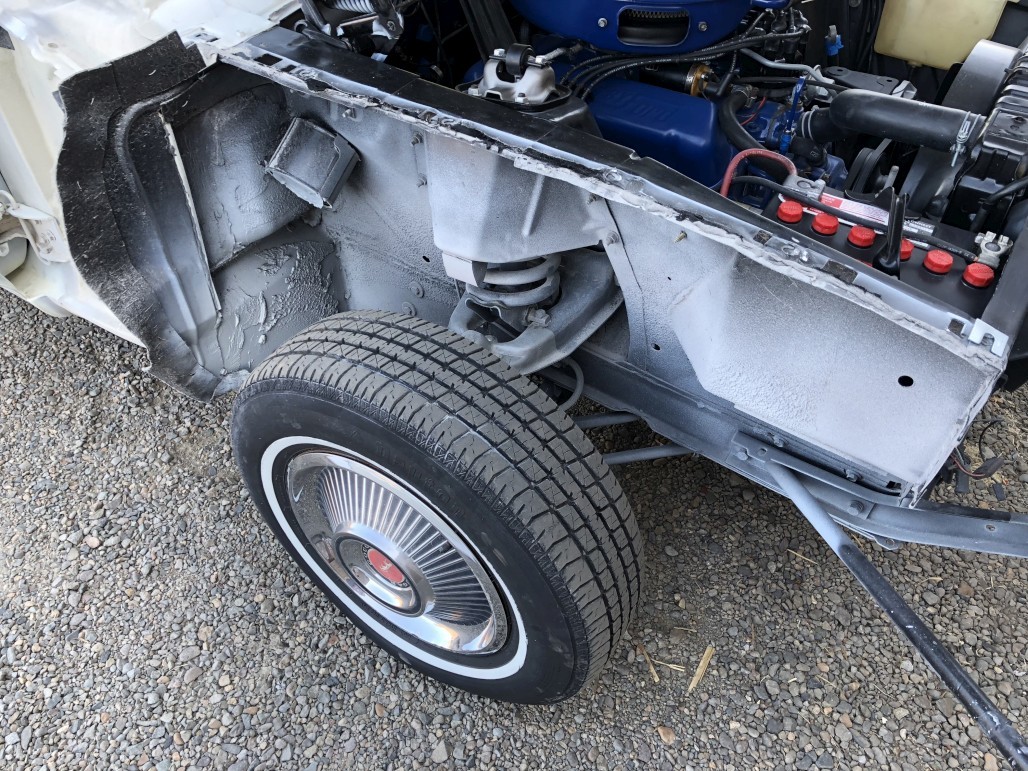
Next random thing is one of my FAVORITE things - undoing and redoing work that you paid someone else to do properly, and they didn't. :wall: So when my car was at the restoration shop after rescuing it from its first ill-fated paint job, one of the main things this shop worked on and billed me for was panel alignment. So... imagine my surprise when I'm installing and test fitting windows when I find out that the doors seem to be sagging further and further down every time I open and close them. Well... came to find out that the door hinge bolts were all just a step above finger tight :shock: The only thing to do was to remove the fenders, re-do and perfect the door and latch fitment, tighten things down, and then reinstall and line up the fenders again. Had to do this on both sides. It sucked that I had to go back and do this, but ultimately I'm glad to have it right now. The doors fit and shut so much better now.
It's largely because of Darrell's encouragement to take things back apart that I even did this. He was there to help out a bunch and he has a good eye for panel alignment and knows how to move things around to get them to fit right. Thanks Darrell!
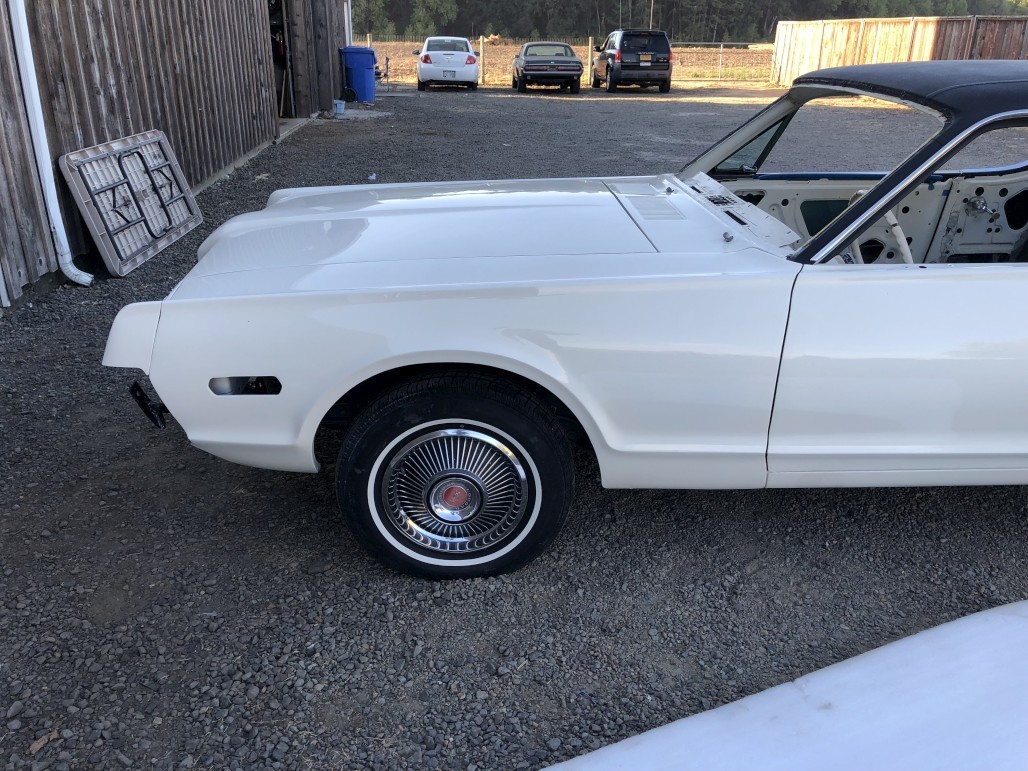
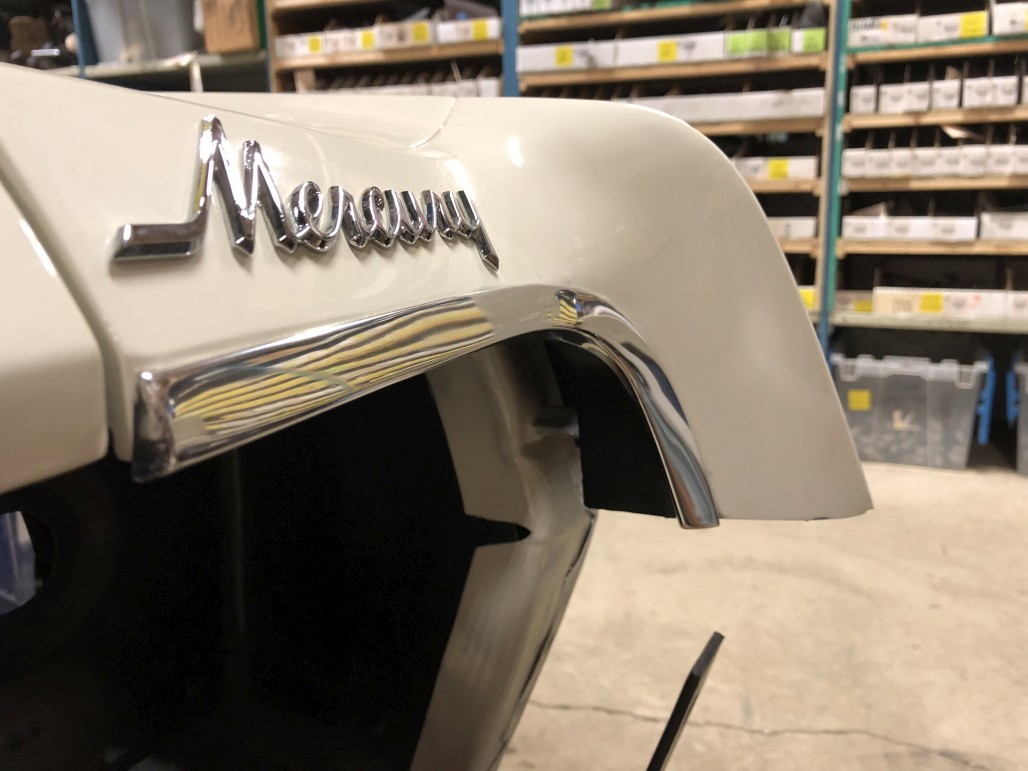
Also, while the fender was off, this was the ideal time to install the restored trim (I got the whole six piece restored trim set) and Mercury emblem on the fender extension, and get that lined up and installed with new seals, before putting the fender back on. I also replaced the hardware with new stuff.
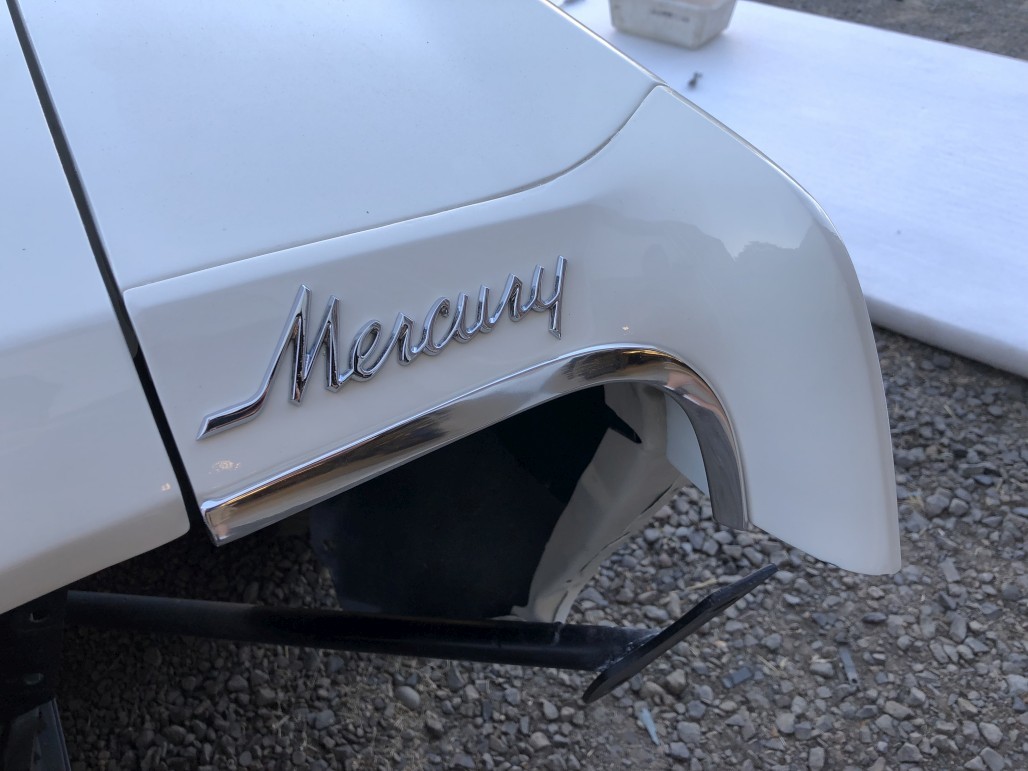
This is about as good as it's gonna get. I like it.

Other side in progress:
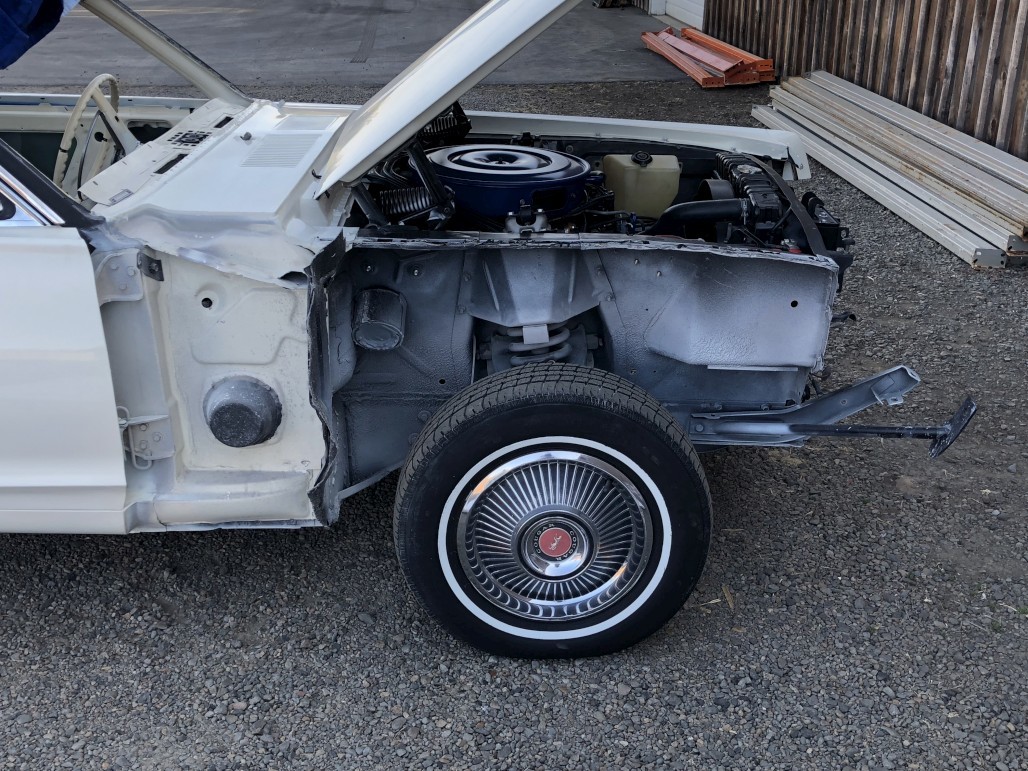
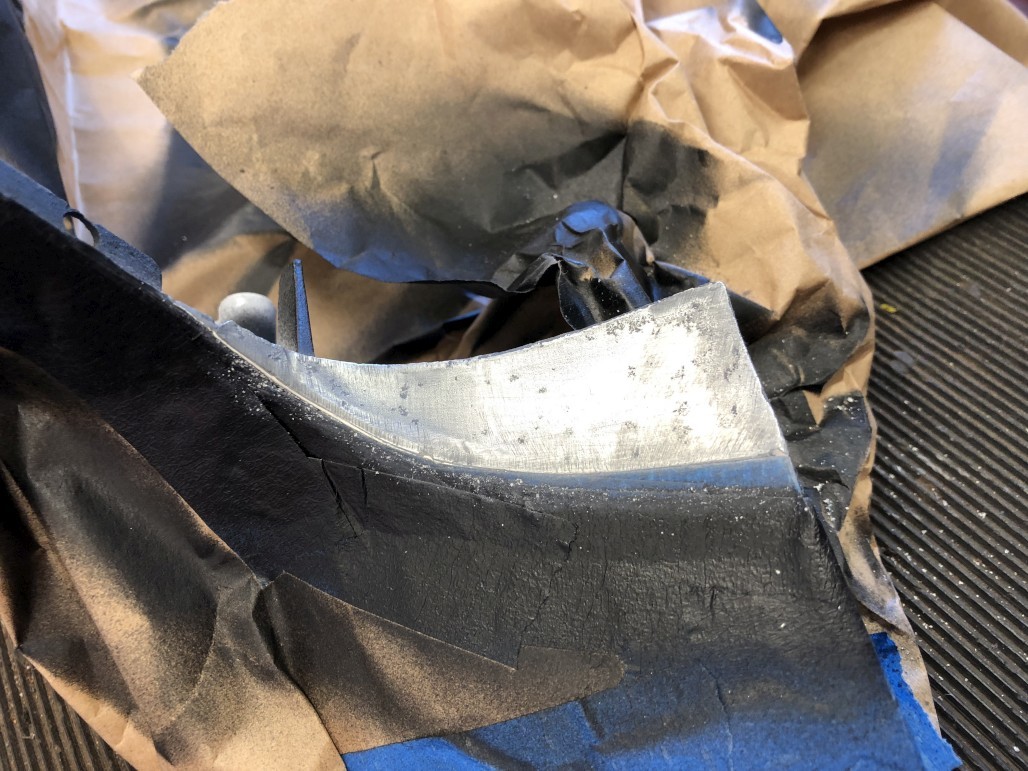
How about that overspray? :wall: Once again, this is why you don't do things in the wrong order, kids. If you look a few pages back you can see how nice this area looked with fresh black undercoating and all new front suspension components. Now it's just a mess and looks like crap. And I'm too worn down to do anything about it at this point. Just wanting to get this project done. Oh well... maybe later I''ll re-detail this area.
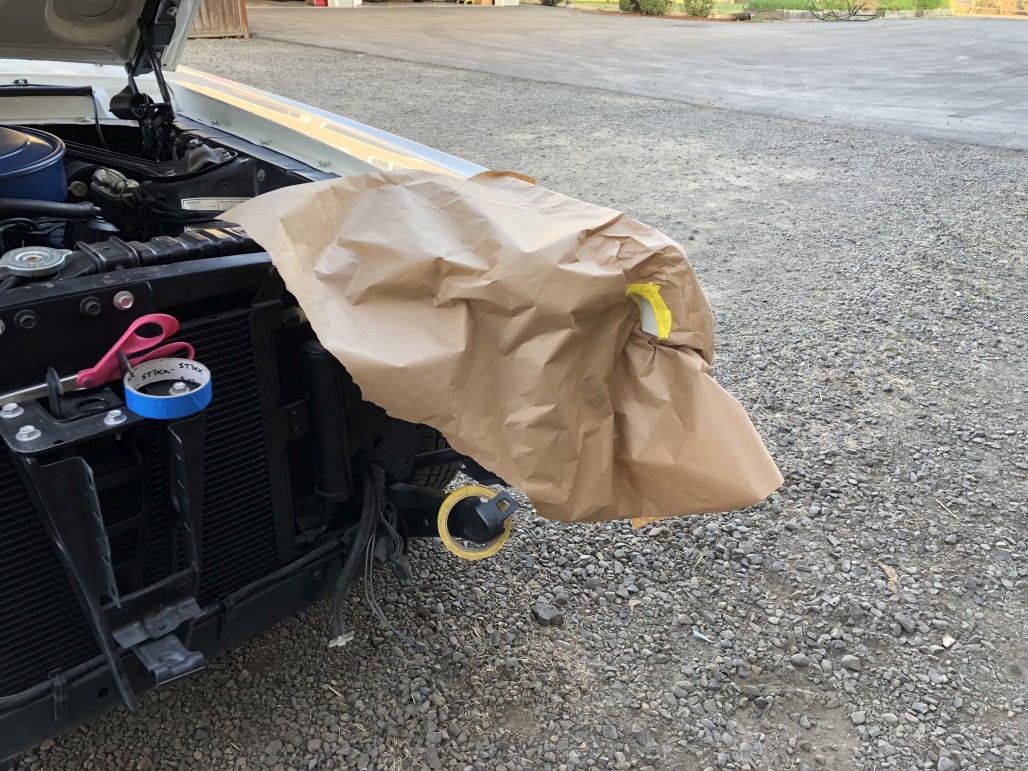
Anyway, it was at this point I realized I had forgotten a little detail step. The inside corner of each fender extension, behind the trim, is supposed to be painted satin black. I still had the passenger side off, so that was fairly easy to do, but I had to do the driver's side in place. Well, nothing some liberal masking can't fix.
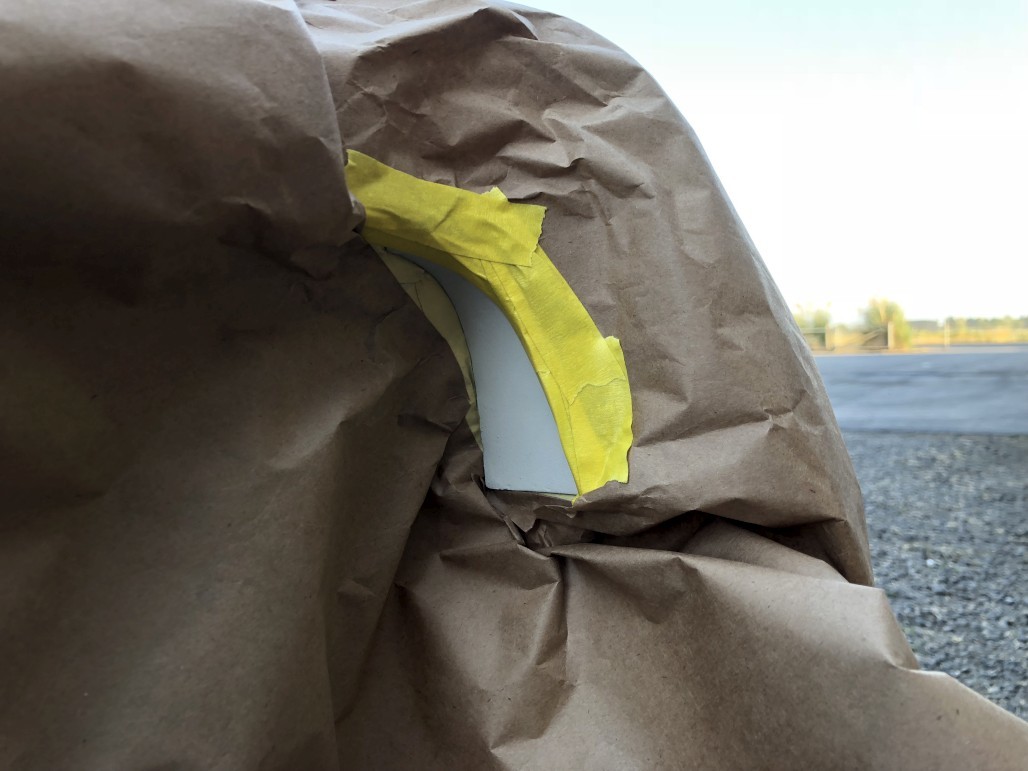
I'll go ahead and save some time and pictures here by saying: the first attempt didn't work out so well. The black paint (SEM Trim Black) reacted with the existing white paint / clear (and yes I scuffed it and used wax & grease remover before spraying). It turned out all crinkly and bubbly. So, out came the acetone, and I was able to pretty easily strip these sections back to bare metal to start over. It worked out perfectly after this. Here's a shot of the other side stripped:
Painted:

And a finished shot of the DS:
That does it for part 1 of the update. I think part 2 will have to wait until tomorrow. There's a whole 'nother saga coming, but it's a fun one (mostly). For now, I'm going to actually go work on the car!

So nice in honor of your grandparents.
Posted by Diggymart on 1/3/20 @ 8:04:16 PM