You must be logged in to rate content!
5 minute(s) of a 767 minute read
6-25-2018
AND NOW: More than you ever wanted to know about quarter window rollers. But maybe this will be useful info.
BUT FIRST: A shot of the assembled windows, while I was changing out the tape per Neal's suggestion.
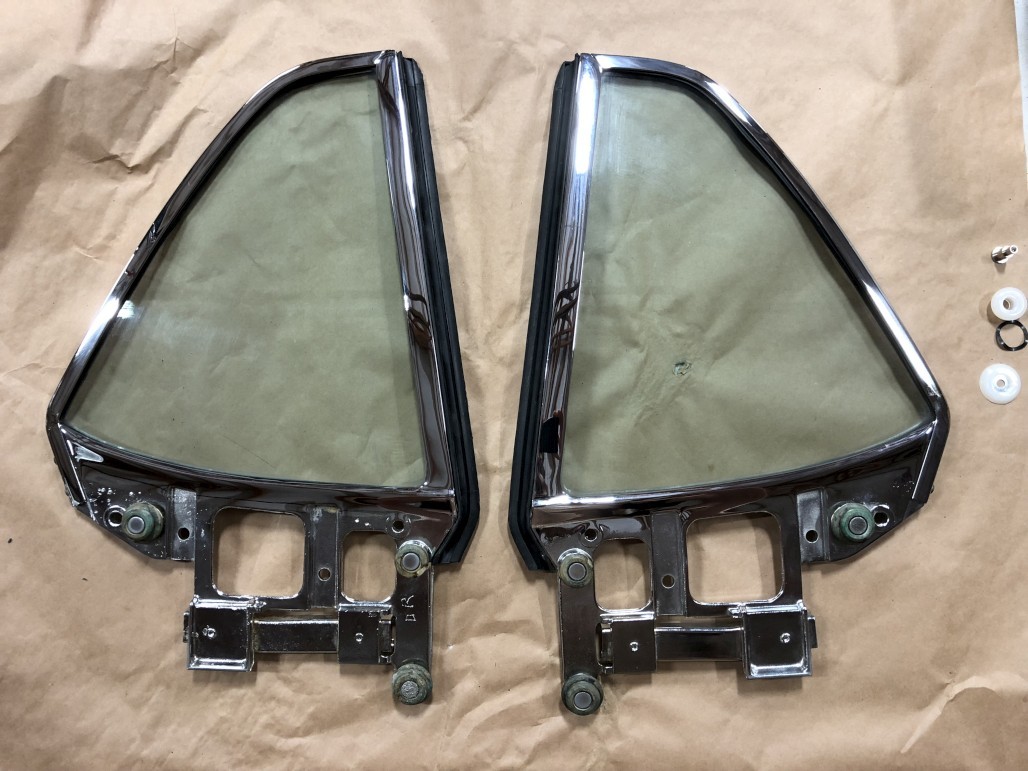
Oooo shiny.
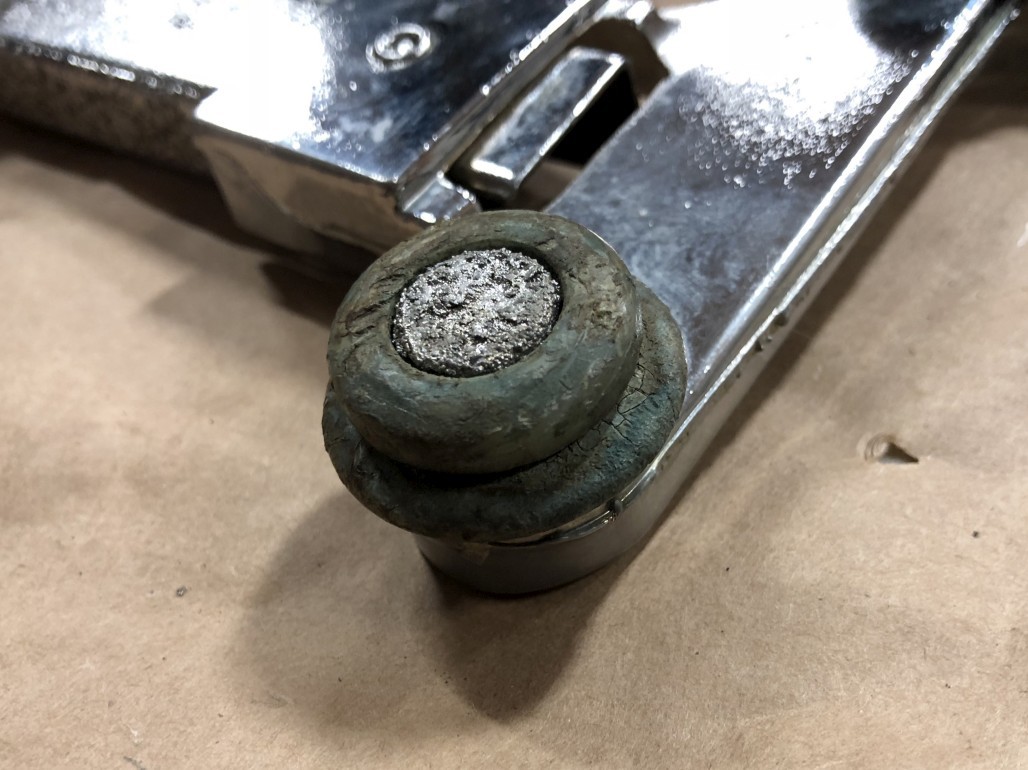
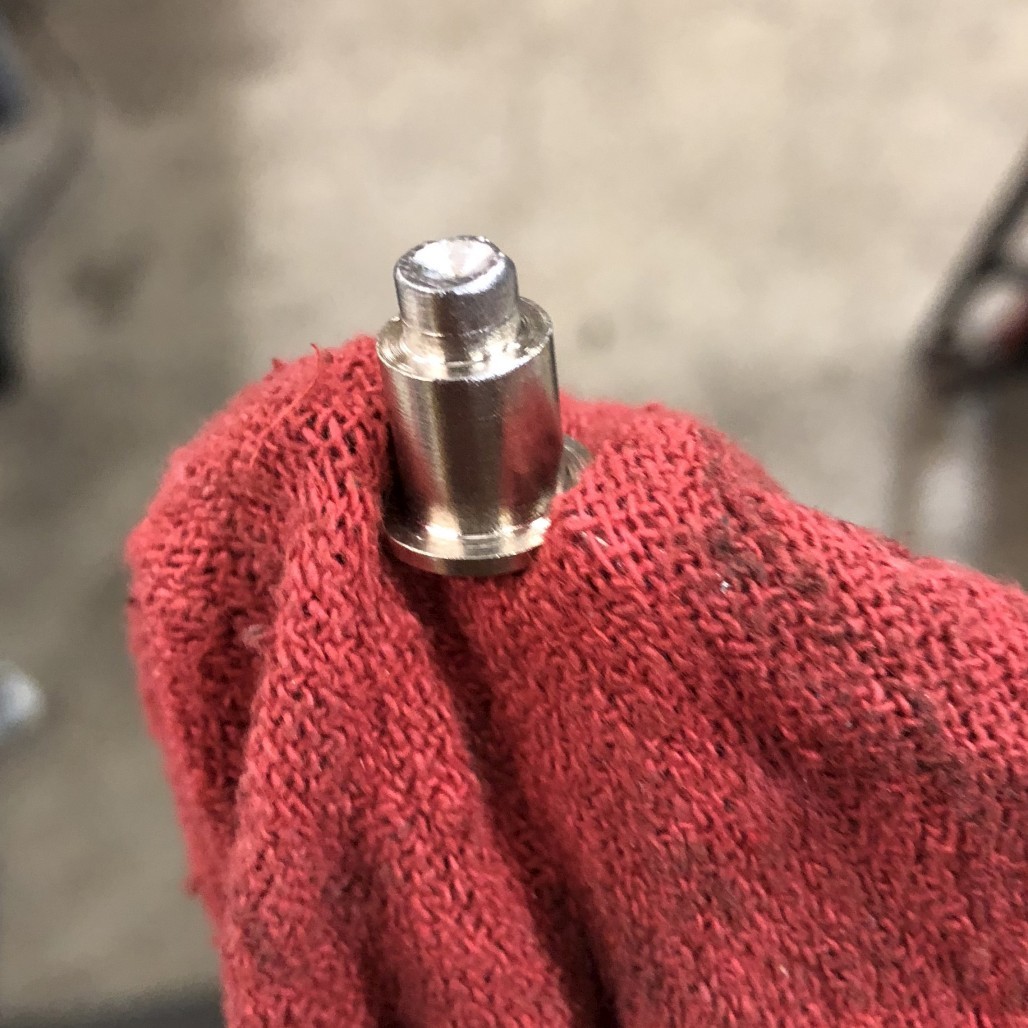
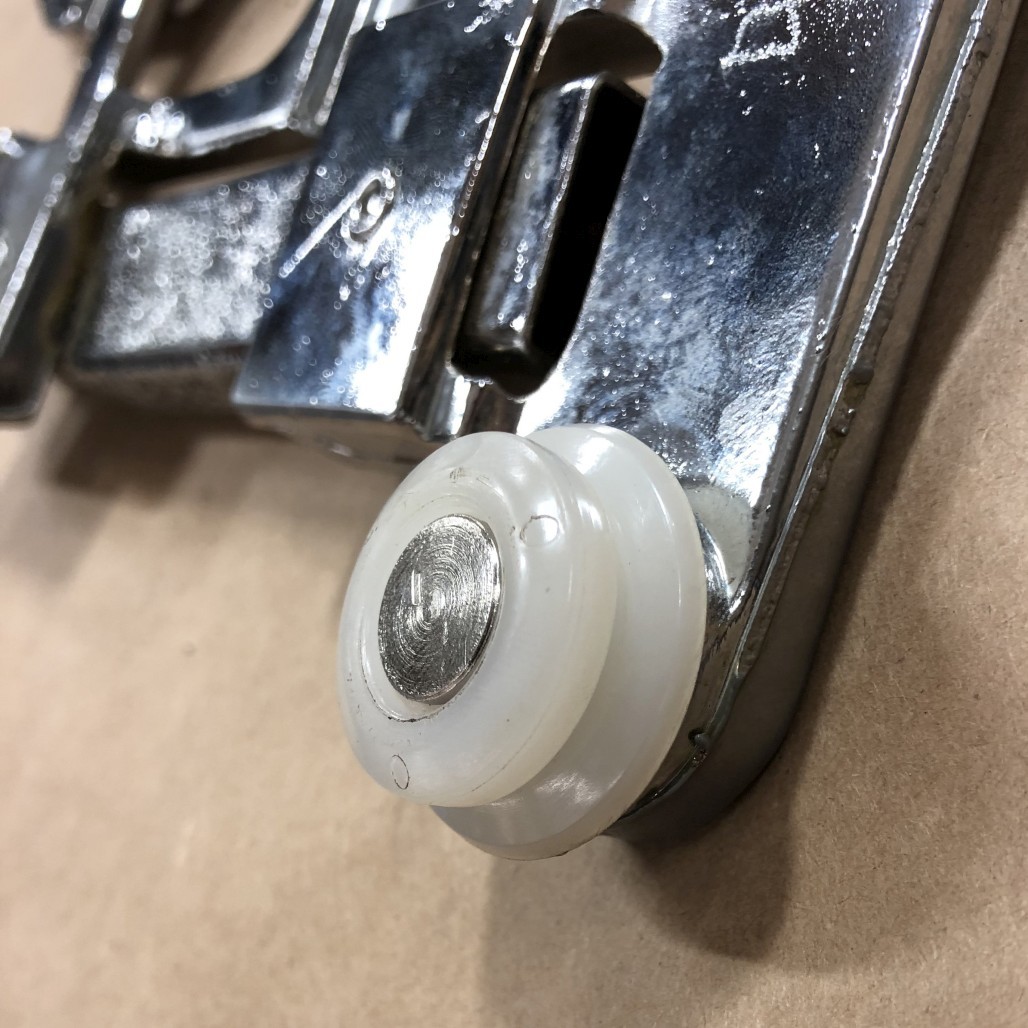
Okay, so the journey with the rollers began because this one in particular was totally frozen in place and clearly in terrible shape:
The others would spin but felt kinda rough and chunky, so I figured if I'm doing one I might as well do them all. That's the danger of "while I'm at it" syndrome.
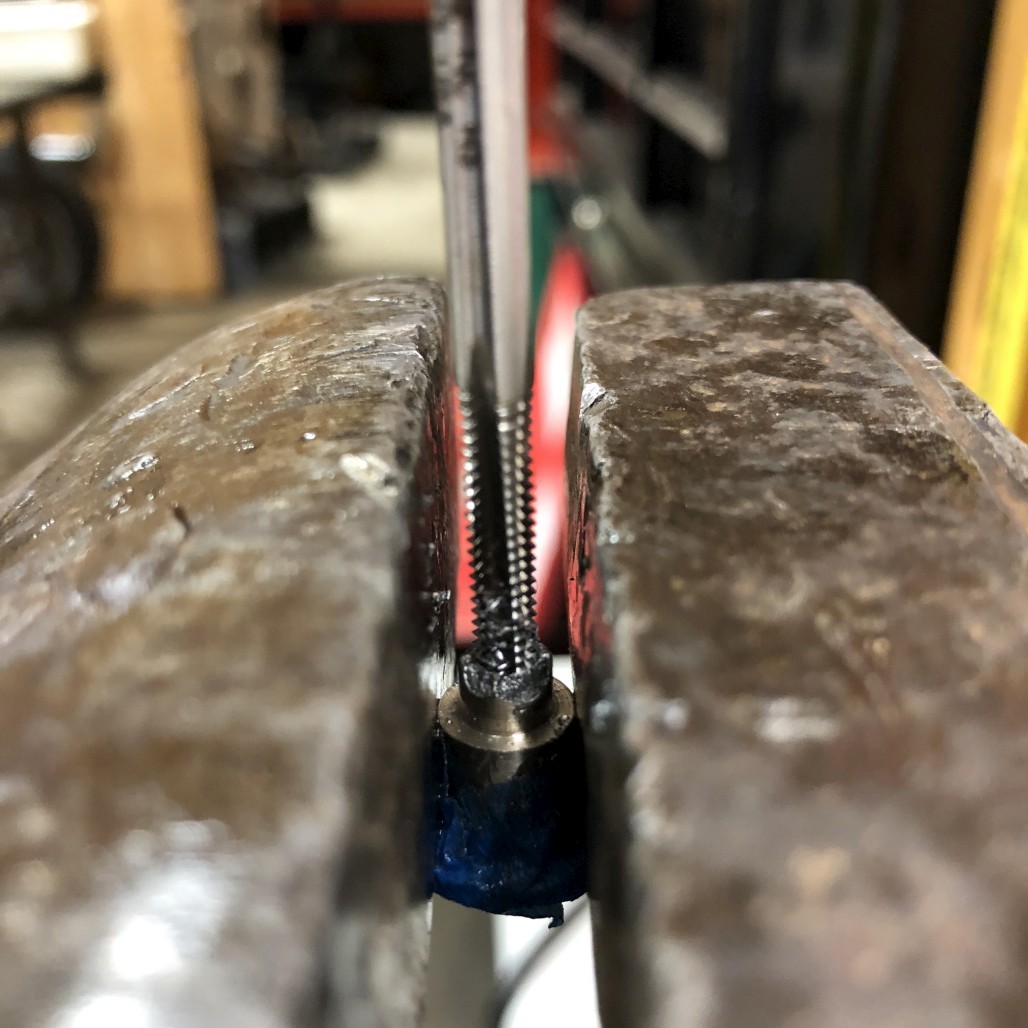
So these rollers are riveted / peened over from the back side. Forgot to take a picture of this, but those center metal roller pins were mushroomed over on the back, nice smooth and round with no cracks. So those were easy to drill and punch out. When I went to put the new ones in, however, this is what happened:
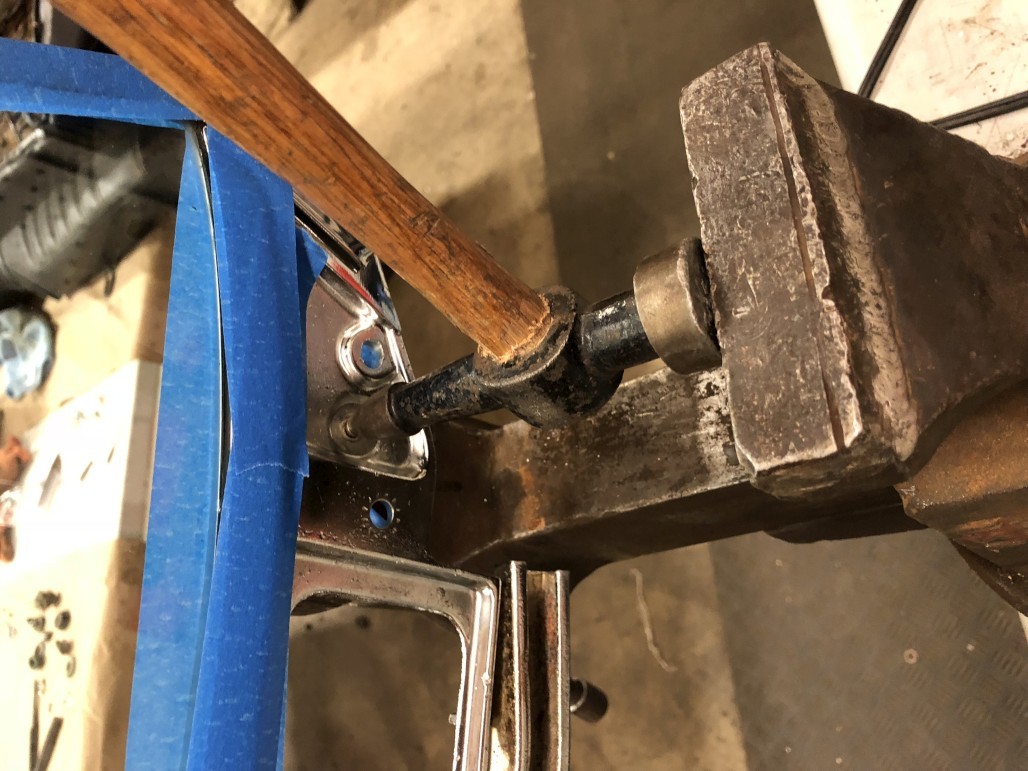
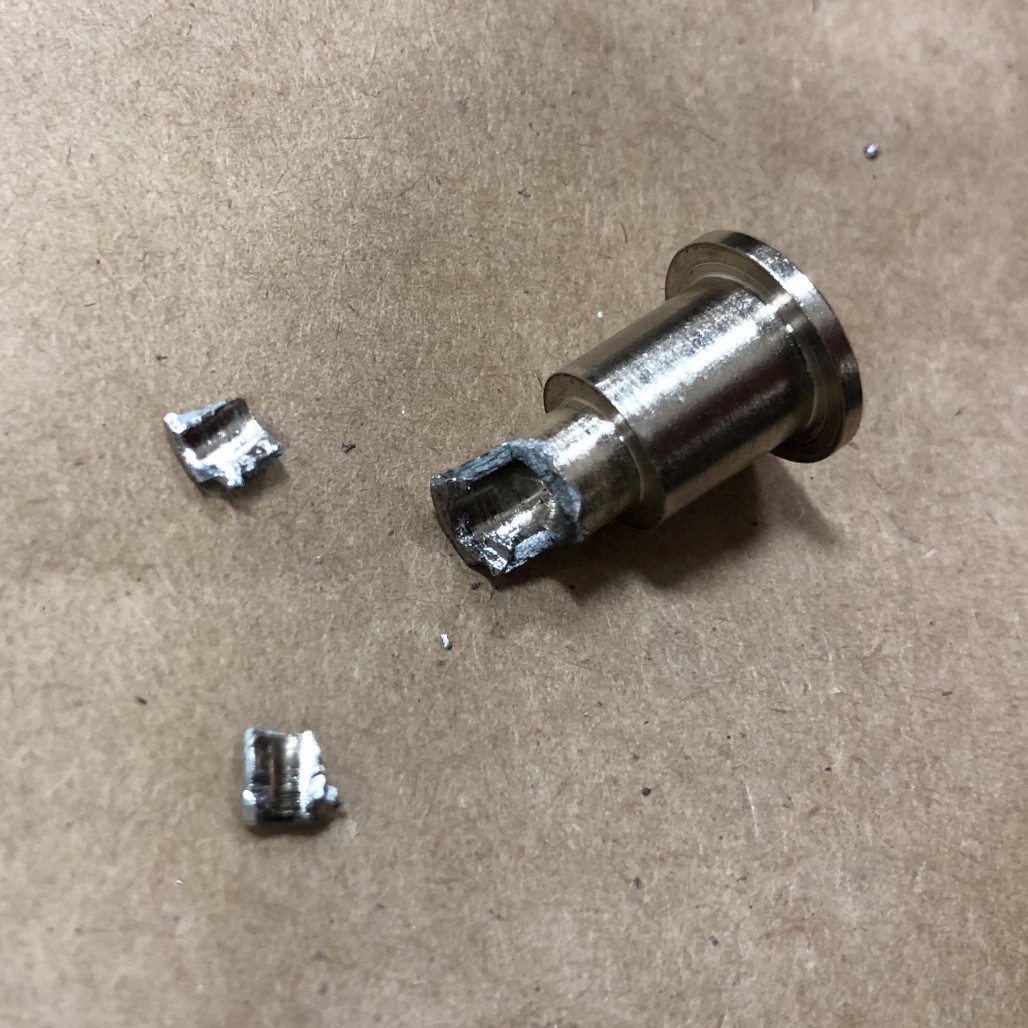
These new pieces are clearly too hard and brittle to be mushroomed over like they're supposed to be. So I had to go to Plan B. I split them all open on purpose to get rid of the extra material, starting by chiseling an X in to help them split:
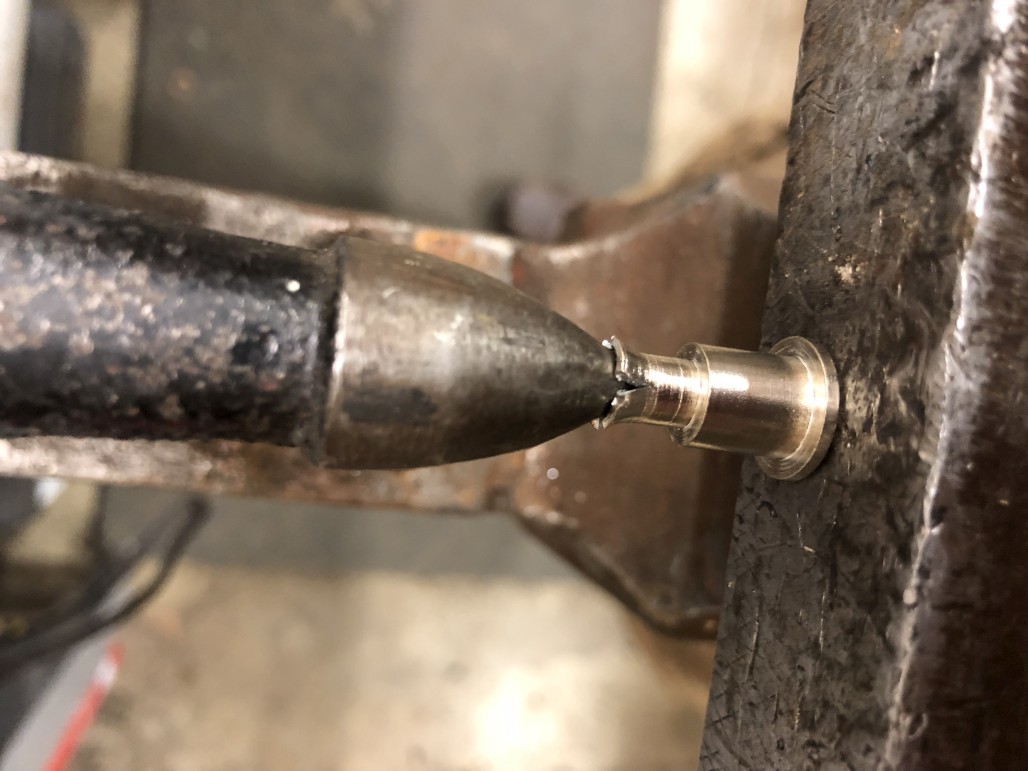
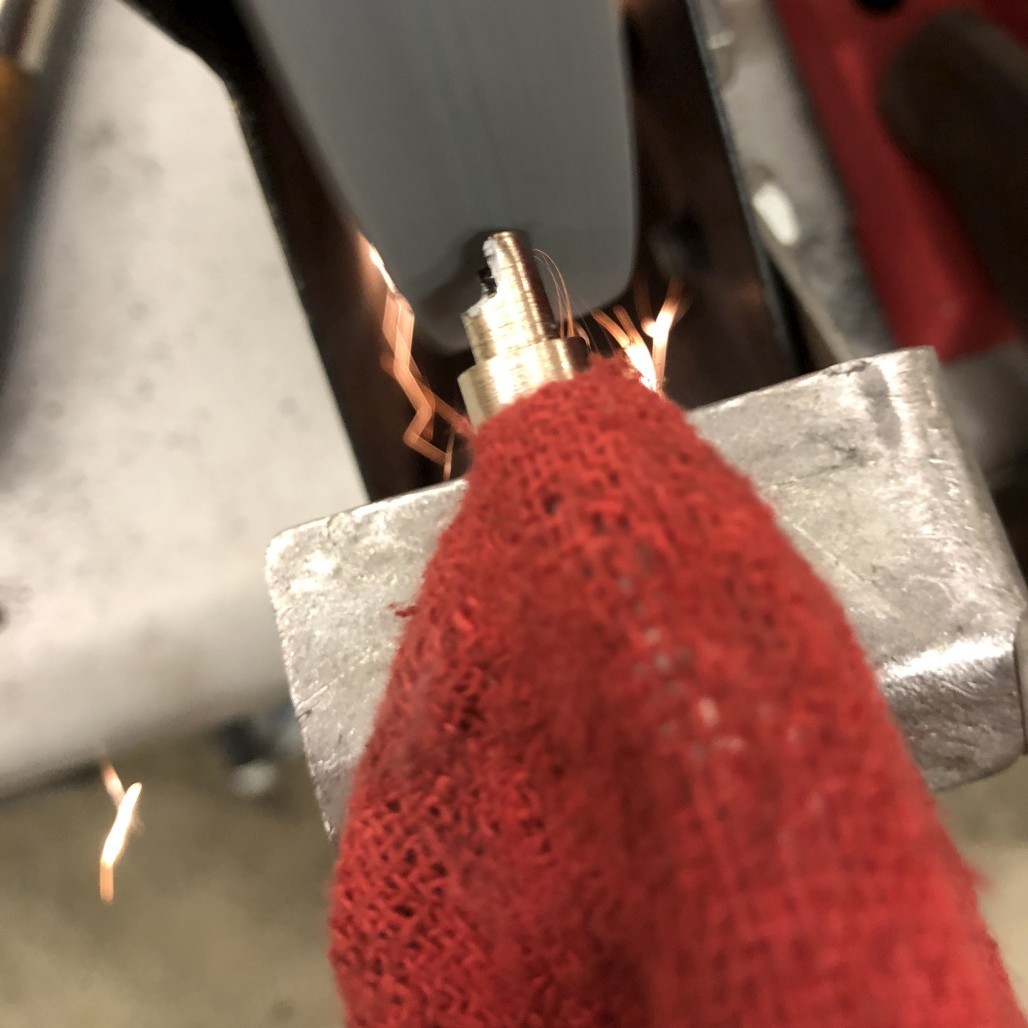
Sometimes only half the pieces would come off, so I'd use that as a guideline and grind the rest off:
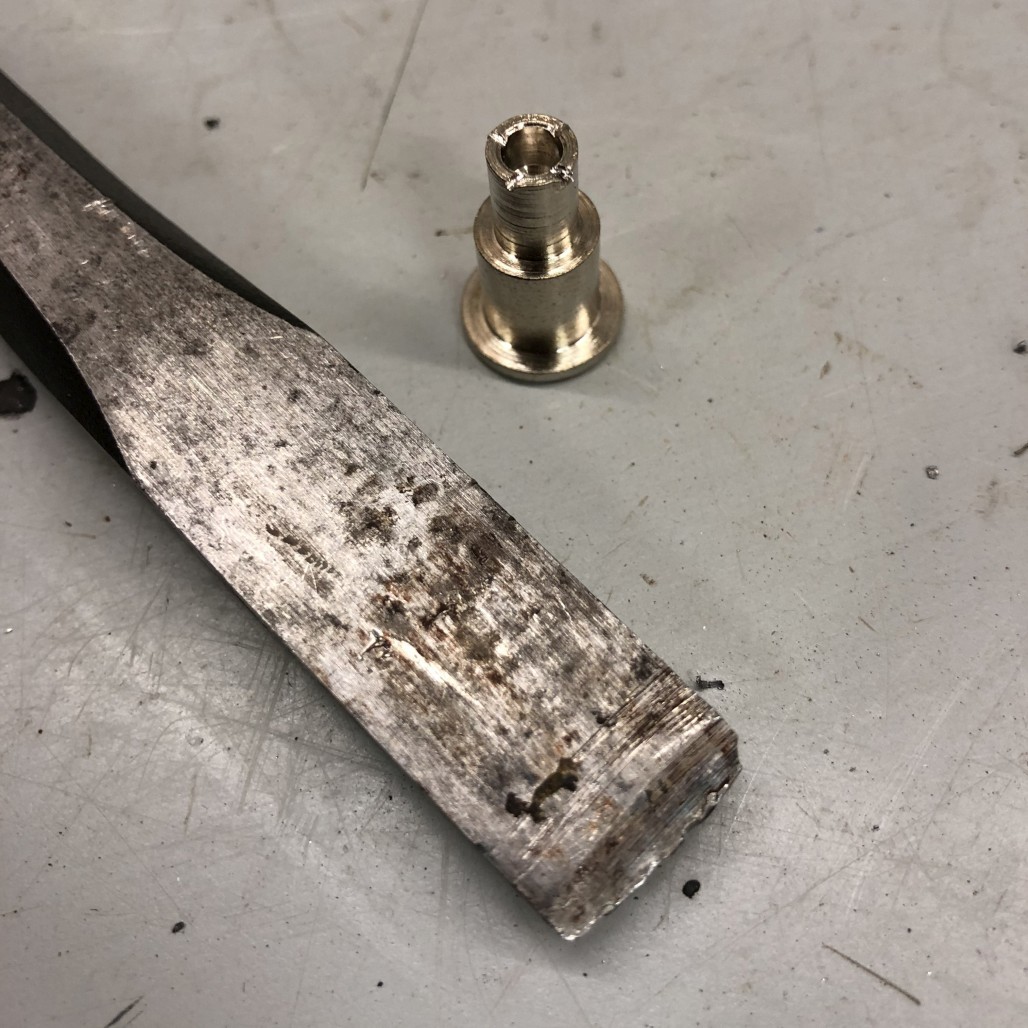
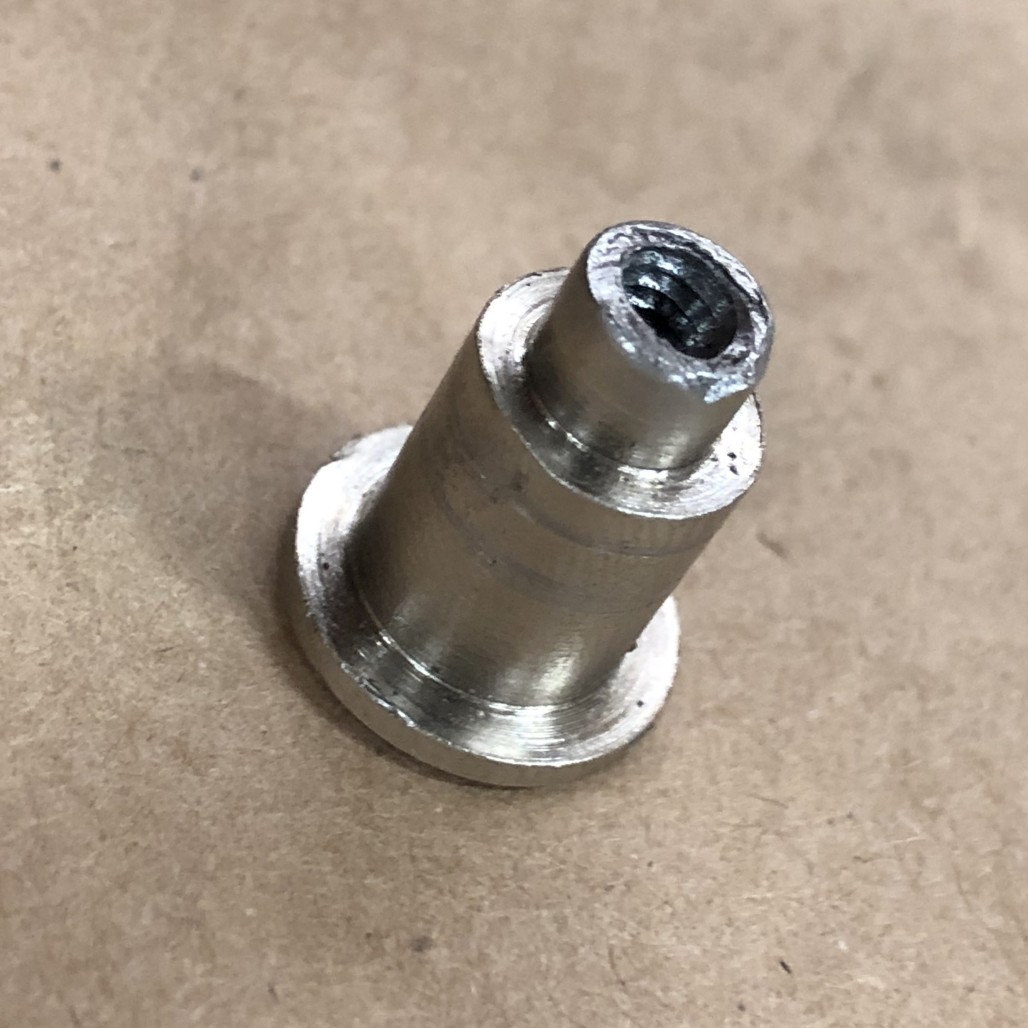
Here's what they should end up like. It's handy that they have a divot in the middle, that made it easy to drill into them.
Next, after determining what size screw would fit, I used the drill press and drilled into them deep enough to tap threads into without going through. For threading, I chose 8-32 NC.
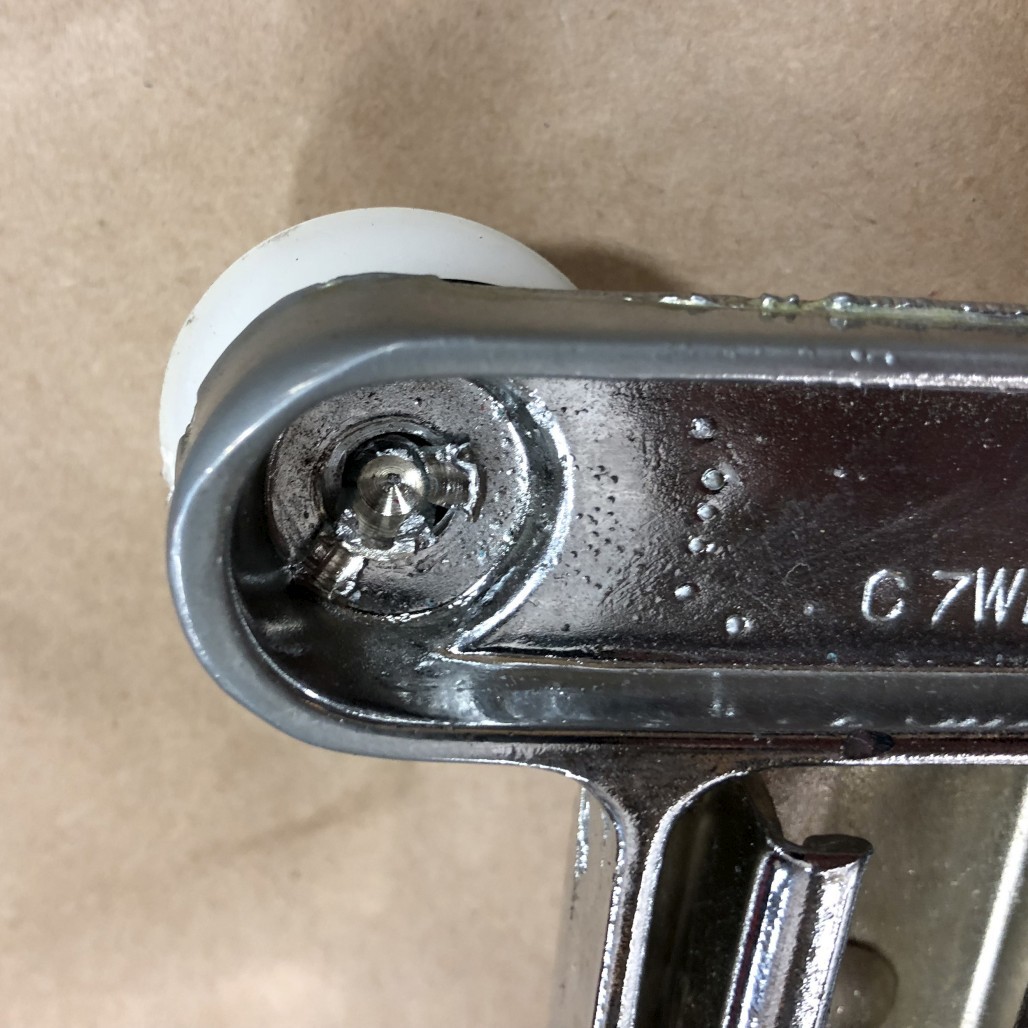
Ta-da:
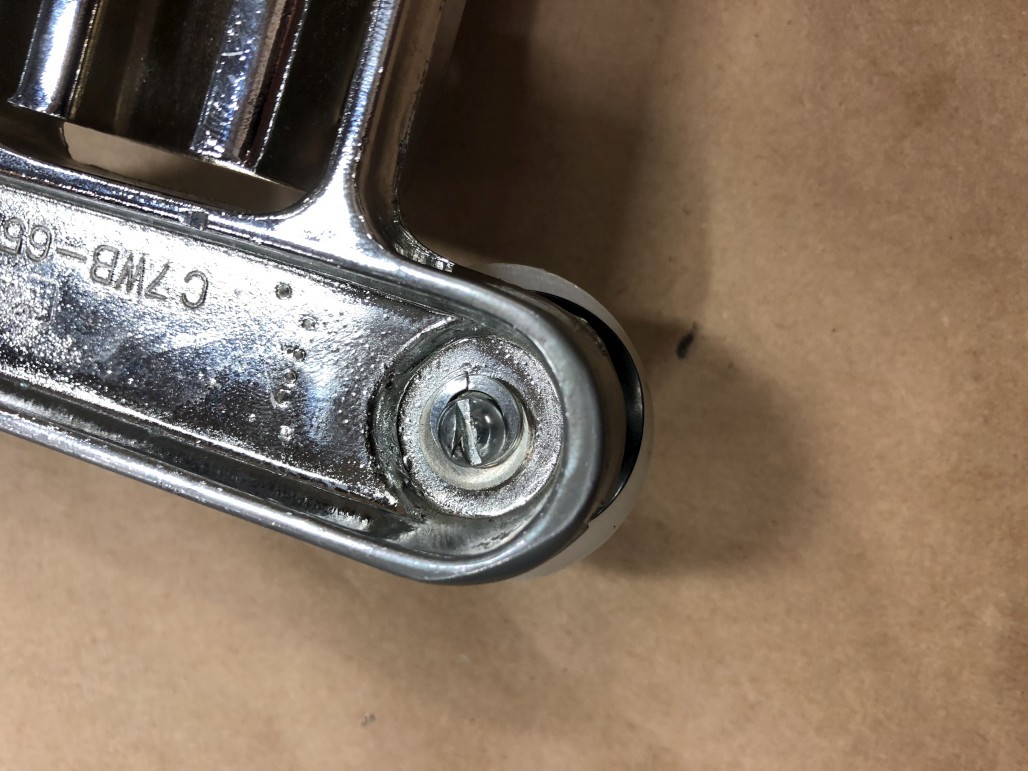
Installed. Ignore the wrong size lock washer, I'm gonna take that out. I think it'll hold just fine with just a flat washer.
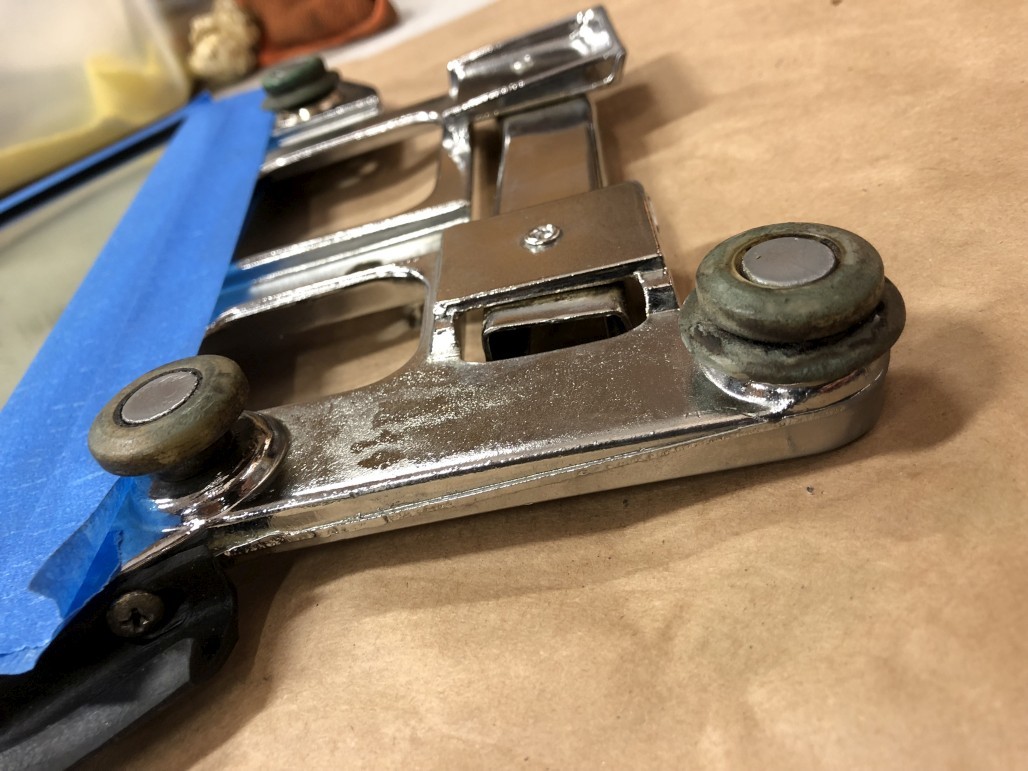
So here's another "before" shot. I mostly took this to remind myself that the one upper roller is just single, without the second inner roller or spring washer. Not sure why.
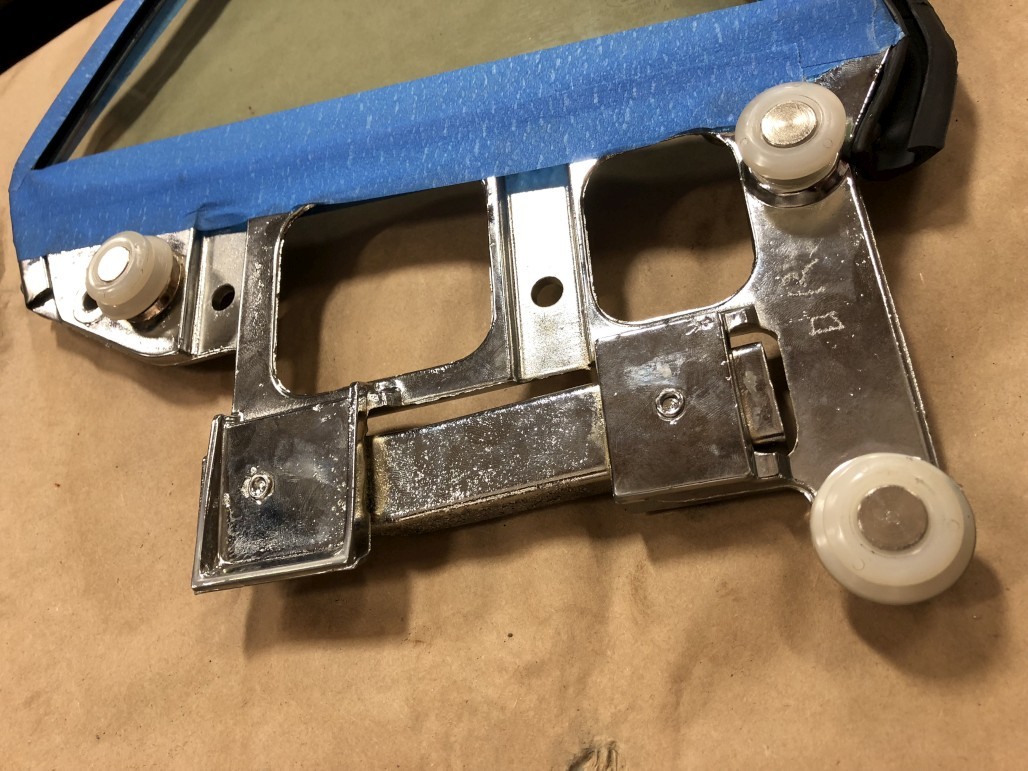
After. It's nice to have these in, looking fresh and spinning freely. I'm looking forward to seeing how well these roll up and down. It better be smooth as butter after all this!
To be honest I'm still not quite done because I broke the tap off in the 4th one I was doing. Gonna seek assistance from a coworker with welding skills and maybe weld a nut onto it and back it out, hoping to save the roller pin. Ugh.
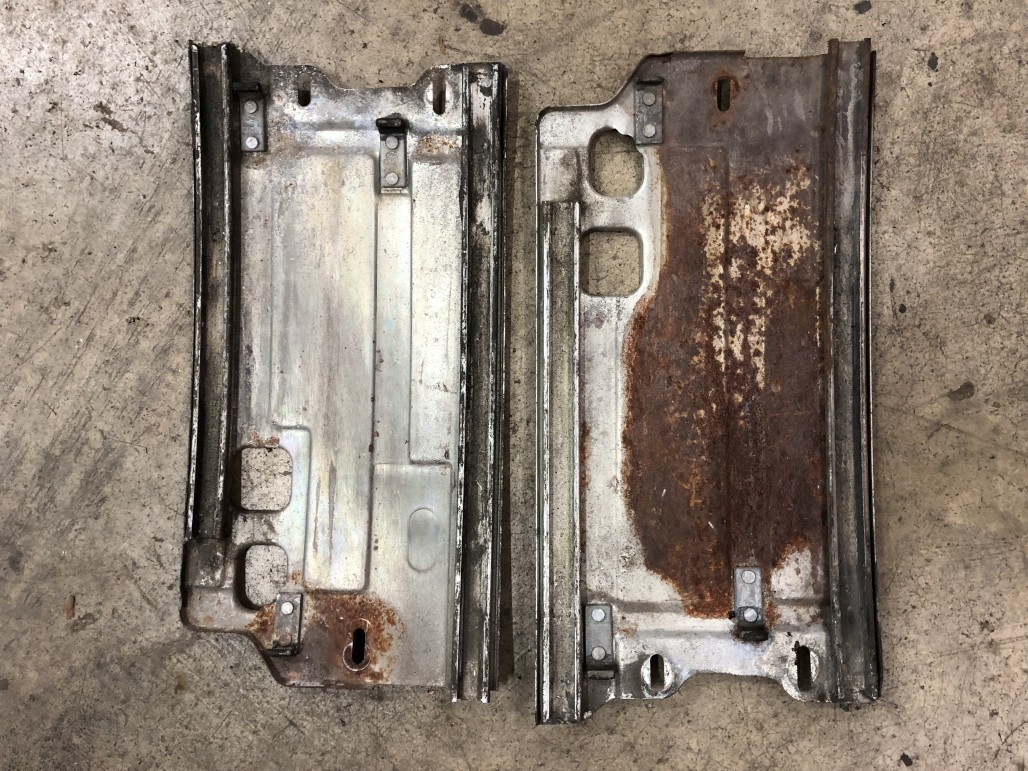
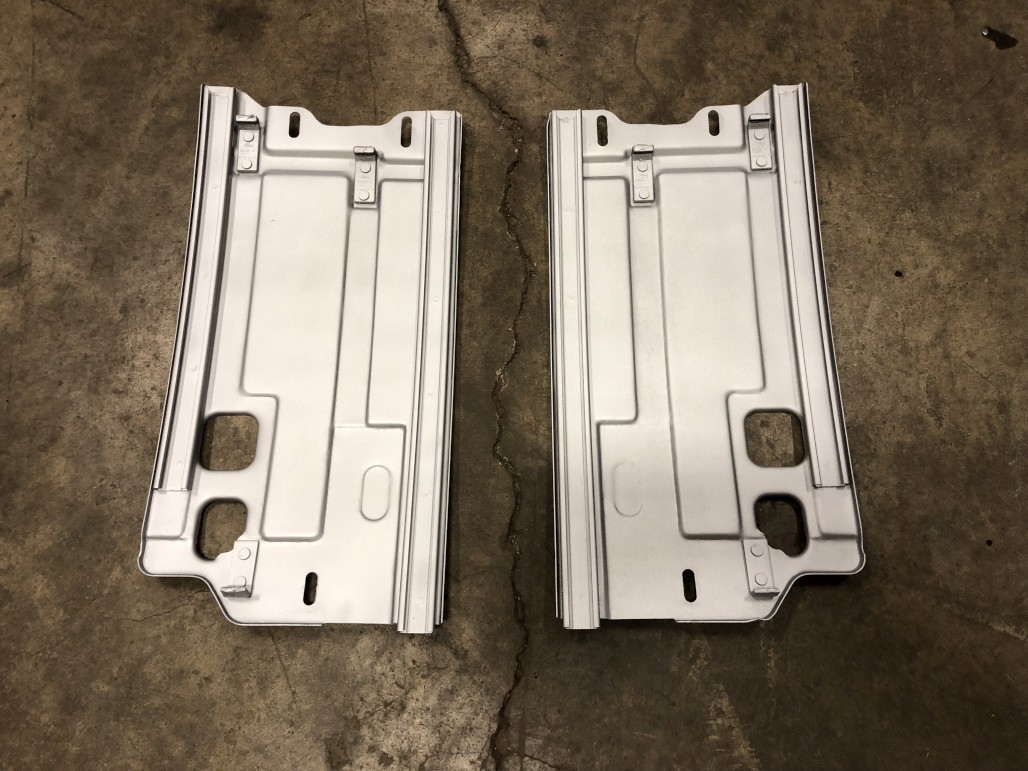
Anyway, on the same note of getting these ready to put in, I cleaned all the gunk out of the quarter window tracks, sandblasted and painted them a natural silver. I know they're supposed to be zinc plated or galvanized or whatever, but this works to beautify and protect them. Before & after:
Getting bogged down on little detail projects like the rollers is why I'm not going to be done for the show, but that's okay. I'm of the "do it once, do it right" mindset, because I plan on having this car for a very long time and want to avoid taking it apart again!
Even though they don't attach like they're supposed to, at this point I still think I can recommend the new rollers, just because it's a wear and tear item that can be pretty frustrating when your windows are hard to roll up and down. We'll see how it goes together though. I'm also putting in new window regulators because my originals are bent and ugly. Hoping to have this little project wrapped up soon so I can move on to the other windows.

So nice in honor of your grandparents.
Posted by Diggymart on 1/3/20 @ 8:04:16 PM