You must be logged in to rate content!
10 minute(s) of a 462 minute read
5-7-2016
so, it's been a while and i got a bunch or stuff done. here are some updates.
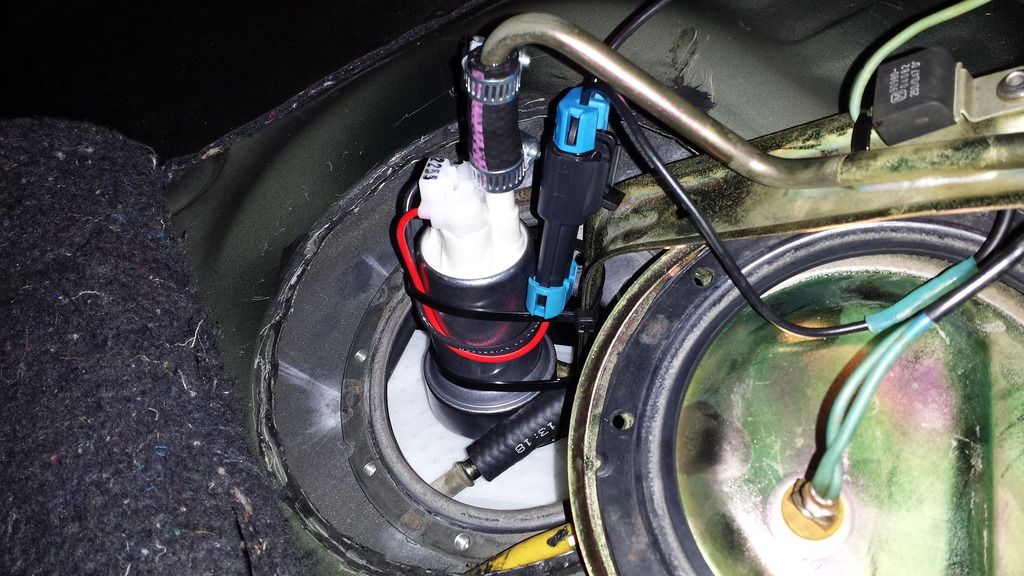
i got a wally 450lph fuel pump, and i stalled that mfer.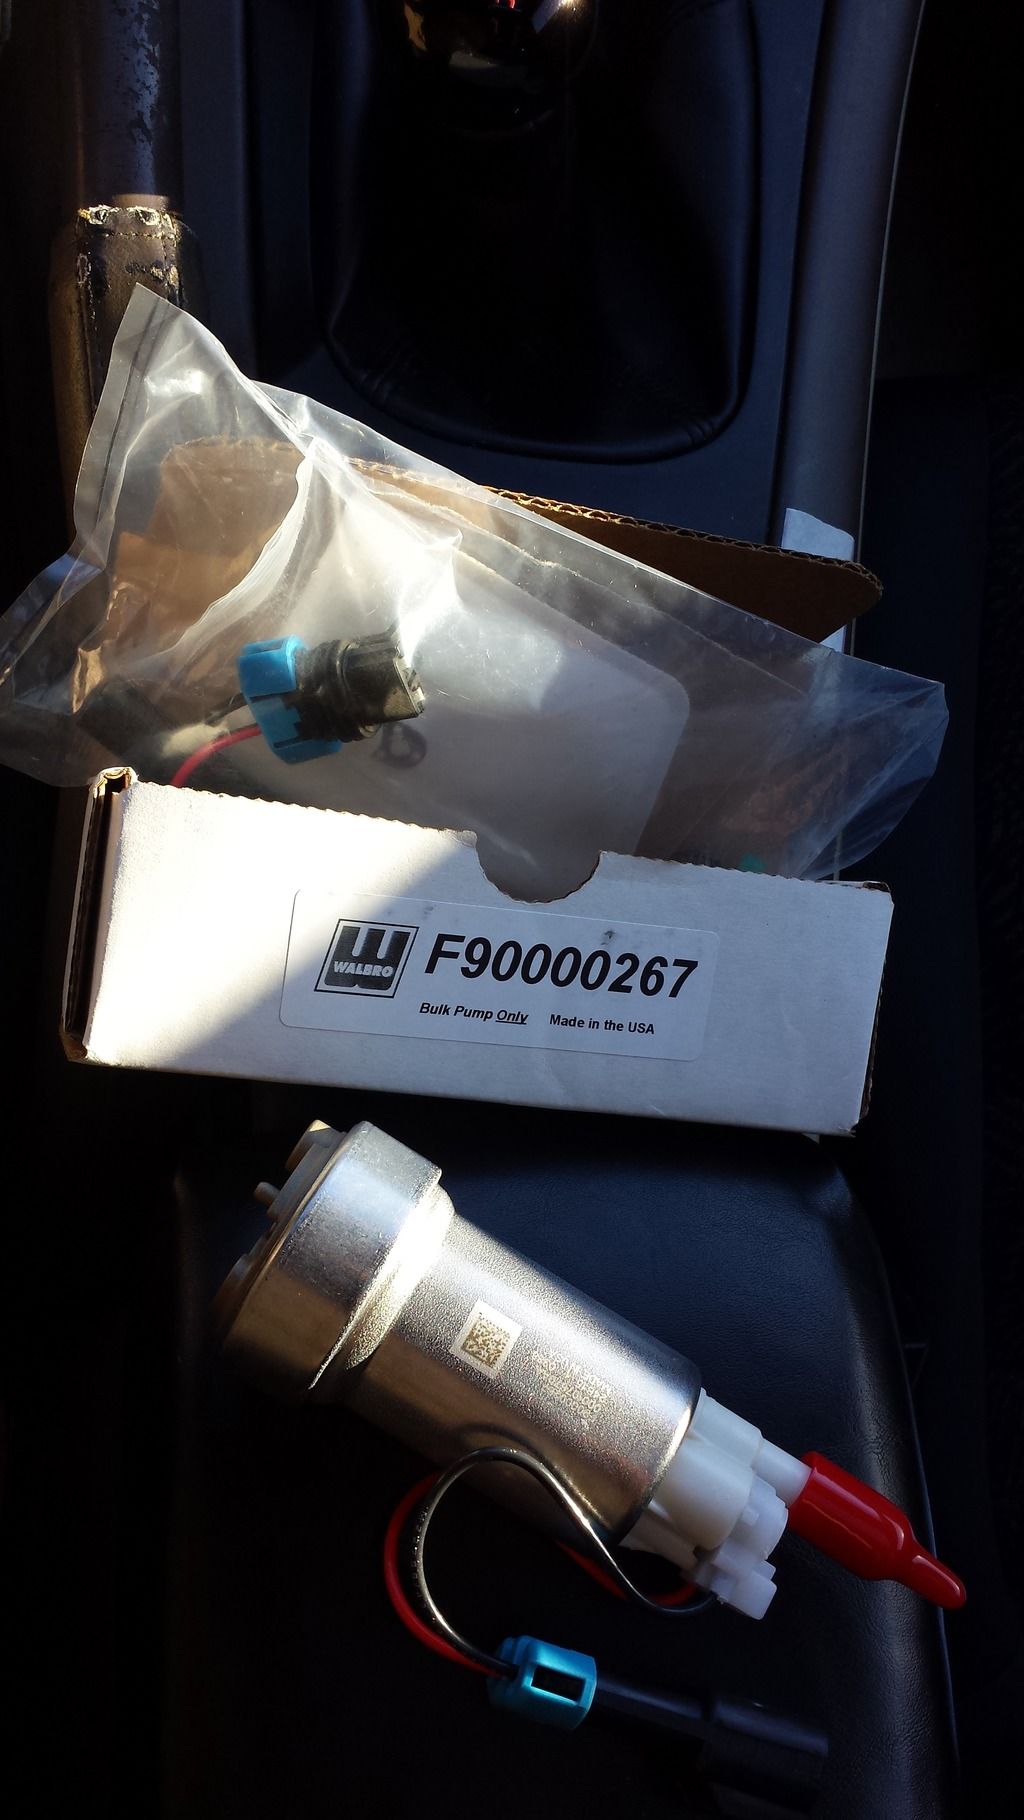
i then met a cool guy who makes custom decals.
so then after a long delay, i finally completed acquiring all the parts i need for my head upgrade/modification.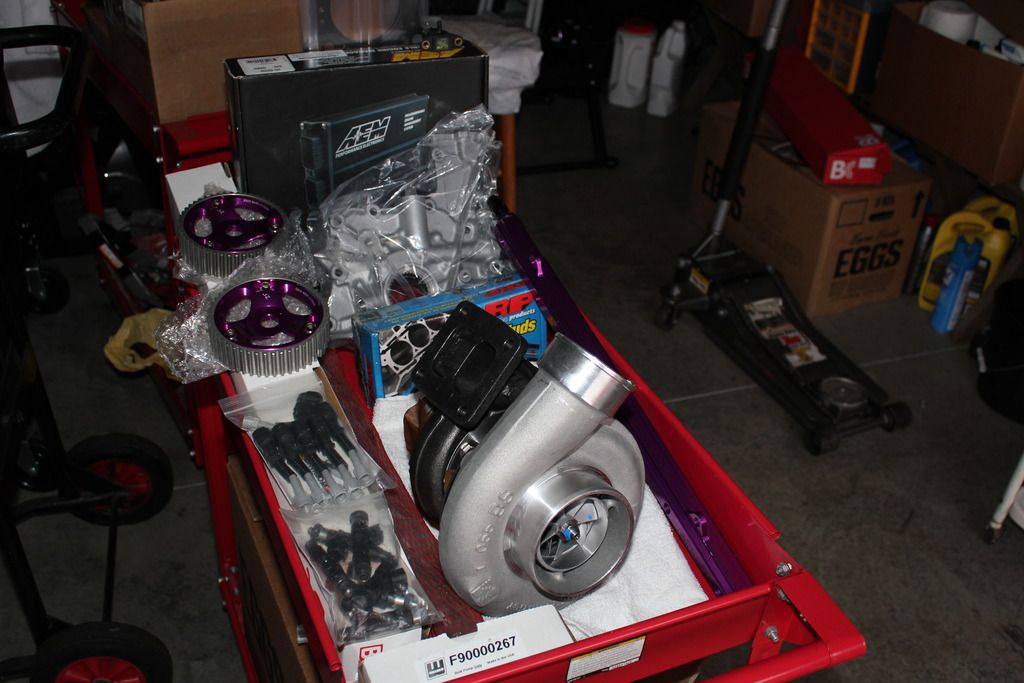
and a new/great addition to the family. a bw s366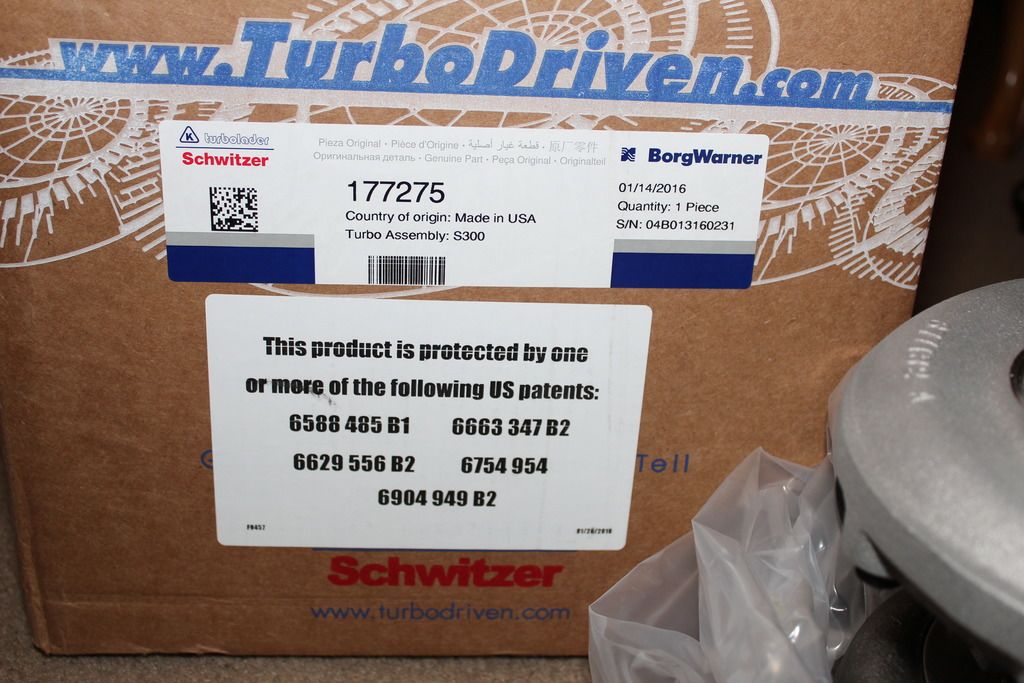
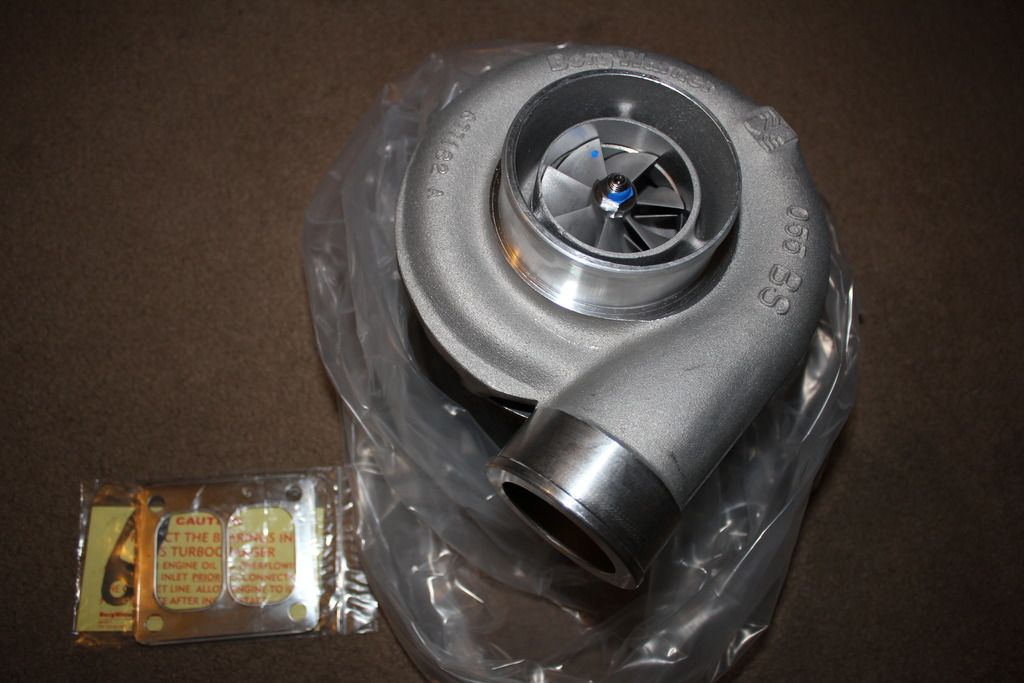
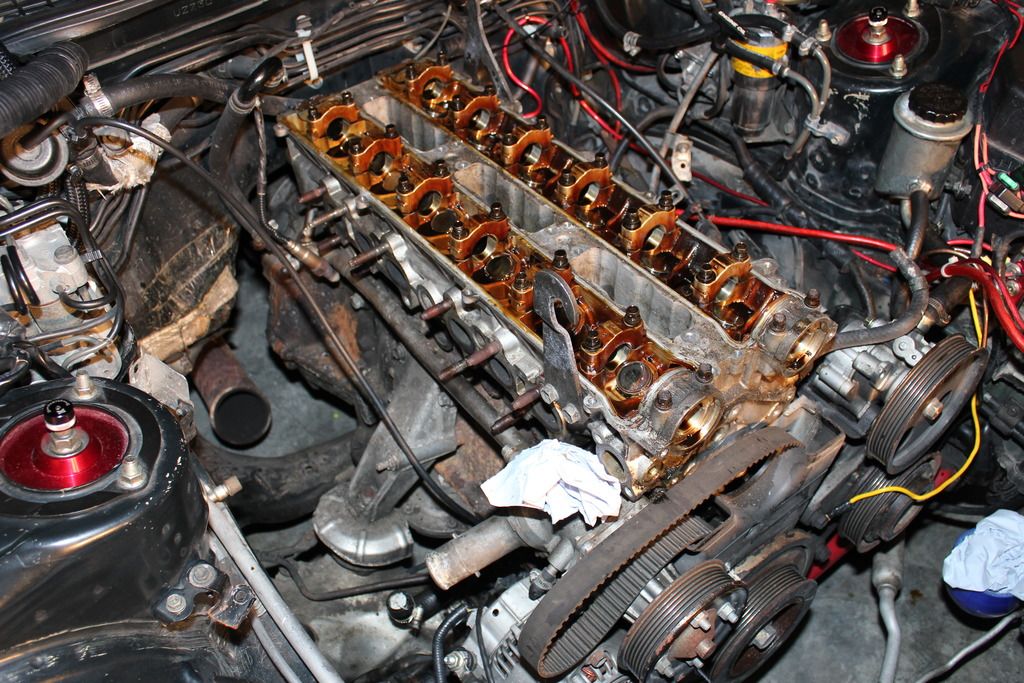
so then it was the fun of pulling my head and getting my cams installed, my shims, valve stem seals and an 3 angle valve job. i also got some adjustable cam gears for bling factor.
and in the process i'm going to replace my oil pump, so the head and the sub frame/oil pan is going to come off. the good thing about this is i can clean up that dried up winter salt from that blizzard of 15.
so saying goodbye to the old setup.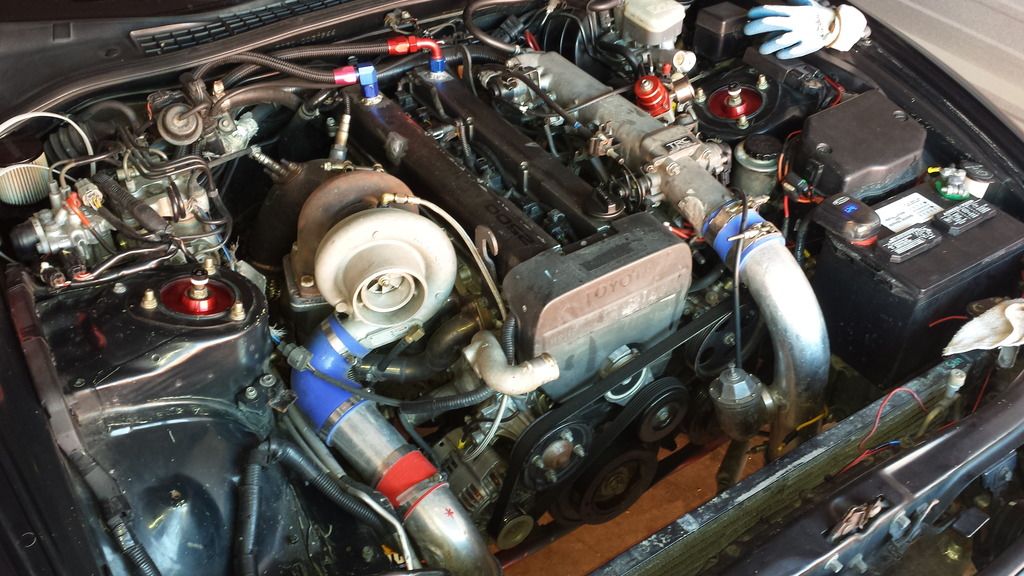
slowly but surely getting stuff off.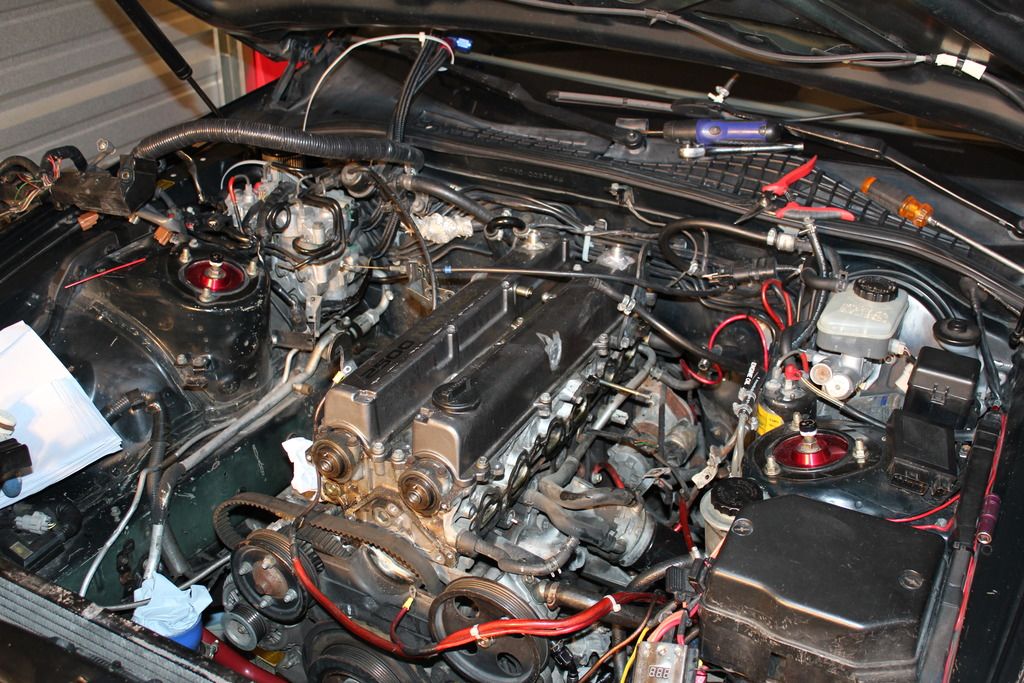
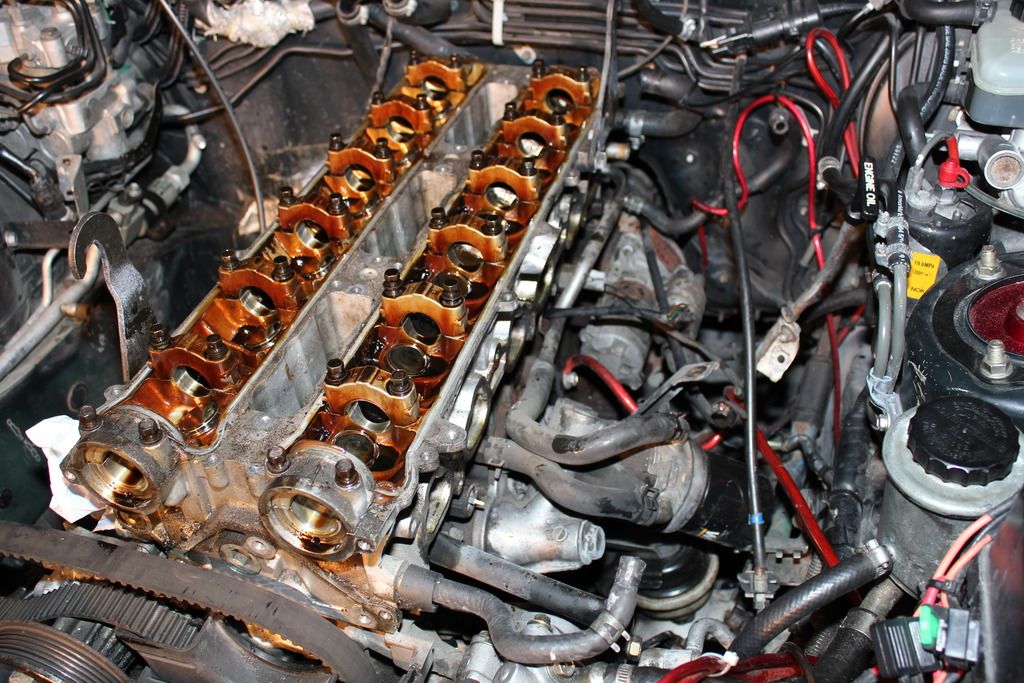
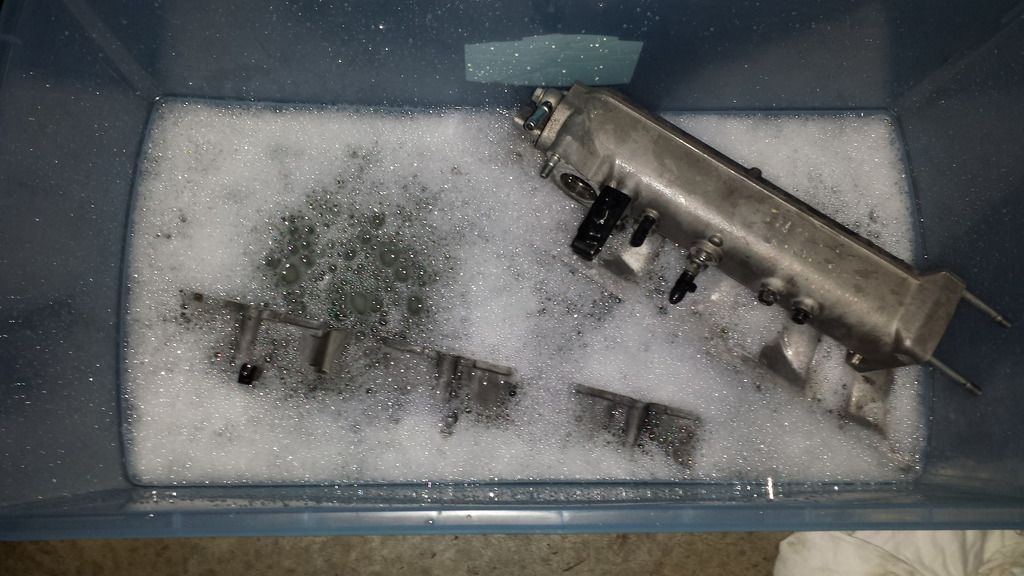
so the intake had some really bad carbonated grime. so i wanted to clean up my act.
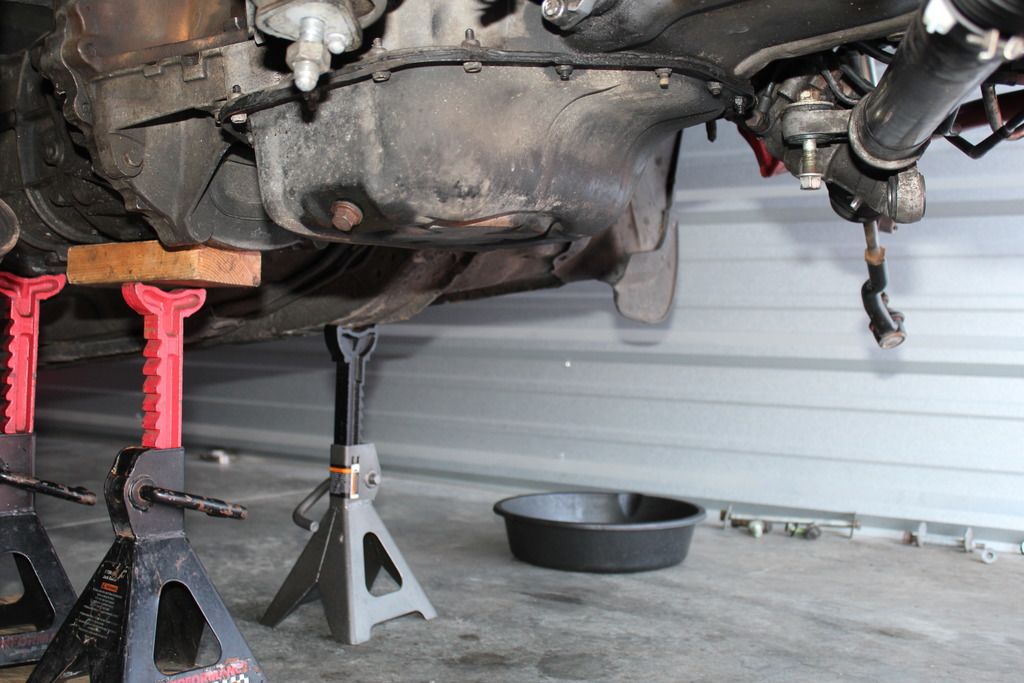
and as stated earlier i had to pull the sub frame to change the oil pump.
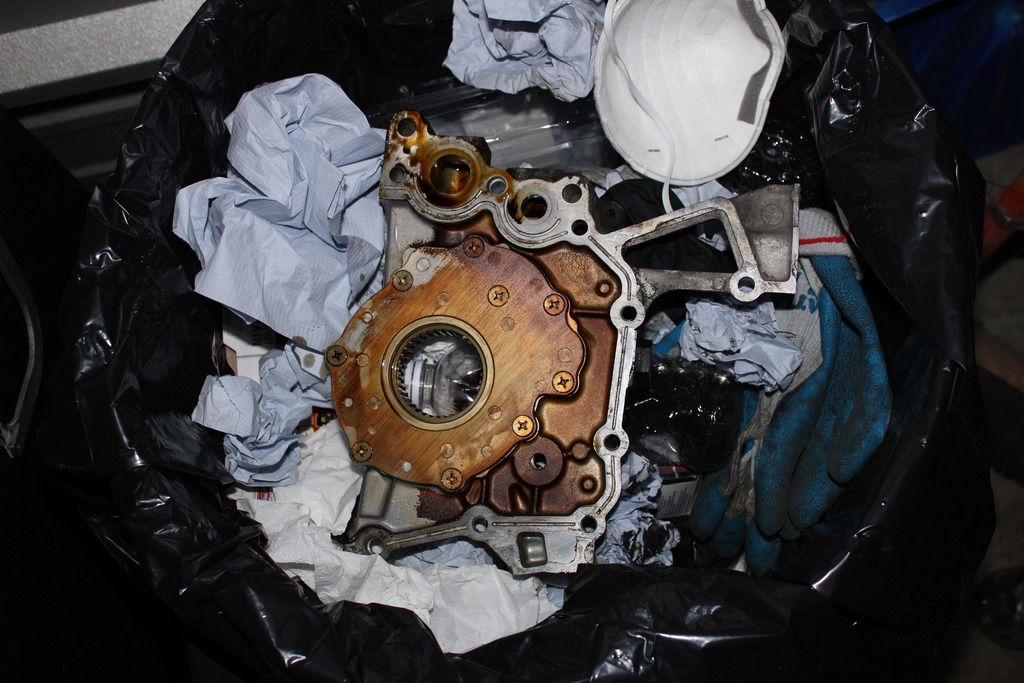
here is the old vs new.
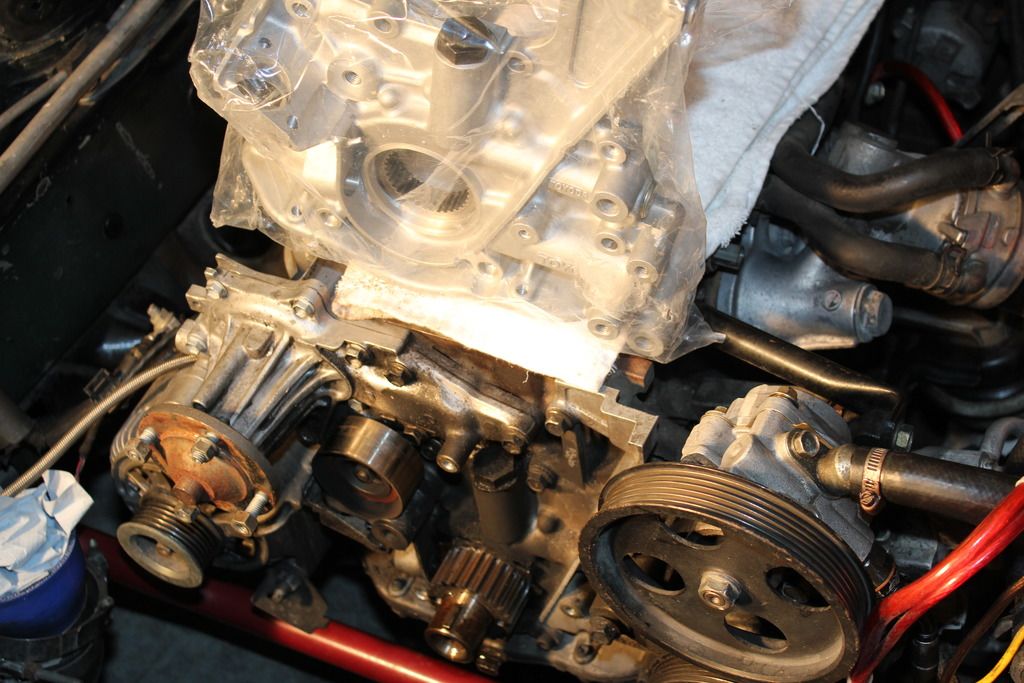
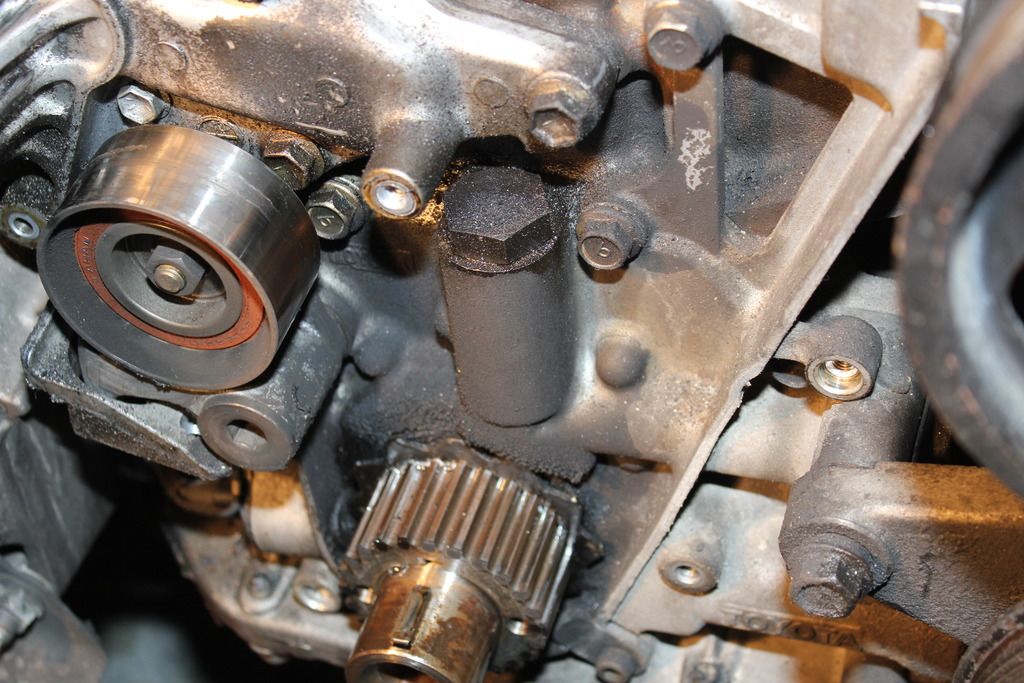
oil pump off
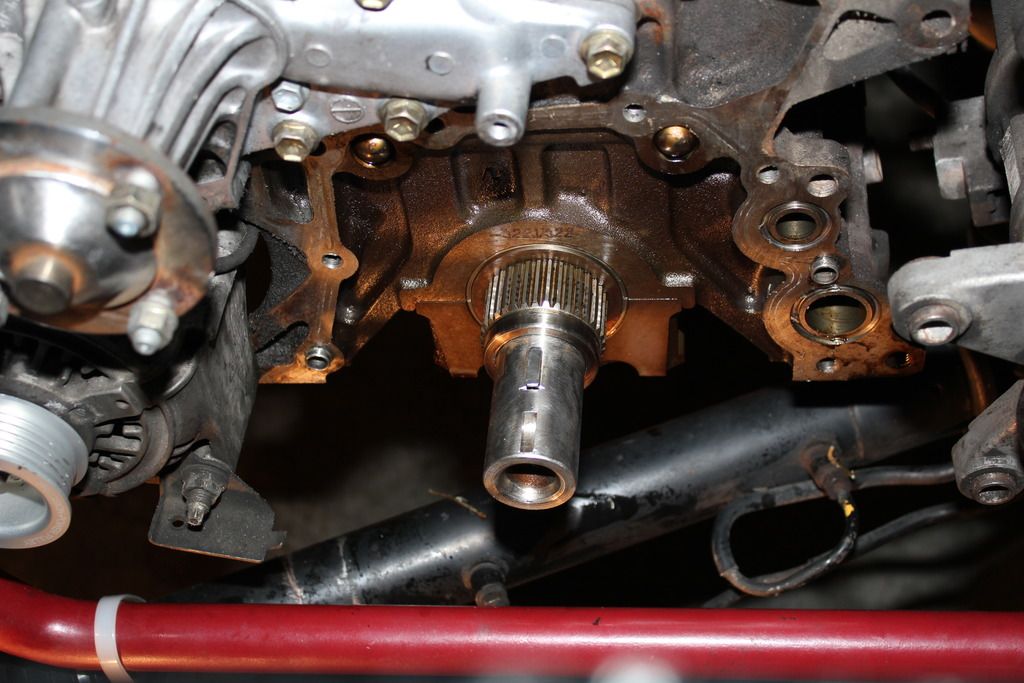
and where the old one belongs. it has done me well thus far.
gasketed this mfer now.
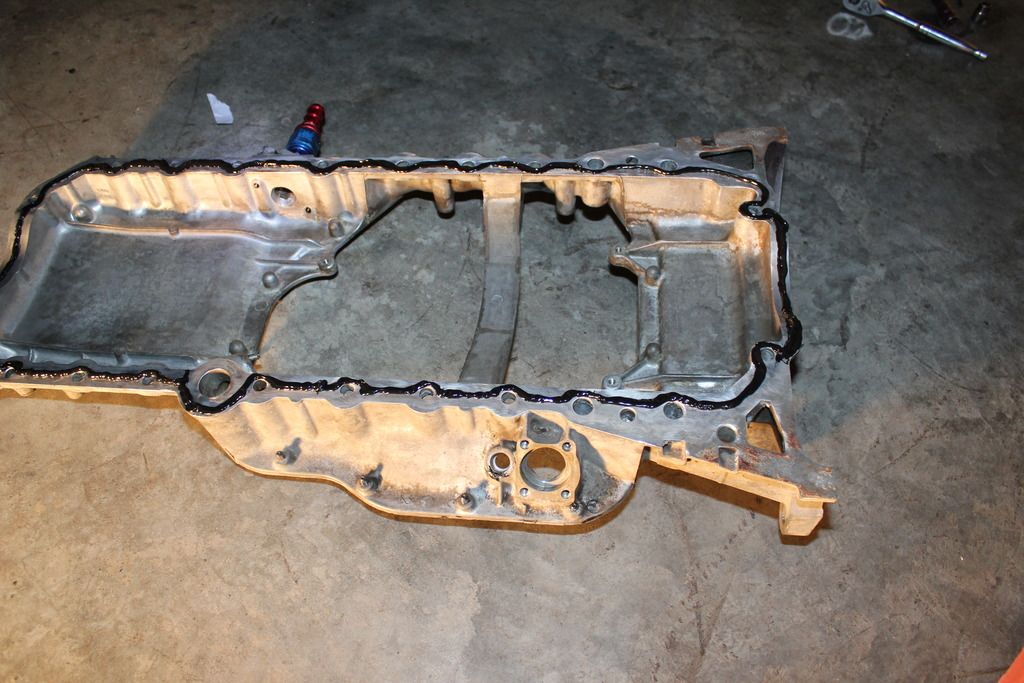
back on, ready for that pan action.
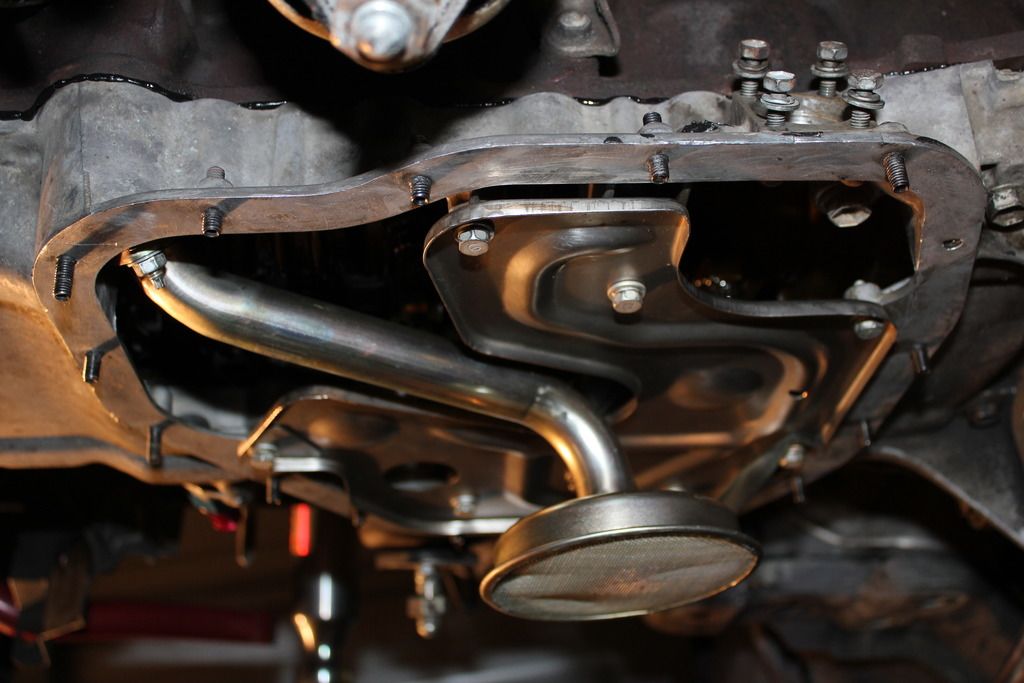
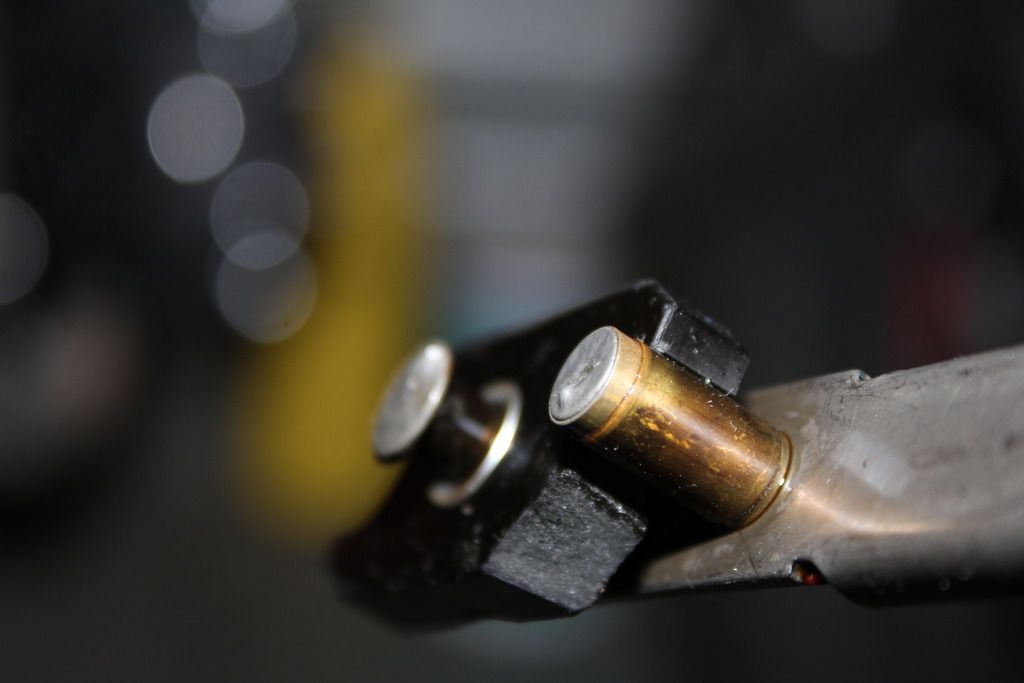
while reinstalling the oil pan i noticed my oil leveler was chipped. i need to replace that at some point one day.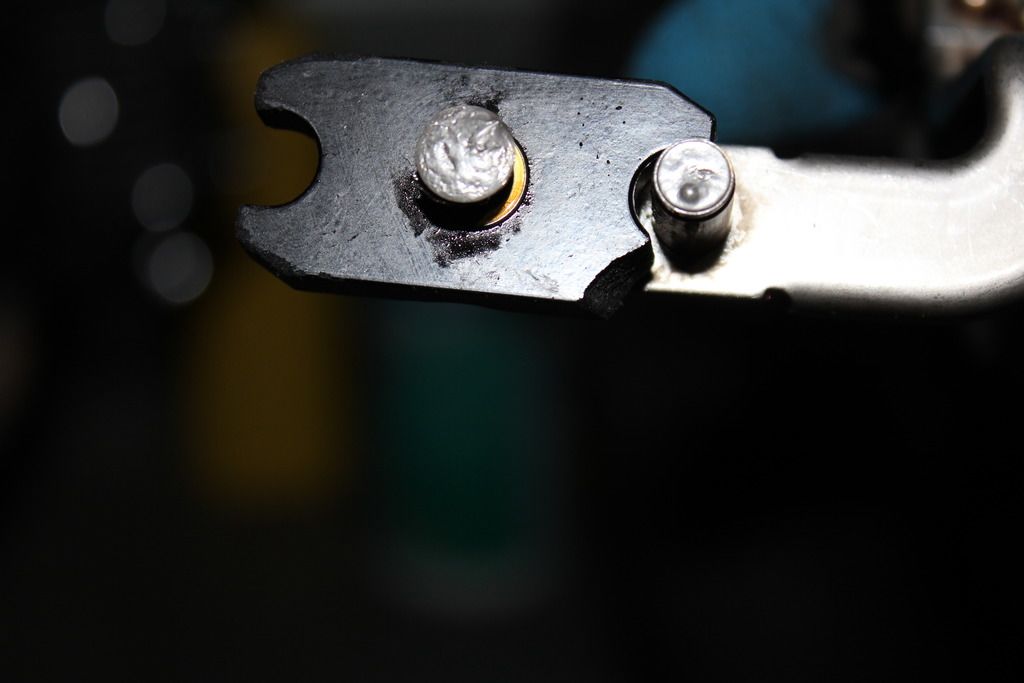
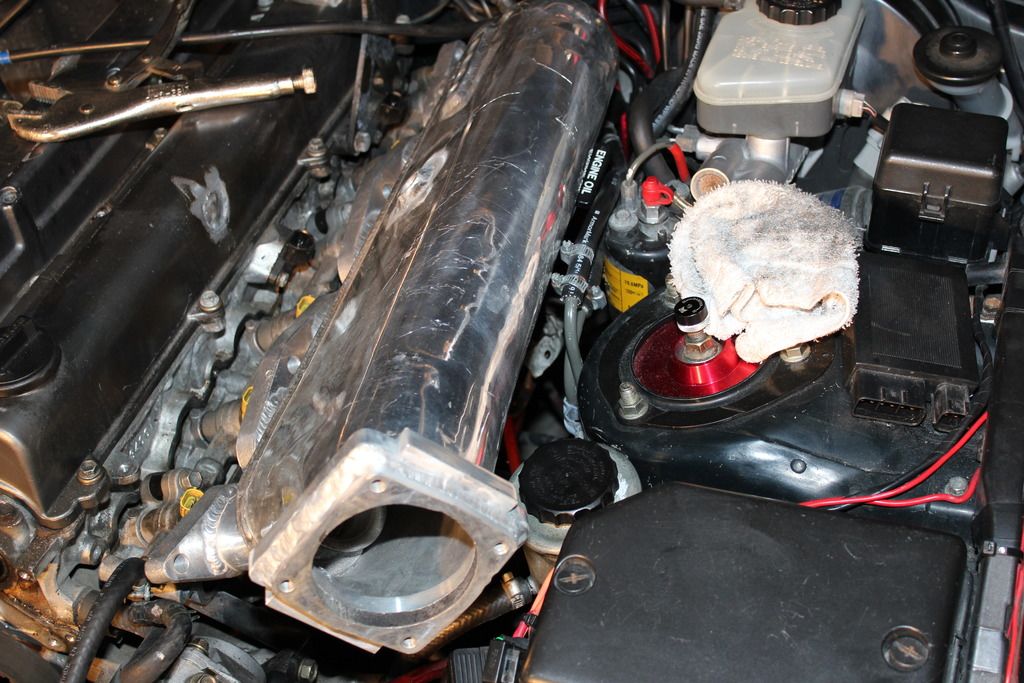
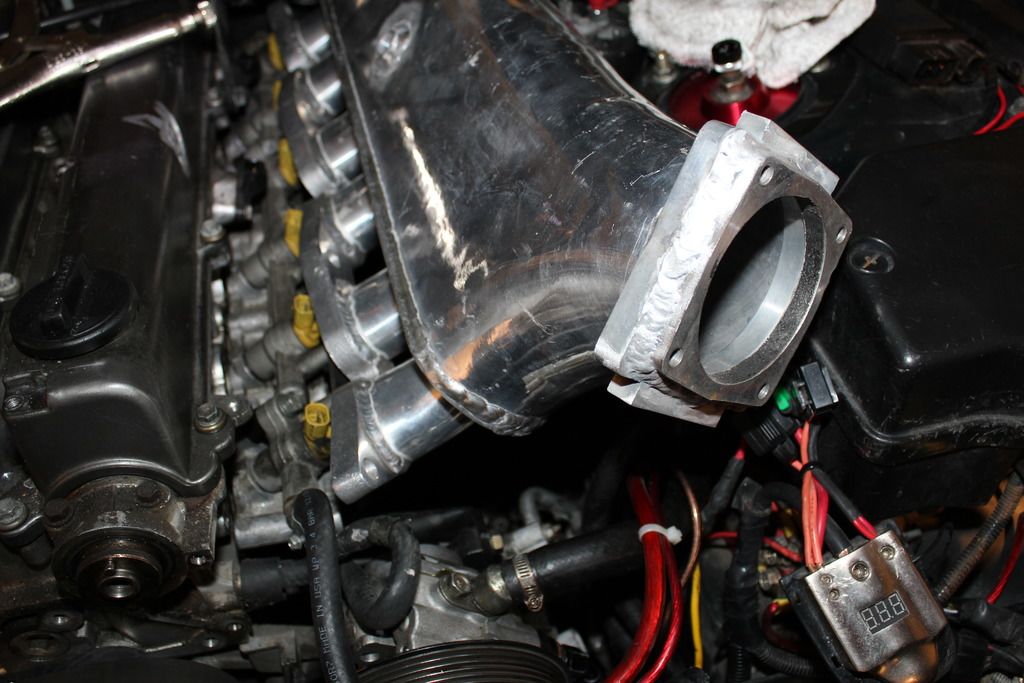
so before i pulled off the head, i test fitted the aftermarket intake. and i must say, it won't fit and it still needs work to make it fit.
After getting the cams out of the way, I got the bolts out and pulled this head. I didn't secure the shim buckets and they all came out(keep them in order) so I had to pay extra at the shop.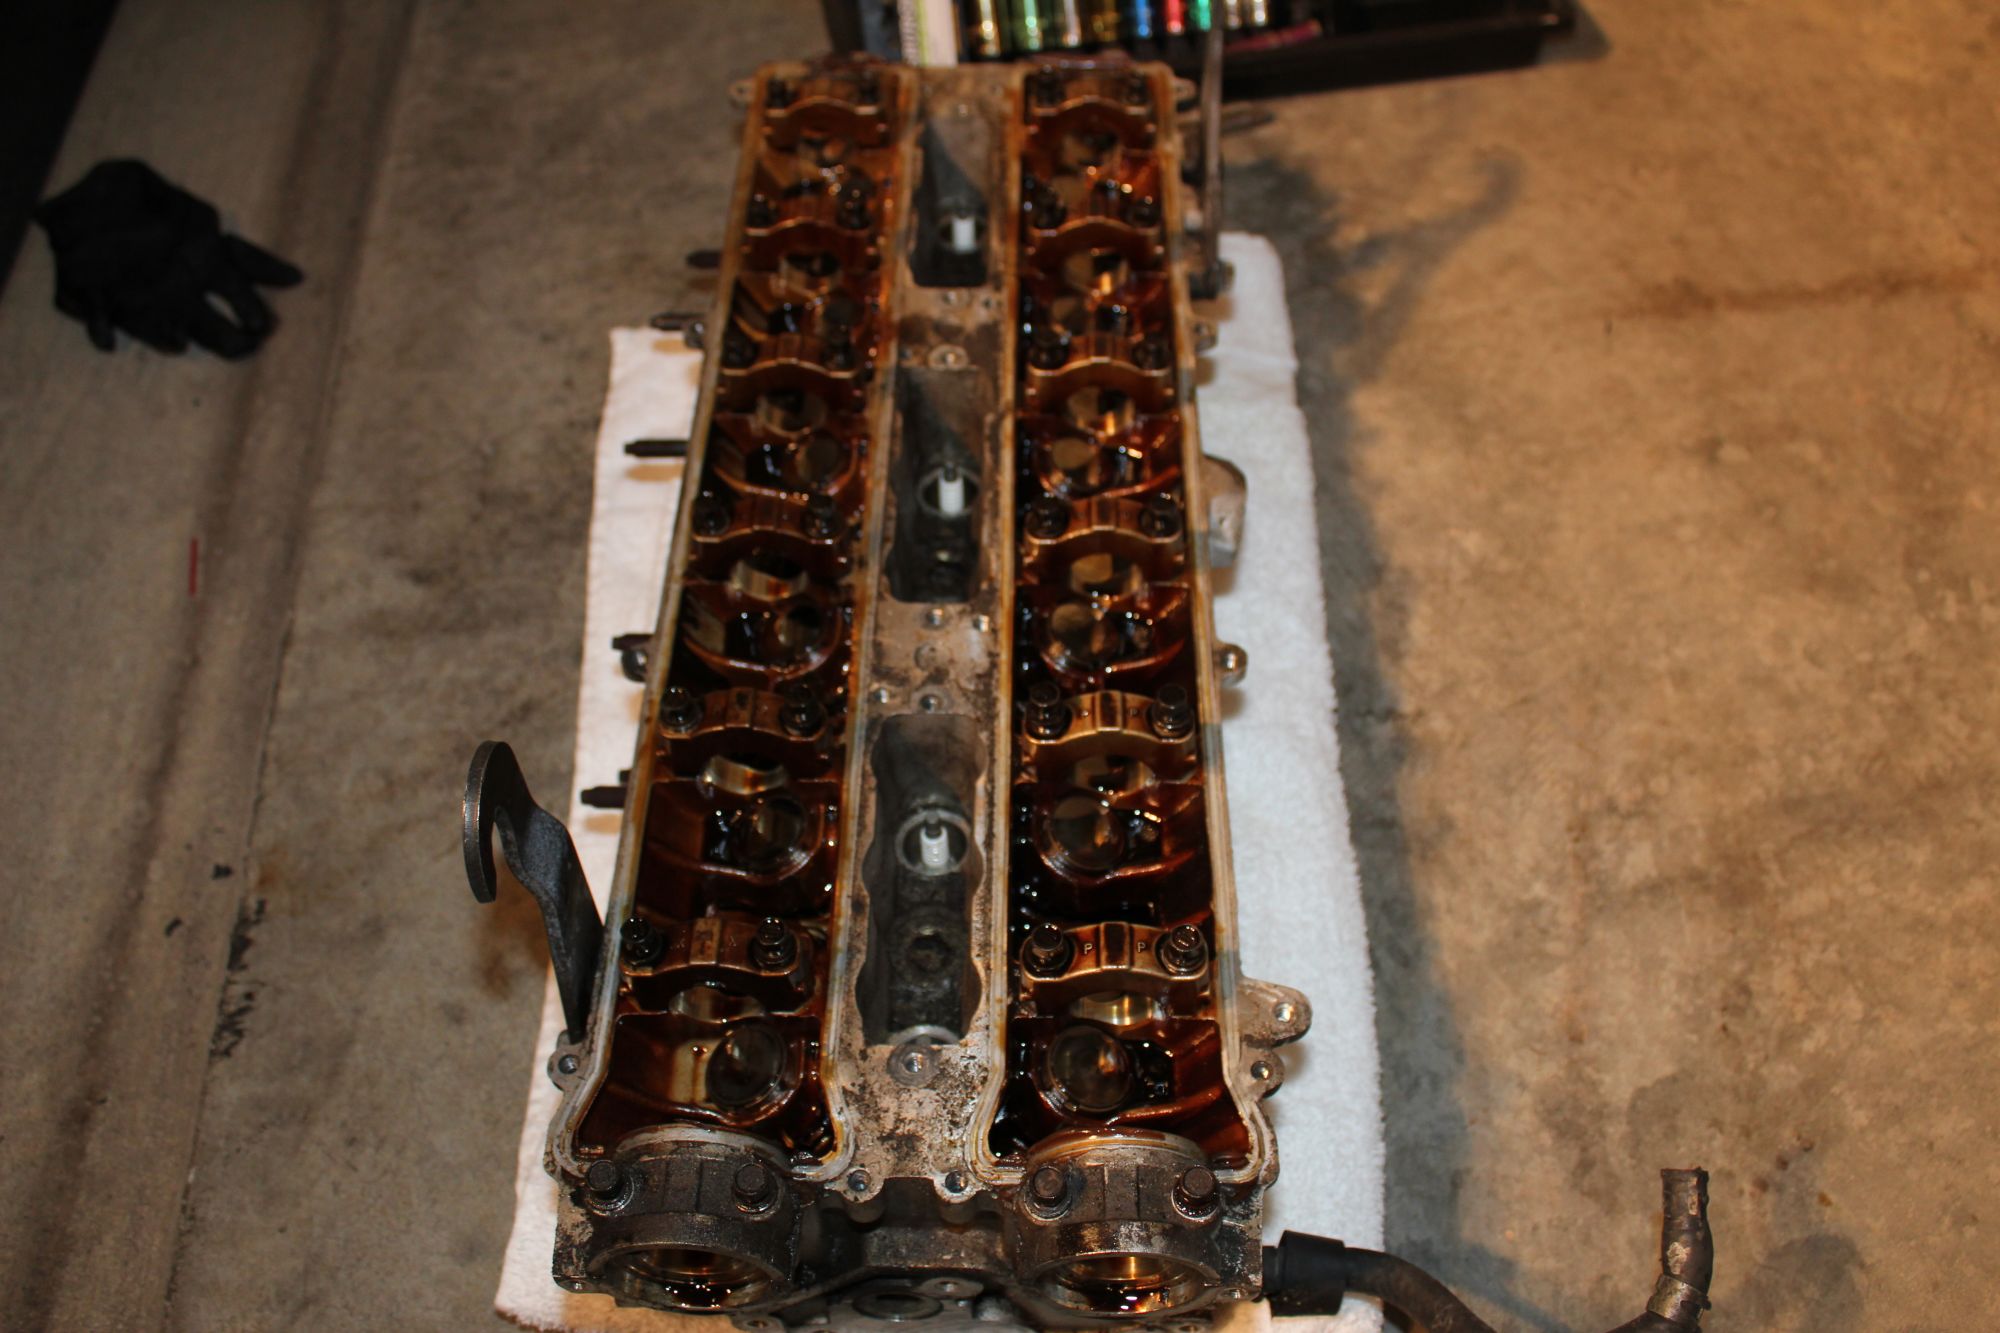
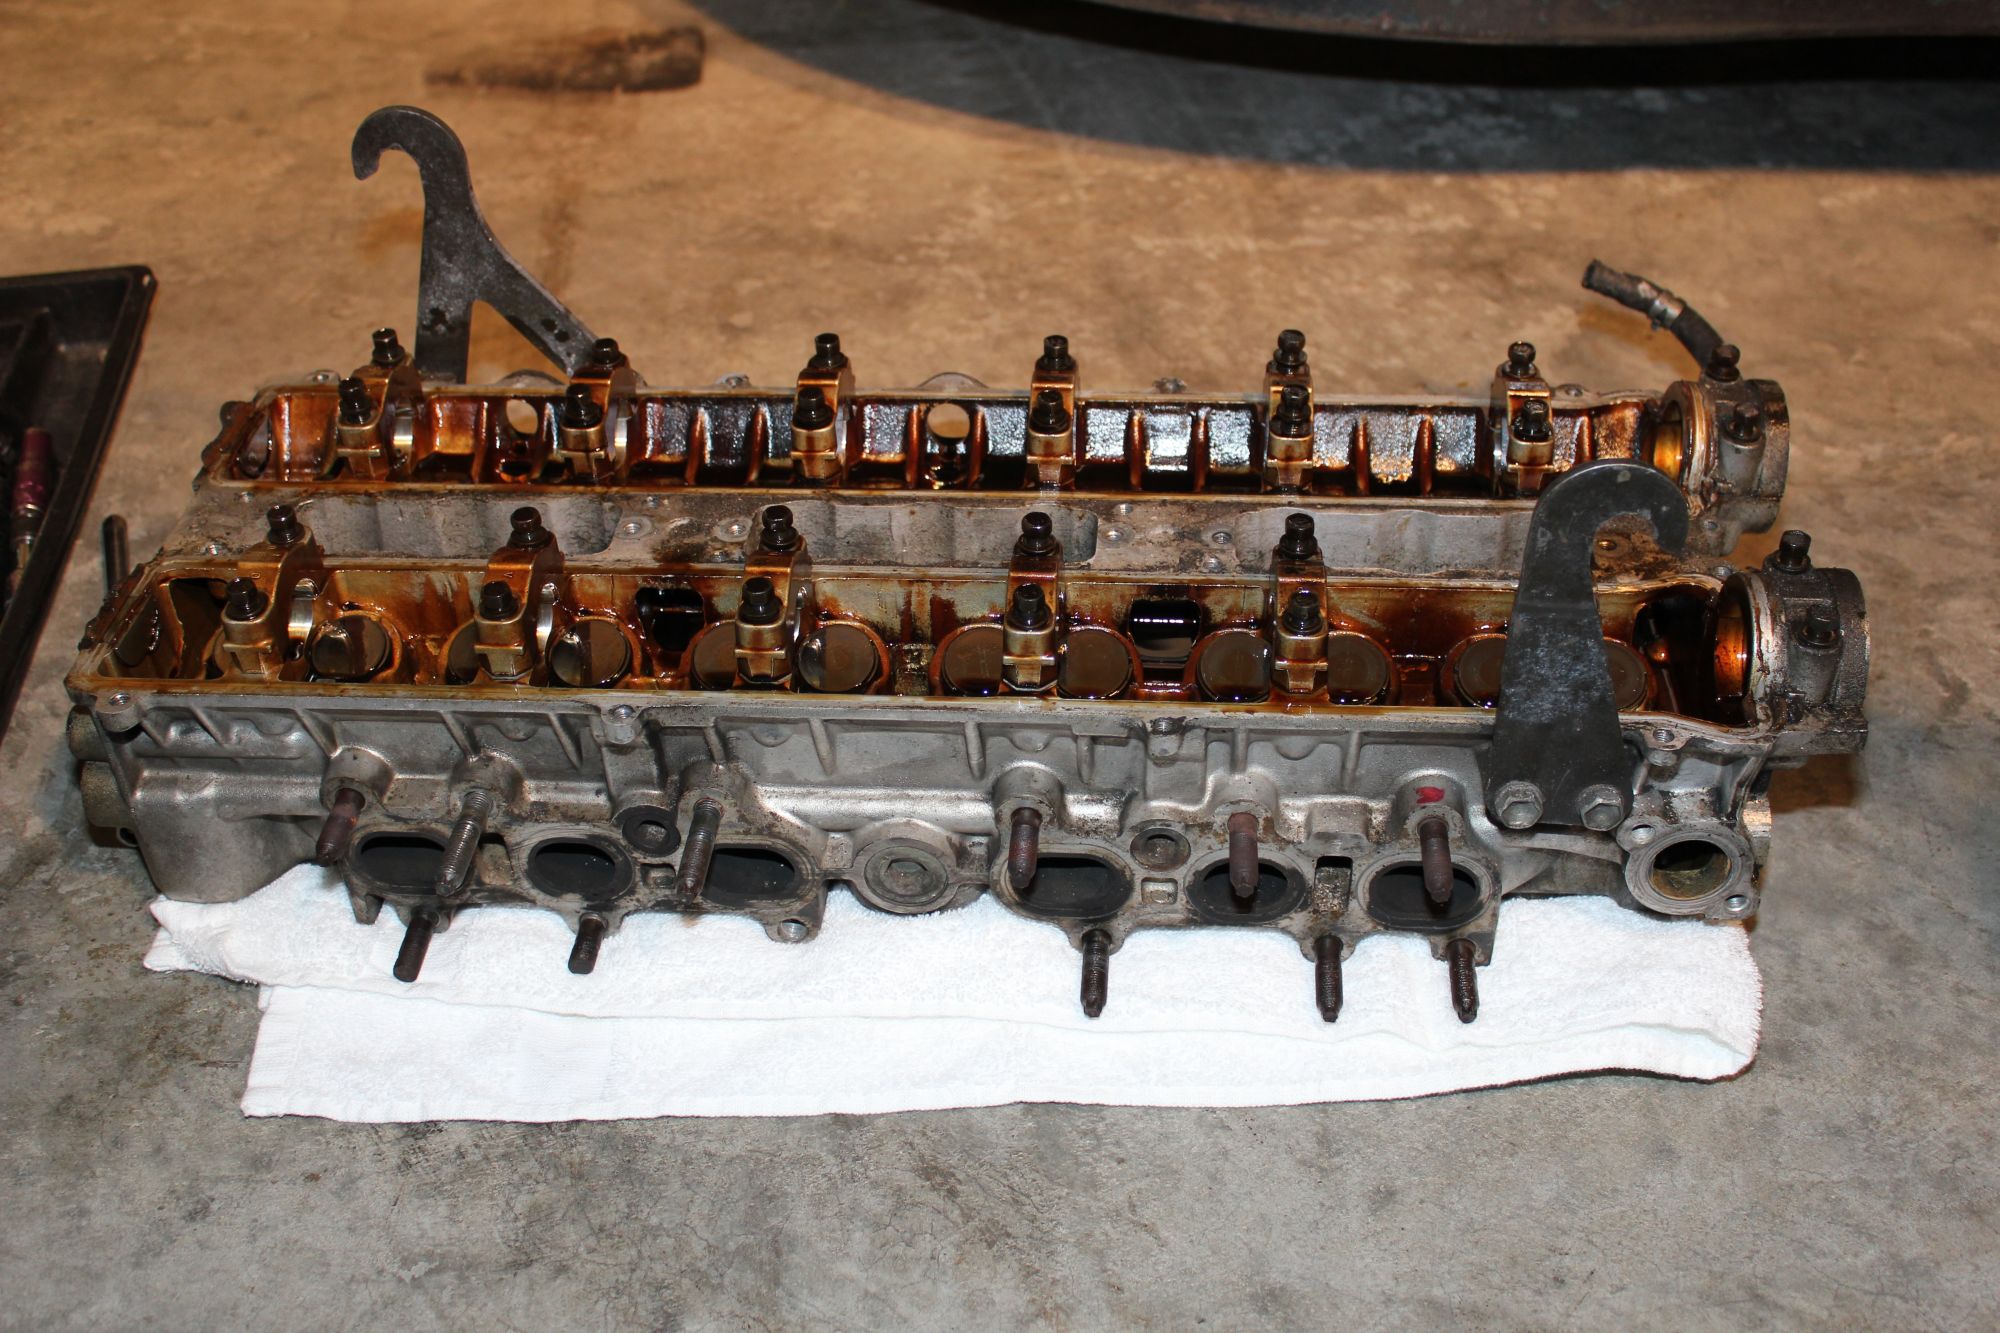
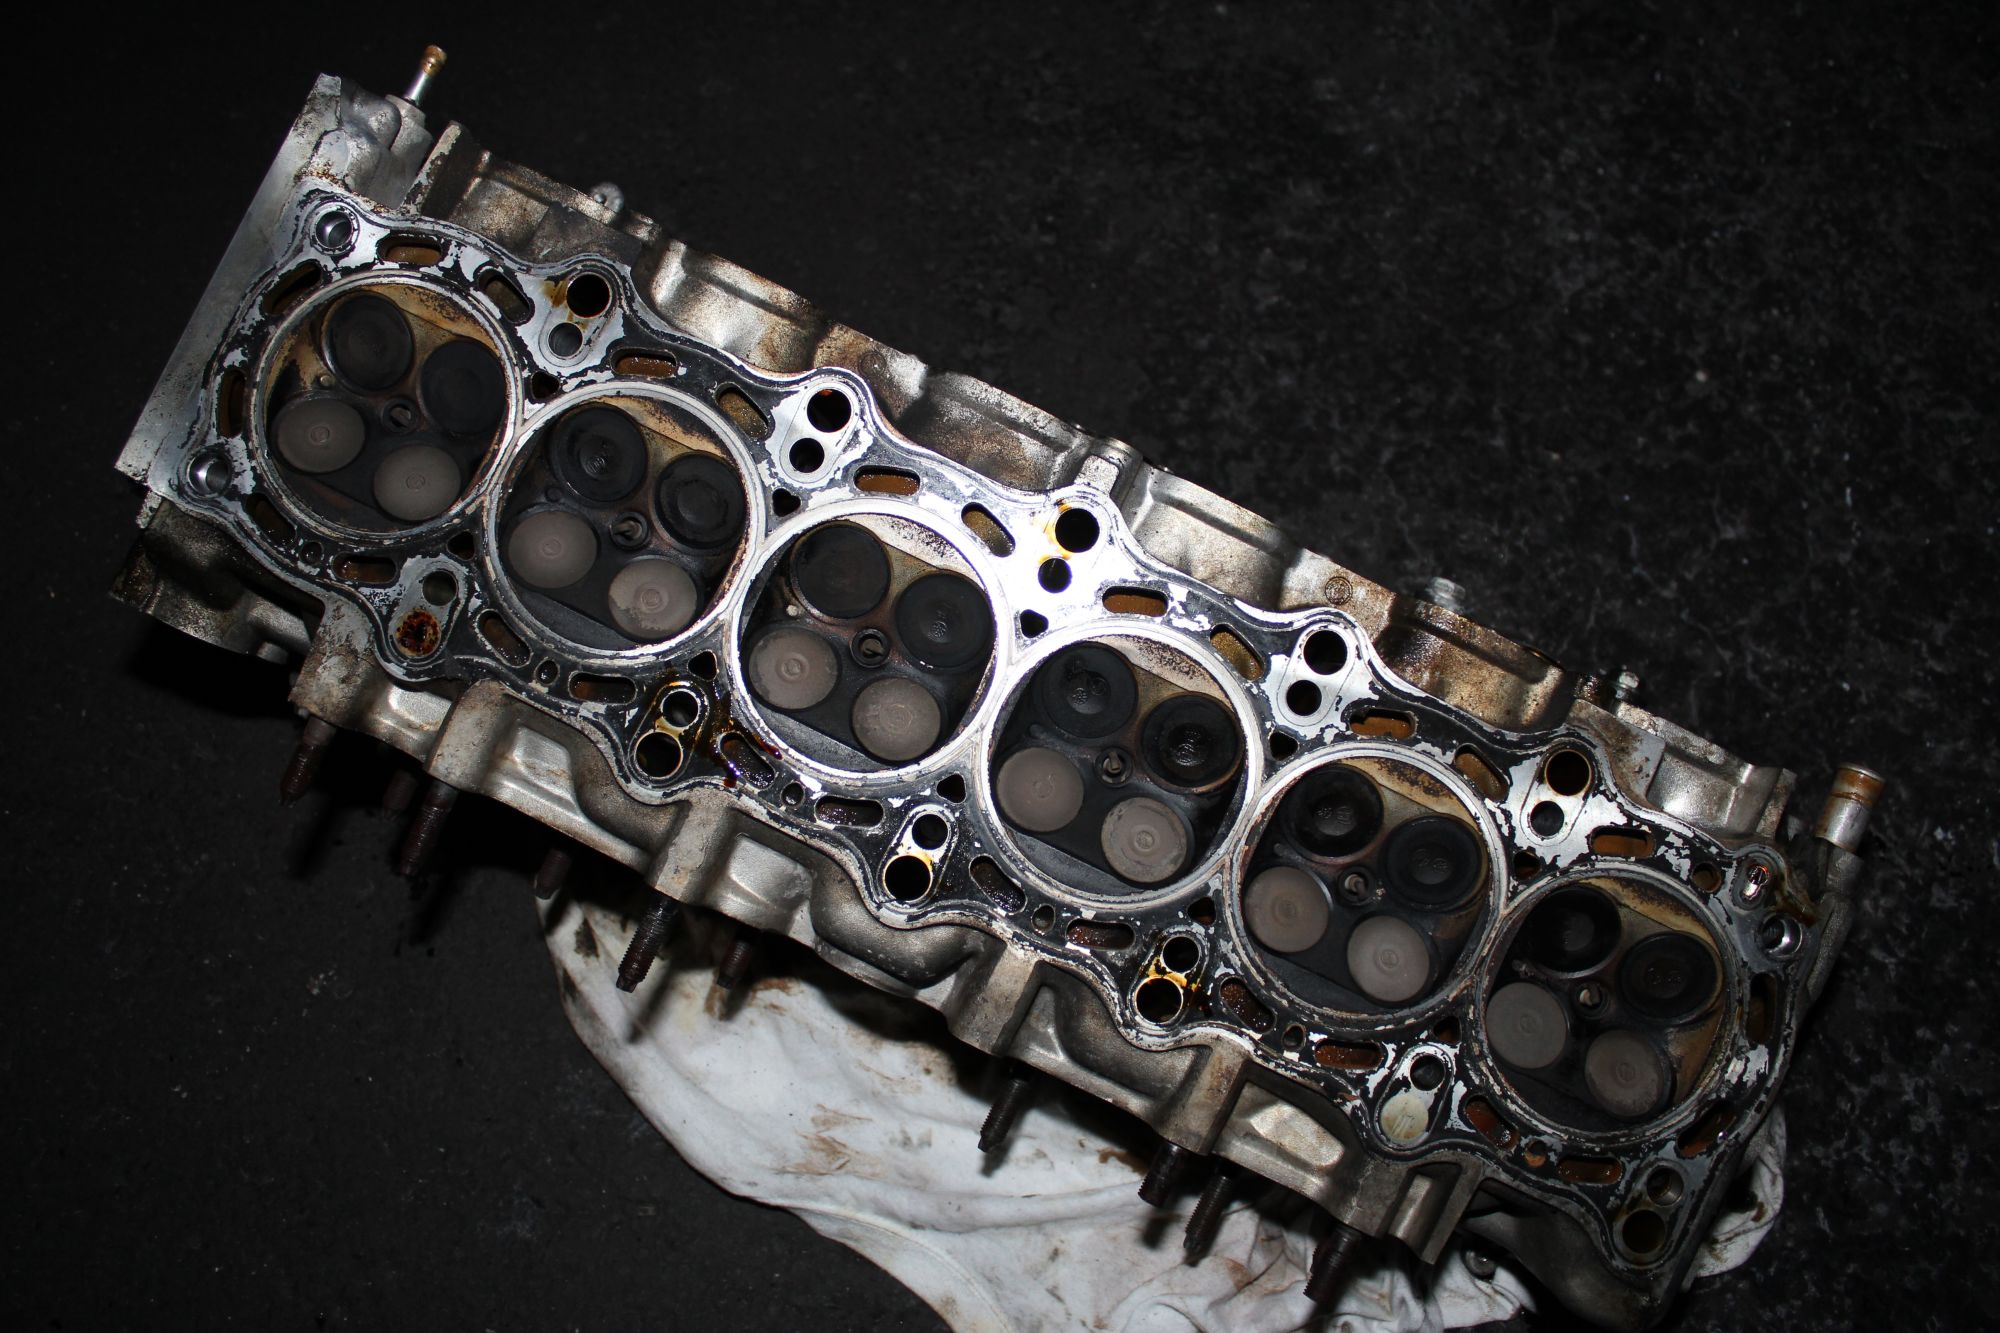
so, before I sent my head out to get done. a good friend of mine Austin gasket/matched my intake/exhaust runners.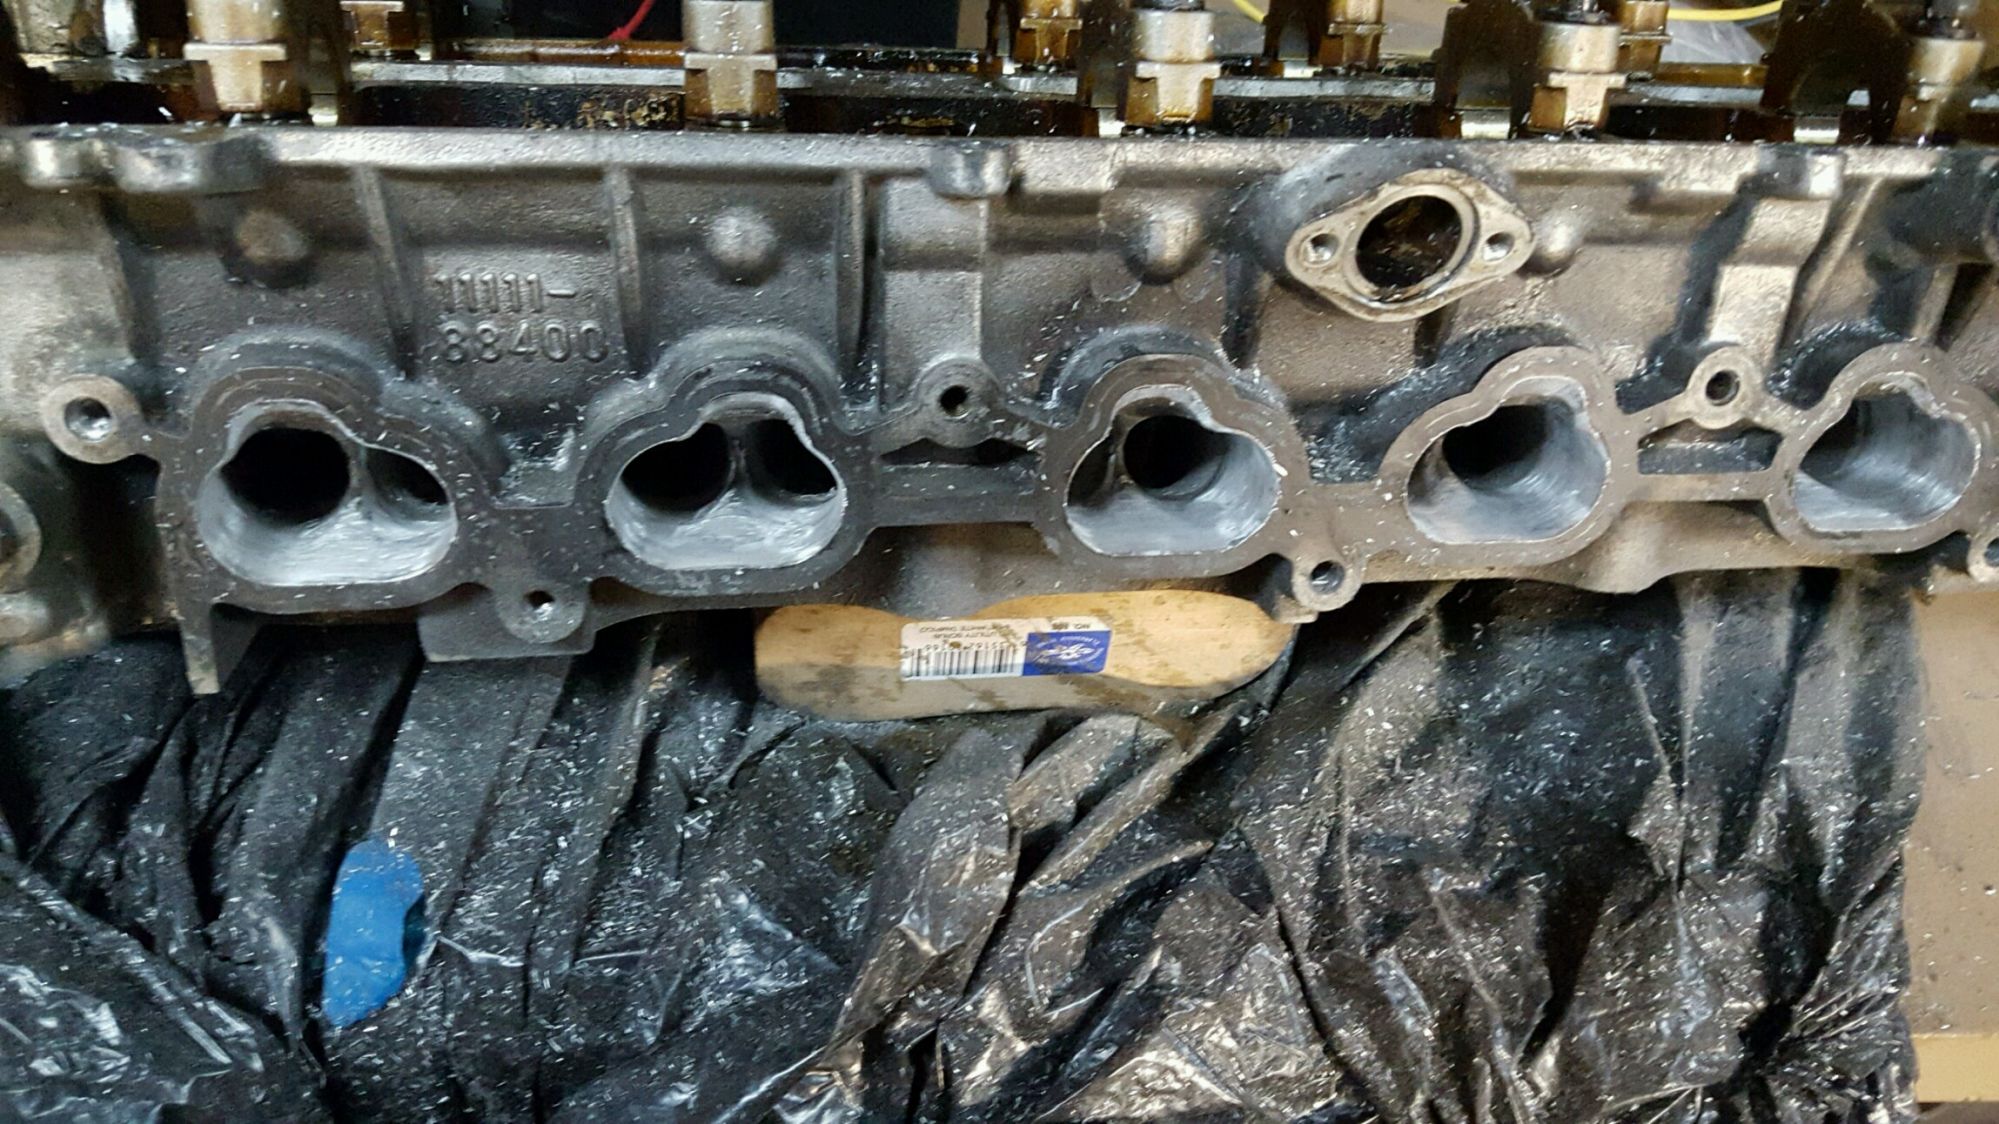
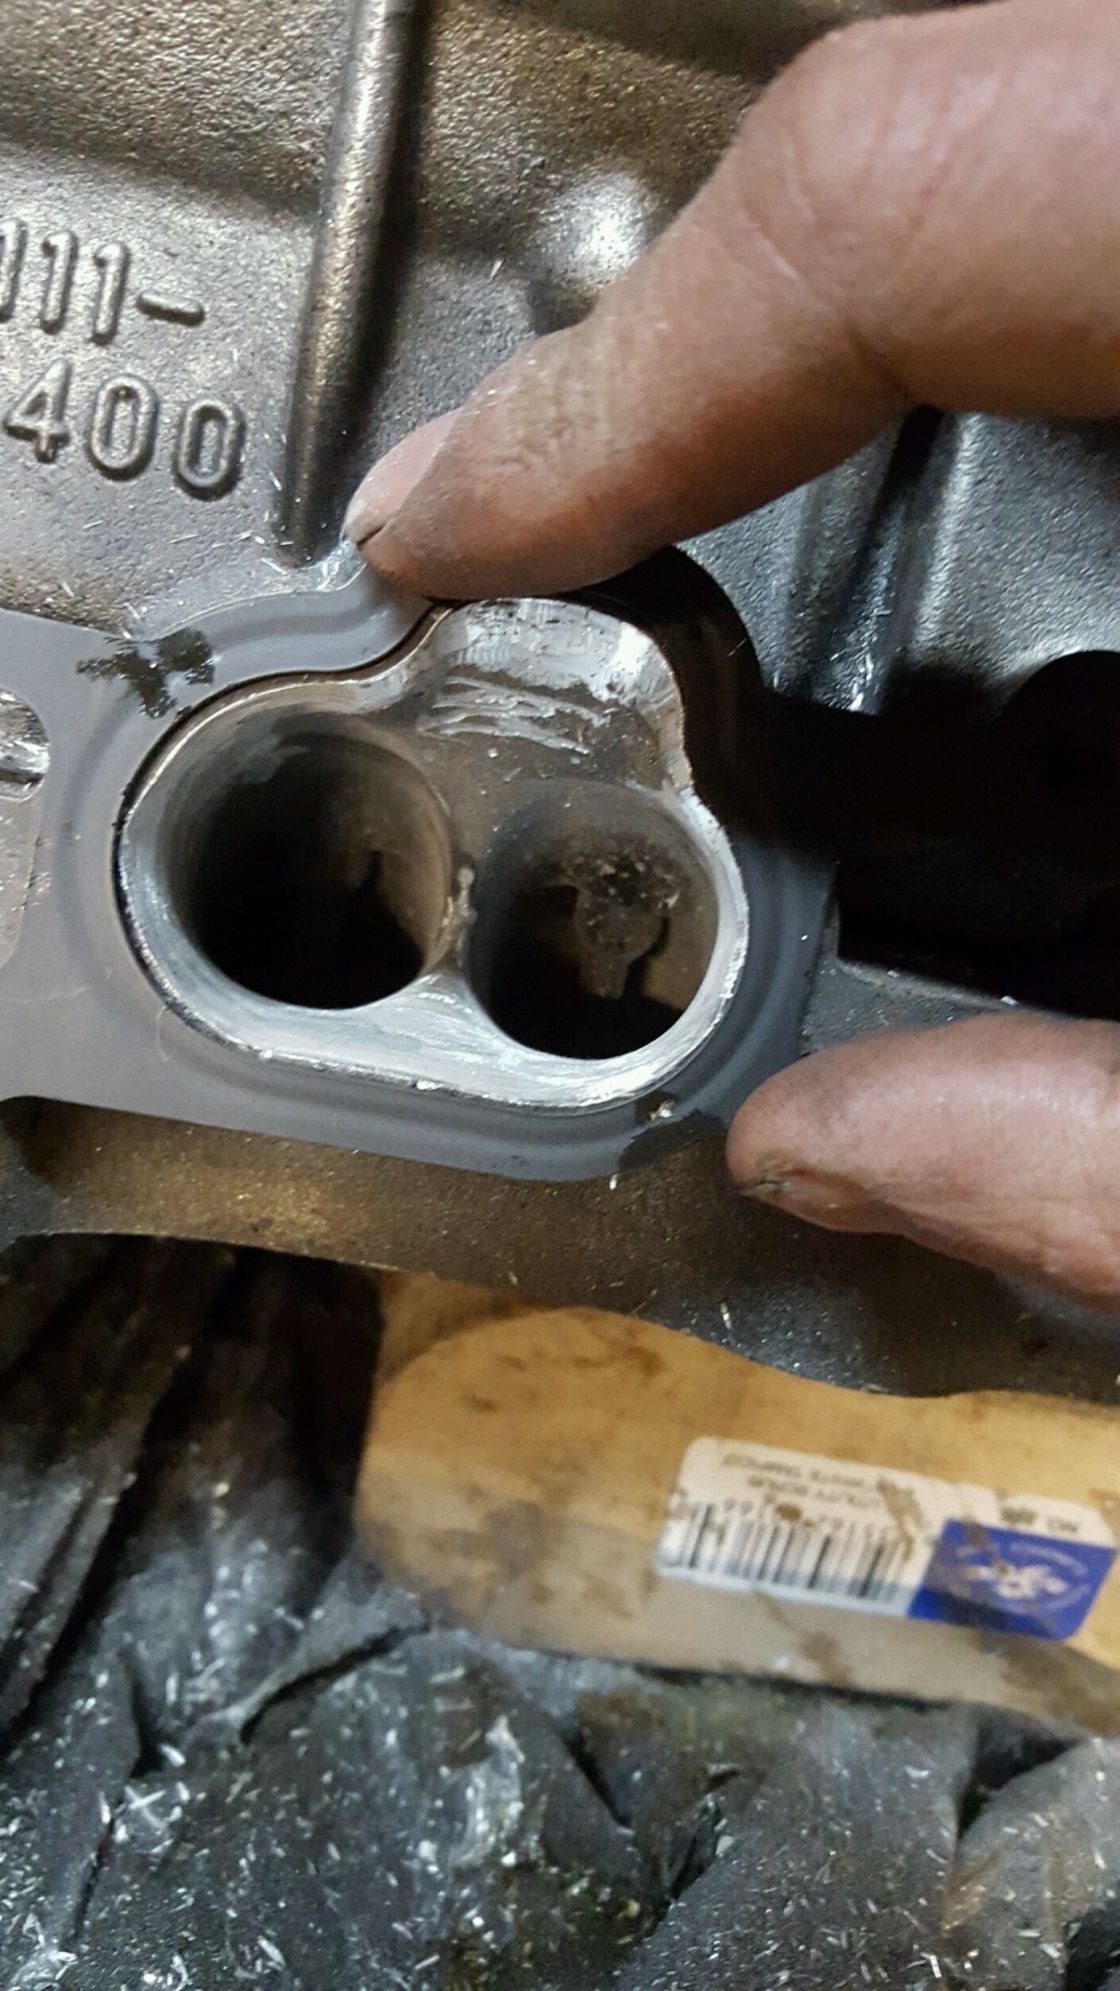
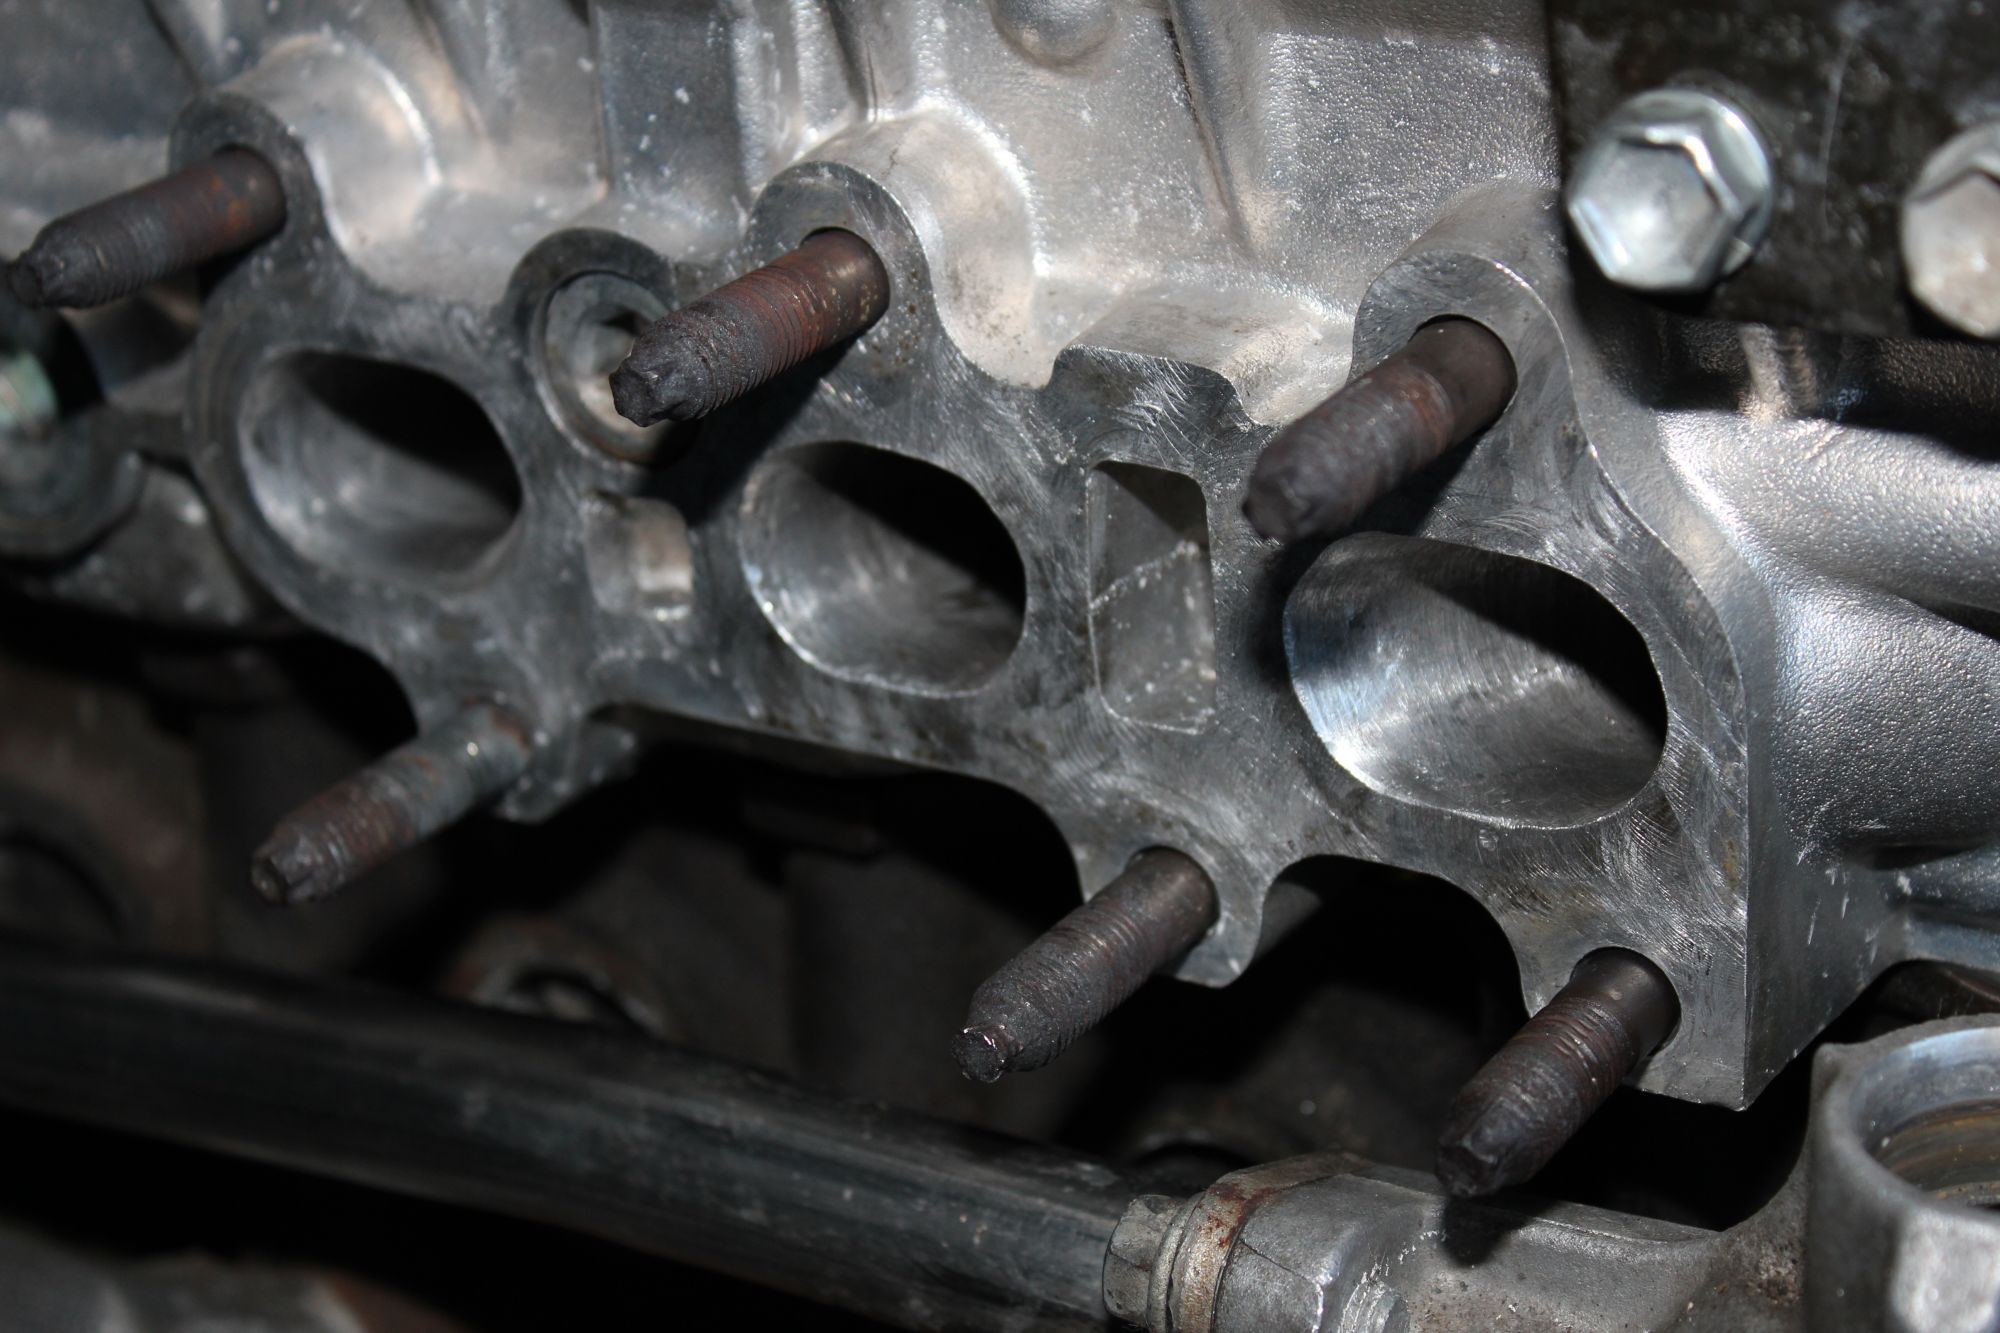
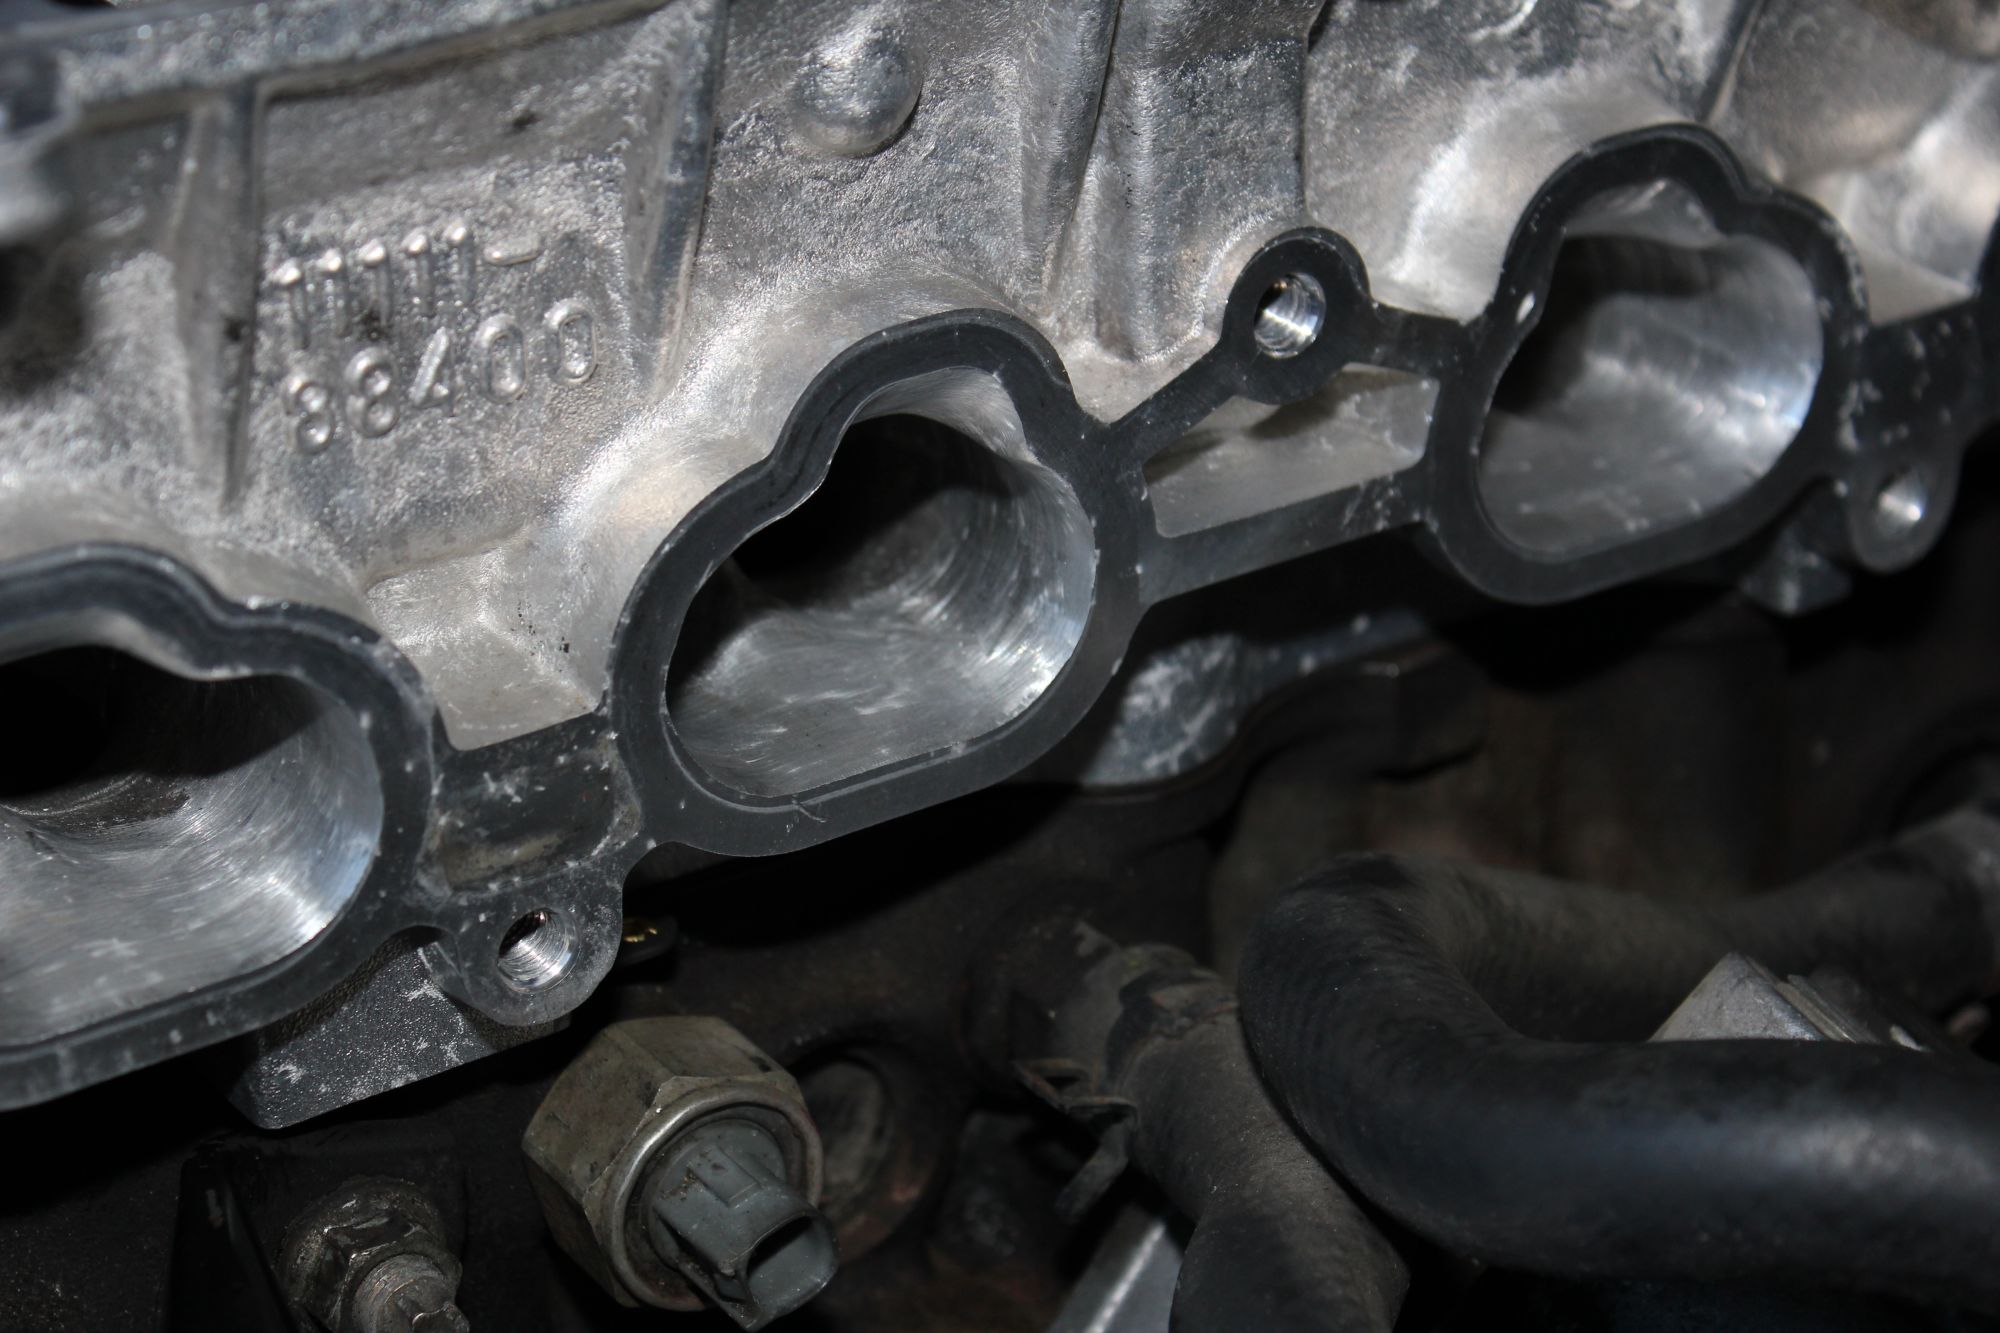
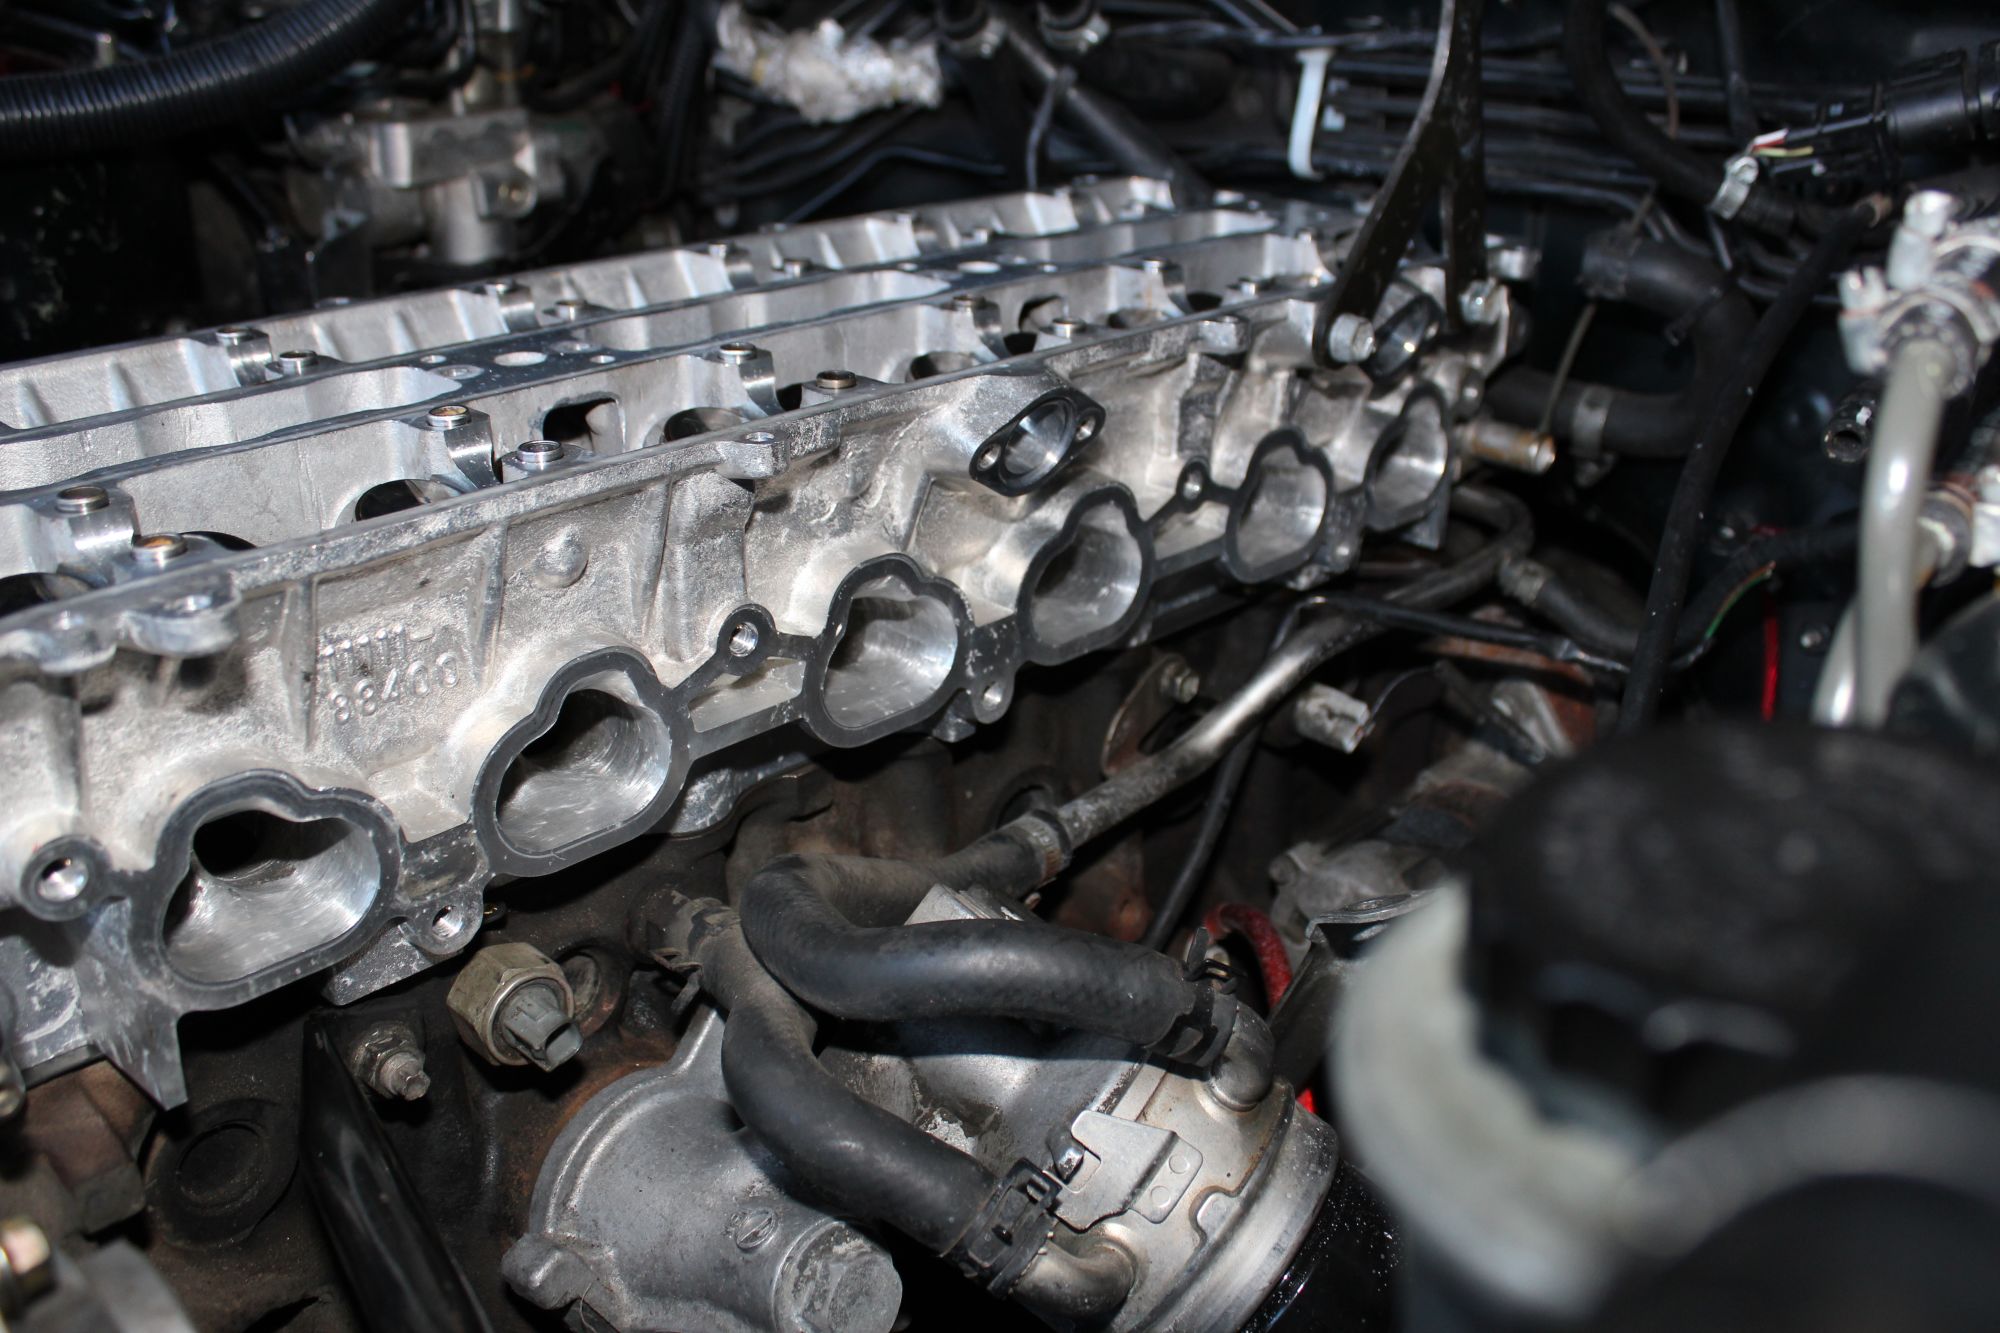
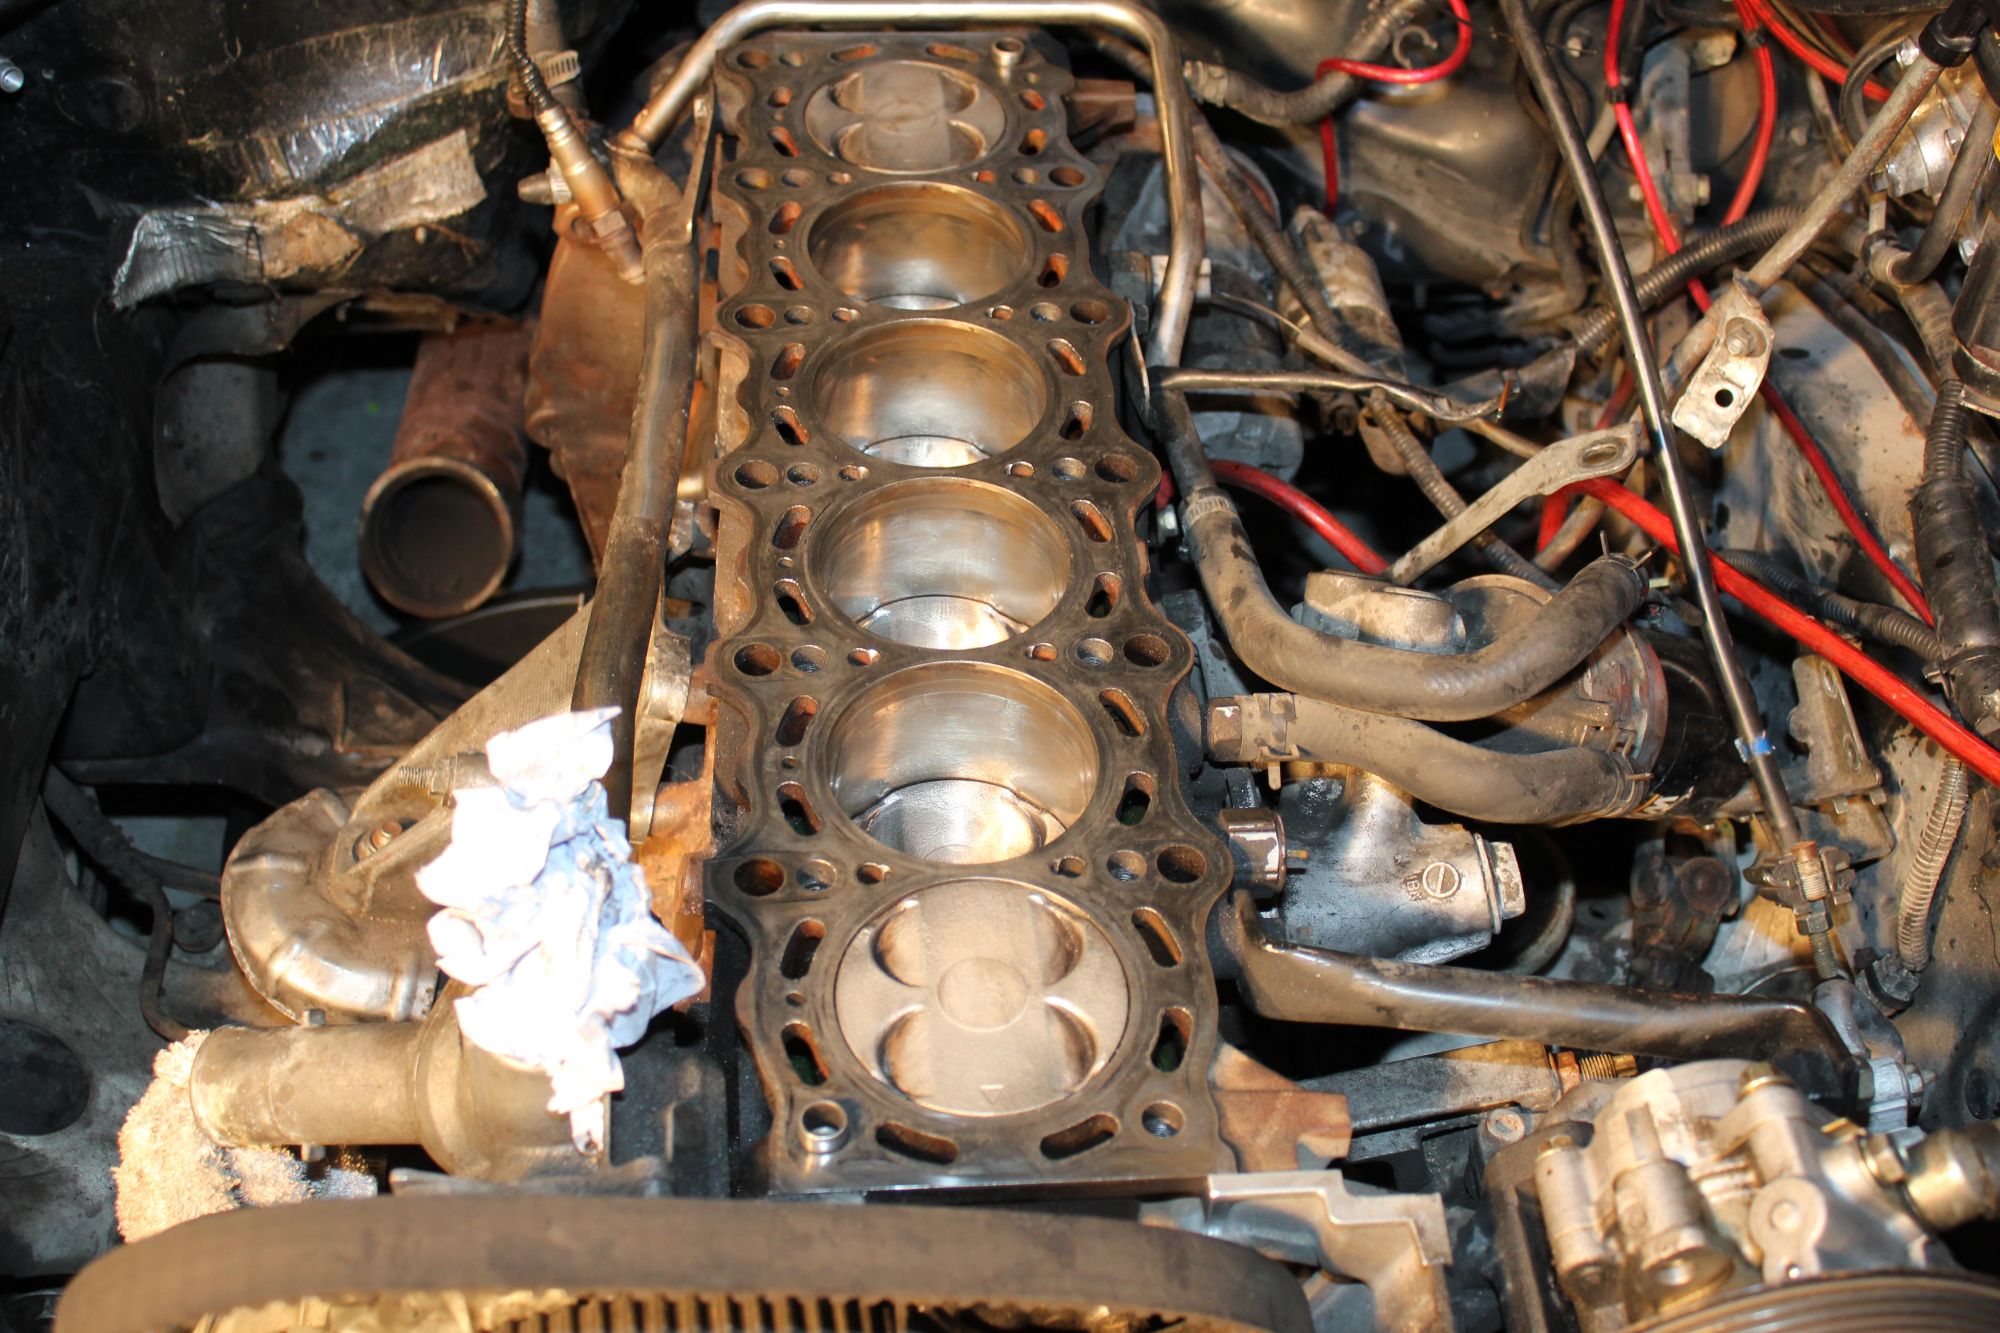
Next up is the cleaning of the cylinder head. I used some scraping, but I carefully used a wire-brush on the blocks and pistons.
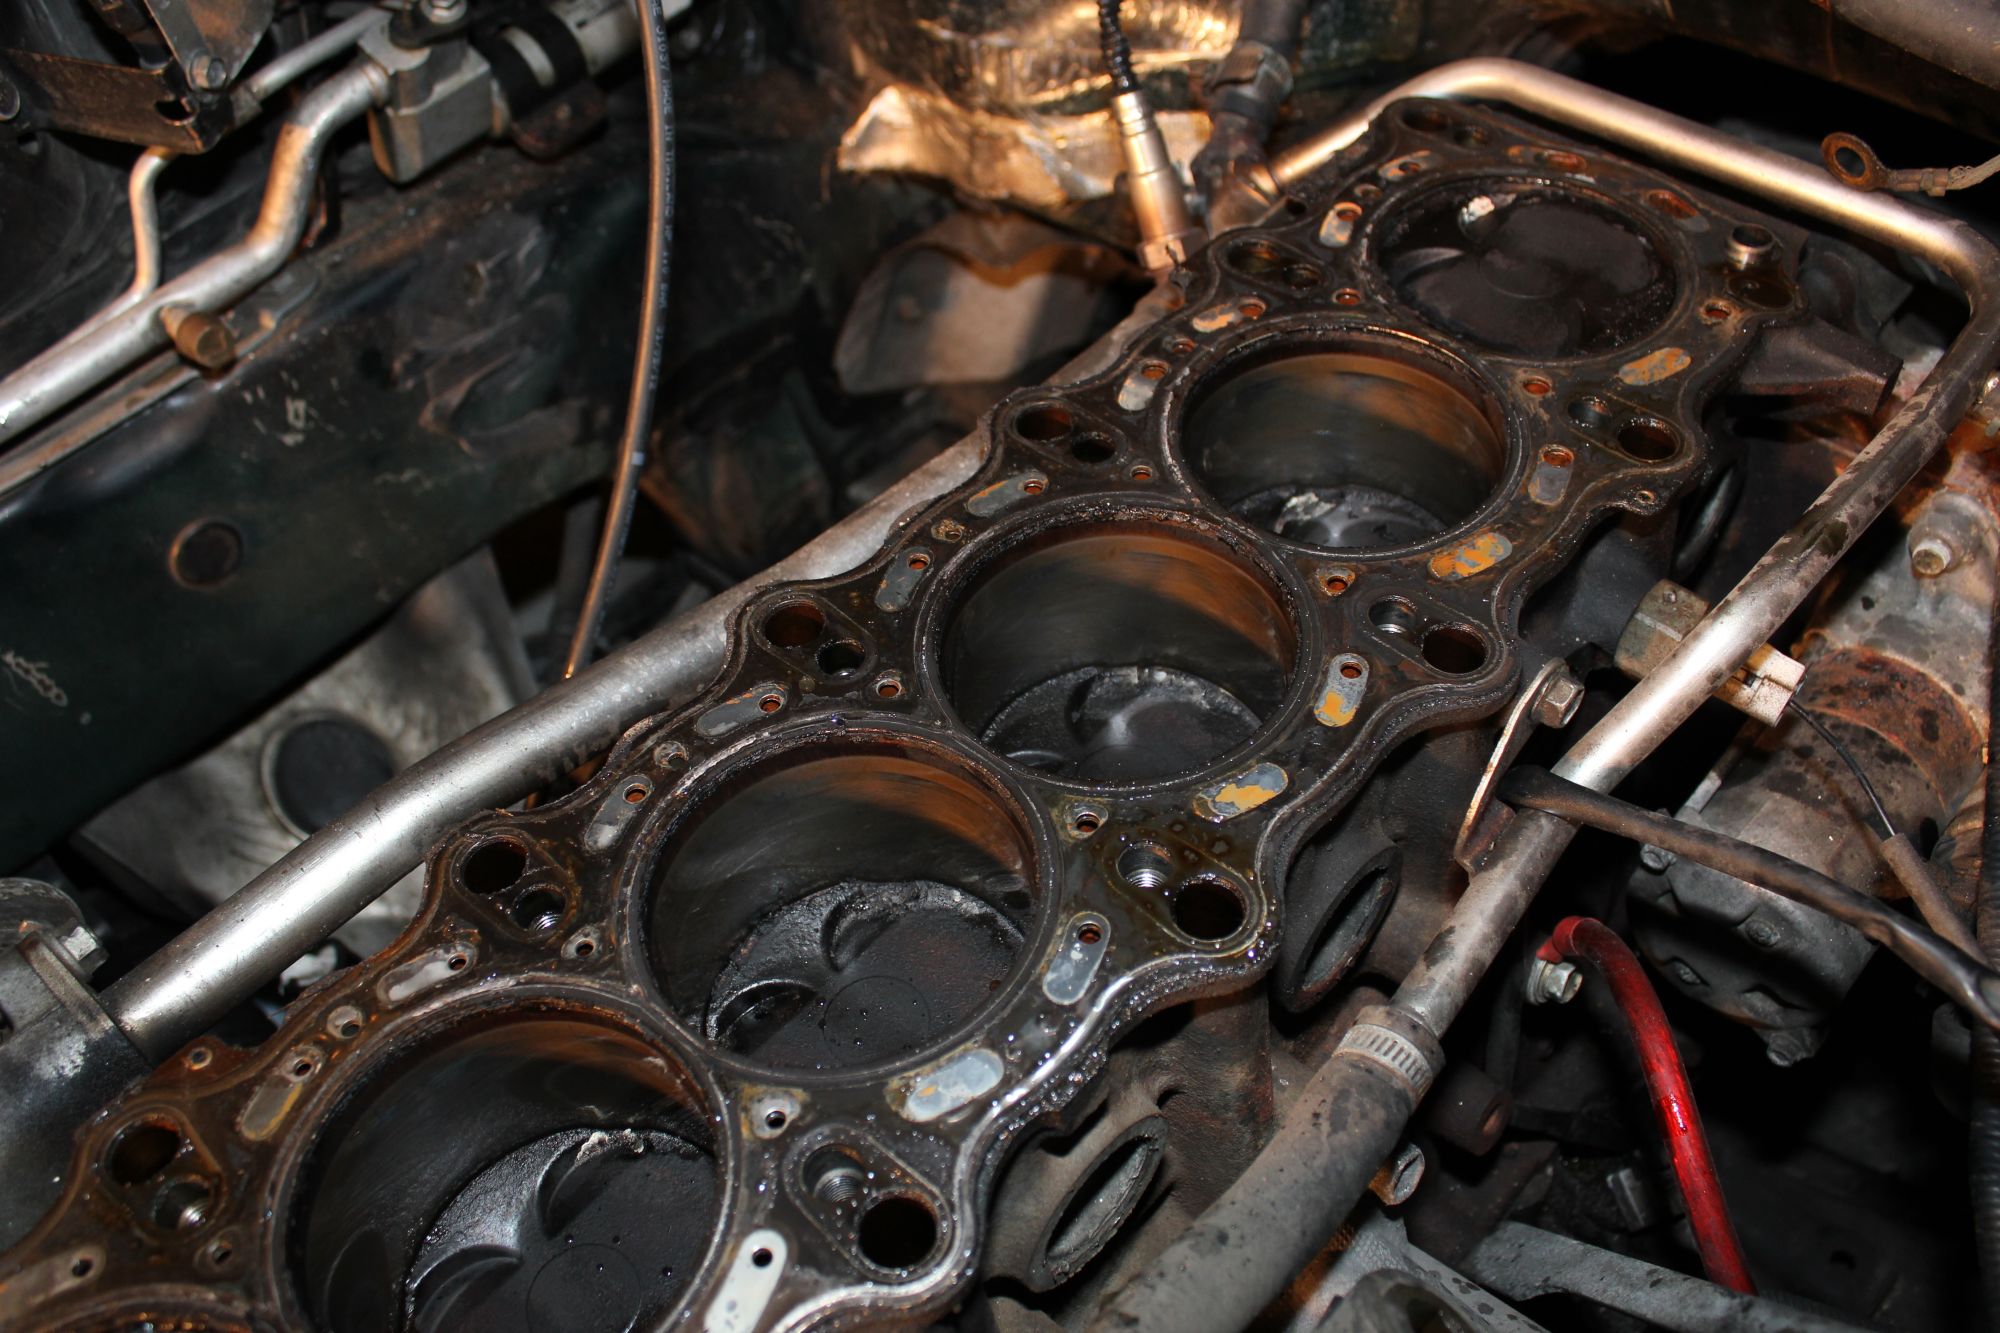
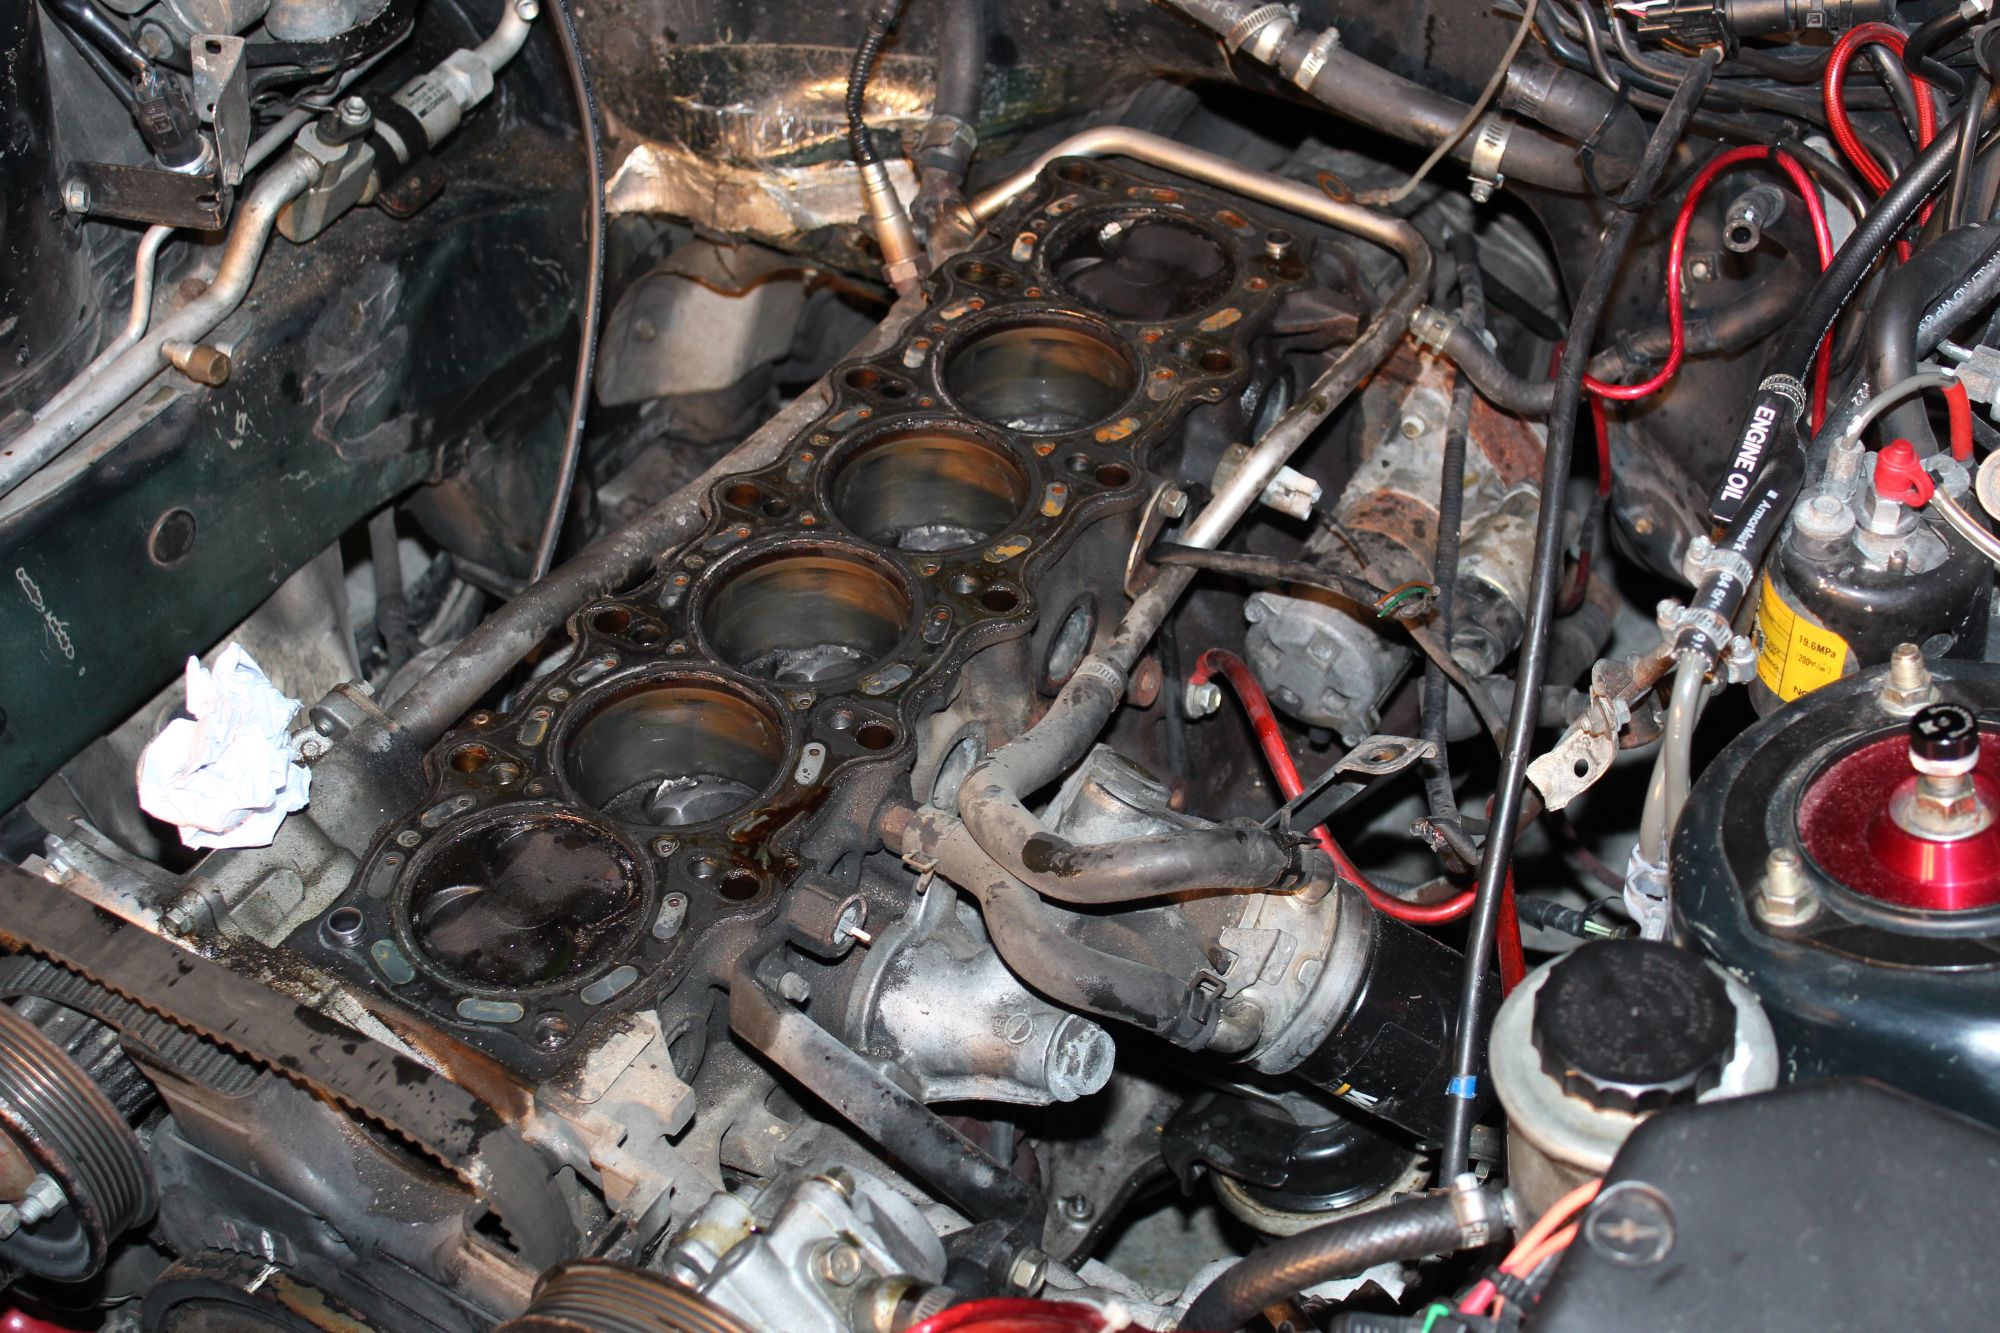
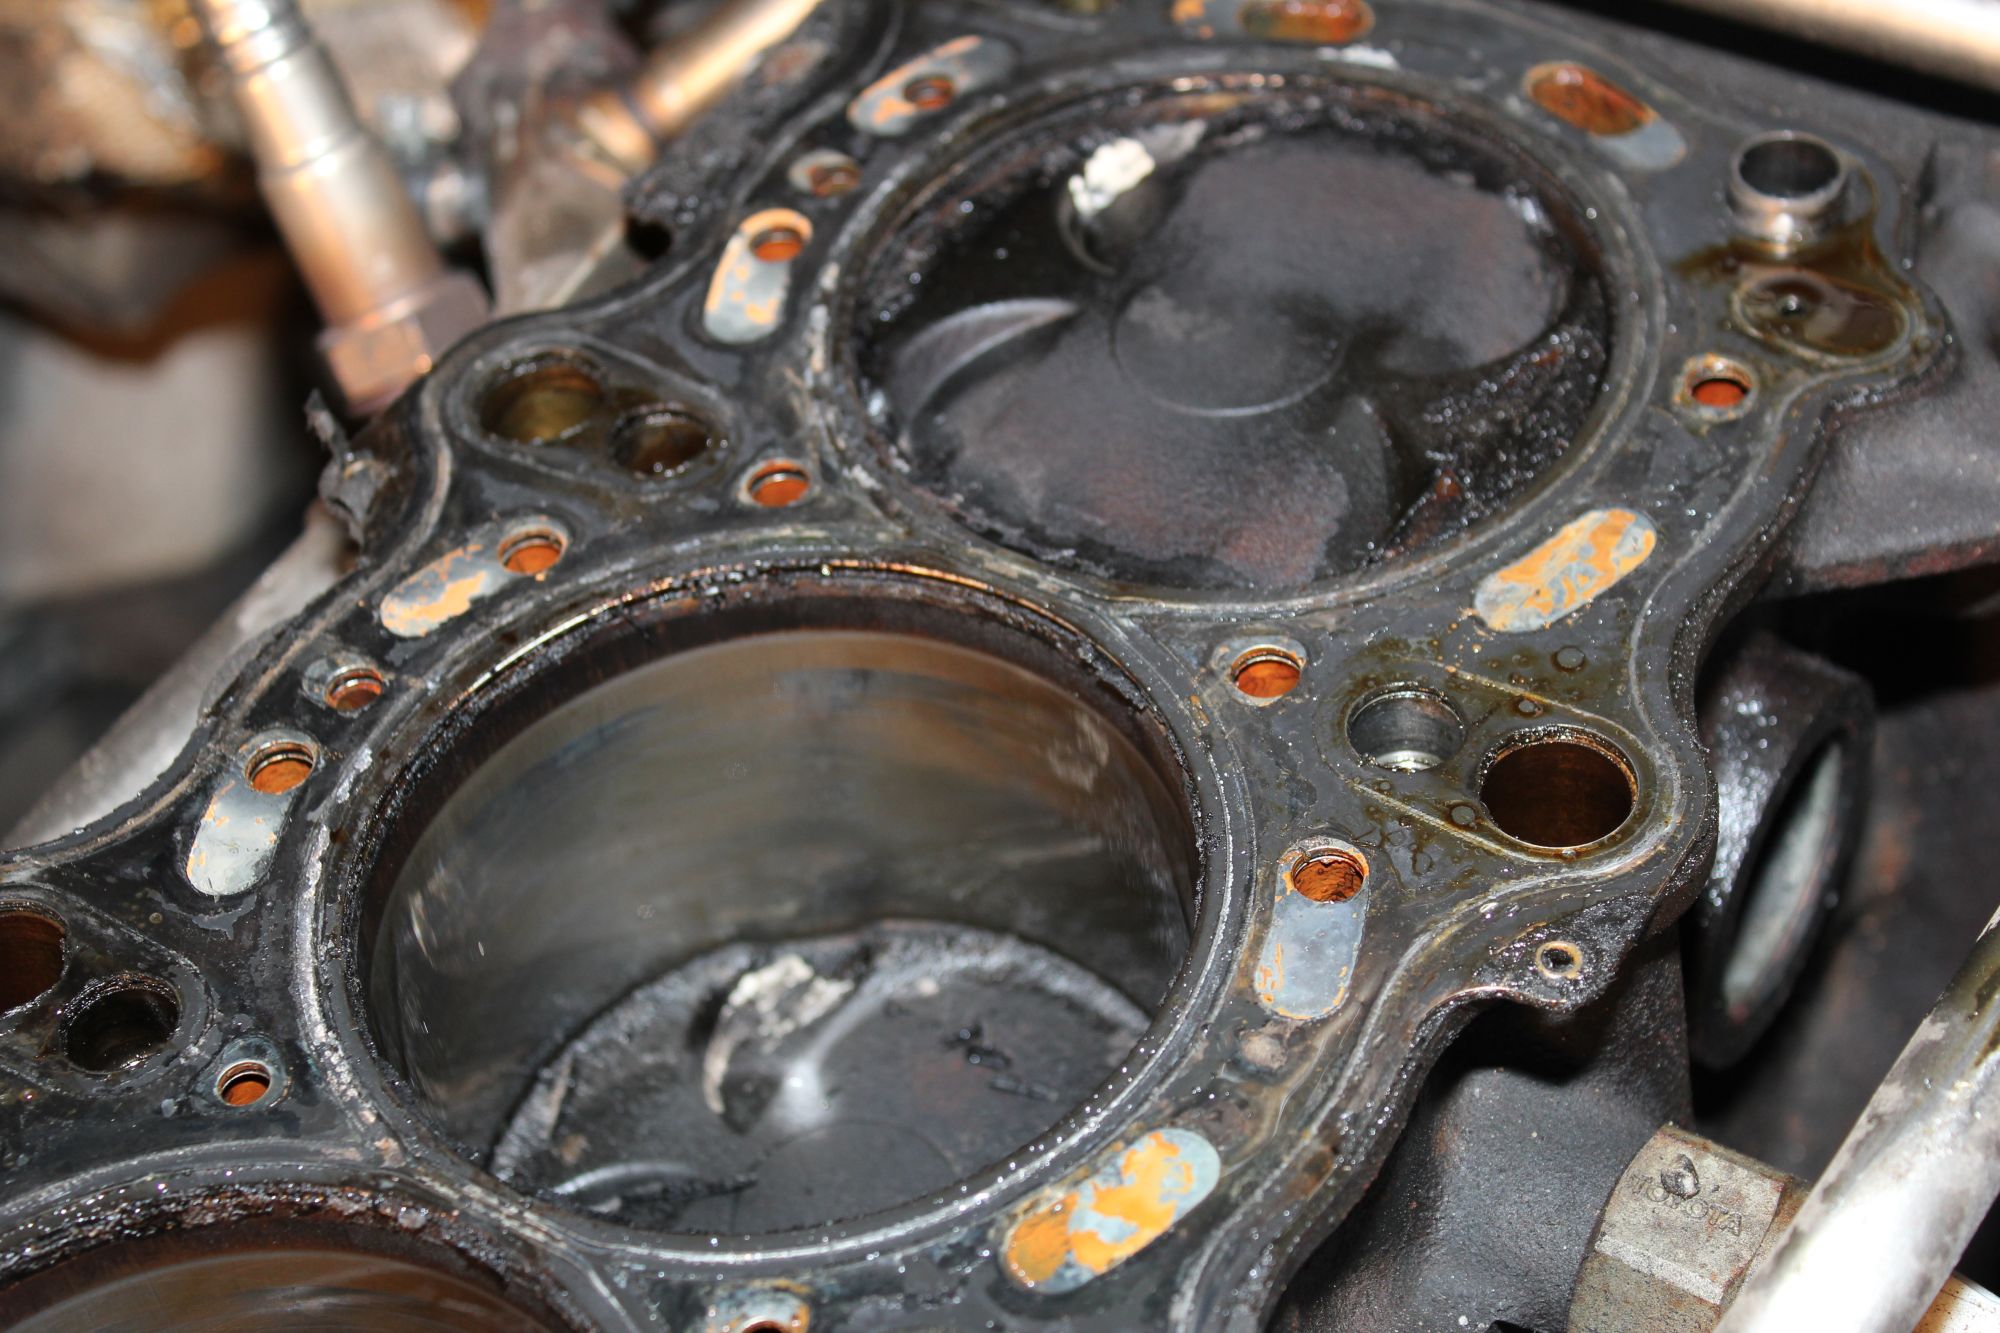
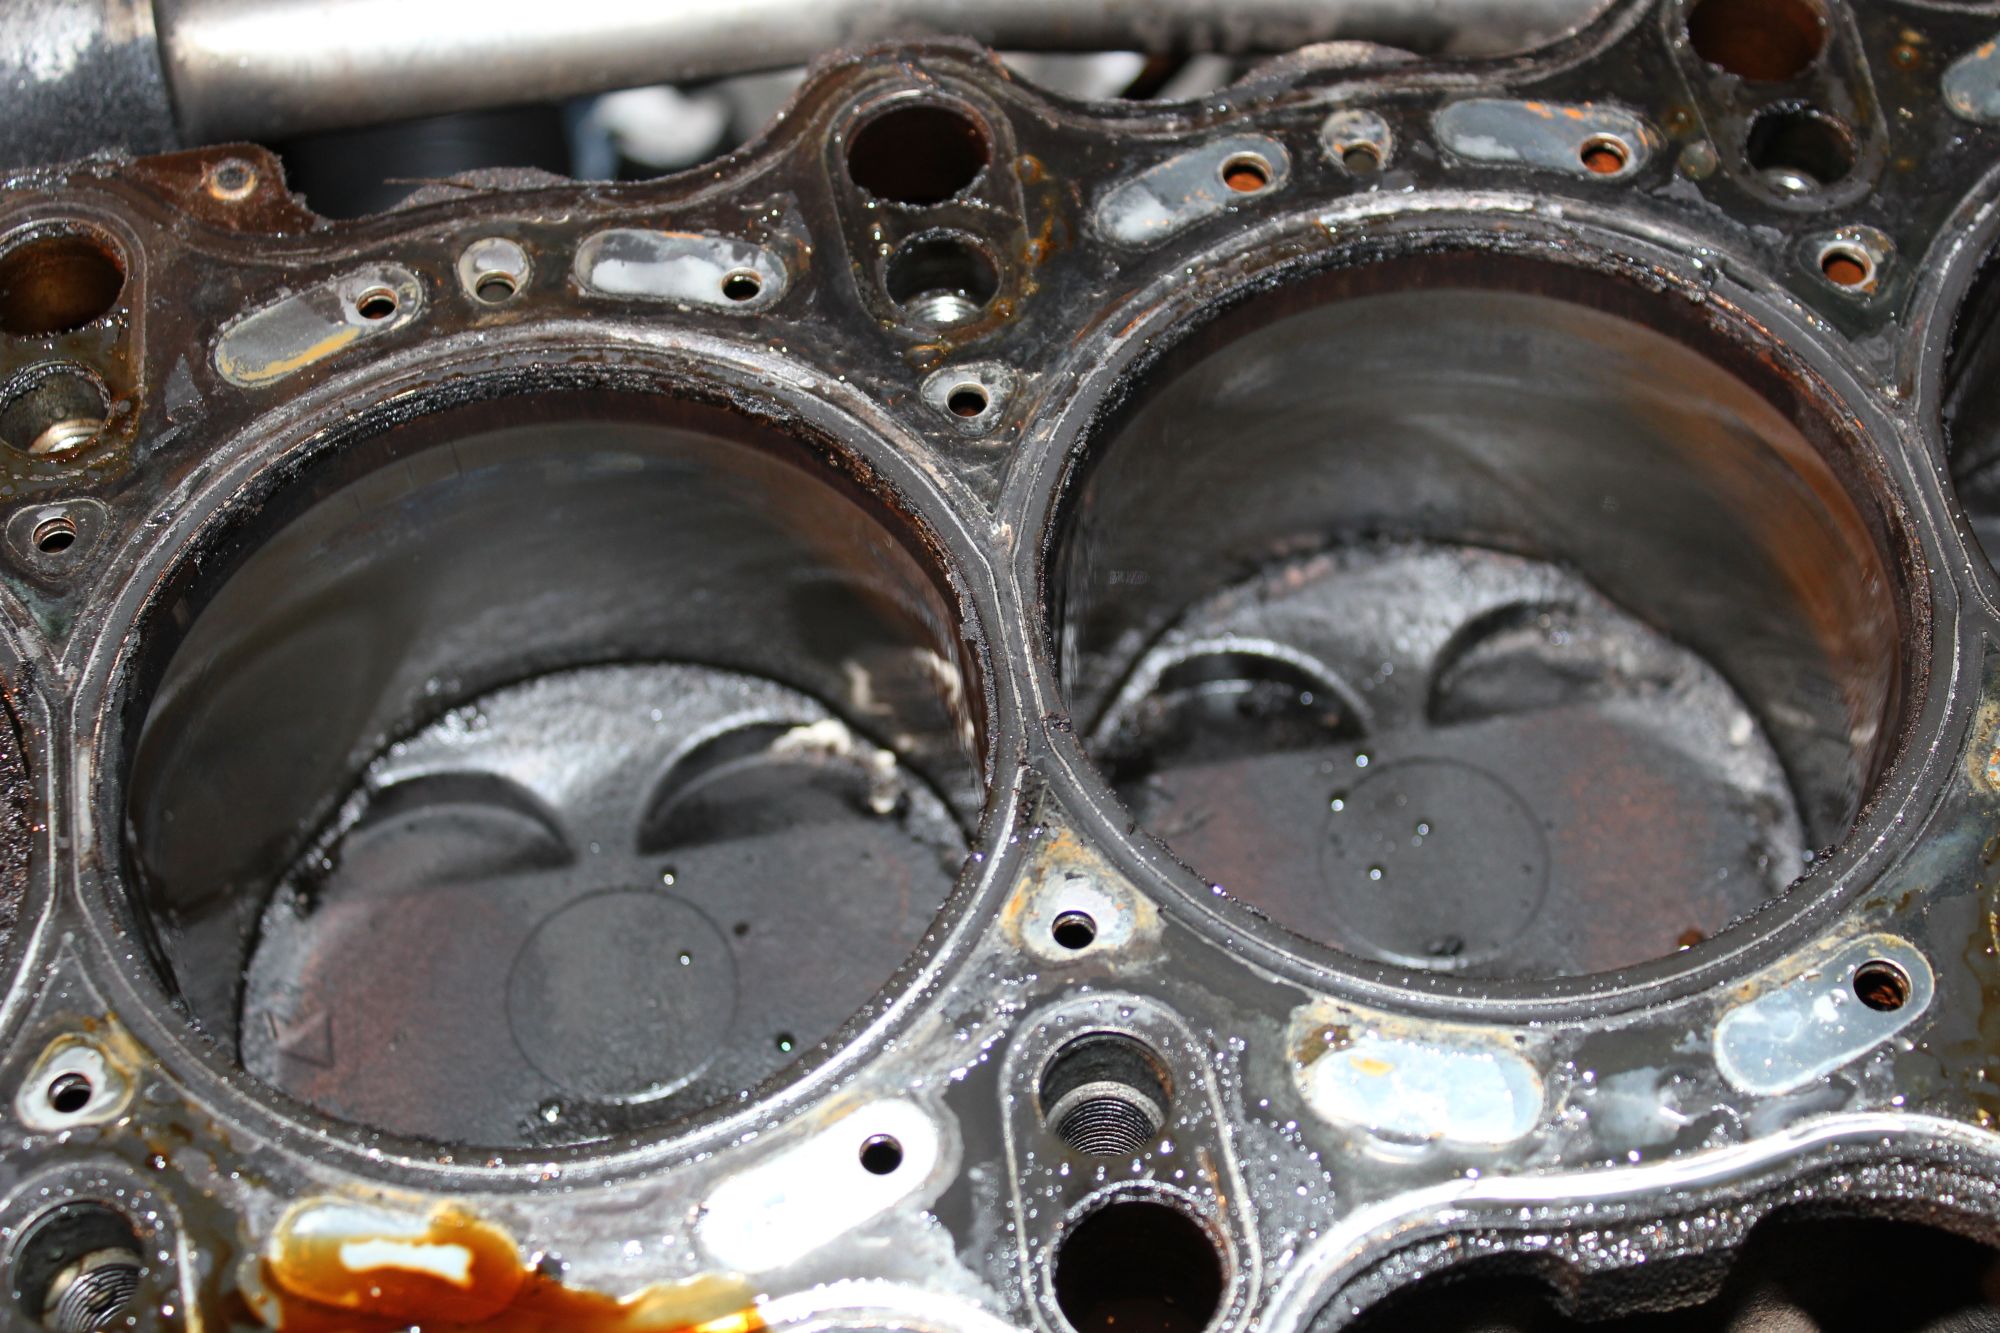
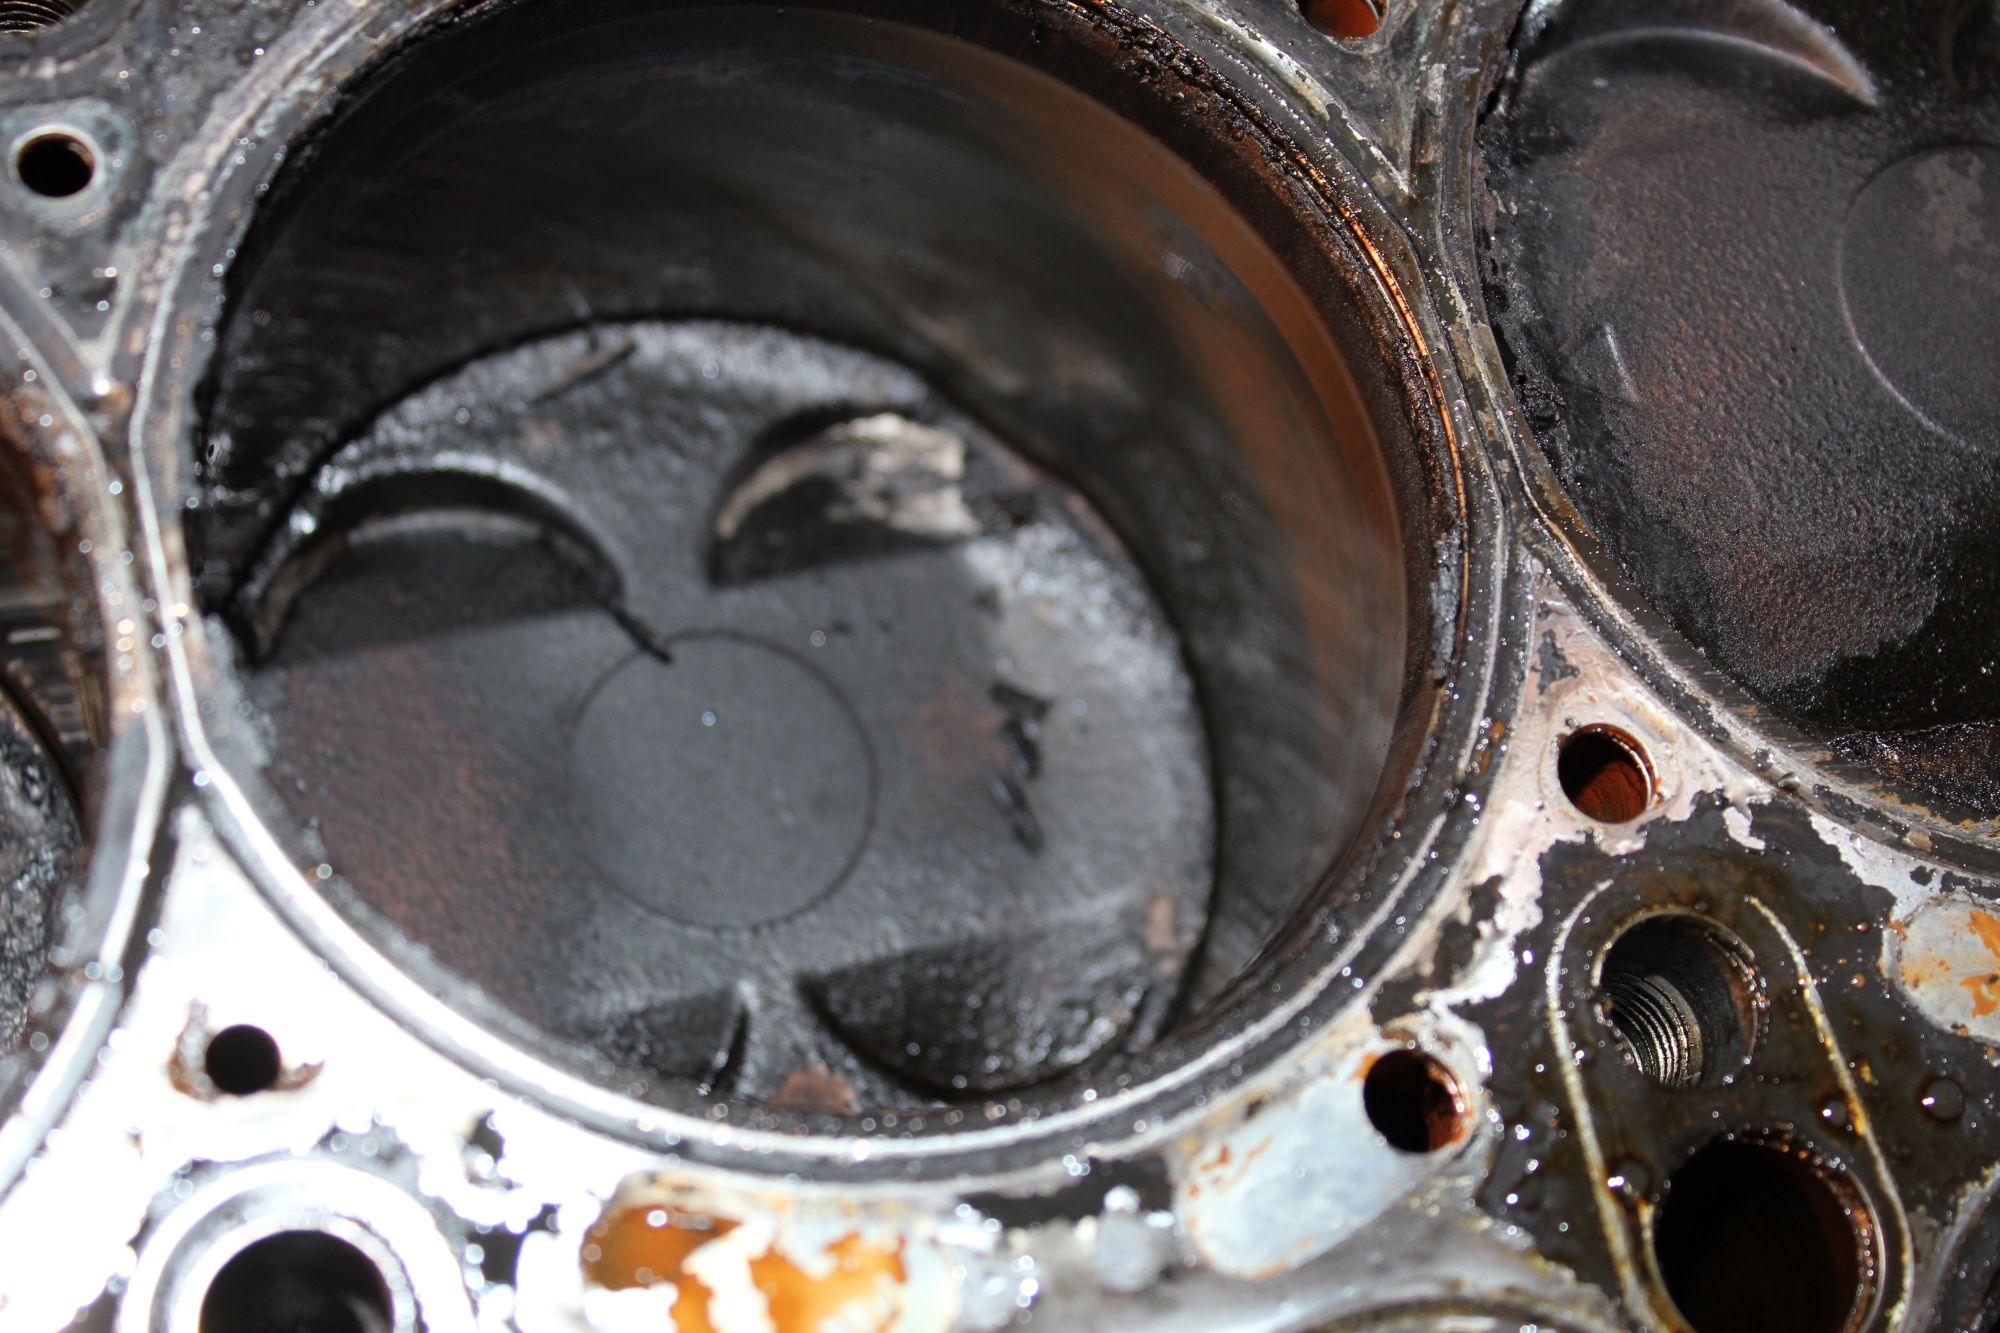
here's what it looks like cleaned up..
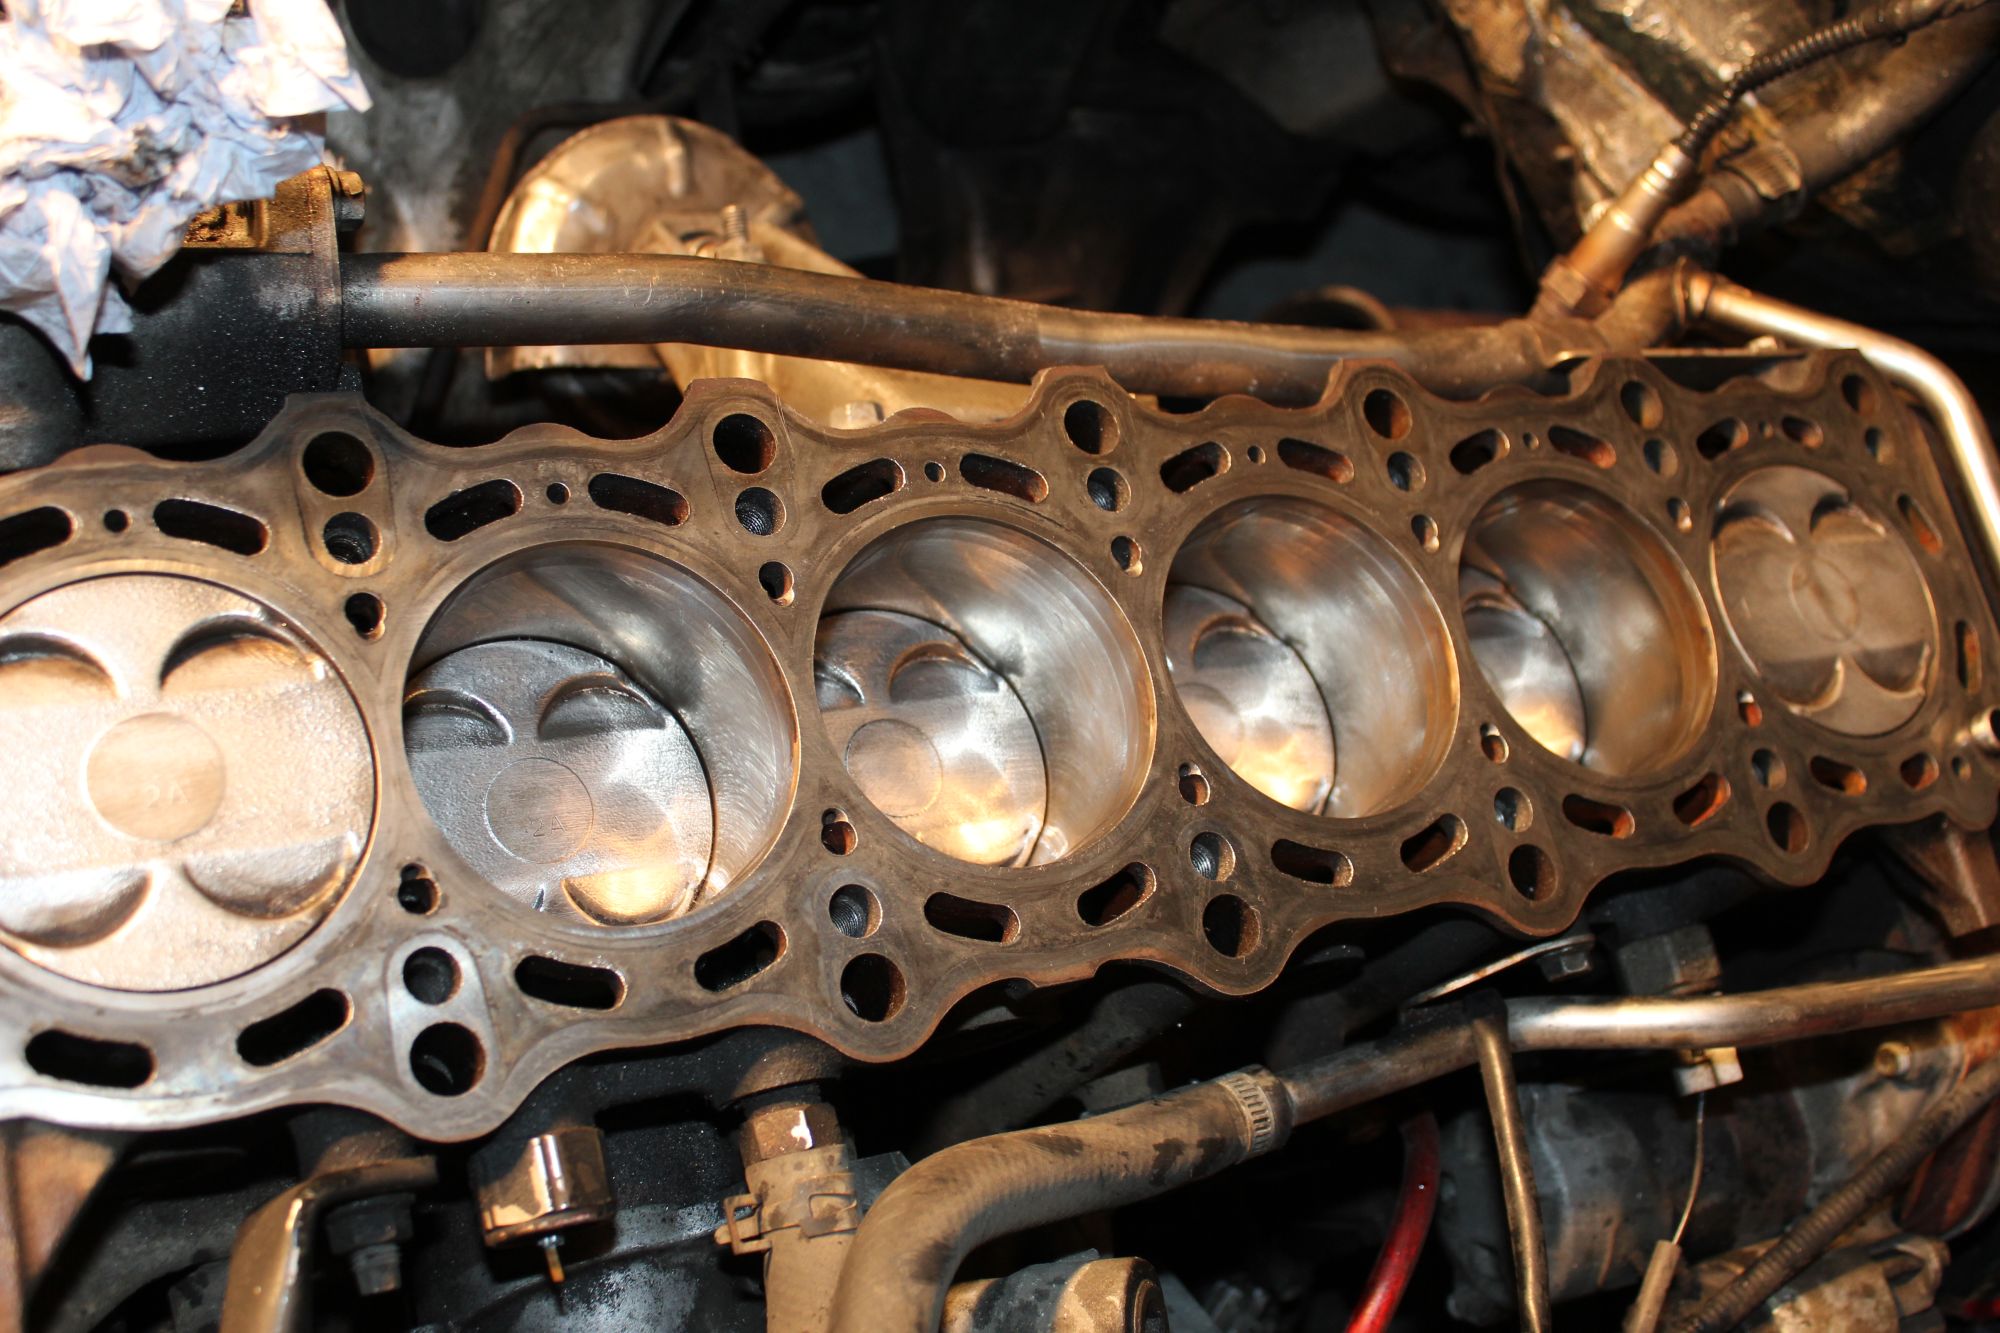
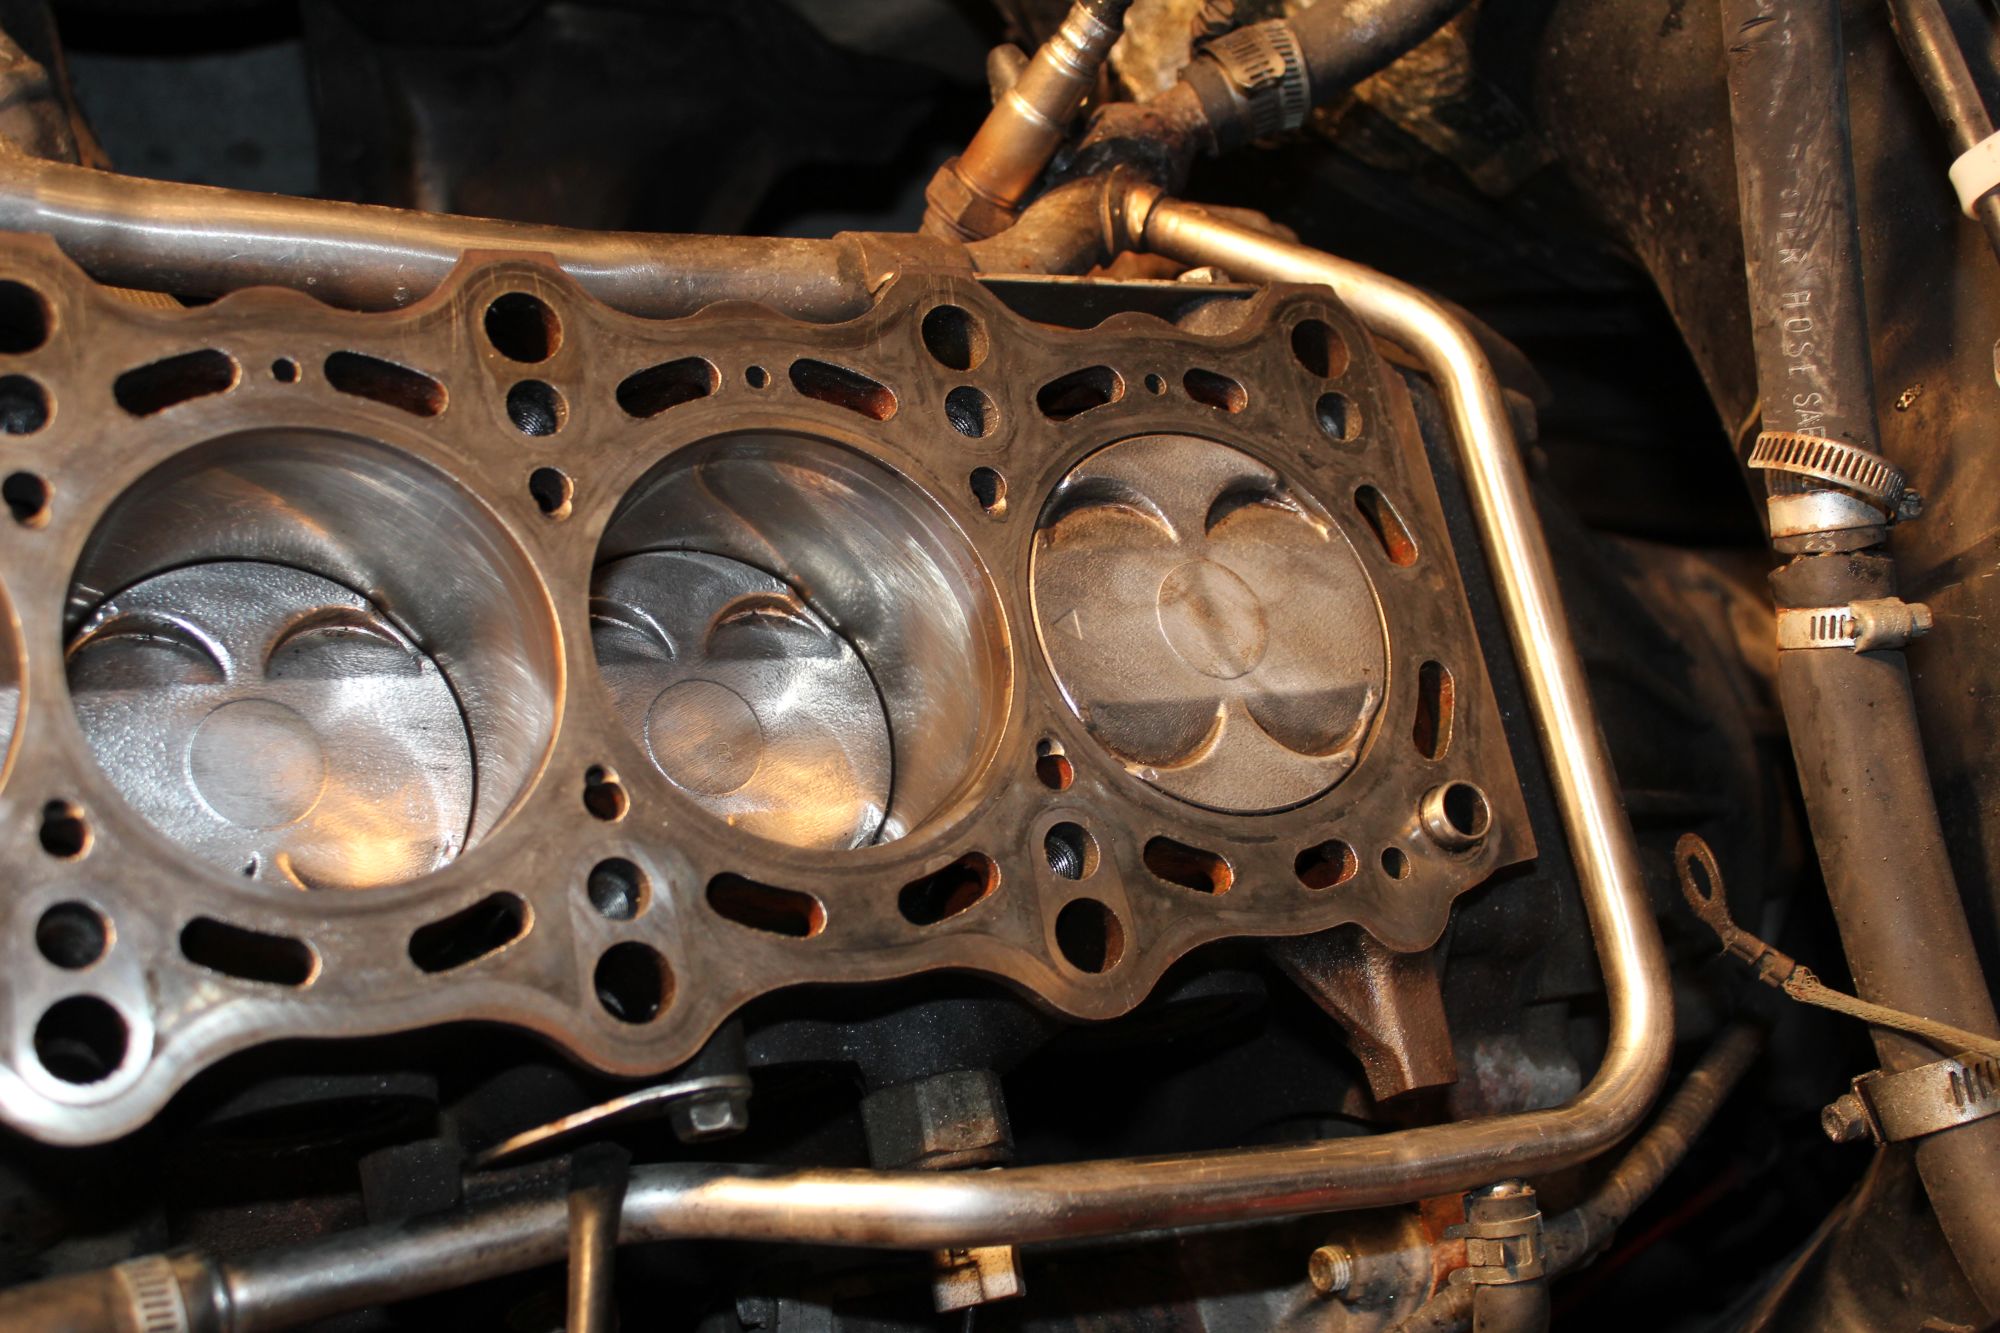
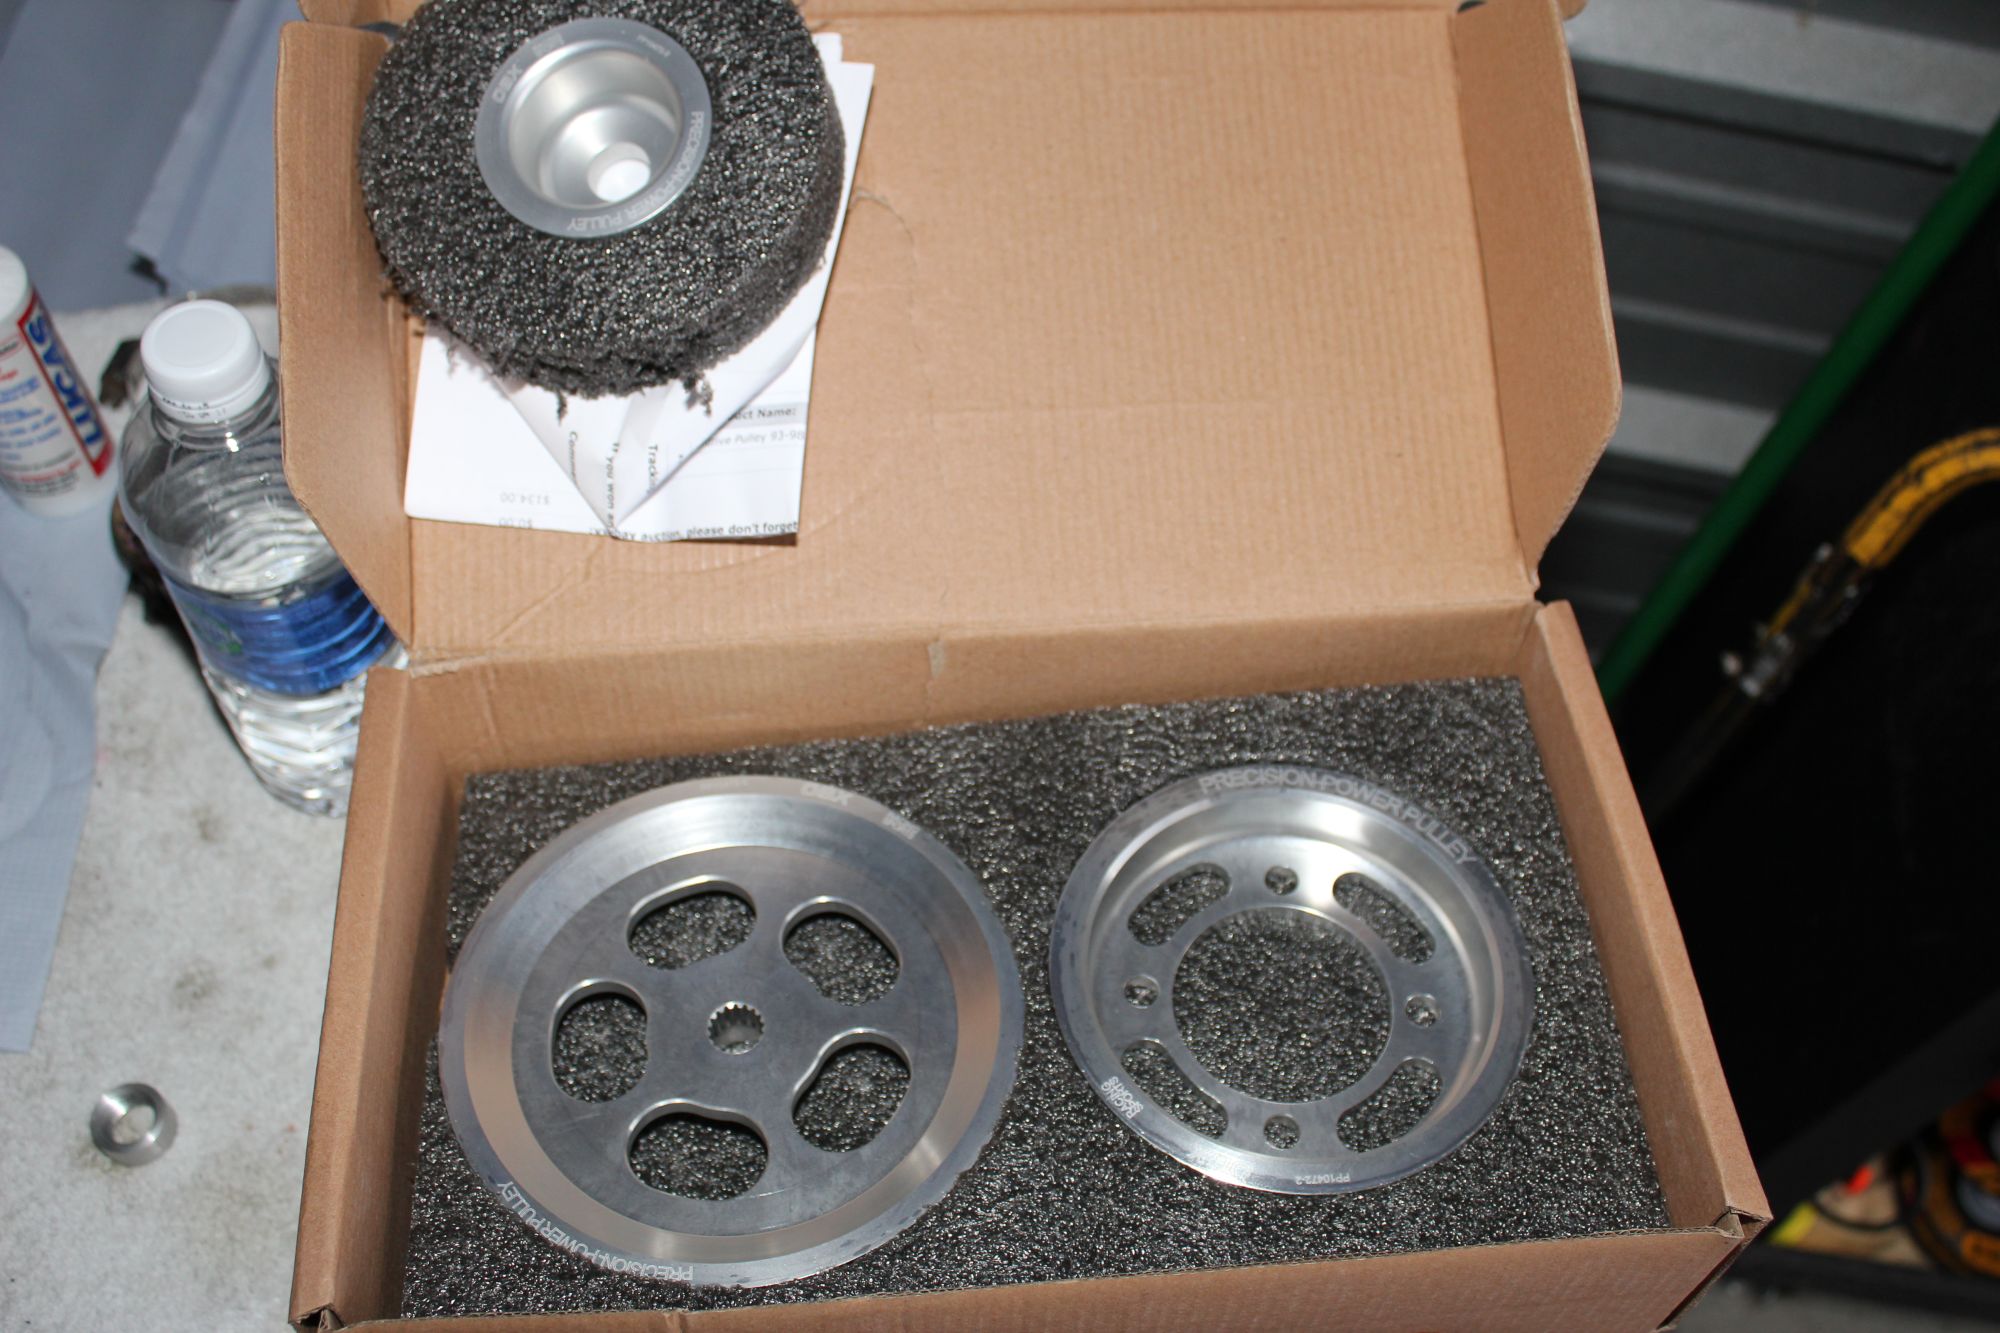
and I picked up a lightweight pulley kit also.
so after cleaning up the sub frame, I went to finally finish up the suspension and get the wheels back on.
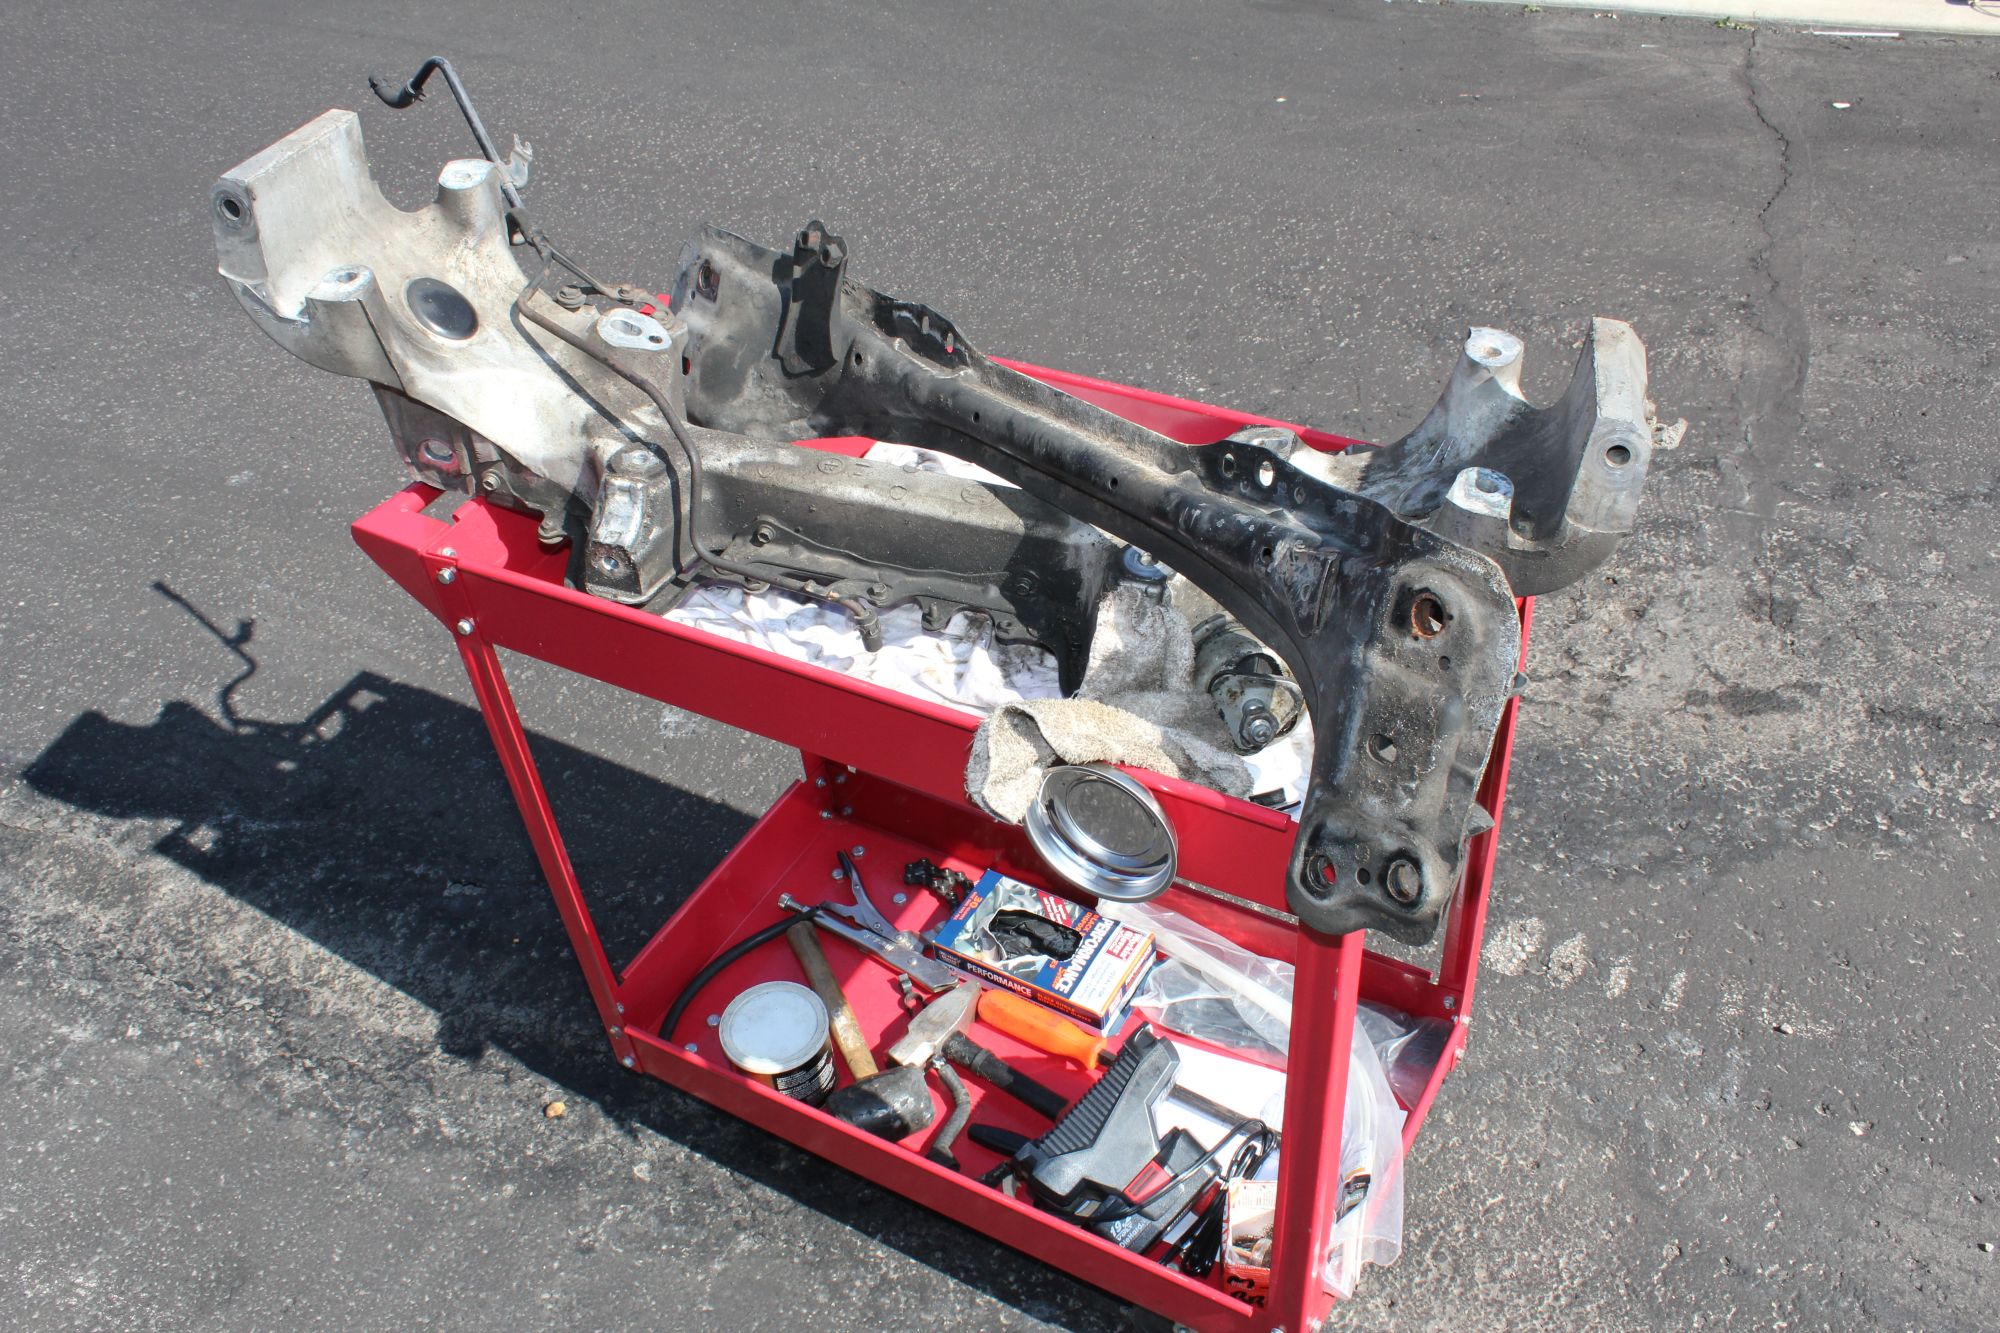
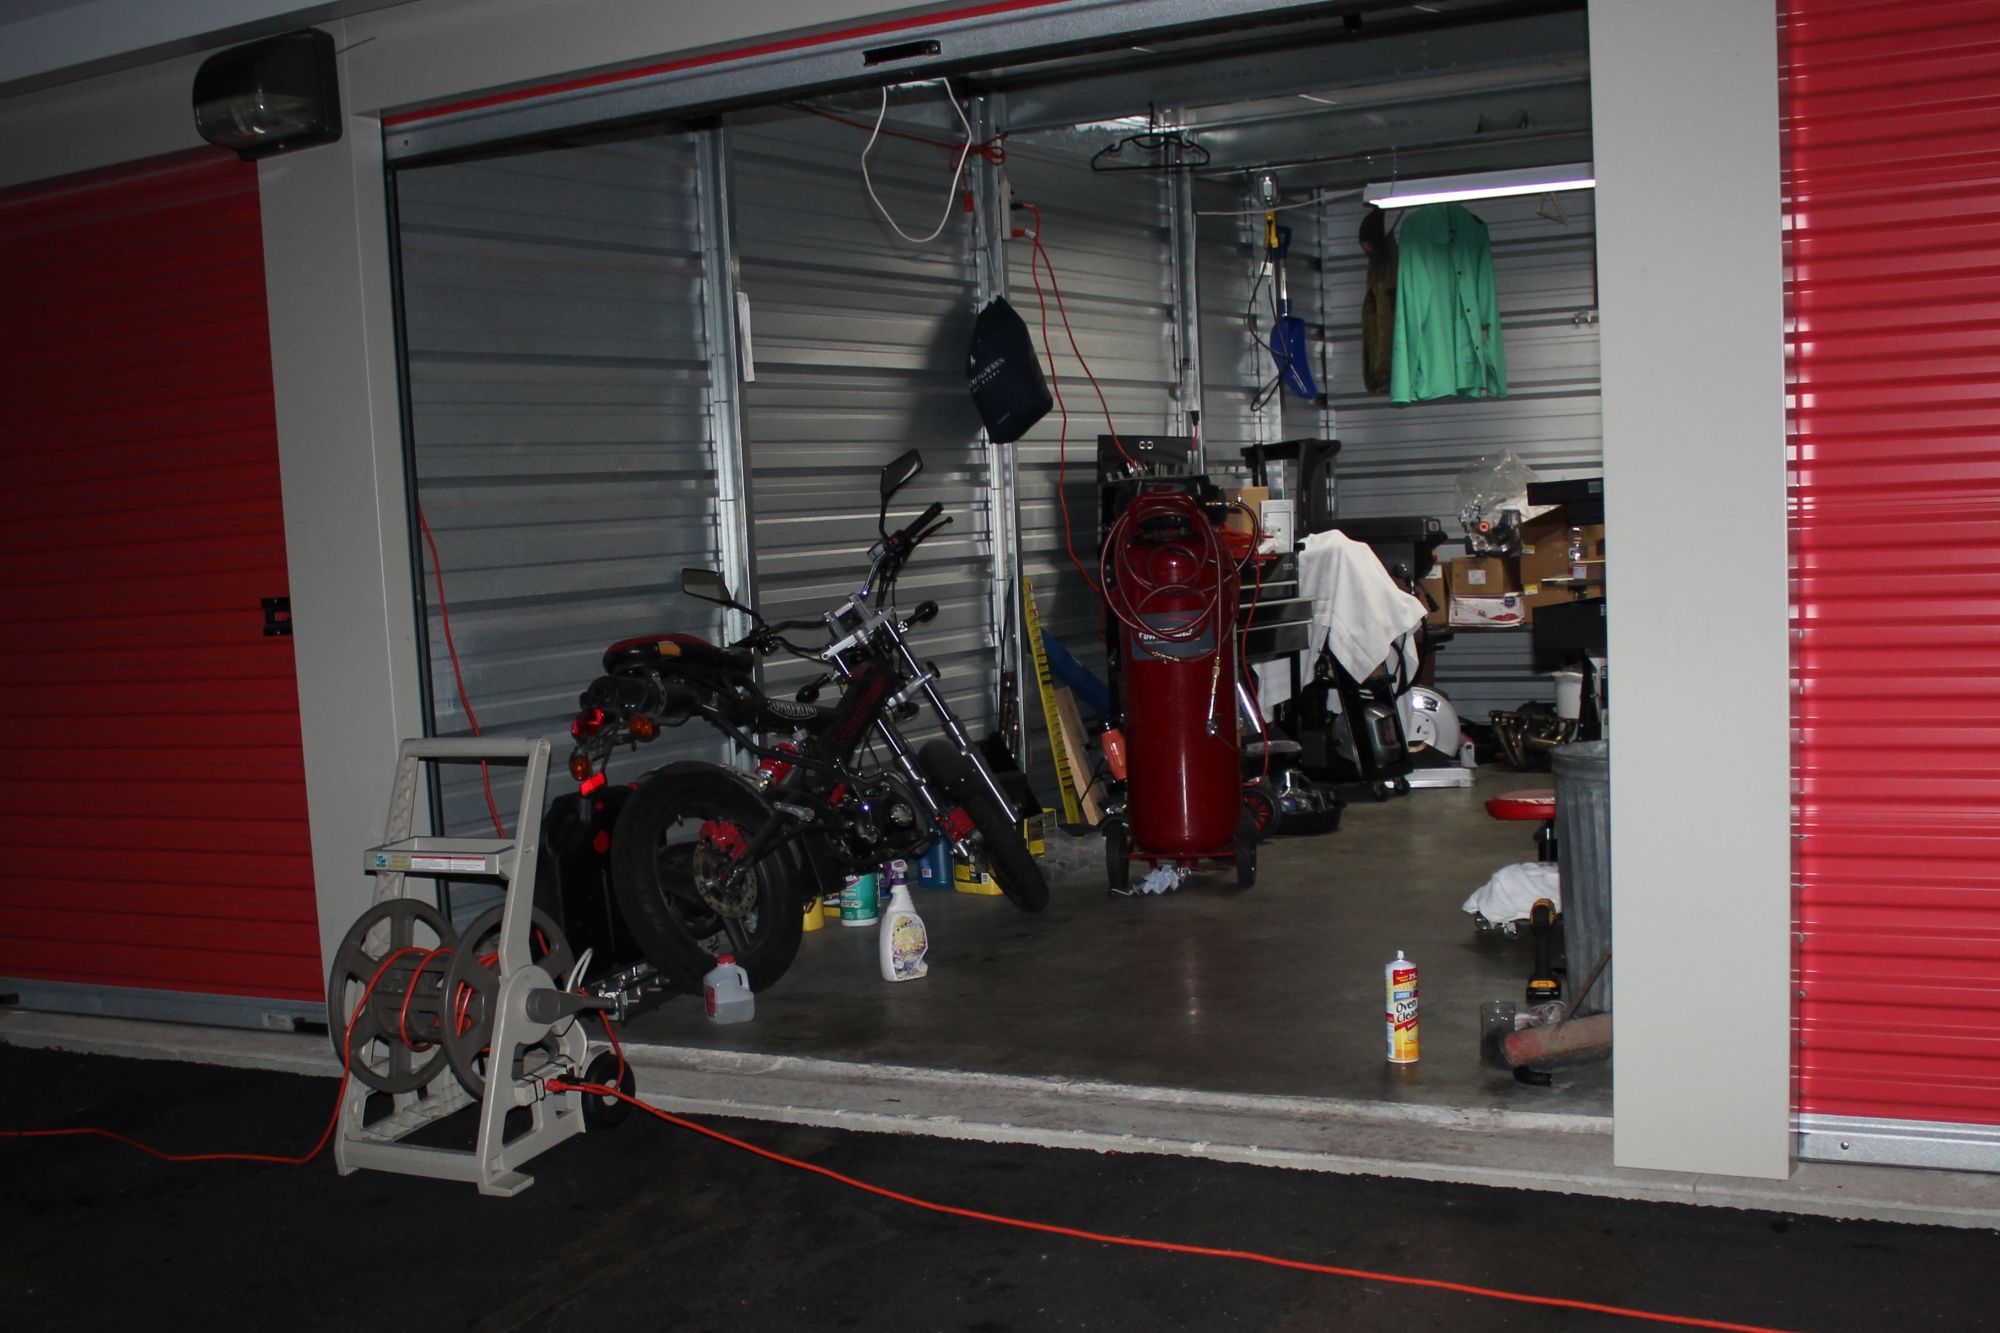
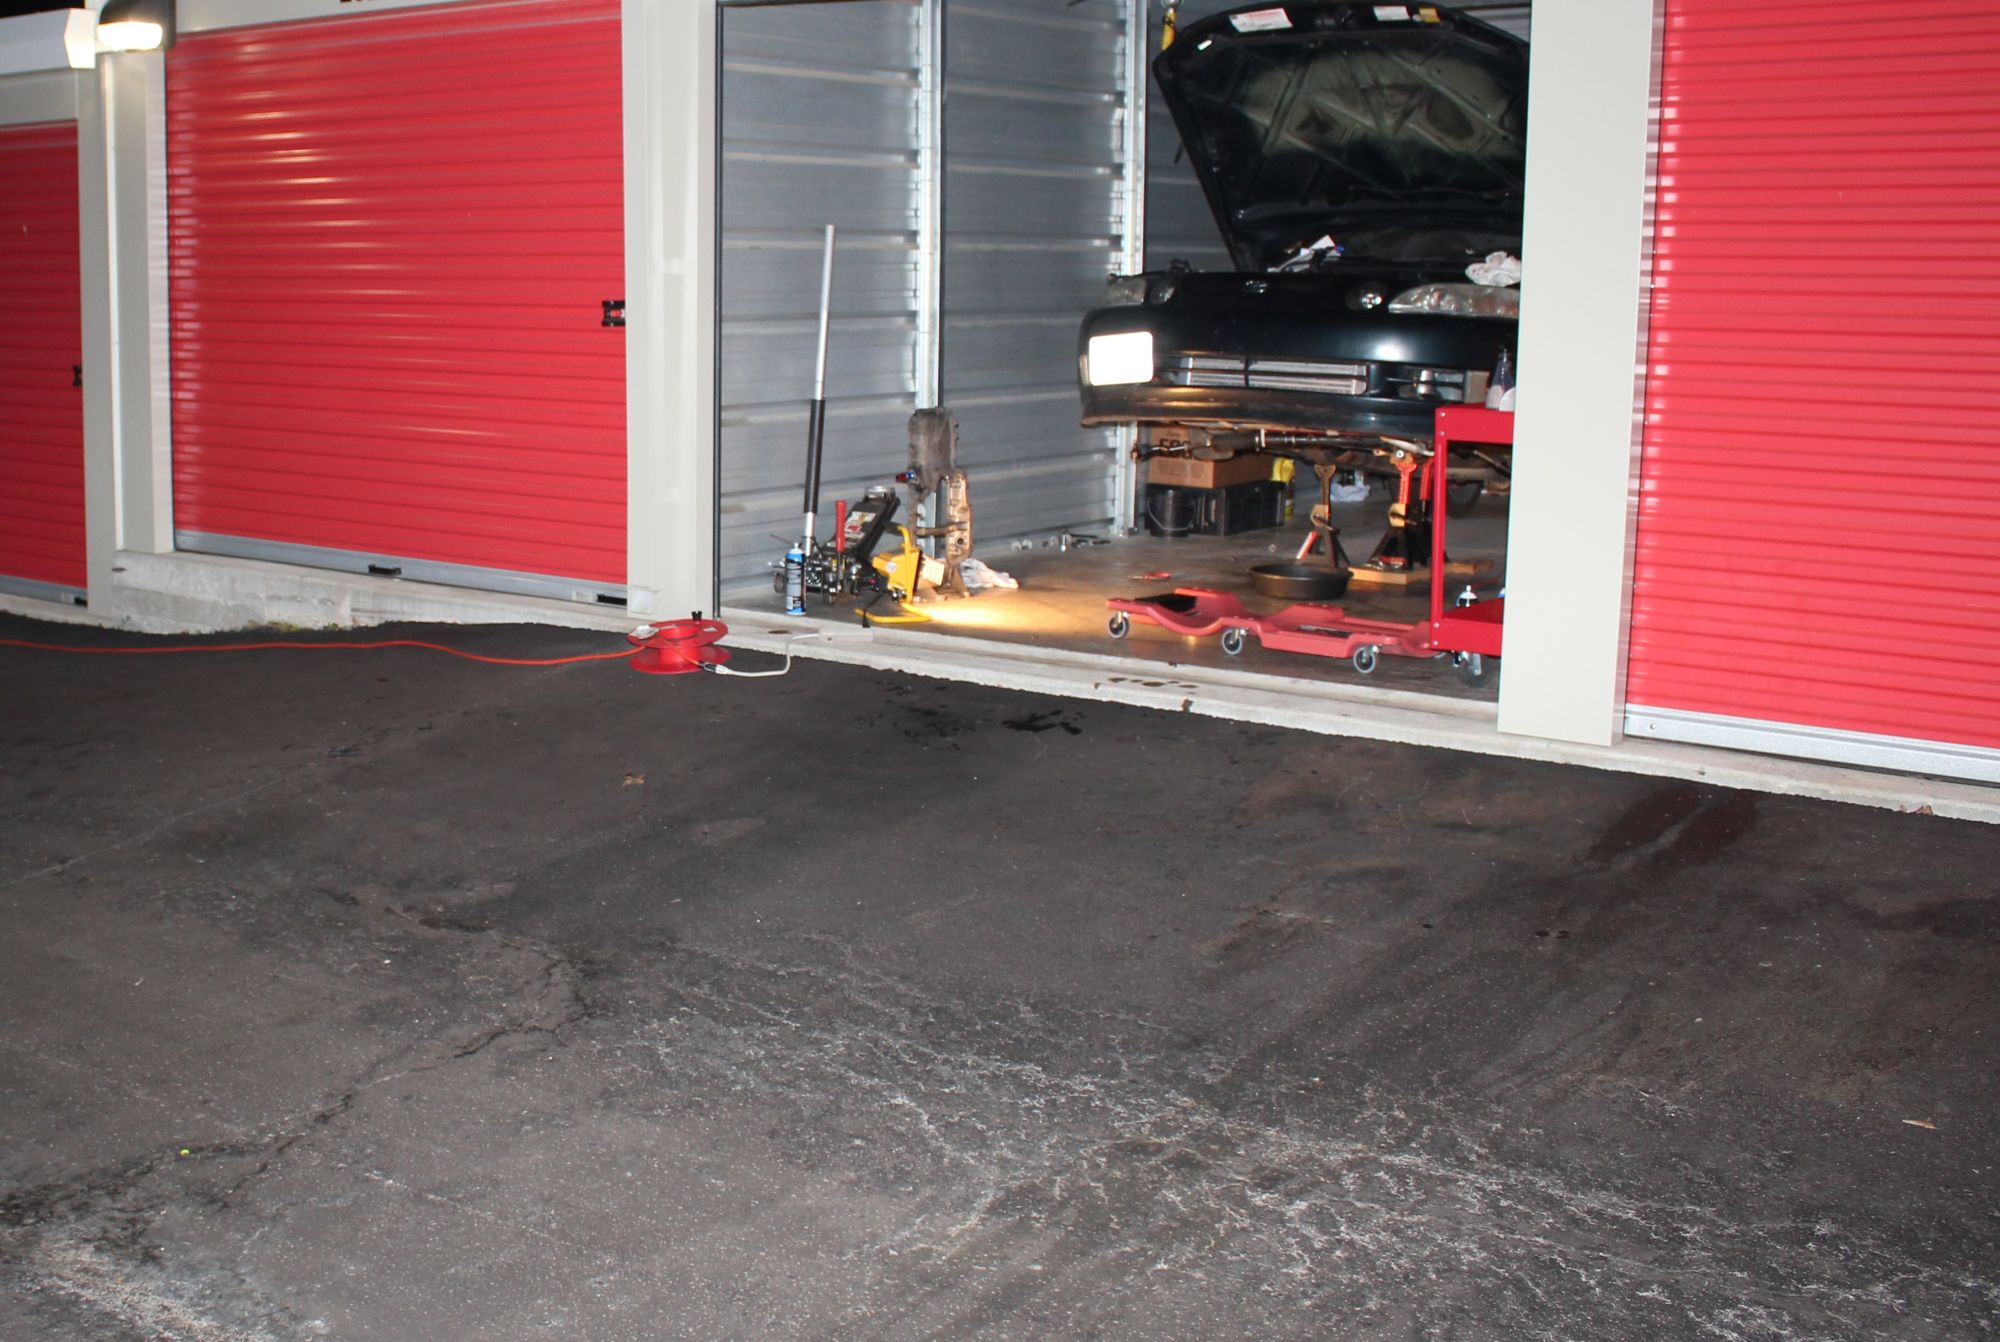
I USED to have a garage, but iam not cool as some of you guys, so my working conditions are all about dedication.
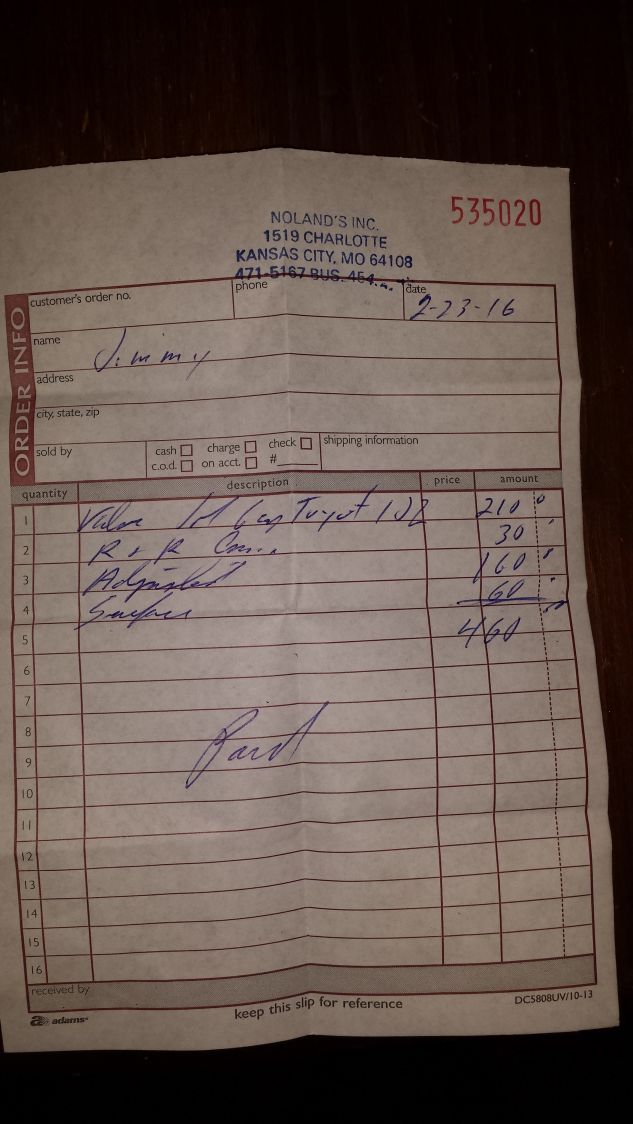
so here was the total machine shop bill, again I wish I didn't separate the shim buckets, but my head is finally done.
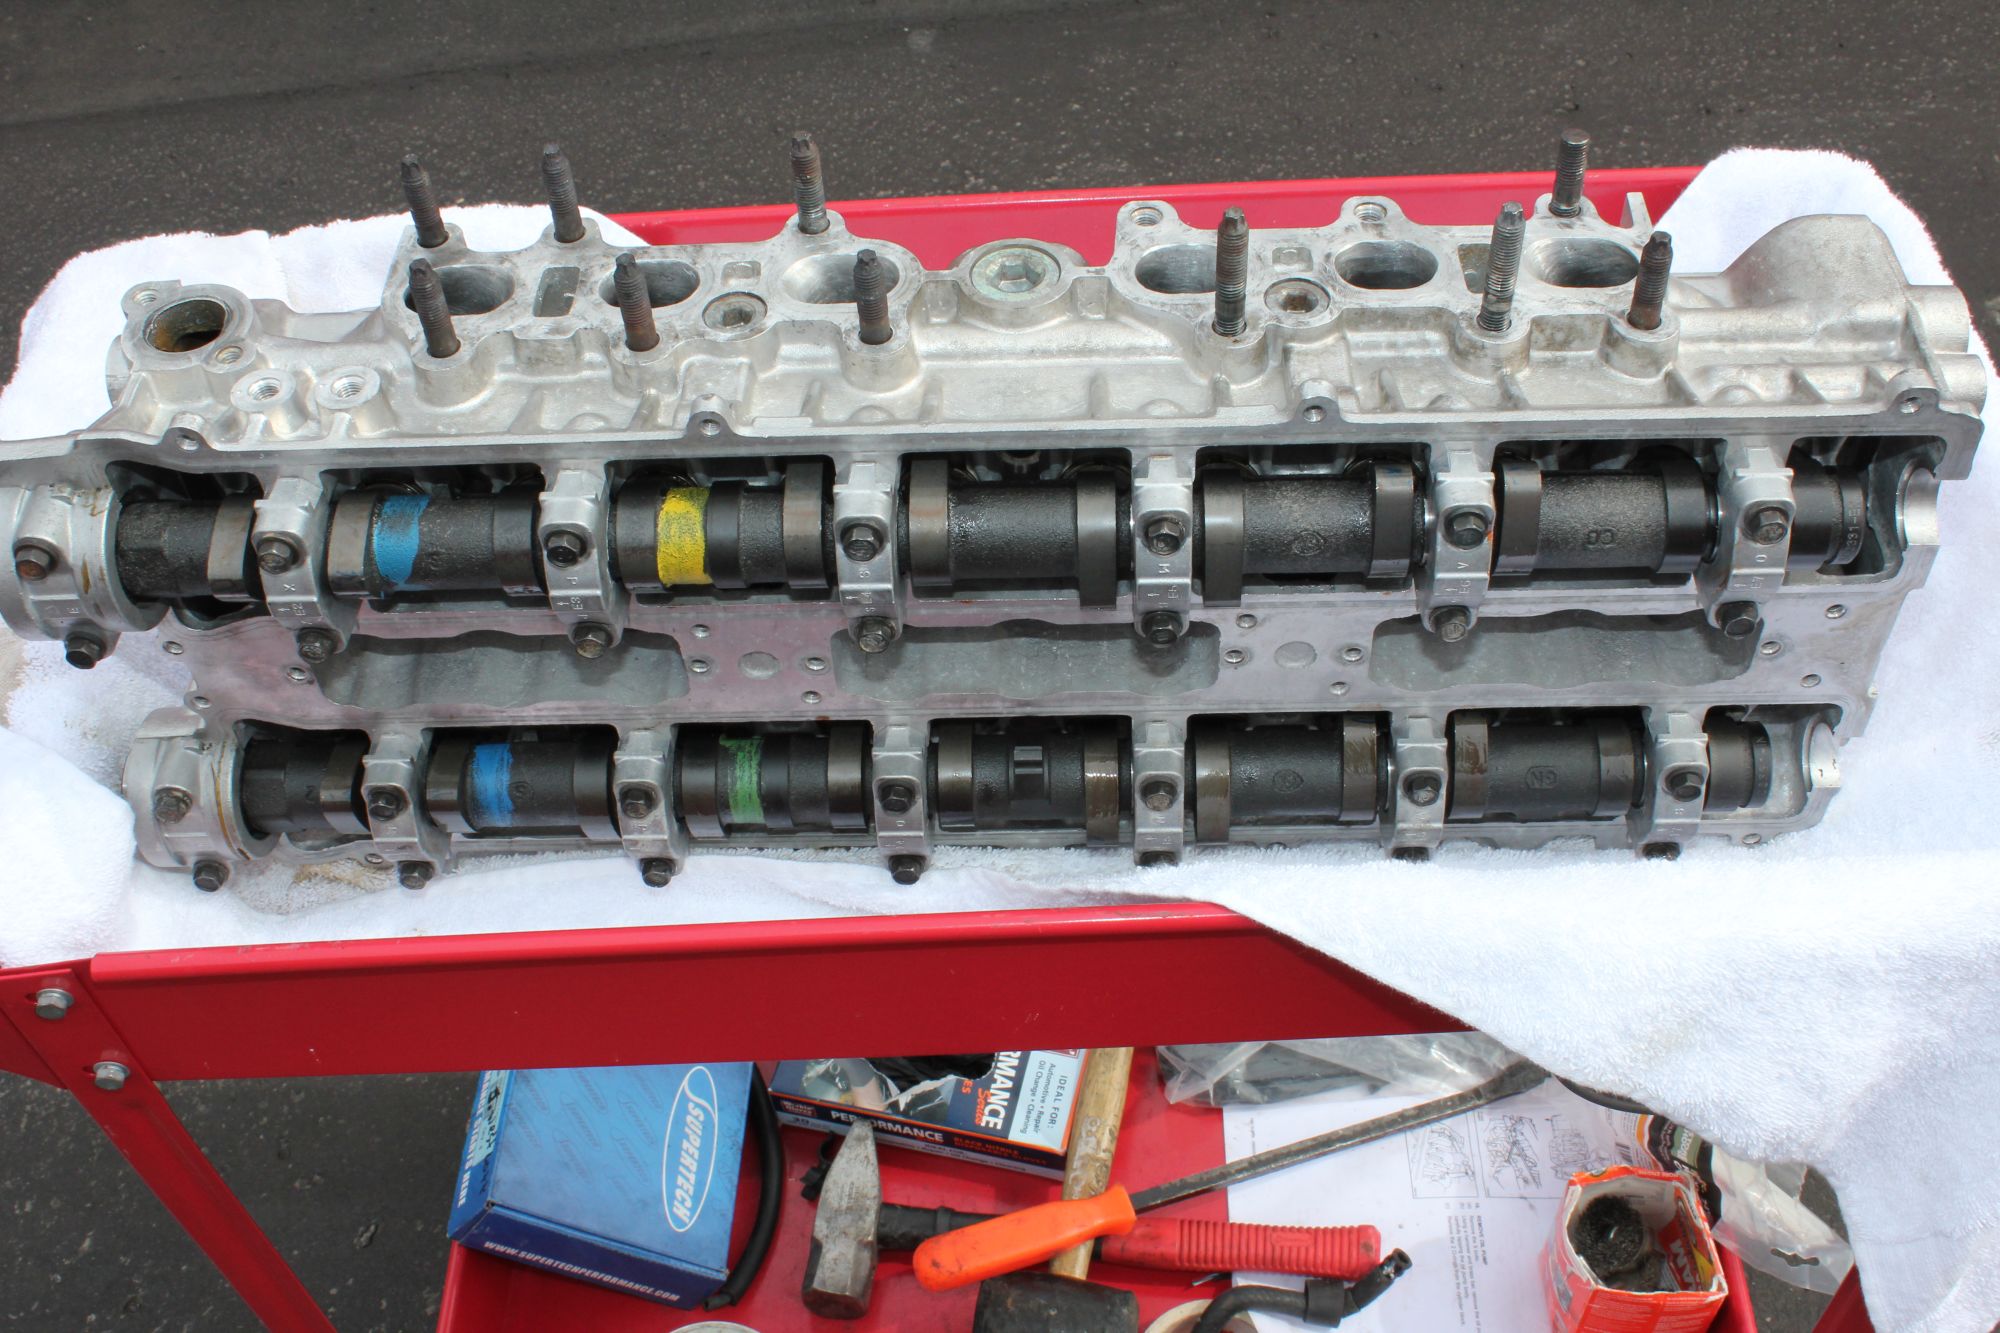
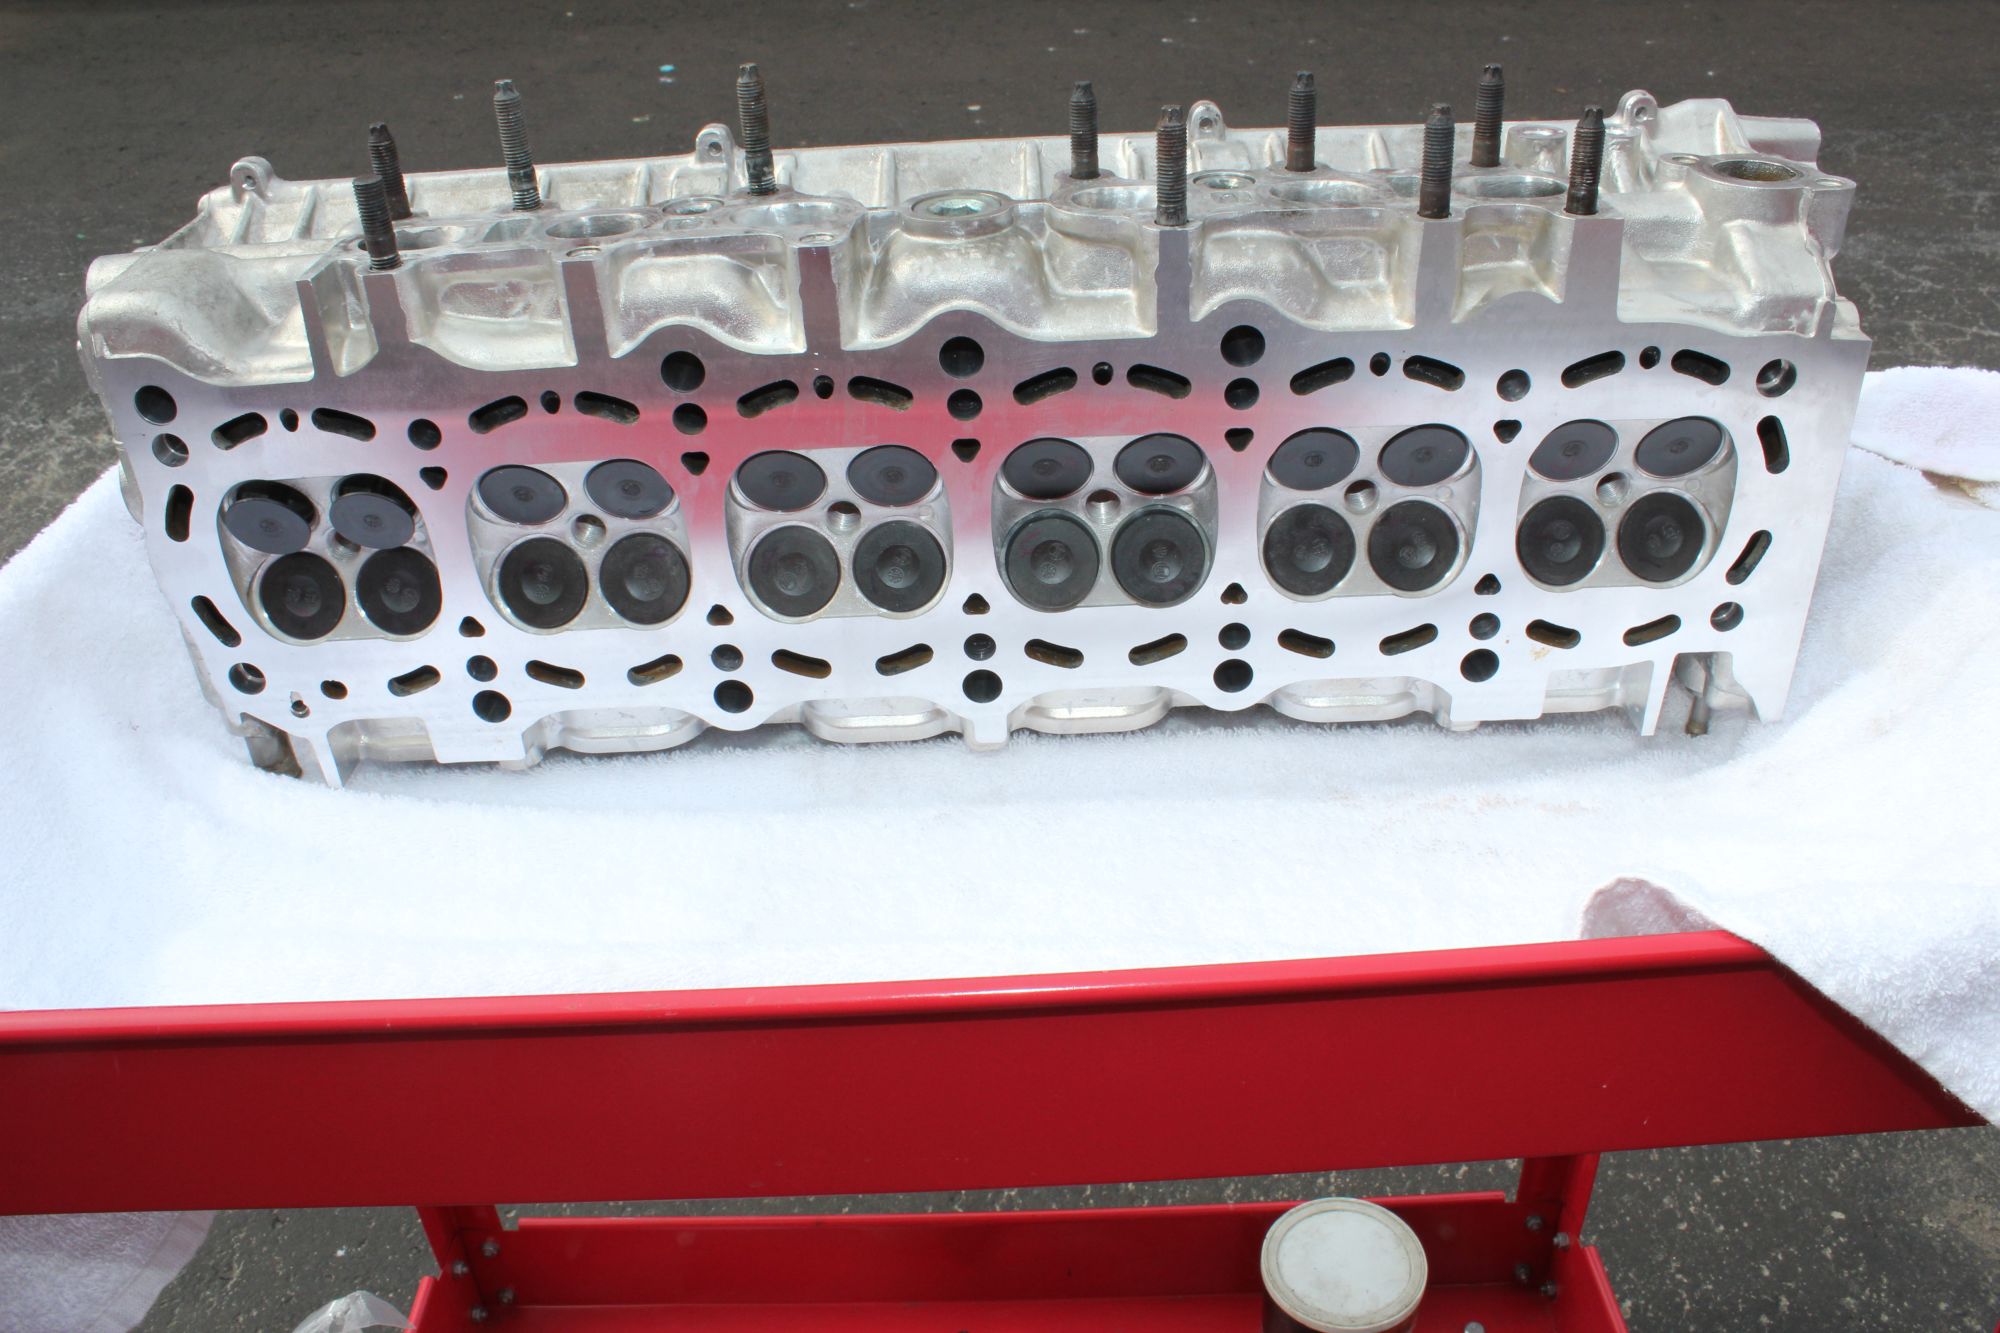
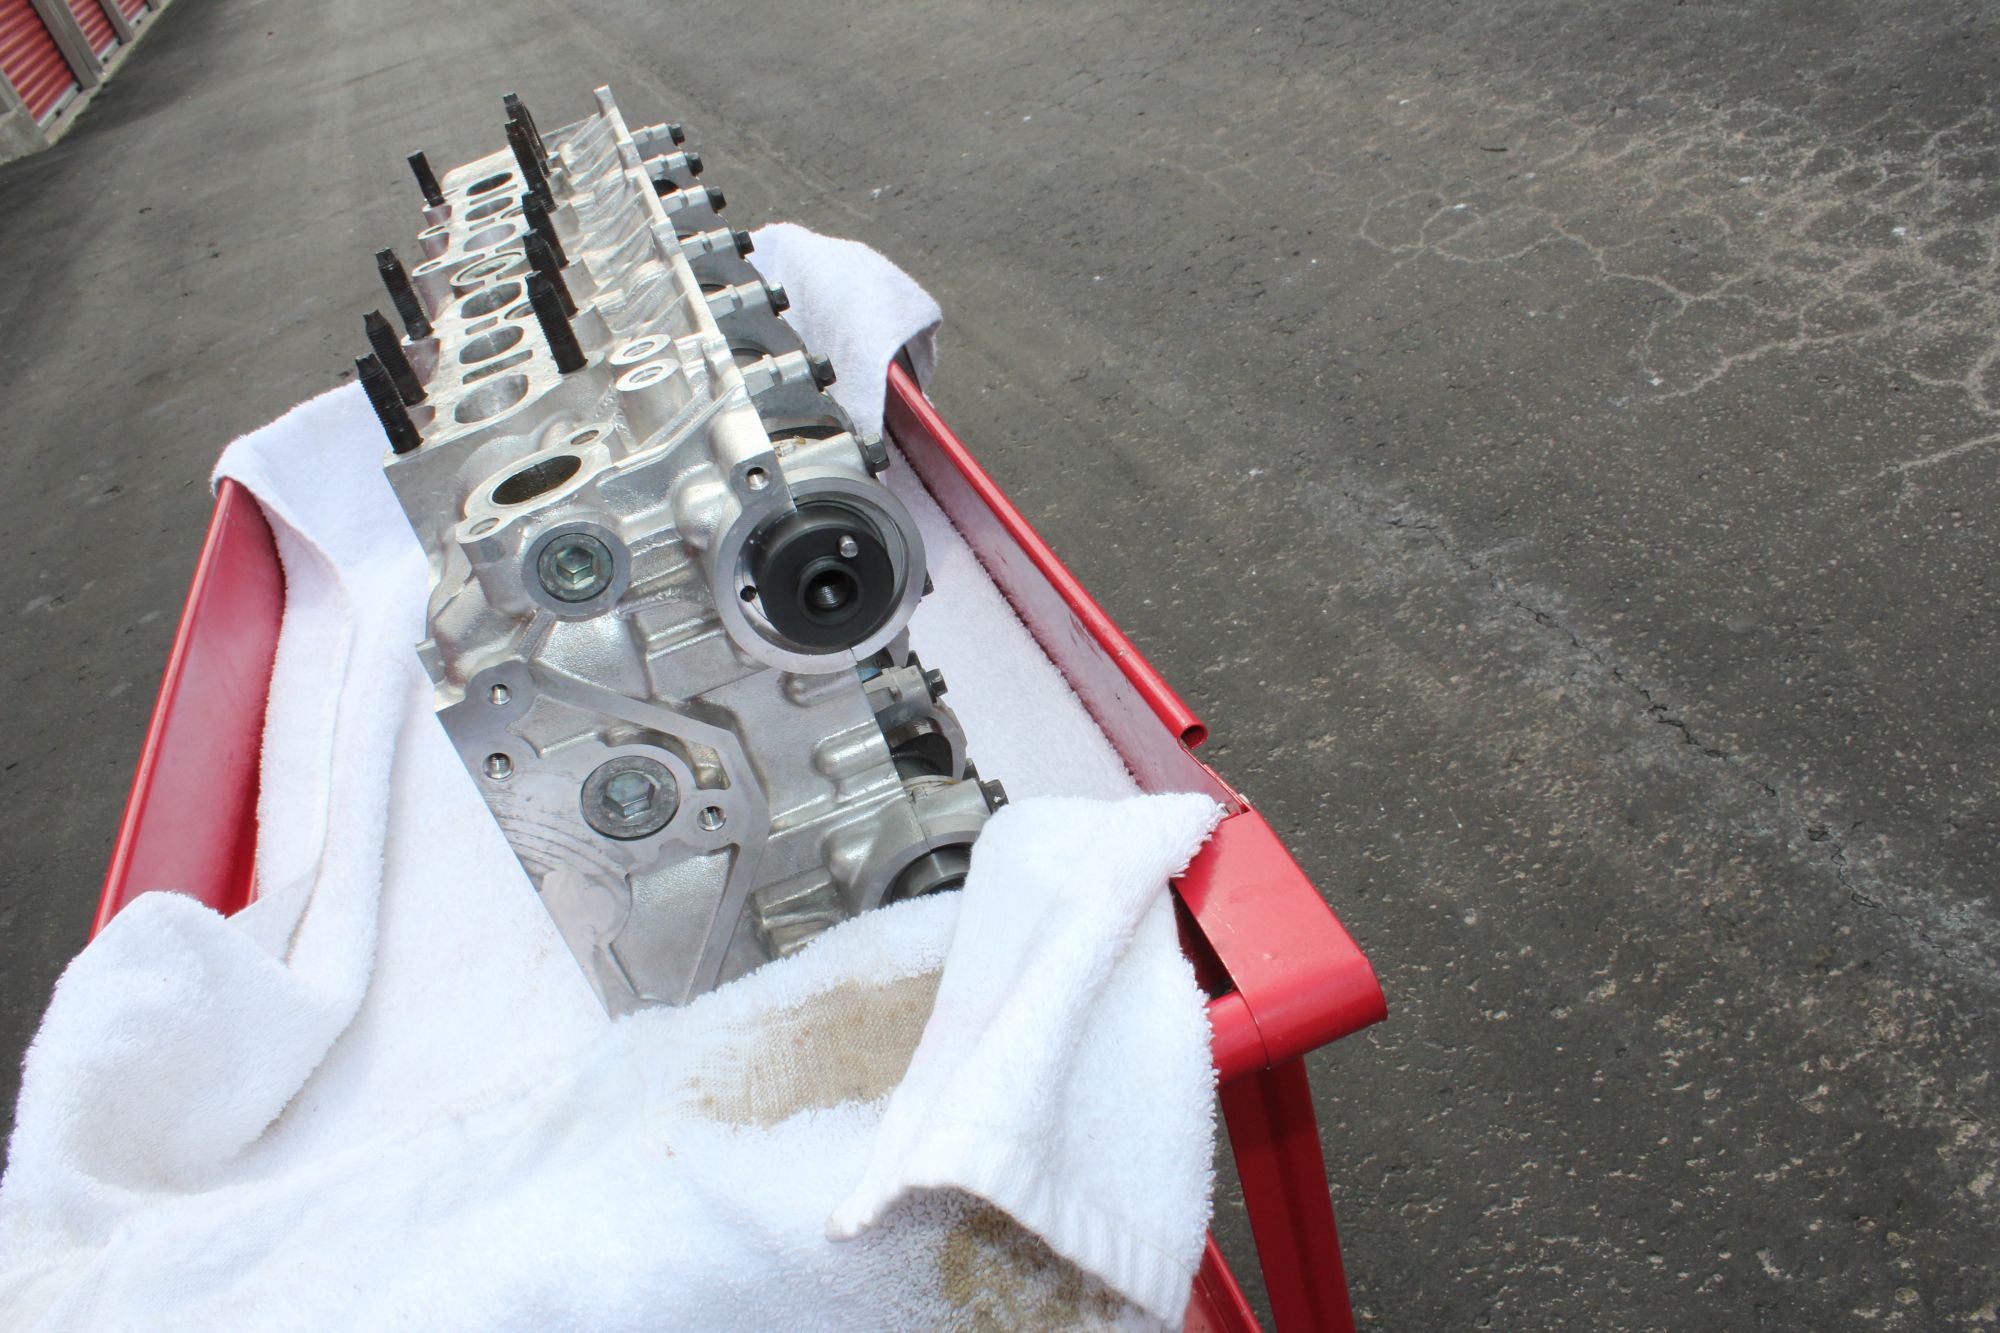
and here is the finished product.
so finally it was time to mount this mfer. so it's time for "stud" love.
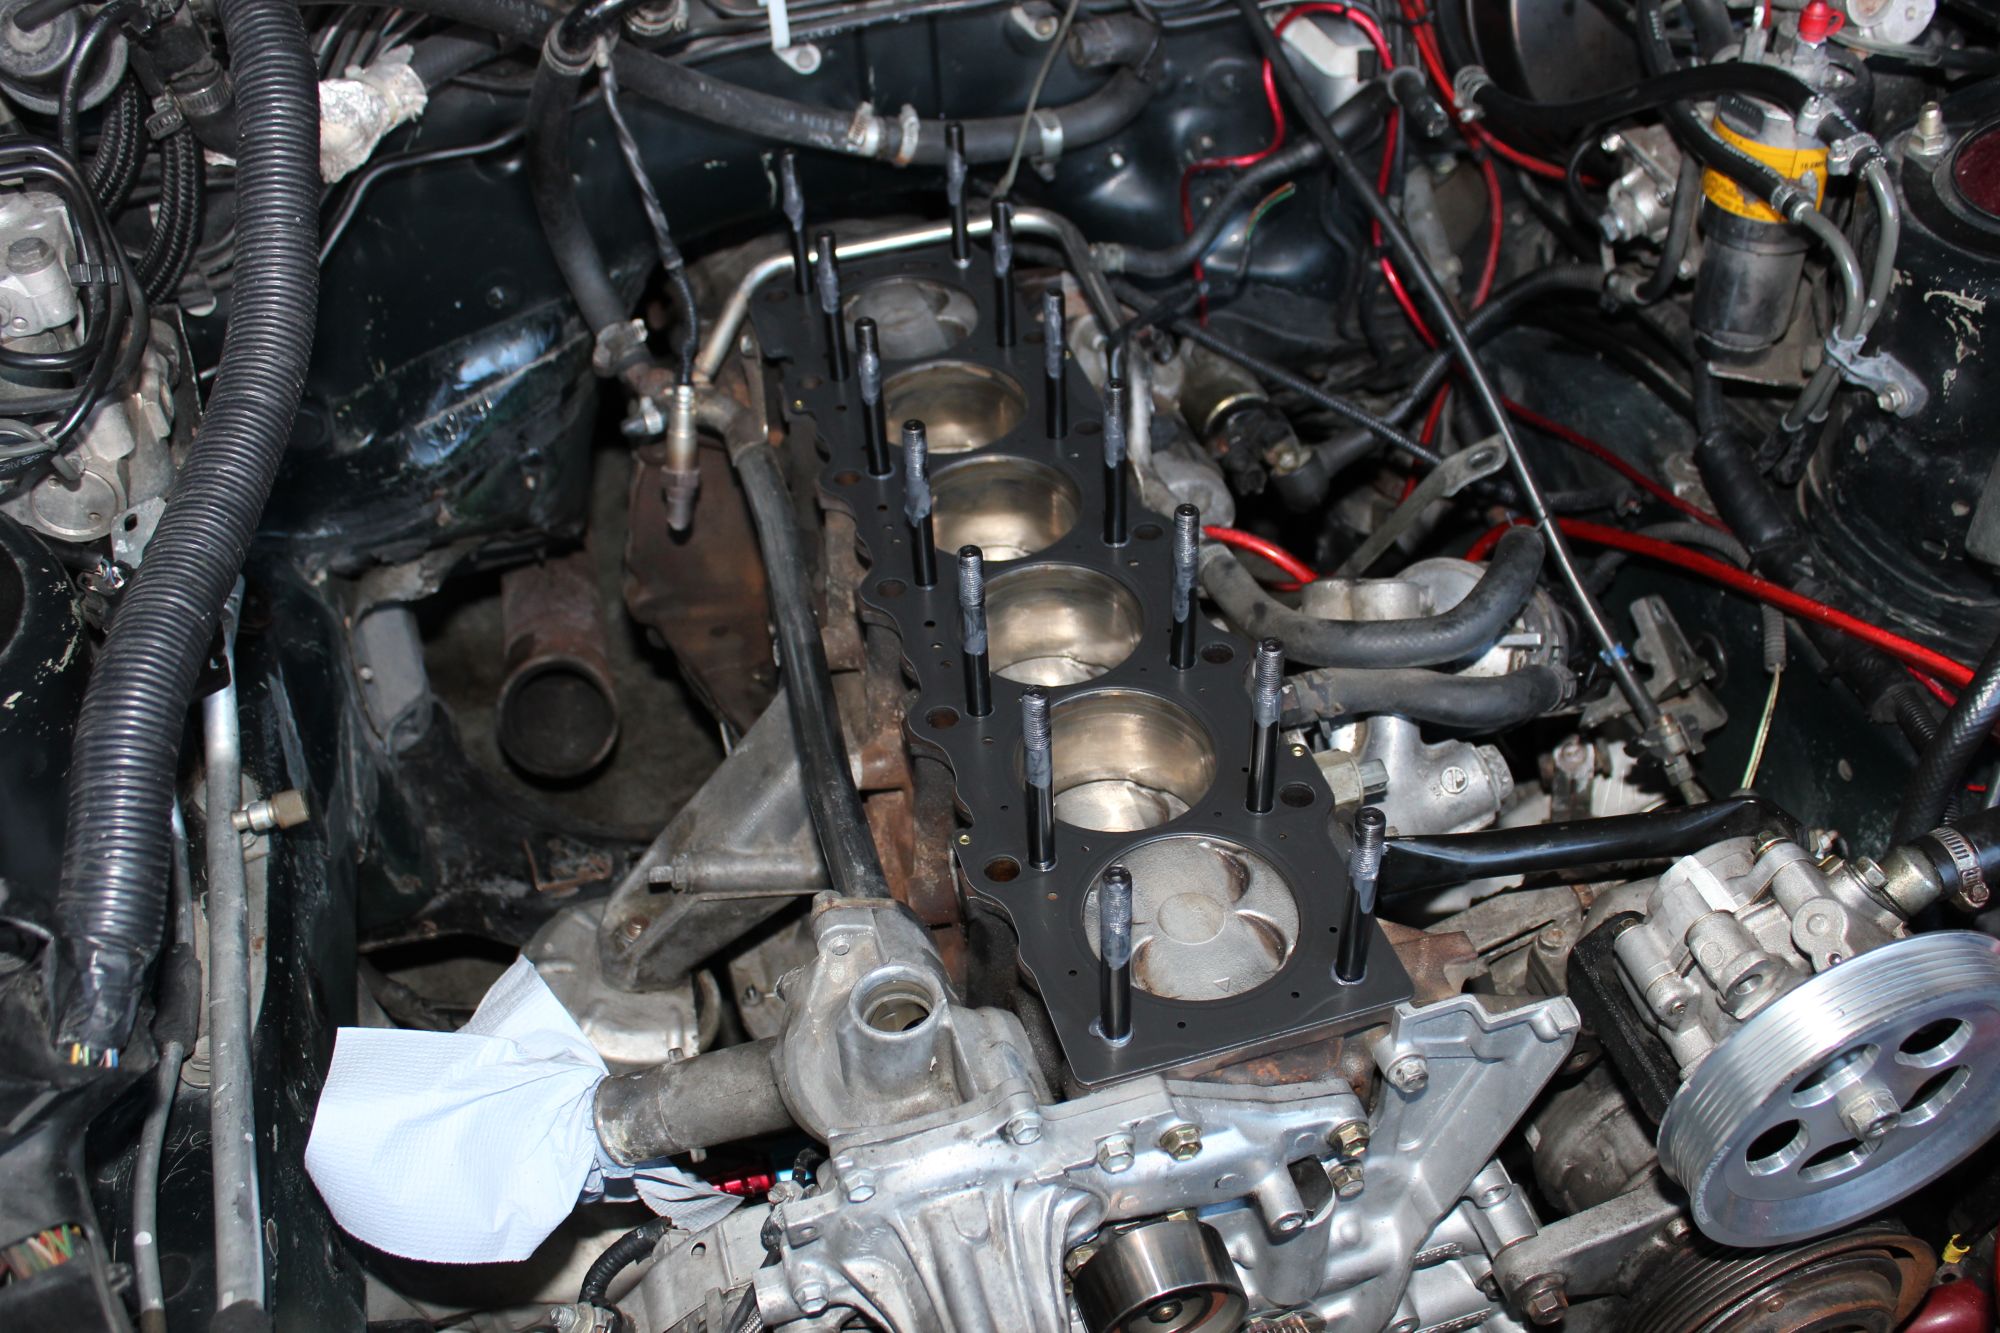
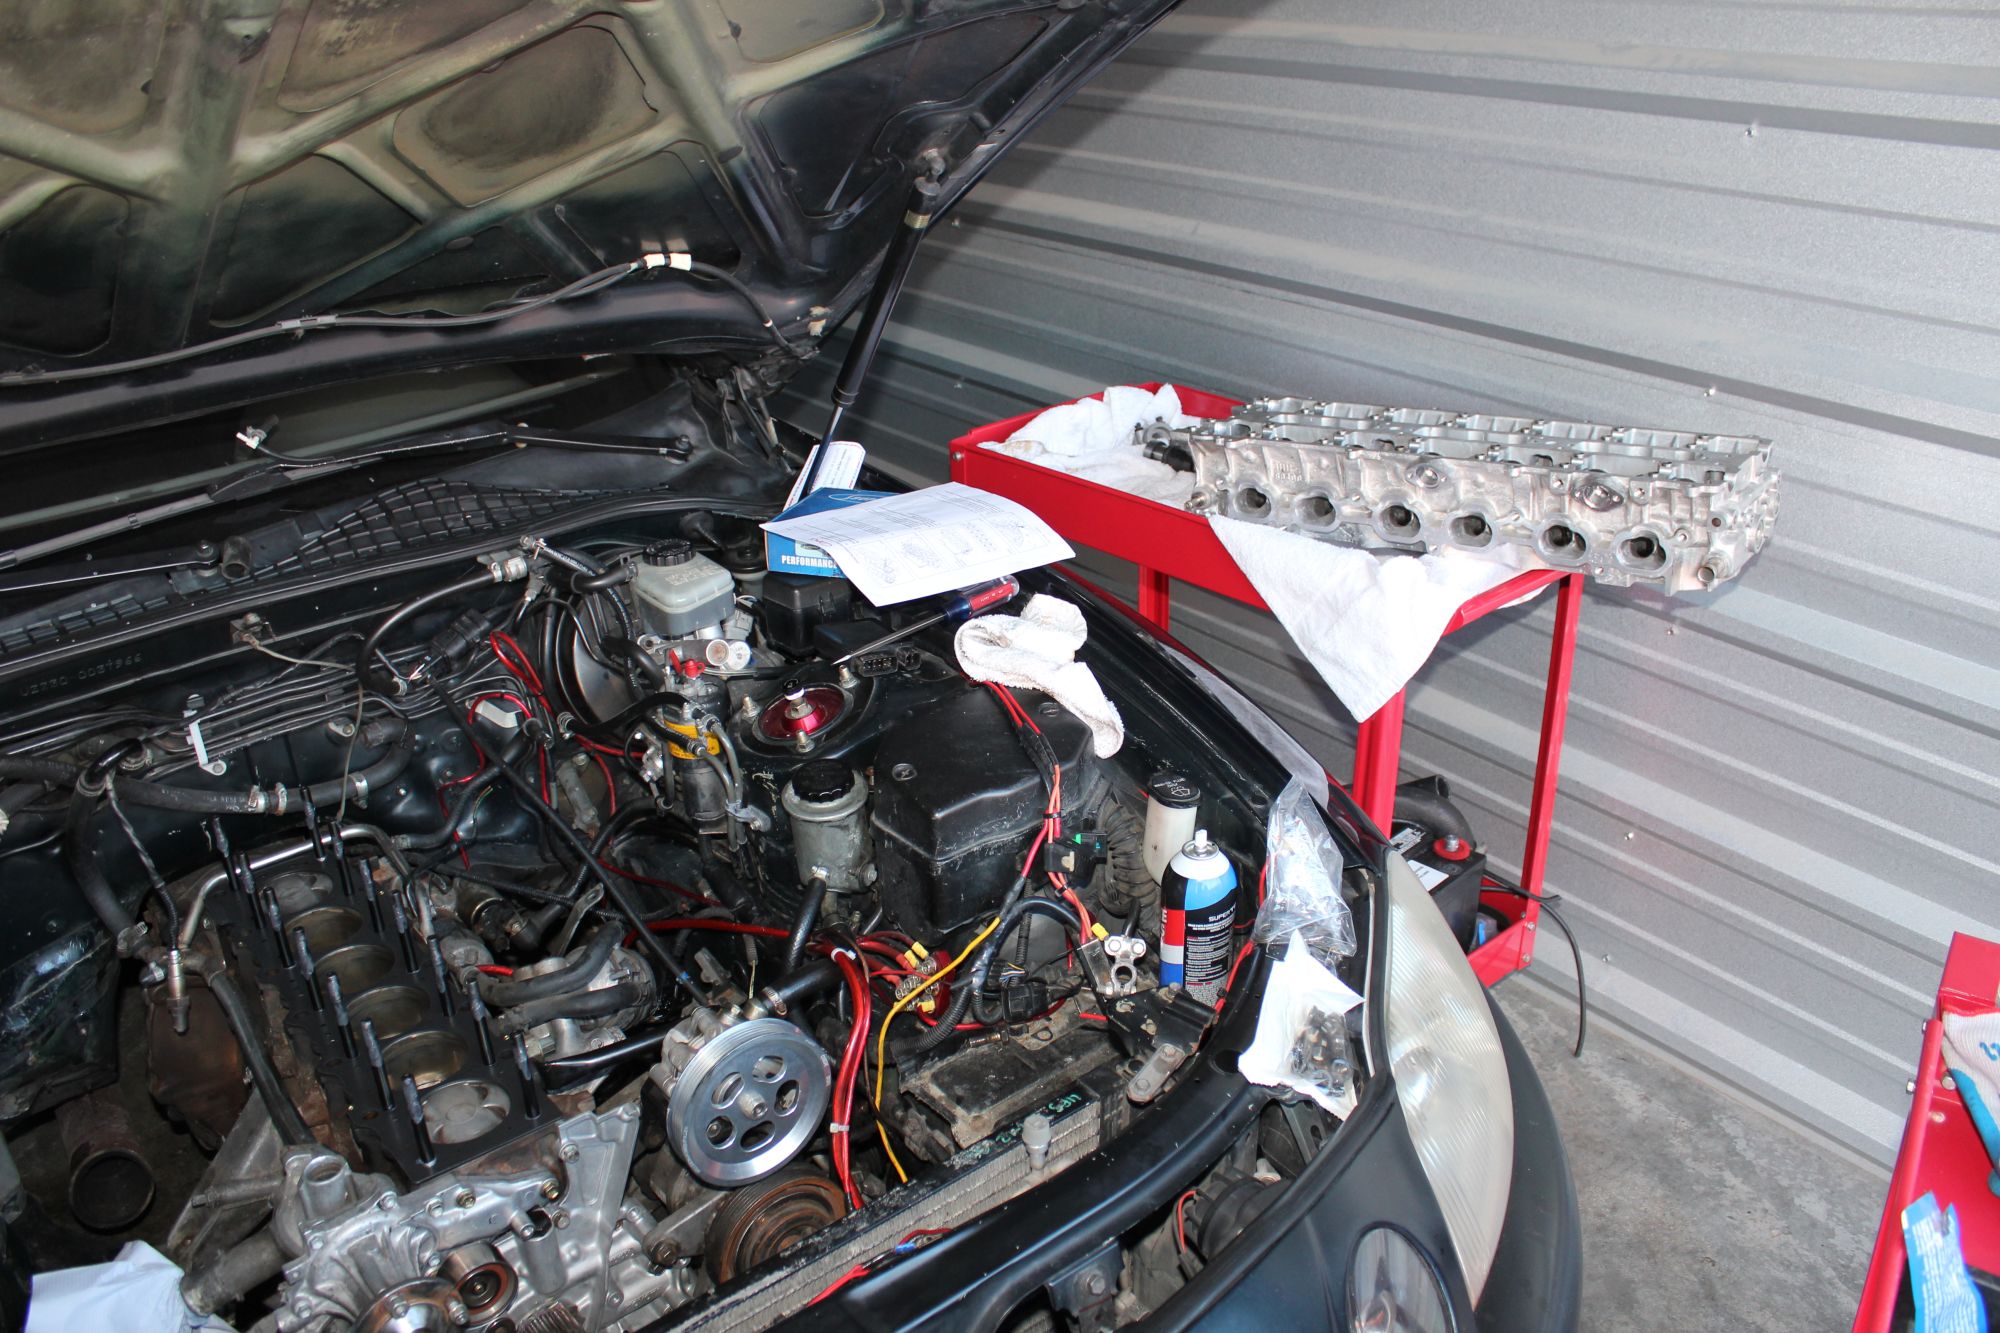
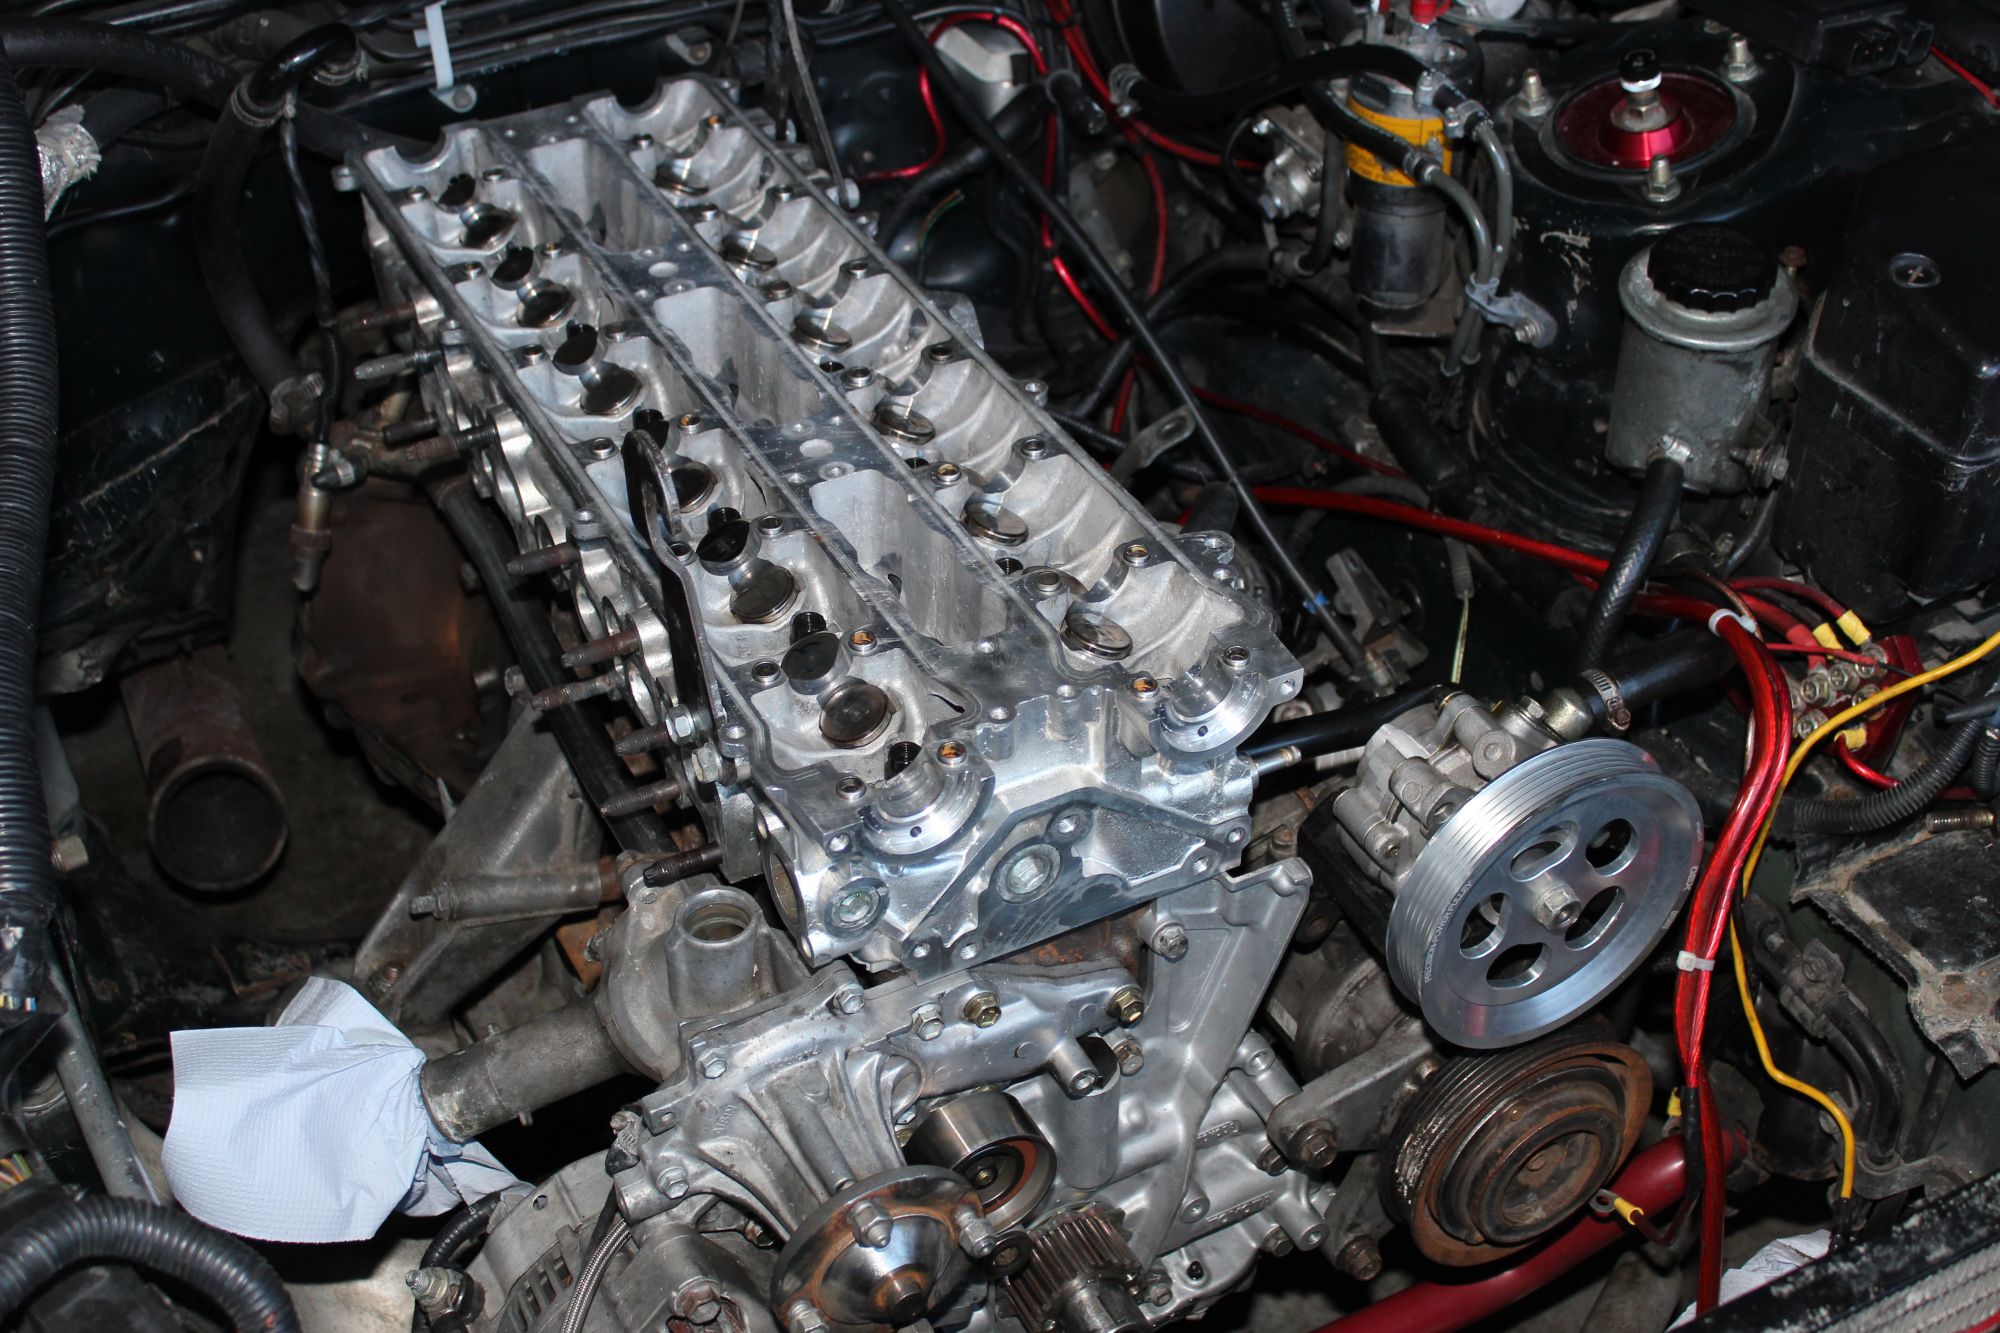
thanks that I didn't have the radiator in I was able to climb in the engine bay and slide the head on myself.
next up was the borg warner mock up. The turbo is huge, and they sent me the wrong one. I originally wanted the one with the 90deg bend. but I figured I would make this one work.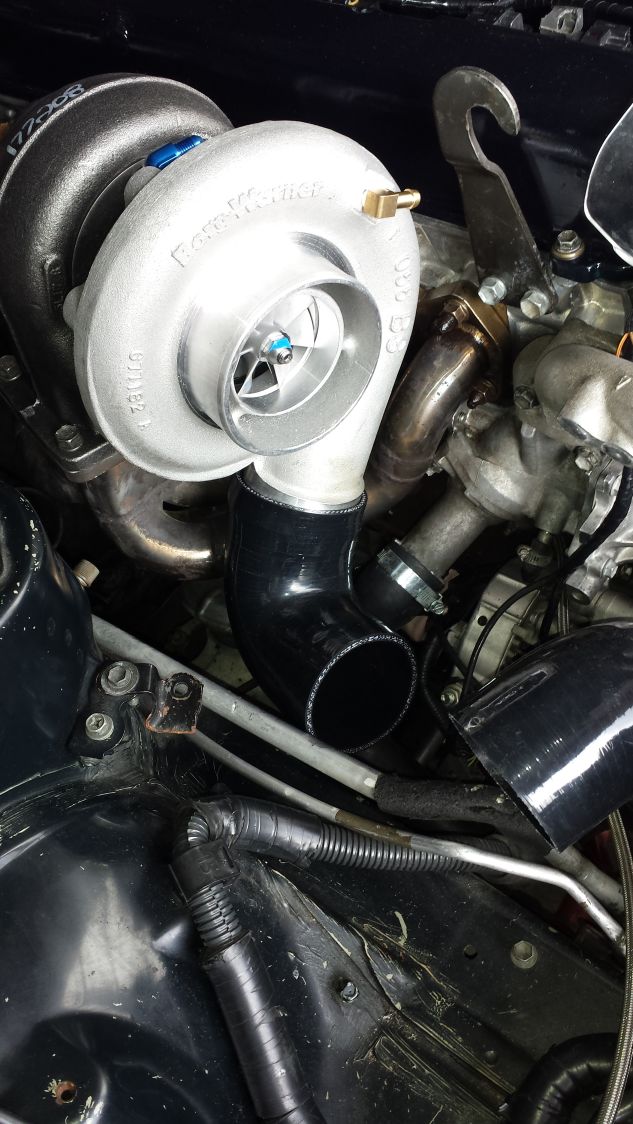
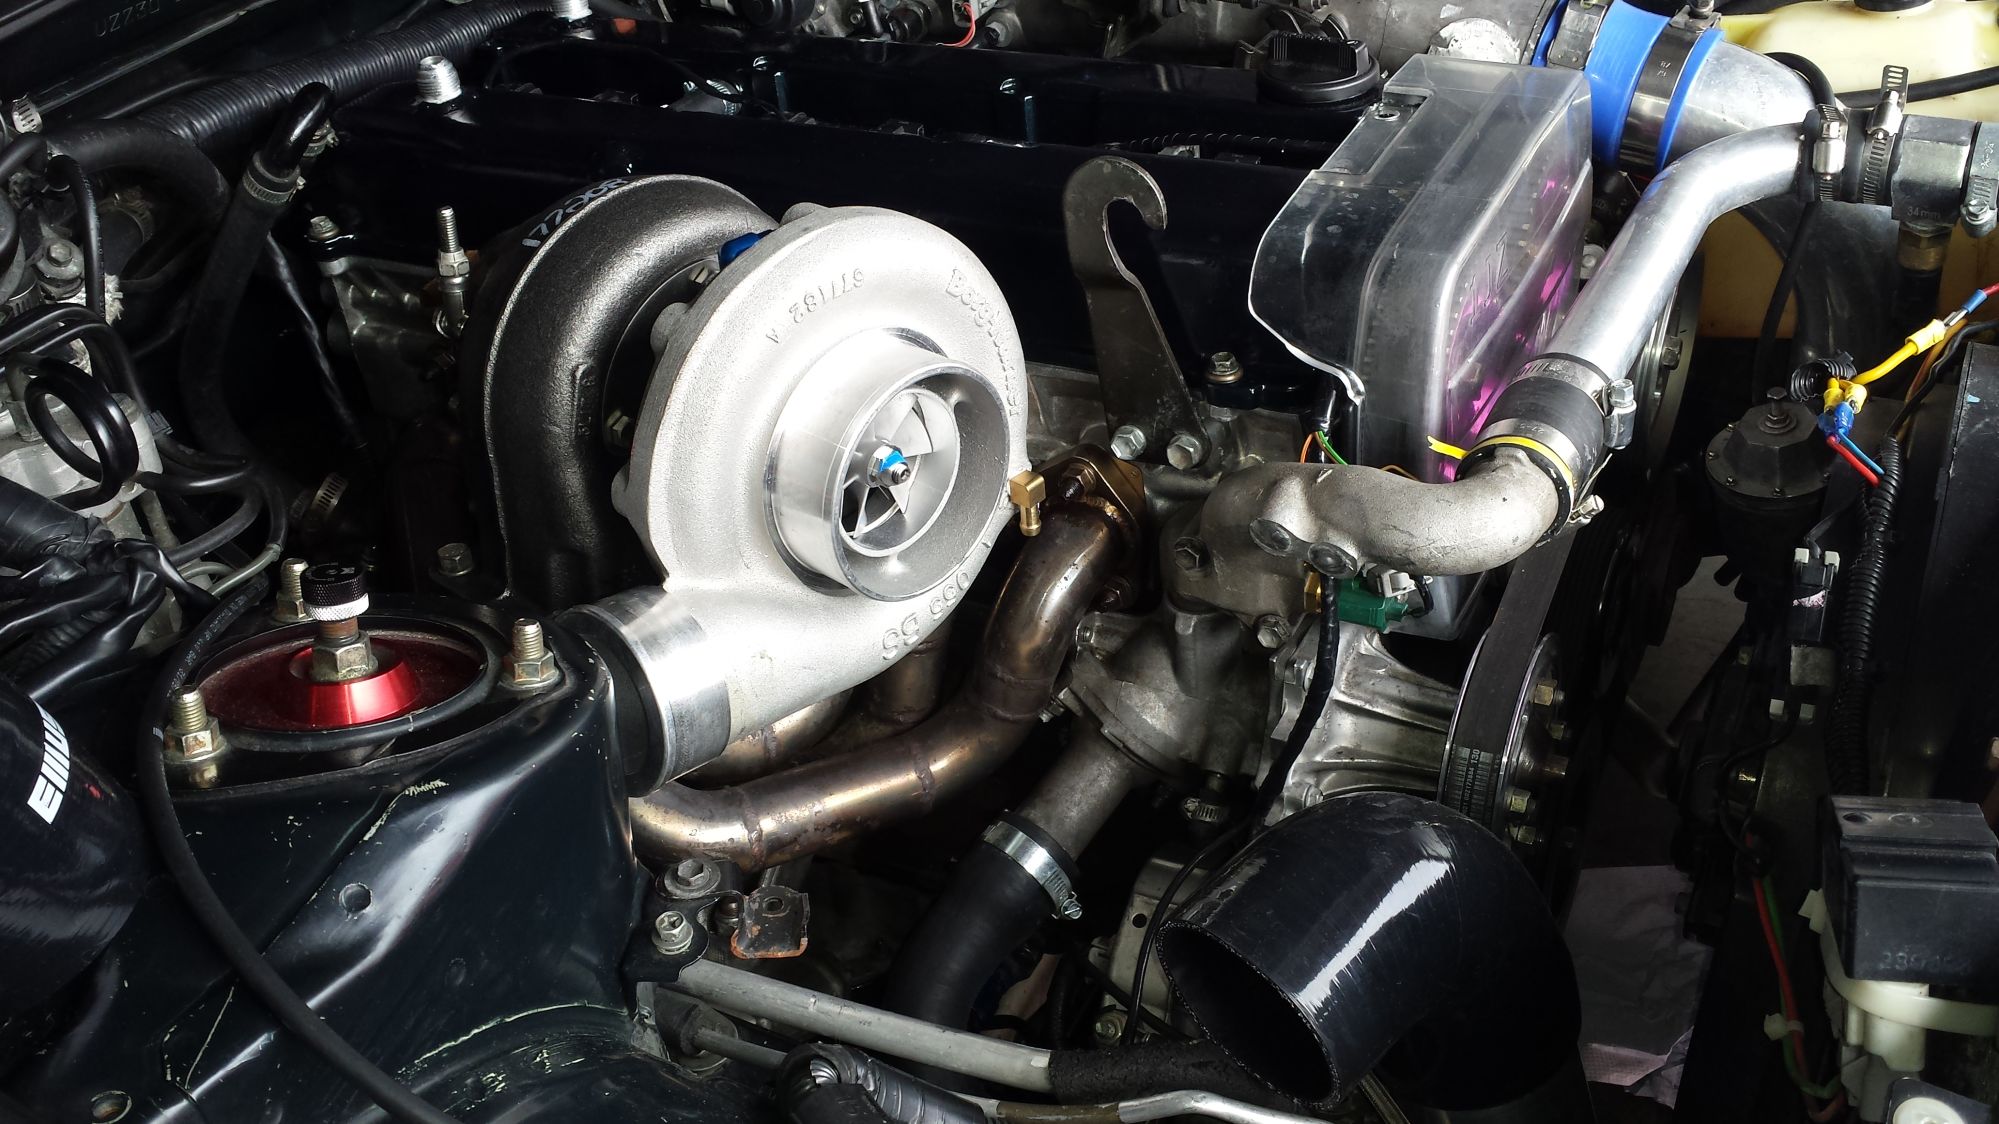
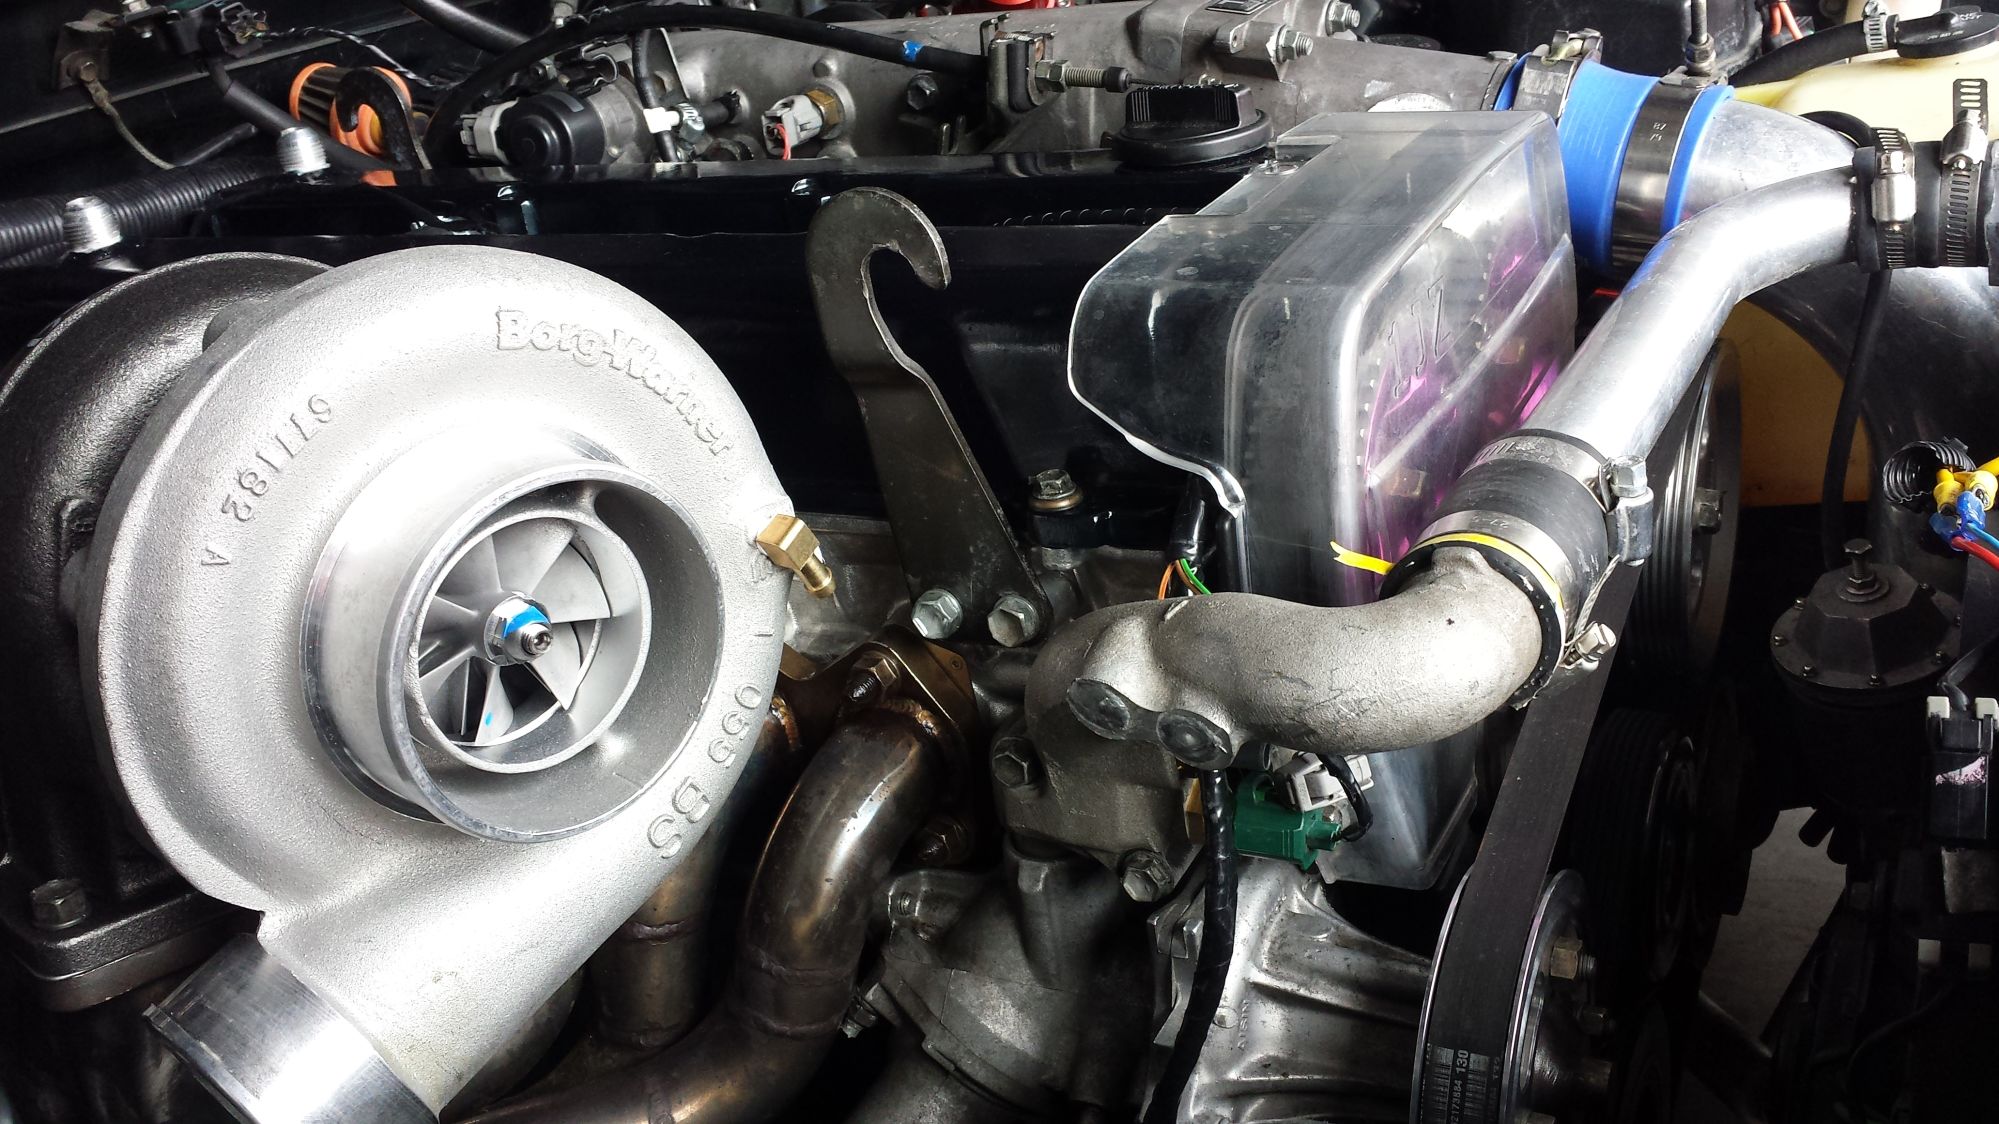
I had to cut off the end and source a 2 and half inch bend to merge to the hotside. so needed Austin(the great) welding skills once more. I also attached a reserve to the compressor.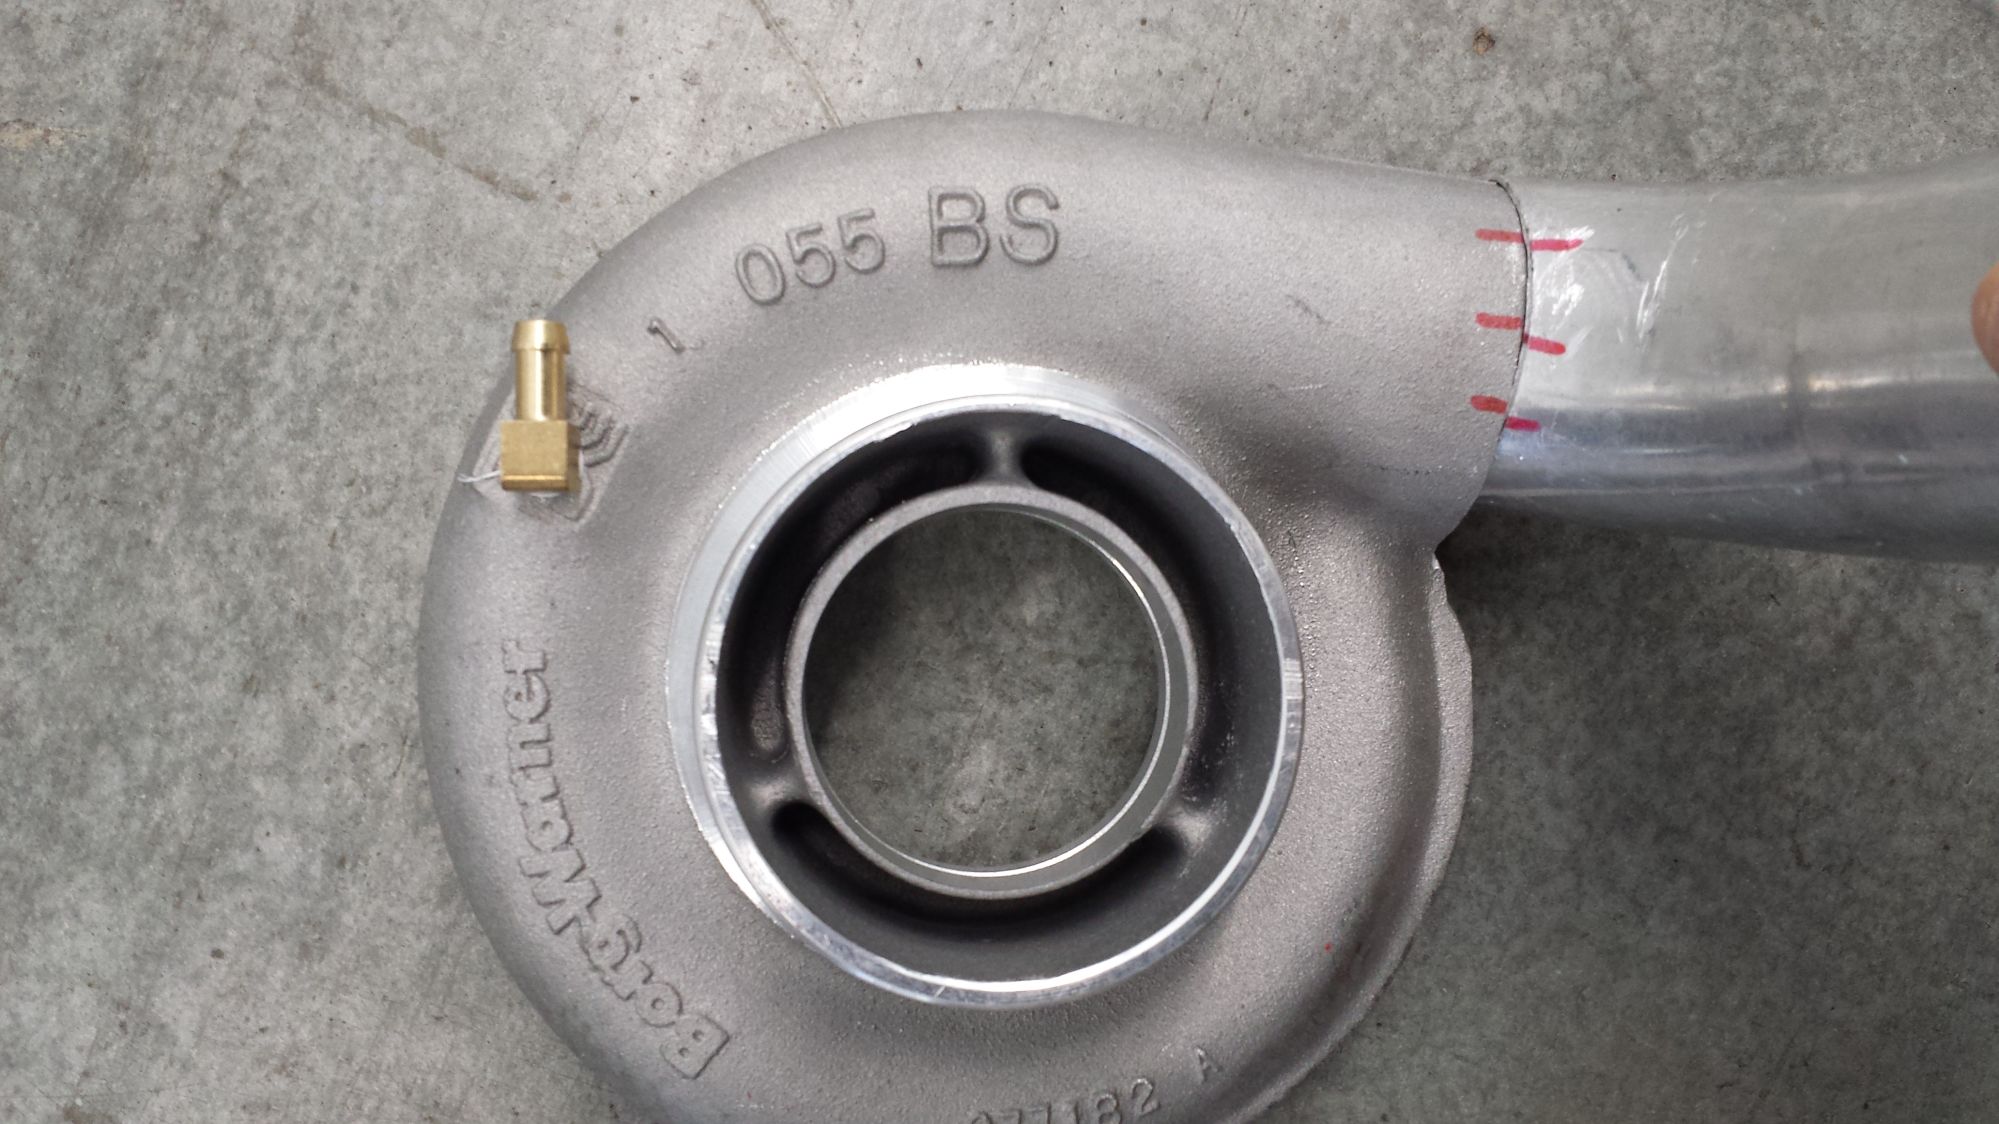
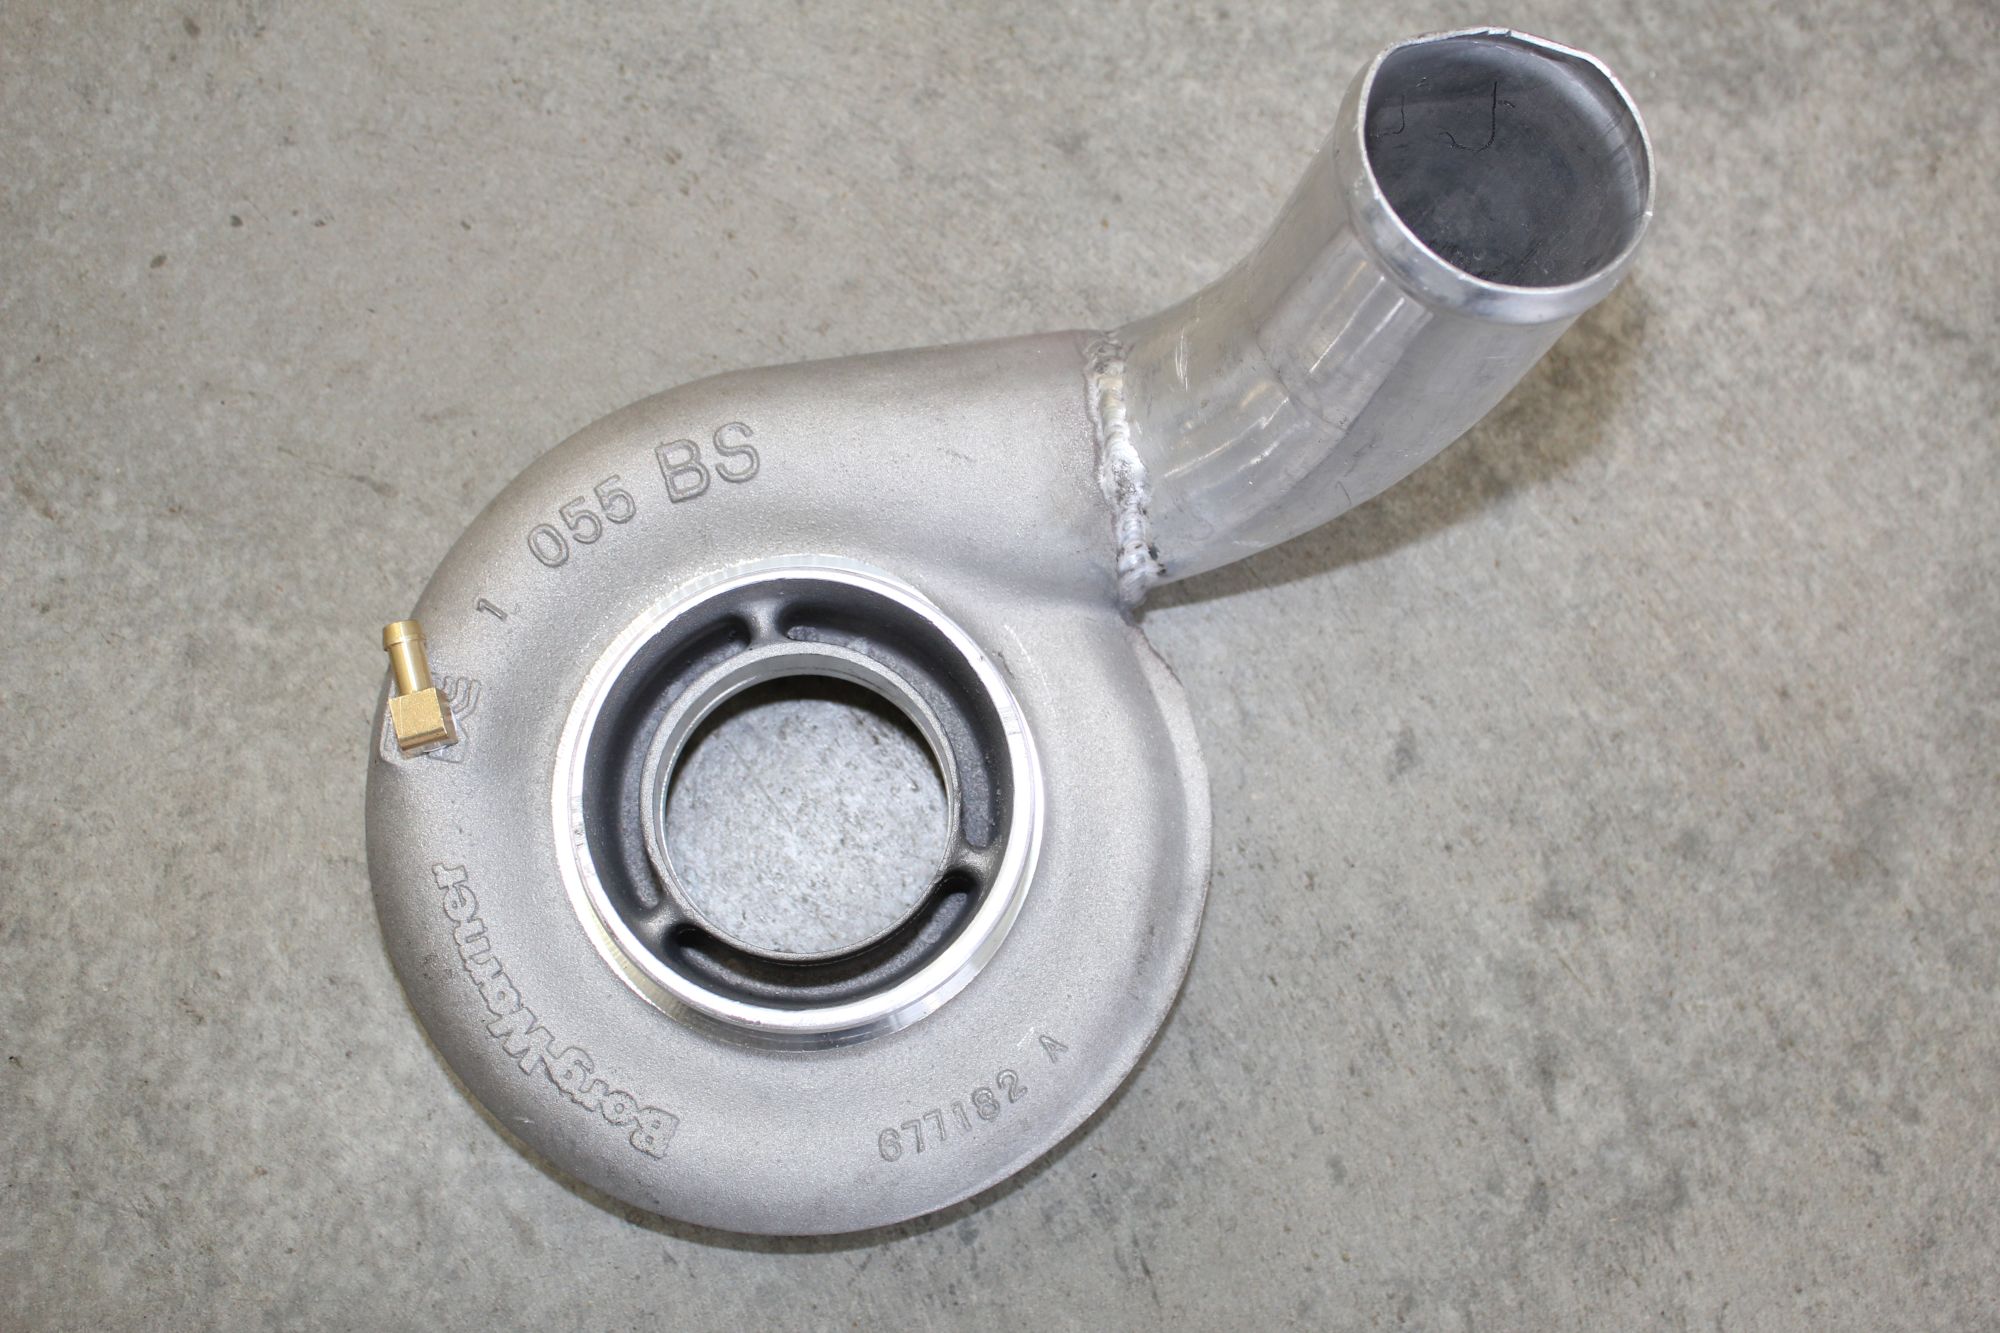
well it was then time to install the borg warner turbo. this thing is huge. I originally wanted the one with the 90 deg bend. but I was sent this one, I decided to make it work.
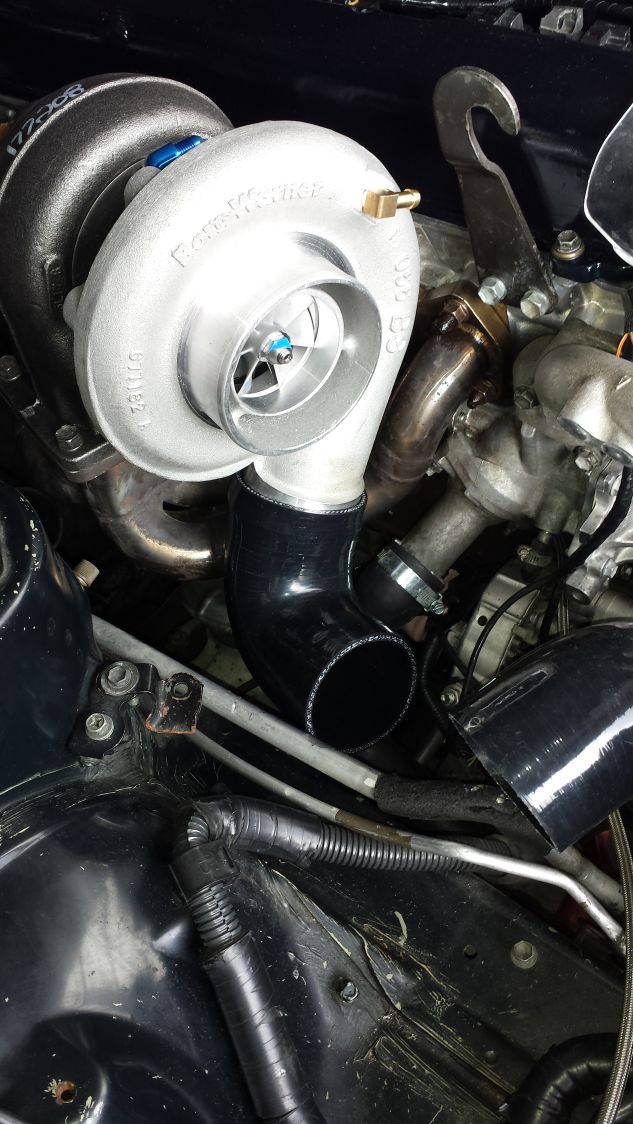
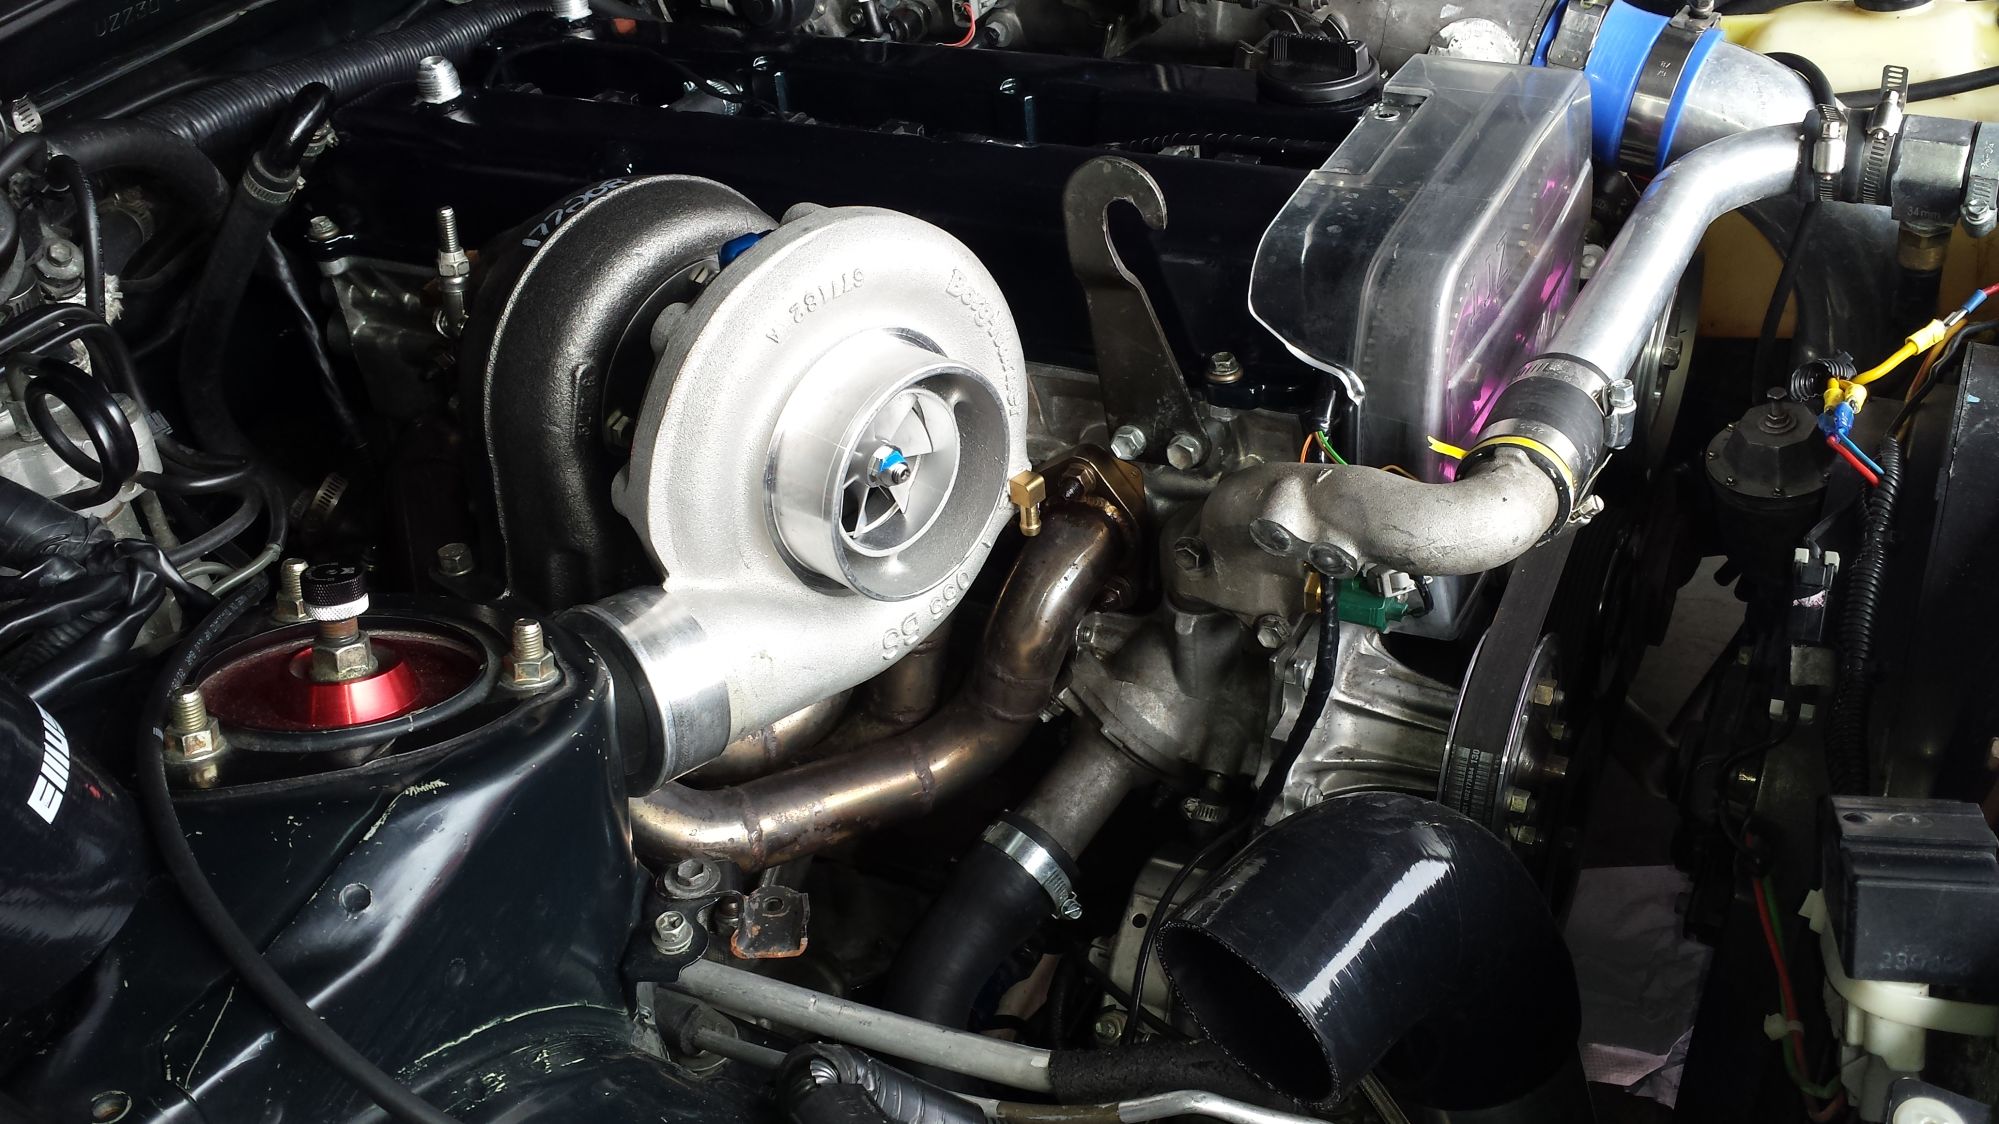
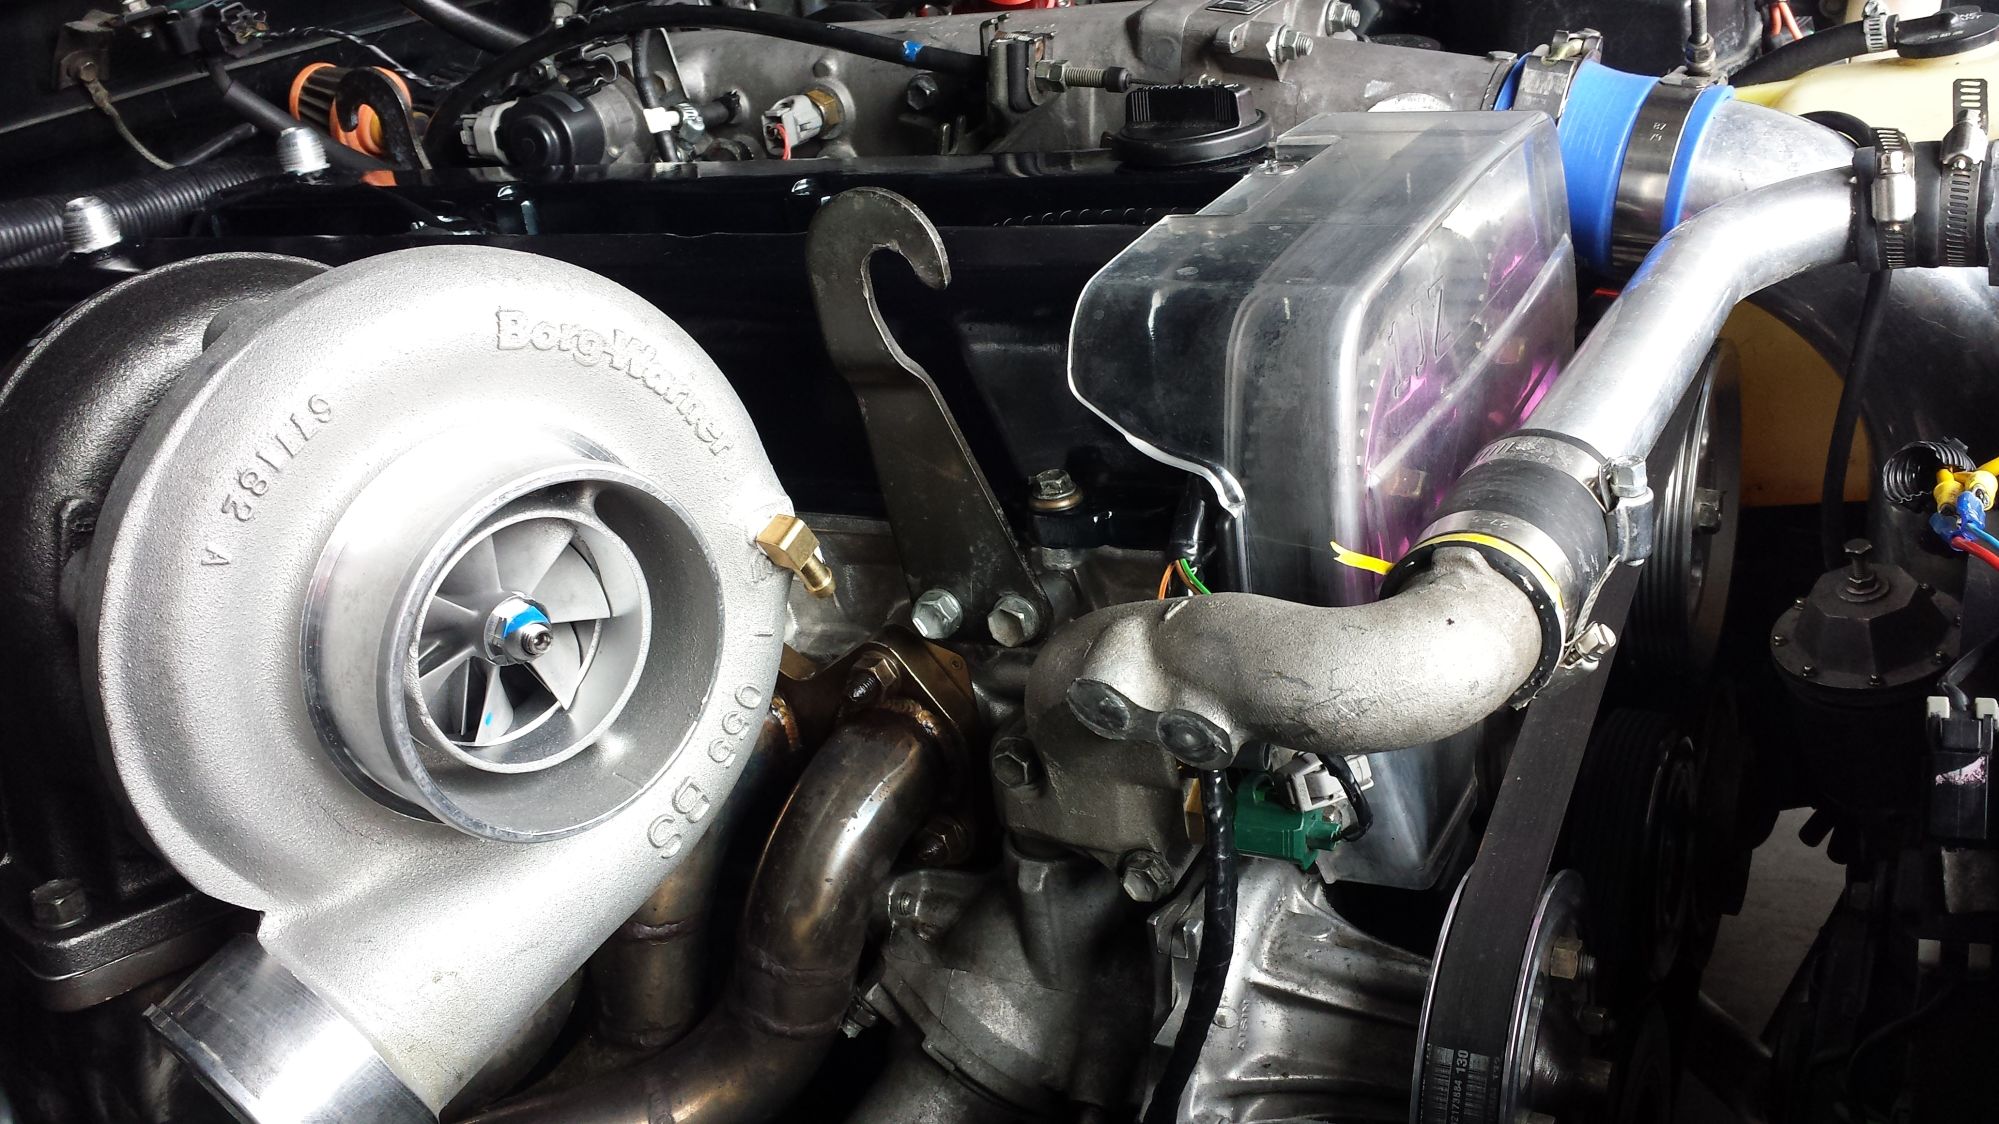
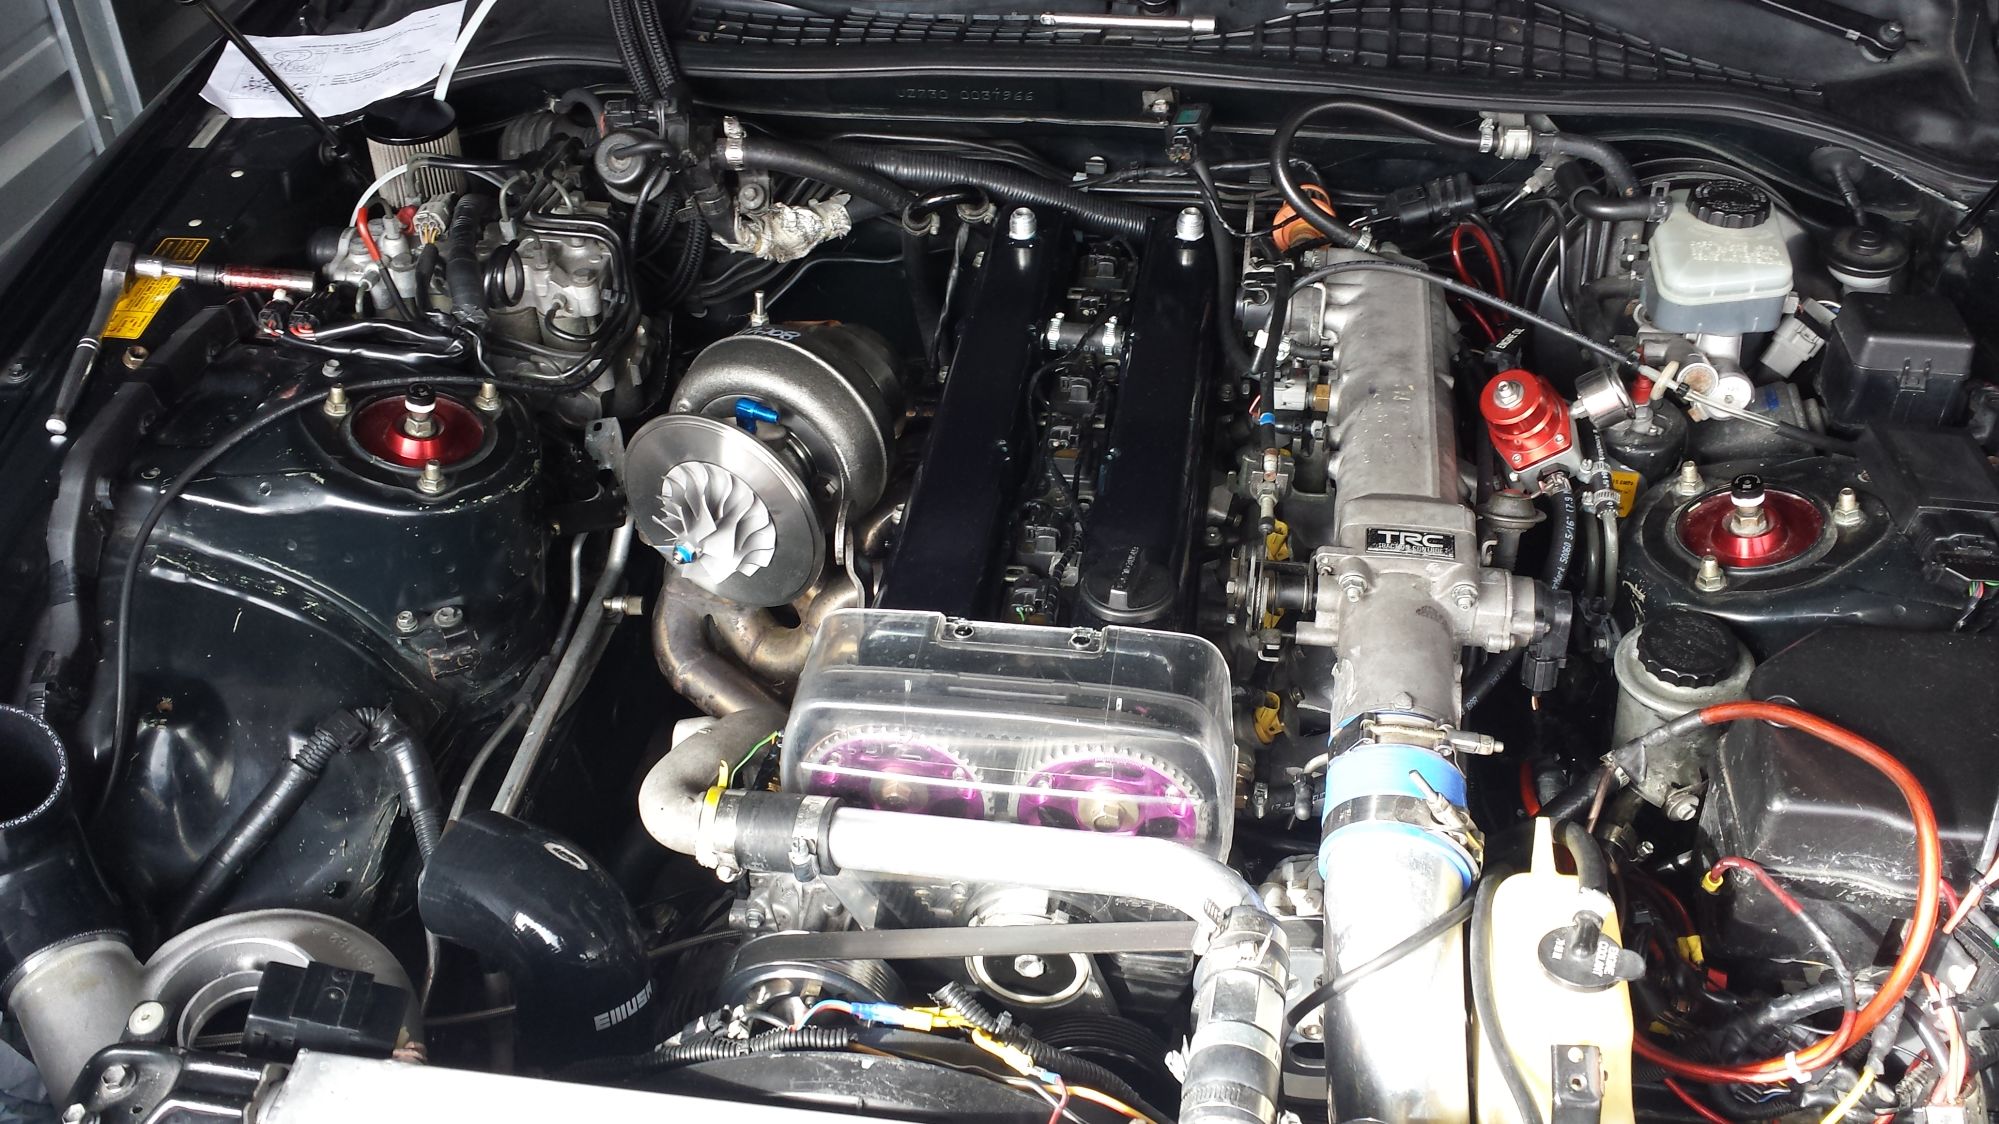
so I needed to fab up a new intake pipe that is 2 and half in diameter. once again I had so summon the god-like welding powers of Austin at (Austin-tech) of Nebraska.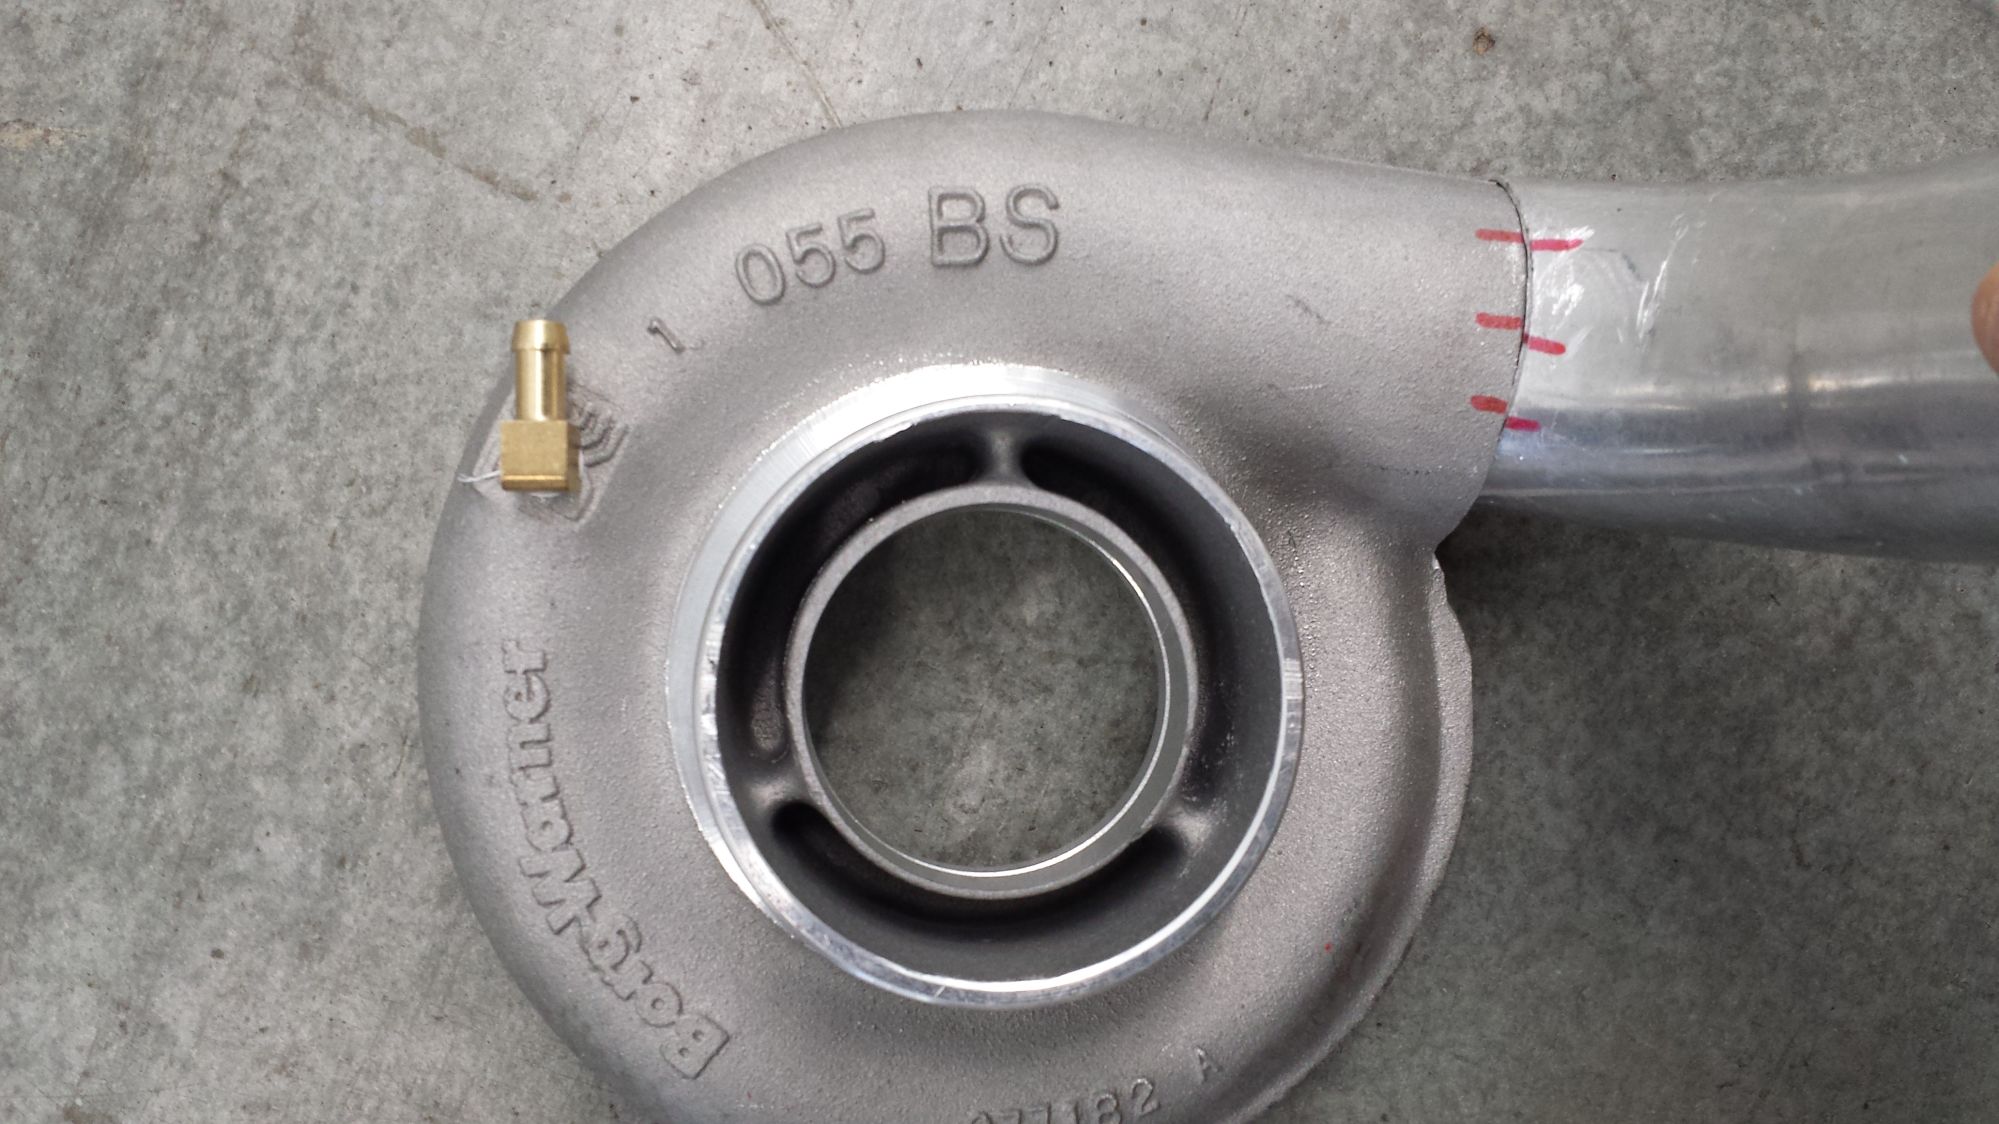
also installed the reserve for the compressor side.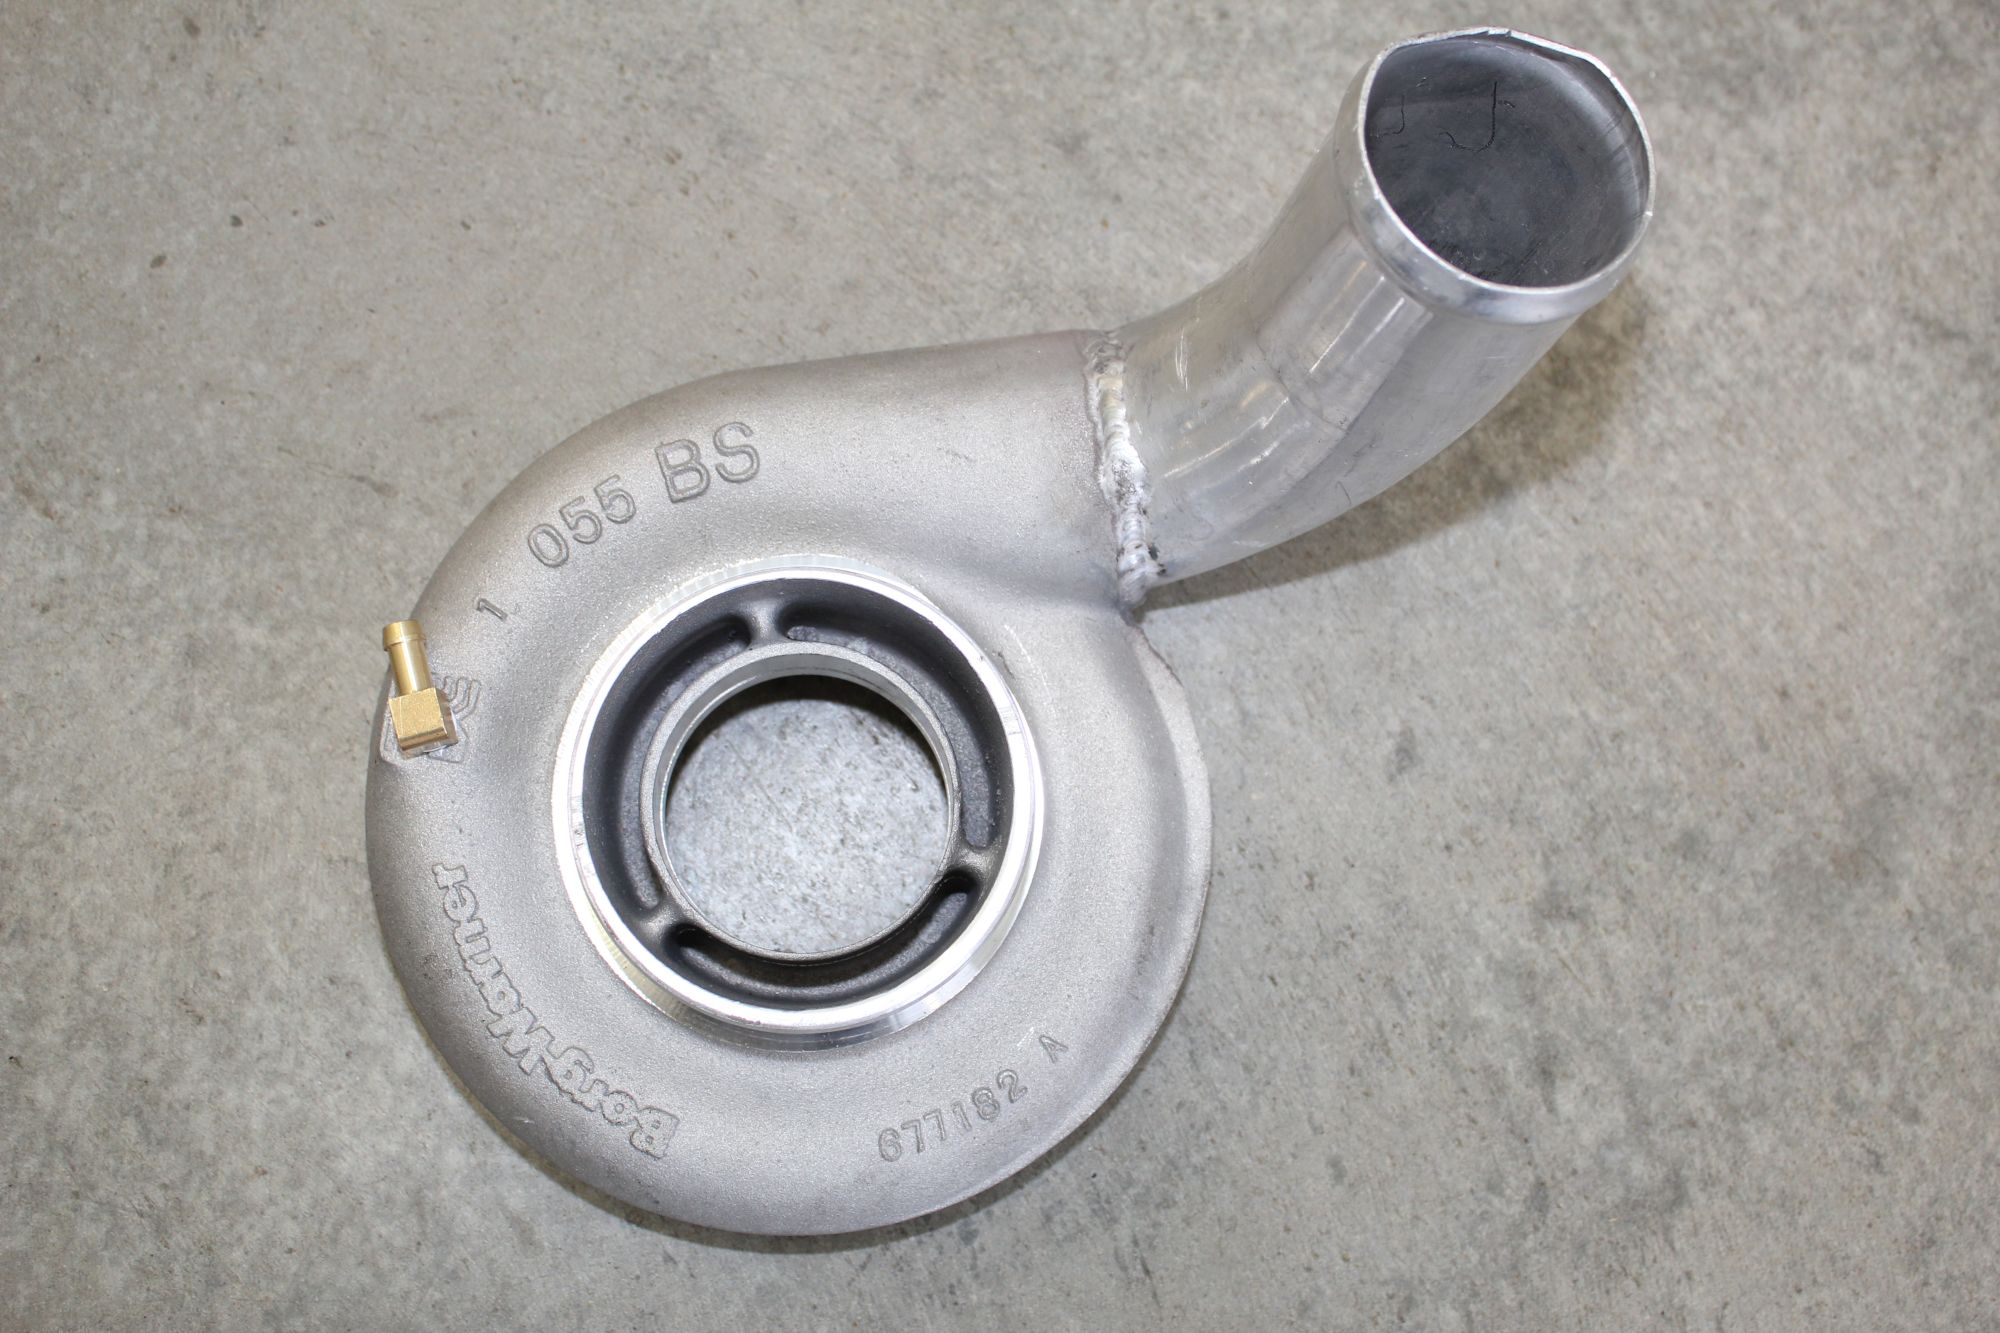
getting there,.
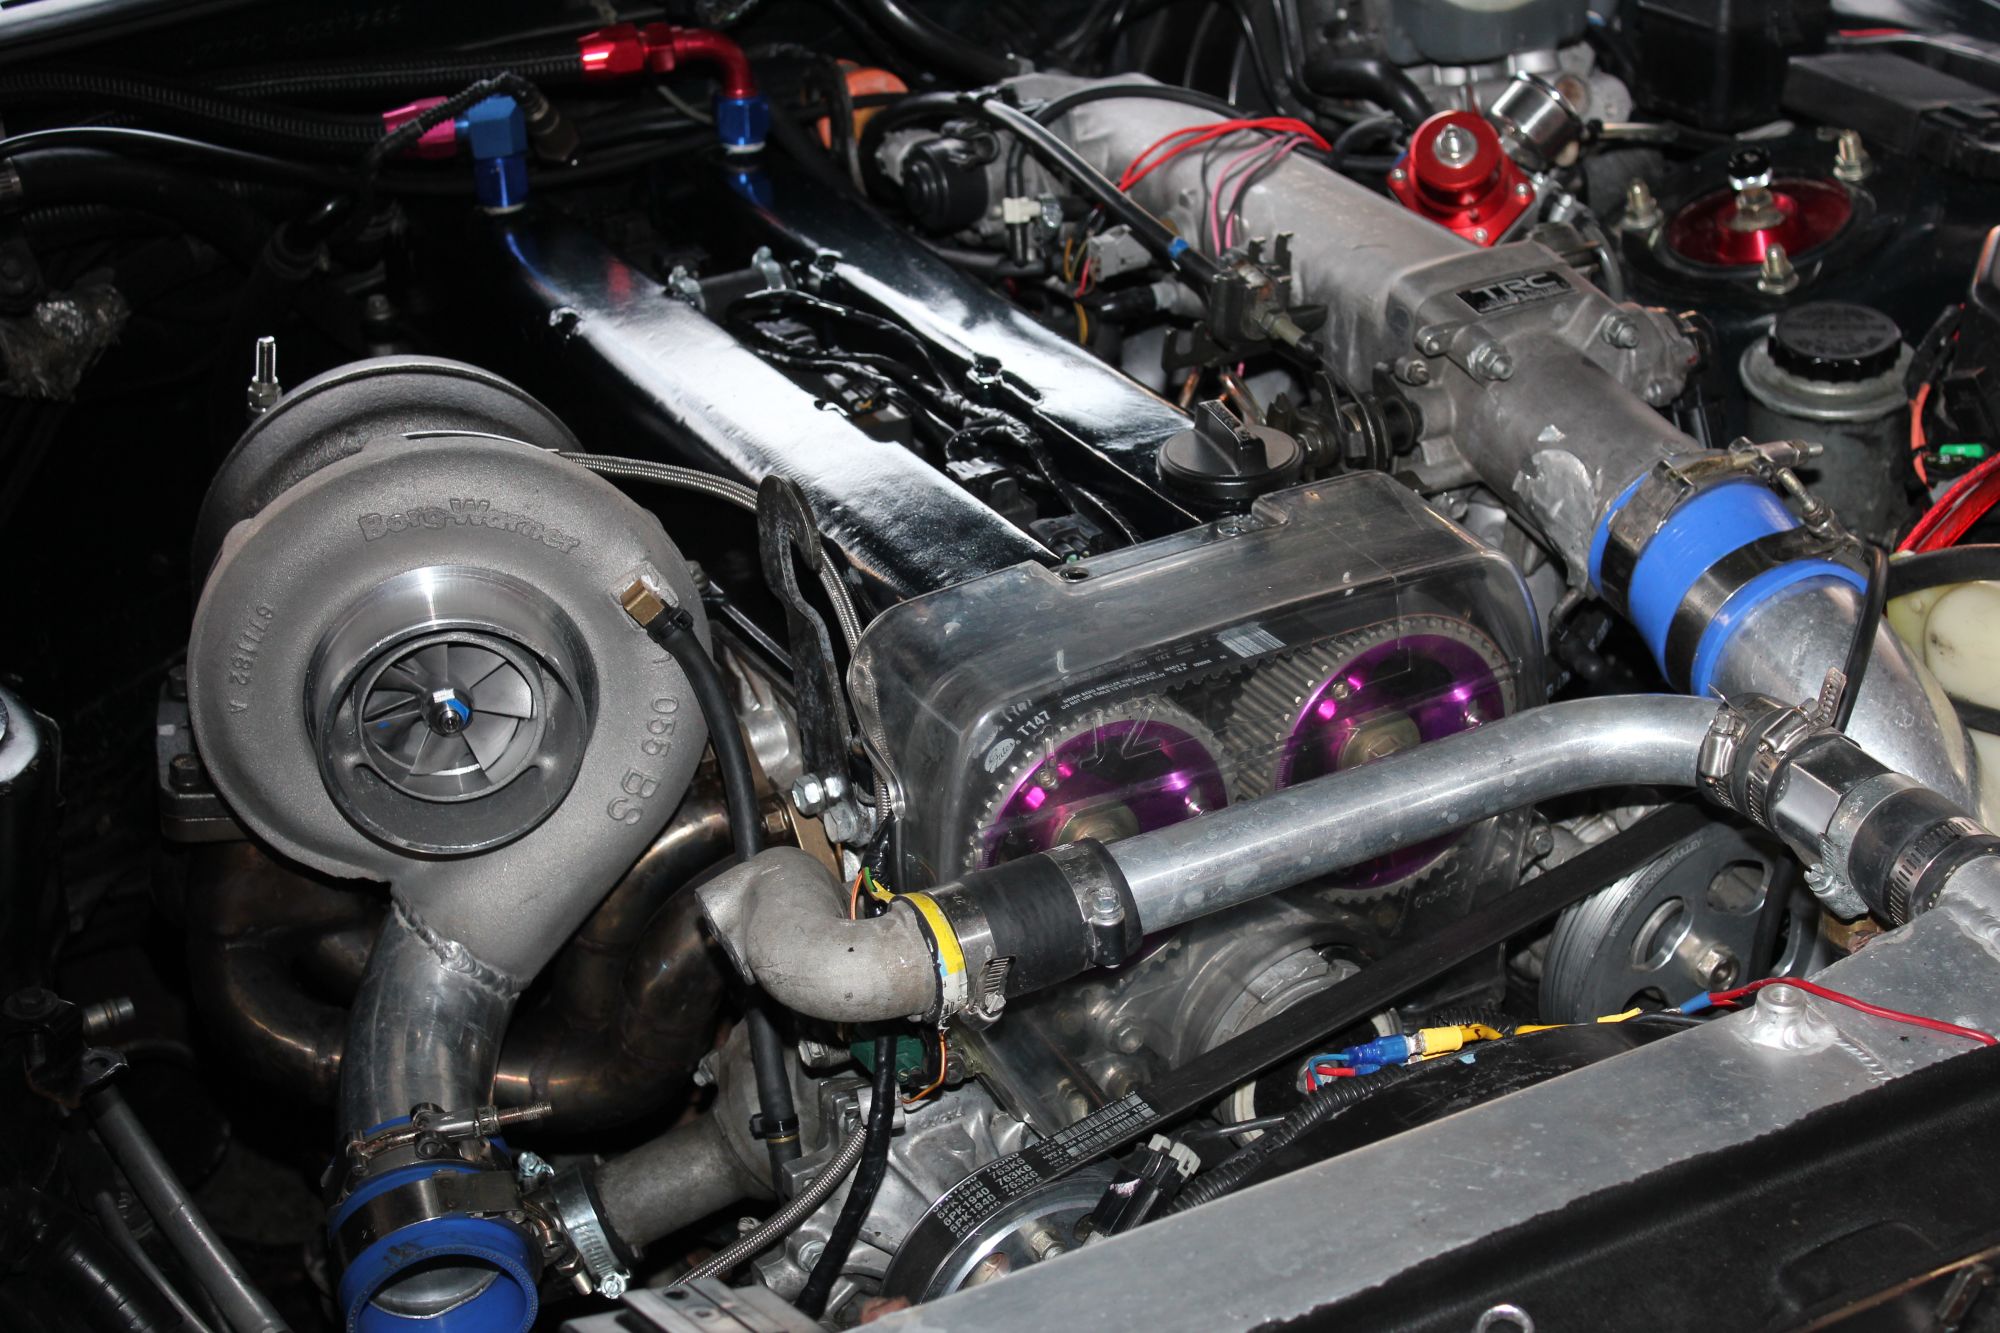
and here is the finished product pe
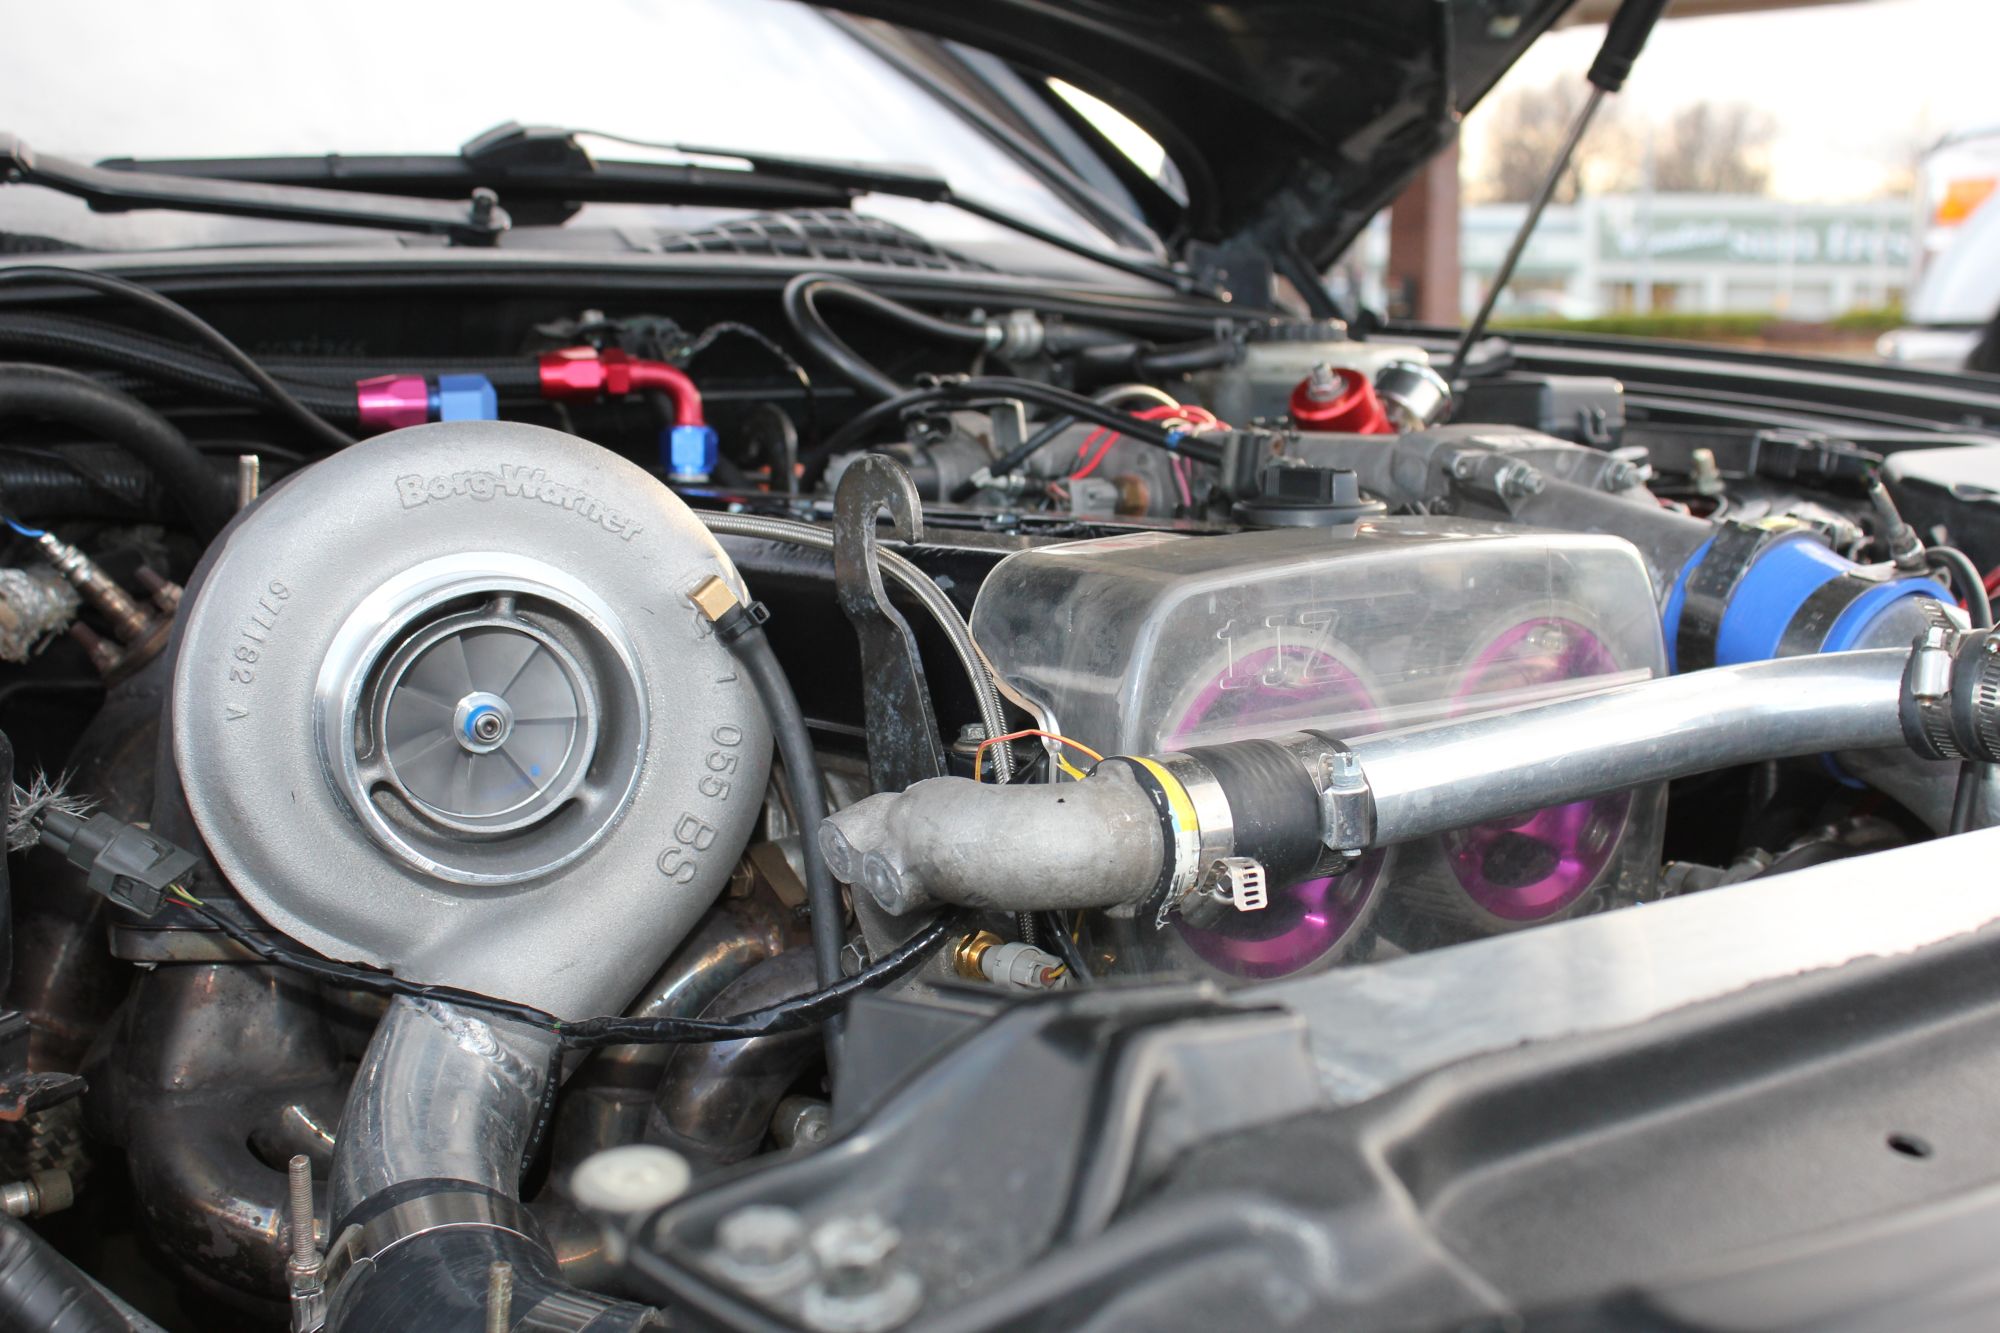
ople
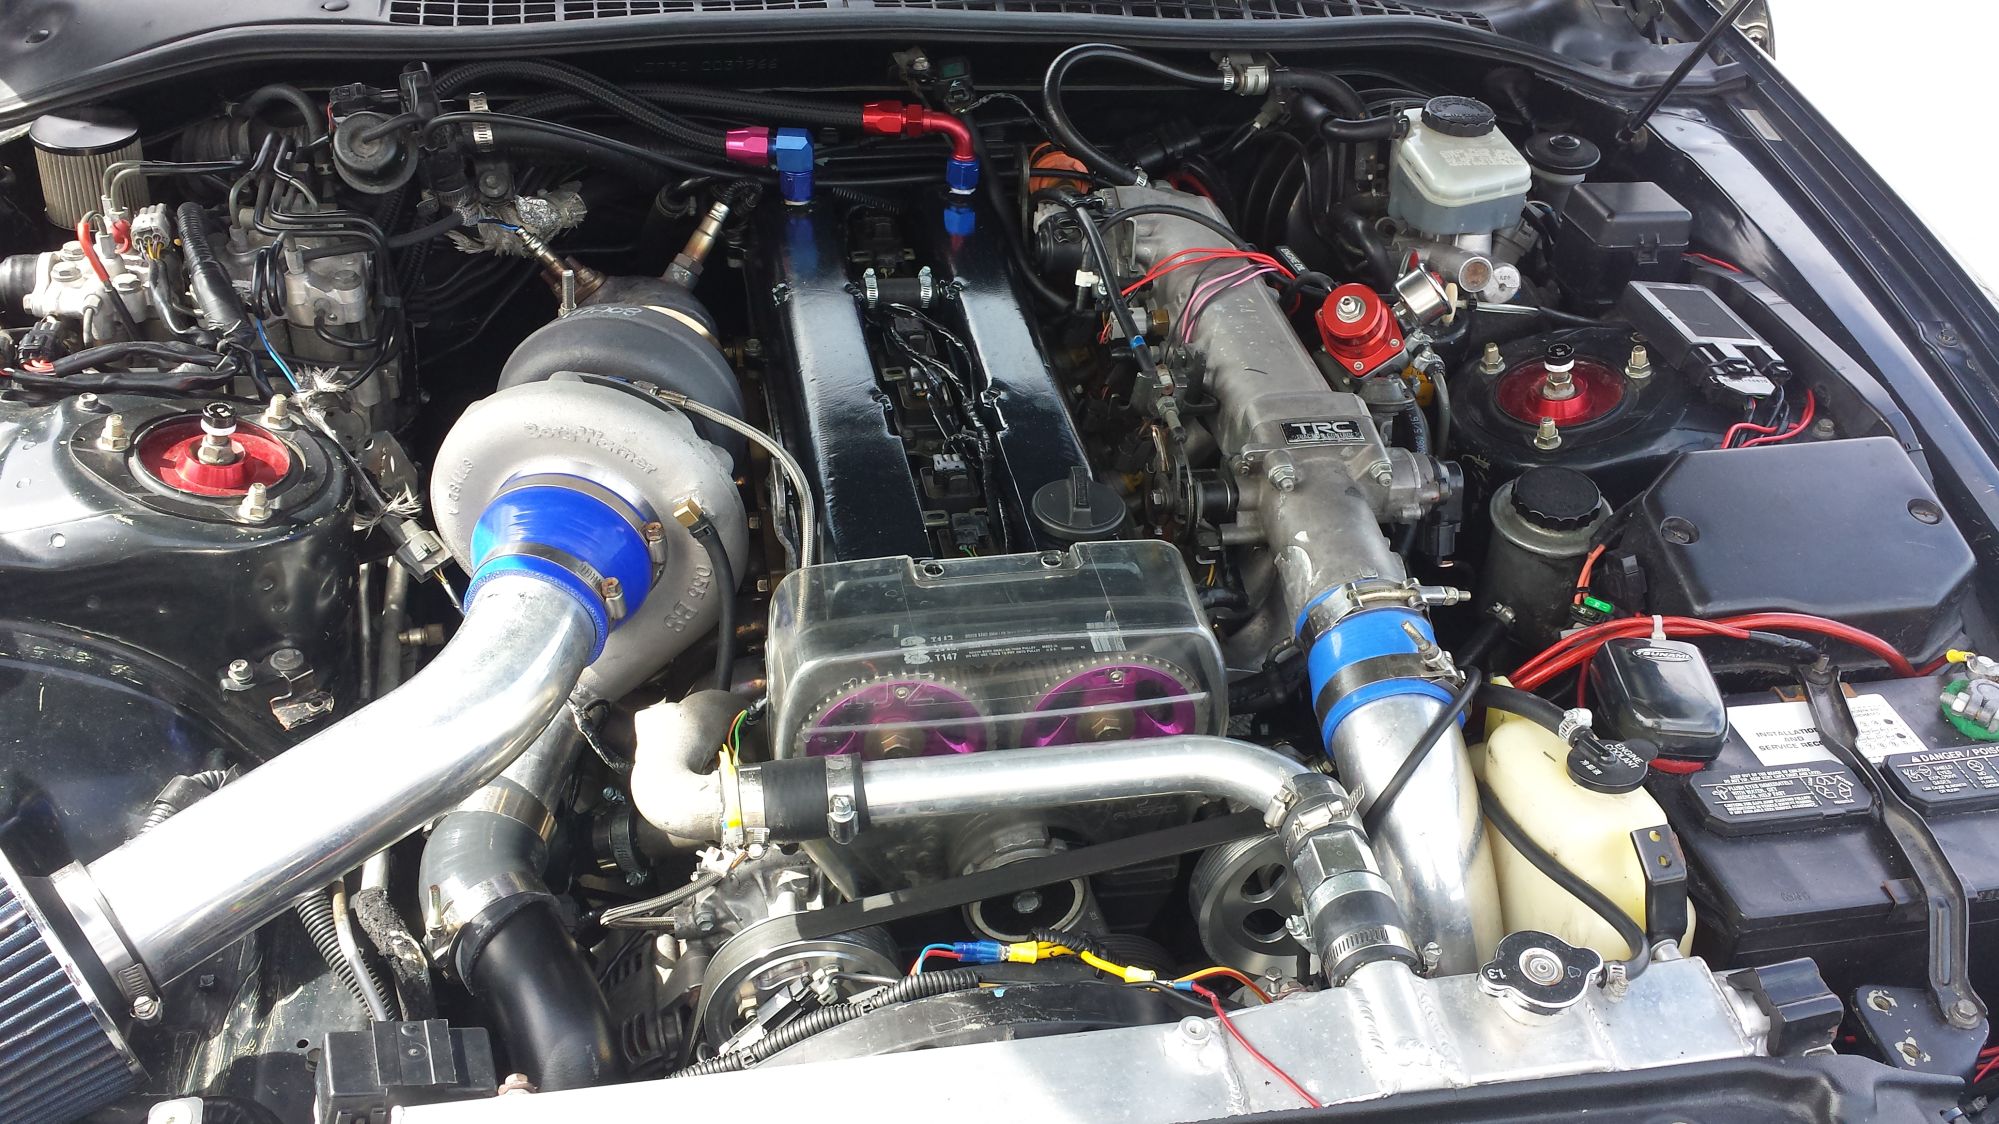
next up, installing the injectors!!

Great project!
Posted by Diggymart on 11/1/19 @ 10:59:41 AM