You must be logged in to rate content!
67 minute(s) of a 462 minute read
4-14-2015
4-14-2015
well a lot had happened since my last update. so let's recap!!!
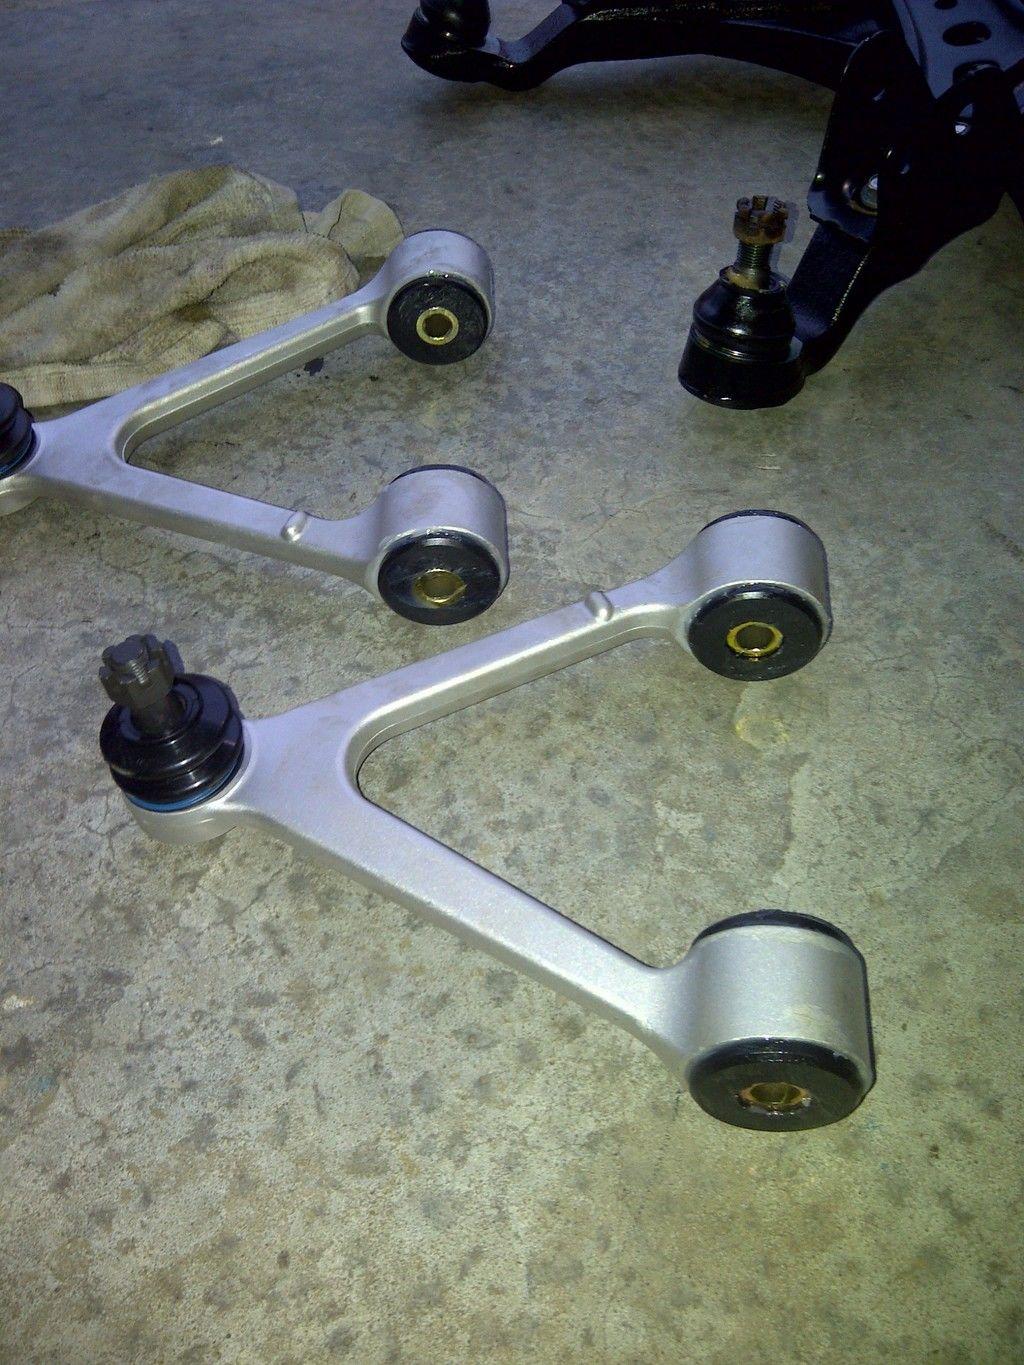
so I got the wrong upper control arms(they were for a mk3). but I later sourced the right ones, and stuffed the uppers with urethane.
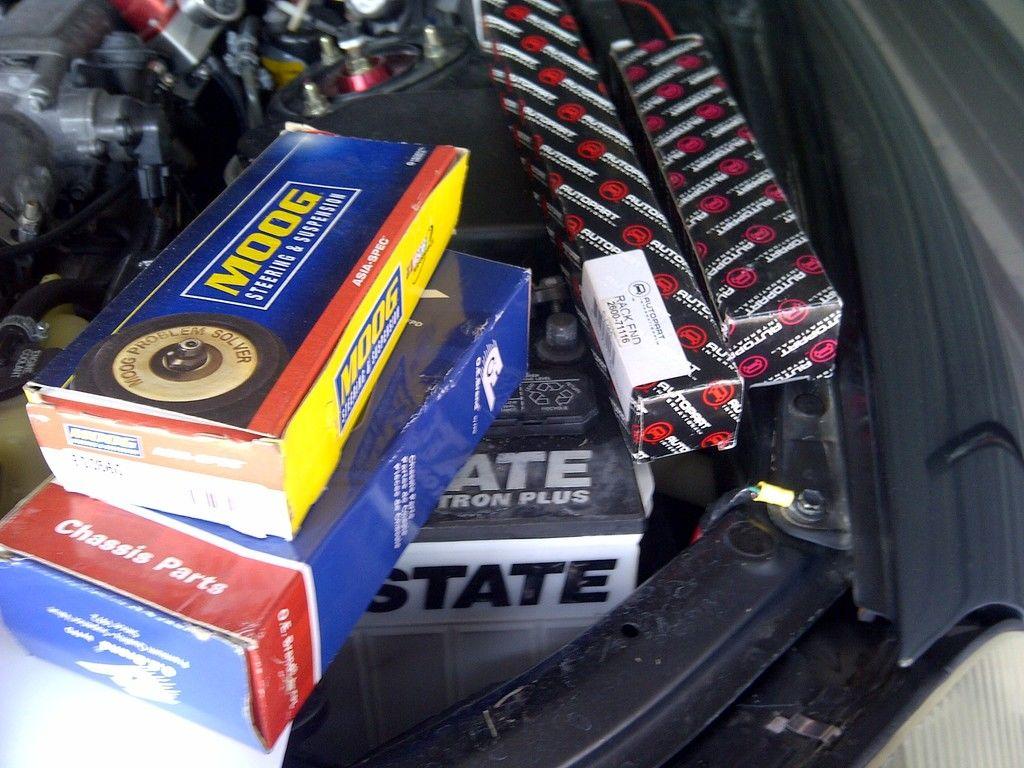
I then managed to pick up a sway bar, end links, tie rod ends and boots.
I then had to proceed to sell my body to come up with the coin for some new lower arms.
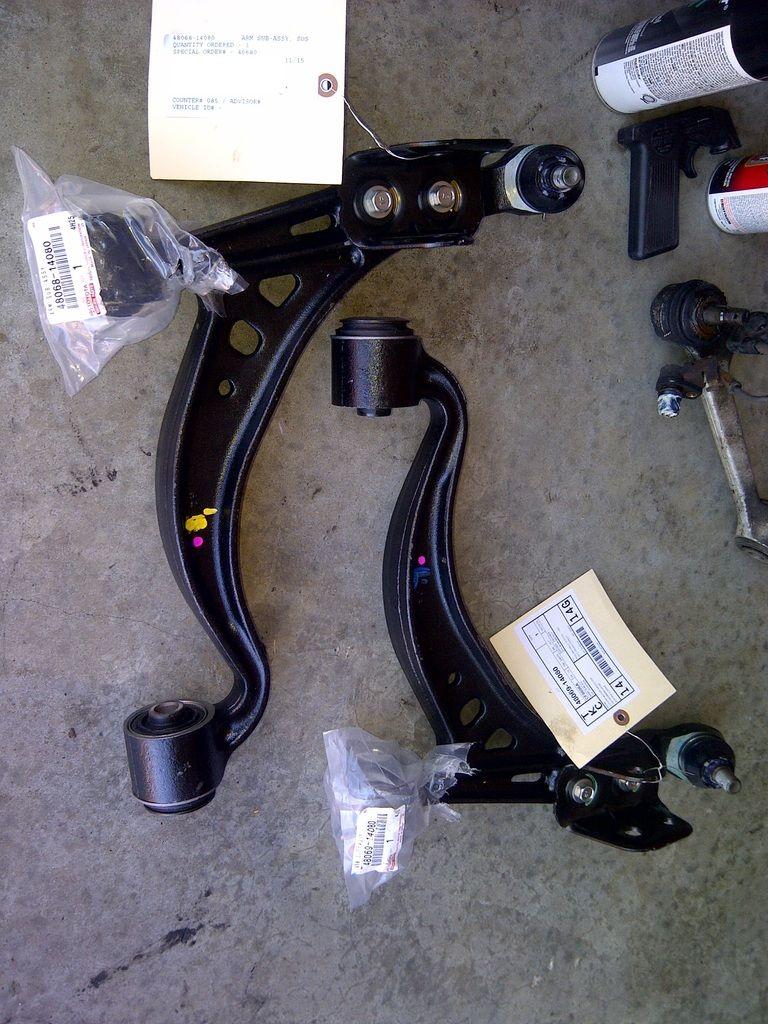
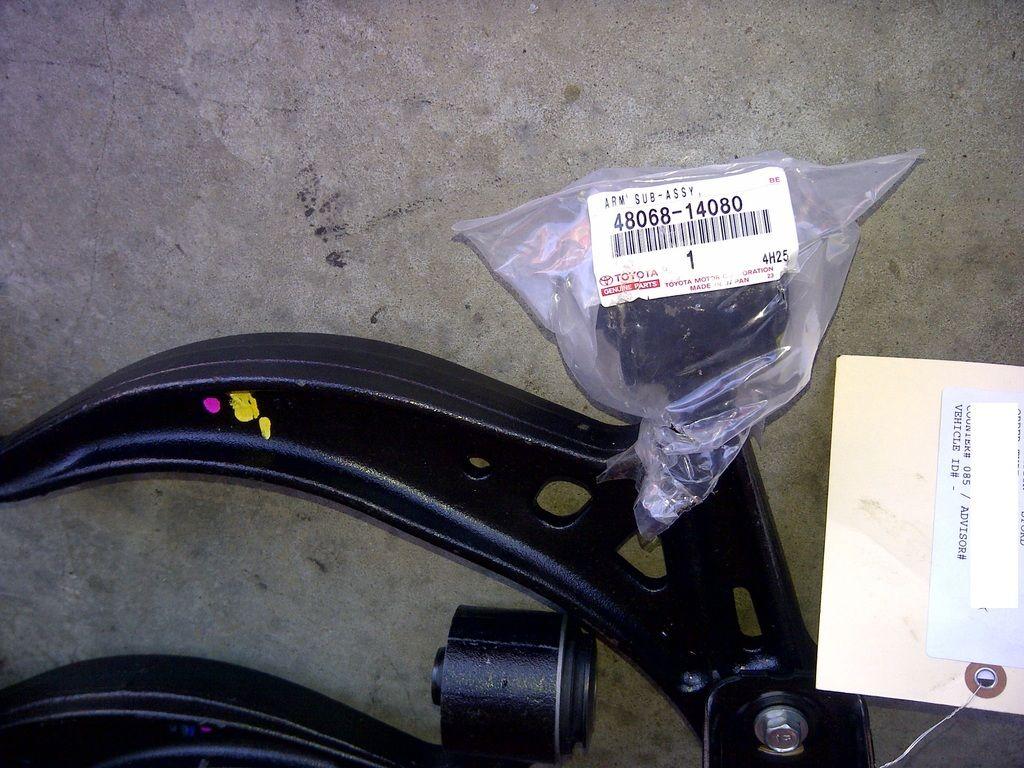
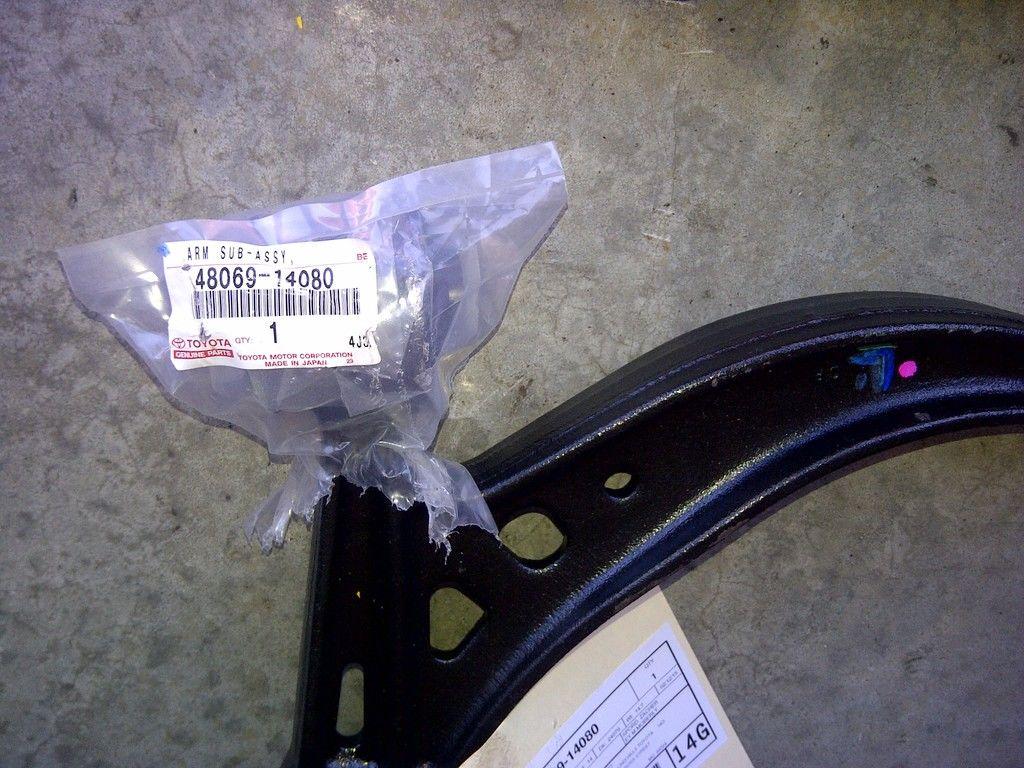
yes I got them ad a hook up (so 5 and change). and NO I couldn't find it in my heart to burn the rubbers out and stick the urethane in these. so they are running the oem rubber.
so finally I was able to install all the parts and get the car moving again. I DO have a rear main leak but since this is my daily now I have to come back to that later on.
here's the pics of my all new front suspension!!
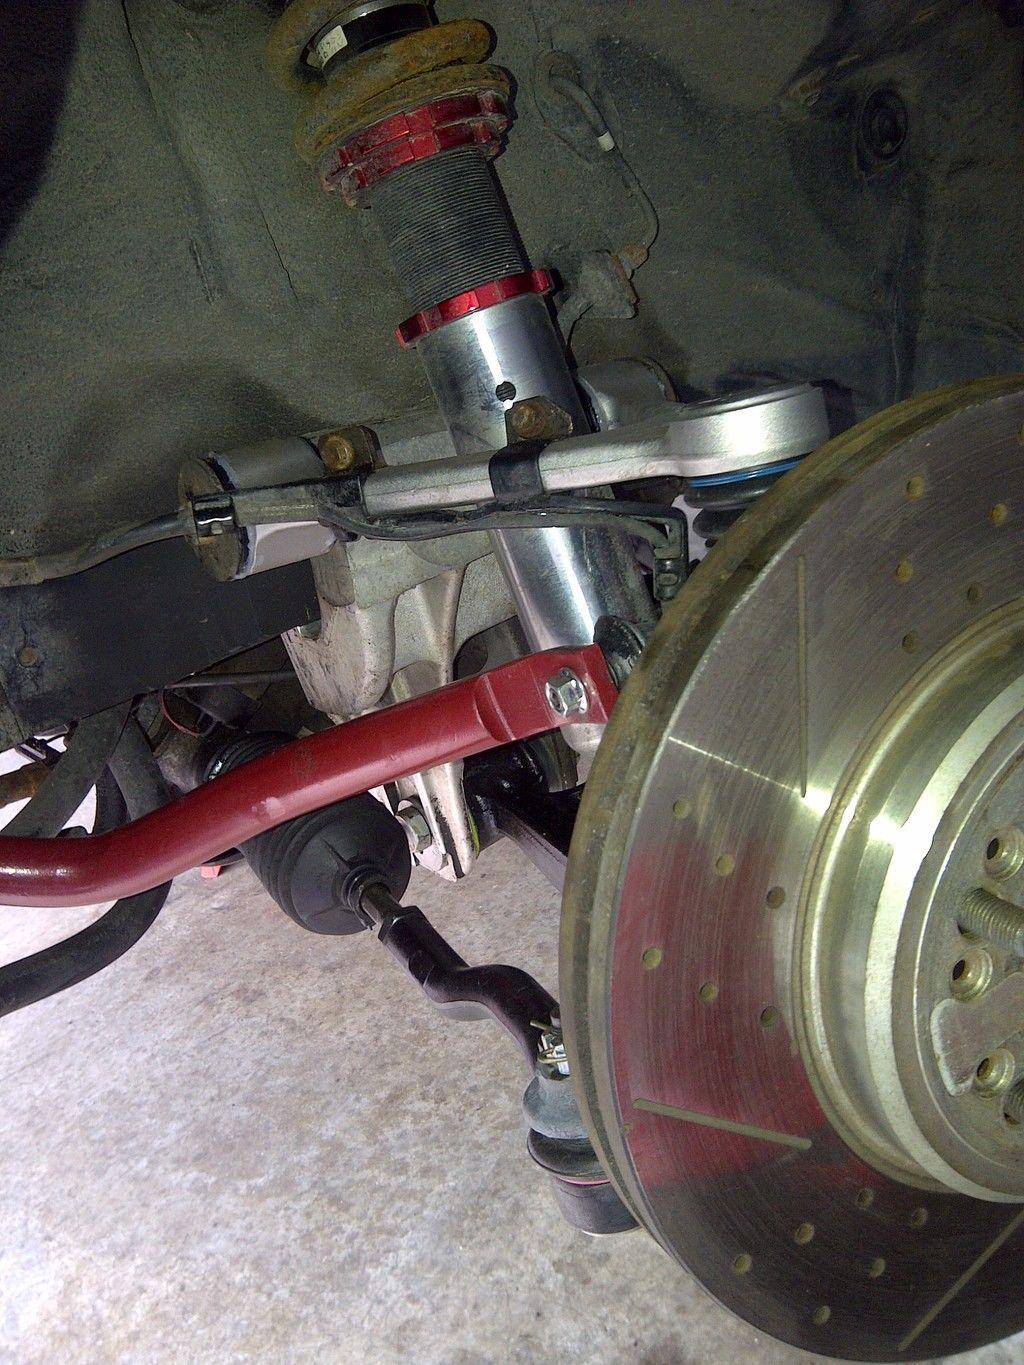
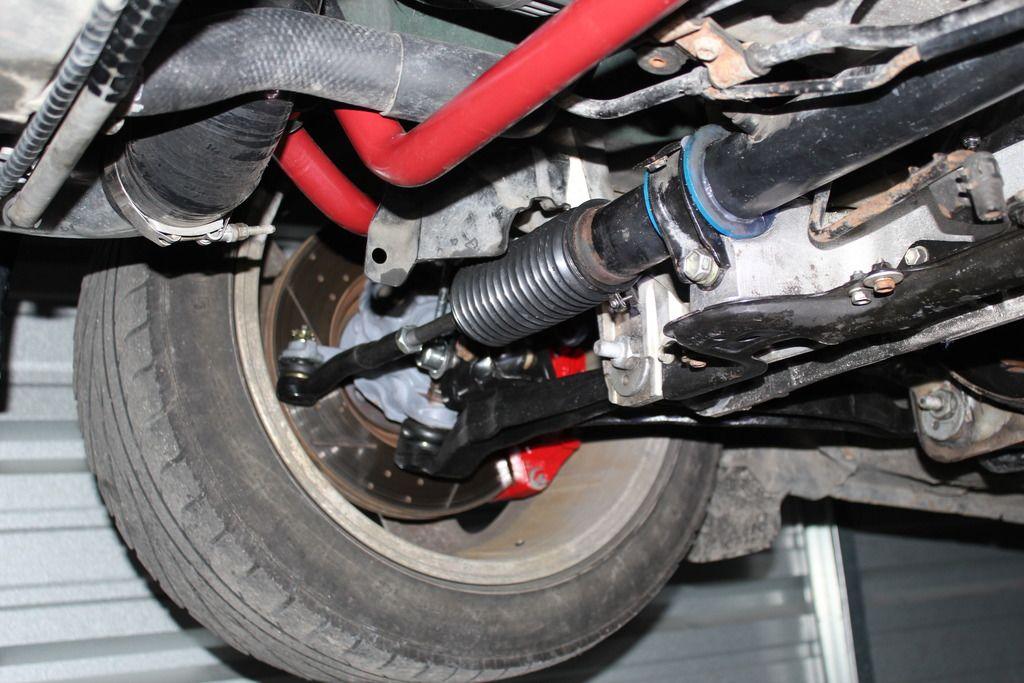
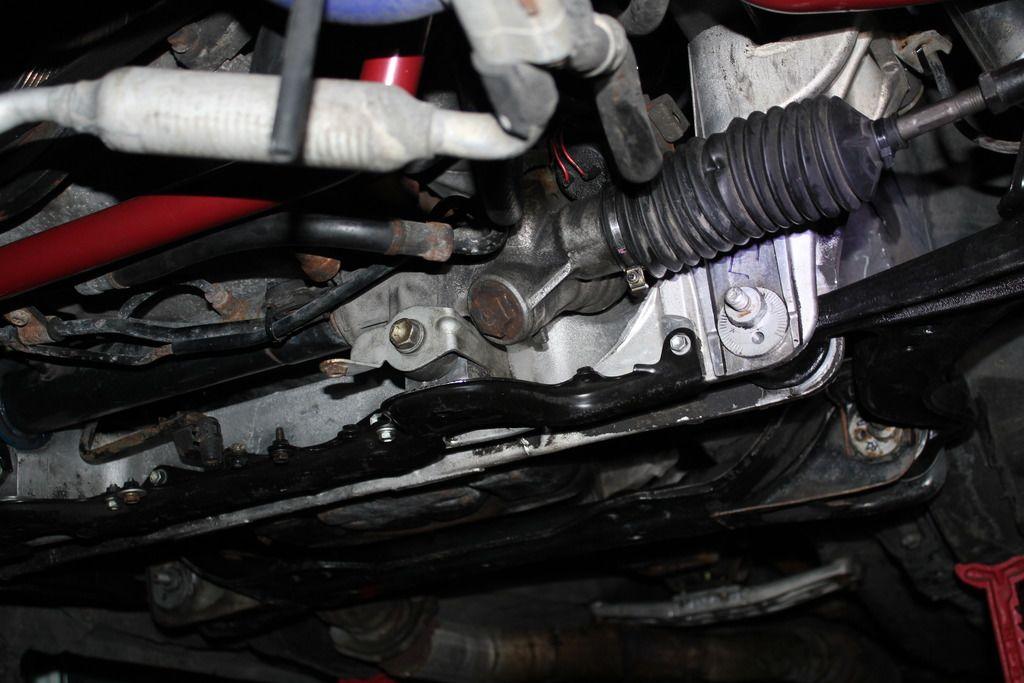
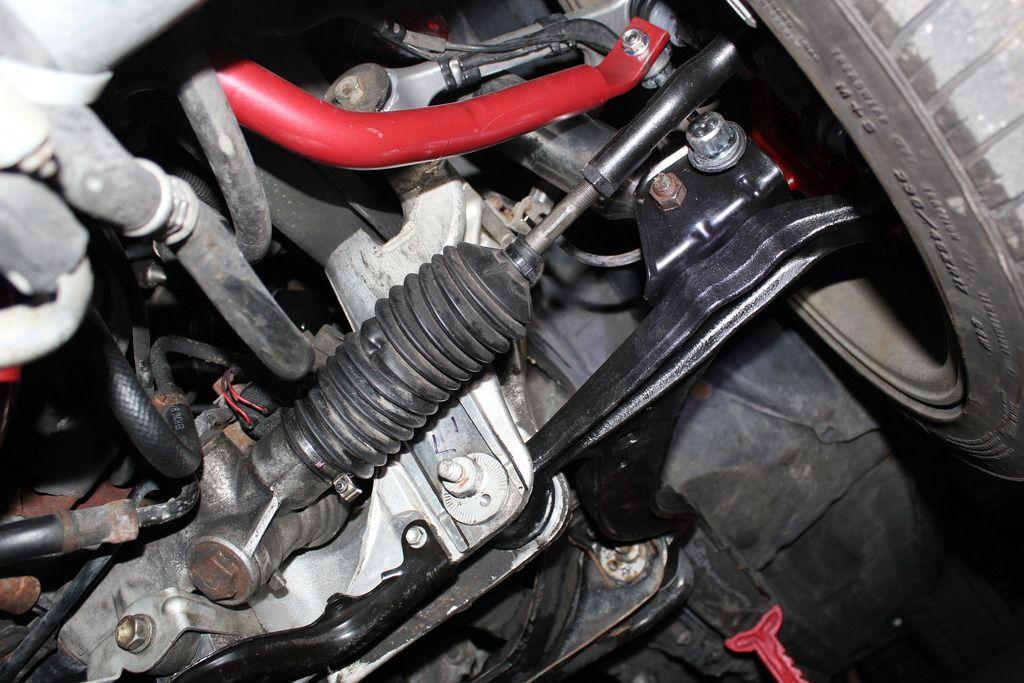
so pressed for time(I always am) I did some other things in prep of my nyc road trip, like
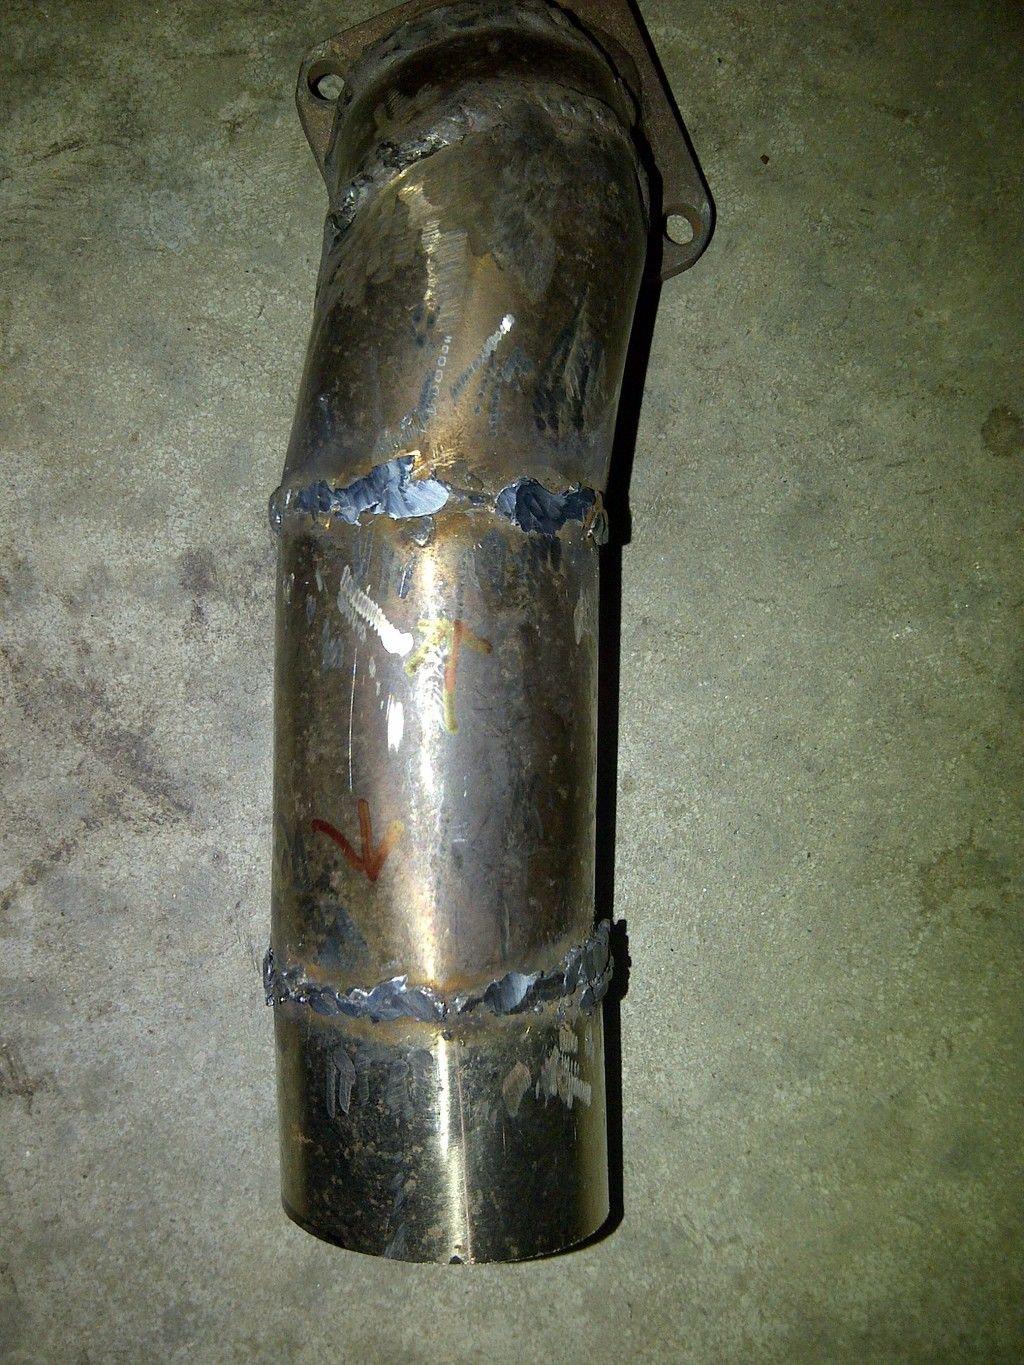
-extending my dump pipe(my first weld actually)
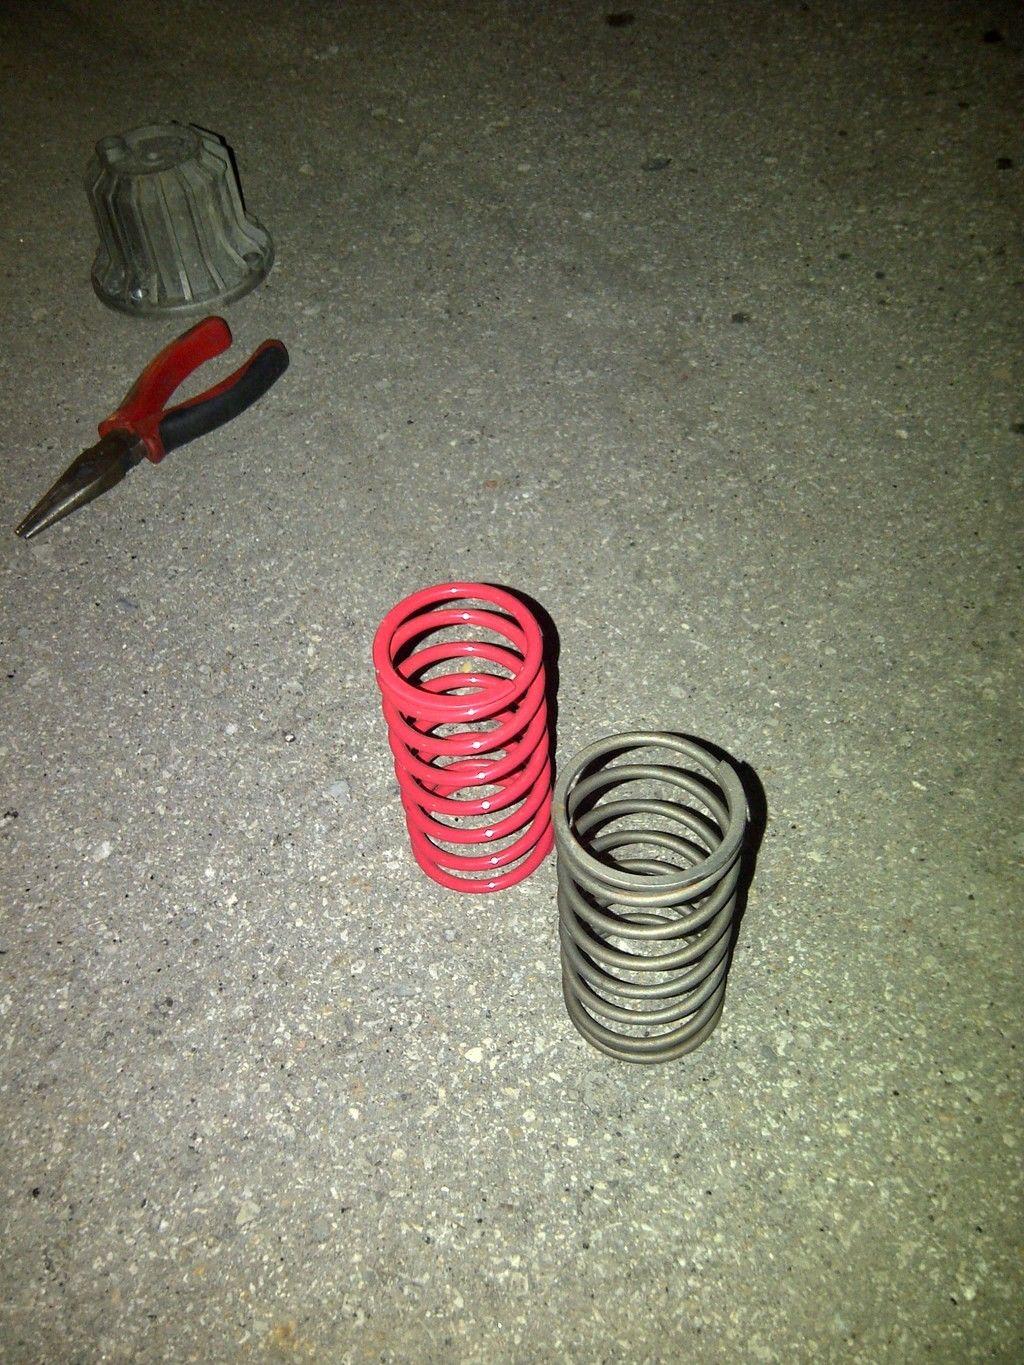
- switching out my waste gate for a bigger spring.
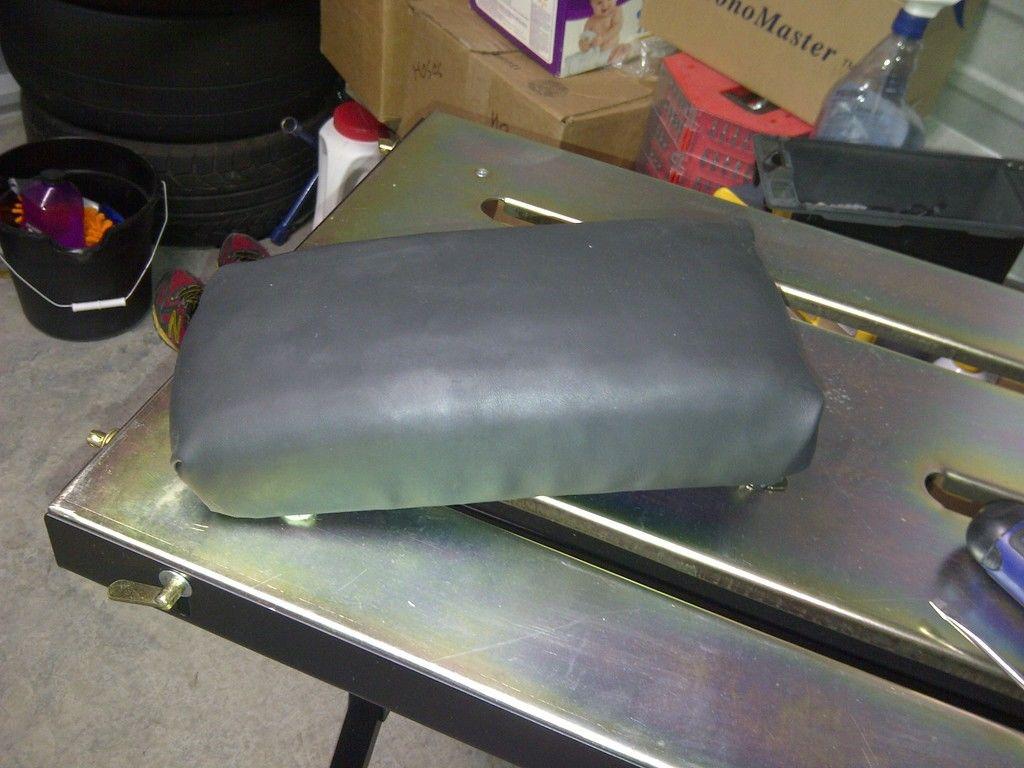
-re upholstering my armrest(****ty job but my elbow thanks me).
and doing a fuel pump relay so the pump doesn't rely on the car harness for power(straight to the battery)
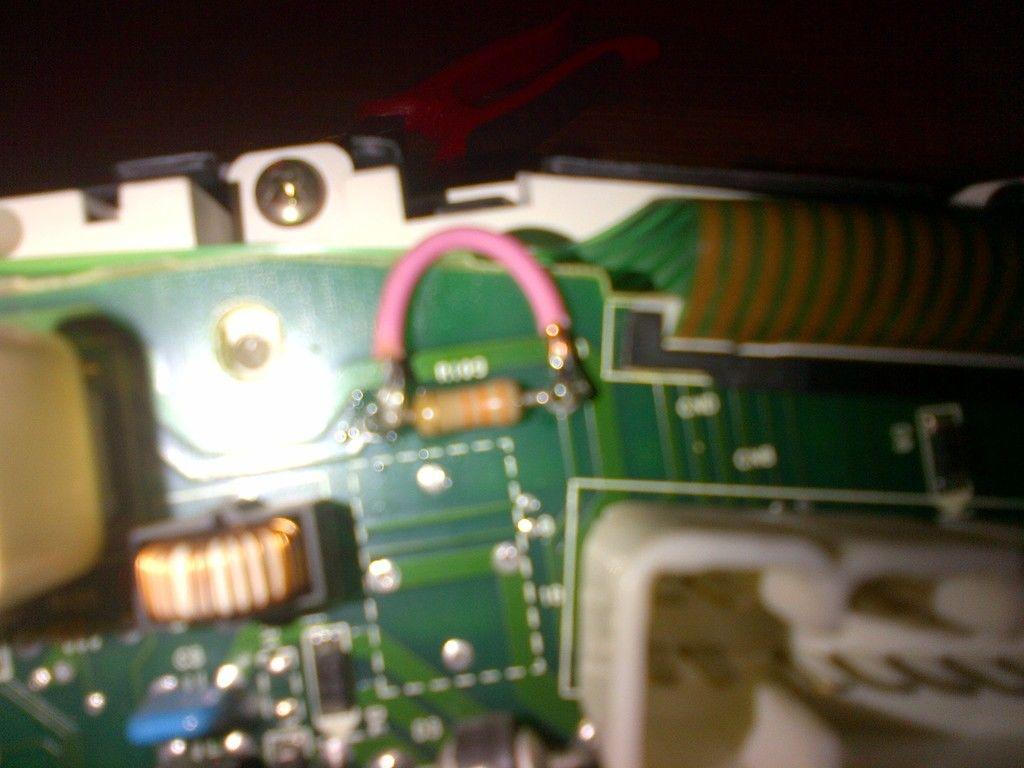
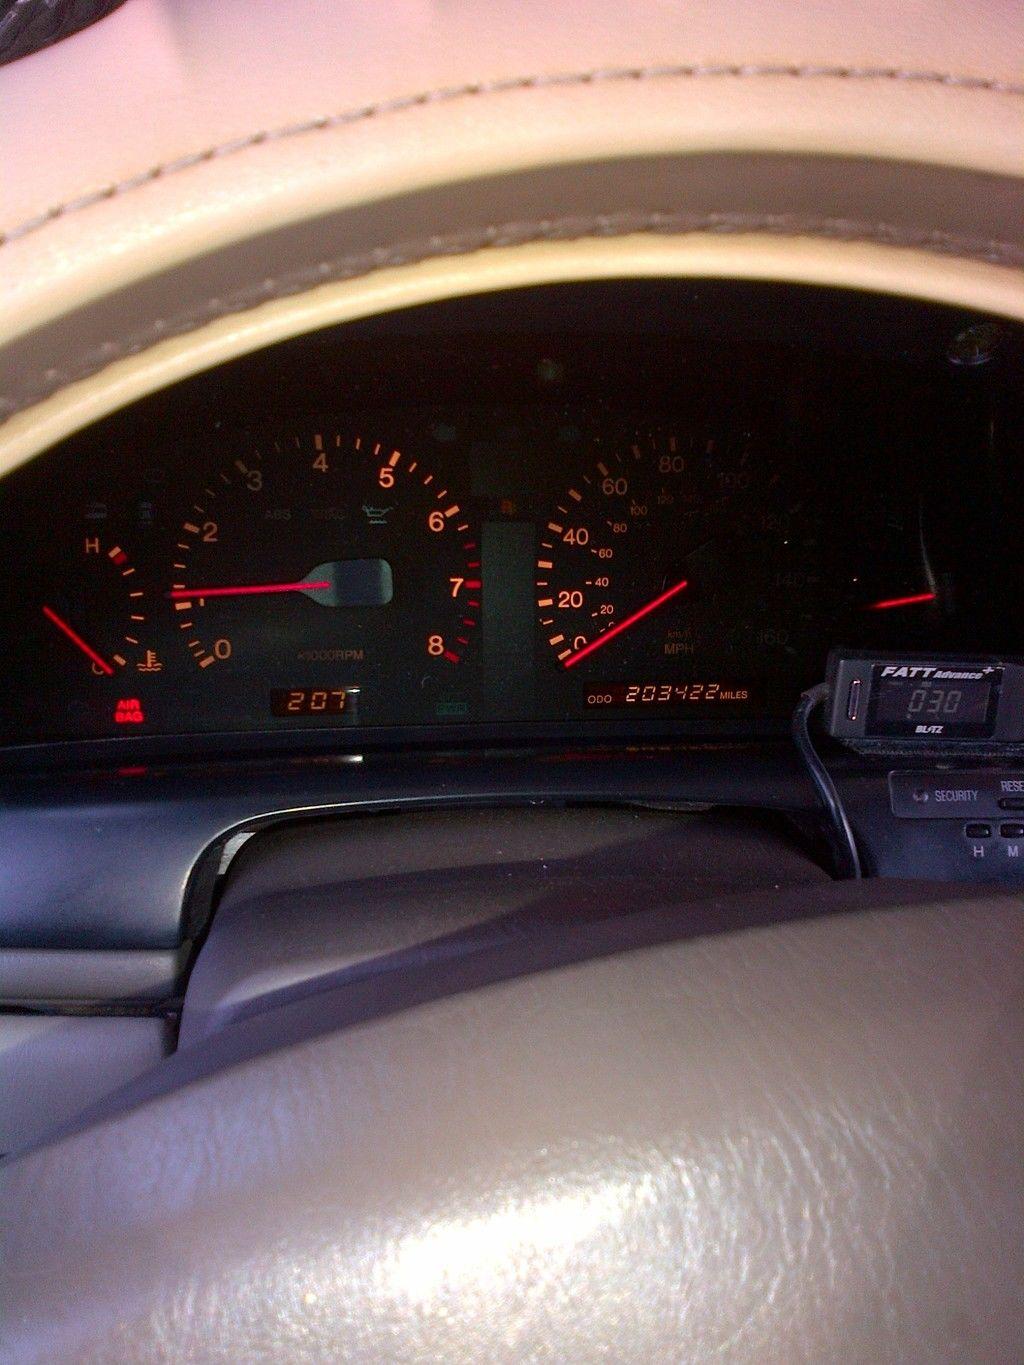
then LATER ON. I finally did the resistor jump and I finally had a tach. this triggered my air bag light, which I swiftly covered that and that damn flashing traction control lights with electrical tape!!
so I finally took time to tackle this damn transmission mount issue. this was my latest rendition of the stock 300/400 modded one.

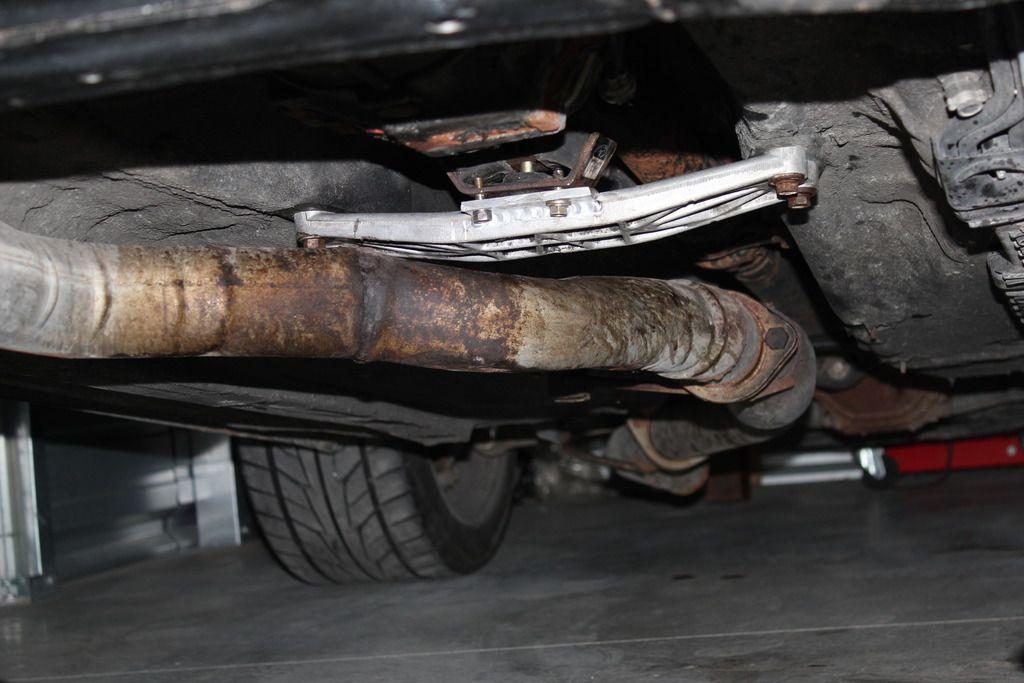
so I wasn't feeling this fitment. and I was also trying to stop the squeal that sounded like it came from the driveshaft when I always start out in first or a low gear shift.(so ****ing annoying).
I found out I can fab up/use a earlier "82-86" celica 5 speed tranny mount. well I couldn't find a 5 speed mount. but I did find an auto mount which at first looked identical to the manual one.
so I cut both sides and tried to graft them back together with some additional welding metal, this isn't to look pretty and this is only my 2nd ever welding experience so...
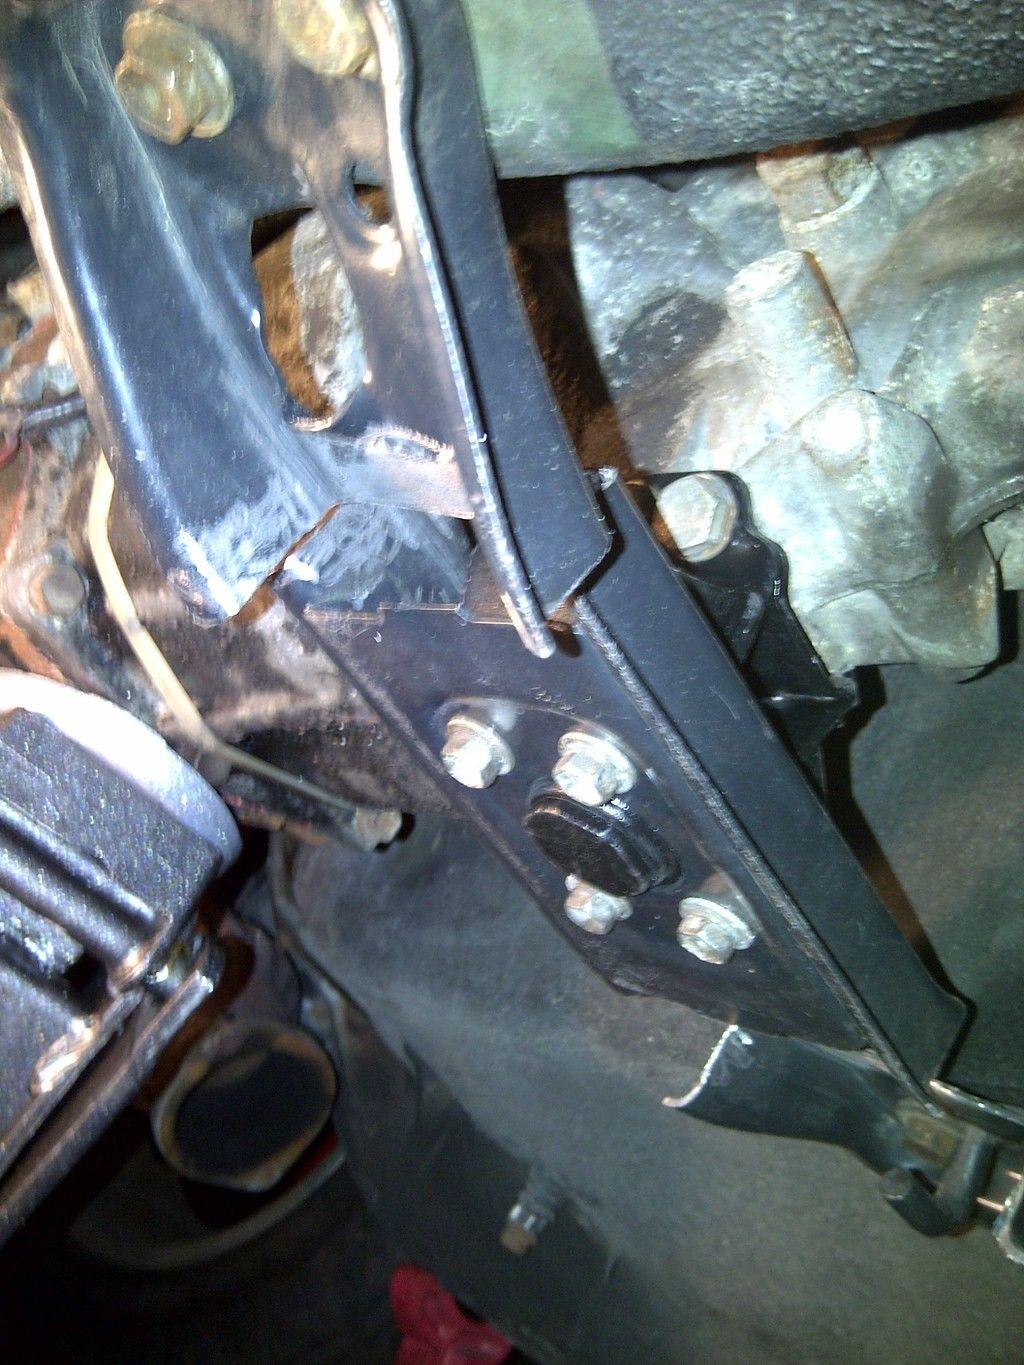
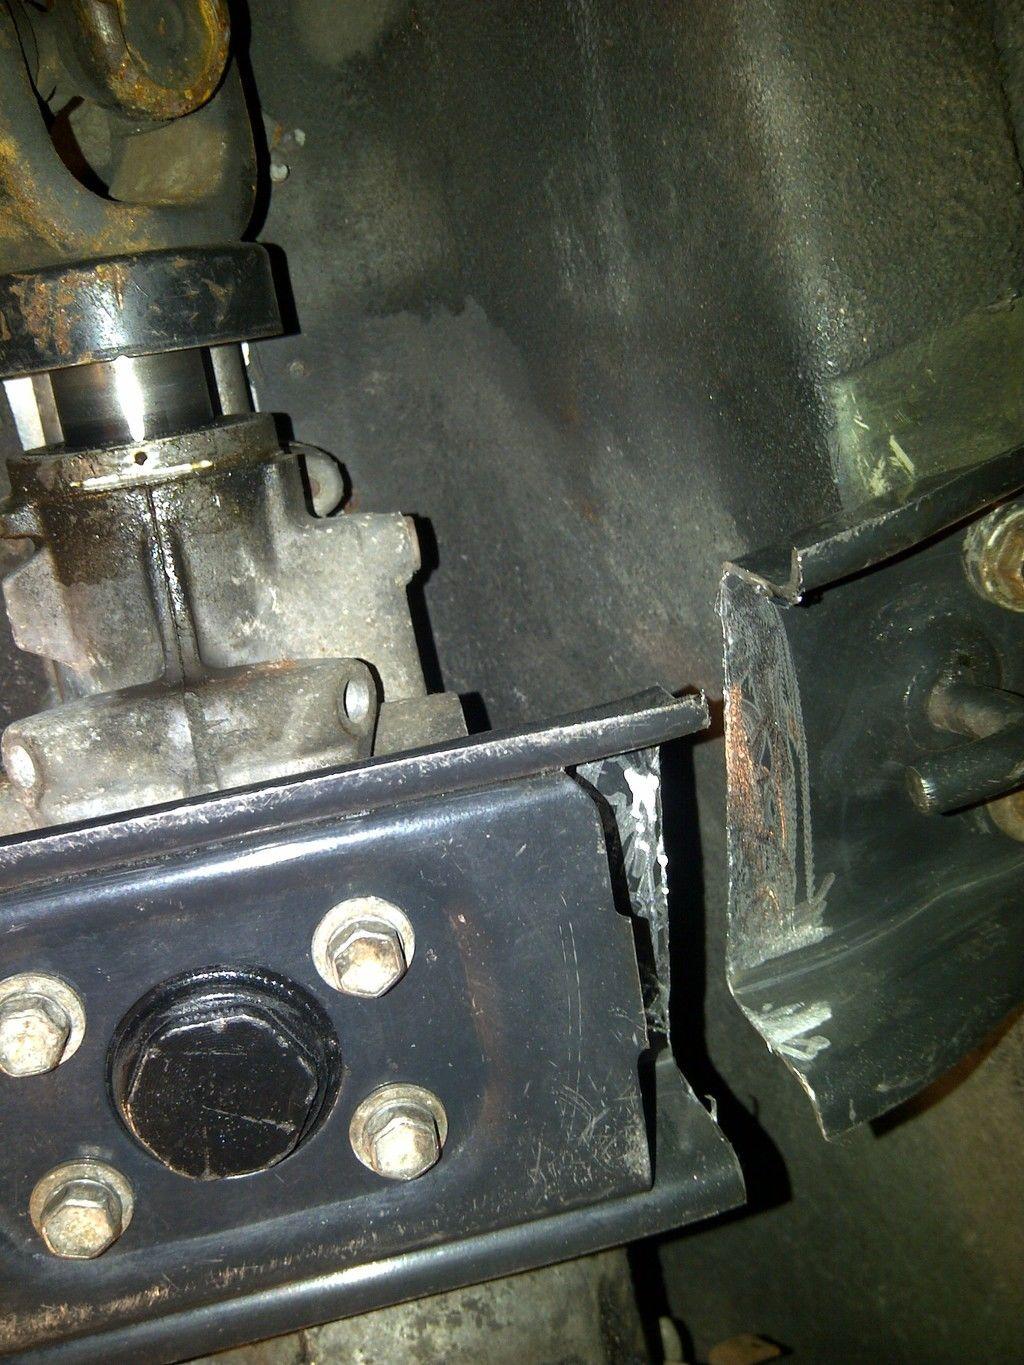
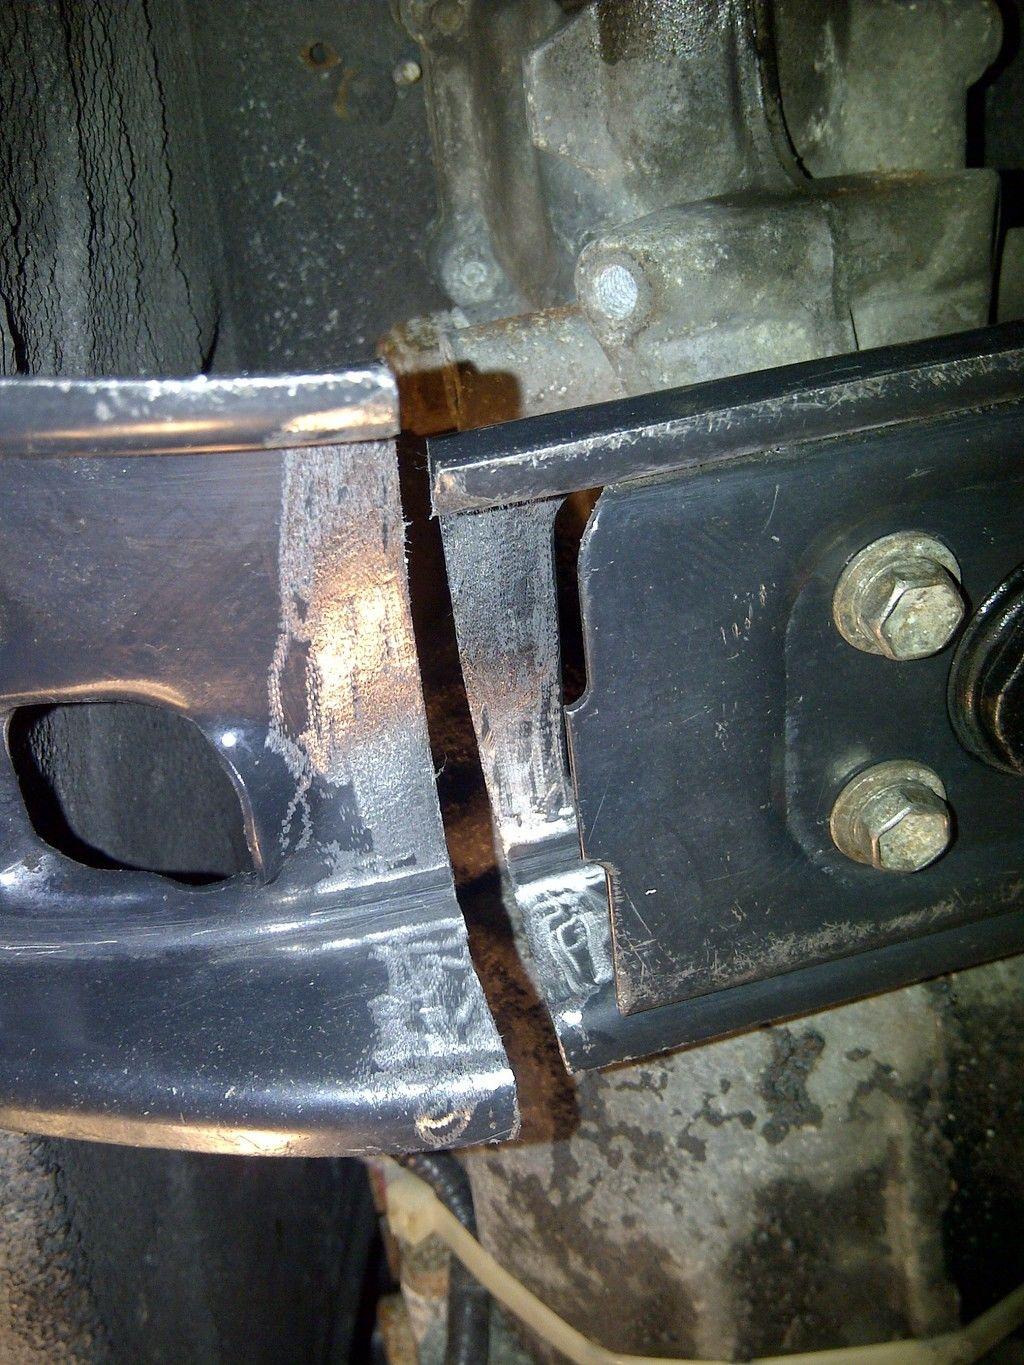
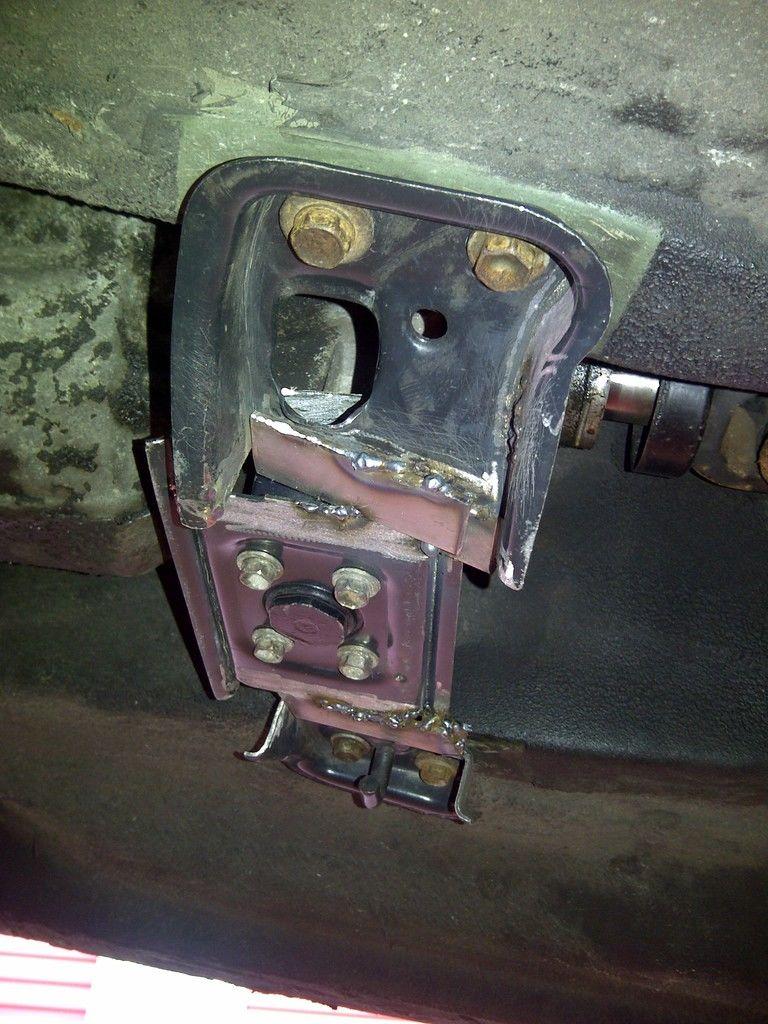
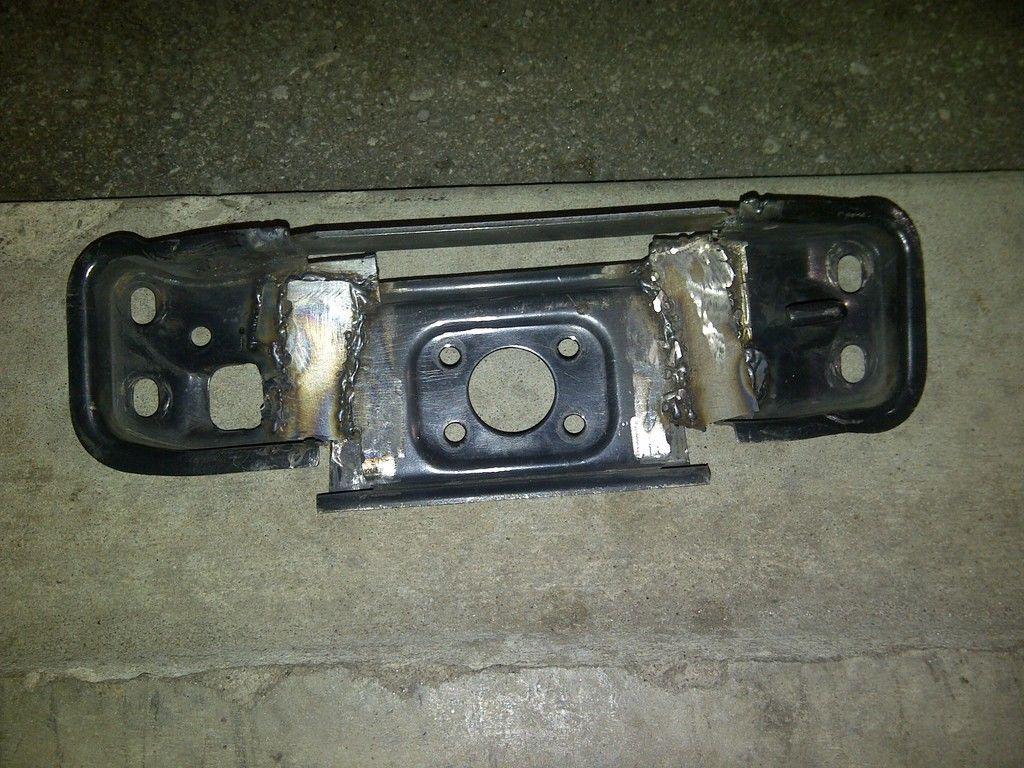
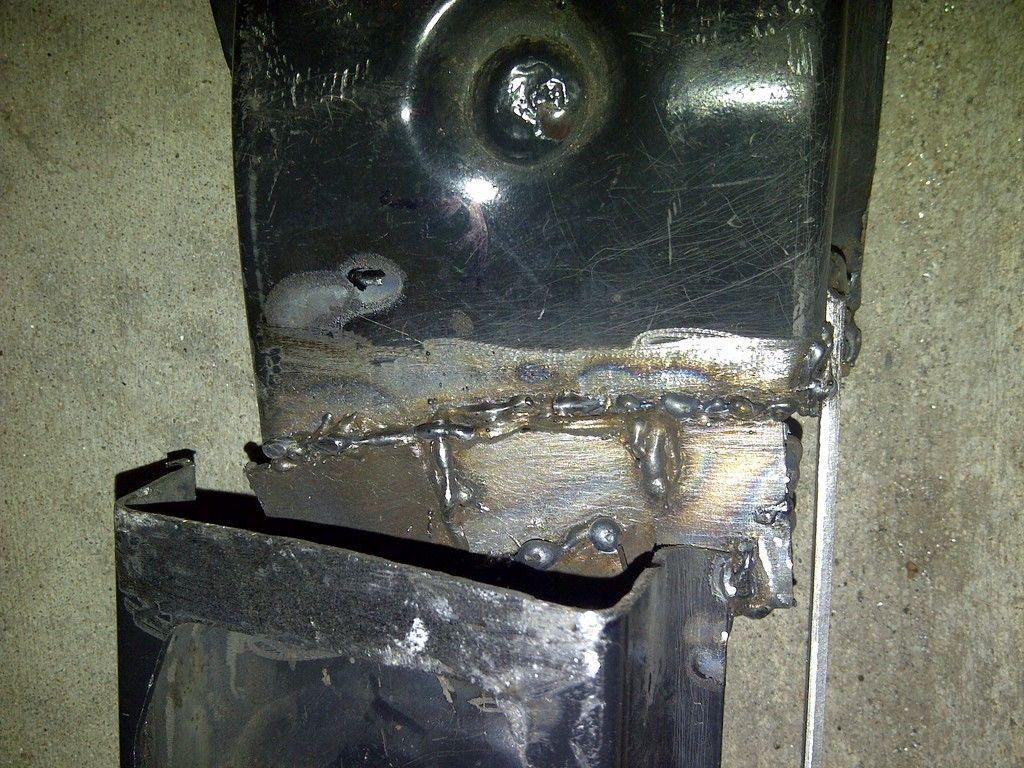
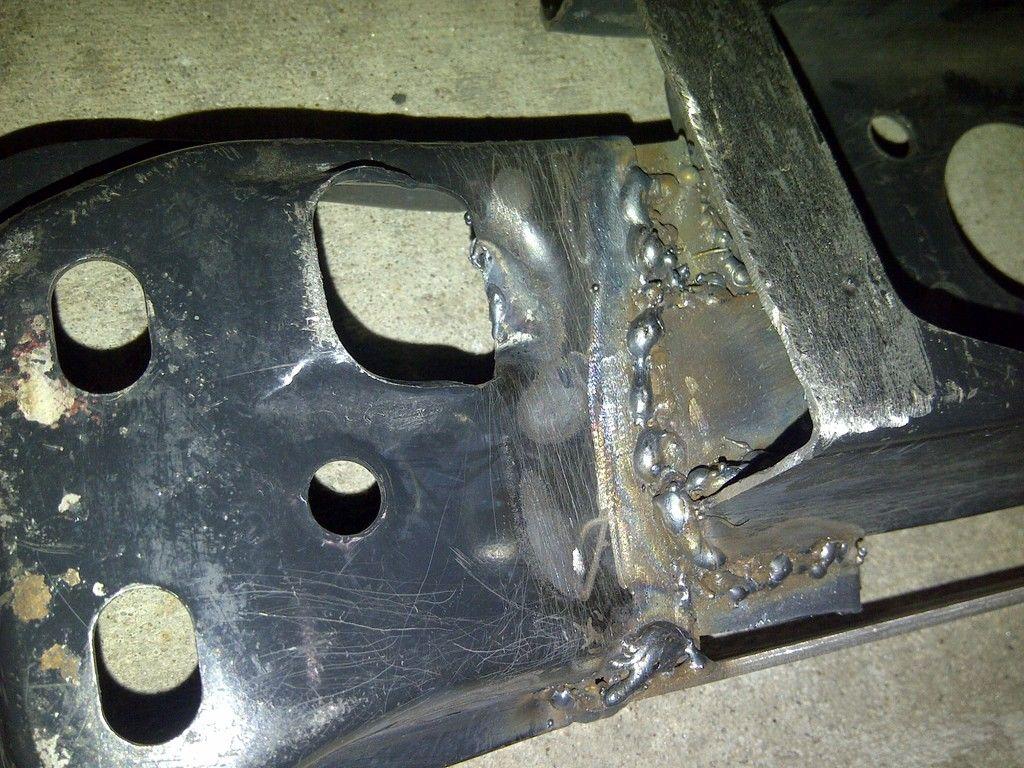
and finished product. yes I know it looks like ****. but guess what??? the welds hold and I put a lot of metal on this to make it sturdy. I do plan to make a leaner one soon. just needed this in the mean time. and still the noise is there.
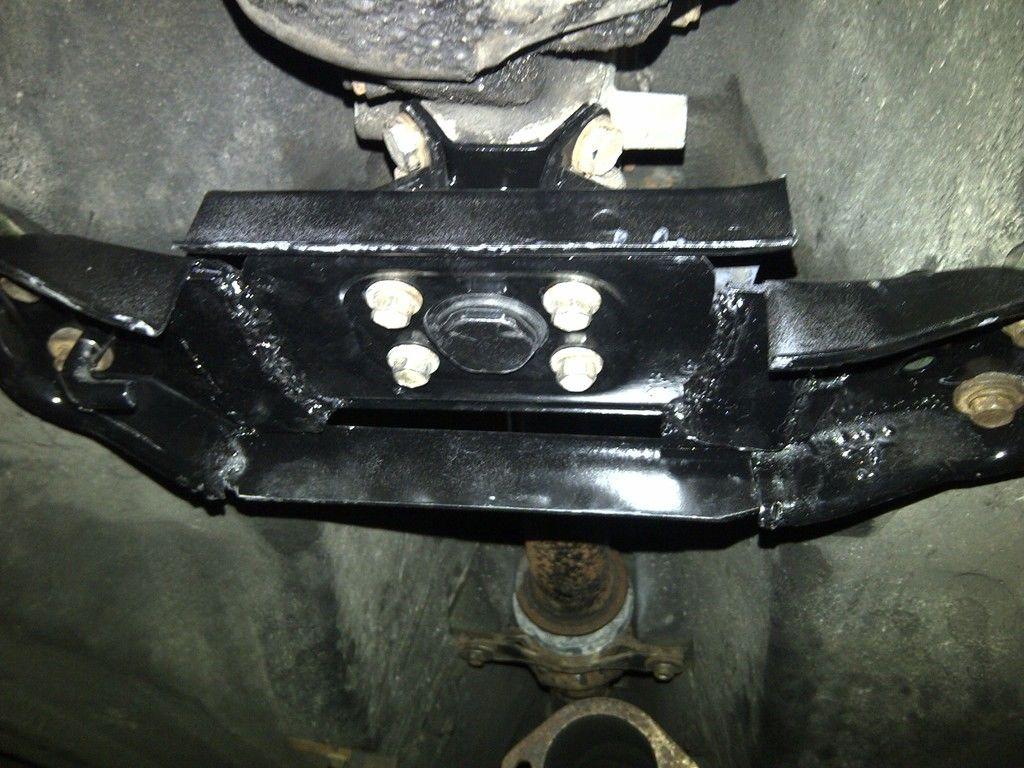
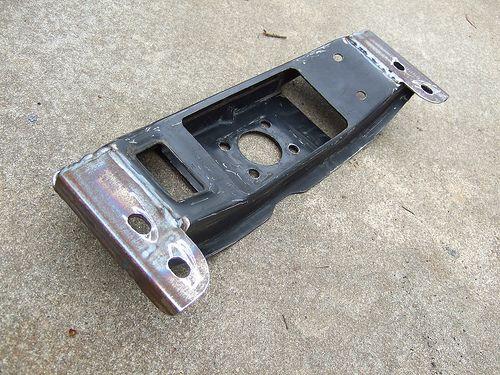
that's what ill do in a few weeks
but here is the driveshaft noise!!
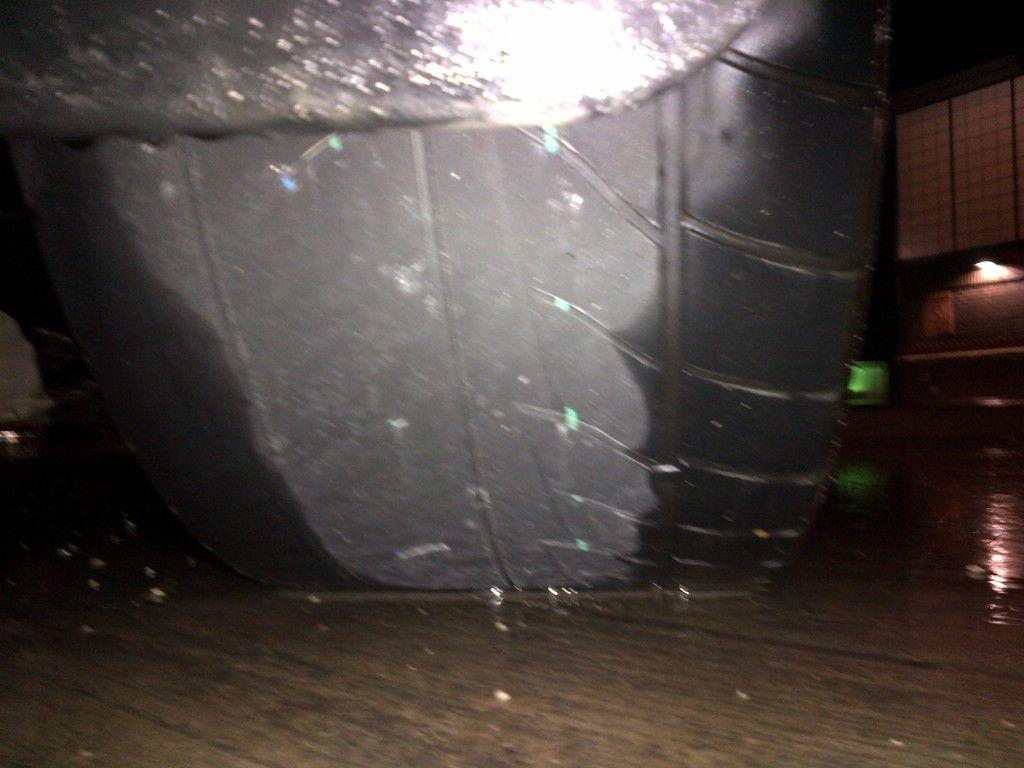
so I got to nyc and everything was fine EXCEPT. on my way back, all of sudden my rear tires went to mush(mind you I did get an alignment after doing my front suspension).
RIGHT-
LEFT-
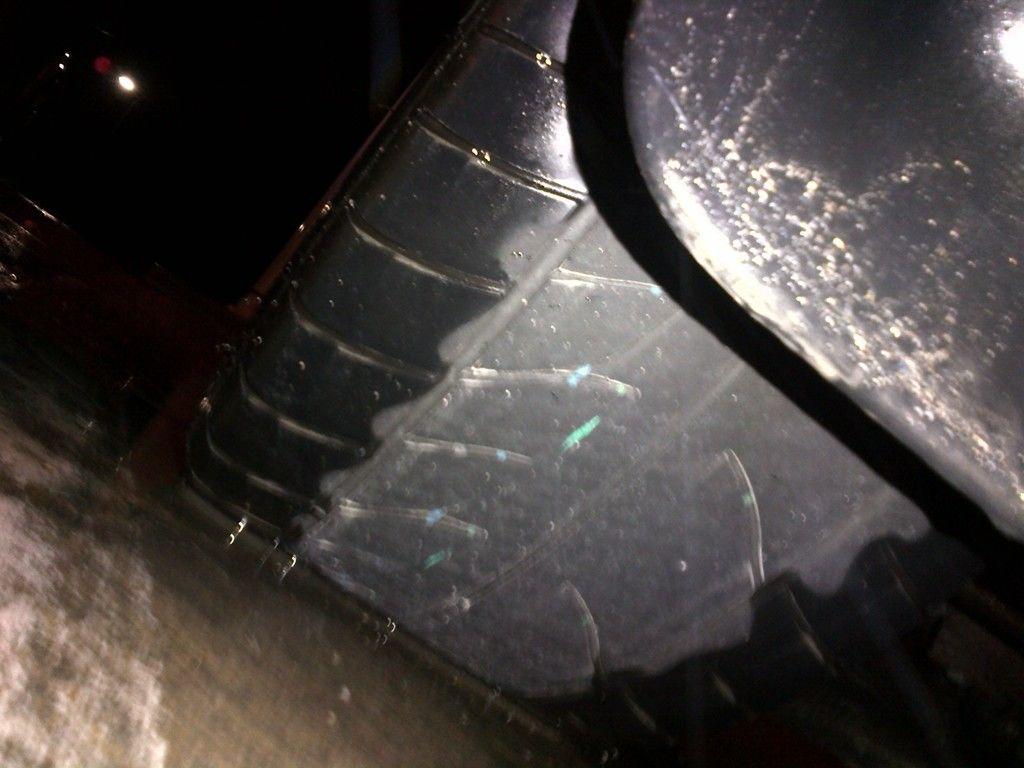
and it was that accursed toe. my alignment guy said he did his best with my rear toe. but the components were worn(20 years plus right)?
so a quick order for some new tires and these bad boys were placed.
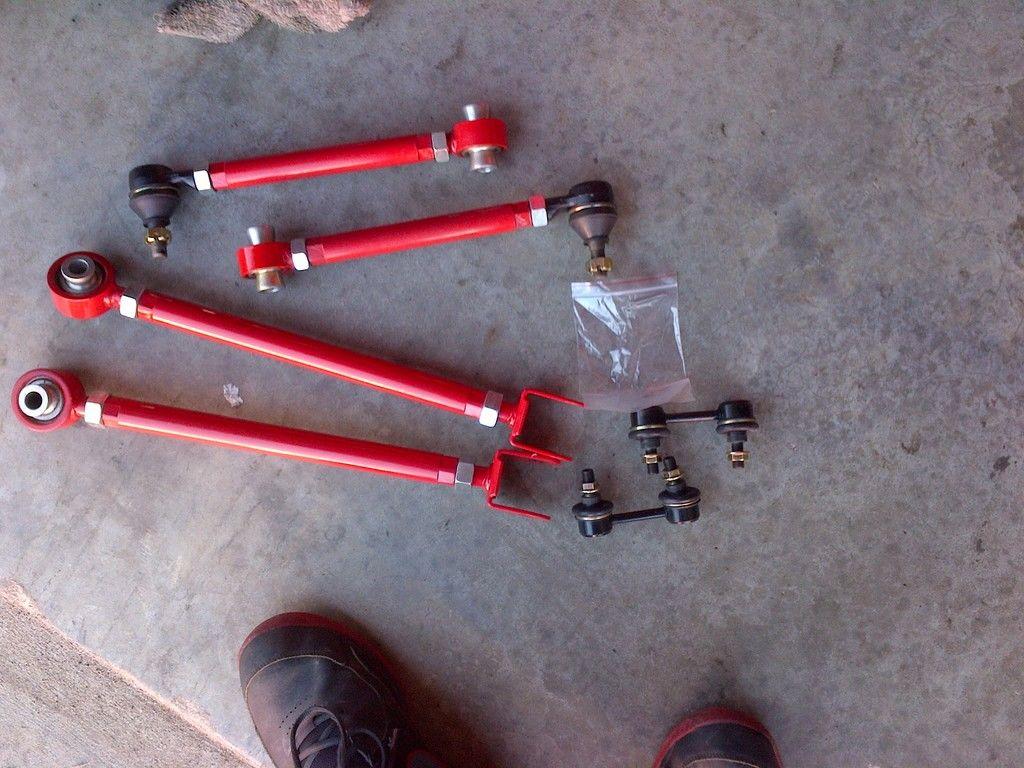
sad day because I couldn't get a rear sway bar this round.
well the first and only fitment issue I ran into with these is the traction bar holes were not big enough. they required some enlarging.
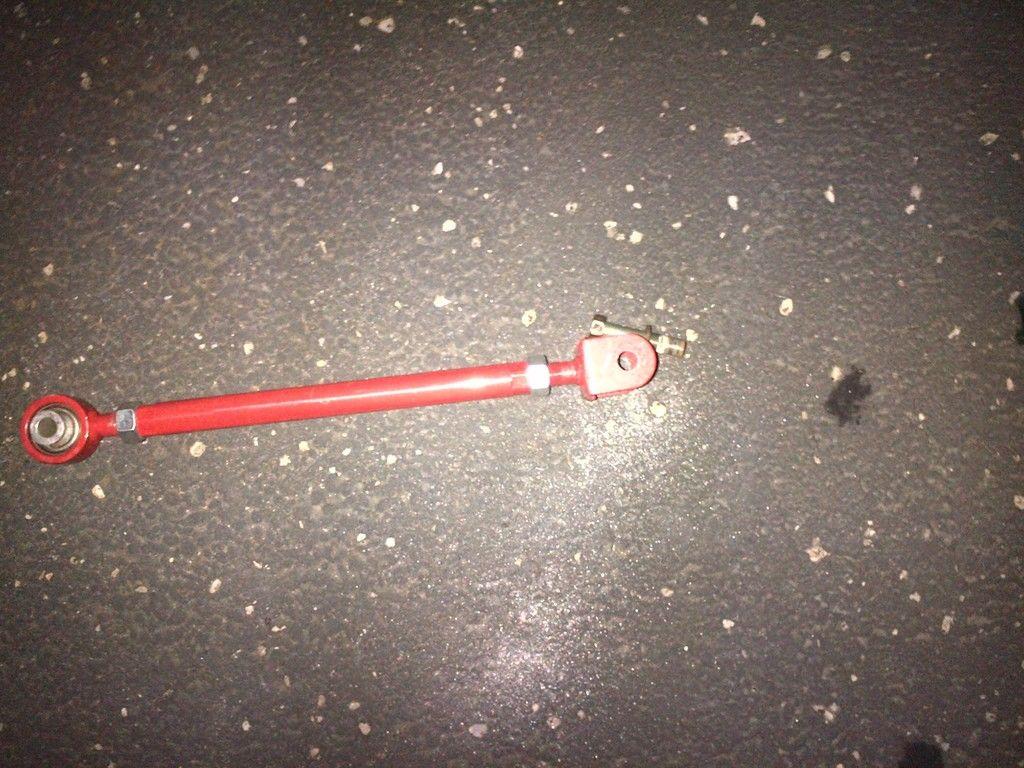
so we get to some more adjustable bolts that were seized in place. luckily I was crafty enough to fix this issue, I brought a new tool-mate.
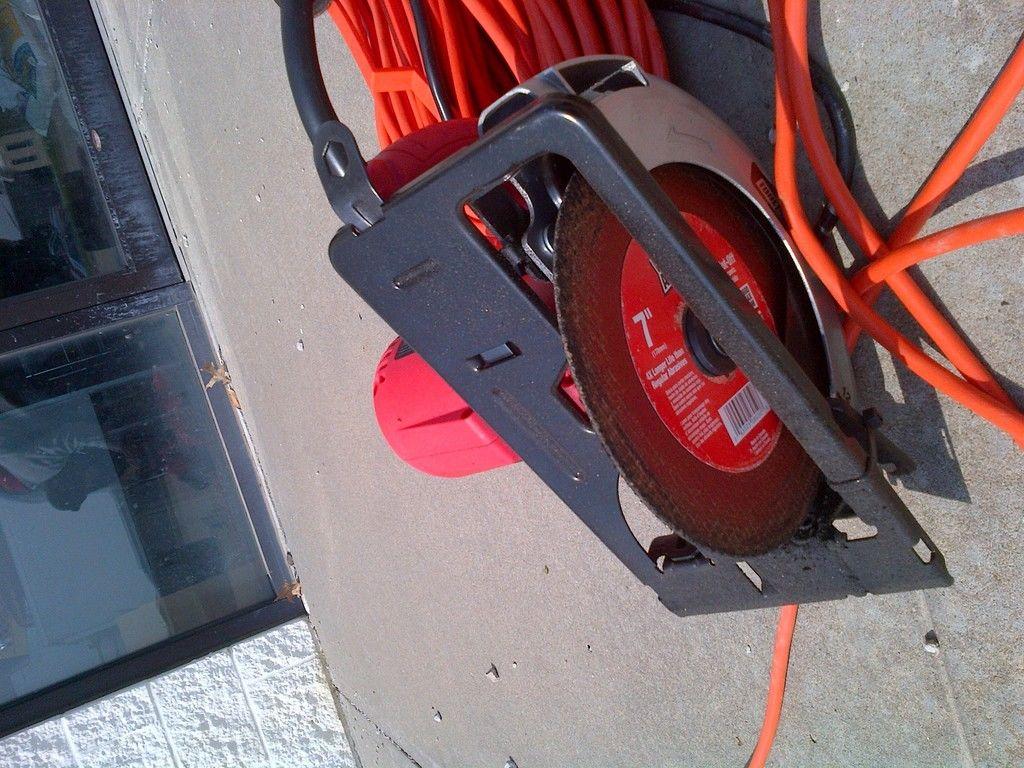
with this I quickly made mince-meat out of these old hags!!
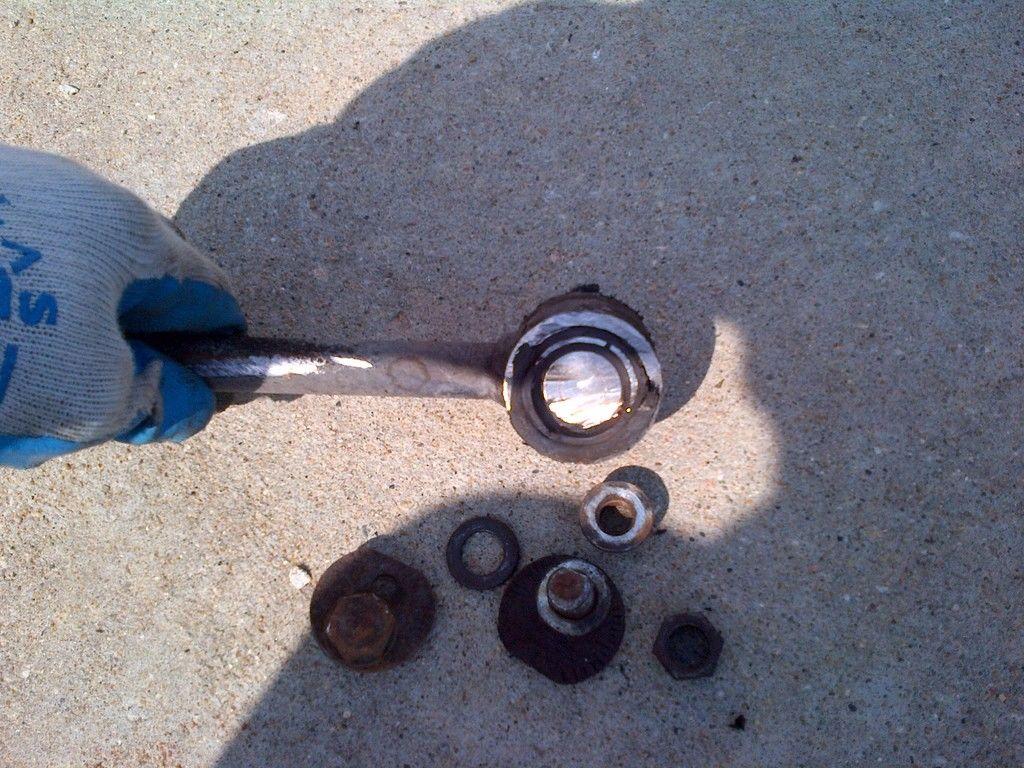
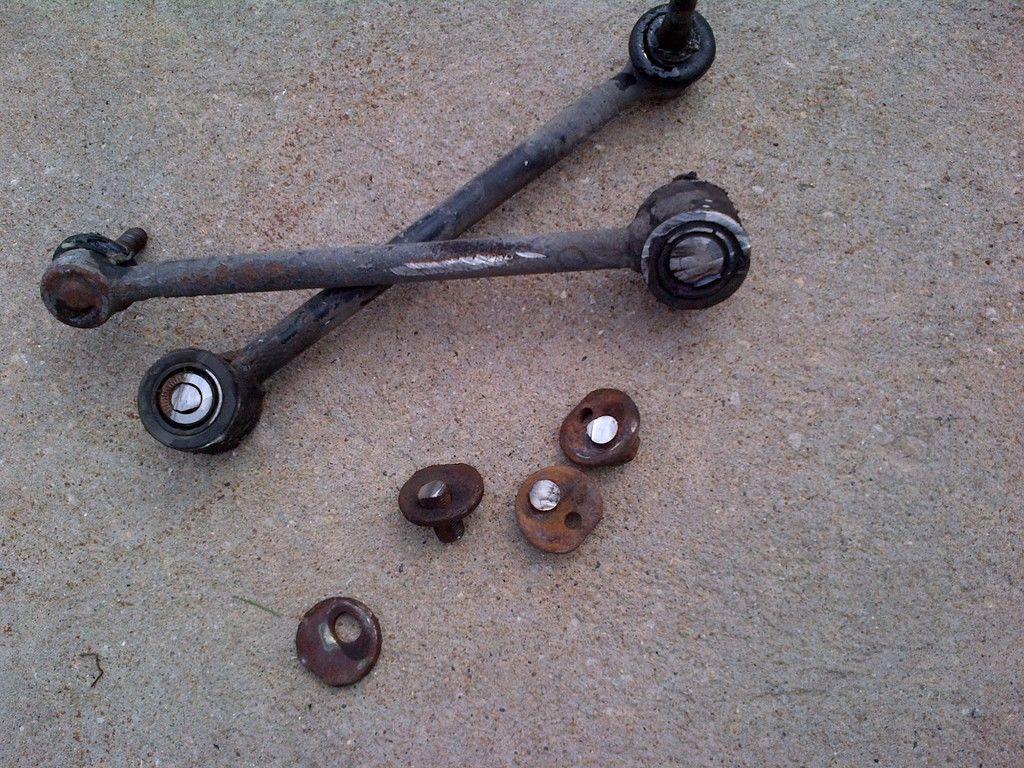
just say no to rusted/seized adjuster bolts!!!
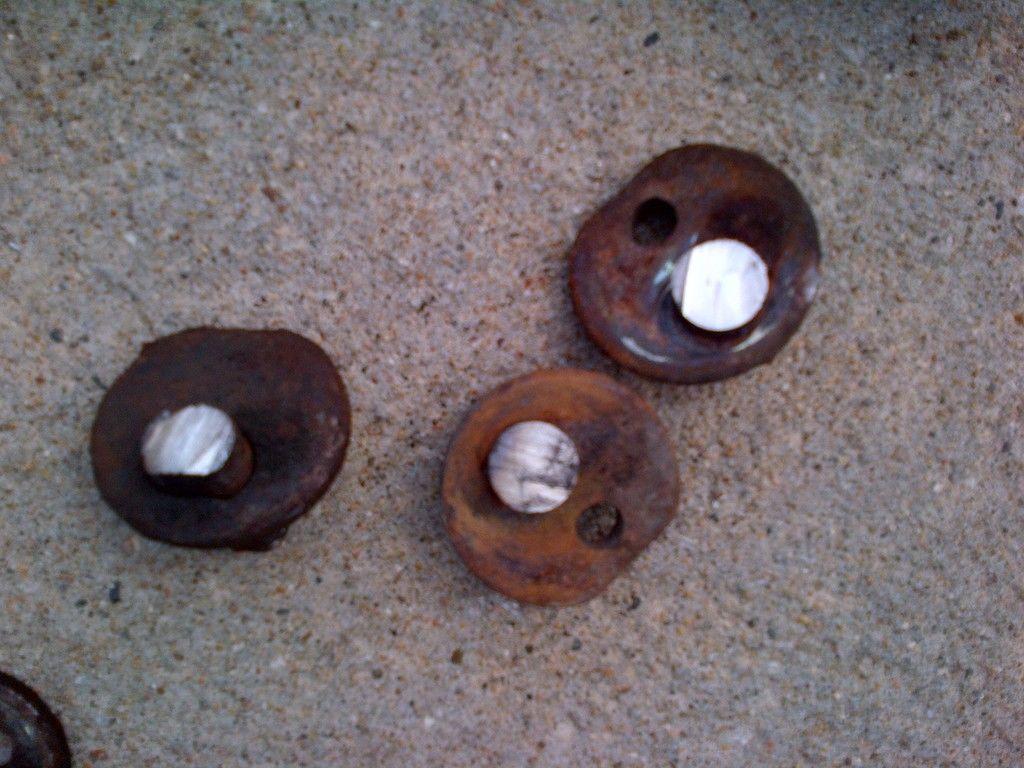
so I didn't need any of the old bolts as the adjustment is in the arm themselves(as they should be). ao went and brought some new hardened bolts/washers.
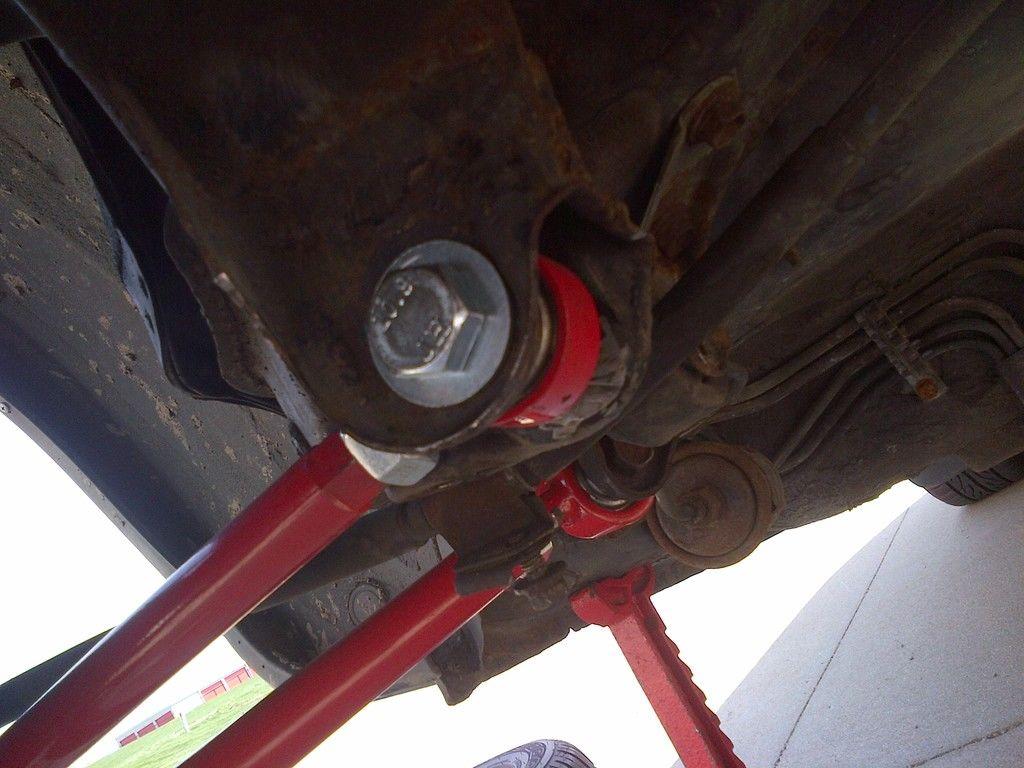
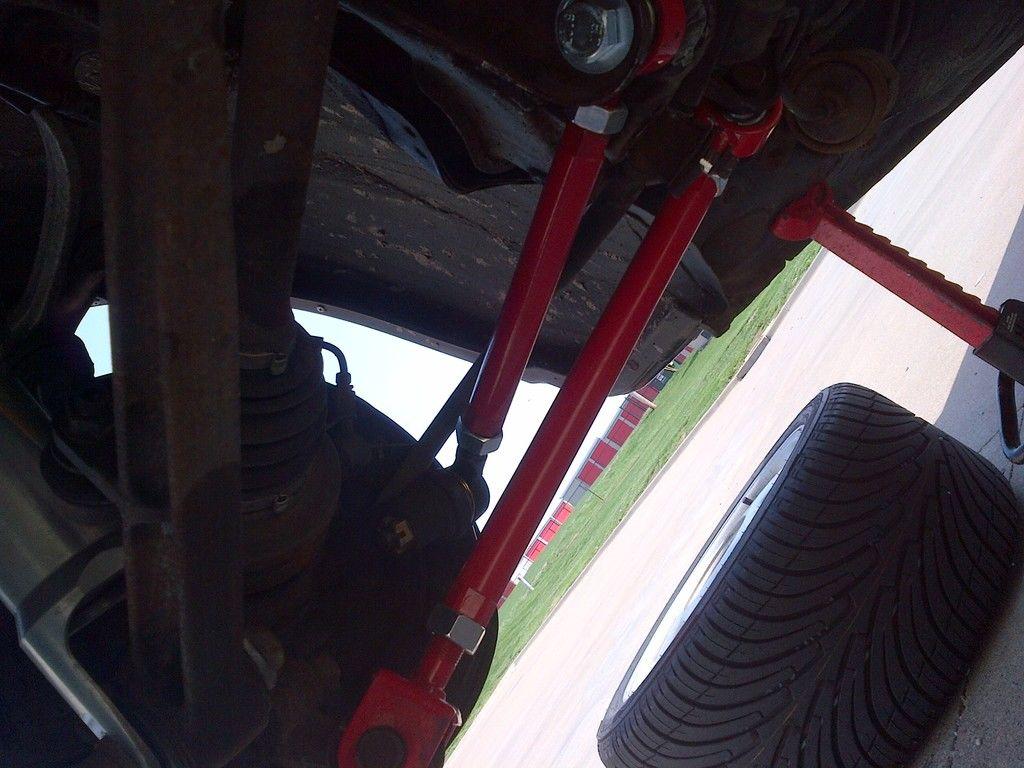
so all was well in the "toe" kingdom of suspension. then off to the alignments rack(2nd time in a month).
here are the numbers I came up with. apparently my front caster is off(says my front right is further than my front left(scratches head).
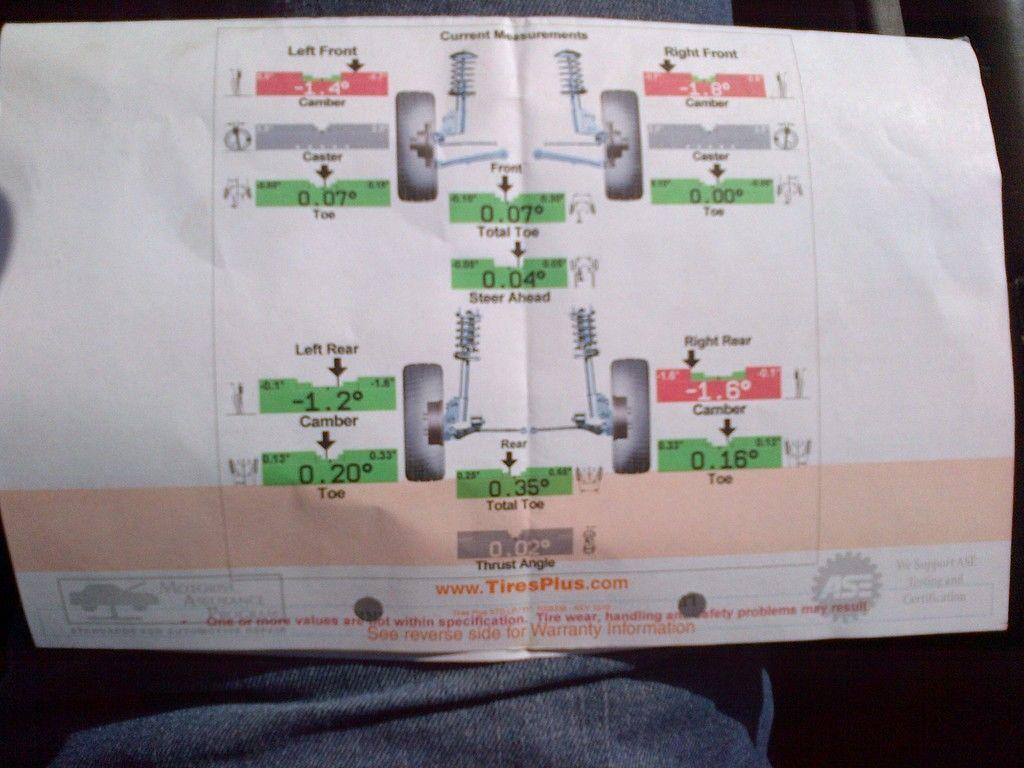
still won't ride perfect like my Nissan, wtf gives!!!! heres a comparison by the same tech.
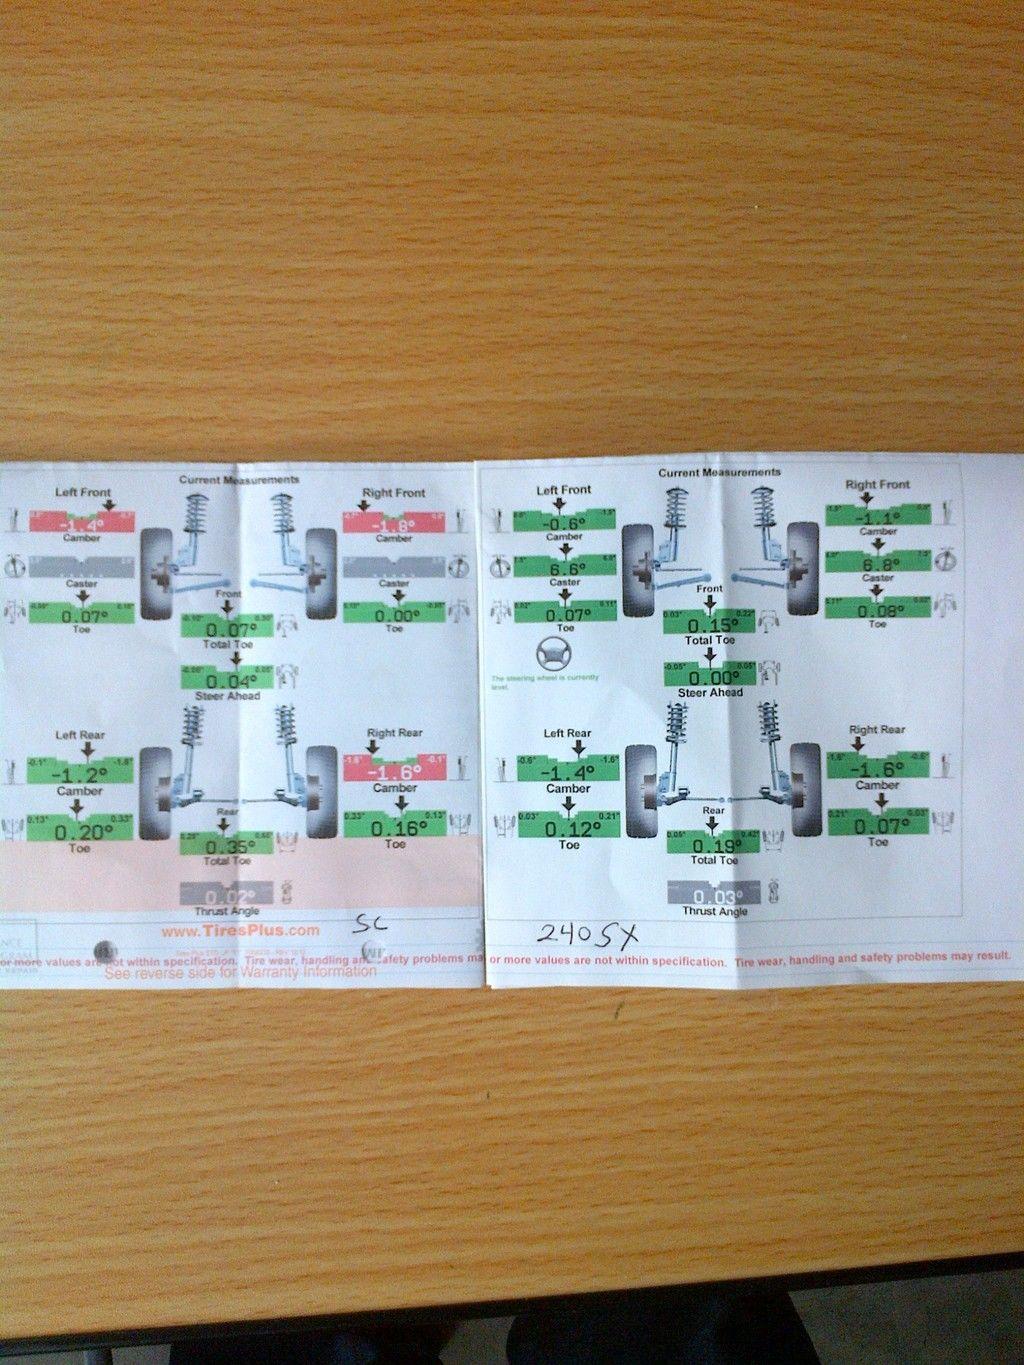
but fear not!!! I finally located/ordered some front camber plates(go me)
so before I did that toe stuff. I wanted to keep my cabin temps lower. and if you seen what I did to my shifter tunnel you know it was inadequate for long term use. so with my new welding powers. I rolled back the carpet, made a template of a cutout, and got to work.
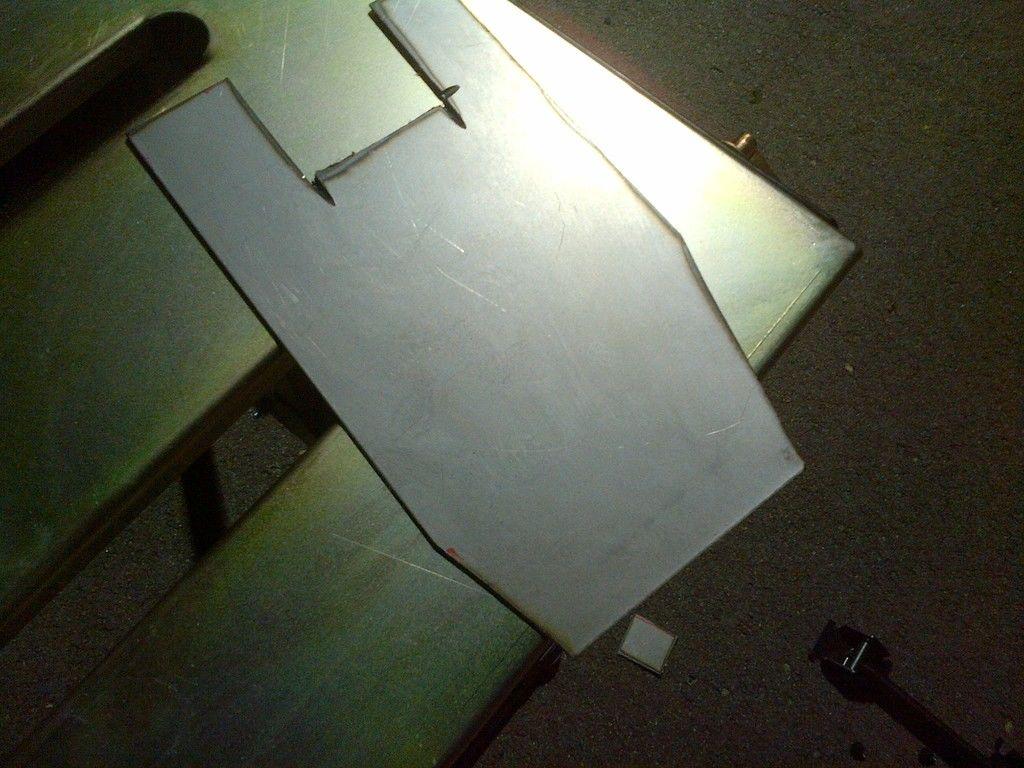
got rid of the paint so template could adhere.
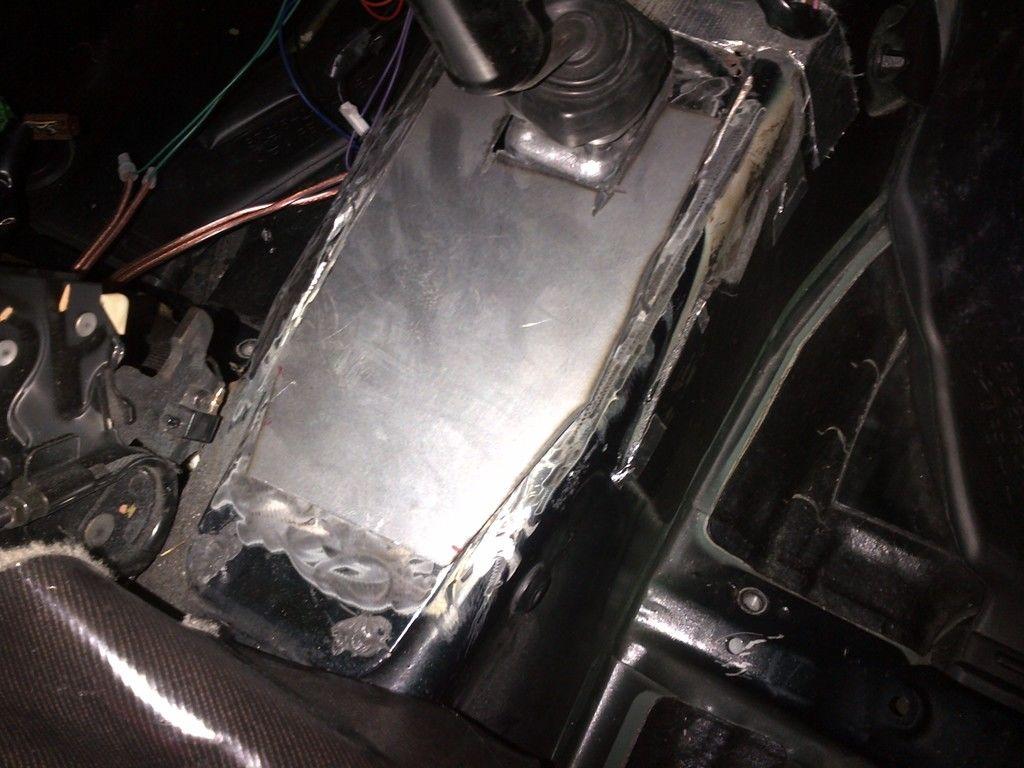
and here is the finished product.
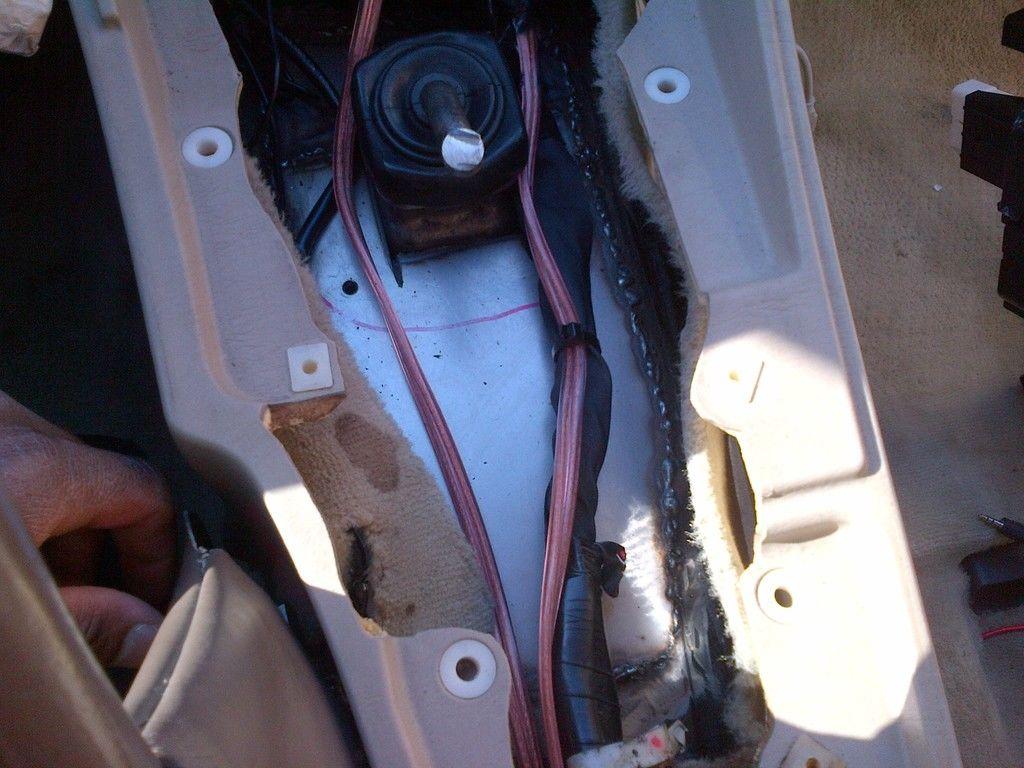
while I was at it I decided to make a short shifter.
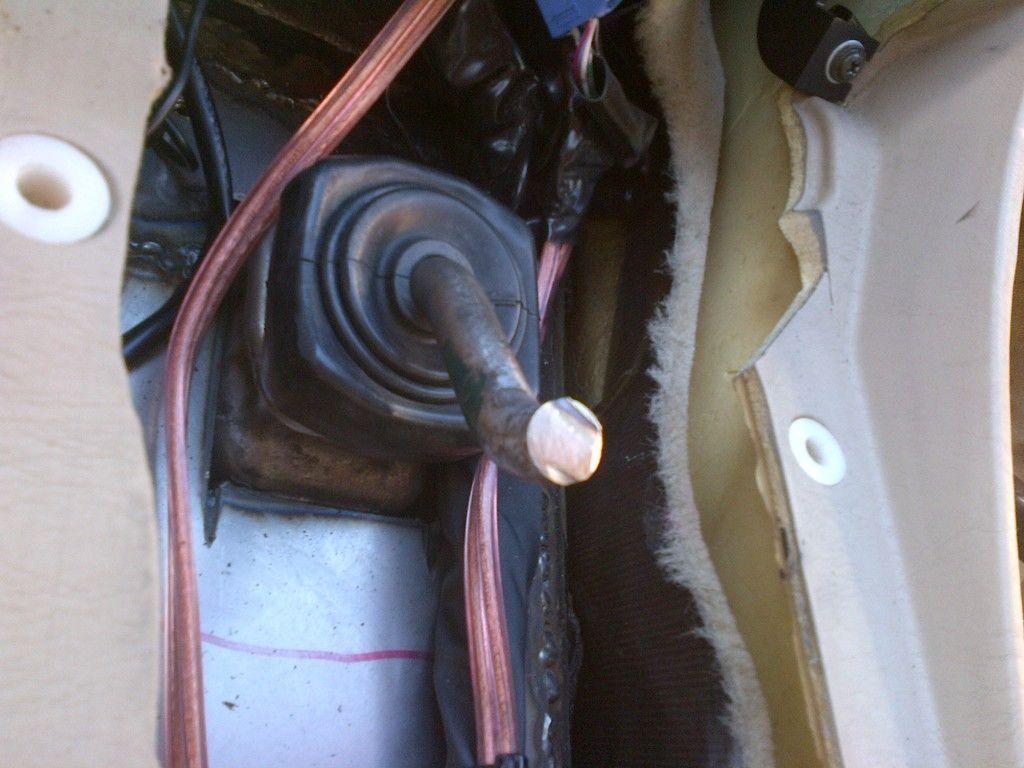
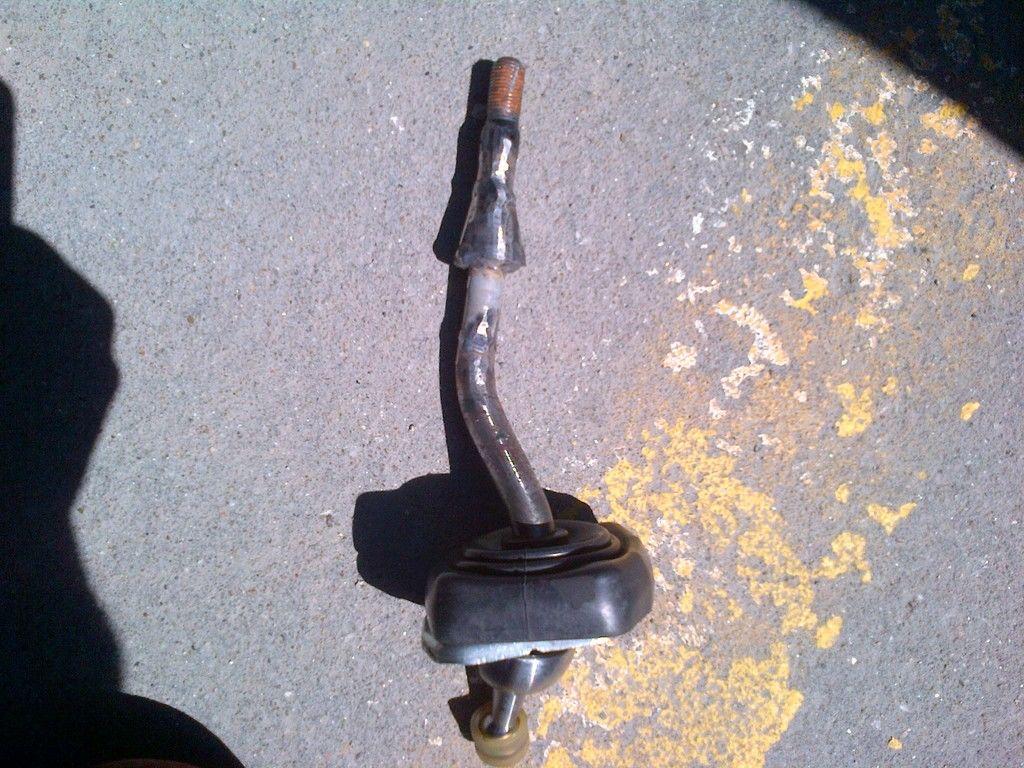
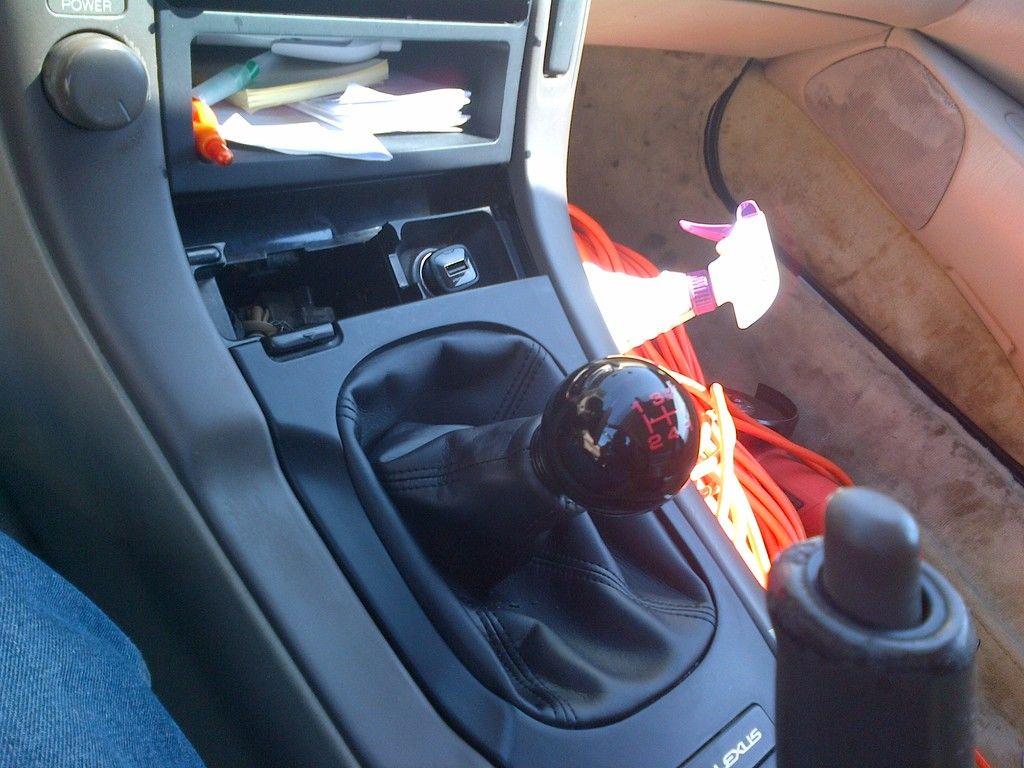
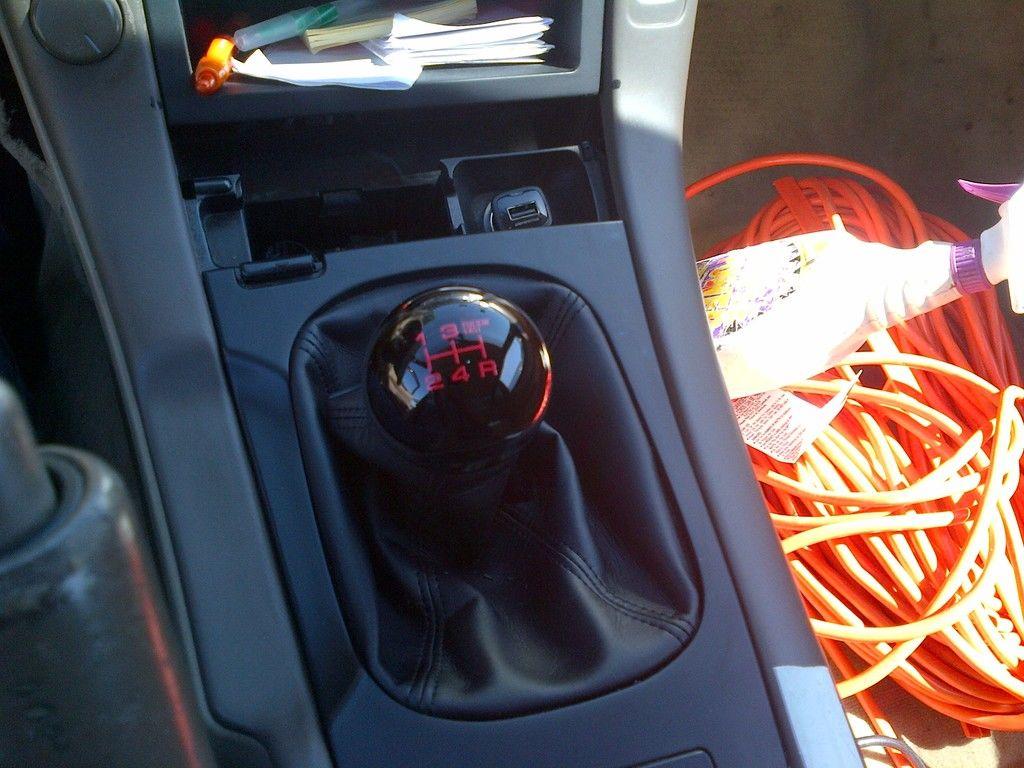
so this shifter was a TEAM effort. as I did the top/thread weld and my local welder guy finished the rest.
and iam super happy. it feels great and no more "iam a trucker" complex!!!
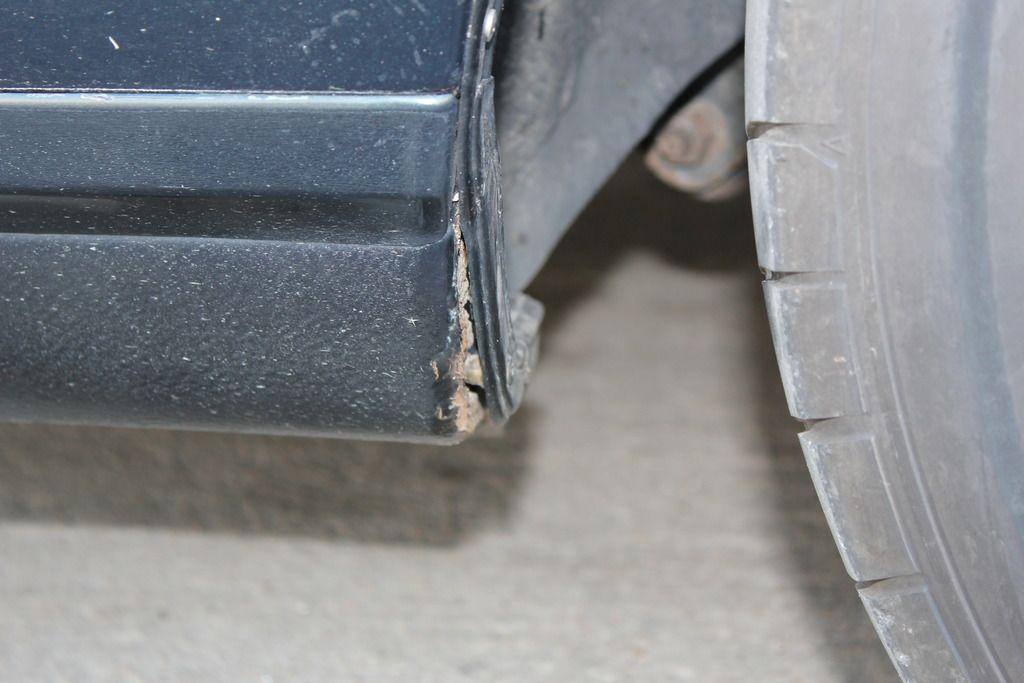
so I was in pa last week and there was an accident, and the cars were allowed to go back on the highway on the shoulder. anyway the semis in the right lane didn't move enough and I creamed a rock on the shoulder. didn't see this till I got to Indiana.
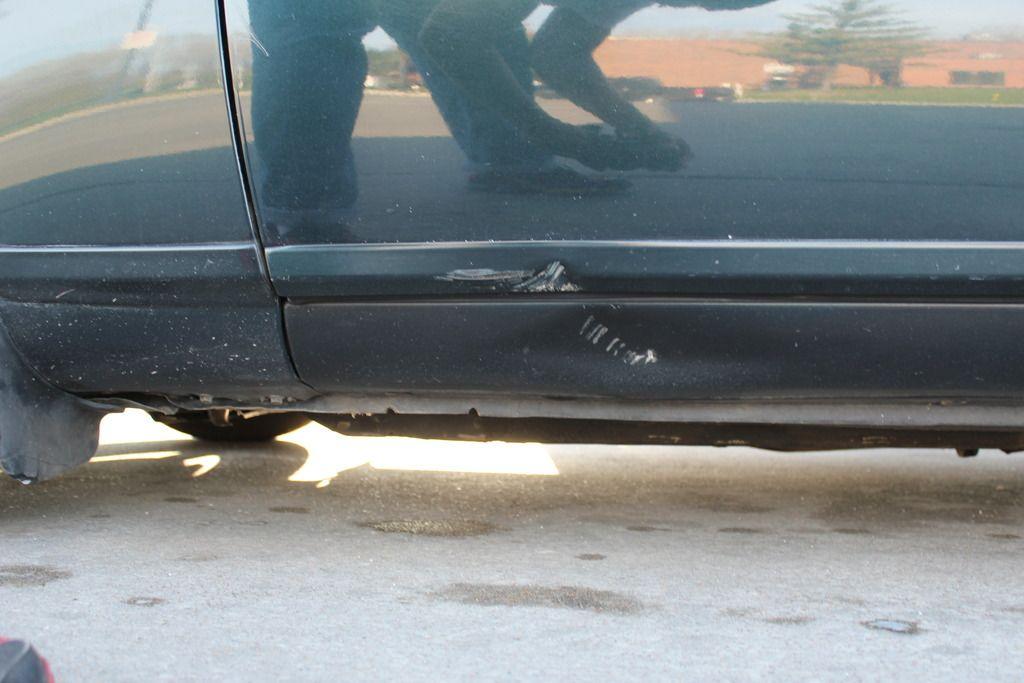
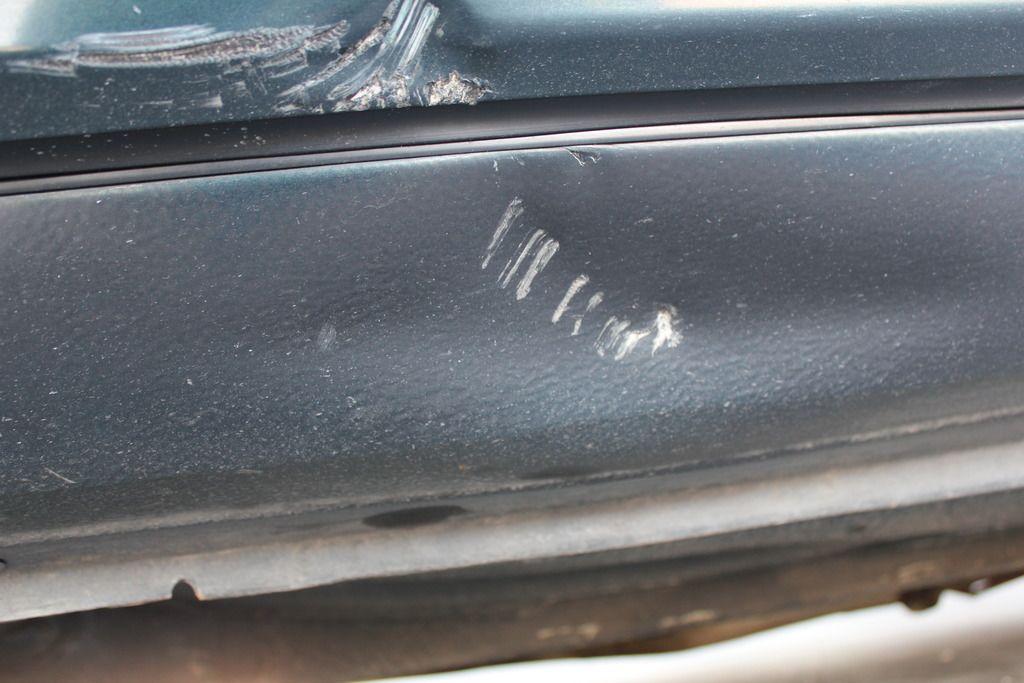
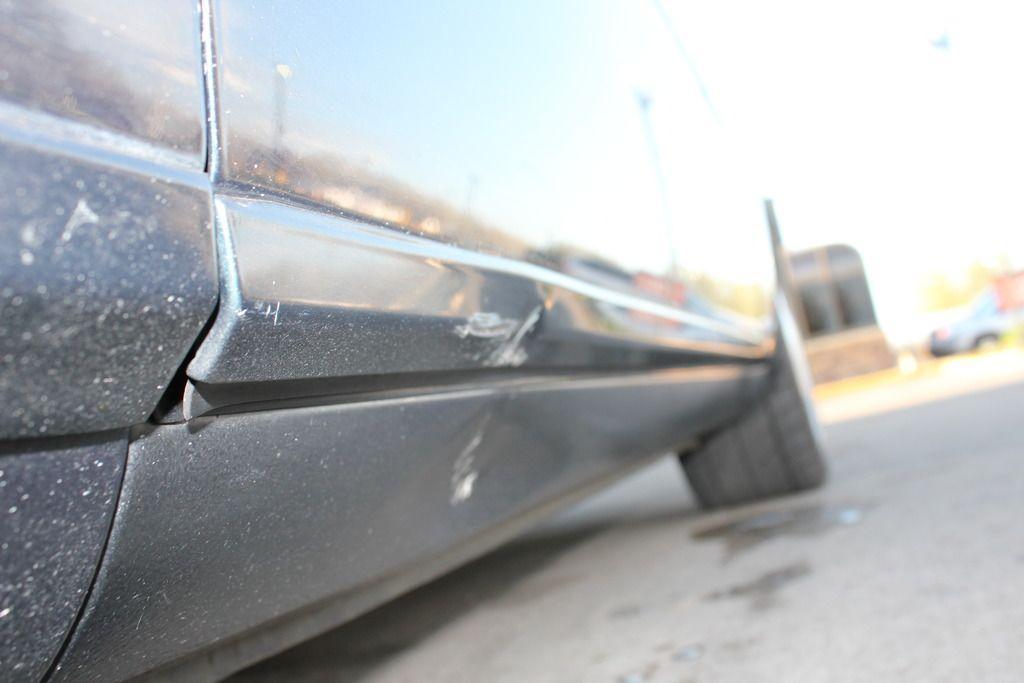
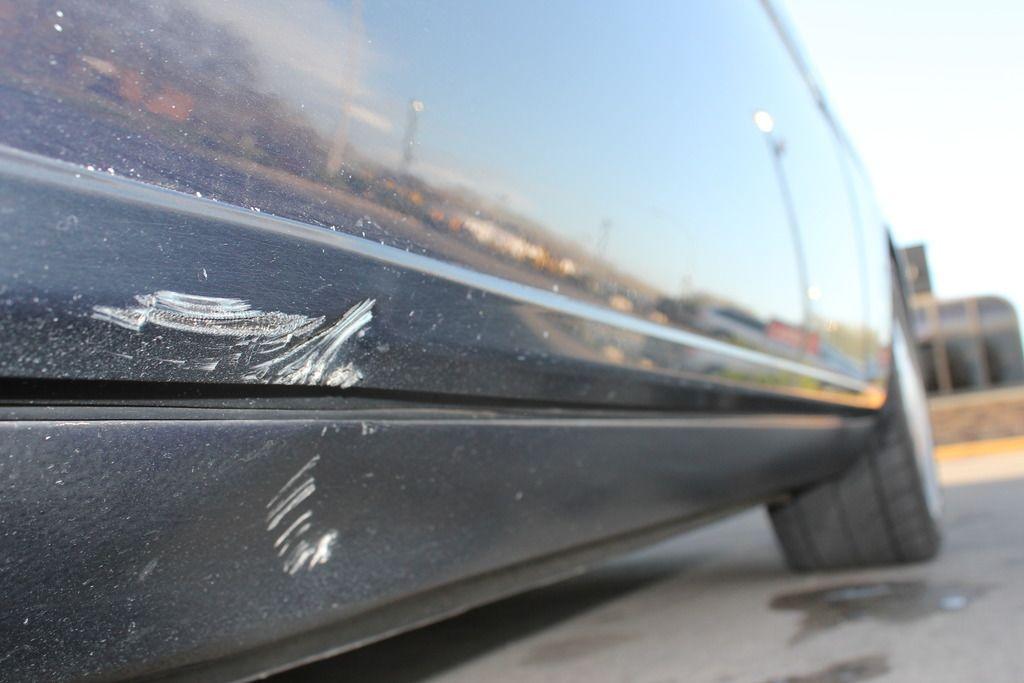
and finally there is some rust boiling here. you guys think I should just replace the whole panel? or cut the rust, and pull out the ding??
10-2-2015
holy ****!! ben a while since ive updated. well been using this as the daily since the s13 has been down for a while. Been traveling back and forth from Missouri to nyc and all points in between. put about 23k miles on swap since completed. - SO LETS RE-CAP!
so I had to re-do the front upper arms. brought and installed the megan front upper camber arms. I must say they are kick *** quality and I have 0 problems out of them(make sure you Loctite the bolts)
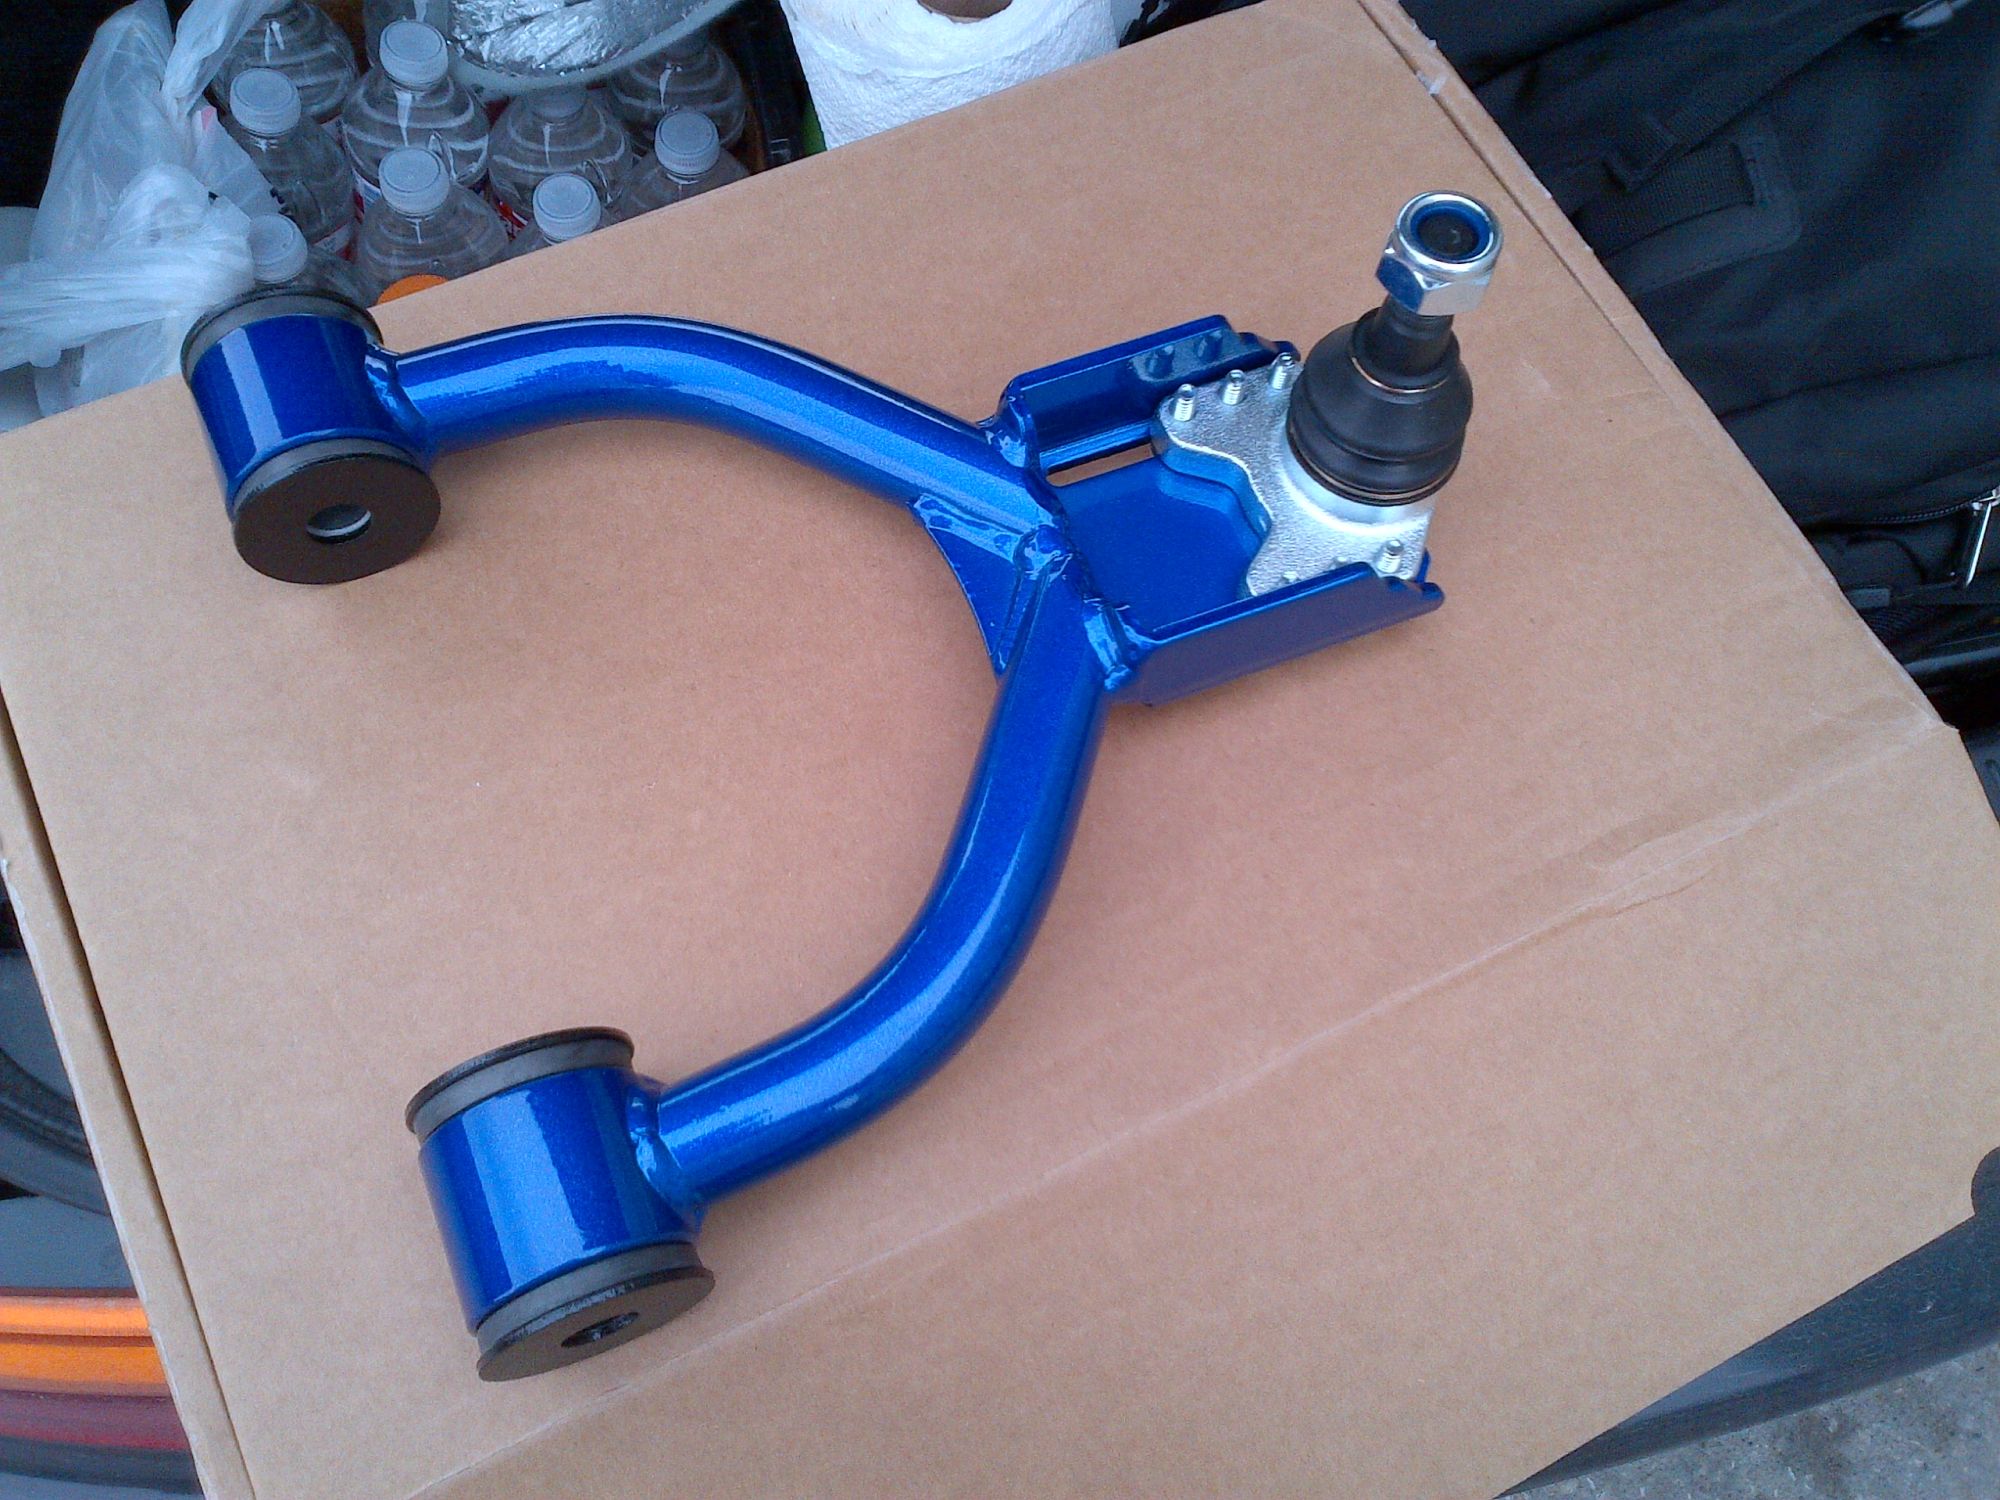
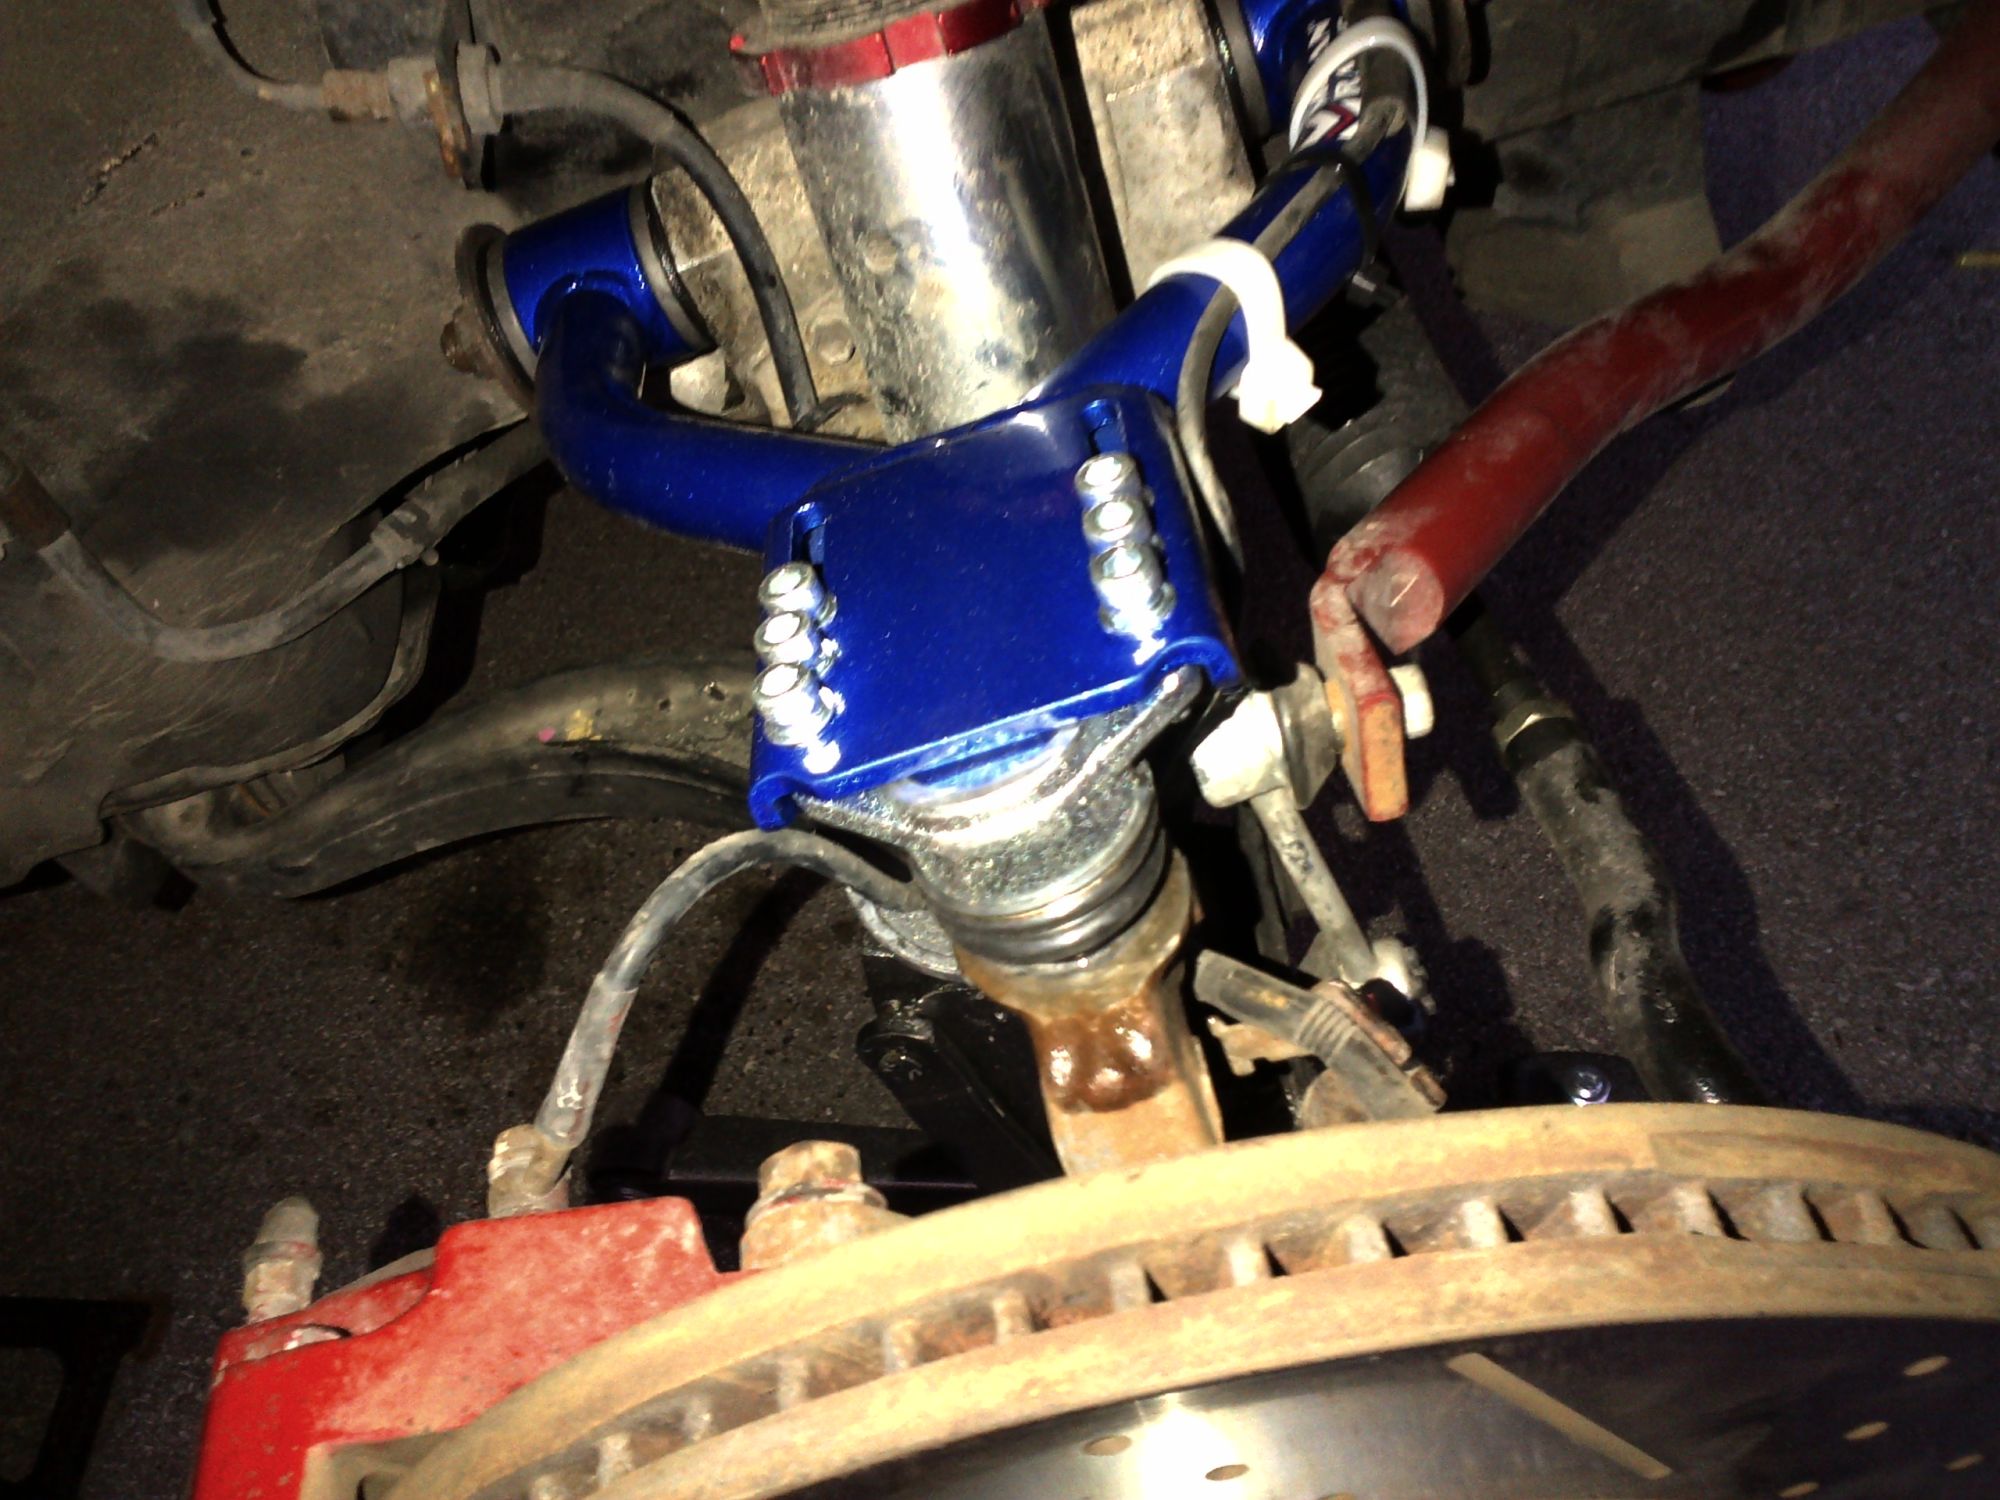
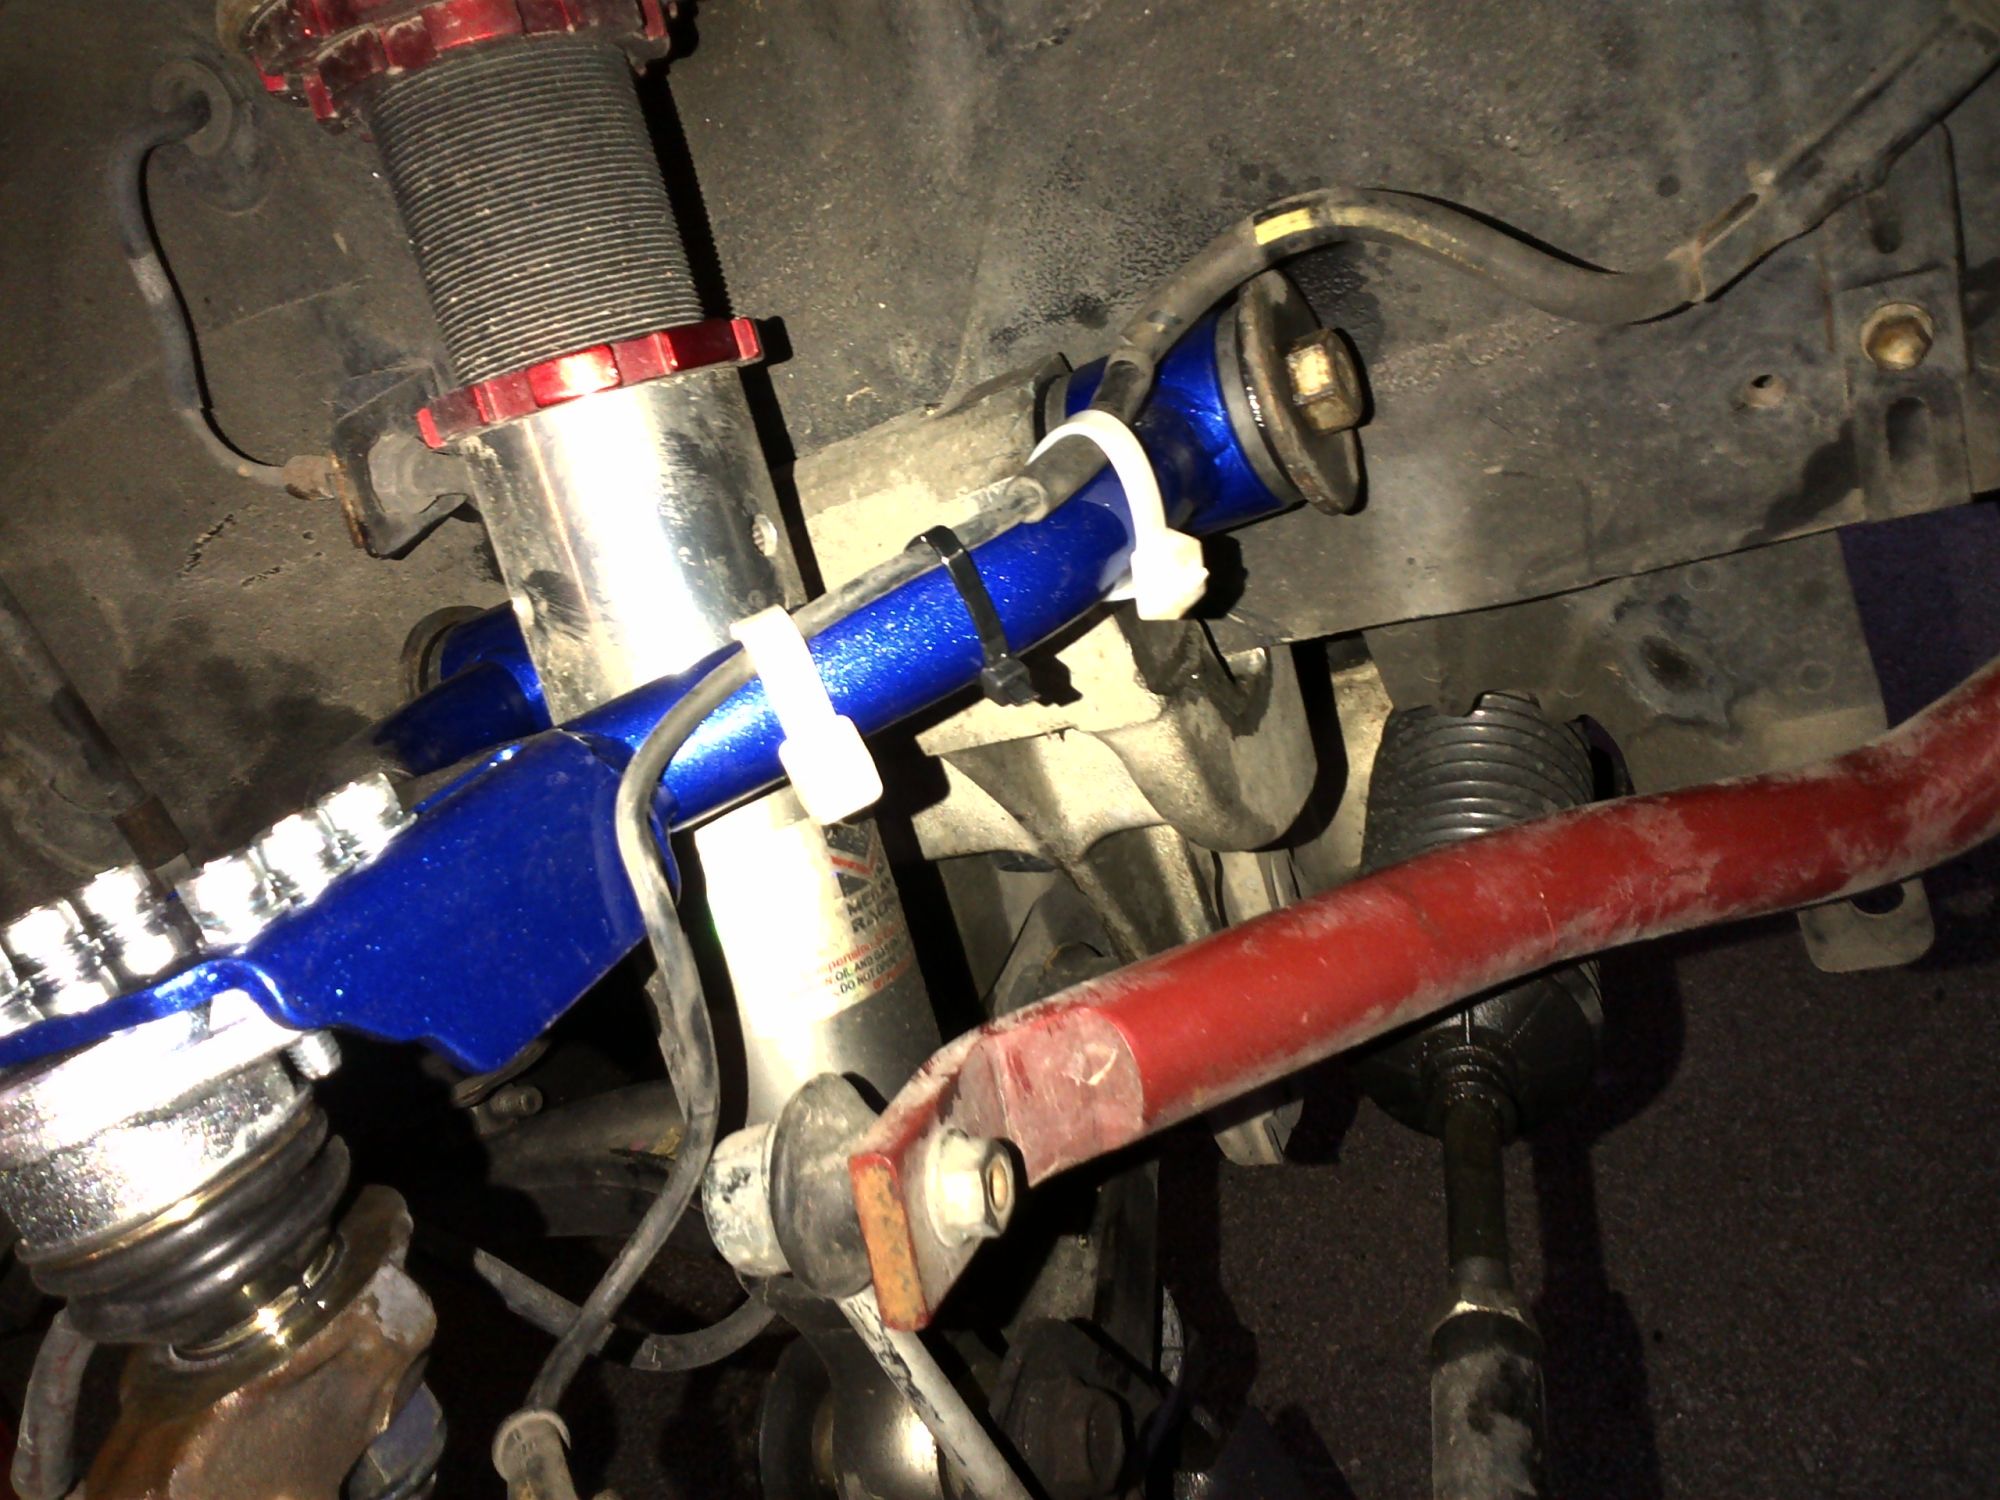
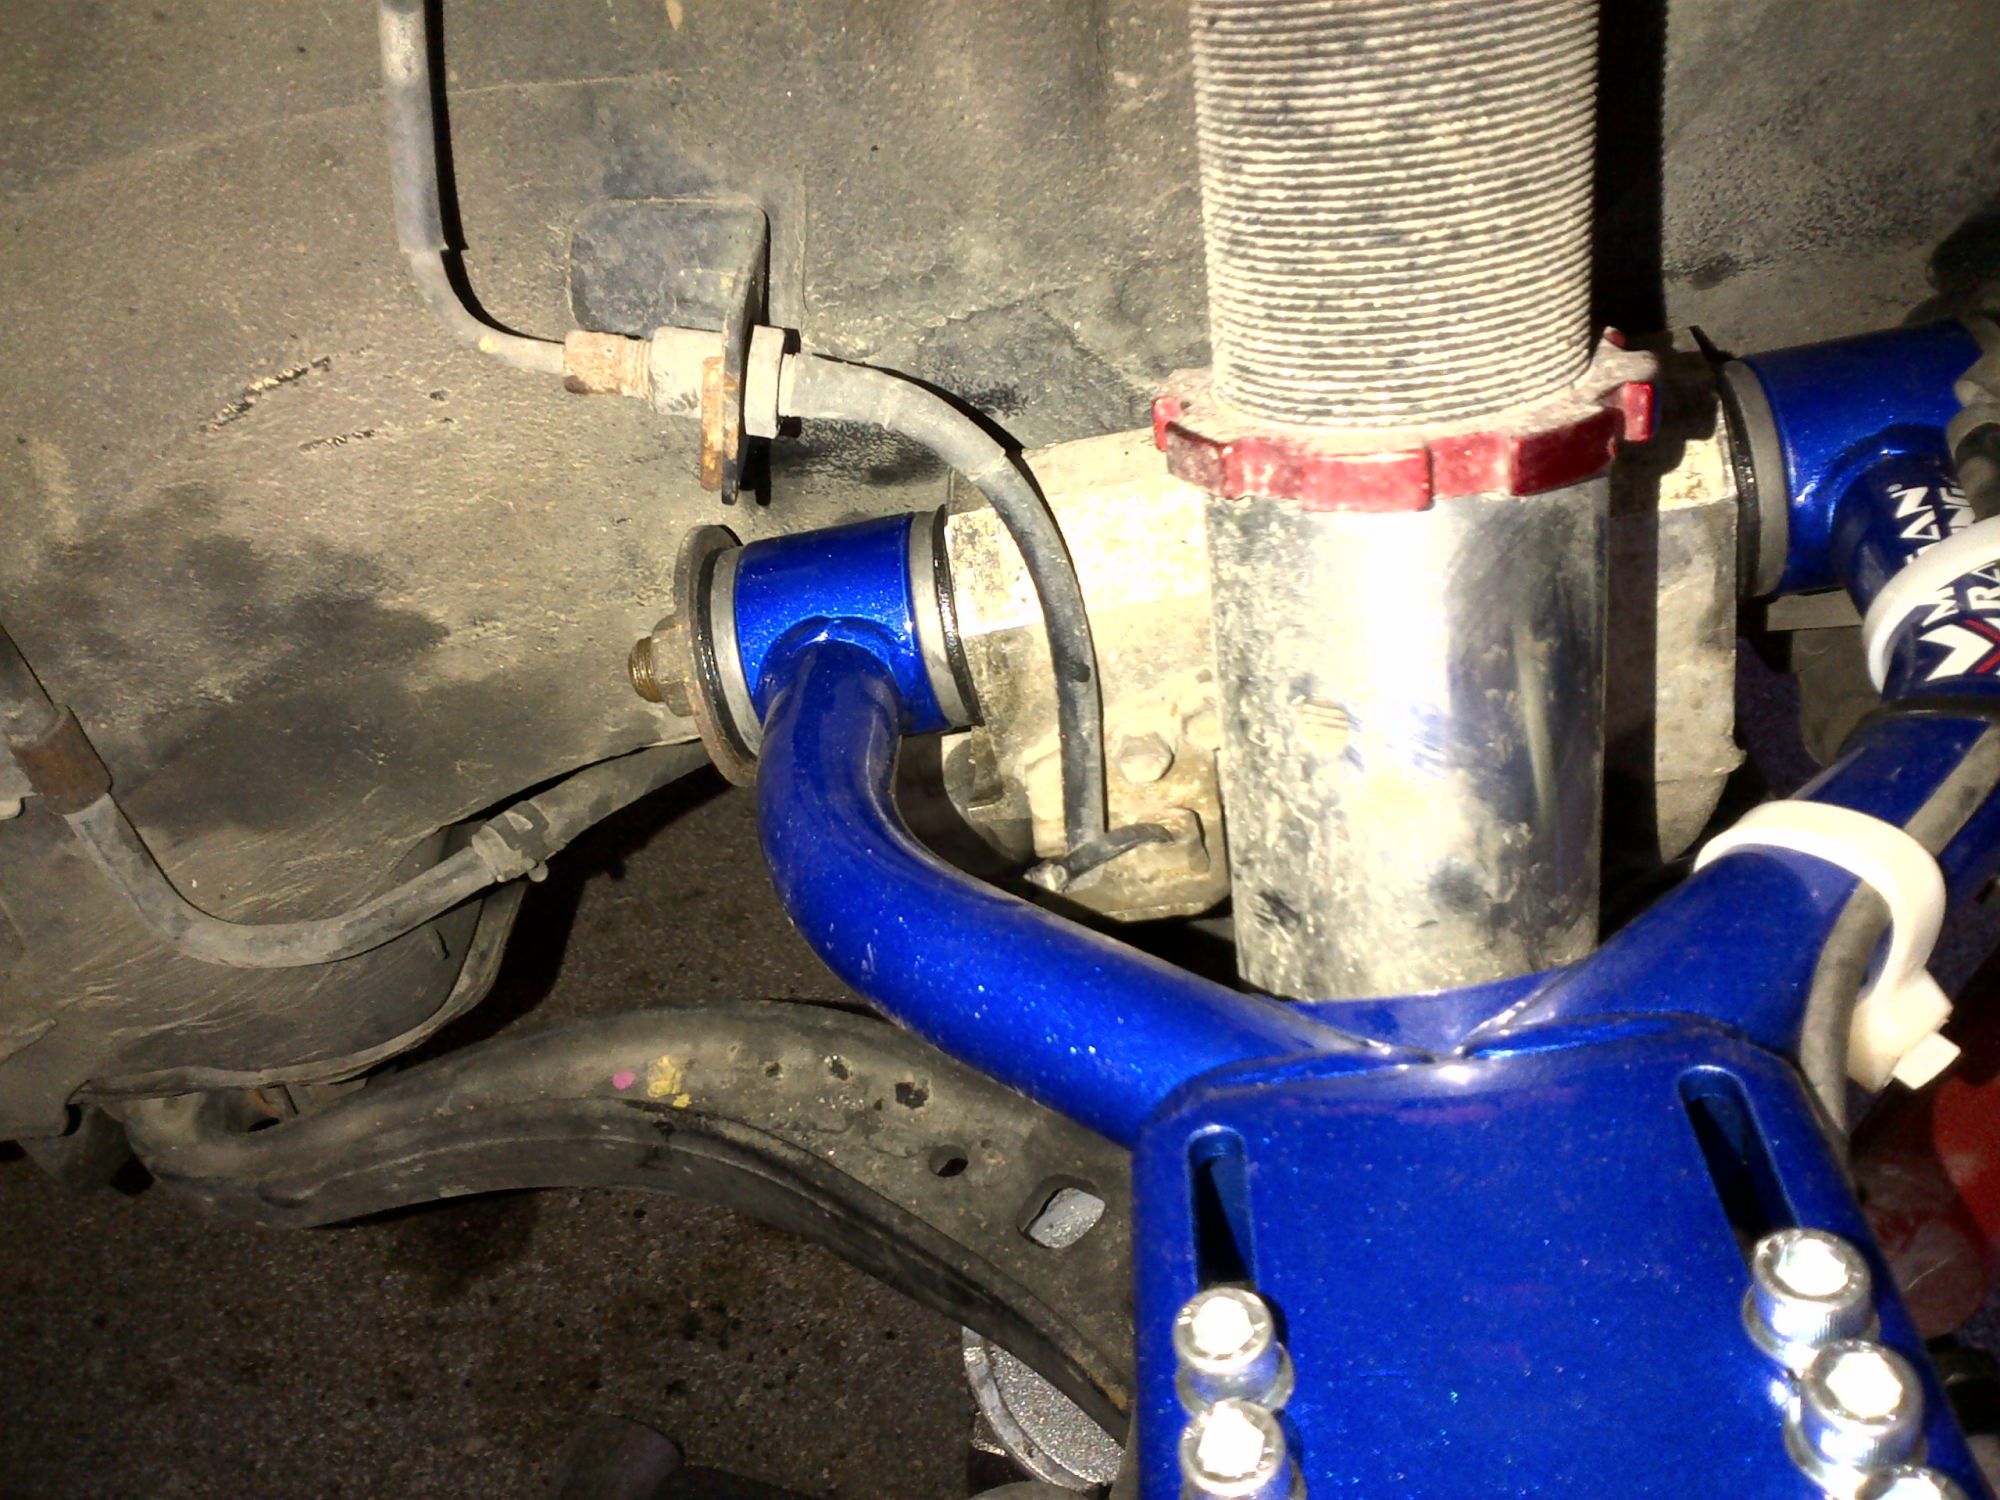
here is the results before and after!!! remember I have a new oem supra flca.
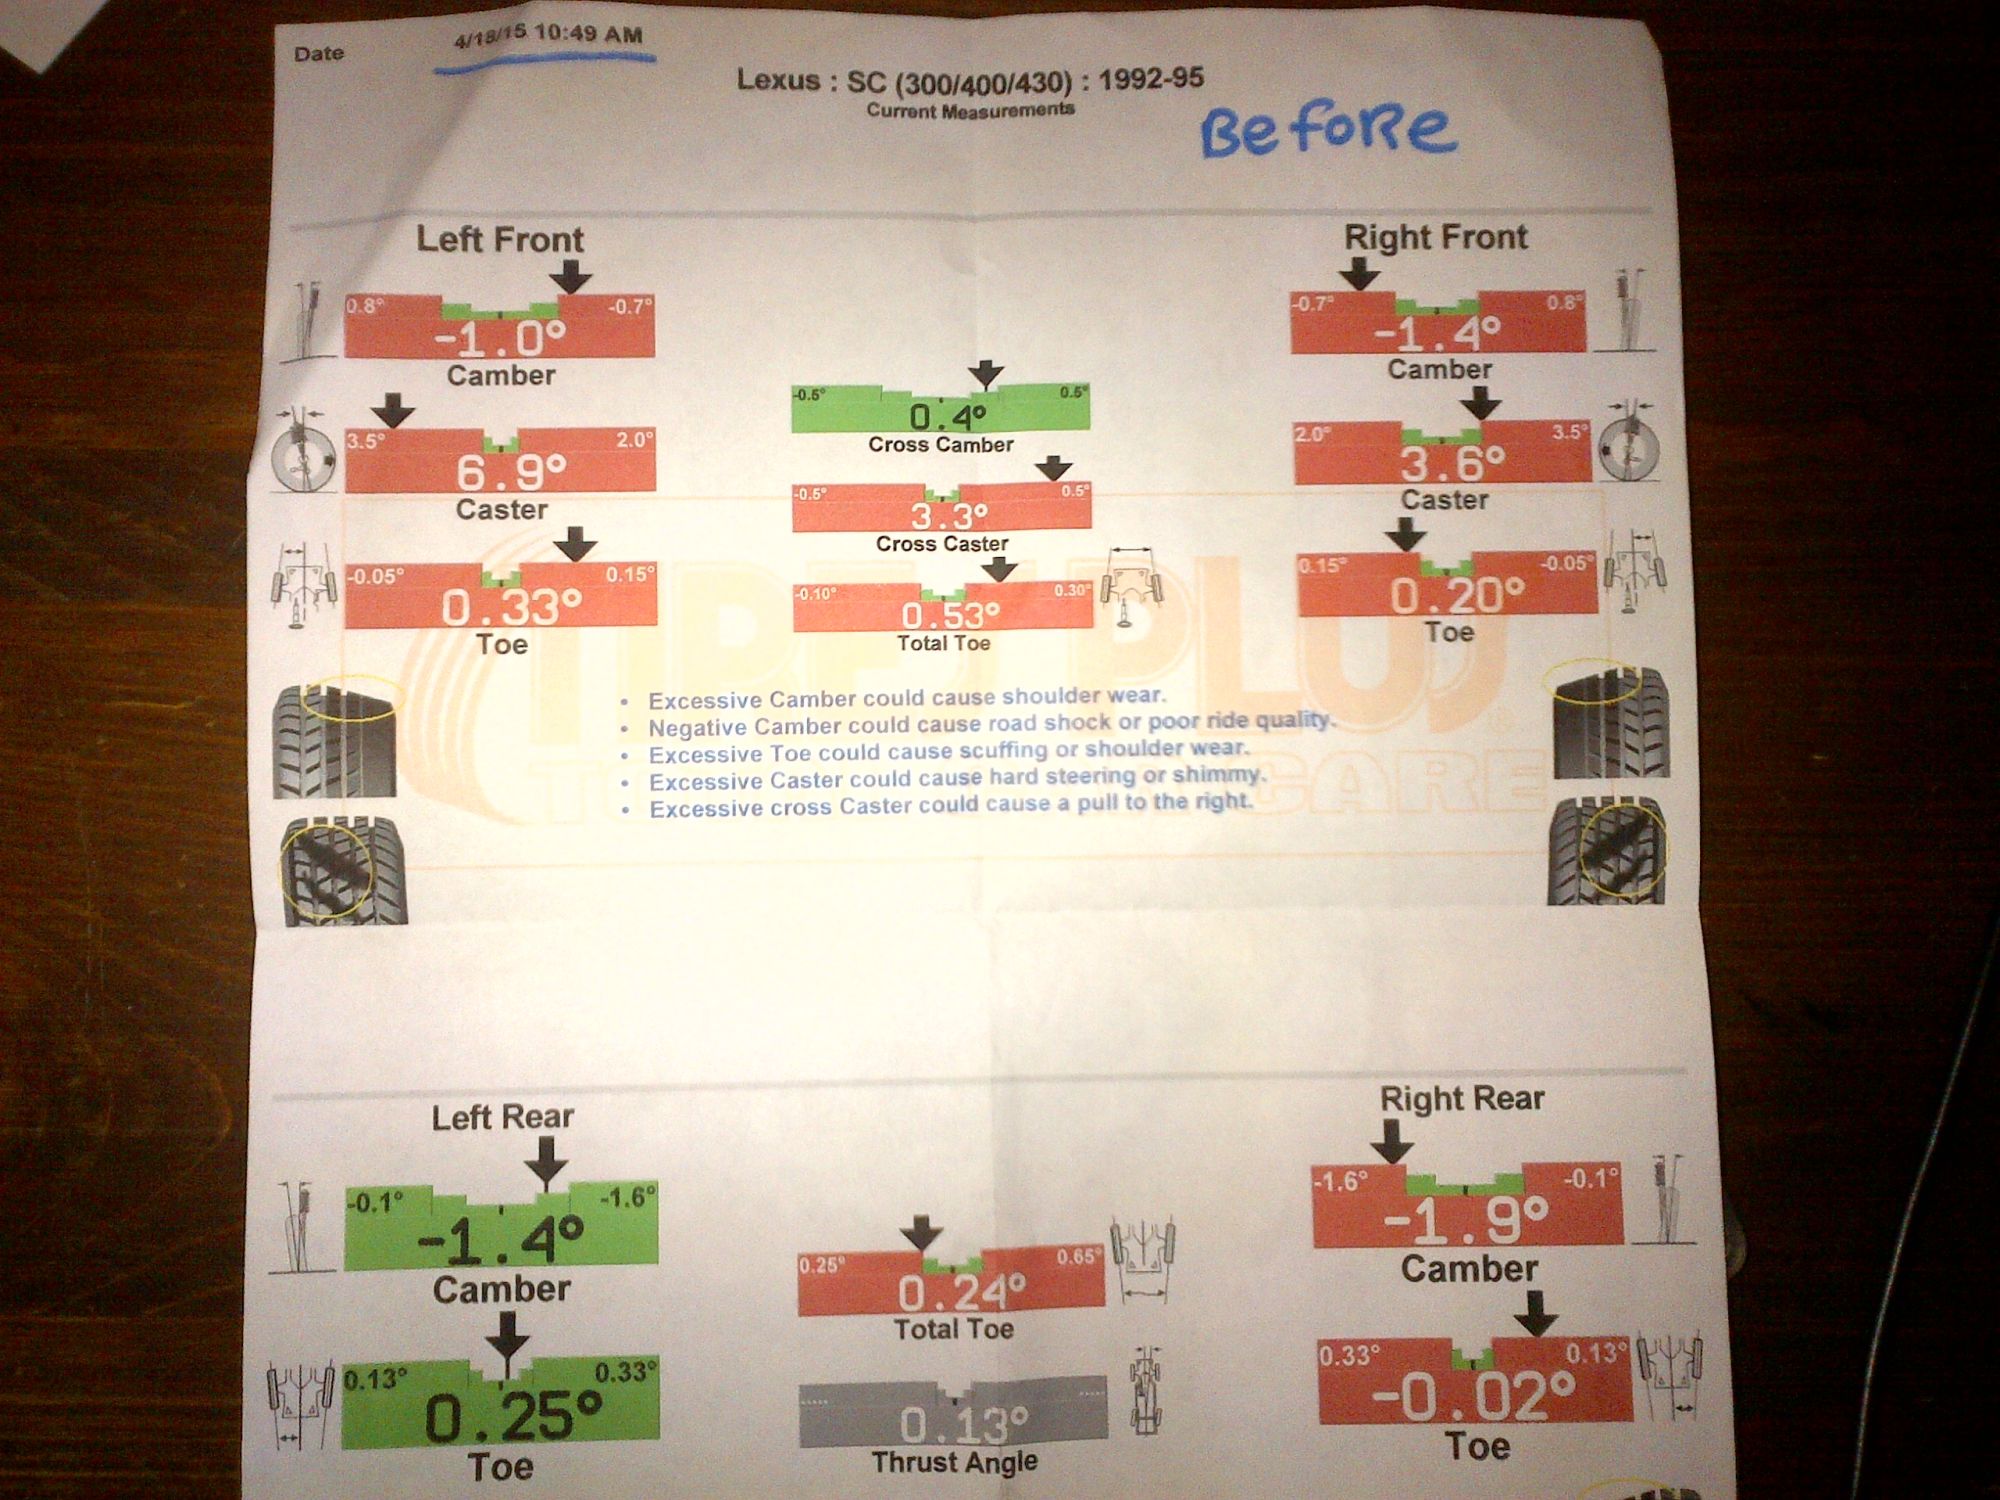
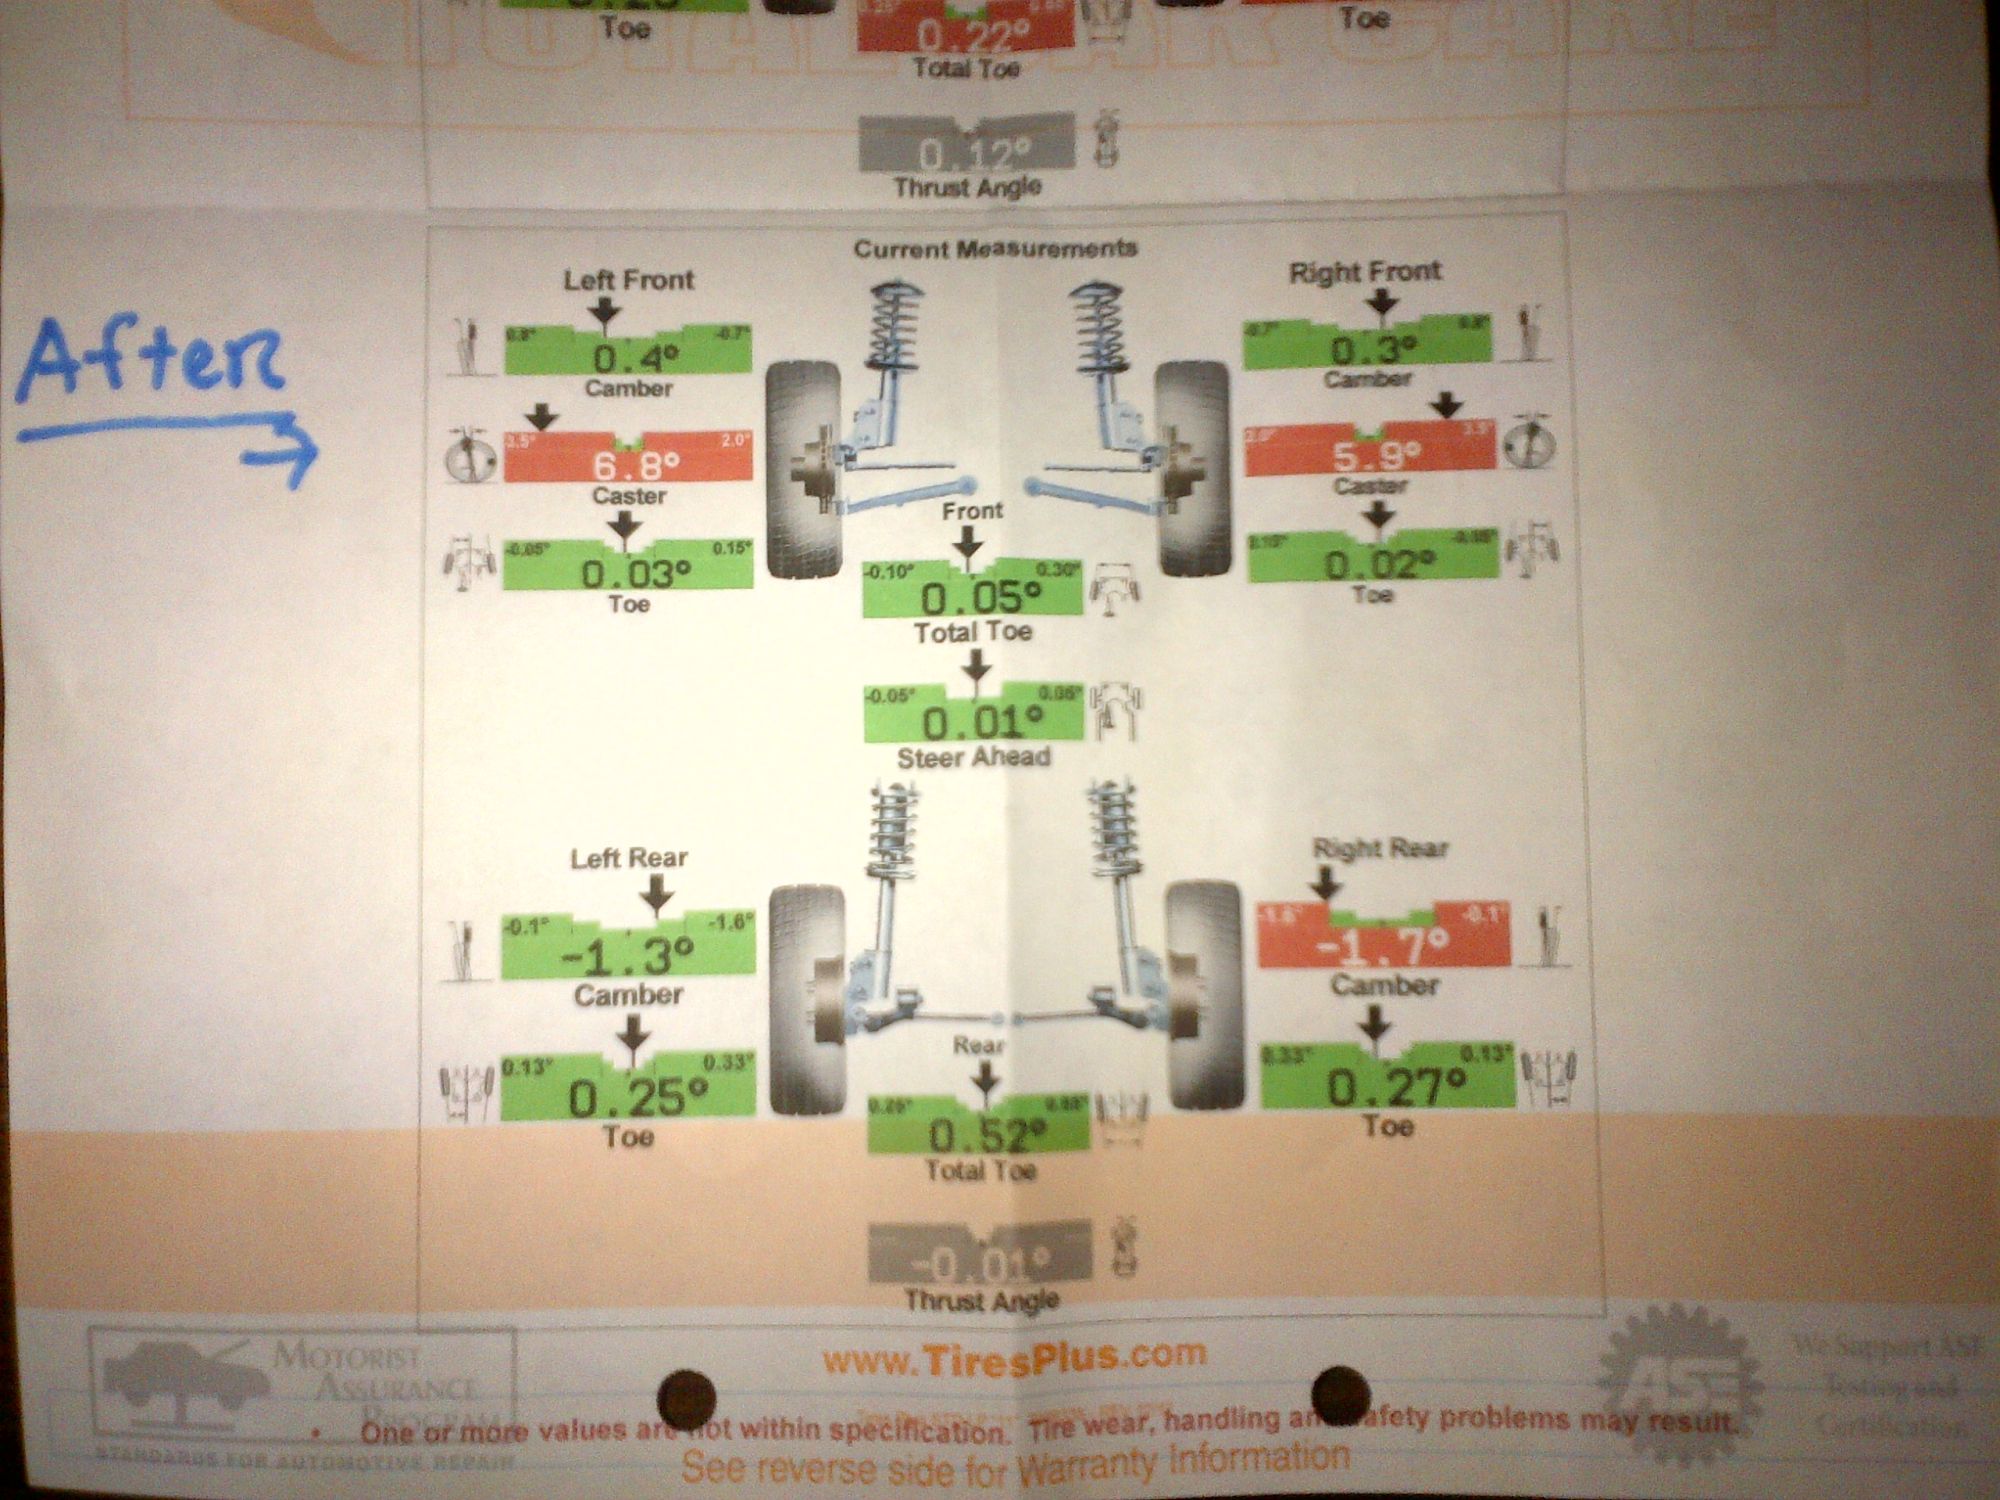
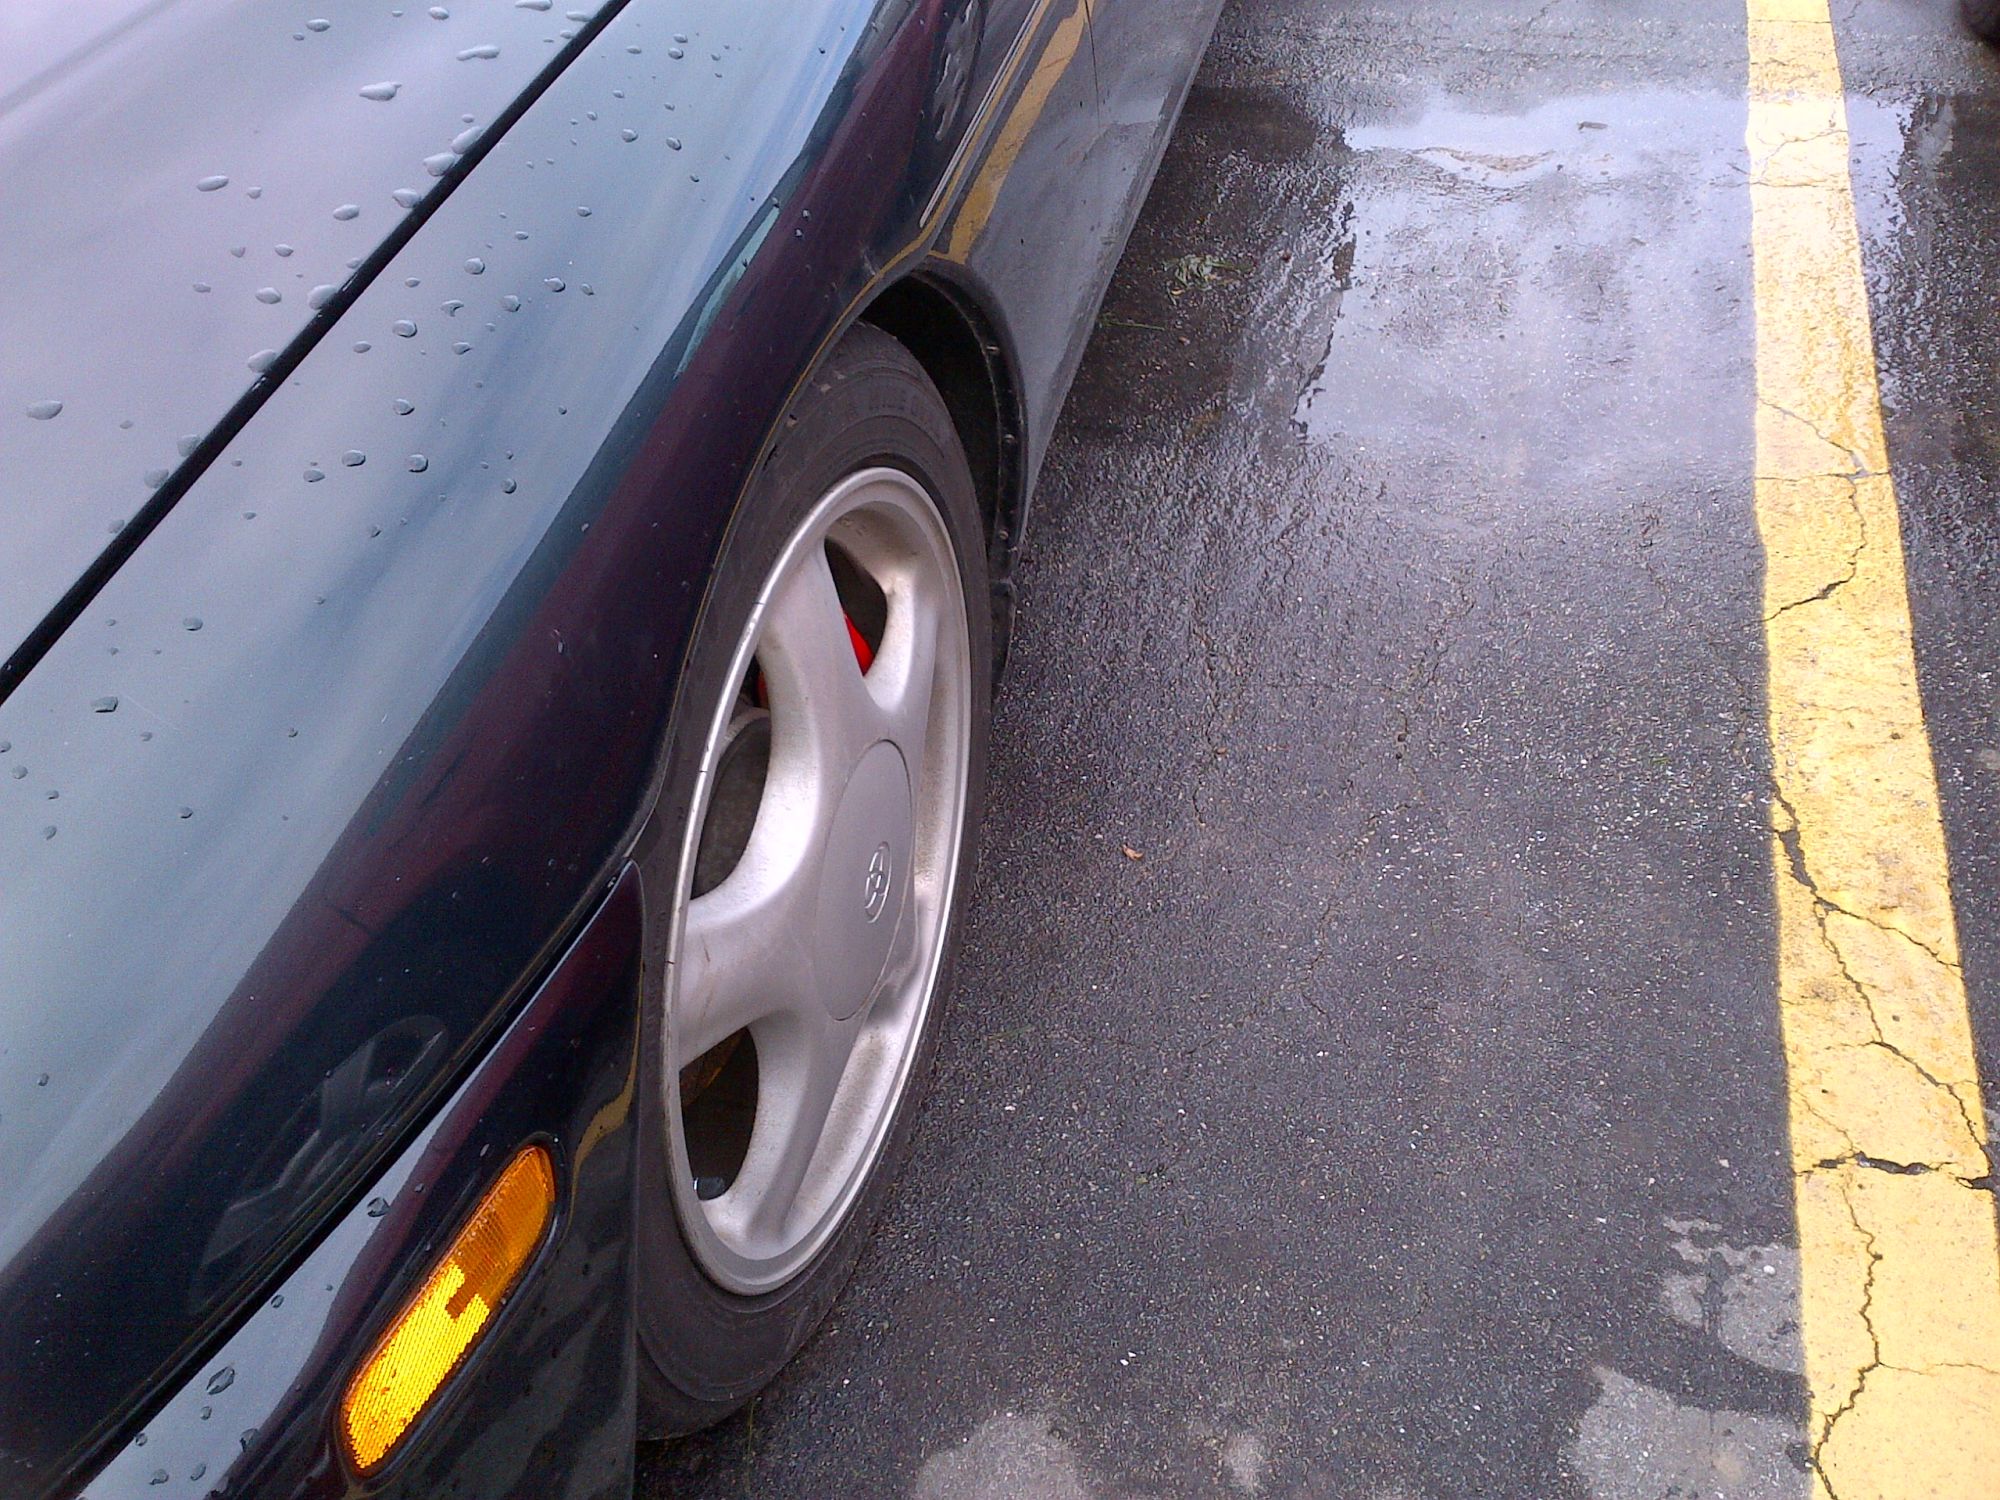
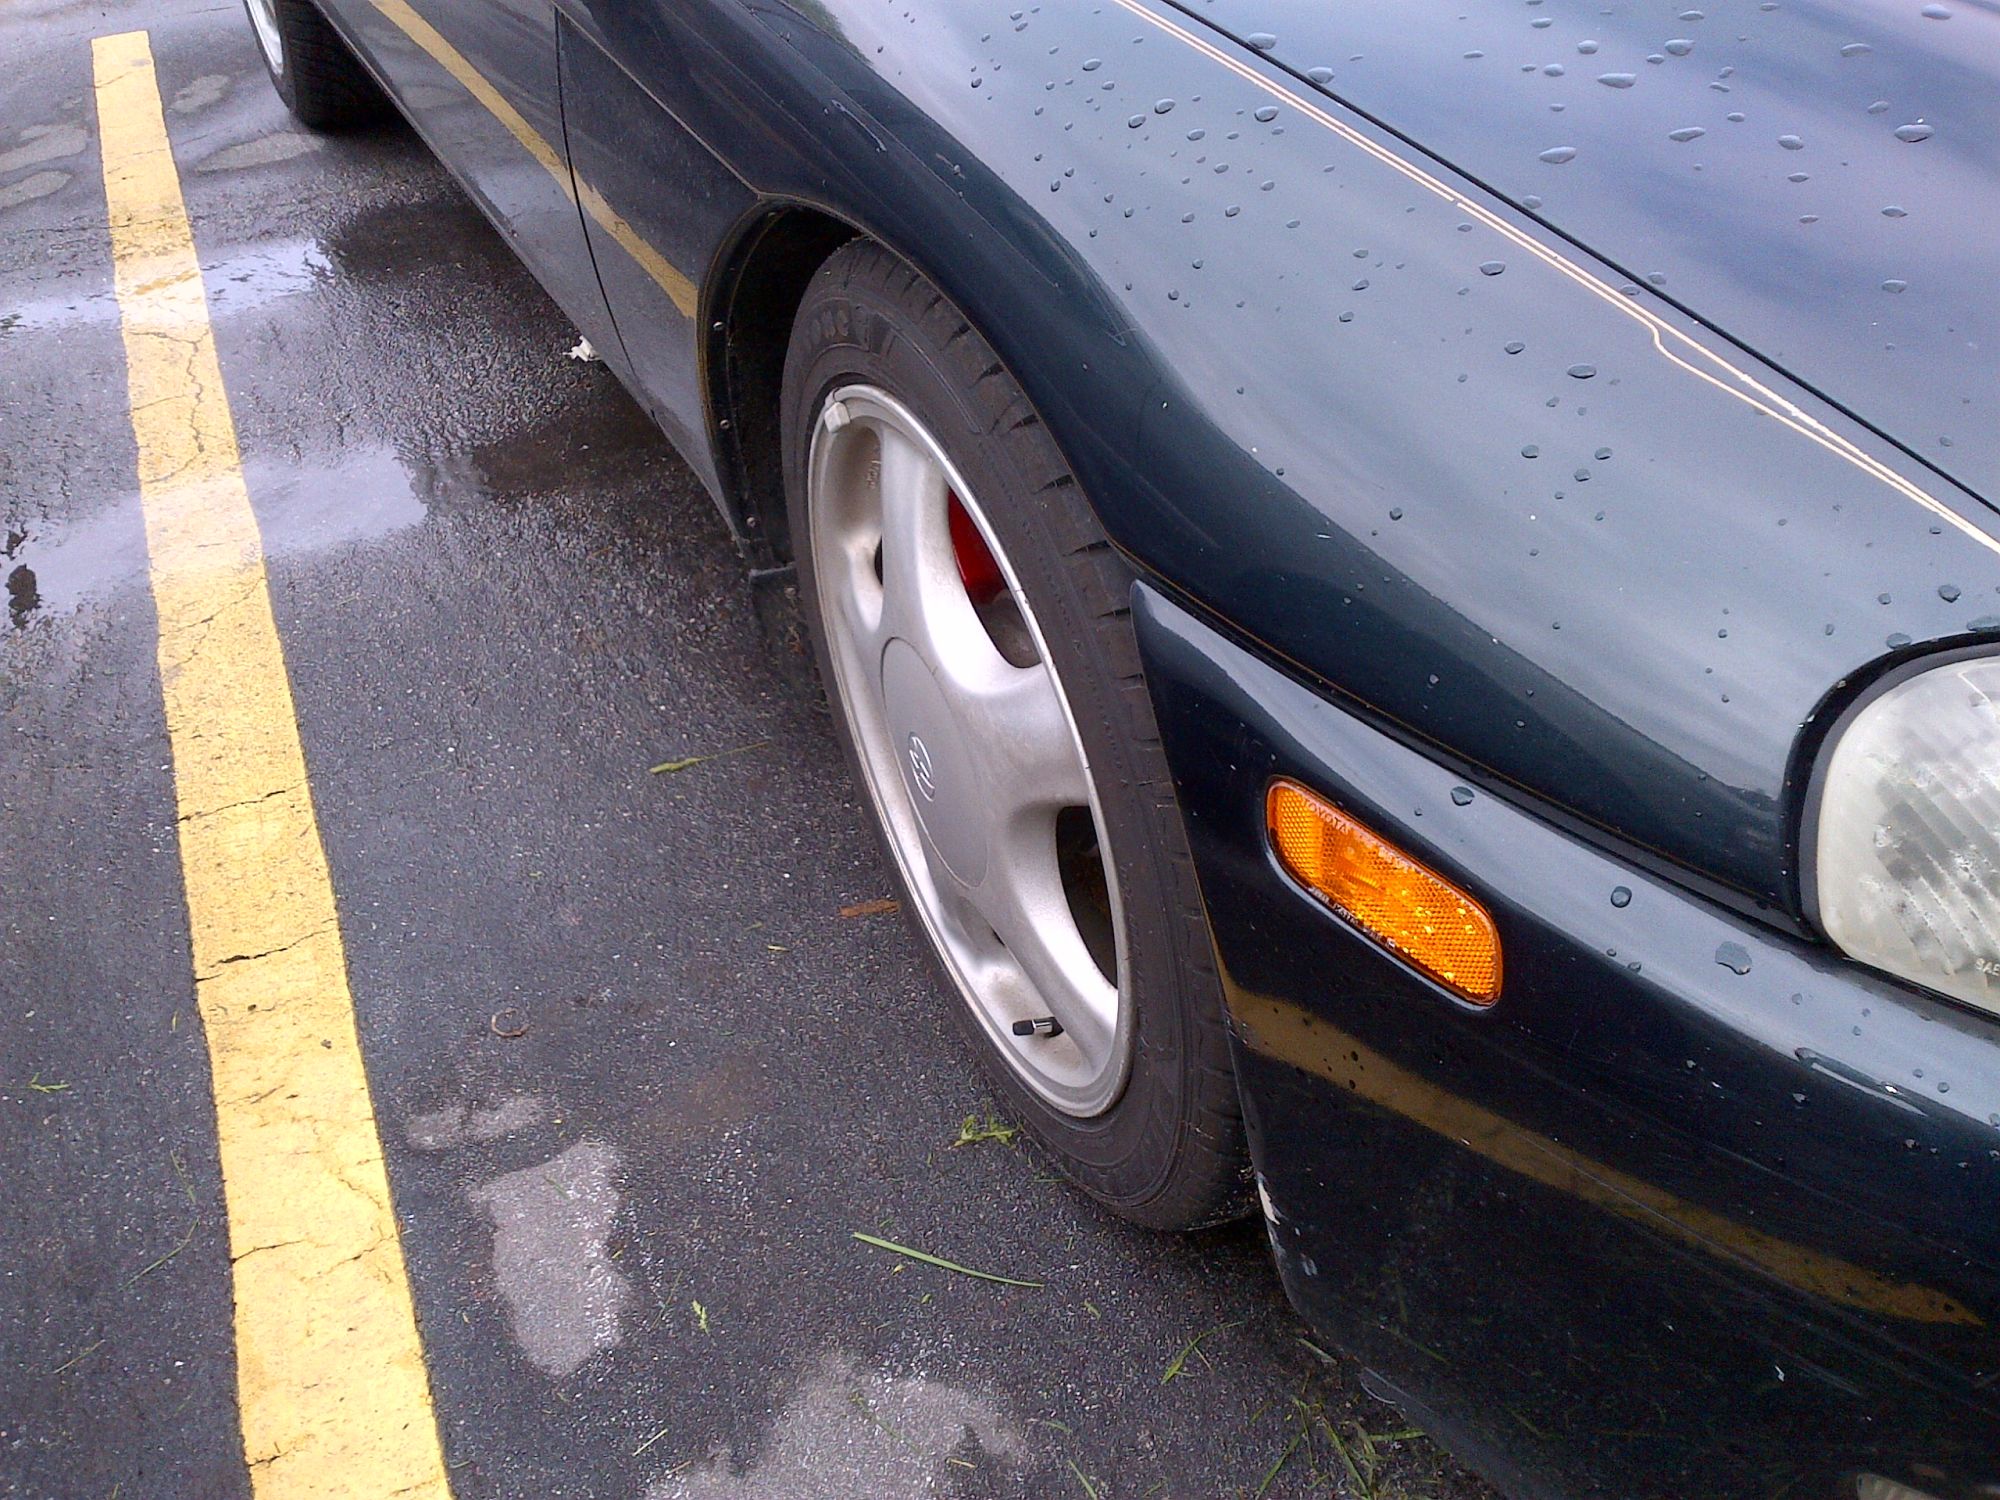
it lines up beautiful in the front. but I knew at some point sooner than later. I had to really tackle the ****-storm known as the back suspension.
so I decided I needed bigger speakers in the rear, also I was going to do moar long distance driving. so I needed my pornos to sound like gold when I played them. STILL poor I decided on some sony speakers.
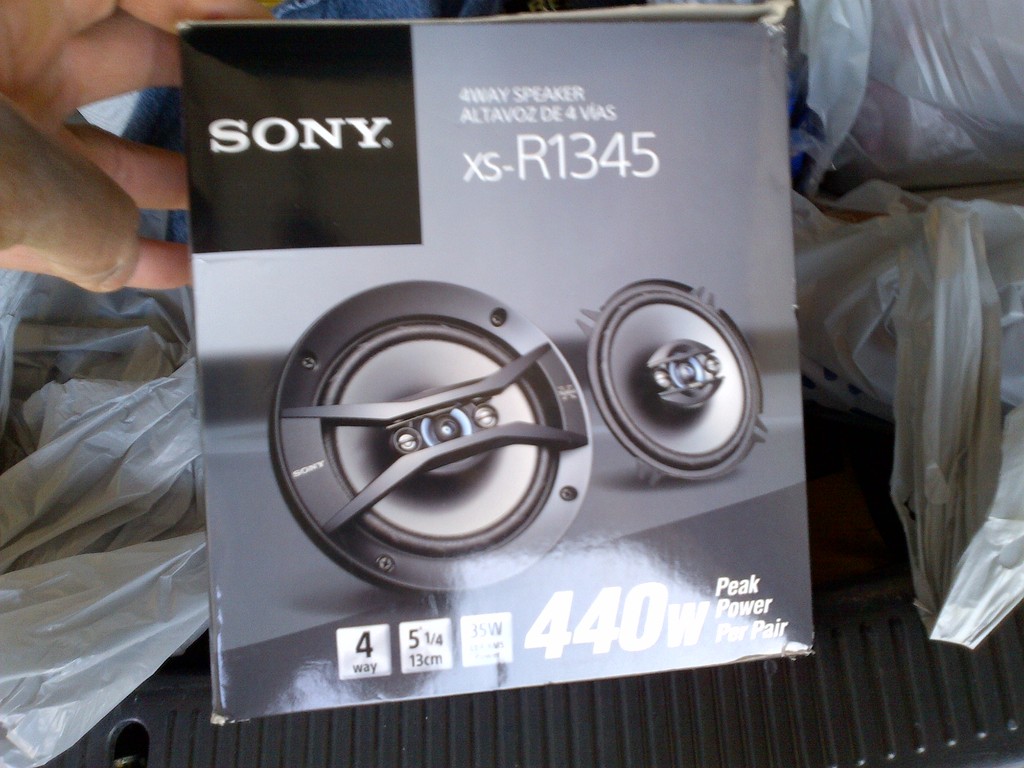
I had to dremel the front and back housings where the speakers went to make everything fit.
these are the fronts, and iirc I got some 6x9's for the rears.
But before that I needed to modify the rear where these speakers would go. took many hrs with some careful cutting and drilling. was able to make a solution.
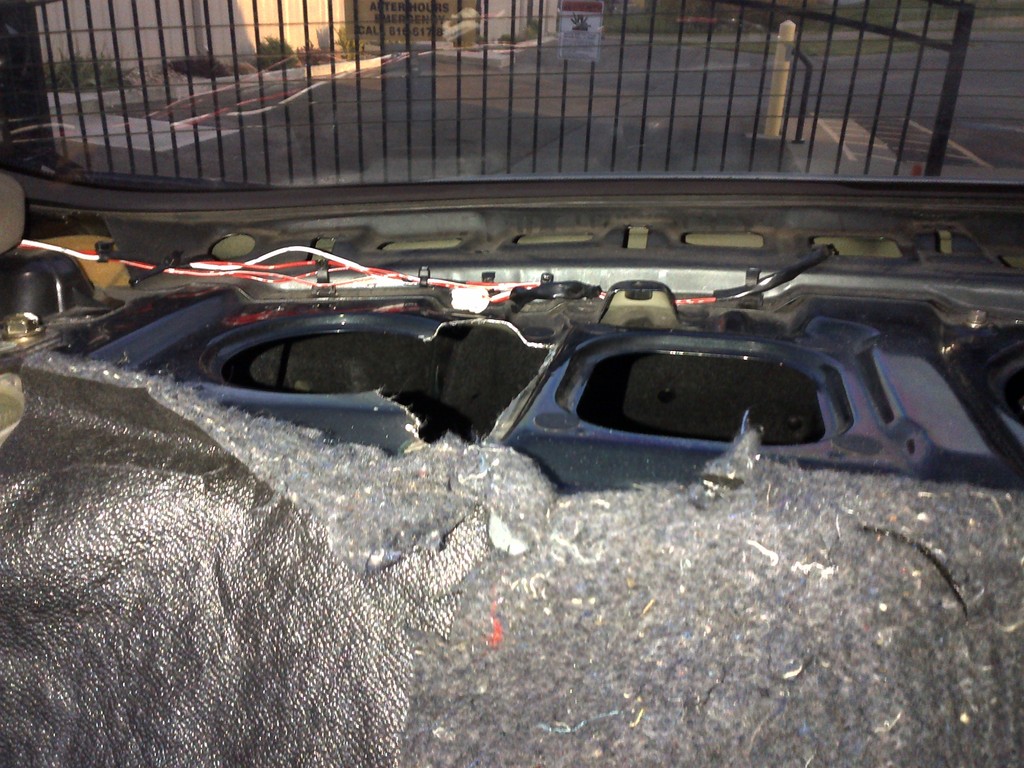
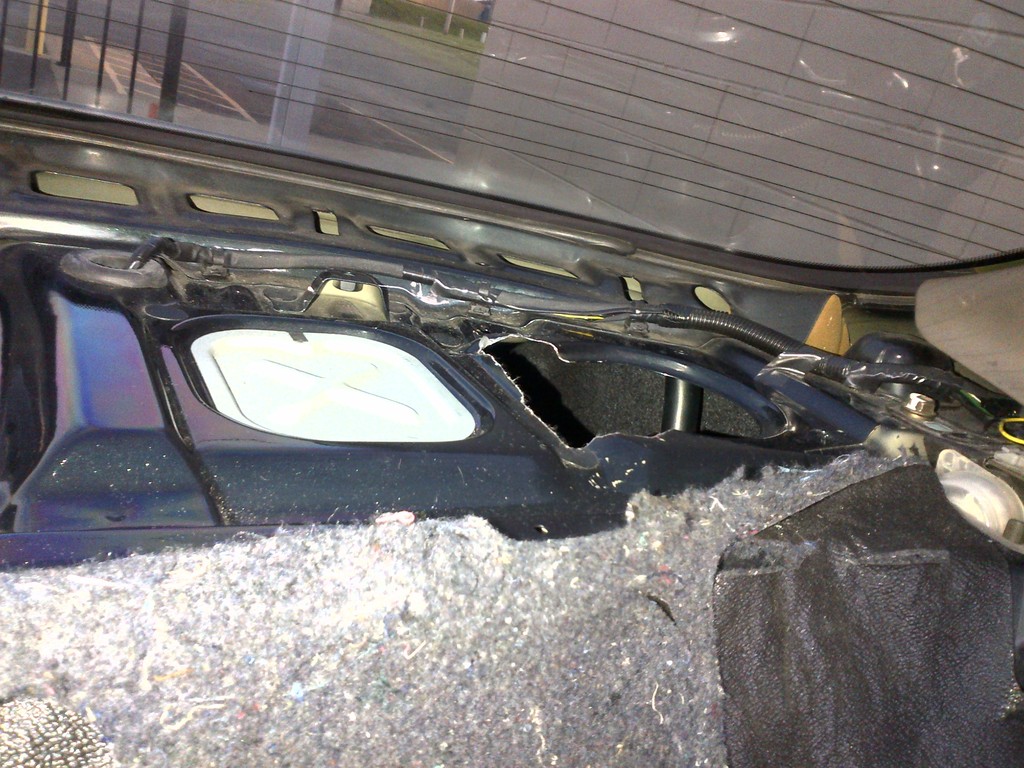
later on I scooped up a good name brand 7" double din touch screen.
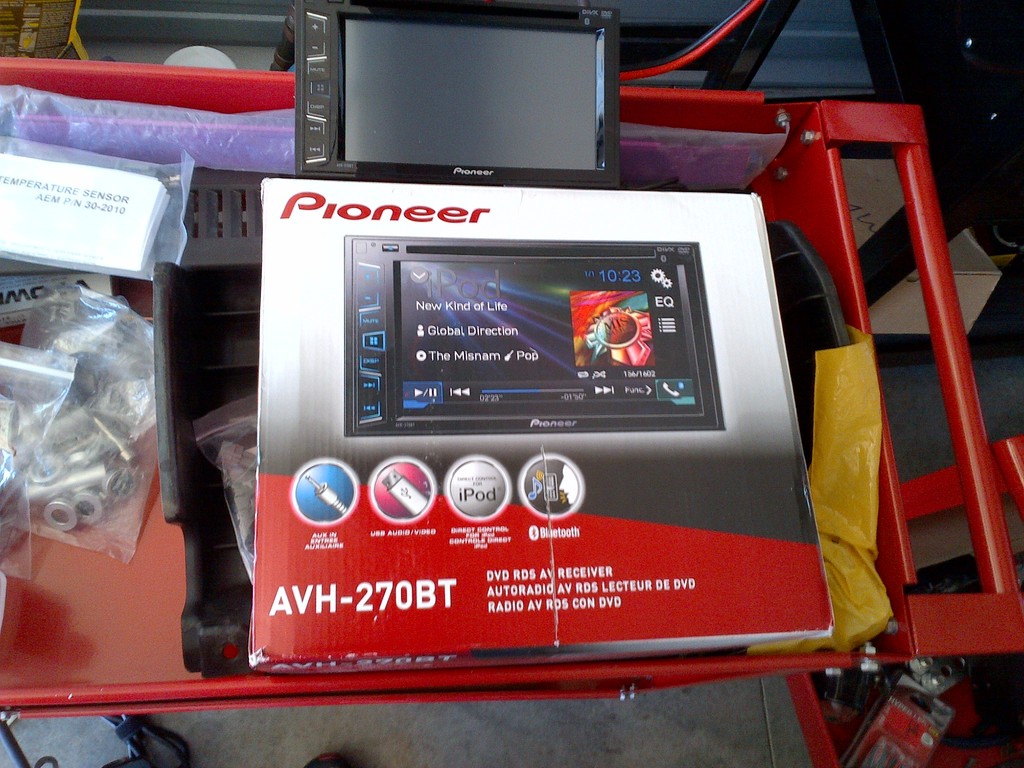
now on long trips my solitude isn't so bad!
but I had a gap.....
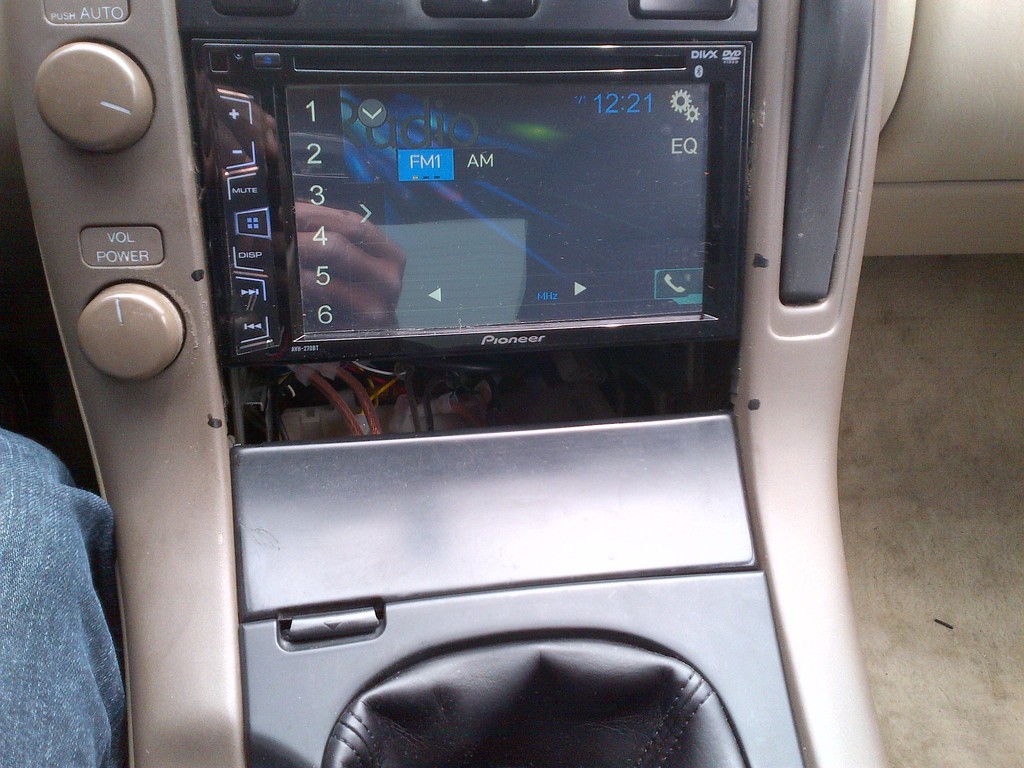
I really REALLY missed my cubbie, so I went to best buy and had to hack up a solution to fill the hole.
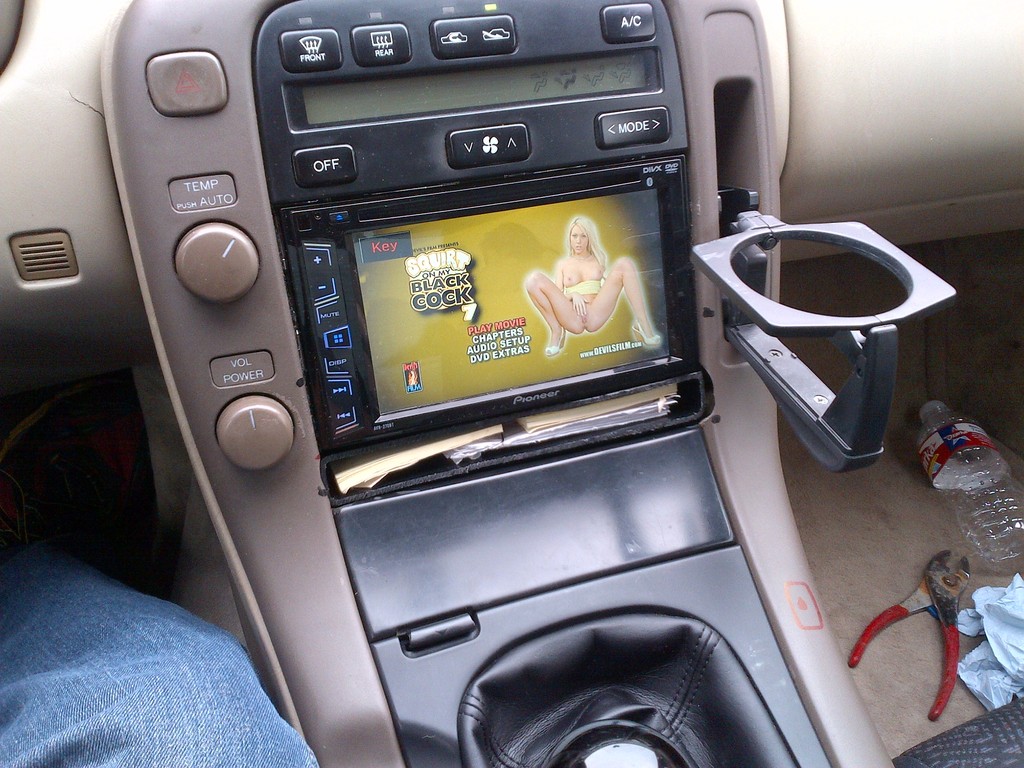
it's small but it will do. so my sound/entertainment system is complete for this car.
10-3-2015
so in other mods I got a new chra holset hx40.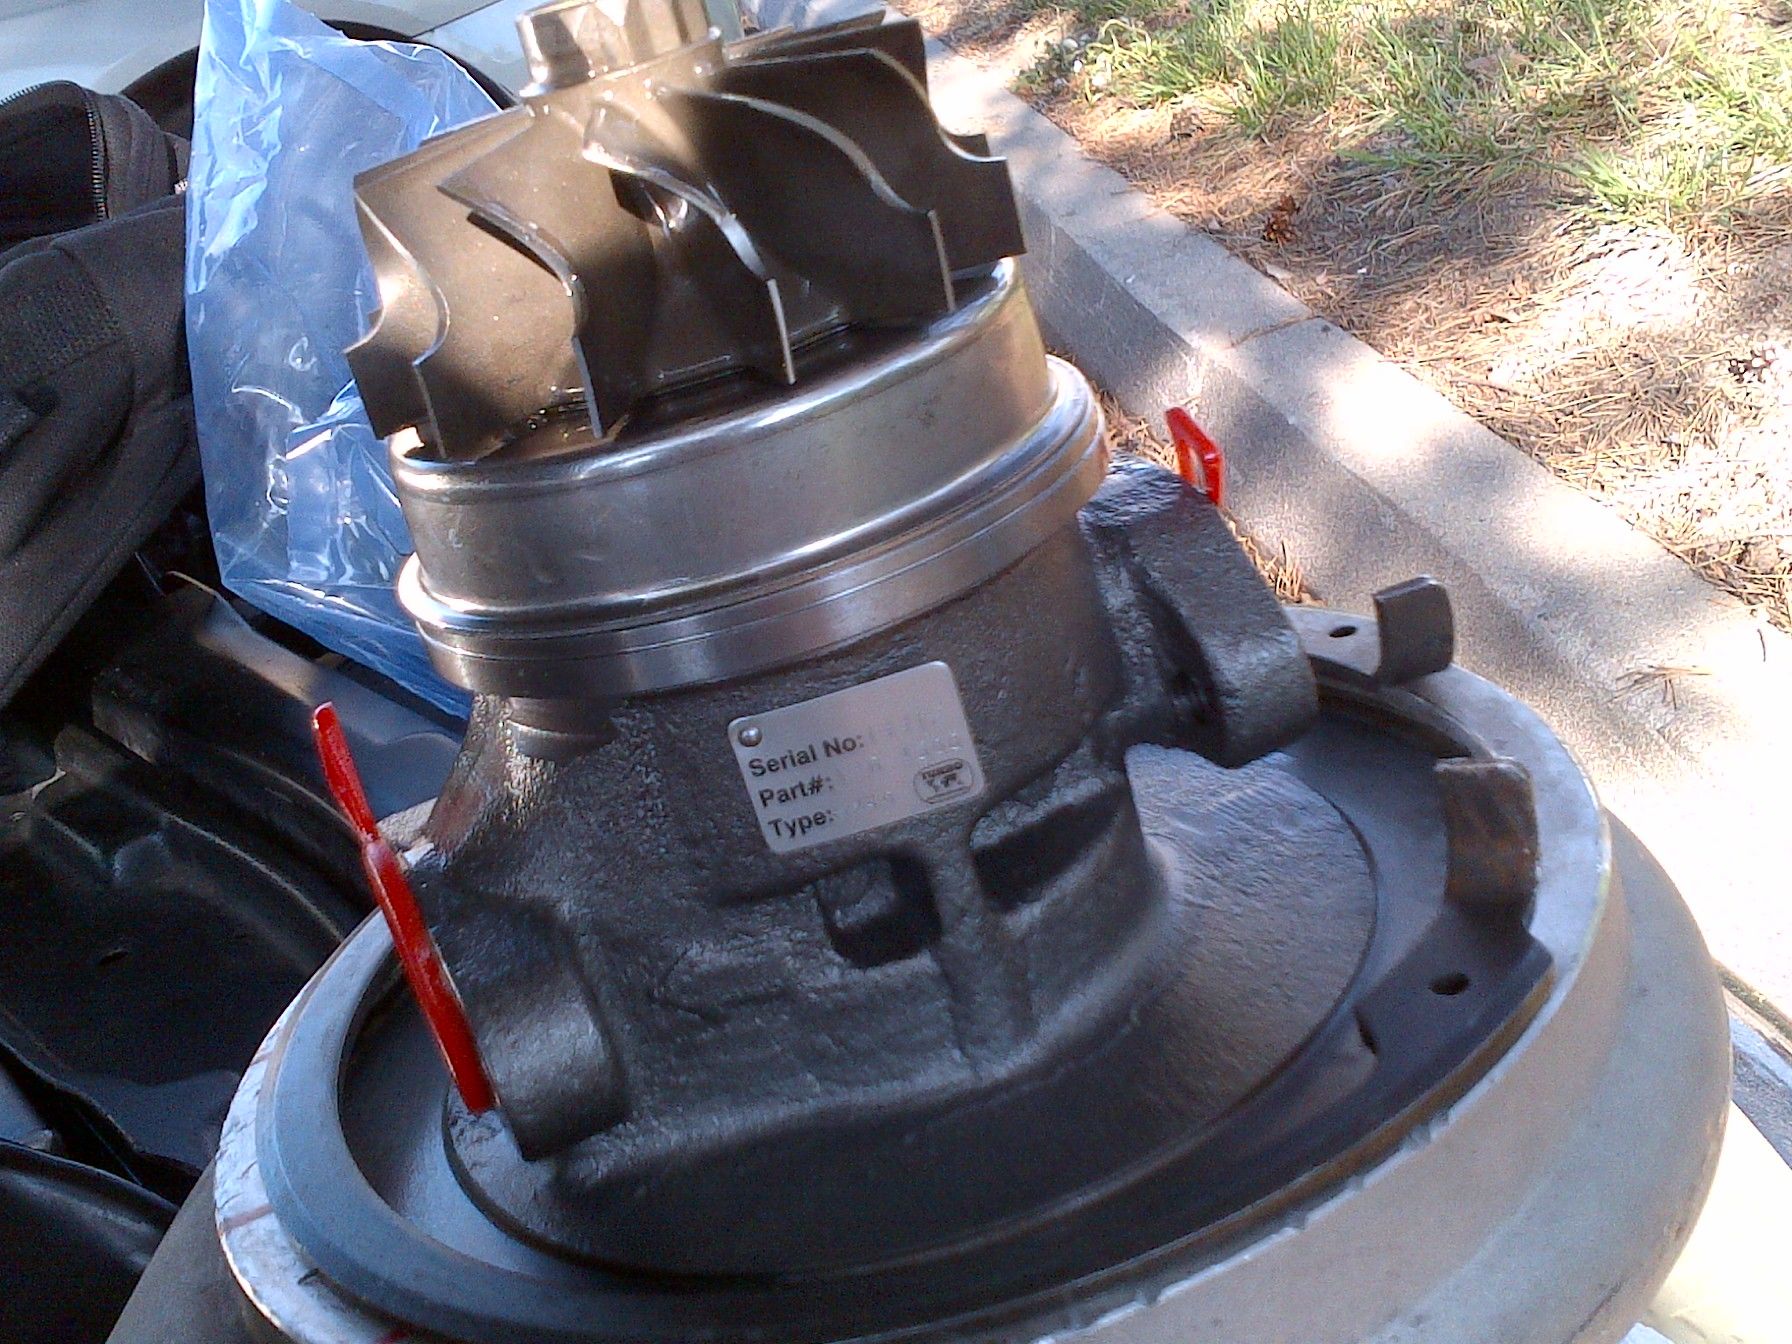
I also got some new rear struts for the trunk(no more bumped head)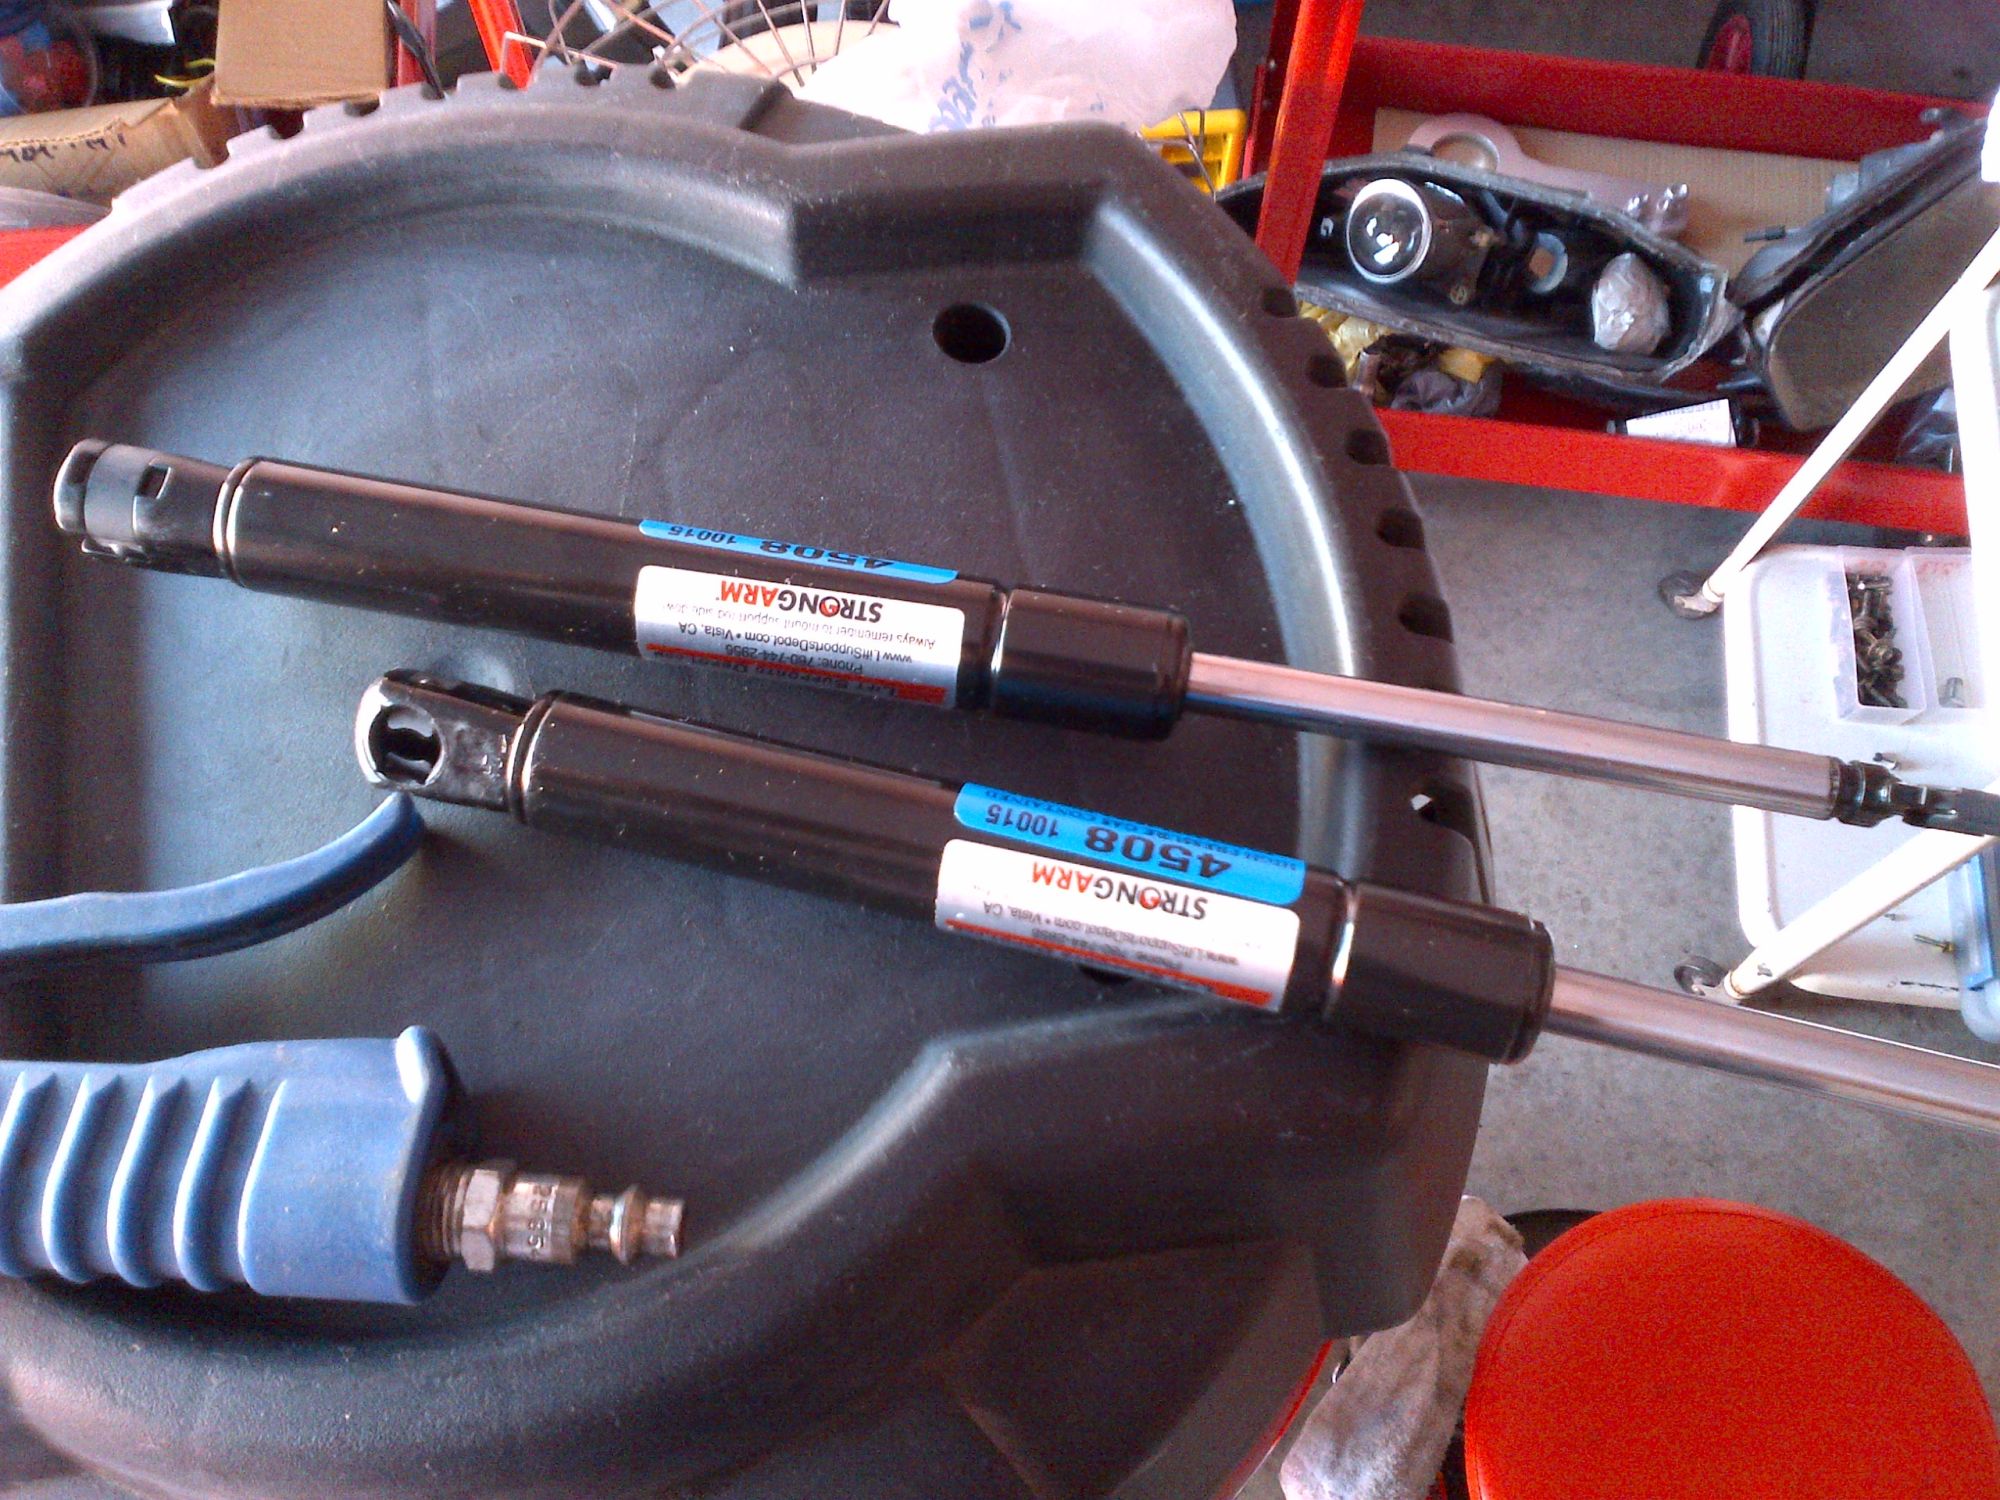
also brought/installed a new carrier bearing for the driveshaft.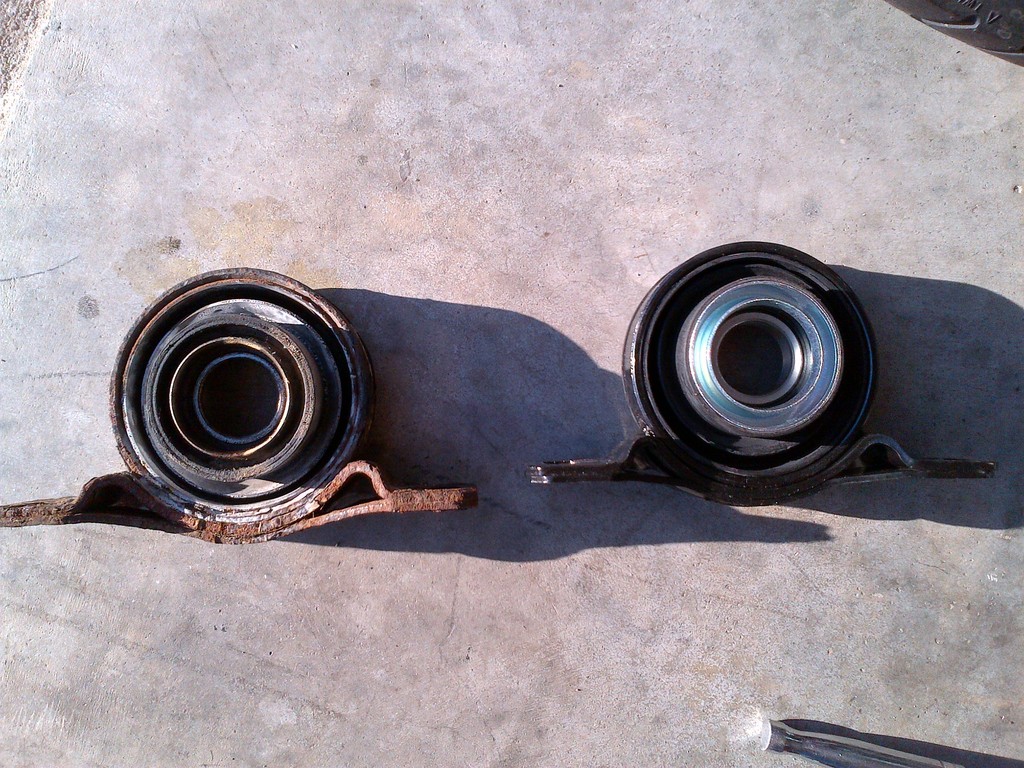
I also got a ebay kit and made my cluster blue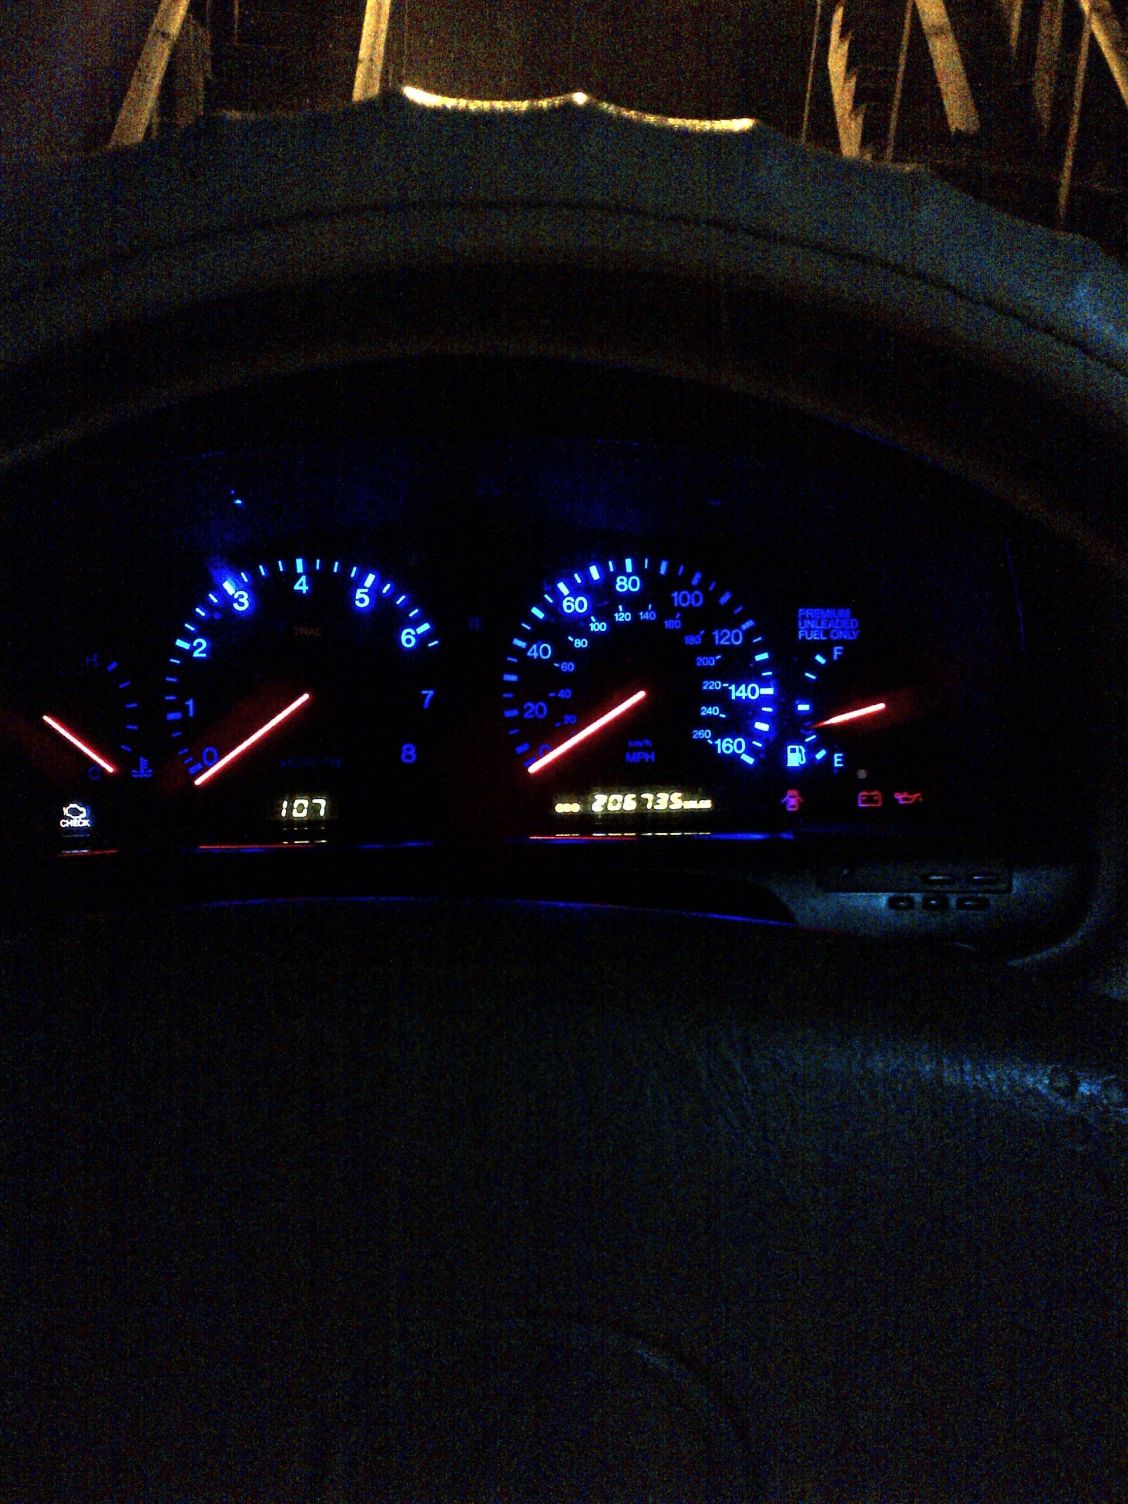
So I finally got my hands on a celica steering wheel. and it's so simple to switch it over a caveman can do it. there is a write-up on how to splice over the airbag wires and the simple grounding for the horn.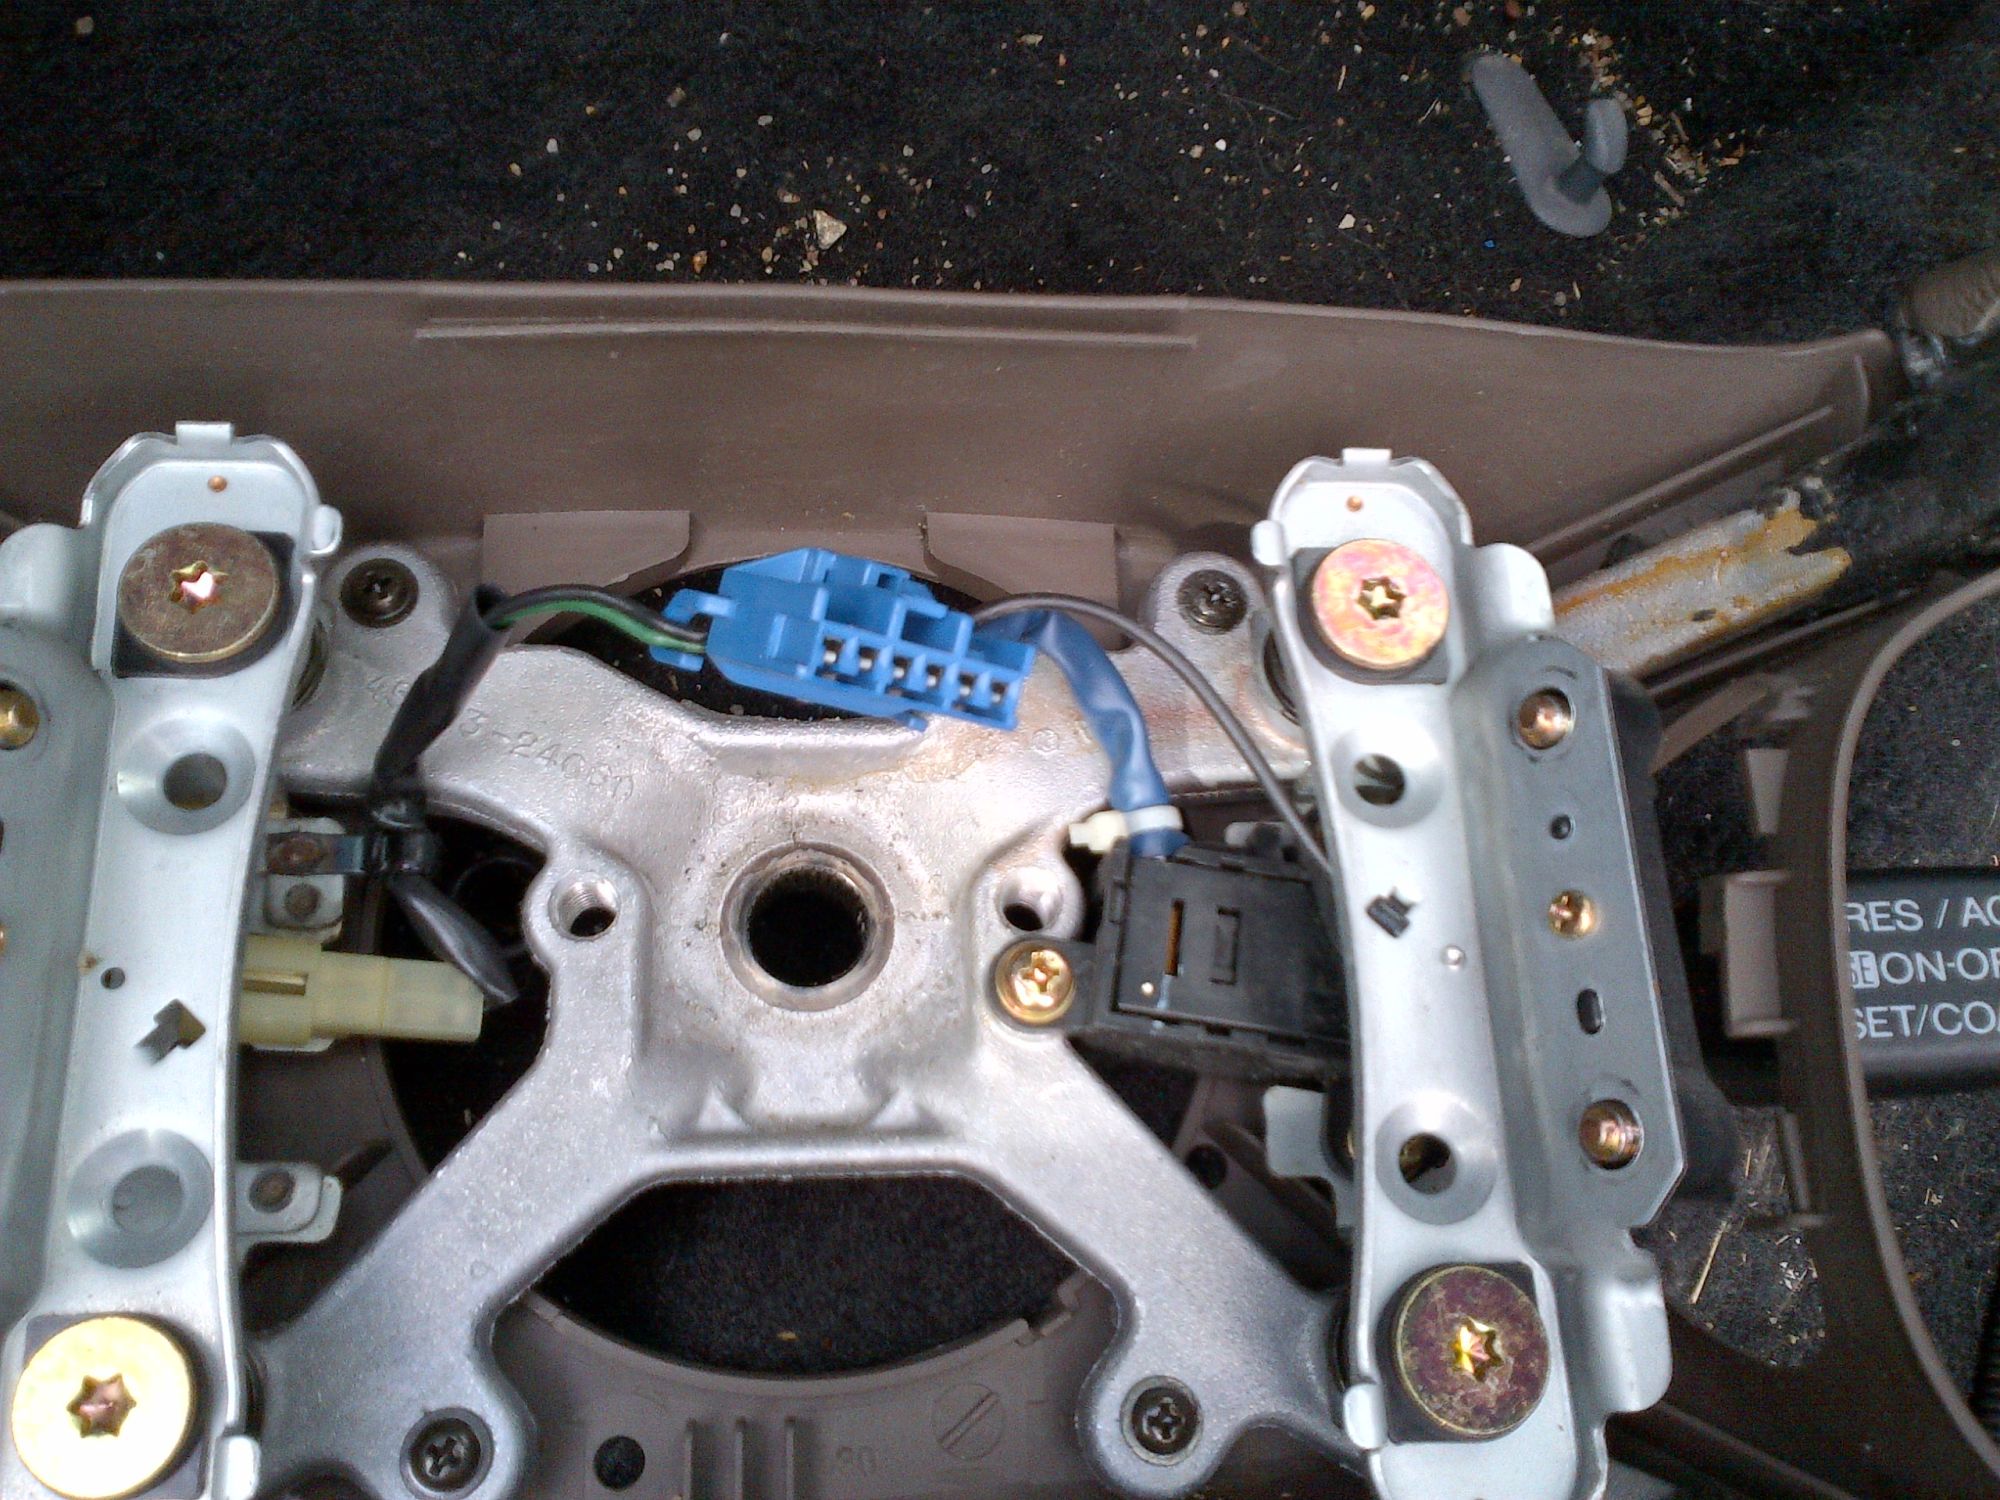
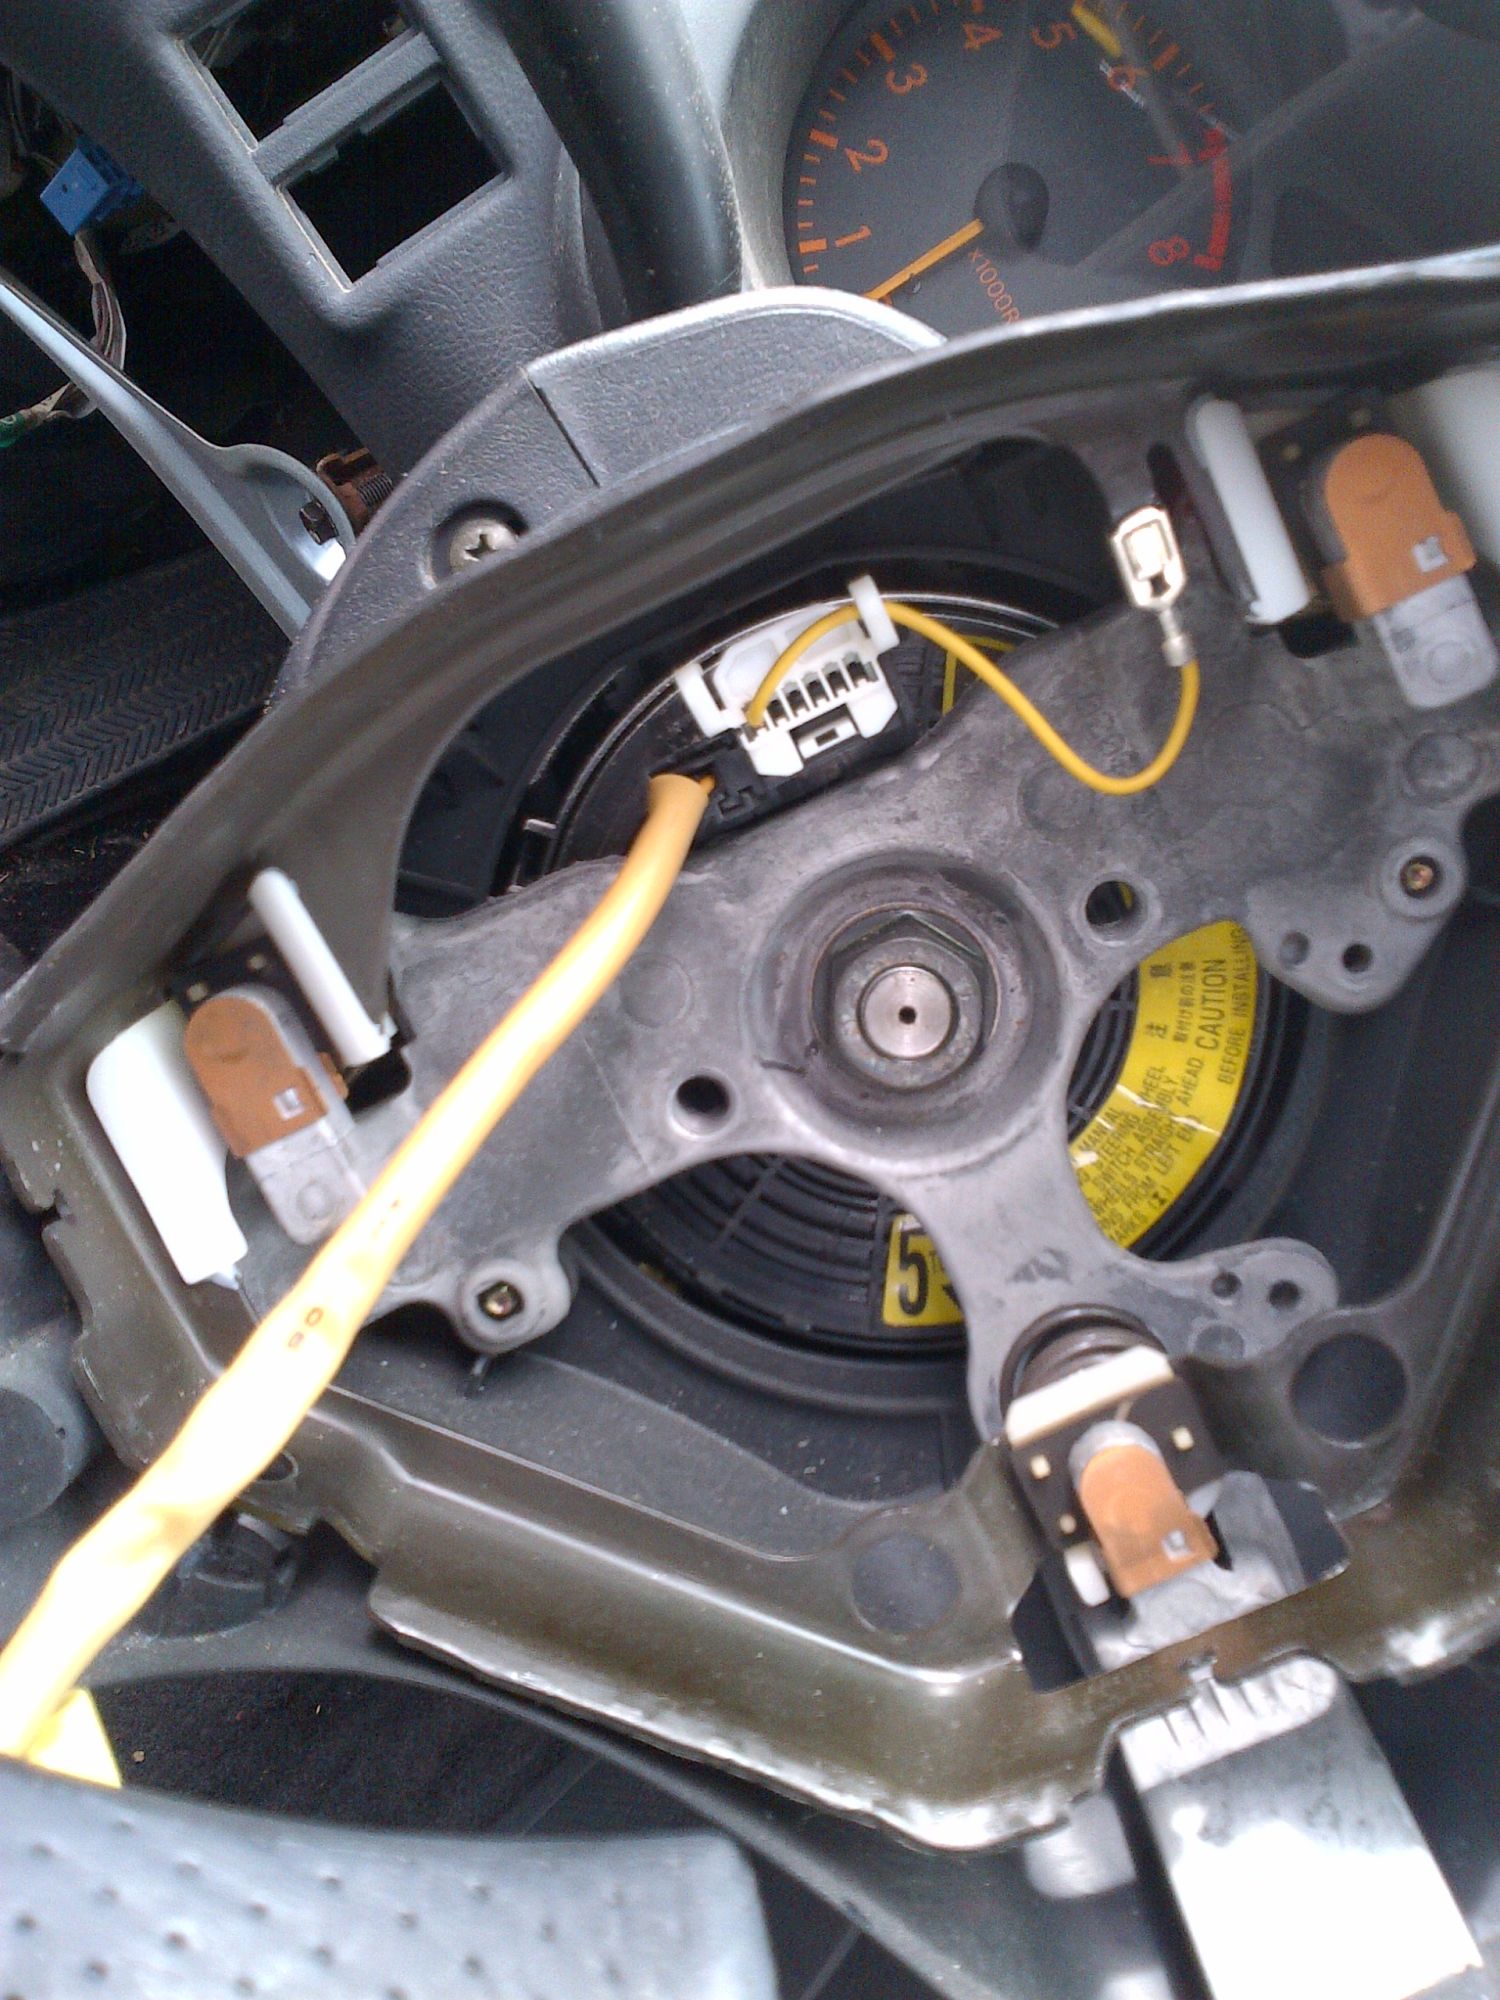
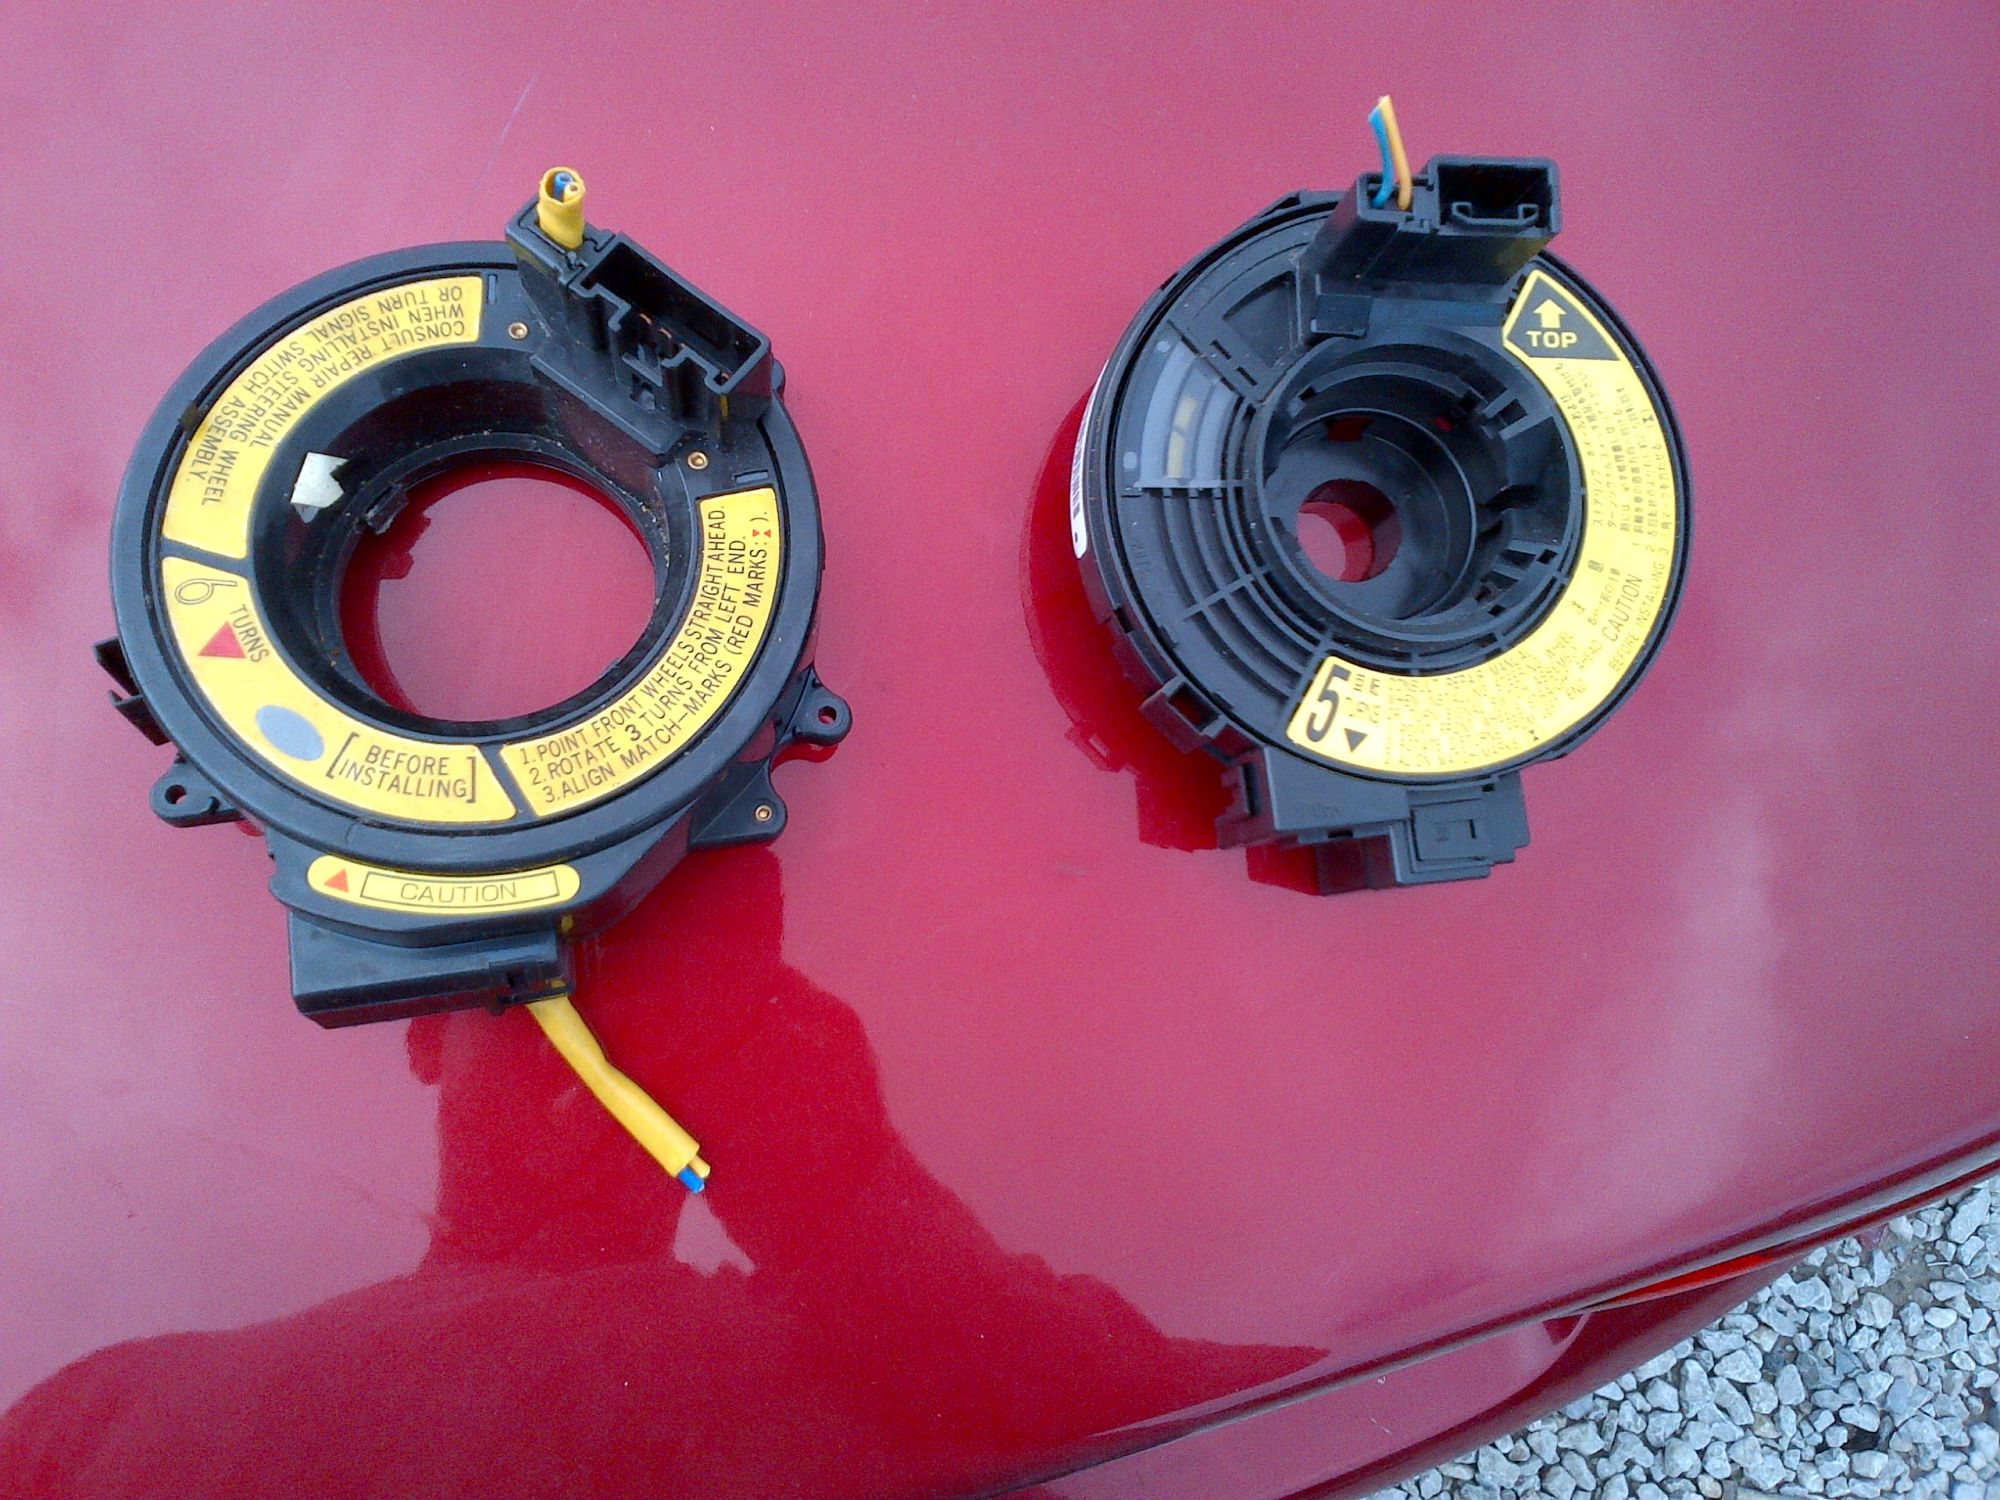
here is the celica wheel hub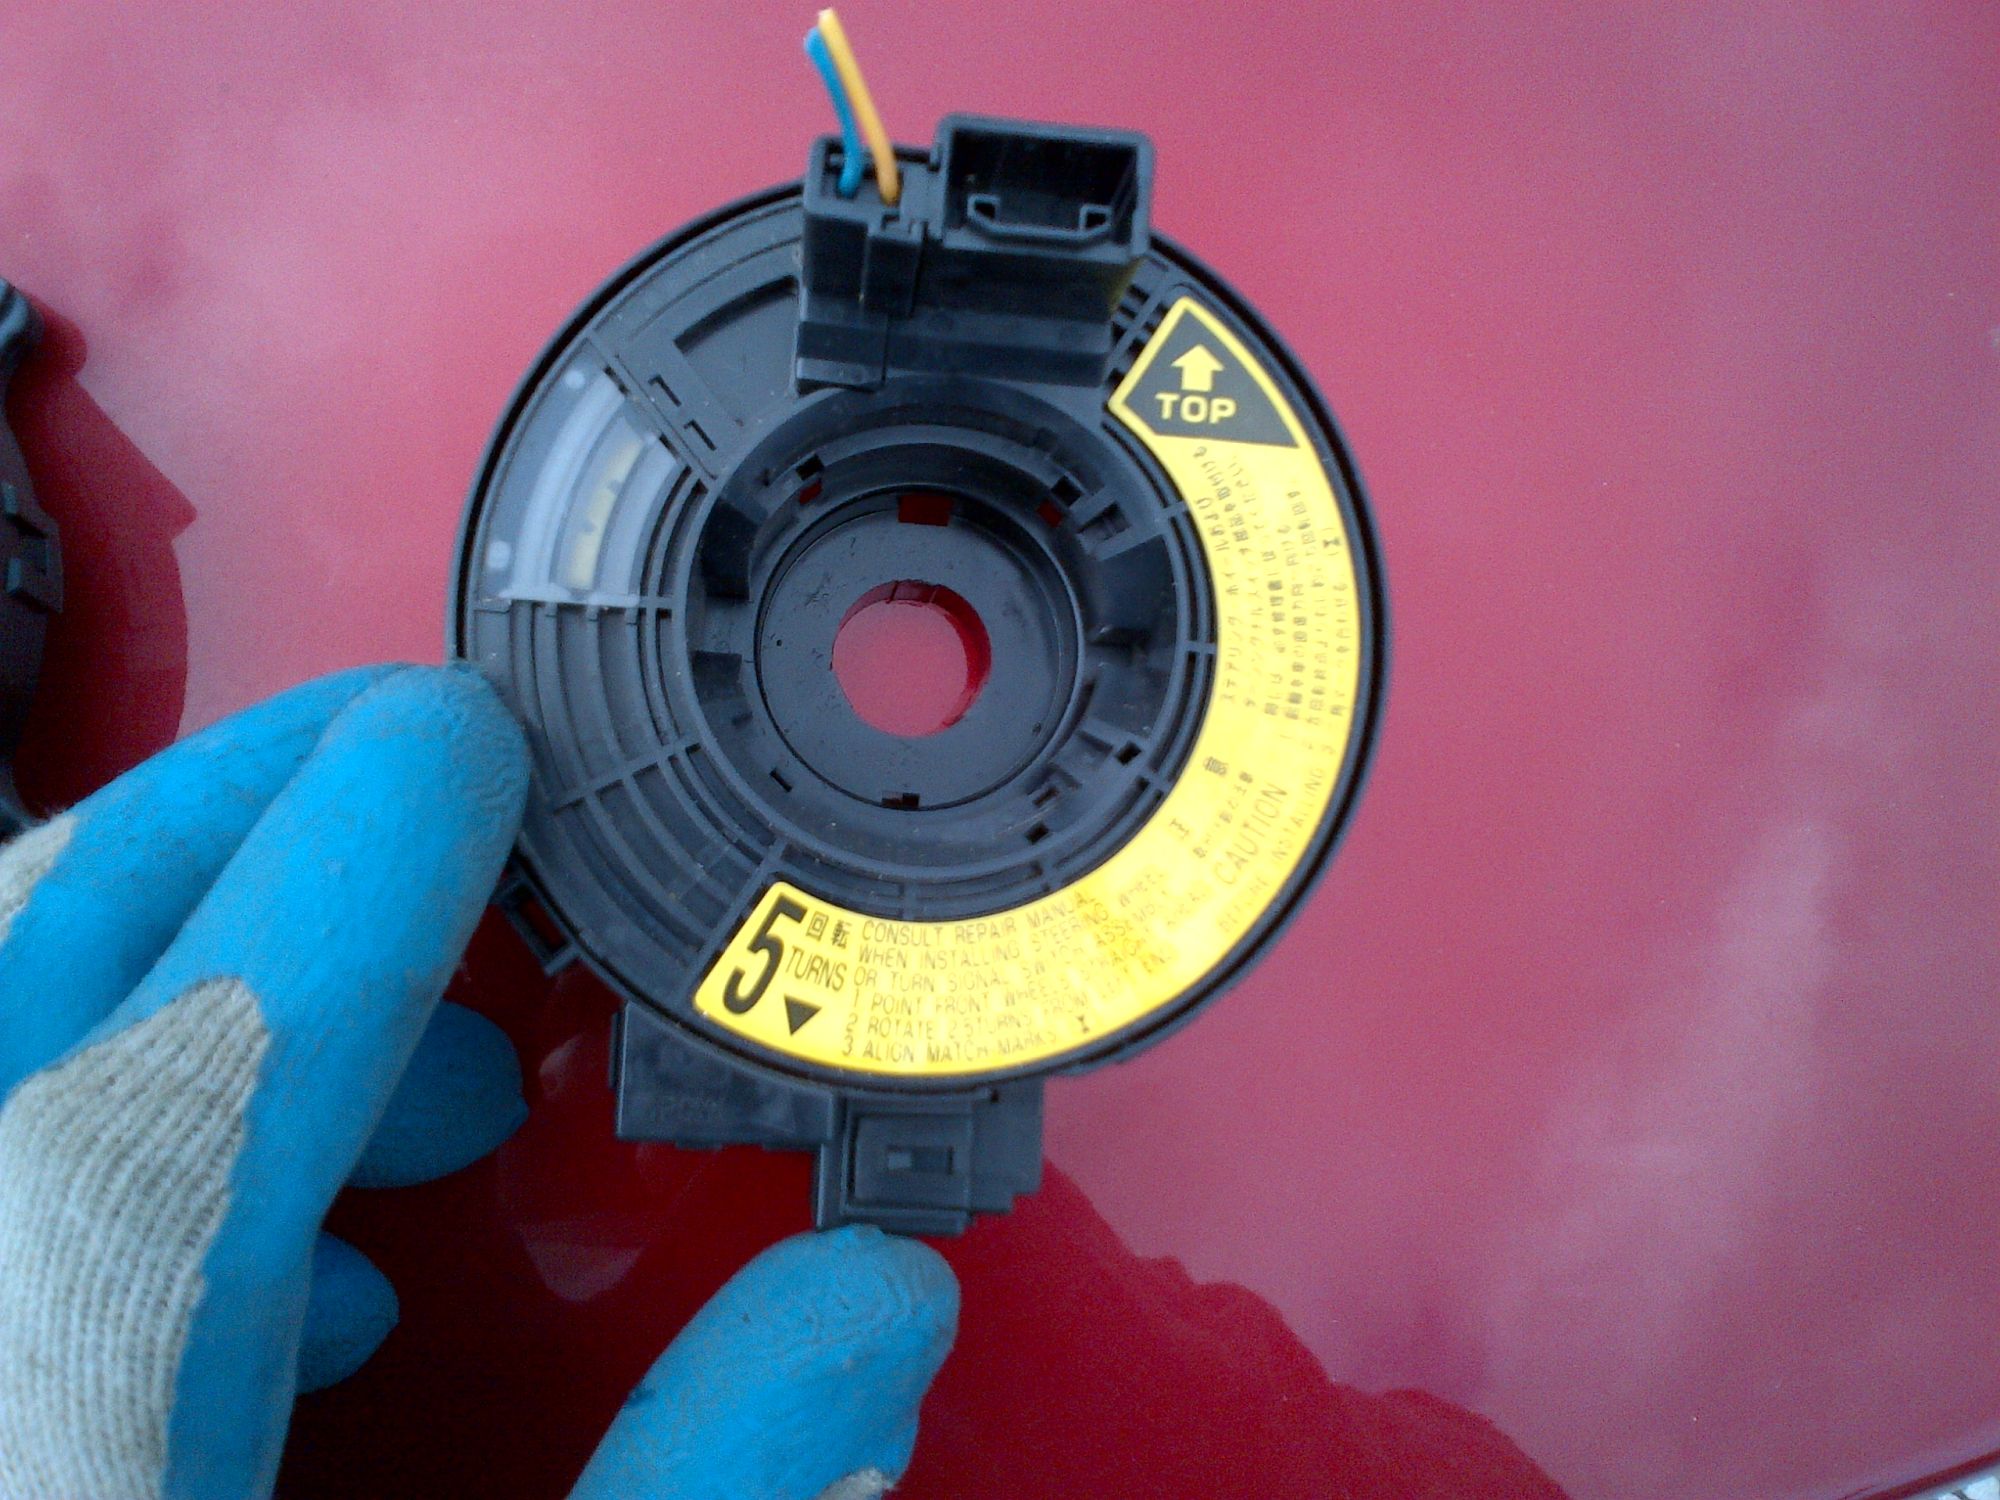
and the sc wheel hub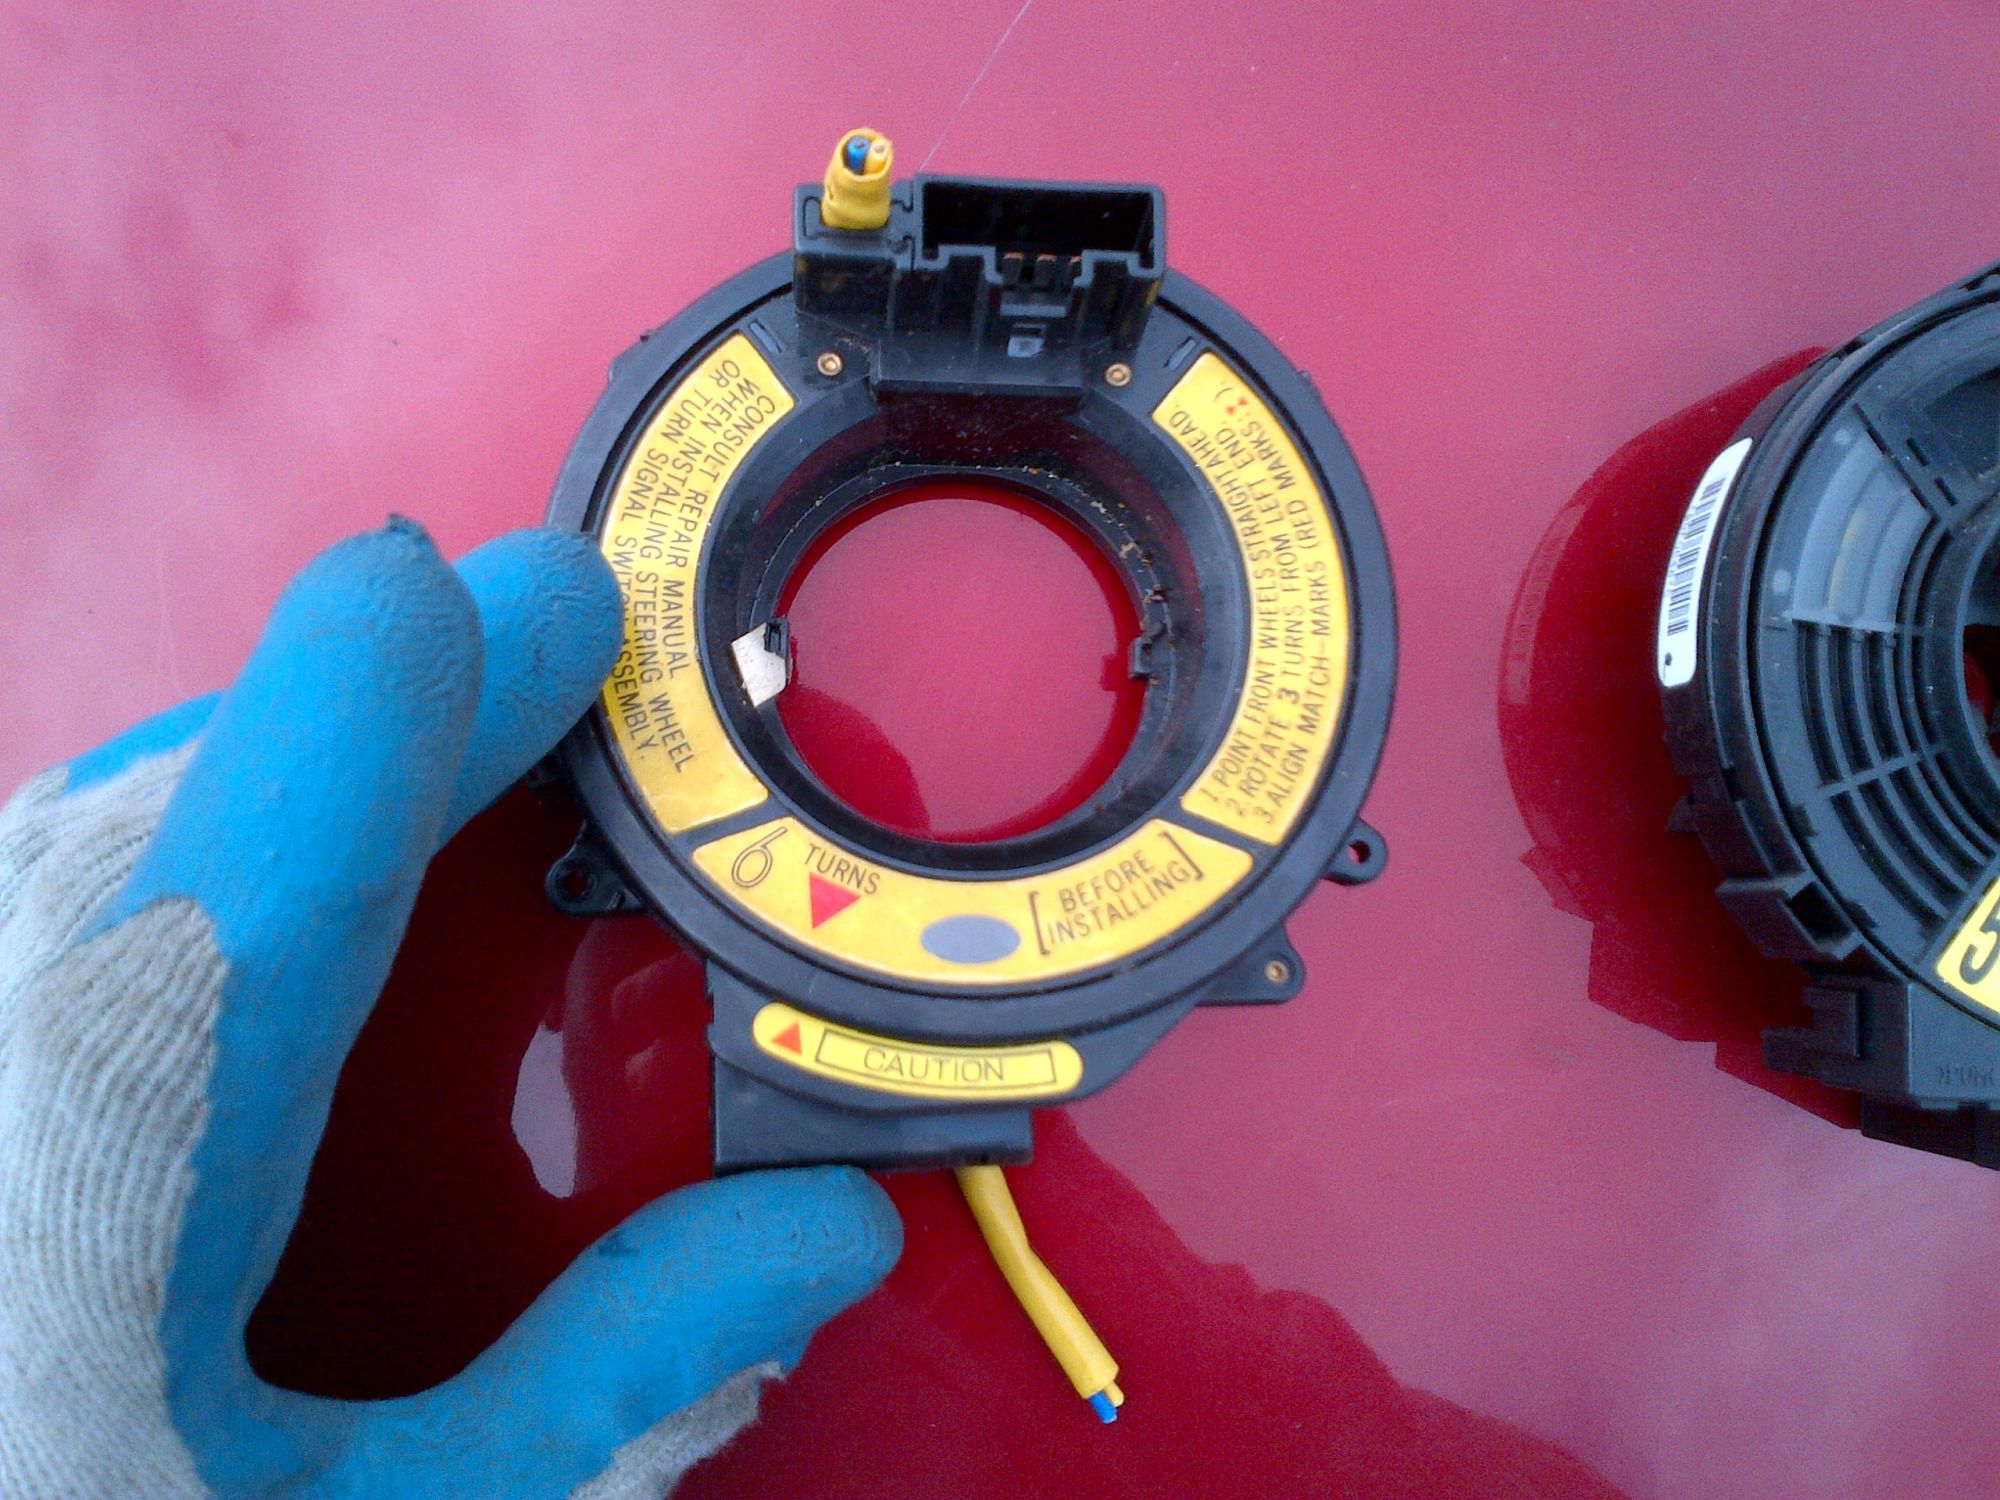
here is what ur merge should look like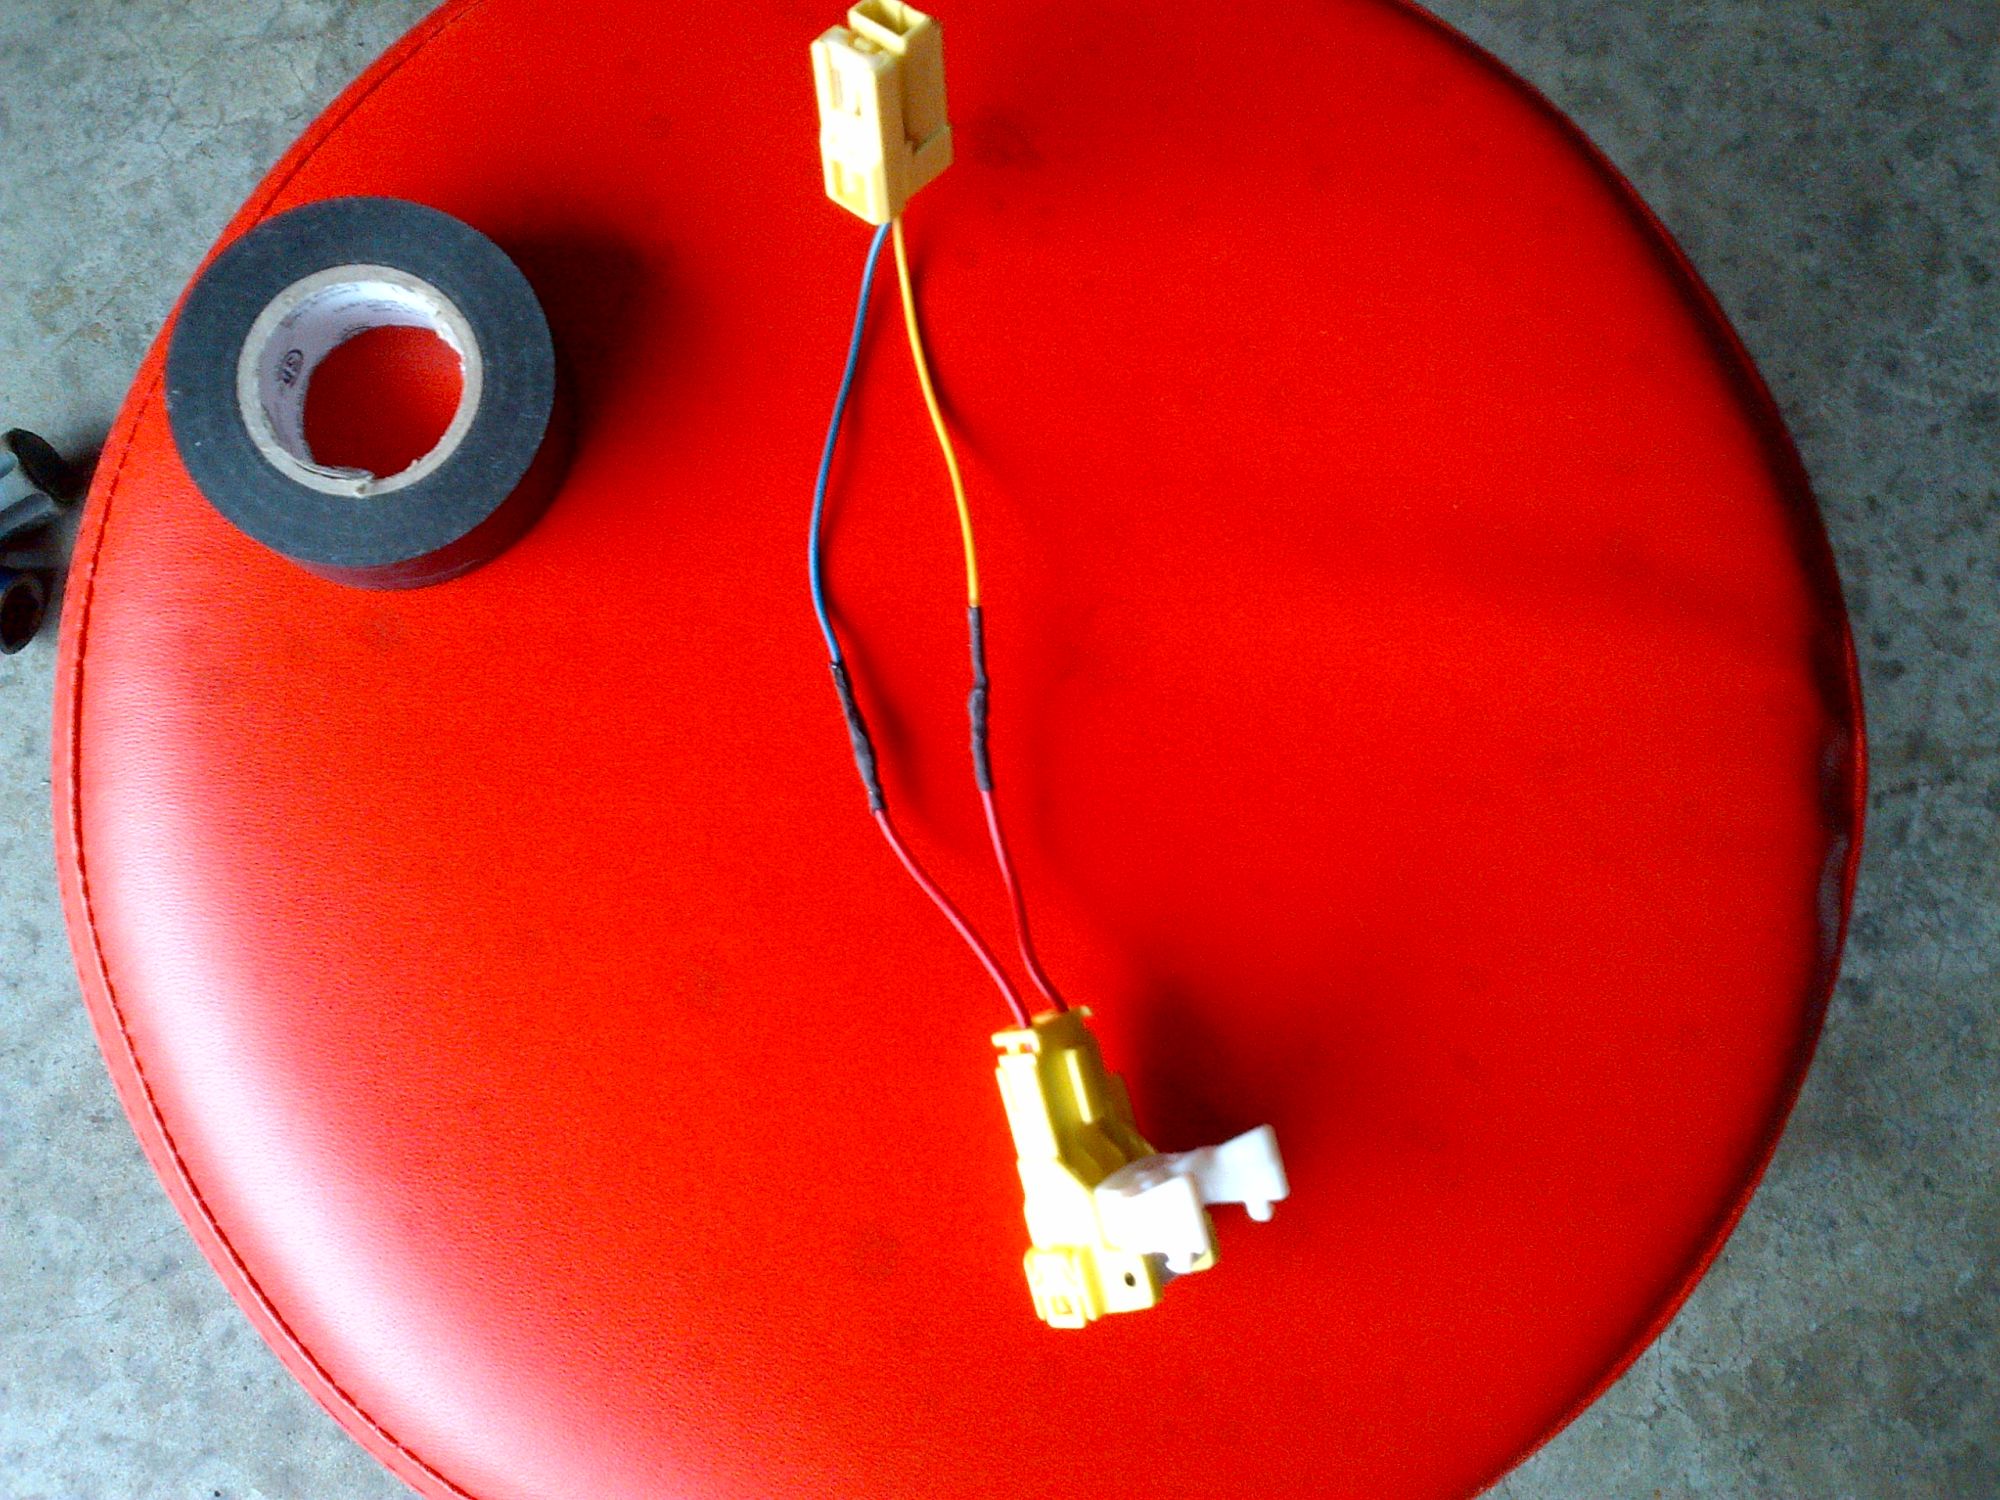
here is the final product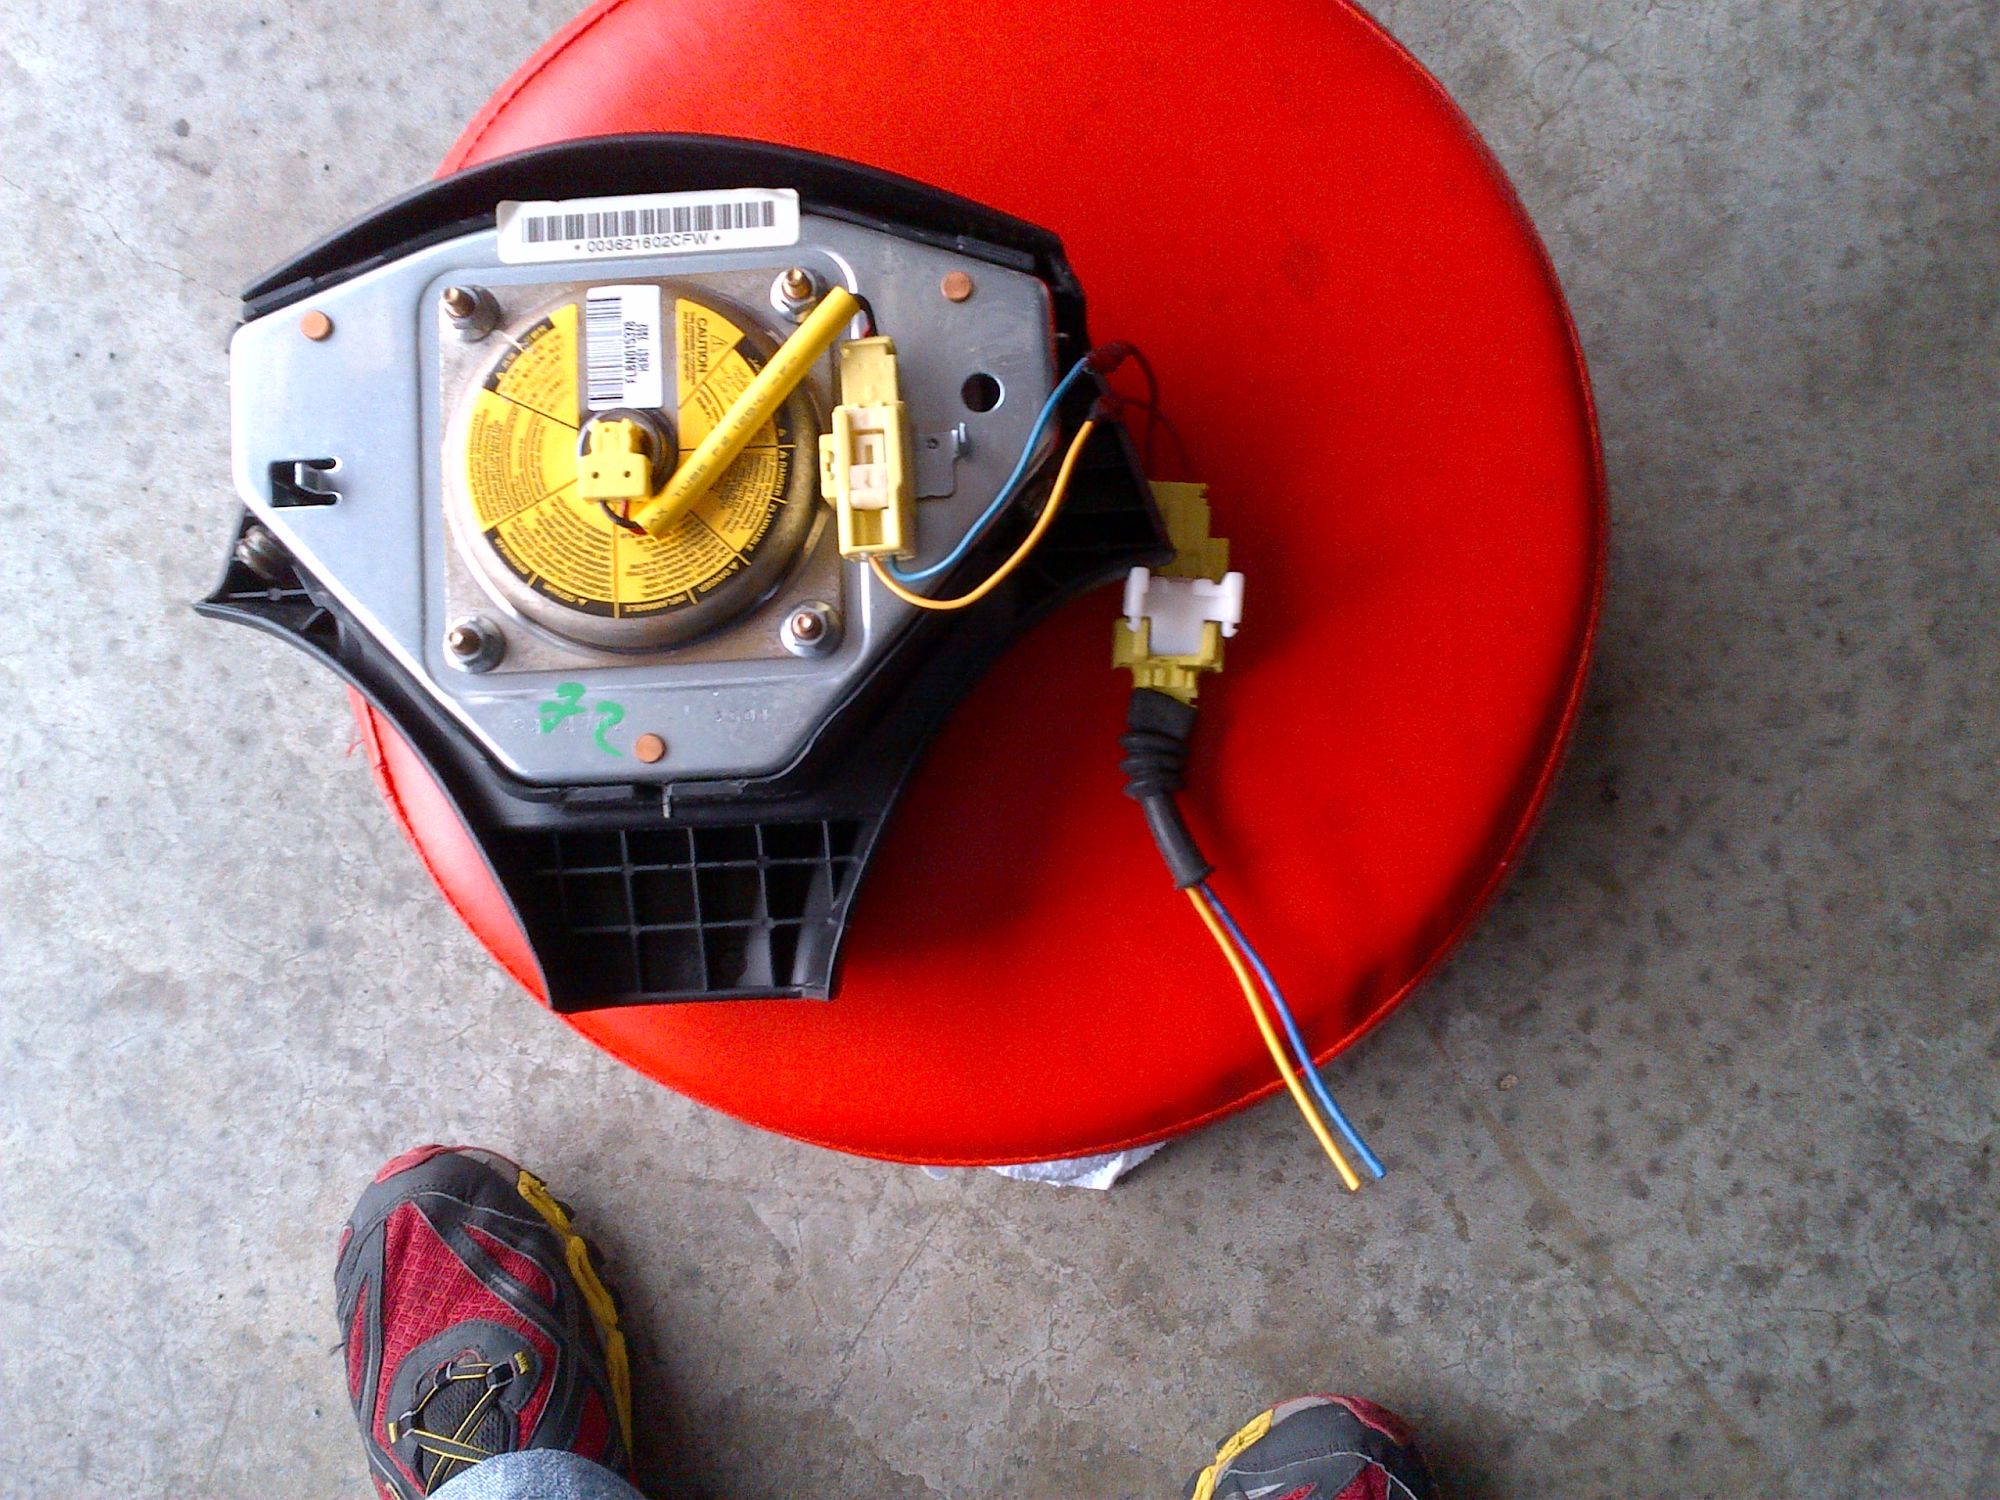
and ta-da no more creepy lexus wheel!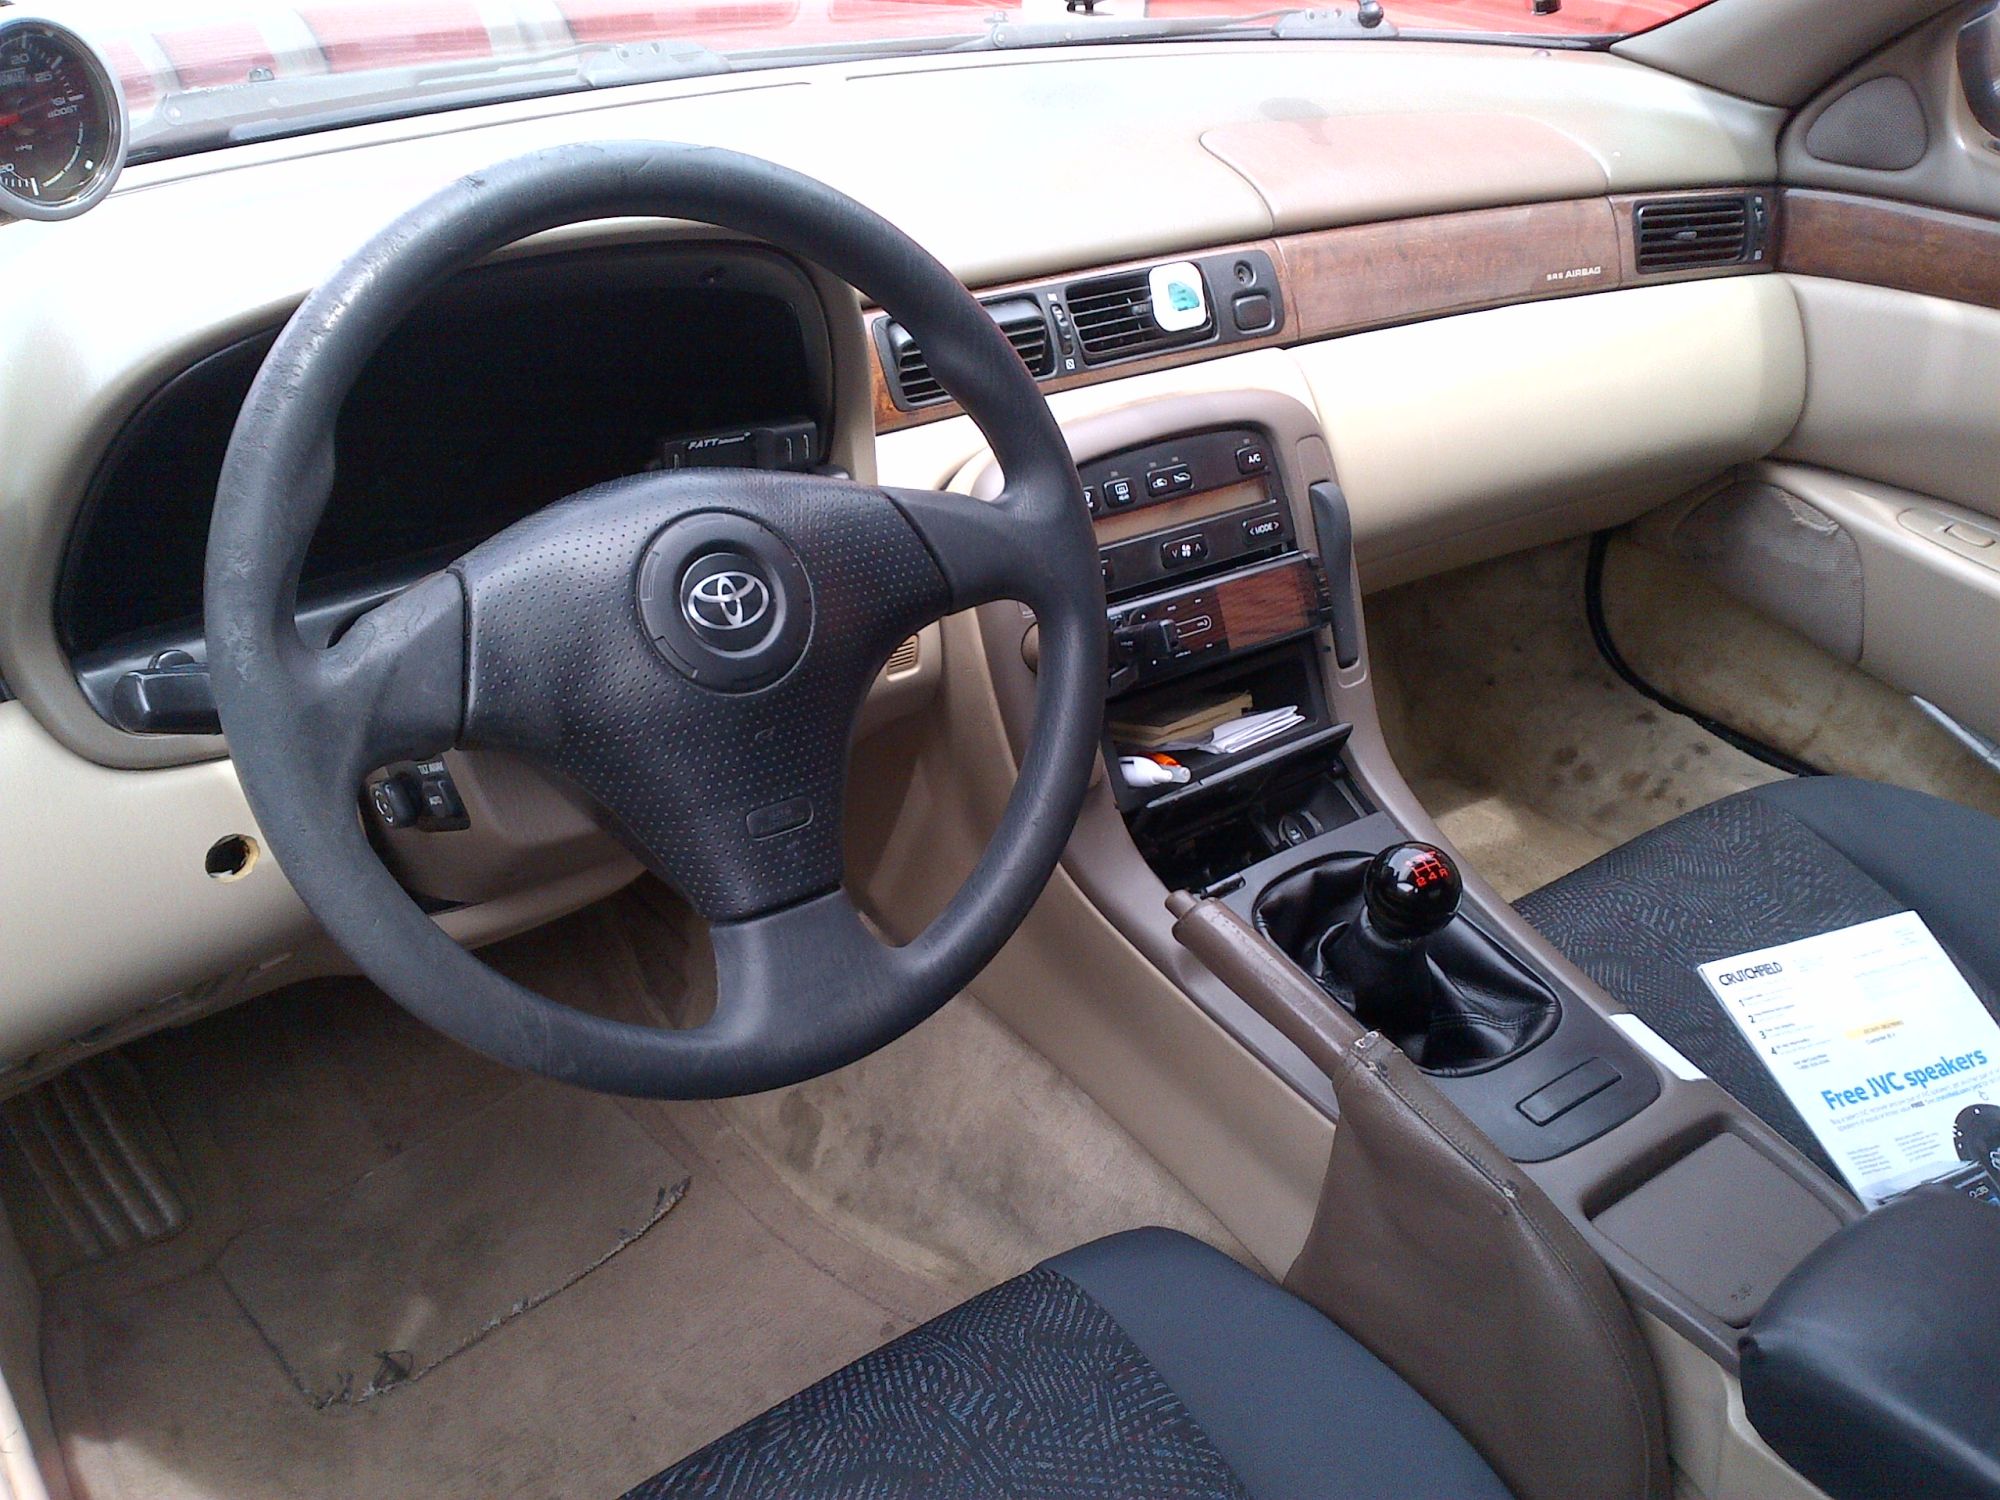
this was before my stereo upgrade!
so more suspension upgrades. the rear lower arms were shot. so I picked up these nifty megan units!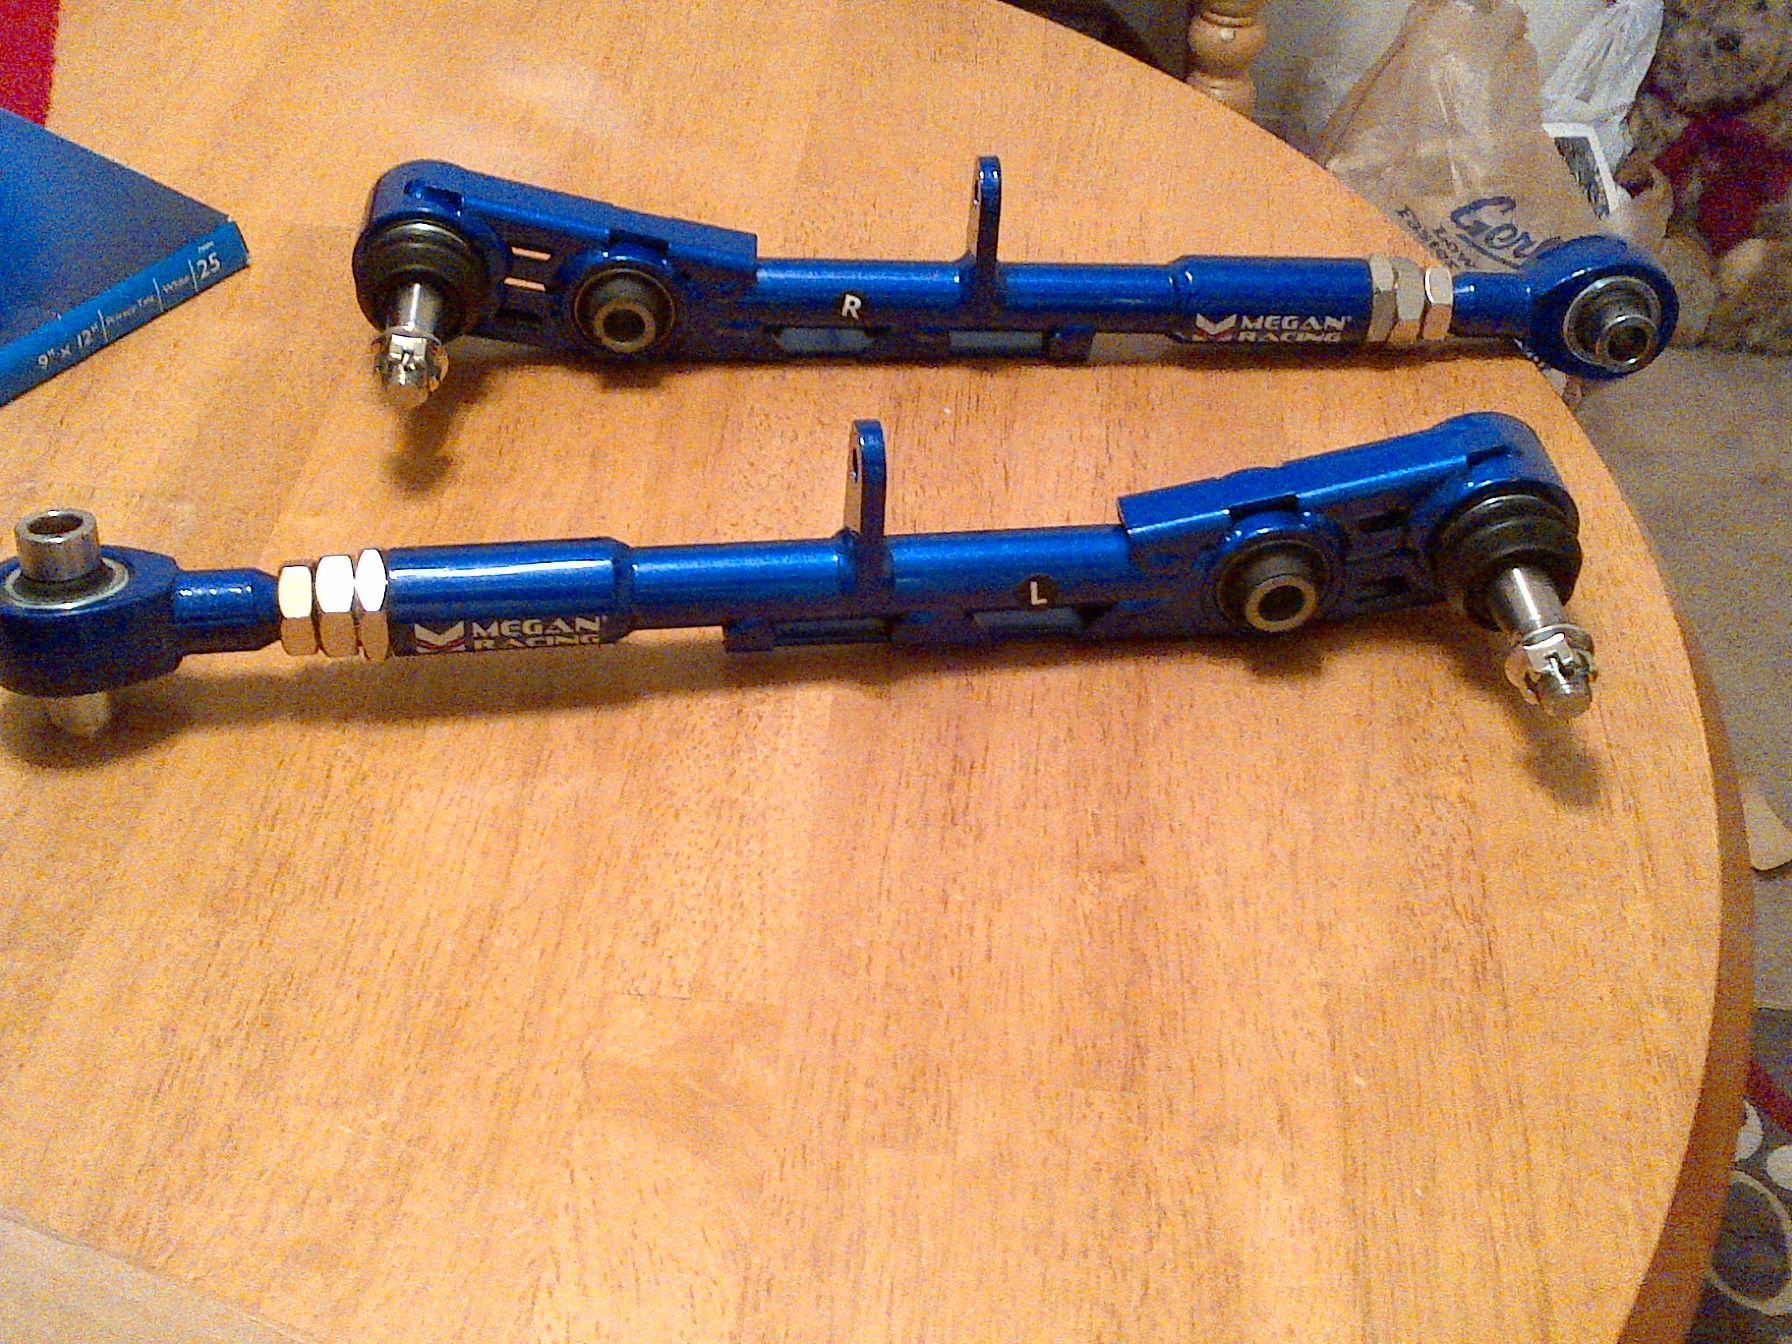
the right rear oem units were a ***** to get off. took forever! but after using a heavy as **** hammer I got it done.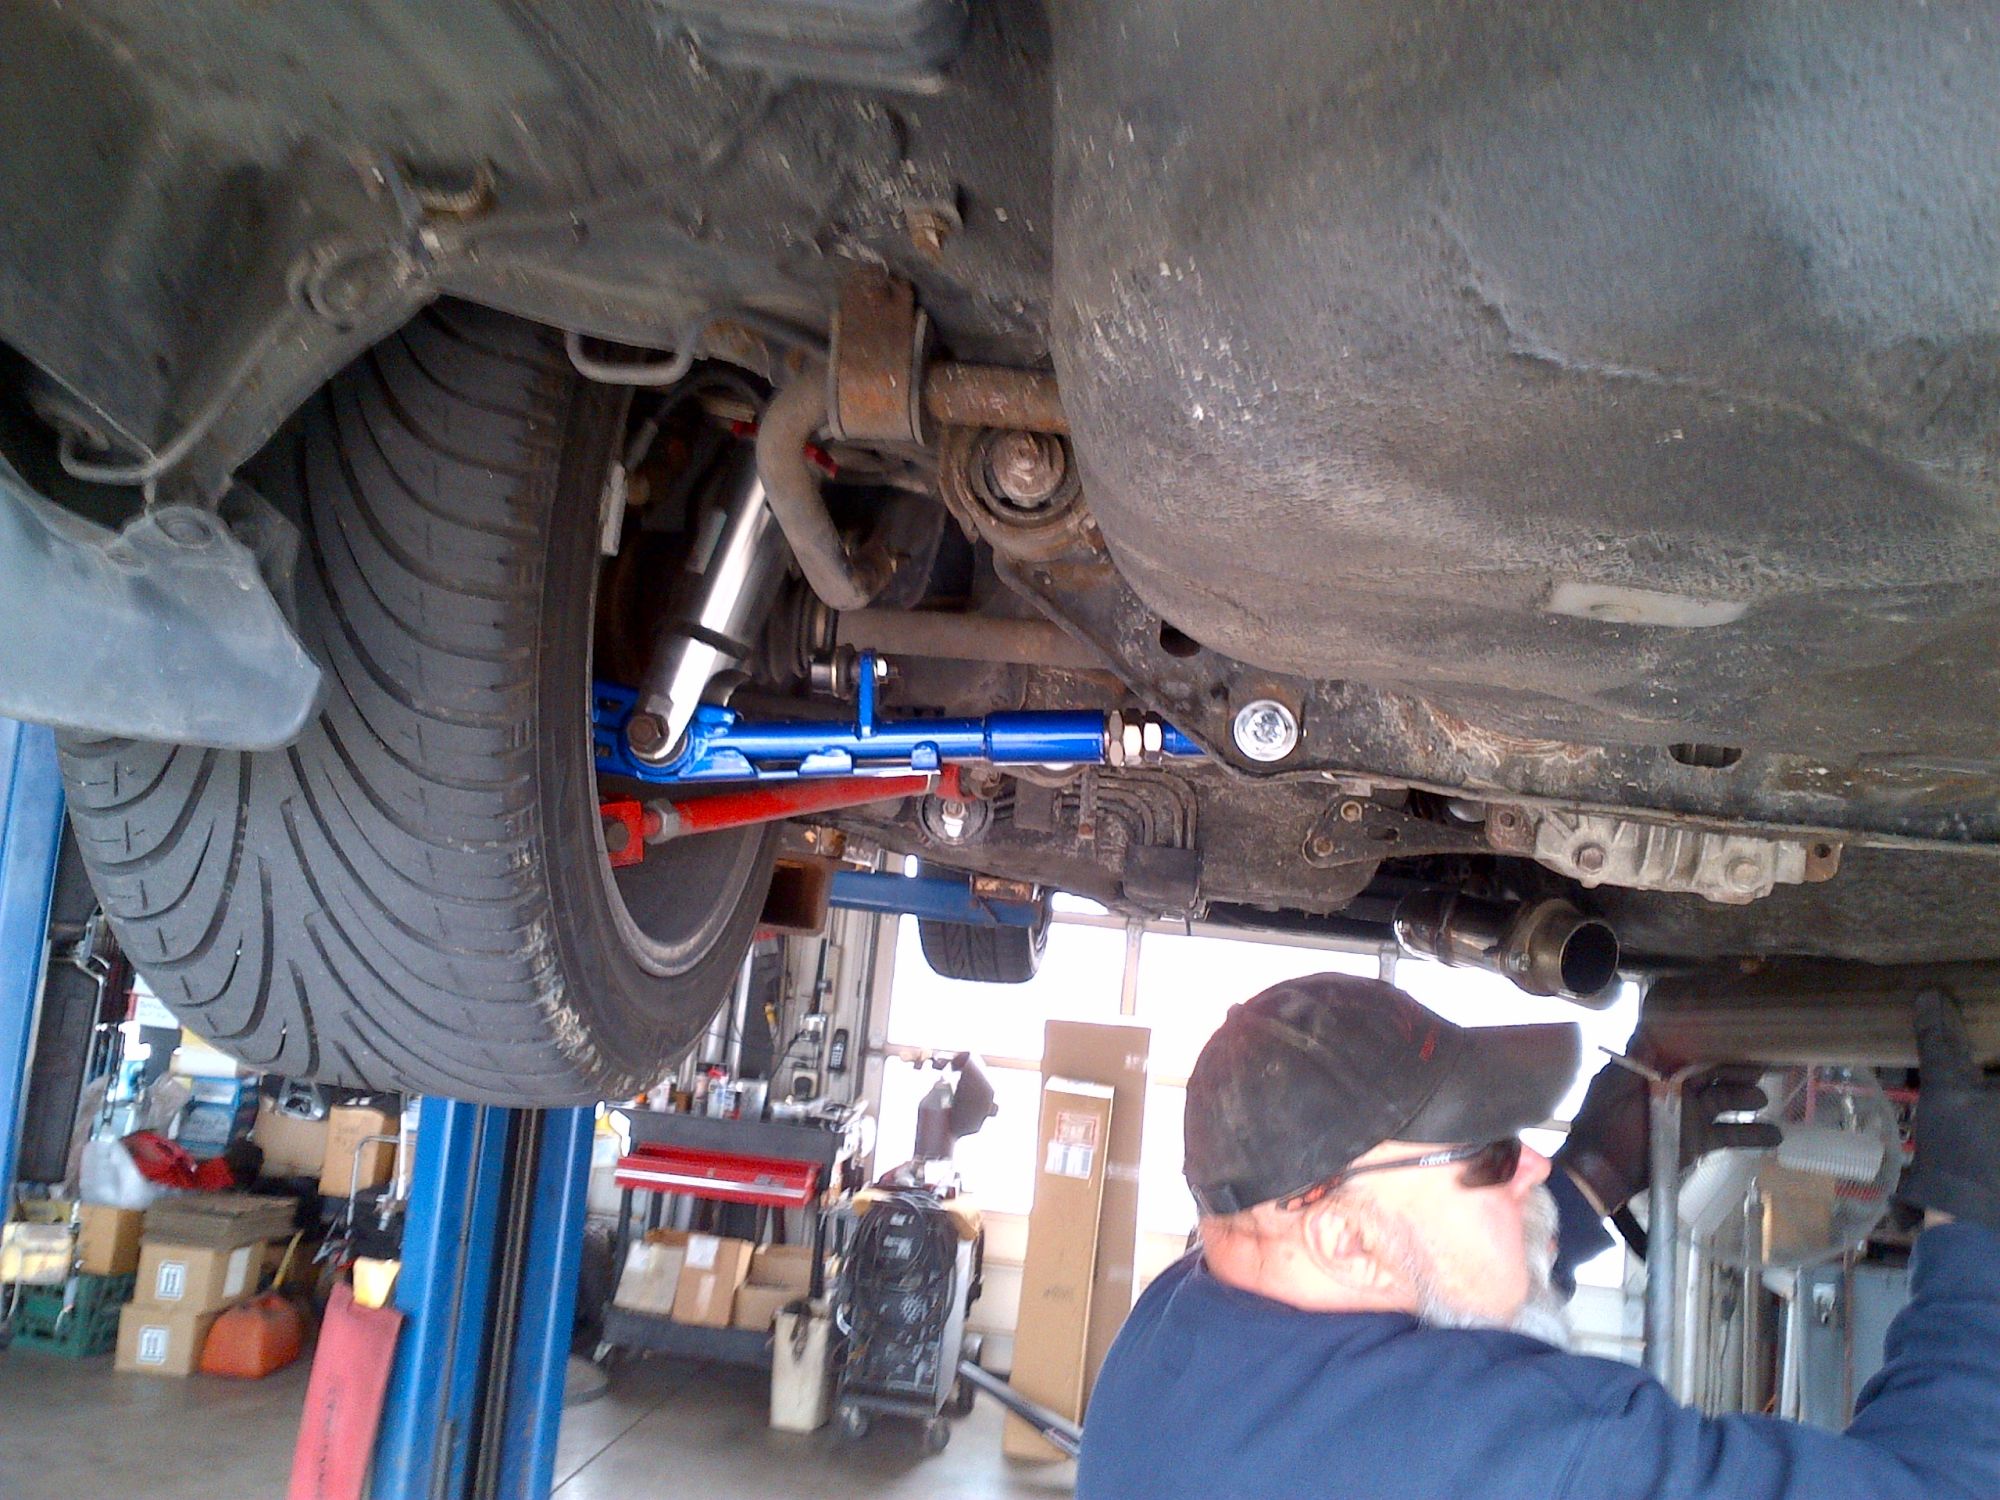
and the results on the rack?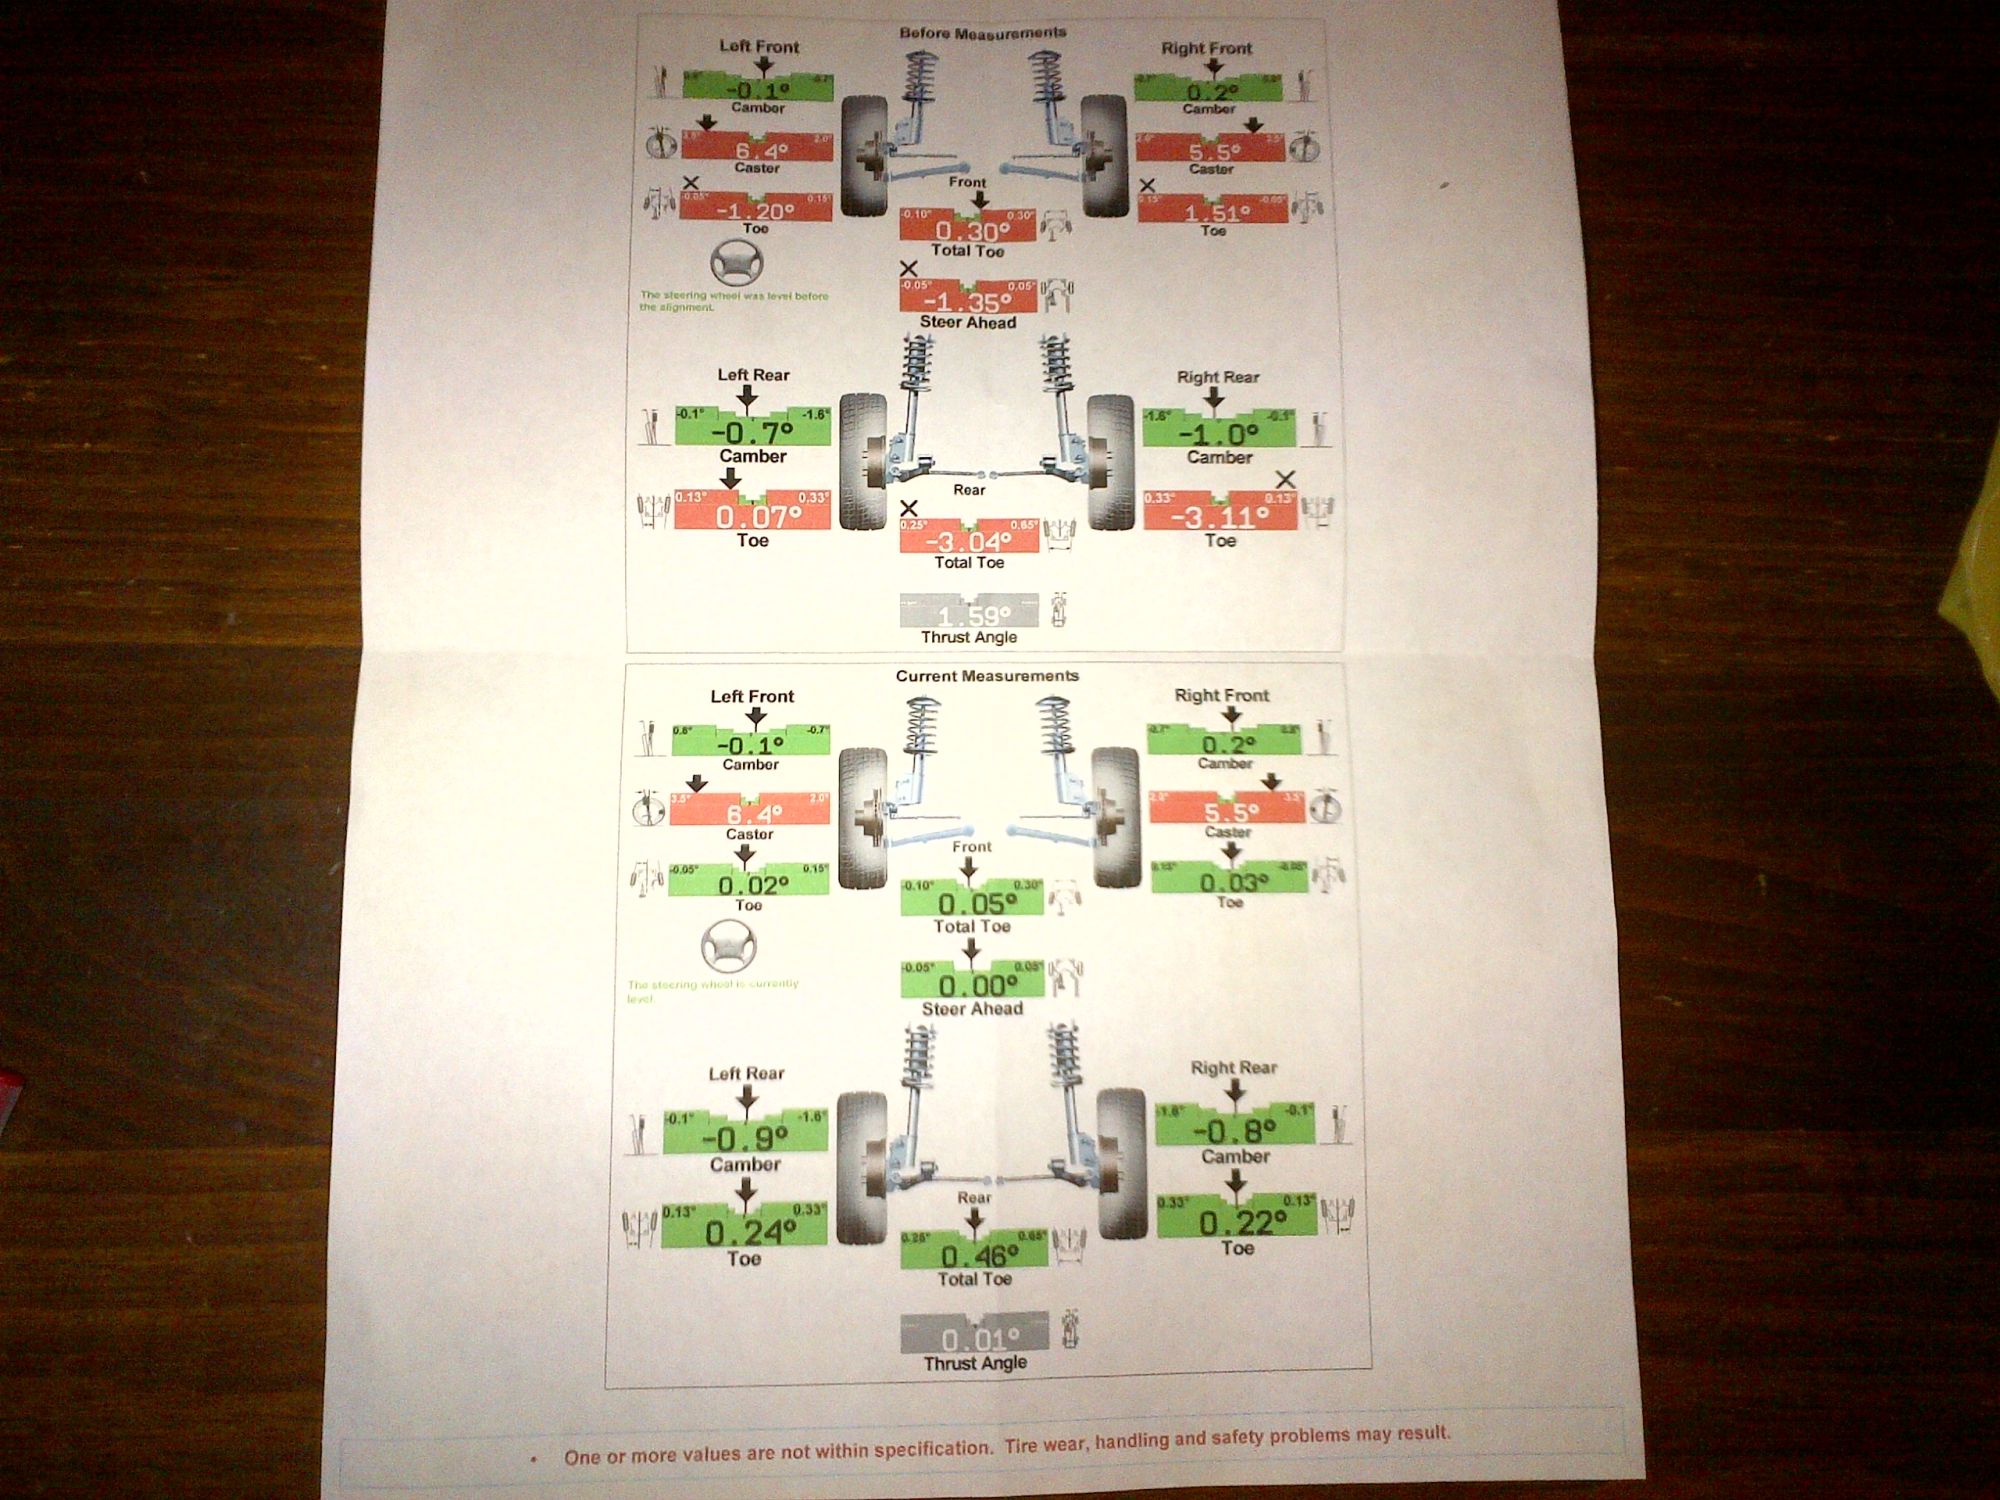
now just left is the rear uppers!
so I had an idea/seen this done before and I needed a constant 12v feed to my electronics.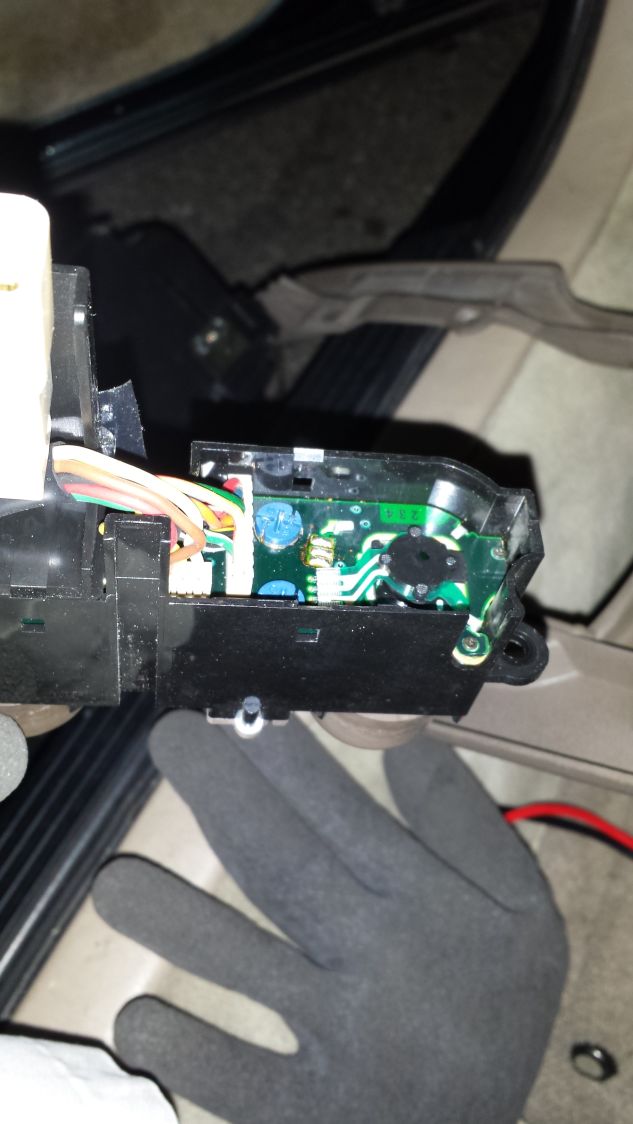
had to break off the lower board.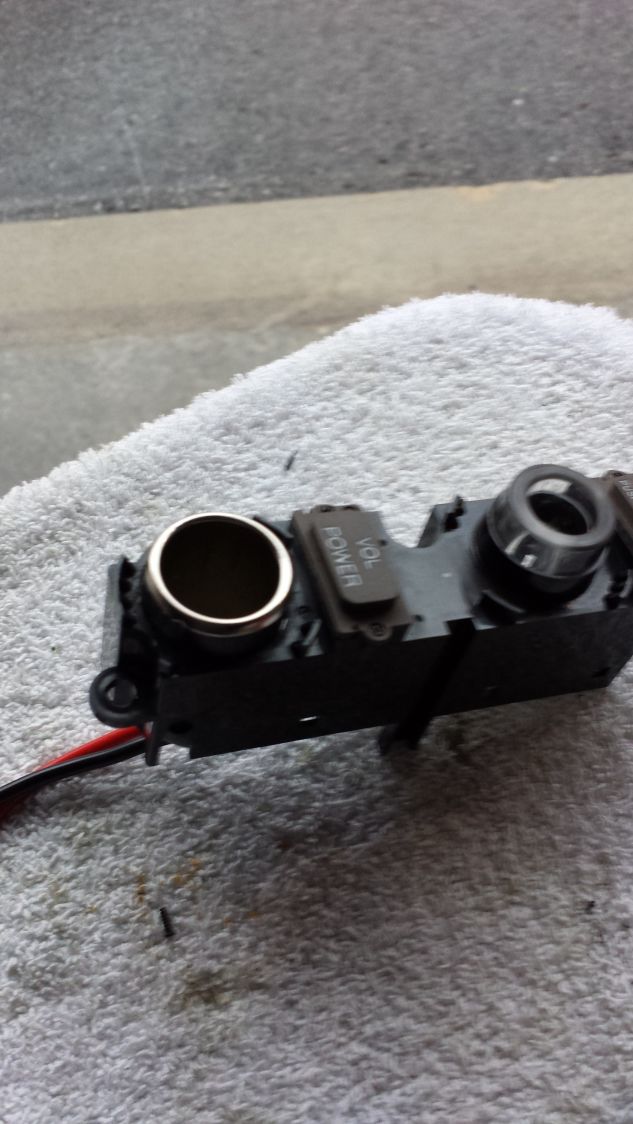
and here is the end result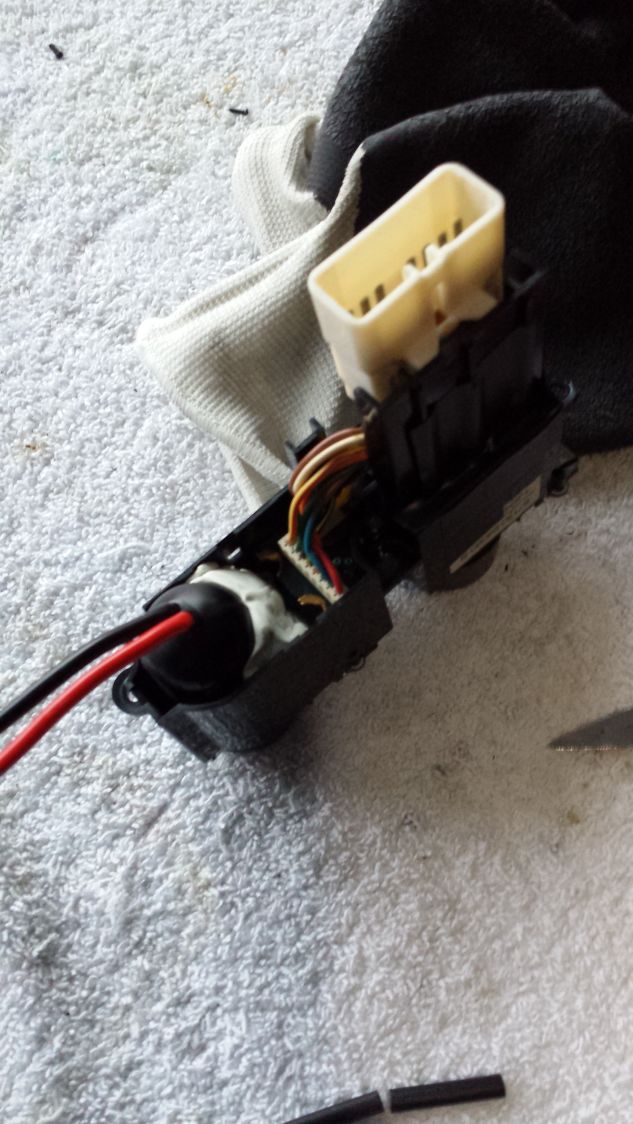
and meanwhile I had some fake leather laying around and decided to reskin my center armrest.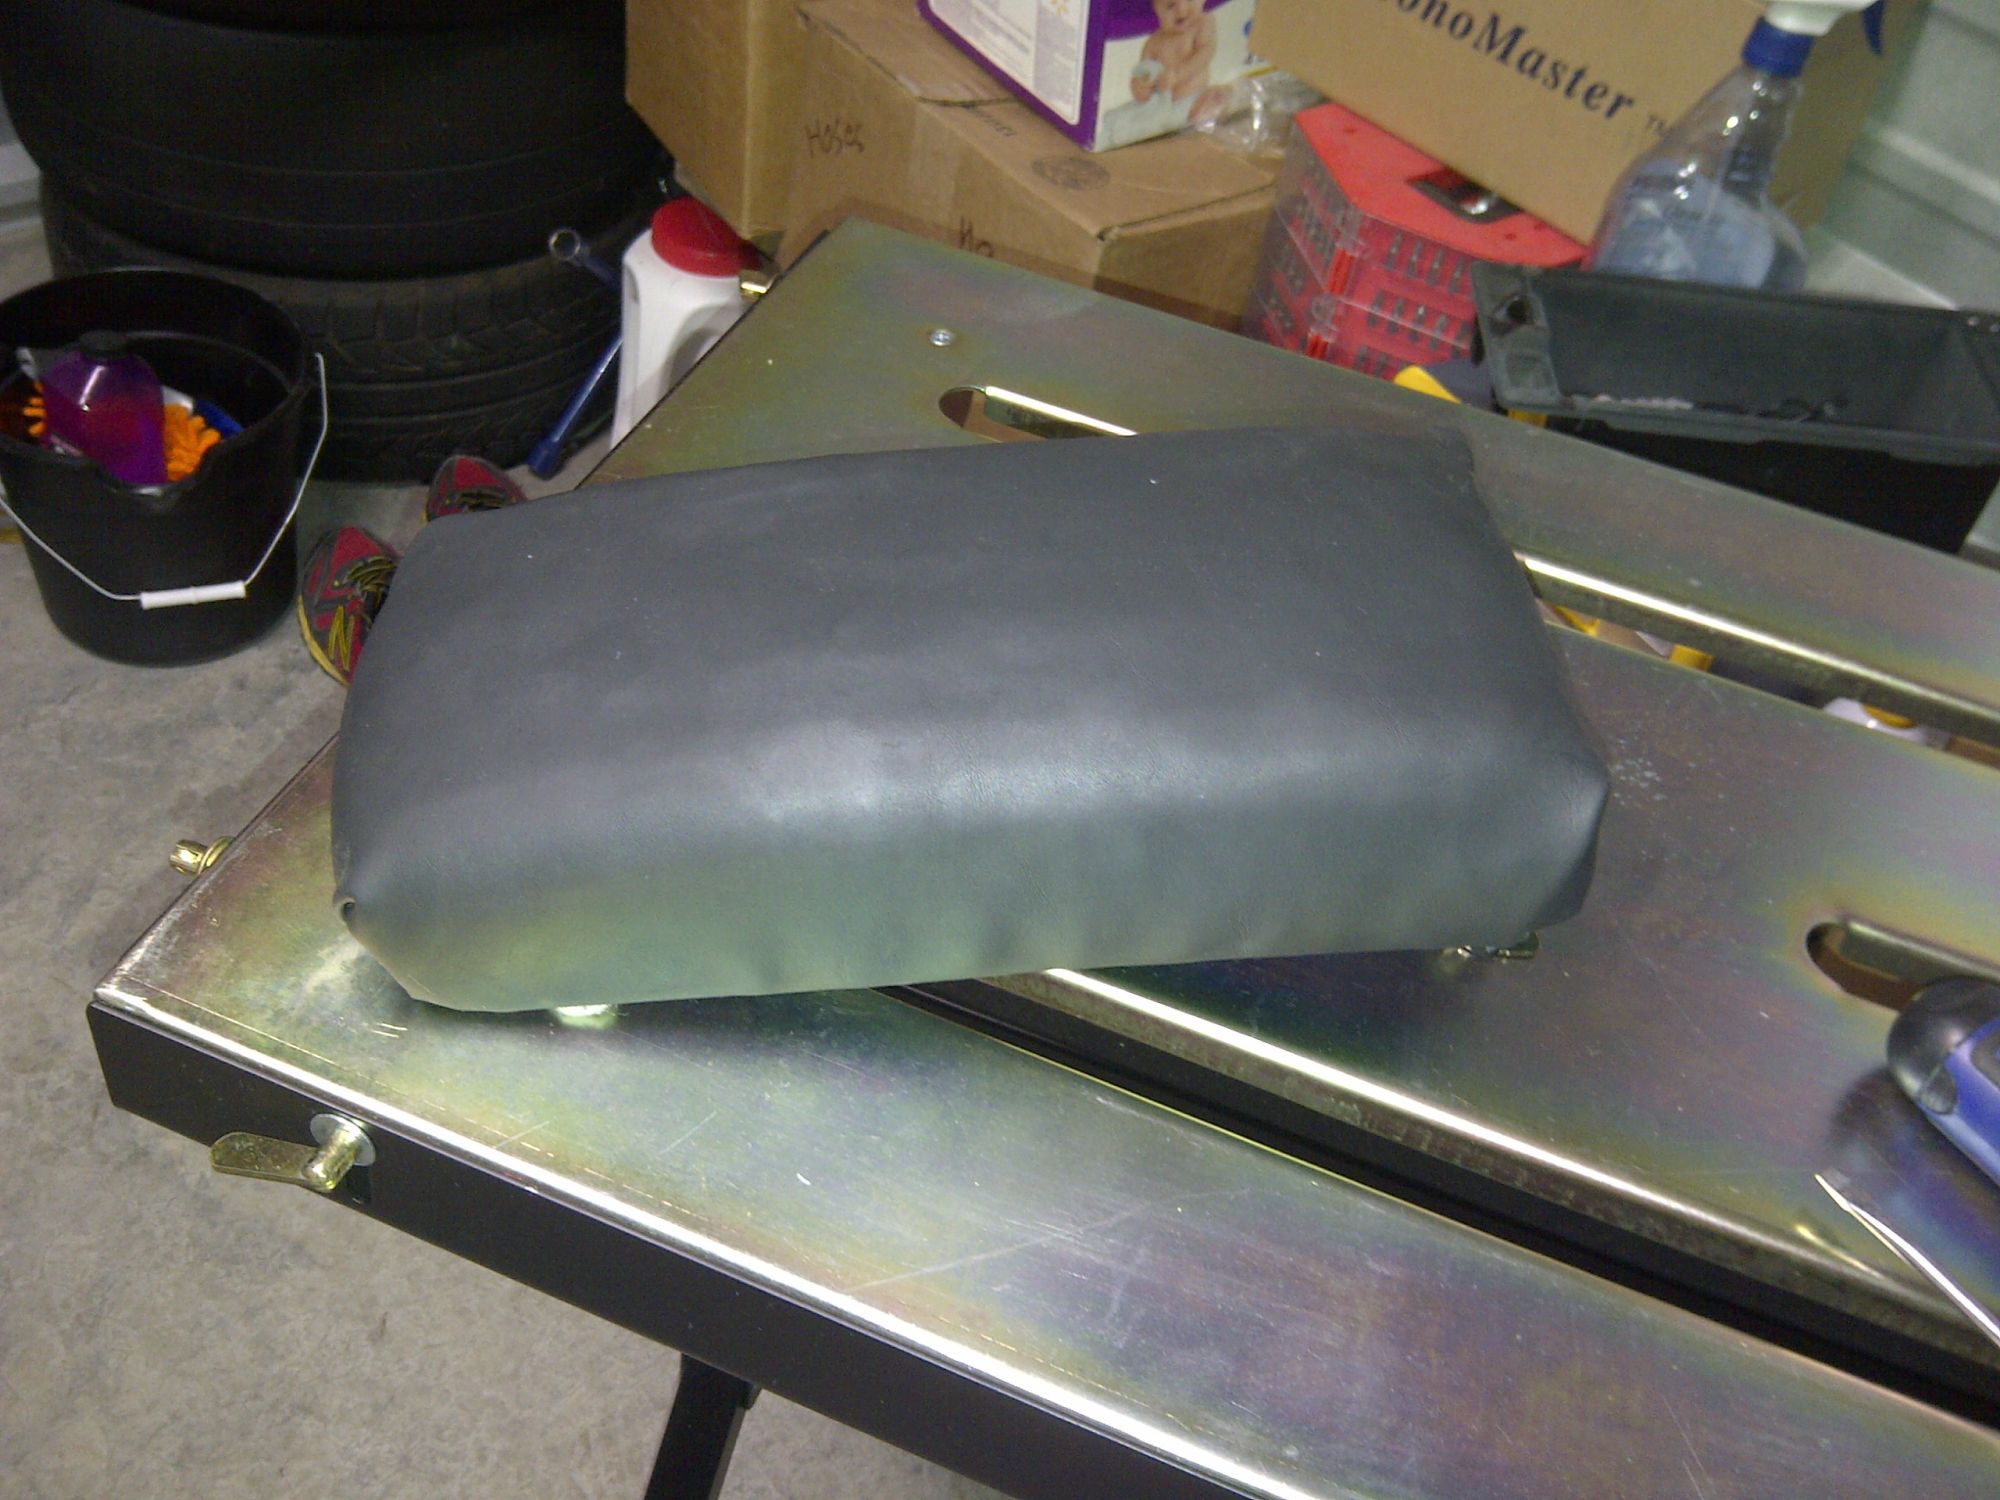
so rocking the cheap e-fans I brought from advance auto for 2 years. They keep the temps down. brought a temp switch relay from autozone and all was well in the kingdom. then one of the fans died. and I had to look for an alternative.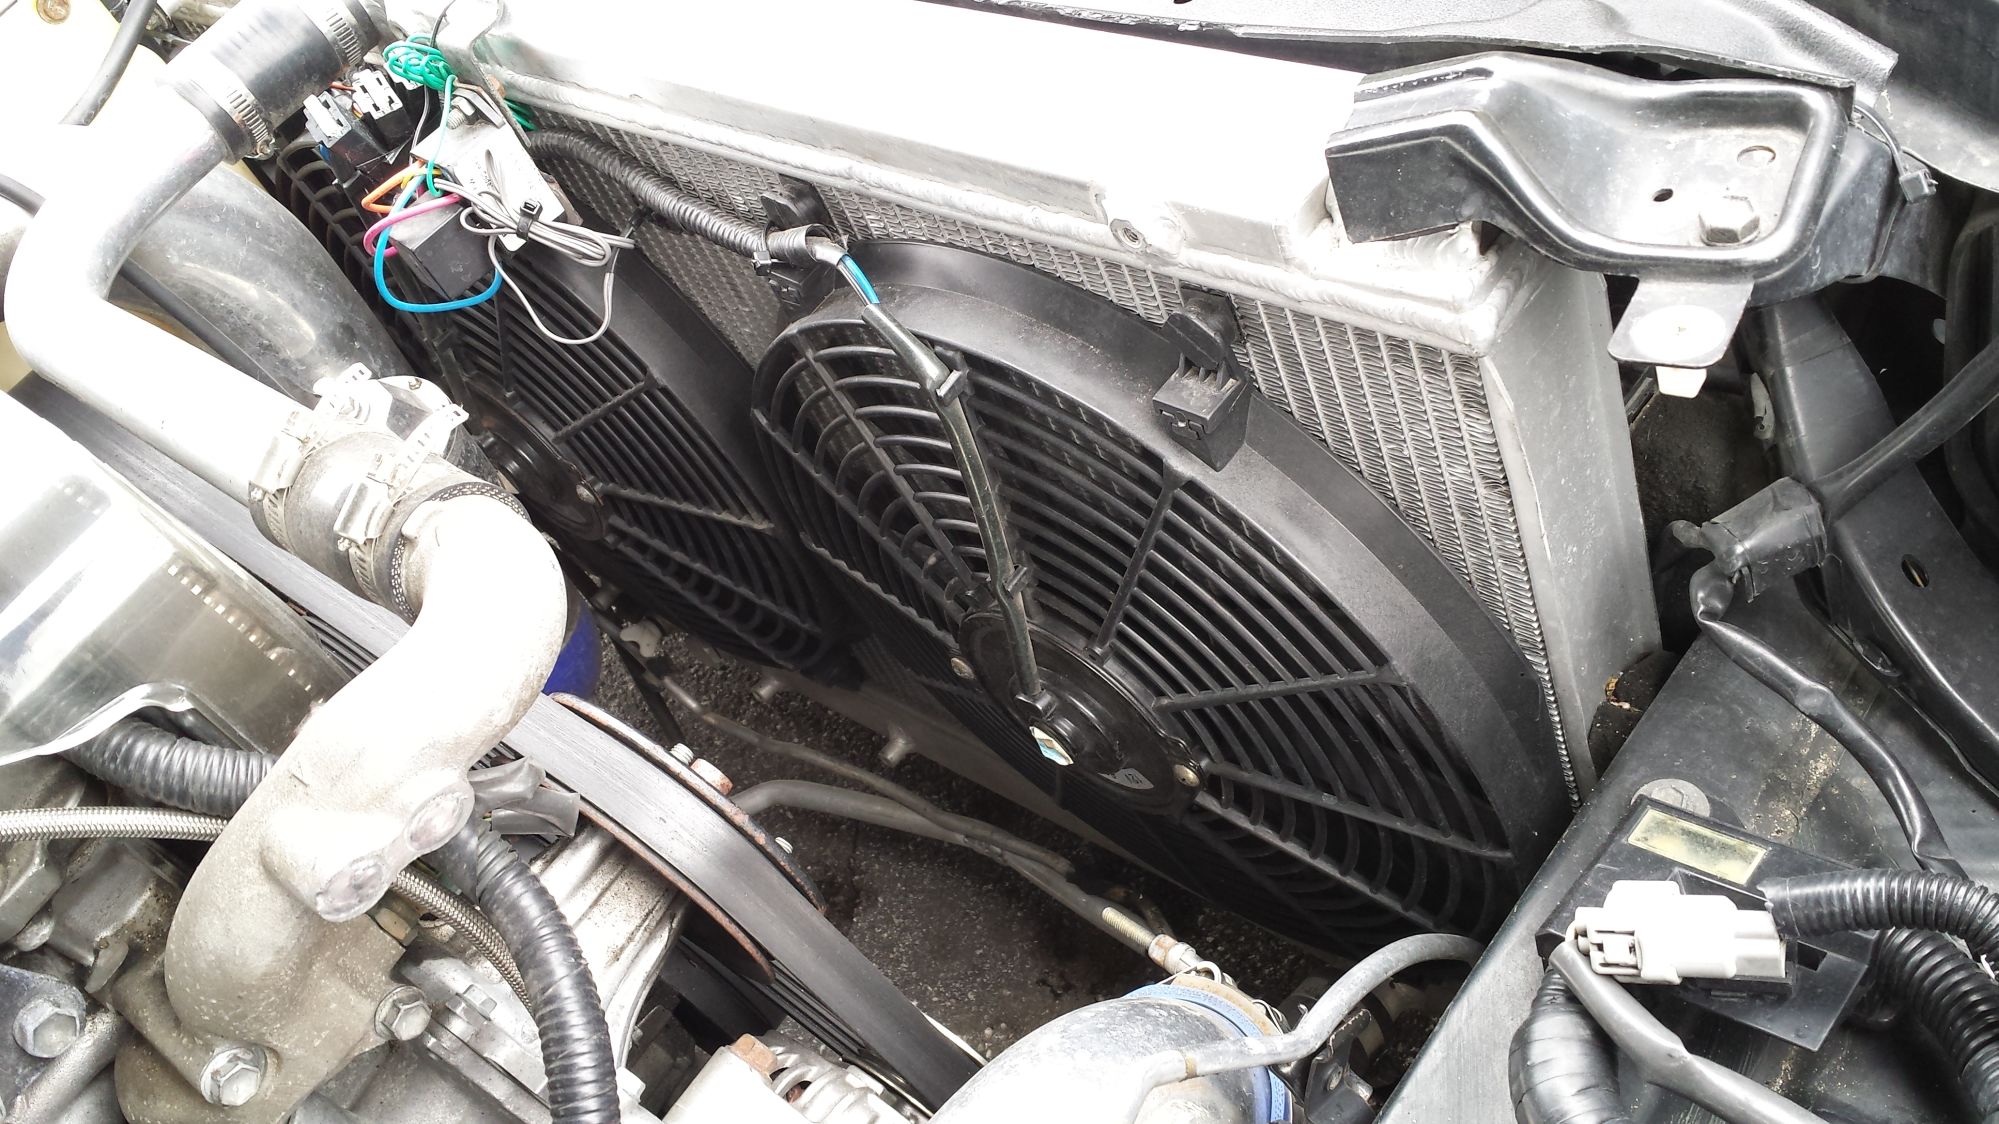
WHY NO CLUTCH FAN?-u ask. well I prefer the electric fan more with a temp switch because after the car is turned off it runs longer to cool the rad core down. this is beneficial for track days, and hot as **** days also. and the parasitic loss isn't there like on a clutch fan.
so I needed an oem quality clutch fan with kick *** cfm flow. ive heard Taurus fans are the go-to ones. but the shroud won't fit the supra rad. what's a guy to do?
The Volvo rad fan uses the Taurus motor and comes with a nifty relay system. so I sourced one and proceeded to make it work.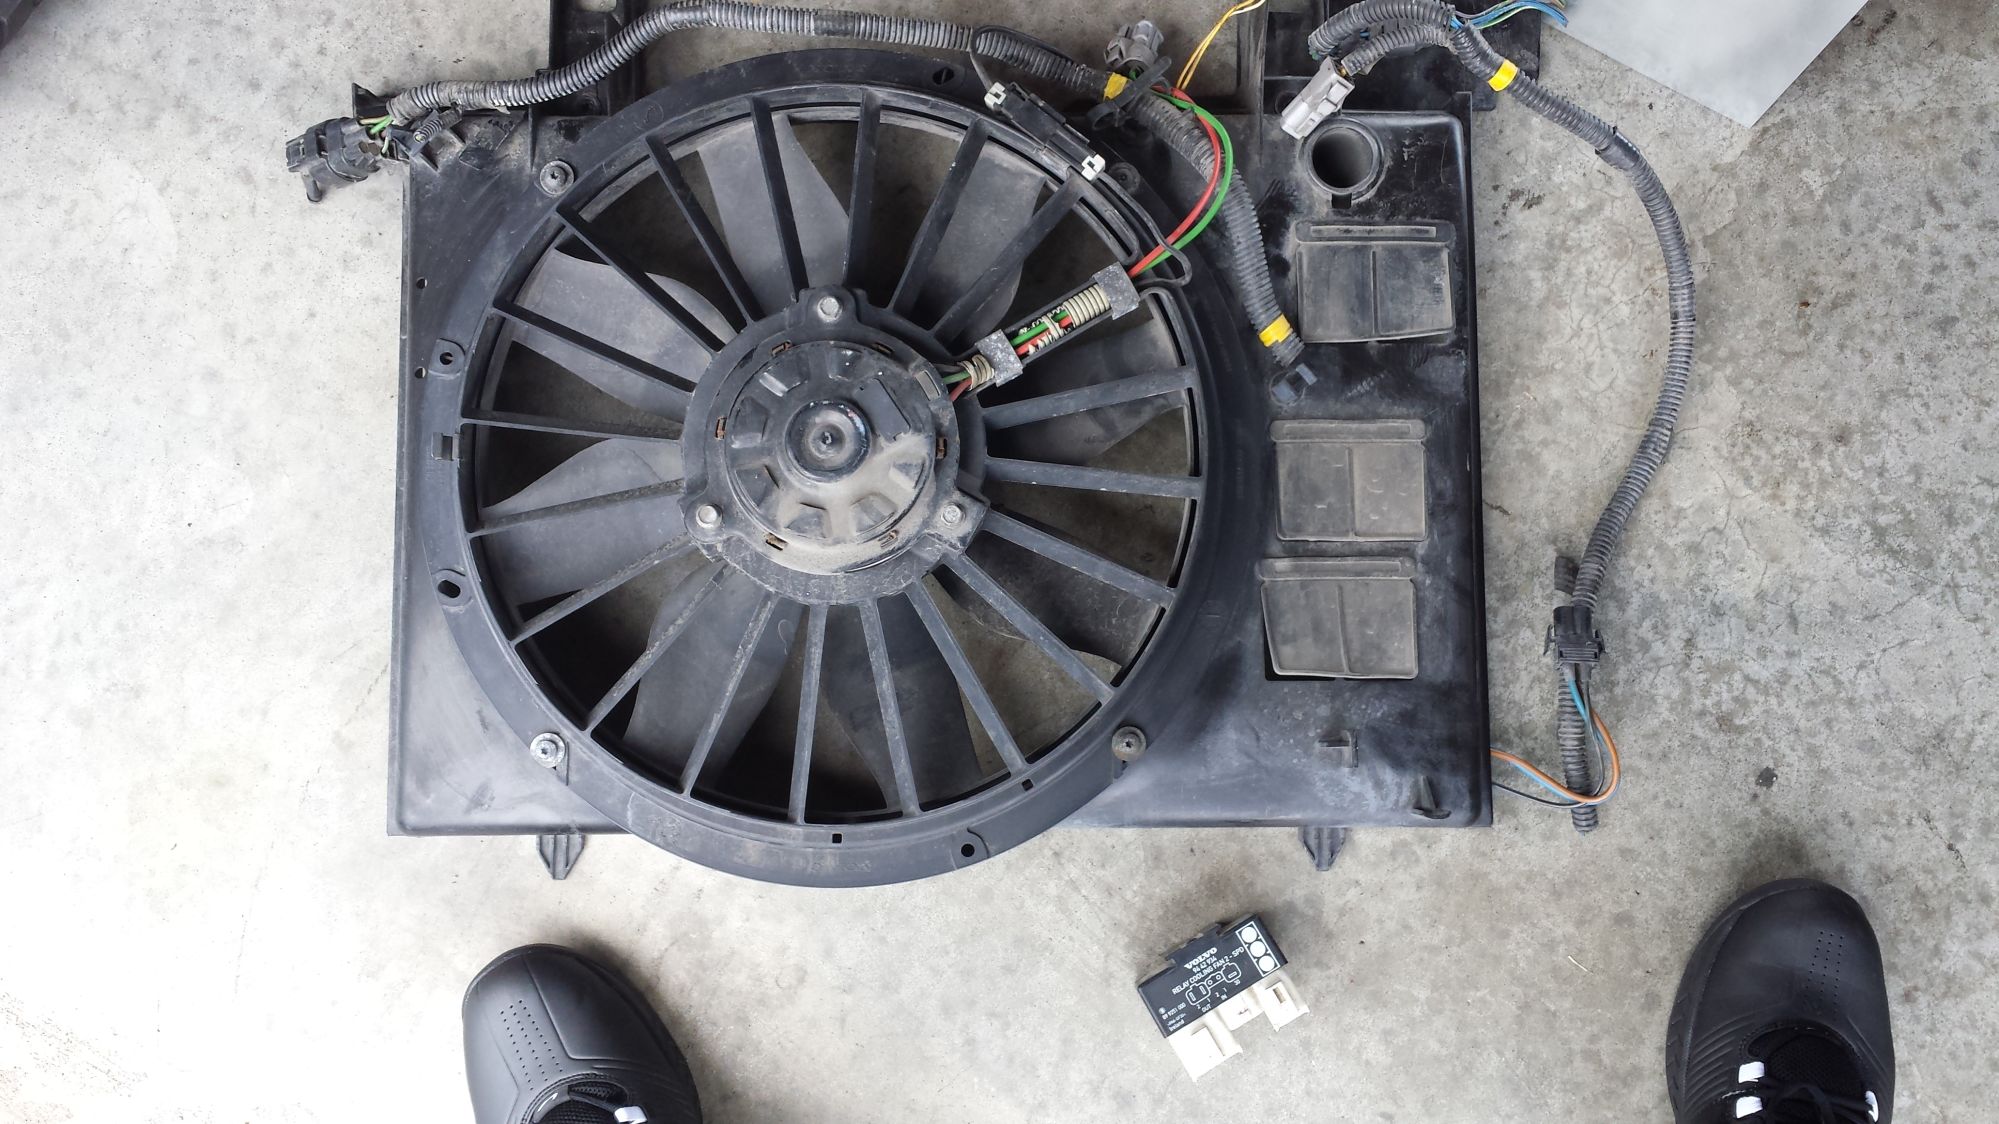
easy to wire/understand relay system.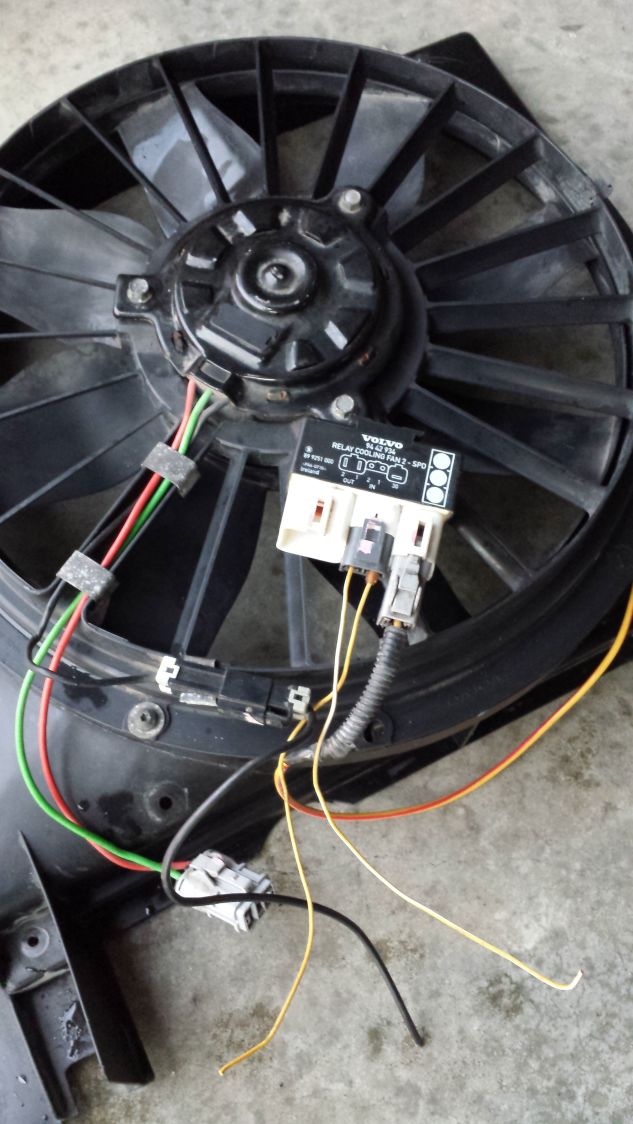
now was the fan shroud. I got some cheap metal and extended it alittle to make it work.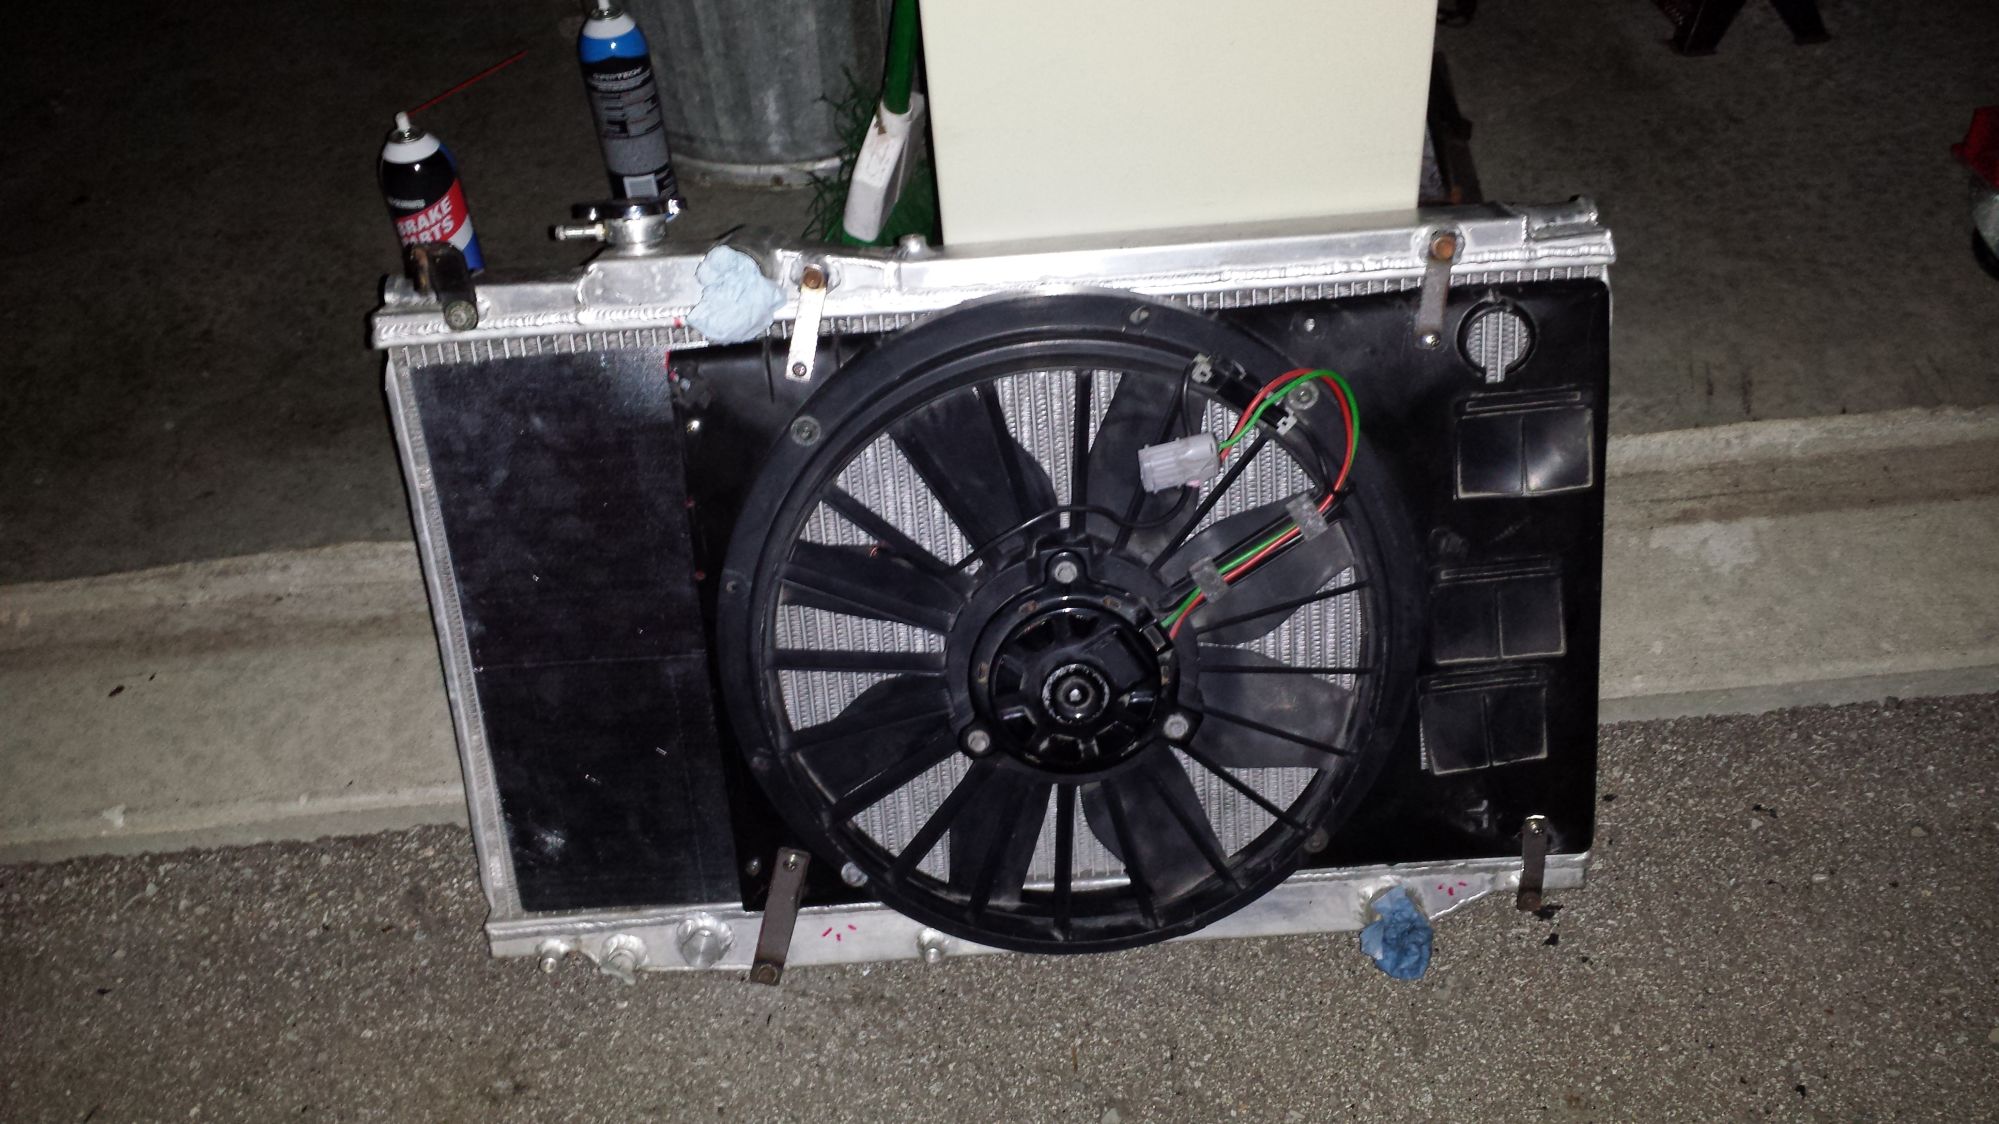
and final installation.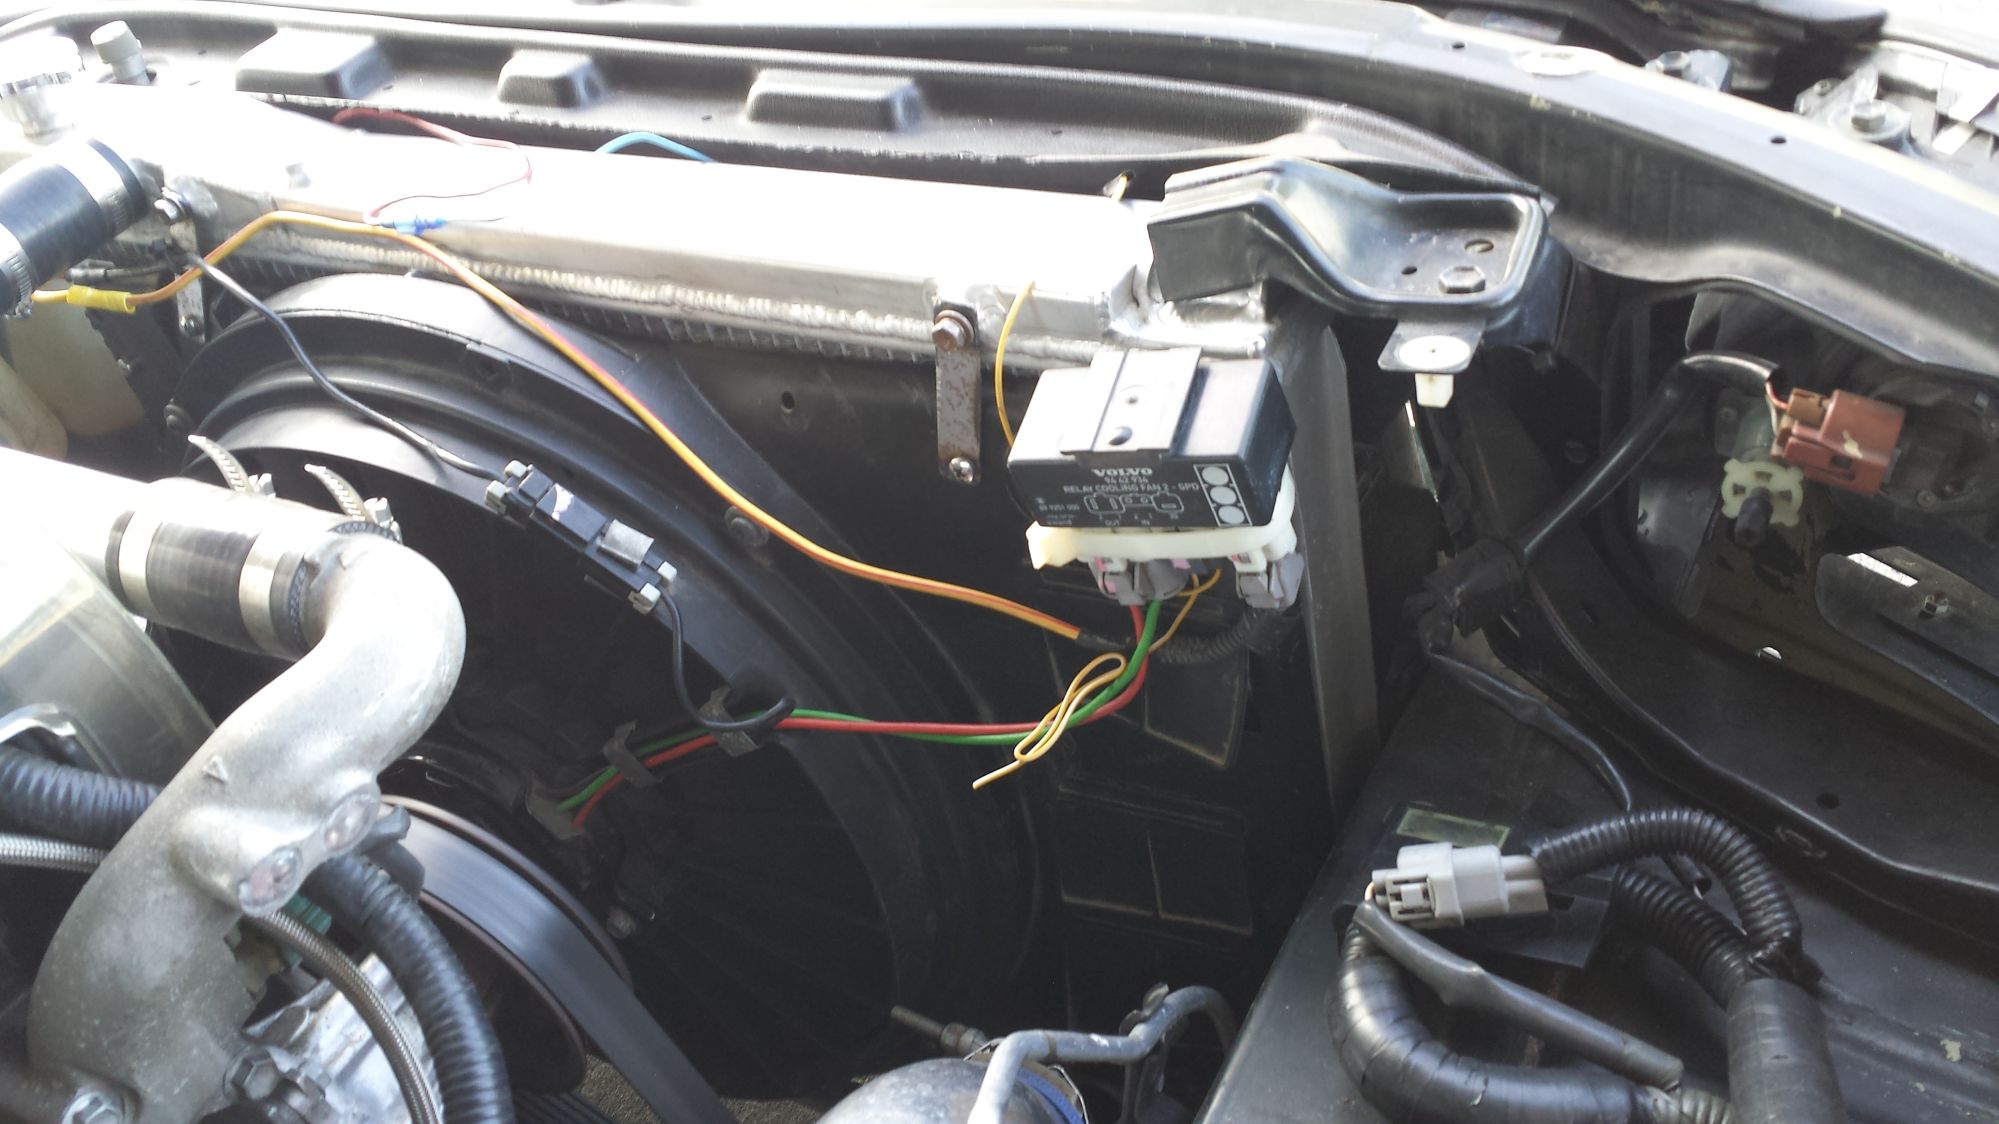
to finish up this job, you will need a bmw temp sensor. preferably this one.
http://www.ebay.com/itm/131254980884?_trksid=p2057872.m2749.l2649&ssPageName=STRK%3AMEBIDX%3AIT
the pigtail harness for that sensor(get one at a junkyard off a 90's bimmer)
AND
http://www.ebay.com/itm/271852873691?_trksid=p2057872.m2749.l2649&ssPageName=STRK%3AMEBIDX%3AIT
know how to wire things in and poof. a kick *** proven oem-like cooling system.
so I went ahead and brought a grounding kit for the car. hoping to improve on the taxing electrical system I have on the car already.
http://www.ebay.com/itm/UNIVERSAL-10MM-HIGH-PERFORMANCE-RACING-EARTH-GROUND-GROUNDING-WIRE-KIT-BLUE-/260391699672?hash=item3ca08e04d8&vxp=mtr
I already had existing 10mm wires and ad to use them in conjunction with this kit. it's universal so not cut exactly to the sc length.
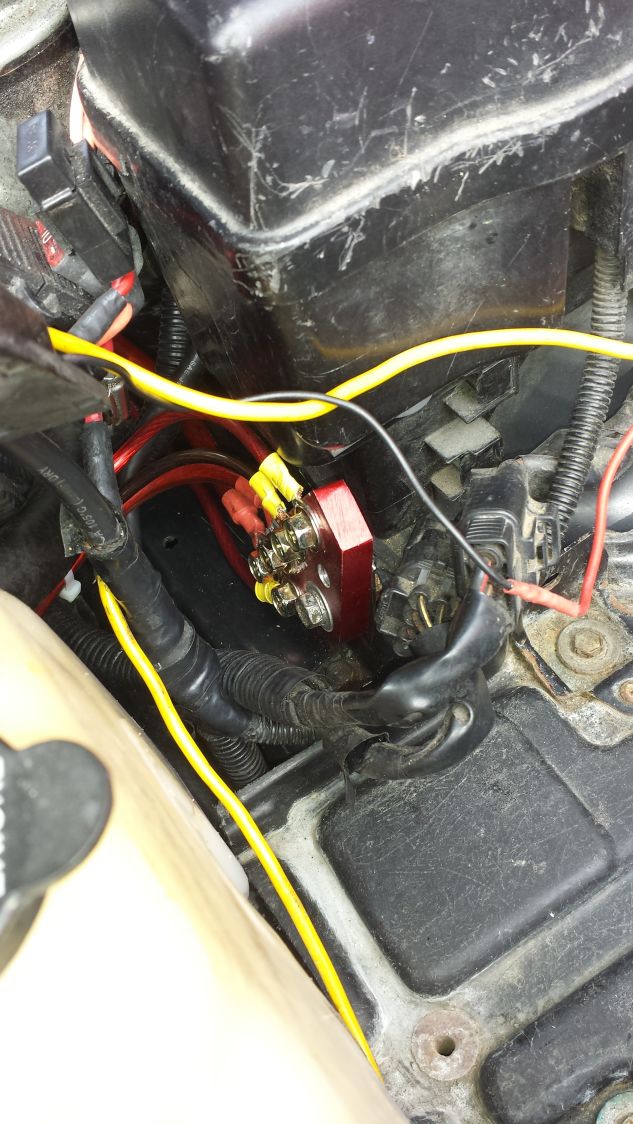
I myself haven't noticed any specific difference with this kit installed. after about 2k miles my alt took a crap on me and I had to have it rebuilt. so maybe down the line I can/will see a difference?
so last week(my assembly date). I realized that my turbo seals went. so I had a g-pop rebuild kit luckily avail. I would up using the rear shaft clip from one of my lesser ebay kits(those fit). so the gpop kit came with the o-ring that goes between the compressor side and the rest of the turbo.
Being as how ive done a few turbo rebuilds but never used this gasket I thought it a good idea to put it on. silly me didn't lube it up. I just put it in there dry. maybe that is why when I get down the road and go into boost is pops off??
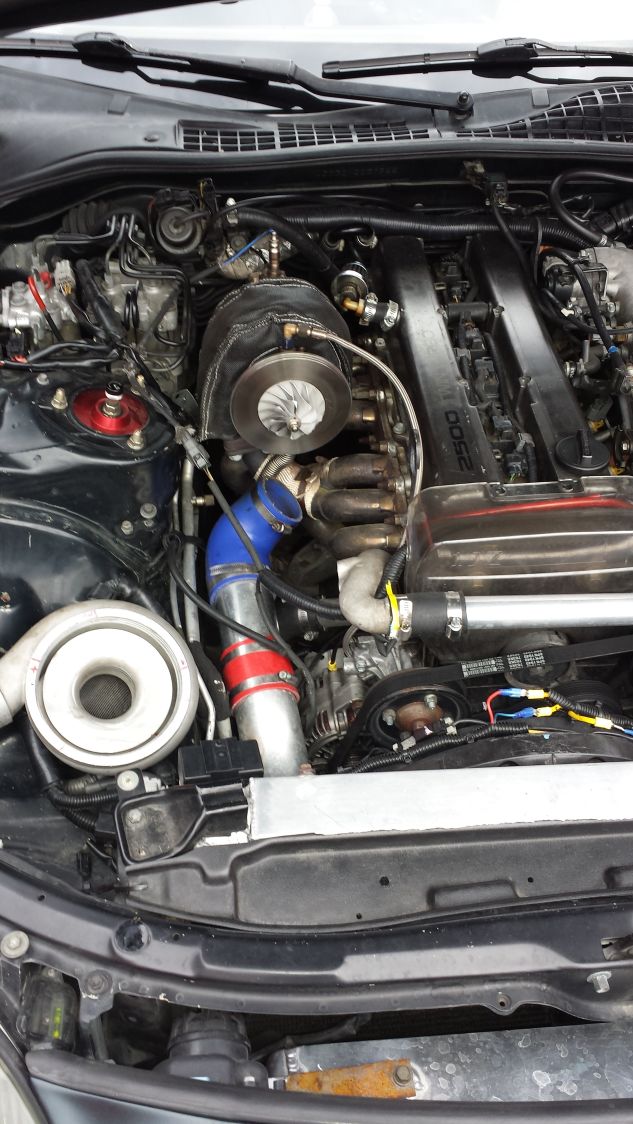
I stopped immediately and it slightly bent my compressor blades(I straightened them back out). But I drove the car back a qtr a mile like this. YES I put the compressor clamp back on. it wasn't as snug as it usually is without the o-ring. but lesson learned, don't run with one?
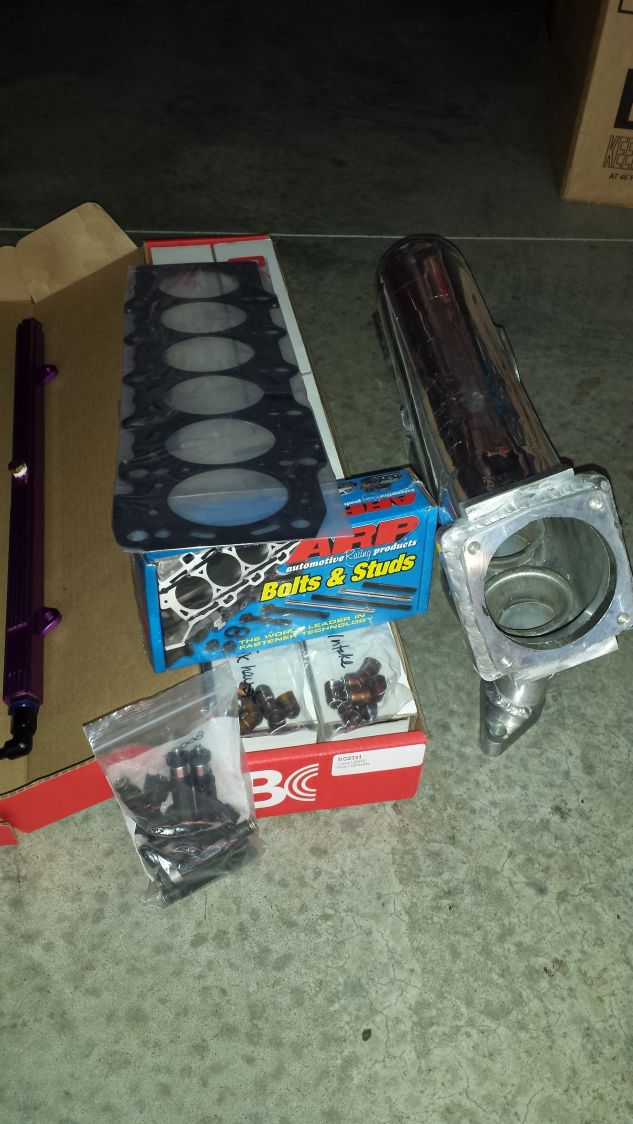
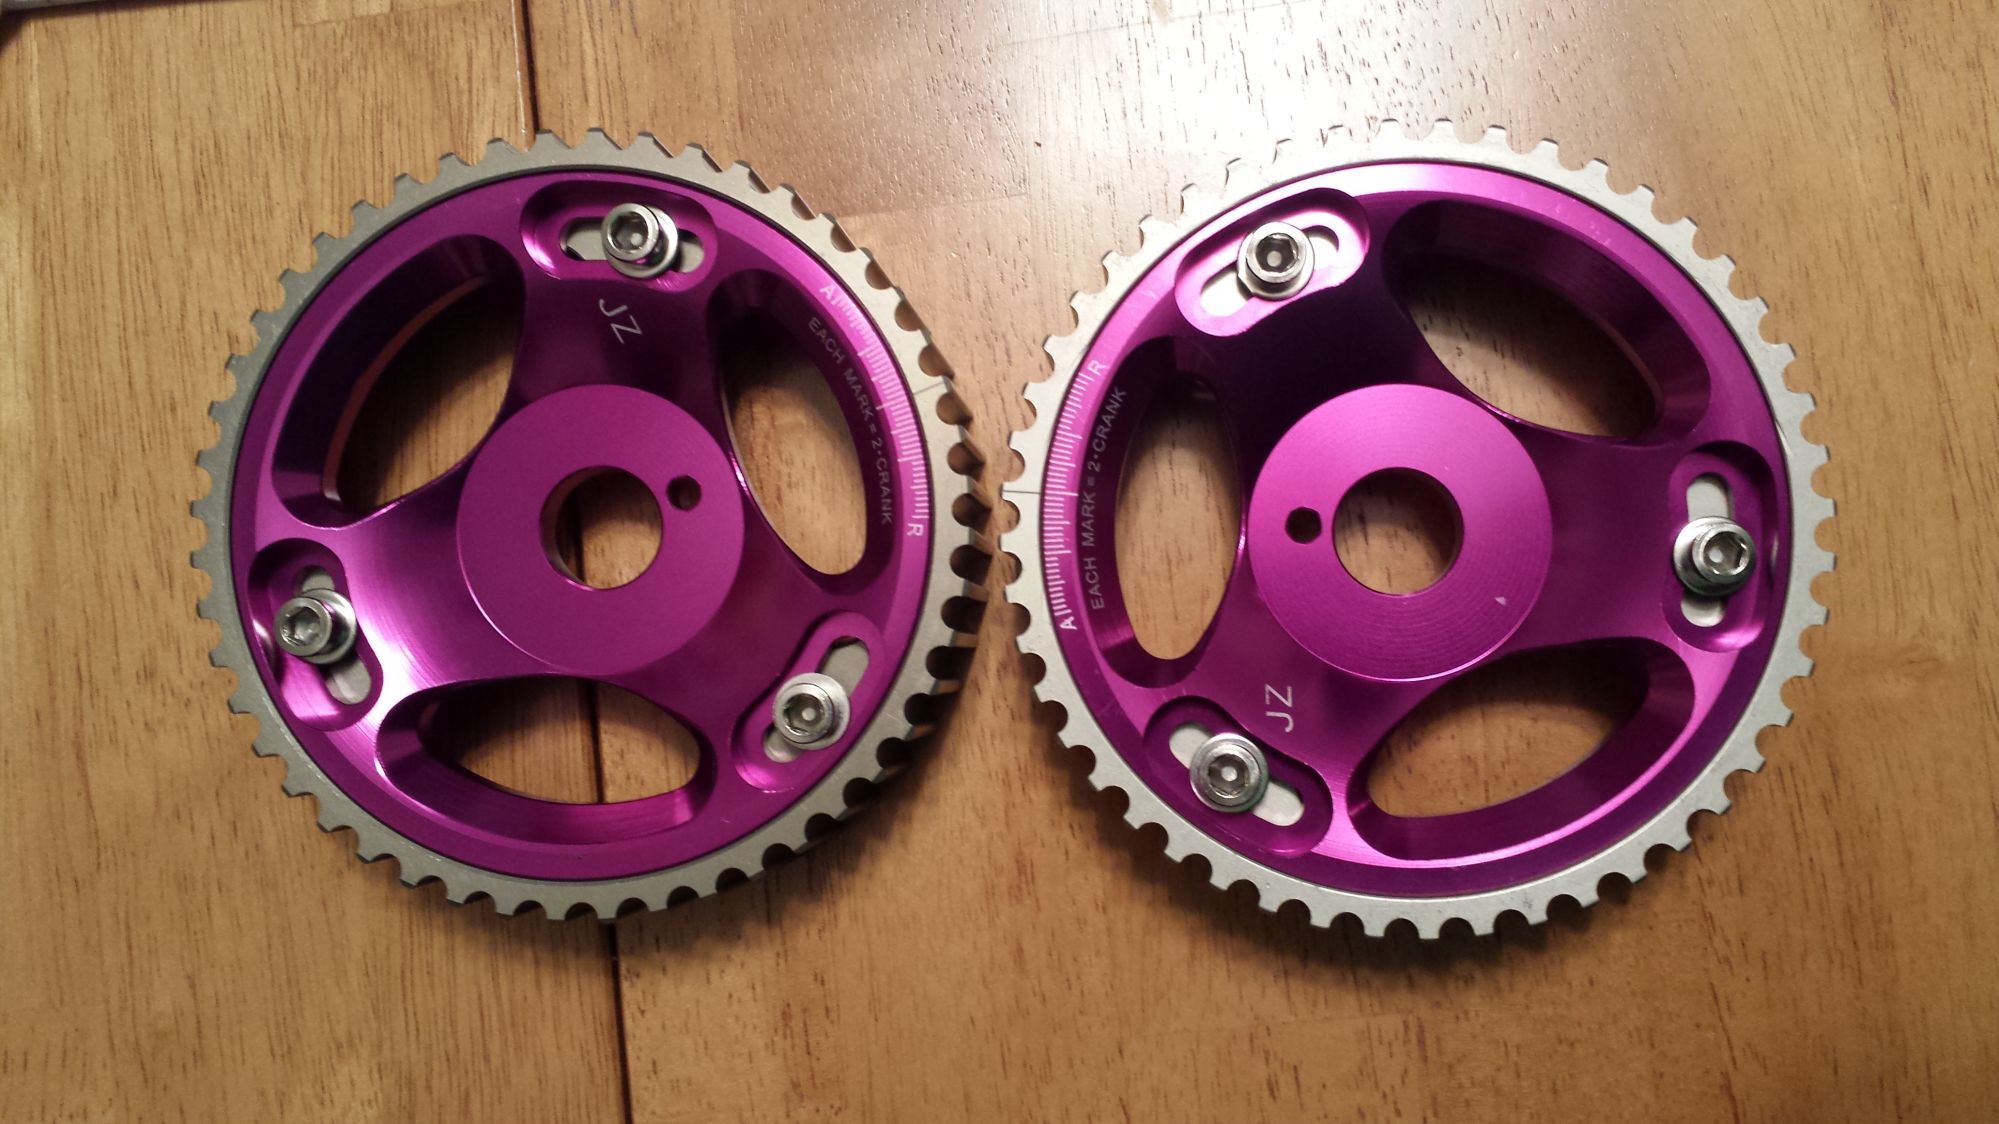
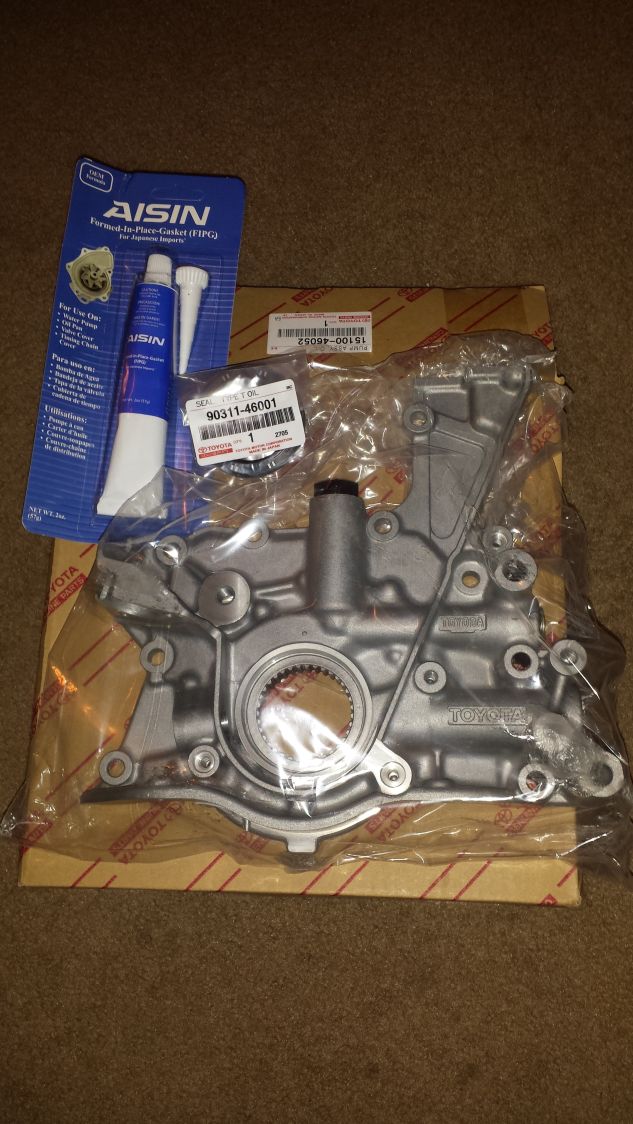
so, in anticipation of hopefully/finally getting my head decked/gasket matched this month. iam going to also change the oil pump, I have some nifty cam gears from Australia, and re-brought some 264 cams, got the valve stem seals and ready to put in these injectors.
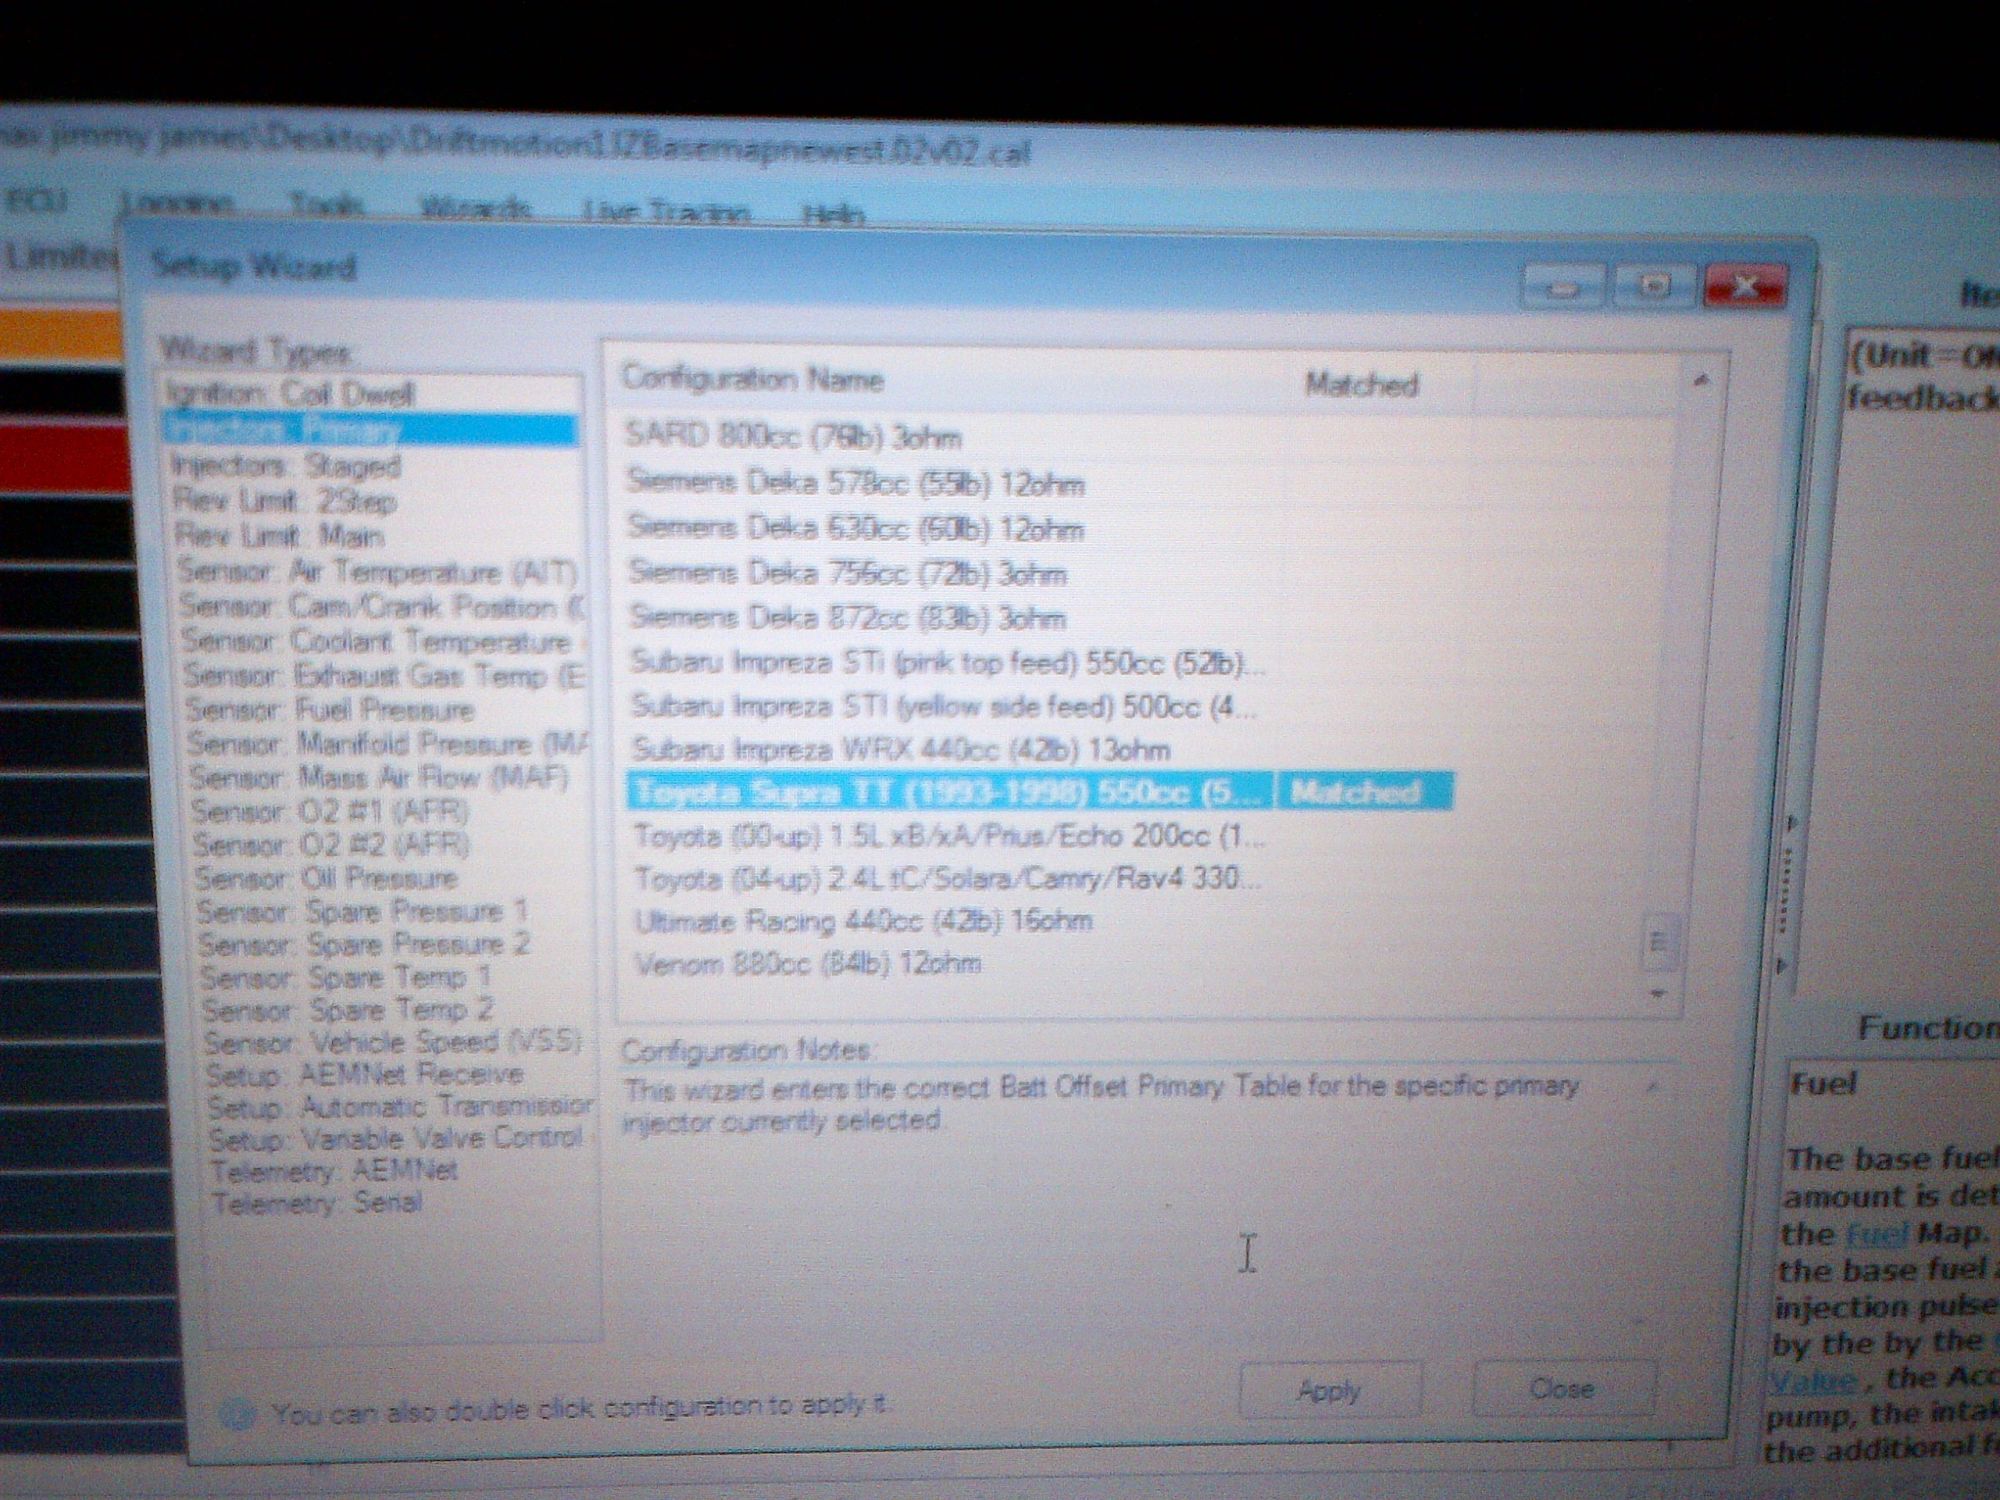
speaking of injectors, ive also gotten my **** wet with this aem v2. looking at the john fast king videos has helped me sync the aem and even make a drivable base tune.
just there is 17 videos, and honestly learning how to tune the aem is pretty boring honestly. I have to get my add in order at some point. because getting ****ed for $700.00+ for one map. isn't my idea of a good time.
so now TODAY. iam going to start on the fun task of dropping my subframe and installing these bad boys.
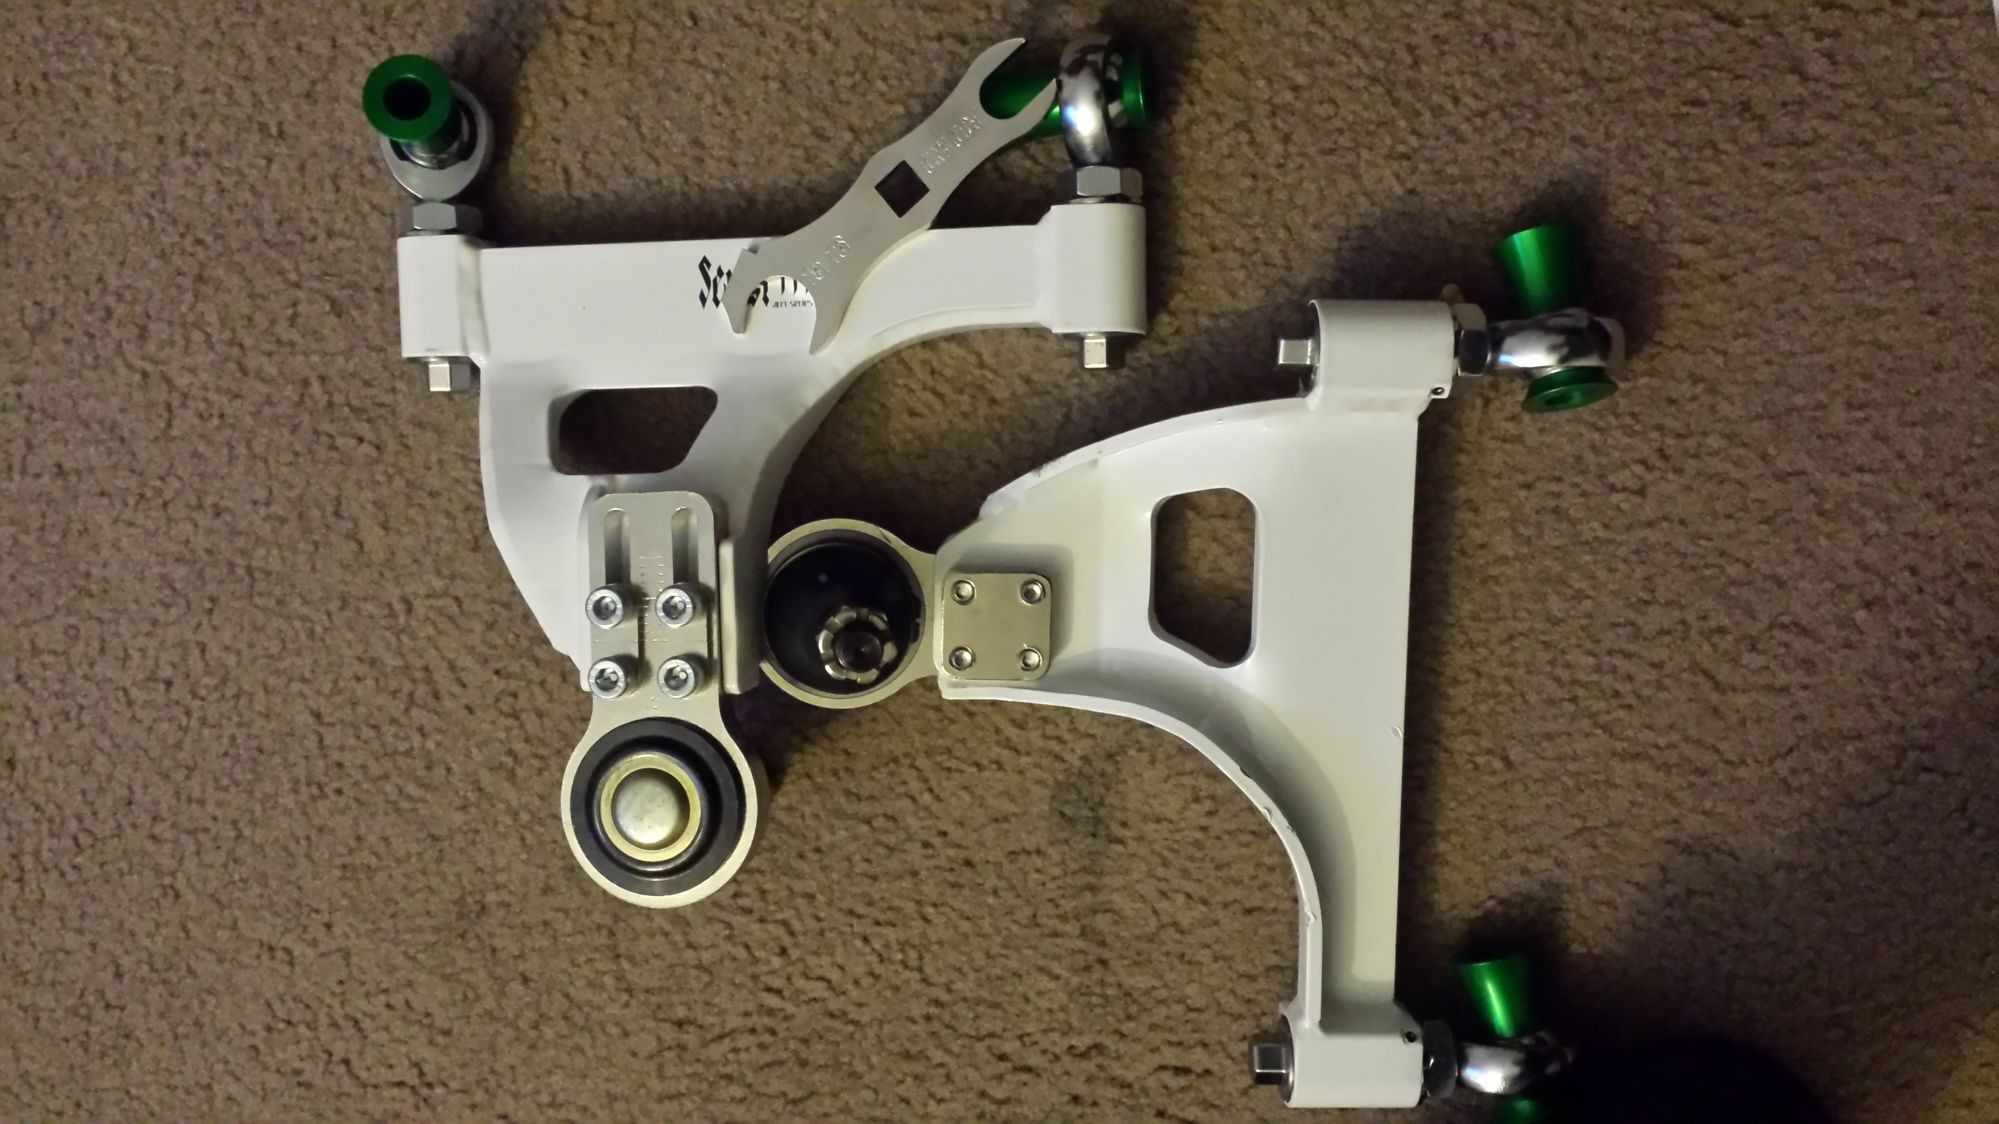
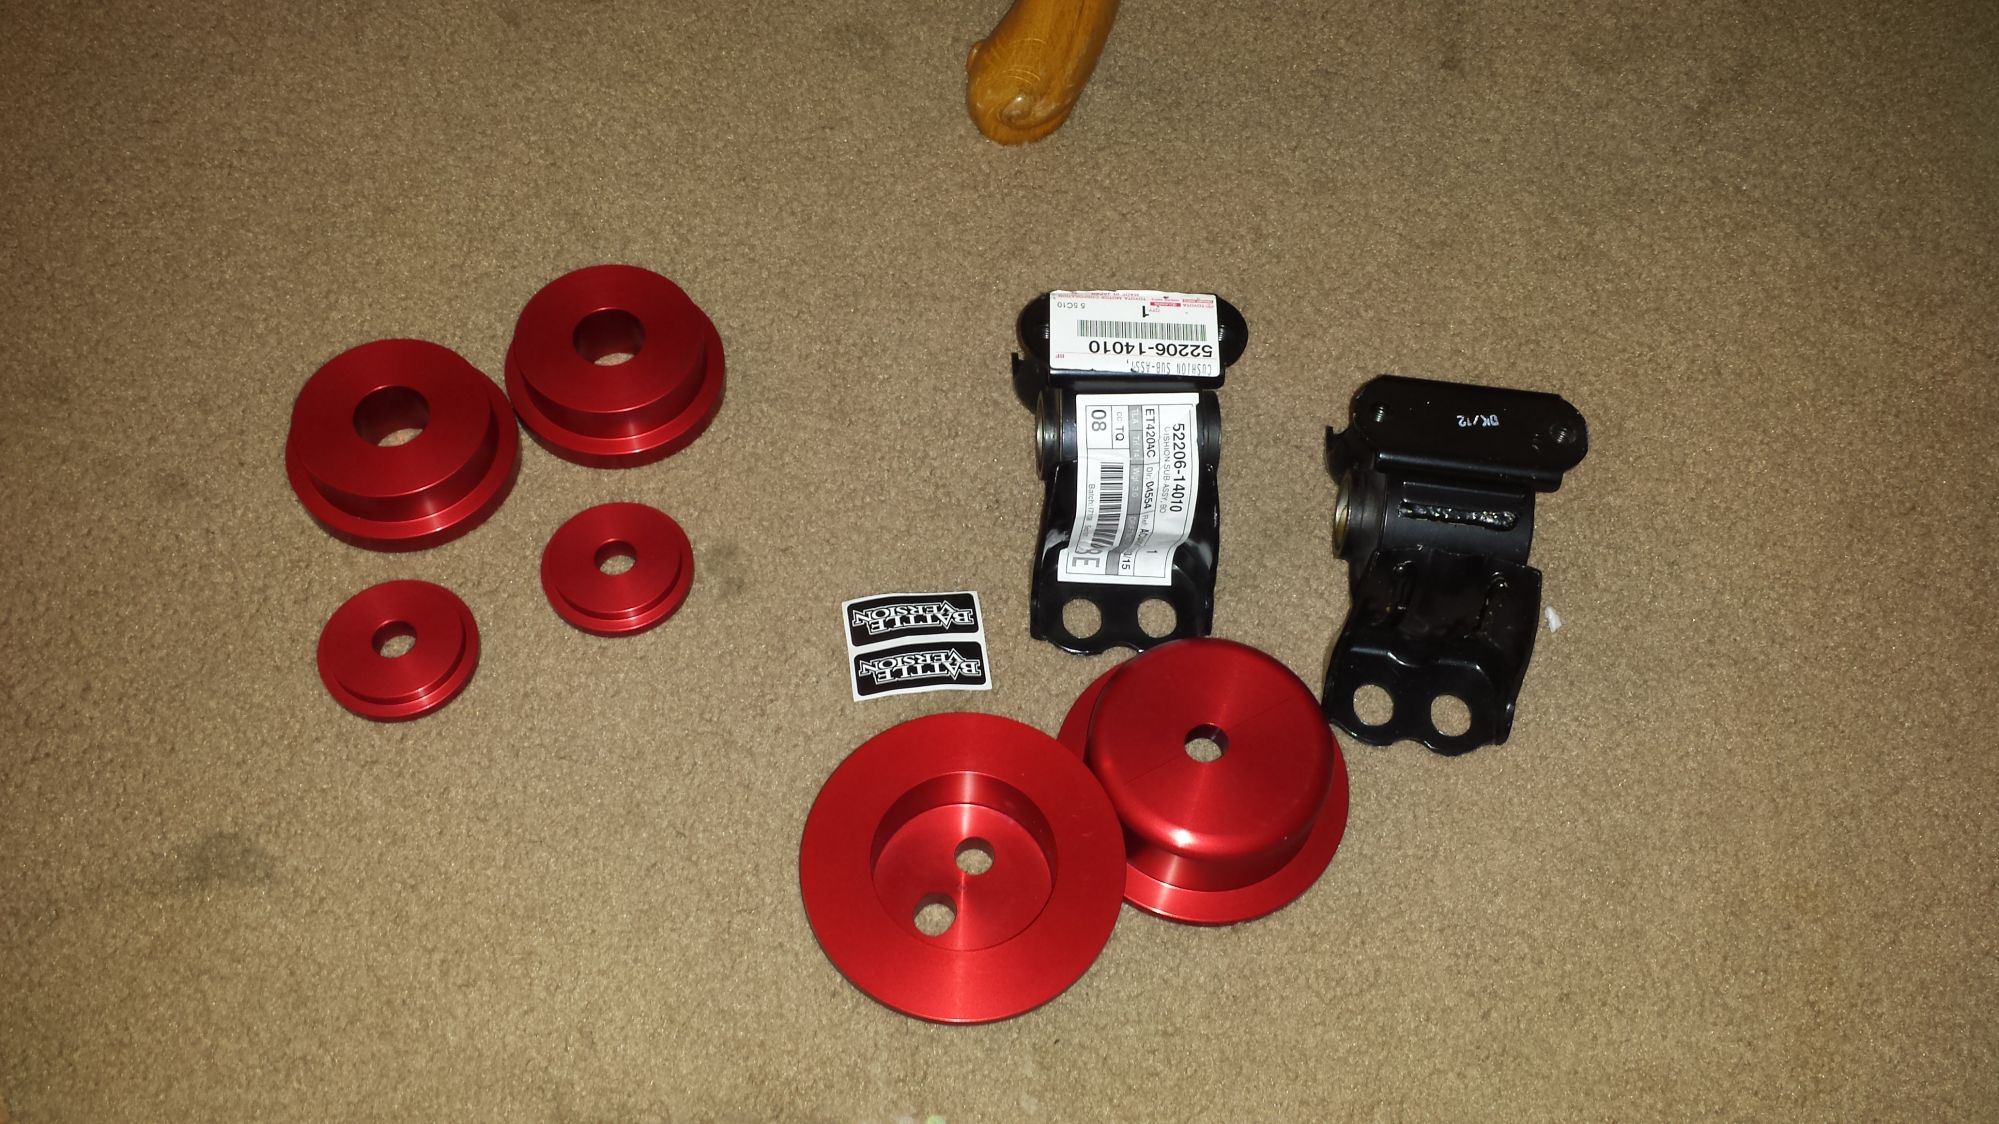
10-8-2015
so it's that time again. time to crank up the heat, and my valve started leaking. so I picked one form a local junkyard. and I had a genius idea to make the nipples stronger. some jb weld and ta-da!!
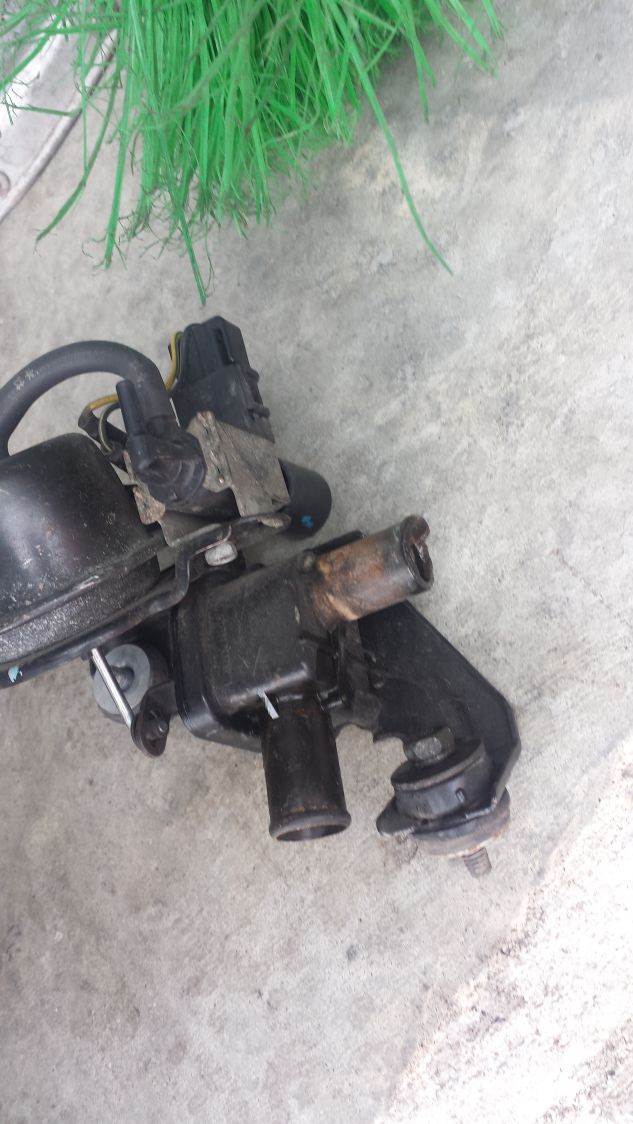
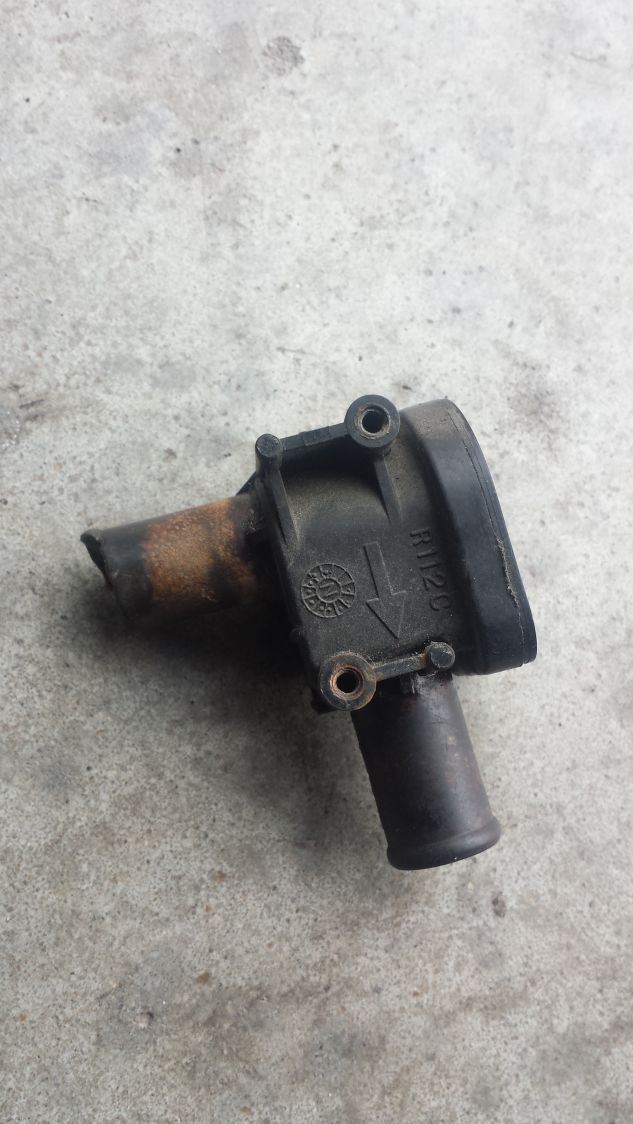
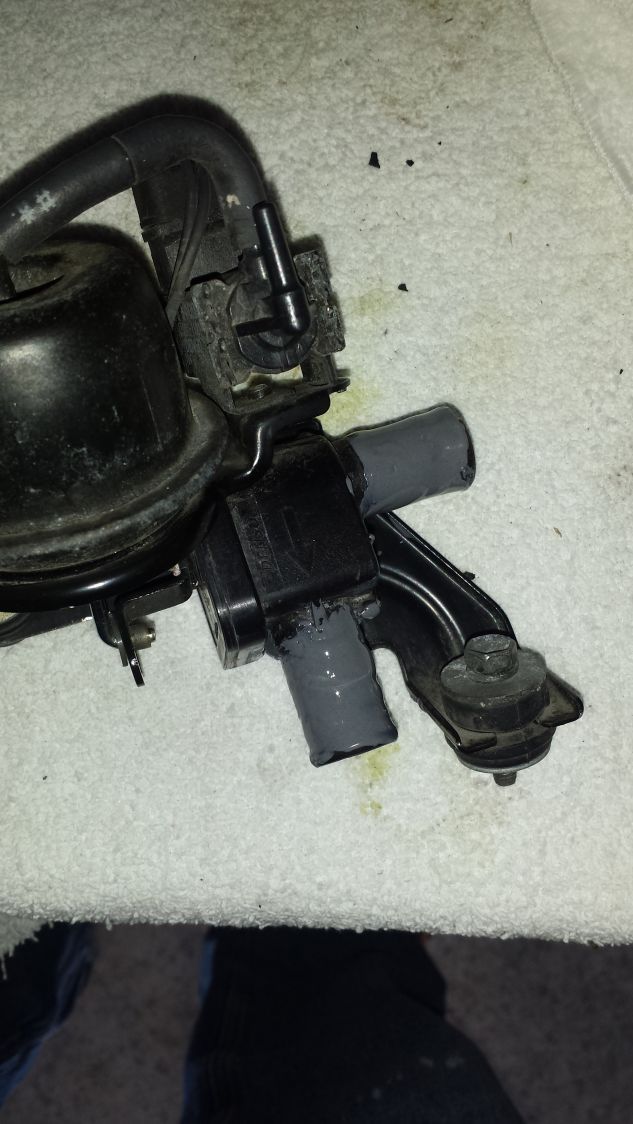
and it still leaks. it leaks at the plastic seam at the bottom, so I found this alternative. thank god for clubLexusand the internet.
https://l.facebook.com/l.php?u=http%...2F&h=DAQGT-zYF
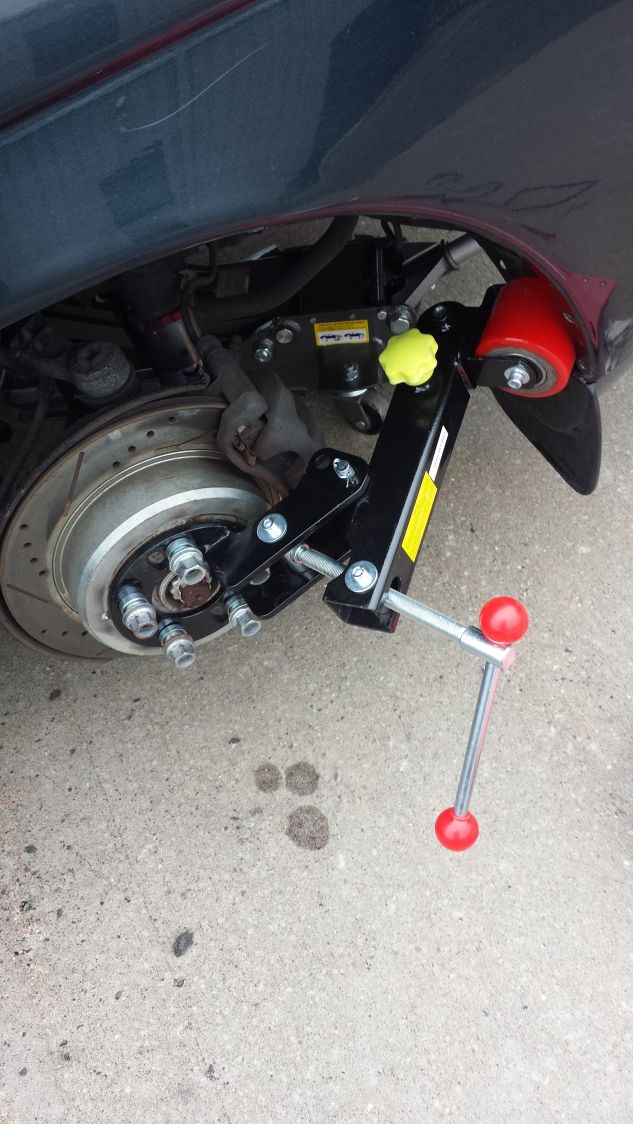
so I finally got around to getting these fenders rolled. the process wasn't bad but would had been better if I had an assistant chick to hold the heat gun on the fenders as I rolled. I tried to match the front and back curves evenly as possible.
I brought this nifty kit.
http://www.ebay.com/itm/Fender-Roller-Tool-Lip-Rolling-Extend-Tools-w-1500W-Heat-Gun-Fender-Finisher-/351443501724?hash=item51d3aa429c&vxp=mtr
it's an eastwood knock off, but does the same damn thing. you need to lock title the adjusting bolt, and grease the threads before use tho.
oh, and in the process I eliminated the only spots of car-aids(rust) by cutting it out/off and spraying some black paint to cover it up in the meantime until the lazy monster goes away and I feel like welding on some new metal,here is the results of my work.
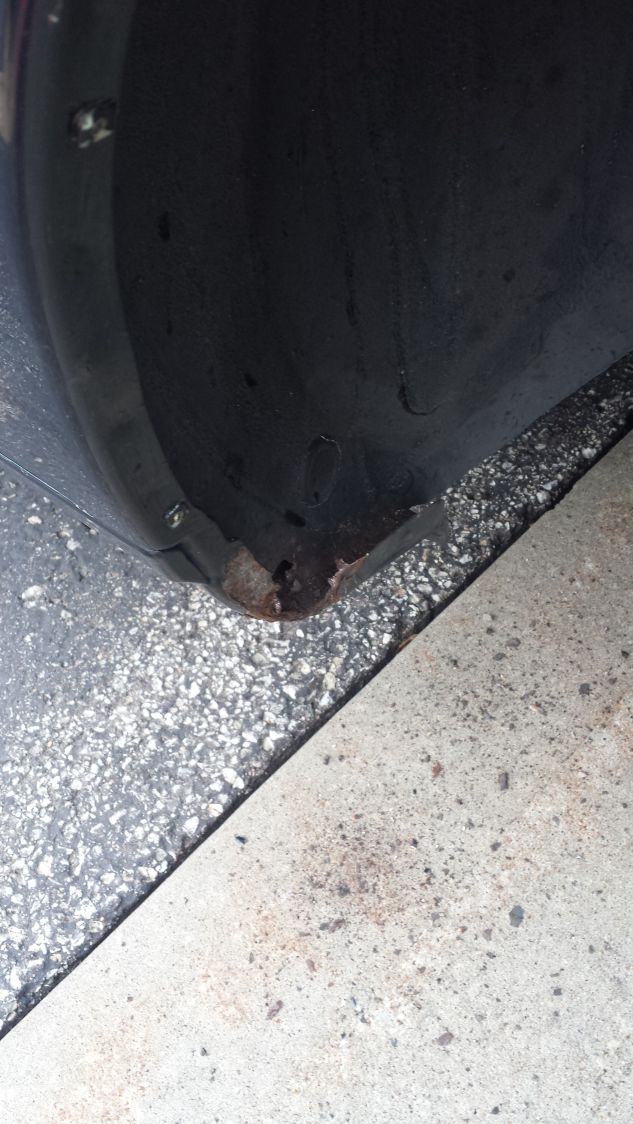
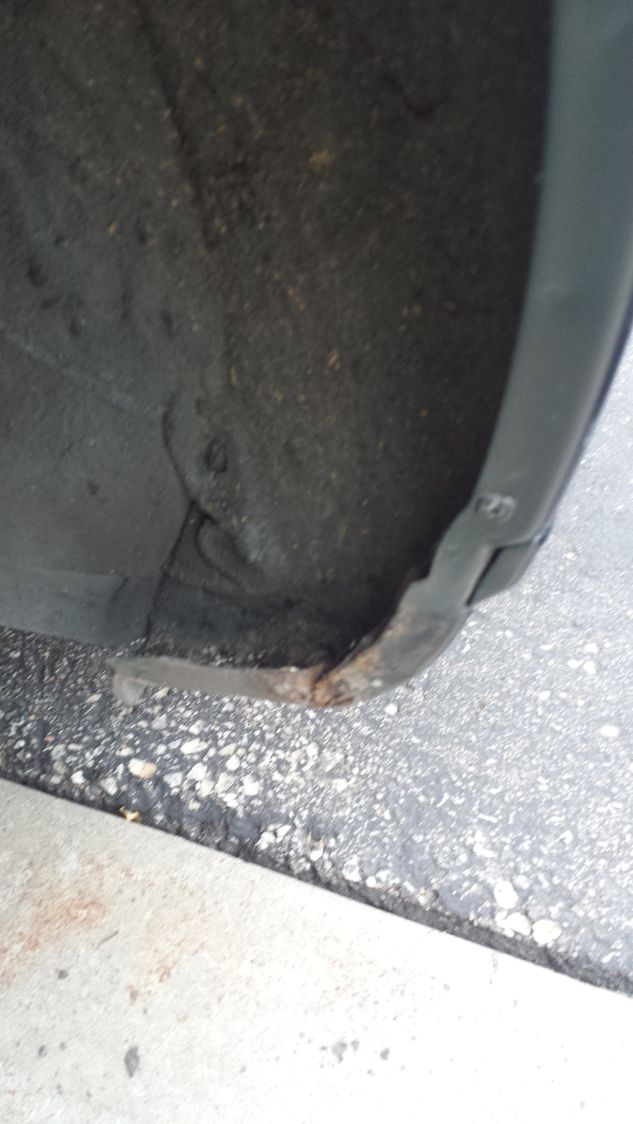
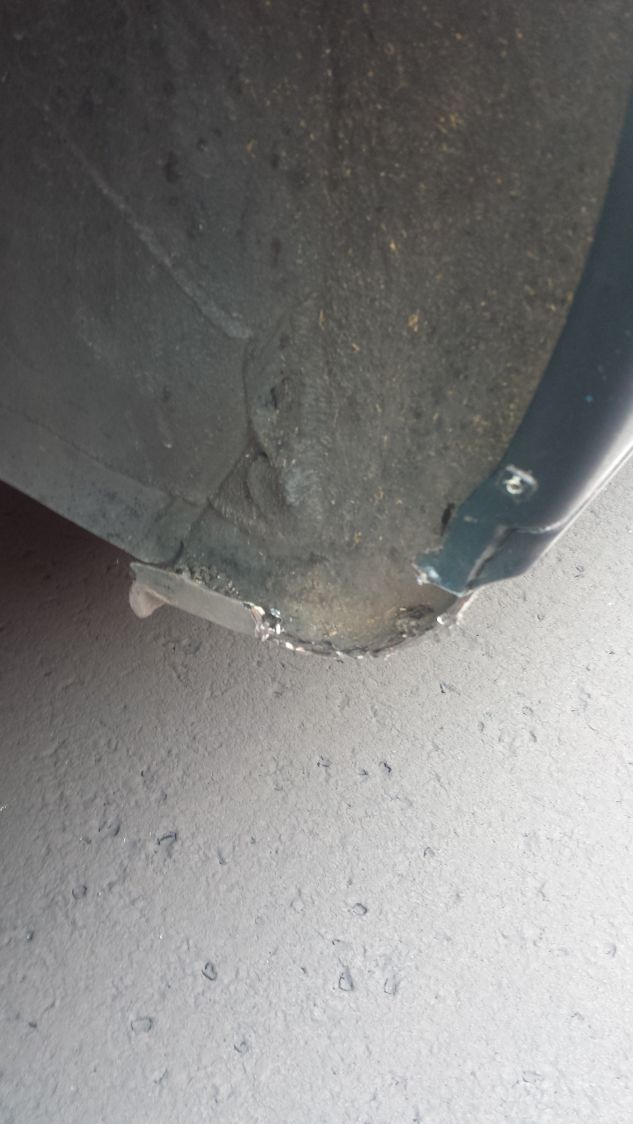
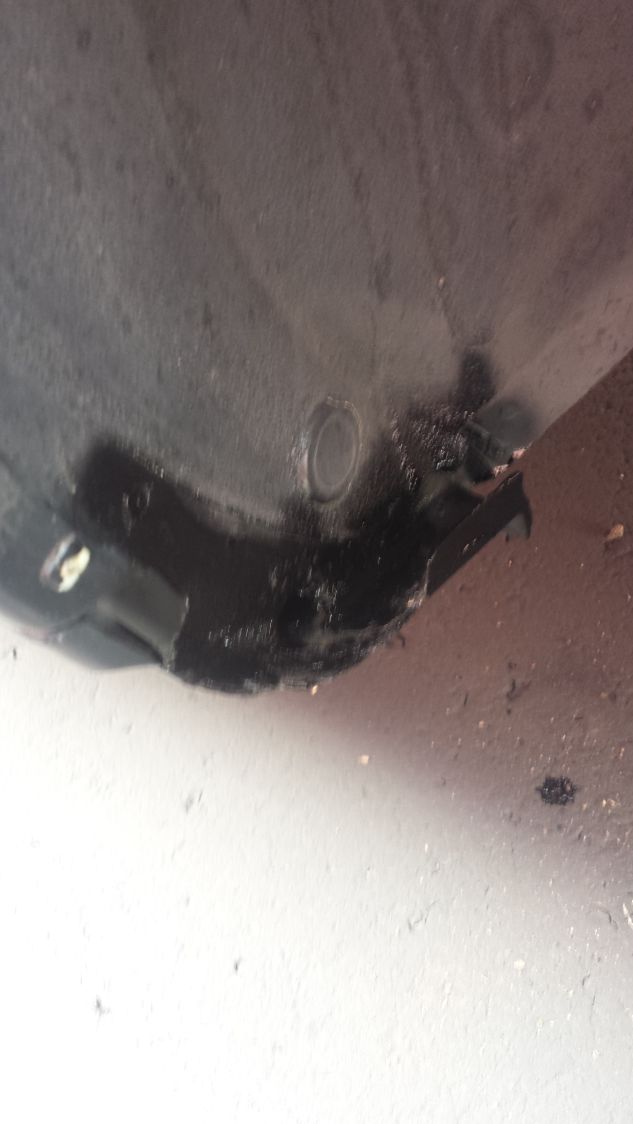
and even the plastic strips have metal in them.
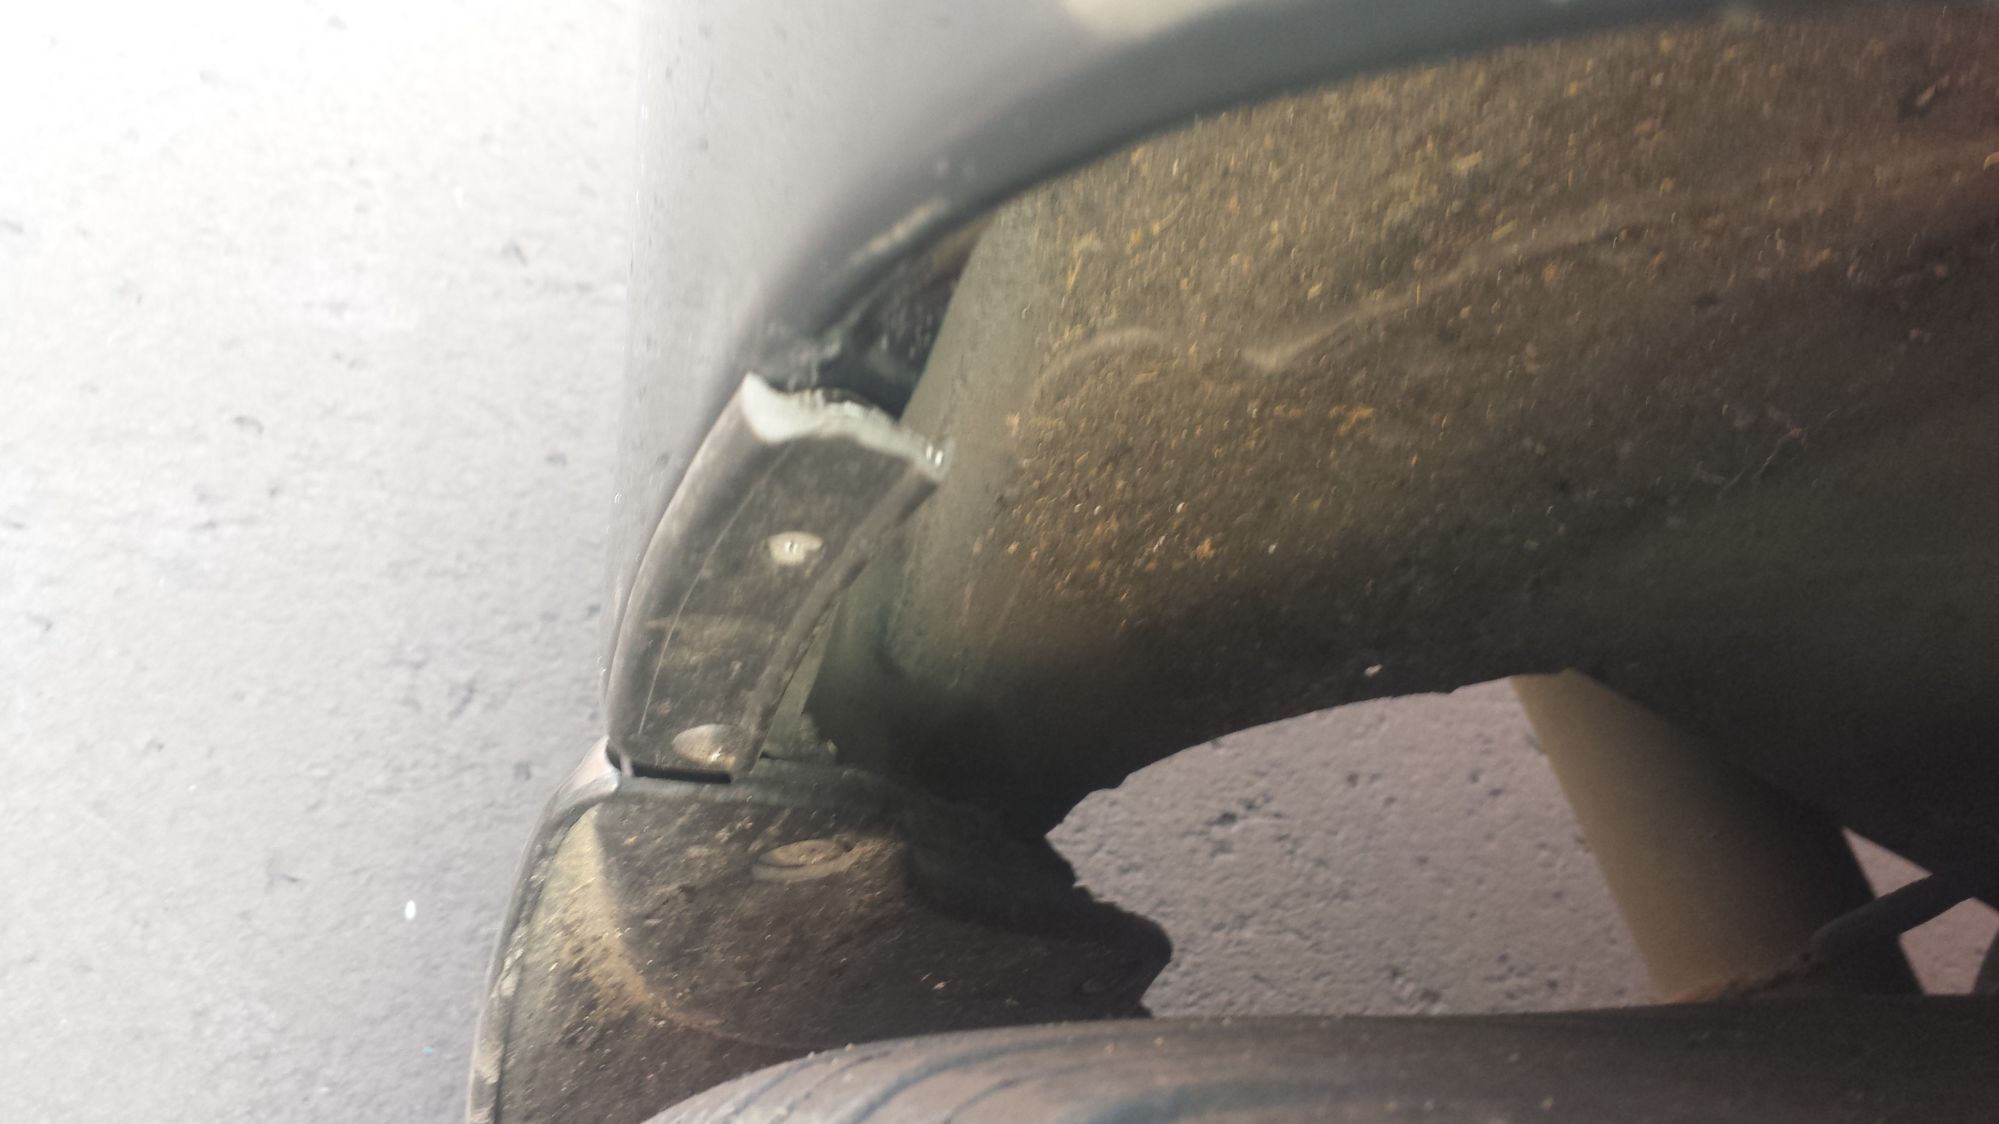
10-14-2015
so I finally, finally got around to pulling this damn sub frame to install these suspension goodies. working solo has it's drawbacks. But the job must be done. total took me 12 hrs(2pm-2am) I didn't get to install my wheel bearings like I wanted to and my rear diff solid mounts either. and u will know why in a bit.
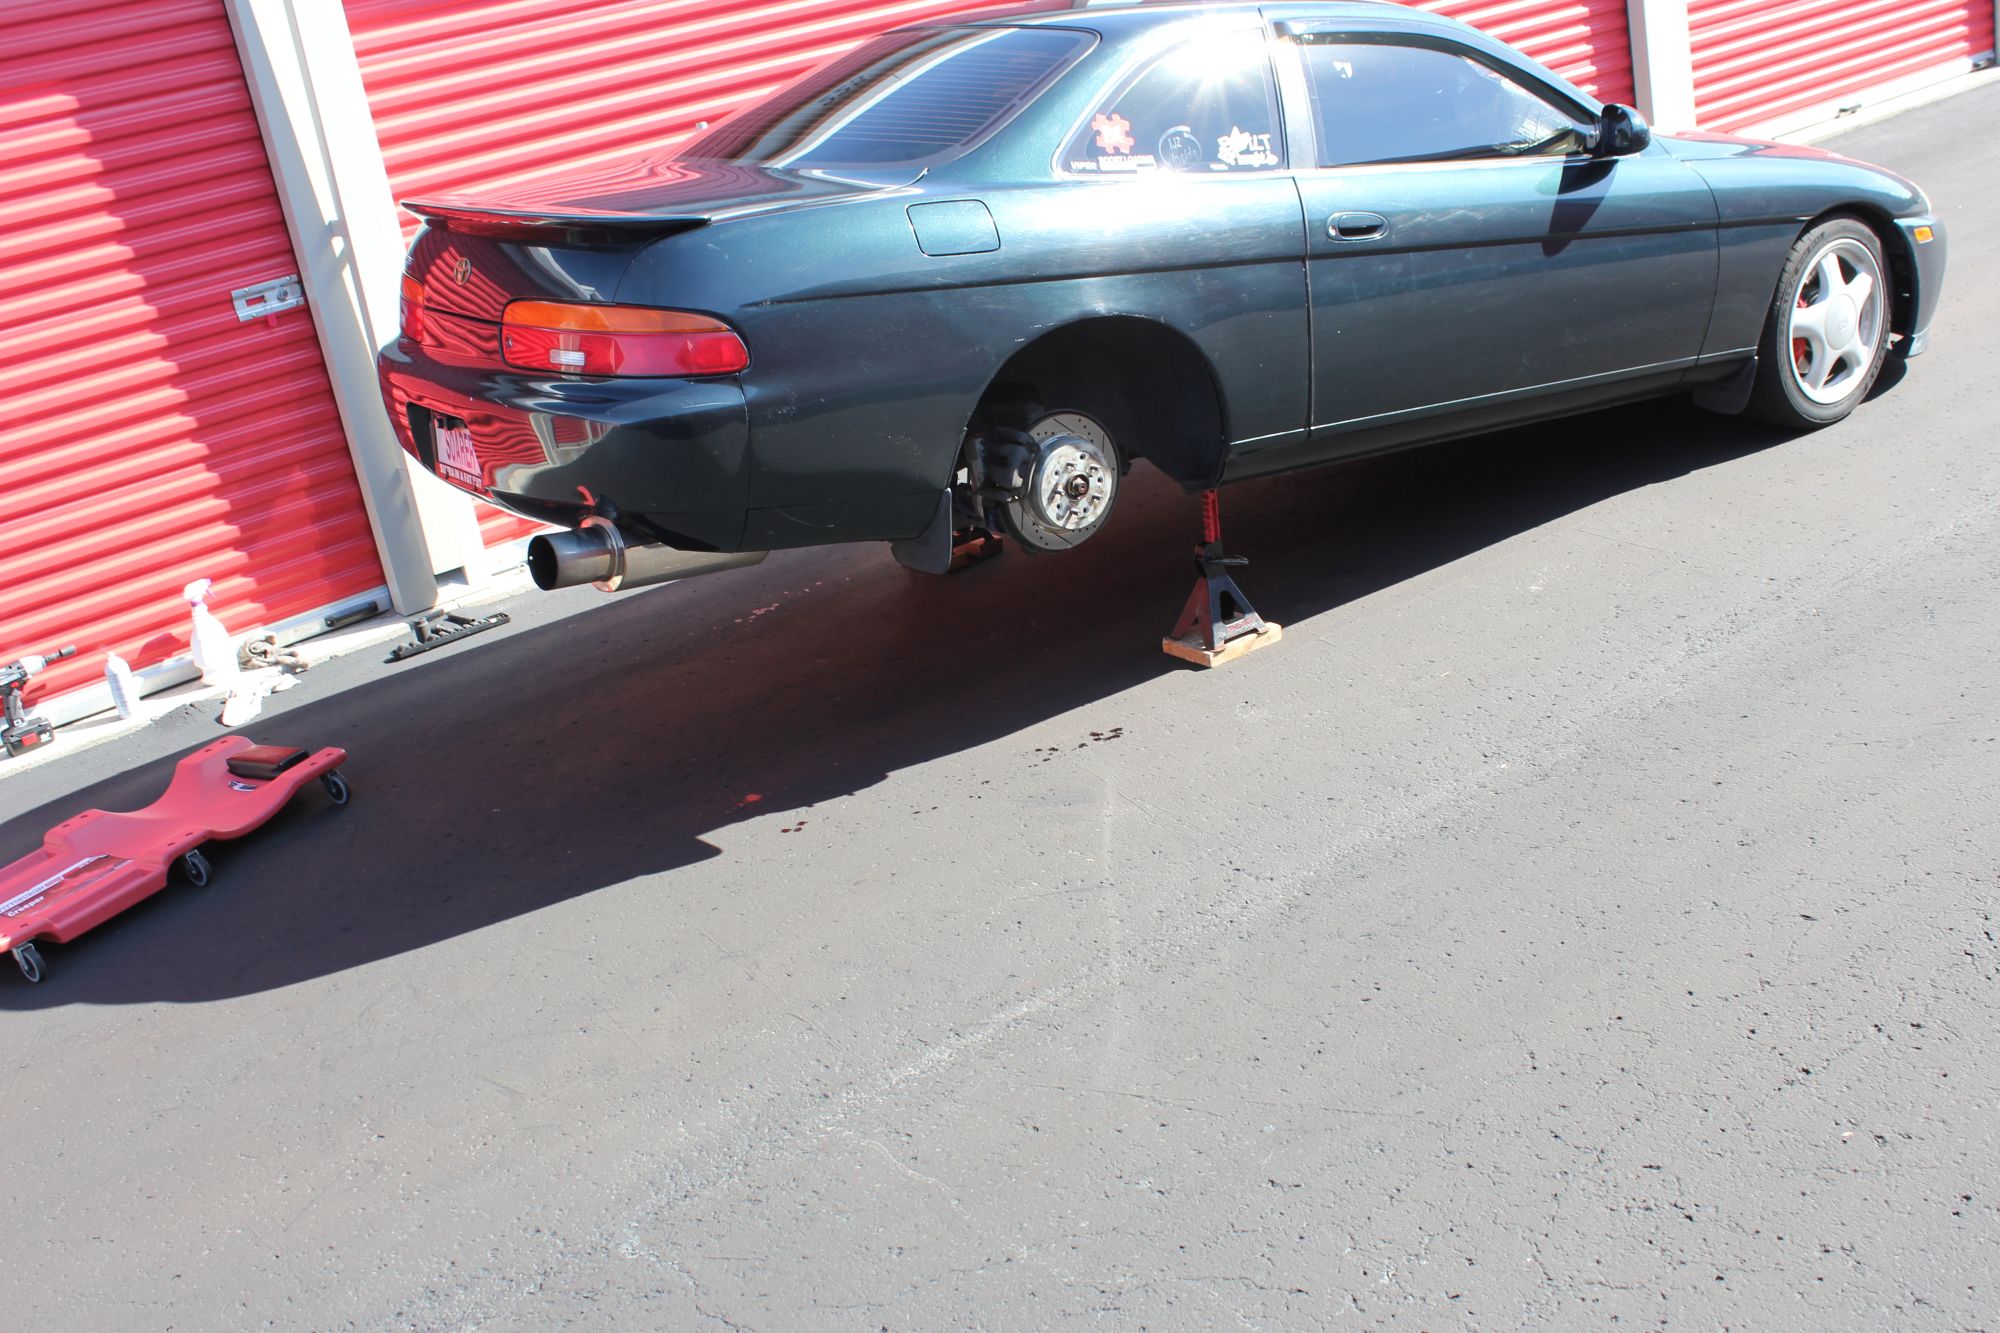
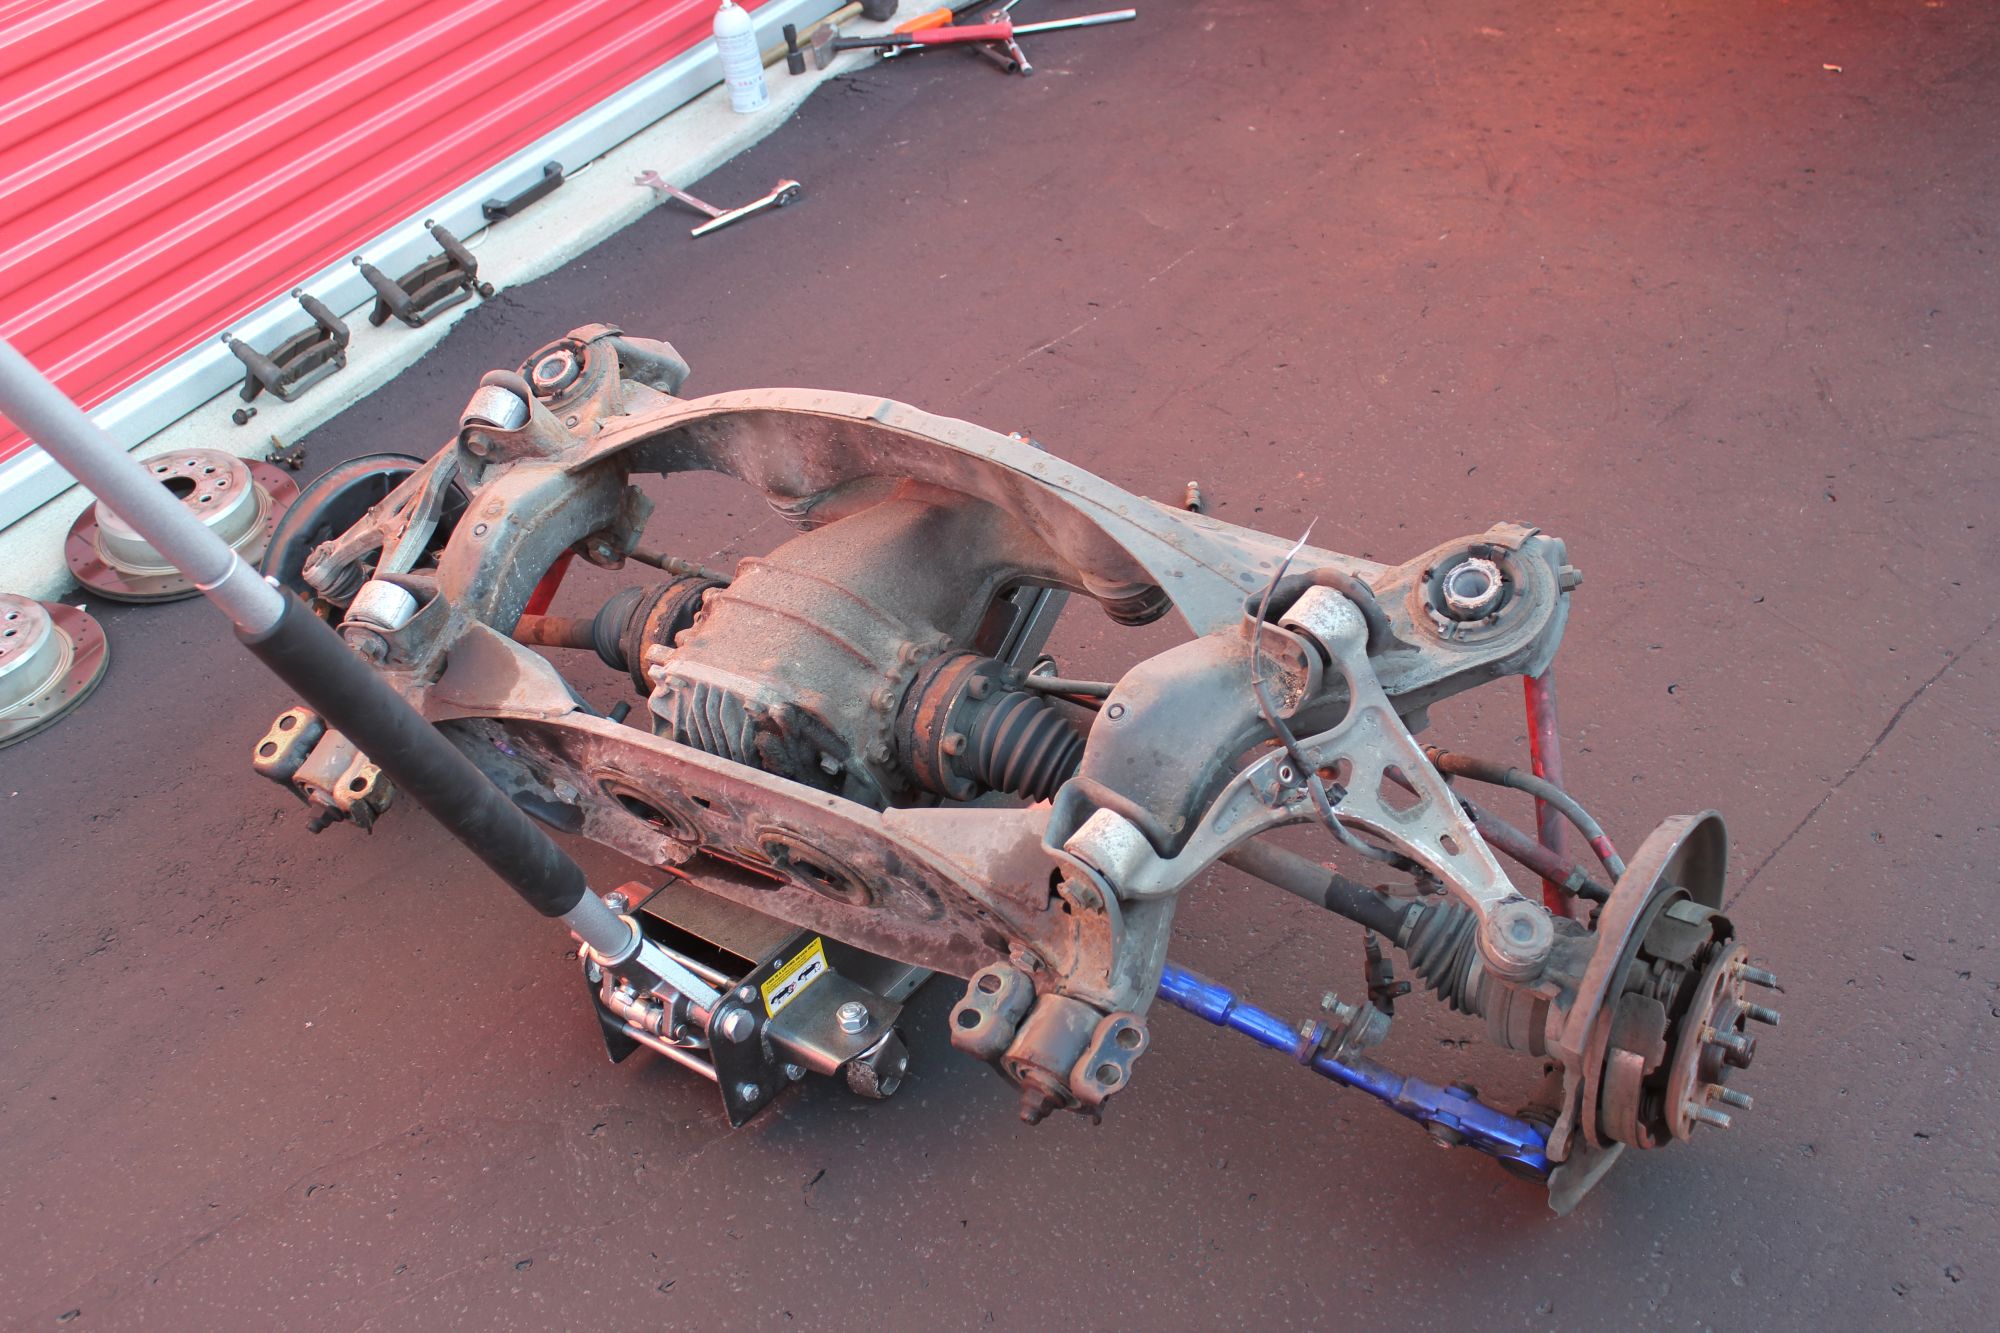
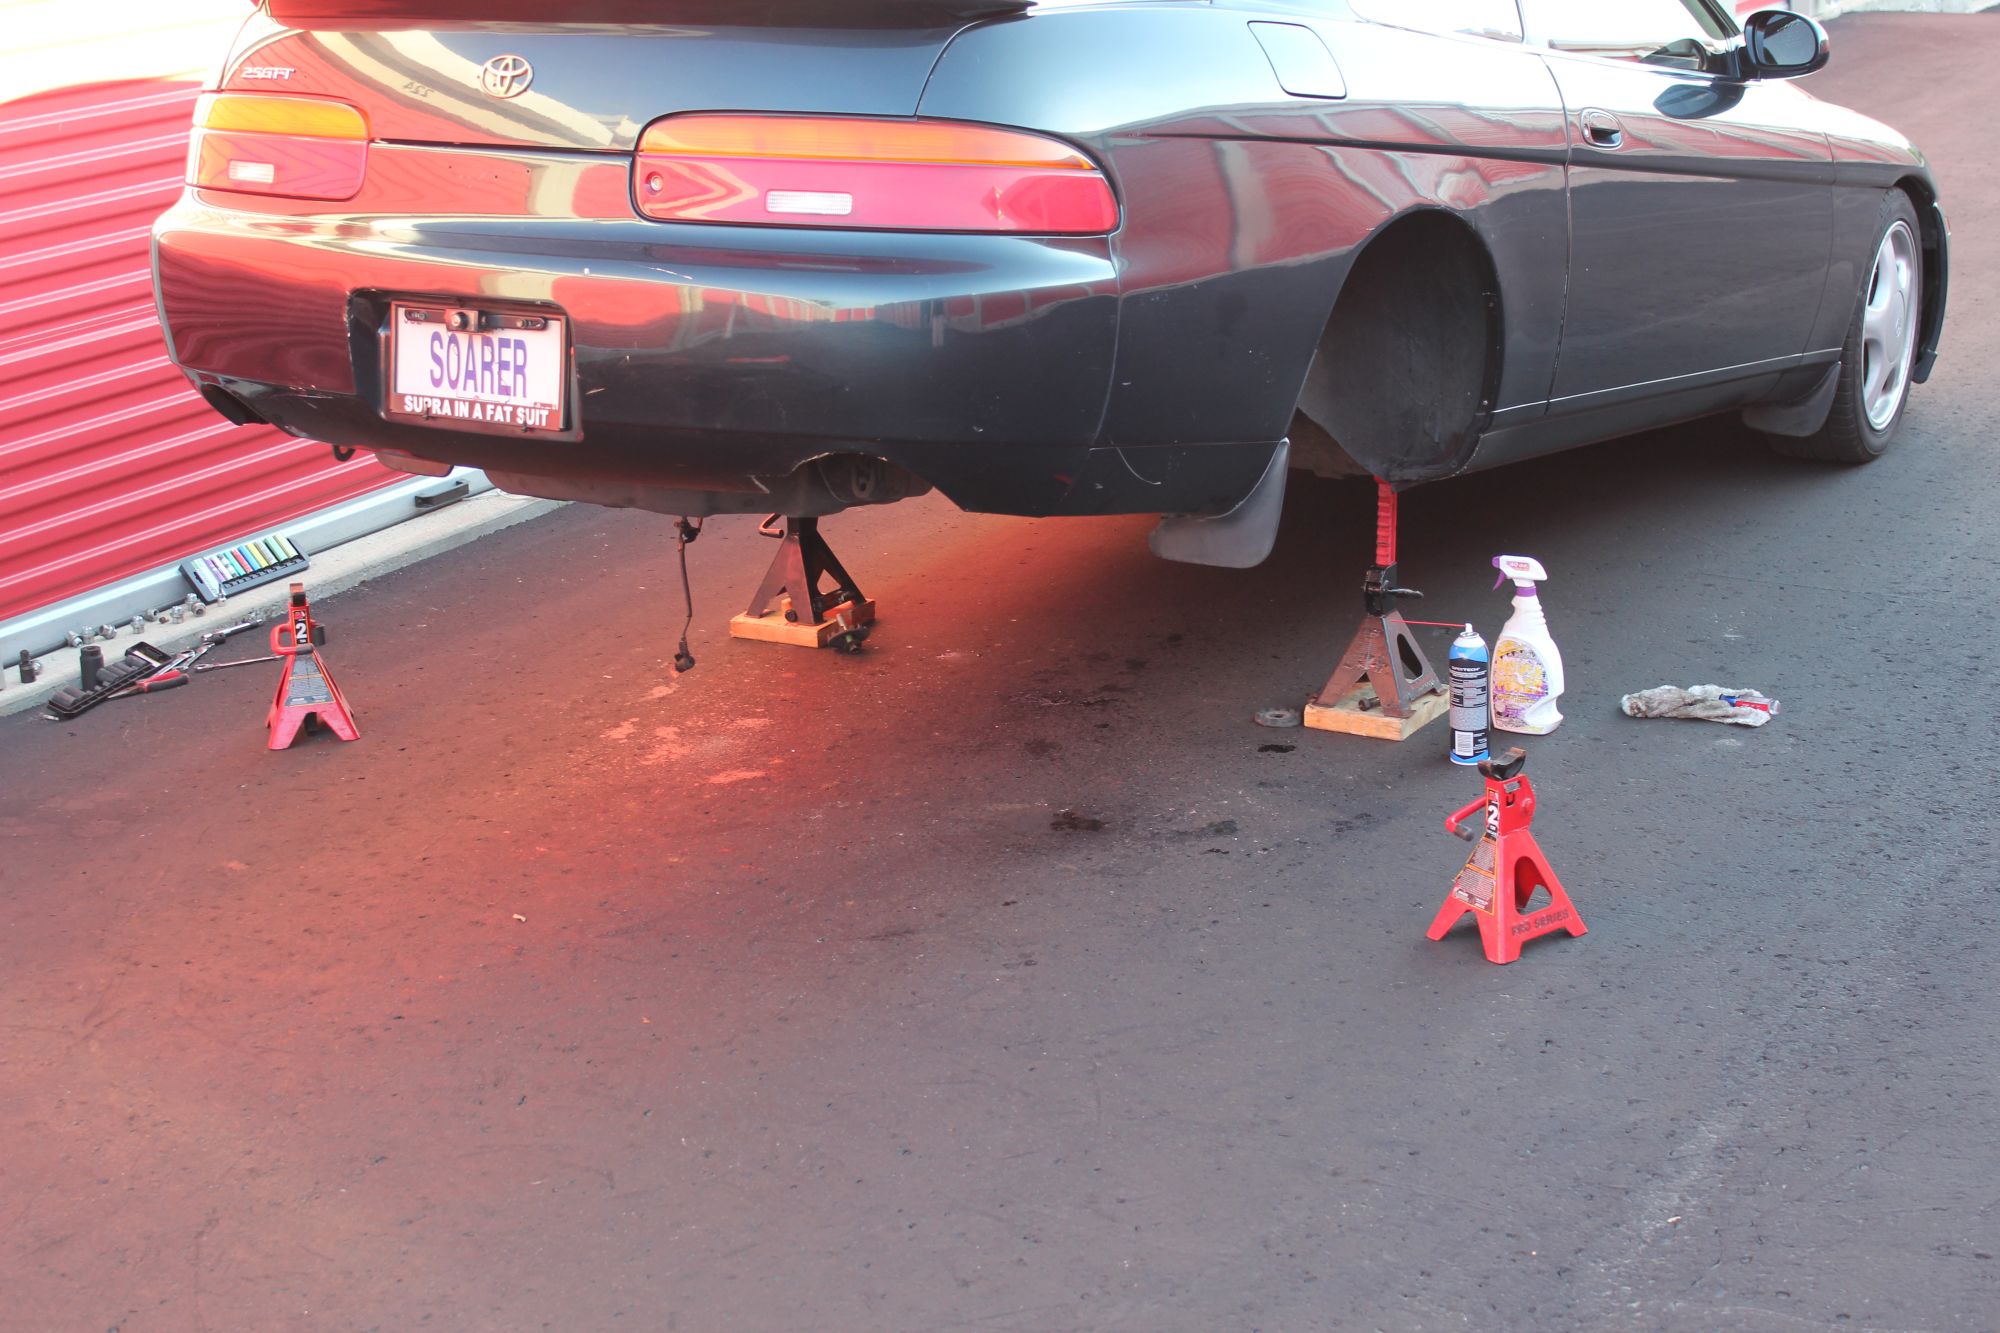
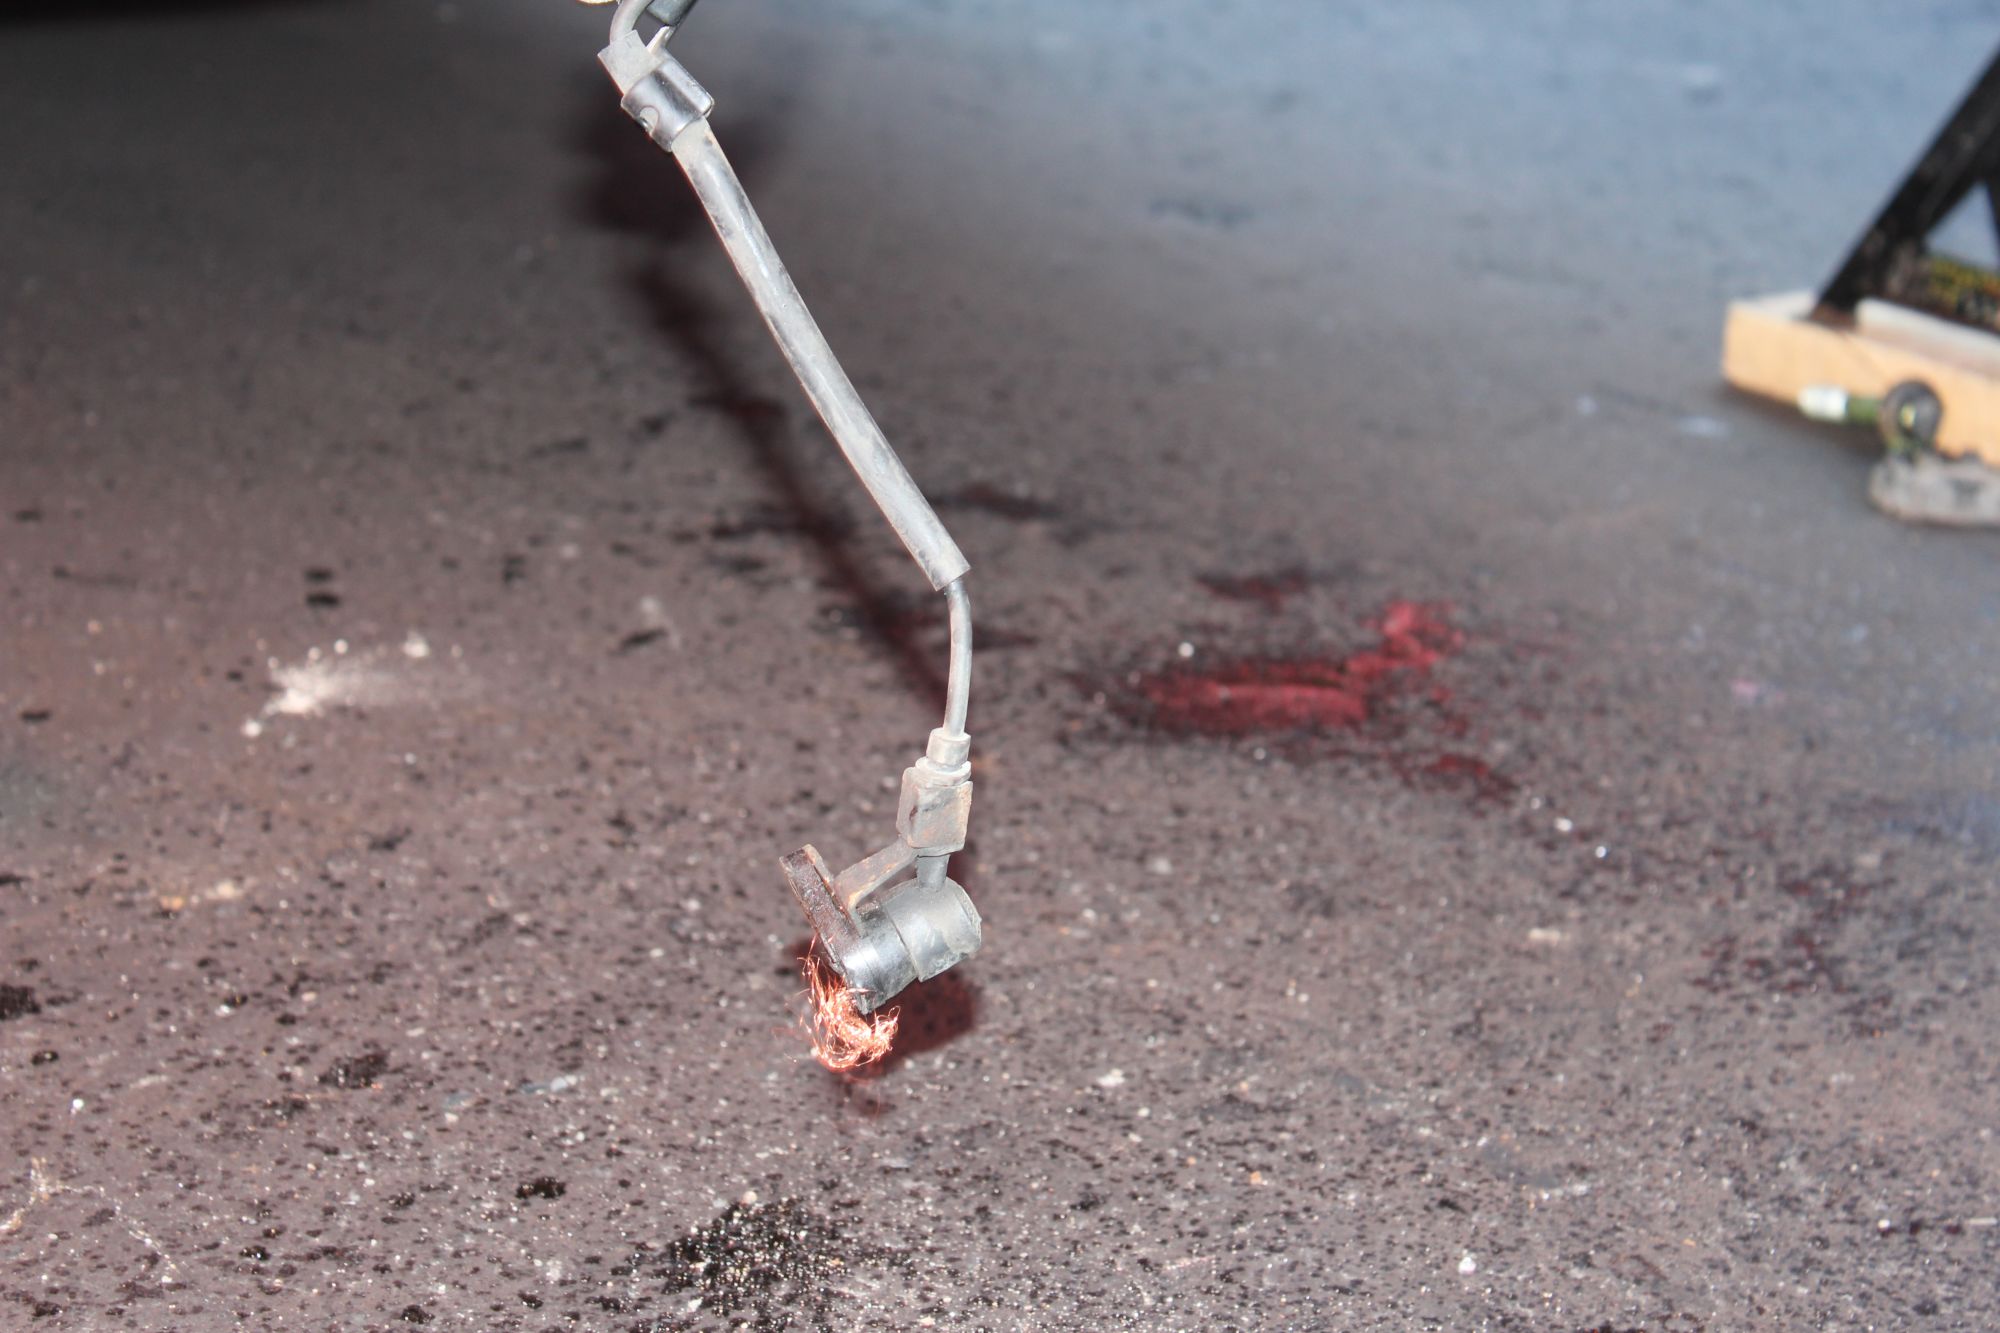
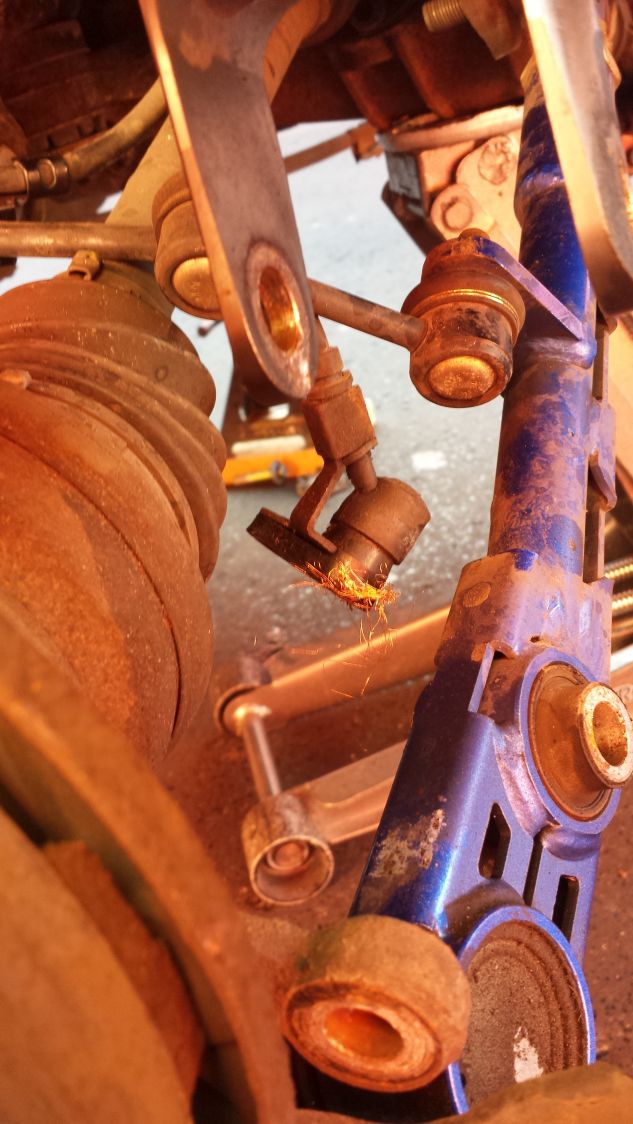
so then on the journey of removing my sub frame the damn left rear abs sensor got stuck/jammed in the hole, and broke apart. so **** my life. worst of all there is still plastic pieces left in the hole. not just an issue of sensor replacement. now I might have to do the whole sensor.
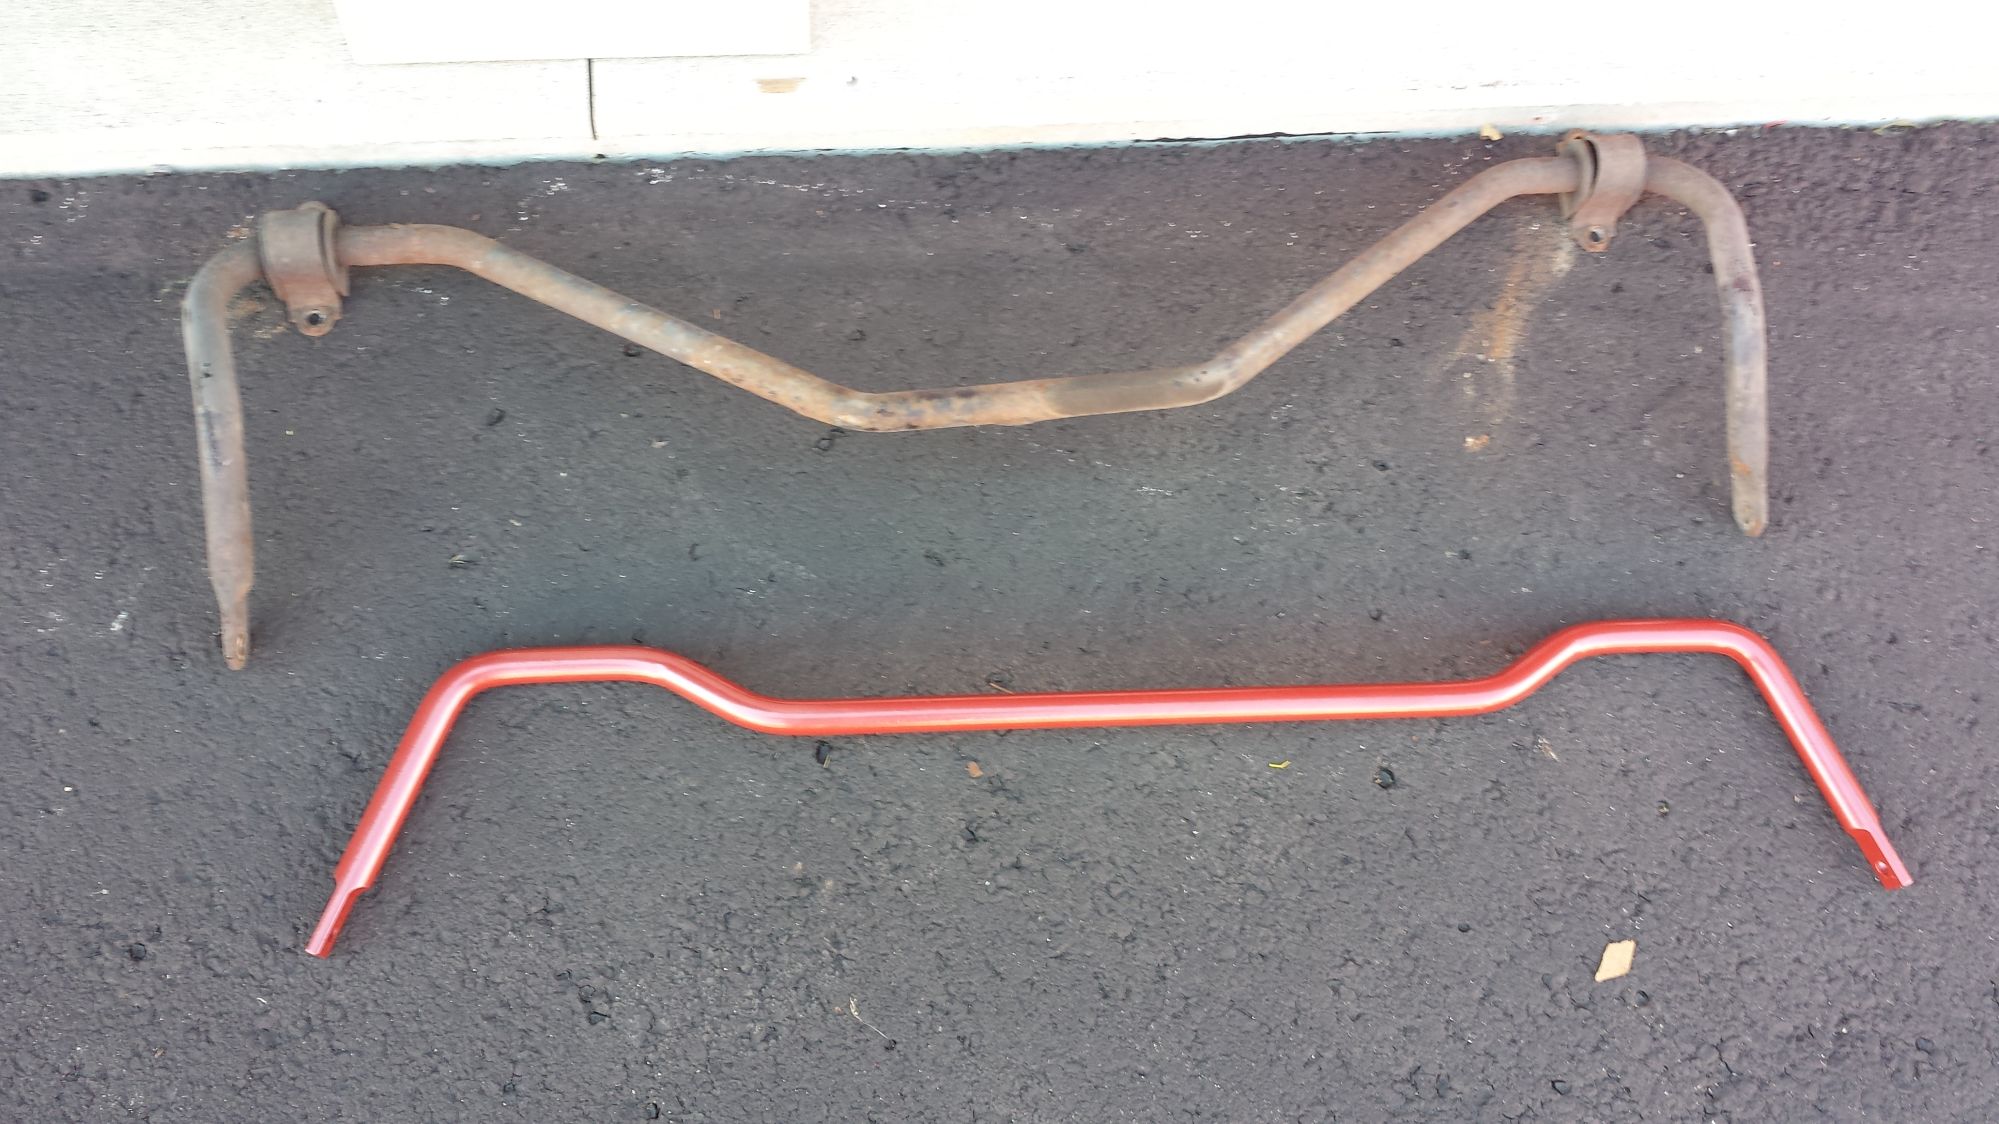
here is the comparison shots of the rear mk4 sway bar and the front sub frame bushing.

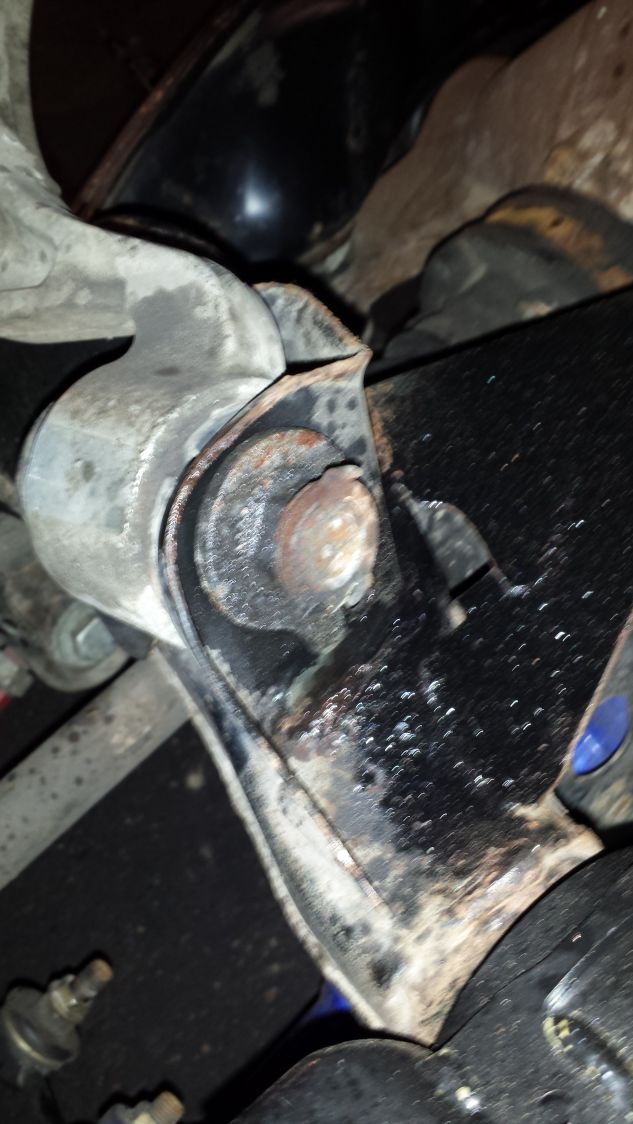
well there was this weird nut-locker for the upper arms. never seen this one before, anywhoo getting the ball jointsoff was more of a challenge than anything. I didn't take any pics of the arms installed after because it was dark. but here are some snaps on the rack.
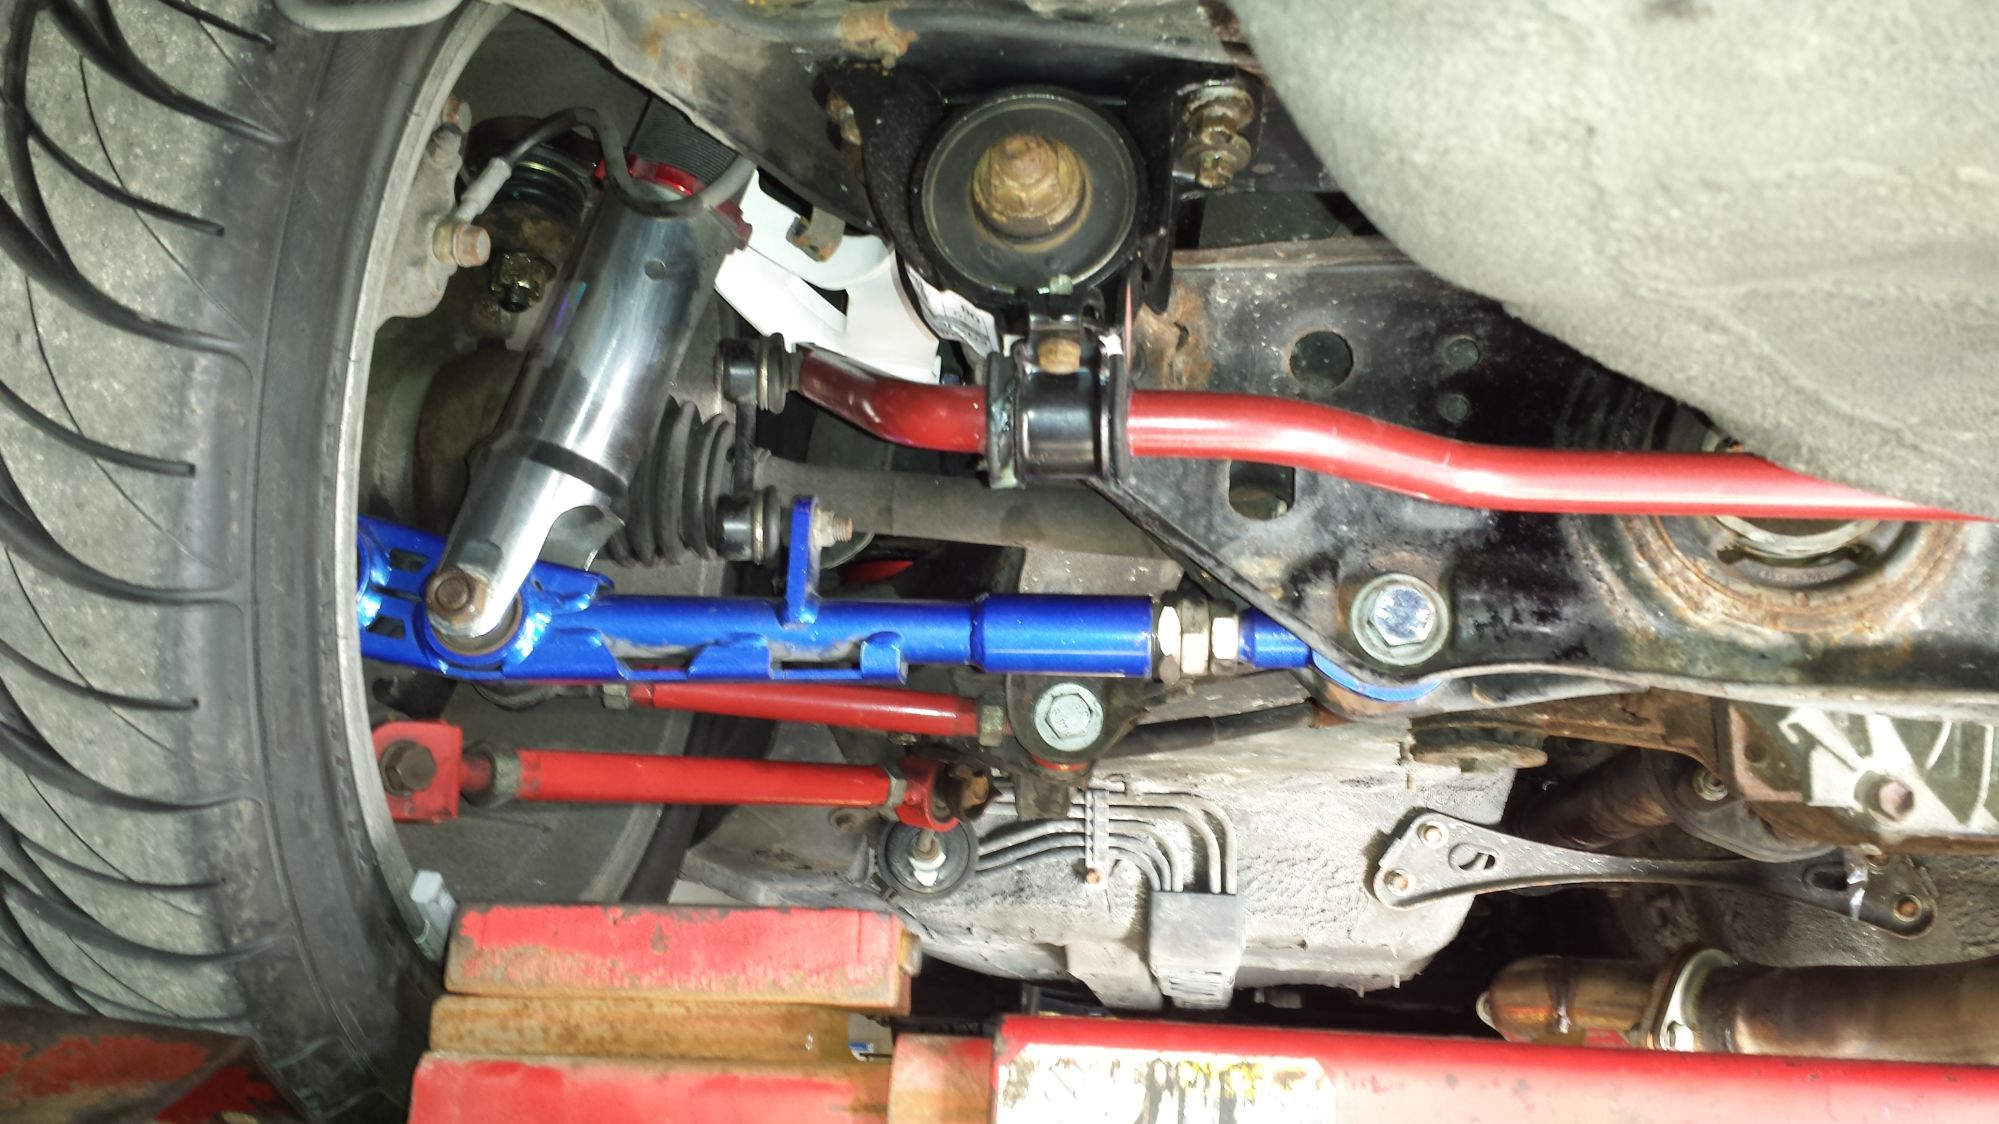
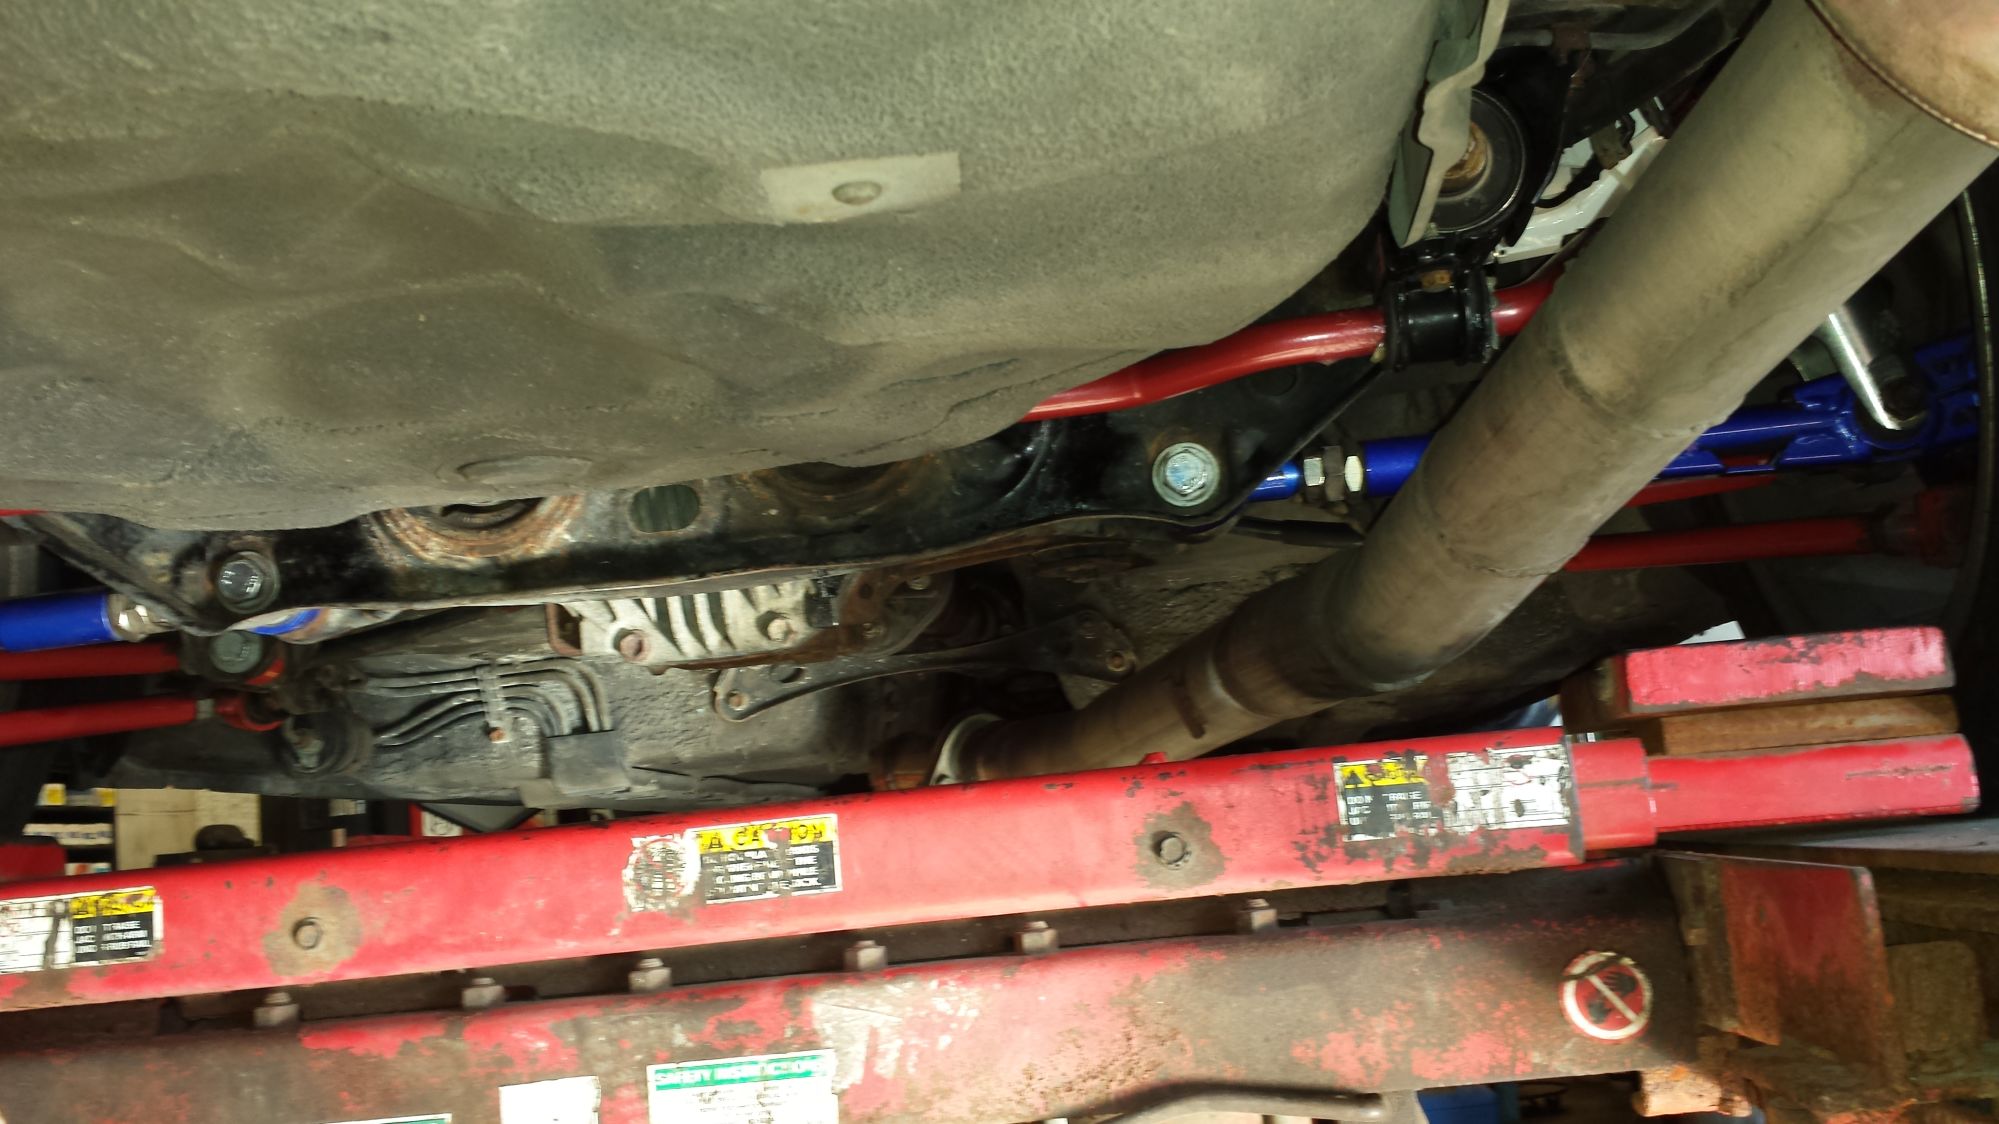
and here is the current alignment specs for it after the serial 9 arms..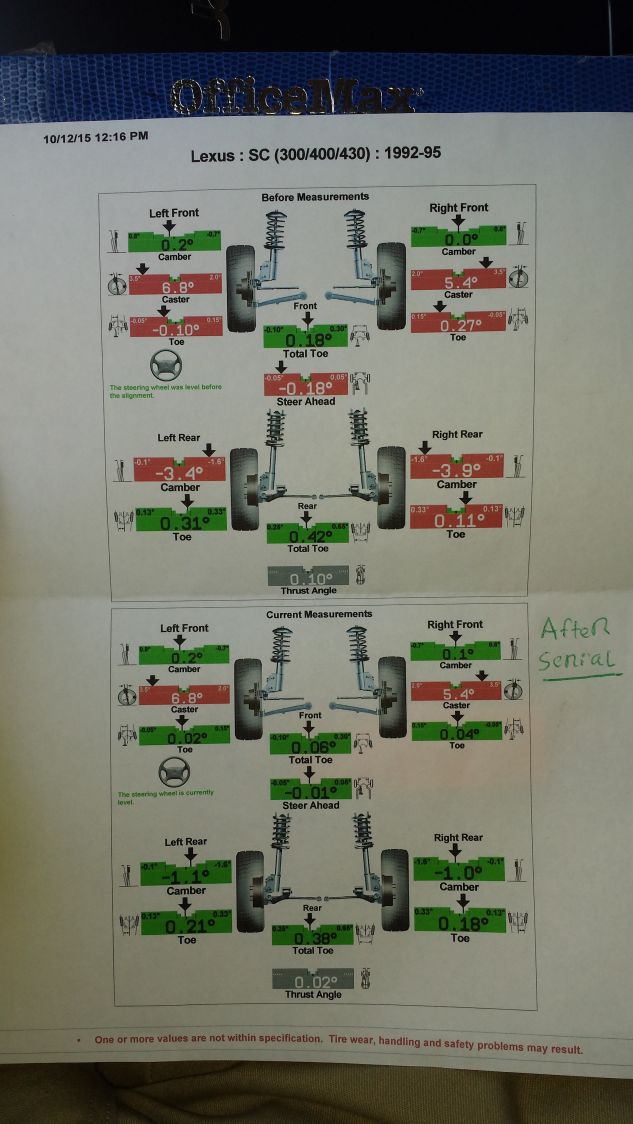
12-17-2015
Well it's been a while. went to a dyno day(mustang) and had a surprisingly **** poor performance. granted i have a stock ecu and a stock injectors. but i never expected a crappy result like this??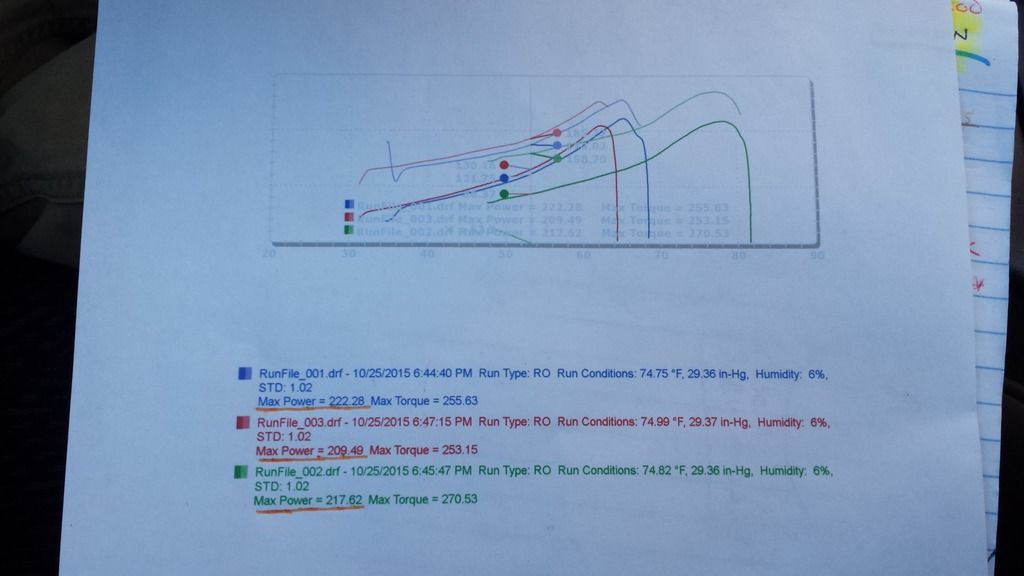
the guy told me that i had no boost till 6k. so either i needed to raise my redline or i had a boost leak. well until now i never really did a boost leak down test, so i was kinda stumped, i made sure all my hose clamps were tight as they could go. so i figured my 50mm outdated(and later to be found rusted) external waste gate was to blame?
so i brought a more modern eBay 46mm v-band waste gate.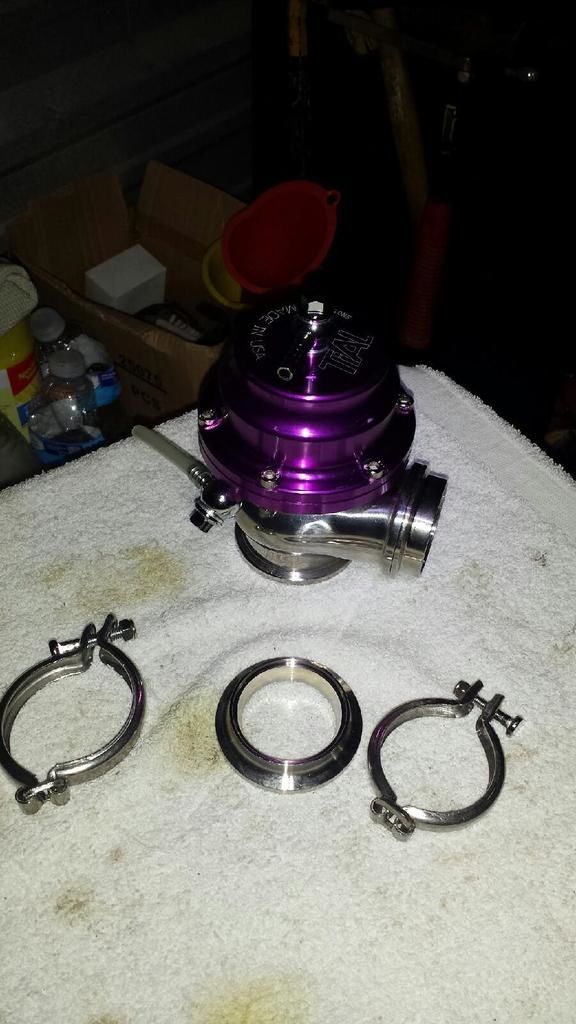
it is so boot-leg it has tial on it. it was a sturdy unit and the construction was good quality. came with 2 springs and no id on how many lbs they are tho..
so when i did my swap i DID NOT replace my exhaust manifold gasket. they looked okay but obviously over time they needed to be replaced. so i figured this was a cause of my boost pressure leak.
But as a major surprise to me i found the cause of the leak.
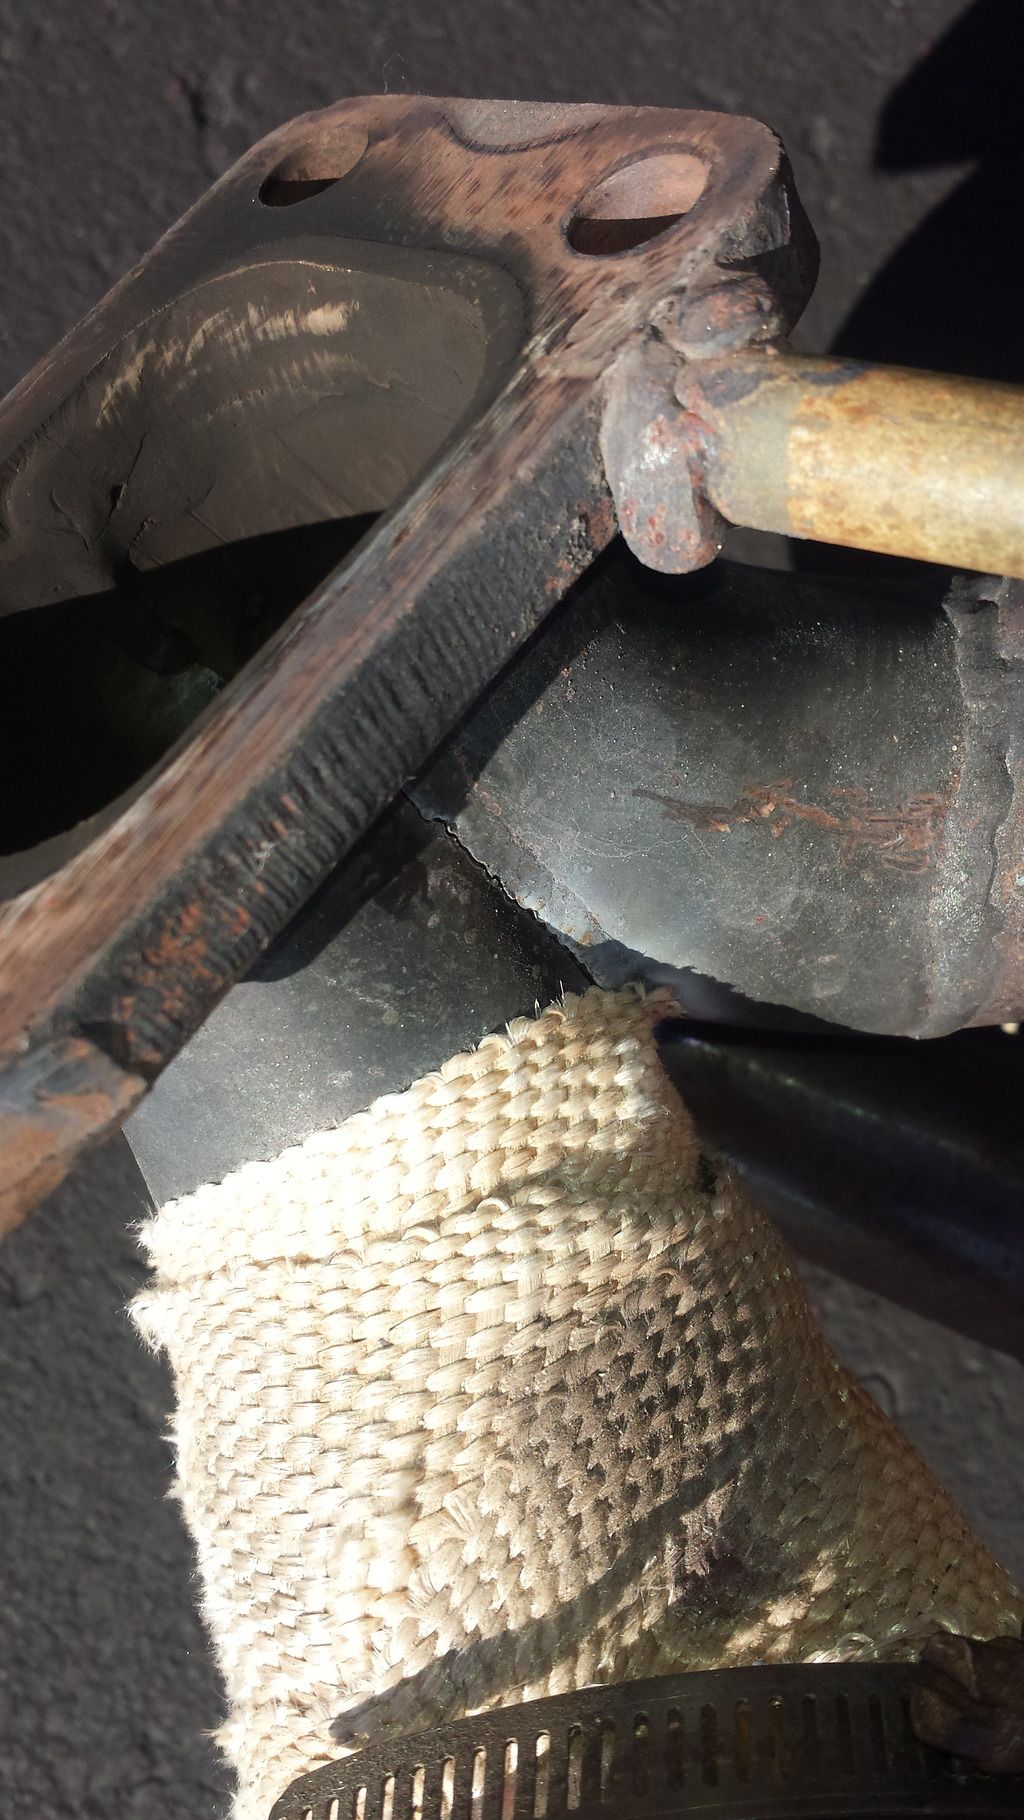
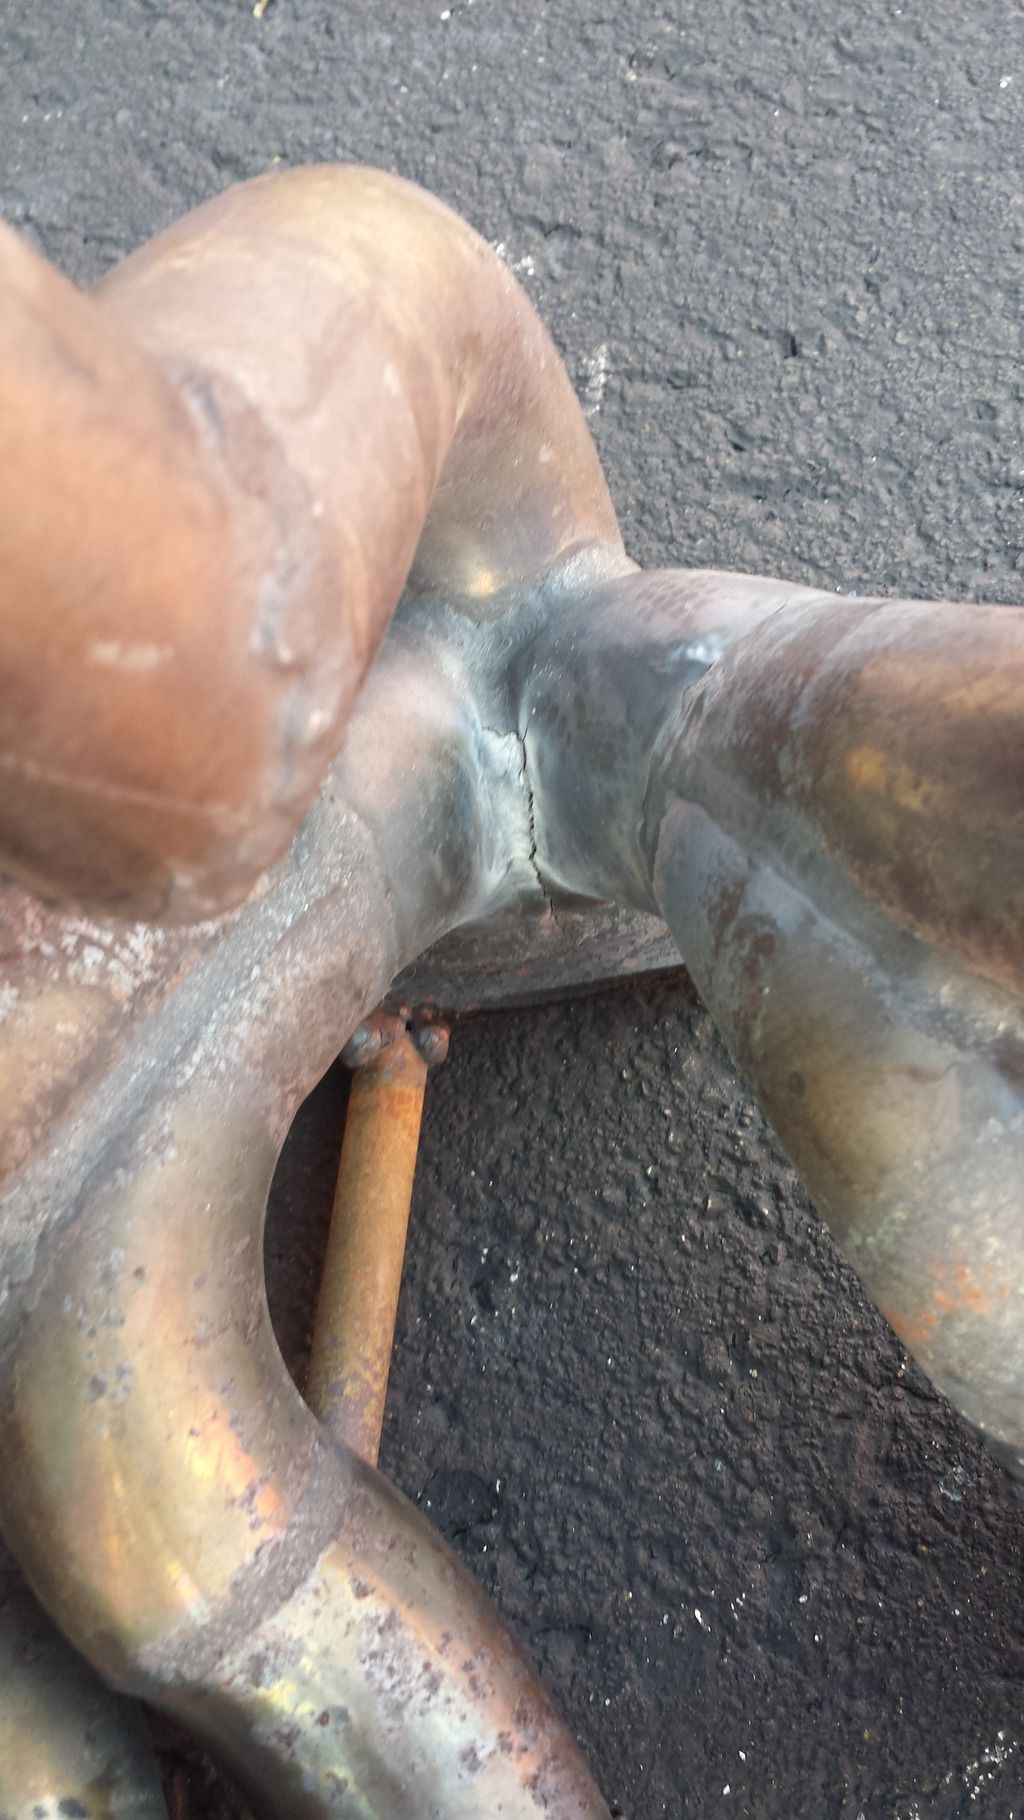
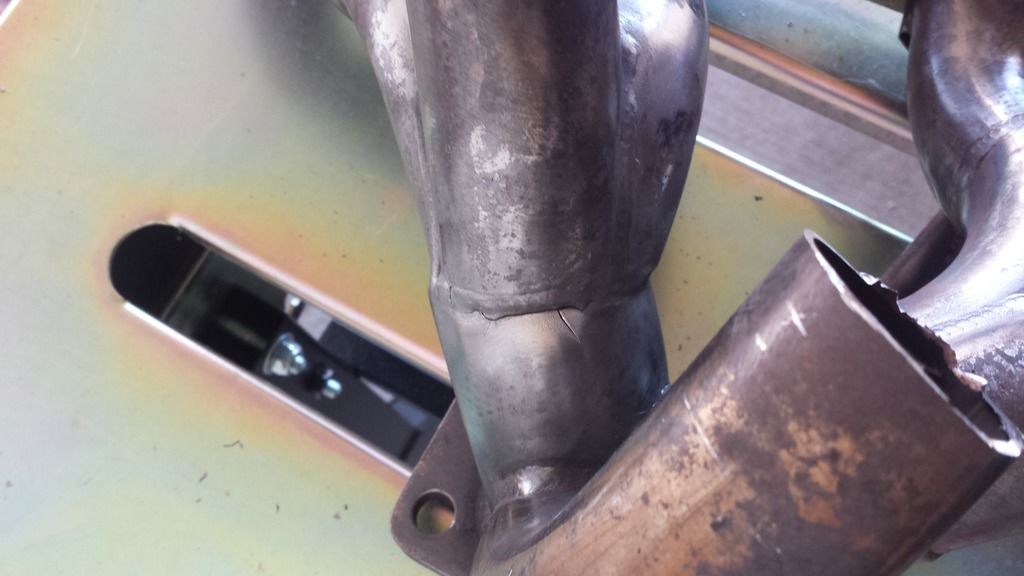
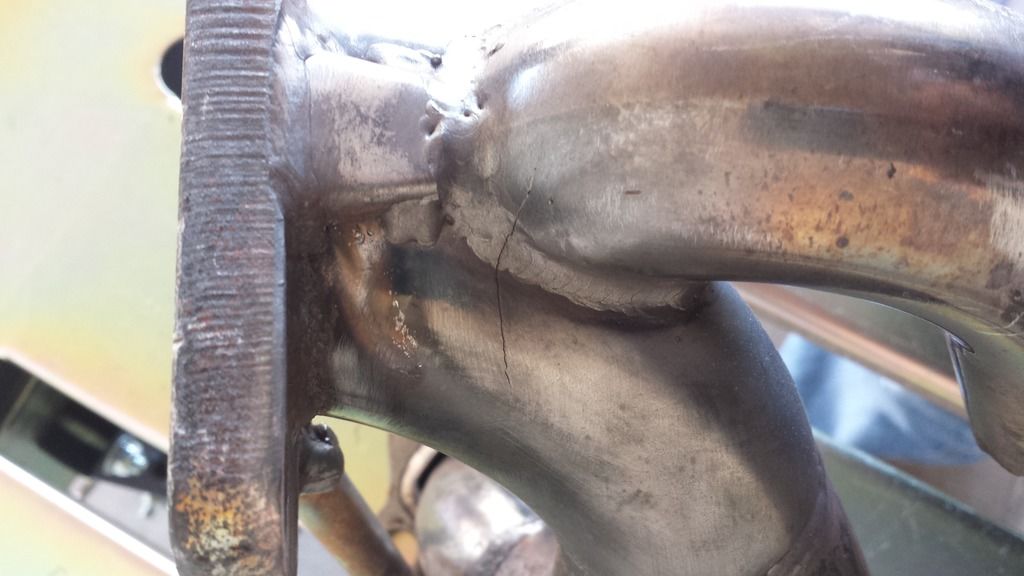
so fml x7 times. i wasn't expecting this . ive been rolling around on this manifold for the last 3 years. no telling when this came apart. and i was in a bind because this is my only daily driver. so i had to act fast and attempt to weld this mfer back up until i could get a new manifold.
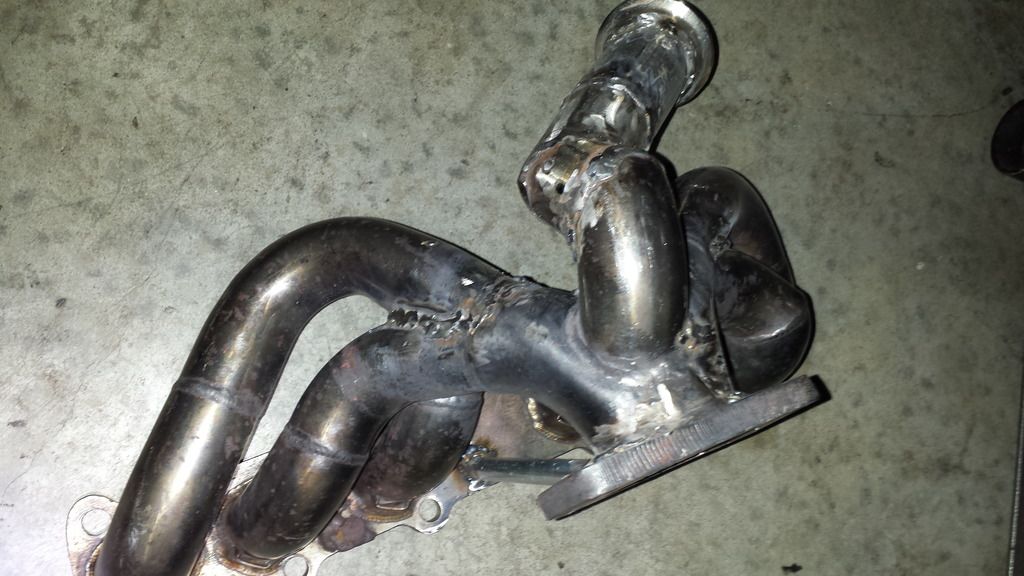

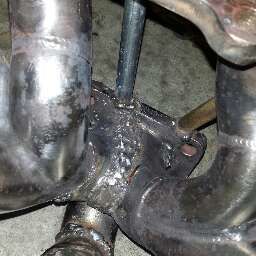
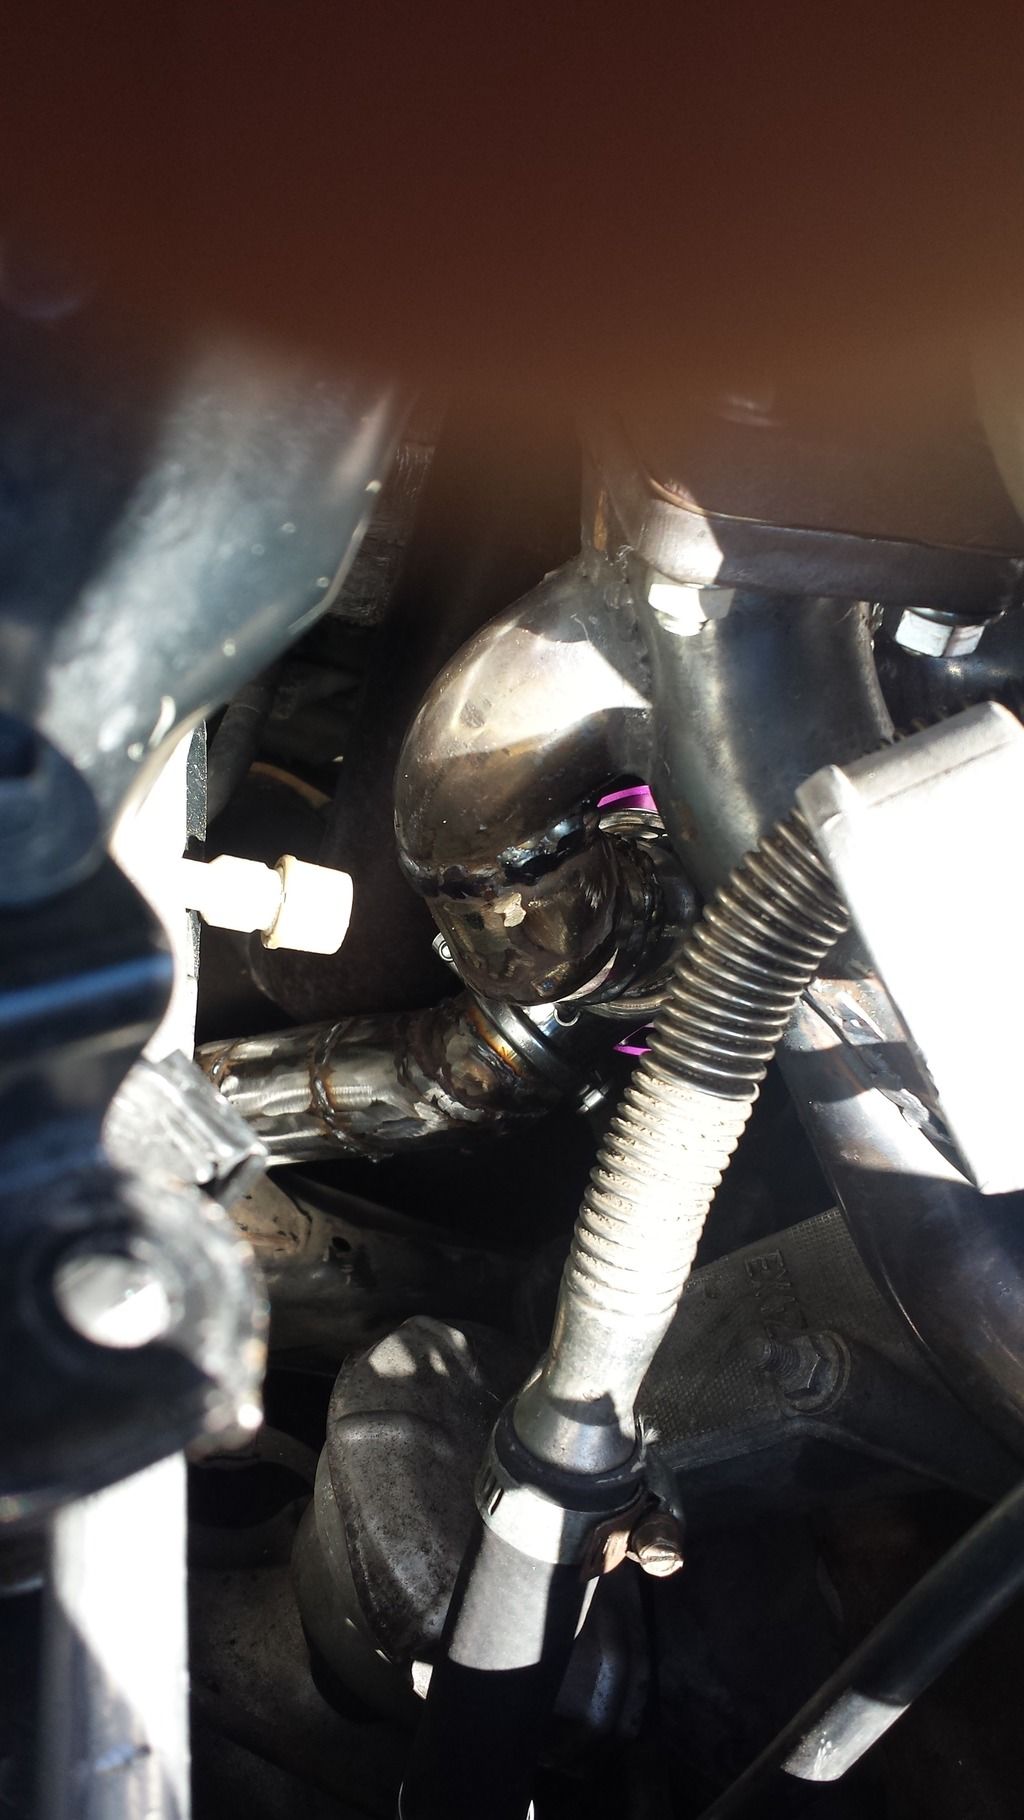
I didn't have stainless steel wire but i just had carbon steel, i cleaned it up pretty good for a still newly novice noob.
so i had to use the old gaskets as i plan on buying new ones when i get a new manifold. the v band is perfect i can take off/on the waste gate with ease.
i brought an oil catch can. and thanks to my welding experts austin and mike, they shortened it so i can fit it in a certain corner in my engine bay.
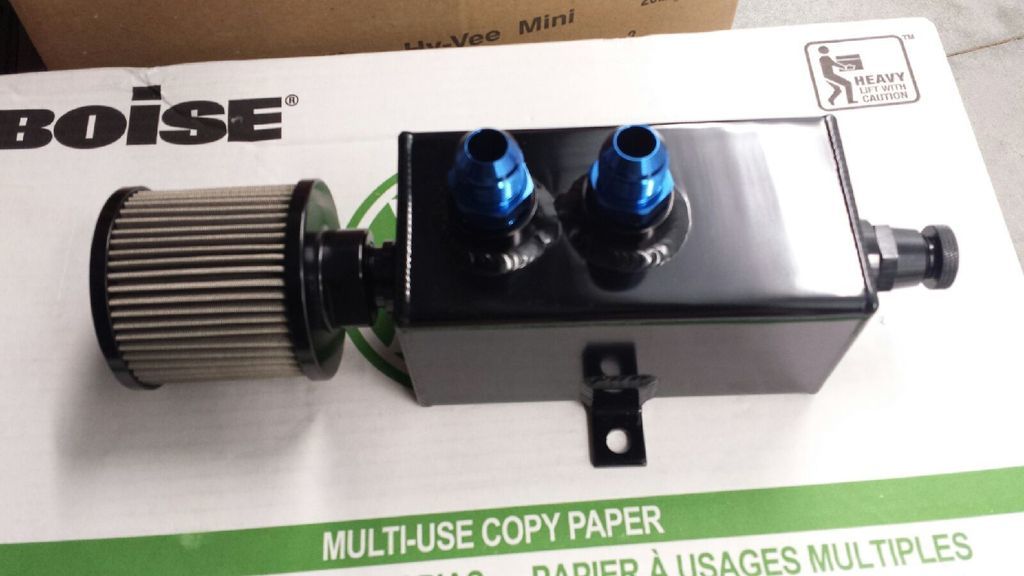
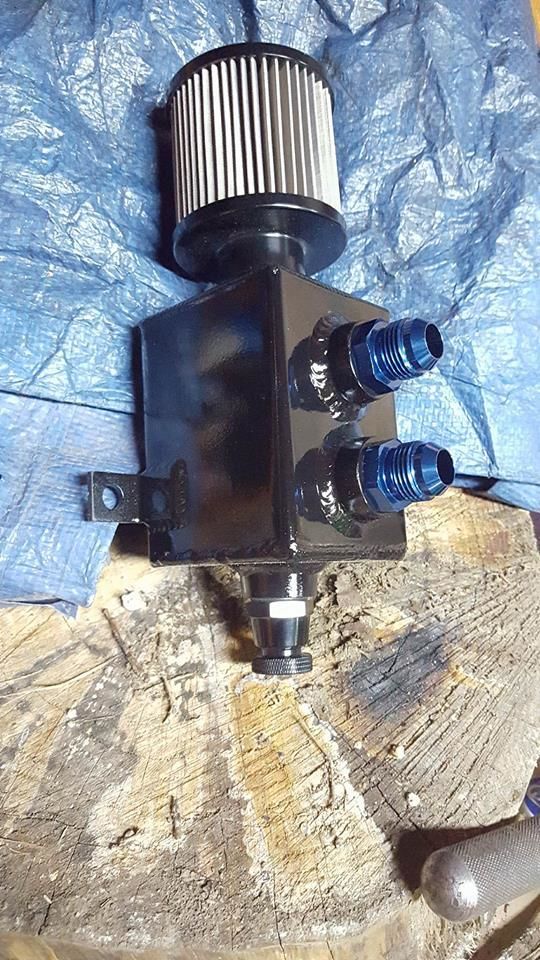
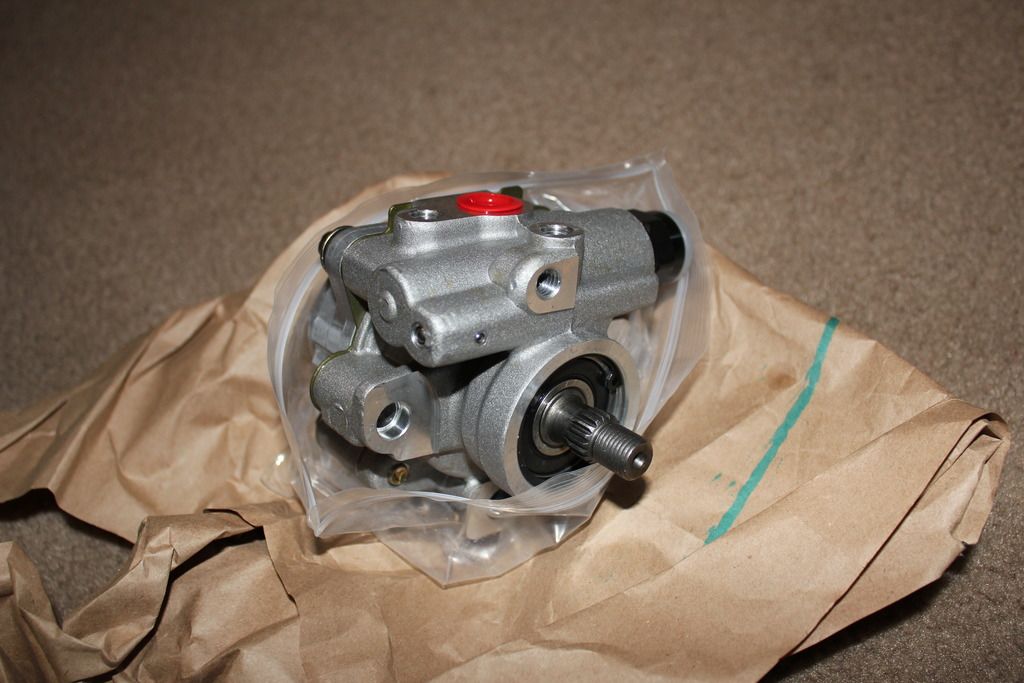
i also picked up a new power steering pump because mine was going out. i would like to replace the rack to, maybe down the line...
here is the turbo manifold that i brought from cx racing.
http://www.ebay.com/itm/CXRacing-Top...9Srpuo&vxp=mtr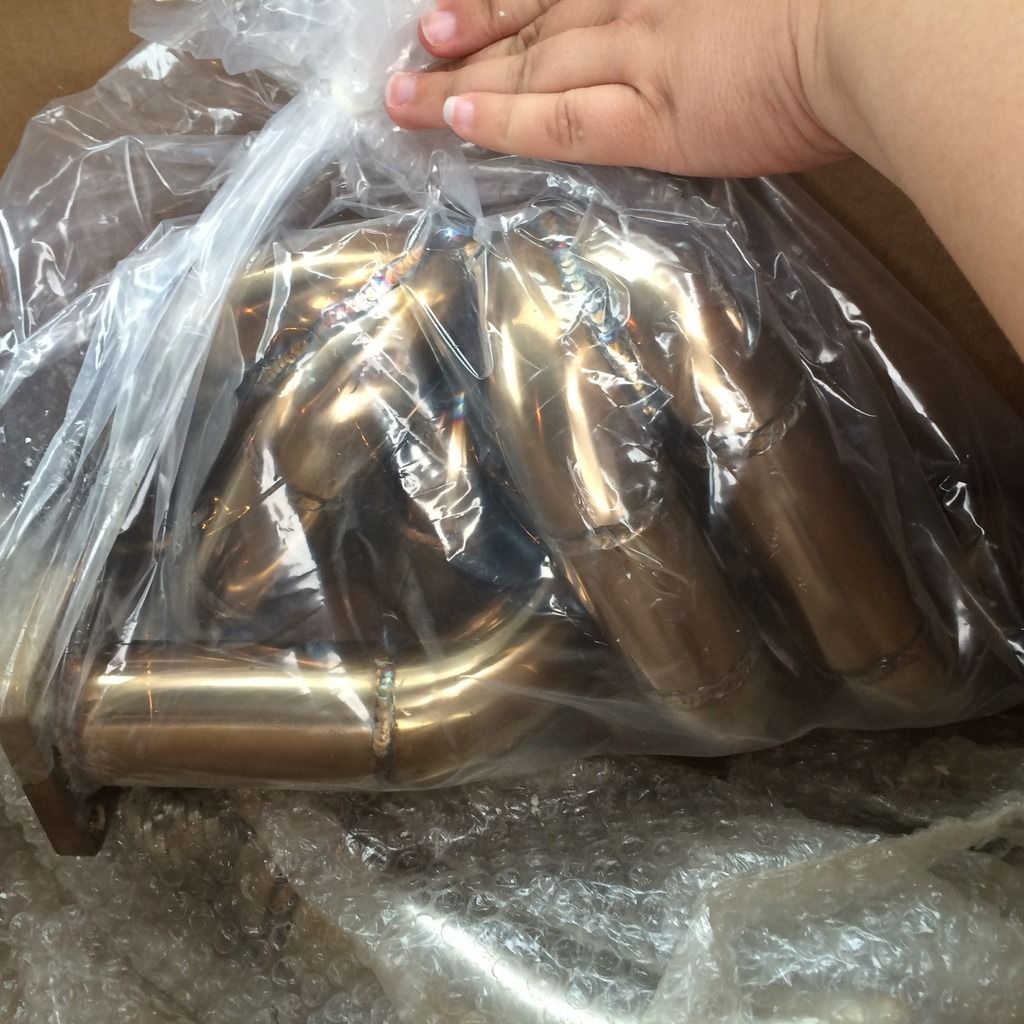
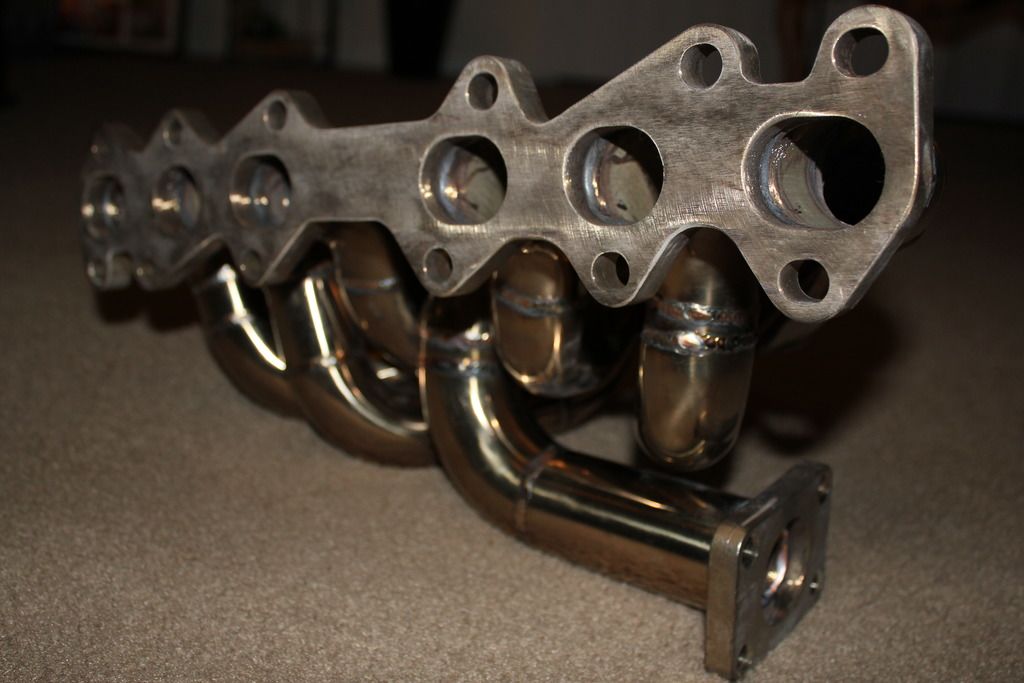
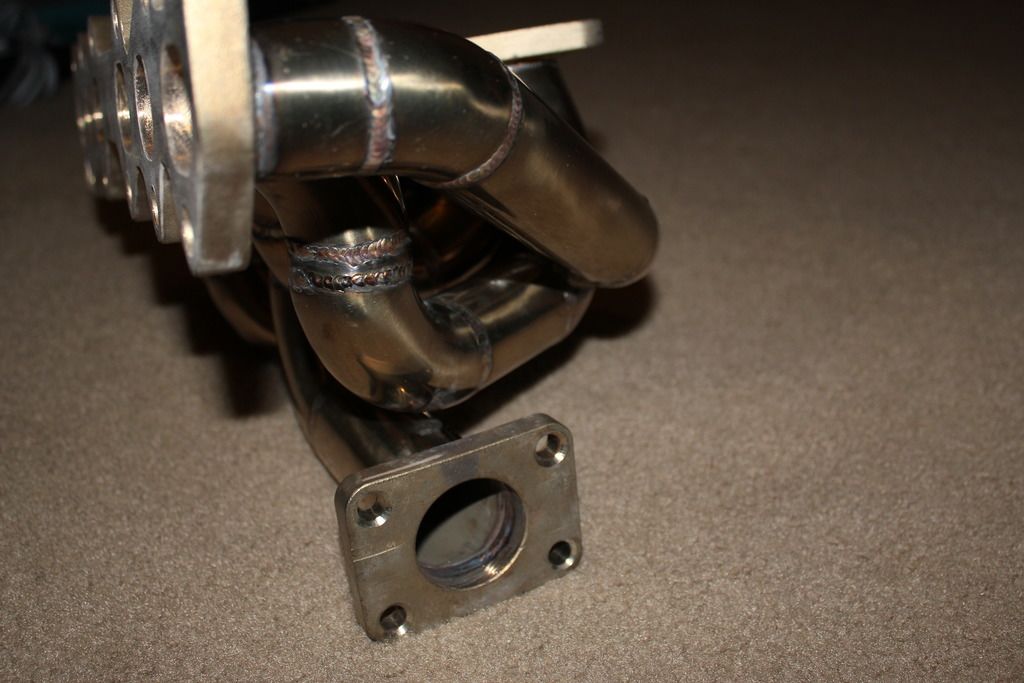
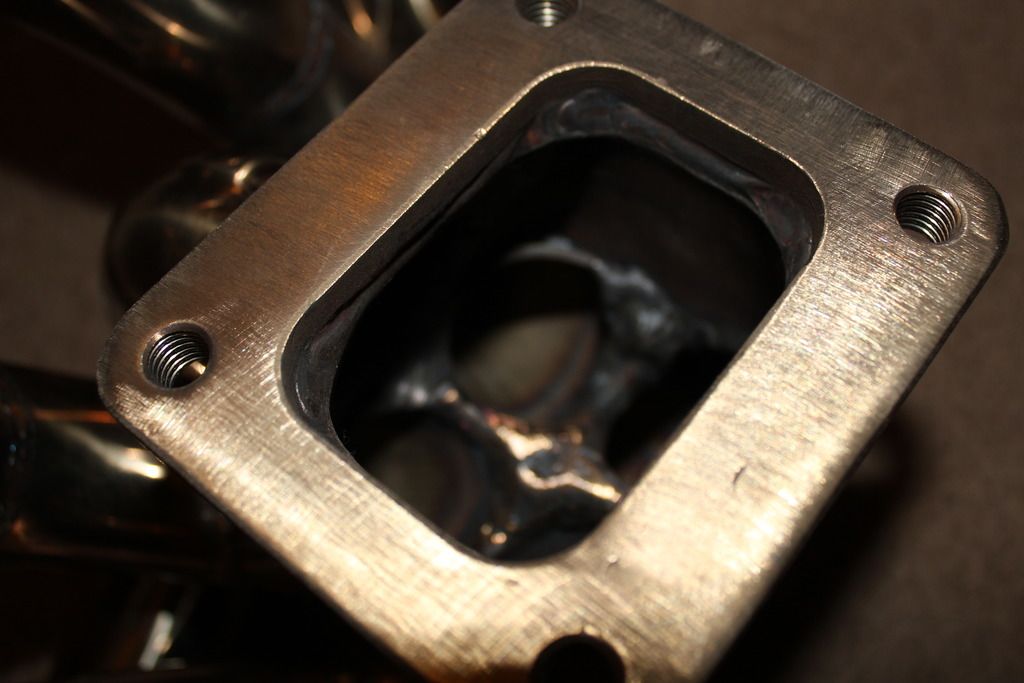
it is way thicker and seems to be more sturdy than the cheaper thinner silver manifolds.
i also picked up a down pipe and a mid pipe that i plan on v-banding to finally shore up a exhaust that doesn't hang and is tucked properly.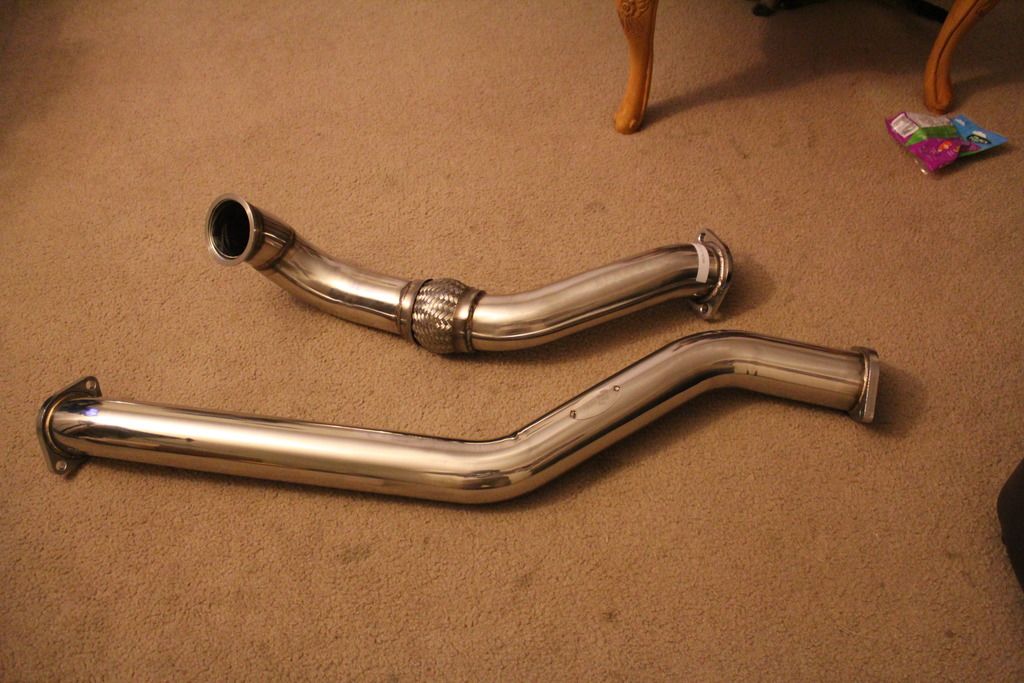
and here are the new gaskets and here is a t4/t3 adapter. i couldn't afford the borg warner turbo like i want to yet. so in the meantime i will rock the holset.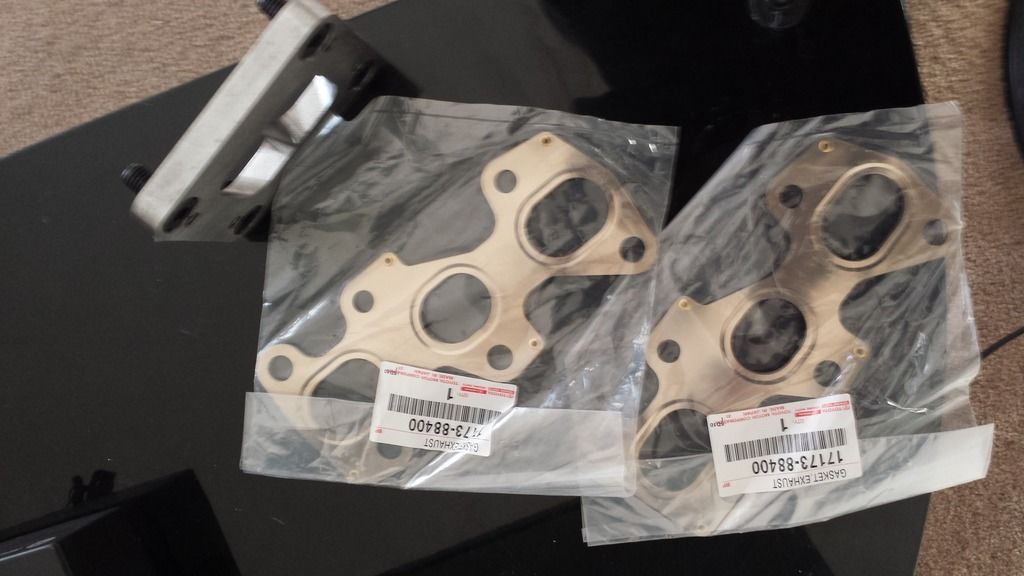
so when it came to installation time. it was a brutal but learning experience time. it was a 2 part thing i later finished my exhaust off but ill get to pics of that later. the manifold costs almost 500 bones, BUT.... the holes DID NOT LINE UP!!! so i had to take all night and make the bole holes longer, and i had to cut some of the studs to make it work.
i also had to literally shave off some material to clear the coolant pipe.
for starters i welded in the studs on my adapter so the studs wouldn't turn.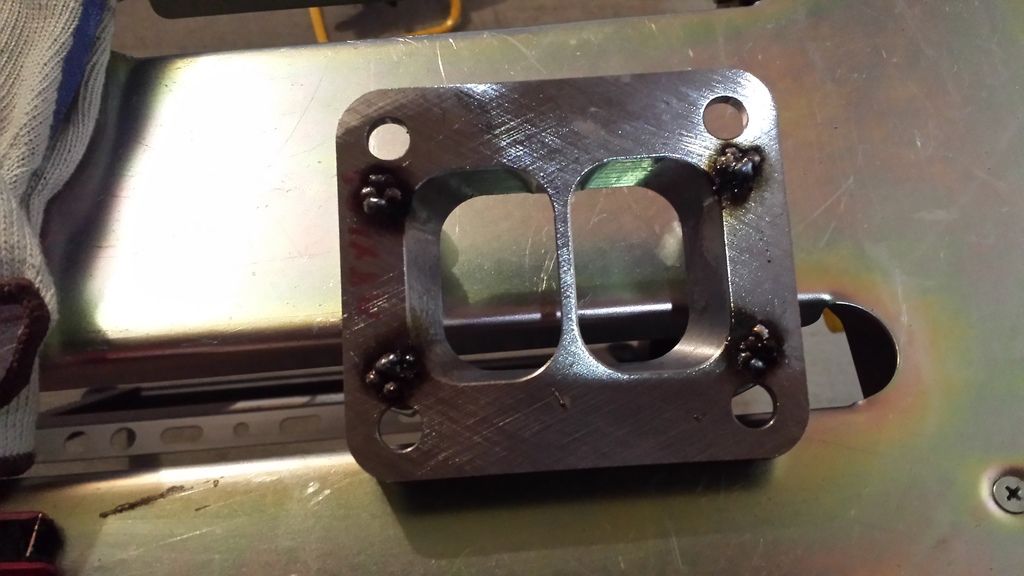
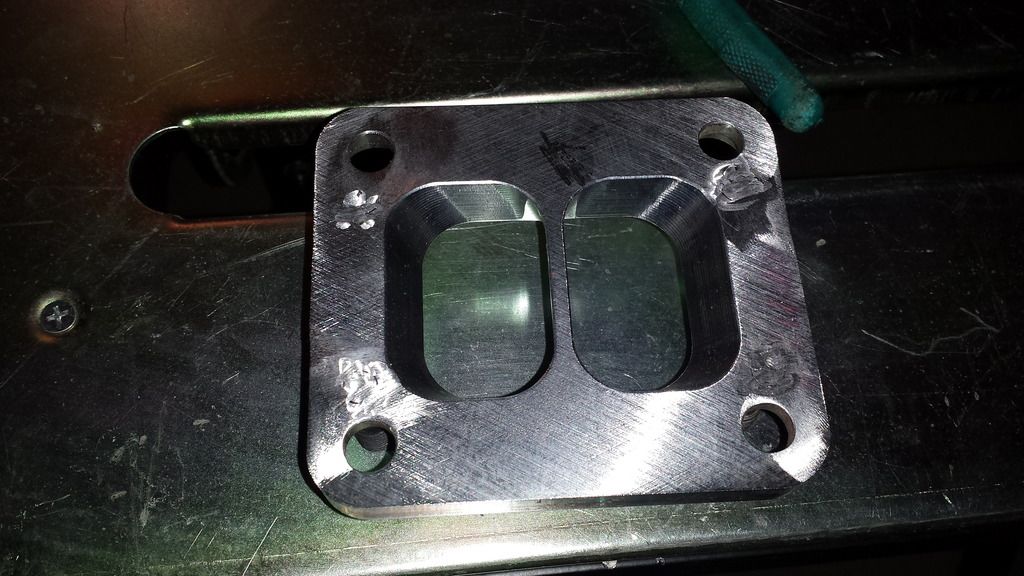
and here is the end result on my adapter.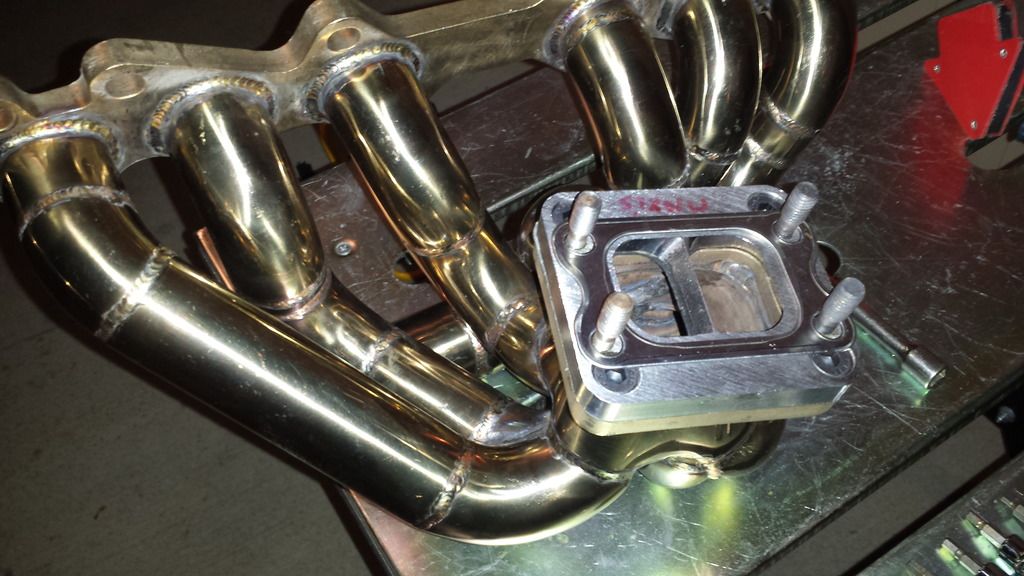
so when i cut into the mani to weld on the v-band. it is in fact way thicker. it didnt cut as easy as the cheaper stuff did, even with my chop saw.
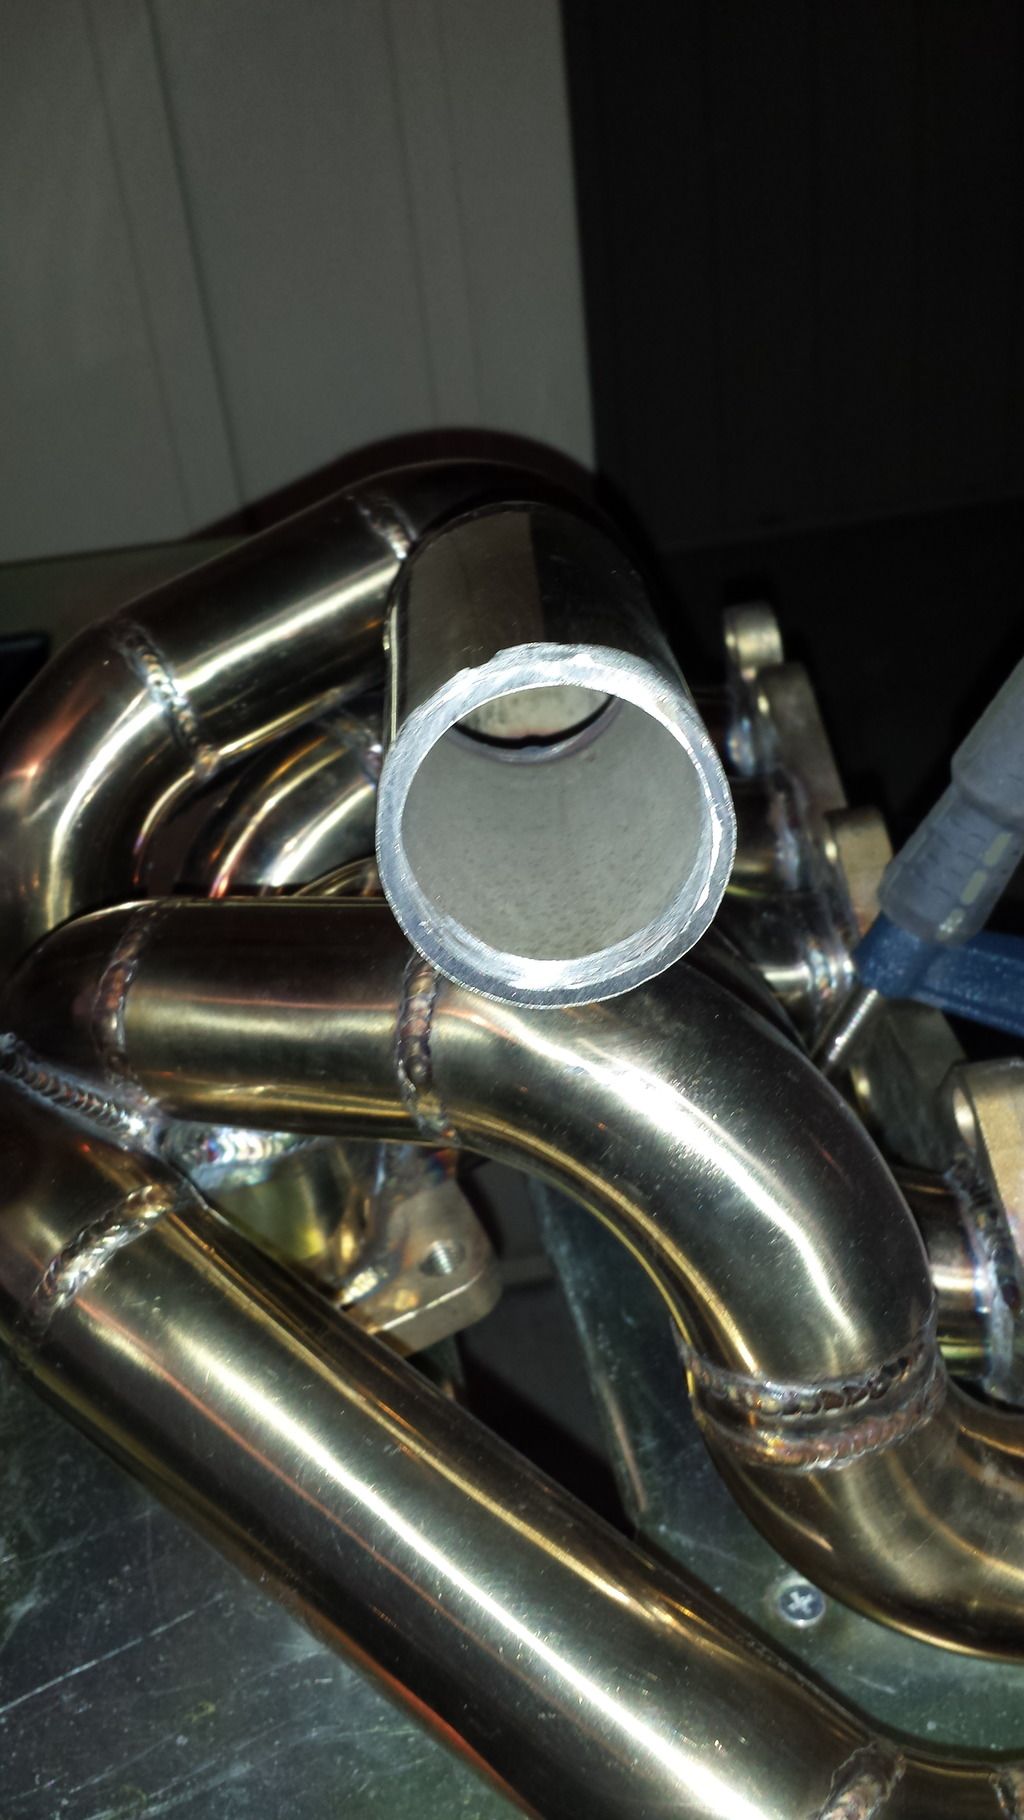
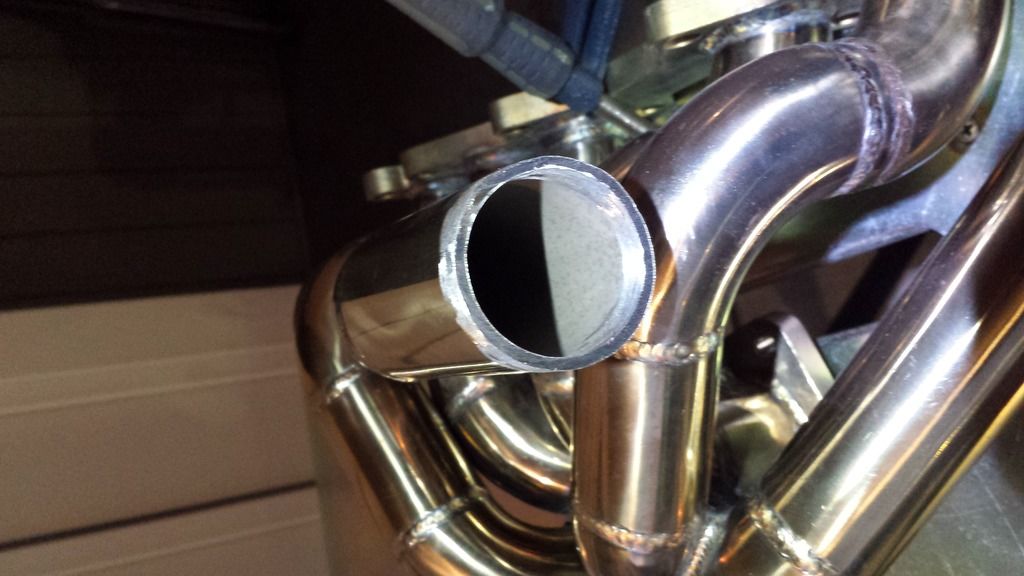
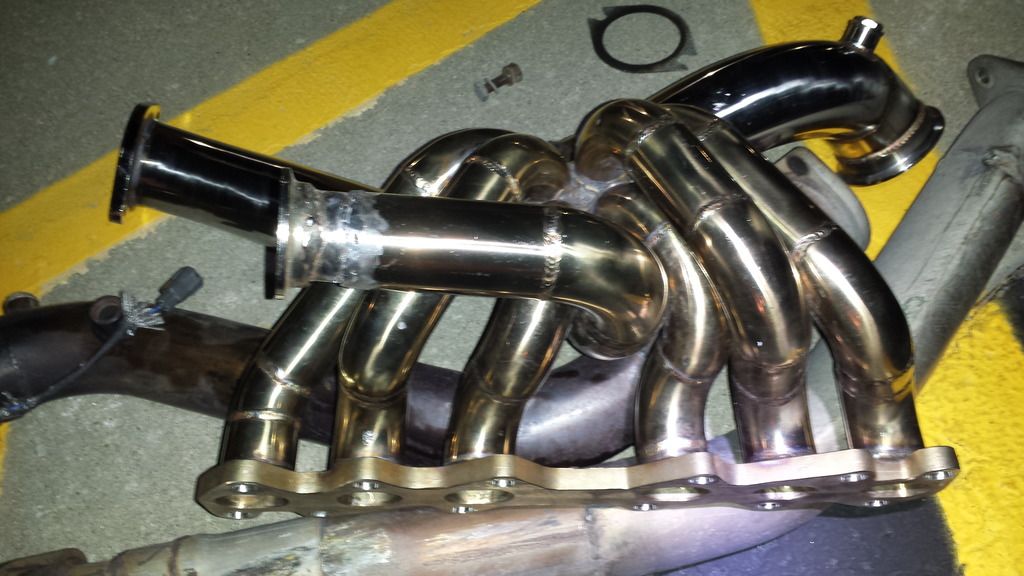
so here is where the effed-ness happens. i needed to again make the holes slightly larger so the mani could sit properly on the stock studs. and i had to cut these studs for clearance.
and again i had to shave off material for the first runner to clear the coolant pipe/nipple(barely clearance).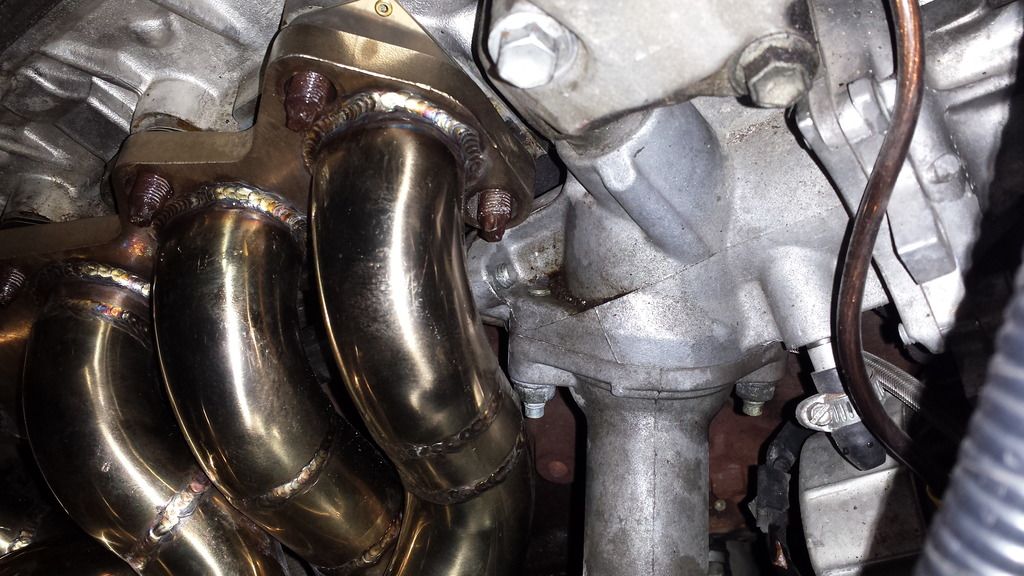
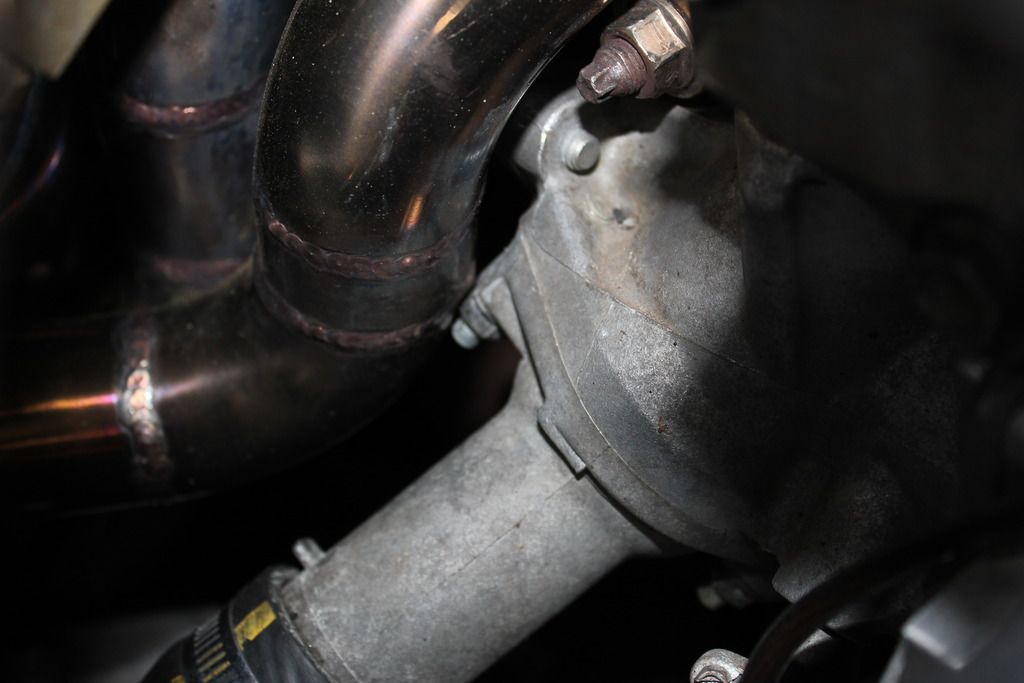
i don't have any leaks because i didn't take off THAT, much material, still id like to move the runner one day.
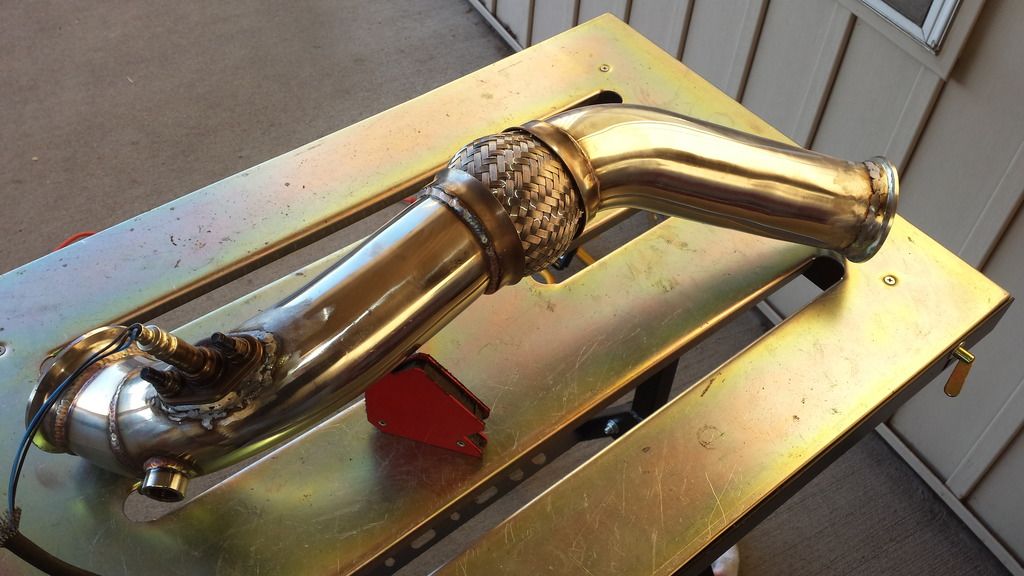
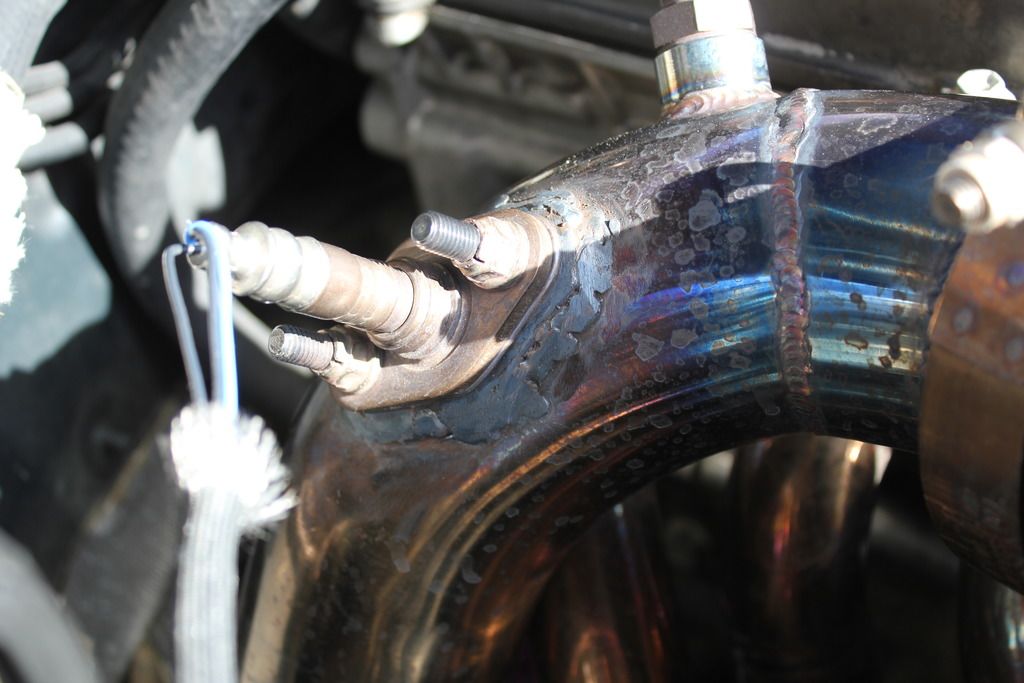
here is the downpipe. i made a v-band on the end and i had to install a oem toyota o2 sensor bung. other than that here is the finished product.
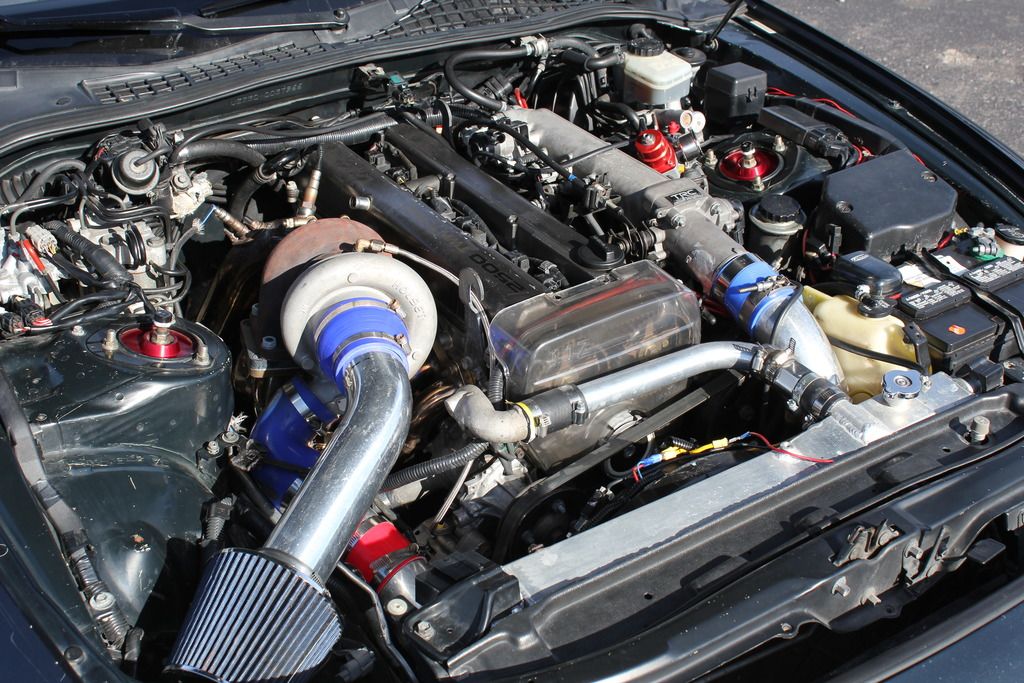
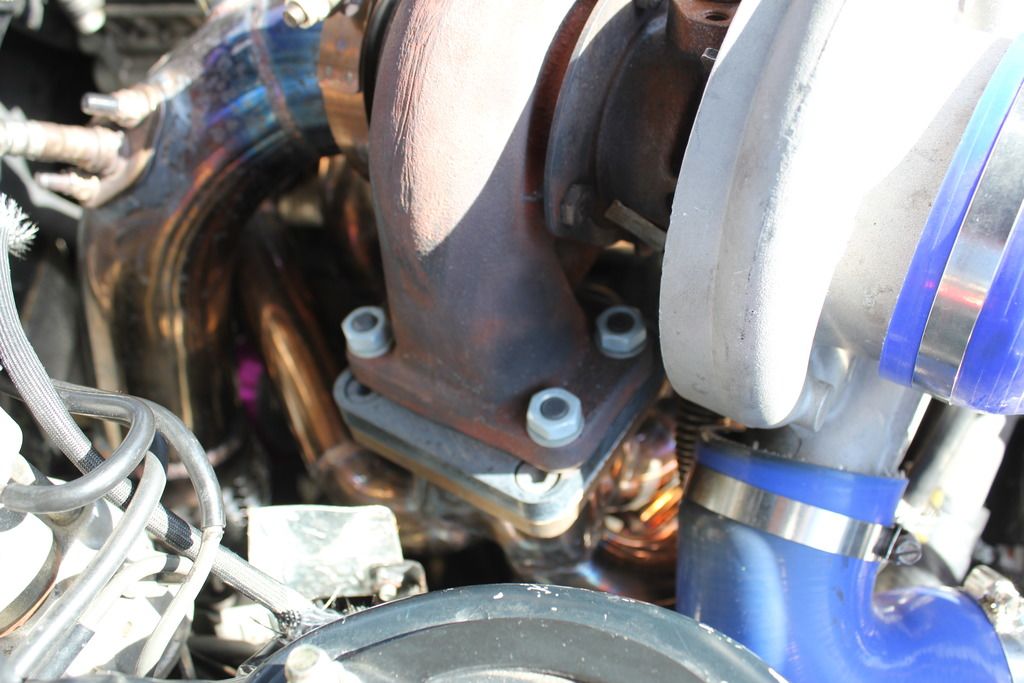
so i finally installed my oil catch can. first had to get my holes patched with alum welding and i been had some steel braided hoses for this occasion.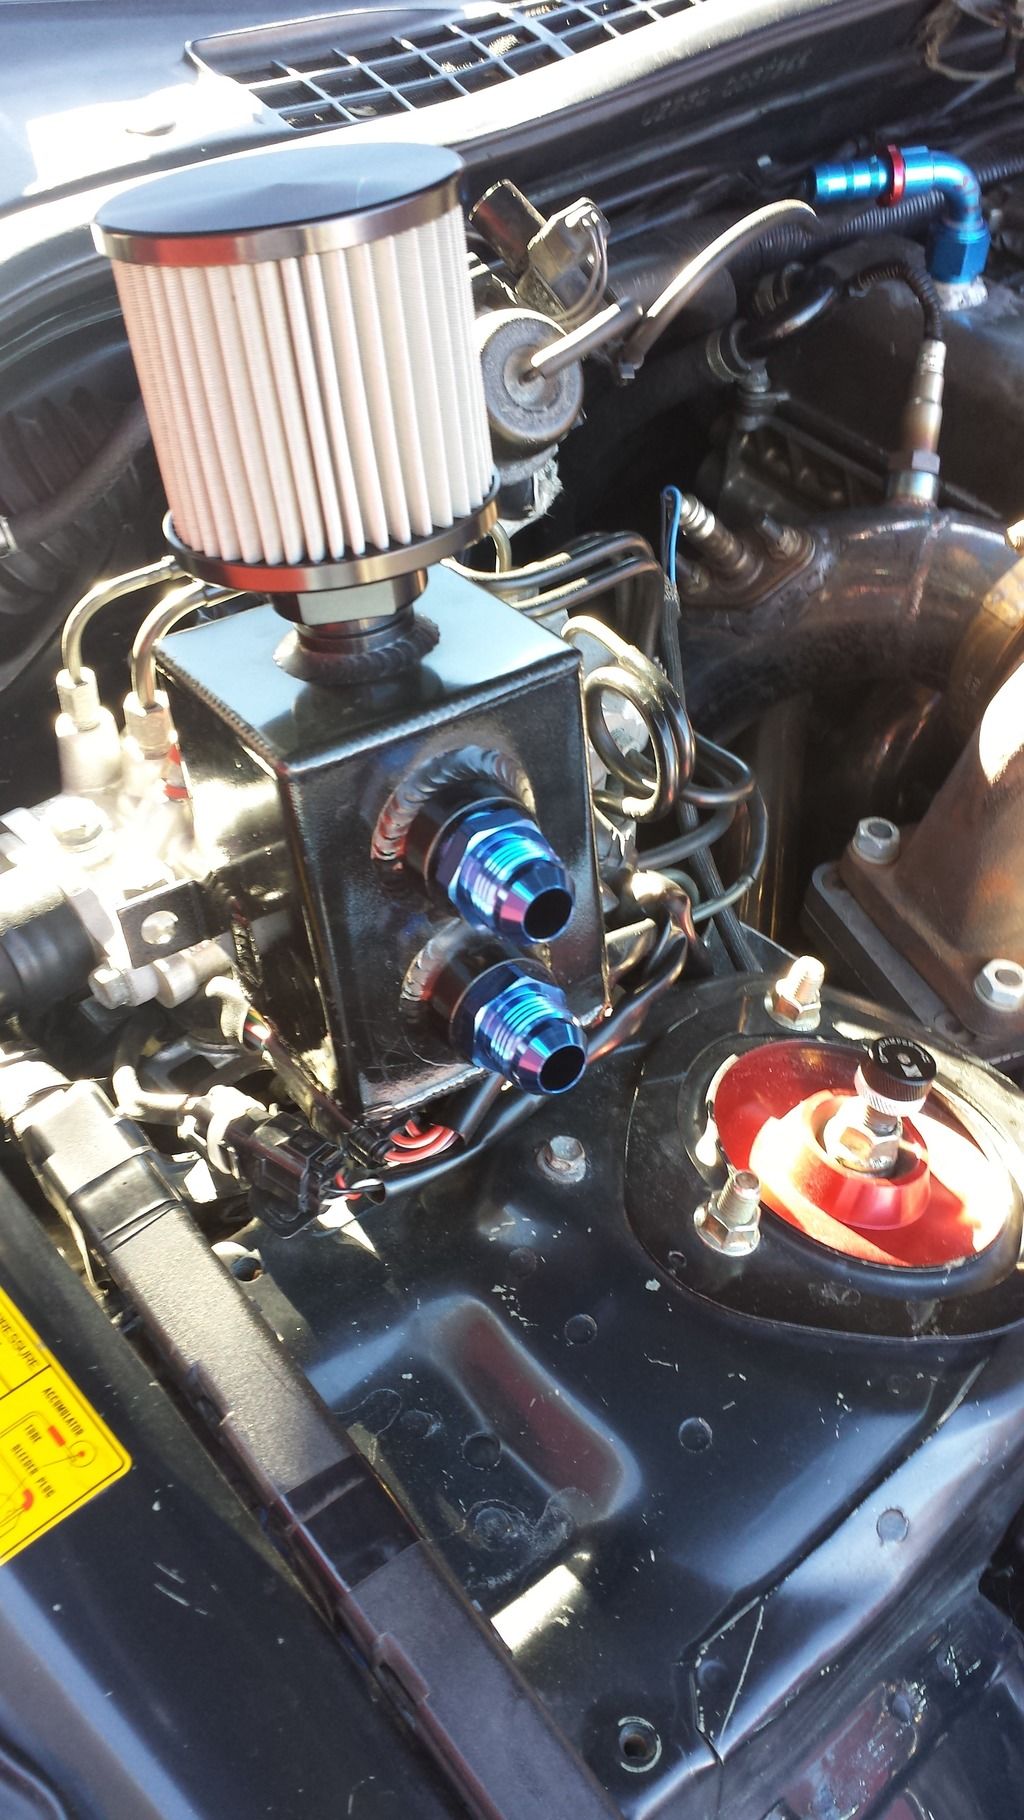
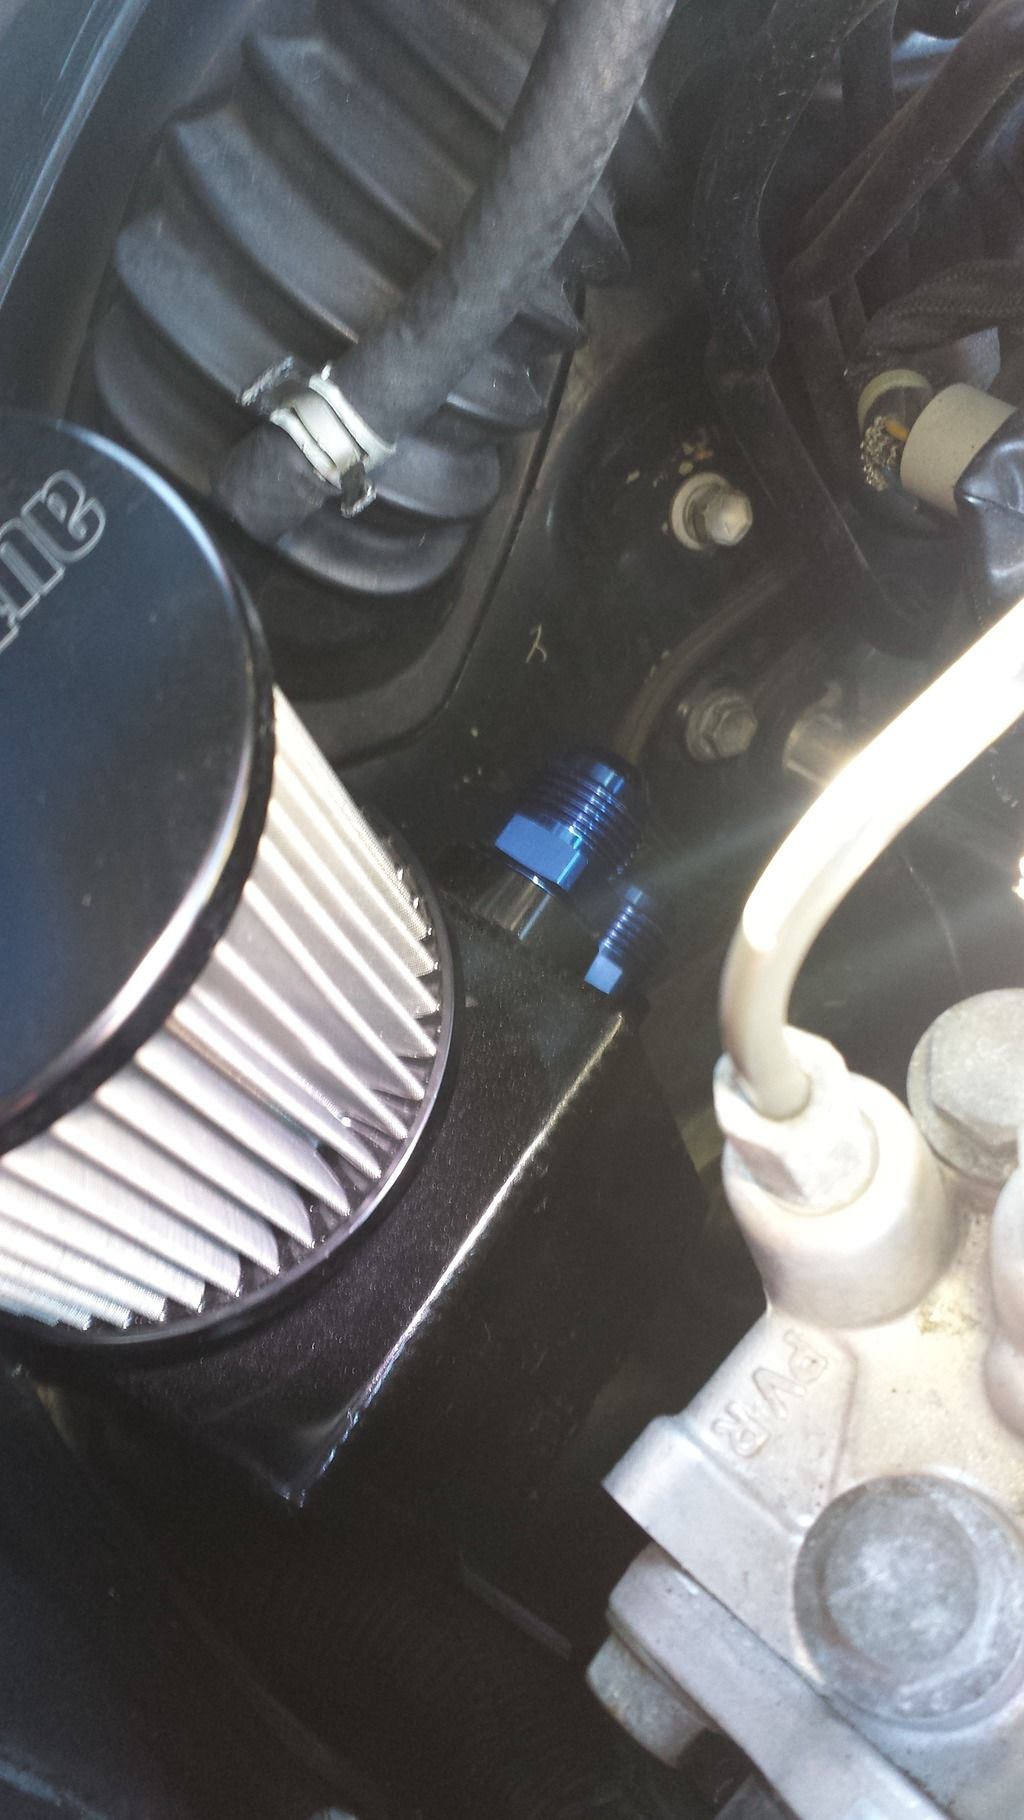
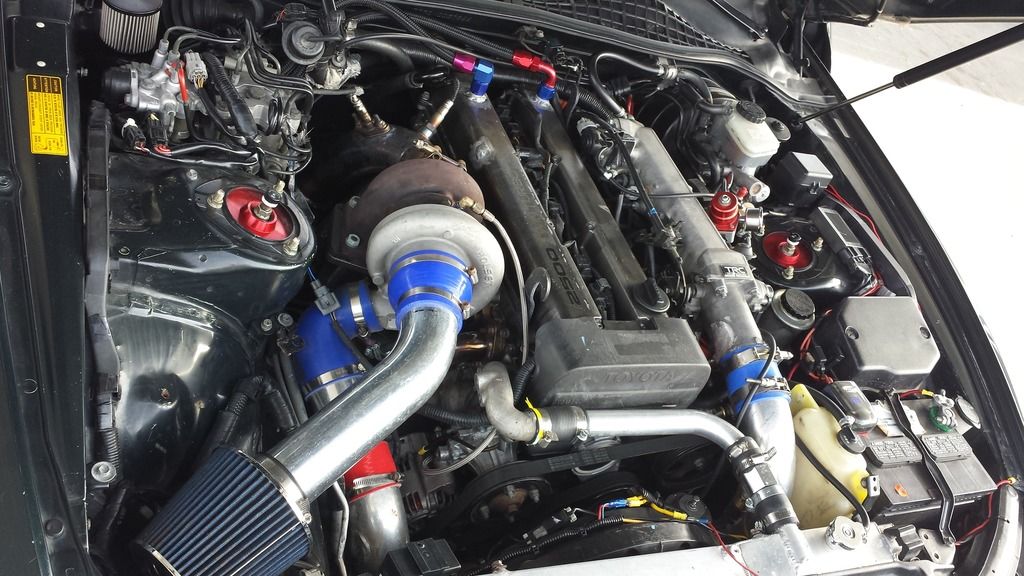
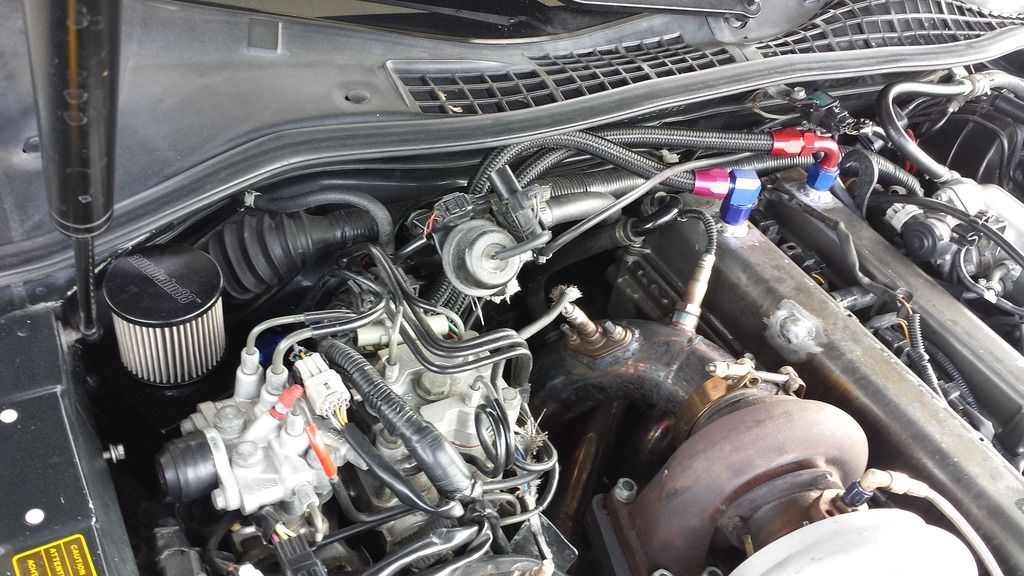
now i have a oil odor in the cabin of the car. not sure if i need to "t" the hoses to an intake vacuam sorce yet. can and prob will later???
5-7-2016
so, it's been a while and i got a bunch or stuff done. here are some updates.
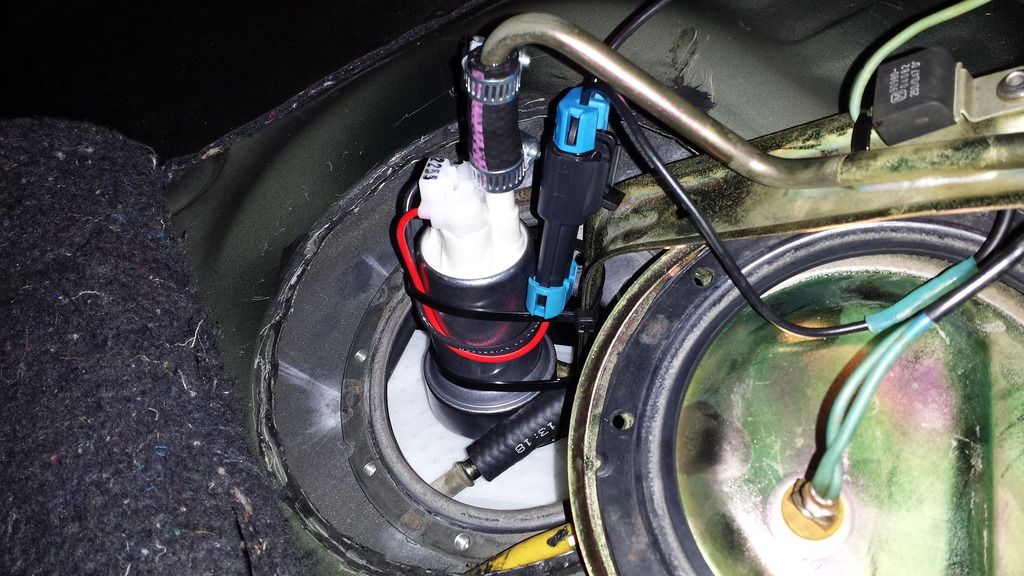
i got a wally 450lph fuel pump, and i stalled that mfer.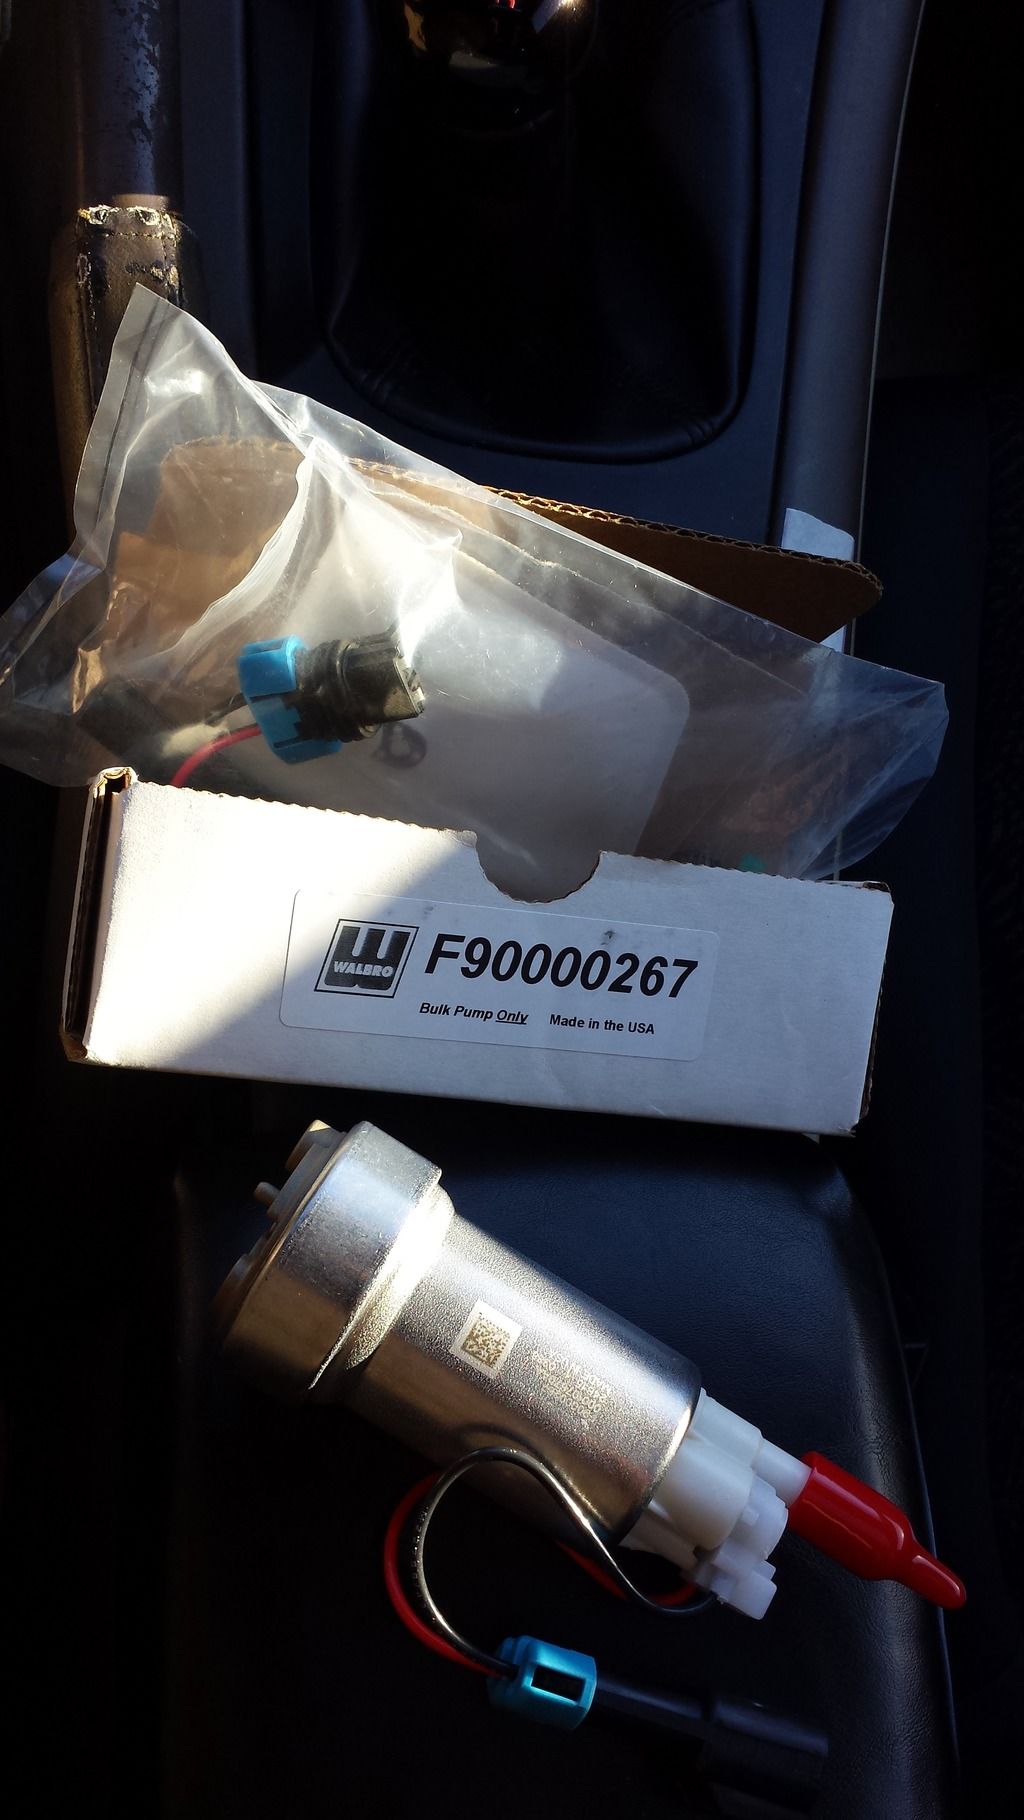
i then met a cool guy who makes custom decals.
so then after a long delay, i finally completed acquiring all the parts i need for my head upgrade/modification.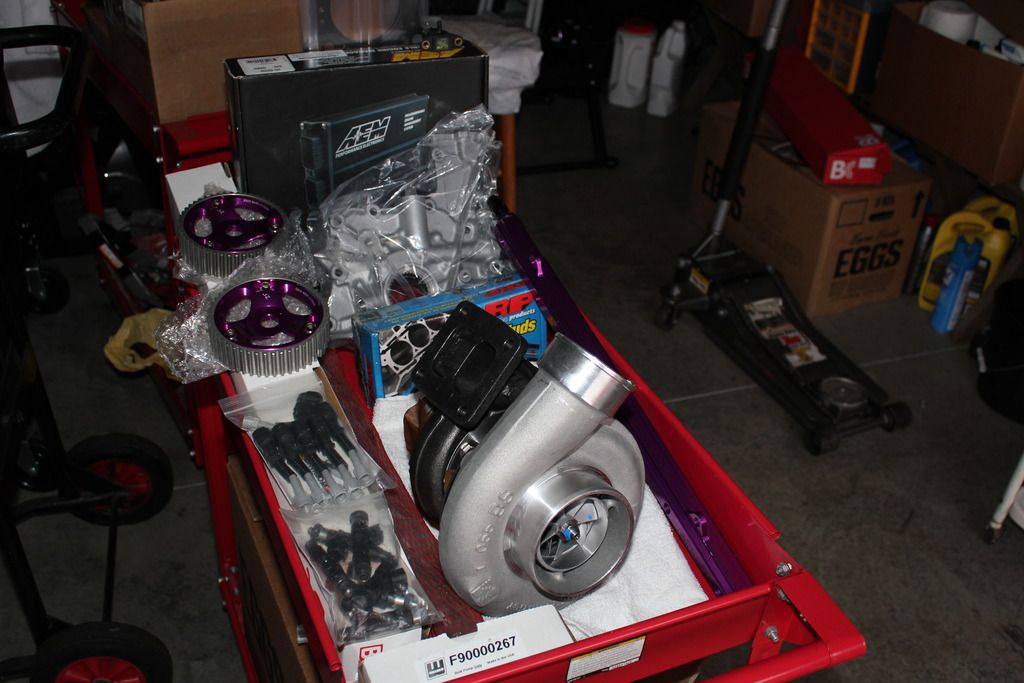
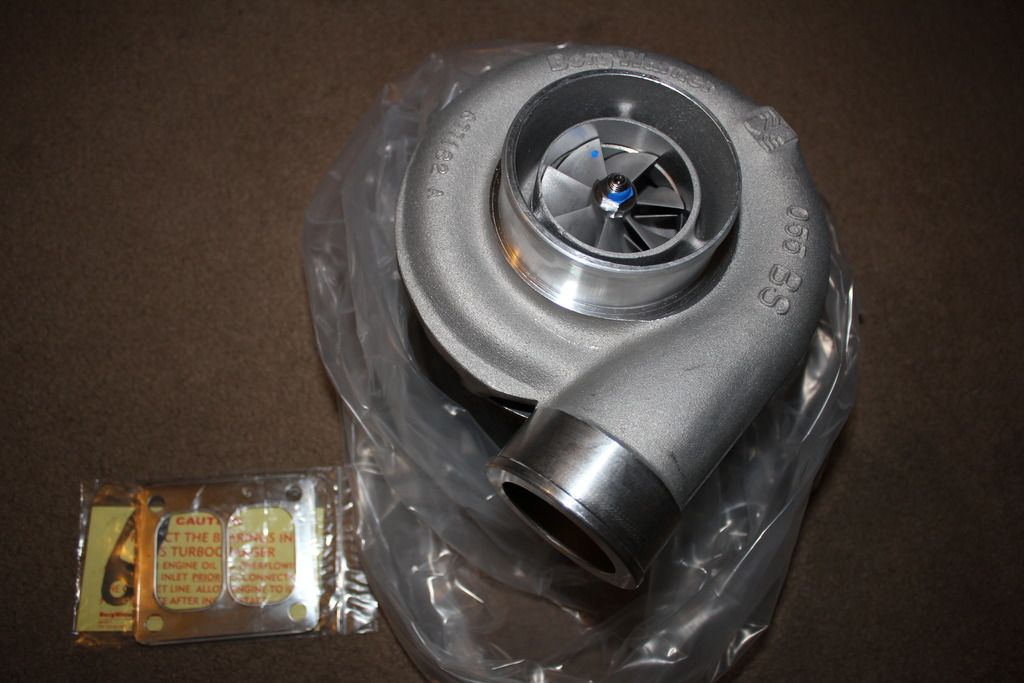
and a new/great addition to the family. a bw s366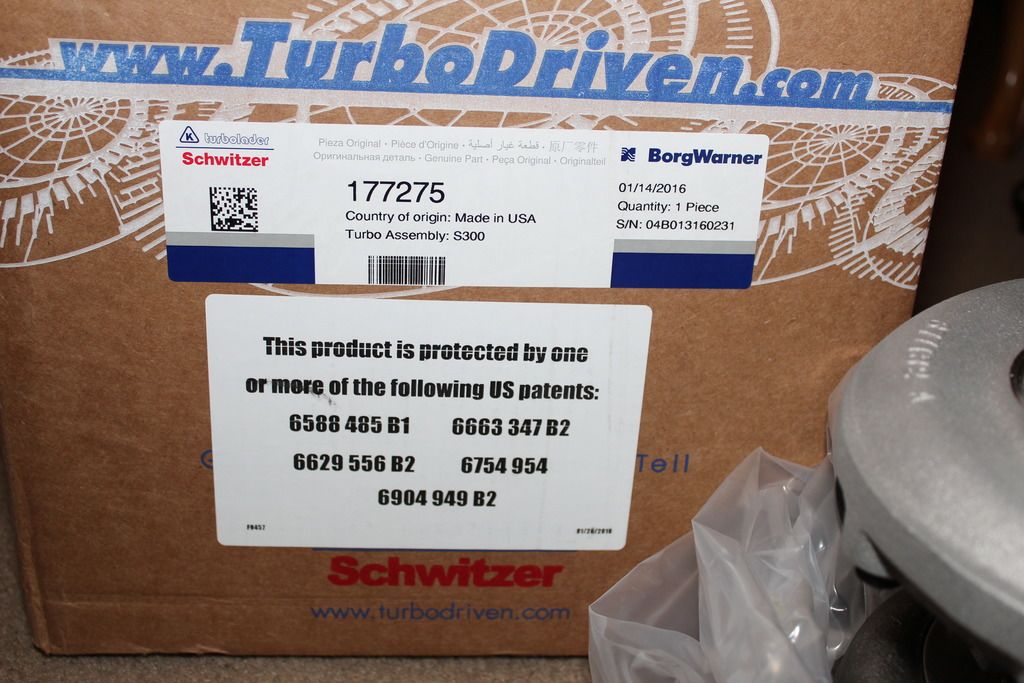
so then it was the fun of pulling my head and getting my cams installed, my shims, valve stem seals and an 3 angle valve job. i also got some adjustable cam gears for bling factor.
and in the process i'm going to replace my oil pump, so the head and the sub frame/oil pan is going to come off. the good thing about this is i can clean up that dried up winter salt from that blizzard of 15.
so saying goodbye to the old setup.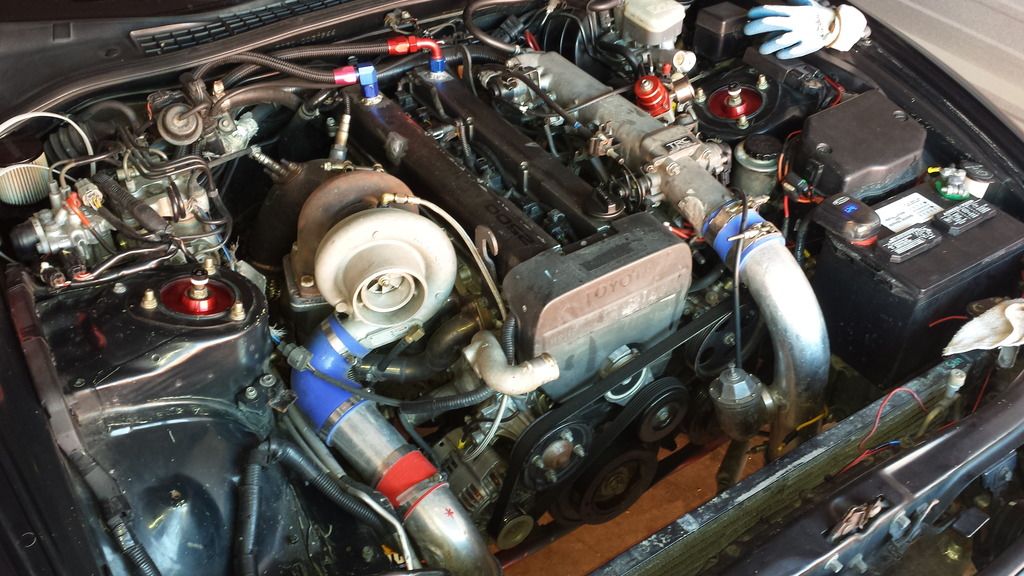
slowly but surely getting stuff off.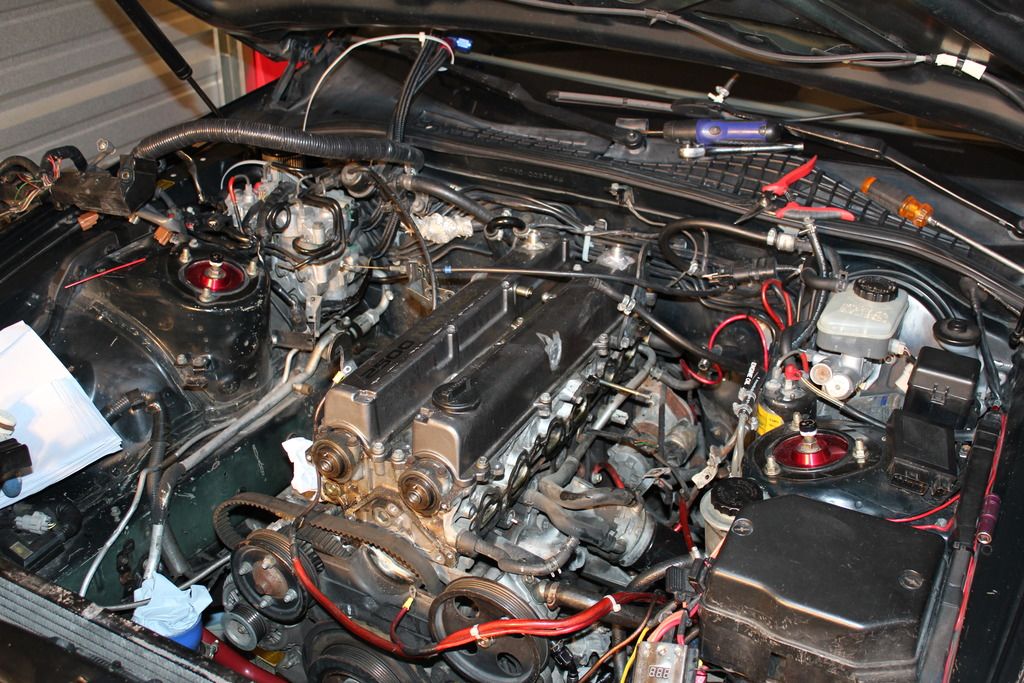
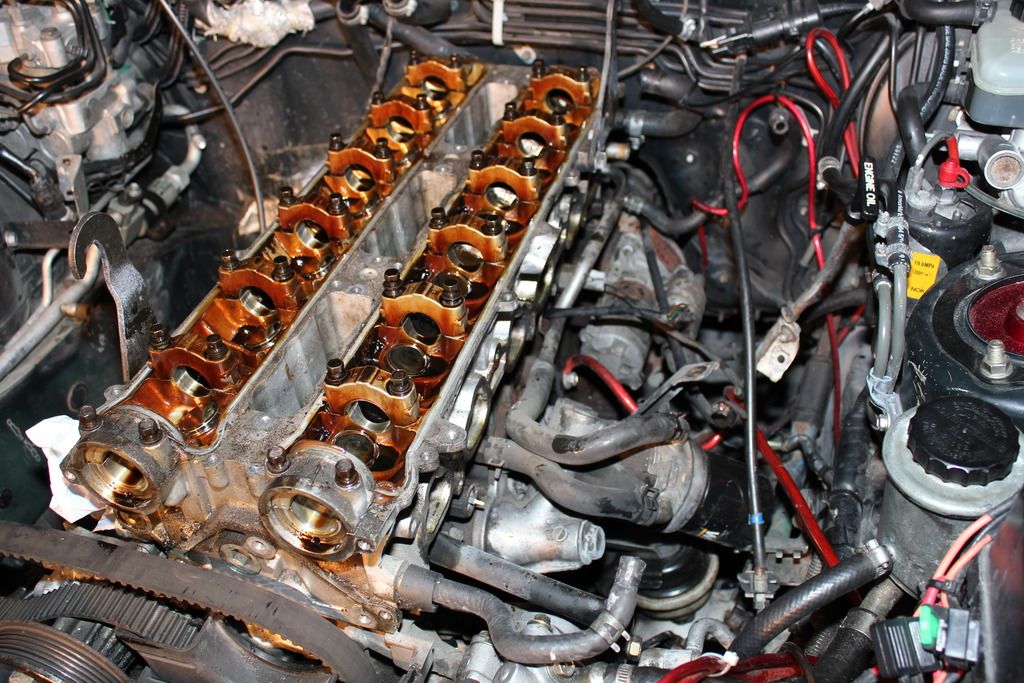
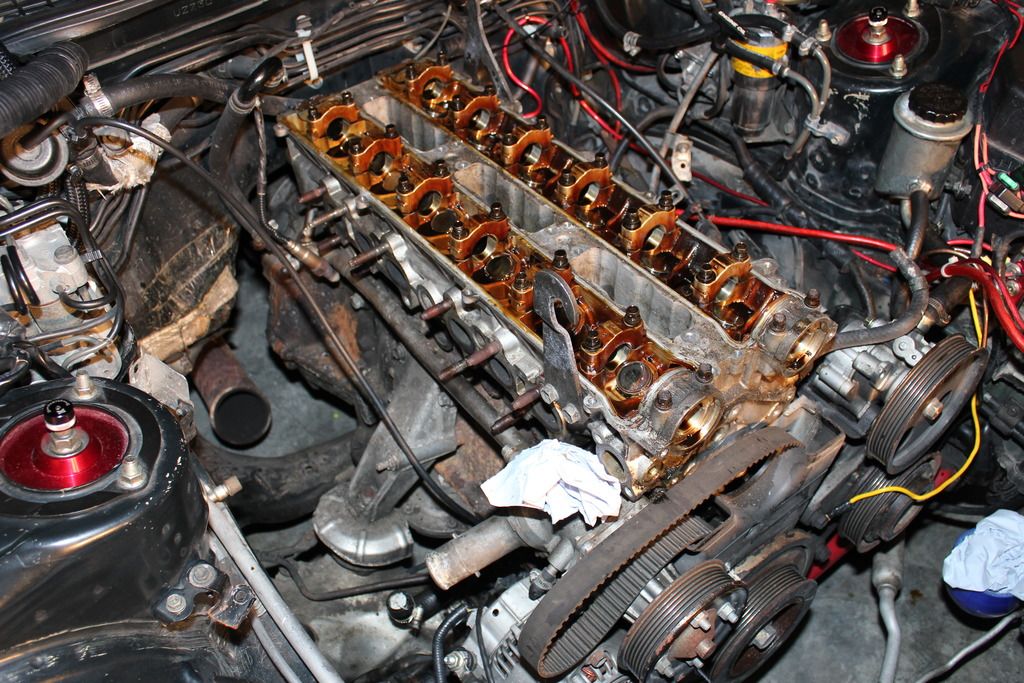
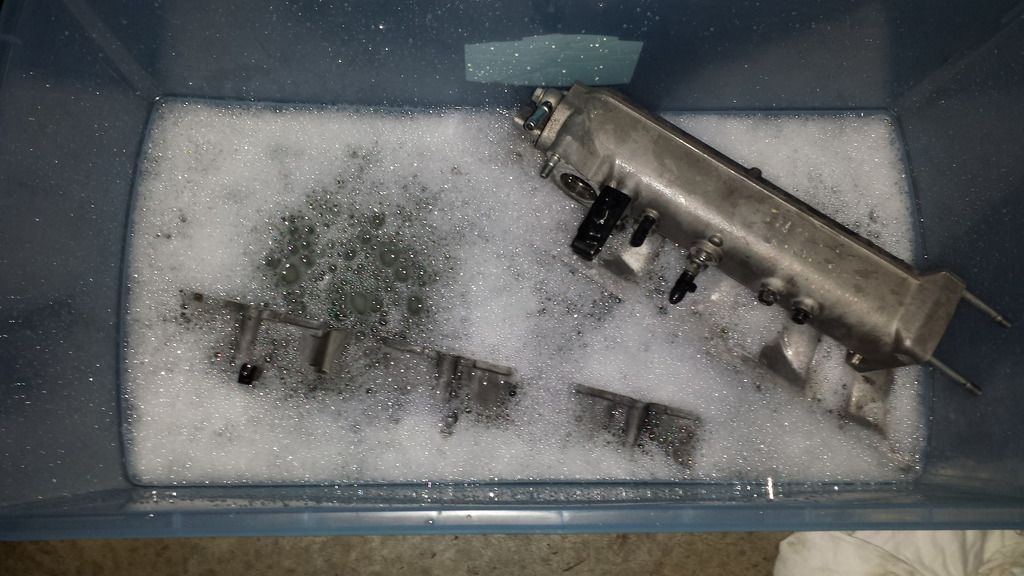
so the intake had some really bad carbonated grime. so i wanted to clean up my act.
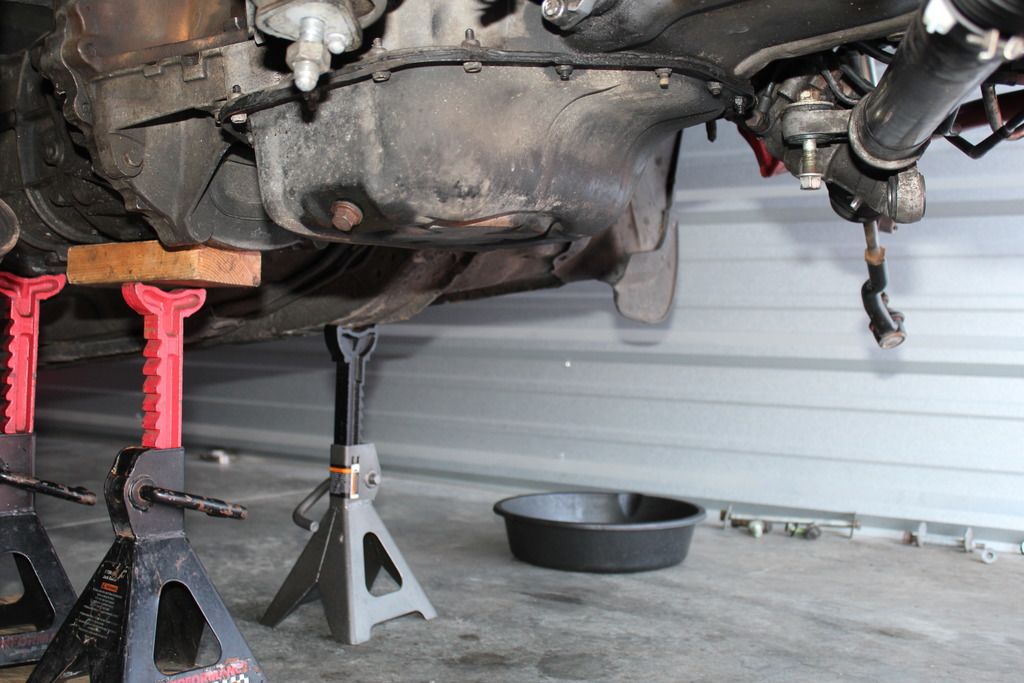
and as stated earlier i had to pull the sub frame to change the oil pump.
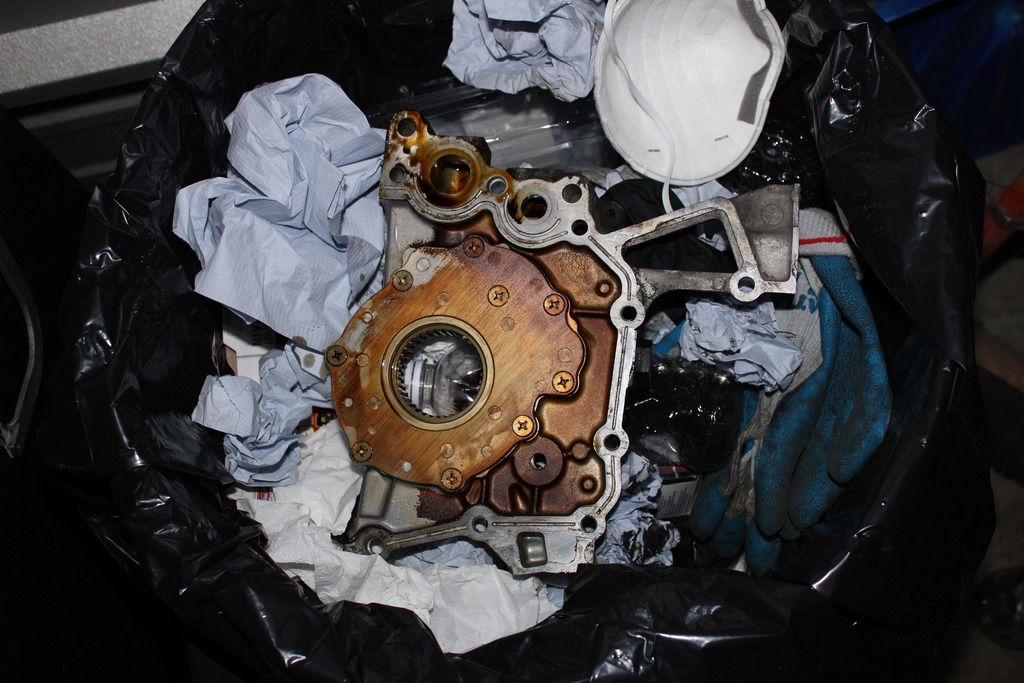
here is the old vs new.
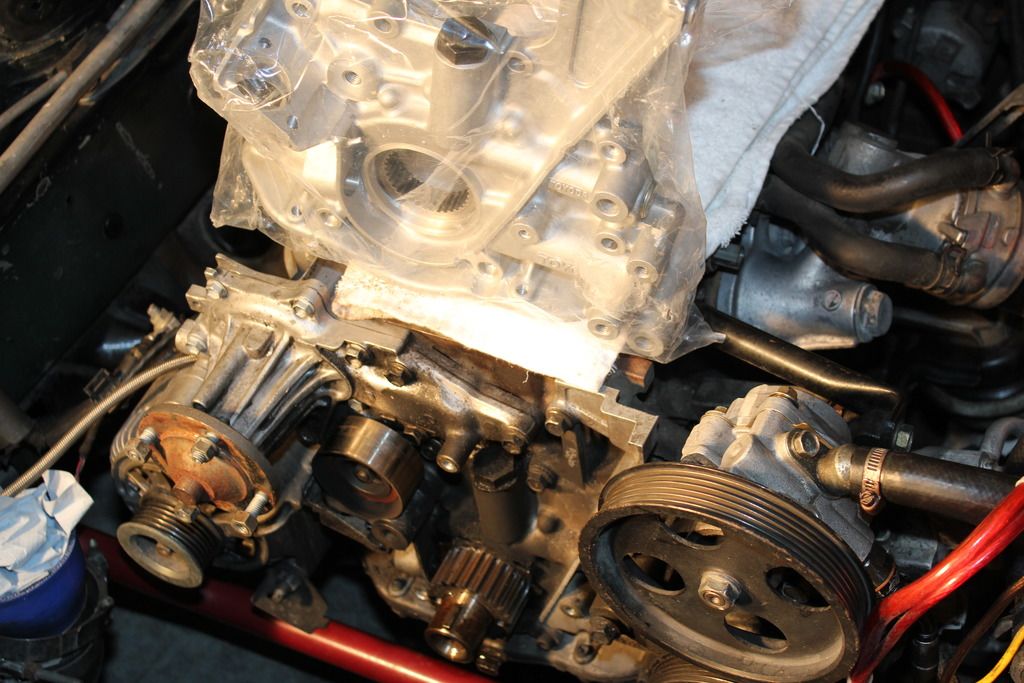
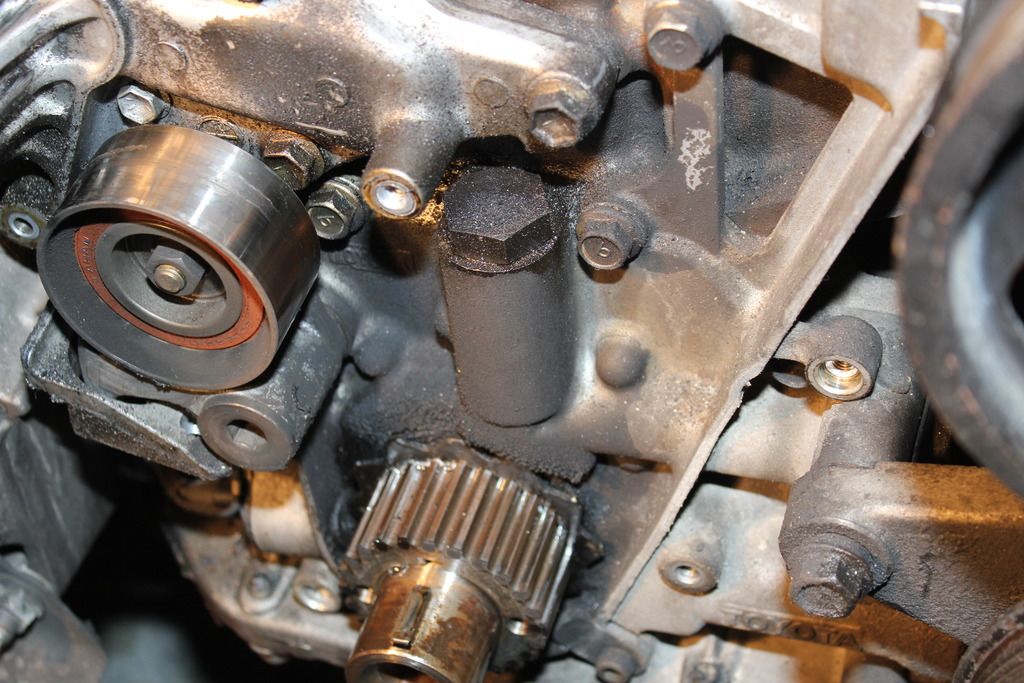
oil pump off
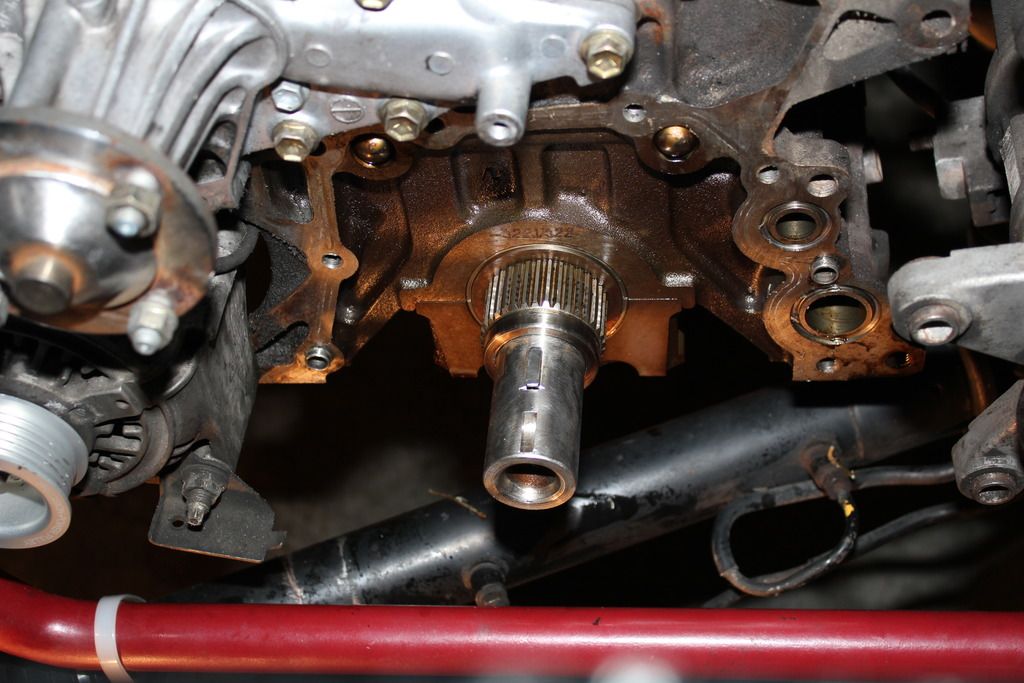
and where the old one belongs. it has done me well thus far.
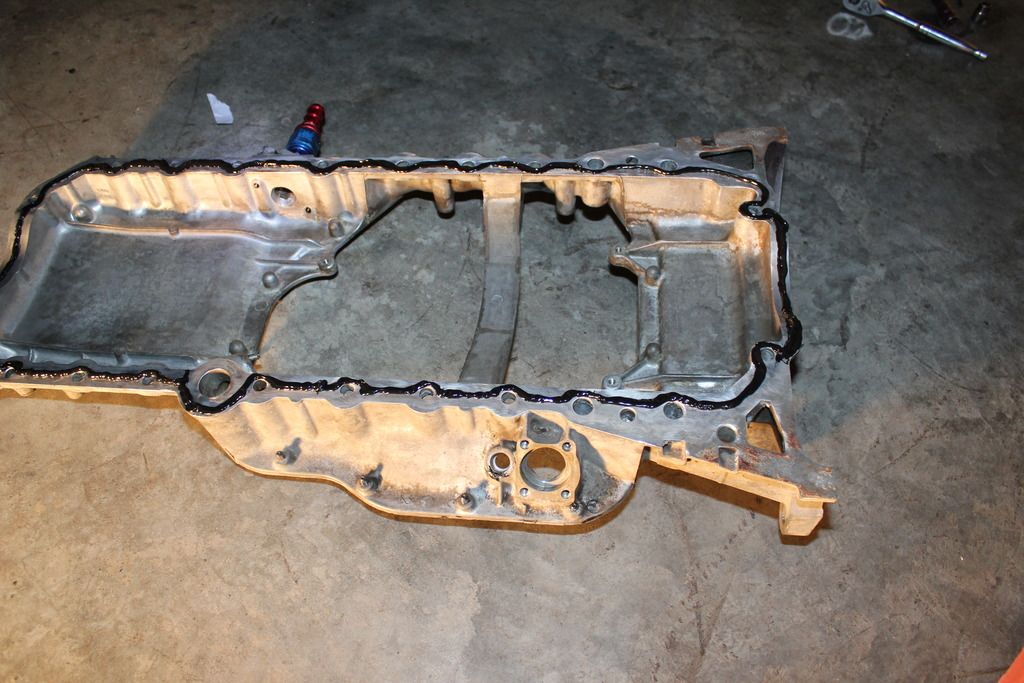
gasketed this mfer now.
back on, ready for that pan action.
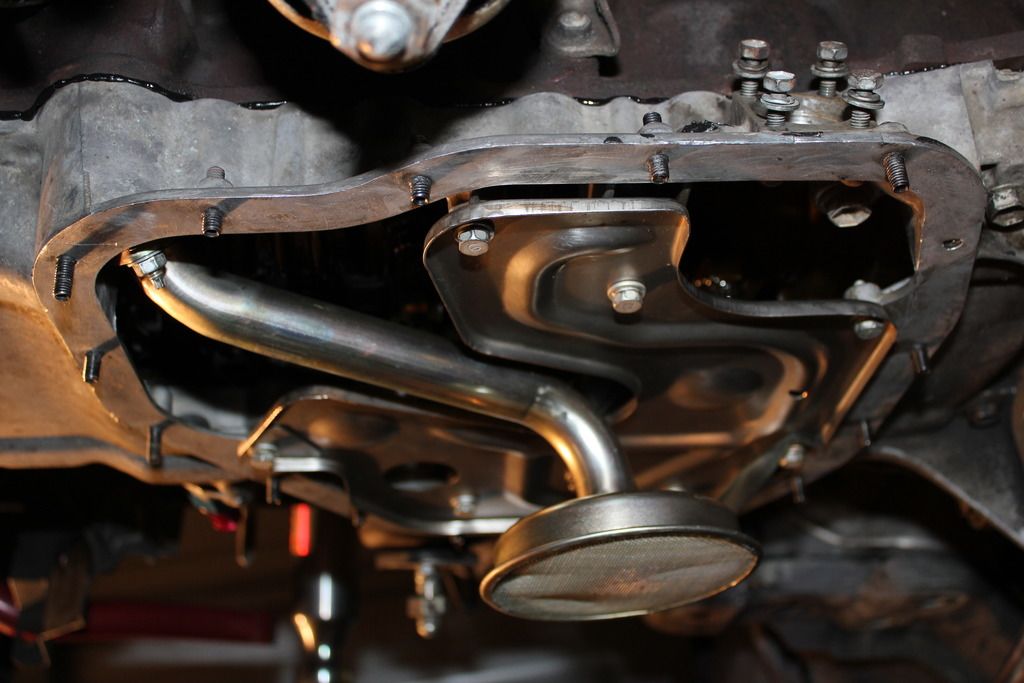
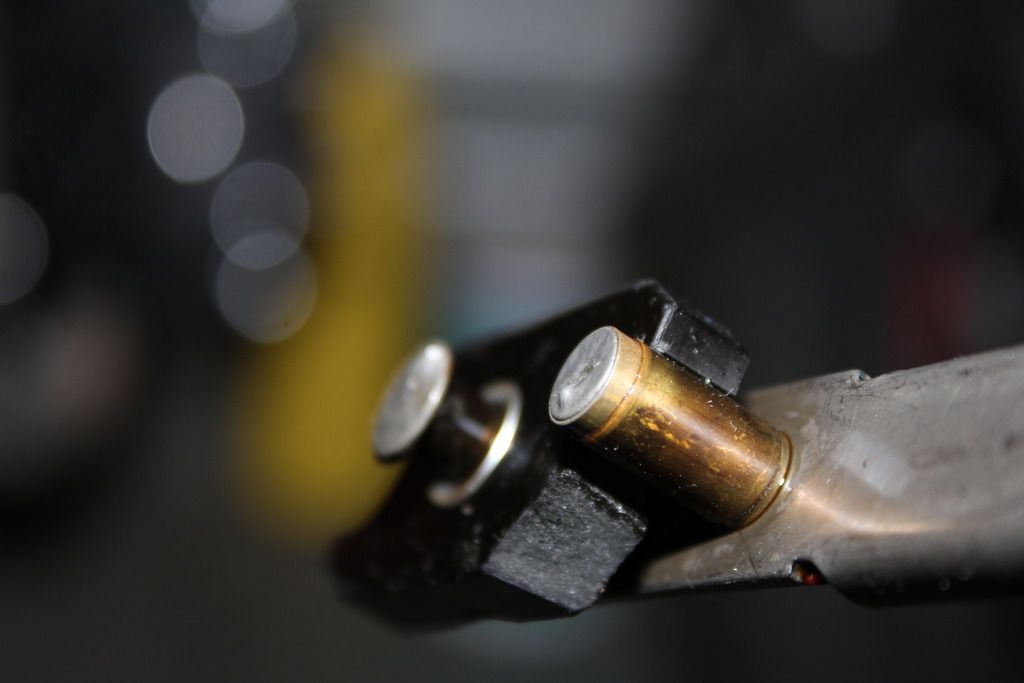
while reinstalling the oil pan i noticed my oil leveler was chipped. i need to replace that at some point one day.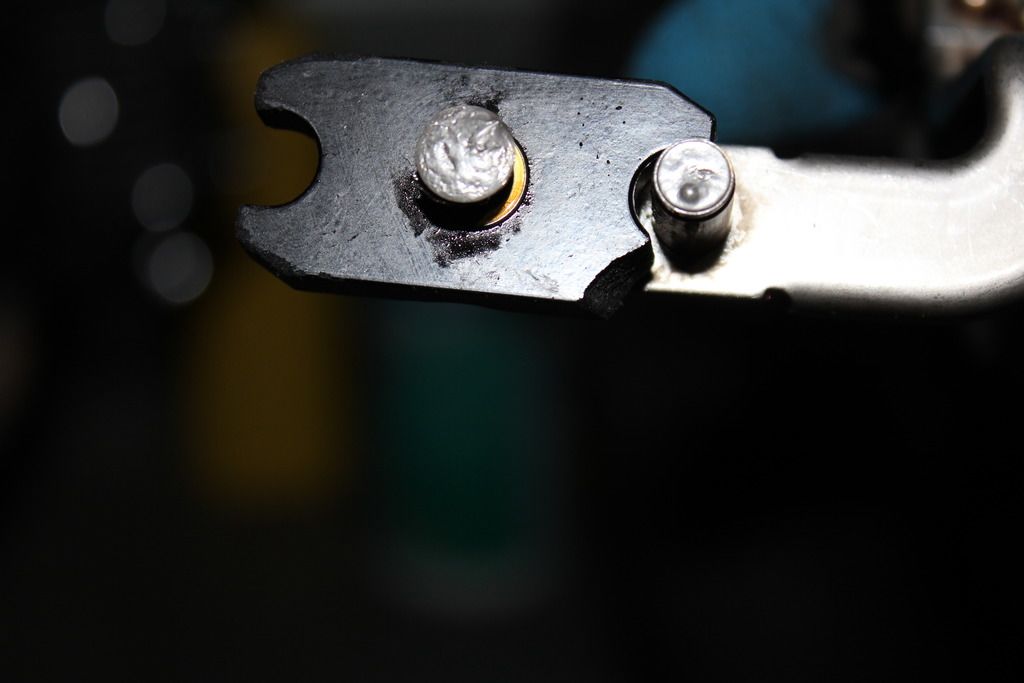
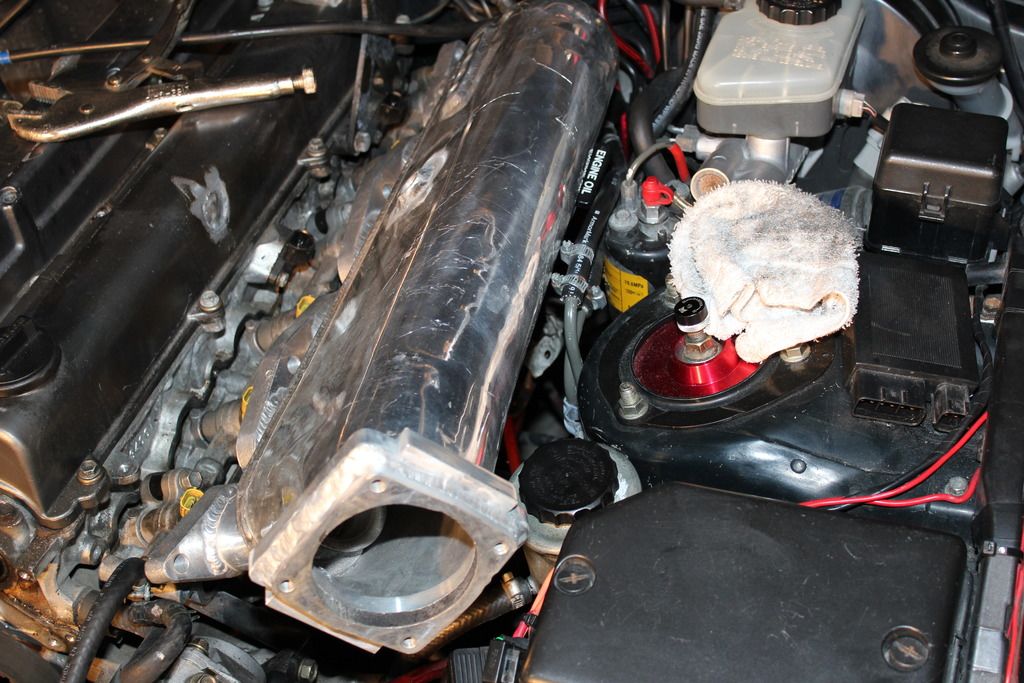
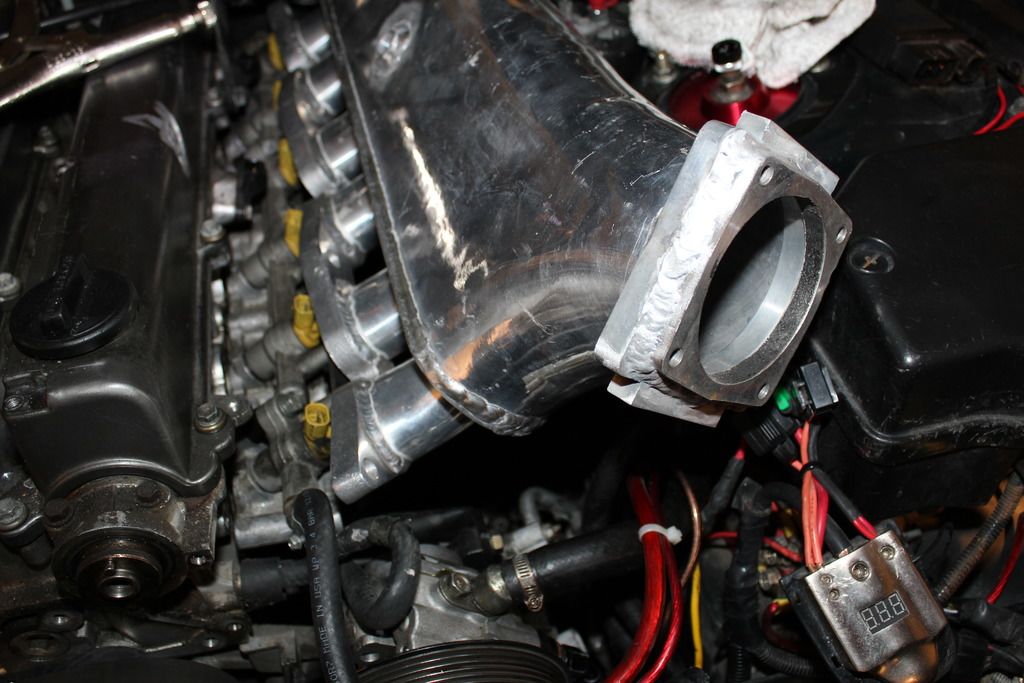
so before i pulled off the head, i test fitted the aftermarket intake. and i must say, it won't fit and it still needs work to make it fit.
After getting the cams out of the way, I got the bolts out and pulled this head. I didn't secure the shim buckets and they all came out(keep them in order) so I had to pay extra at the shop.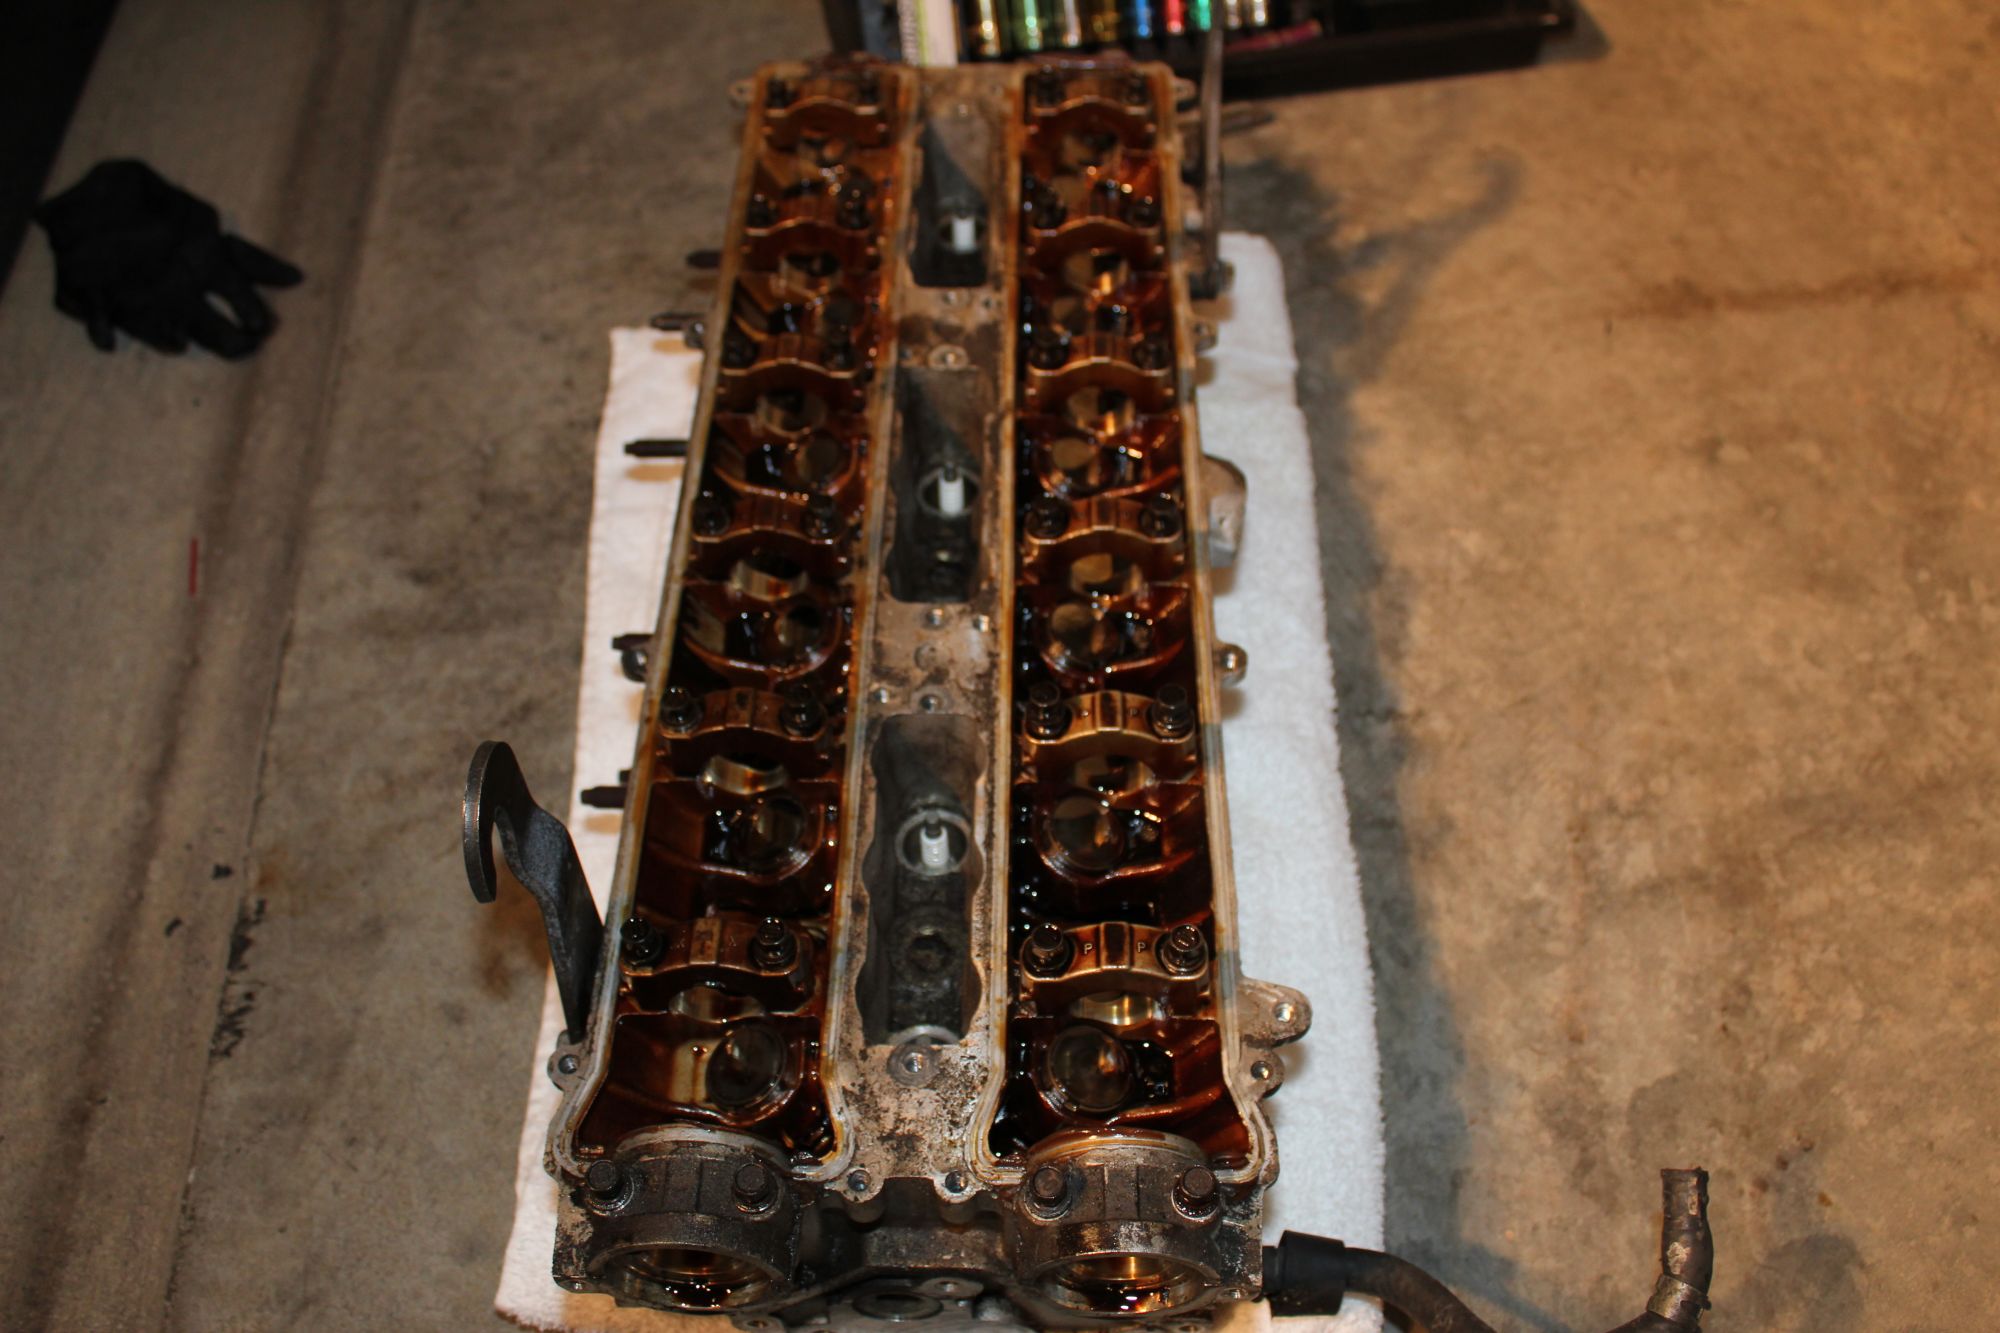
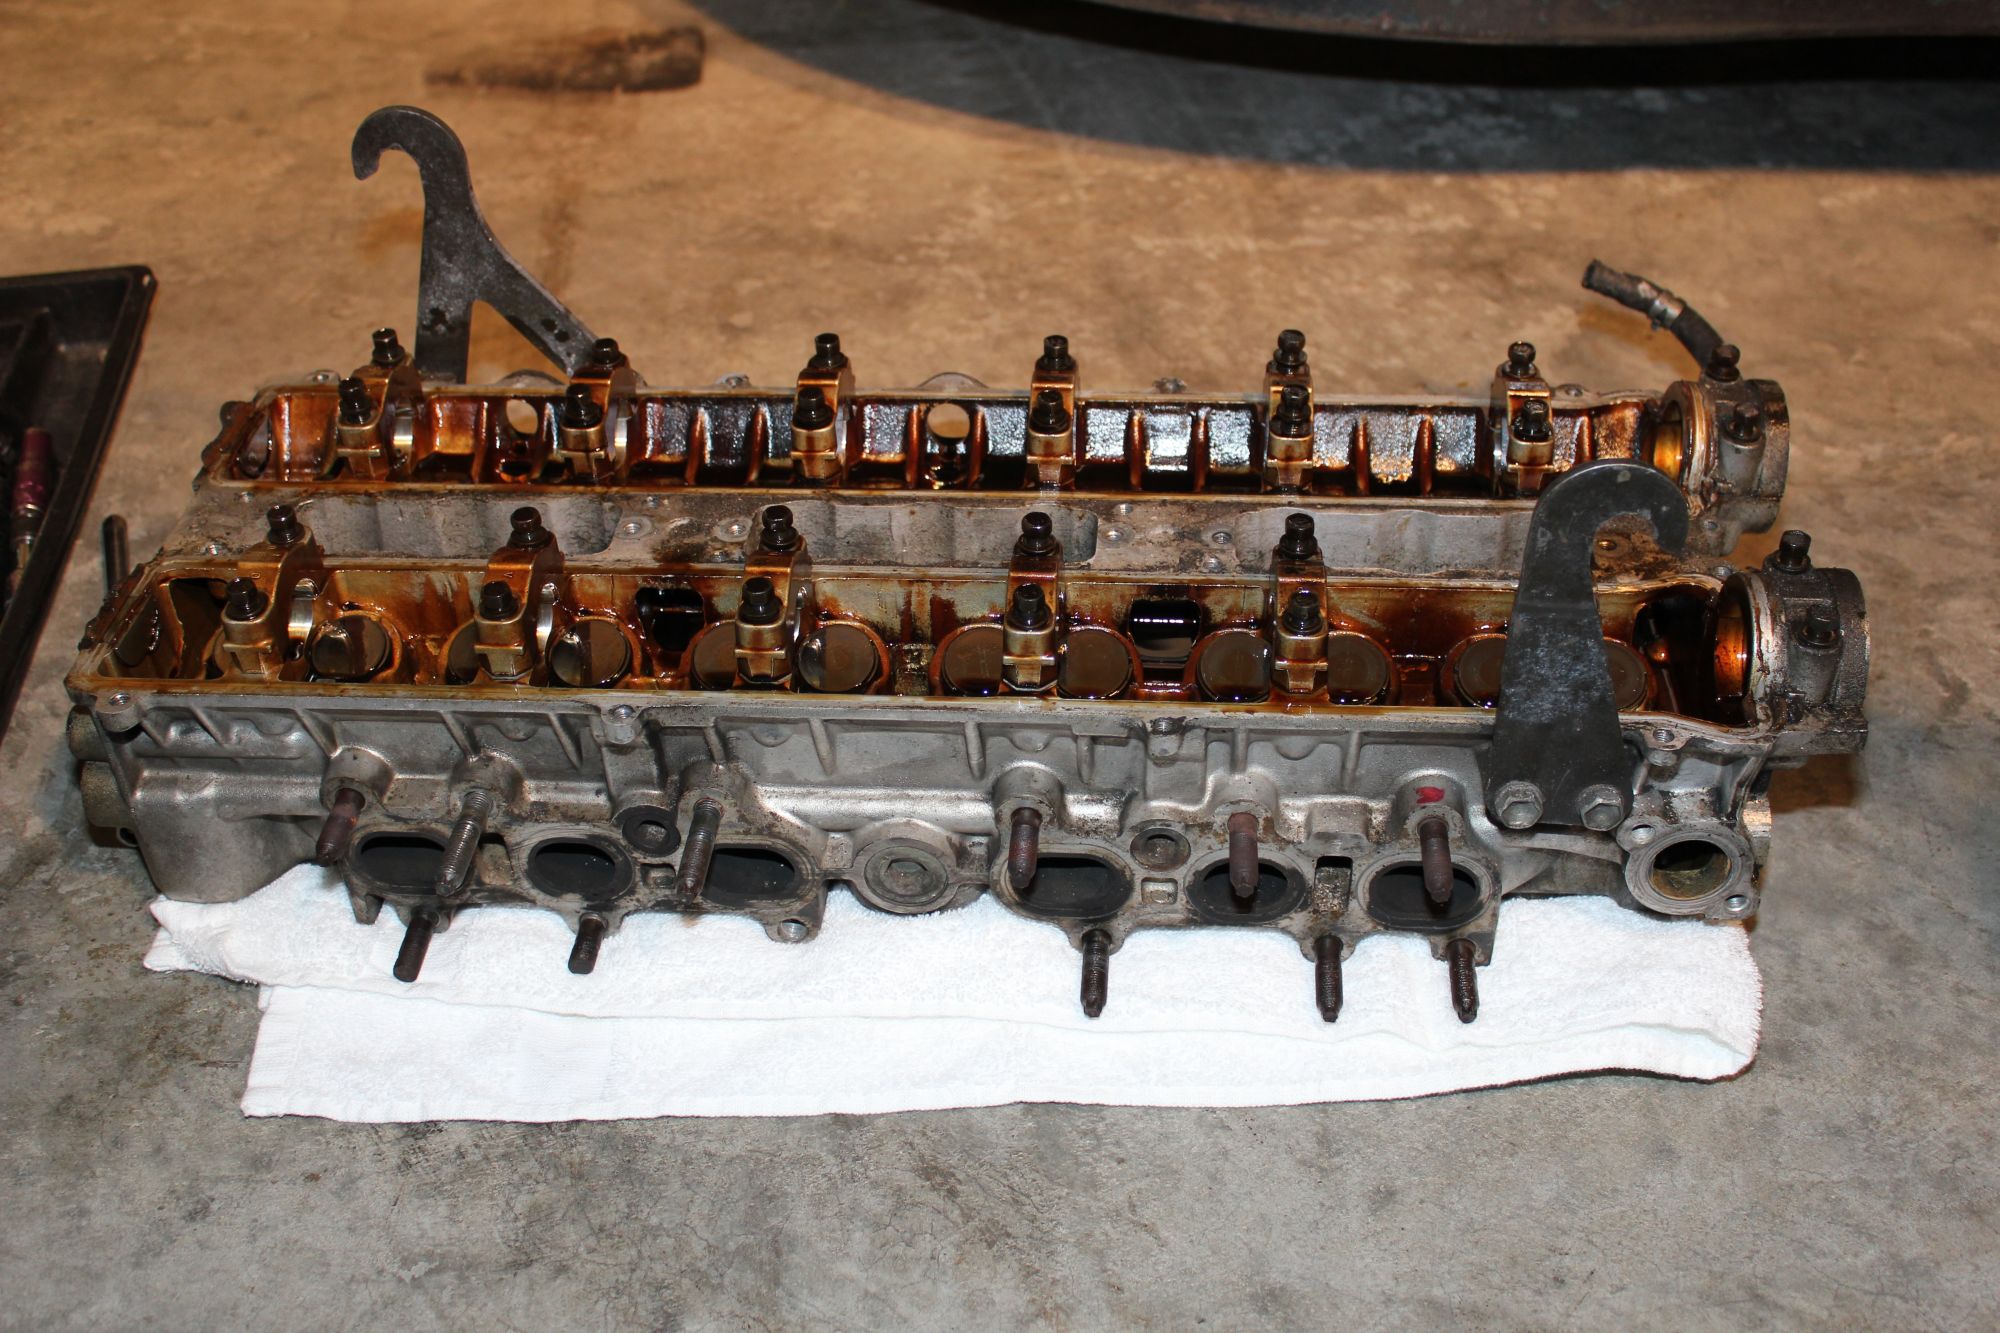
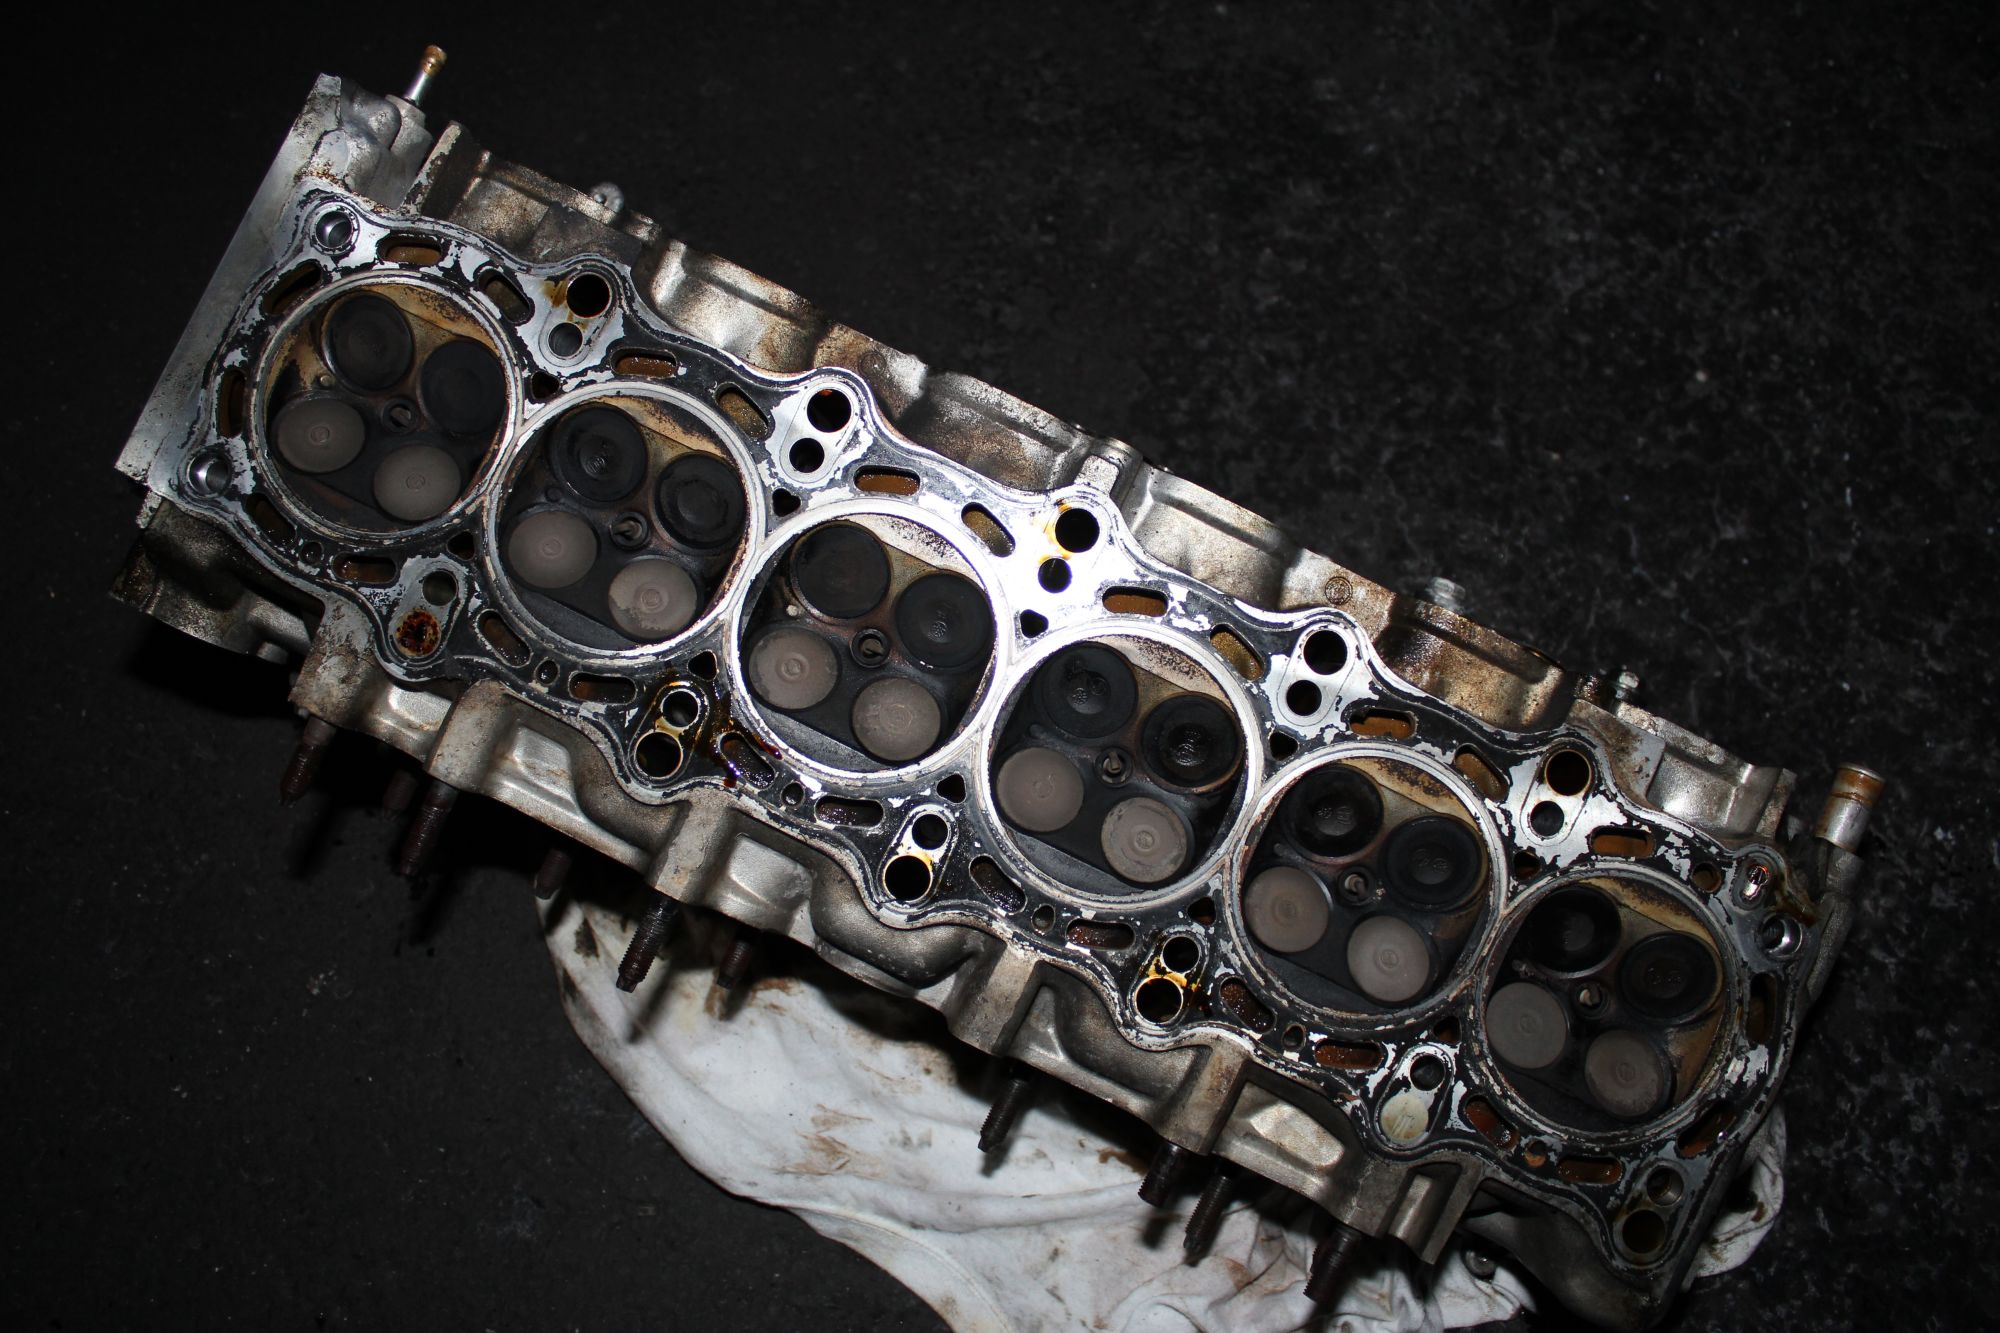
so, before I sent my head out to get done. a good friend of mine Austin gasket/matched my intake/exhaust runners.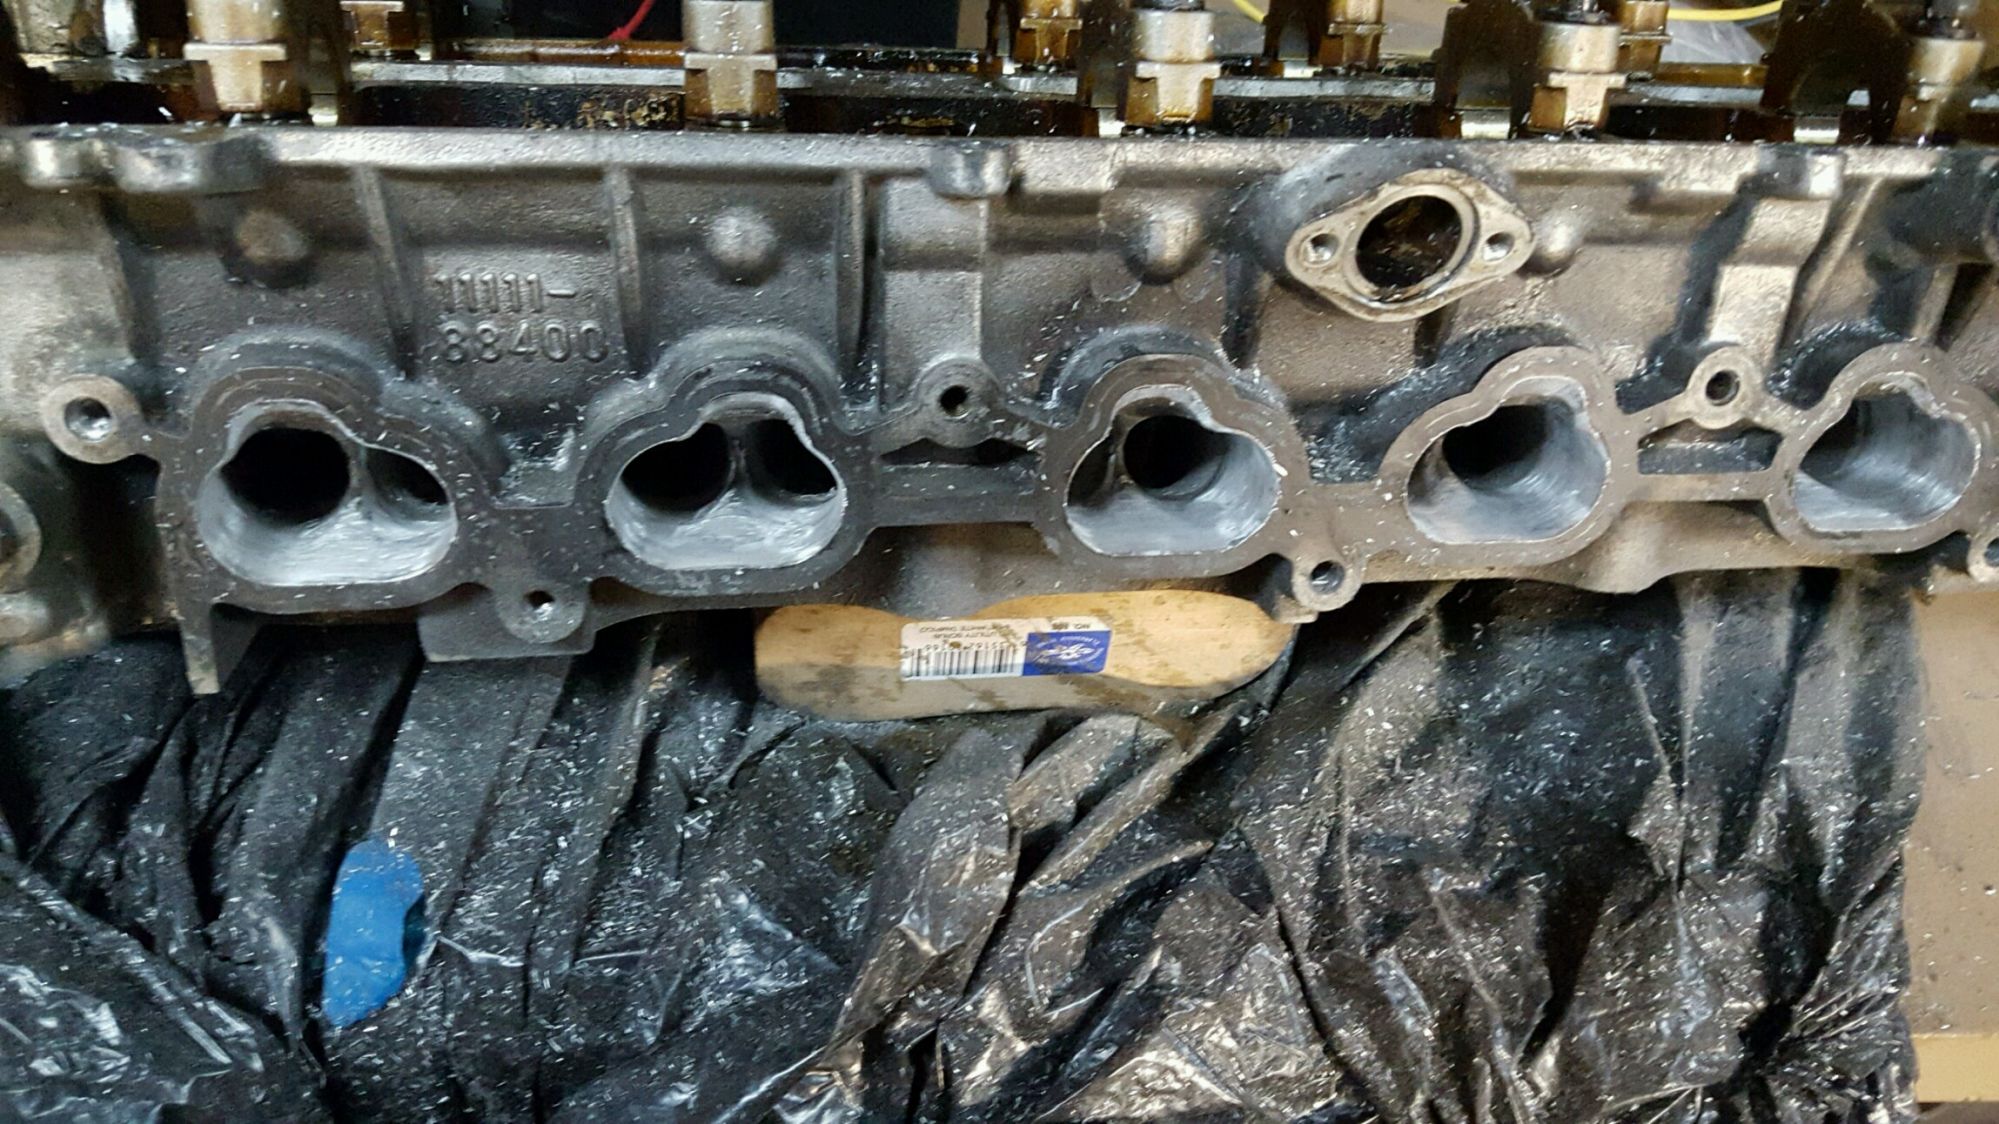
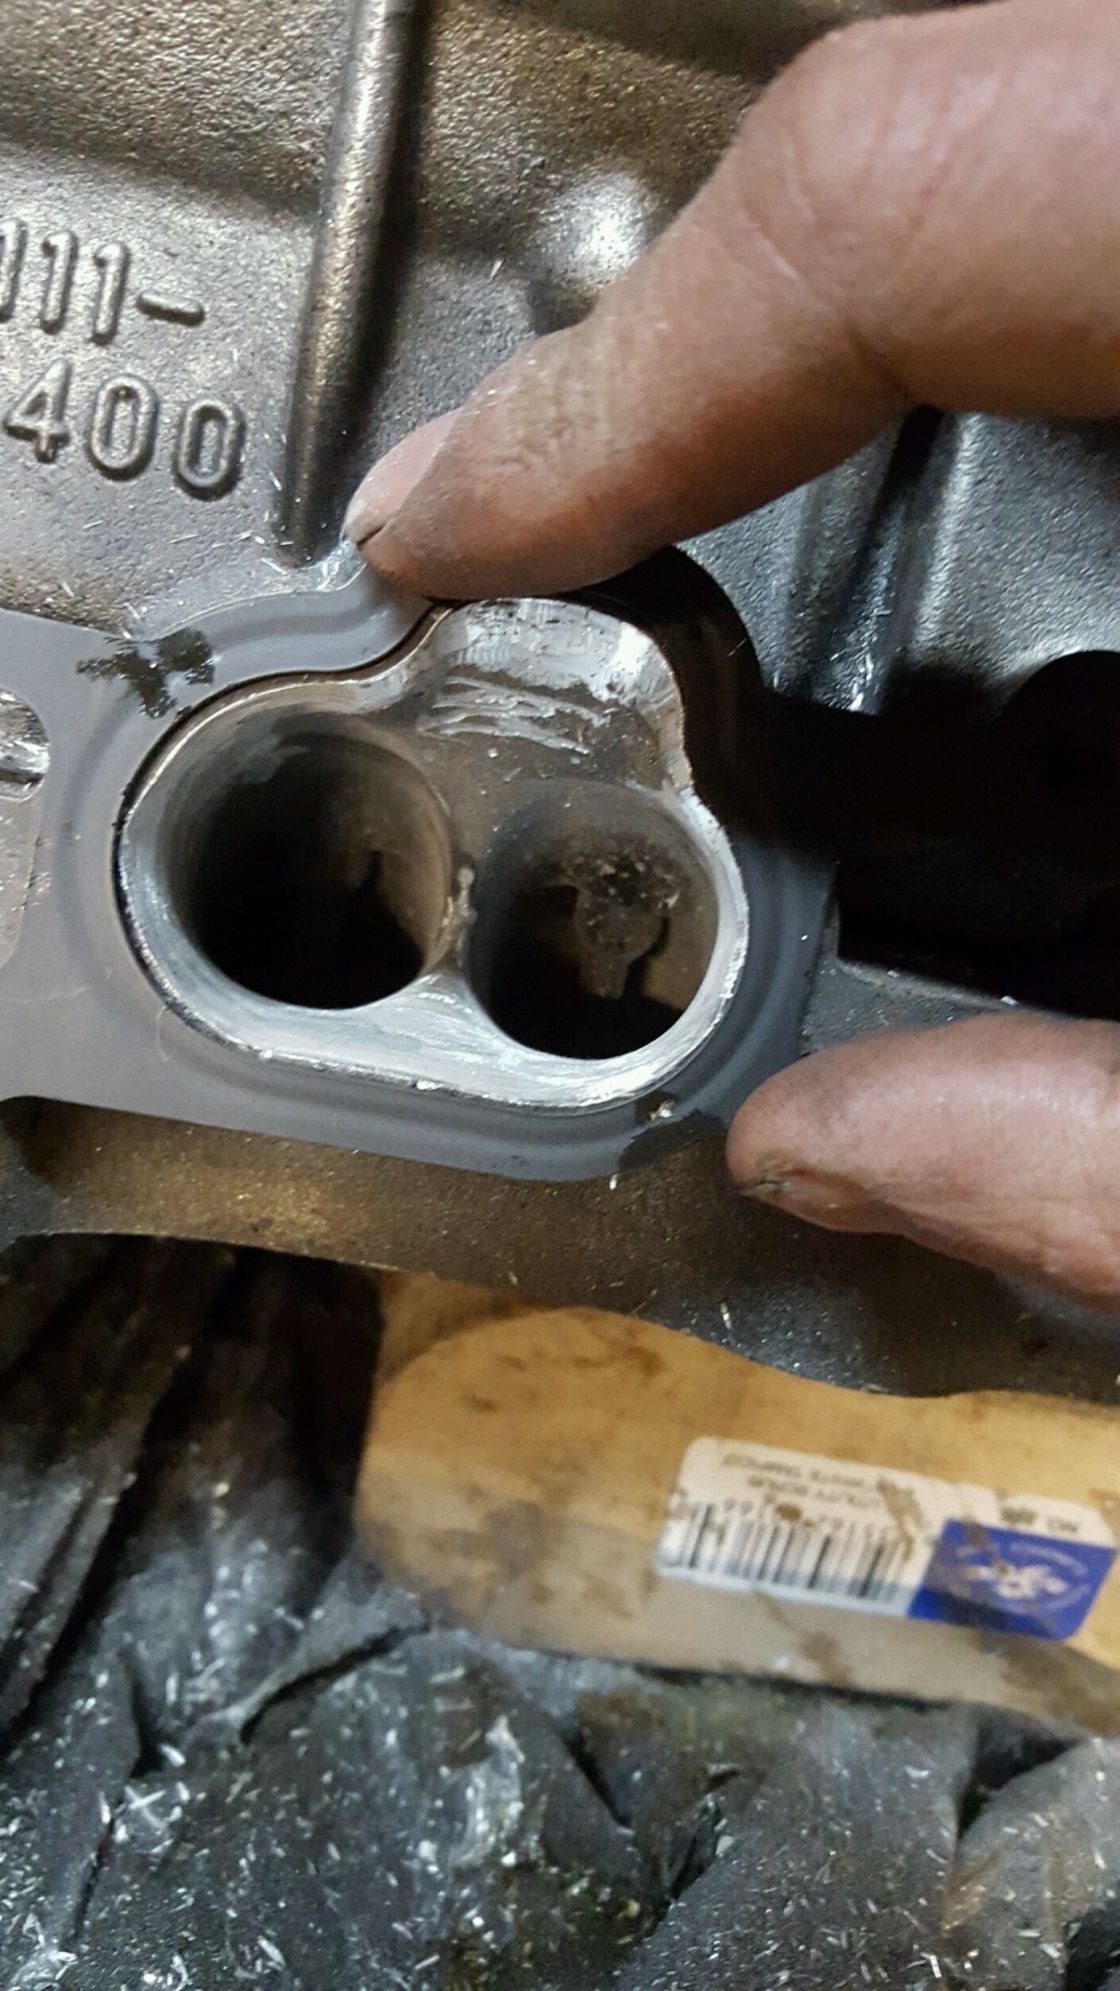
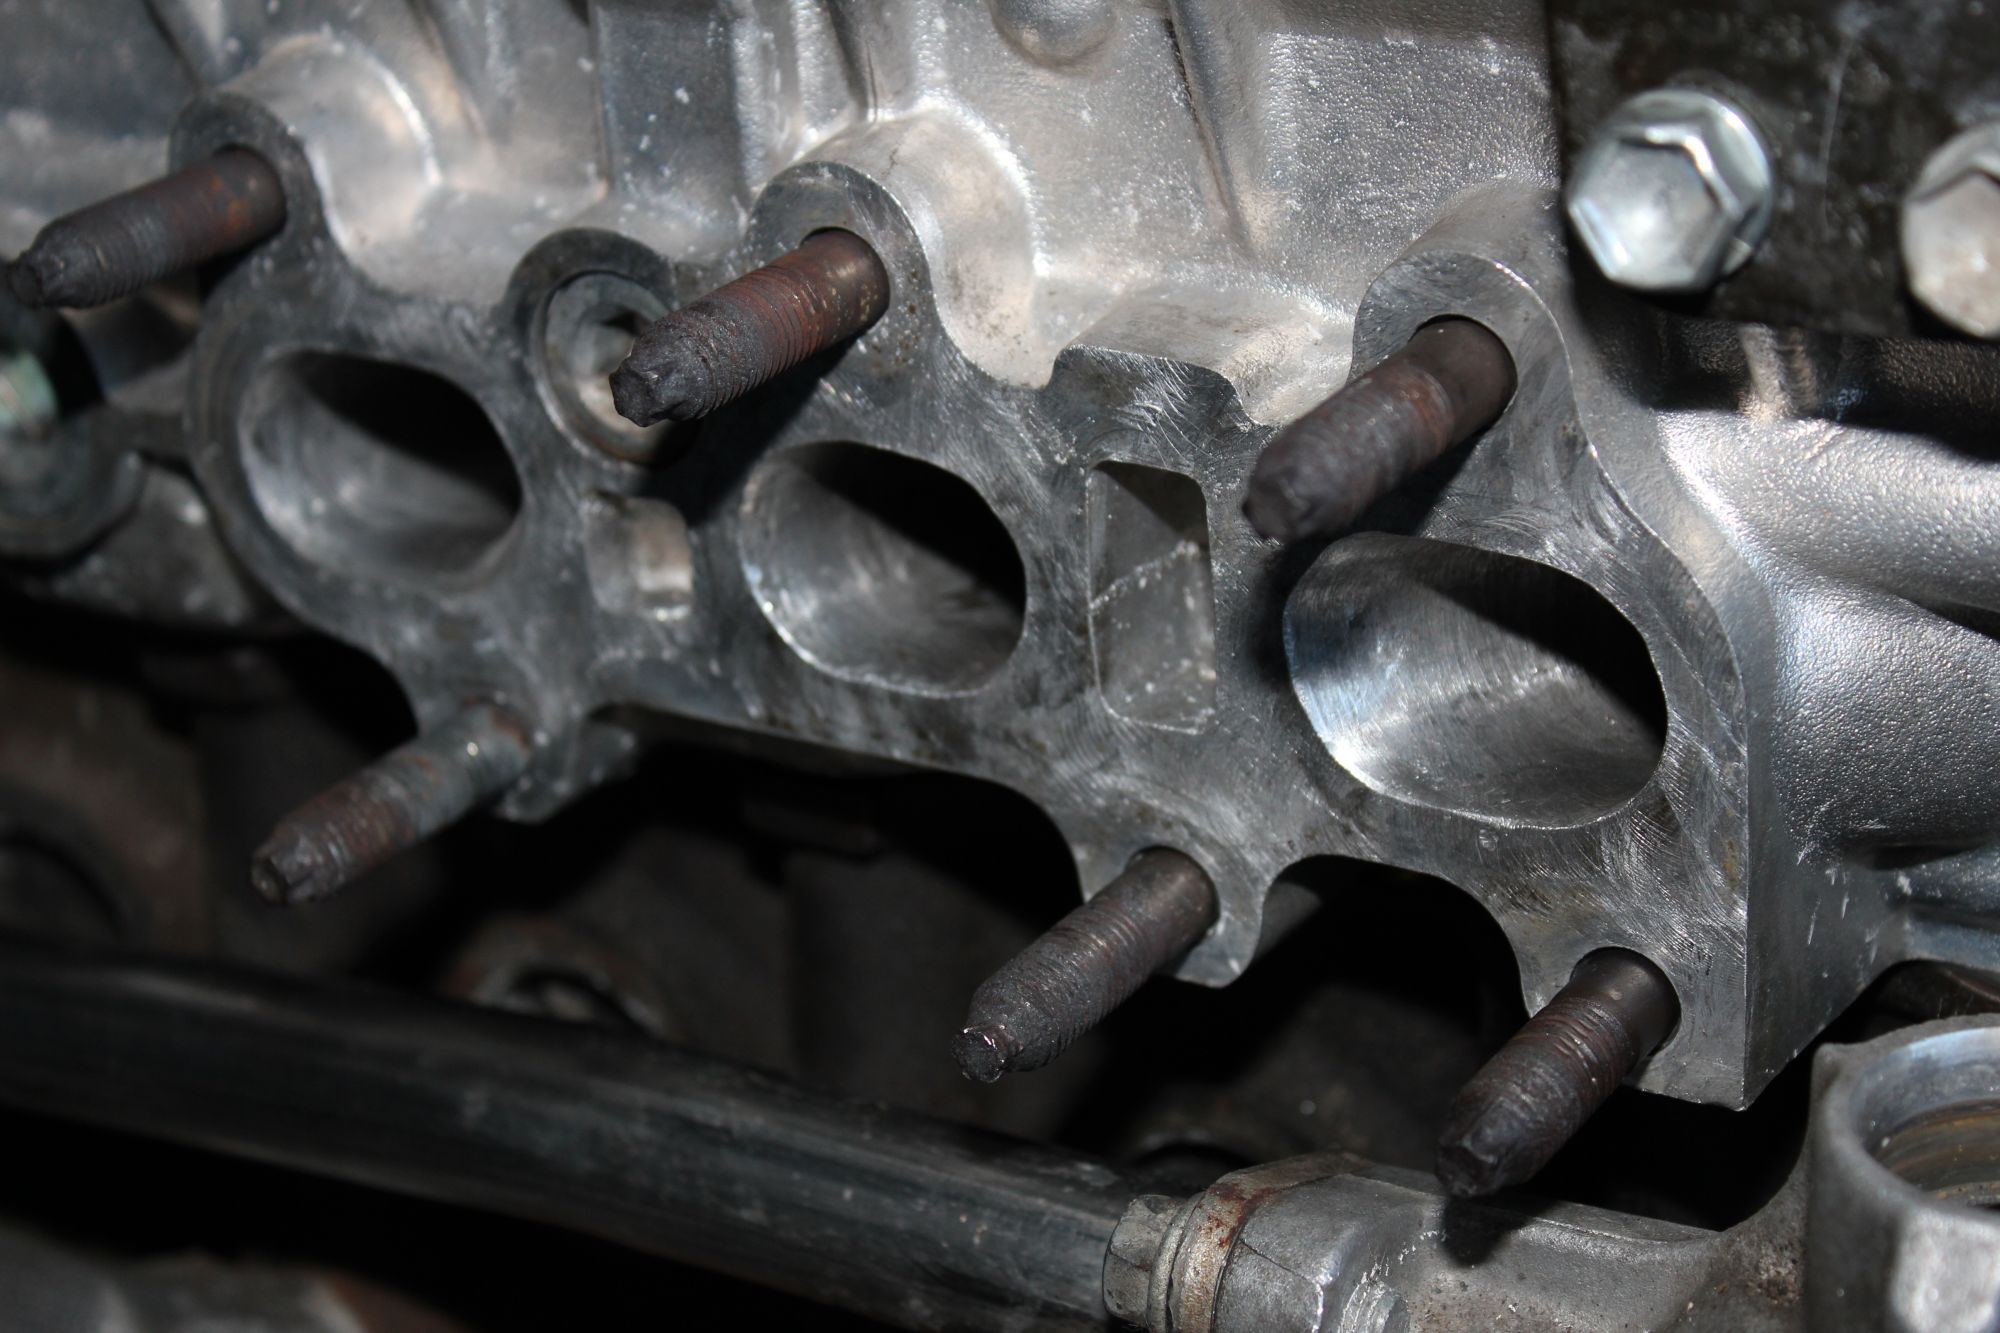
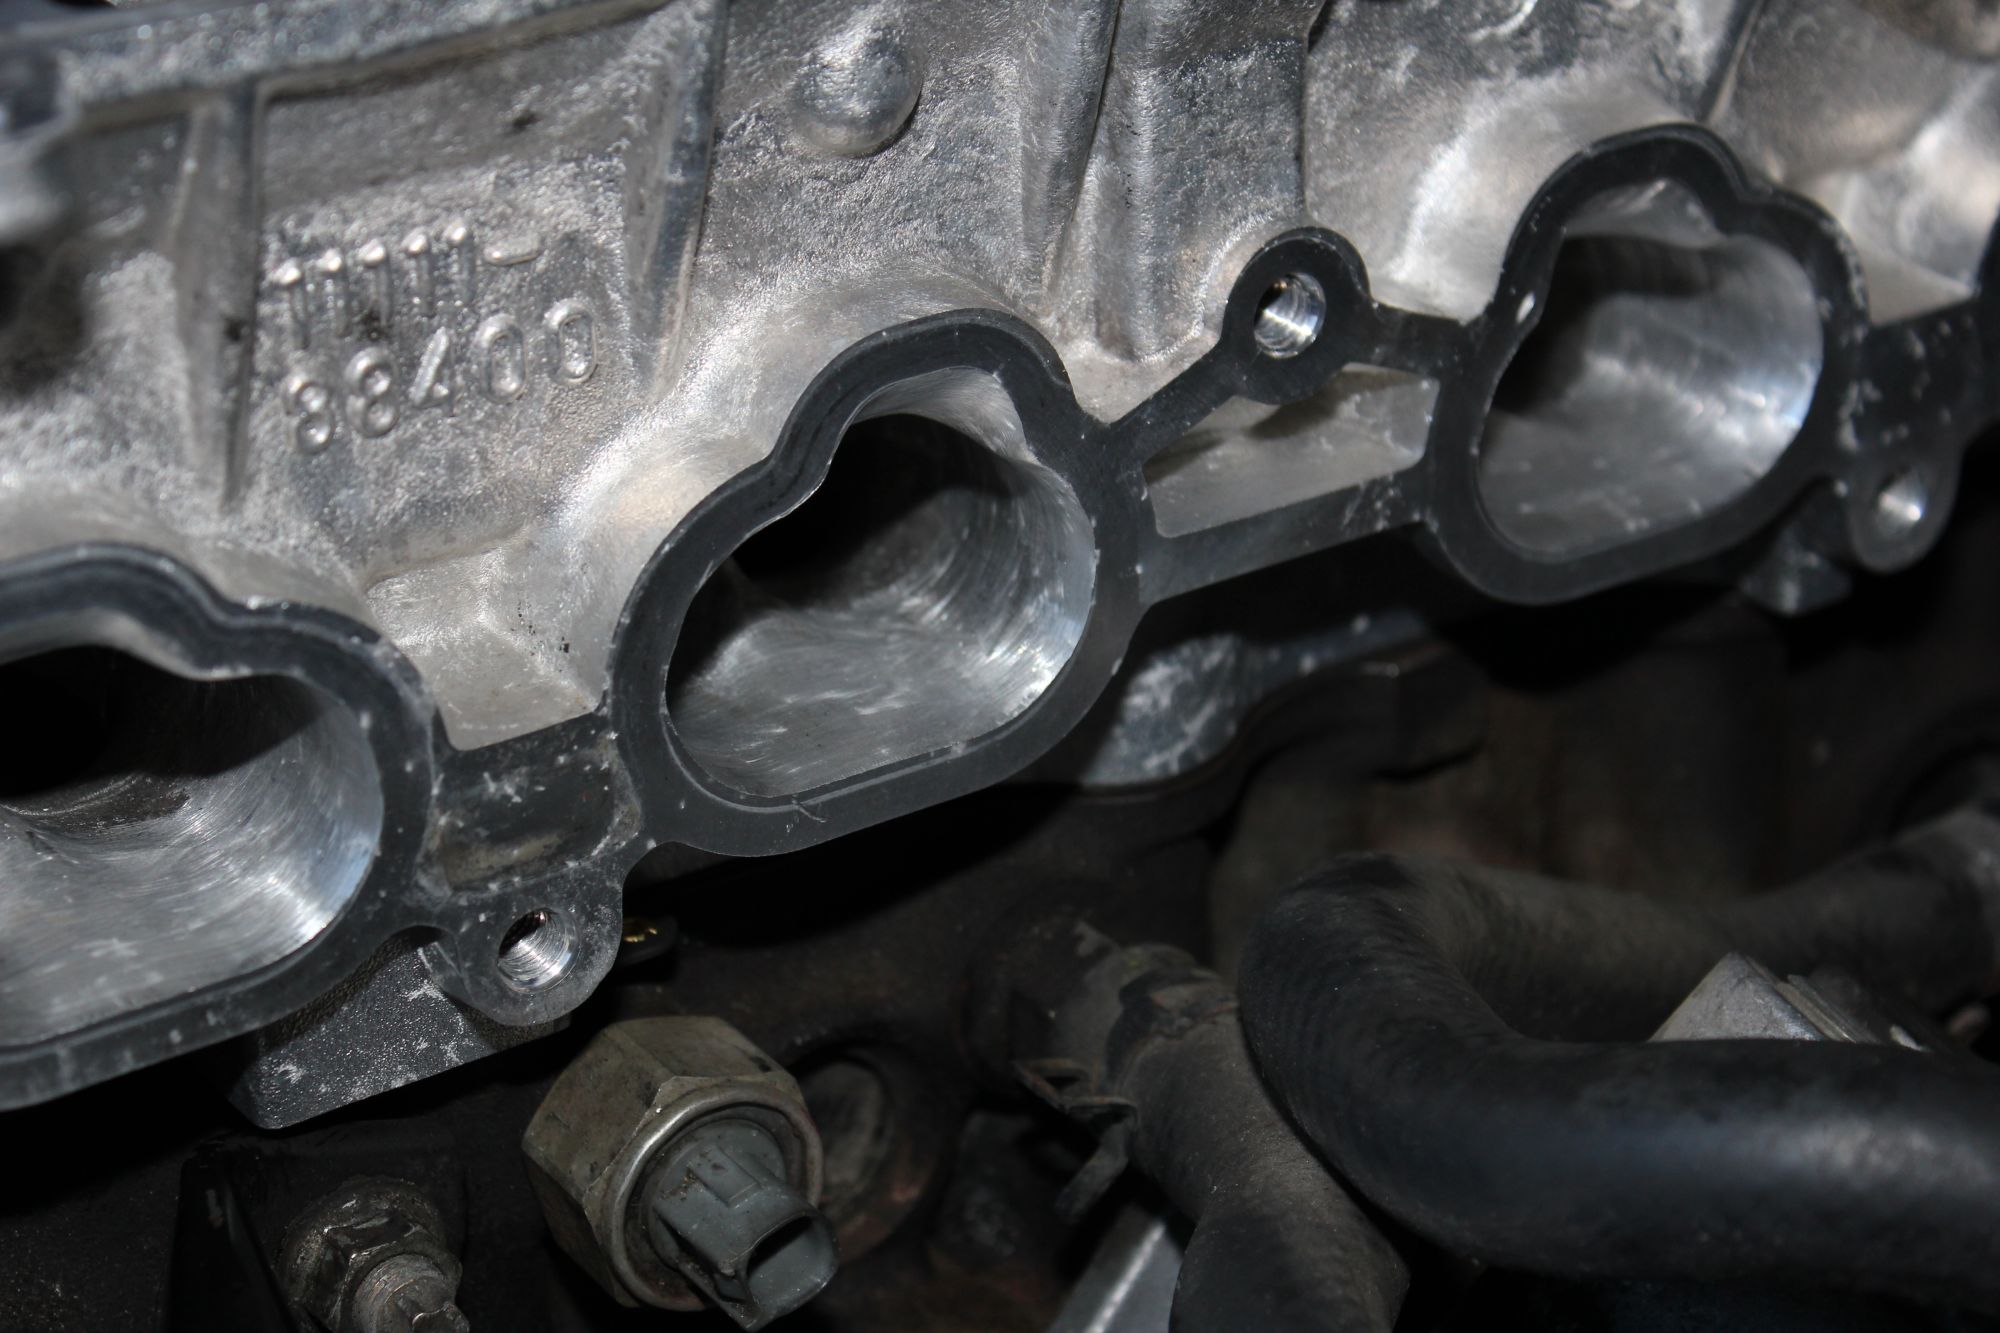
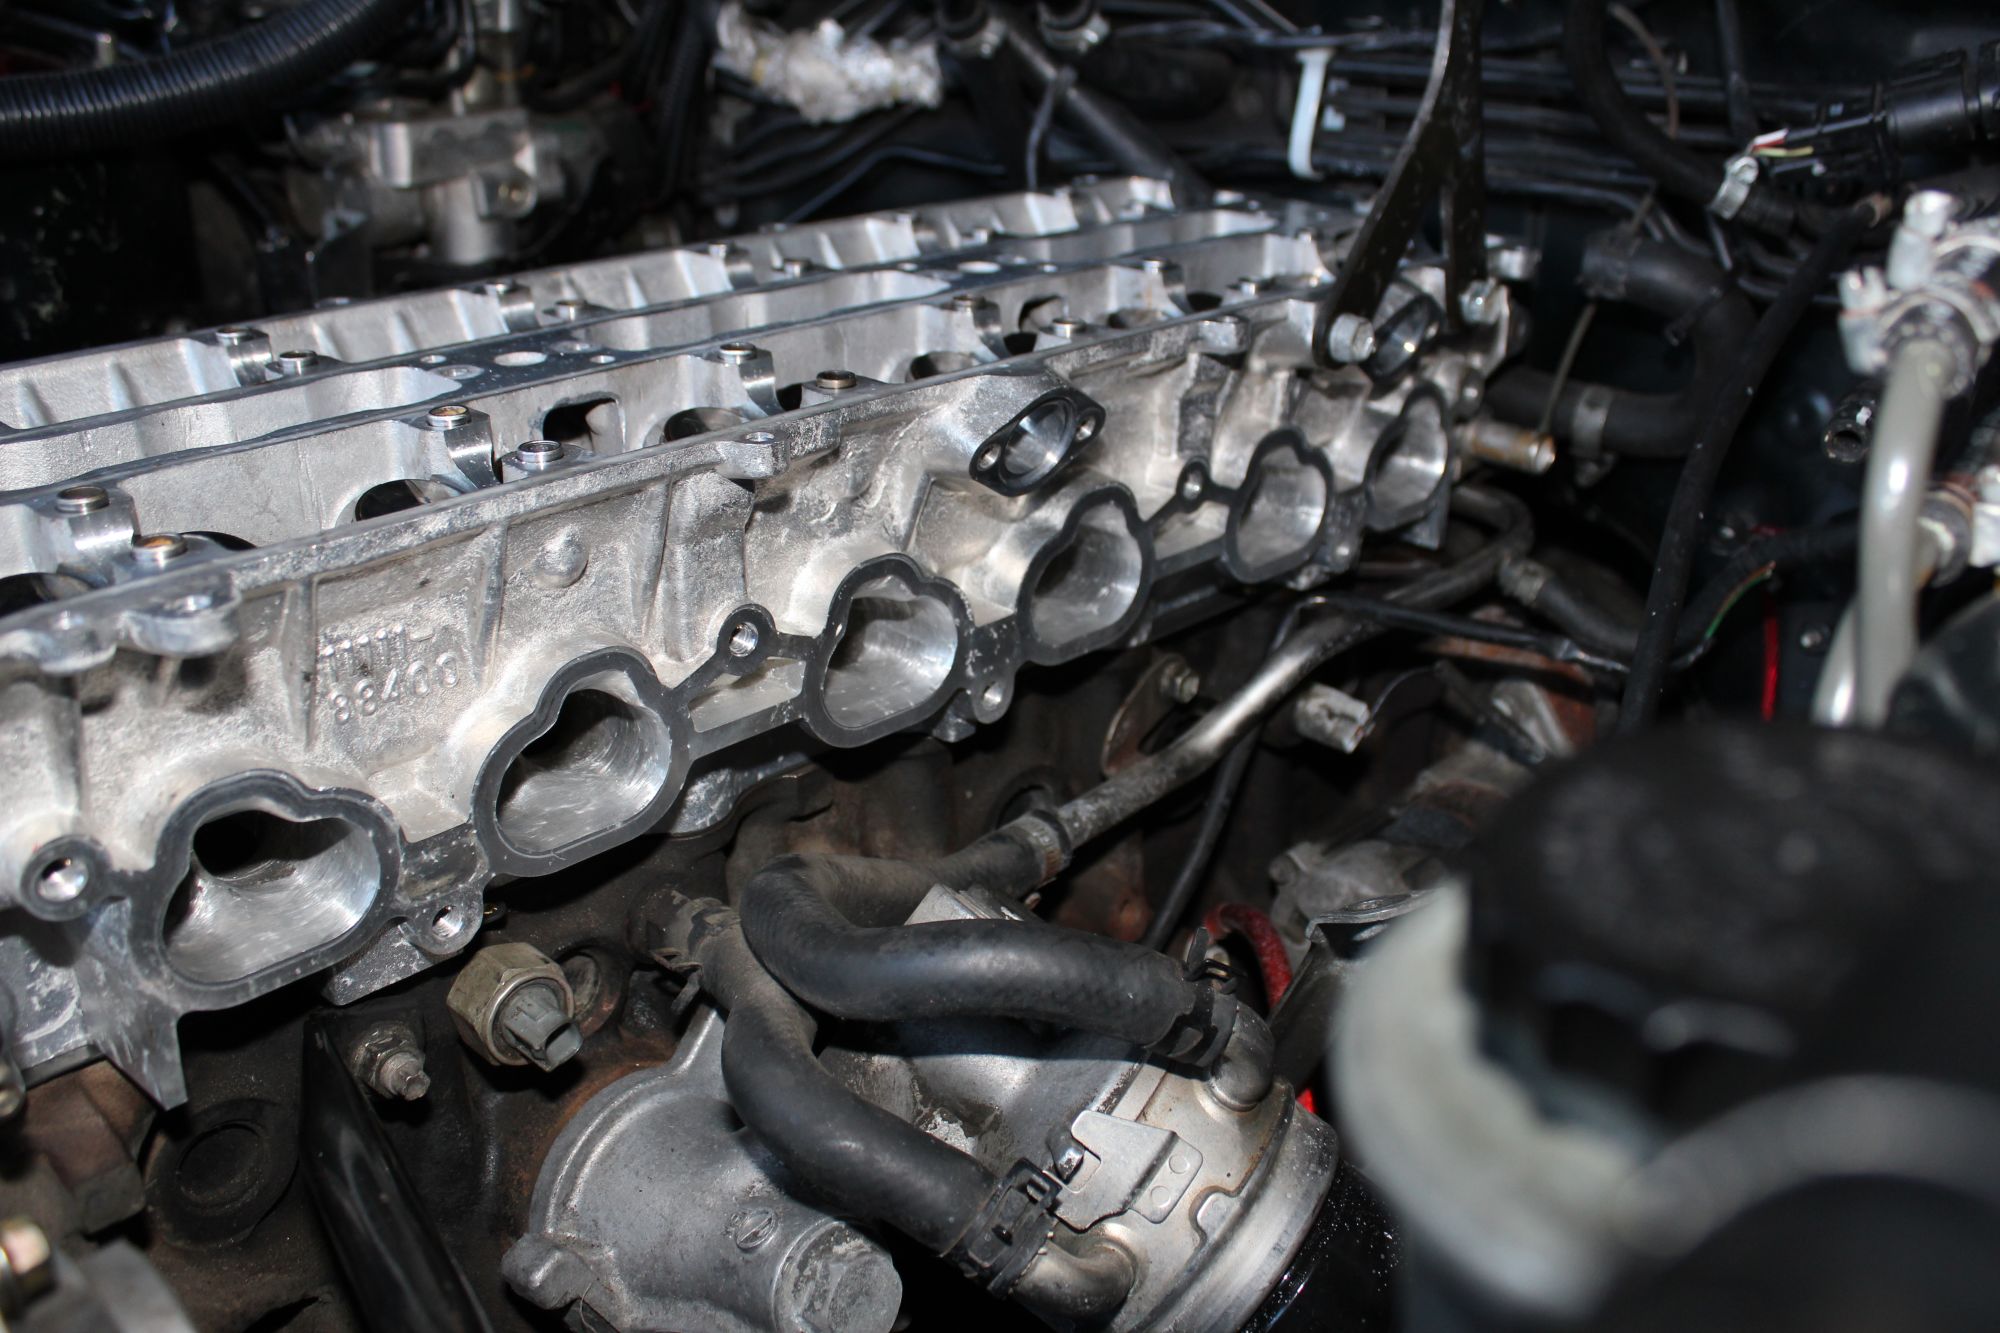
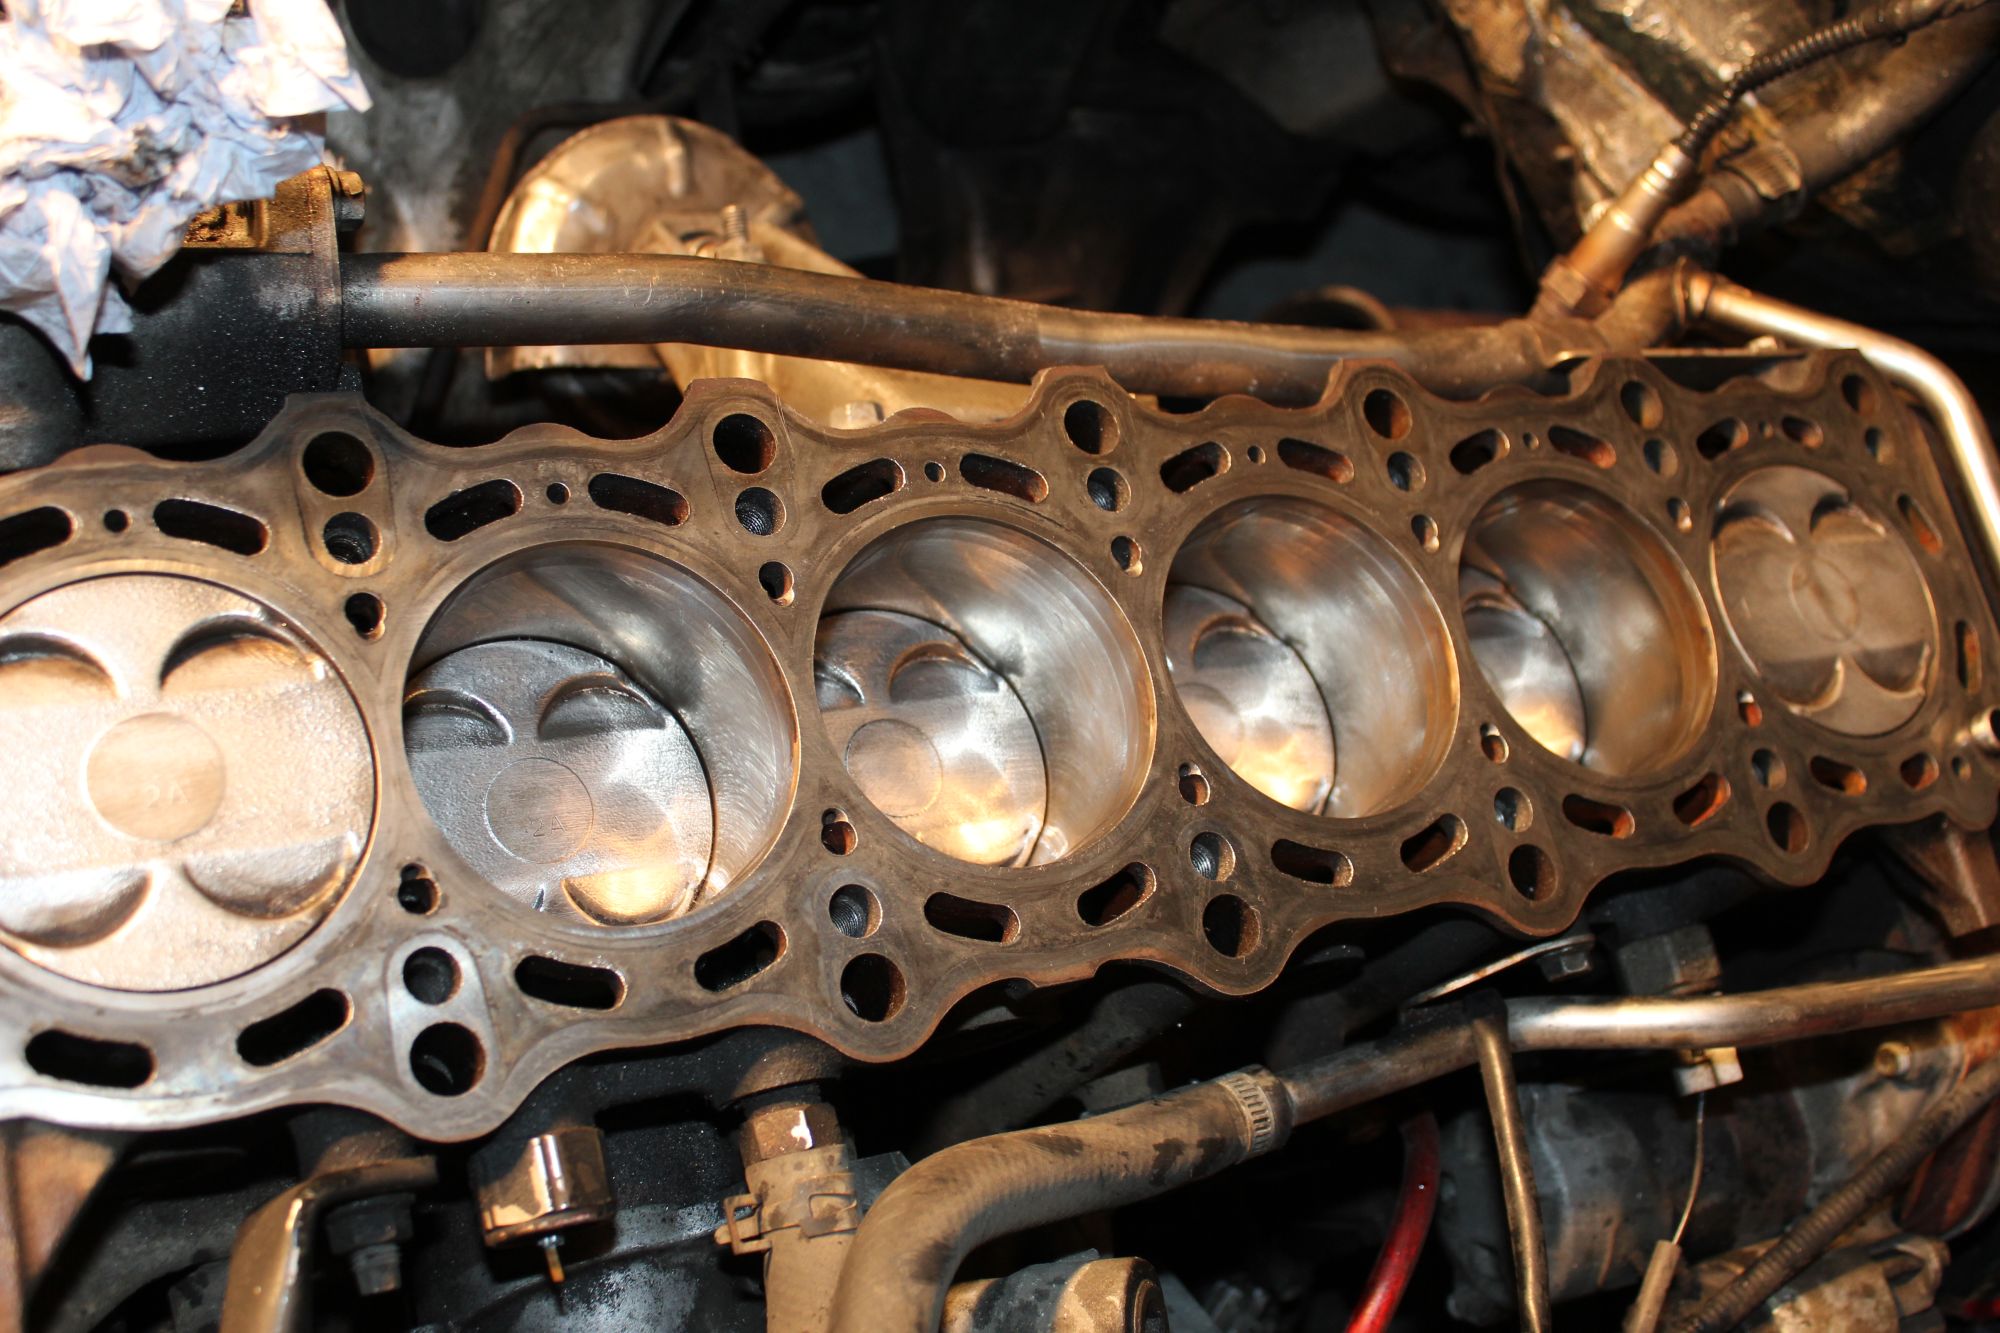
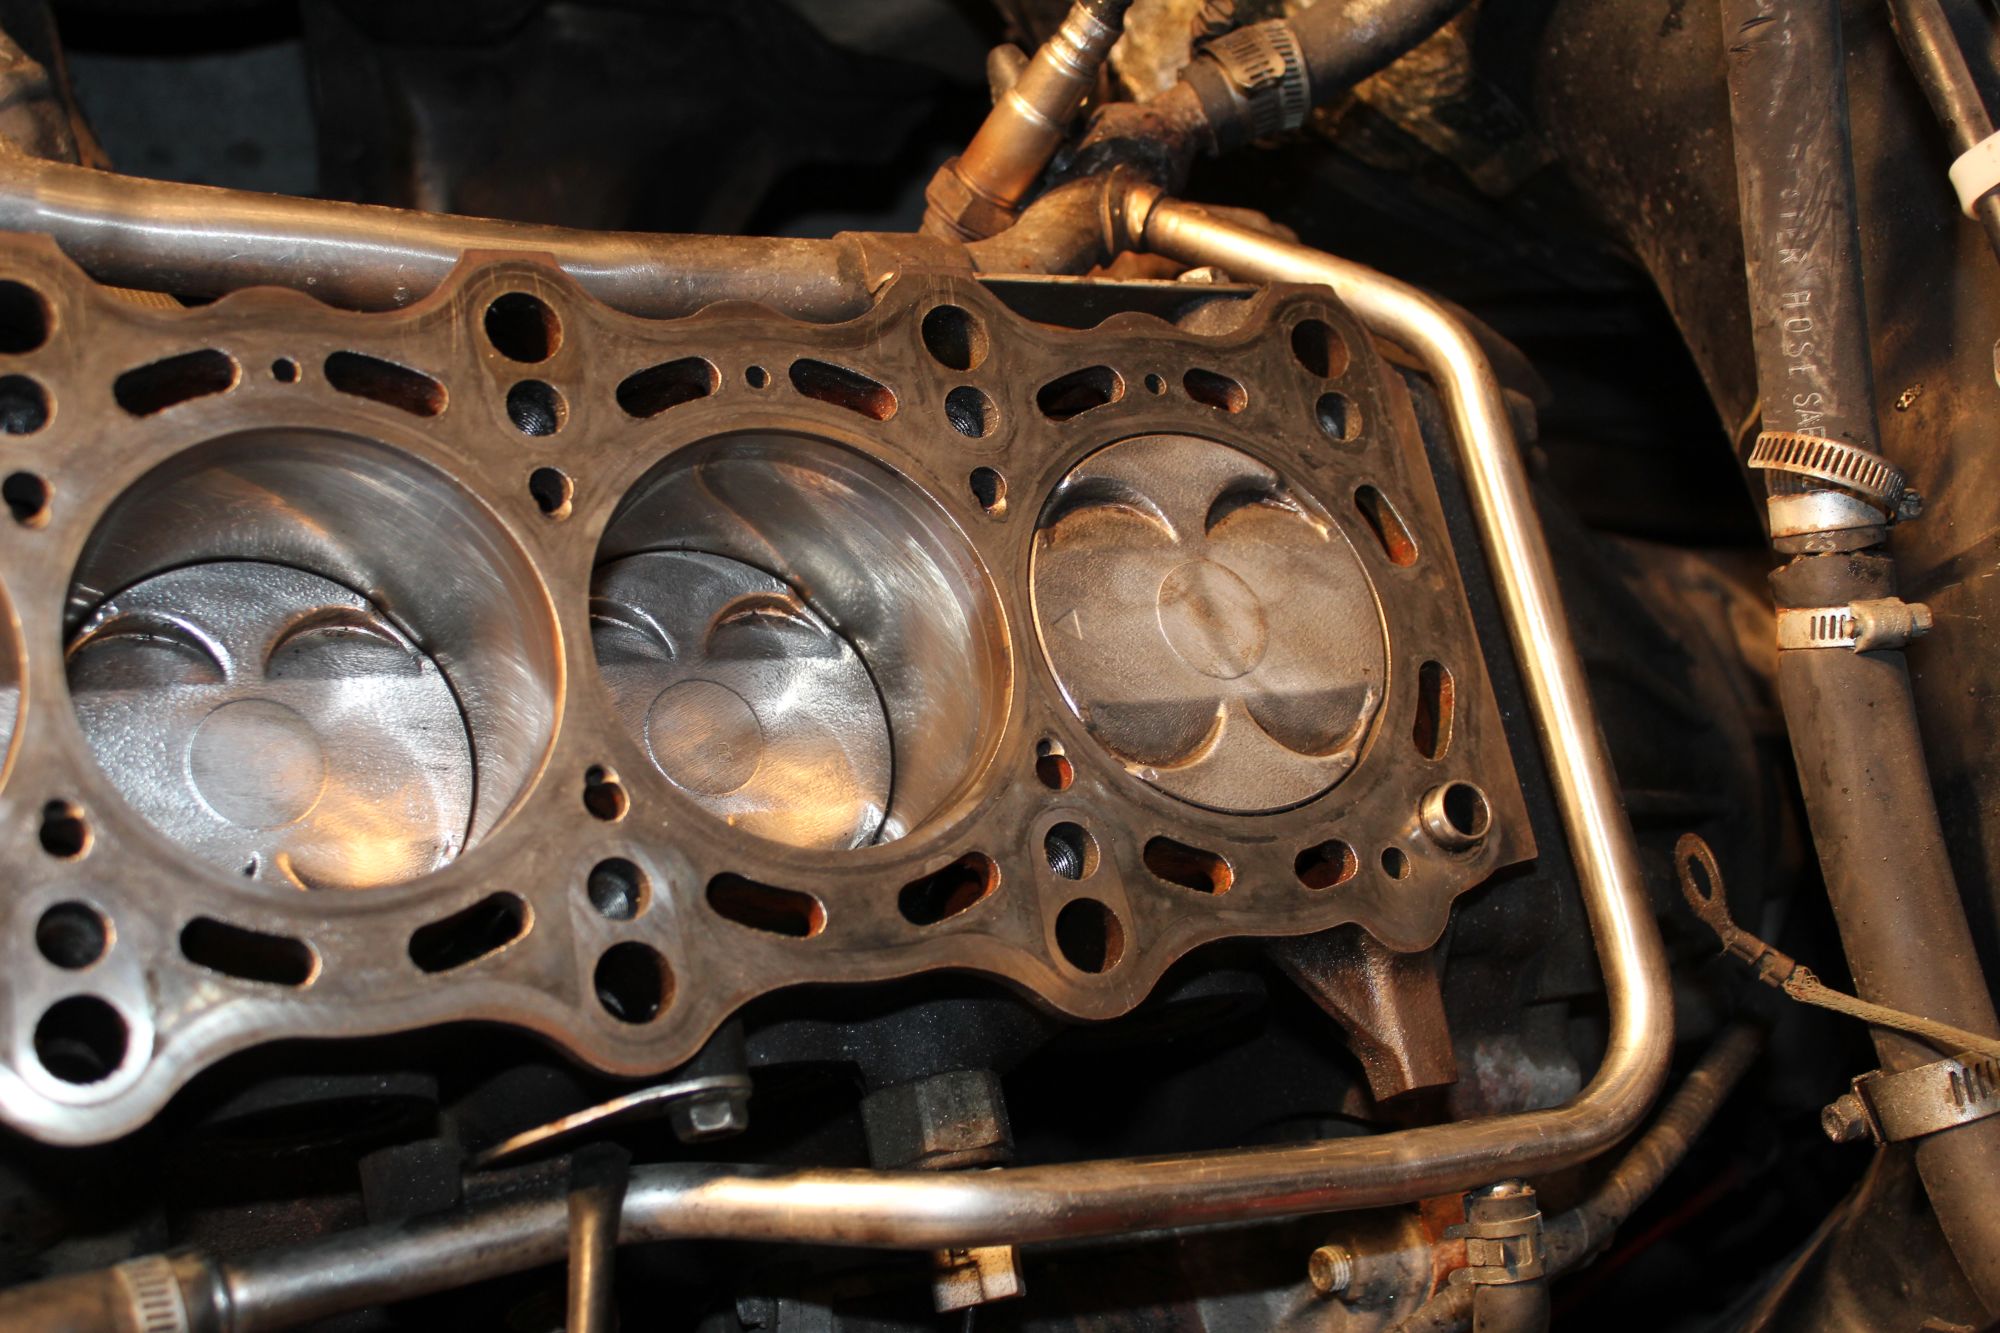
Next up is the cleaning of the cylinder head. I used some scraping, but I carefully used a wire-brush on the blocks and pistons.
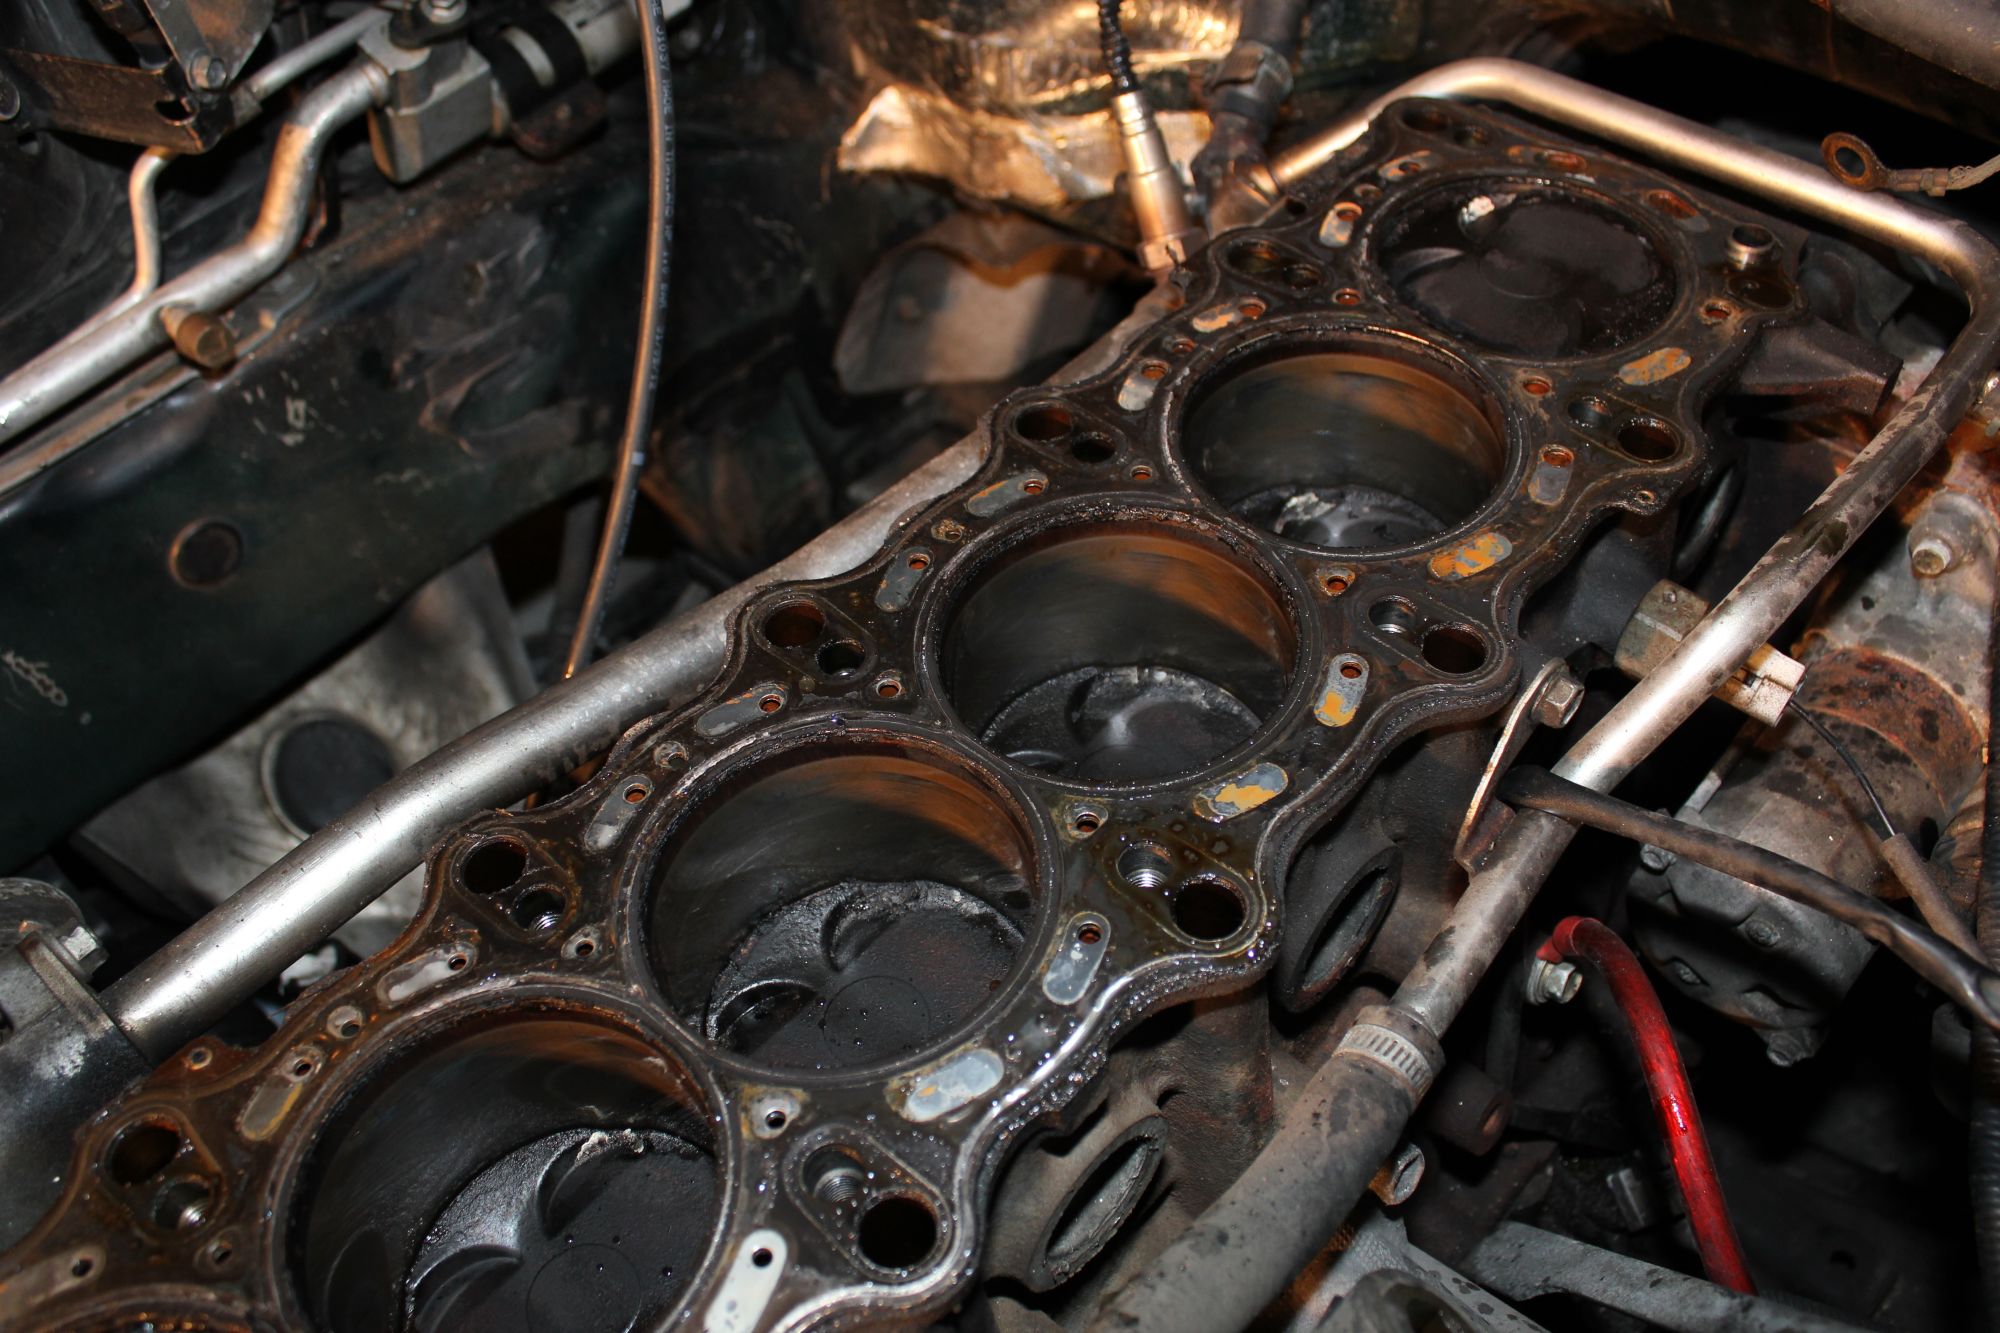
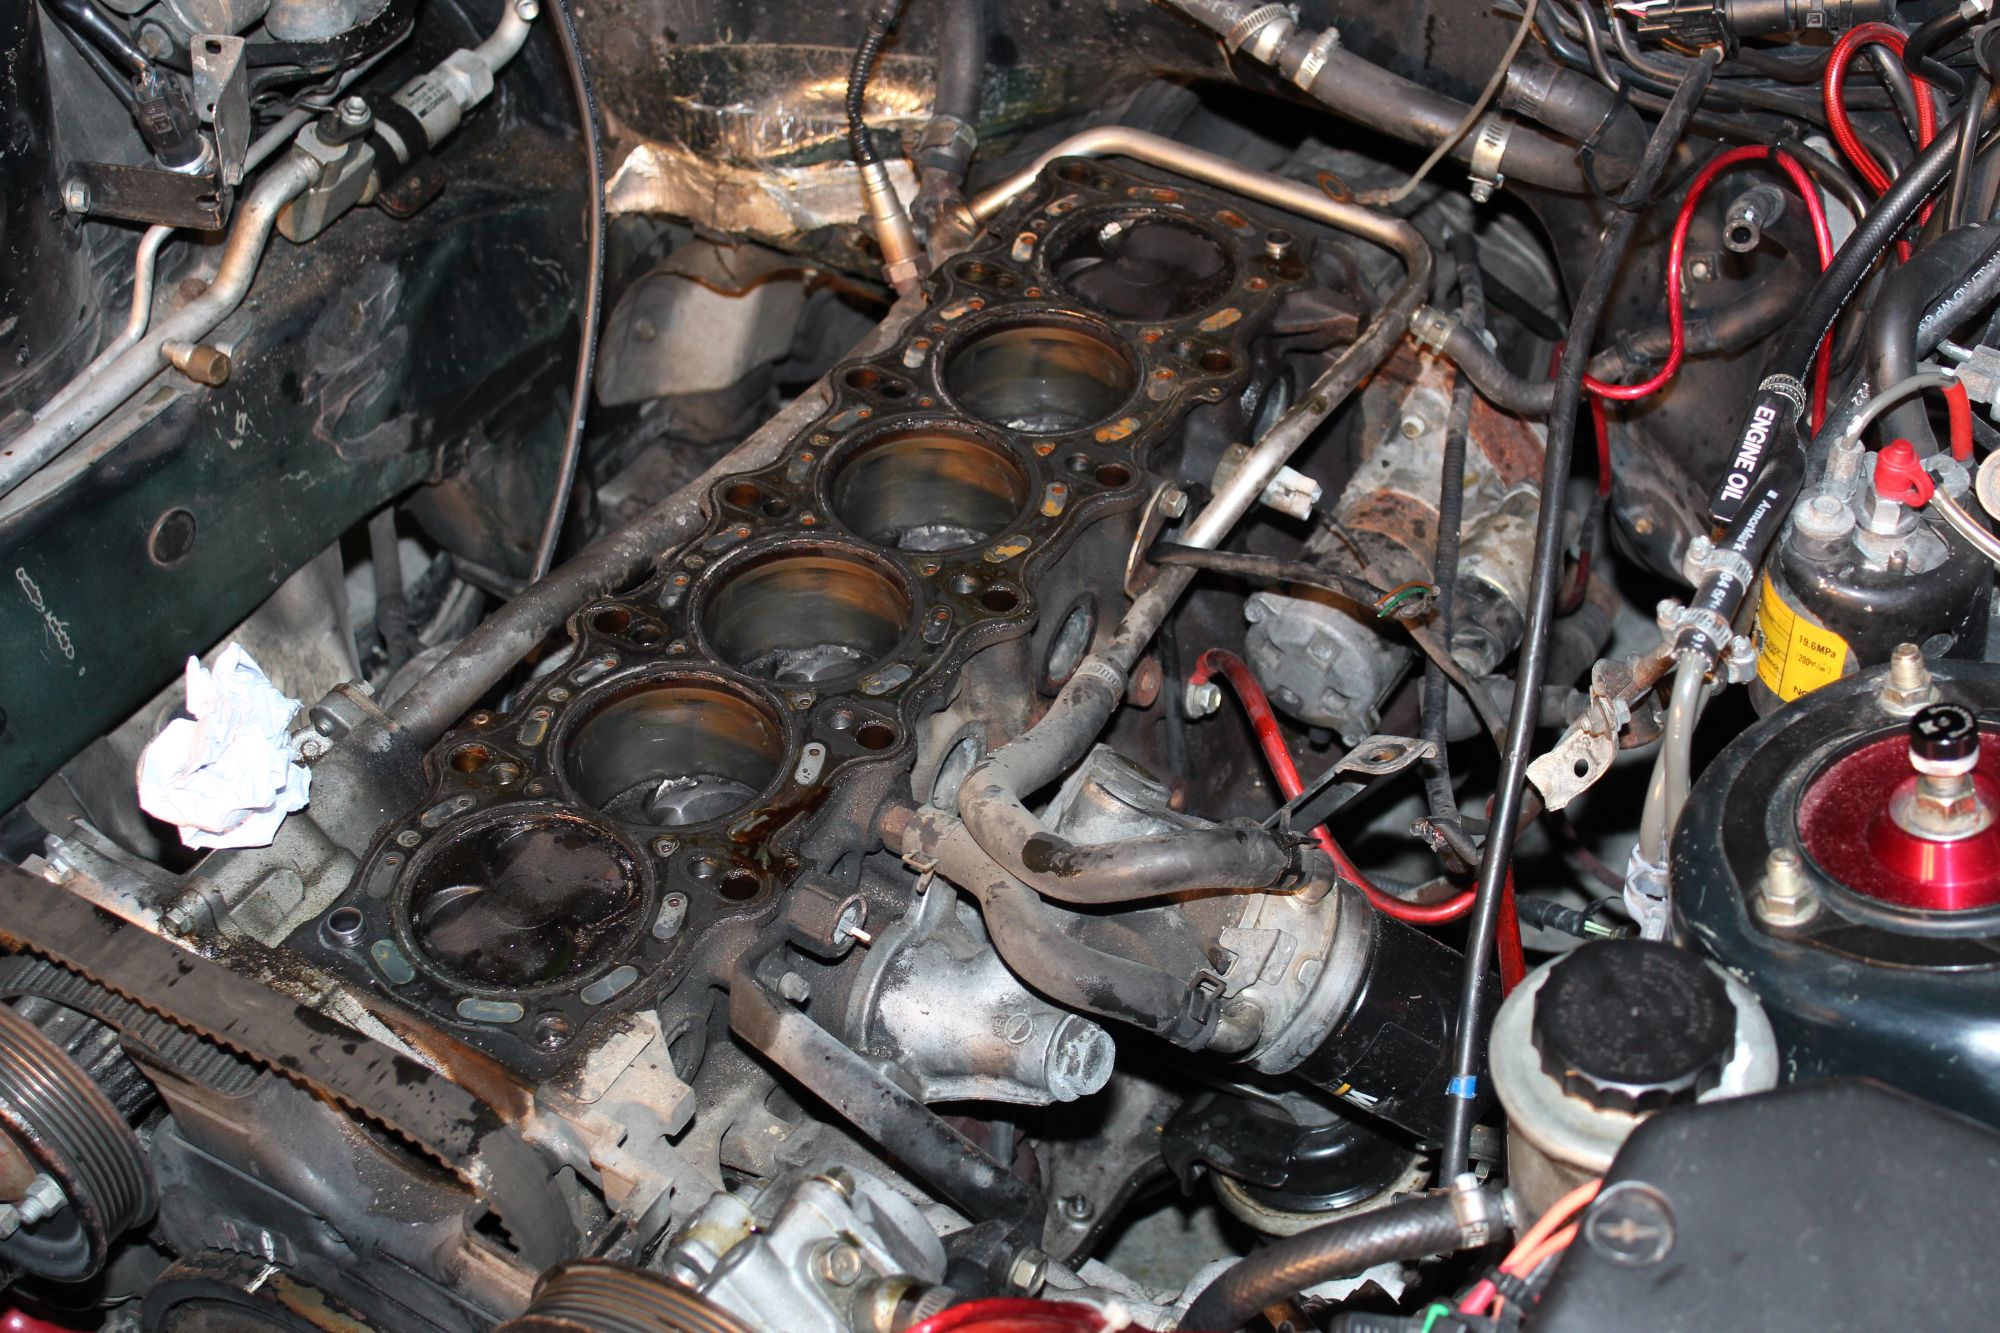
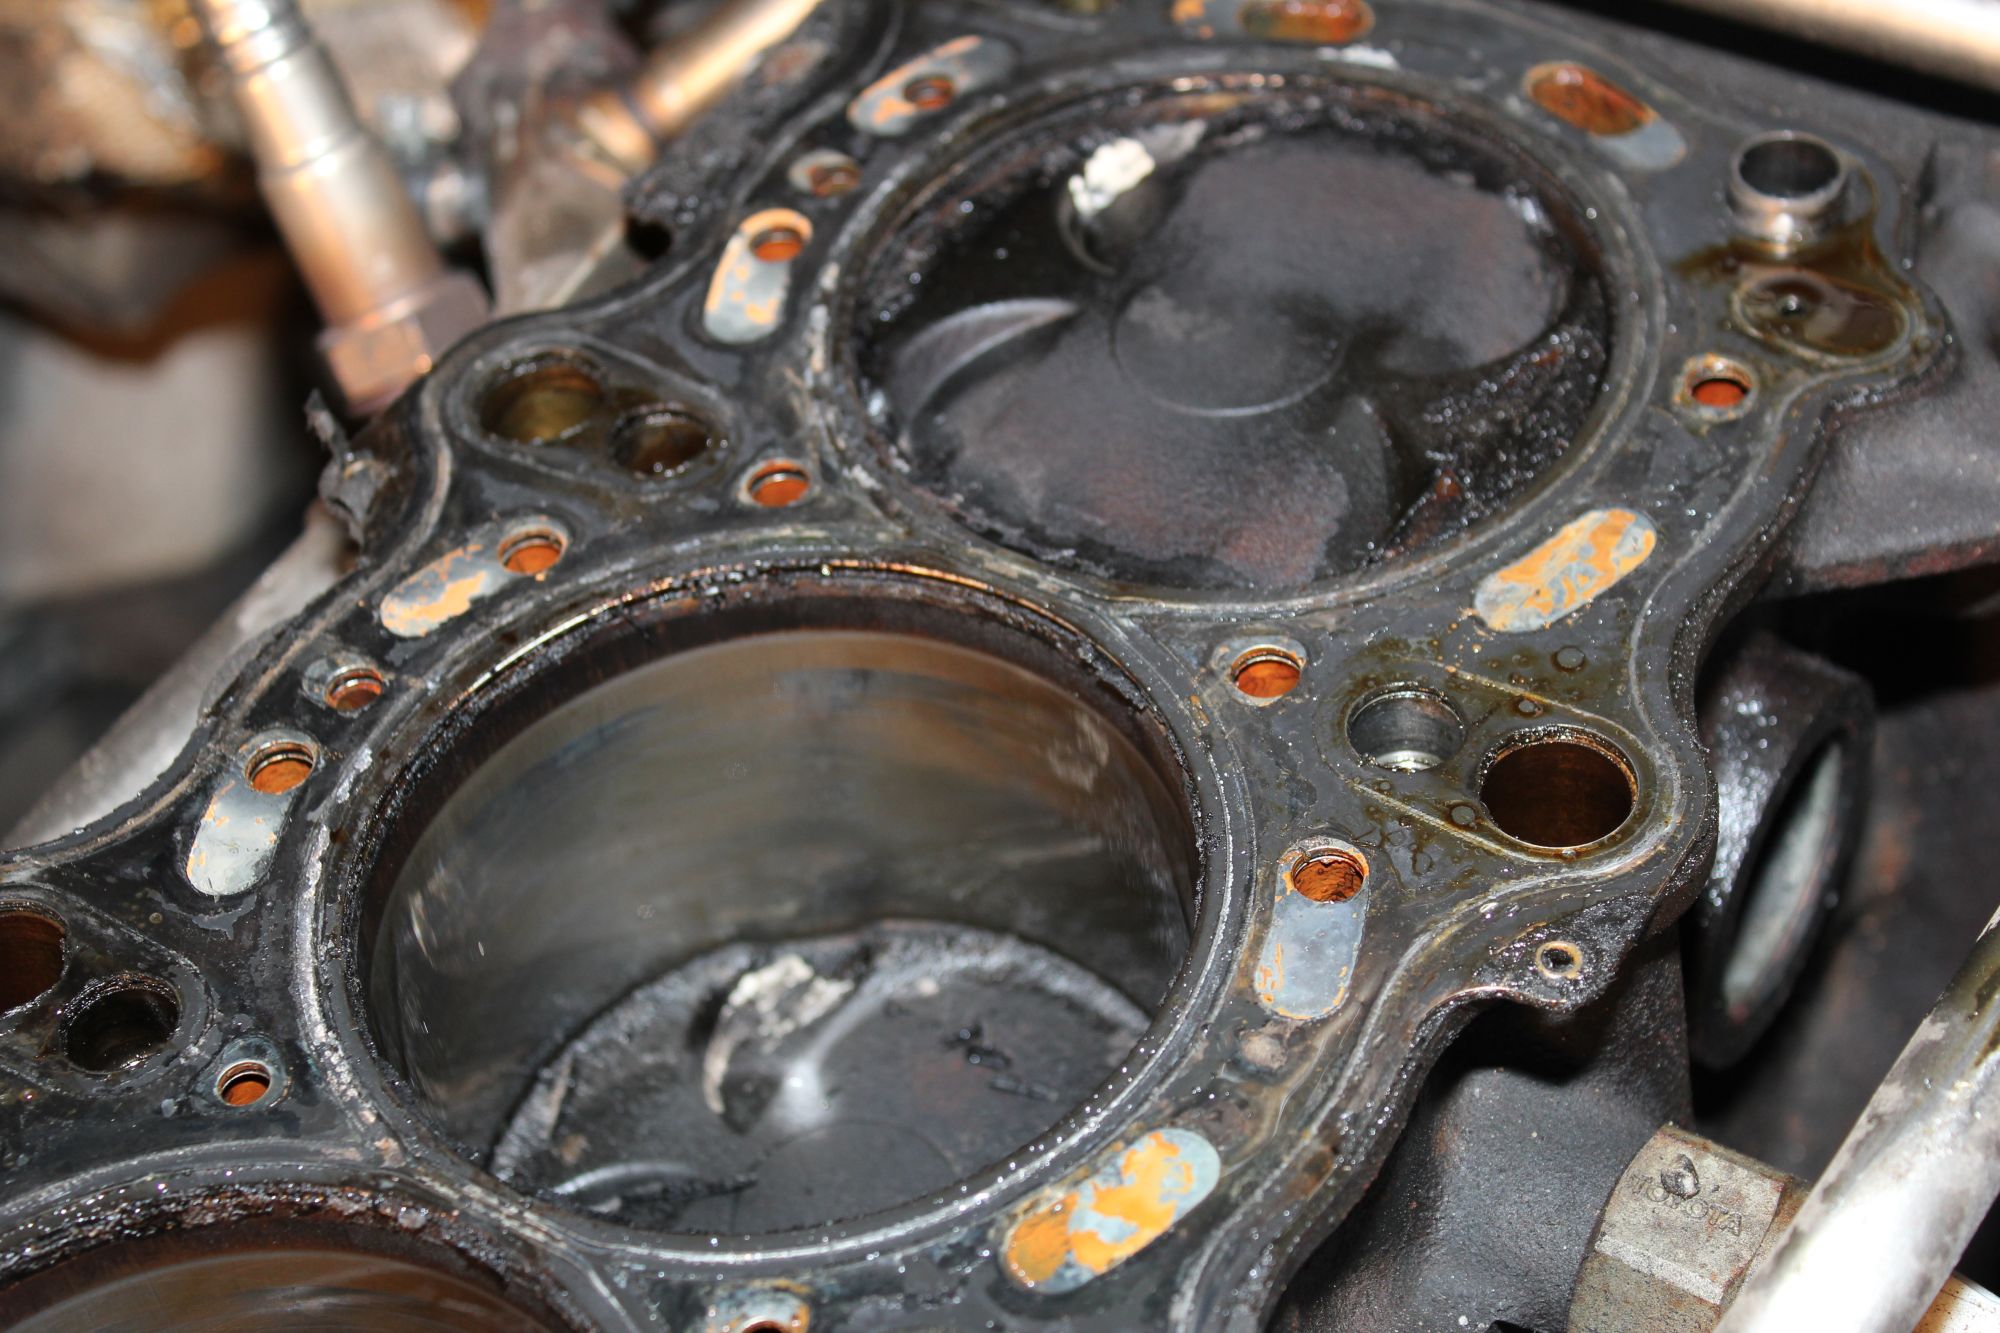
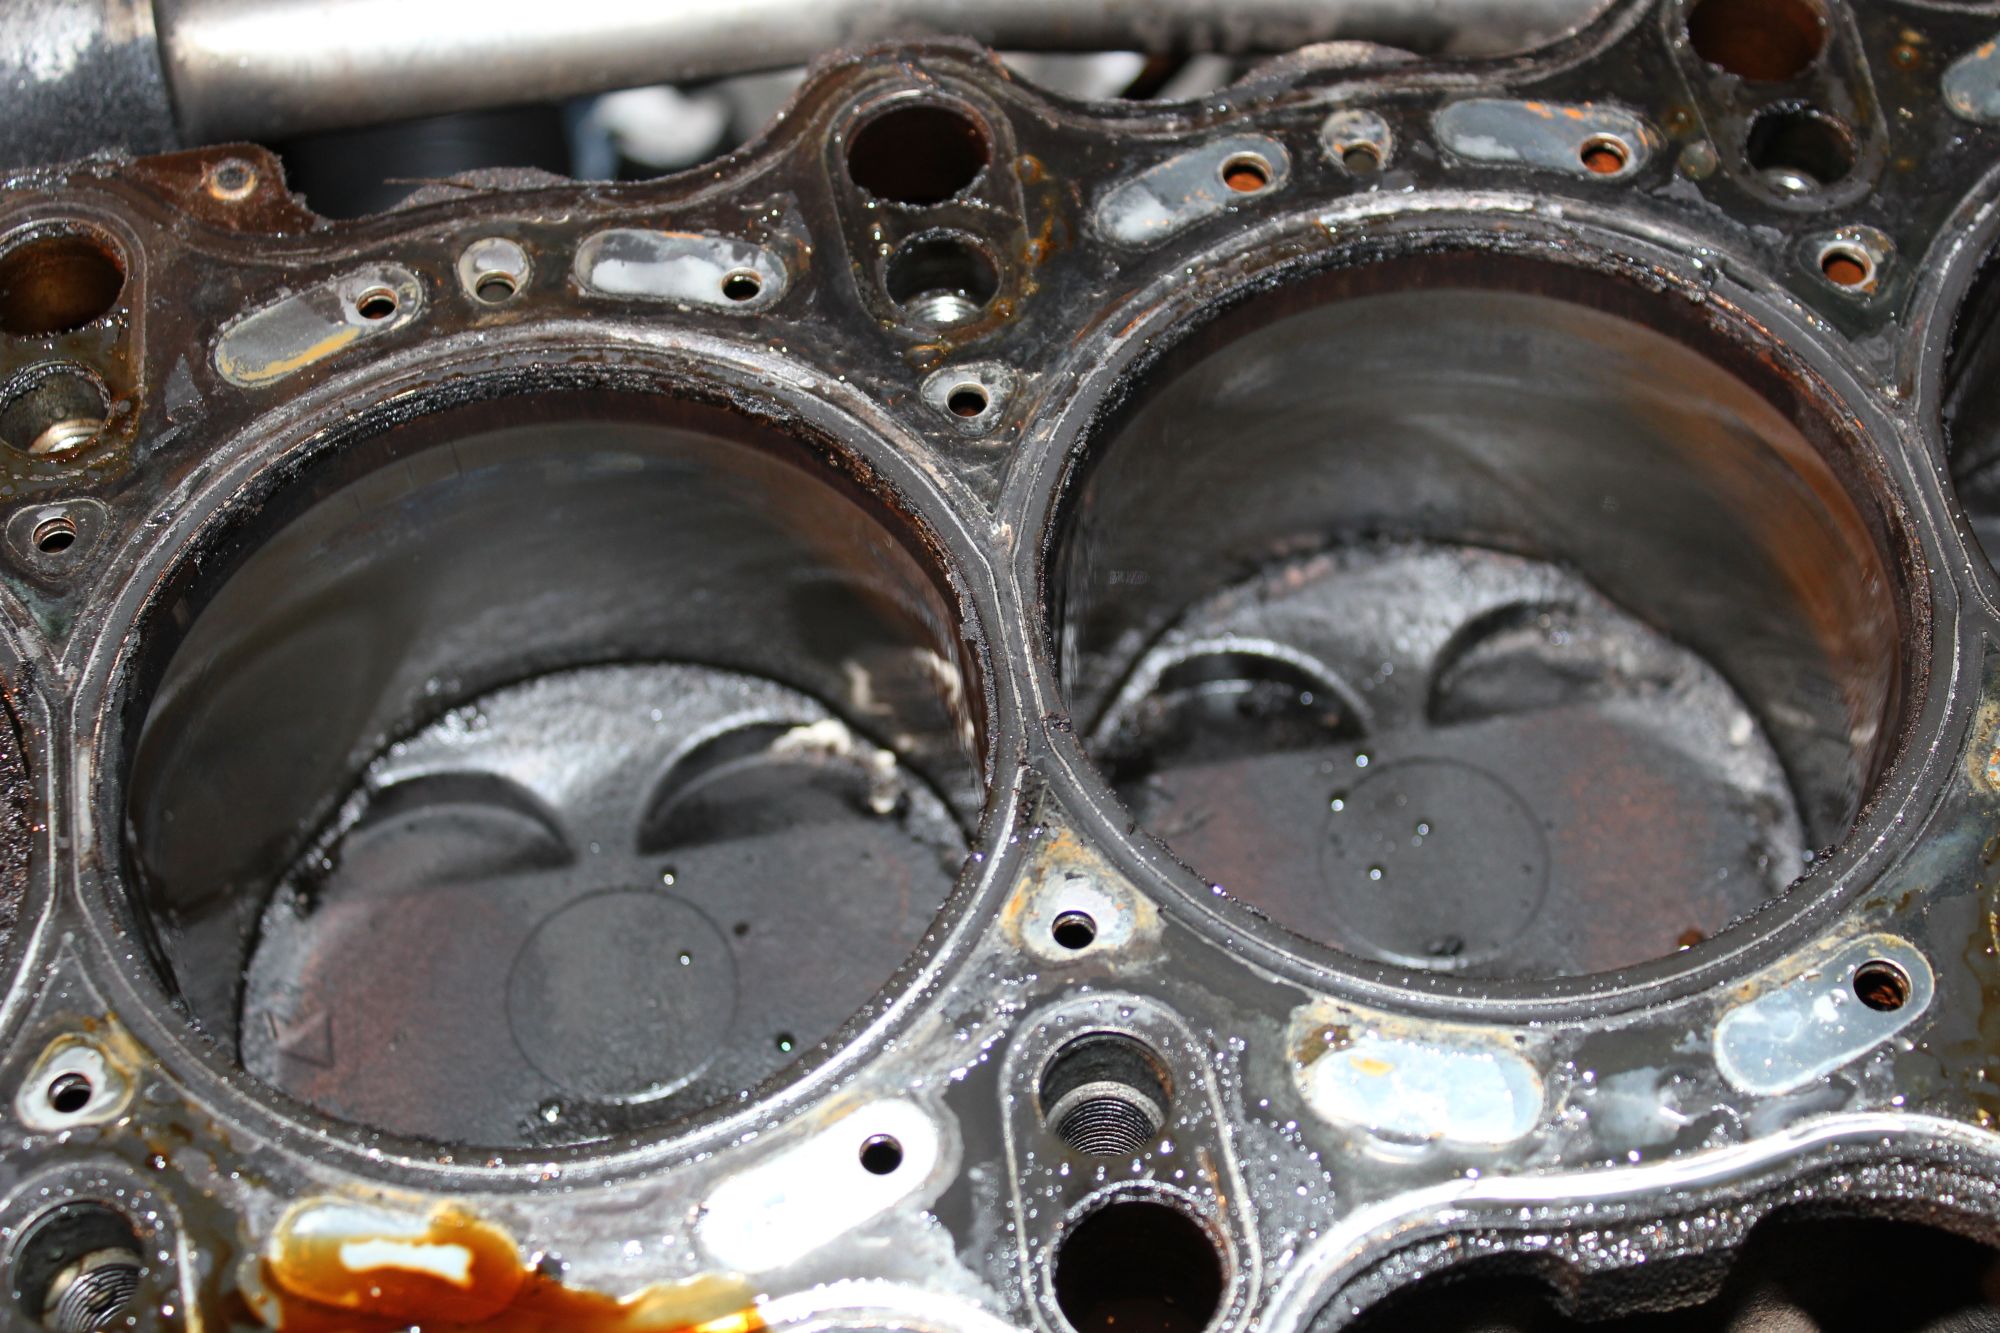
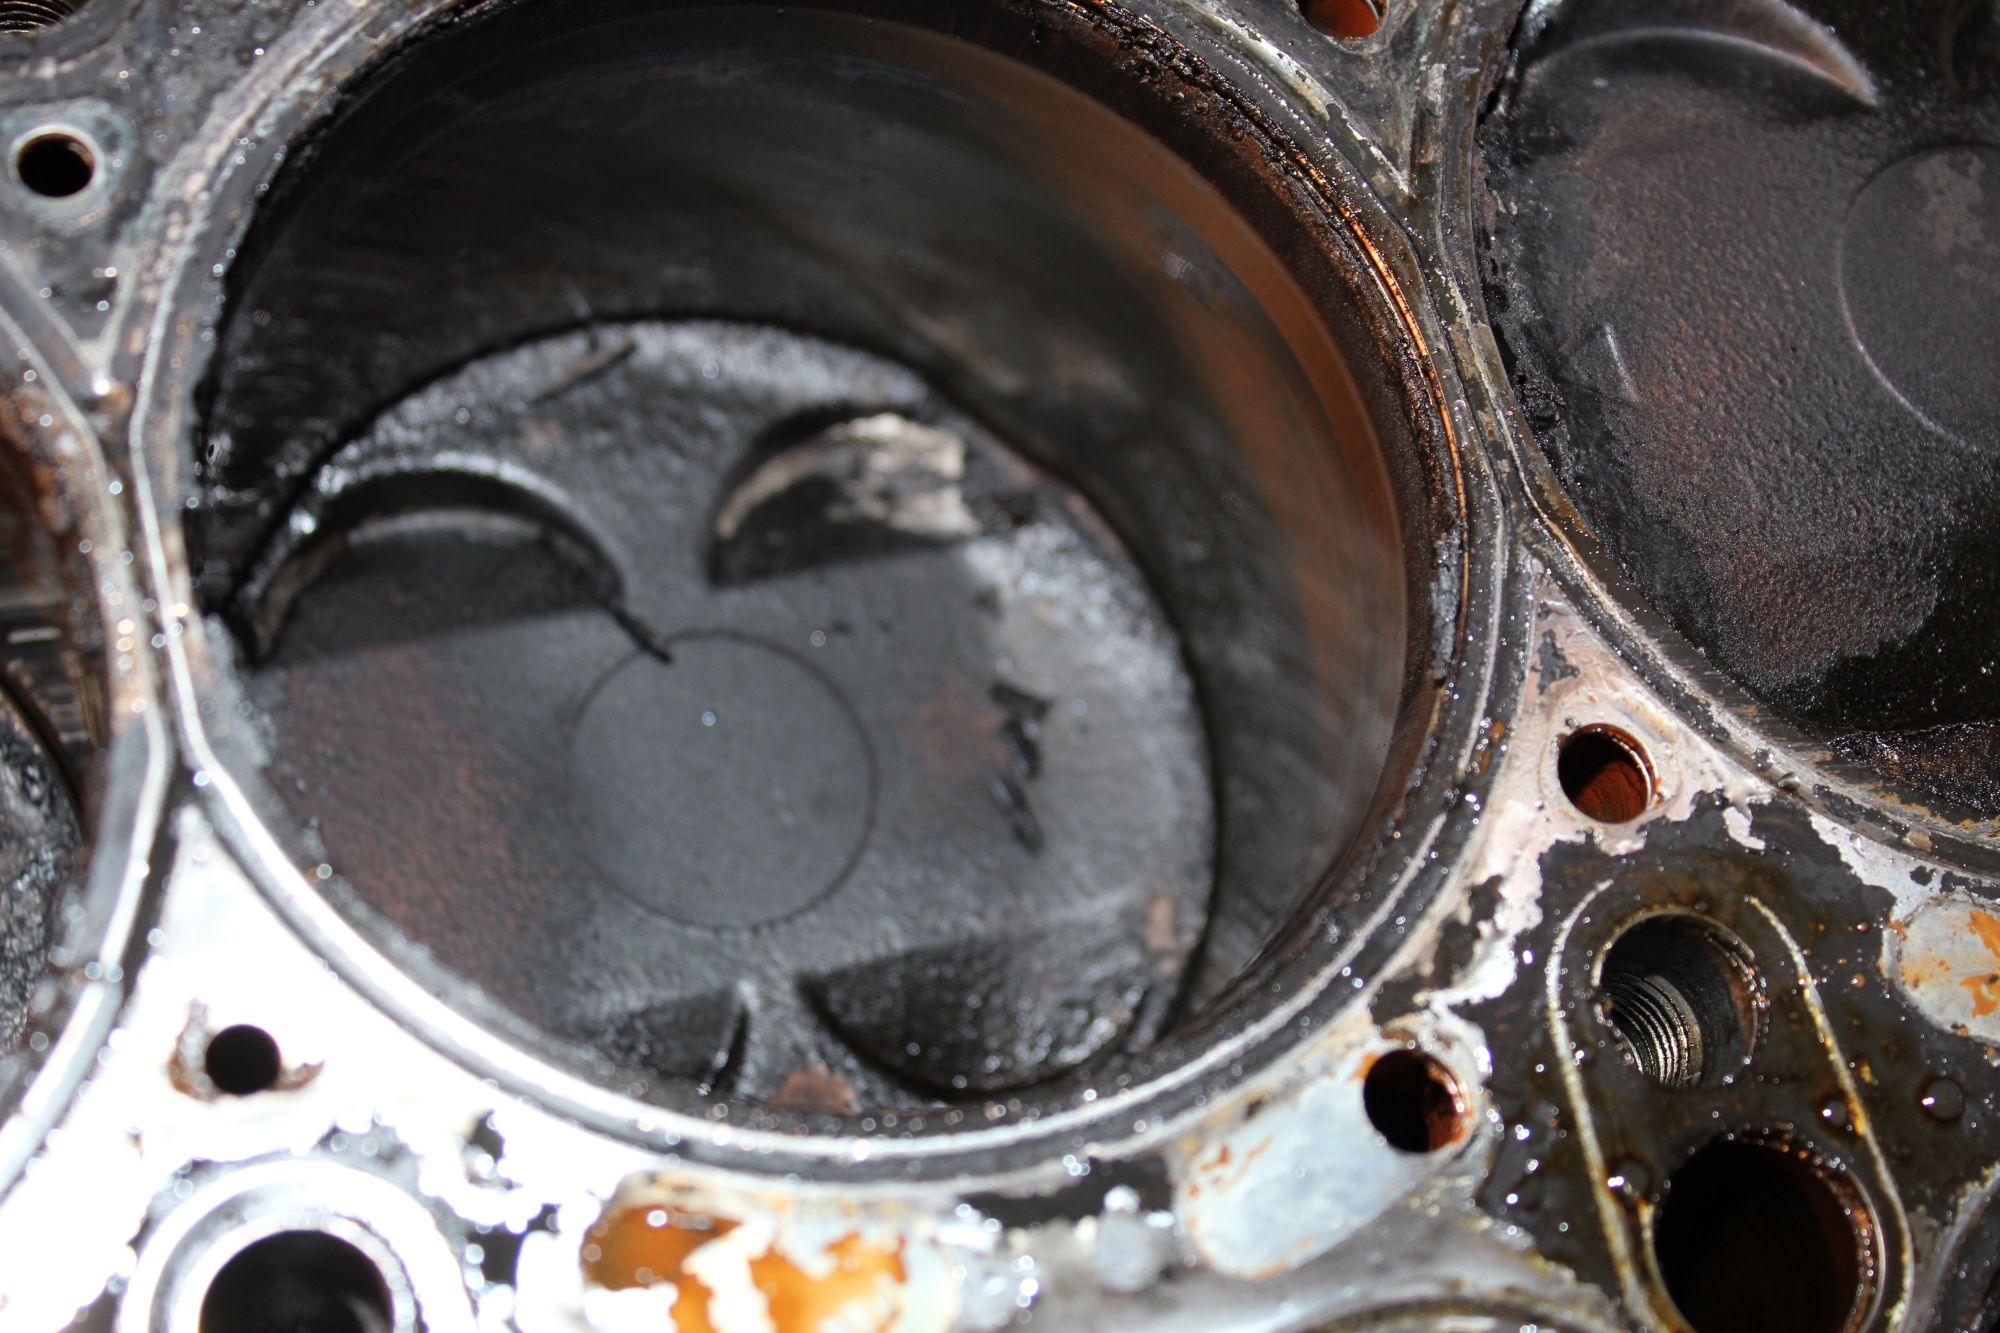
here's what it looks like cleaned up..
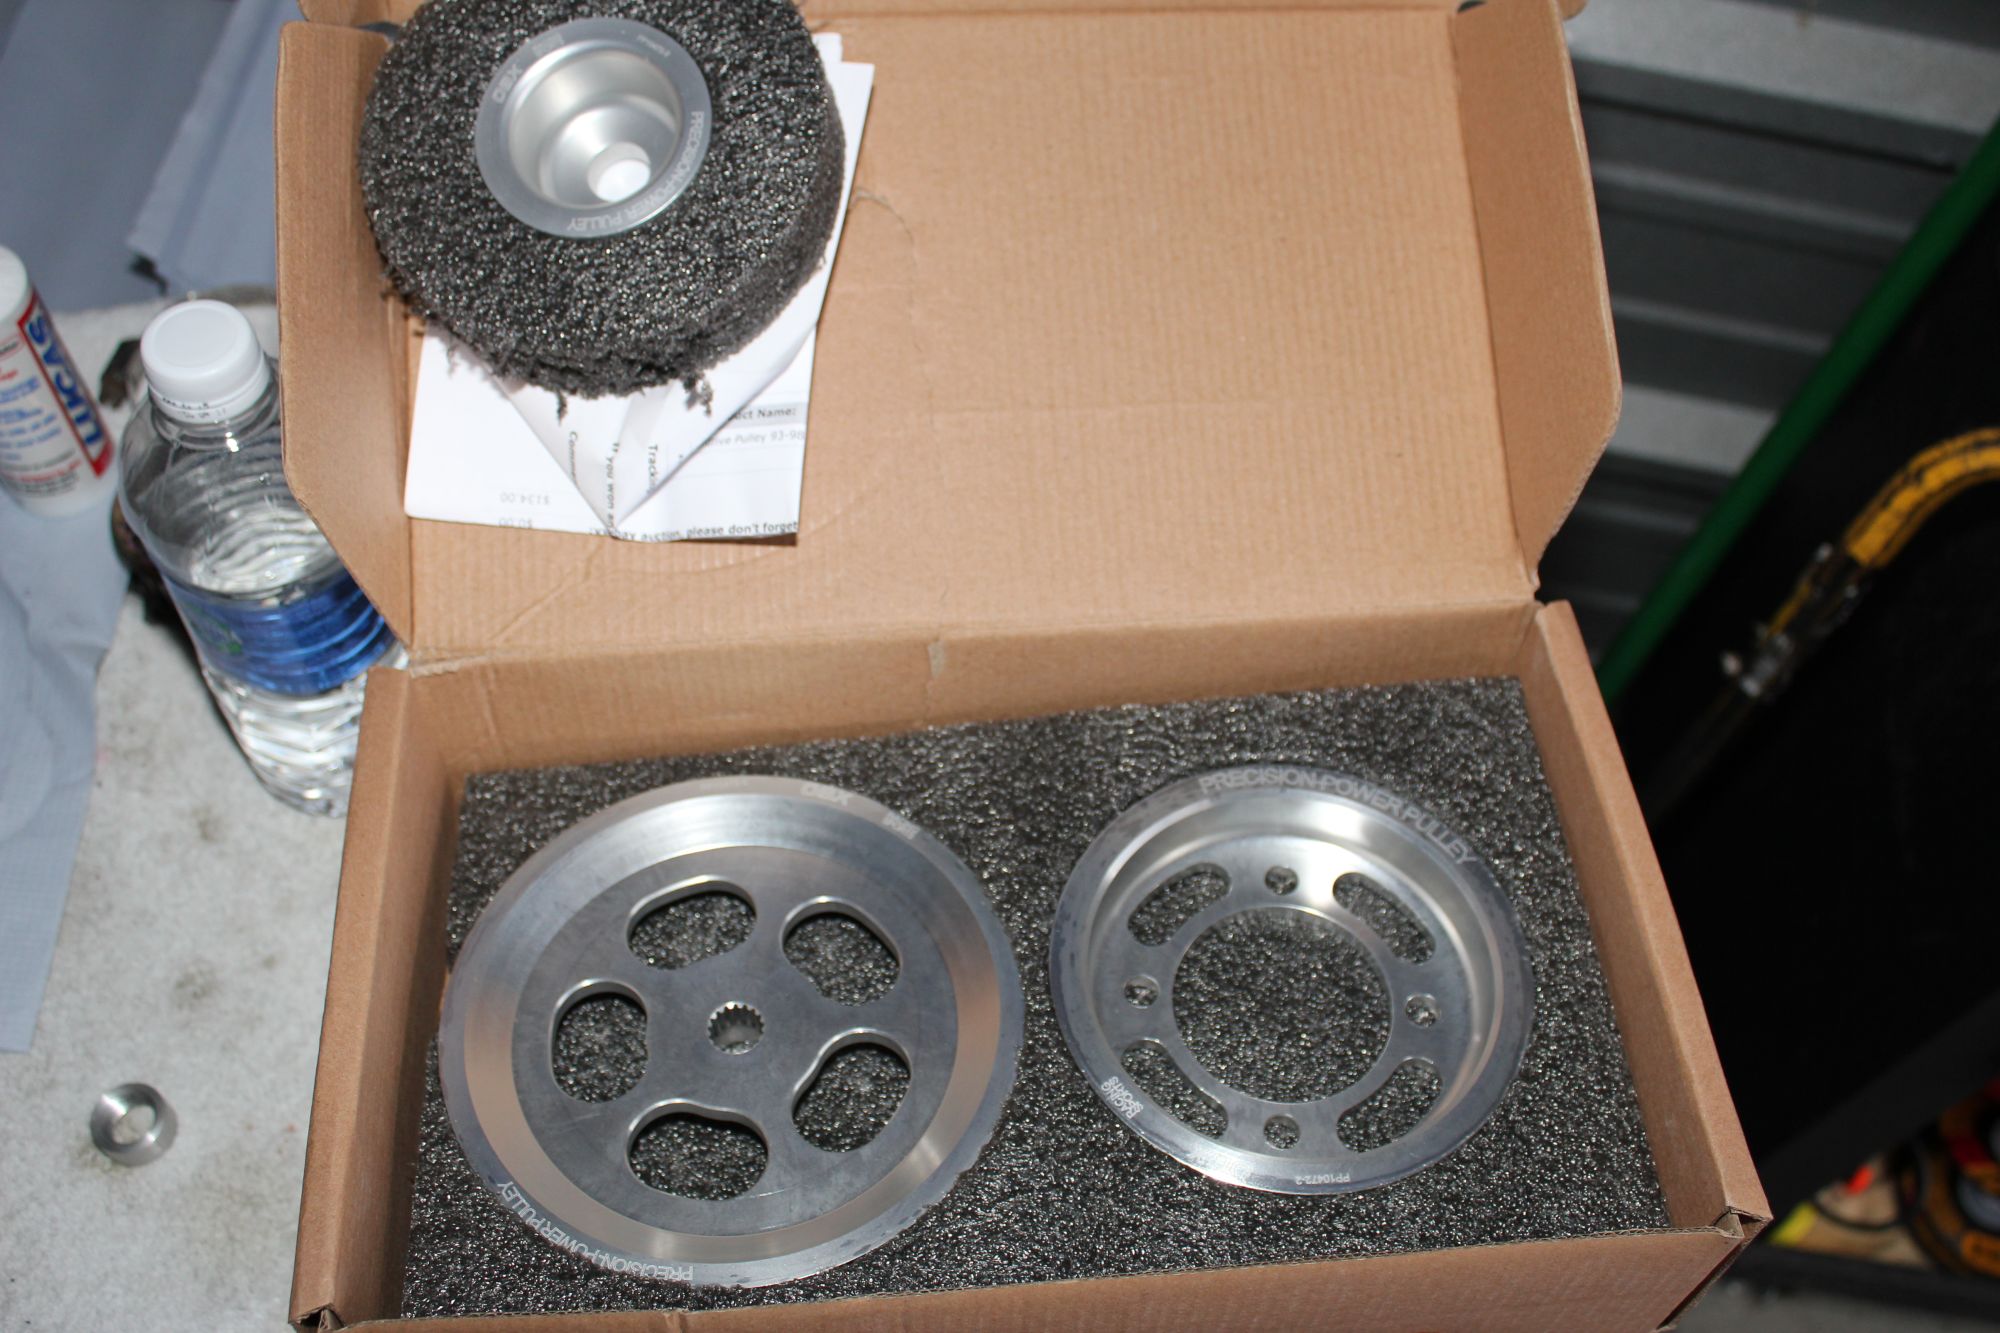
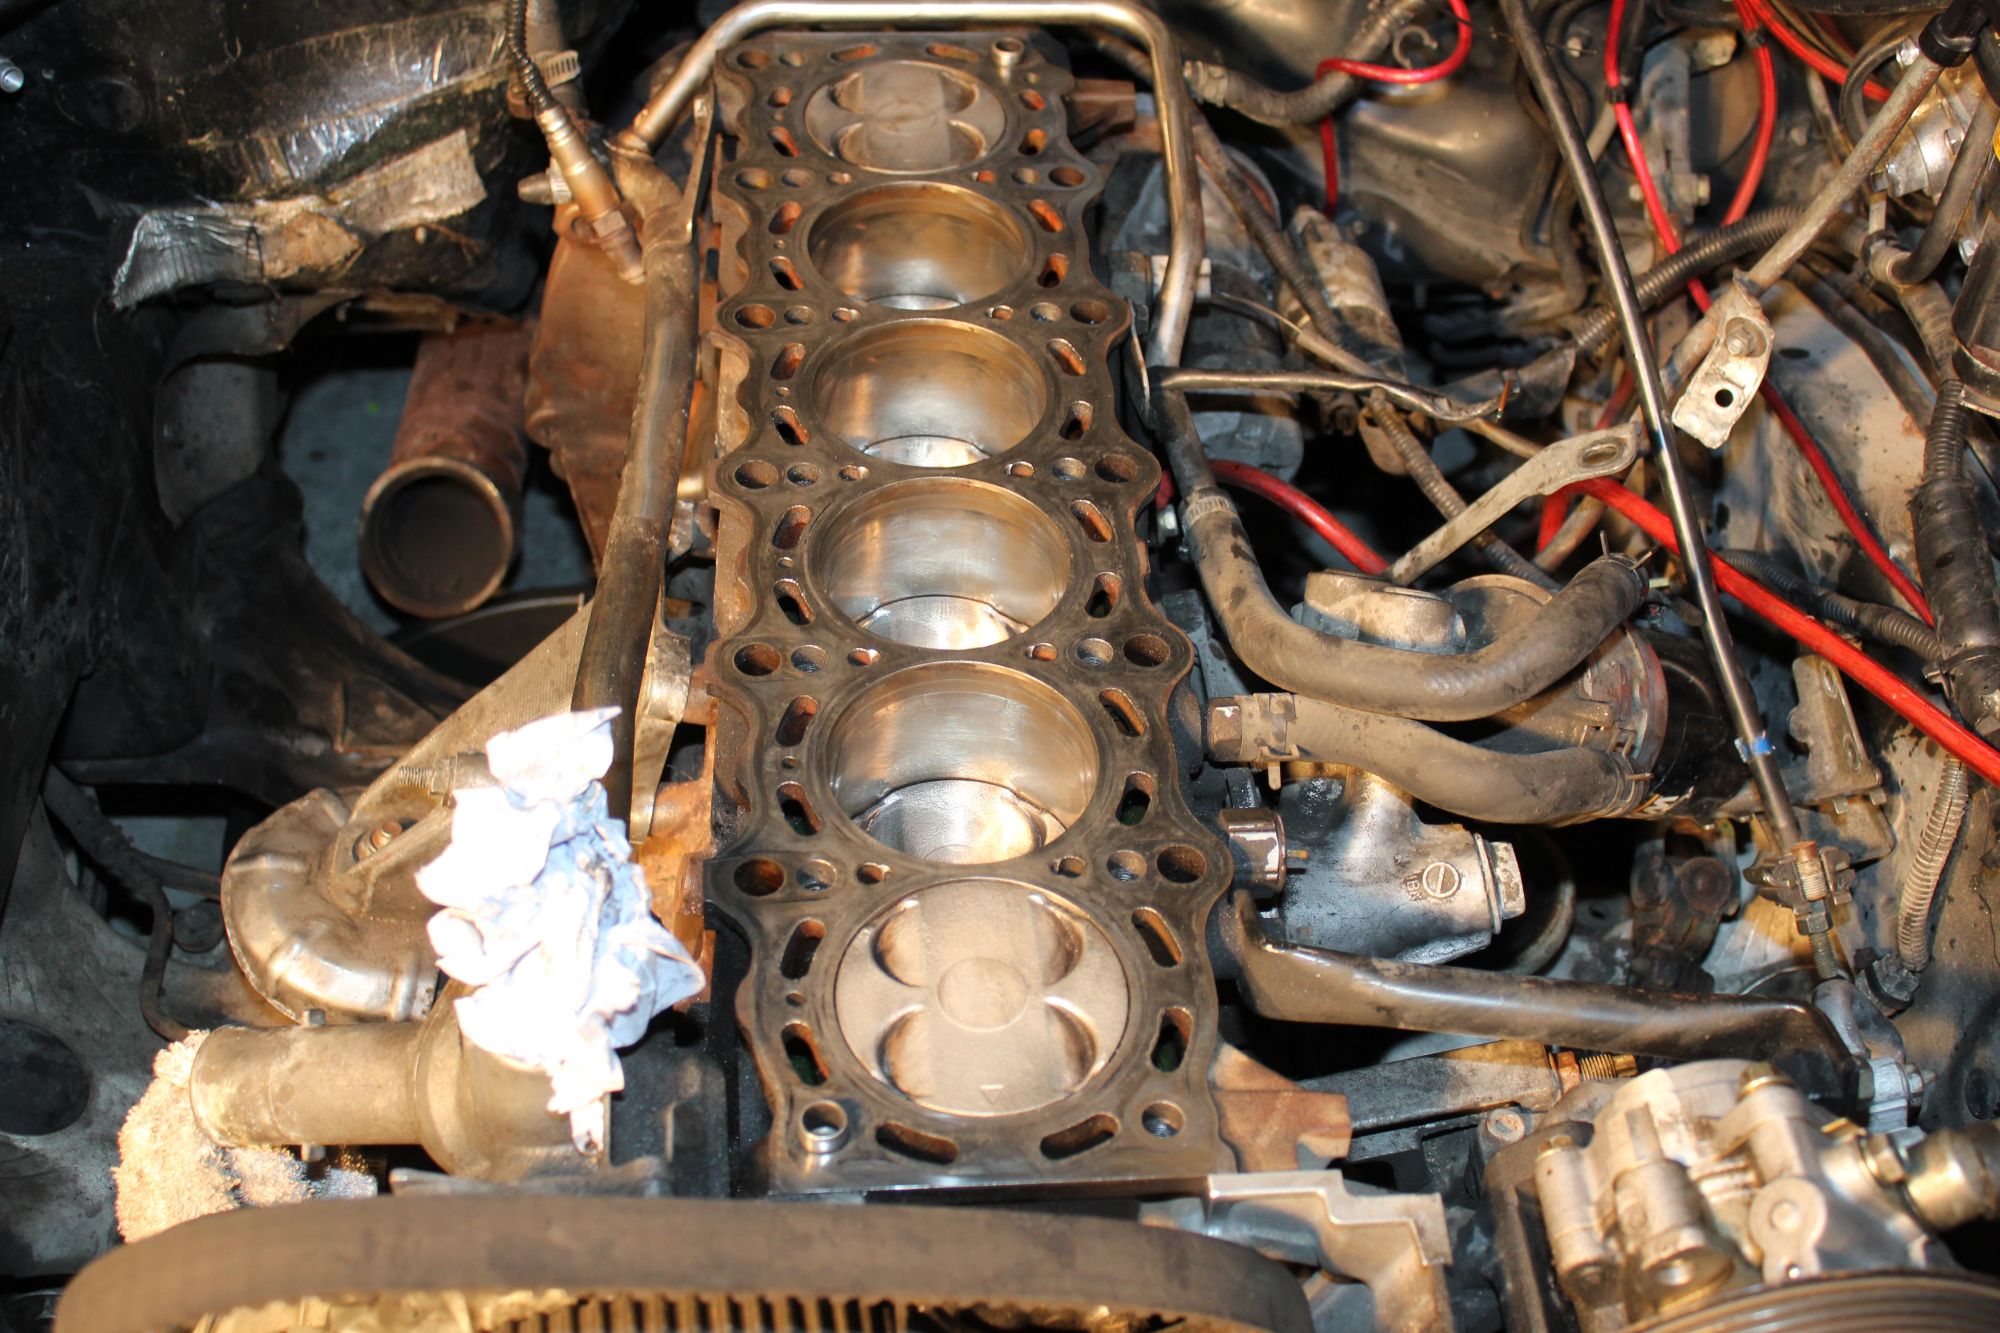
and I picked up a lightweight pulley kit also.
so after cleaning up the sub frame, I went to finally finish up the suspension and get the wheels back on.
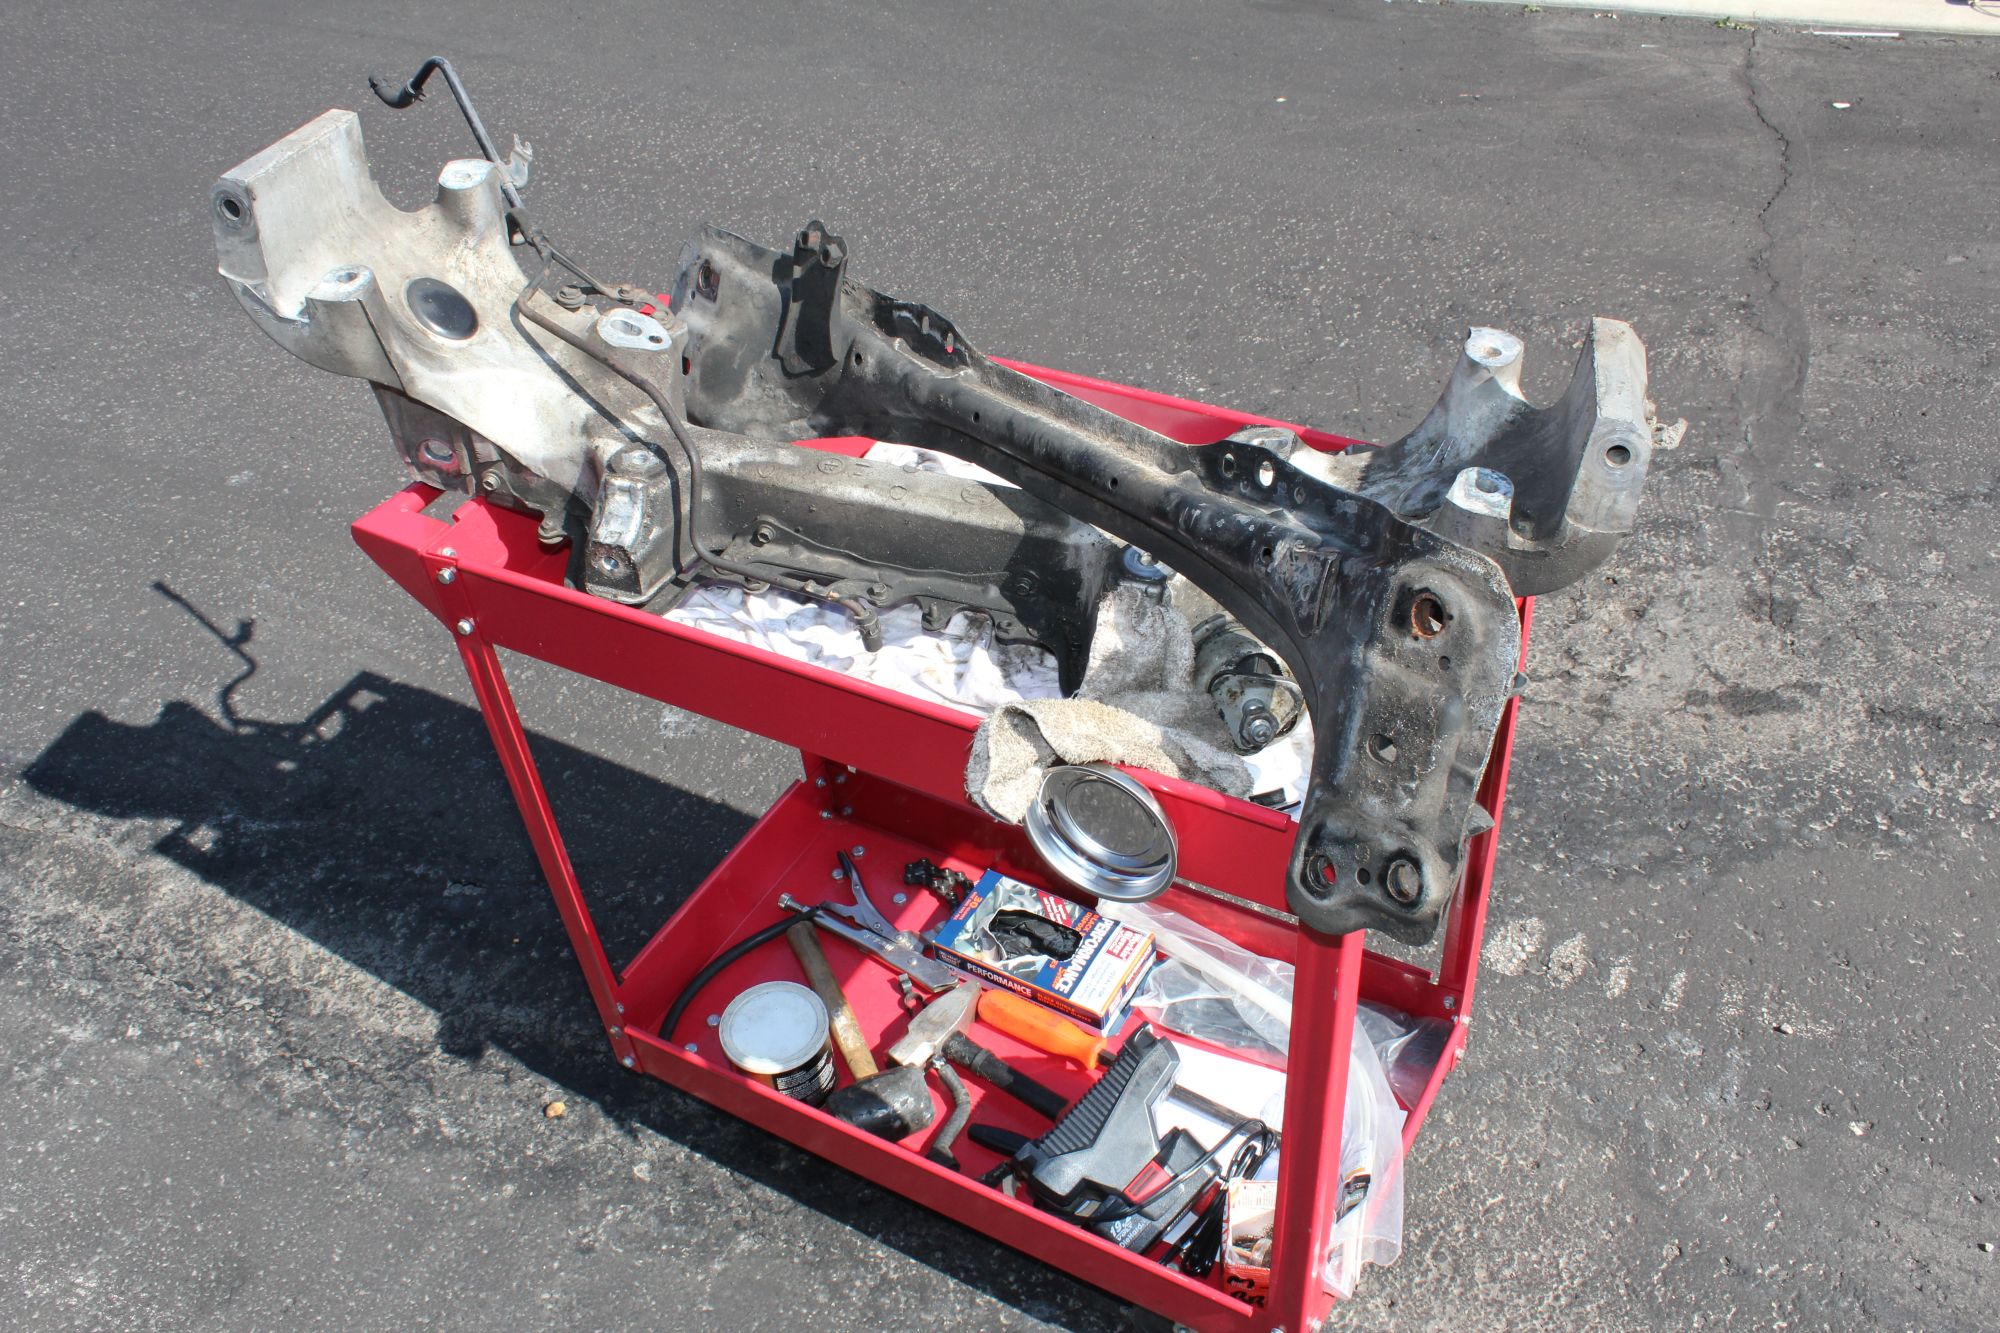
I USED to have a garage, but iam not cool as some of you guys, so my working conditions are all about dedication.
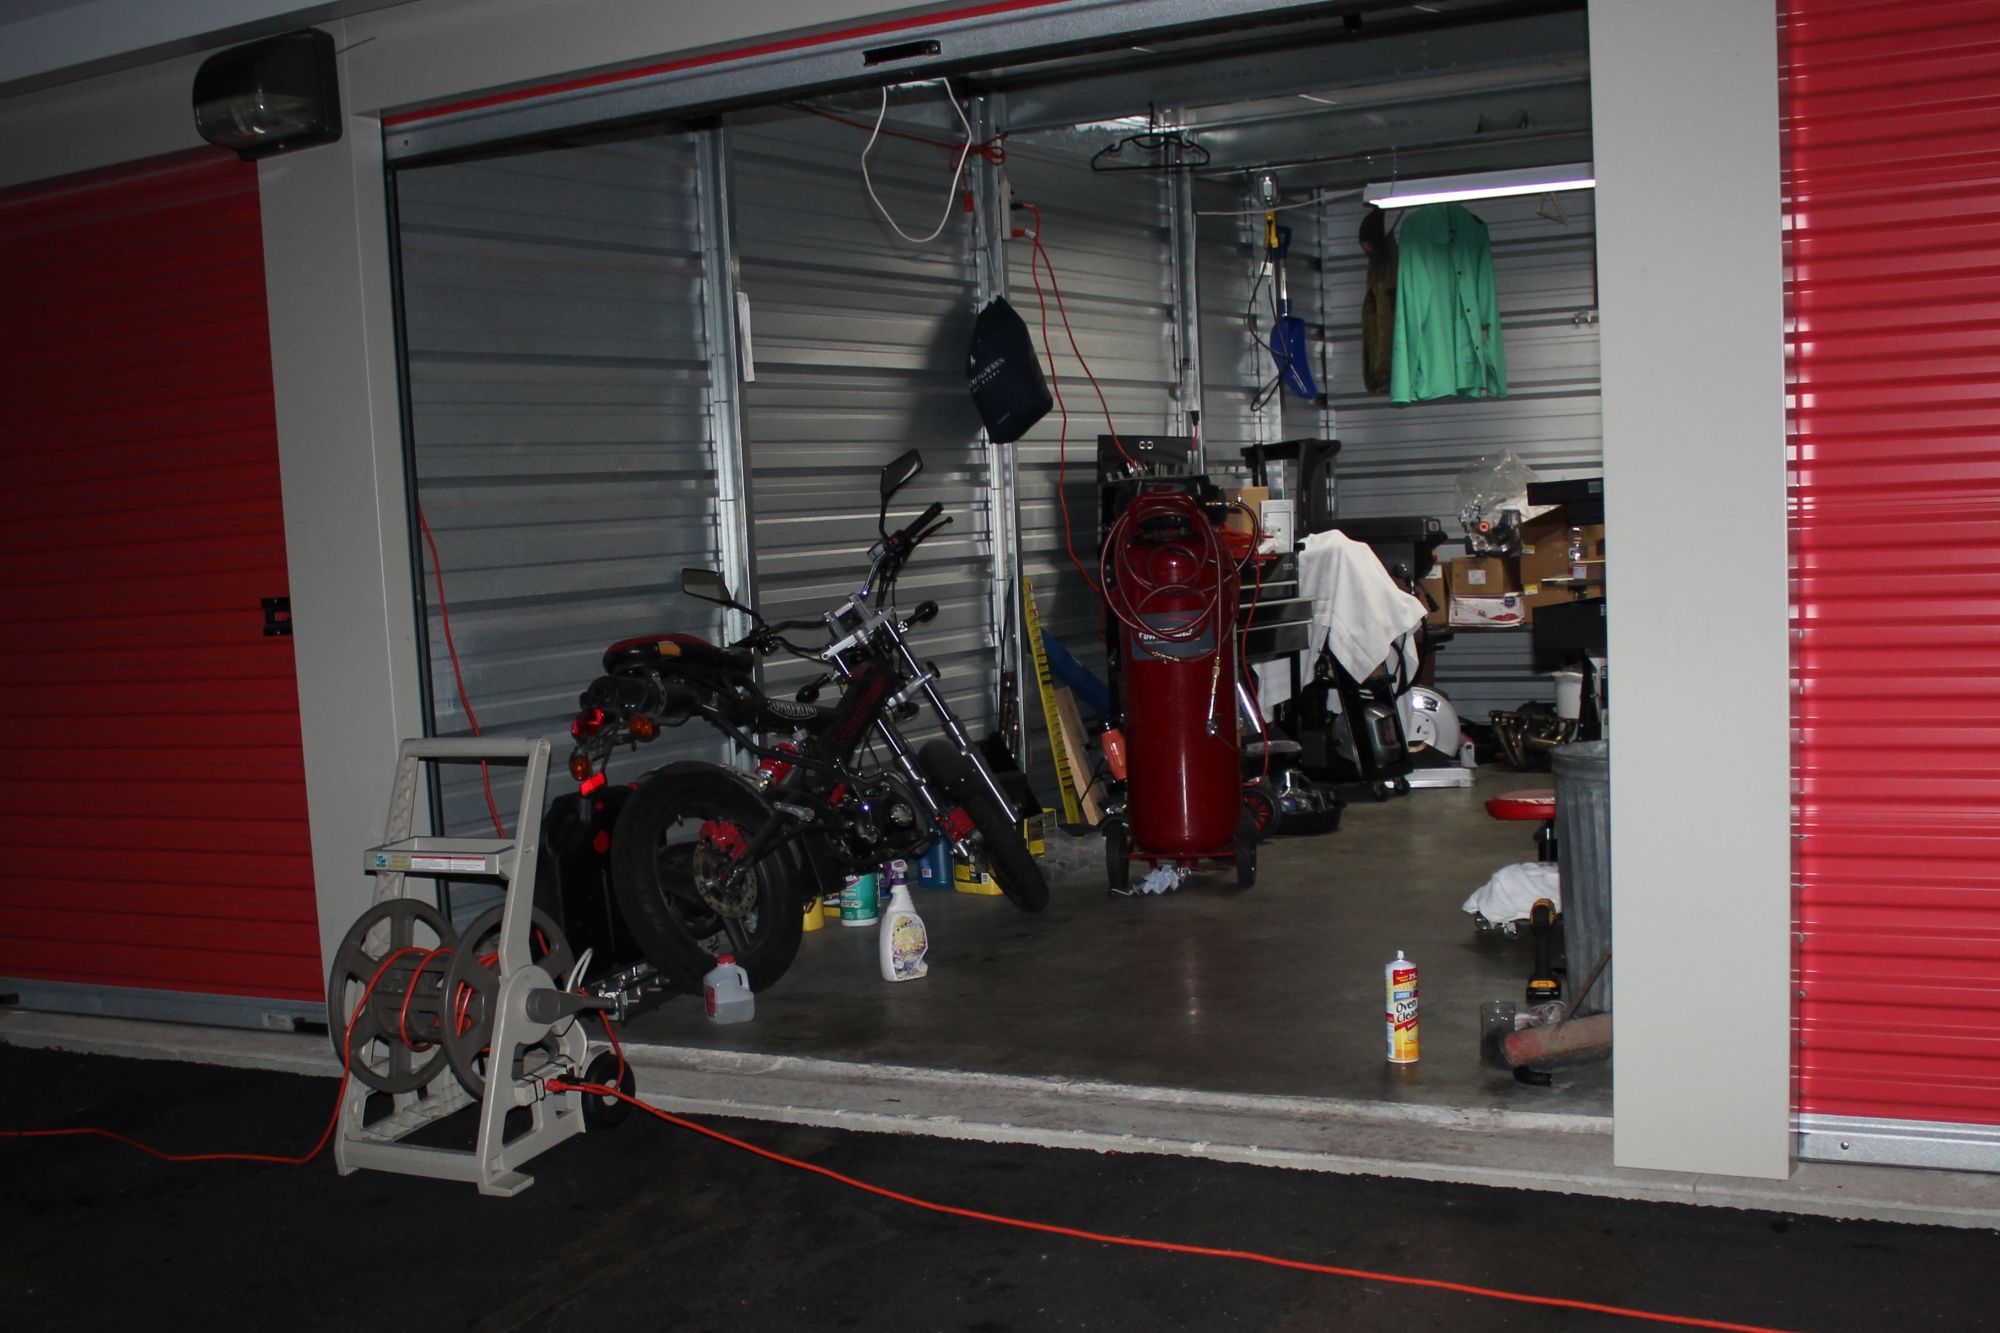
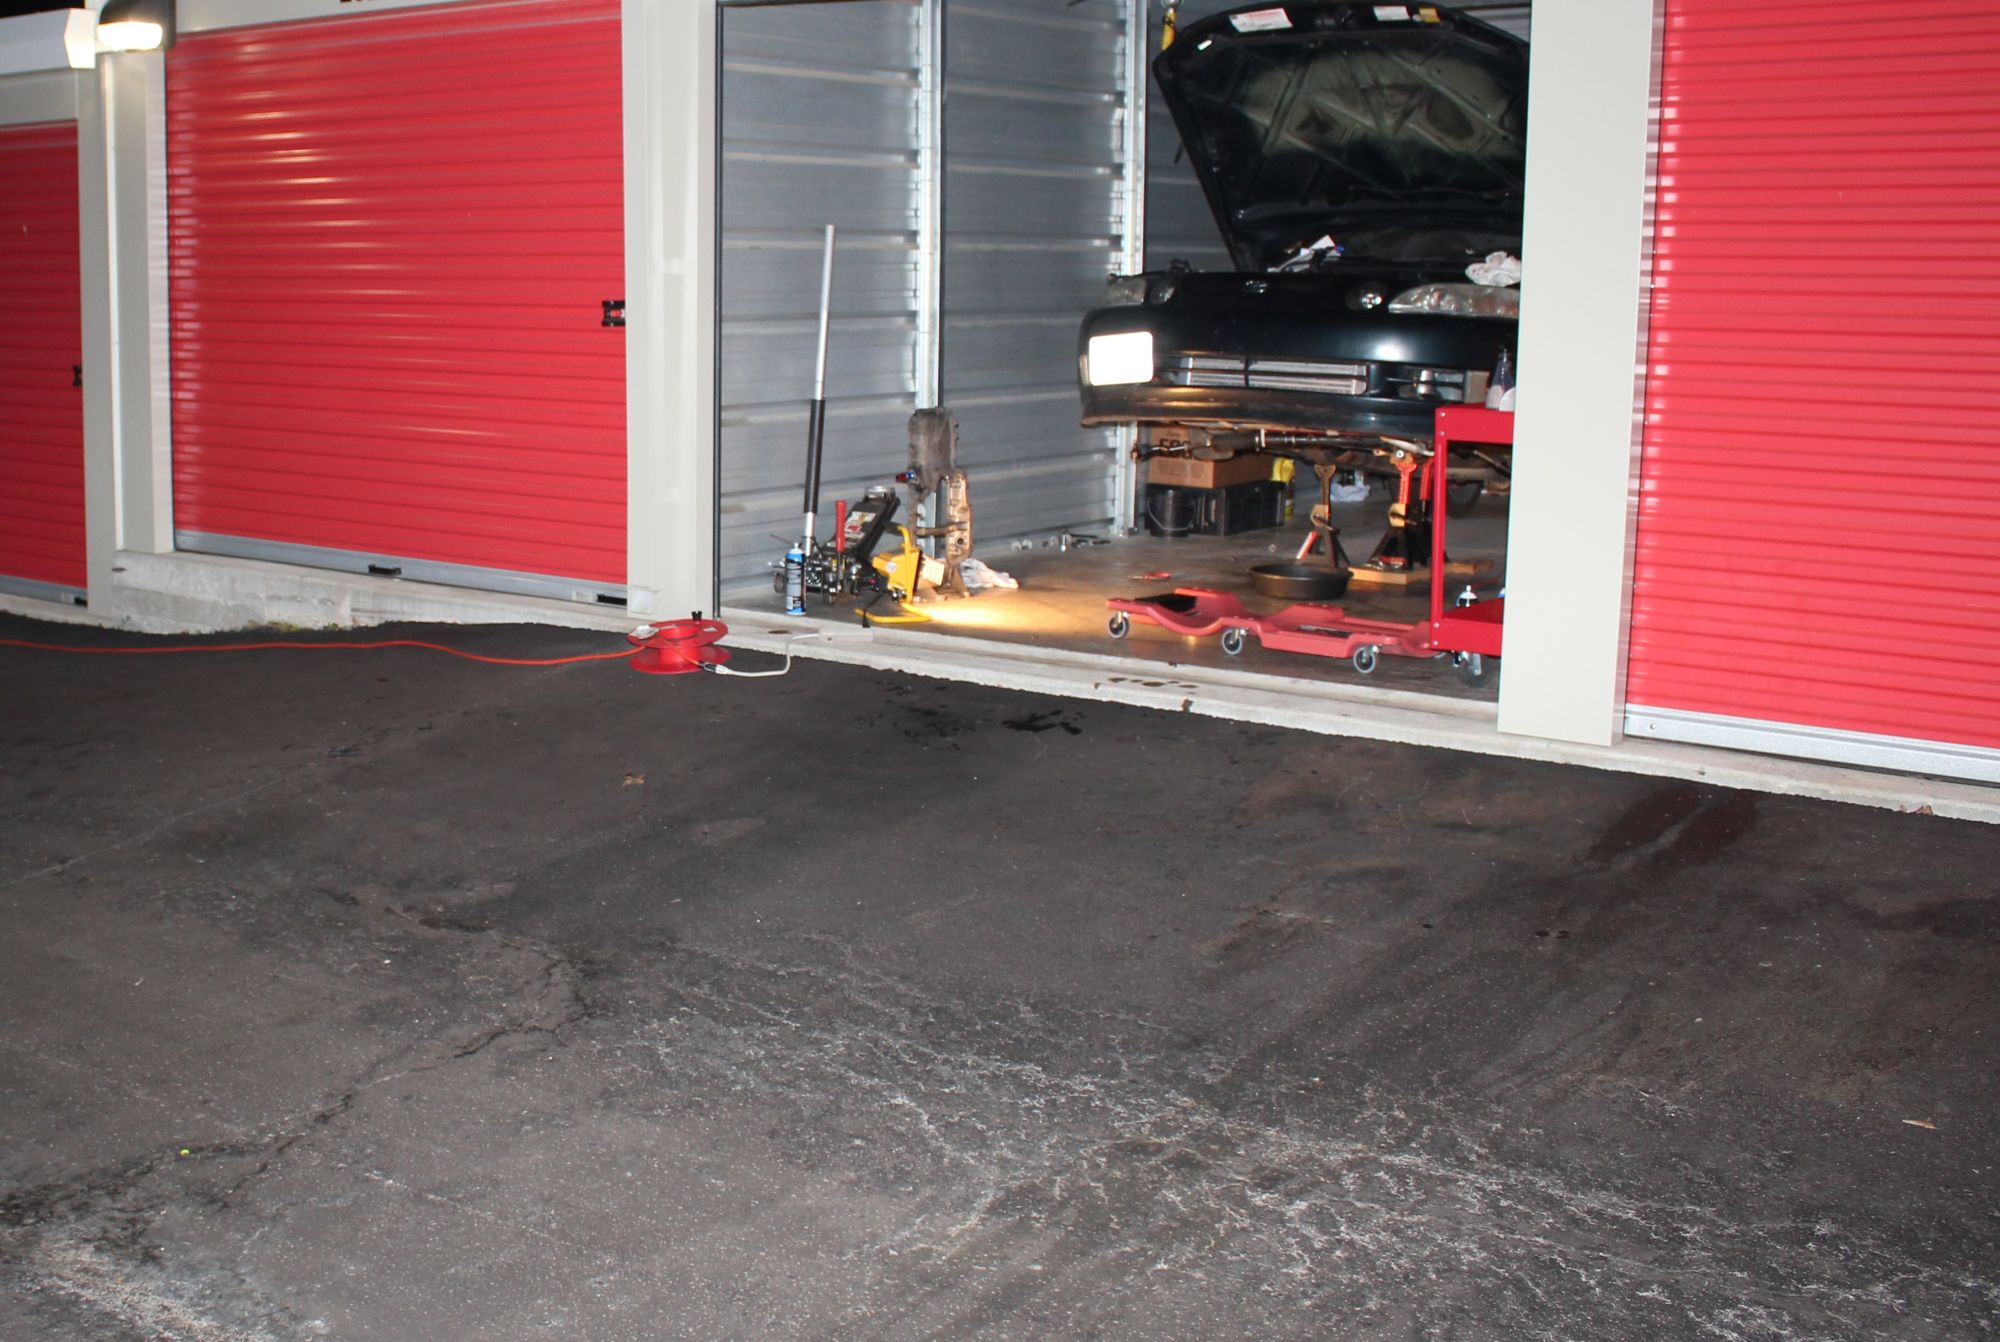
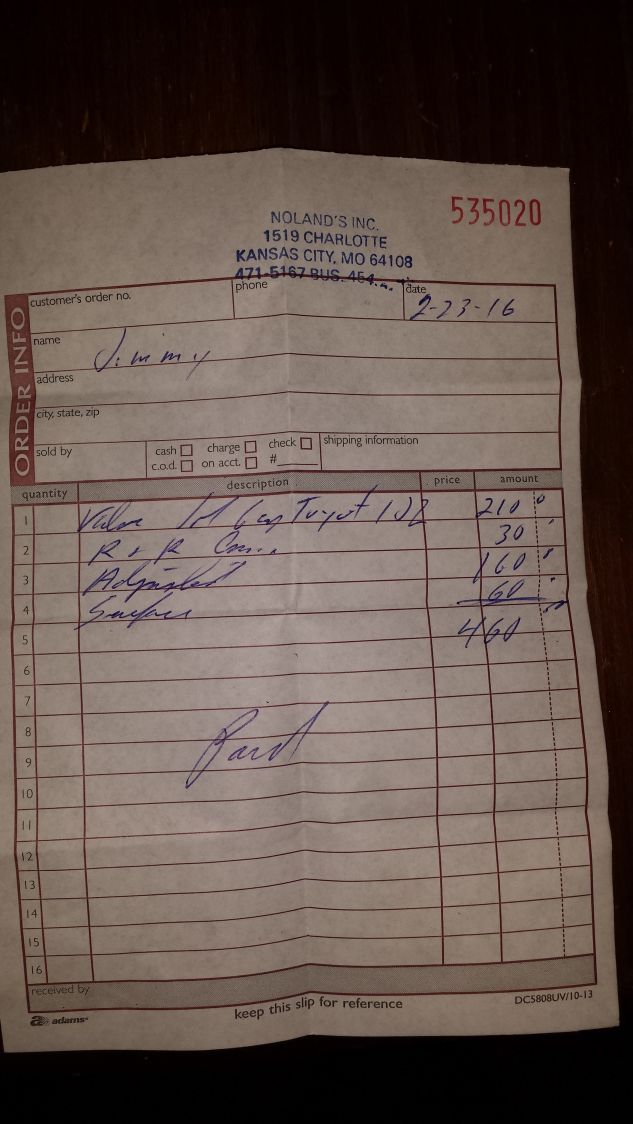
so here was the total machine shop bill, again I wish I didn't separate the shim buckets, but my head is finally done.
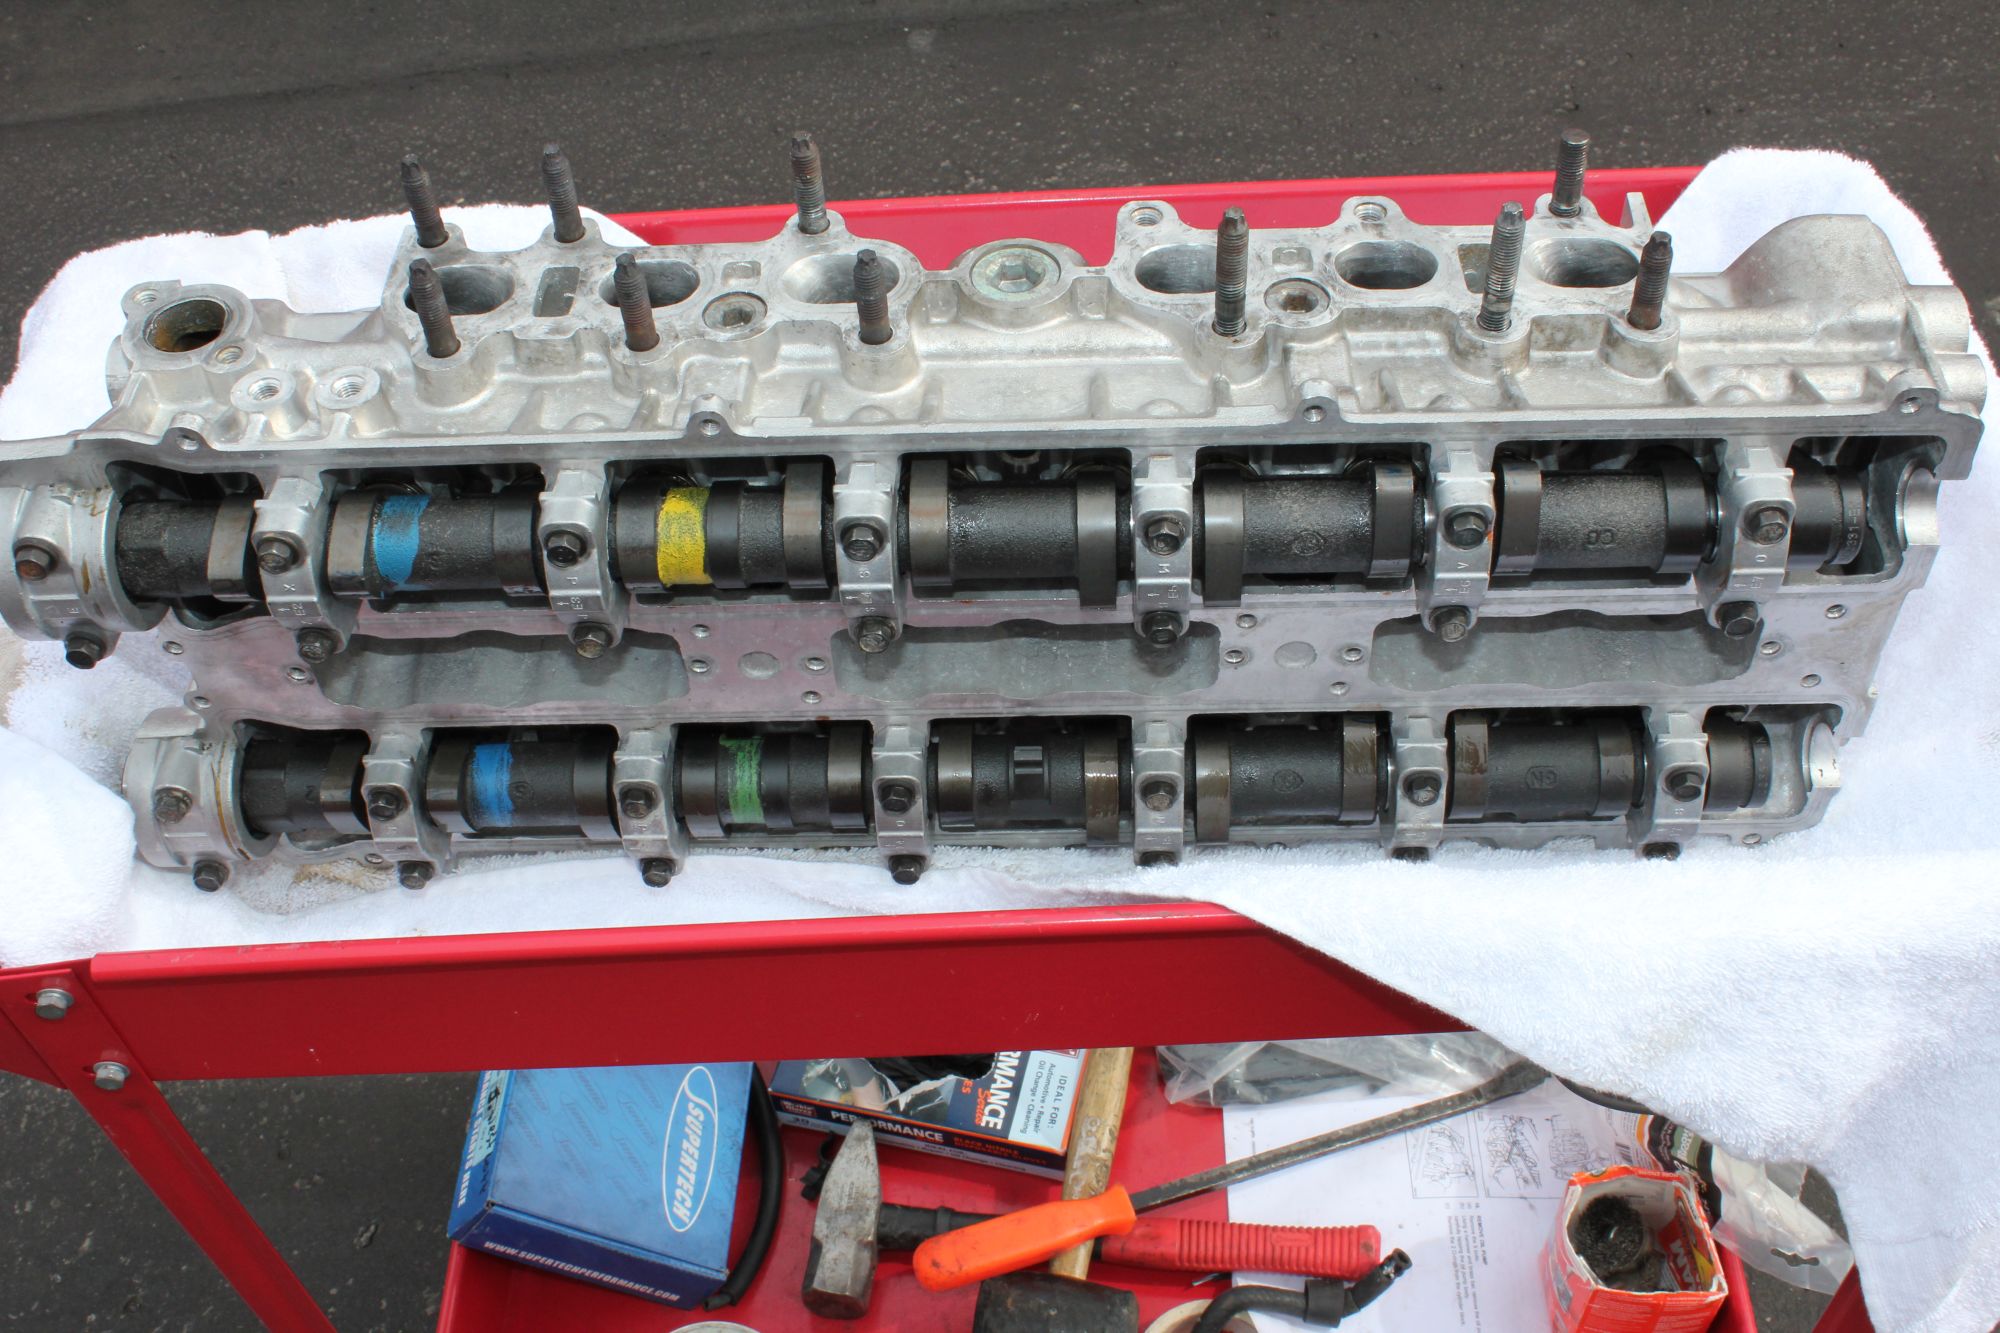
and here is the finished product.
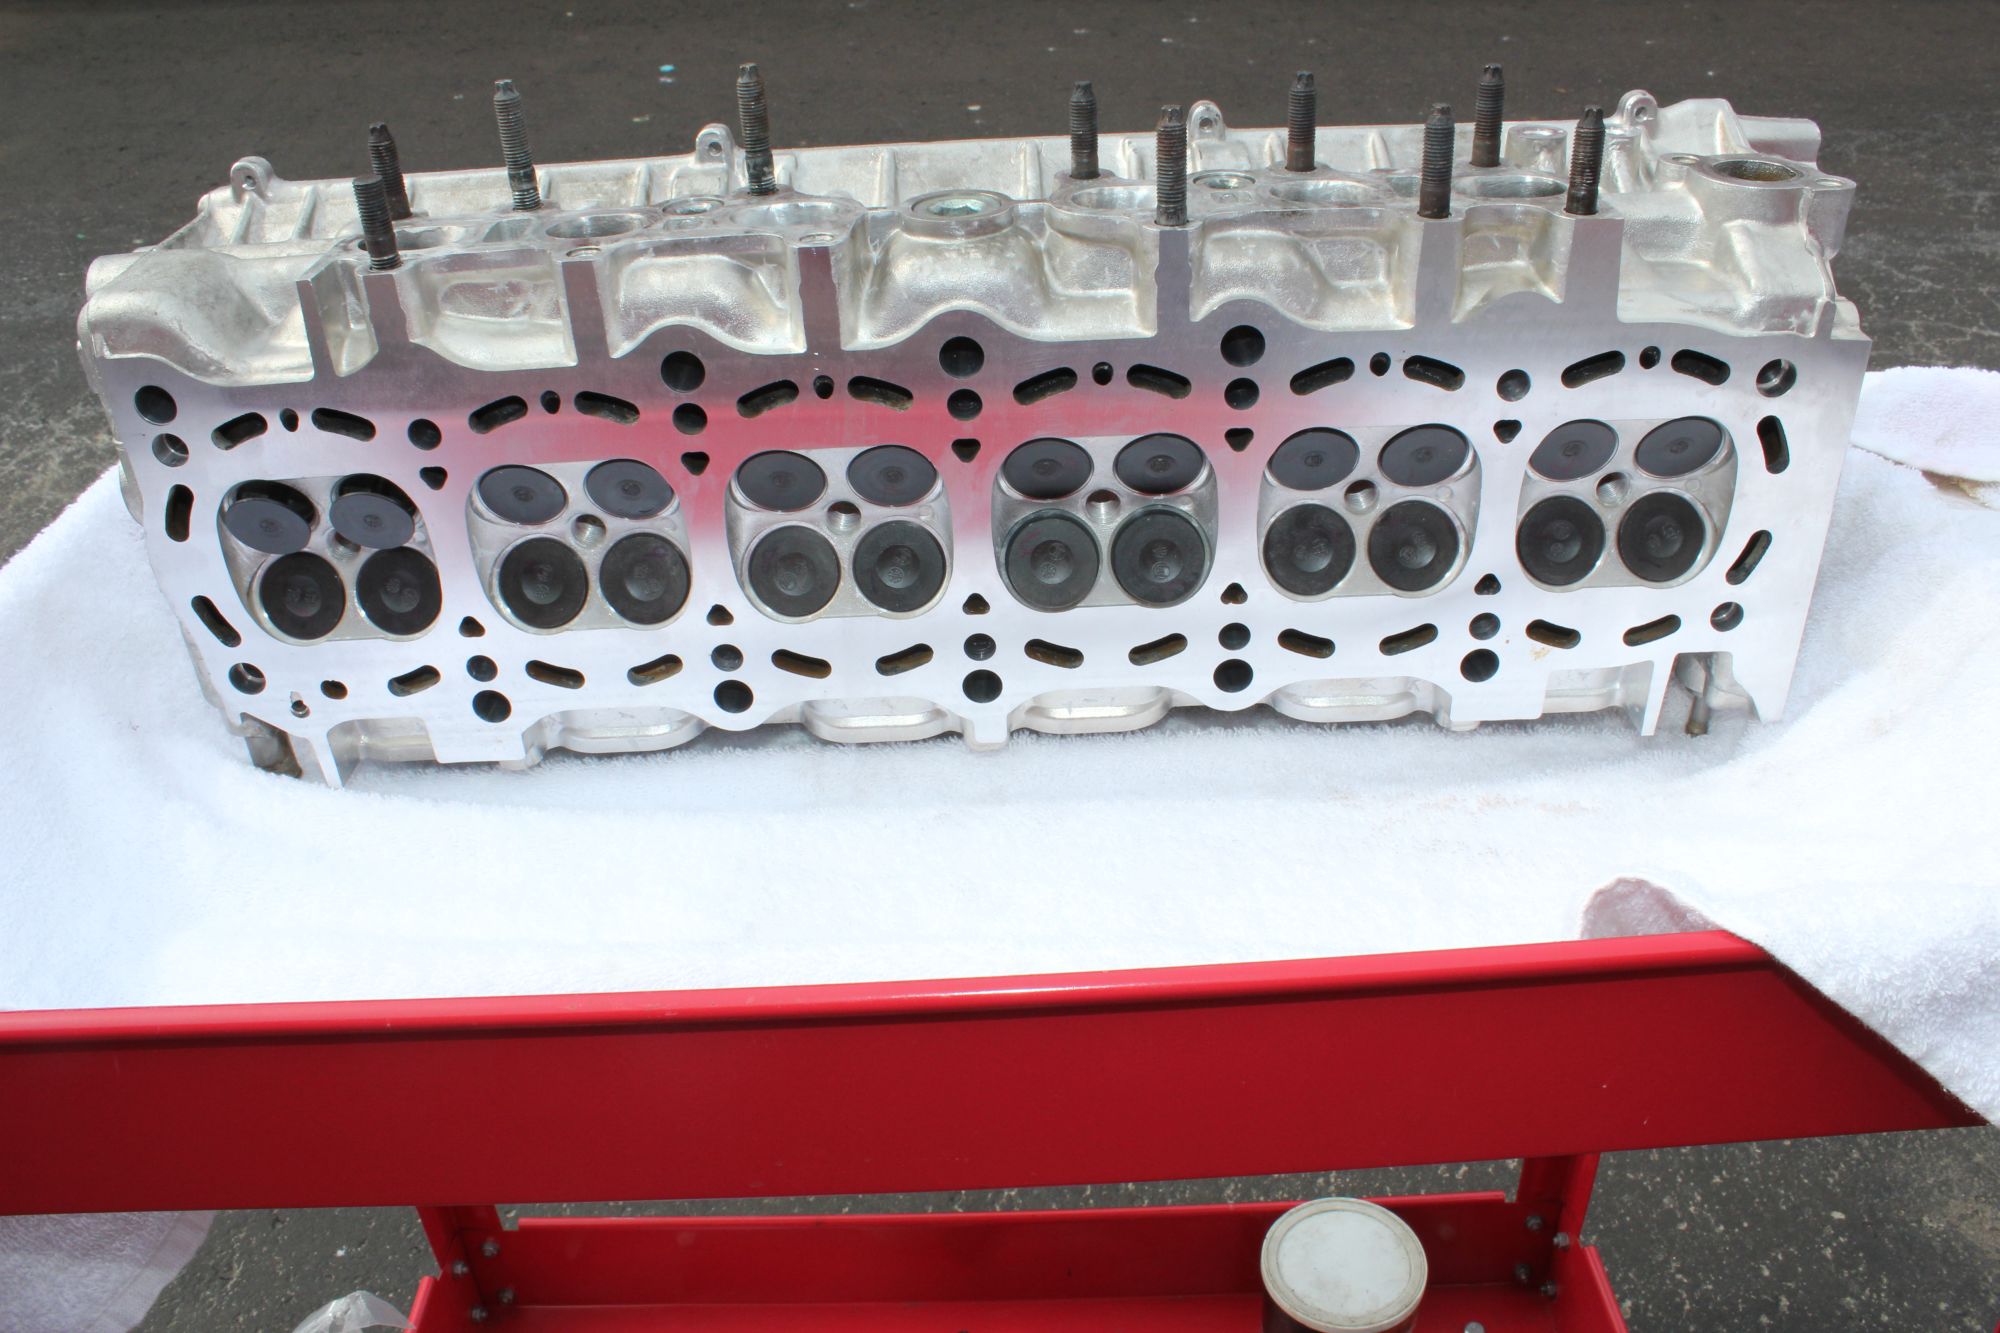
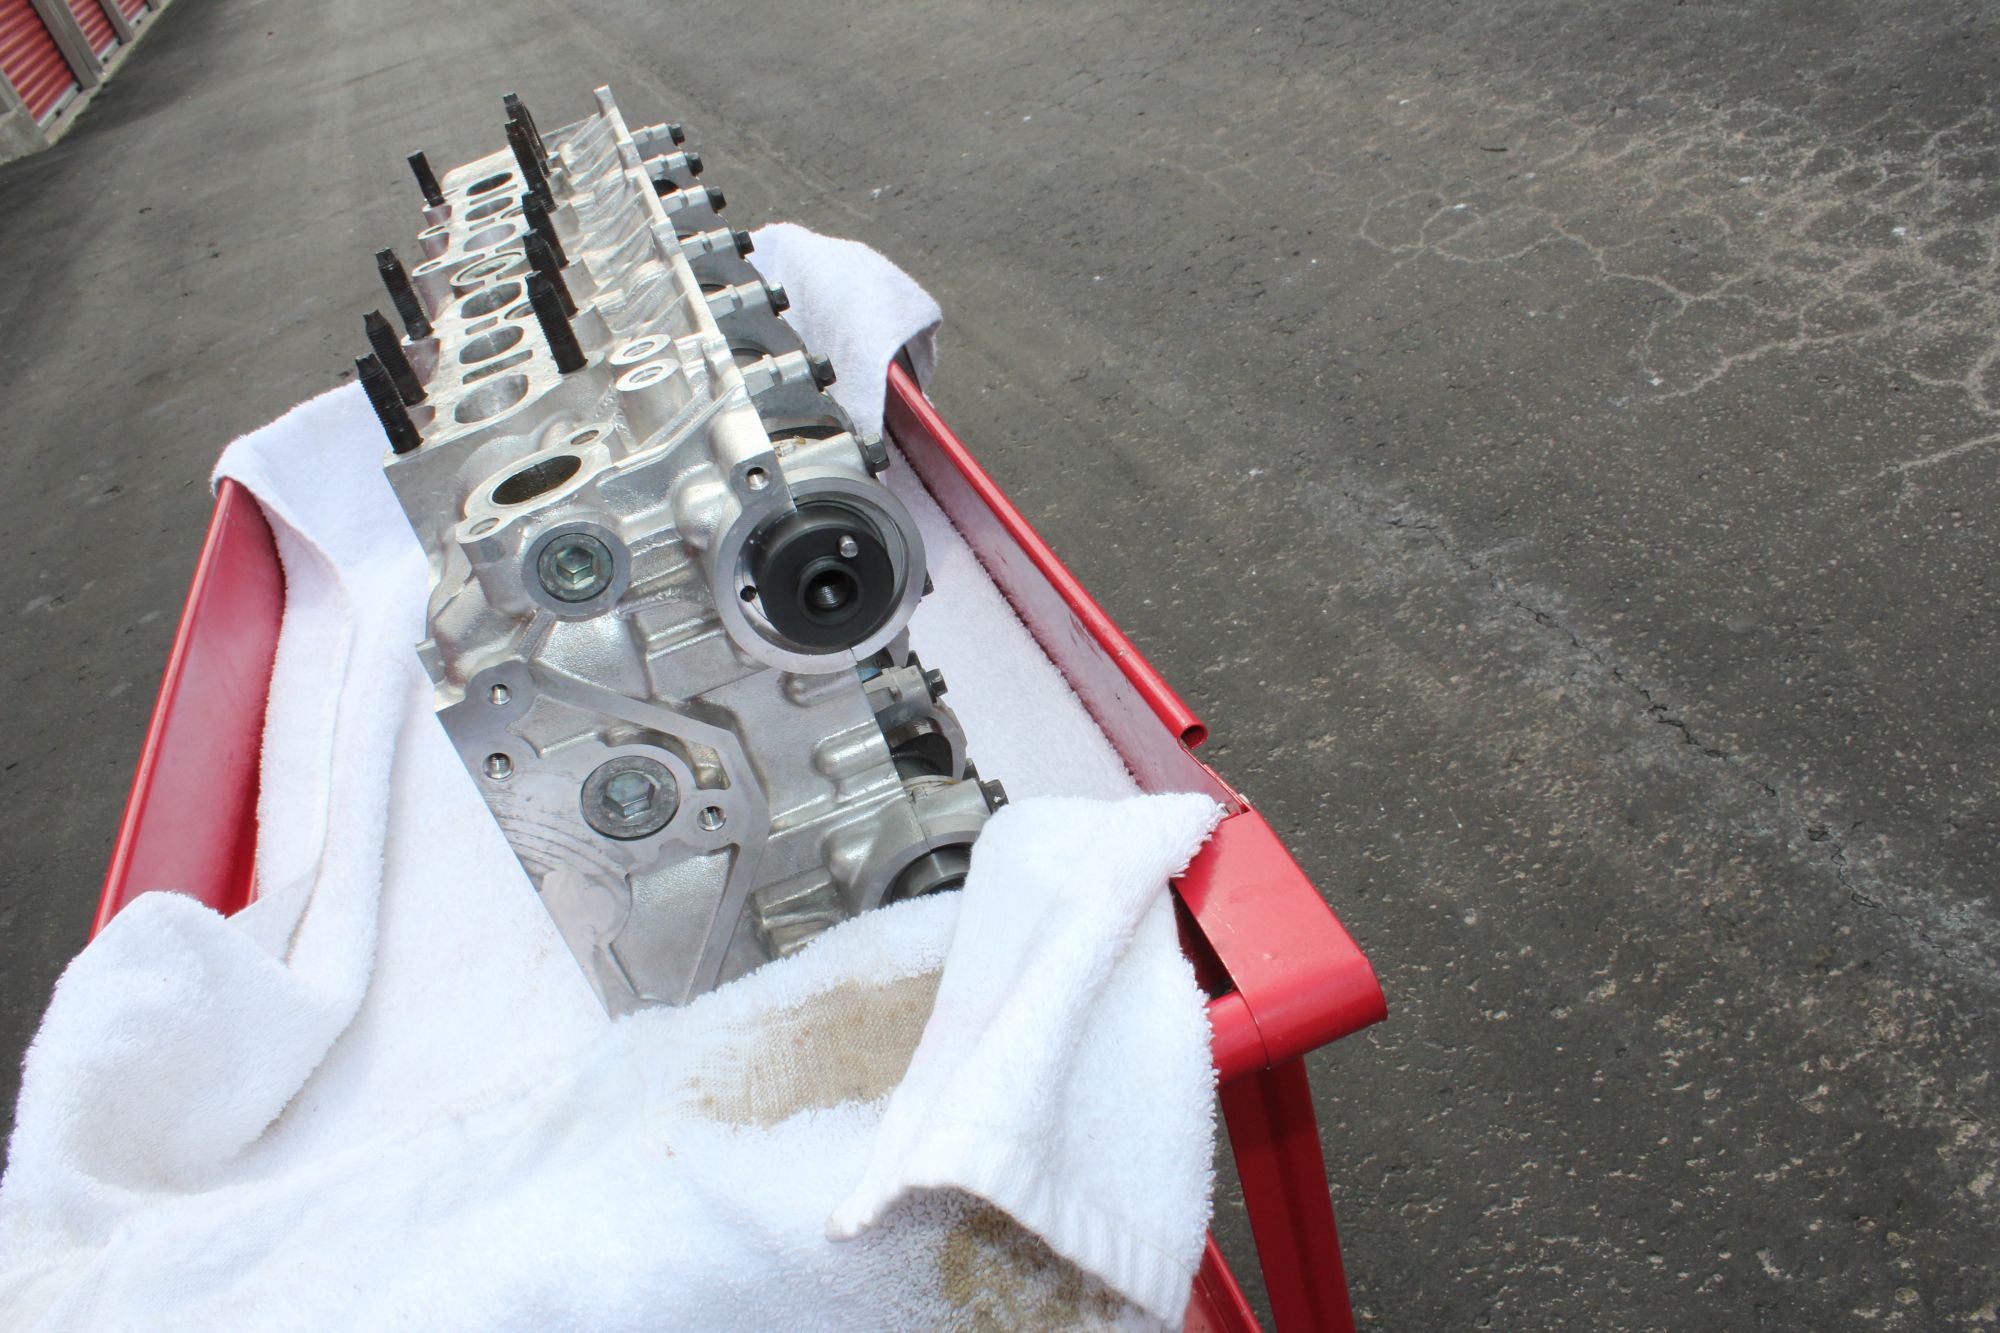
so finally it was time to mount this mfer. so it's time for "stud" love.
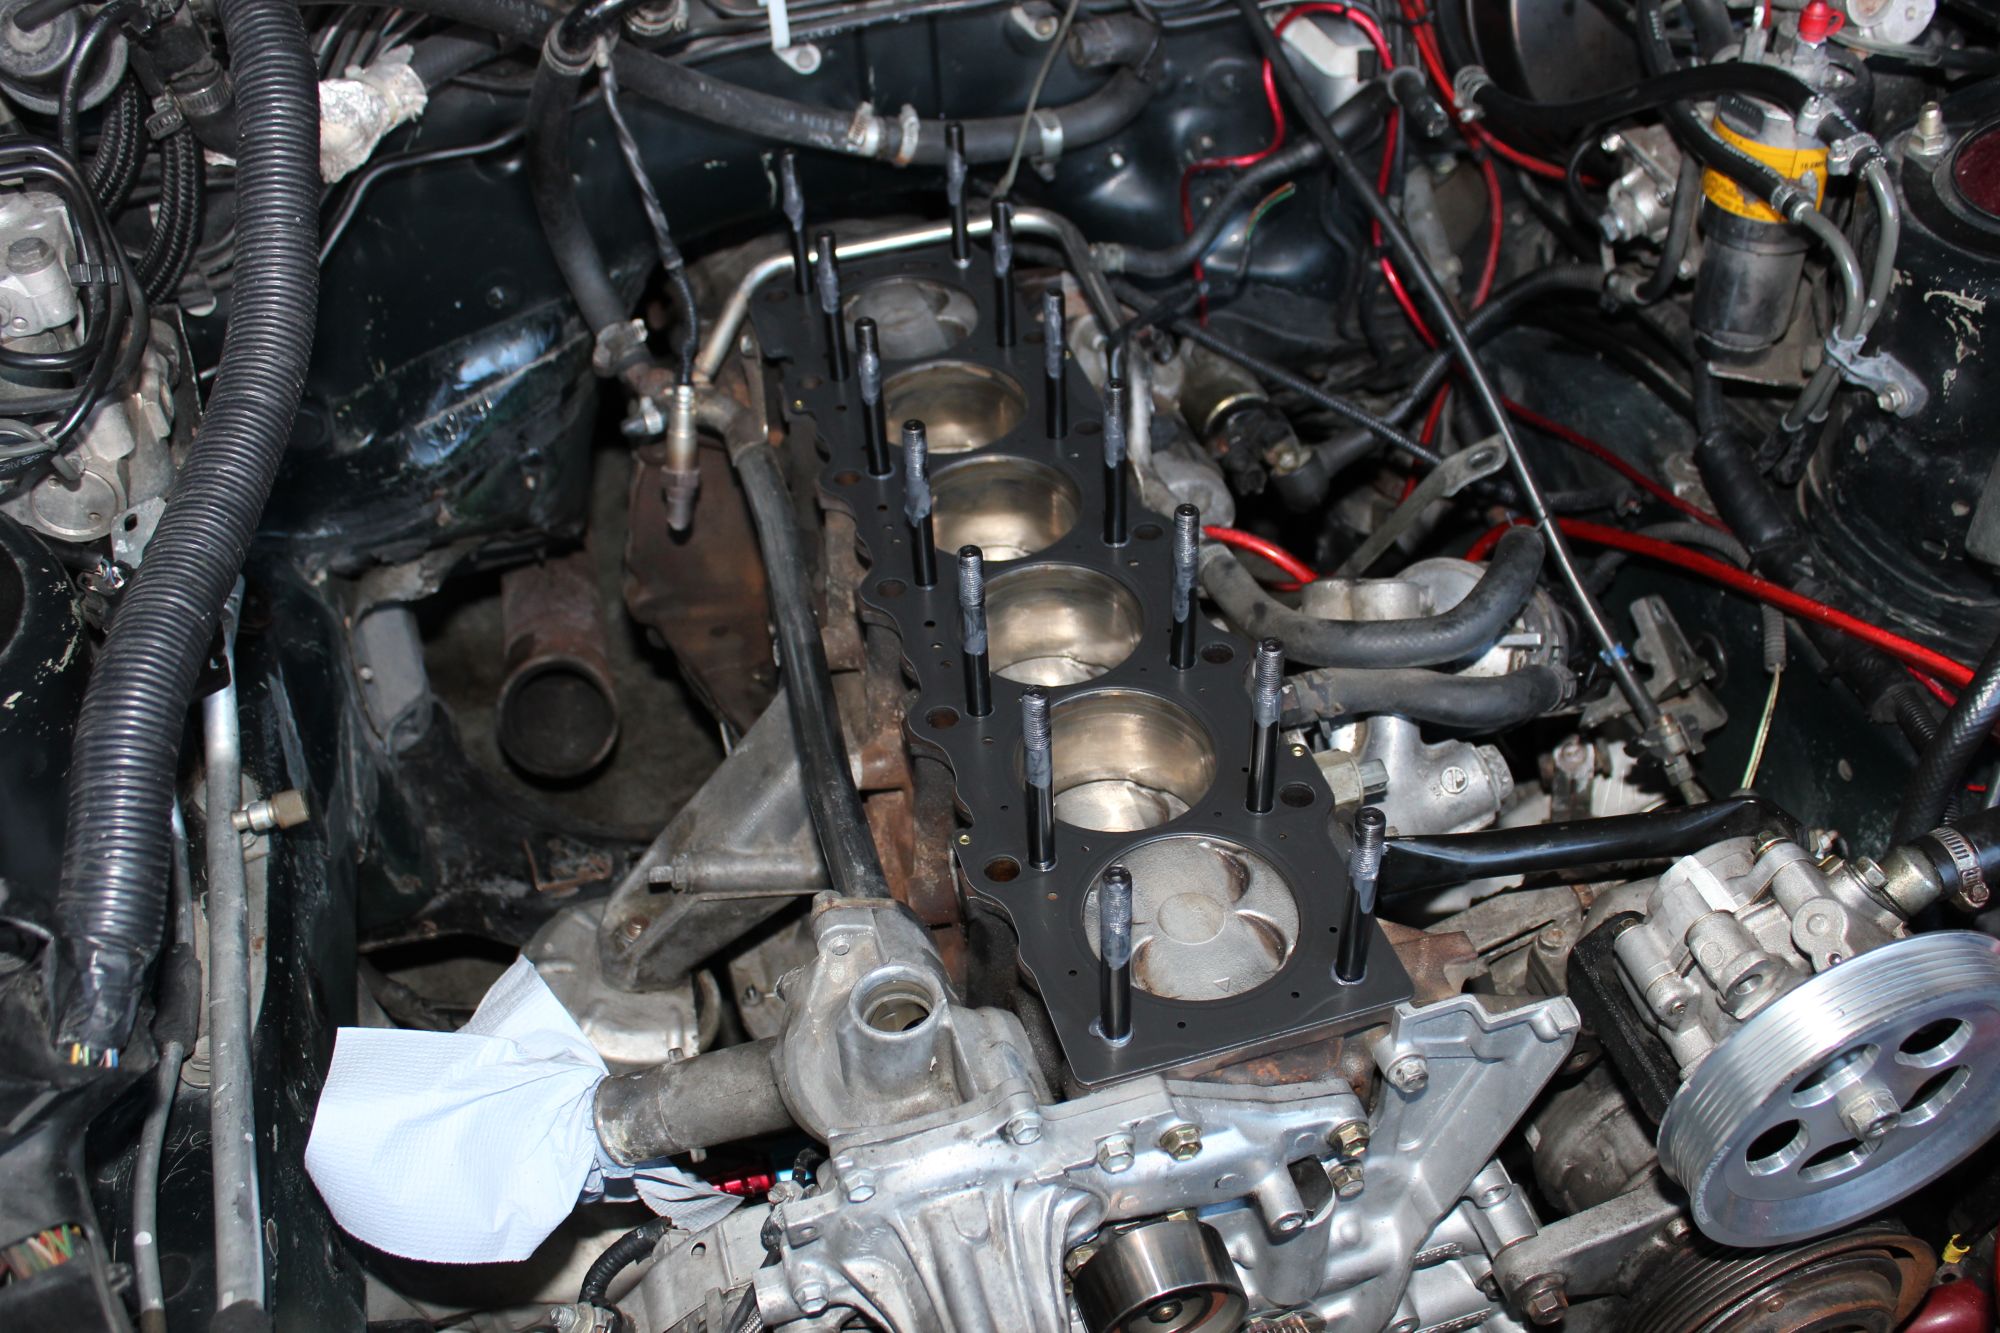
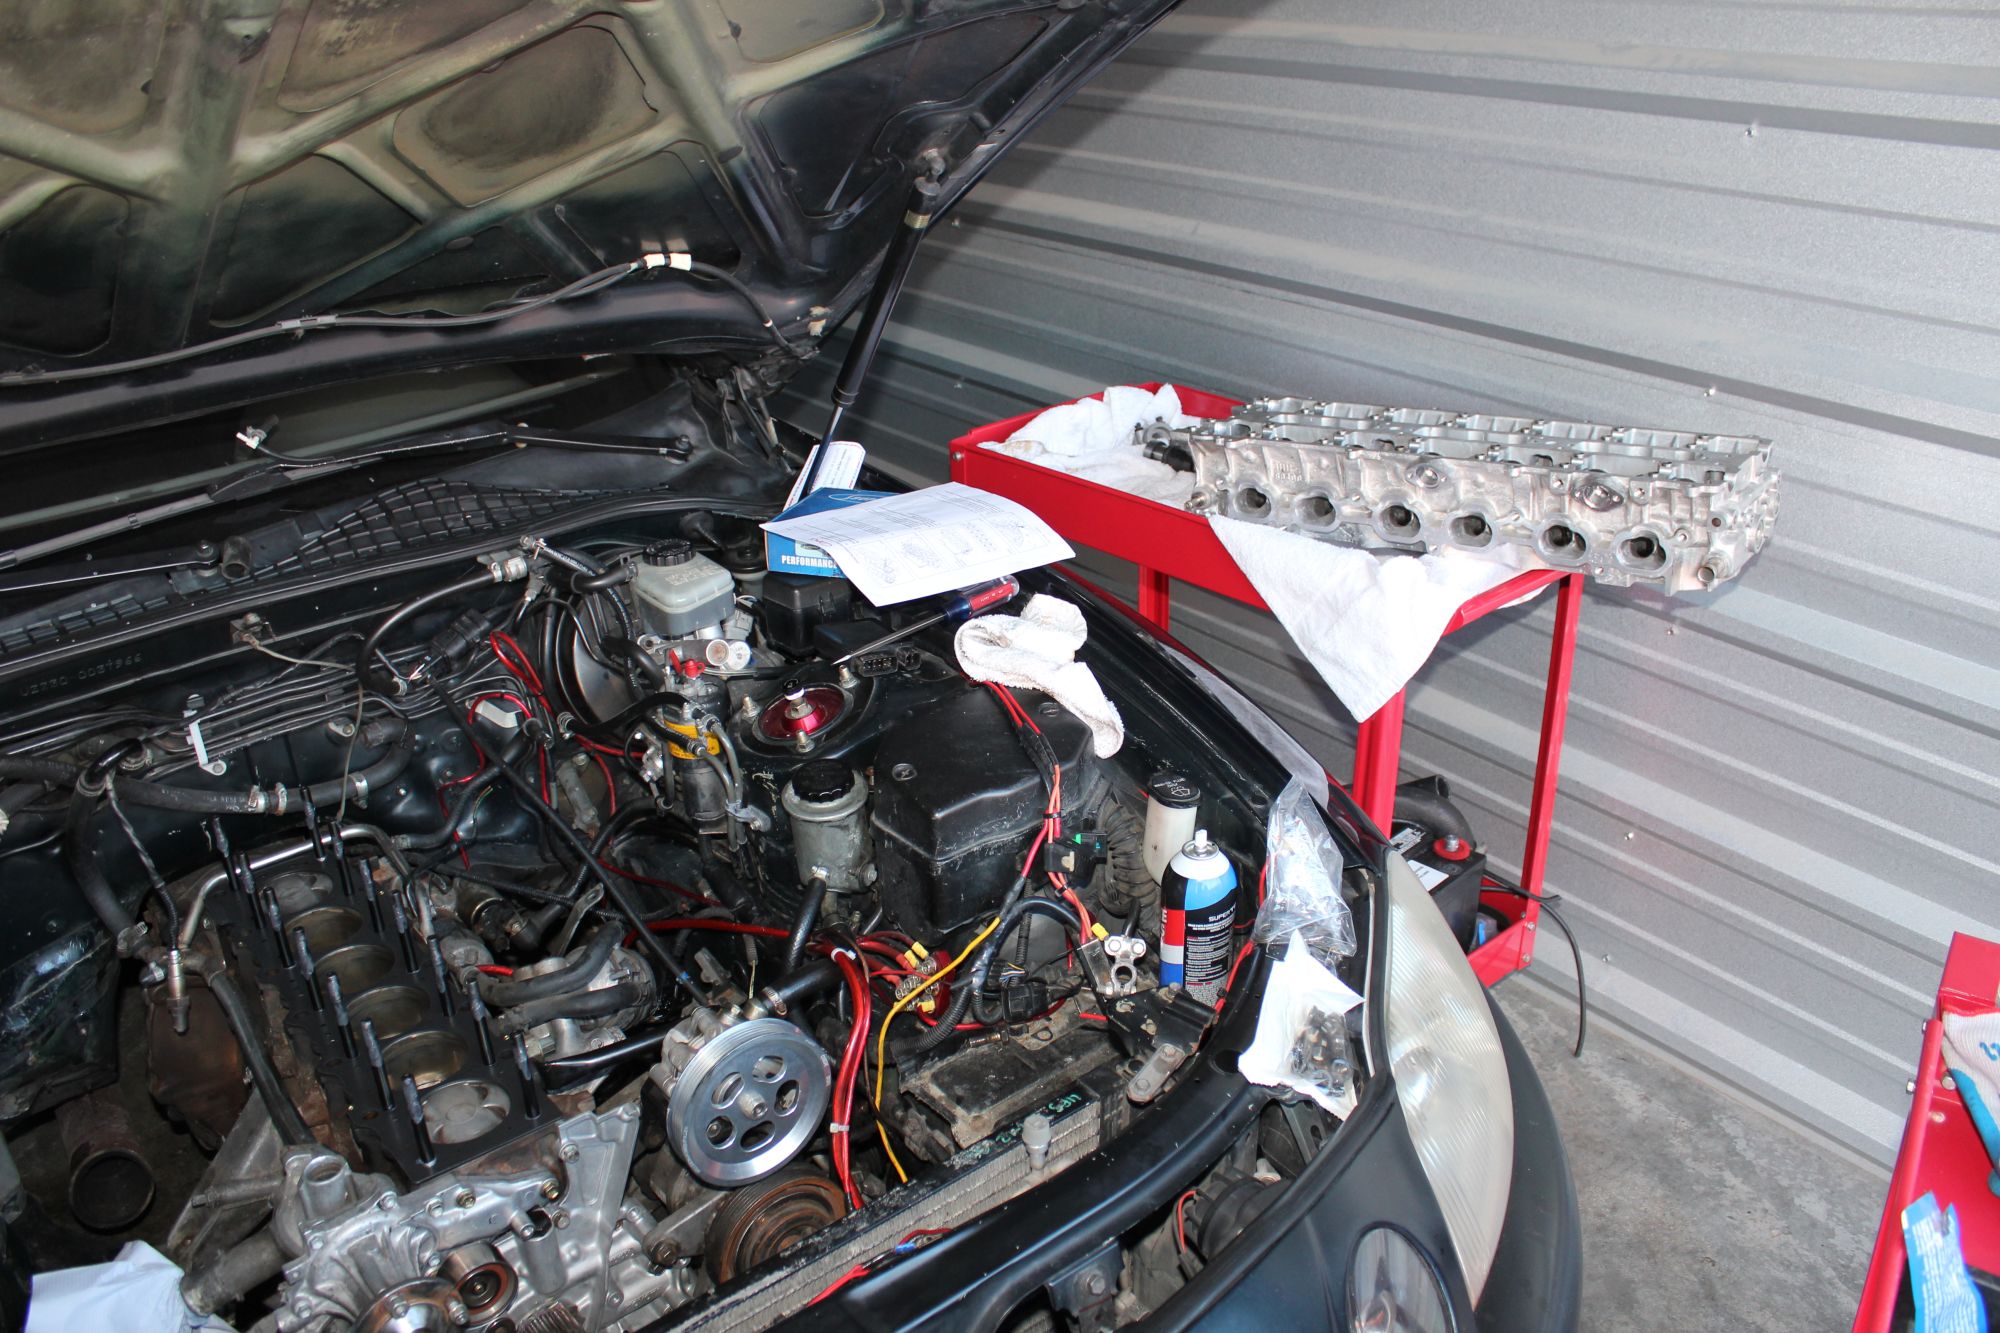
thanks that I didn't have the radiator in I was able to climb in the engine bay and slide the head on myself.
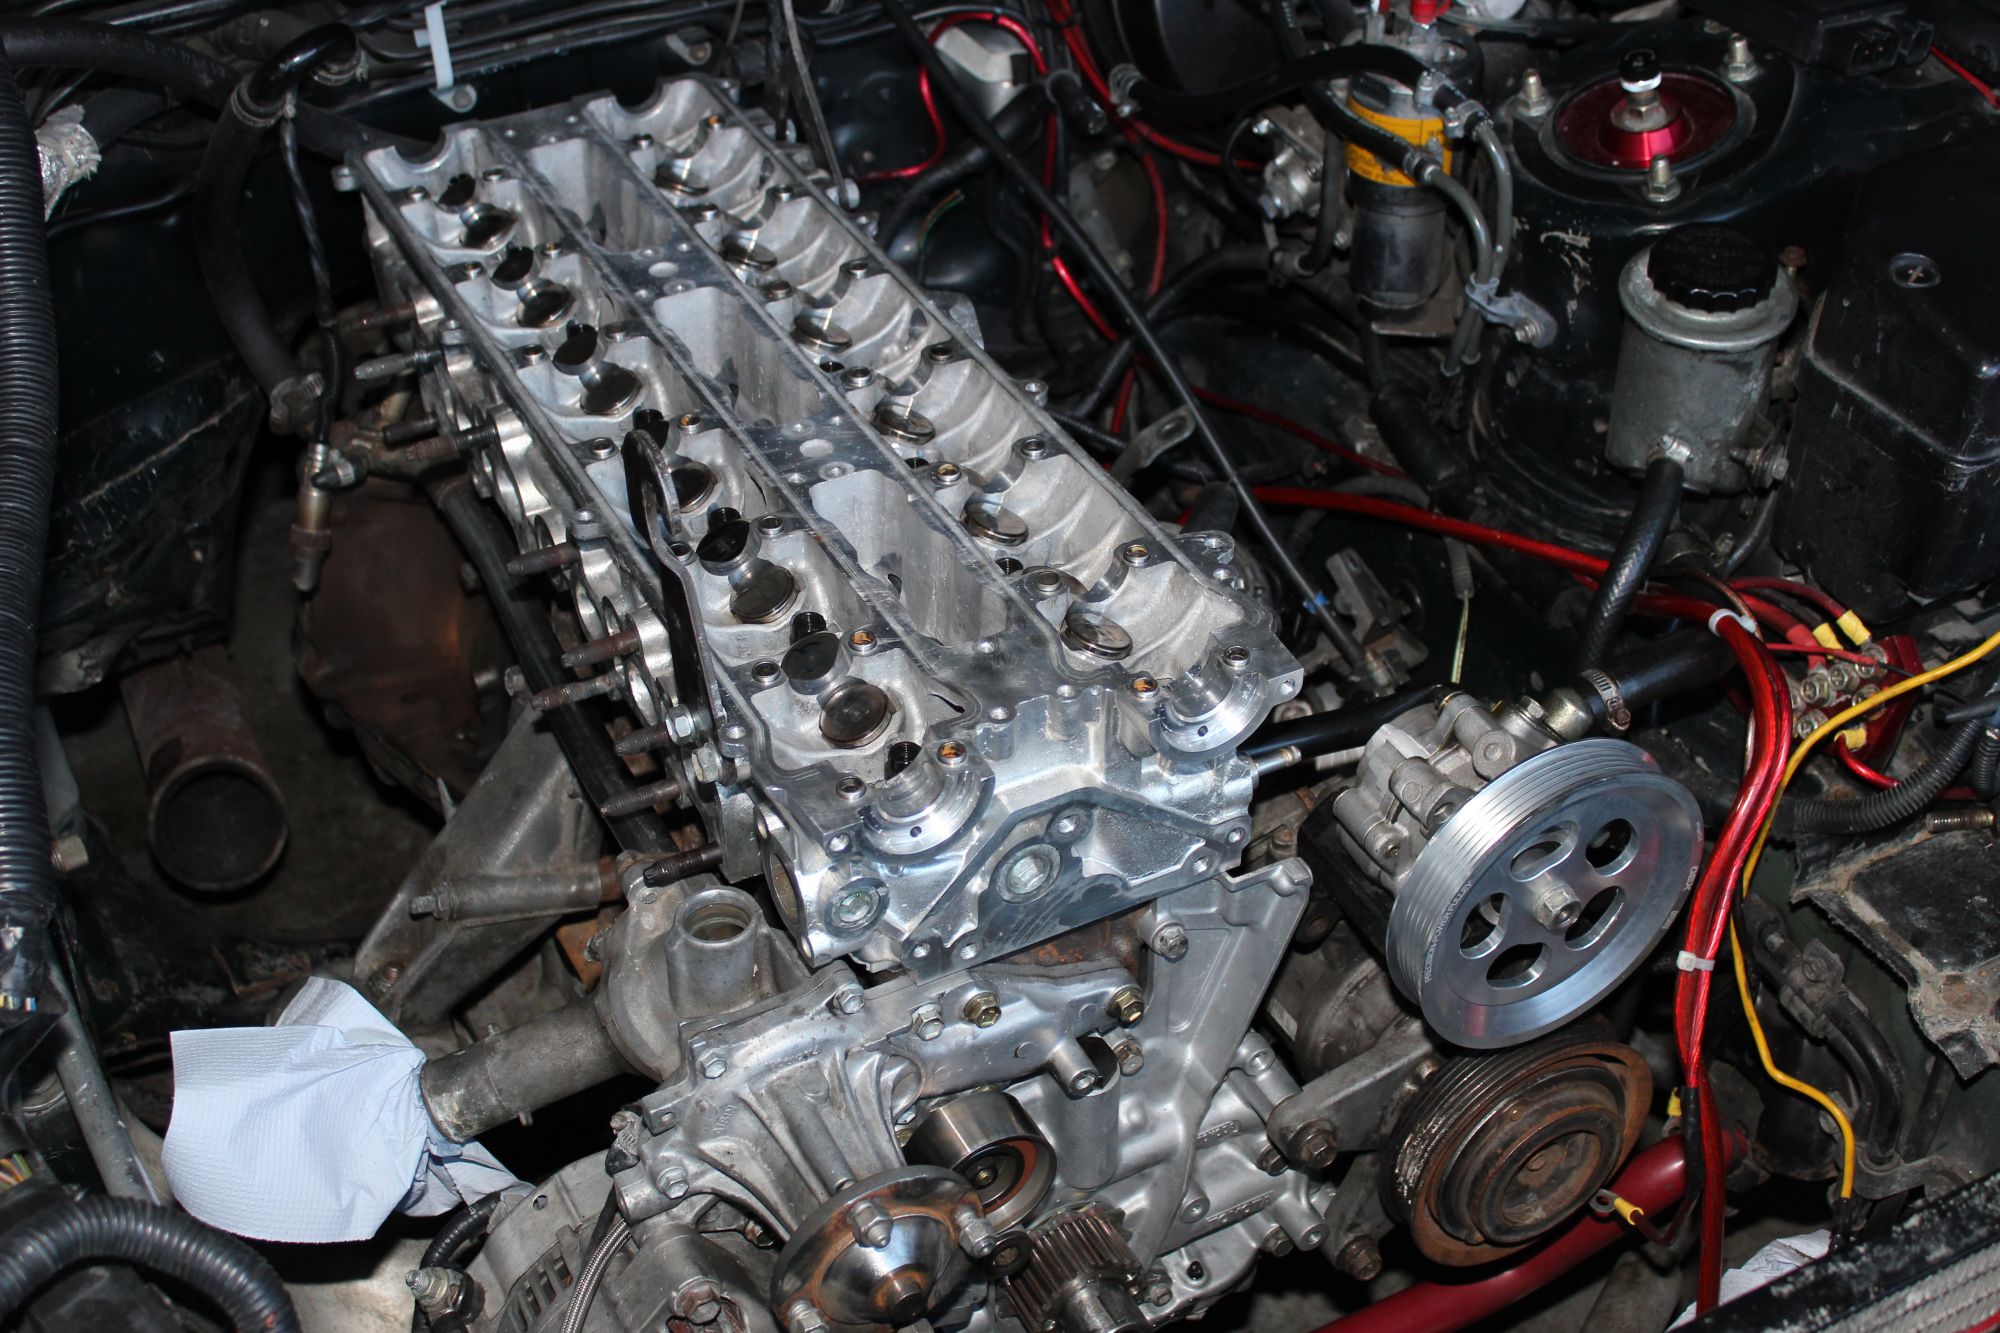
next up was the borg warner mock up. The turbo is huge, and they sent me the wrong one. I originally wanted the one with the 90deg bend. but I figured I would make this one work.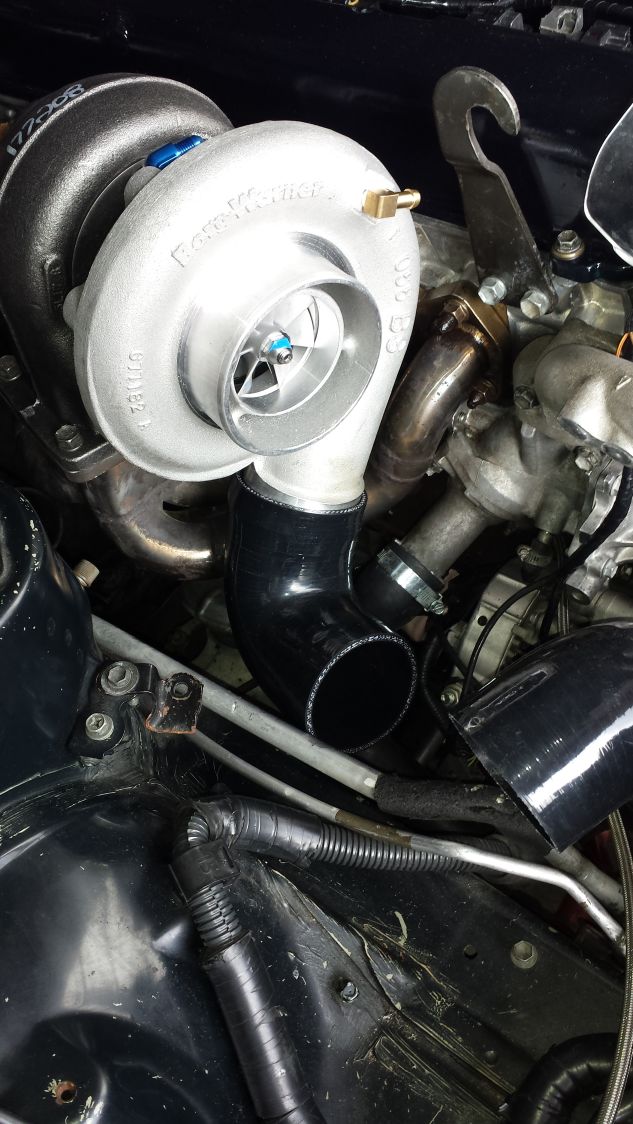
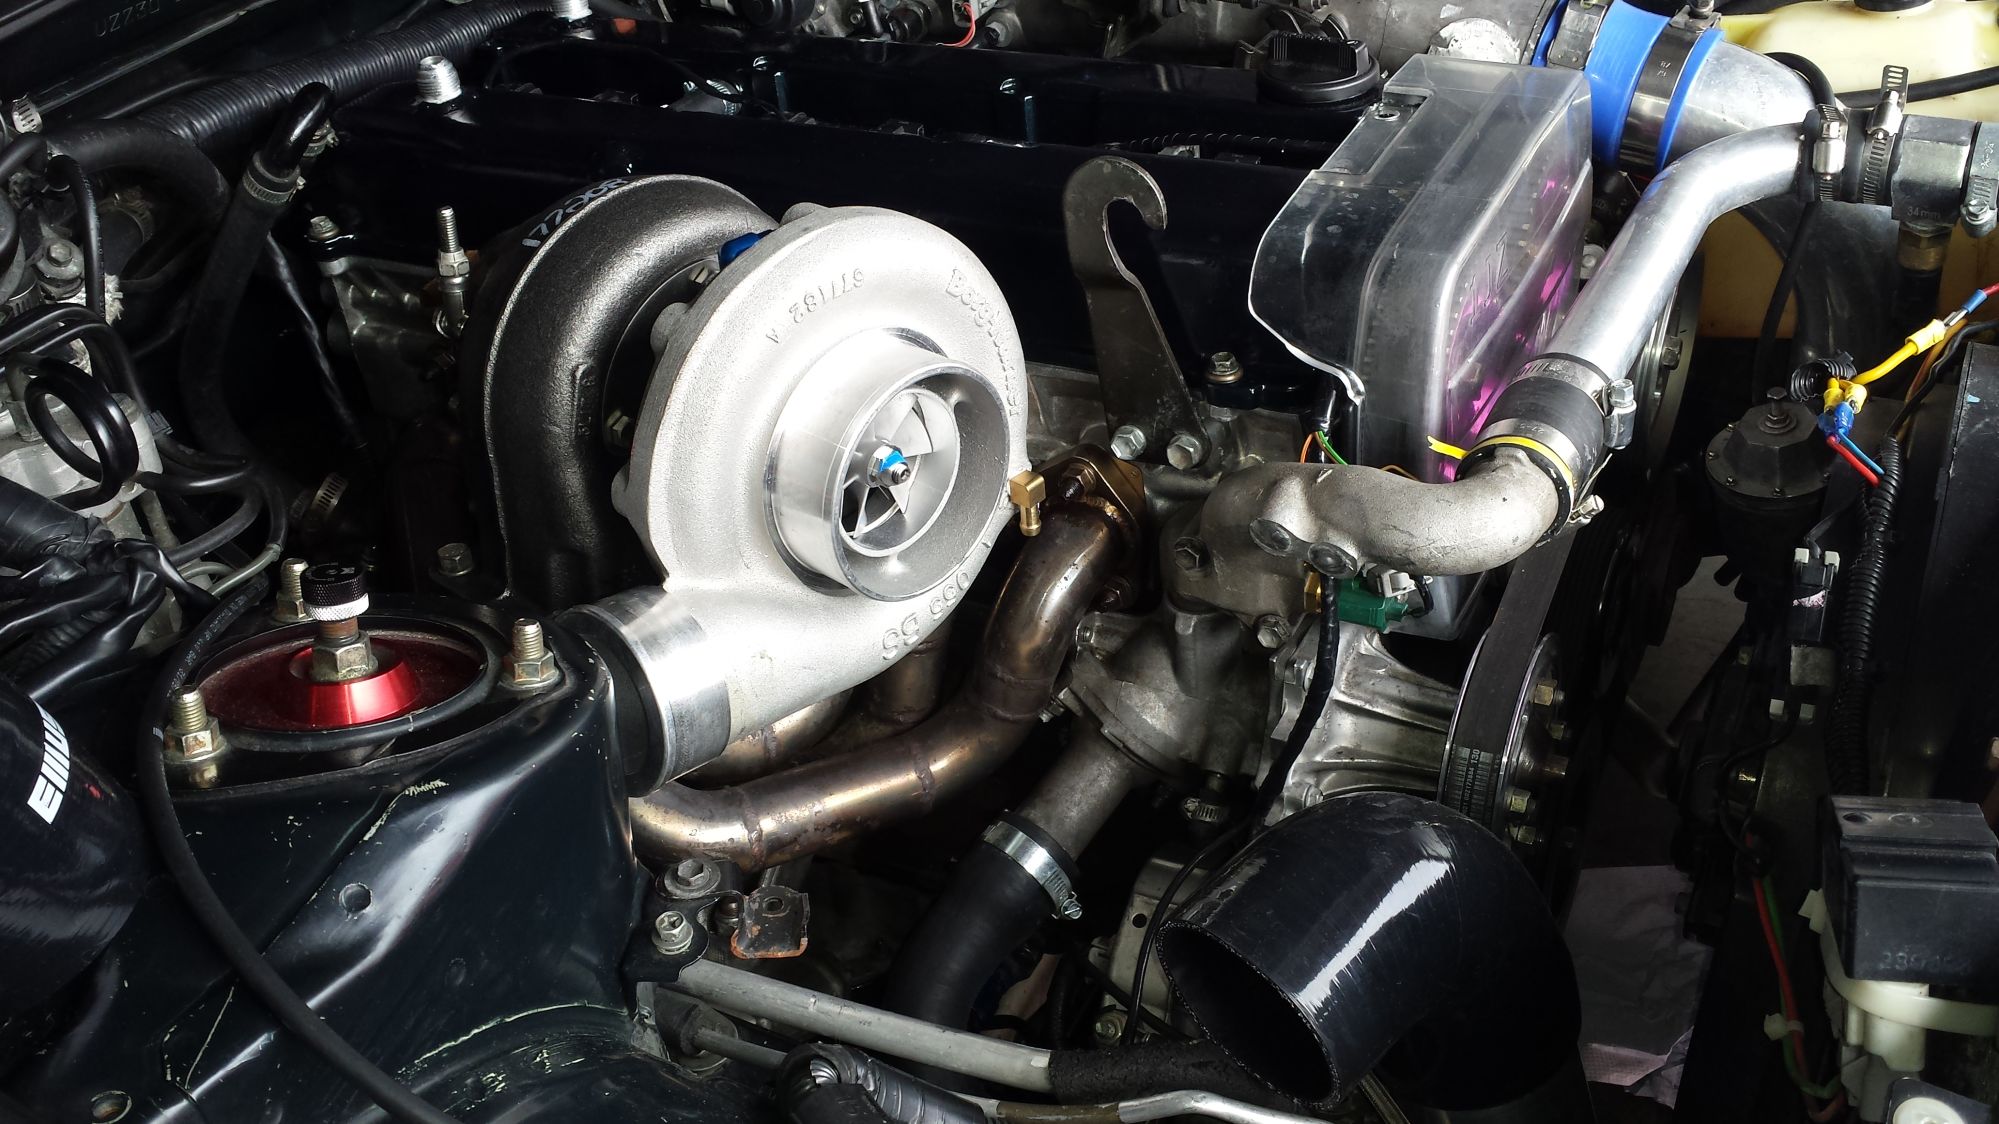
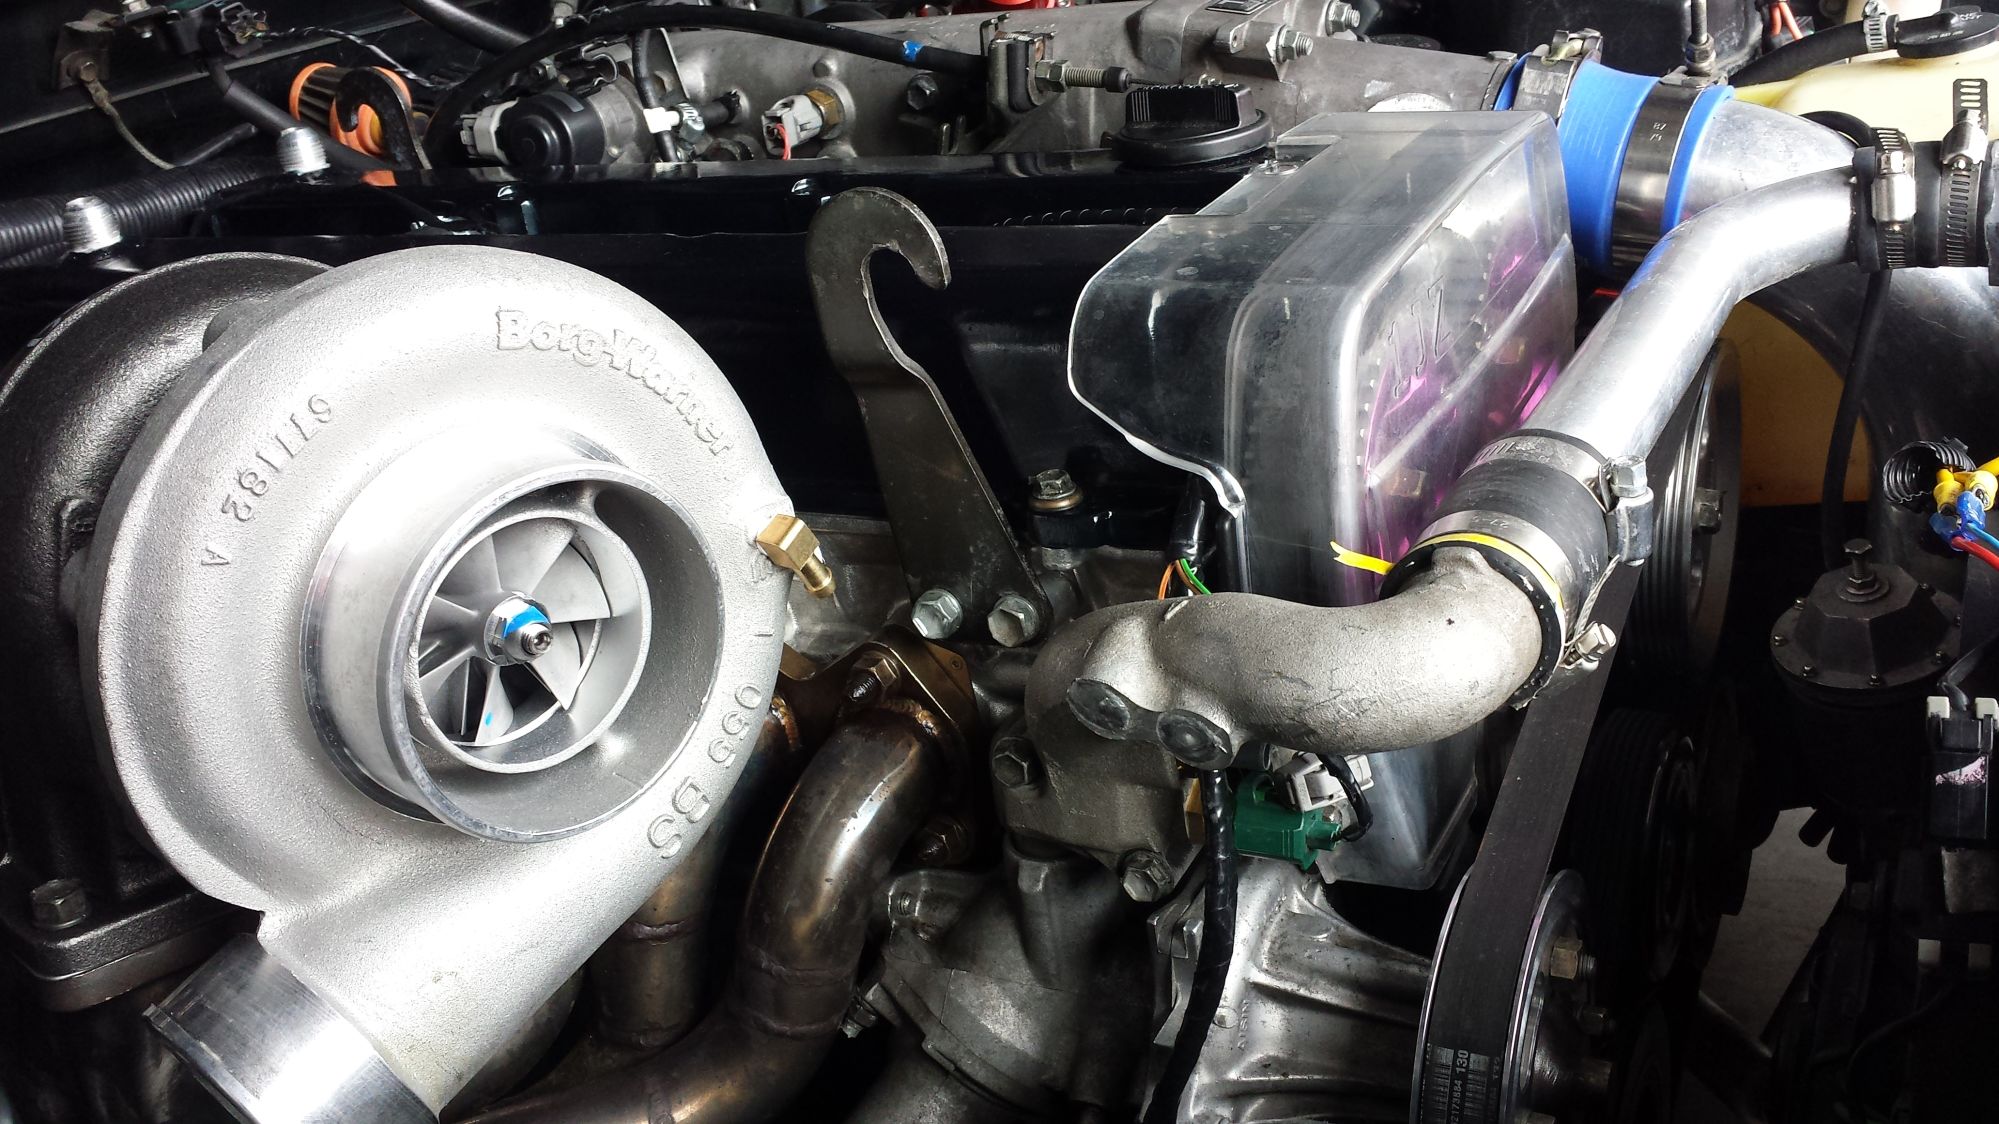
I had to cut off the end and source a 2 and half inch bend to merge to the hotside. so needed Austin(the great) welding skills once more. I also attached a reserve to the compressor.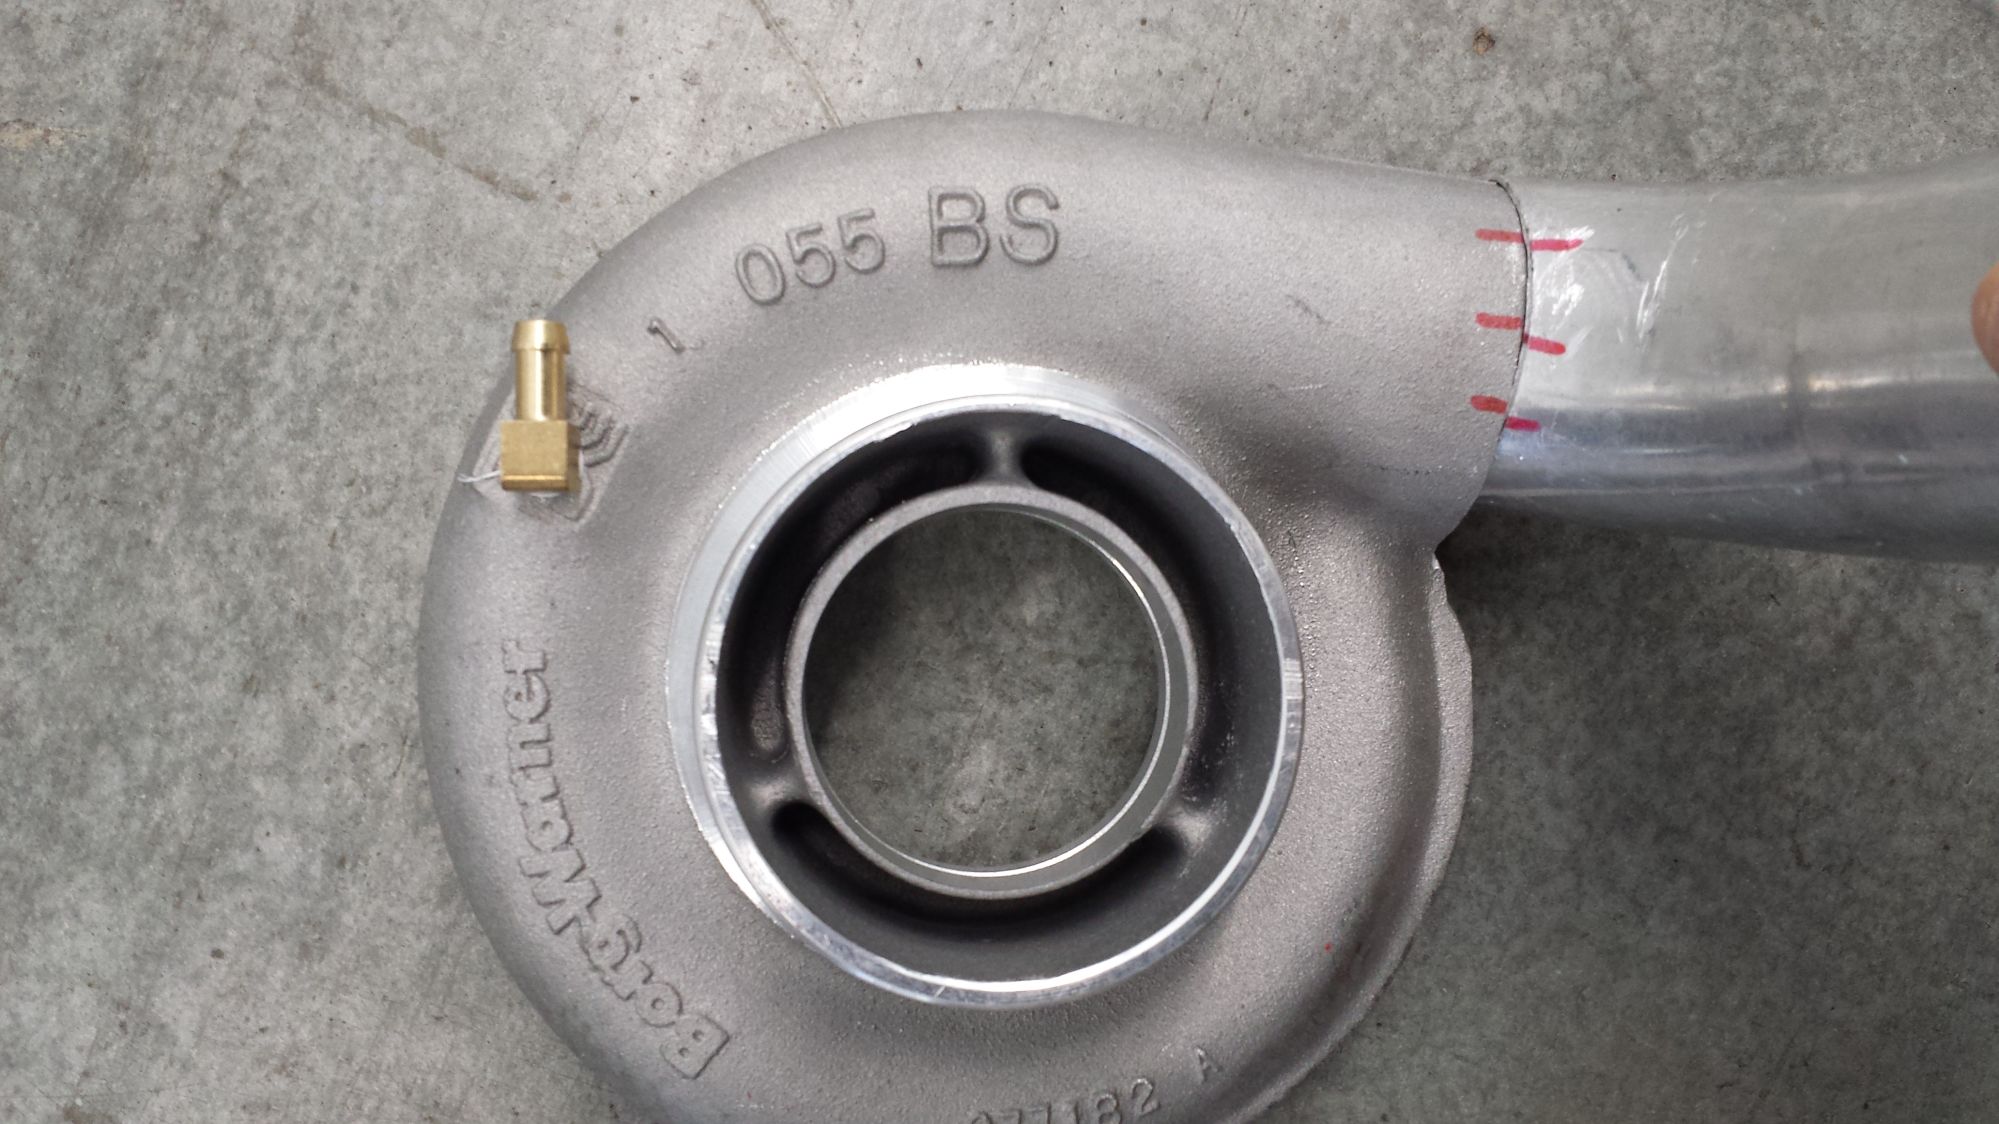
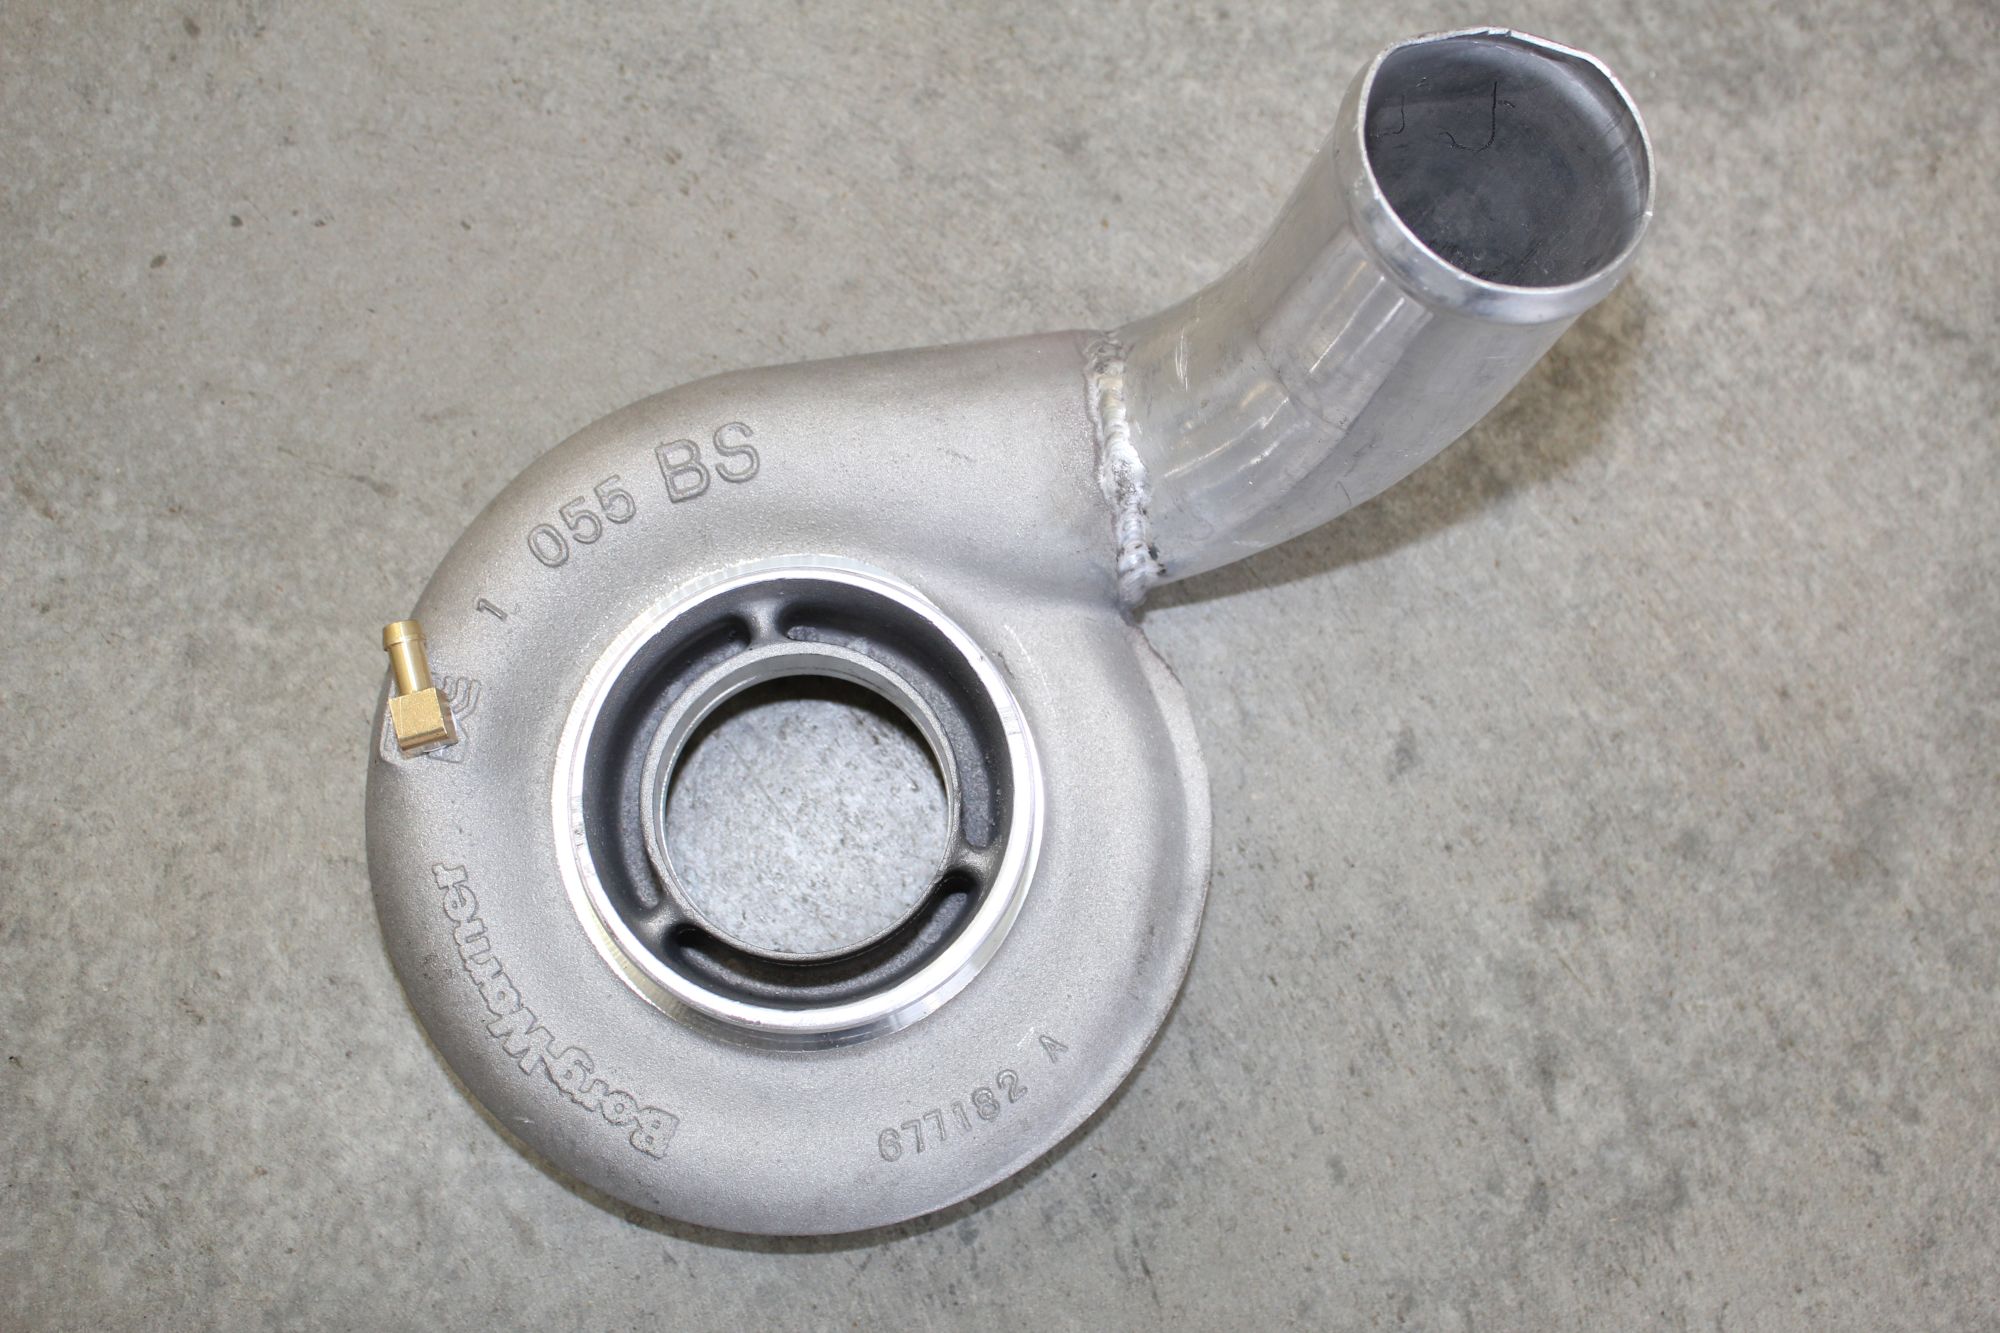
well it was then time to install the borg warner turbo. this thing is huge. I originally wanted the one with the 90 deg bend. but I was sent this one, I decided to make it work.
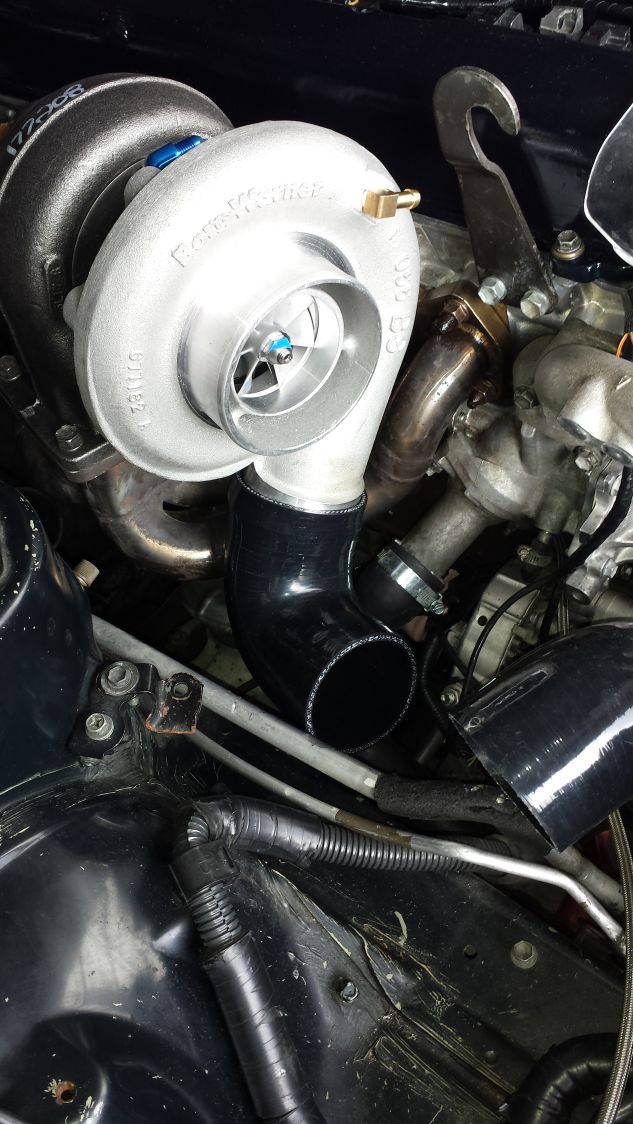
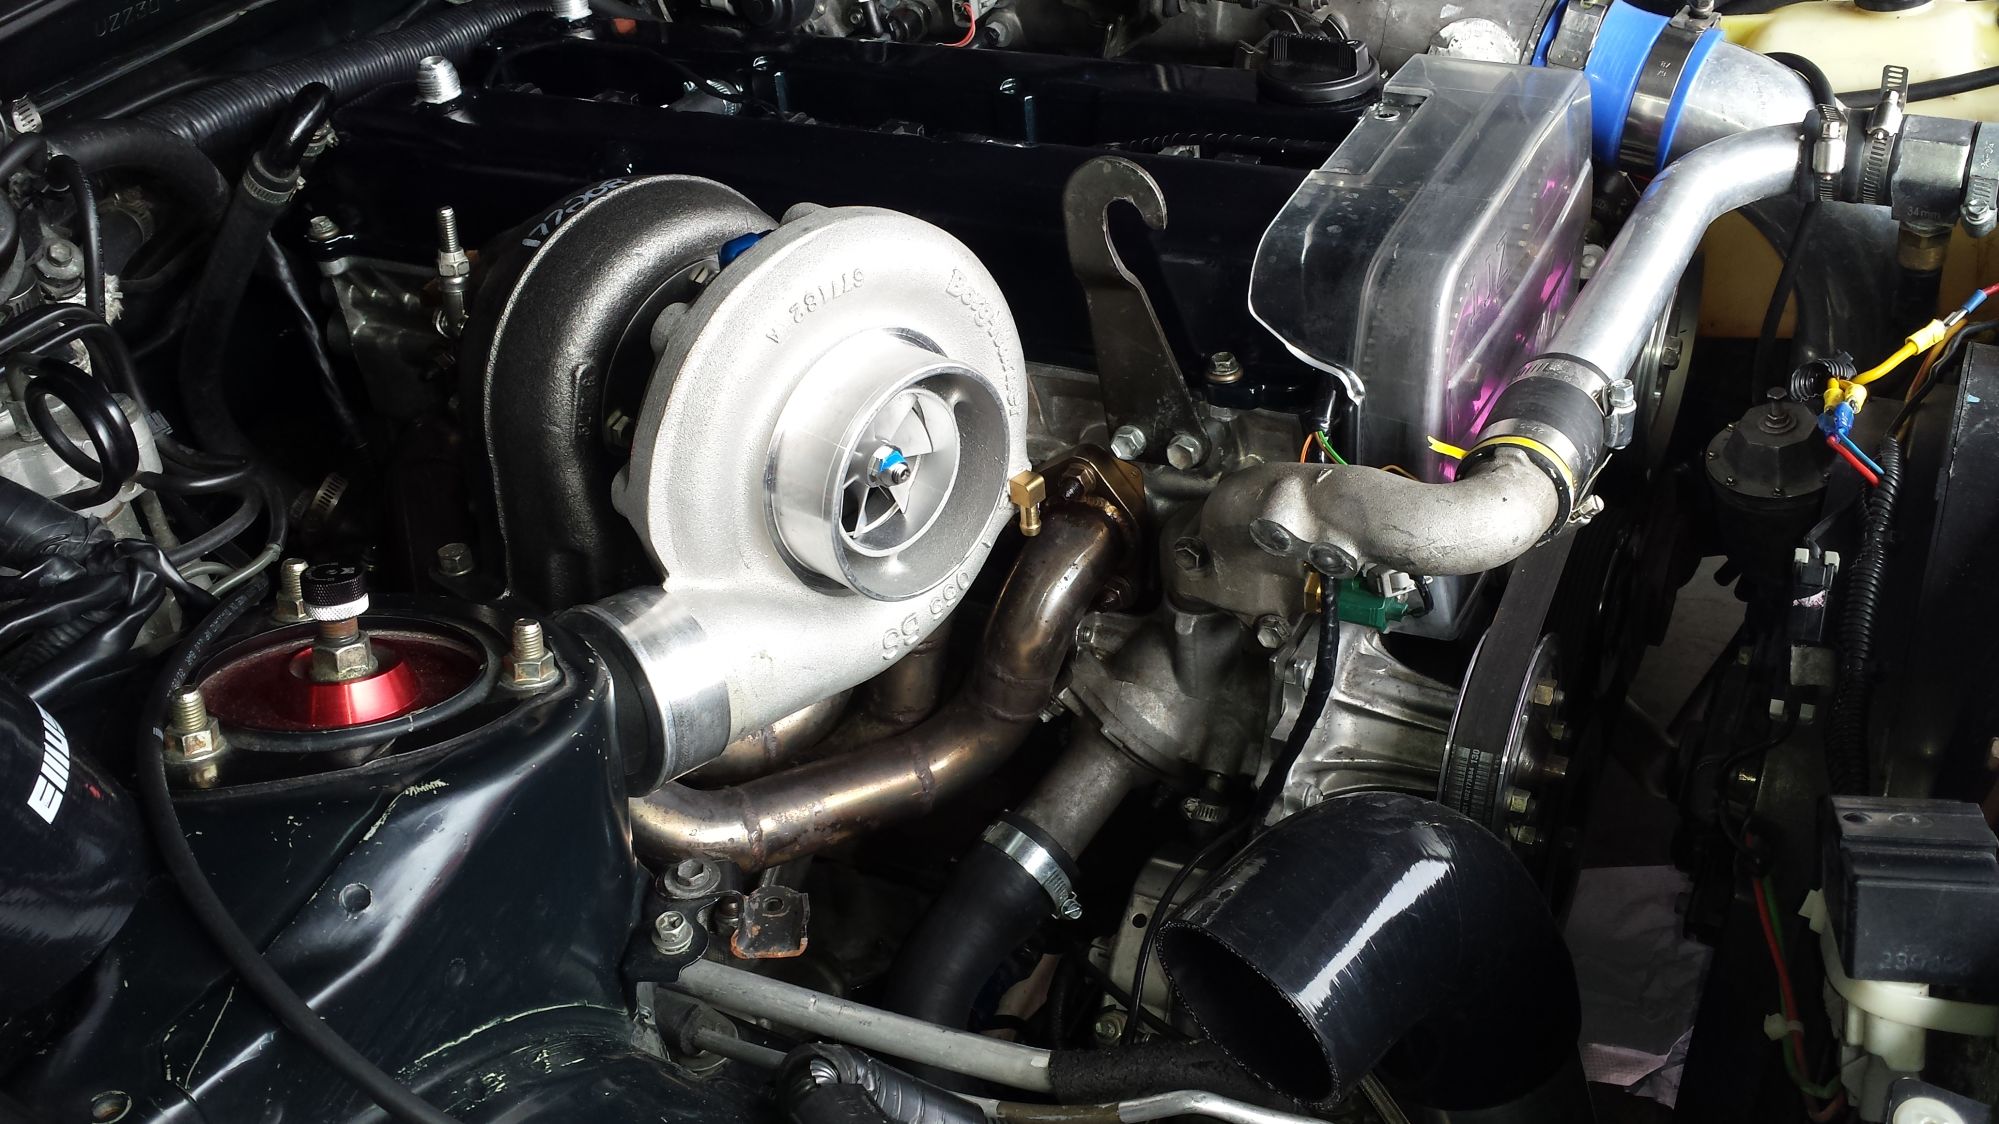
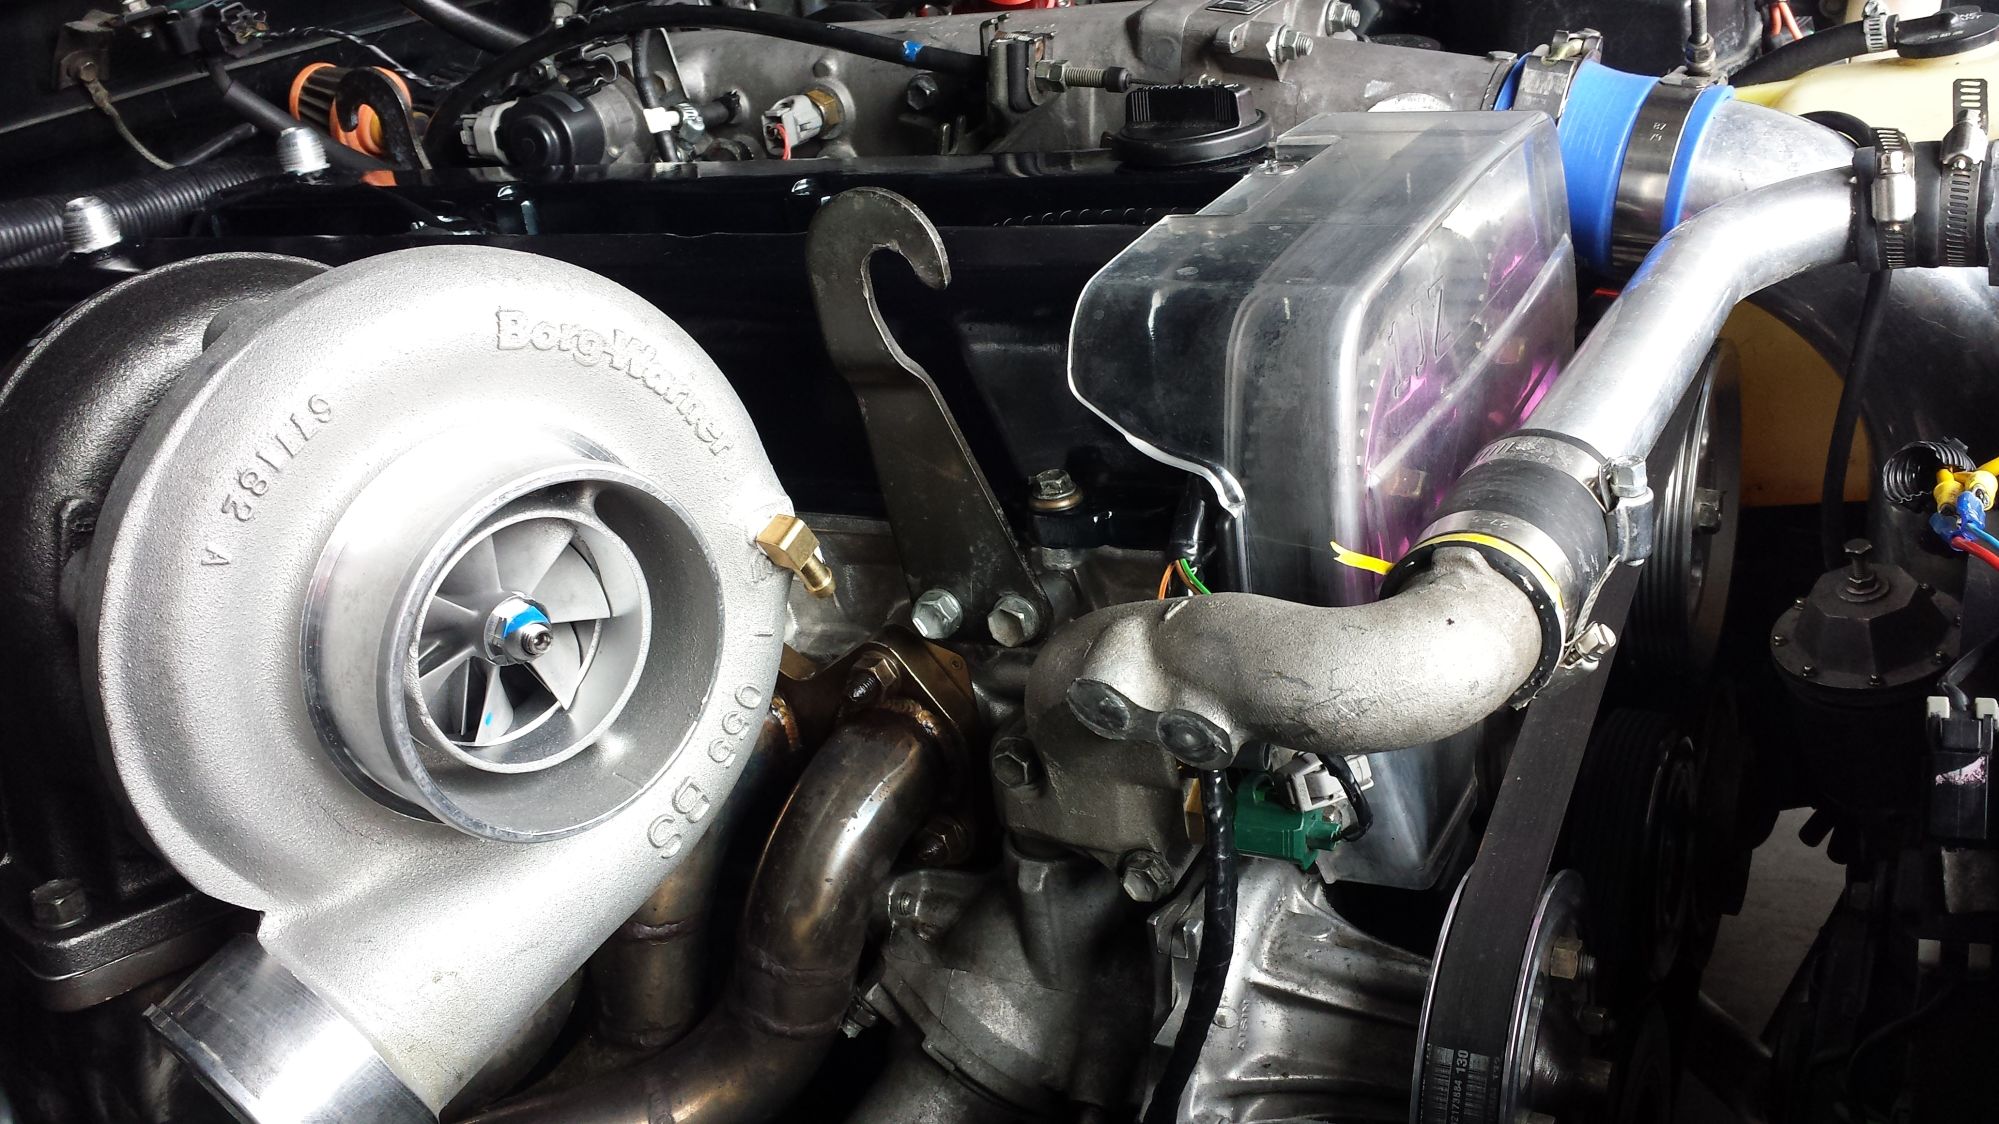
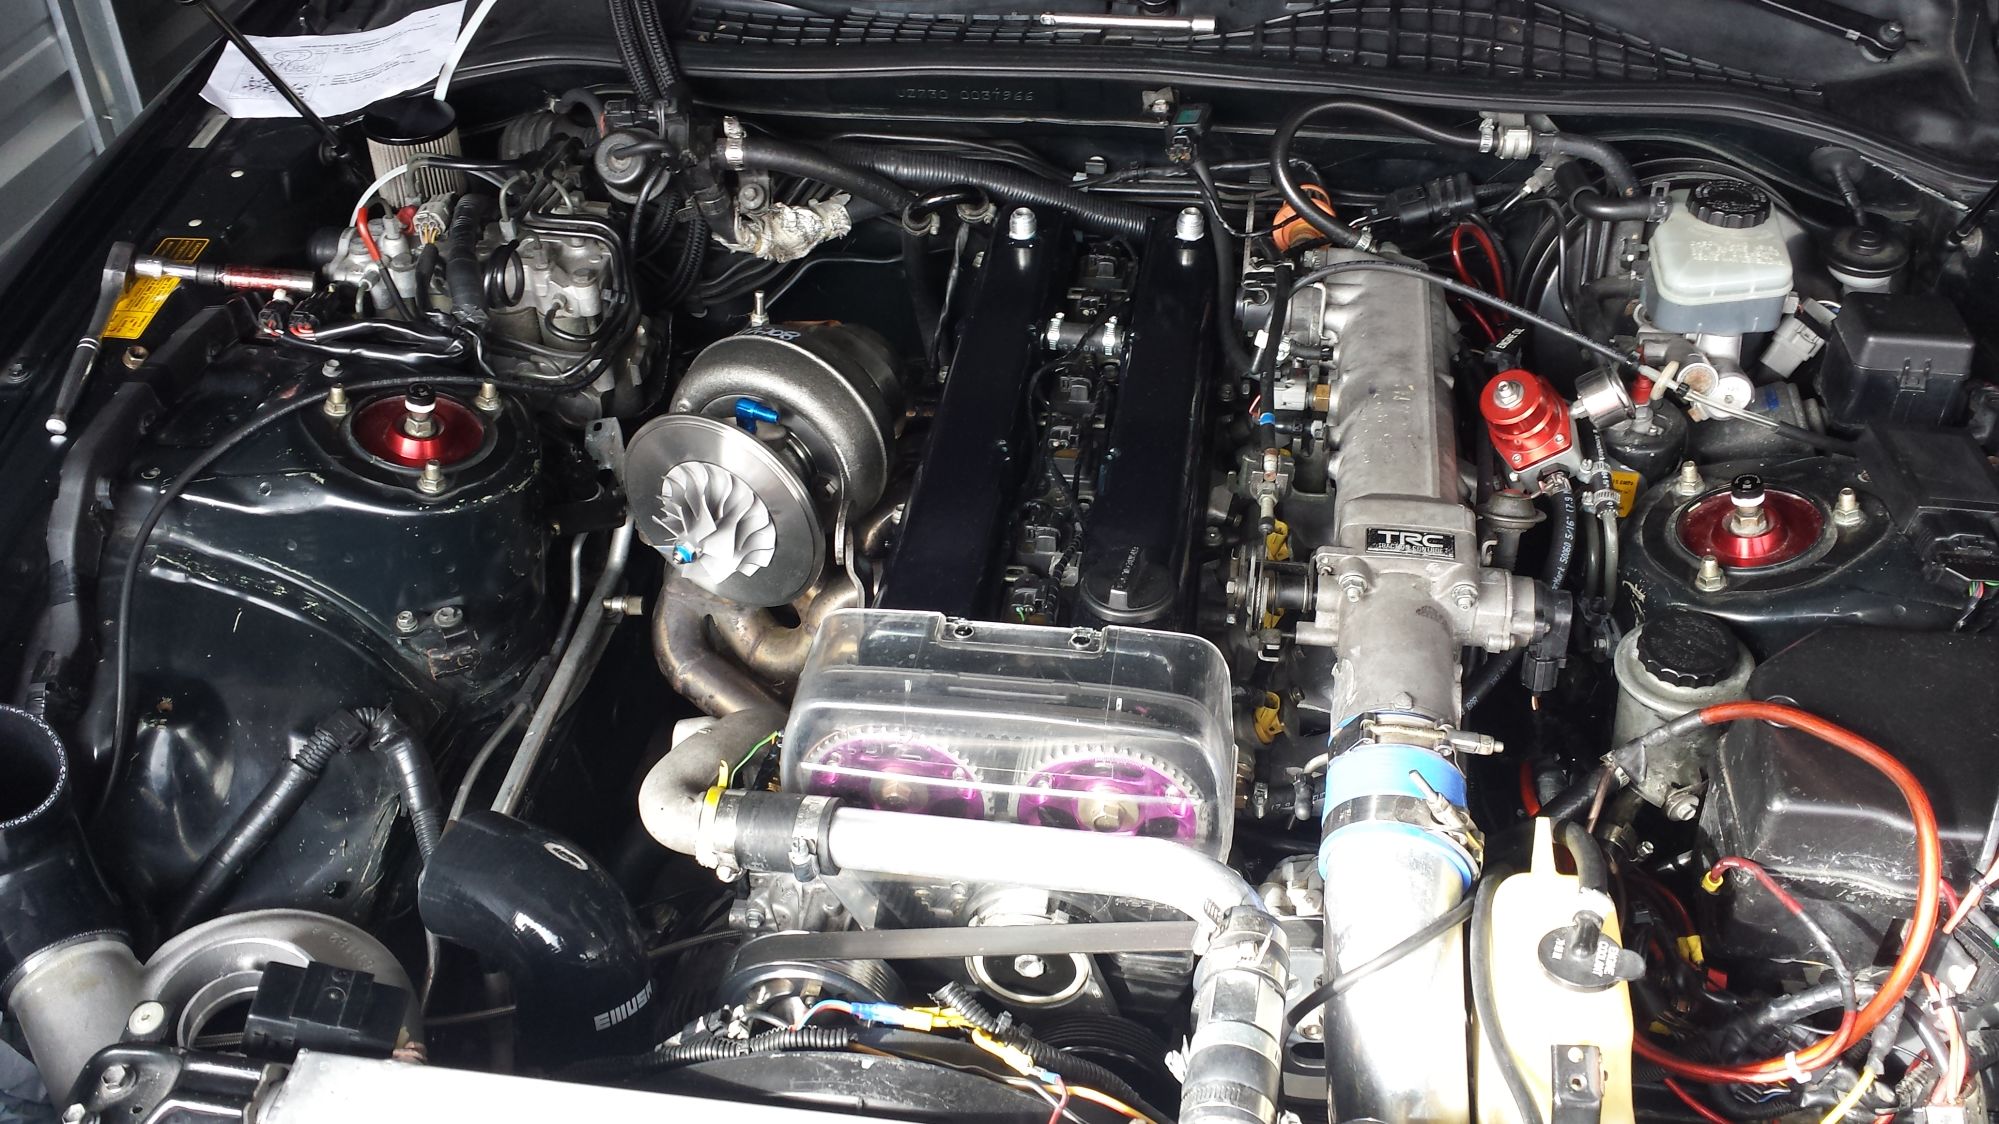
so I needed to fab up a new intake pipe that is 2 and half in diameter. once again I had so summon the god-like welding powers of Austin at (Austin-tech) of Nebraska.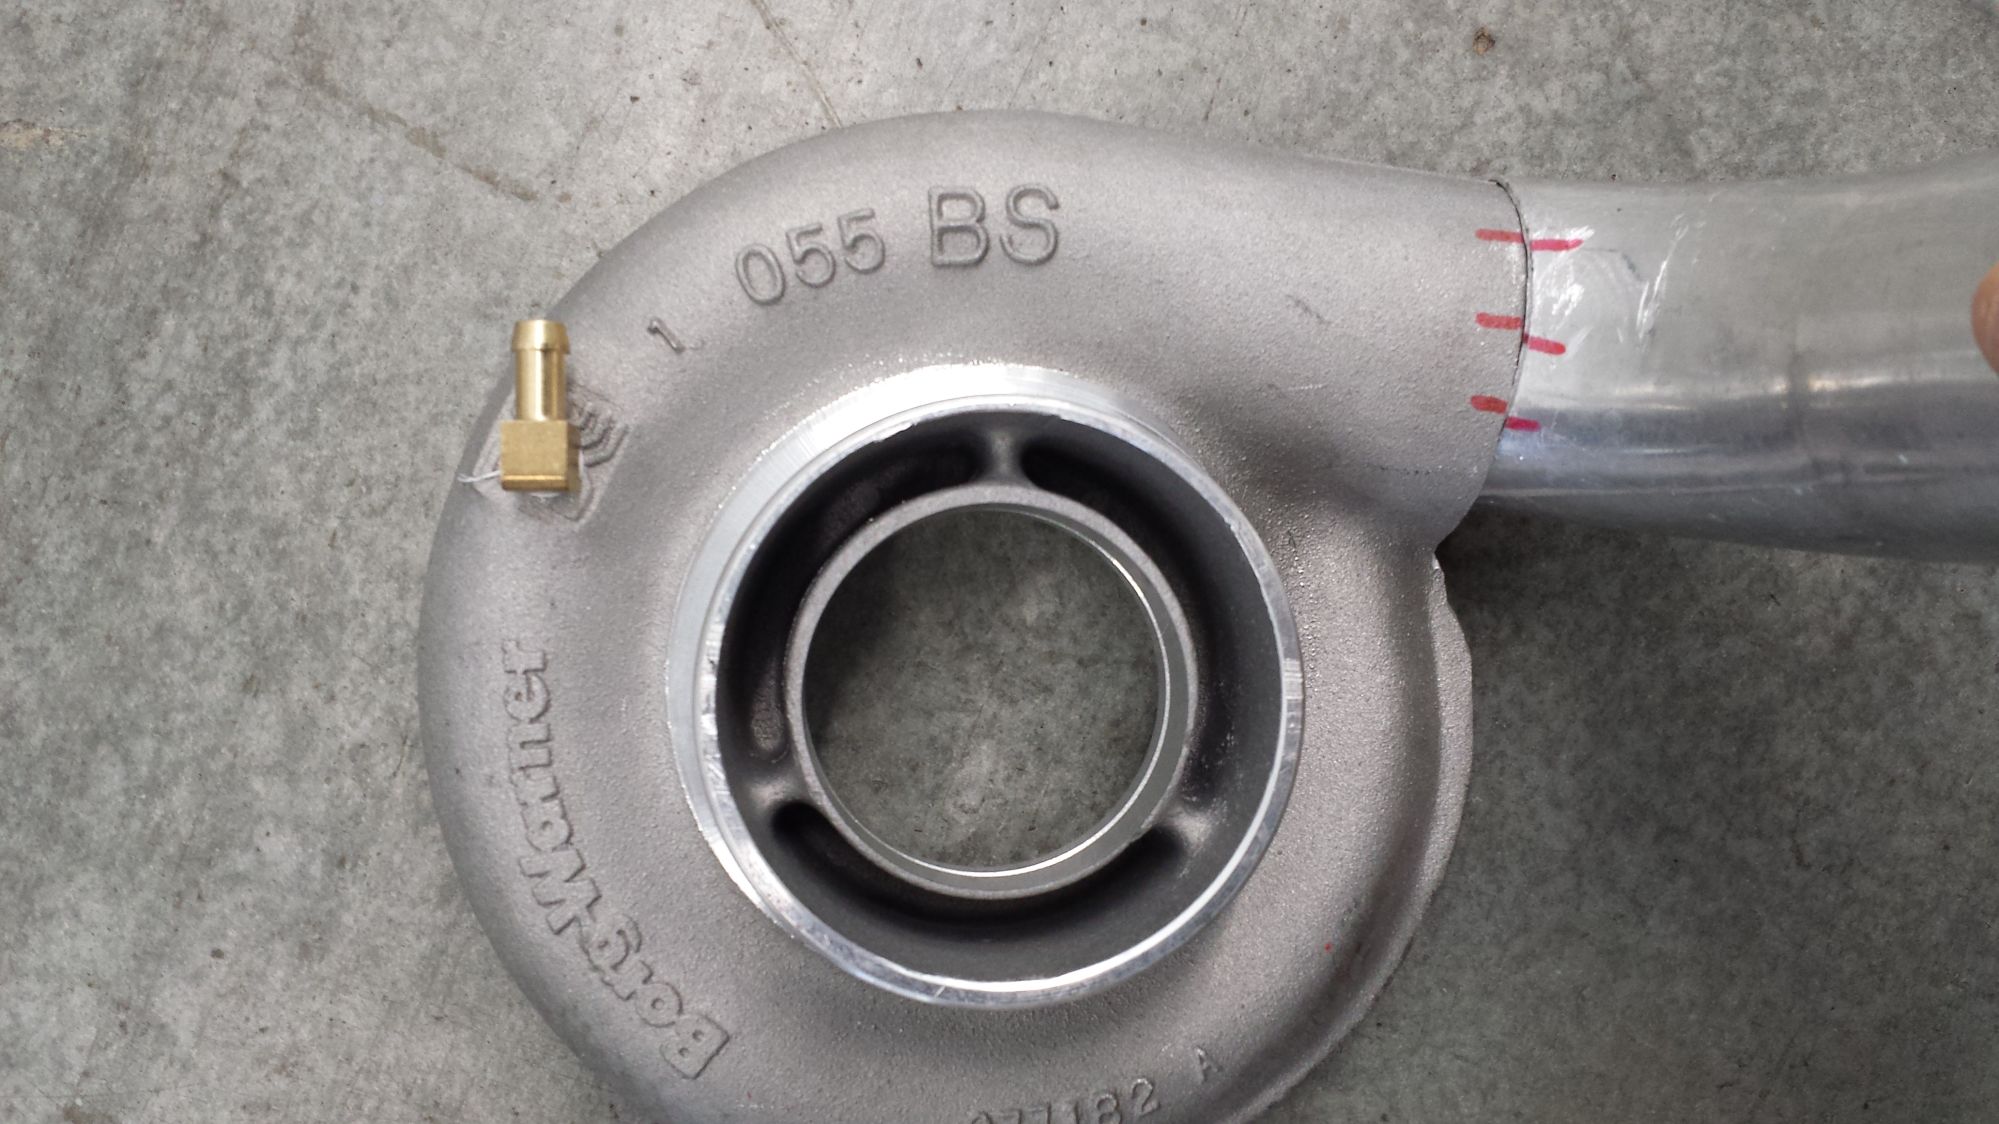
also installed the reserve for the compressor side.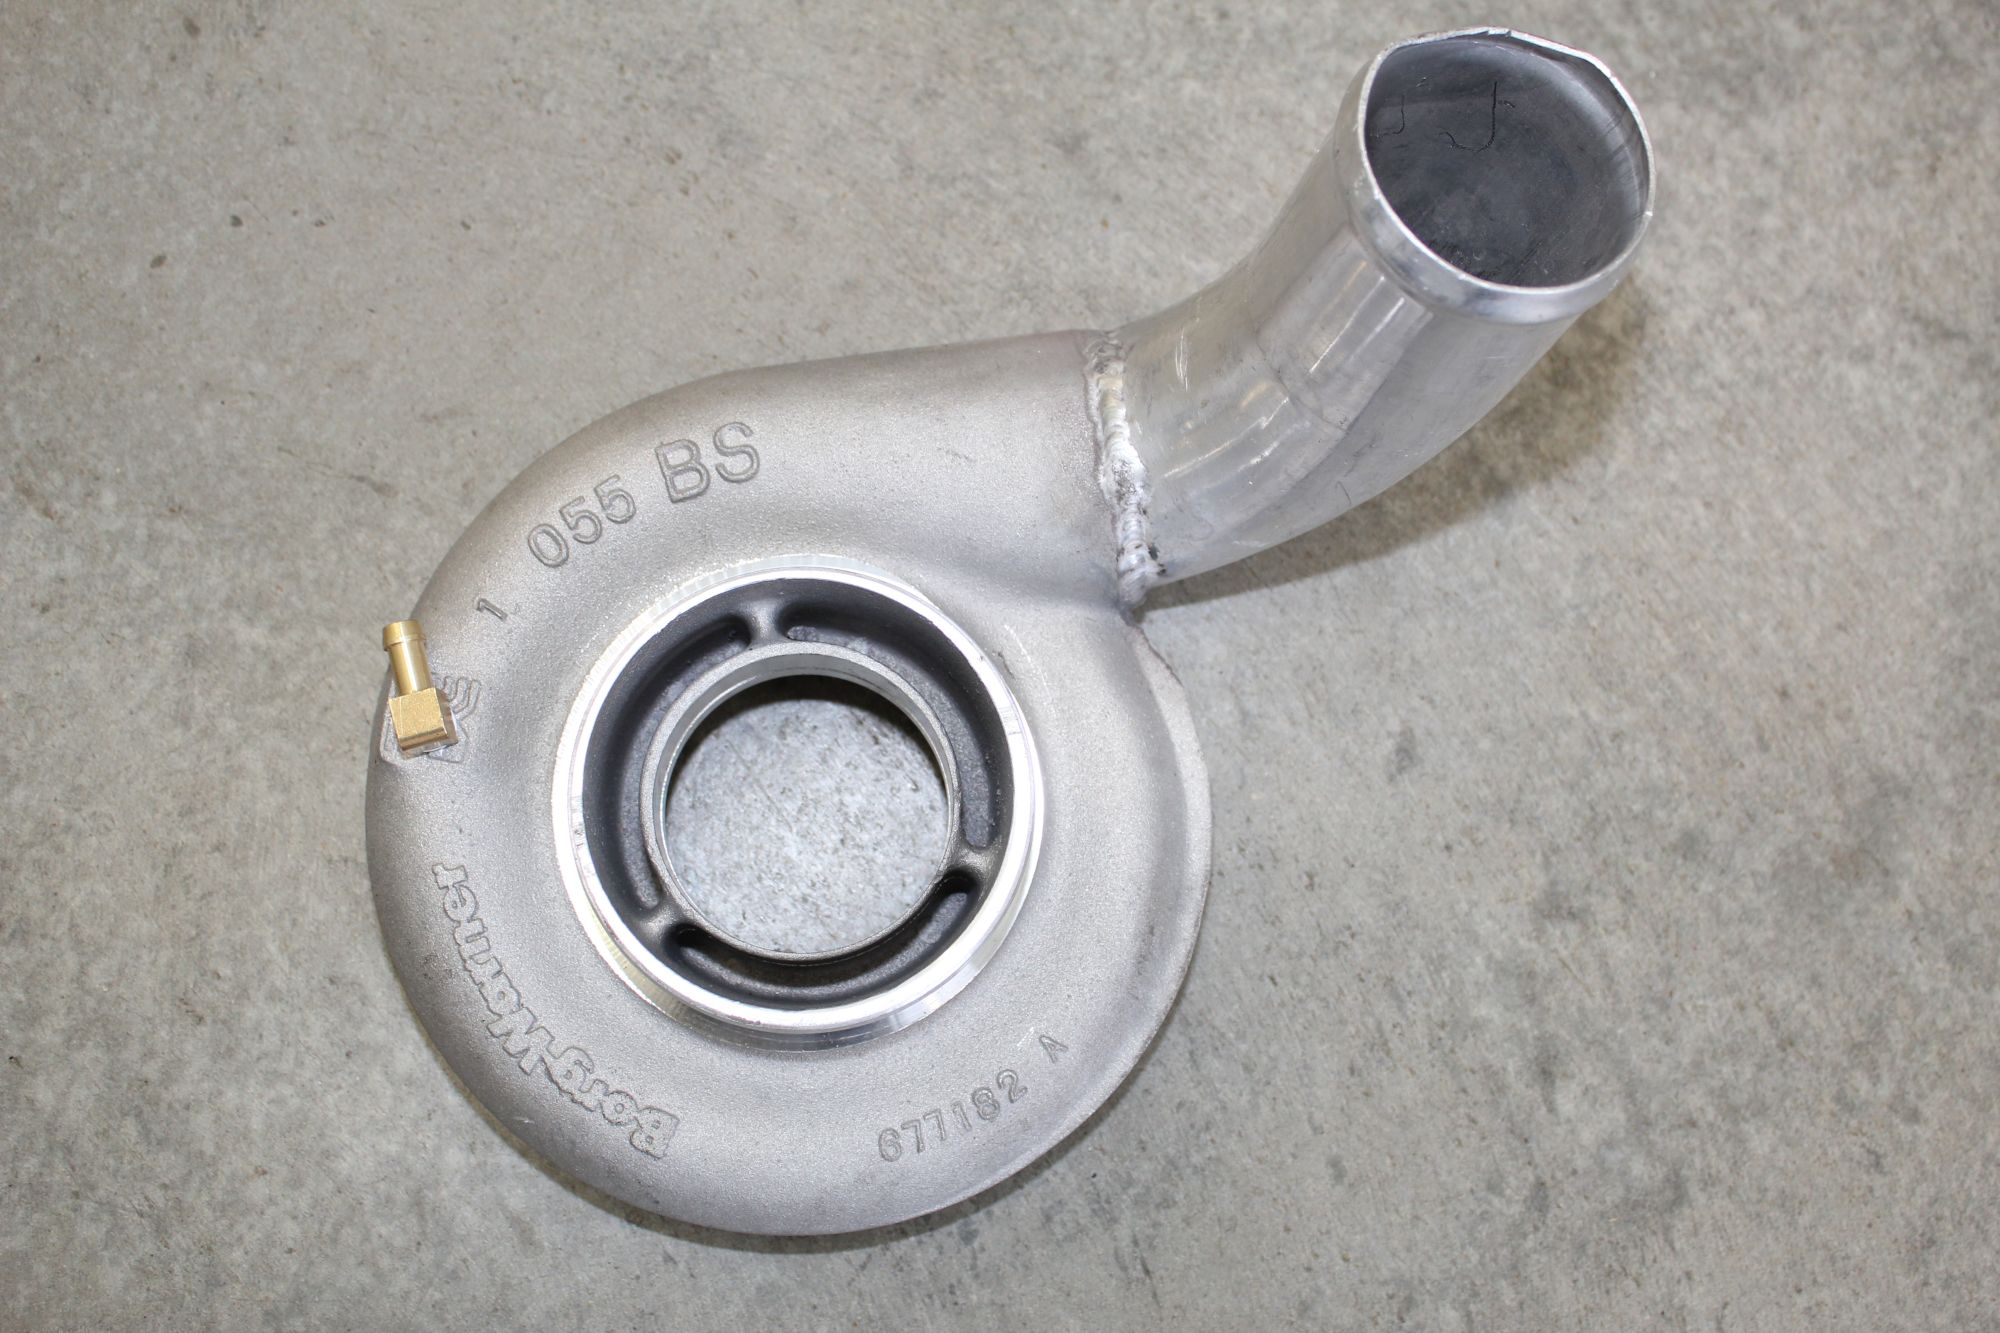
getting there,.
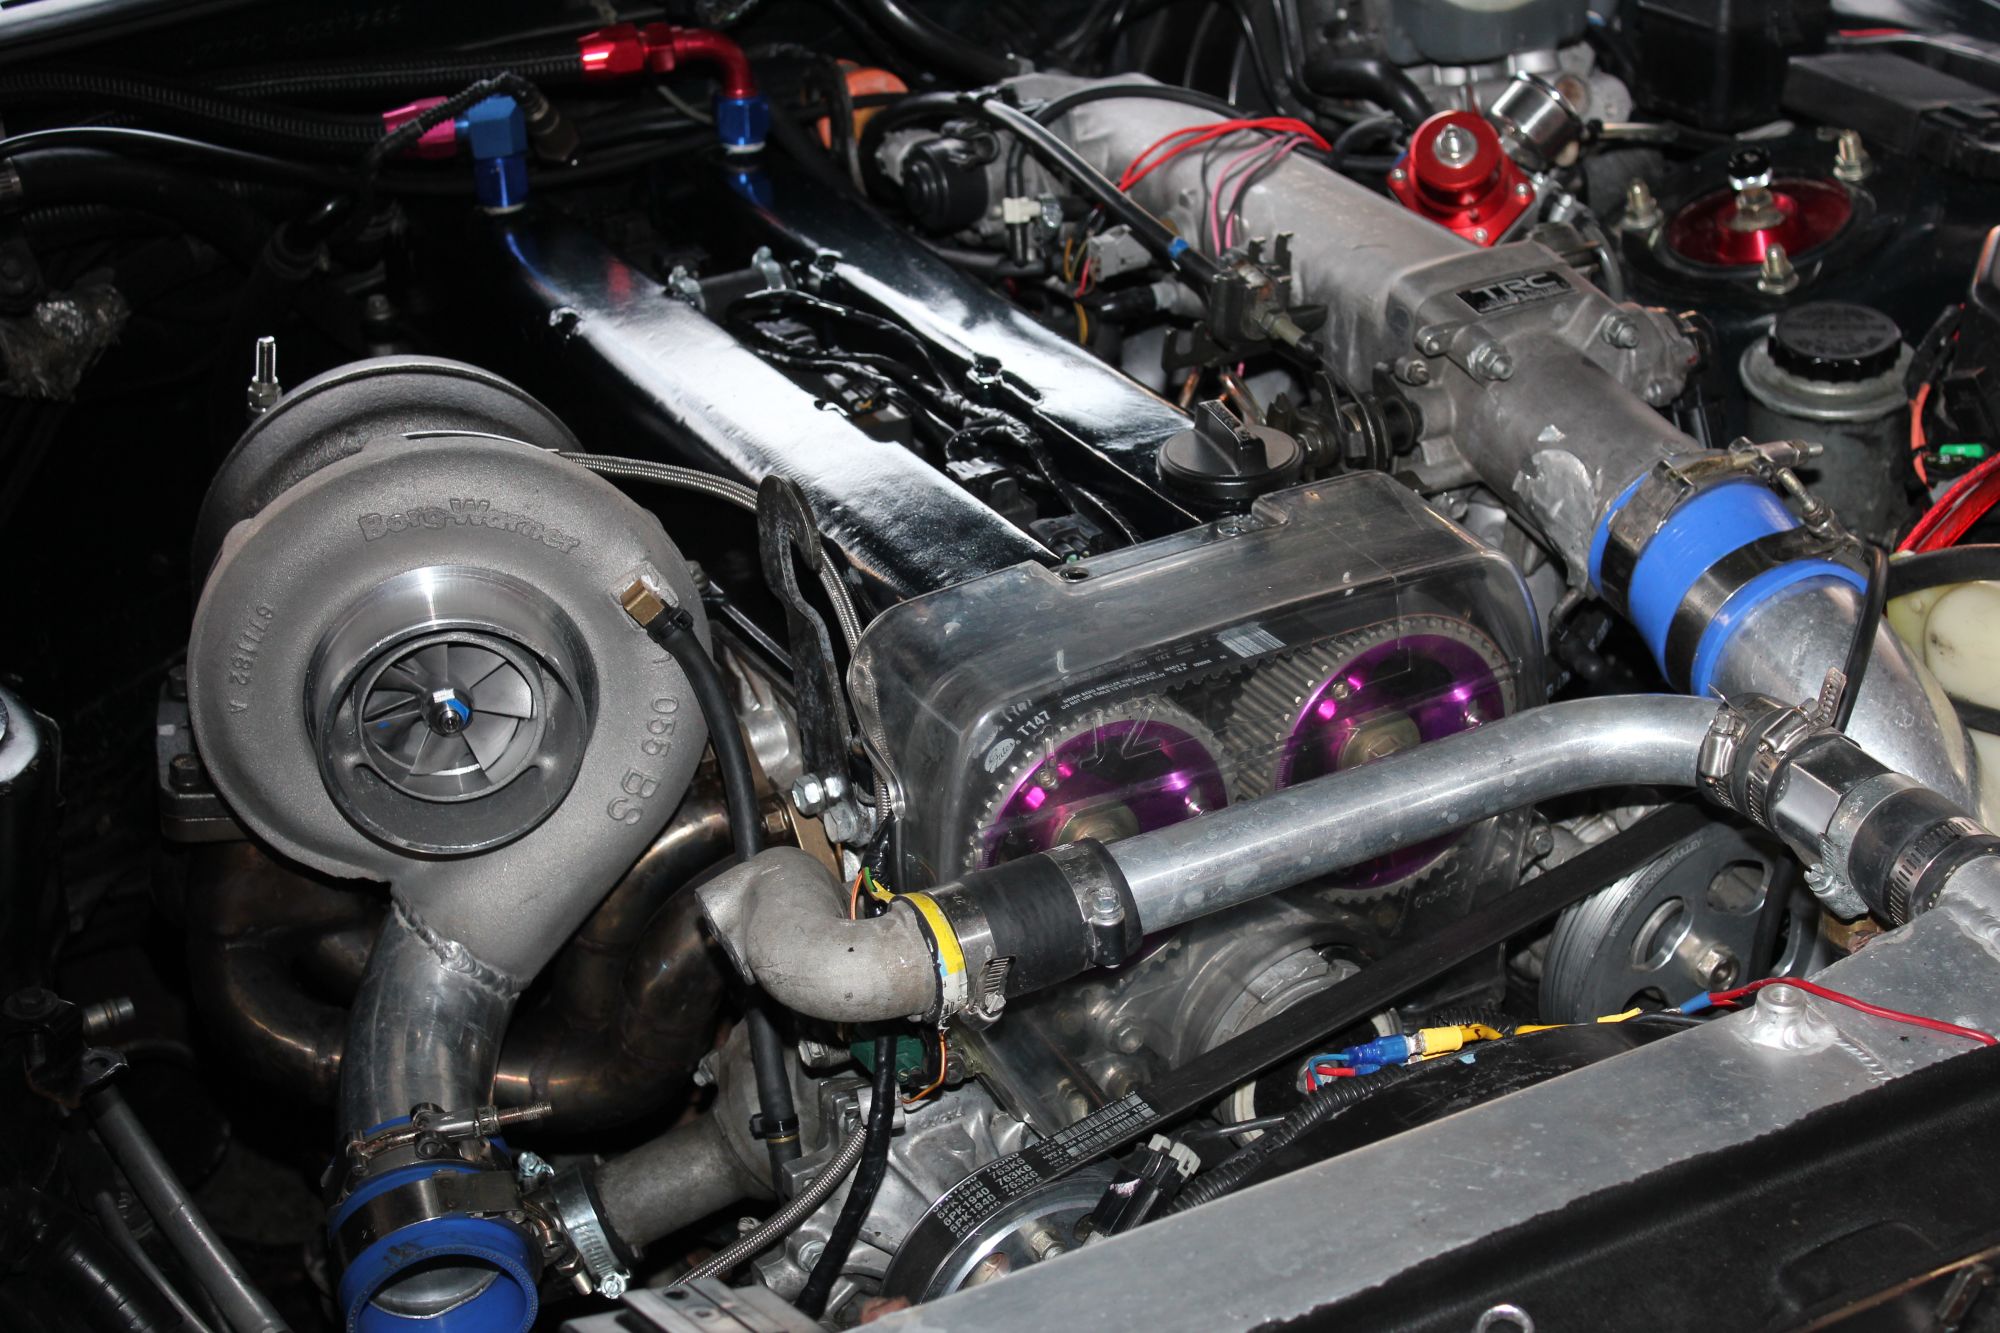
and here is the finished product pe
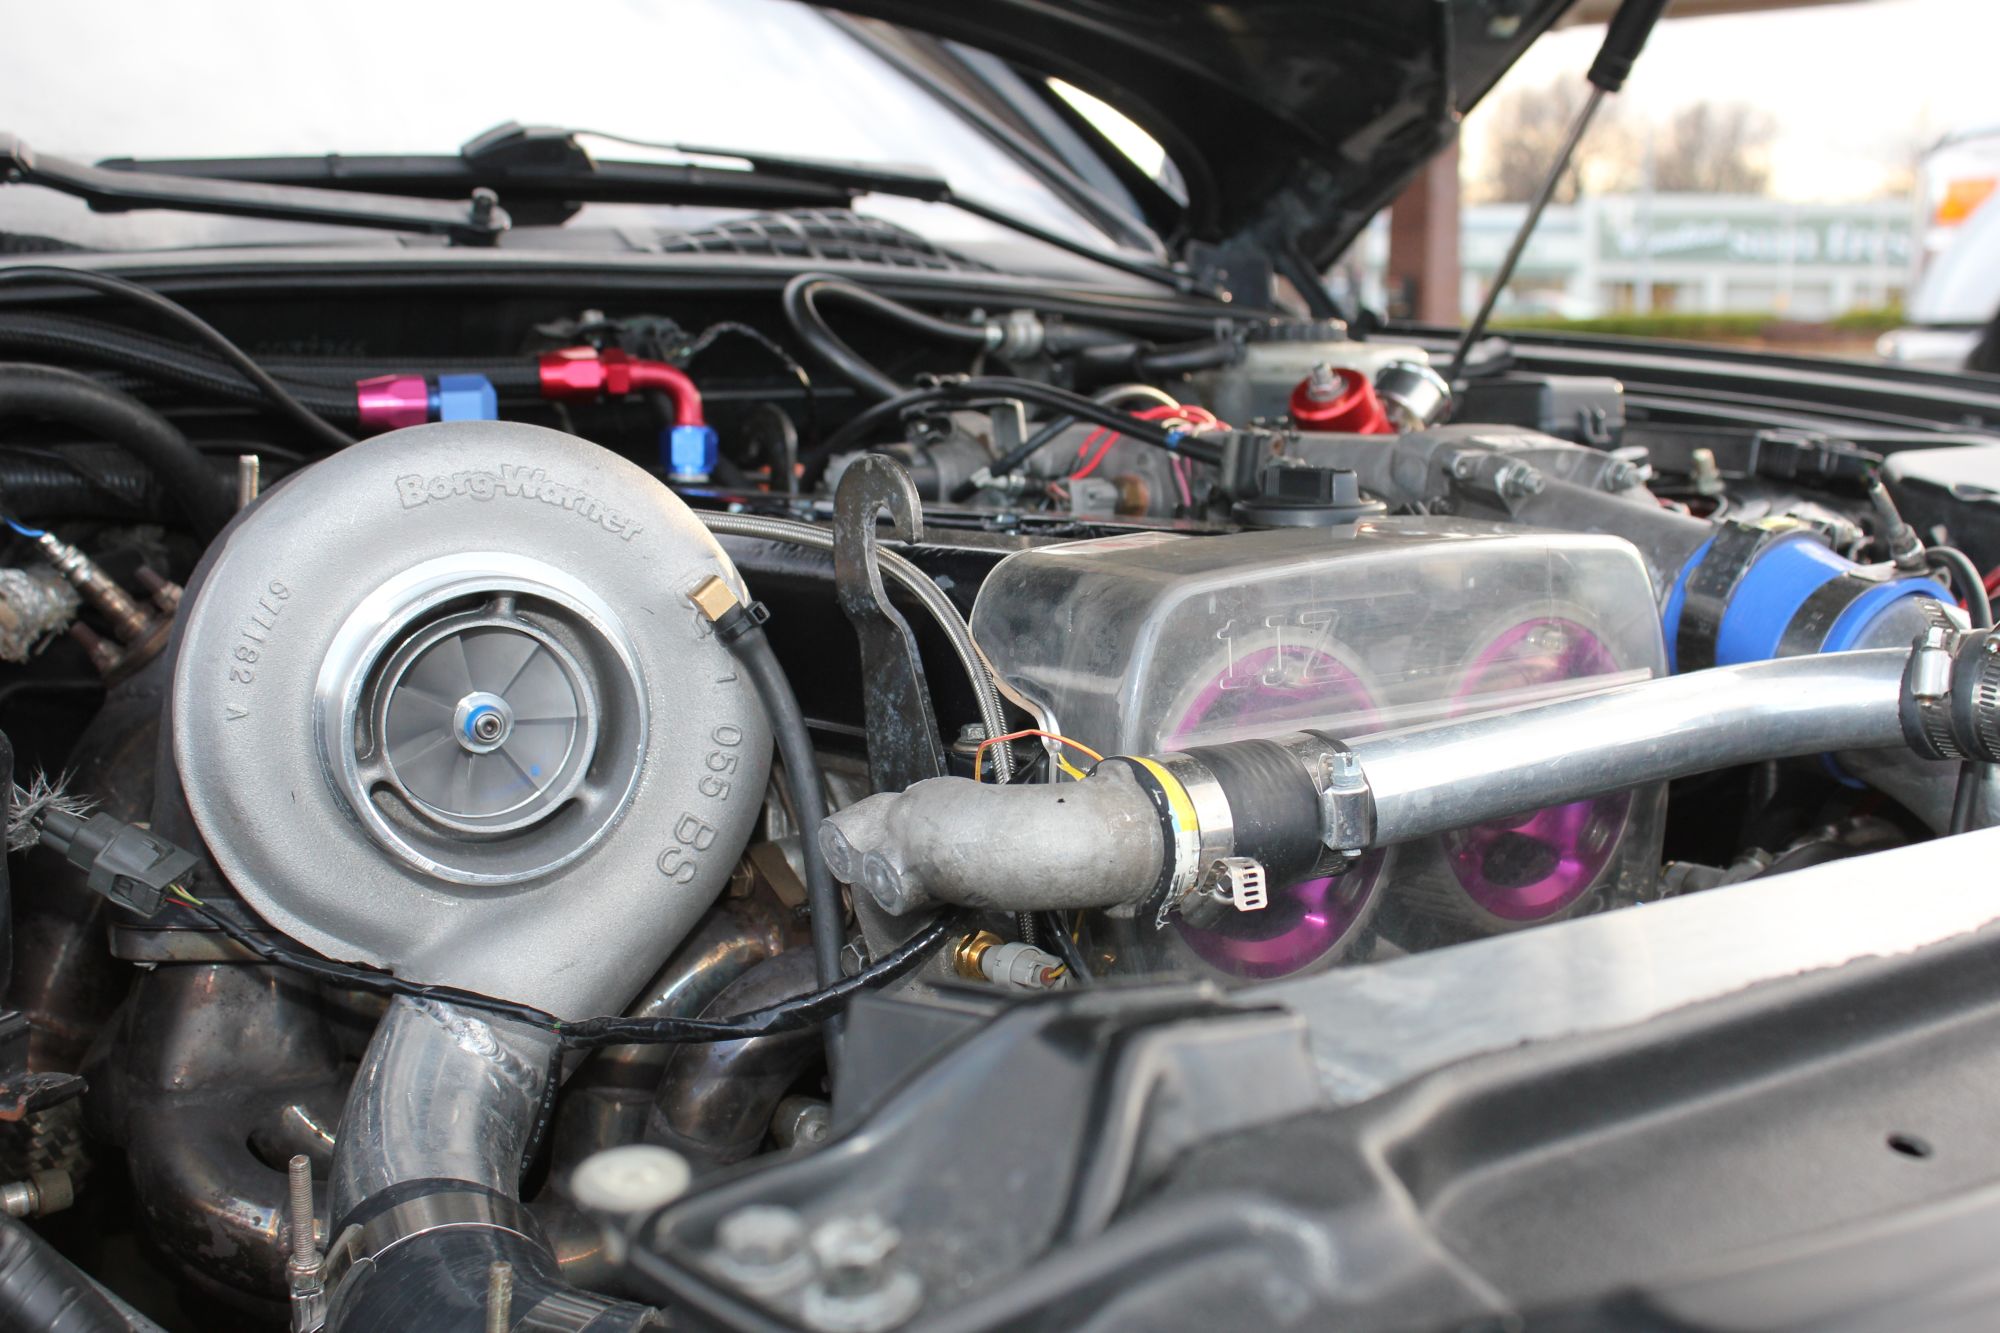
ople
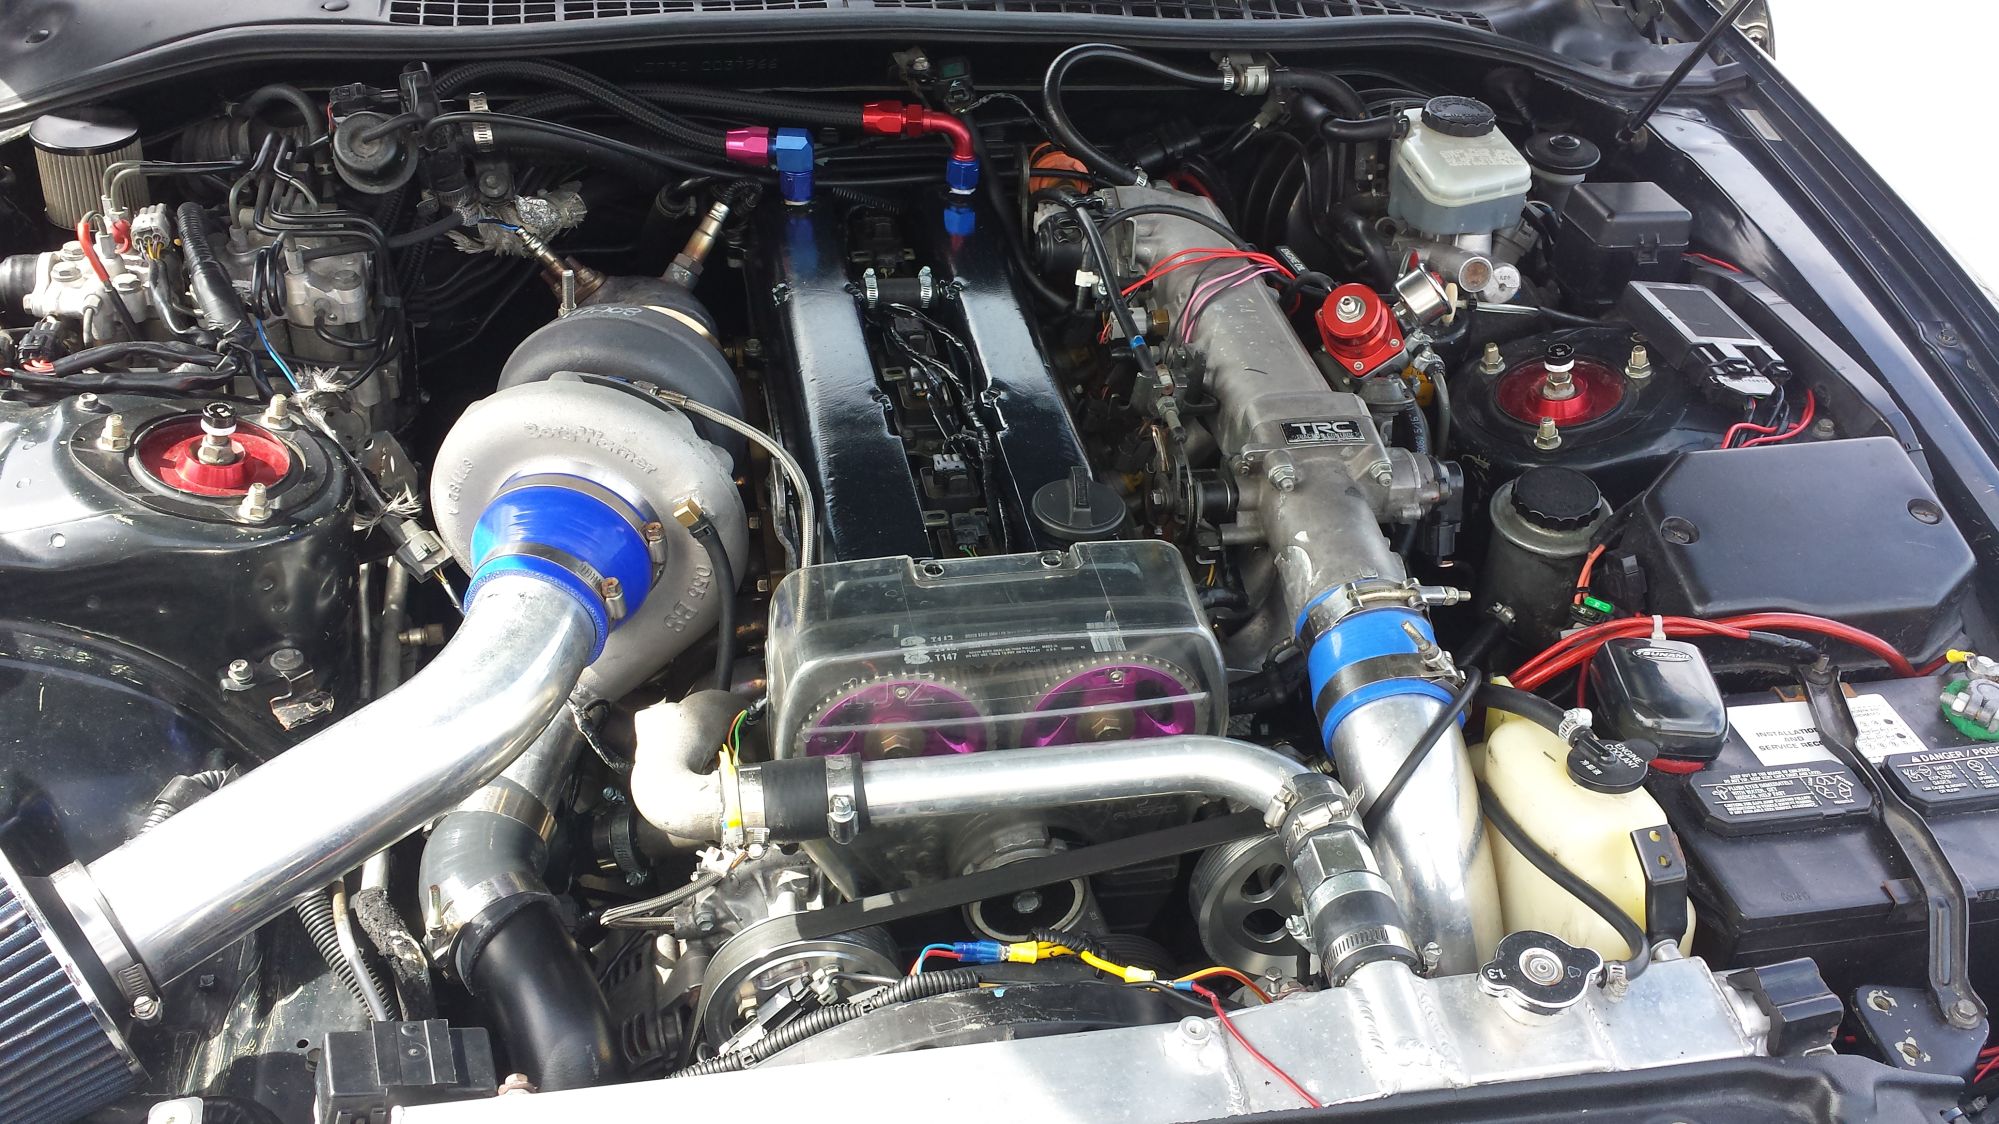
next up, installing the injectors!!
5-9-2016
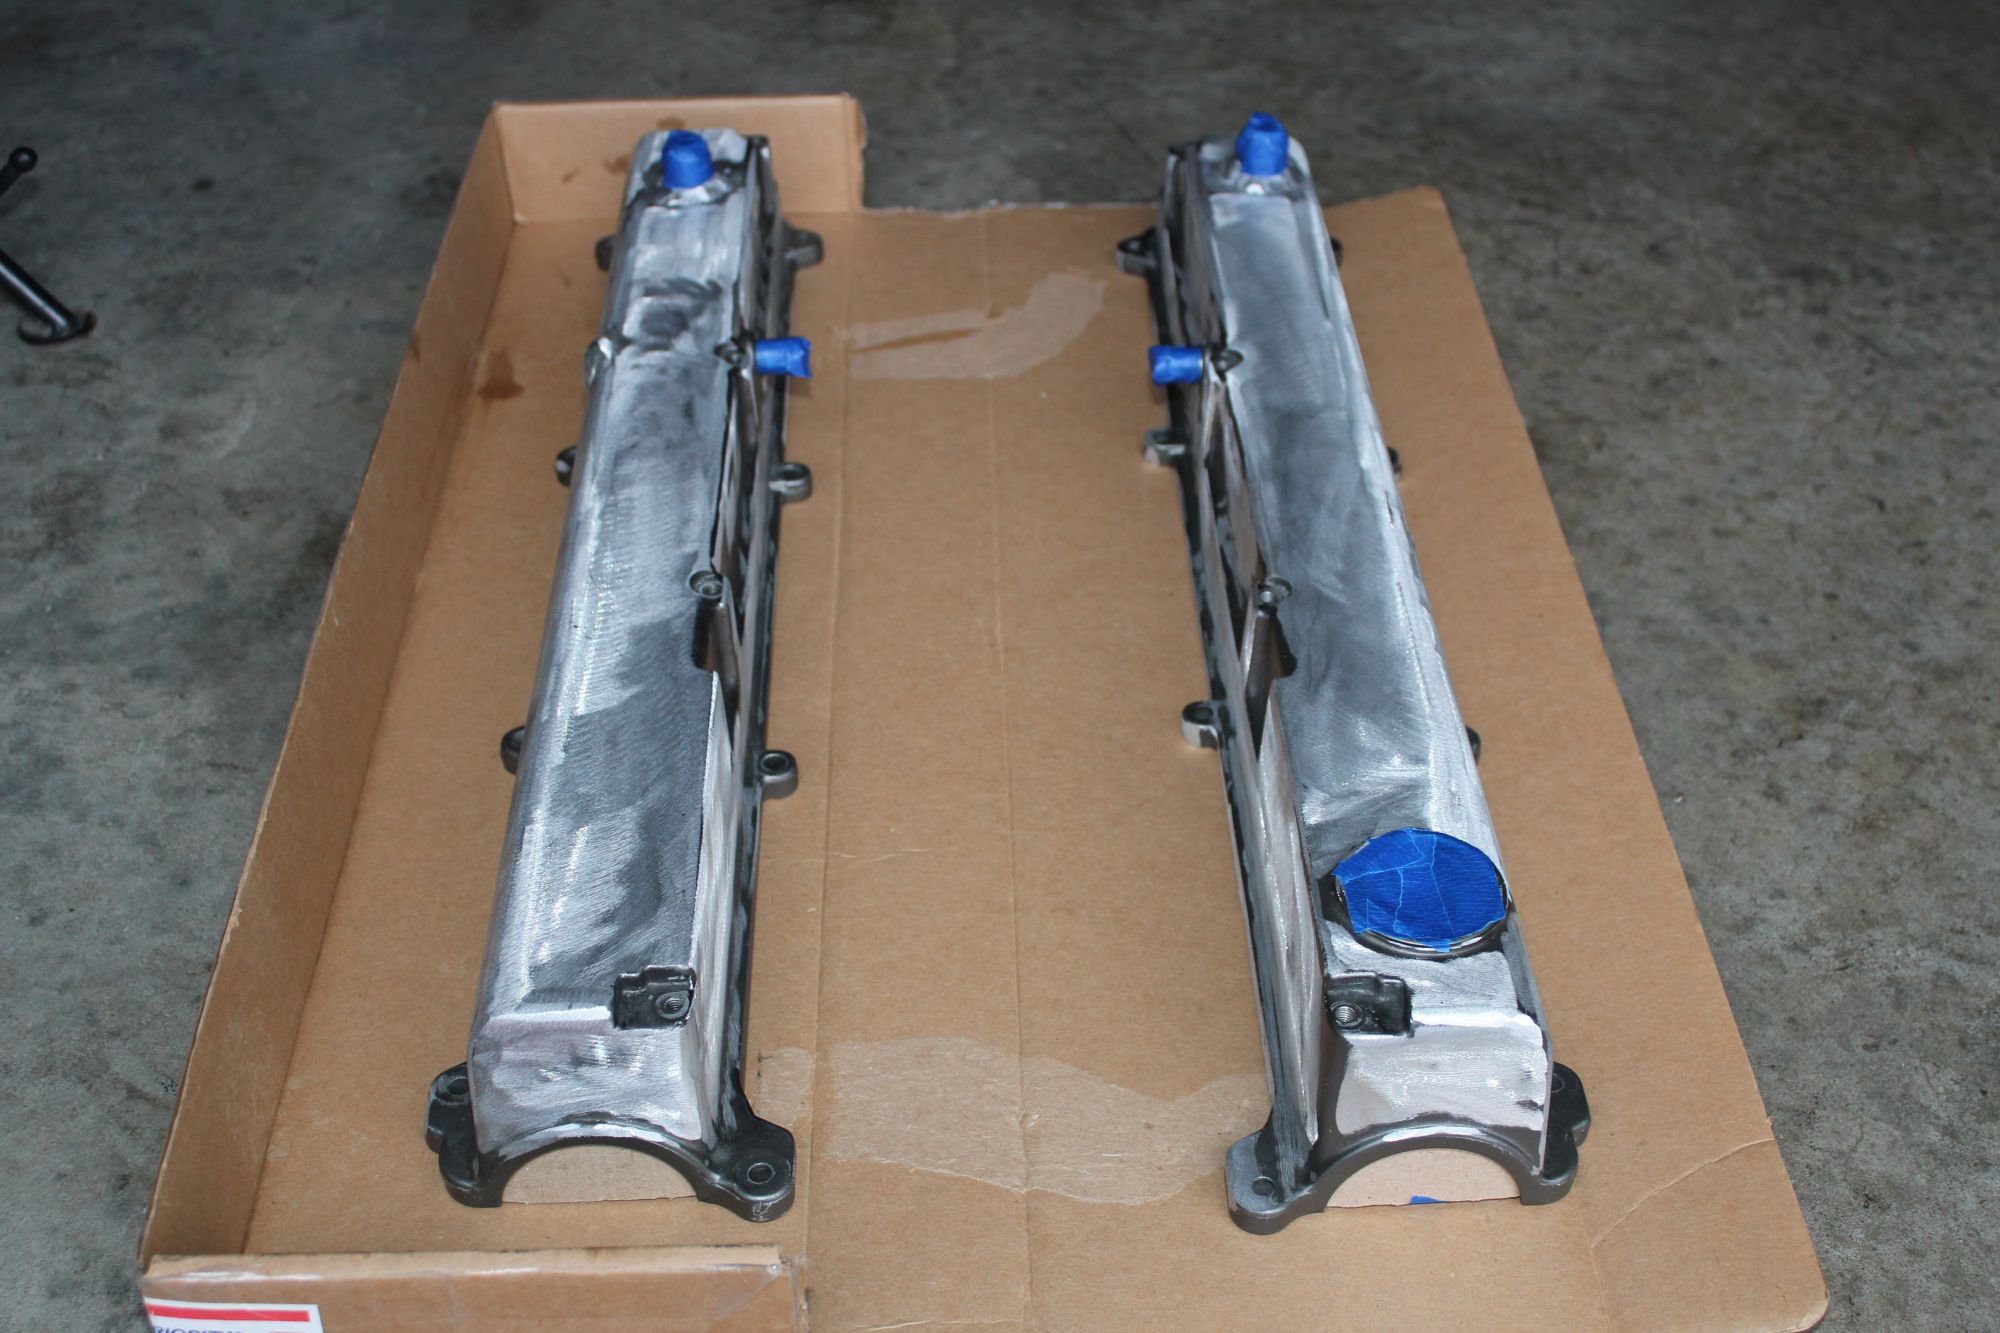
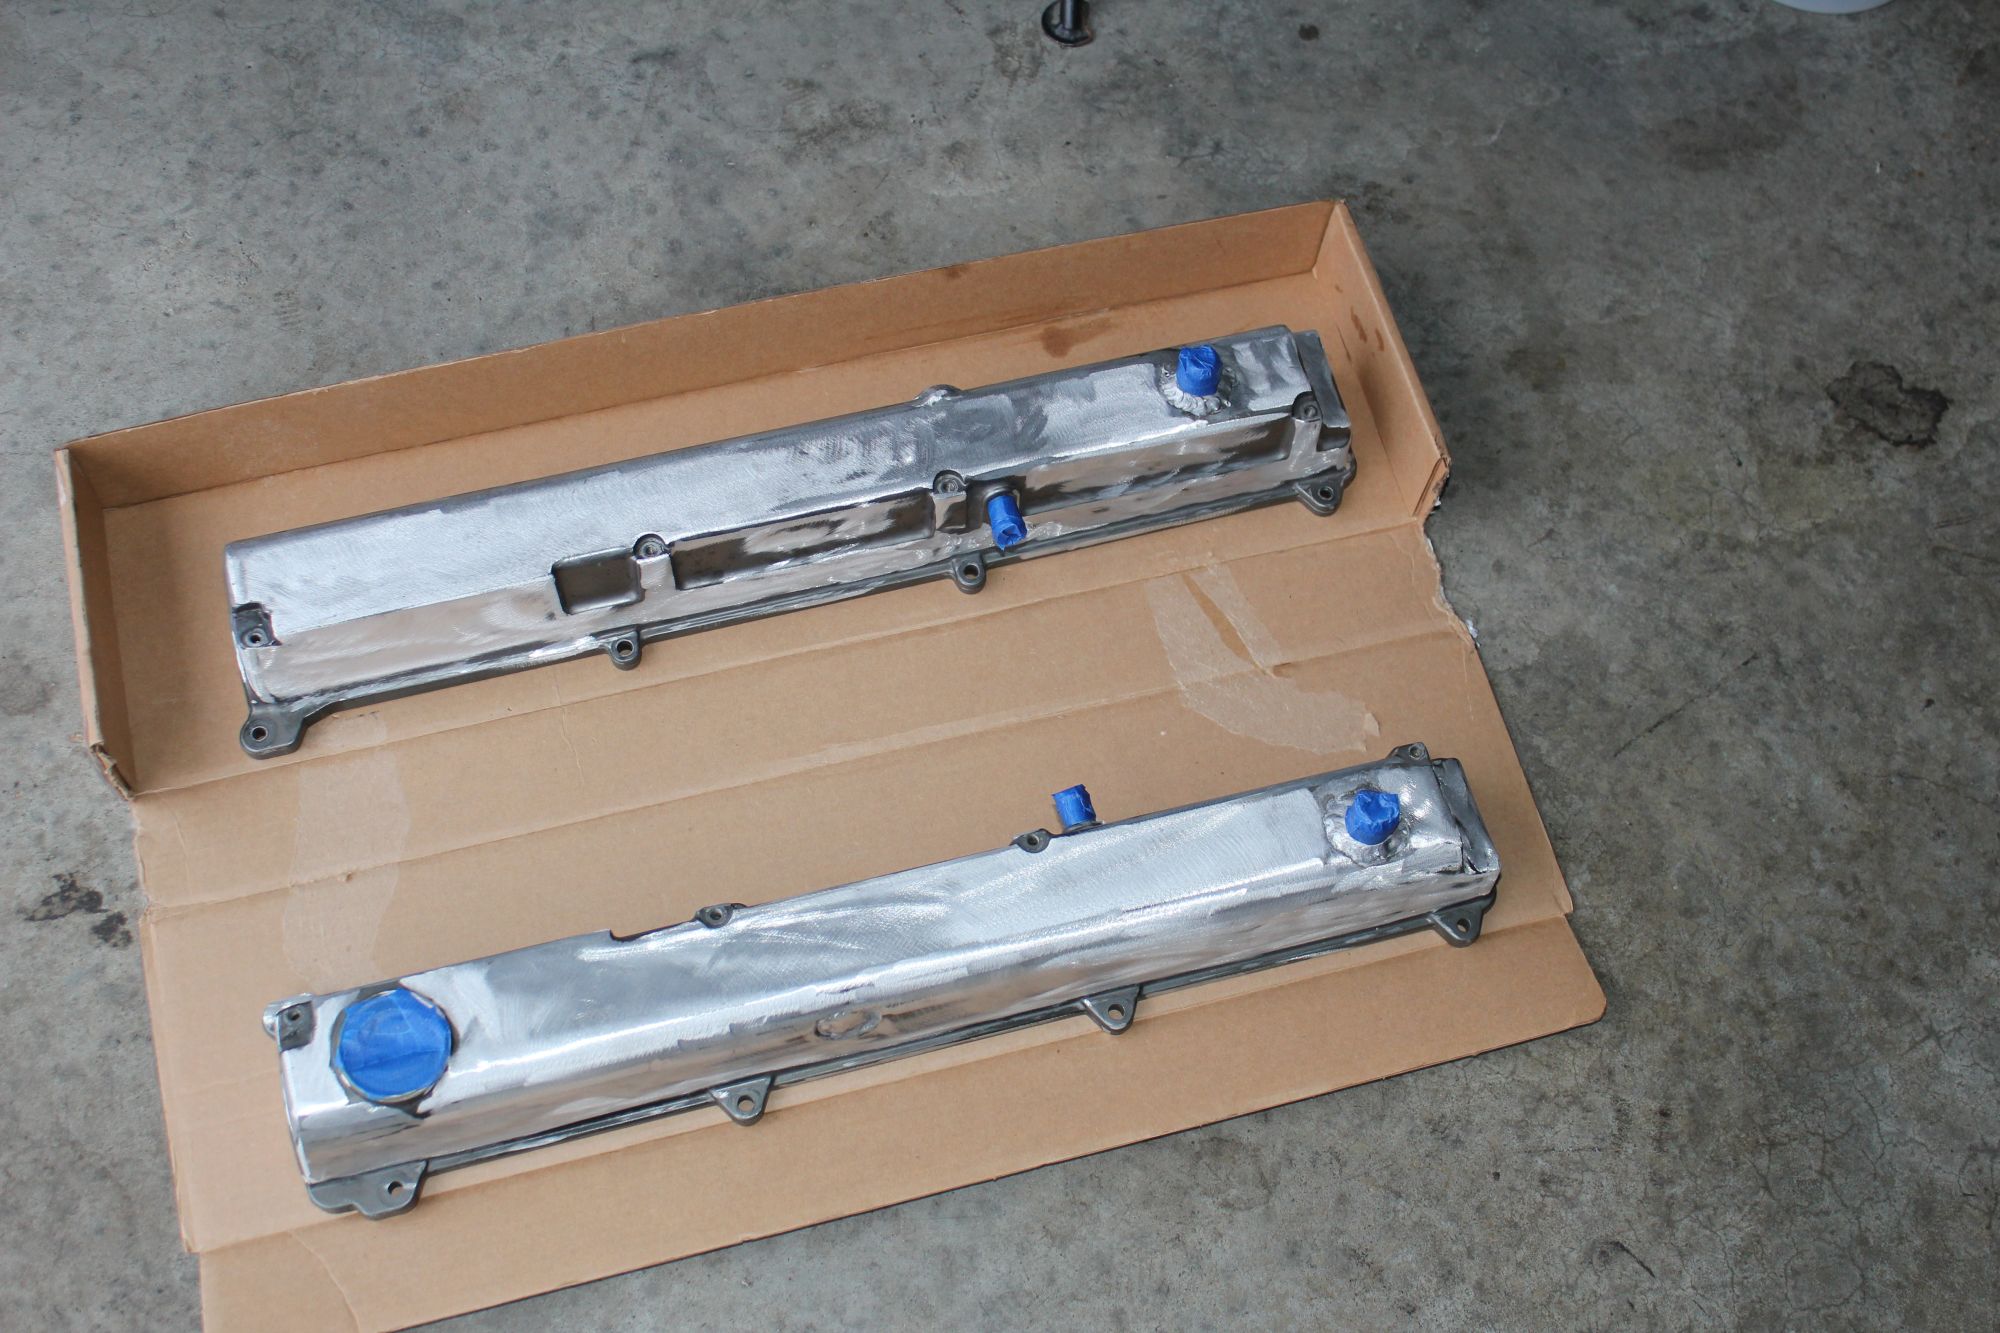
so here are some pics I lost/found are of some of the other stuff I did. I didn't have the proper tools to properly strip these valve covers. so I used a grinder brush. and I had some paint that matched my color code to spray on the valve covers.
here is a new damper I got offline for less than $100.00 dollars.
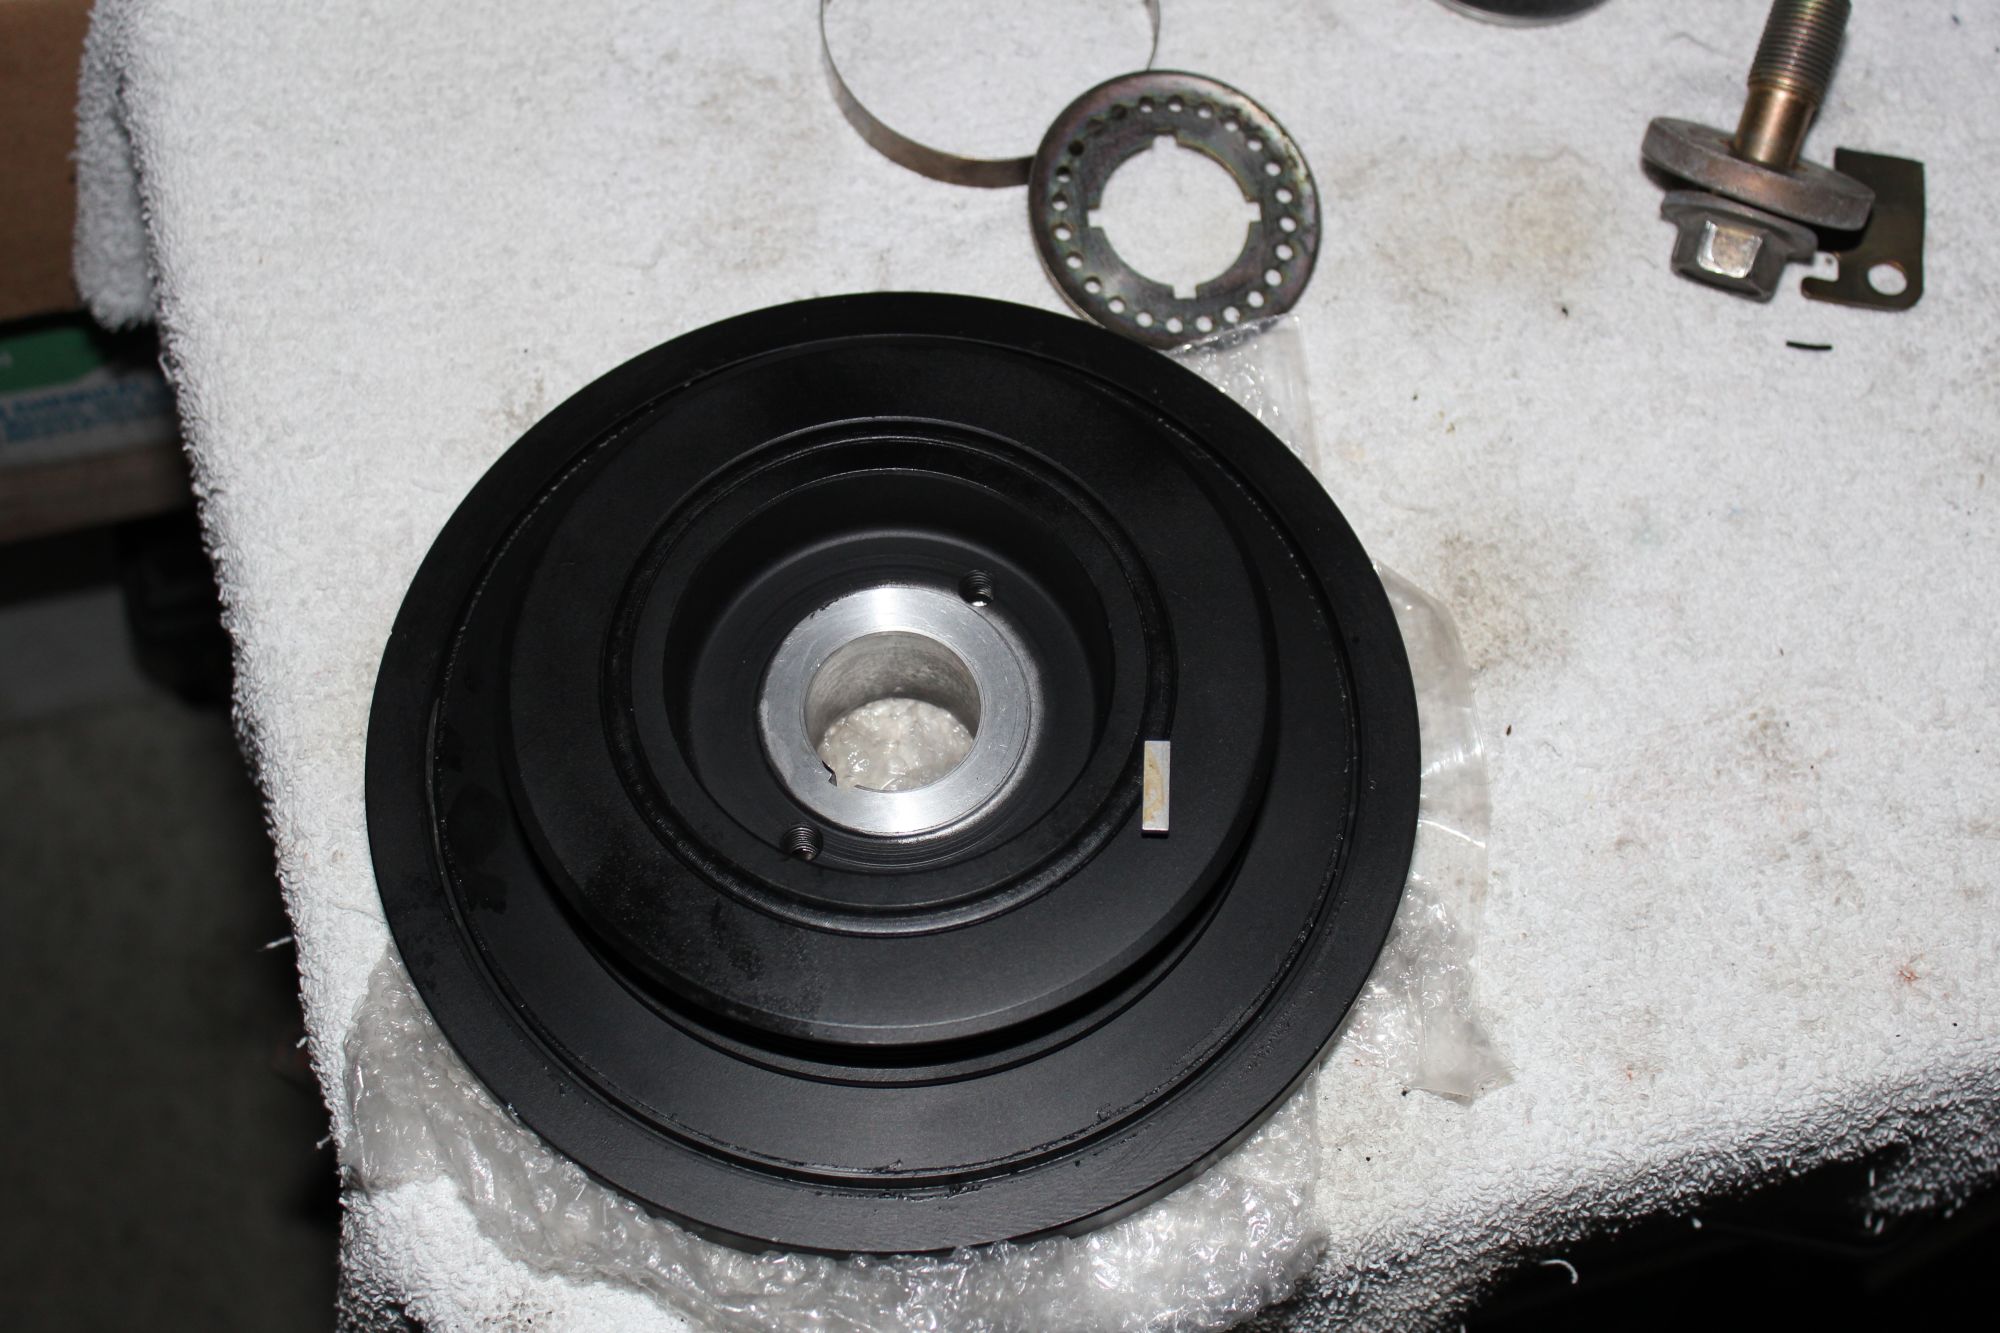
and here is what perfect tdc looks like. and here is installation of my pulley kit.
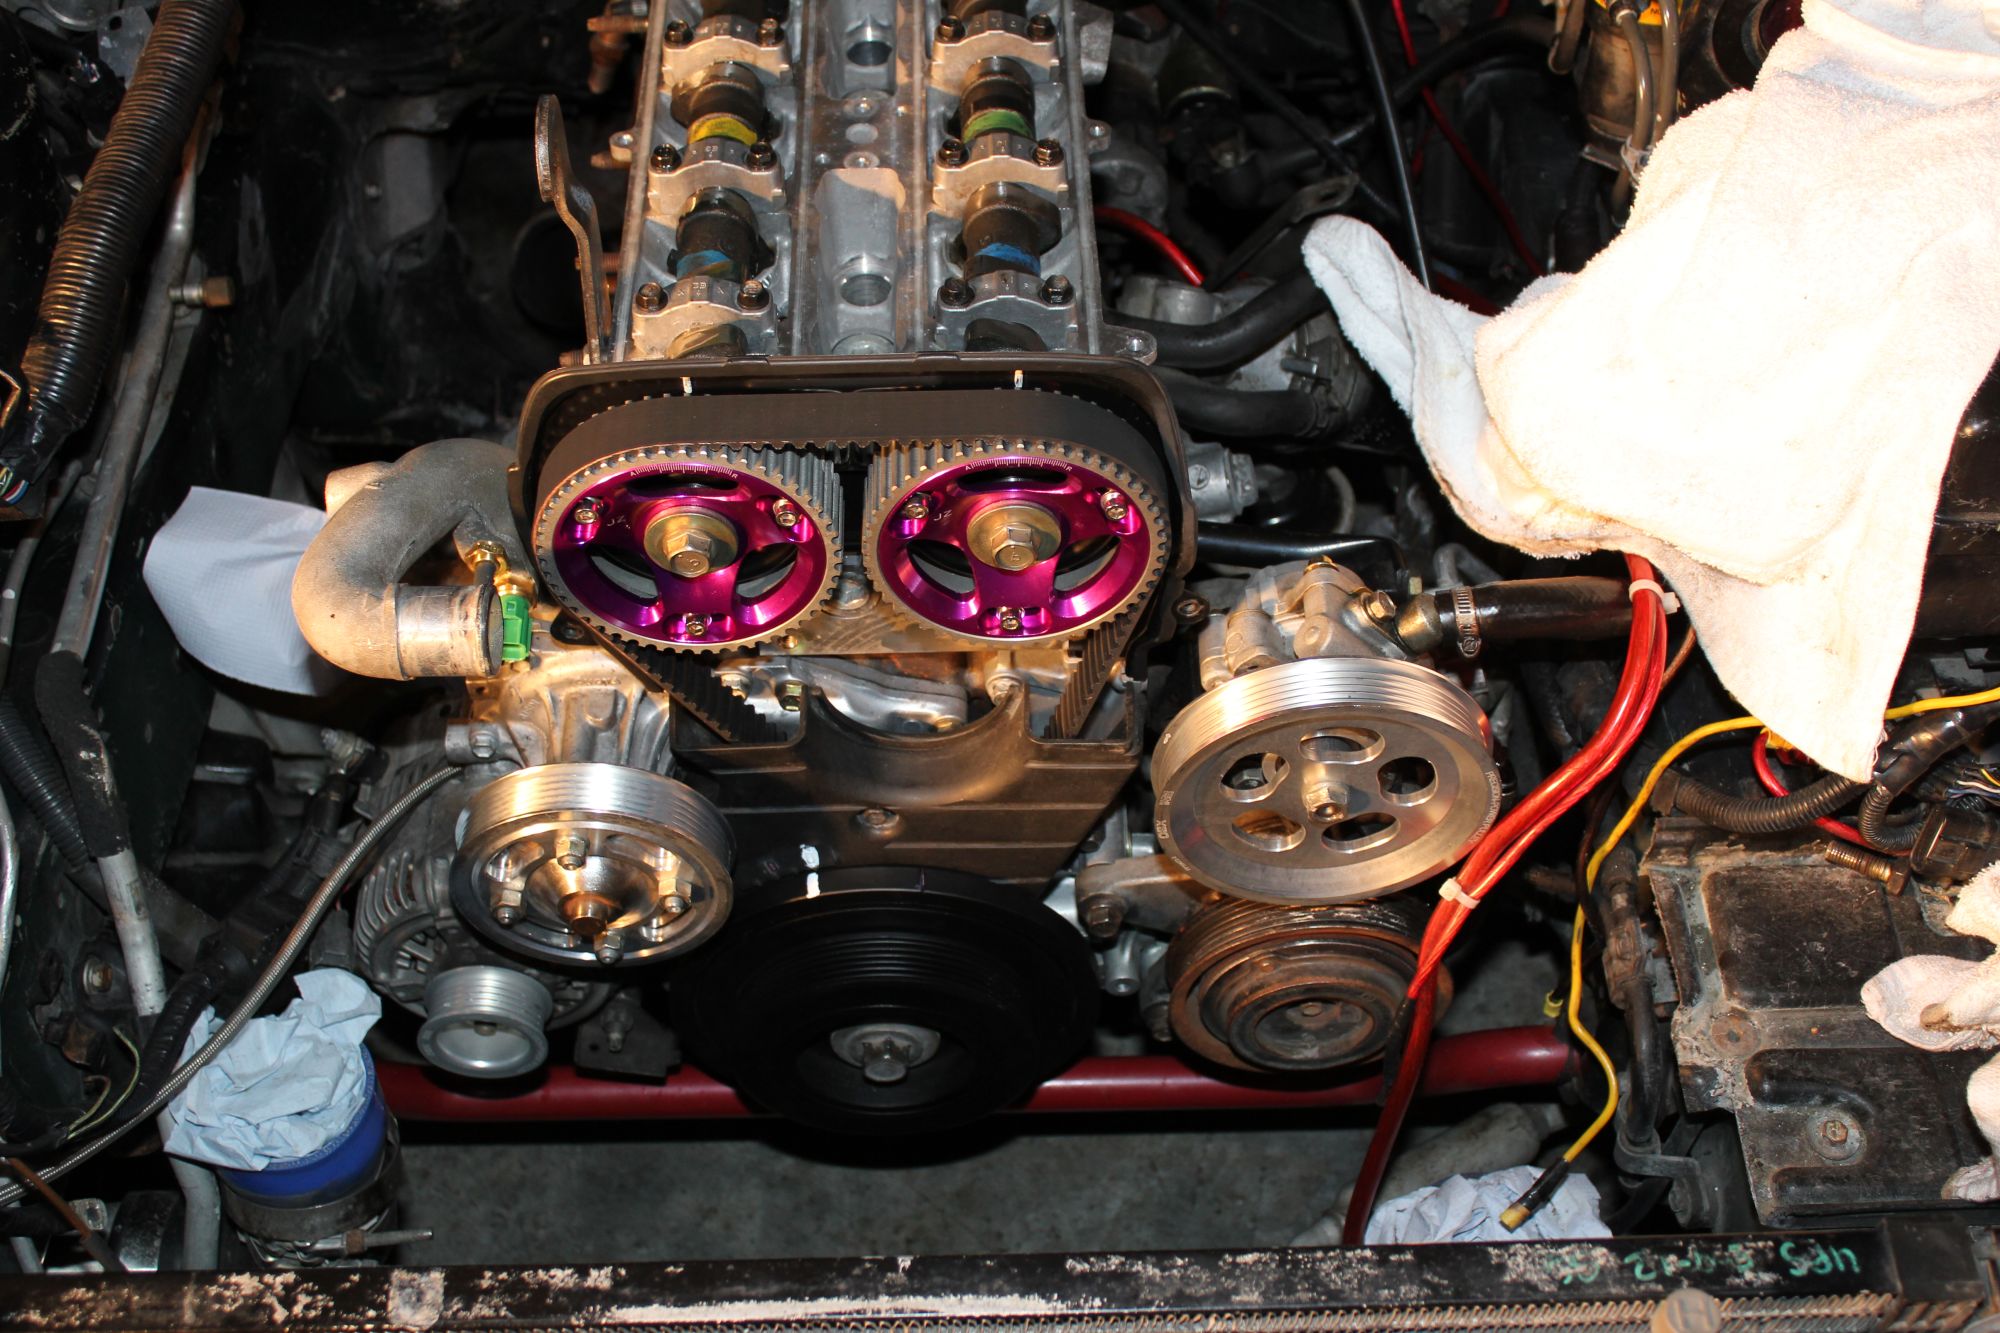
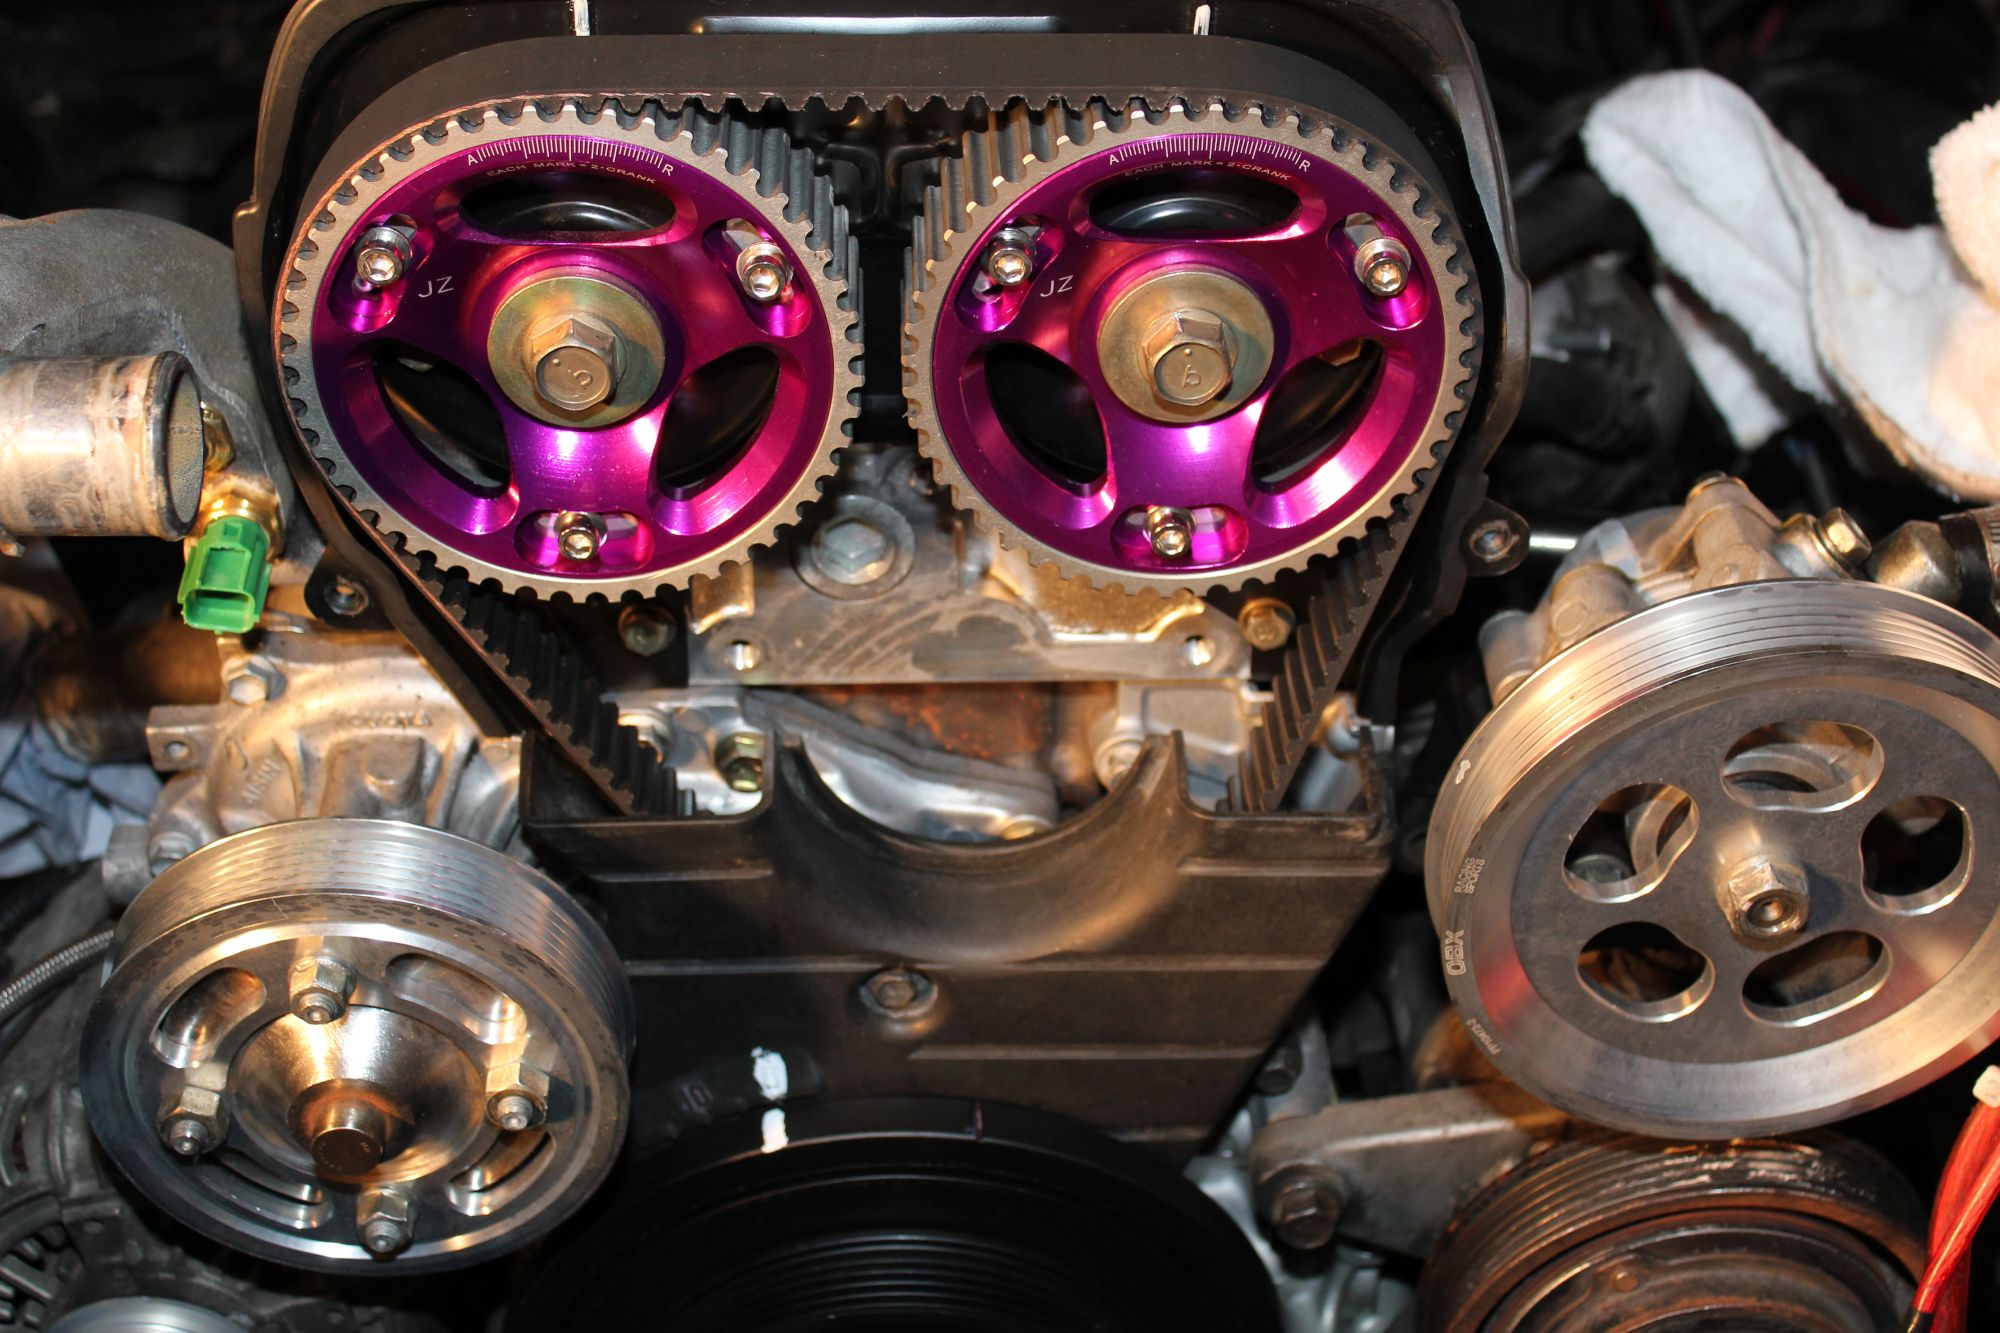
5-9-2016
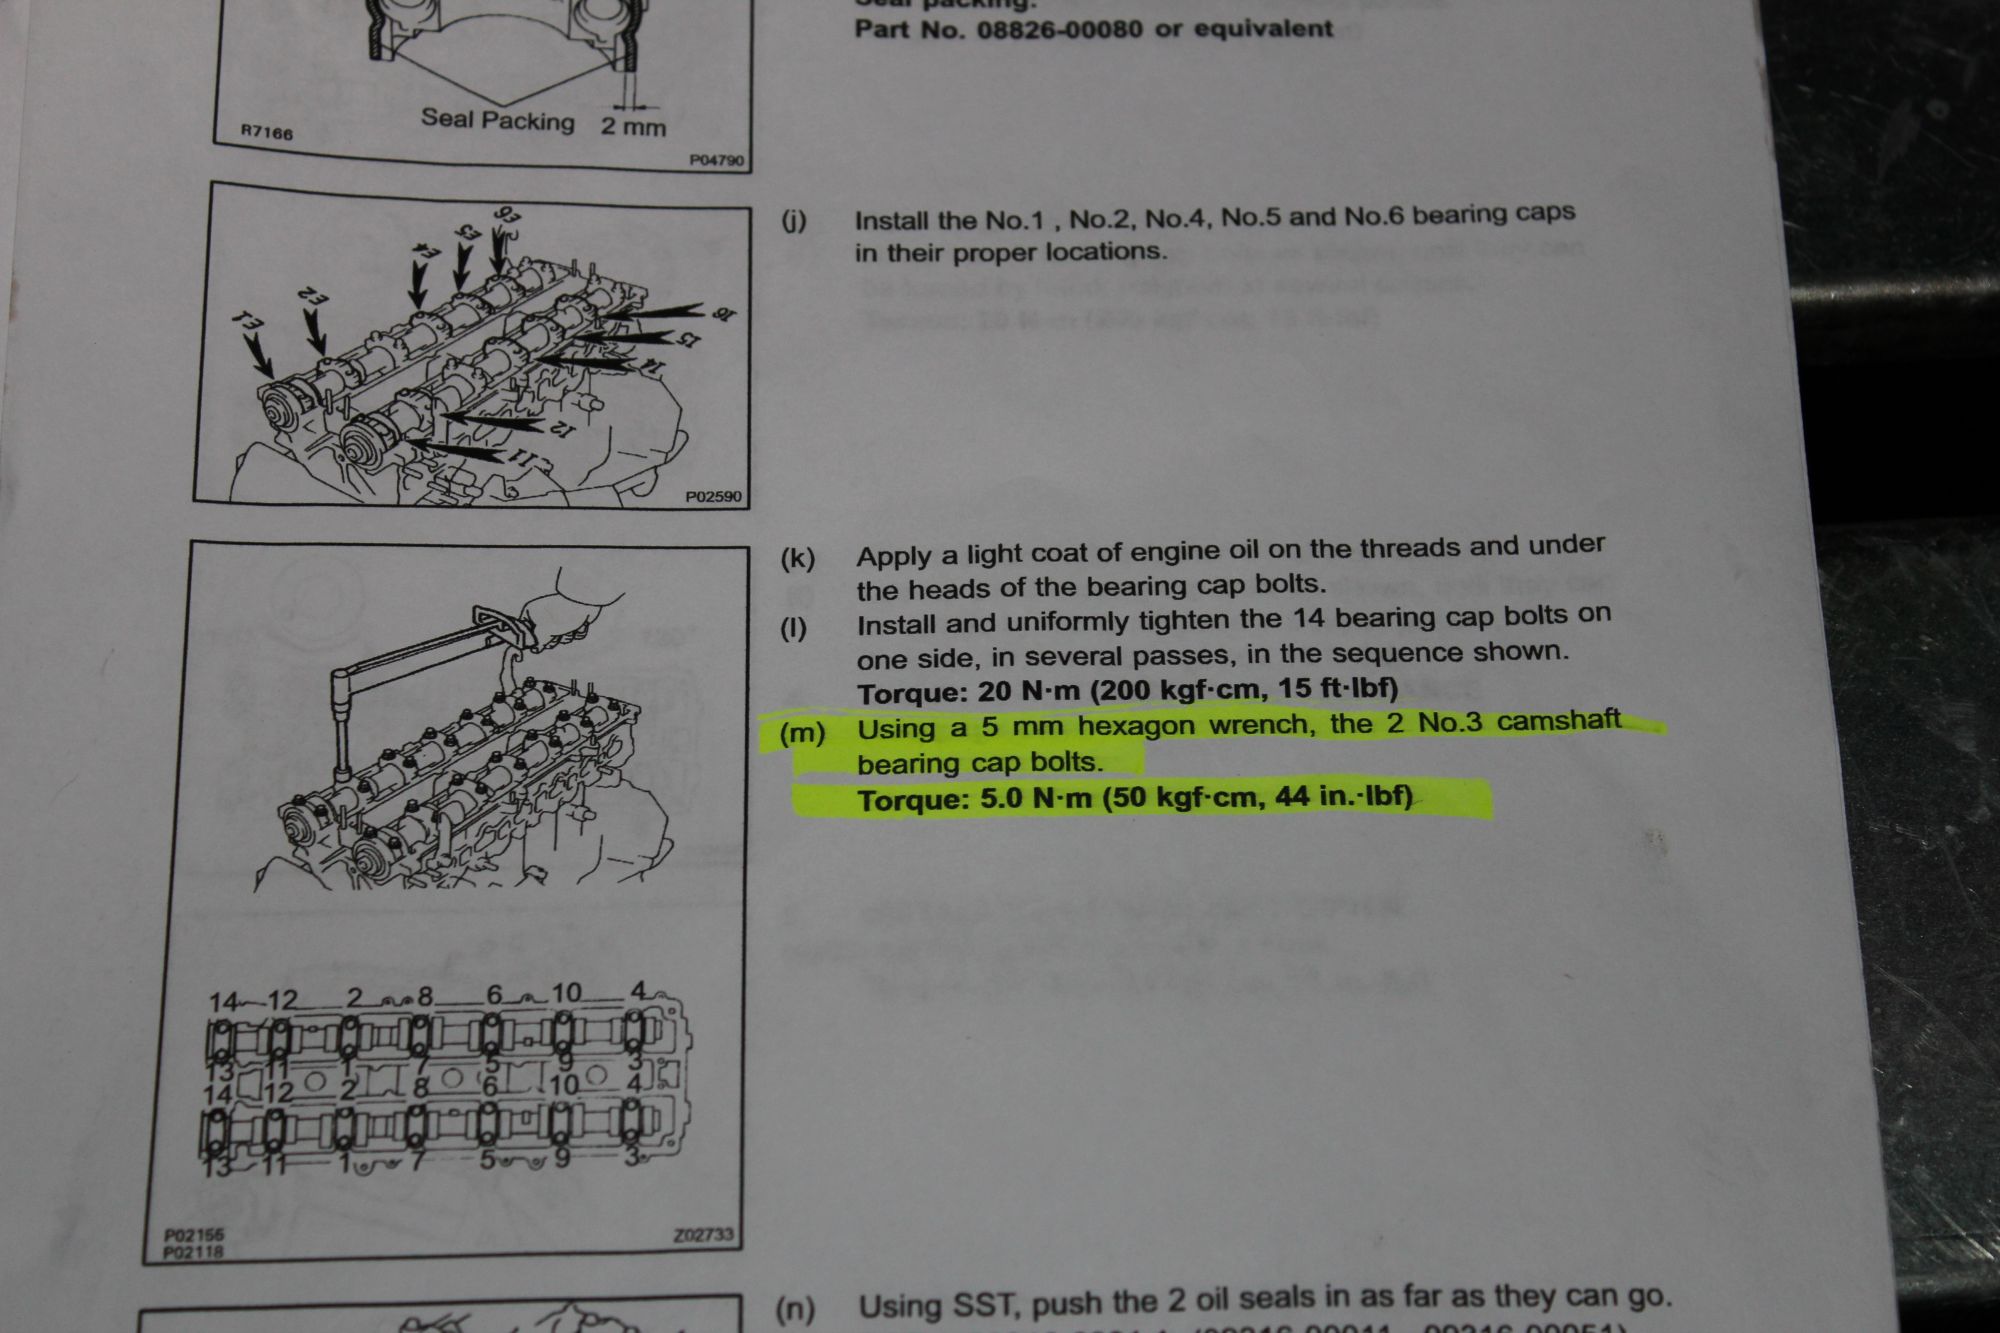
thanks to fsm tq specs to save the day..
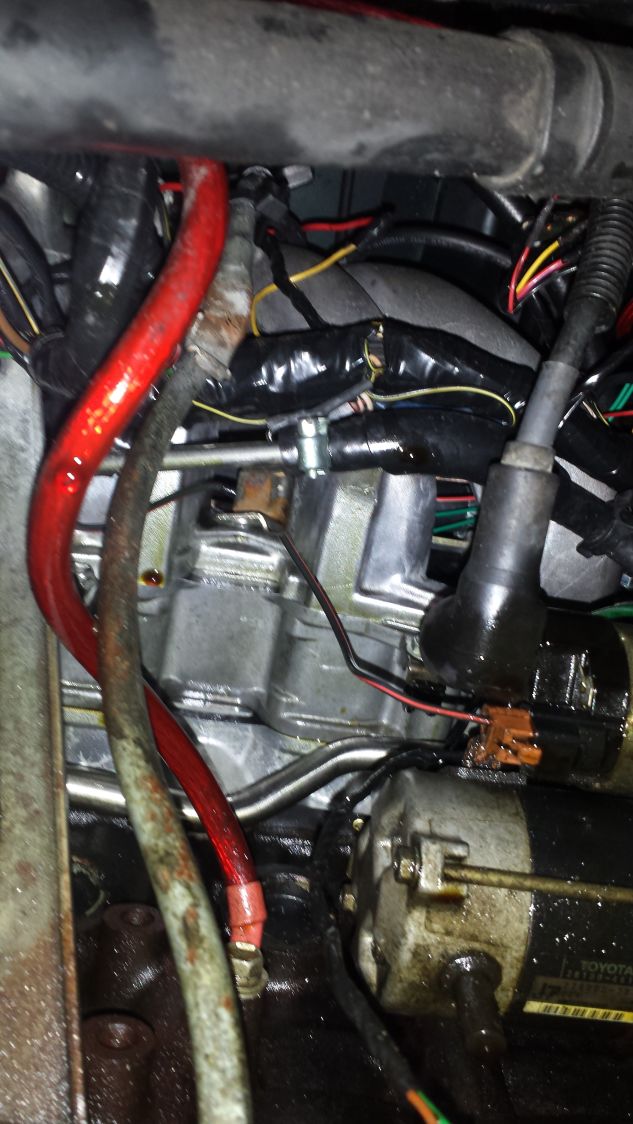
then I had this mystery oil leak, emanating from only the intake runners. YES, I didn't super tighten them in the right sequence and use all the right bolts the first time. so it leaked from only one spot.
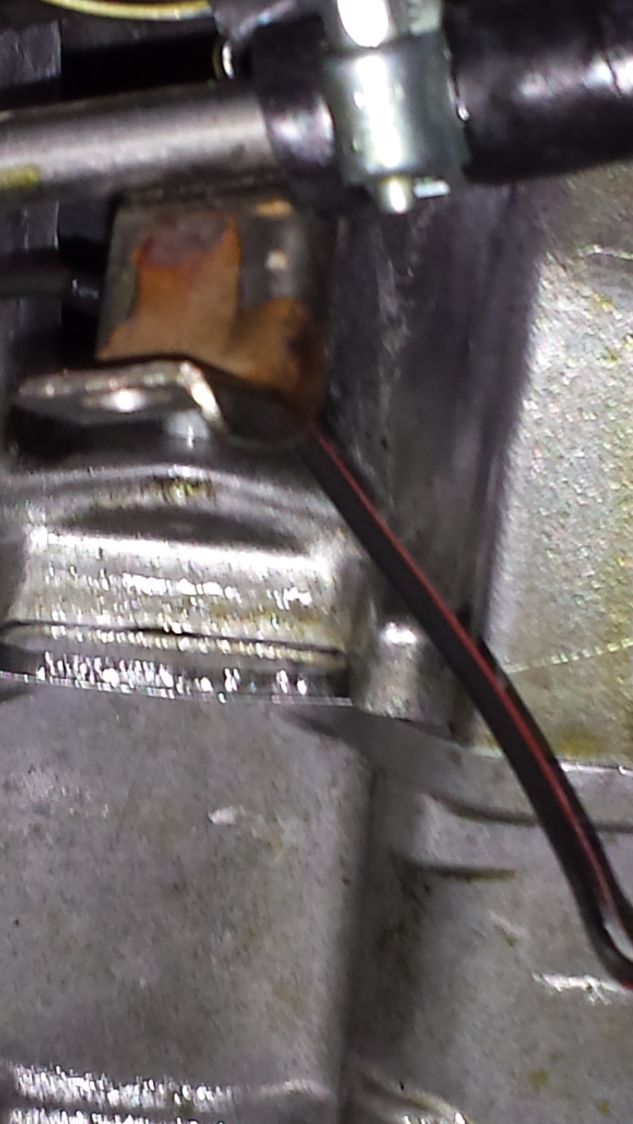
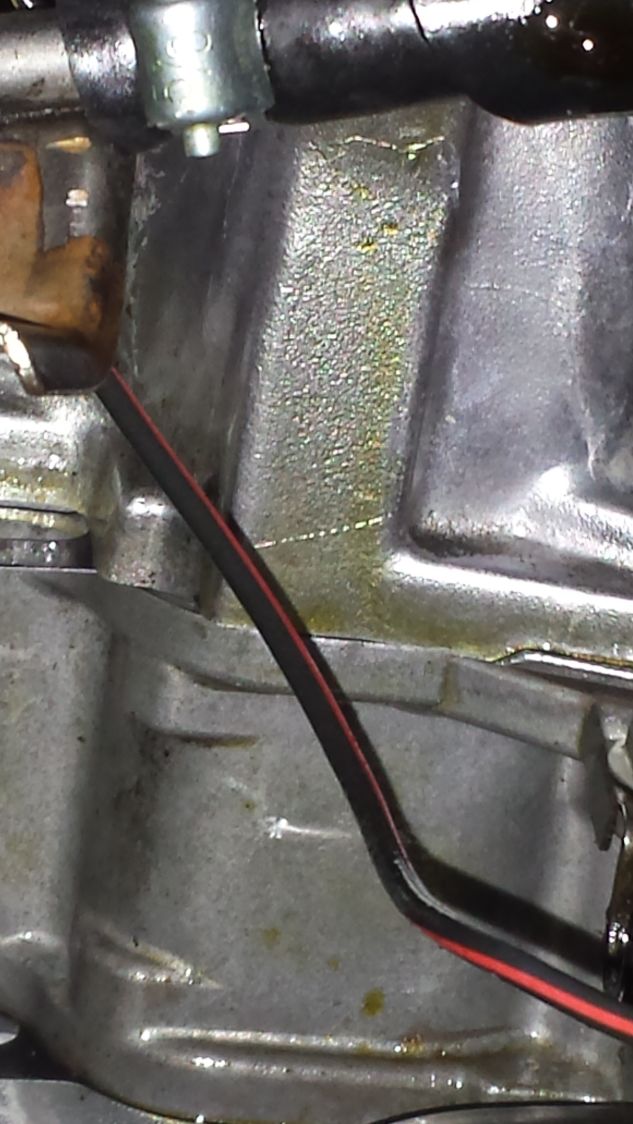
then you ask(is it coming from the turbo/throttle body)? and the answer is NO
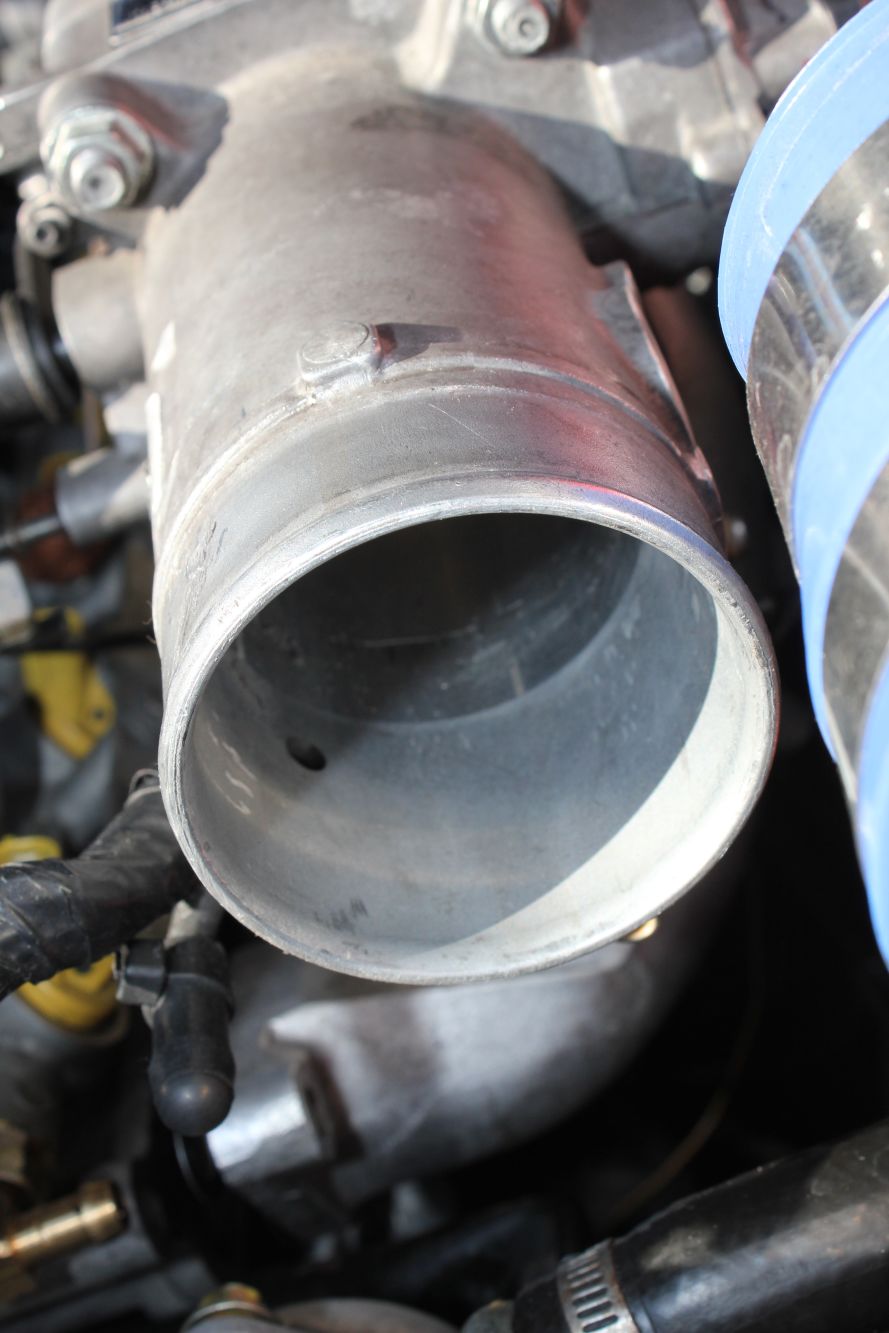
So I cleaned it up when I installed the 800cc injectors.
so here's what it looked like when I pulled the intake manifold.
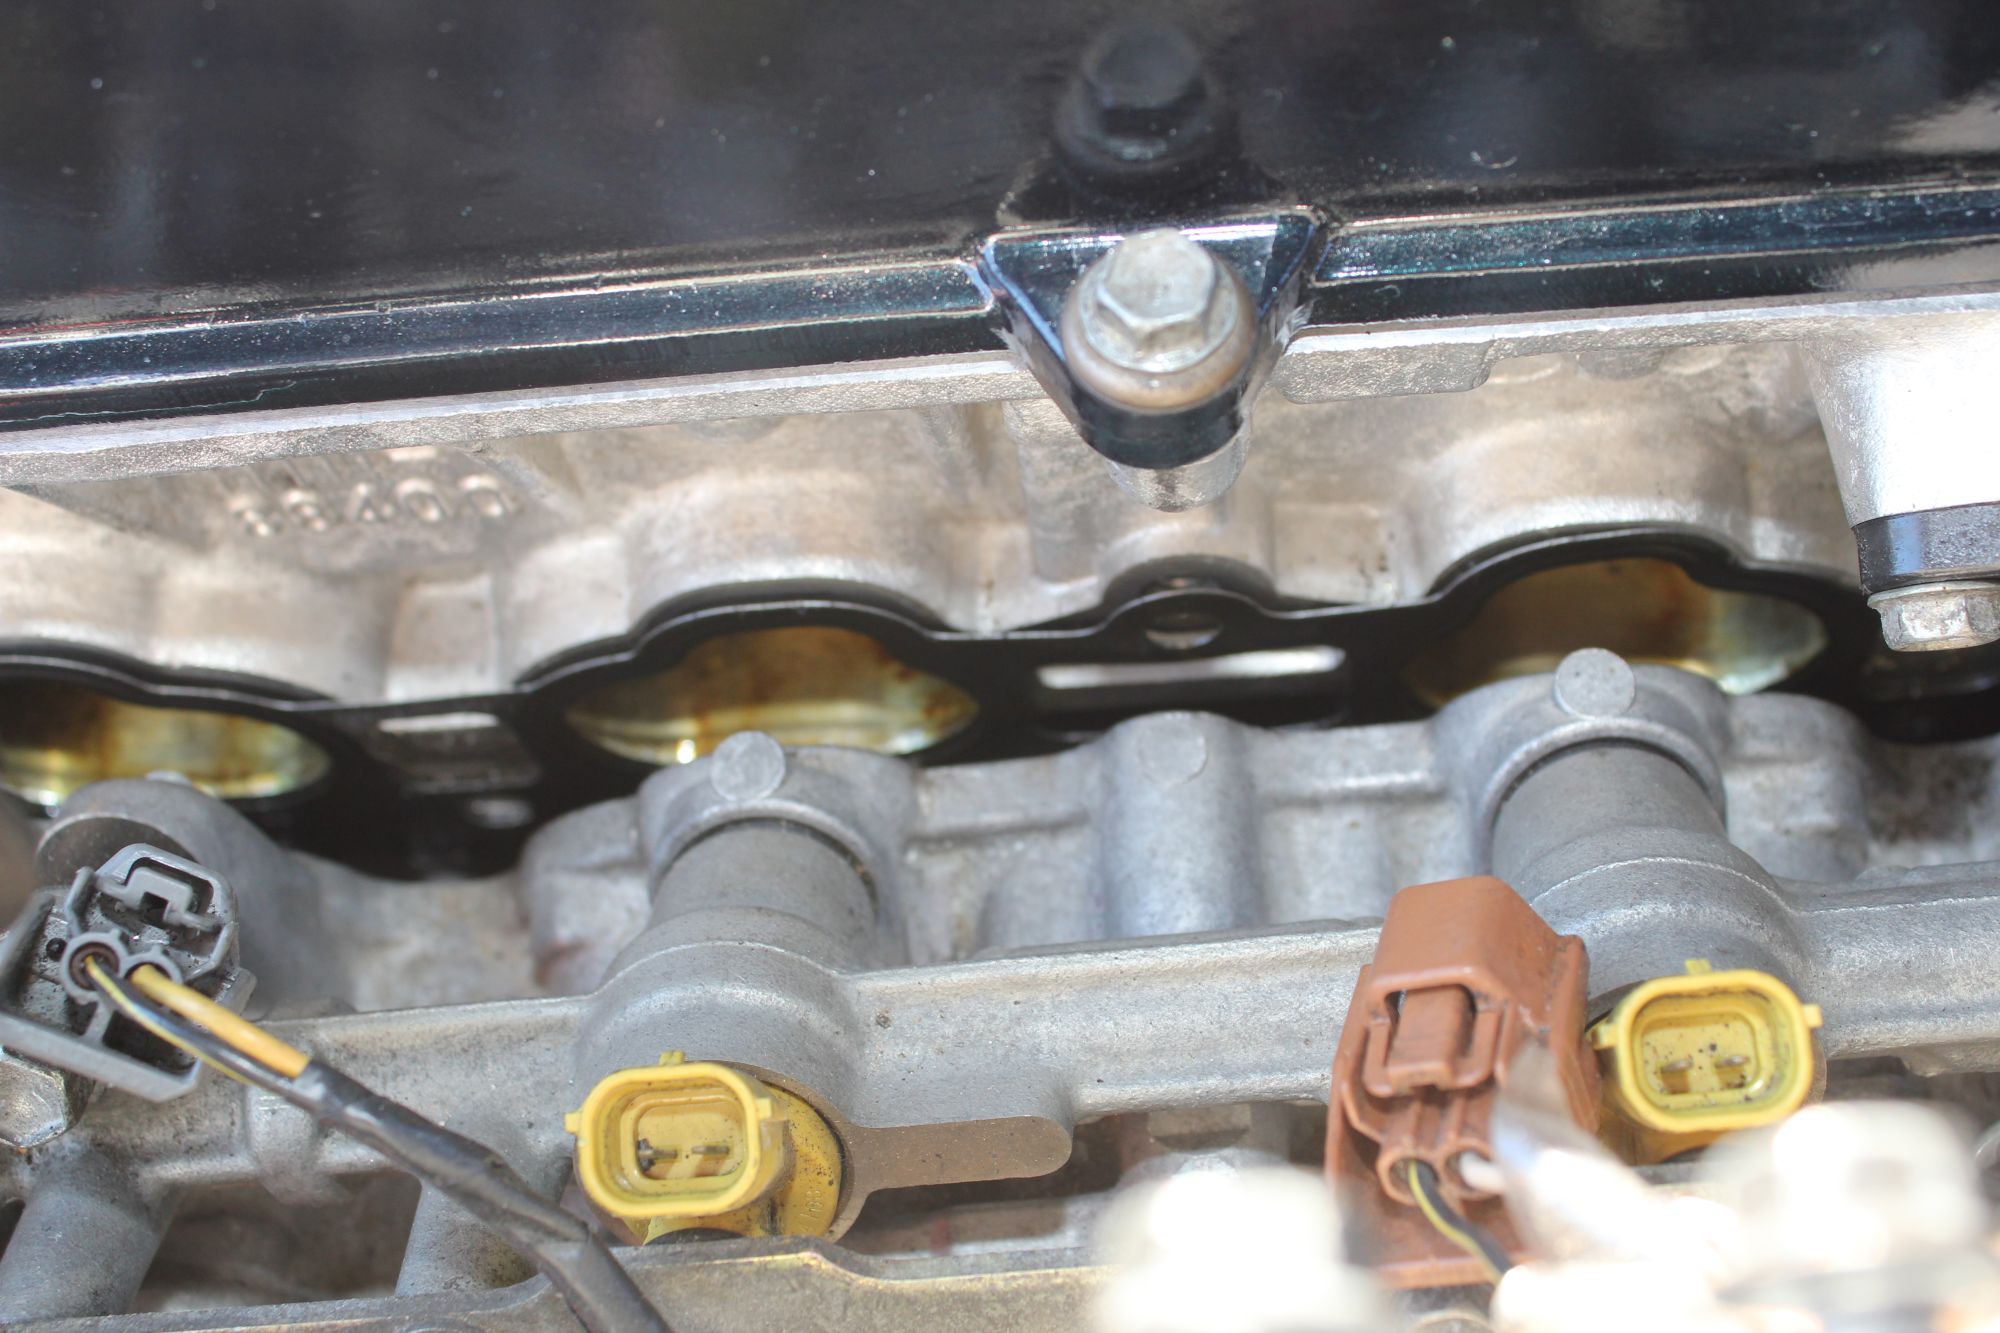
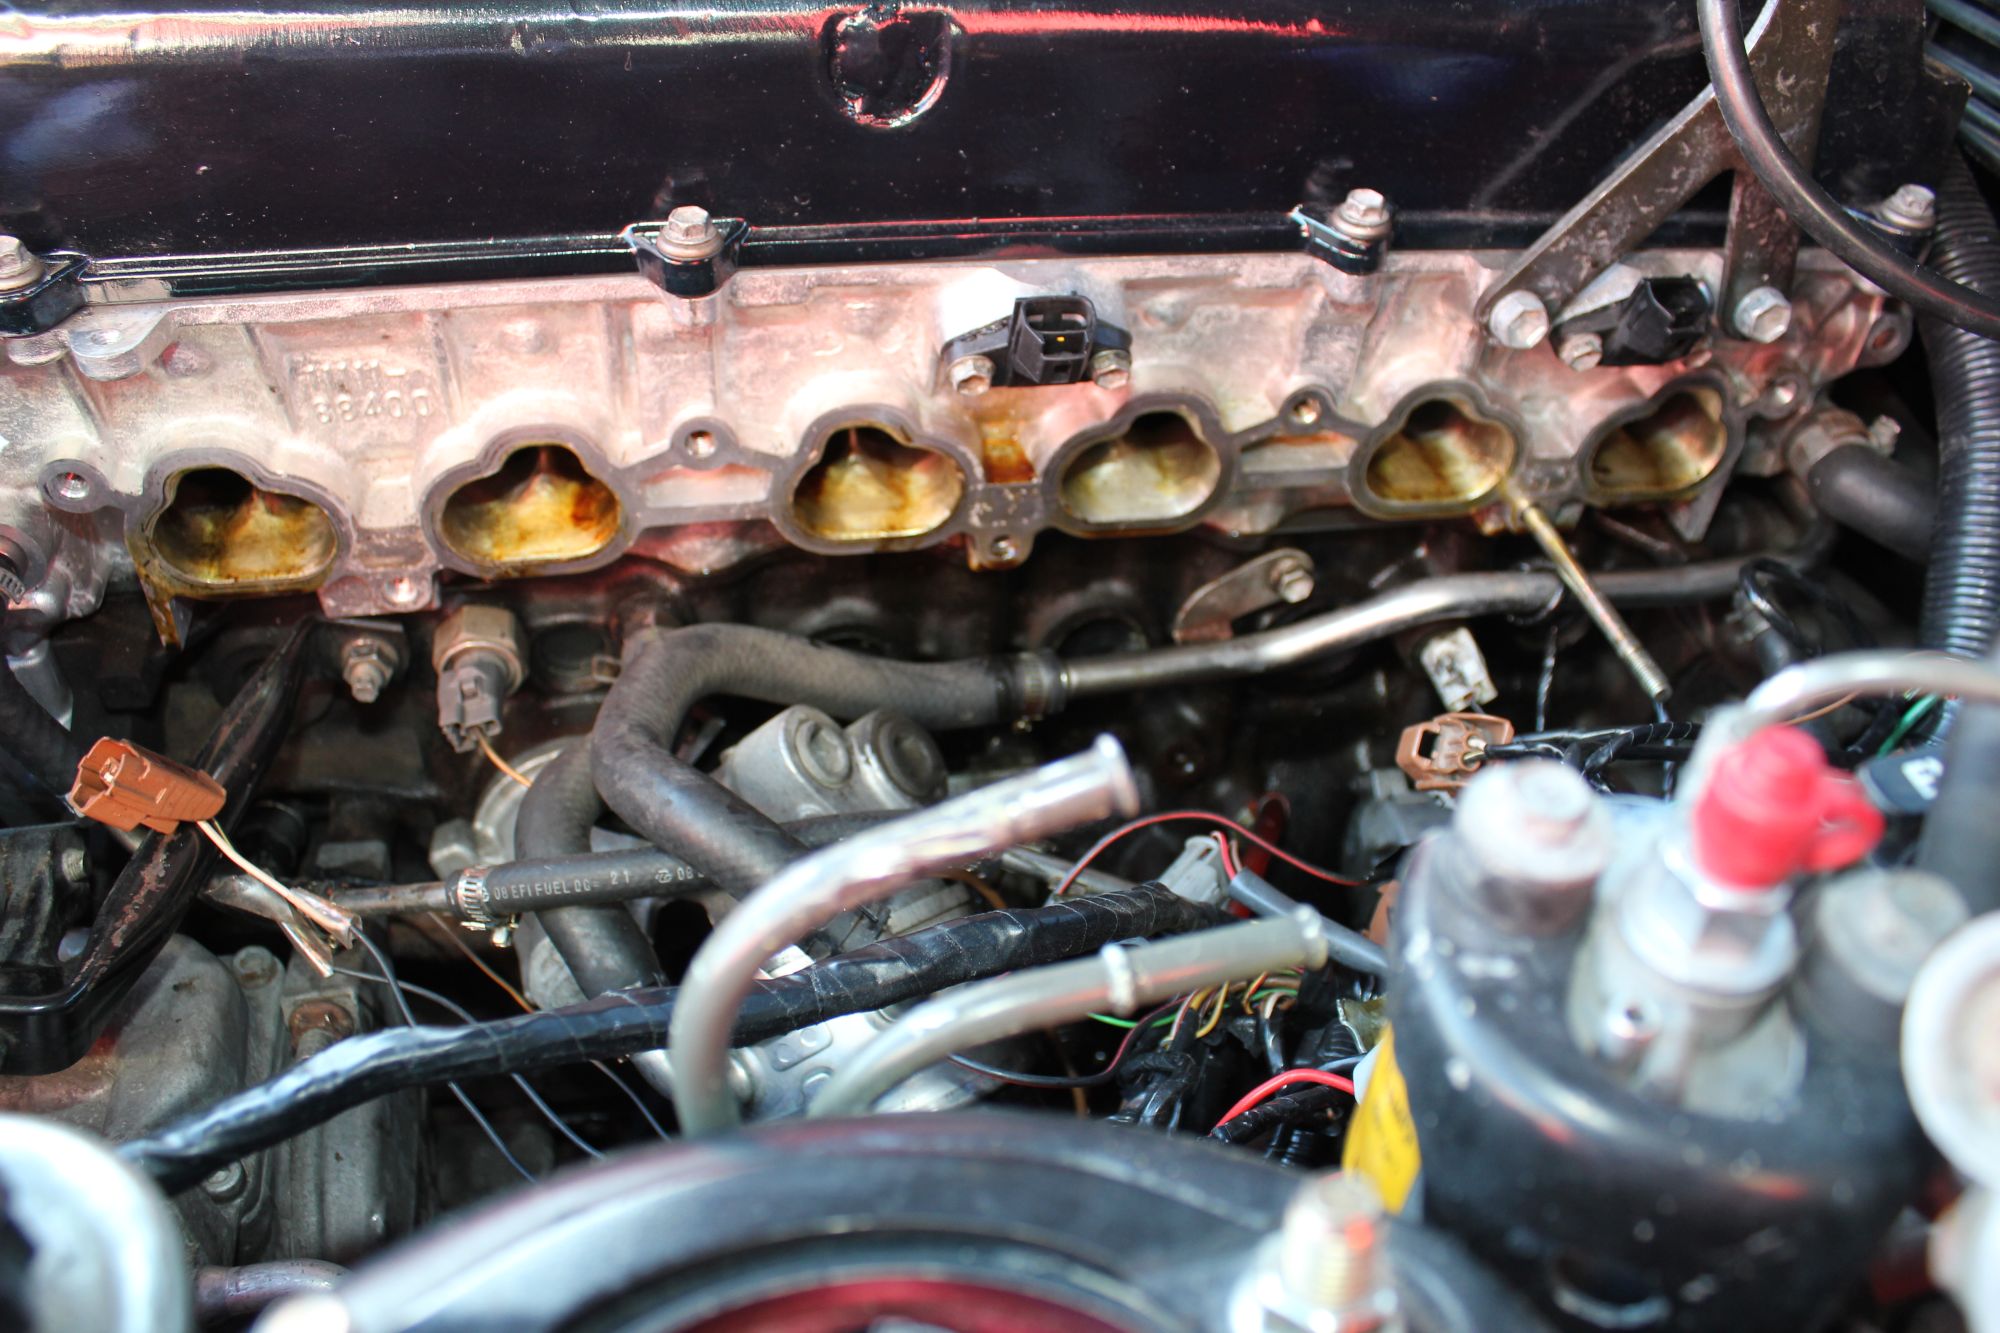
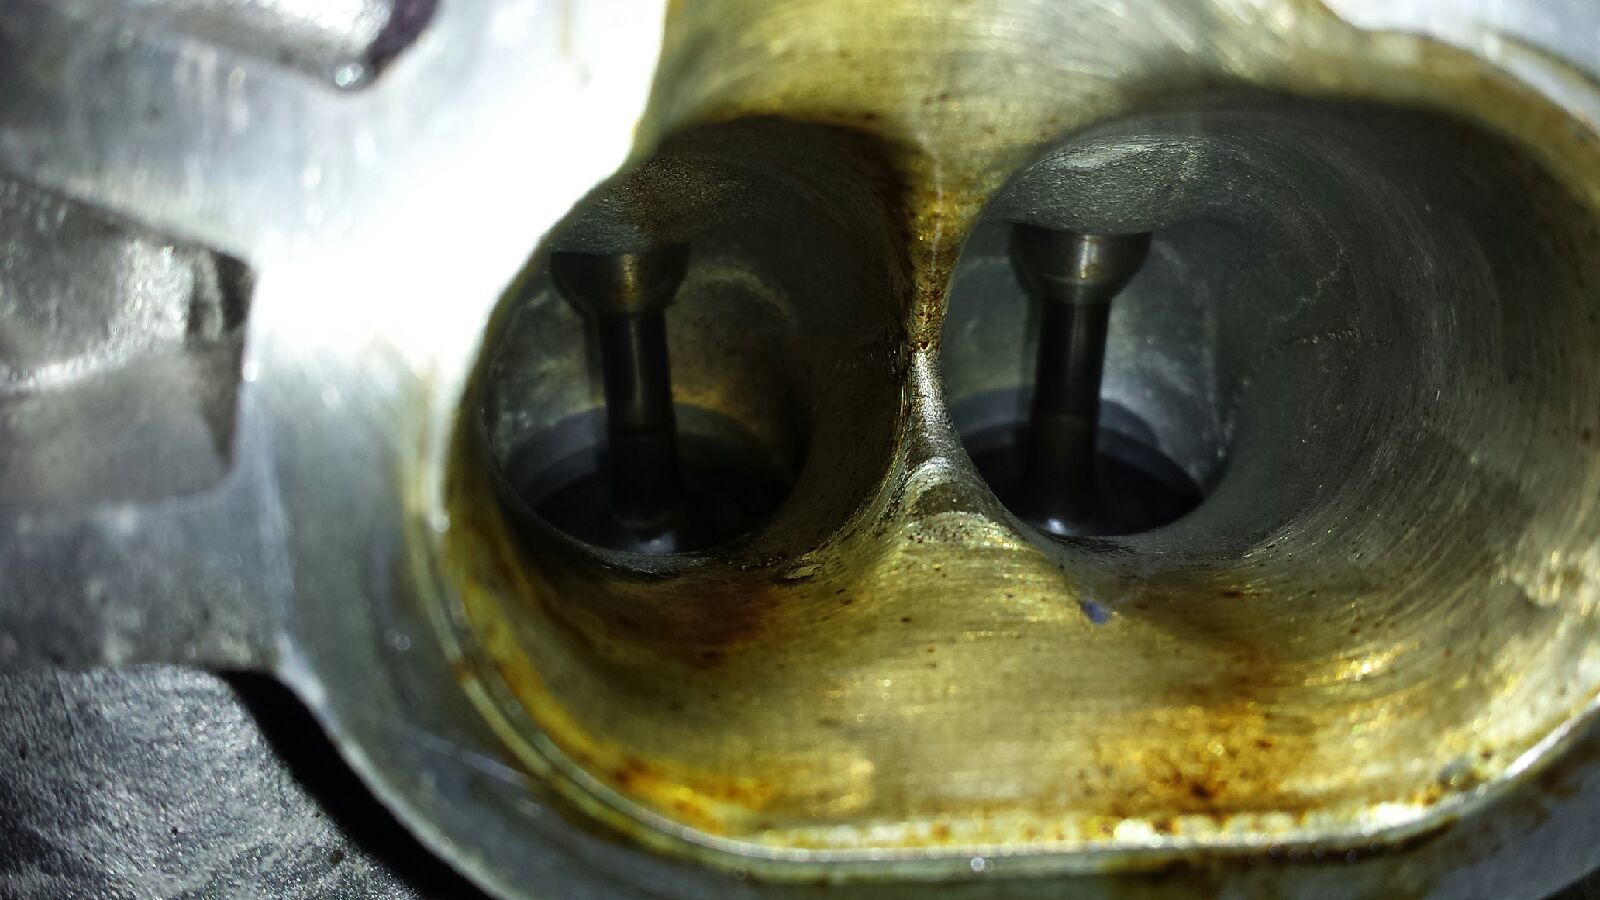
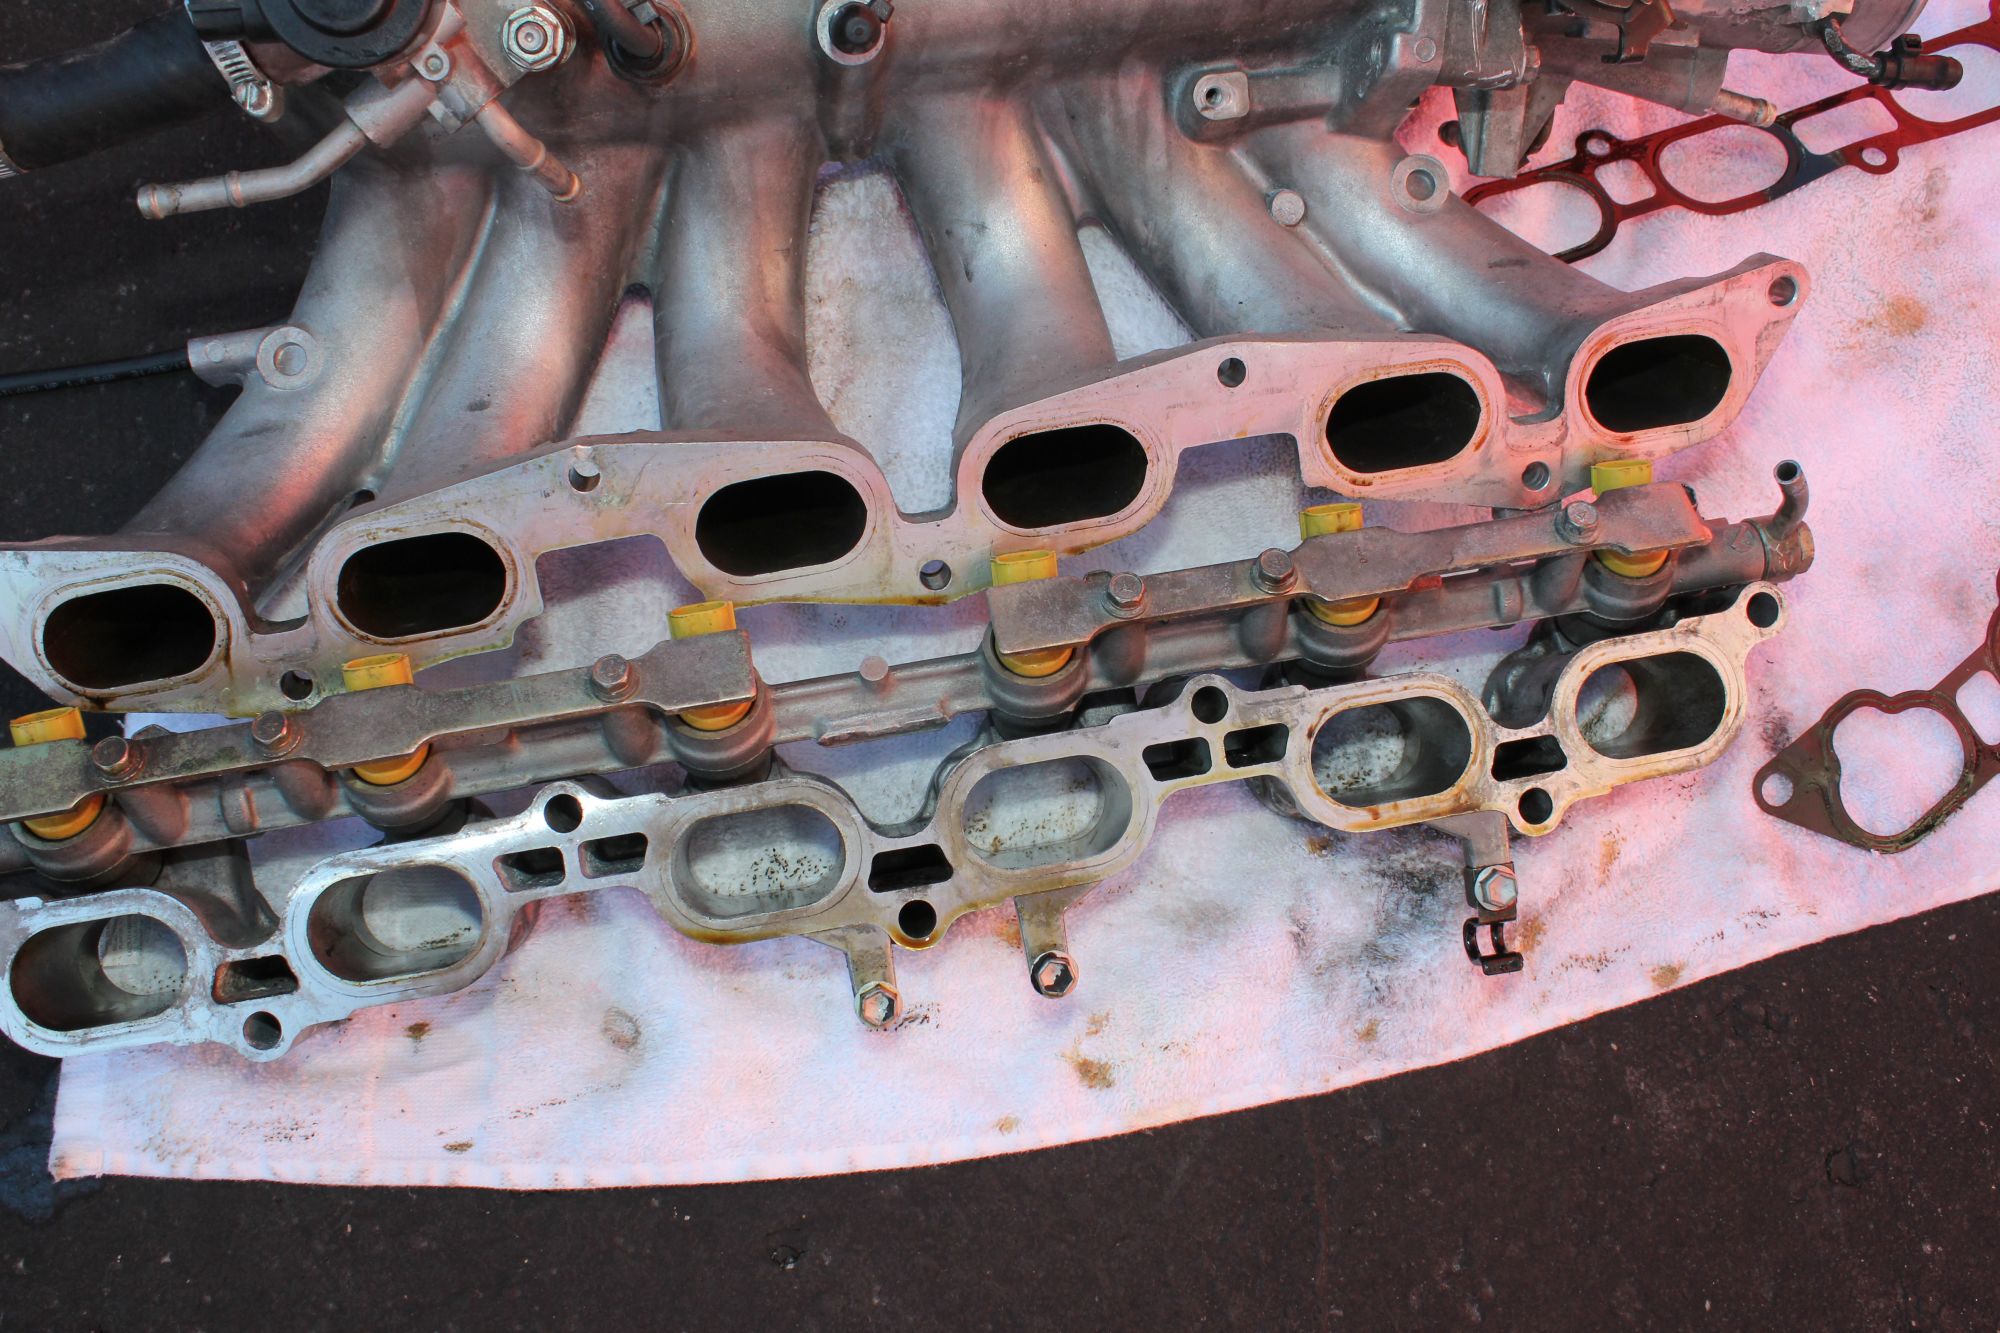
so iam thinking this is caused because I plugged the pcv hole and on my catch can there is no vacuum. and I also had to run the line behind the abs sensor. iam looking for a new catch can that is smaller and has different dimensions for the an lines to go to.
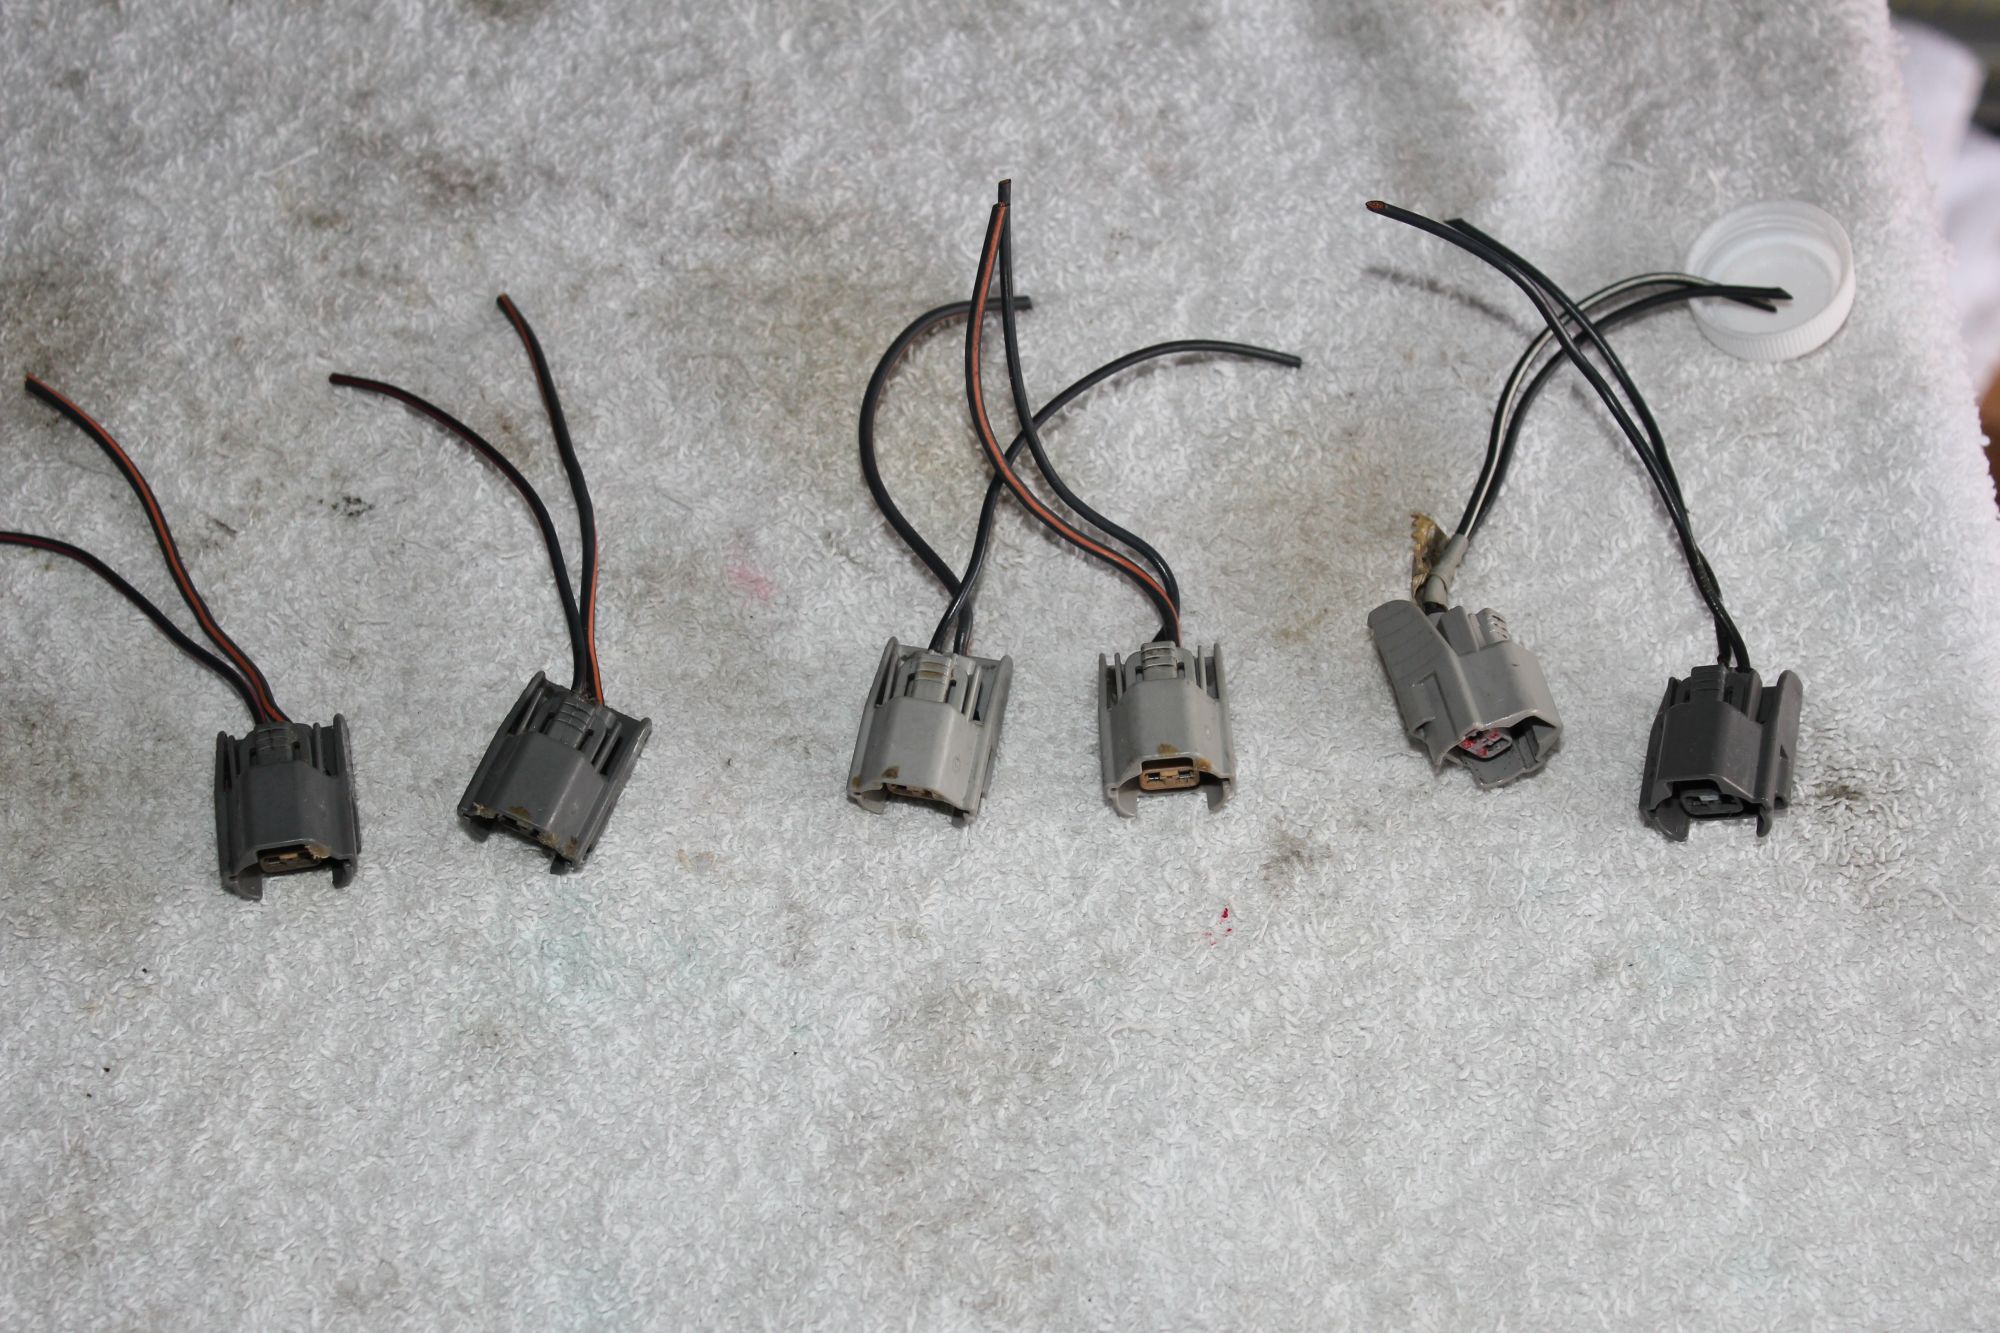
so I was going to extend the engine harness, I wanted to run it BEHIND/UNDER the intake not through it like stock is. so in doing this I also picked up some injector pigtails for this. luckily the 90's corolla injector plugs work. and I went to the junkyard and got some good condition ones for almost nothing.
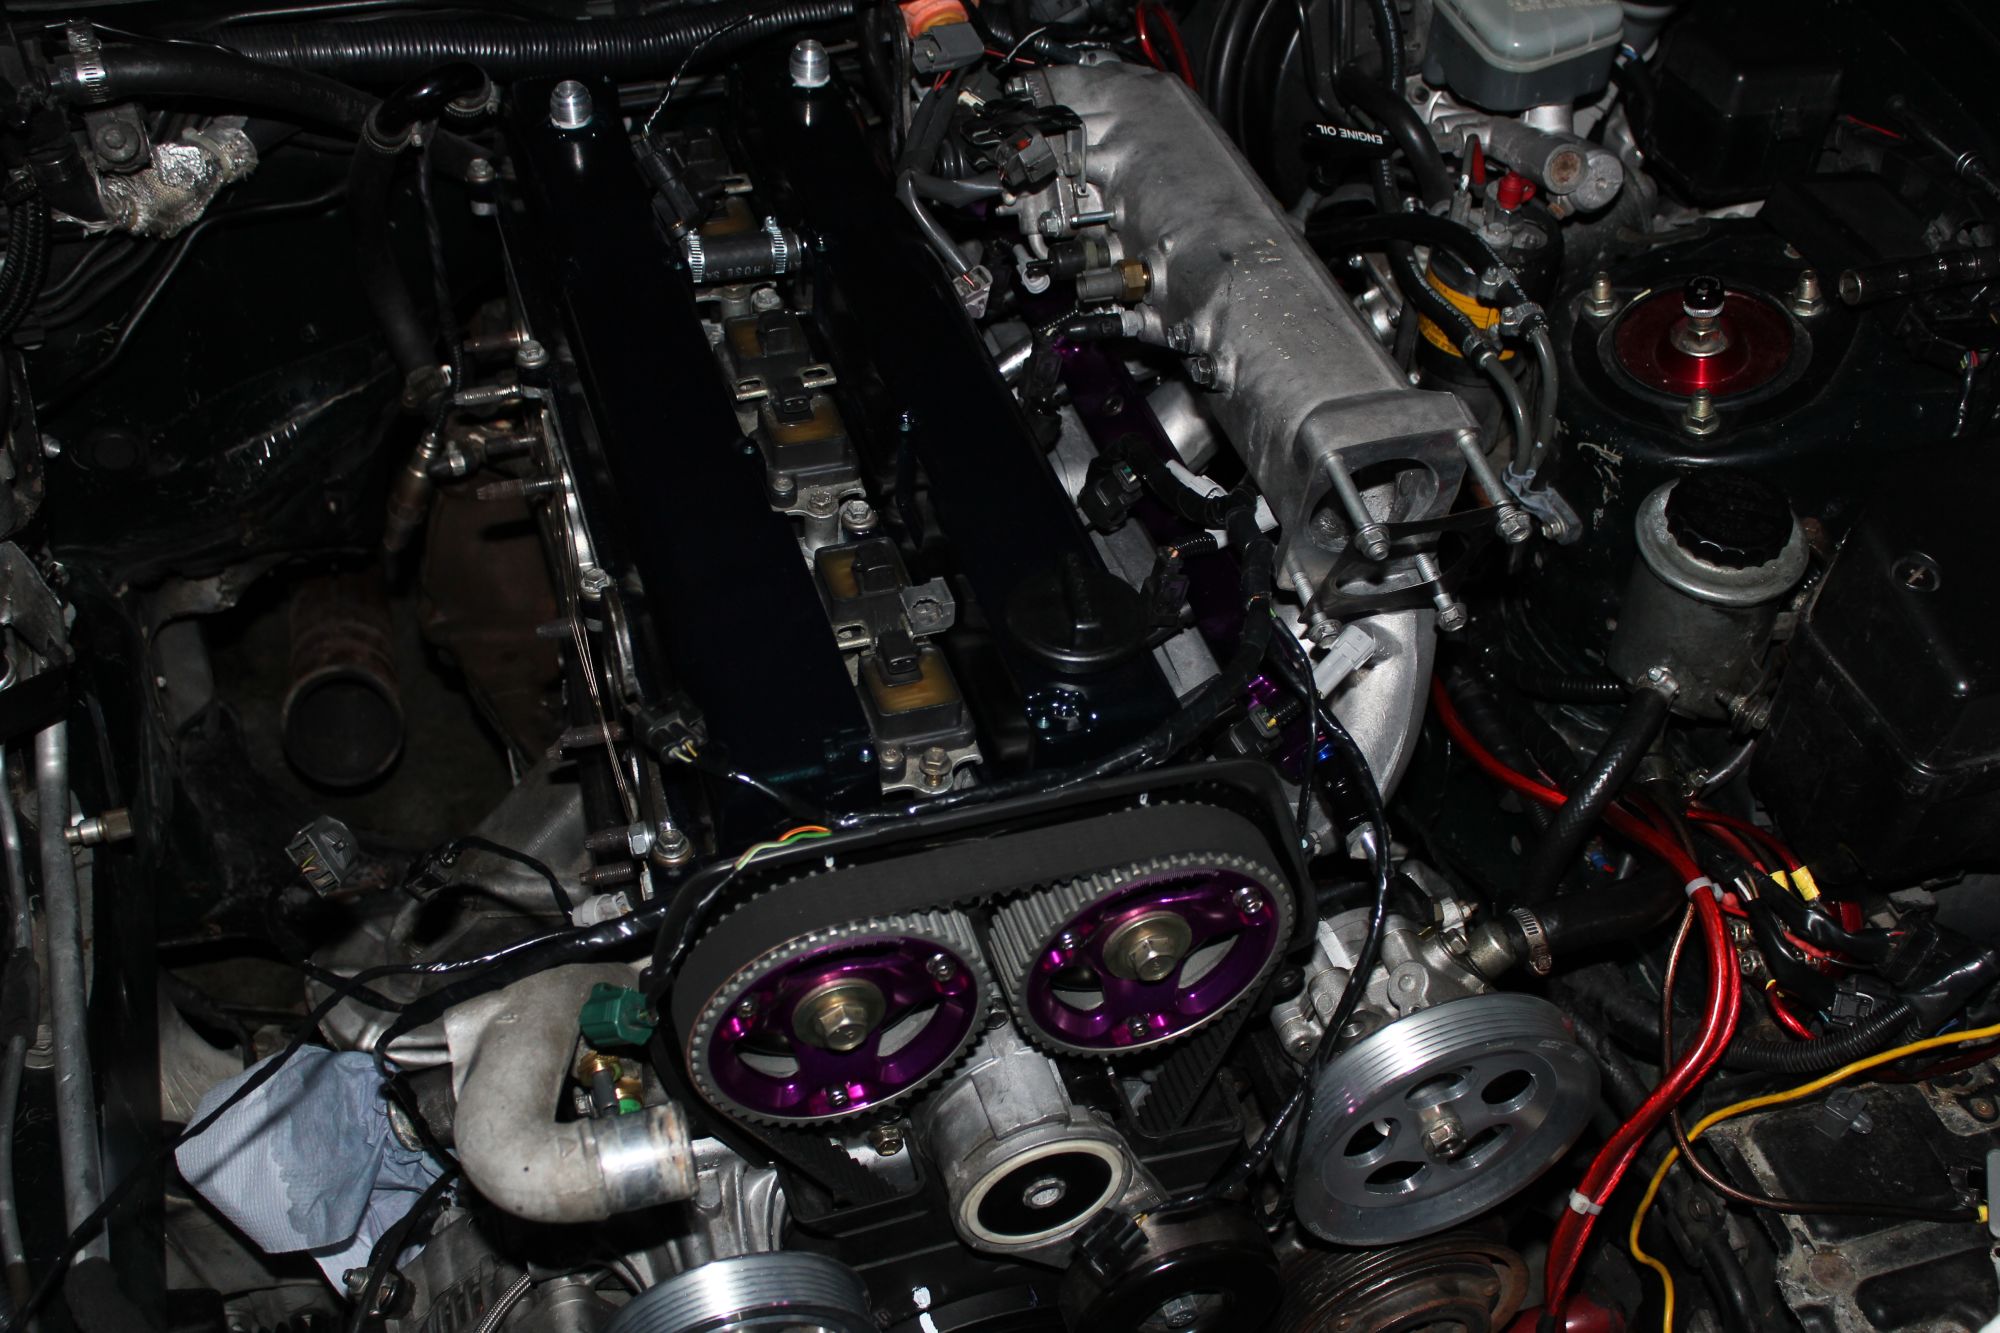
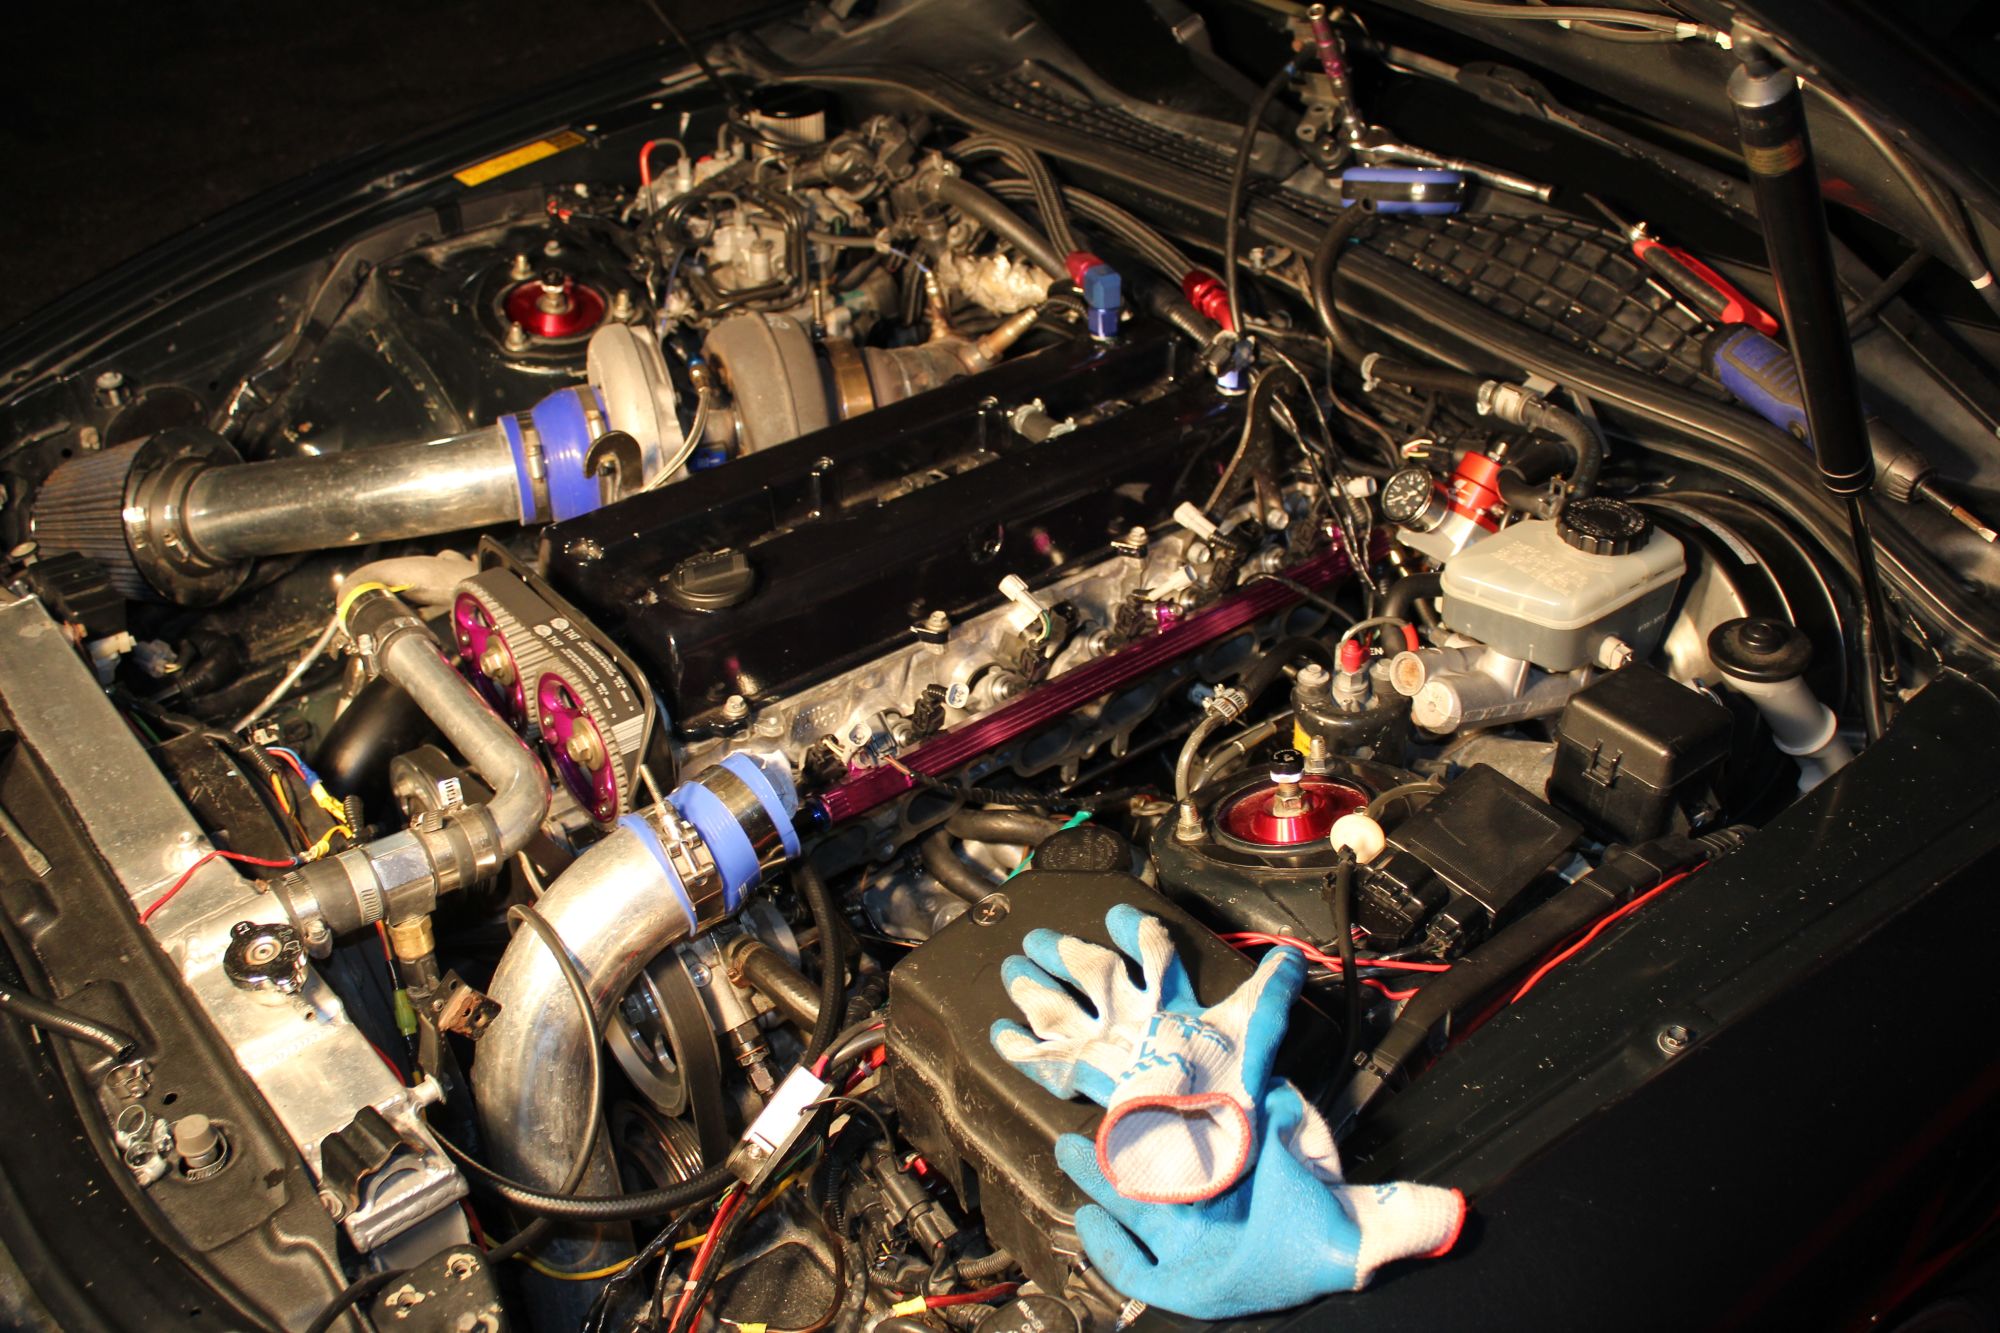
here is the injectors getting installed with this nifty purple fuel rail. I originally got a rail with the aftermarket intake, but it was the wrong rail so I had to purchase the right one.
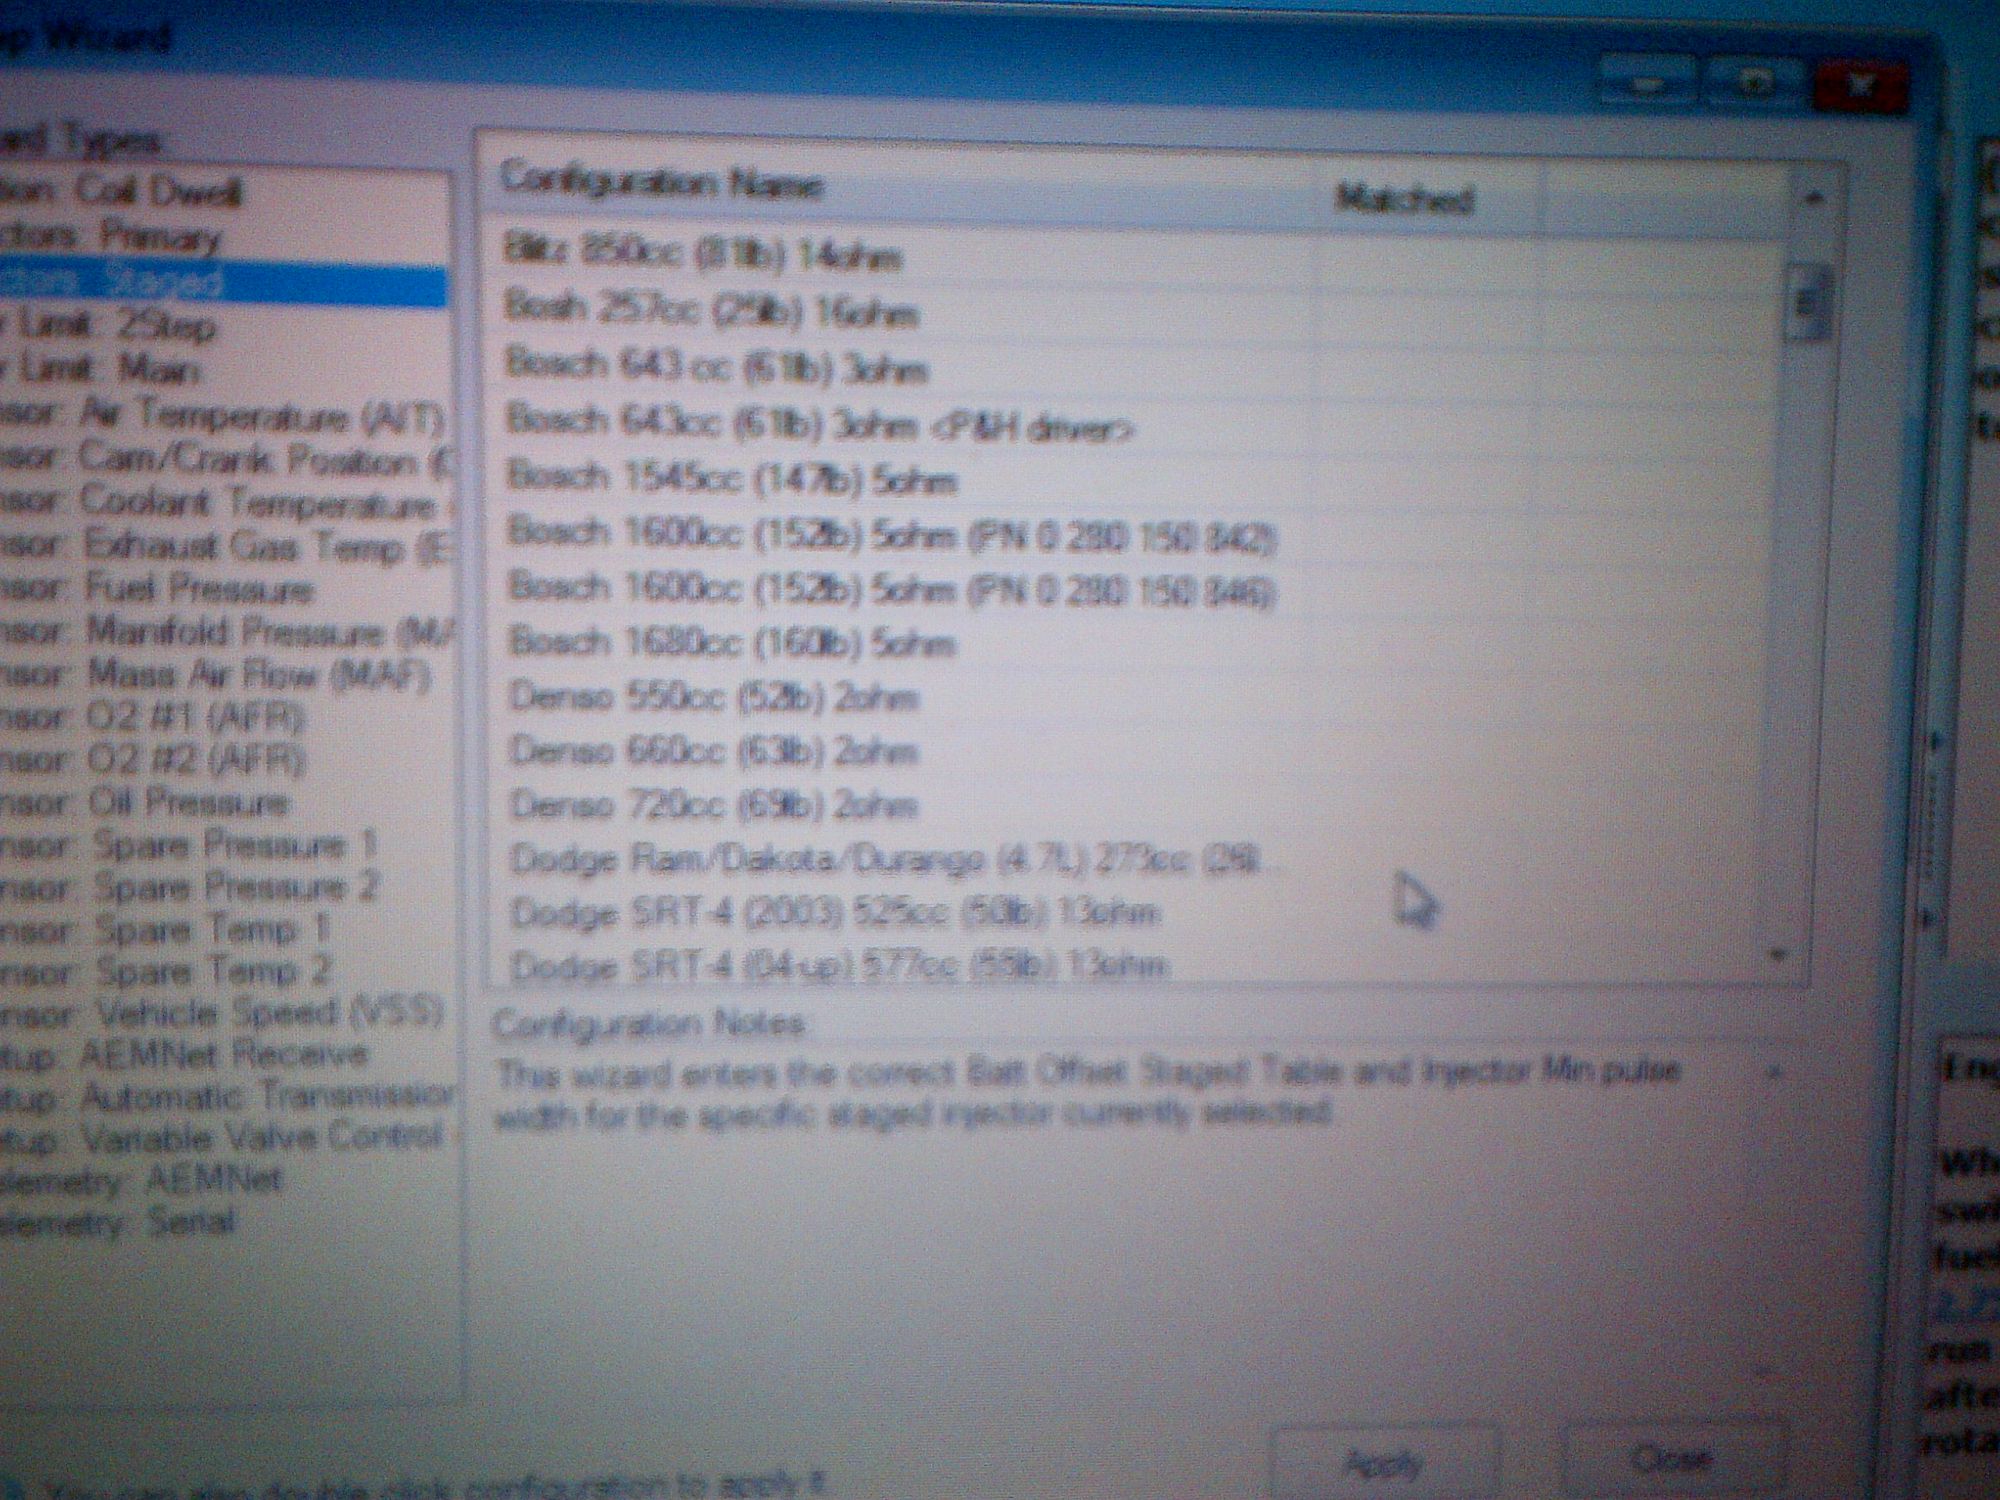
here is the injector latency, I can't understand this ****.
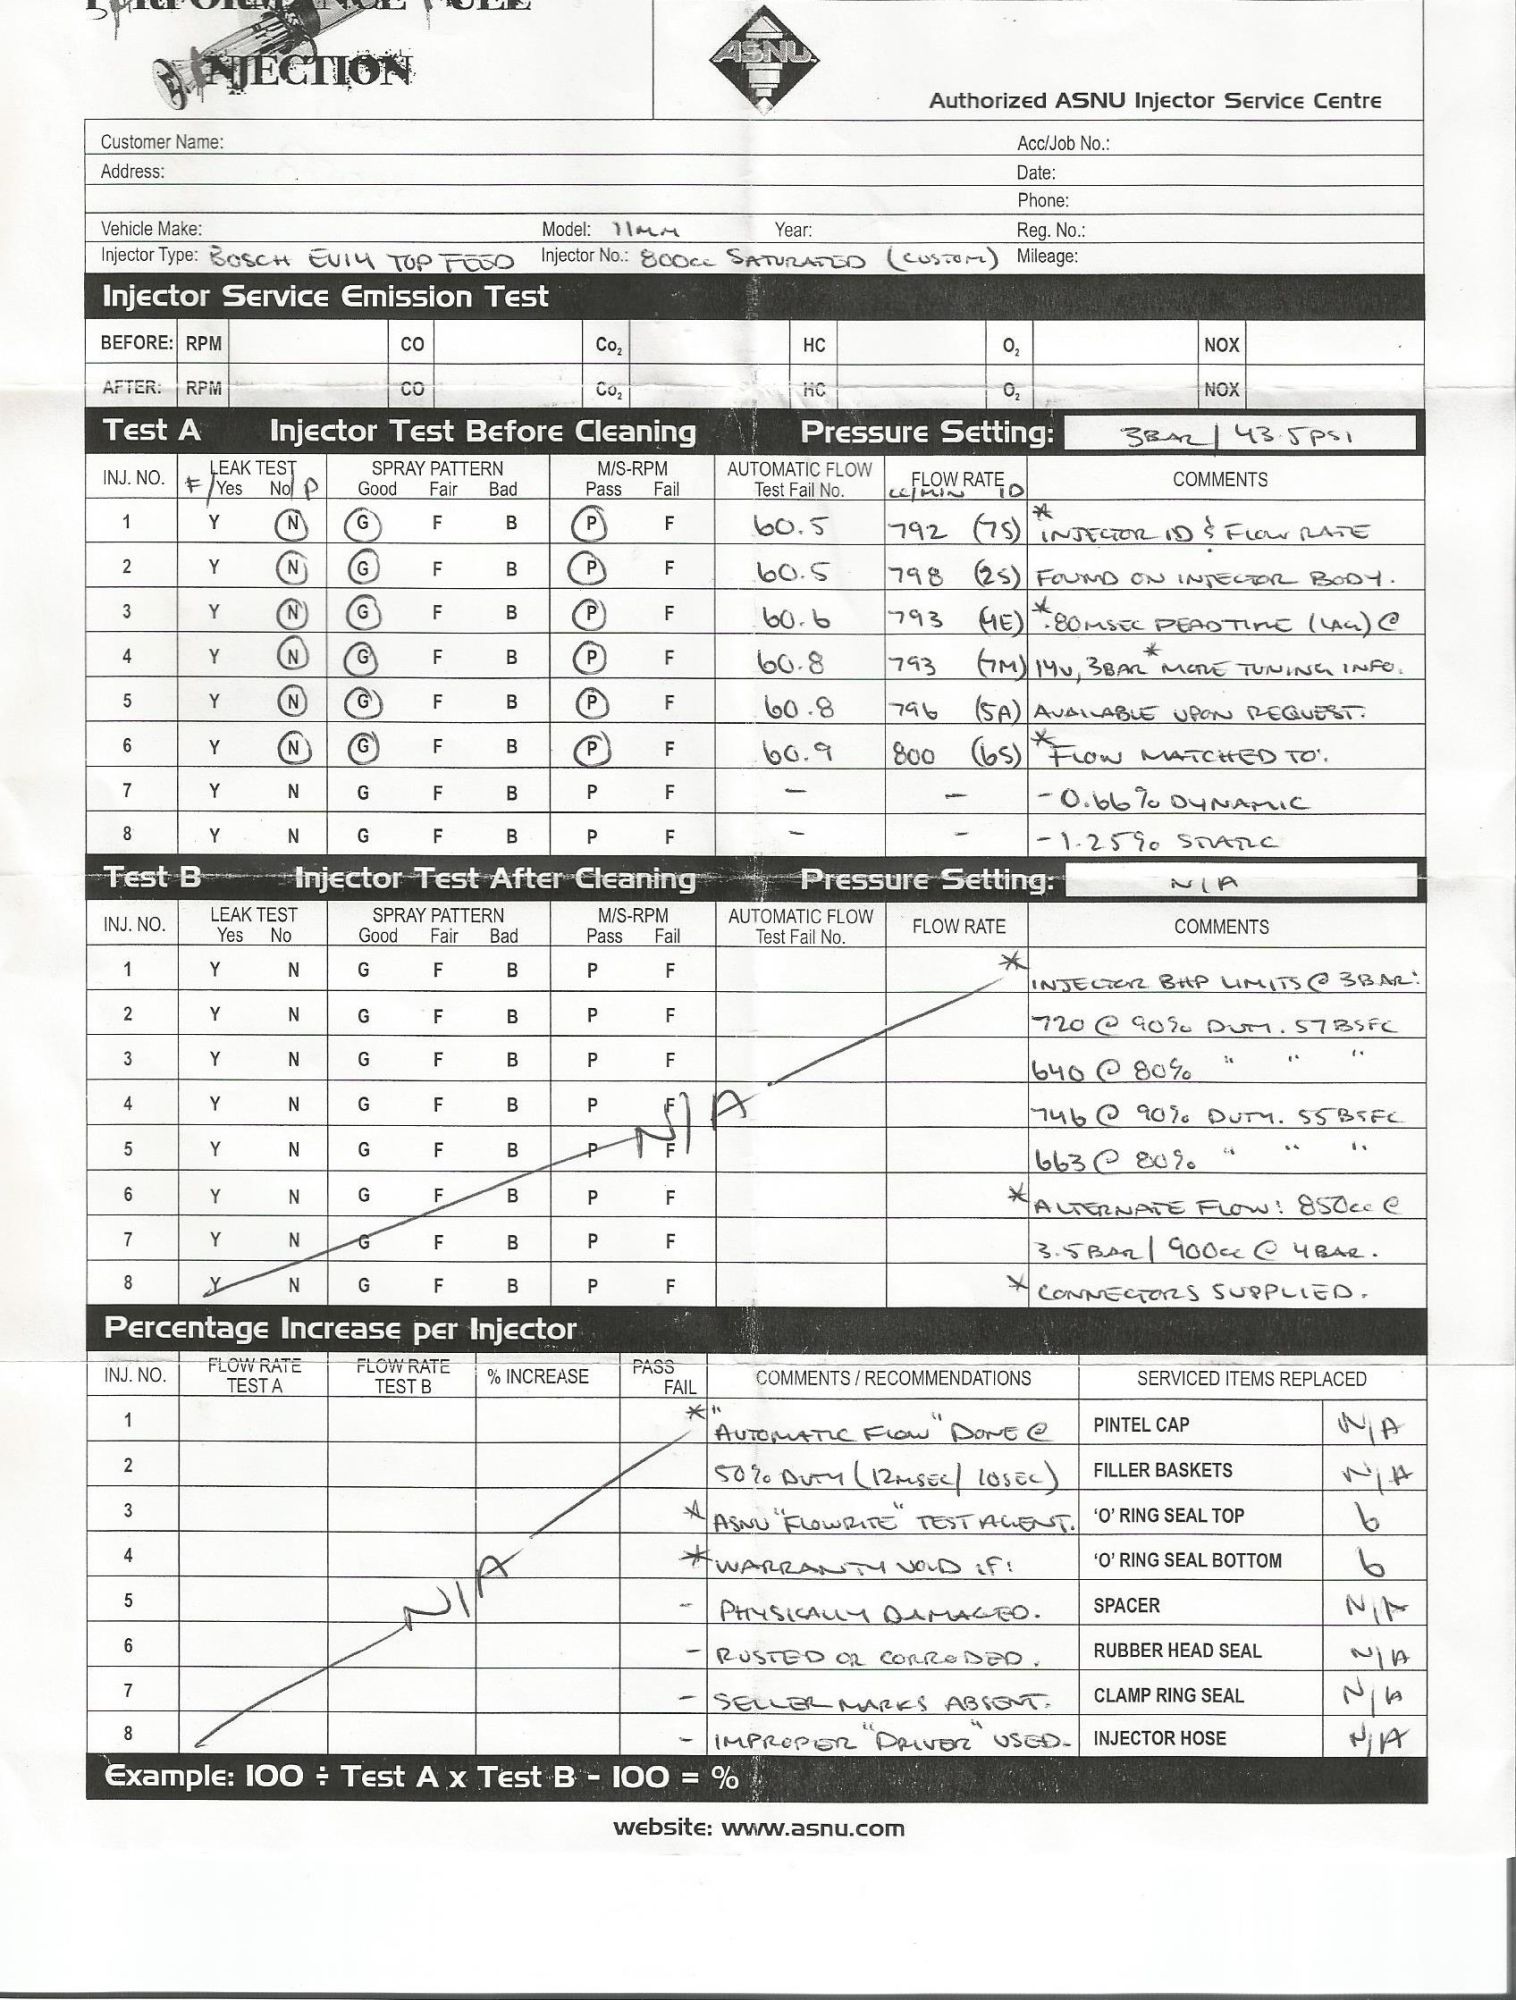
and sadly(just my luck) there is no 800cc bosch injector option on the v2.
and so onto the wire extension. I hate soldering by the way, but when it needs to be done, it needs to be done.
here is the old wiring looms/covering I pulled off the harness, yes lots of this old cruddy stuff.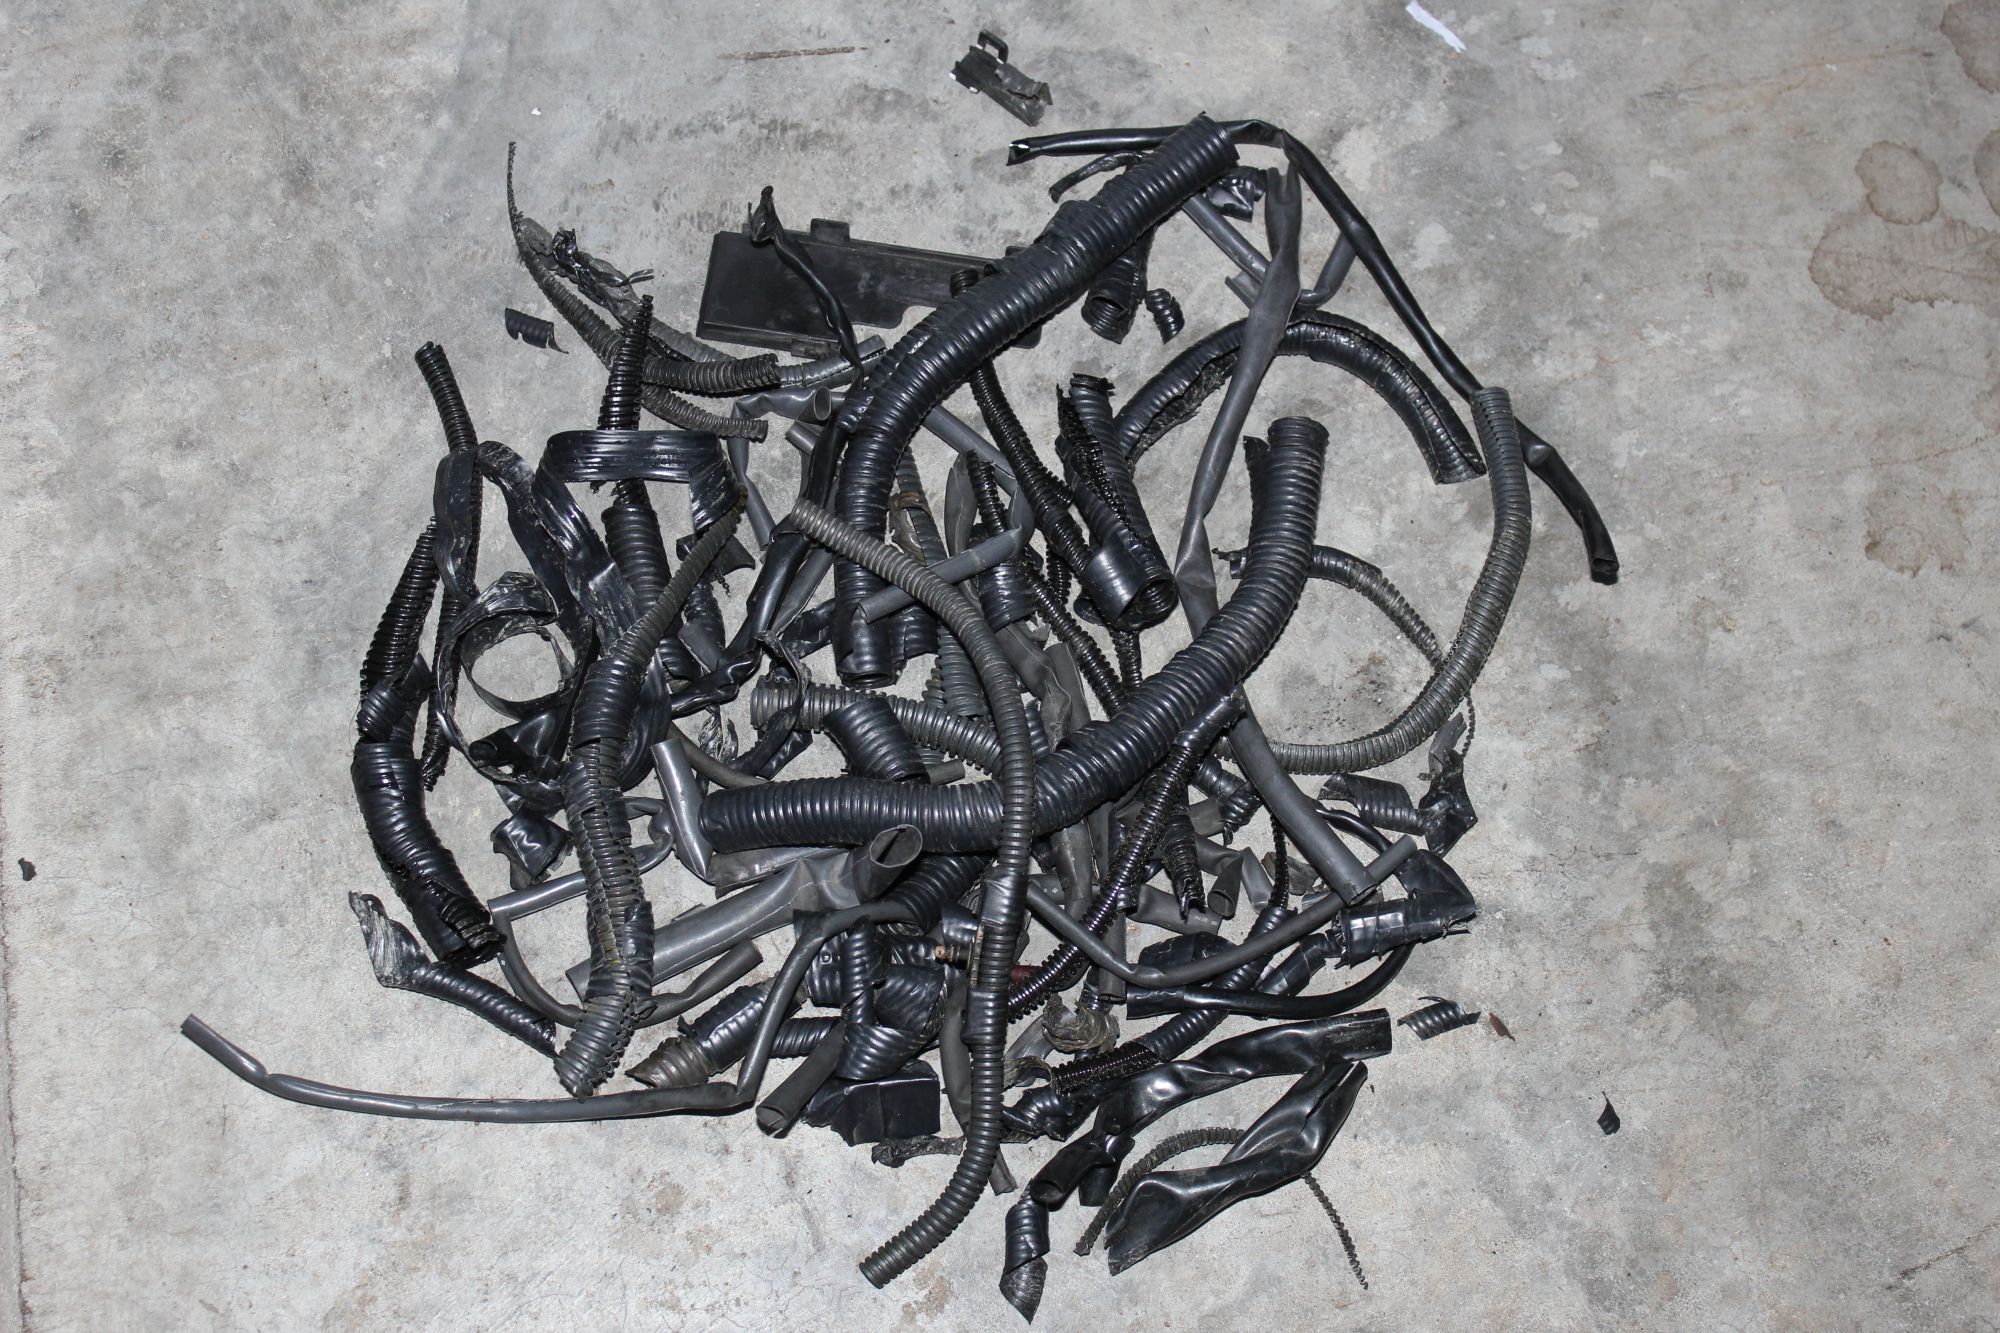
so a problem aroused. the ecu fuse in my fuse box became loose, and I needed to replace the whole fuse box, luckily the local junkyard had a 95 sc400 so I went there and scooped up another less abused fuse box.
the HARD PART, was removing this *****, seeing as I have a 5 speed and it is so effing close to the box.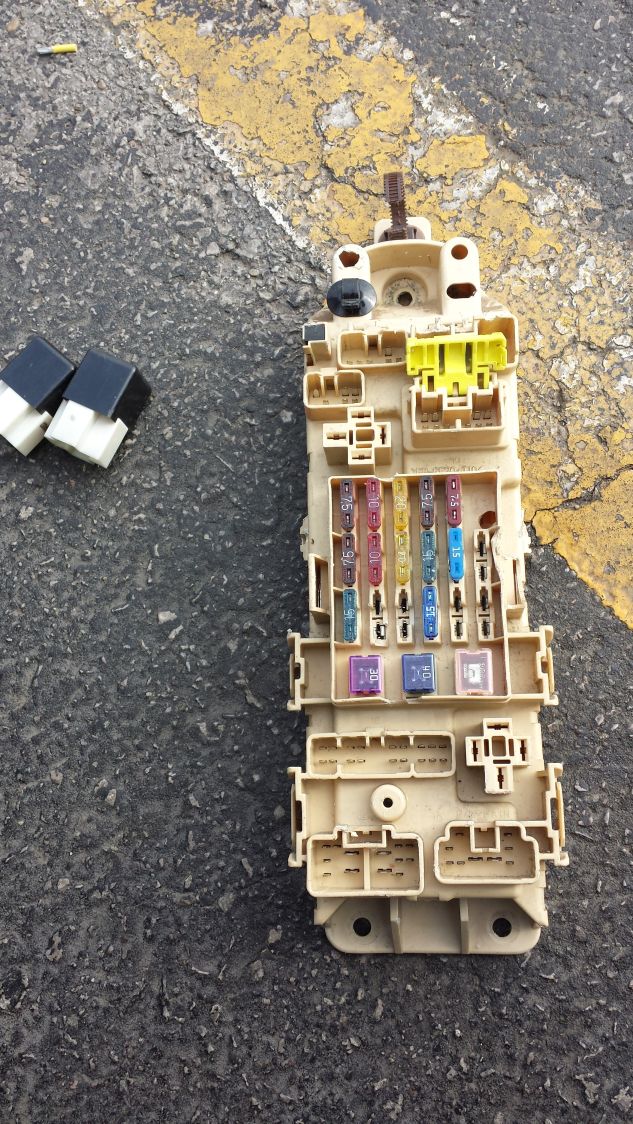
pulling the new one was a breeze, why? no 3rd pedal.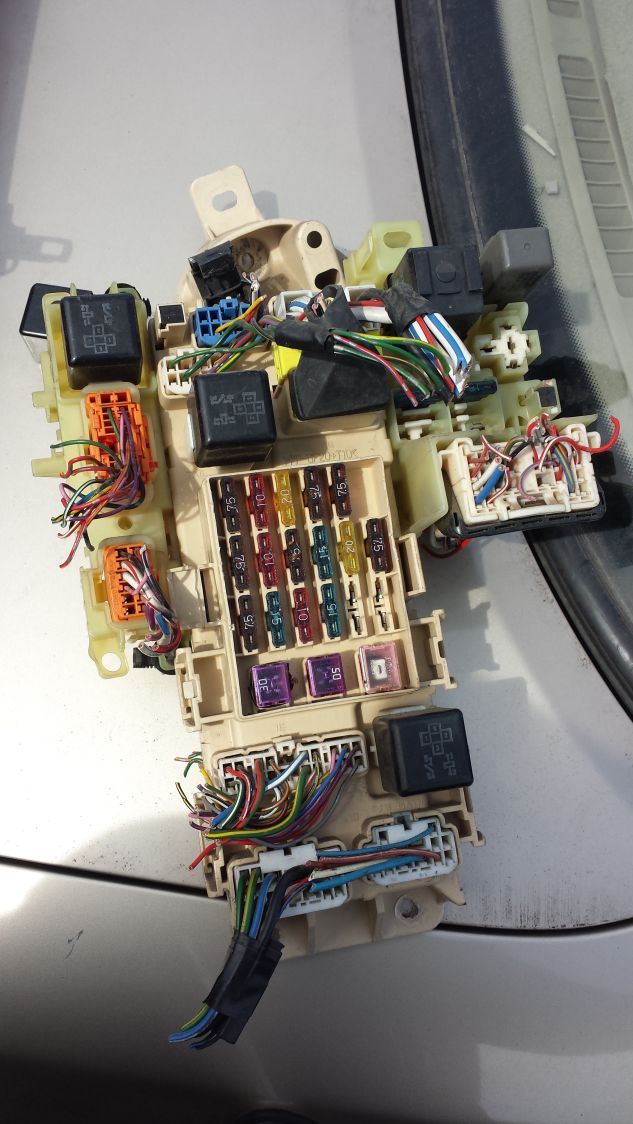
and here is the new one installed, notice the terminal iam using, this is the RIGHT way to tap into a acc powersource, not the ford spade terminals iam used to using. lesson learned.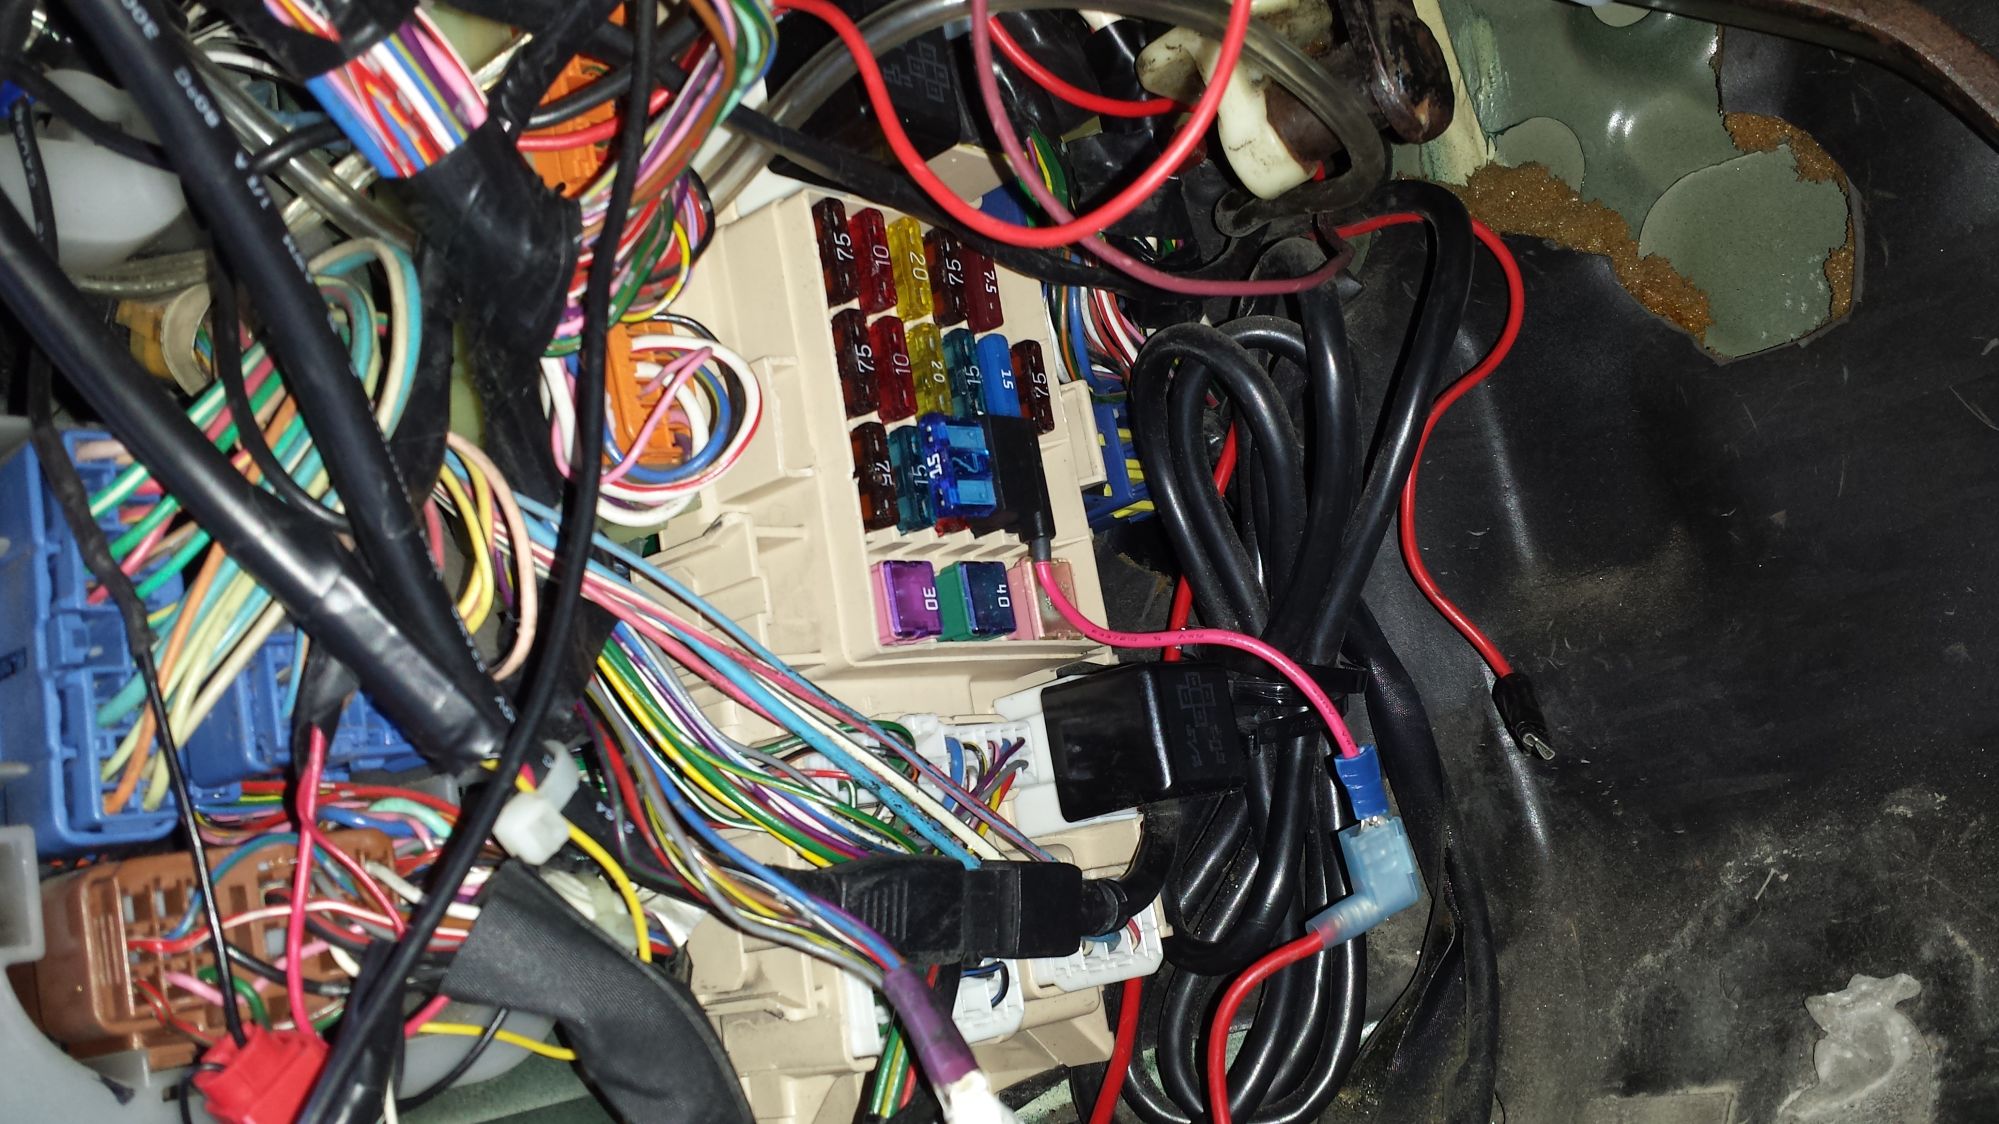
here is the process of harness extension. actually one of the harness plug wires frayed and the car would not start unless I jumped the m-rel relay.
I found an early Toyota Avalon in the junkyard, and the ecu plugs are the exact same as the 1jz ones. so I got better condition pigtails for the ecu.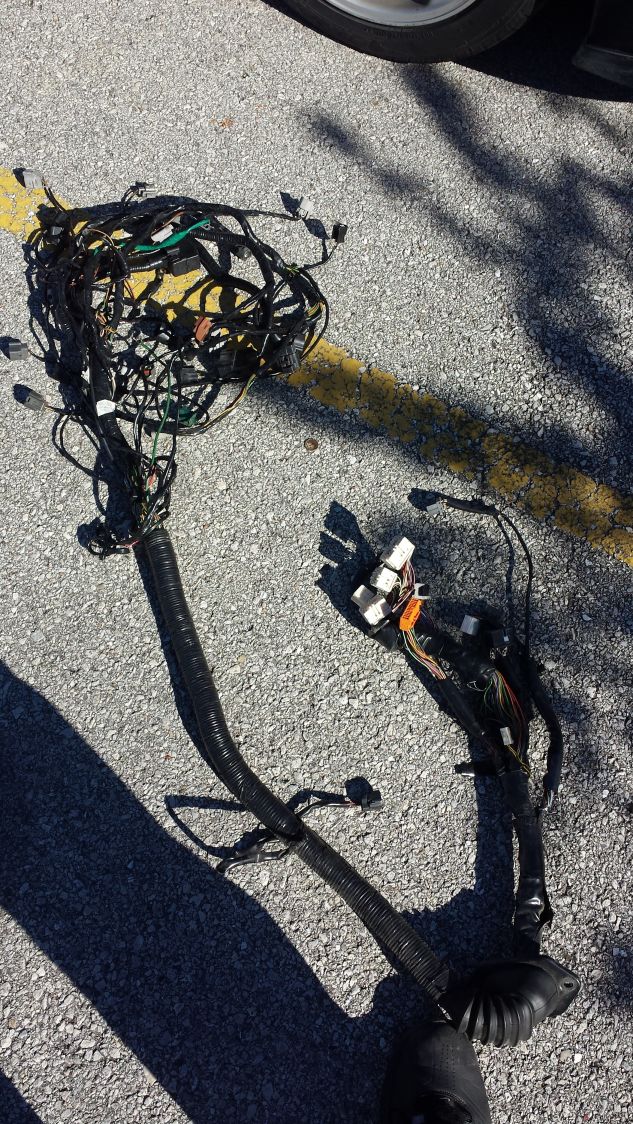
my 3rd arm from harbor freight is a effing life saver!!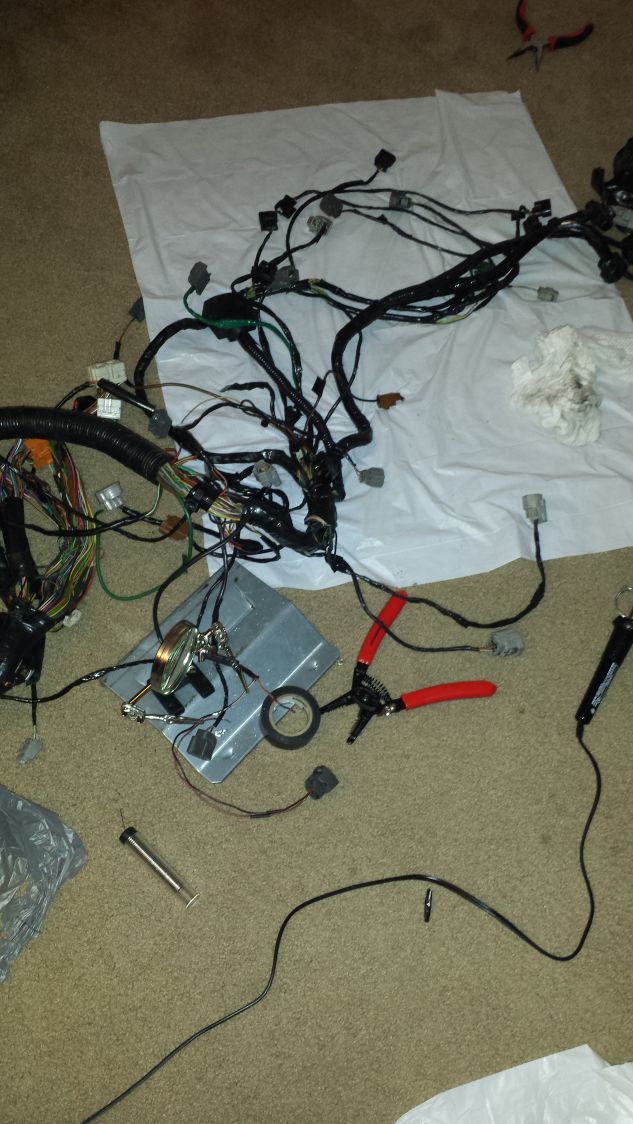
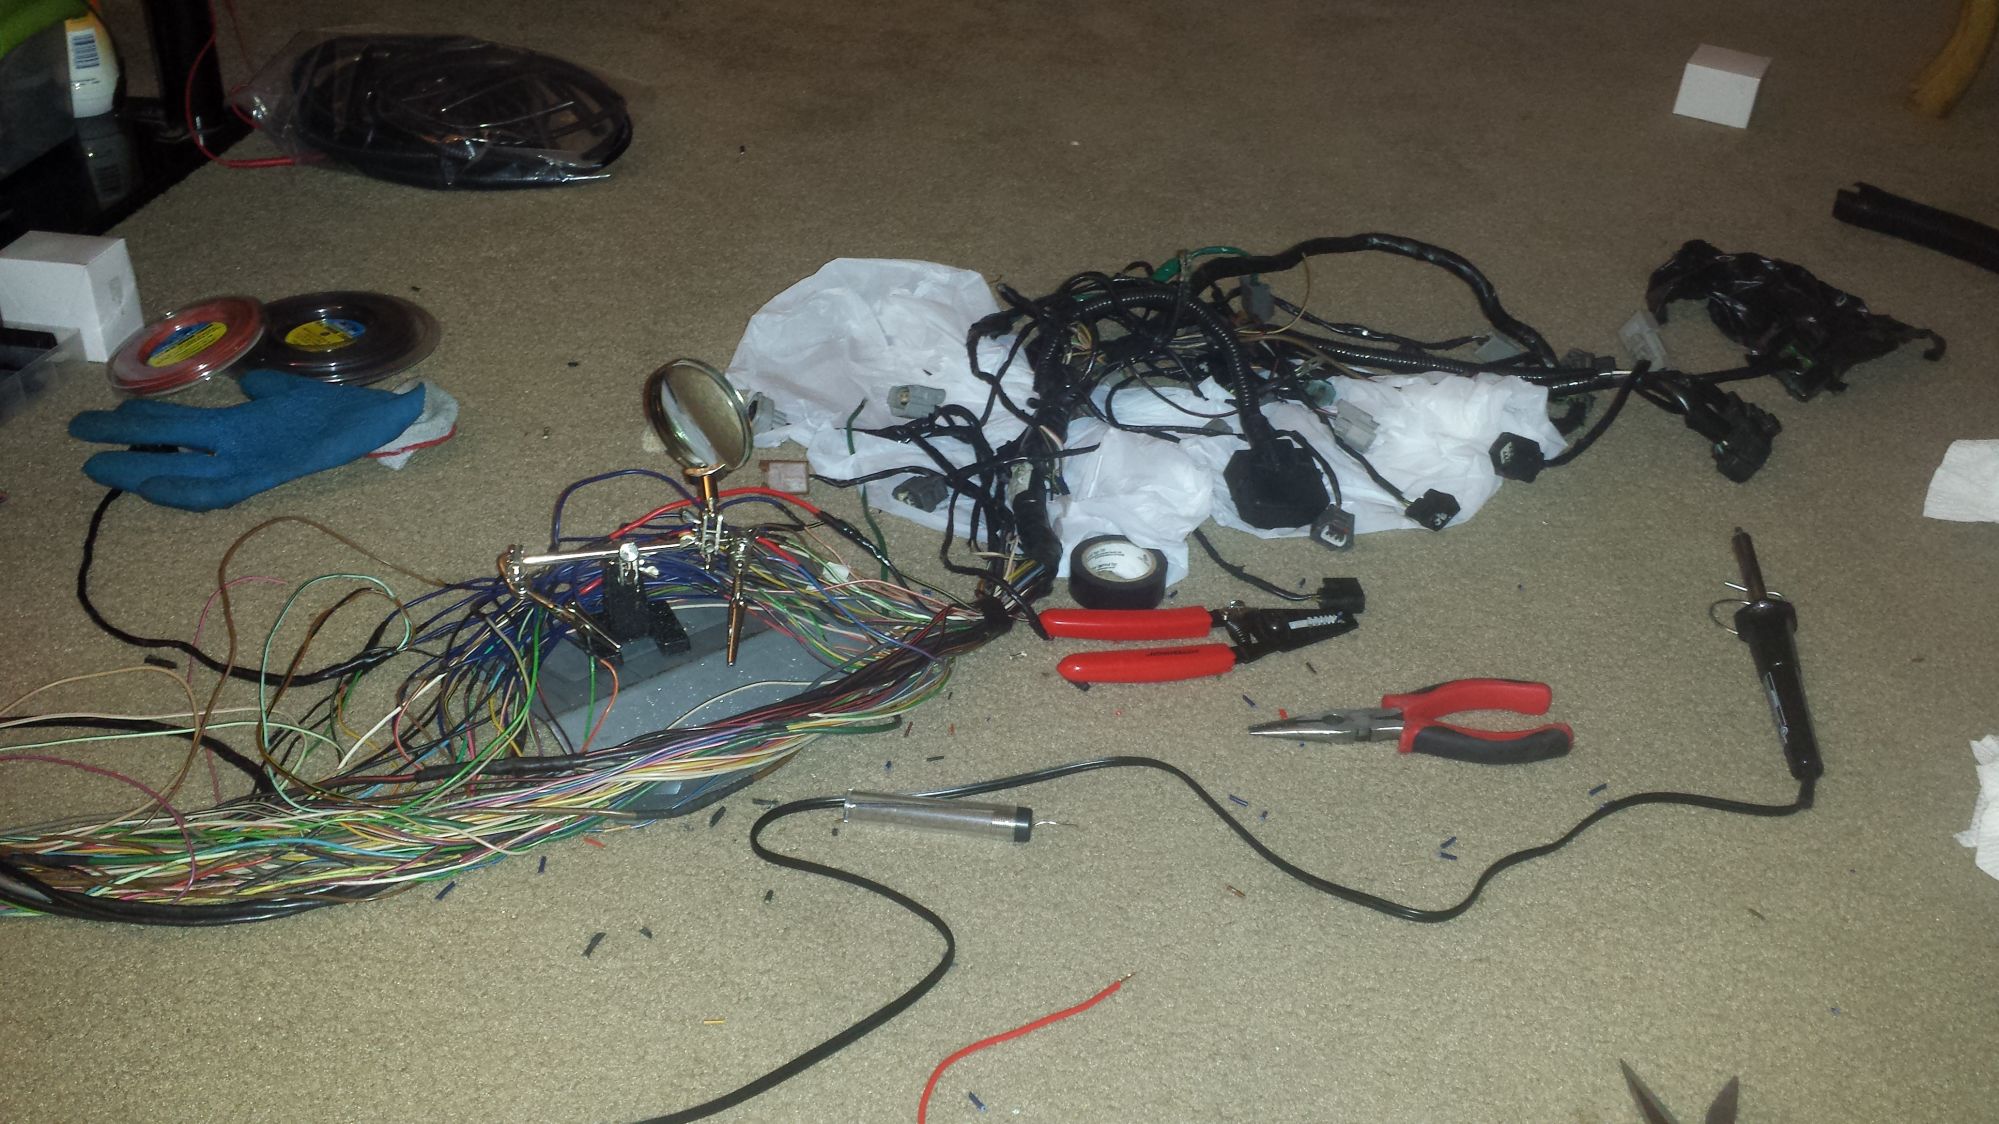
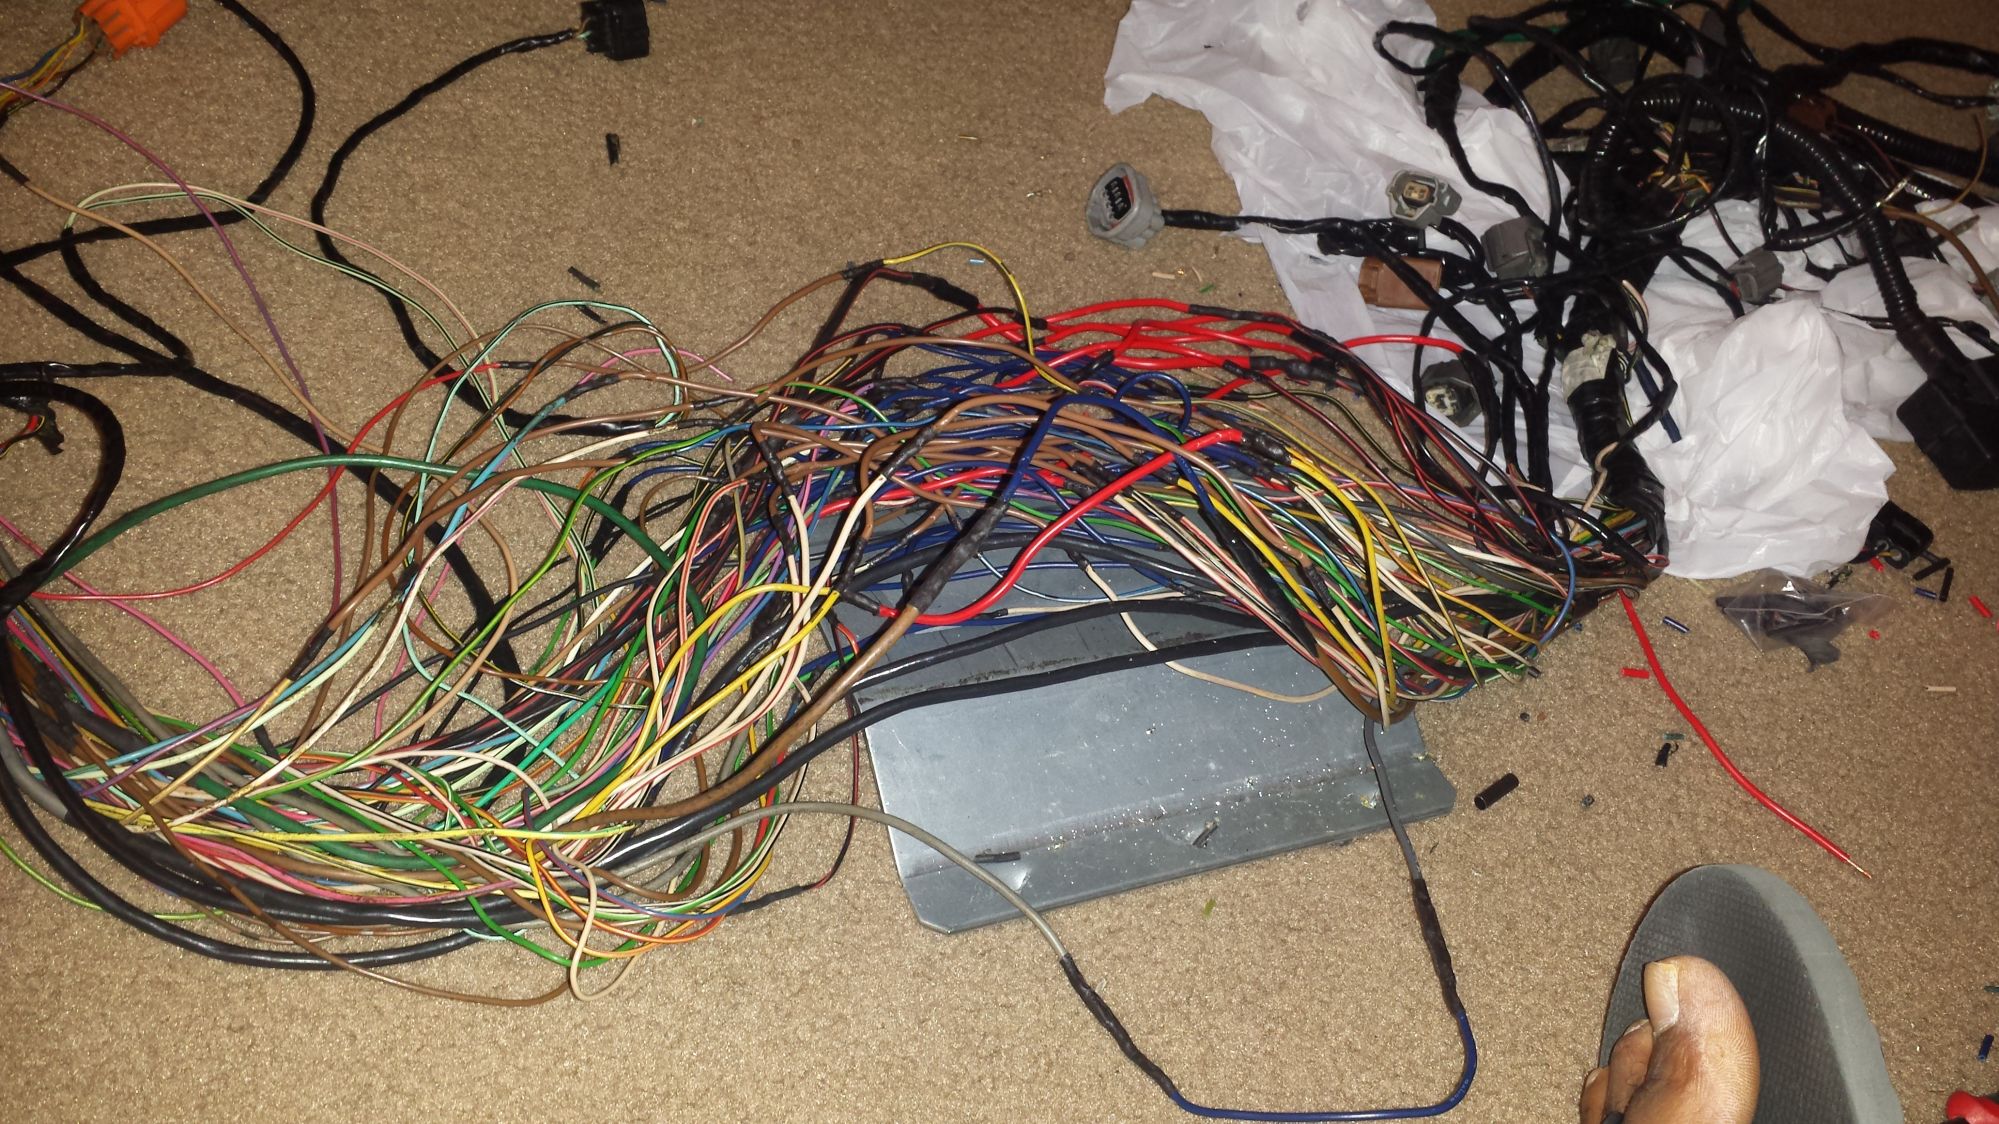
once again I hate wiring, just pick a spot, and extend all the wires with the proper gauge.
so I was tired of that bland plastic overflow bottle. I seen another sc owner(suplex) and he inspired me to get a nifty wrx overflow alum bottle and put the location in a more IDEAL place.
originally can was too tall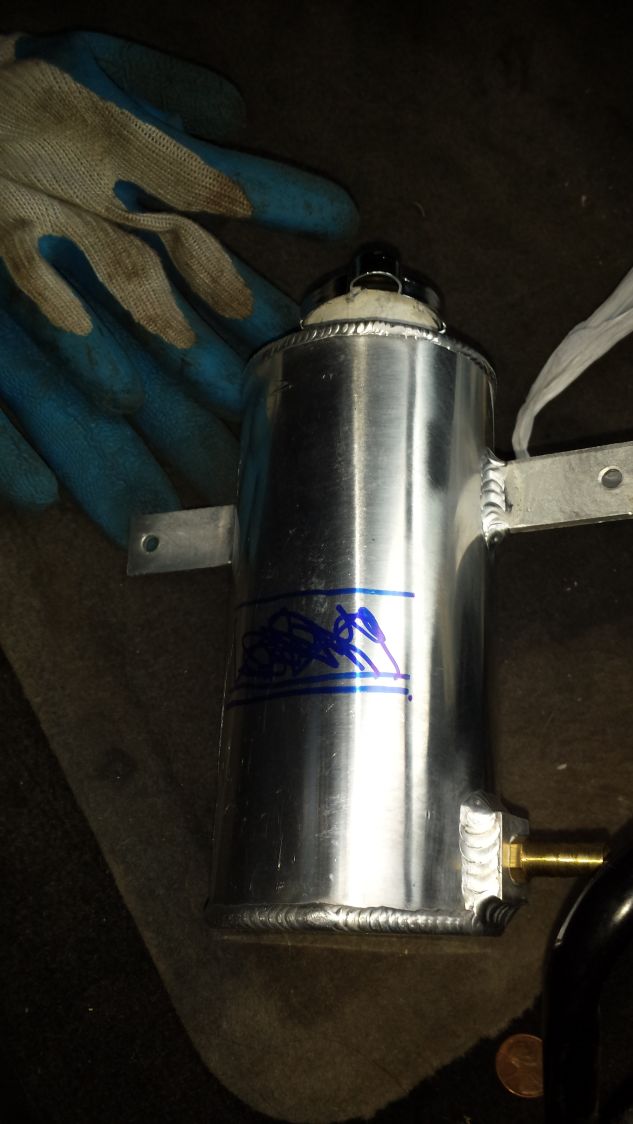
so time to fix it.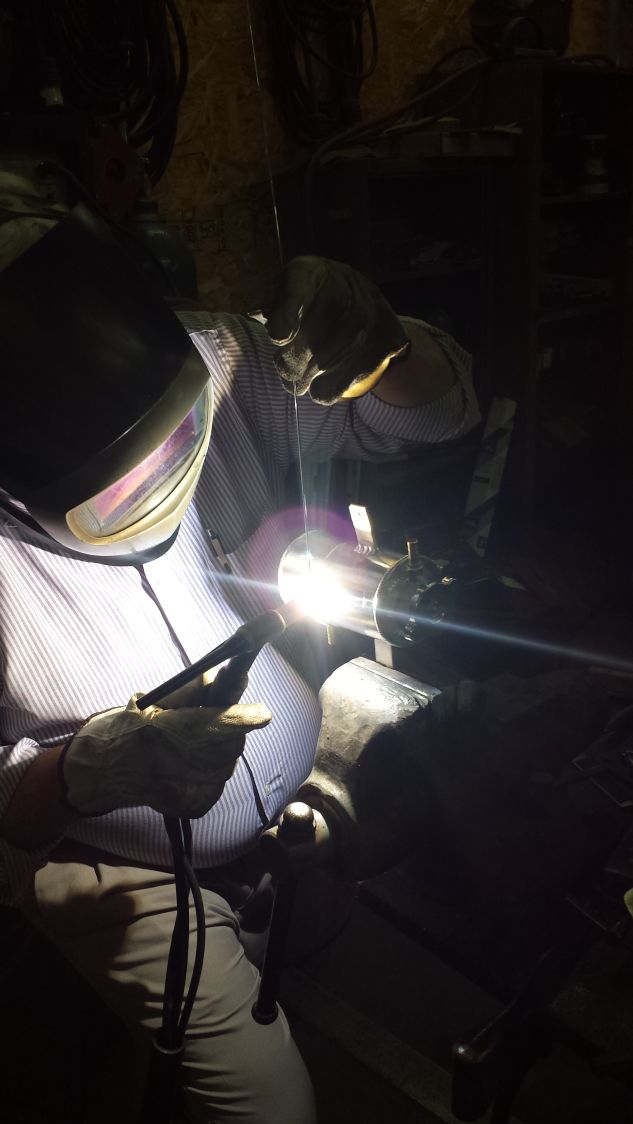
it's ready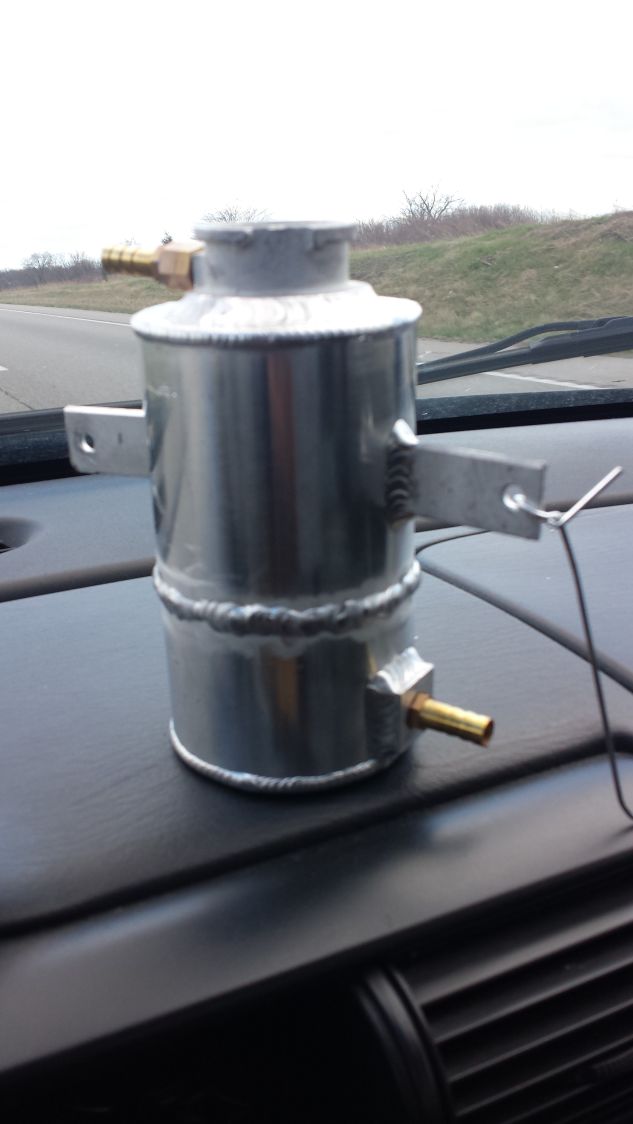
and done.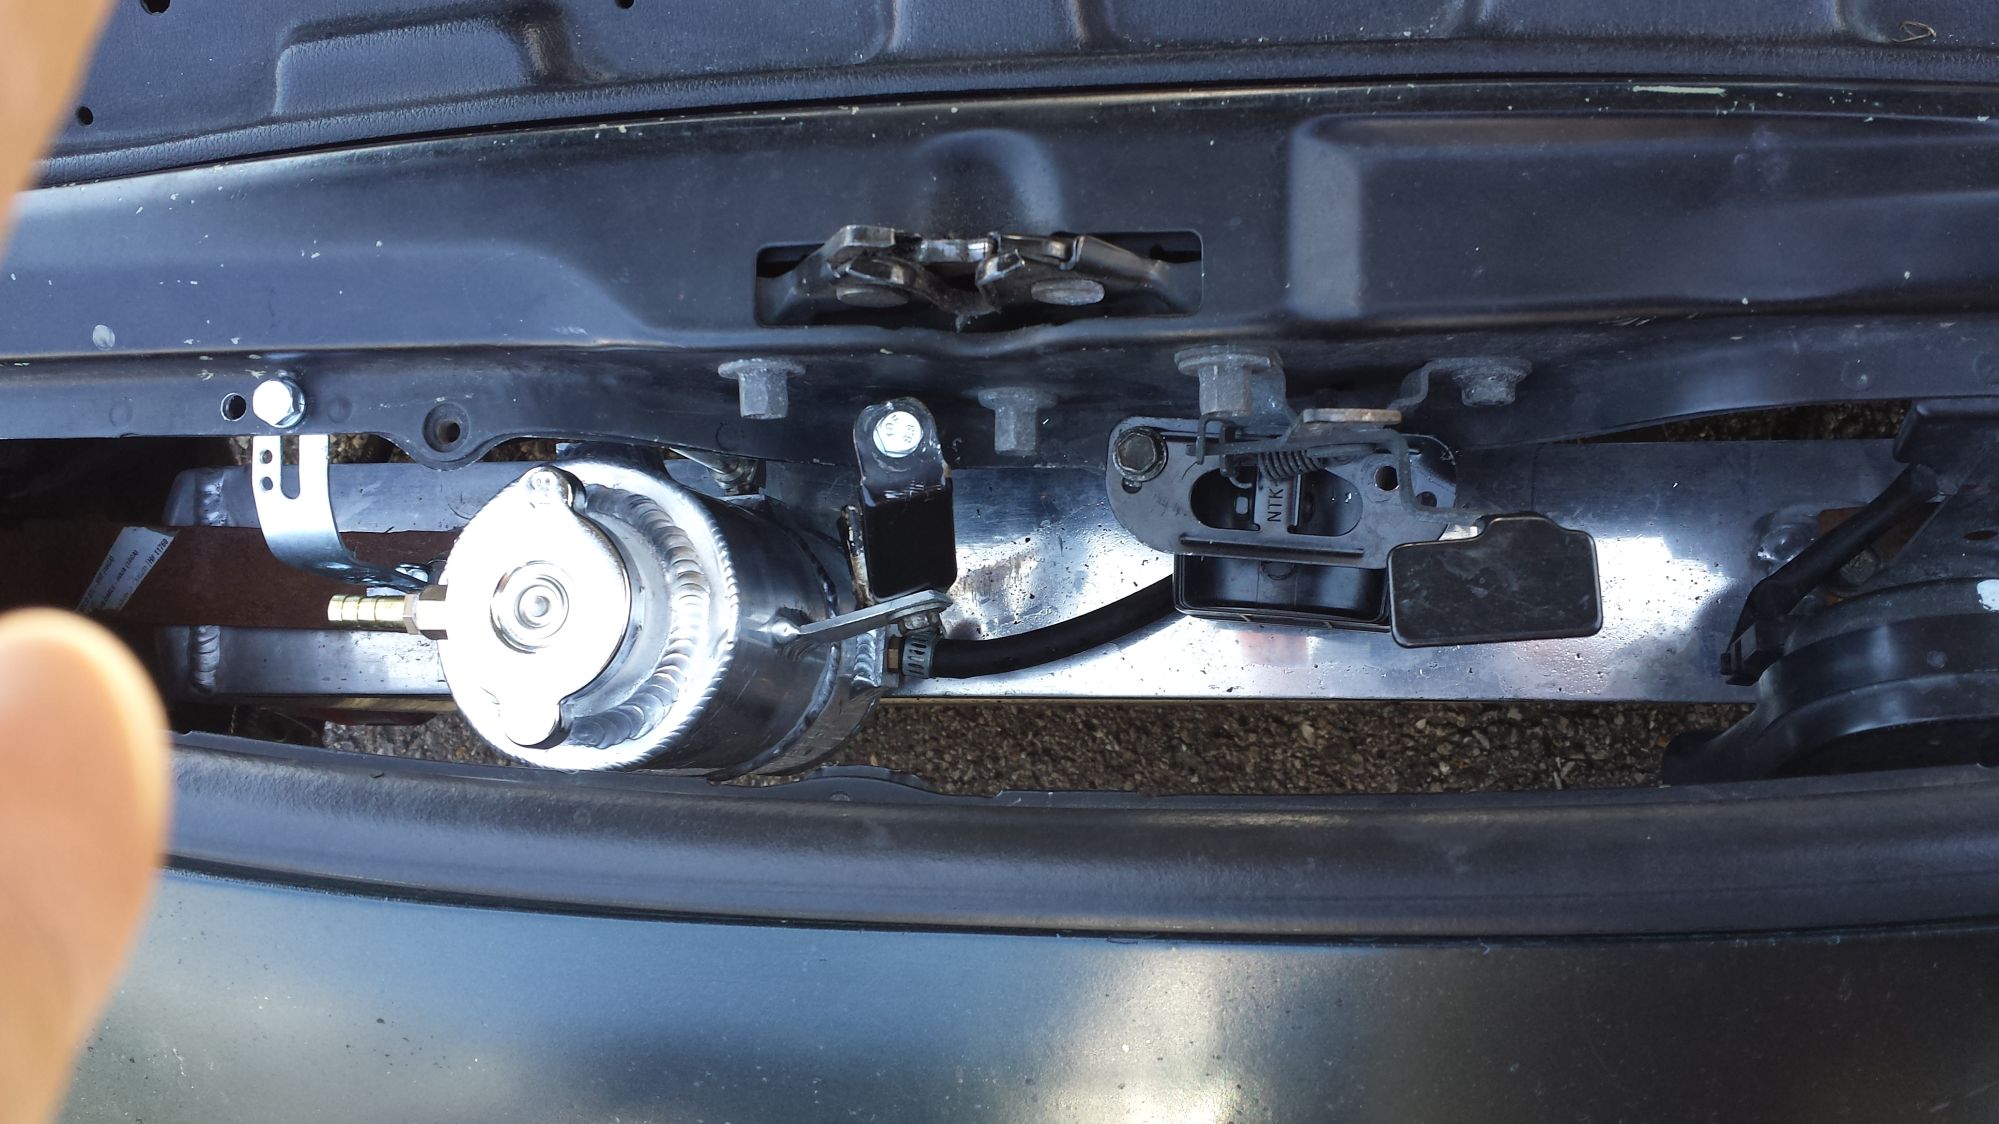
and here is a look at my poverty-spec full 3" exhaust. I welded it together myself. uses only 2 v-band connectors for a quick disengage.
5-23-2016
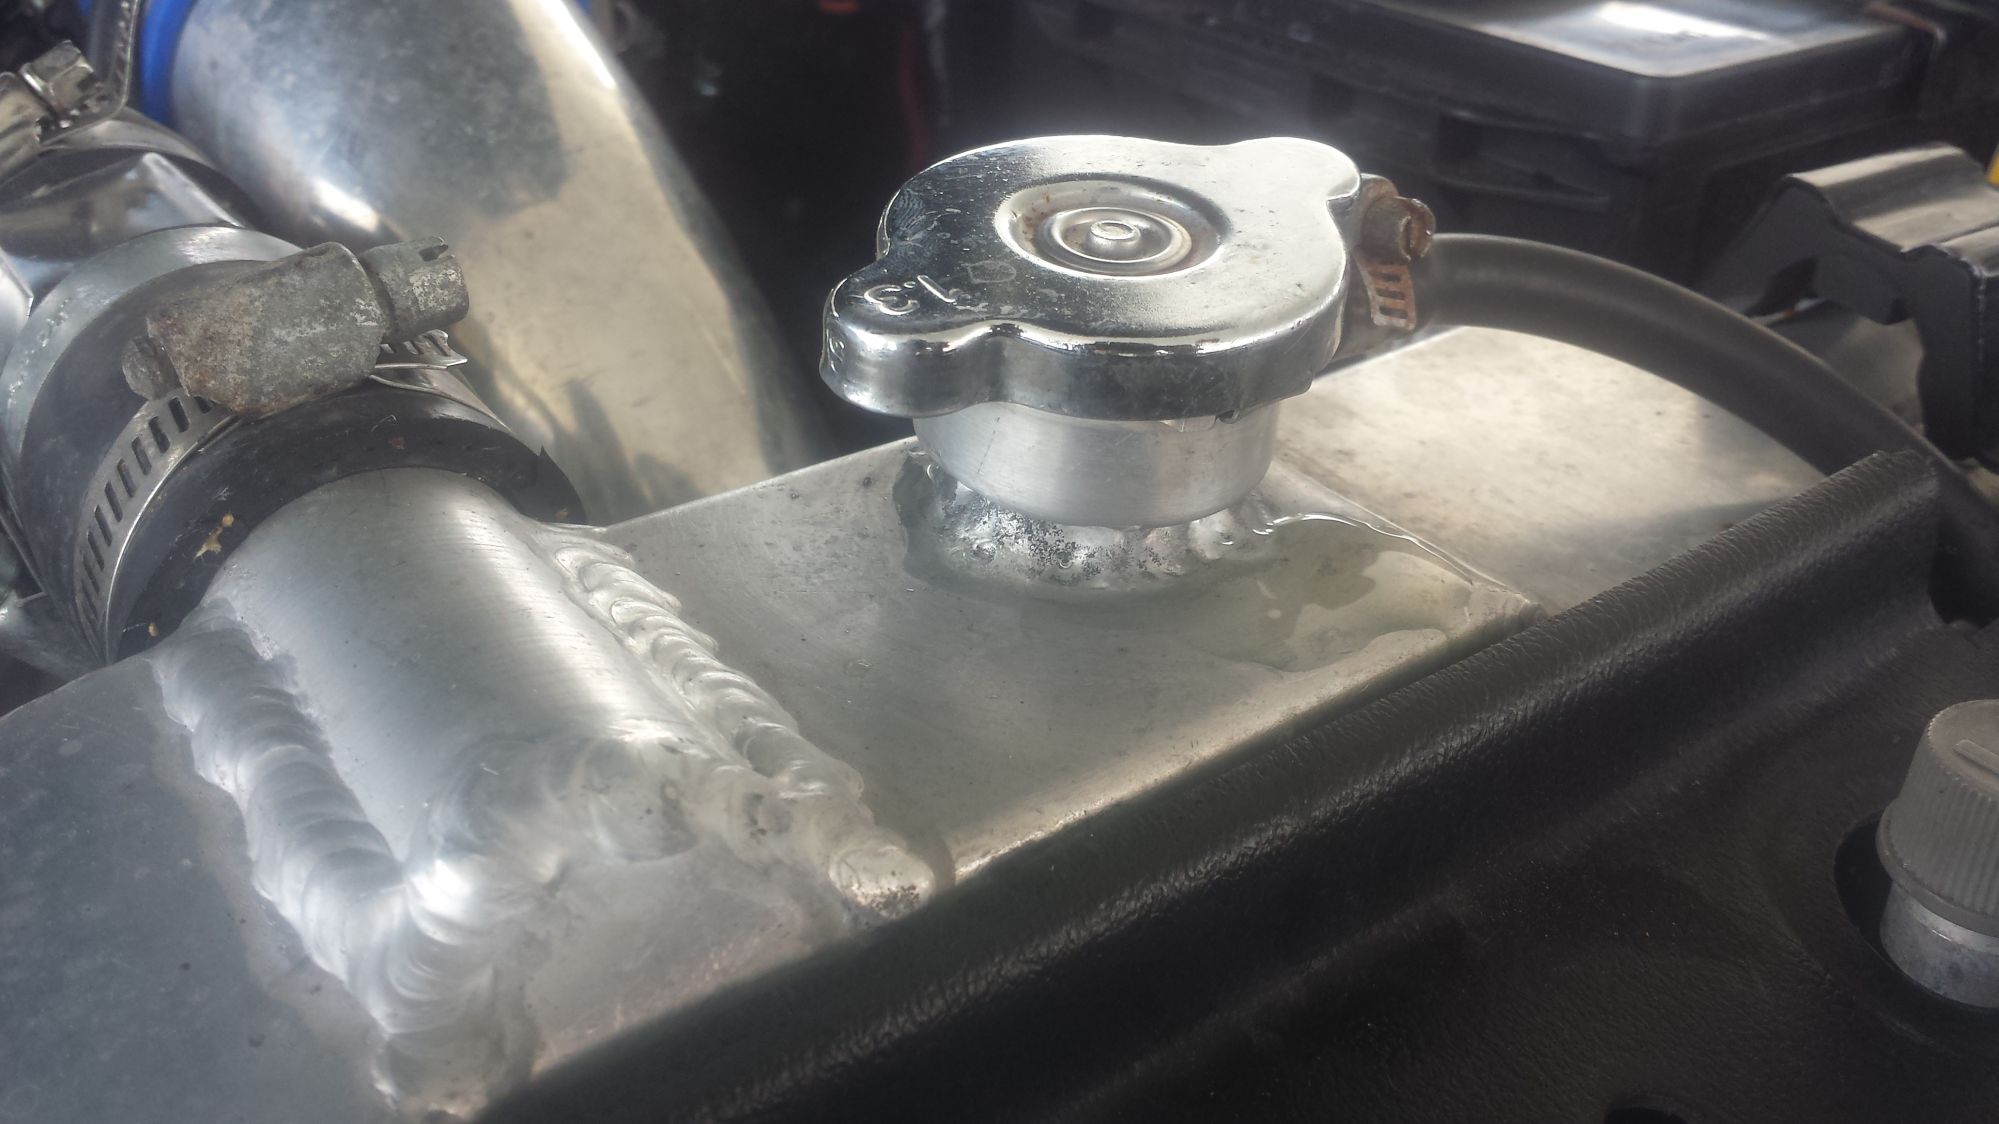
so my water neck was leaking. I went to the weld-master Austin to fix it. now I need a higher pressure rad cap for the dyno pulls.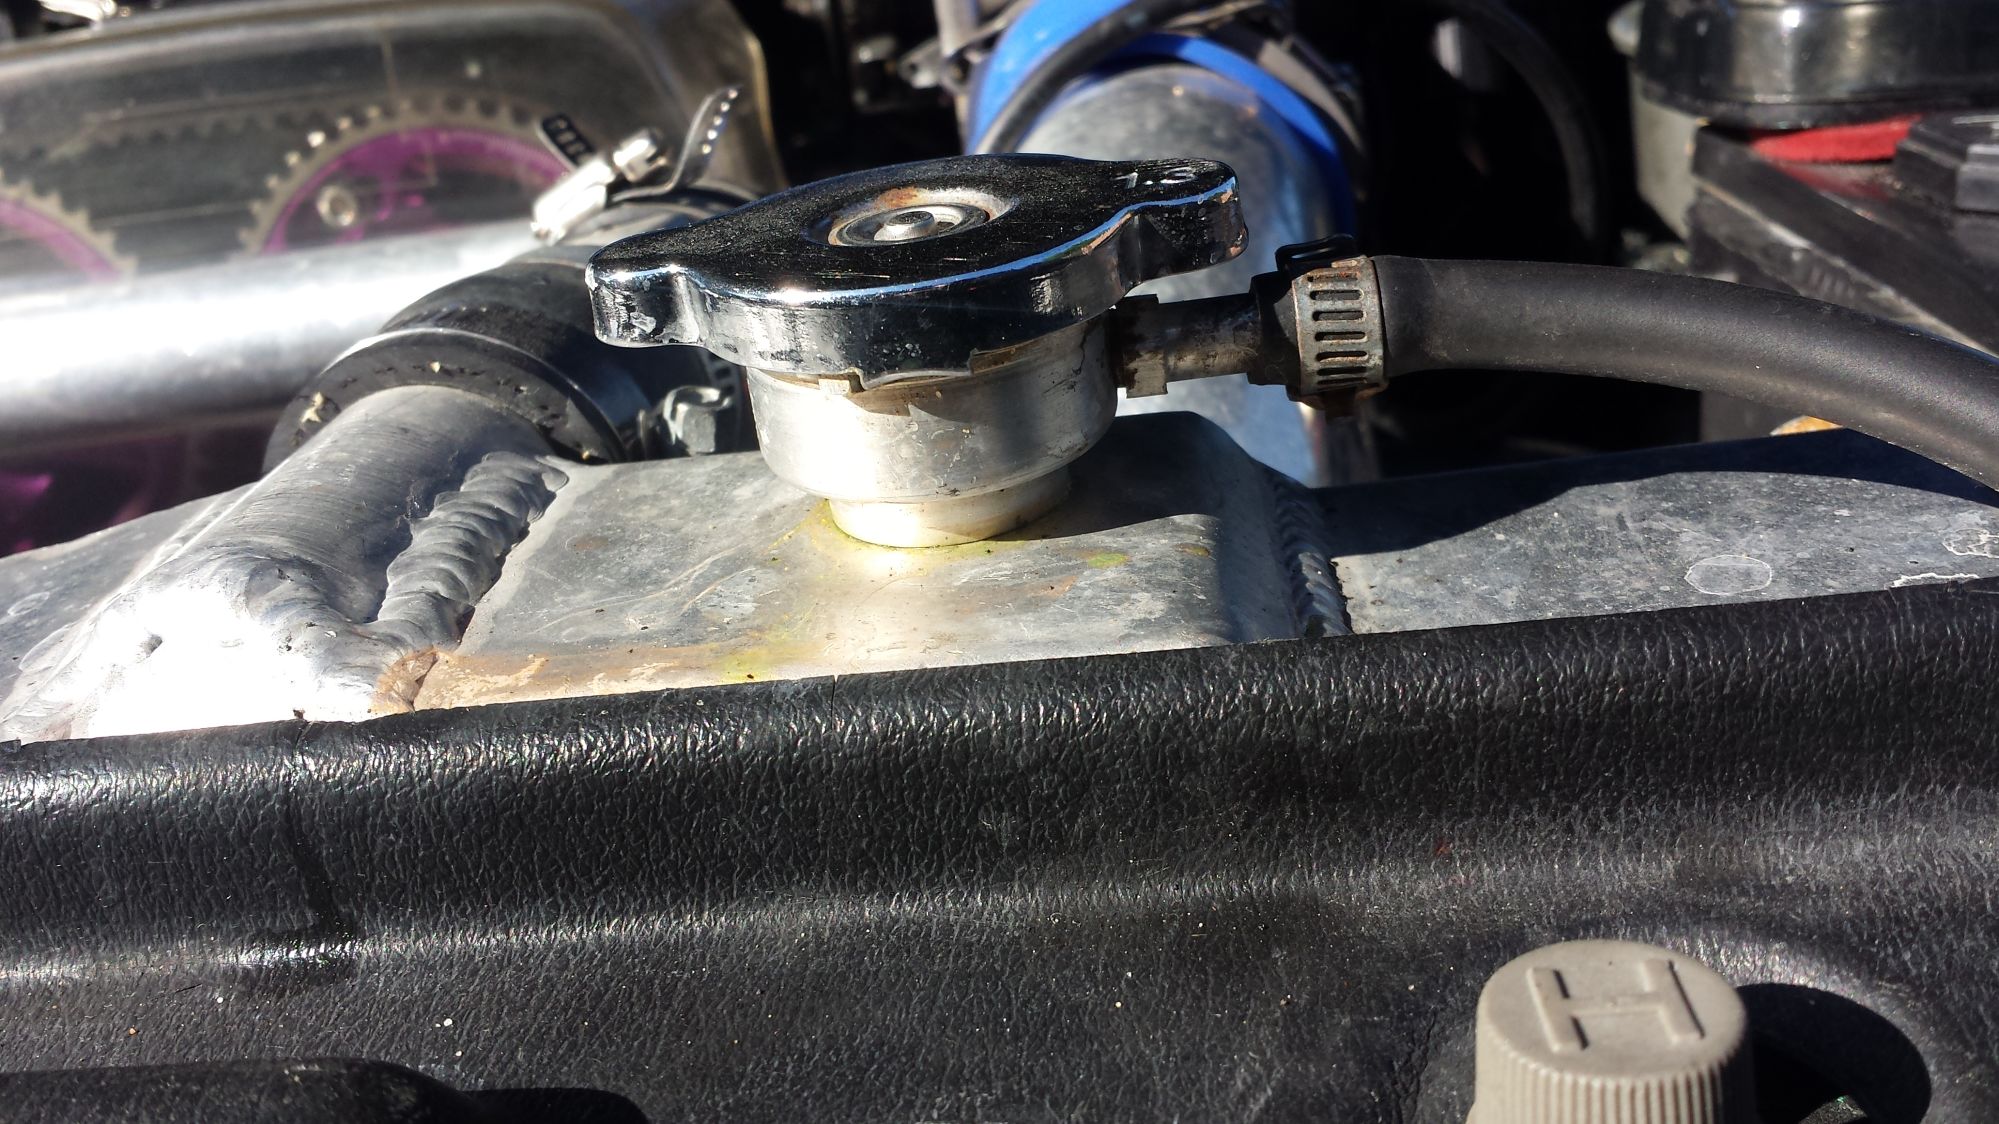
6-25-2016
Hmm where was i? oh yes...
so last time i updated this i was driving around, using this as my daily driving. i made a tune that i could get around with/daily drive with. thank goodness i have experience on nistune and for the fast king videos. so my work took me down to Texas for a few weeks. Dallas through San Antonio.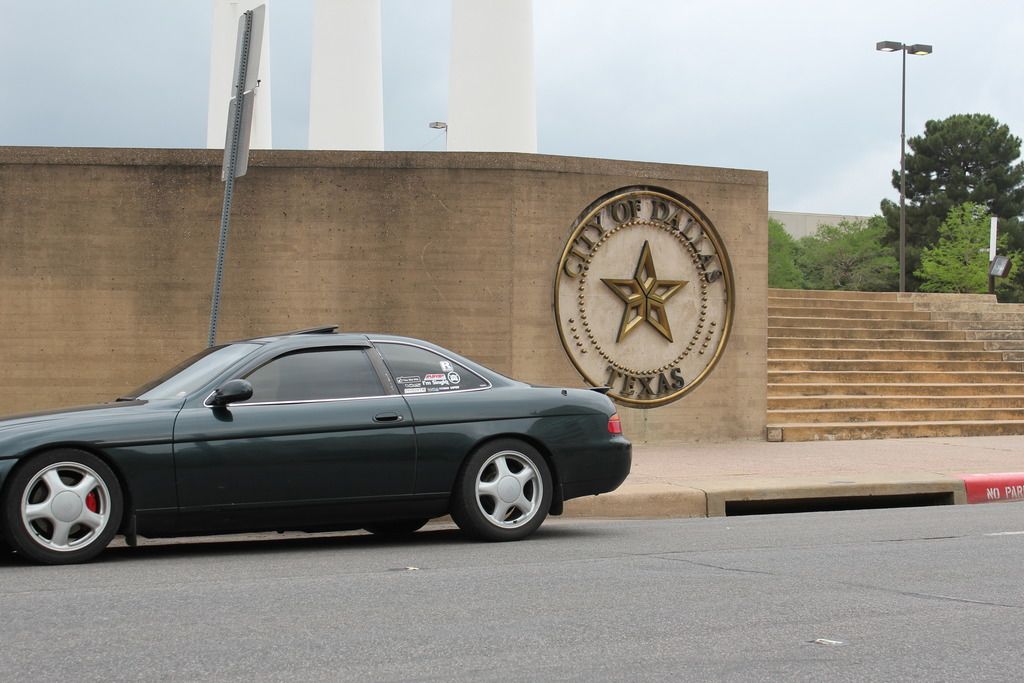
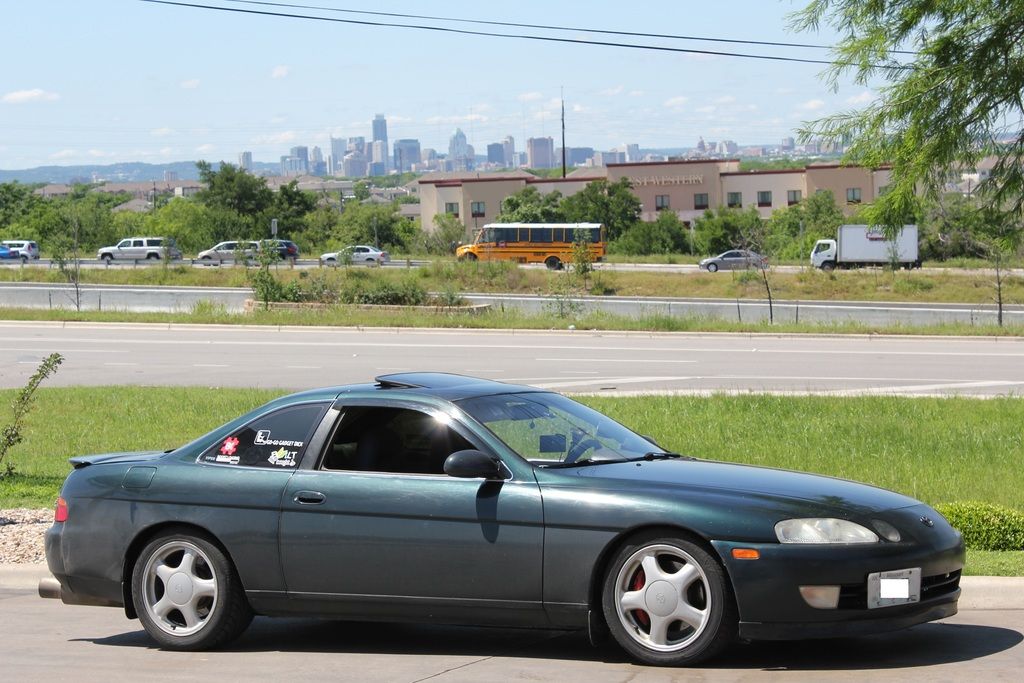
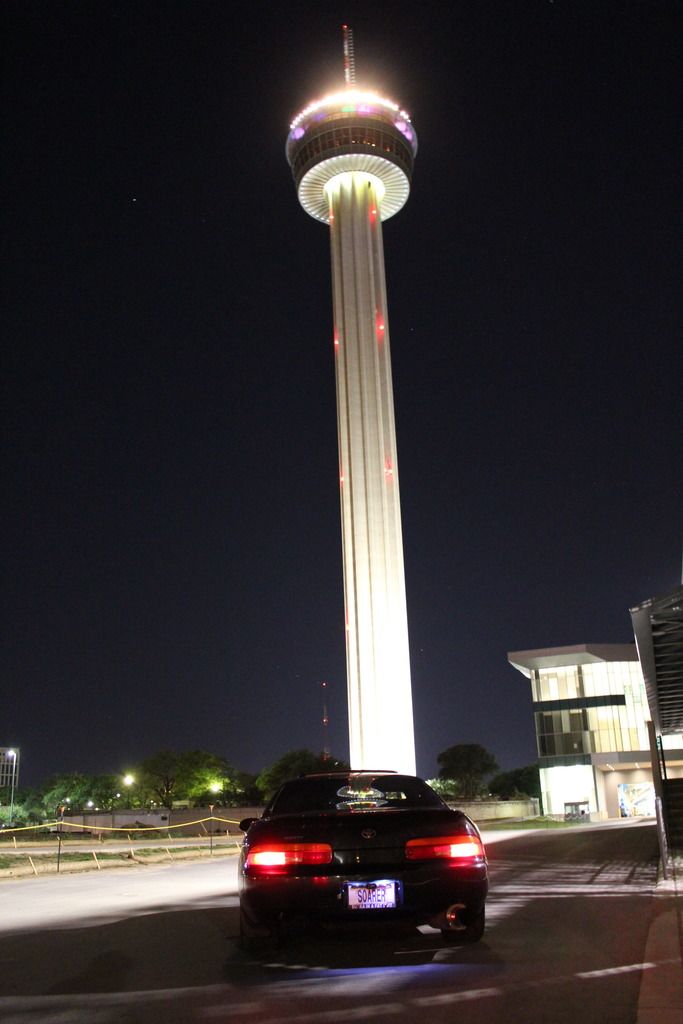
it was while i was down here i got the bug to finally get a tune. so i called up a few shops, they all wanted too much. anywhere from 750+
i feel that a good tune for just 1 map should cost no more than $600.00-max
so i for some reason called sound performance and they were in that range, so after a few weeks i made my way to Chicago to finally meet the rollers(properly).
when i got to sp it was hard to find at first, it's hidden behind some warehouses, so i had to do a lap to find the cars.
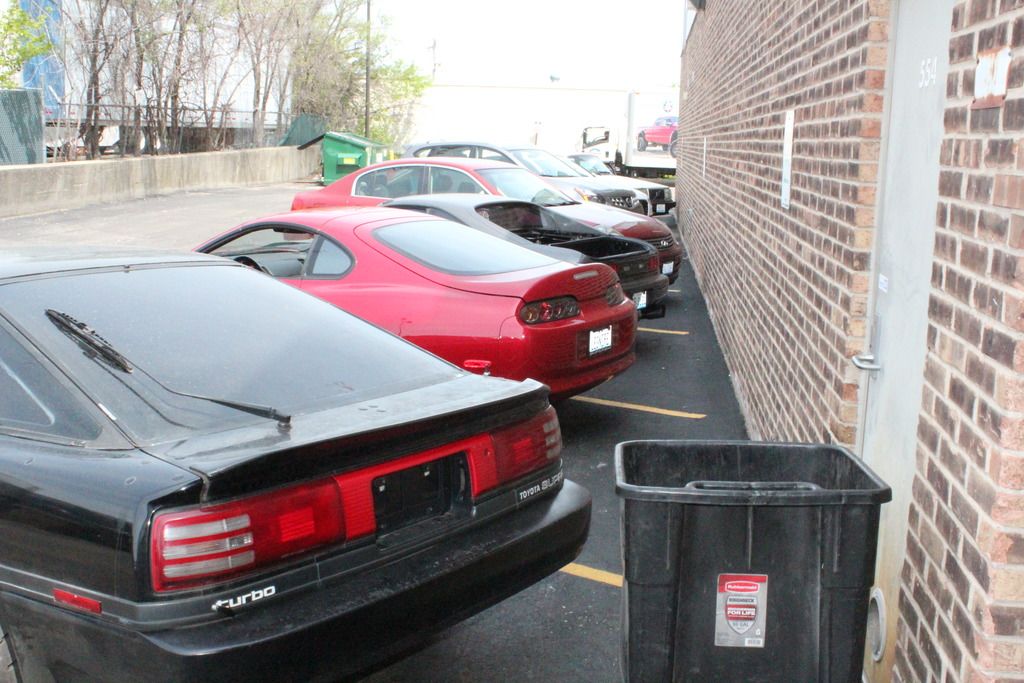
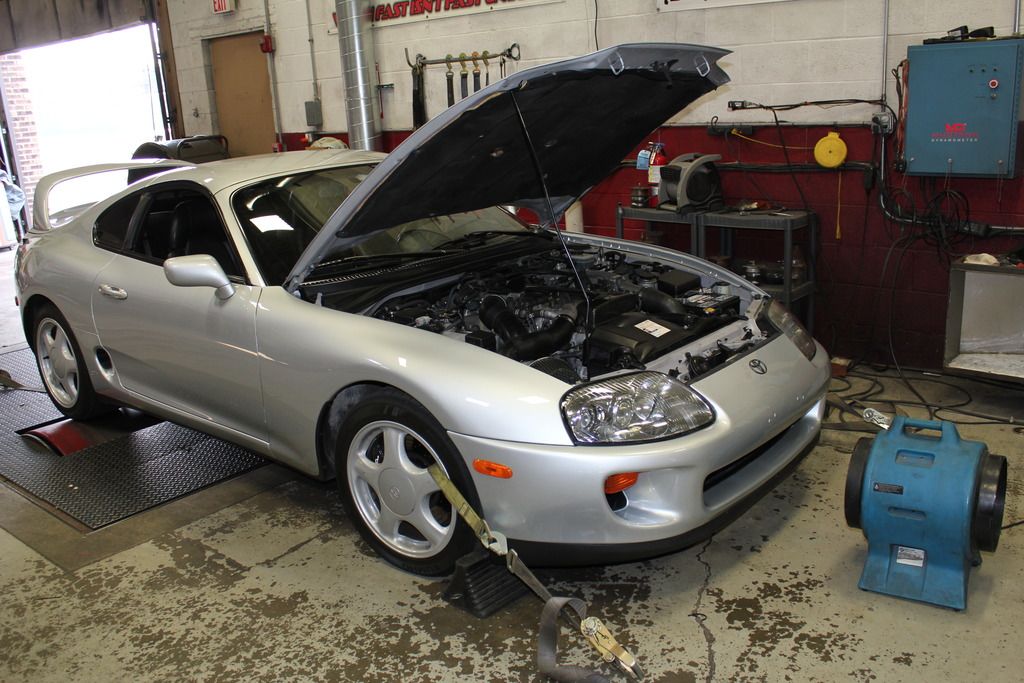
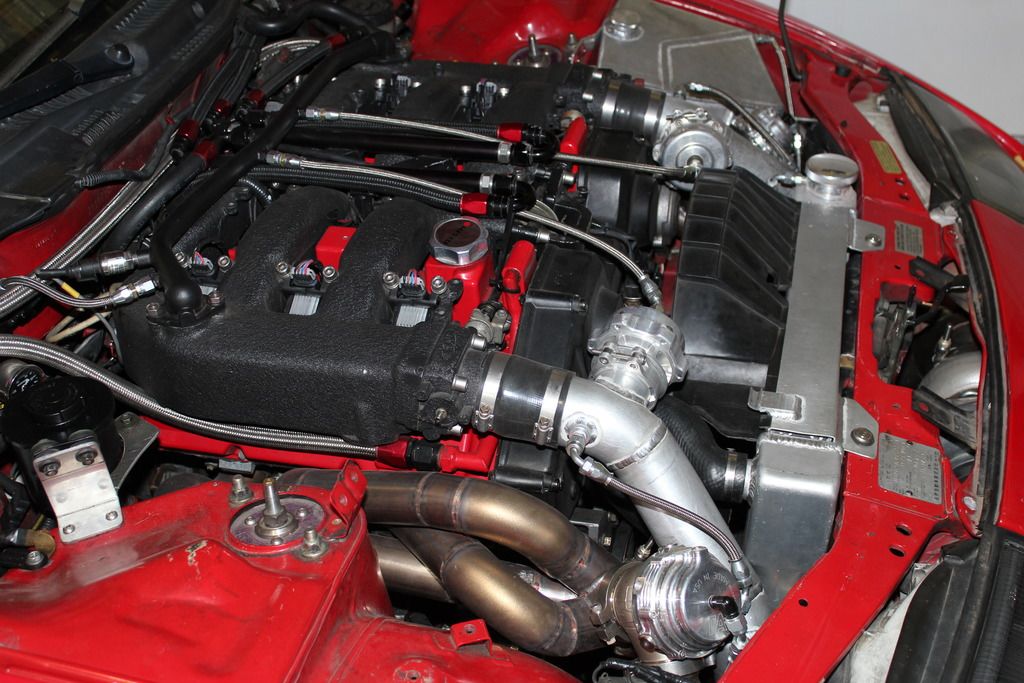
just a few of the cars i seen when i got there. a real professional import shop, the last of a dying breed indeed.
so after a bit got strapped down and got to business.
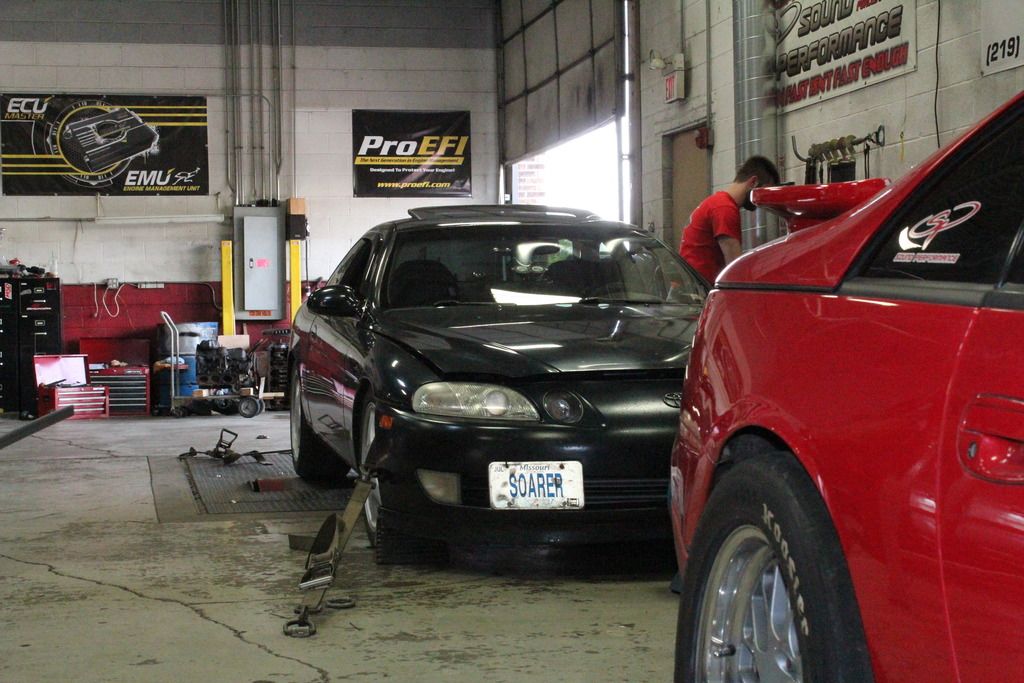
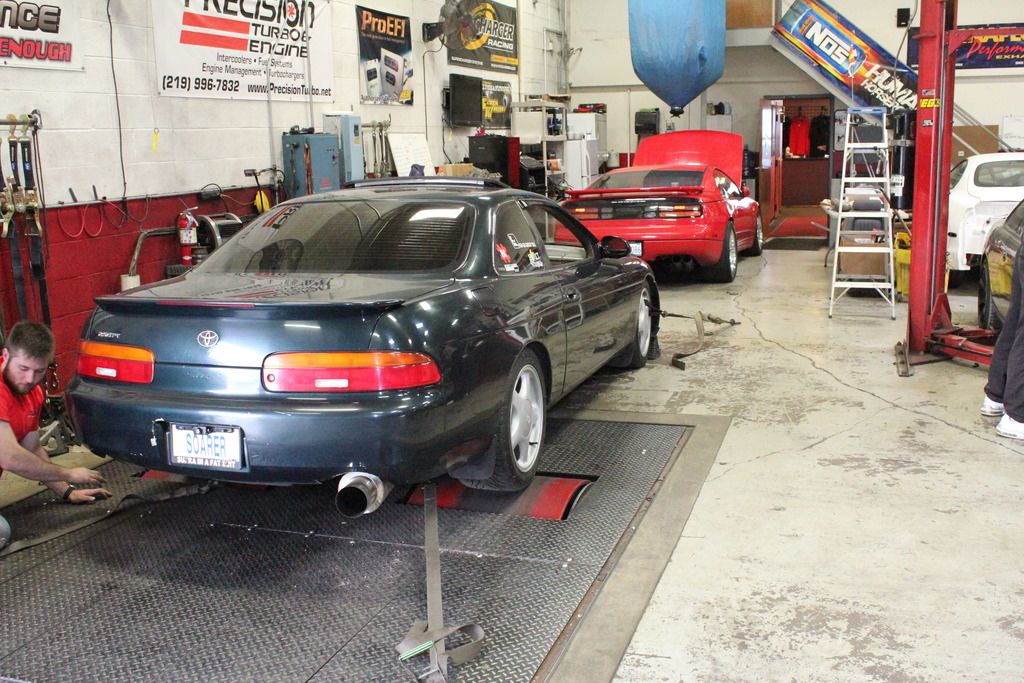
So thankfully the dyno guy allowed me to personally make some tweaks/checks/adjustments while trying to tune this mfer. i finally tapped my wide band into the aem unit. brought a filter for my iaac unit. did my best to adjust the idle screw on the throttle plate.
things were going well then hit a skid mark when the dwell started acting up.
So we checked the spark and adjusted the timing.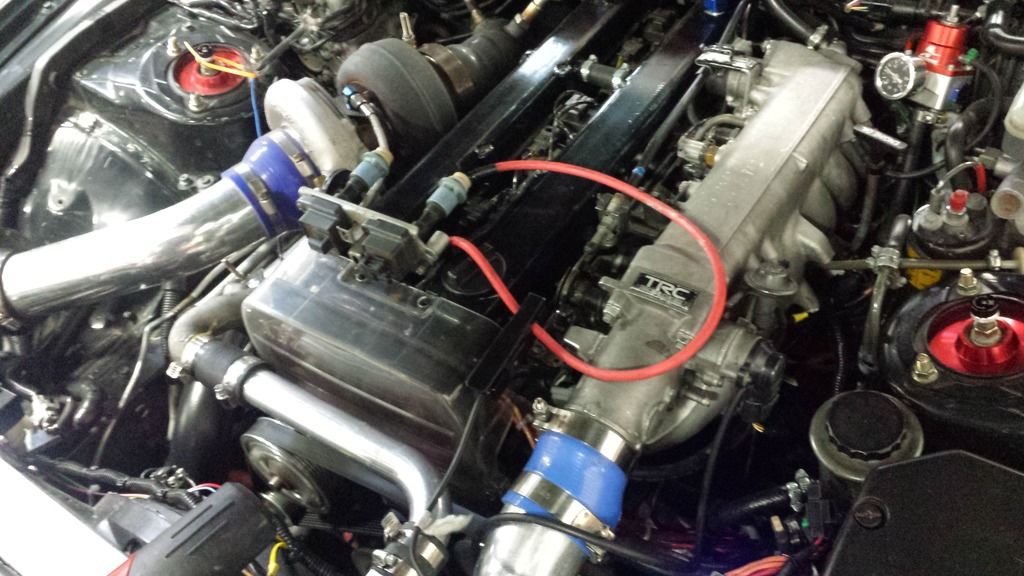
Still no dice, then he fixed the dwell got it rev then disaster struck.
my rings went kaput. did a compression test and only 1 cylinder was healthy, one was 30psi and one was 60.
so that was my tune for the day, i finished out at 263whp on 9 psi. (i need a ebc controller for the aem).
so i got a few qts of oil from the guys and made my trek back to Missouri, defeated but not done, i vowed to come back.
im thinking the rings went because of poor crank case ventilation, i plugged the pcv valves and ran 10an lines to an oil catch can with no vacuam.
i was also told the filter on top of the can was way too small.
Now(currently) it huffs white smoke and some oil out that same filter.
so now it was time to go 1.5jz. i got home and that next week sourced a older gs from a local junkyard.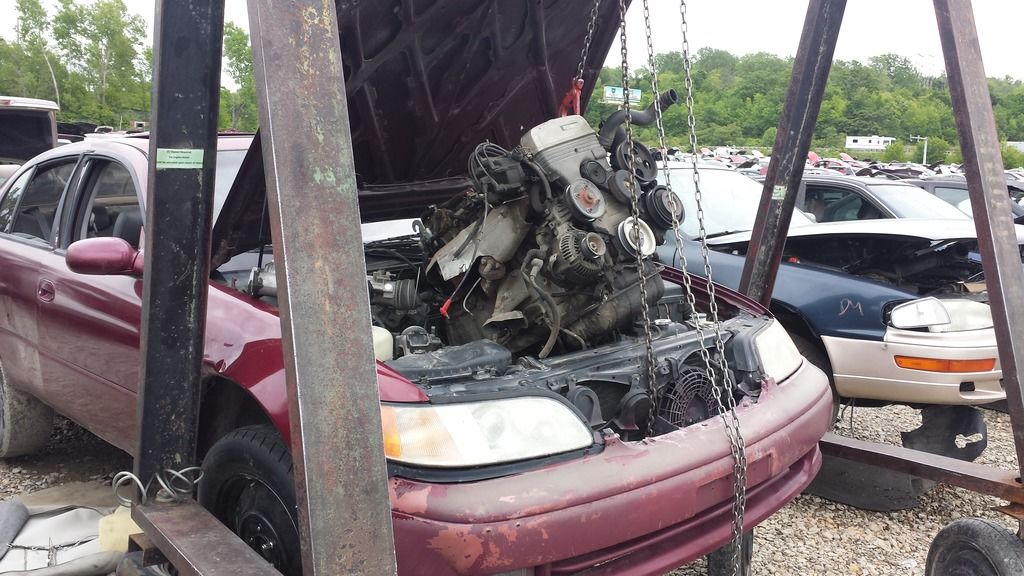
so here we are again, faced with a 2jzge, and once again not 1 but 2 of the bolts don't want to cooperate.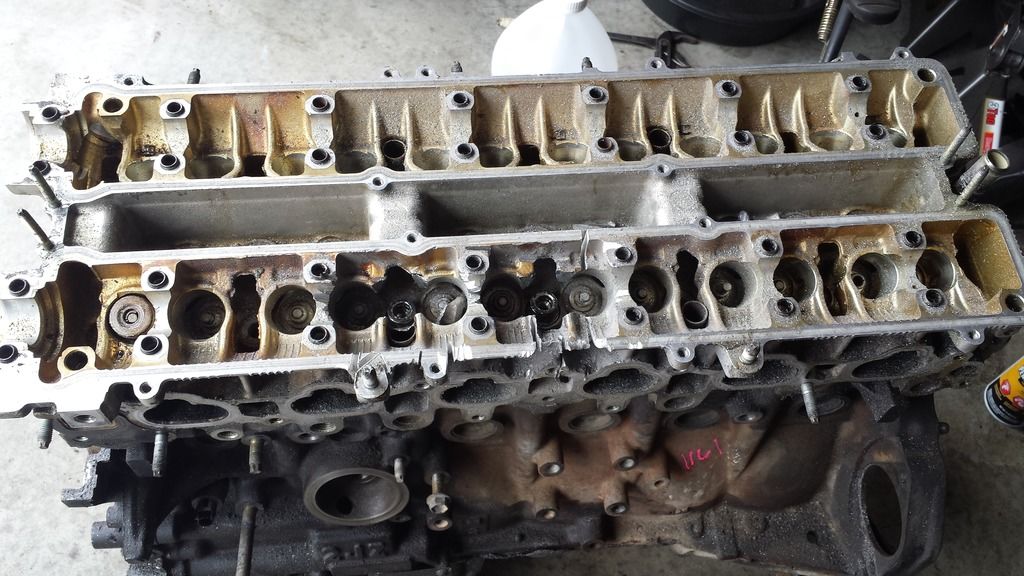
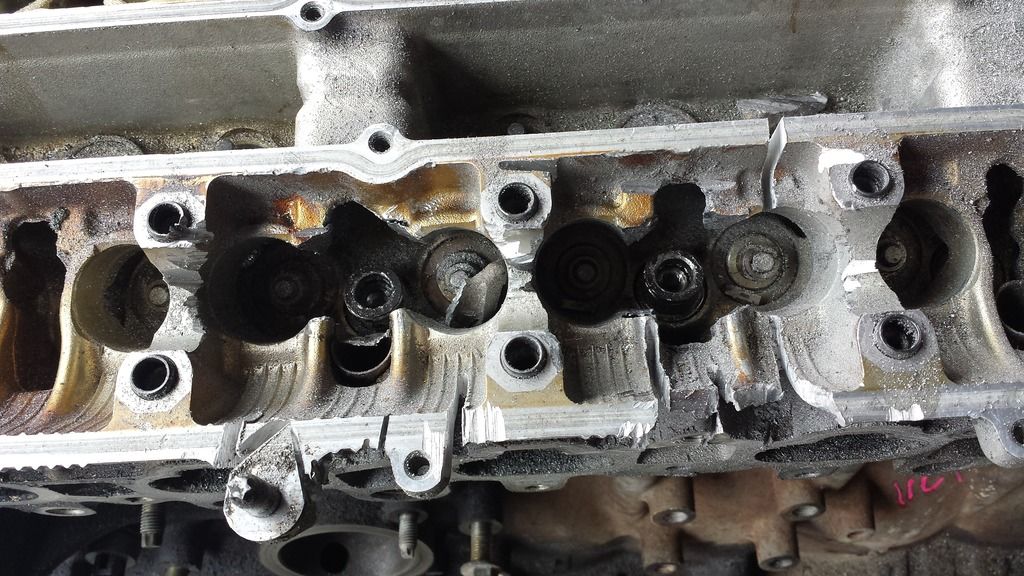
so i had to get smarter than the bolts and mutilate them from within the block. luckily they were right next to each other.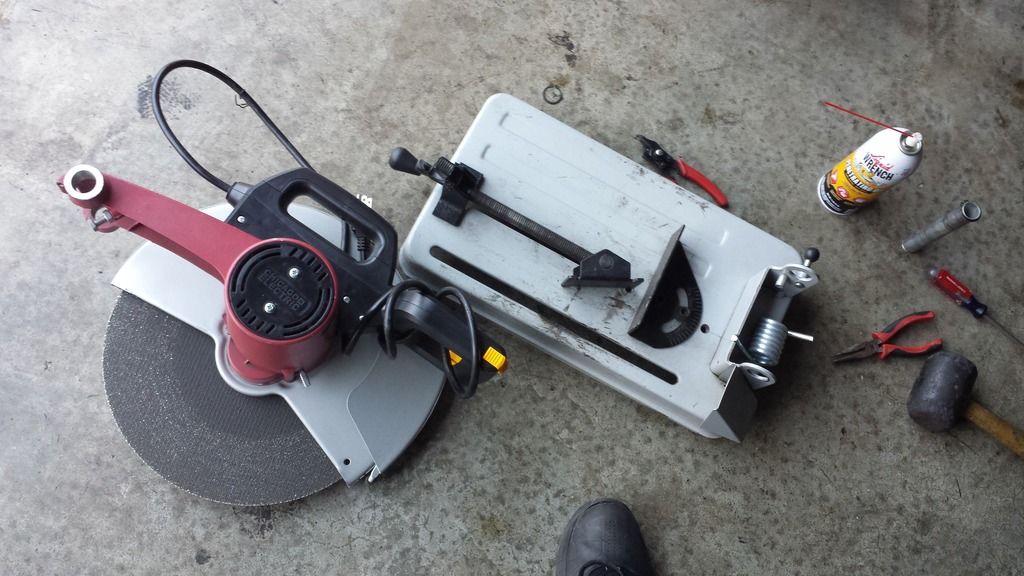
then finally finally, the block was freed!!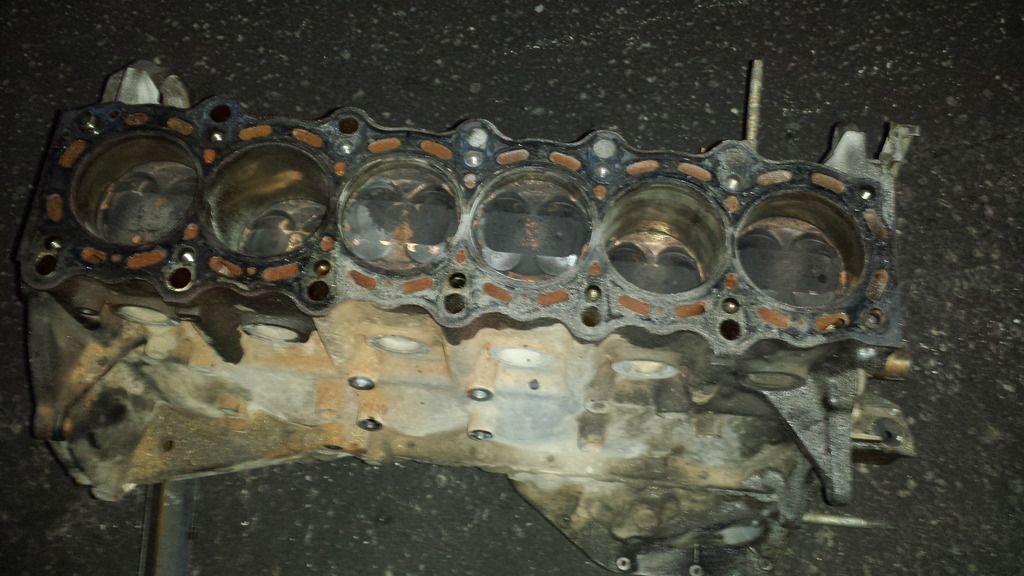
so now time to purchase some goodies and send this block away so i can get it back together in a timely manner?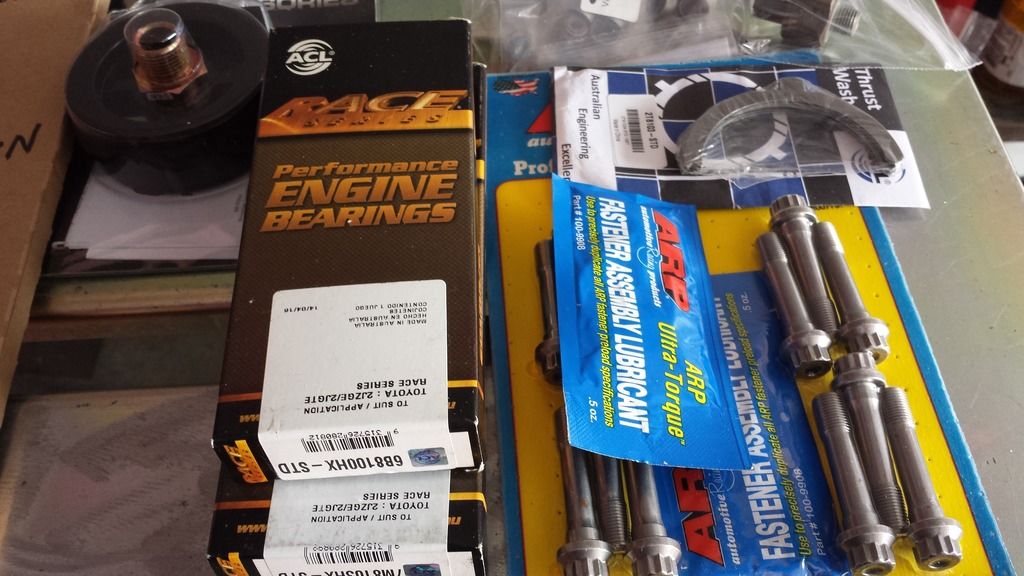
never disassembled an engine before. so this is new territory for me. but looks like the bearings were not shot to ****.
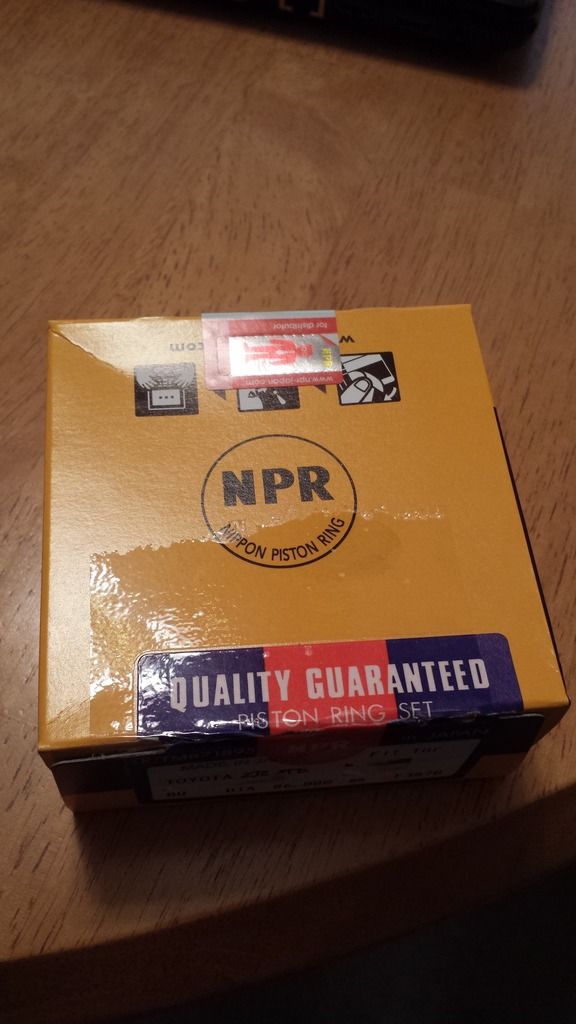
im just looking to do a stock rebuild with stock size rings and some better x-bearings.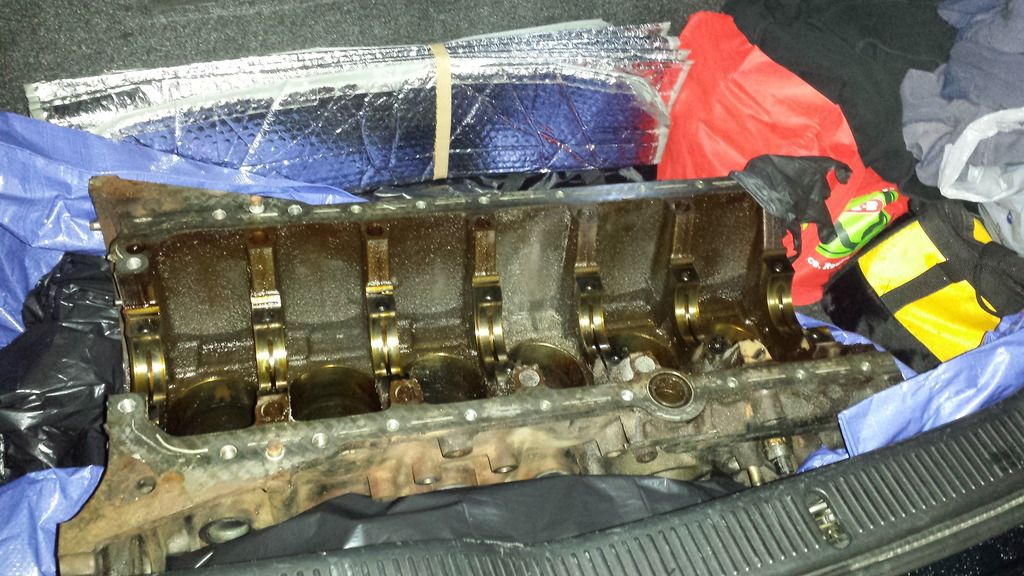
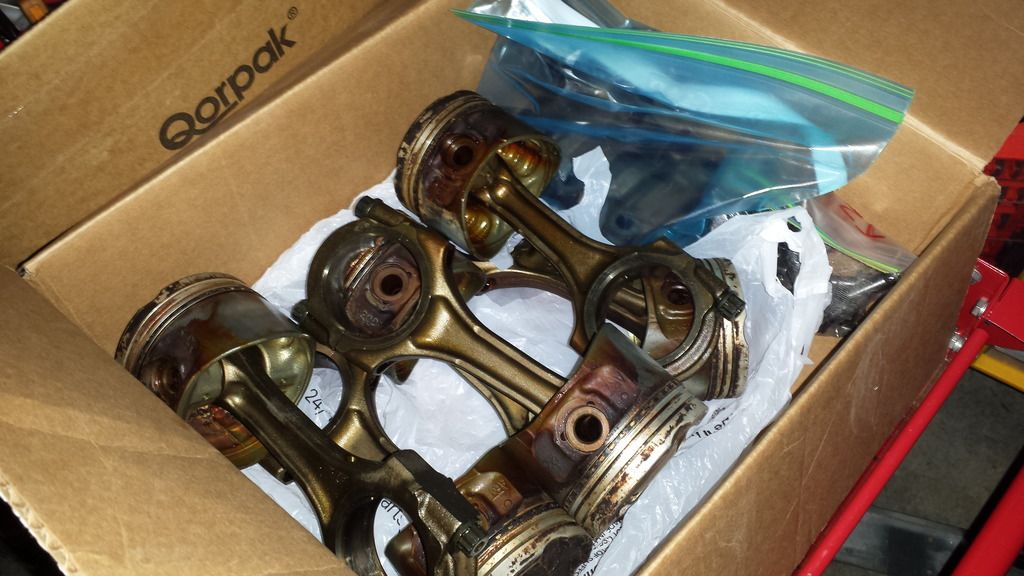
This thrust washer bearing thing is the most biggest problem i forsee for me.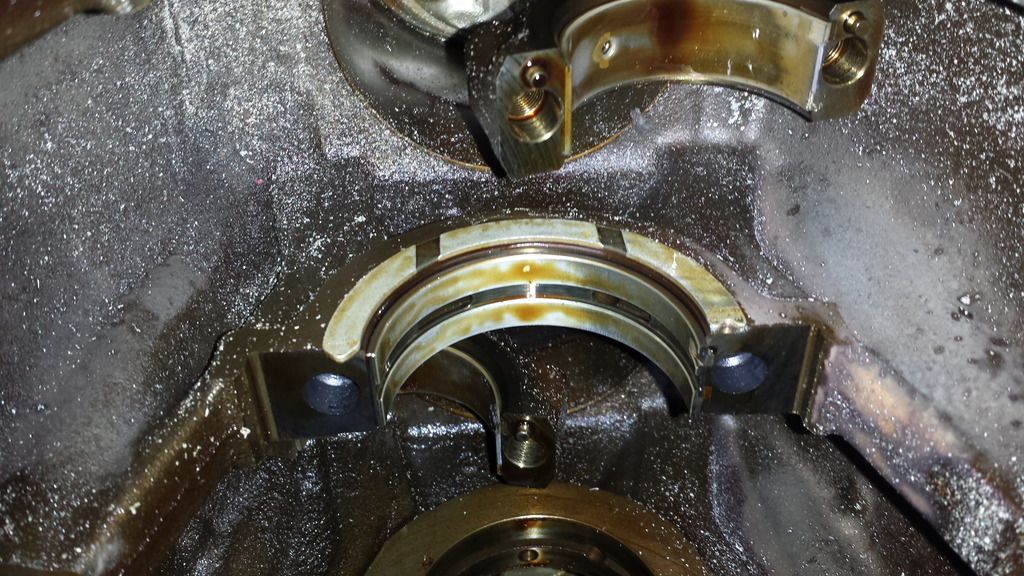
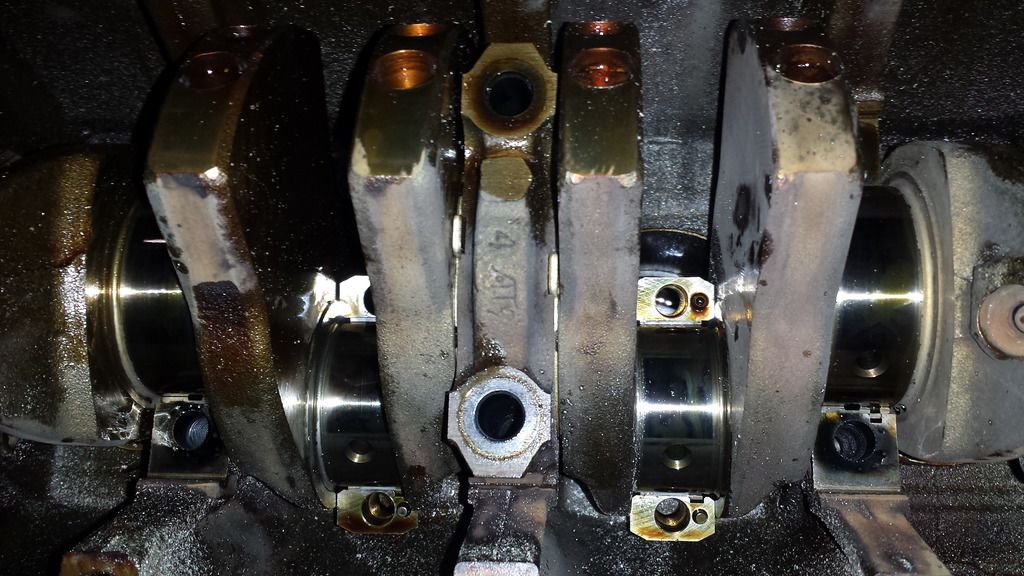
and that is all i have so far, waiting on the machine shop to get back to me. he is charging me $250.00
-hot tank
-clean pistons
-polish crank
-hone cylinders
-install piston rings
6-30-2016
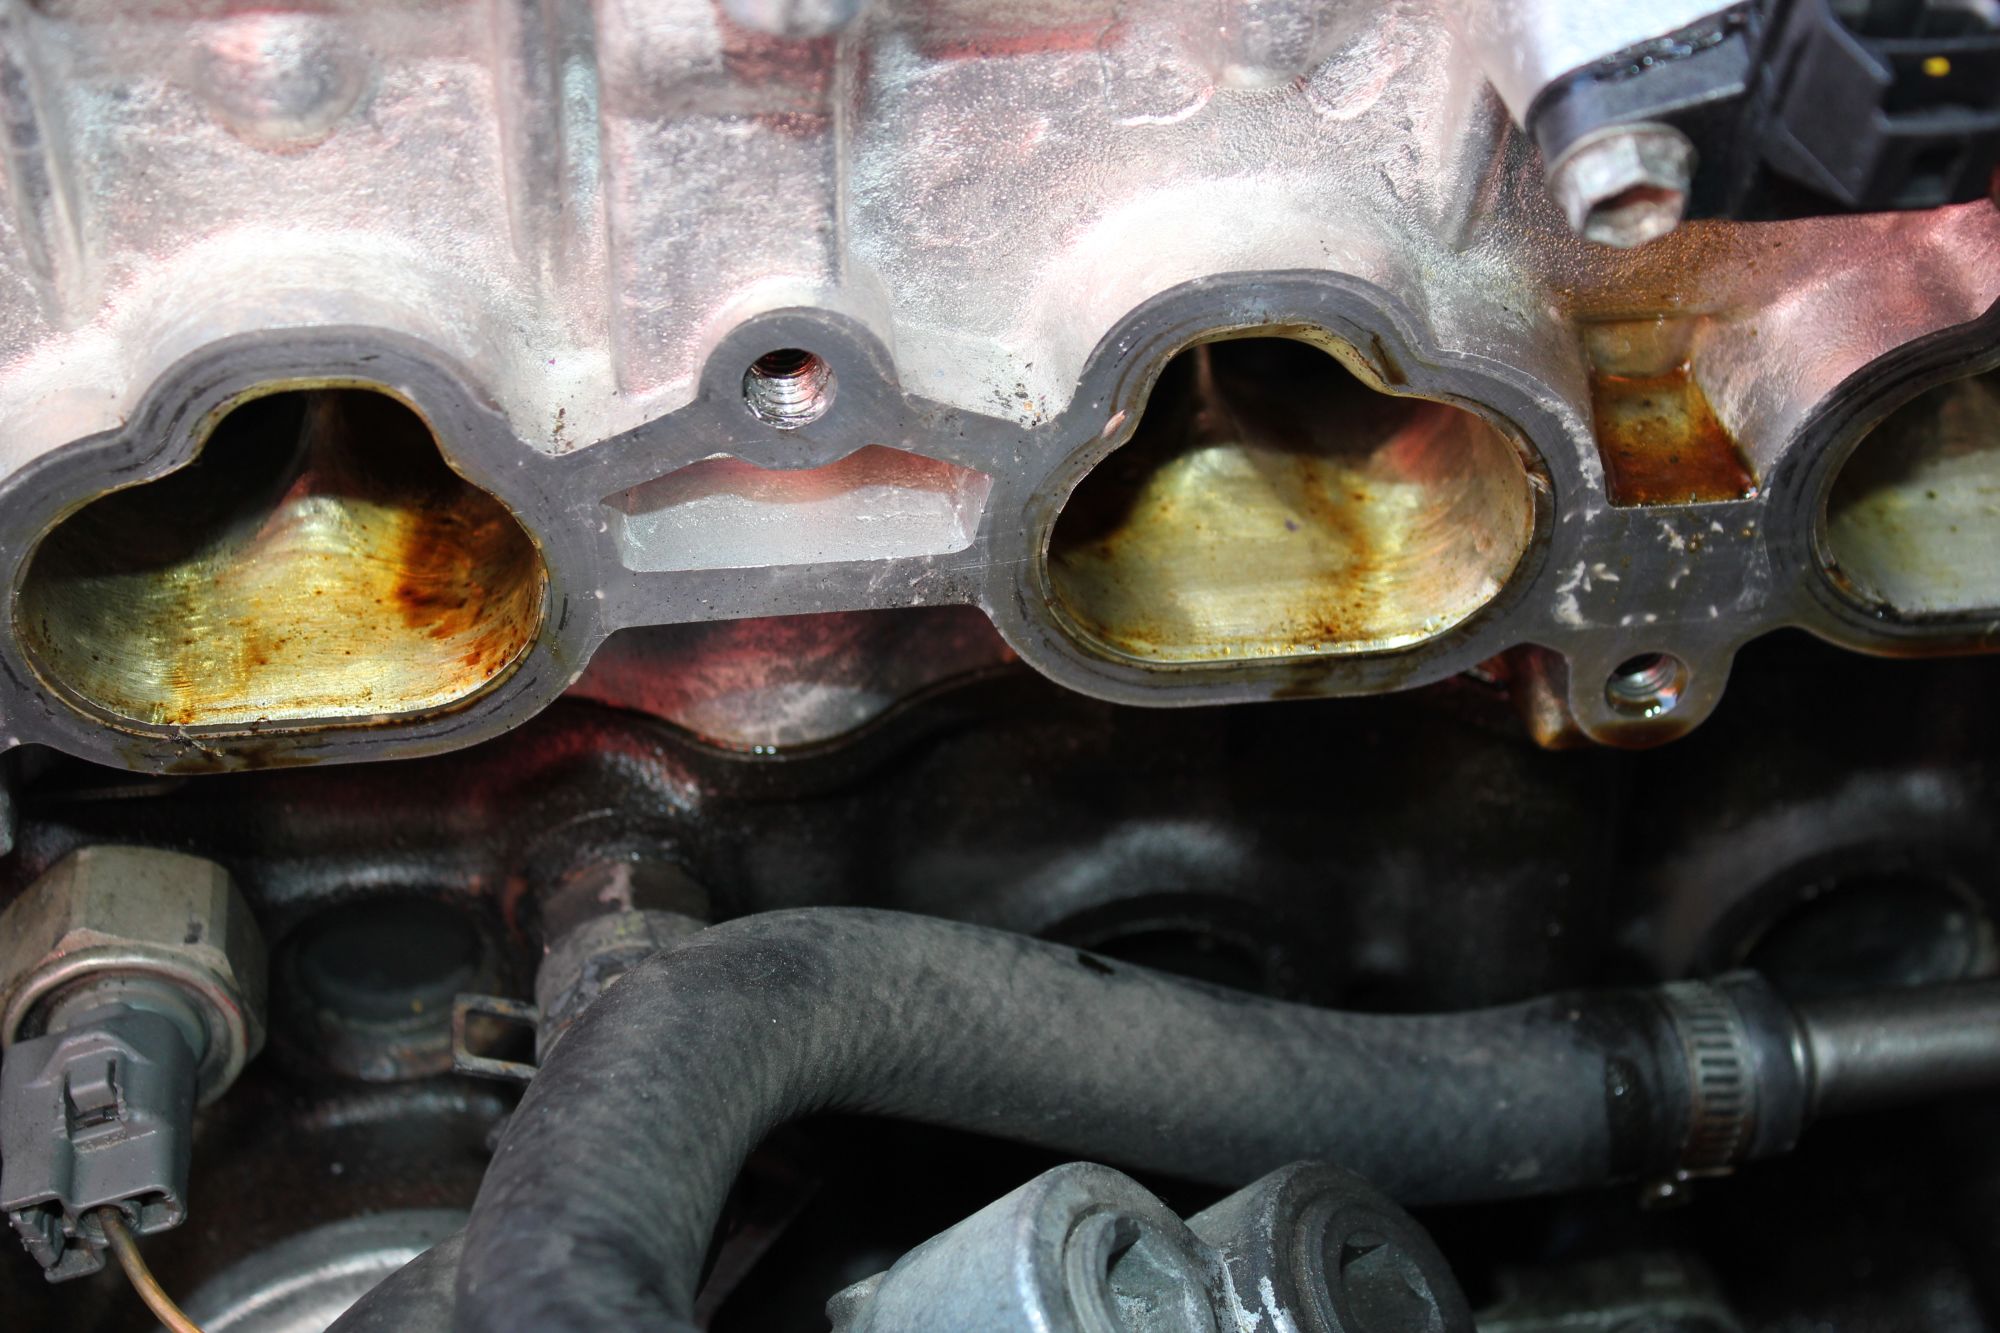
my GUESS is that I blocked off the pcv valve and that might had something to do with it? or the rings were going out in the first place. it's weird because right after I got my head done I had a suspicious oil leak only in the intake manifold?
there was no oil in the pistons or on the spark plugs? ?
The head guy told me it was normal for if your rings to go if they are weak AFTER a head job.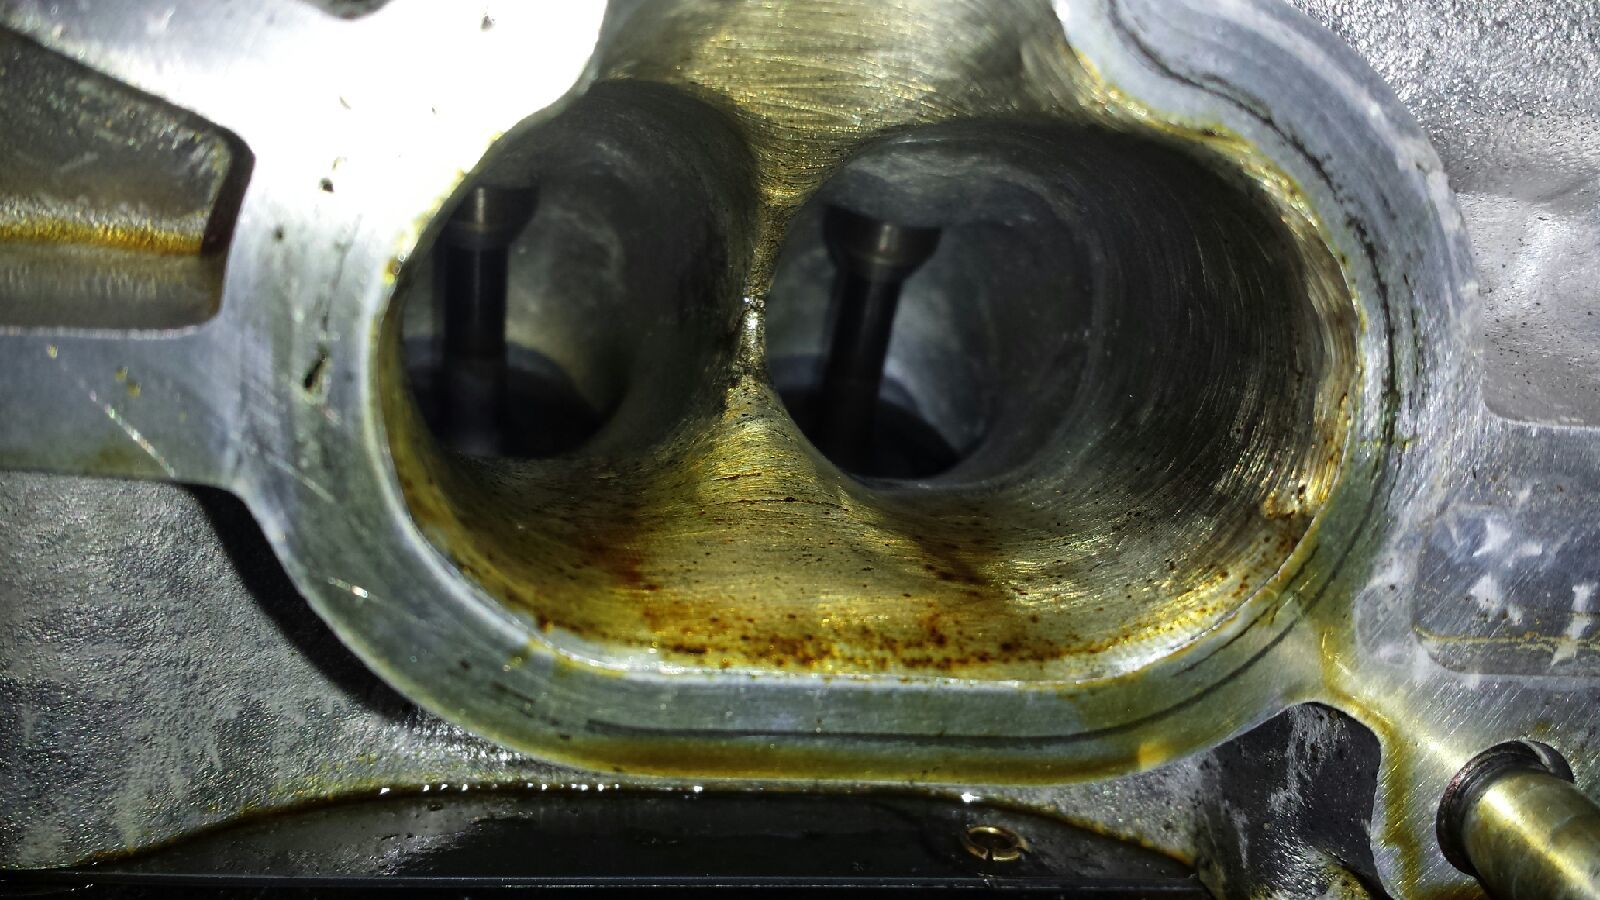
3-5-2017
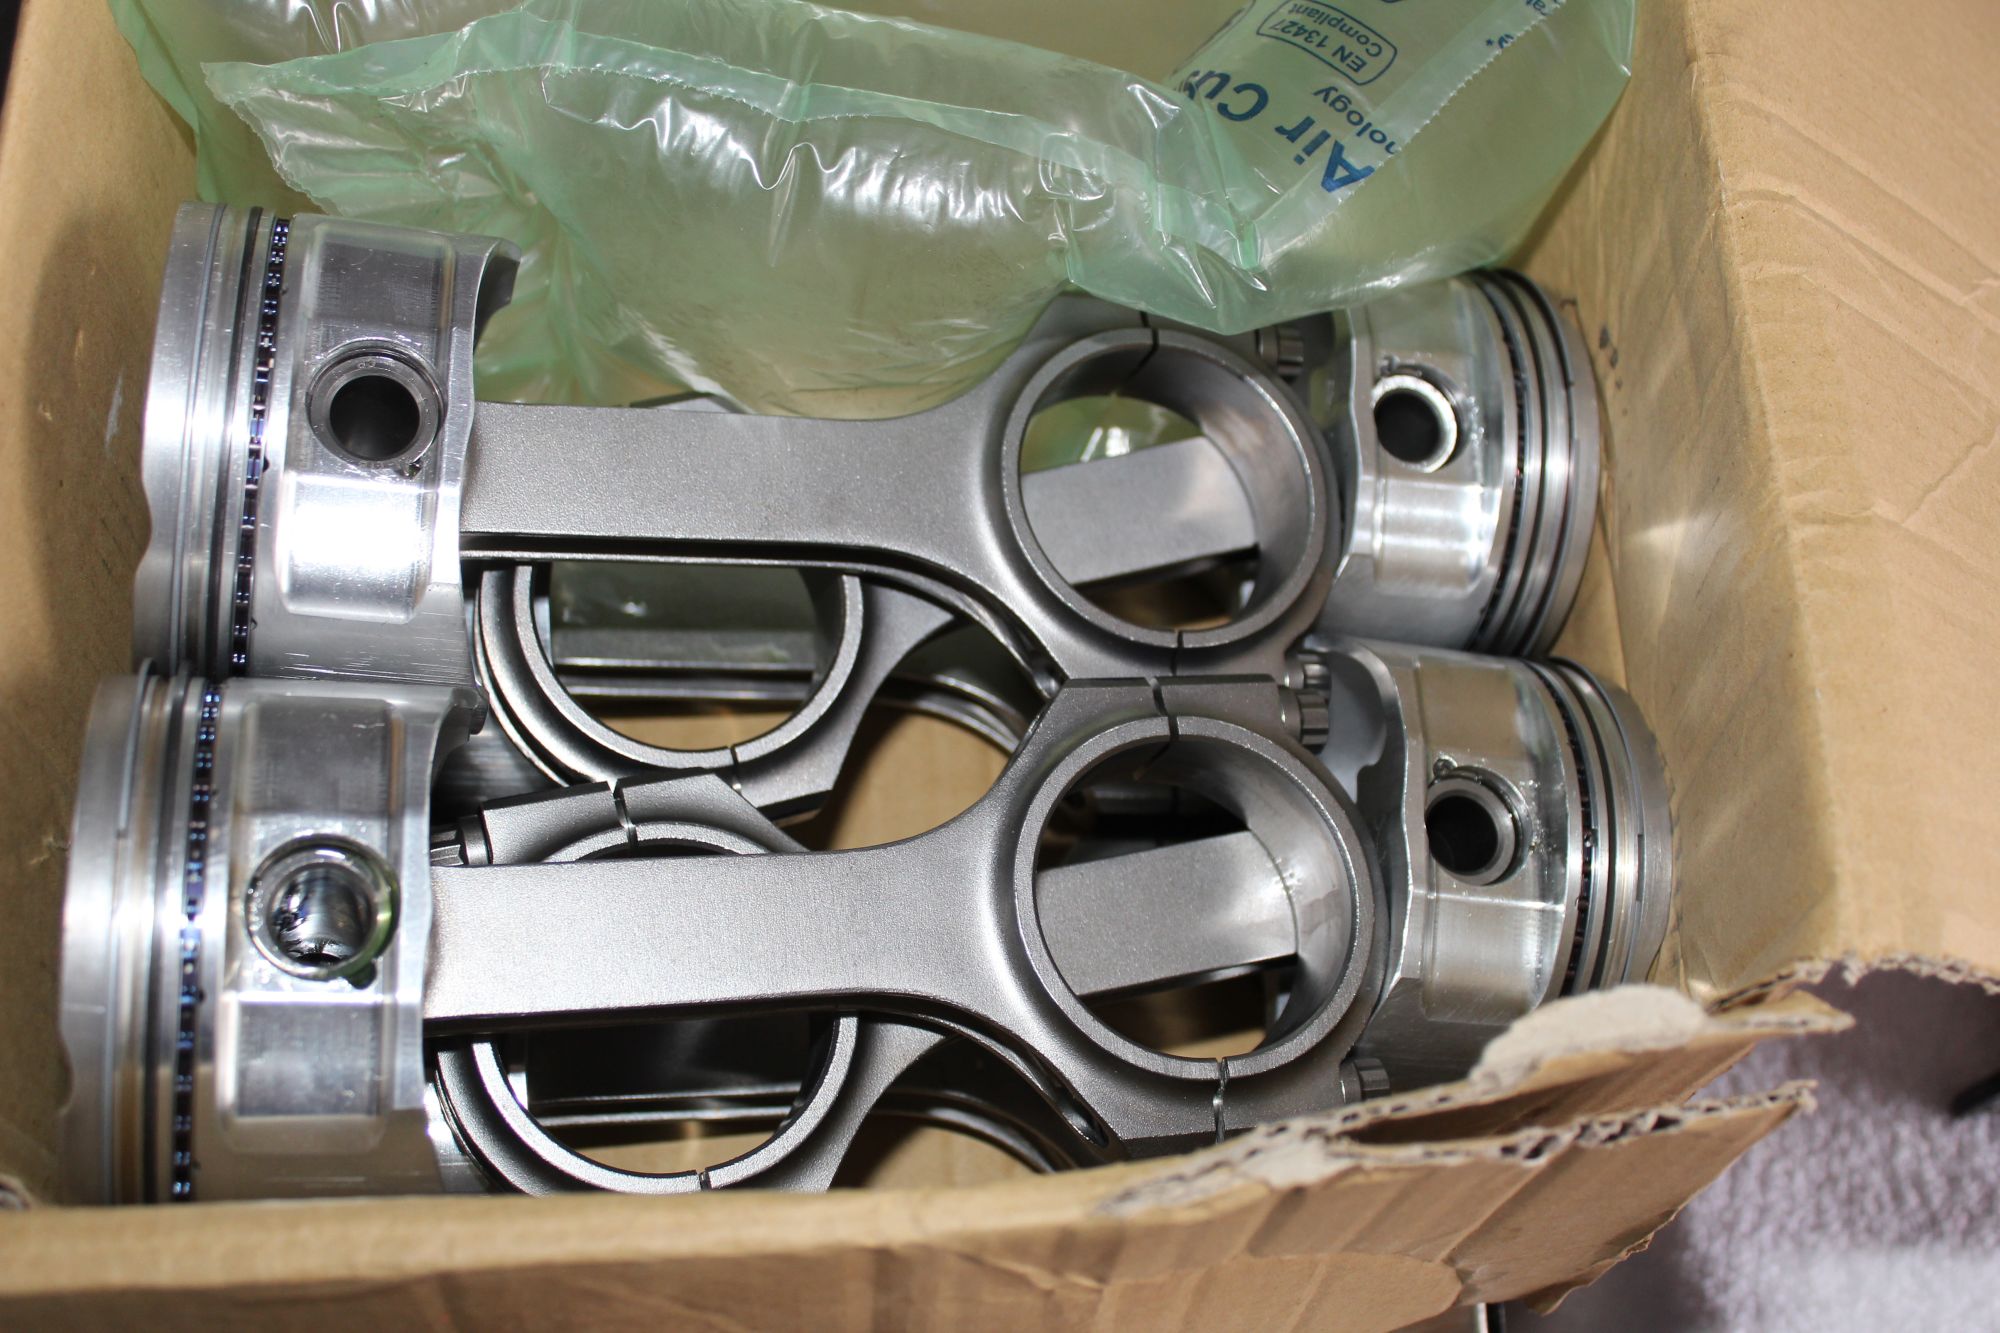
so with the help of gerb I was able to get my hands on the pistons I needed.
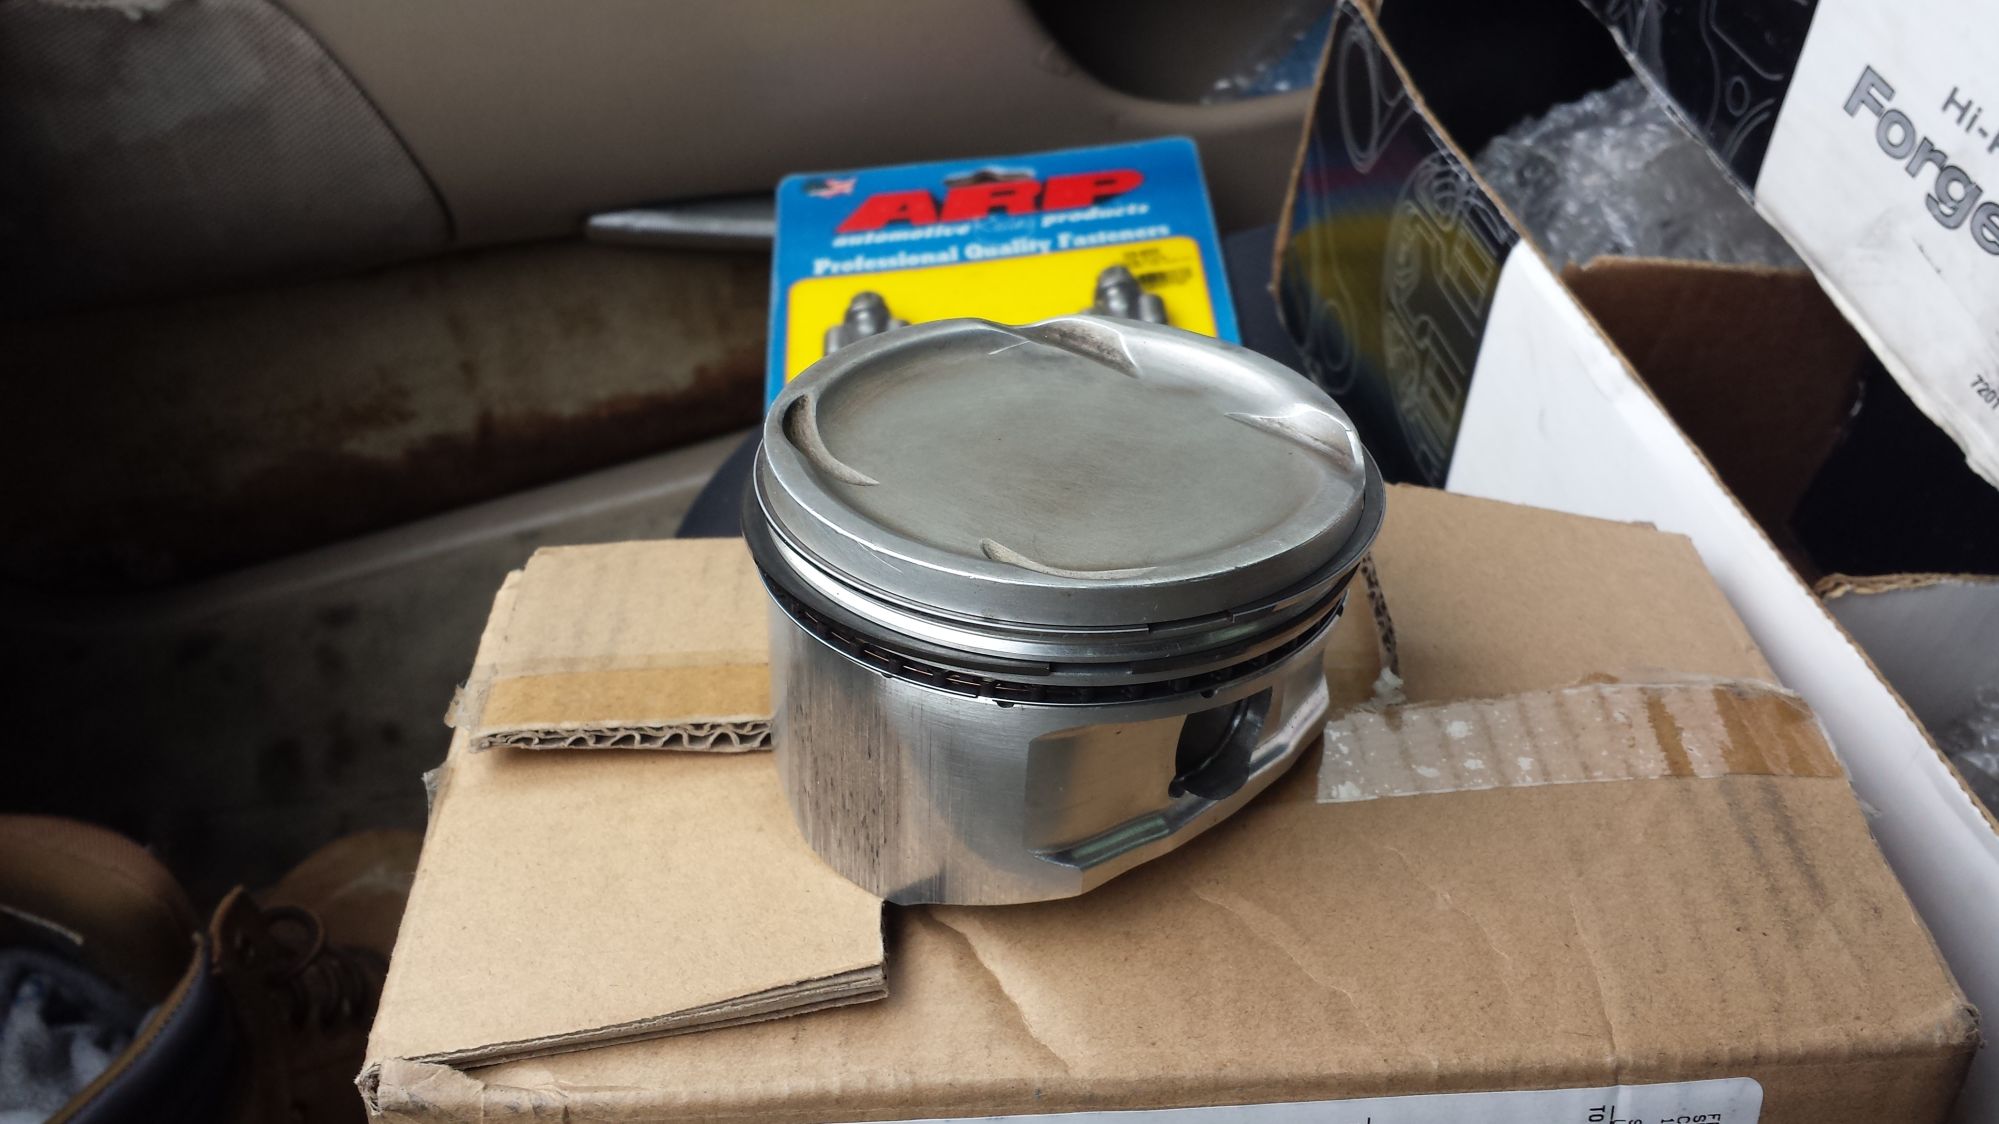
.20 over cp's.
I also opted to get some eagle rods, after buying/flirting with the idea of using rods from cx racing(took them back because the rod bolt was way smaller.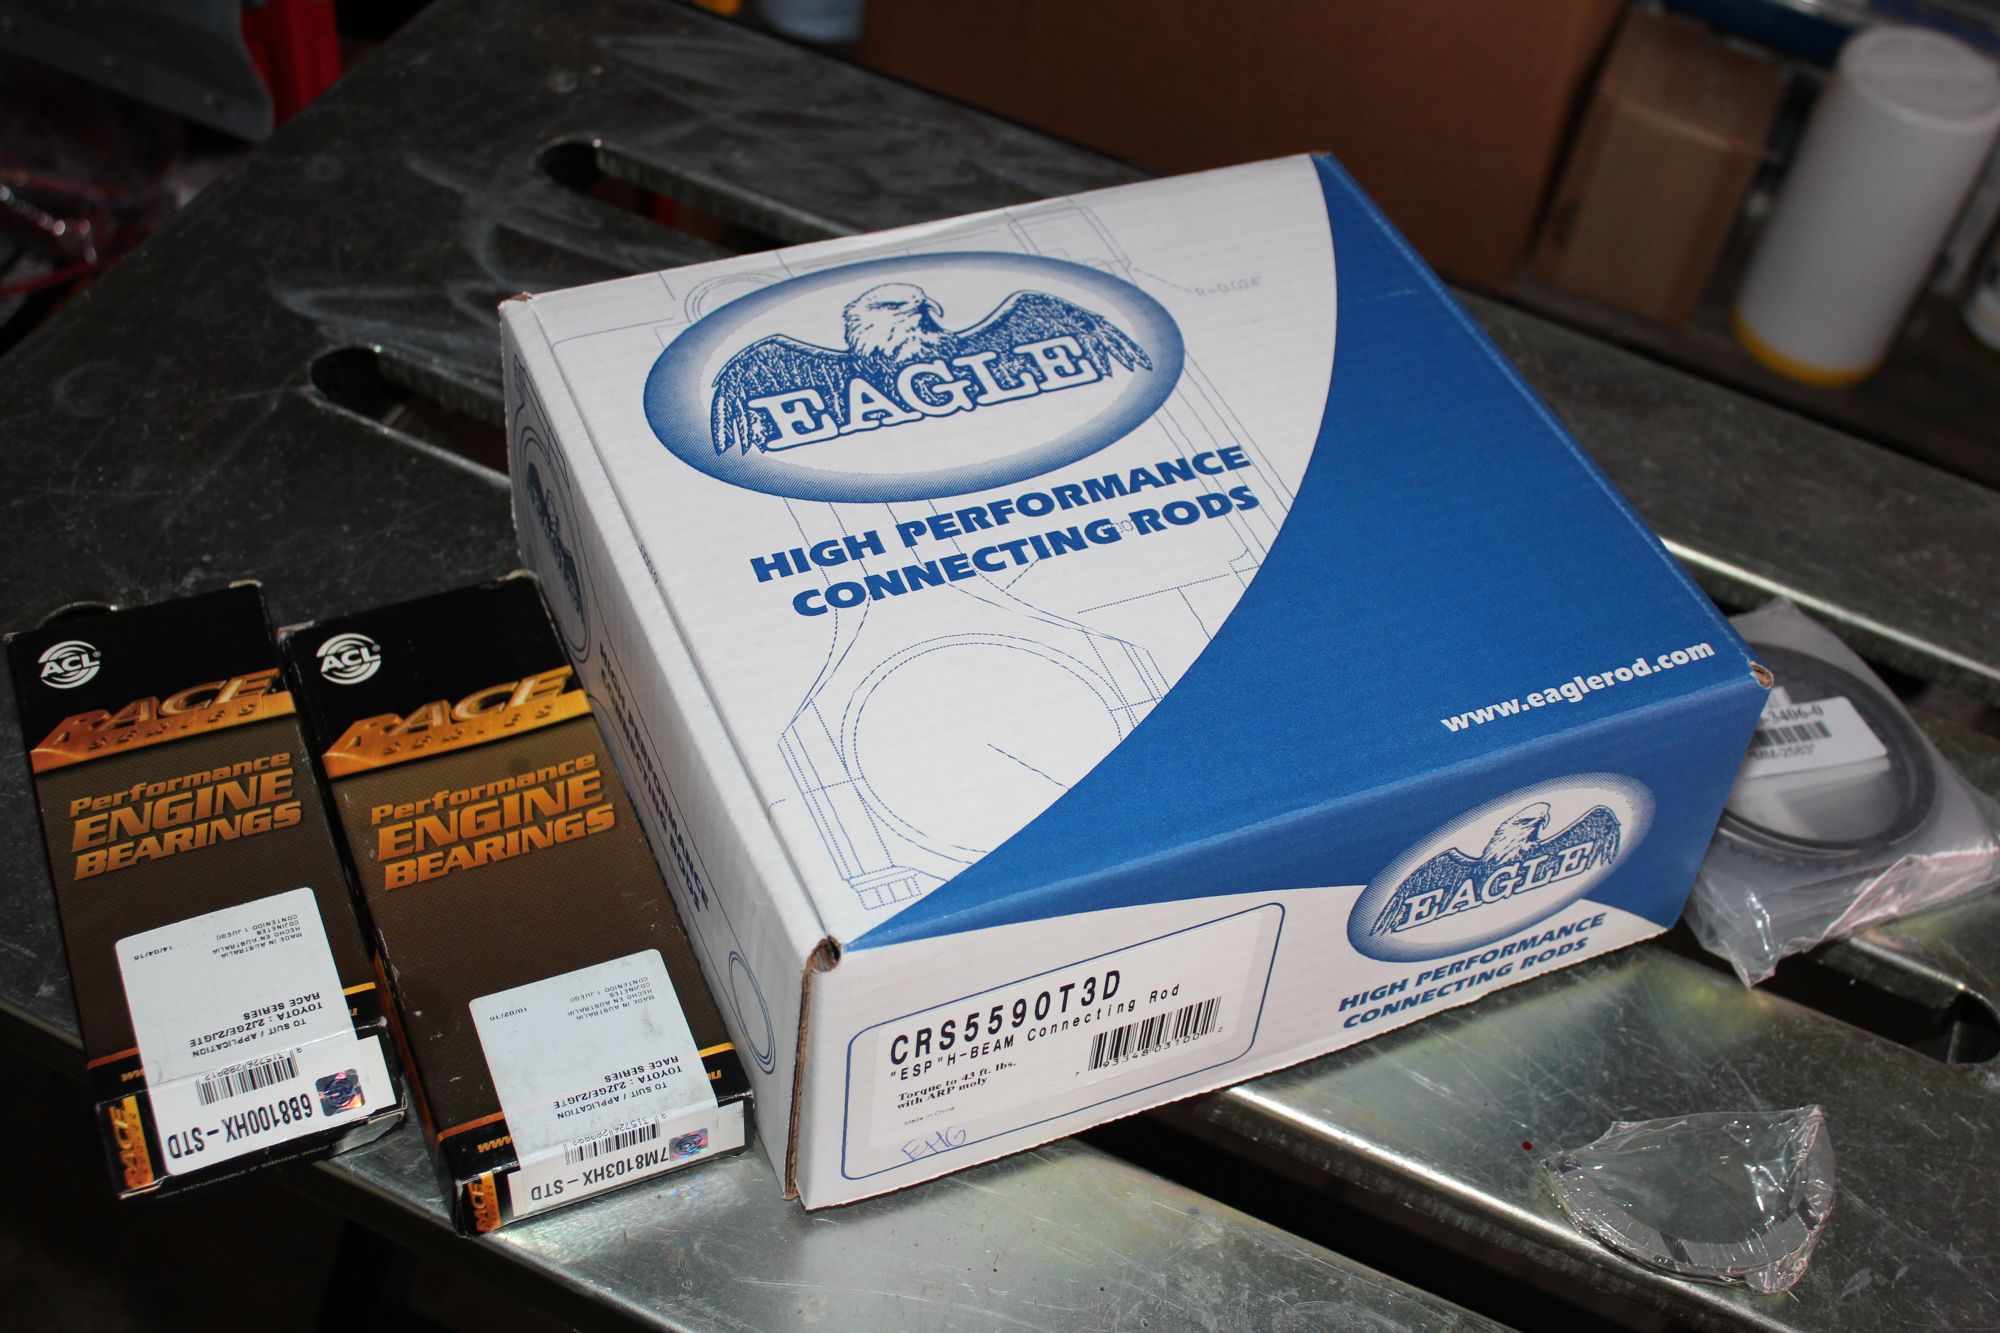
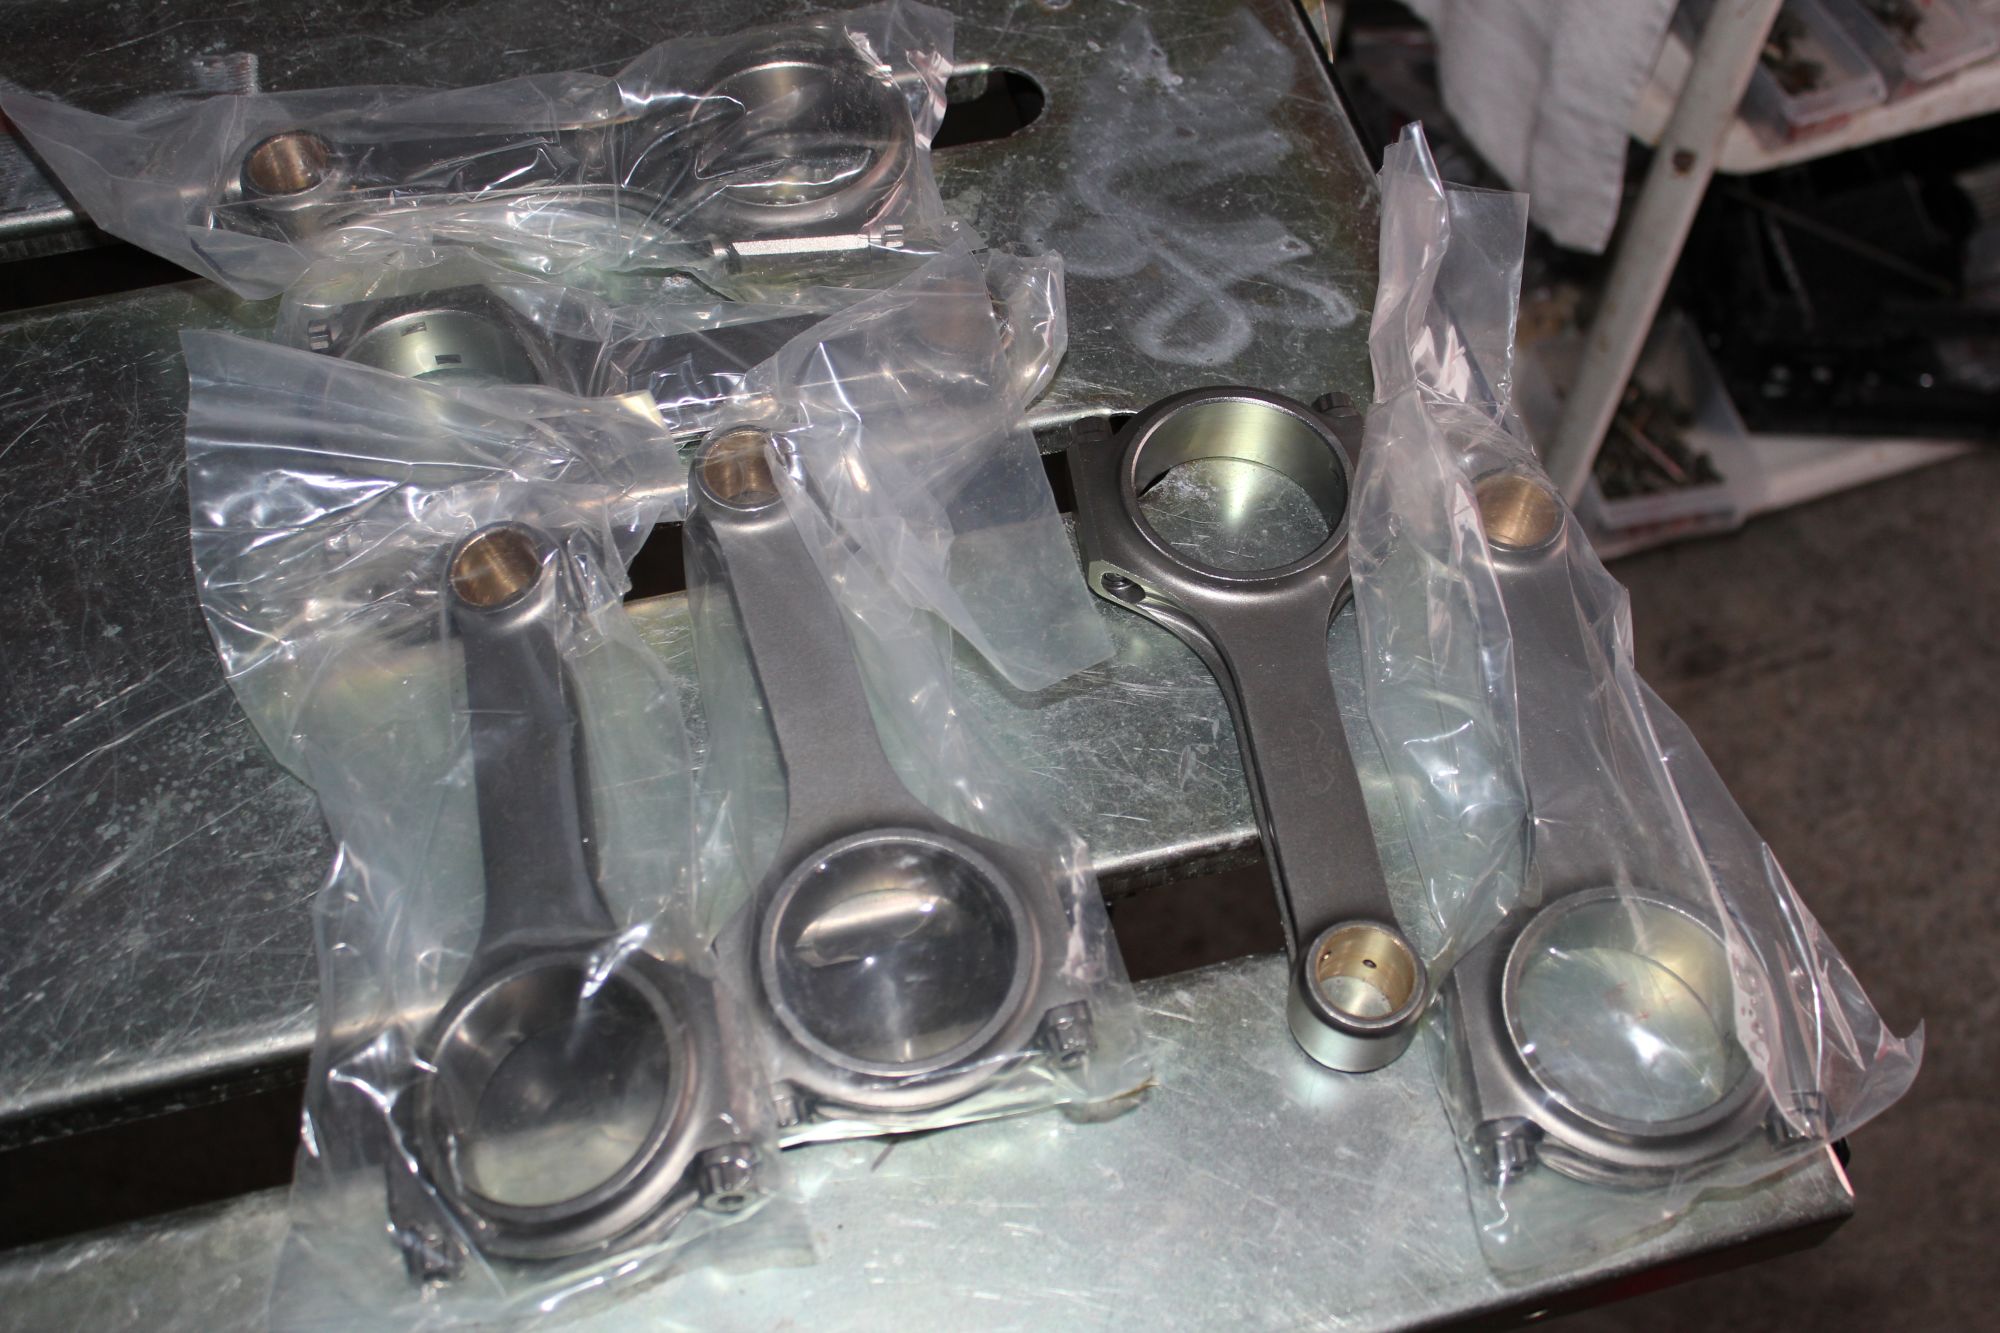
so it's been a while between last year and now when the motor blew up, and I acquired another s13 which has since ben totaled by some dumb ***** and I reinstalled my rb25 which has also blown up due to a rod knock.
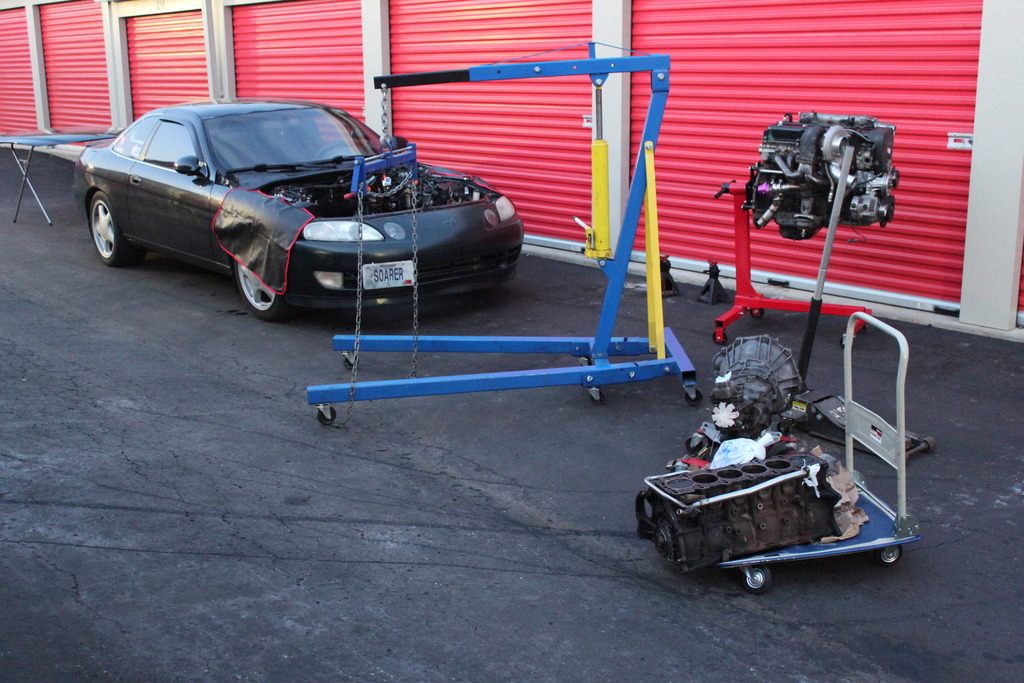
now I had time, so within 3 weeks I took my soarer out of service, swapped head and all the parts on the 2j block, swapped to the r-154 tranny I've had sitting for years and violia!!!
so first order of business was stripping the 1jz, all the stuff came off and I have it for sale for $200.00
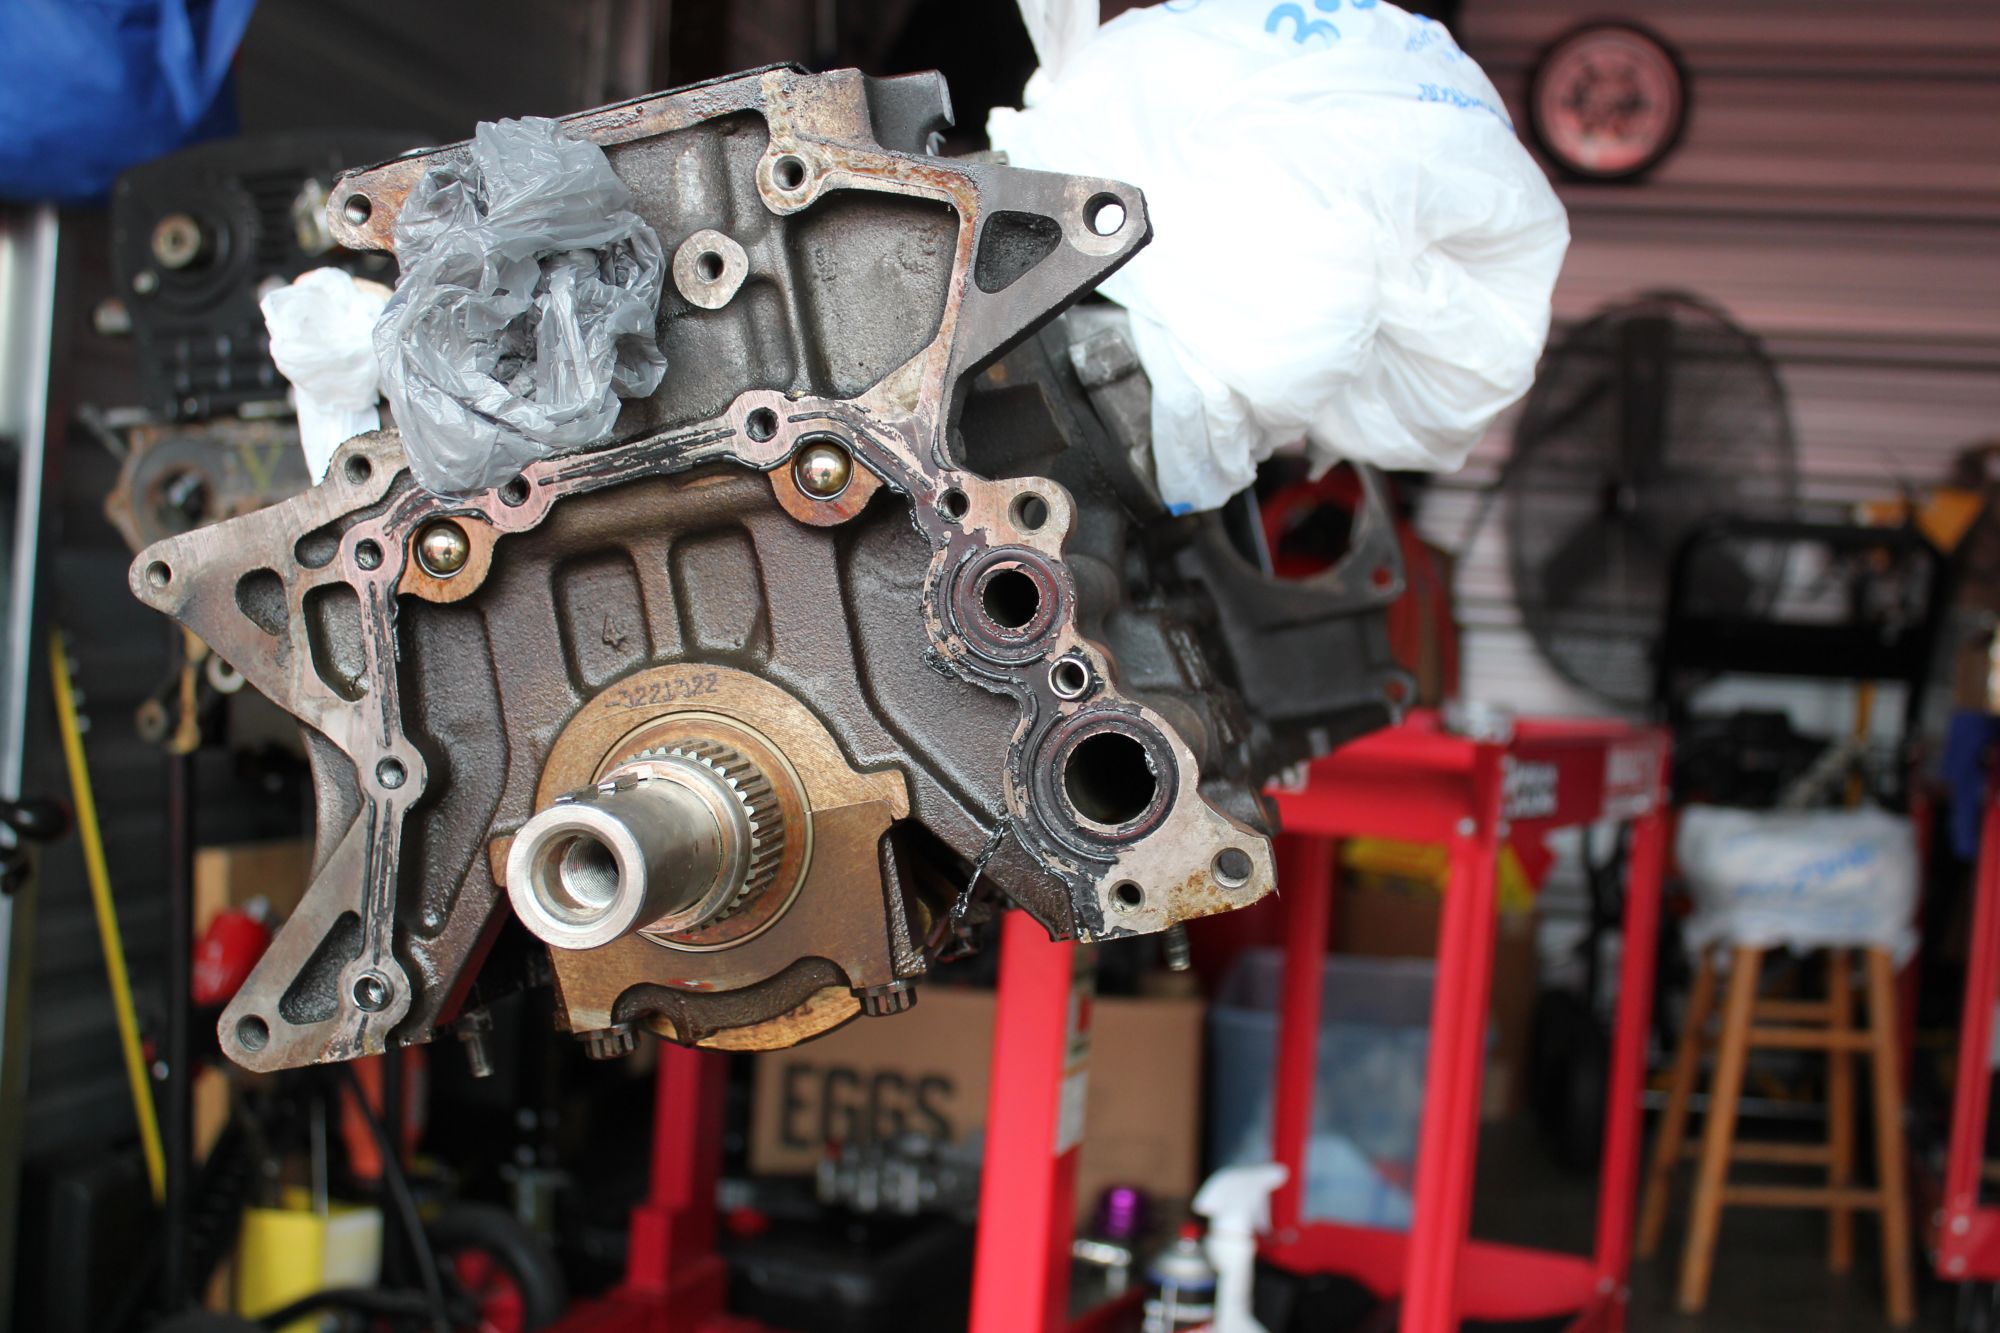
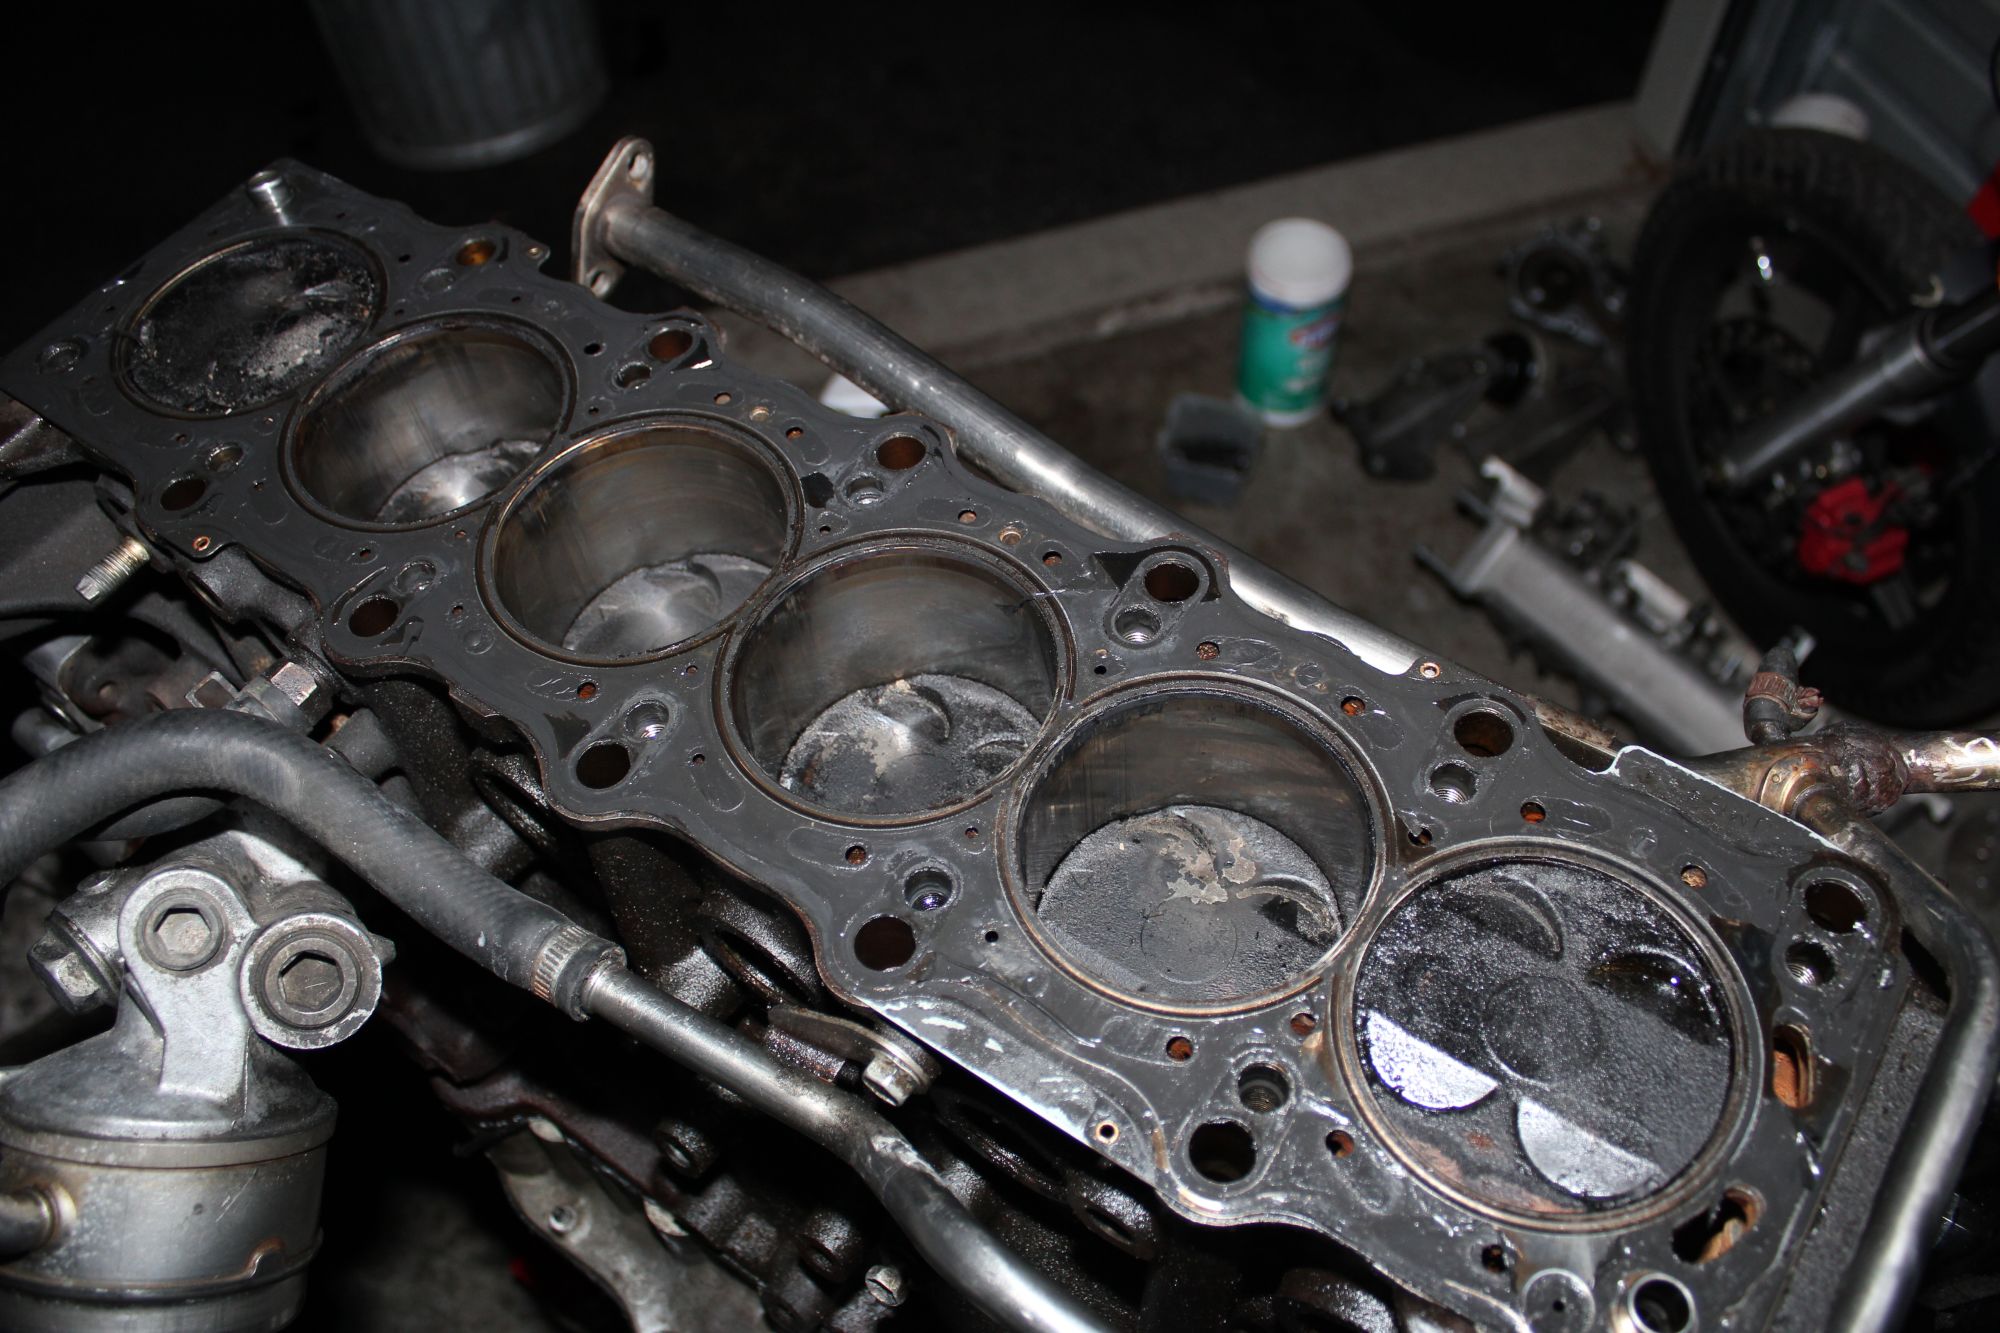
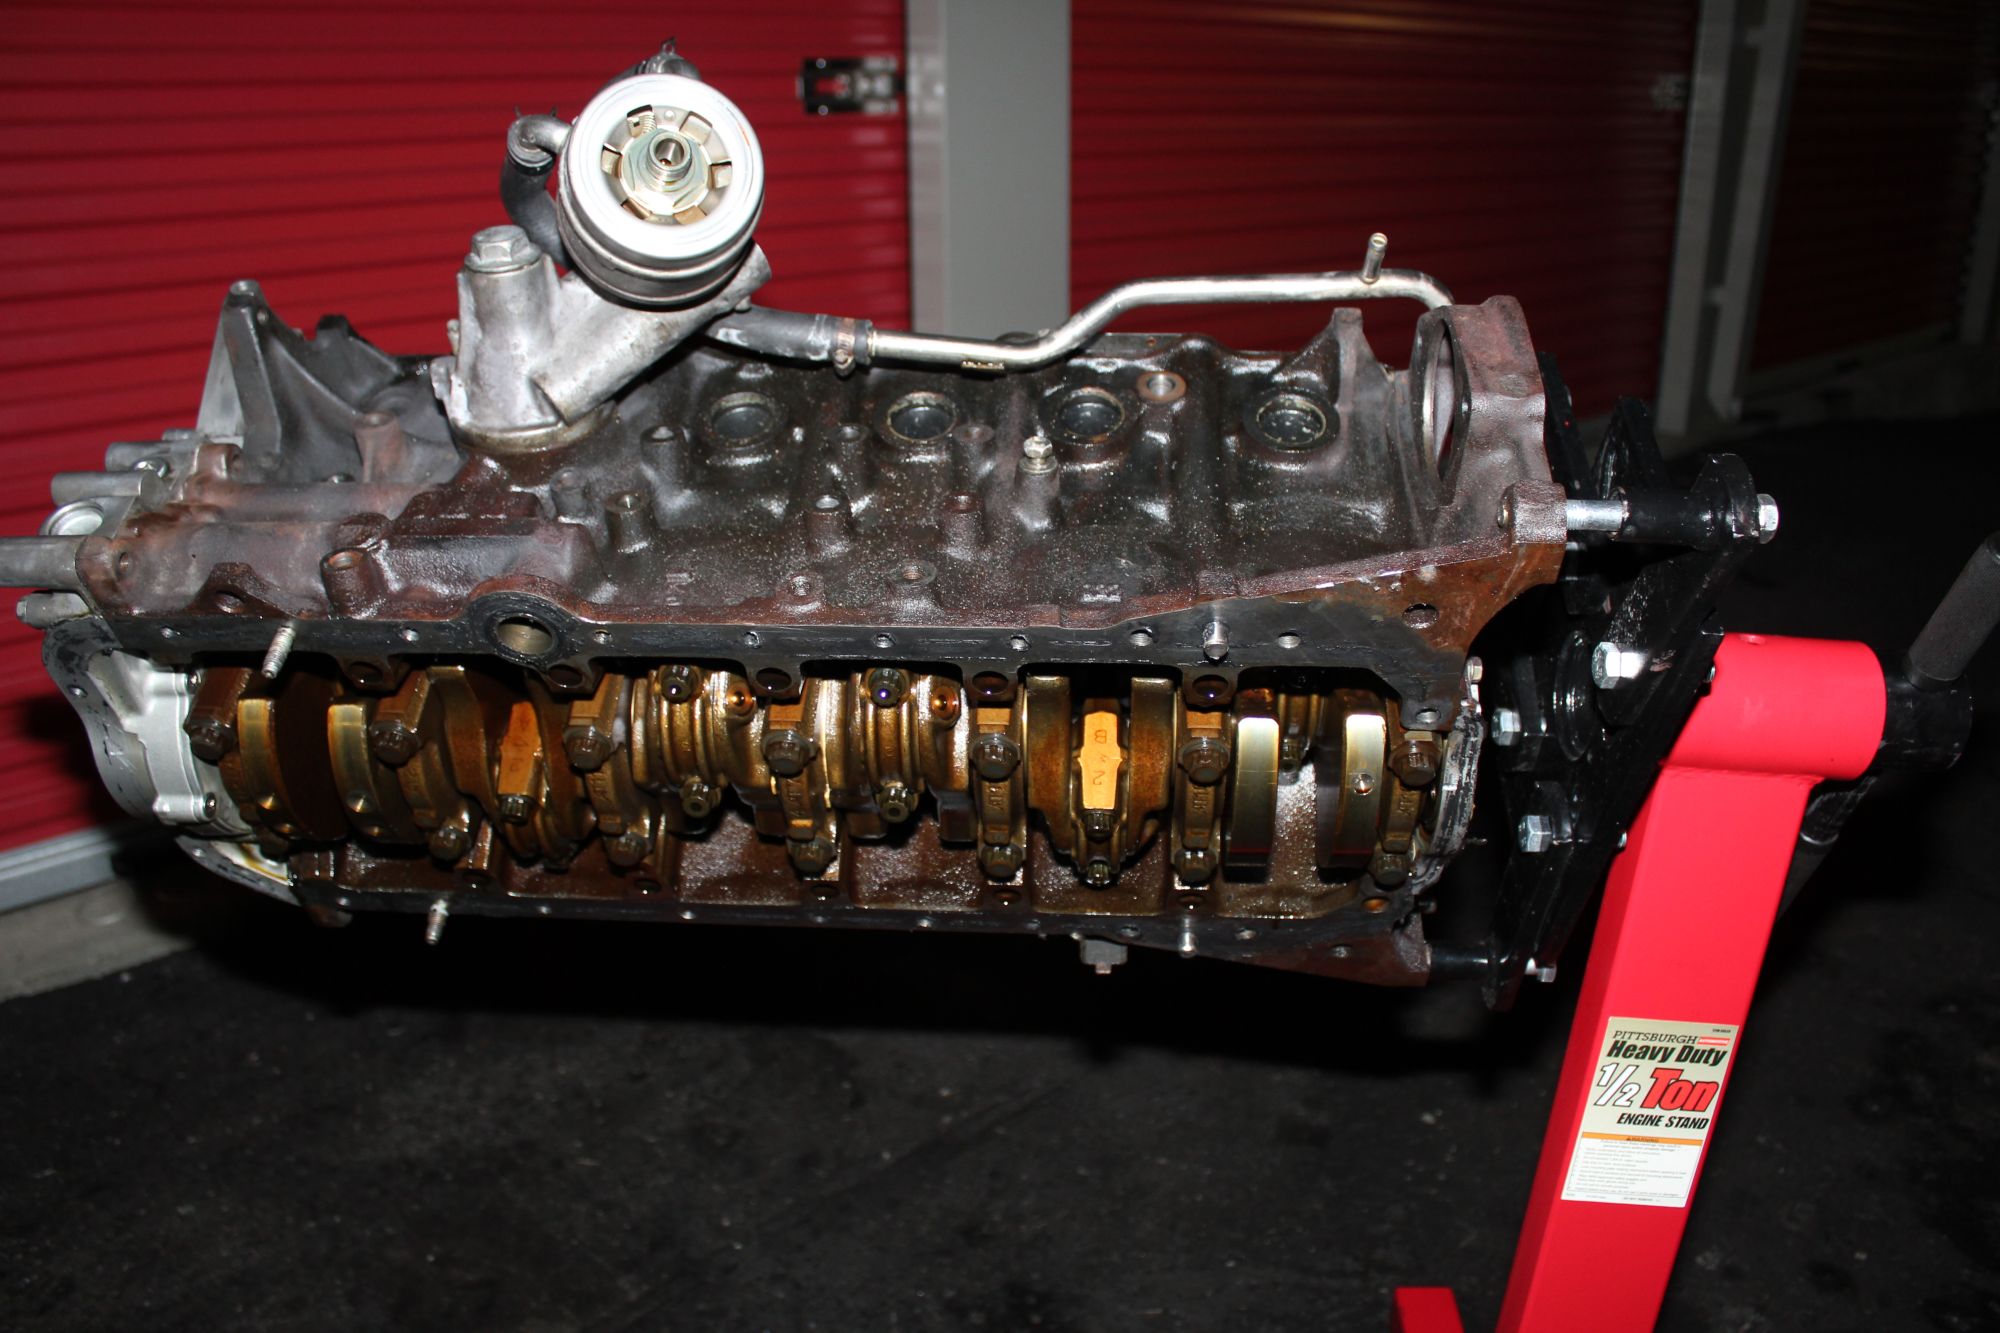
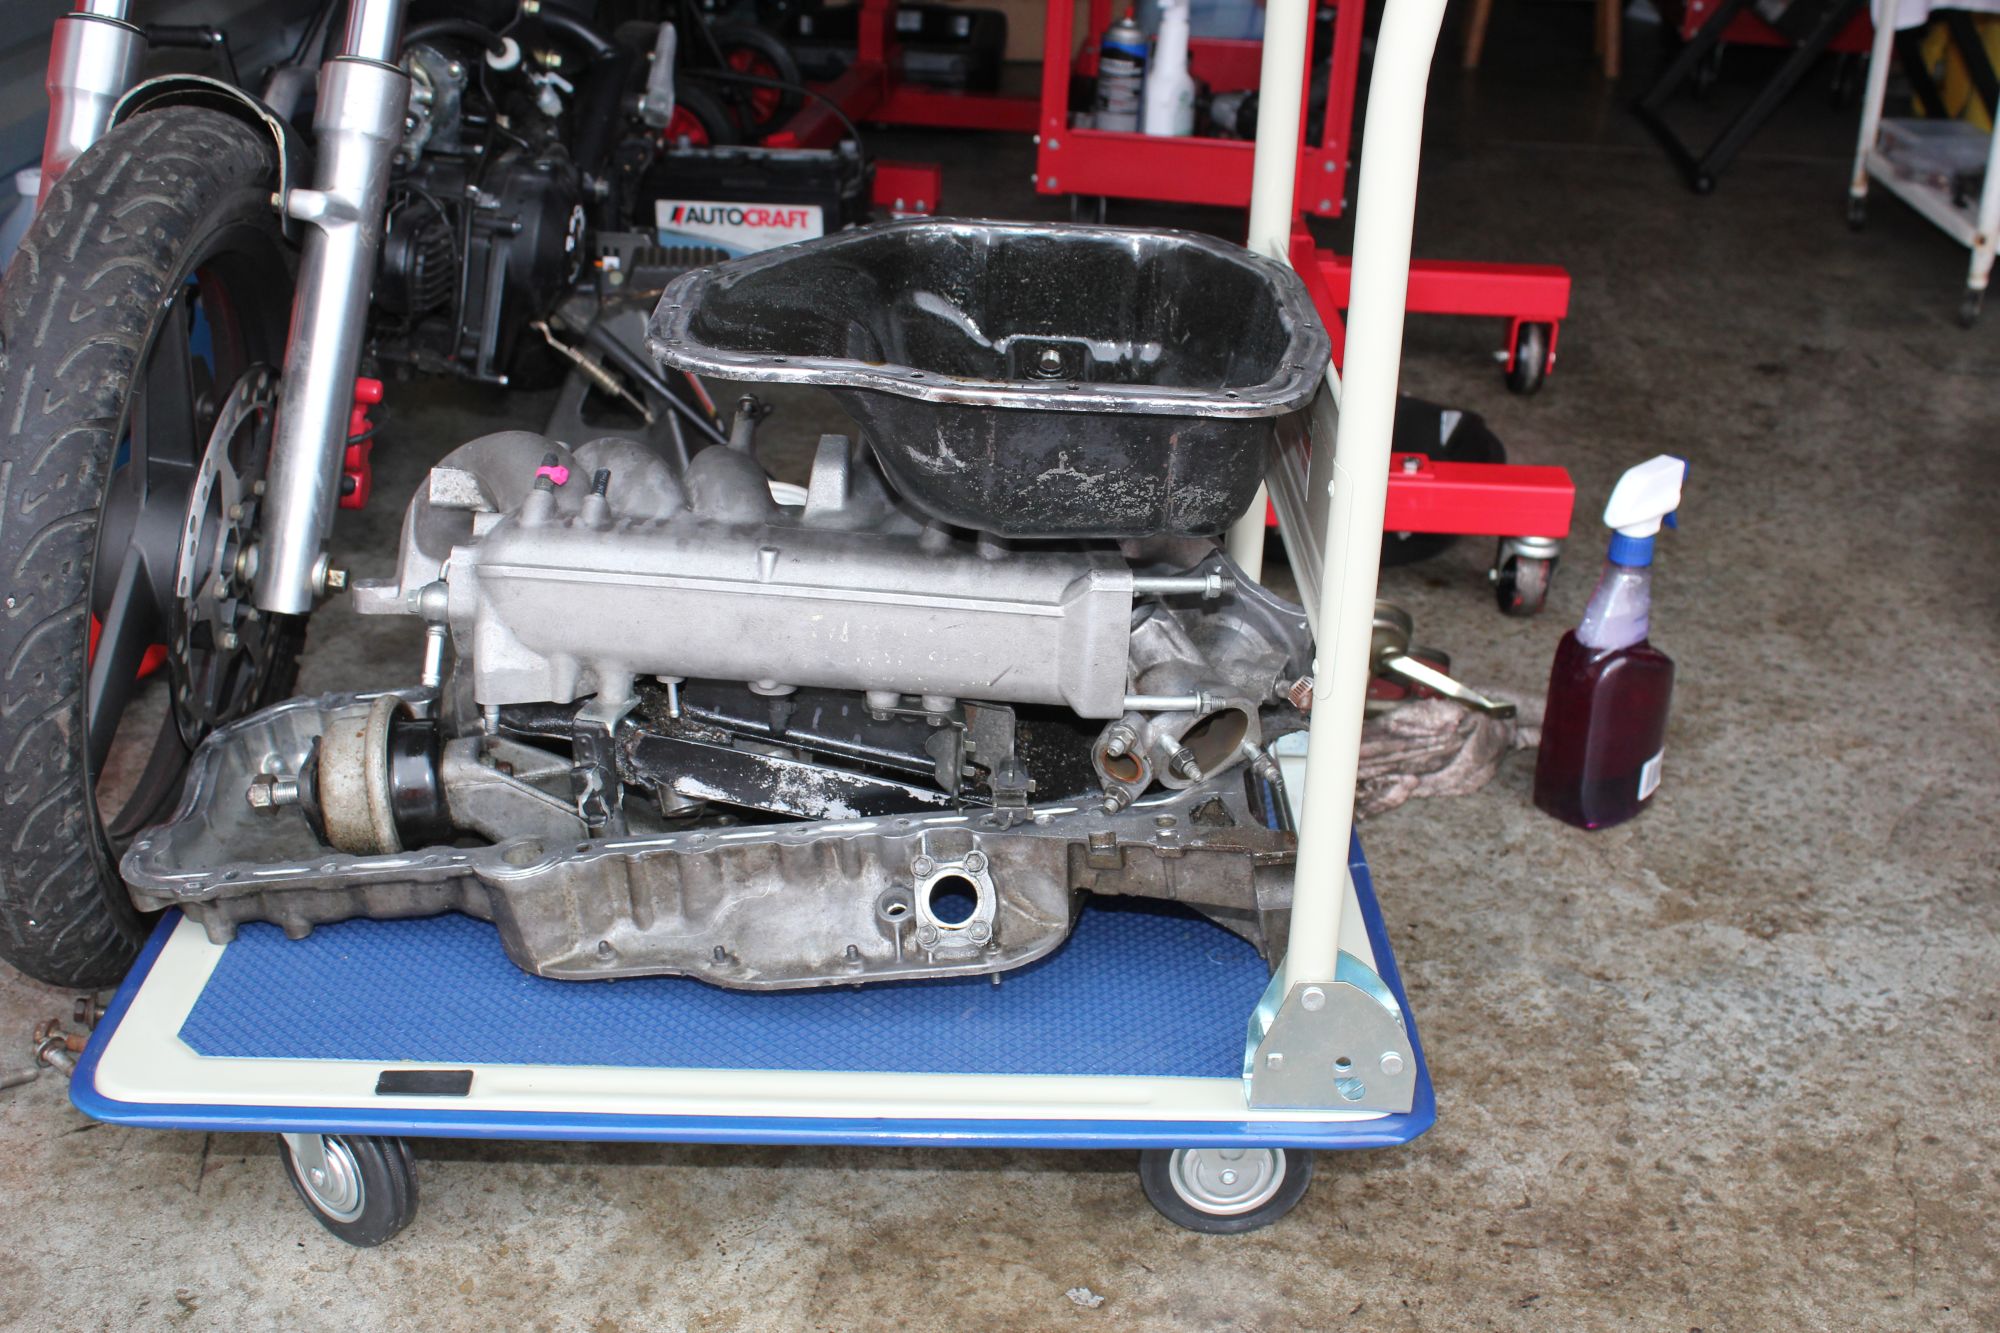
then I snagged me a nifty cart to haul off the stuff that needed to be power washed!
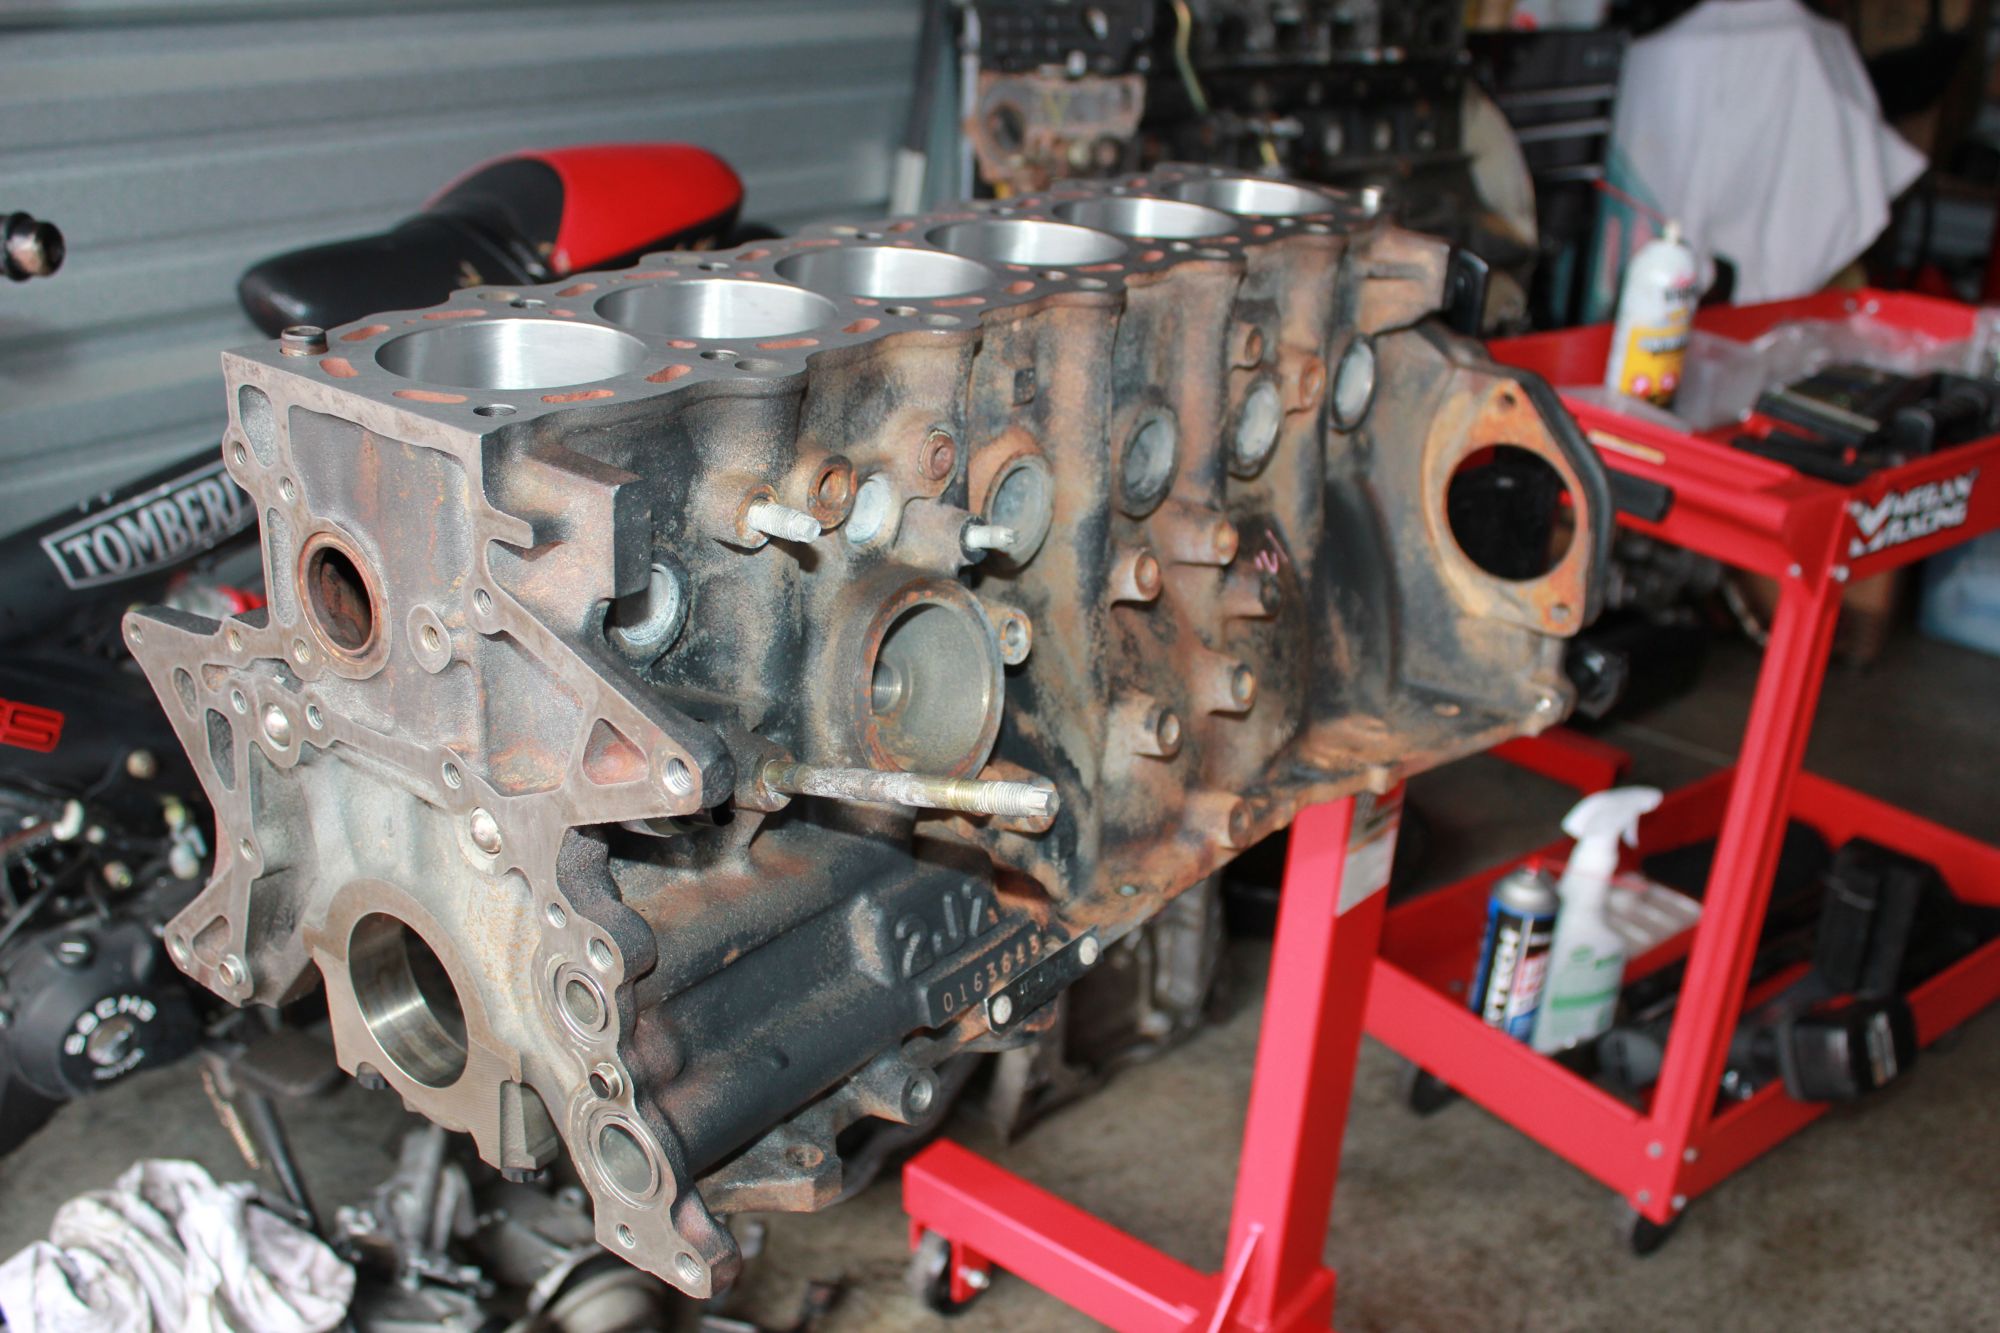
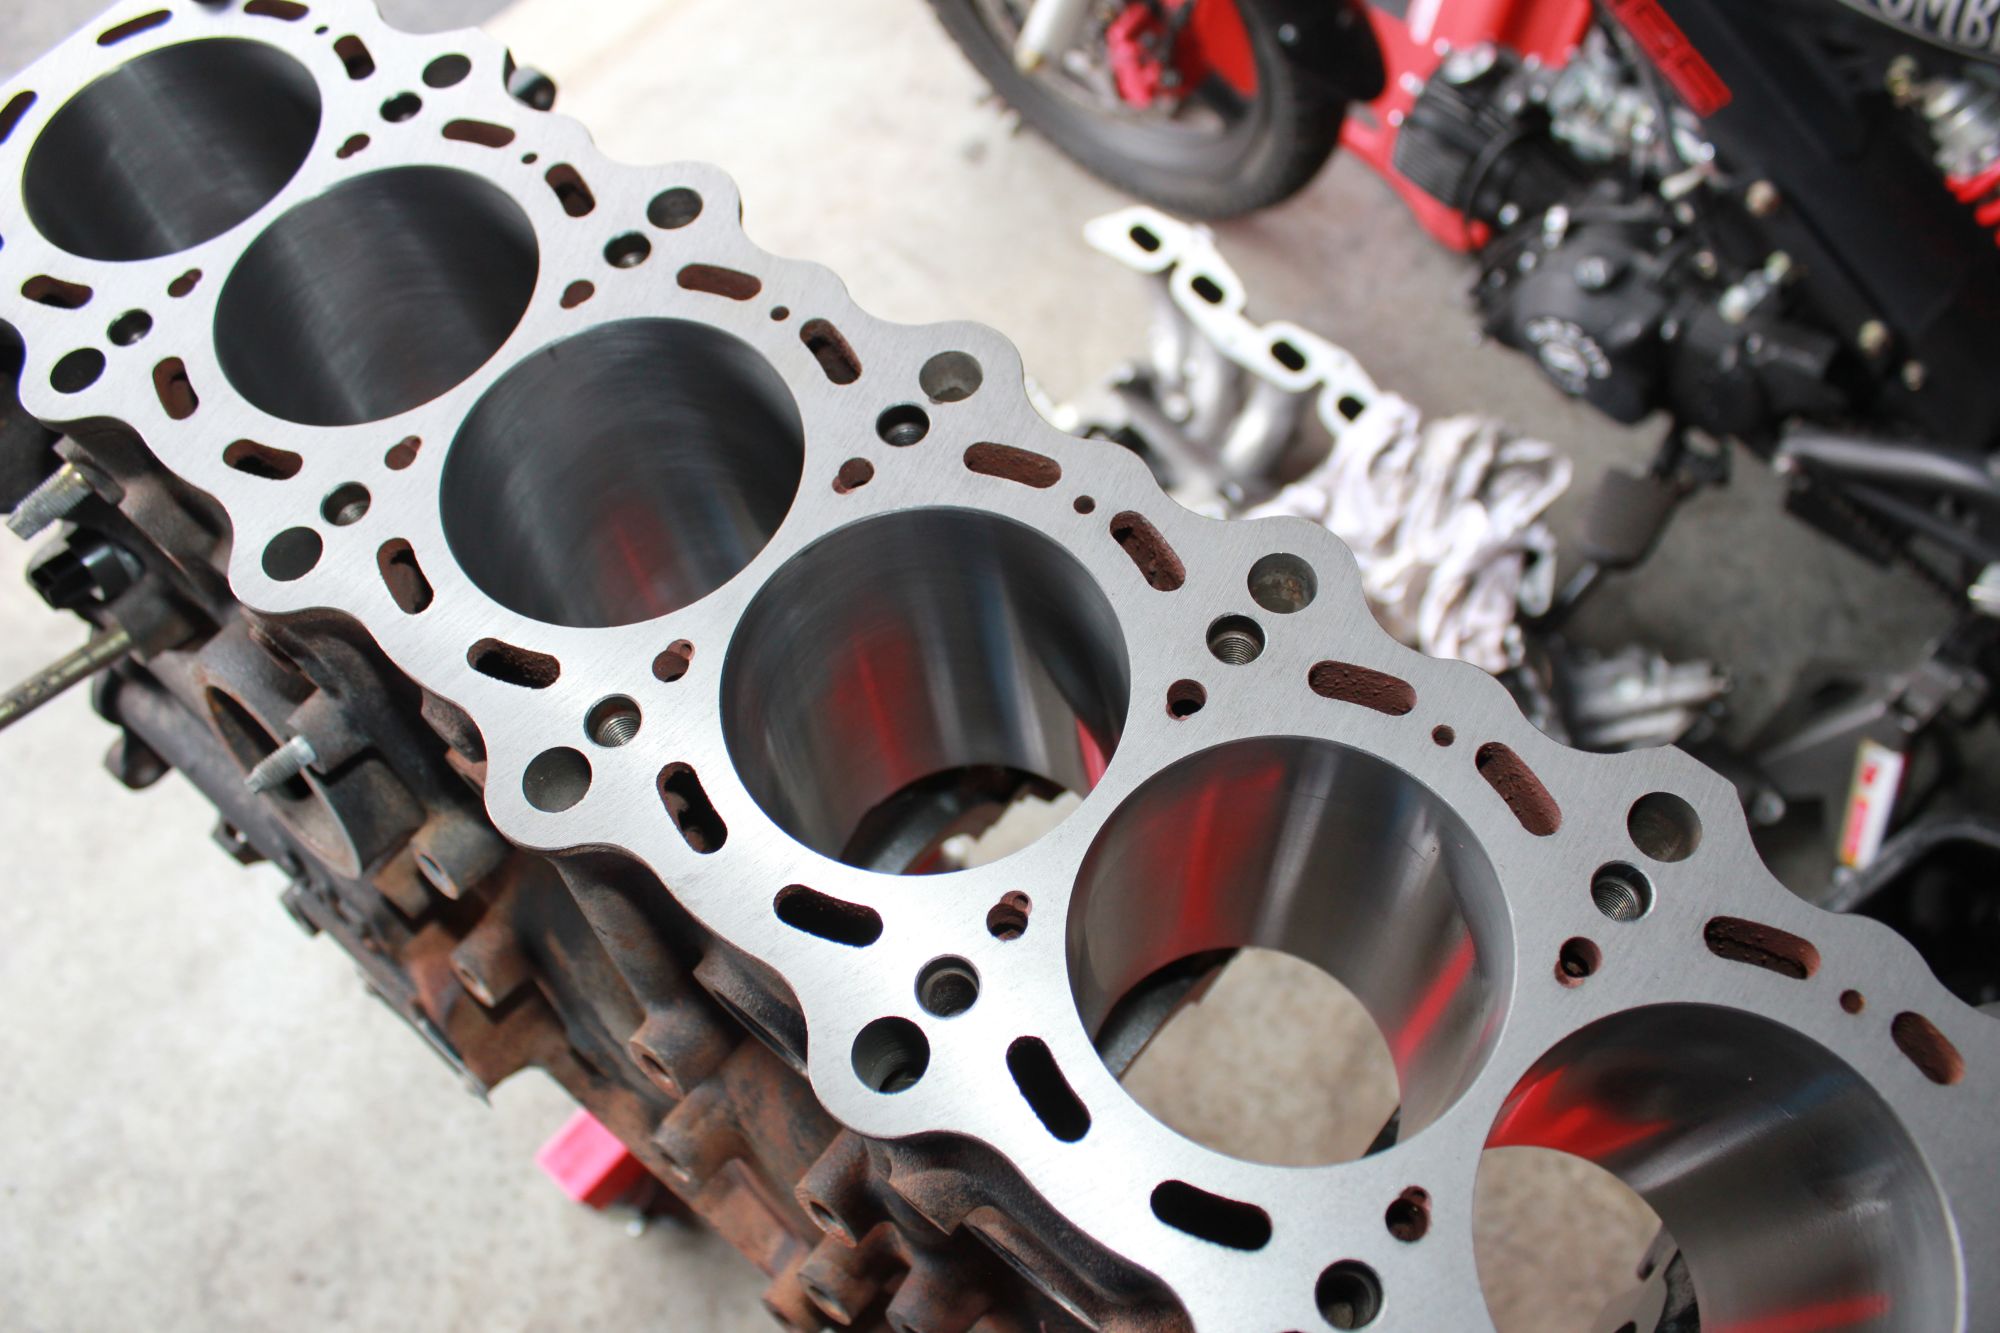
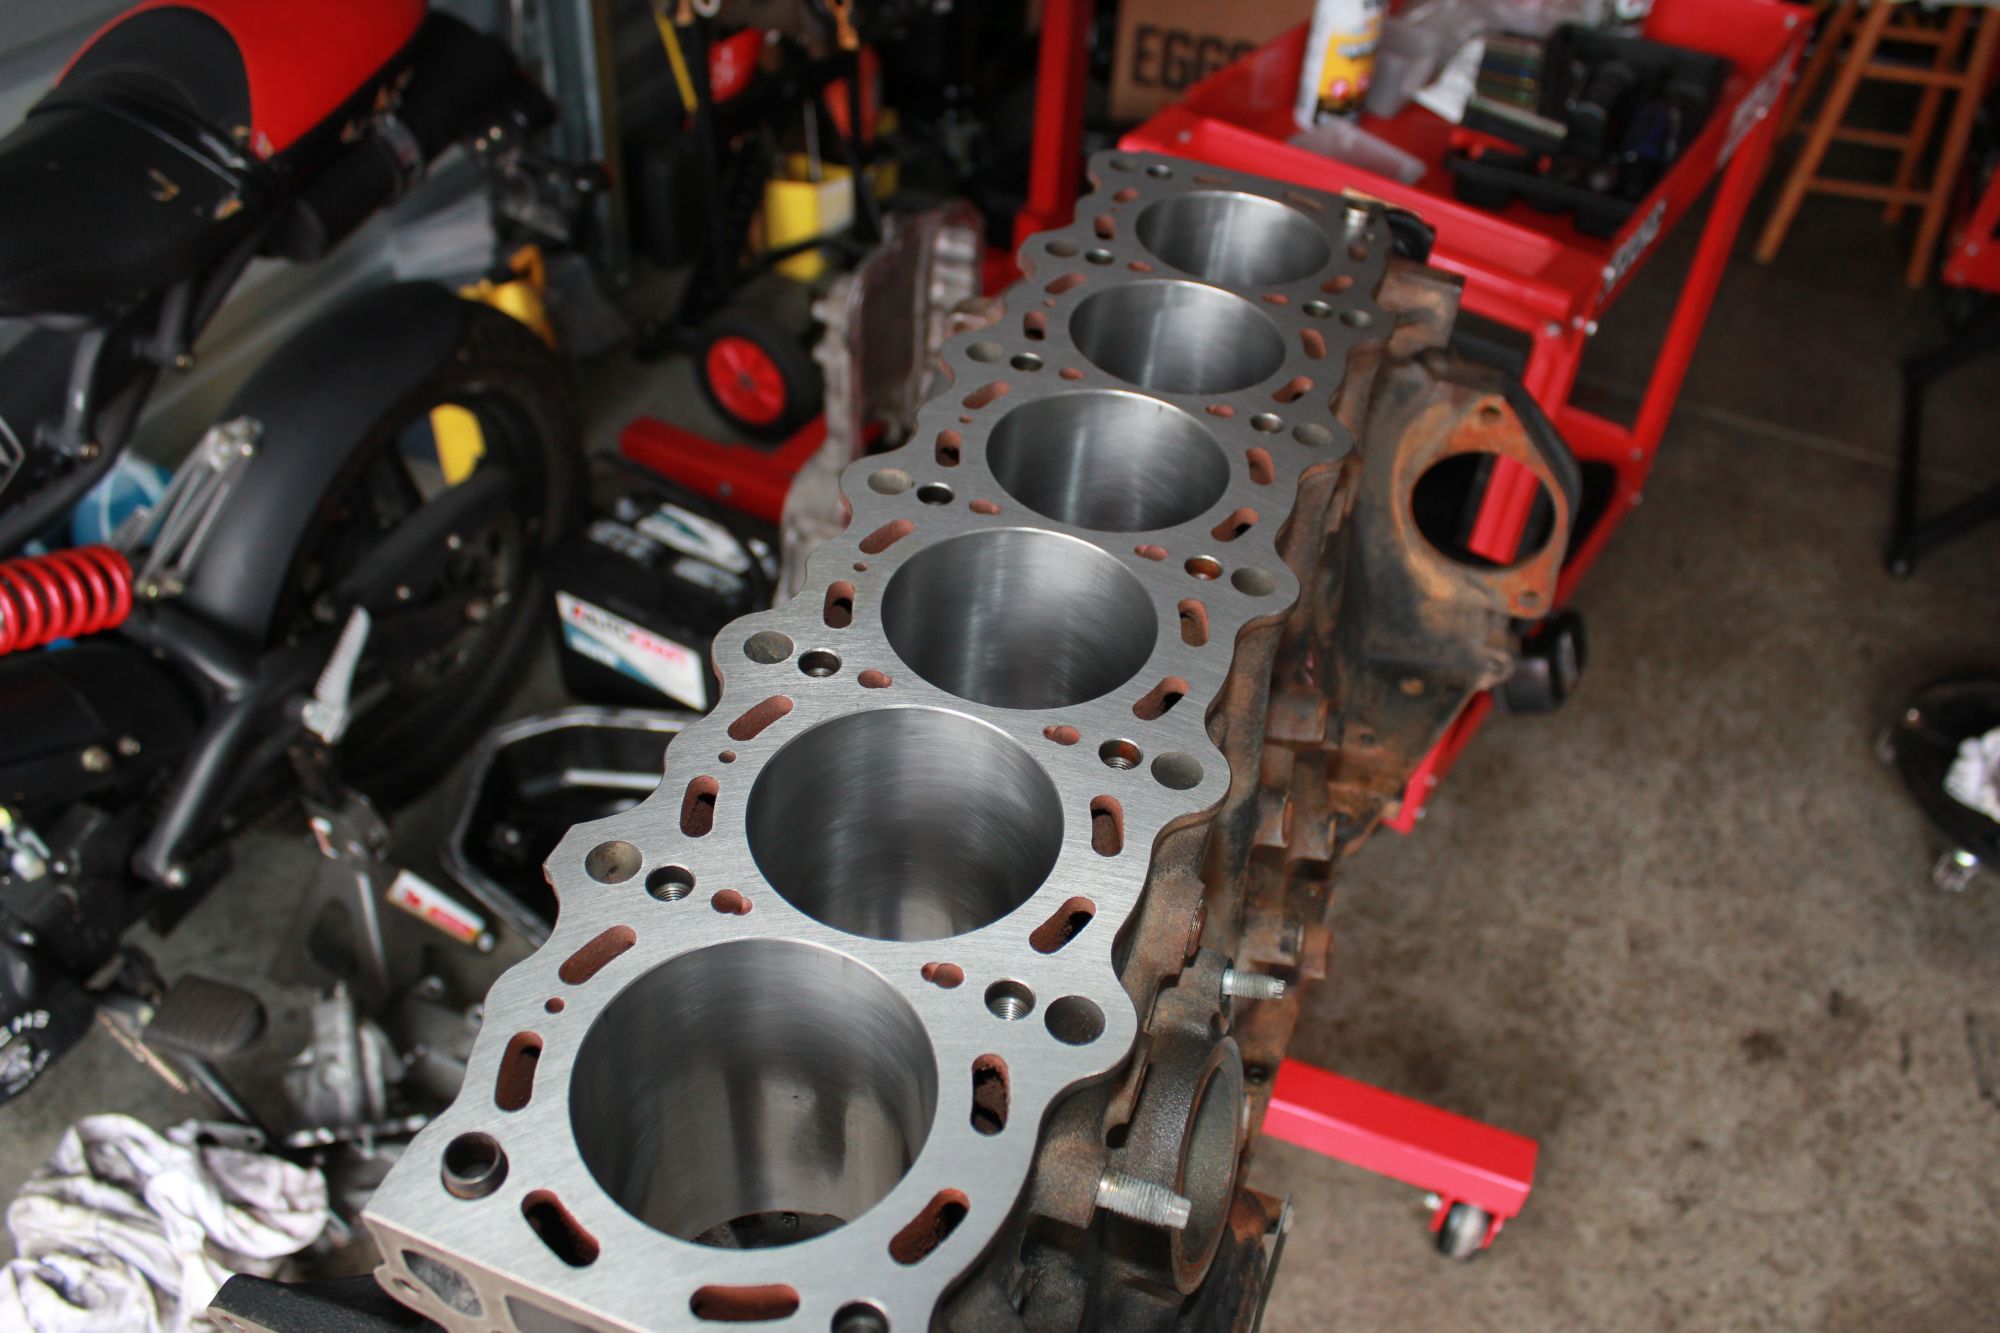
so finally got the block and stuff back from the shop, oh it was a happy day, everything was so fresh and clean.
-BLOCK WAS DECKED/BORED TO .20 OVER
-HOT TANKED
-CRANK WAS POLISHED/BALANCED
-PISTON RINGS WERE FILED/INSTALLED
-RODS WERE BALANCED/WRIST PINS INSTALLED
TOTAL BILL $870-930 (HAVE TO LOOK AT RECEIPT)
not what I wanted to spend.
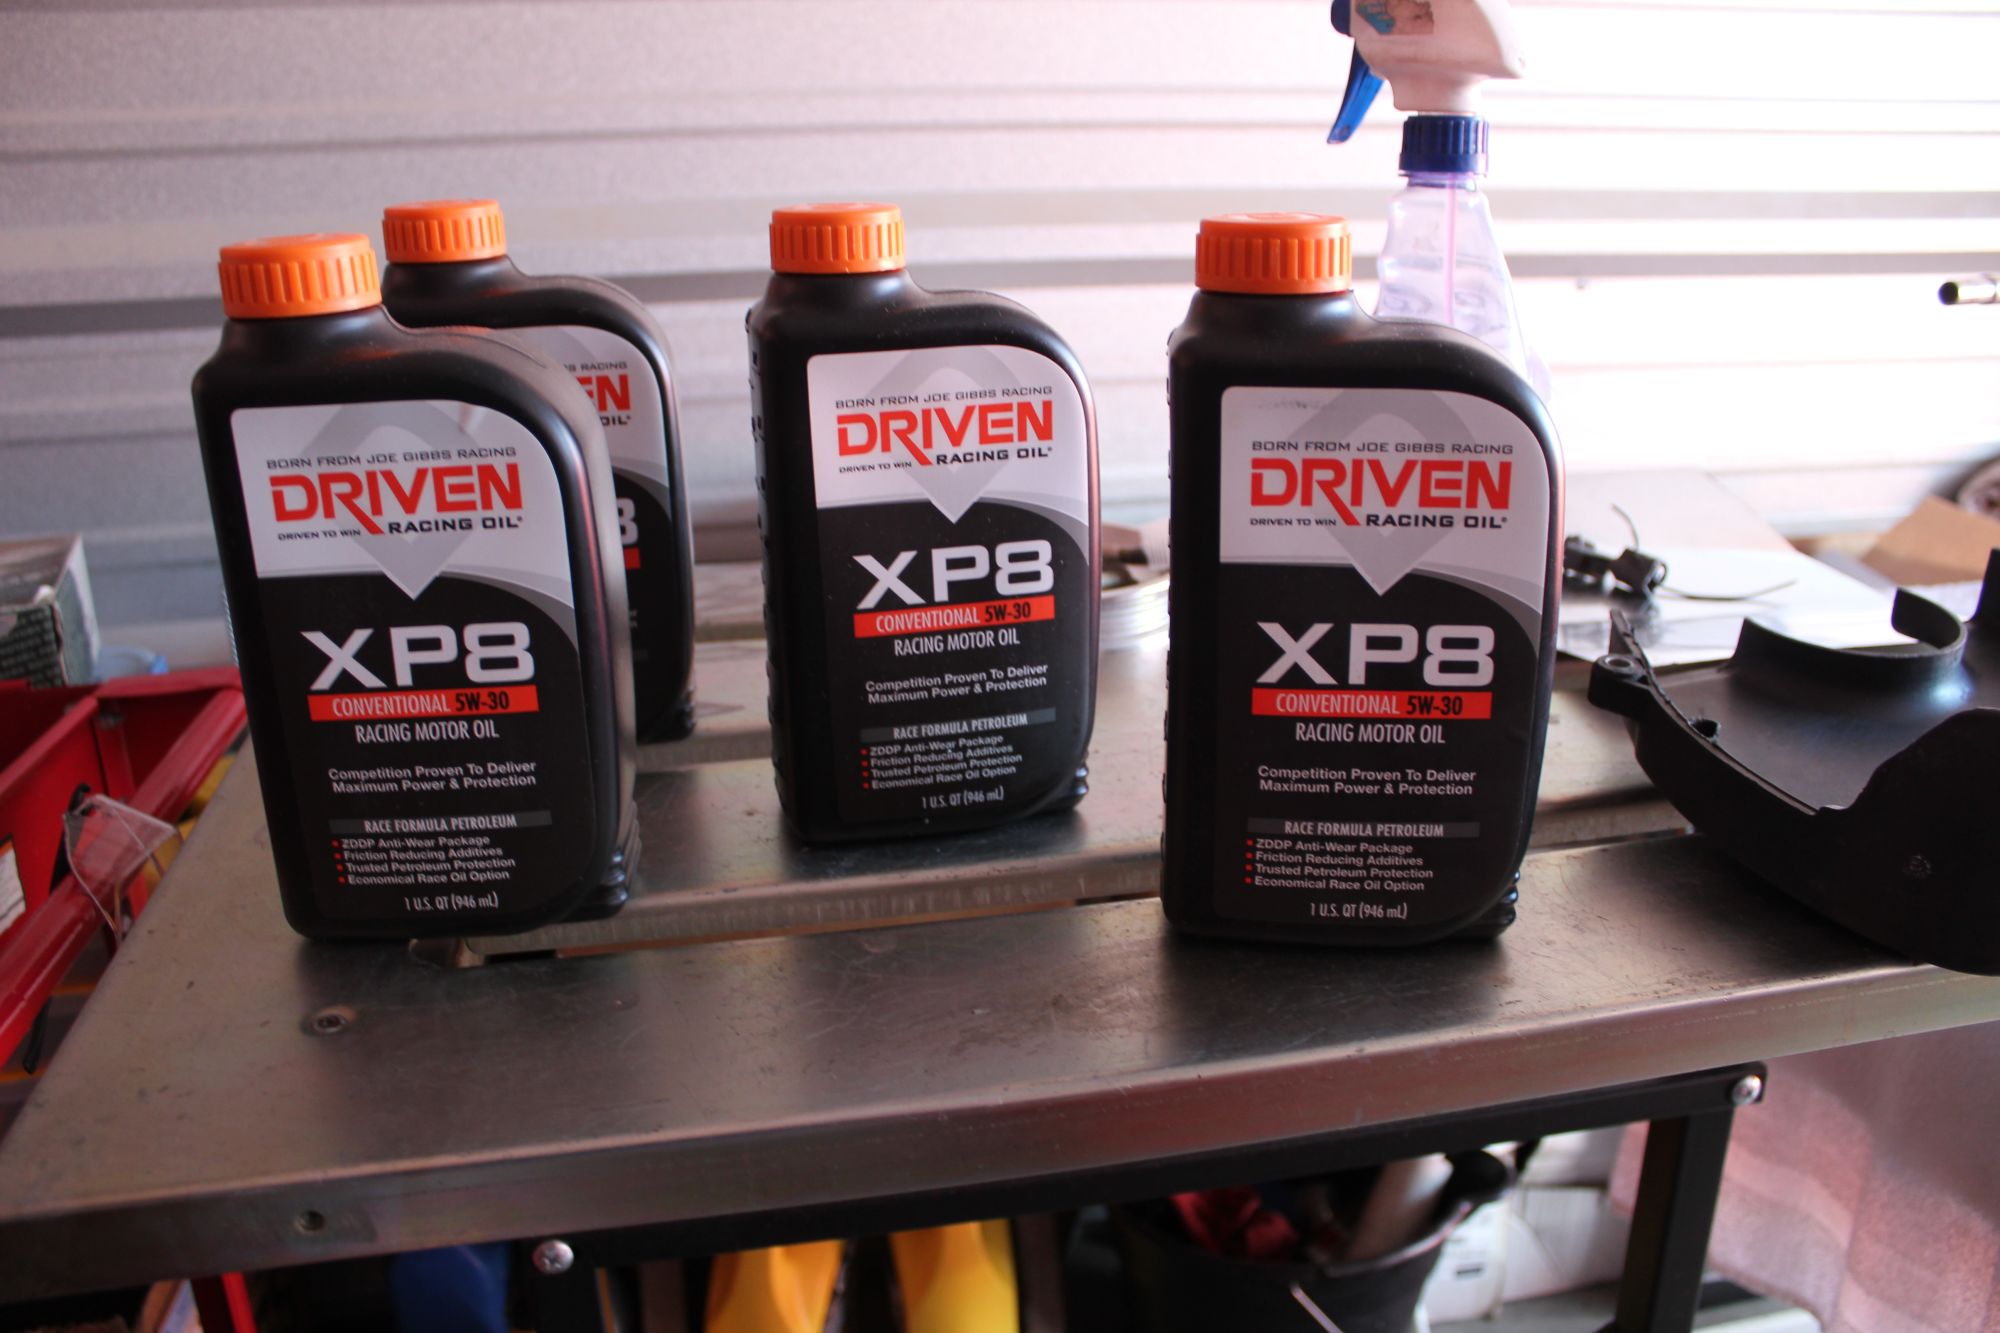
also picked up some break in oil
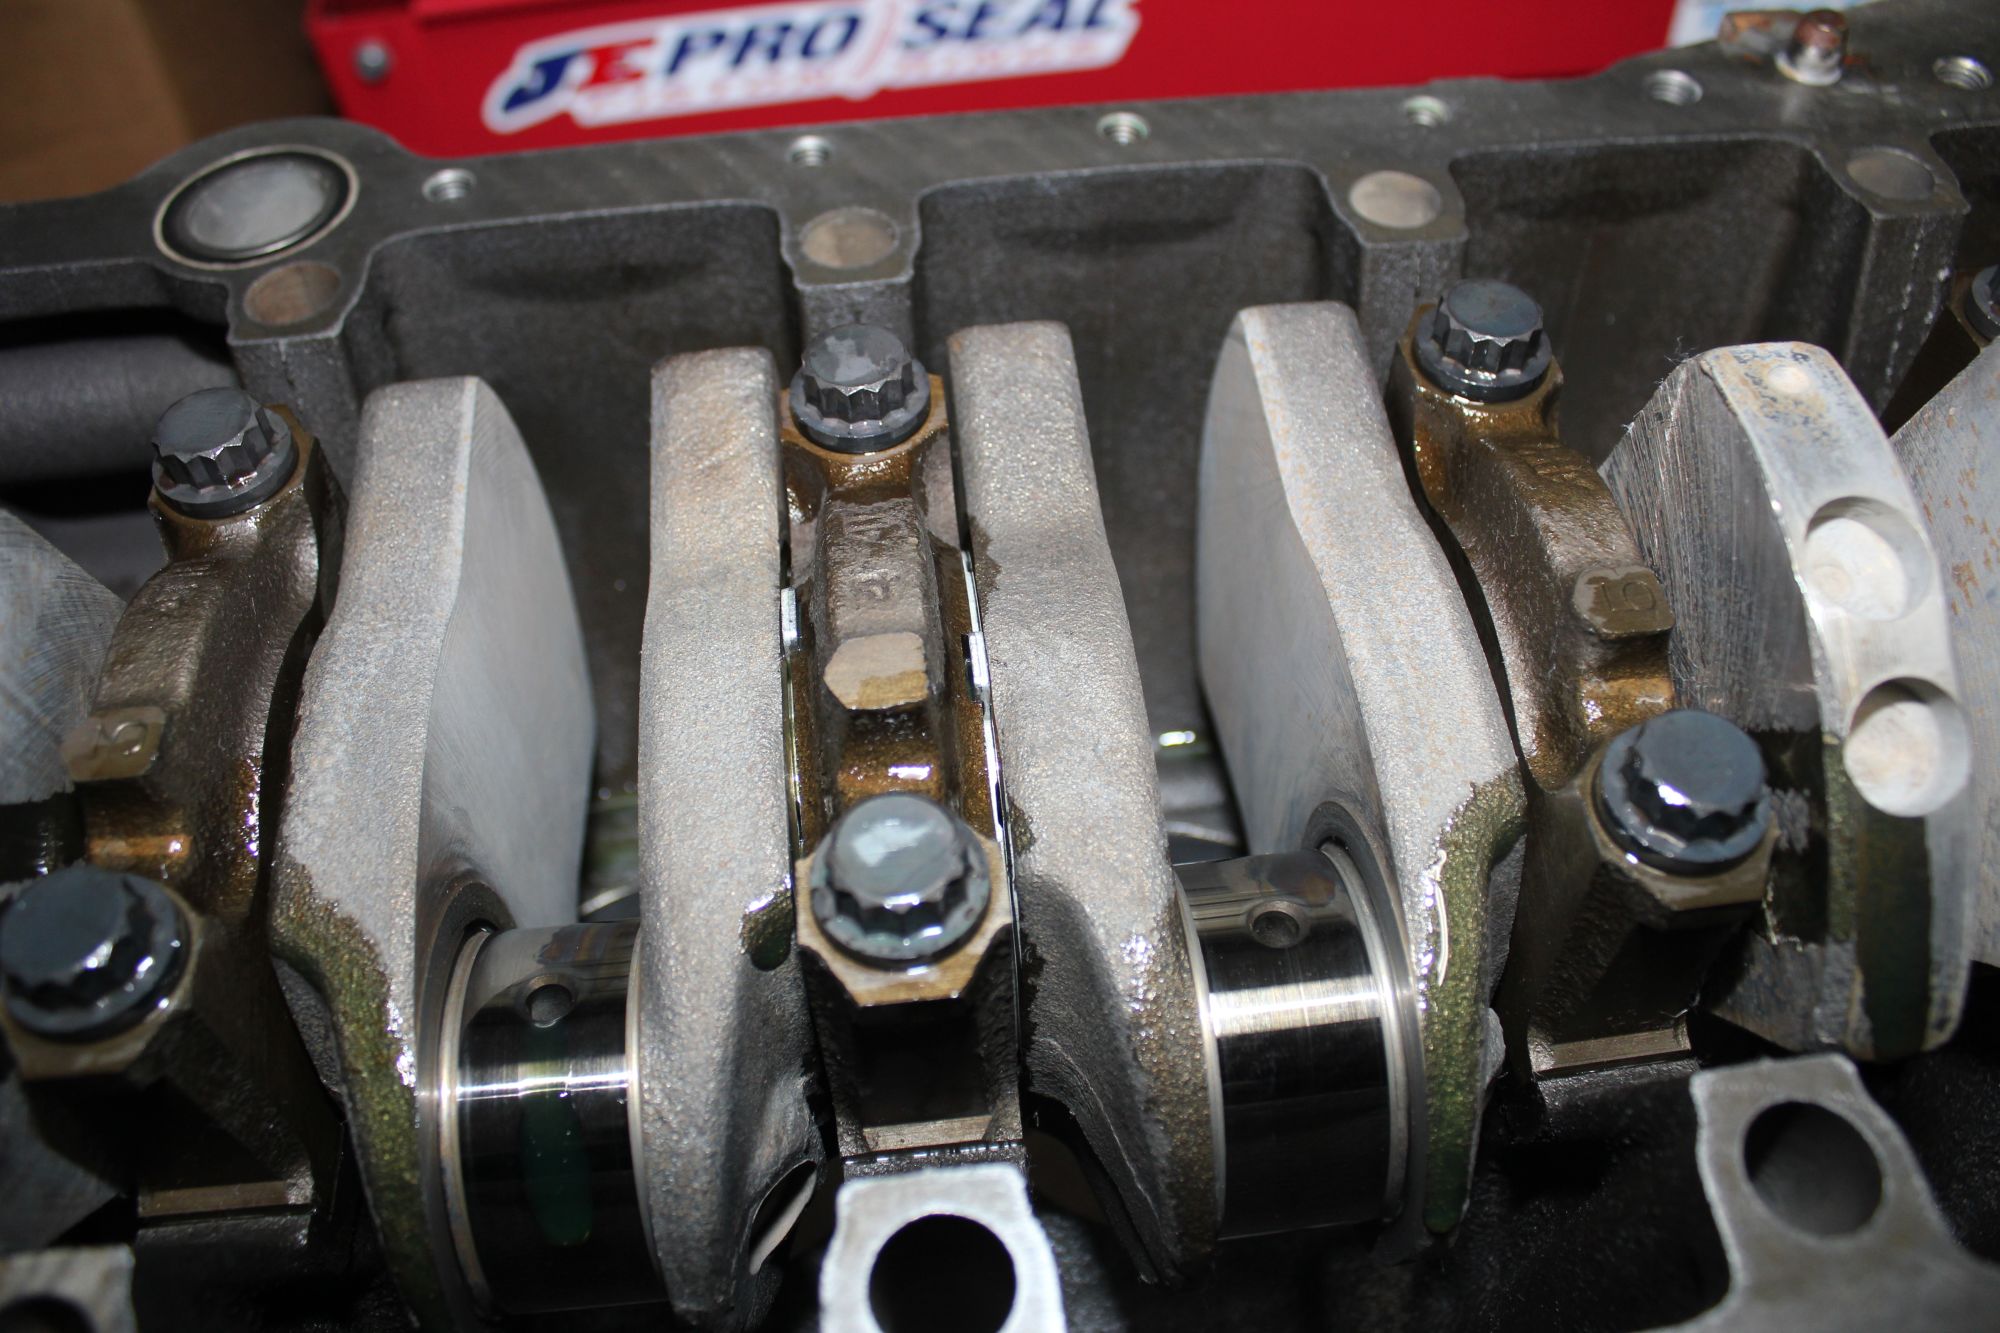
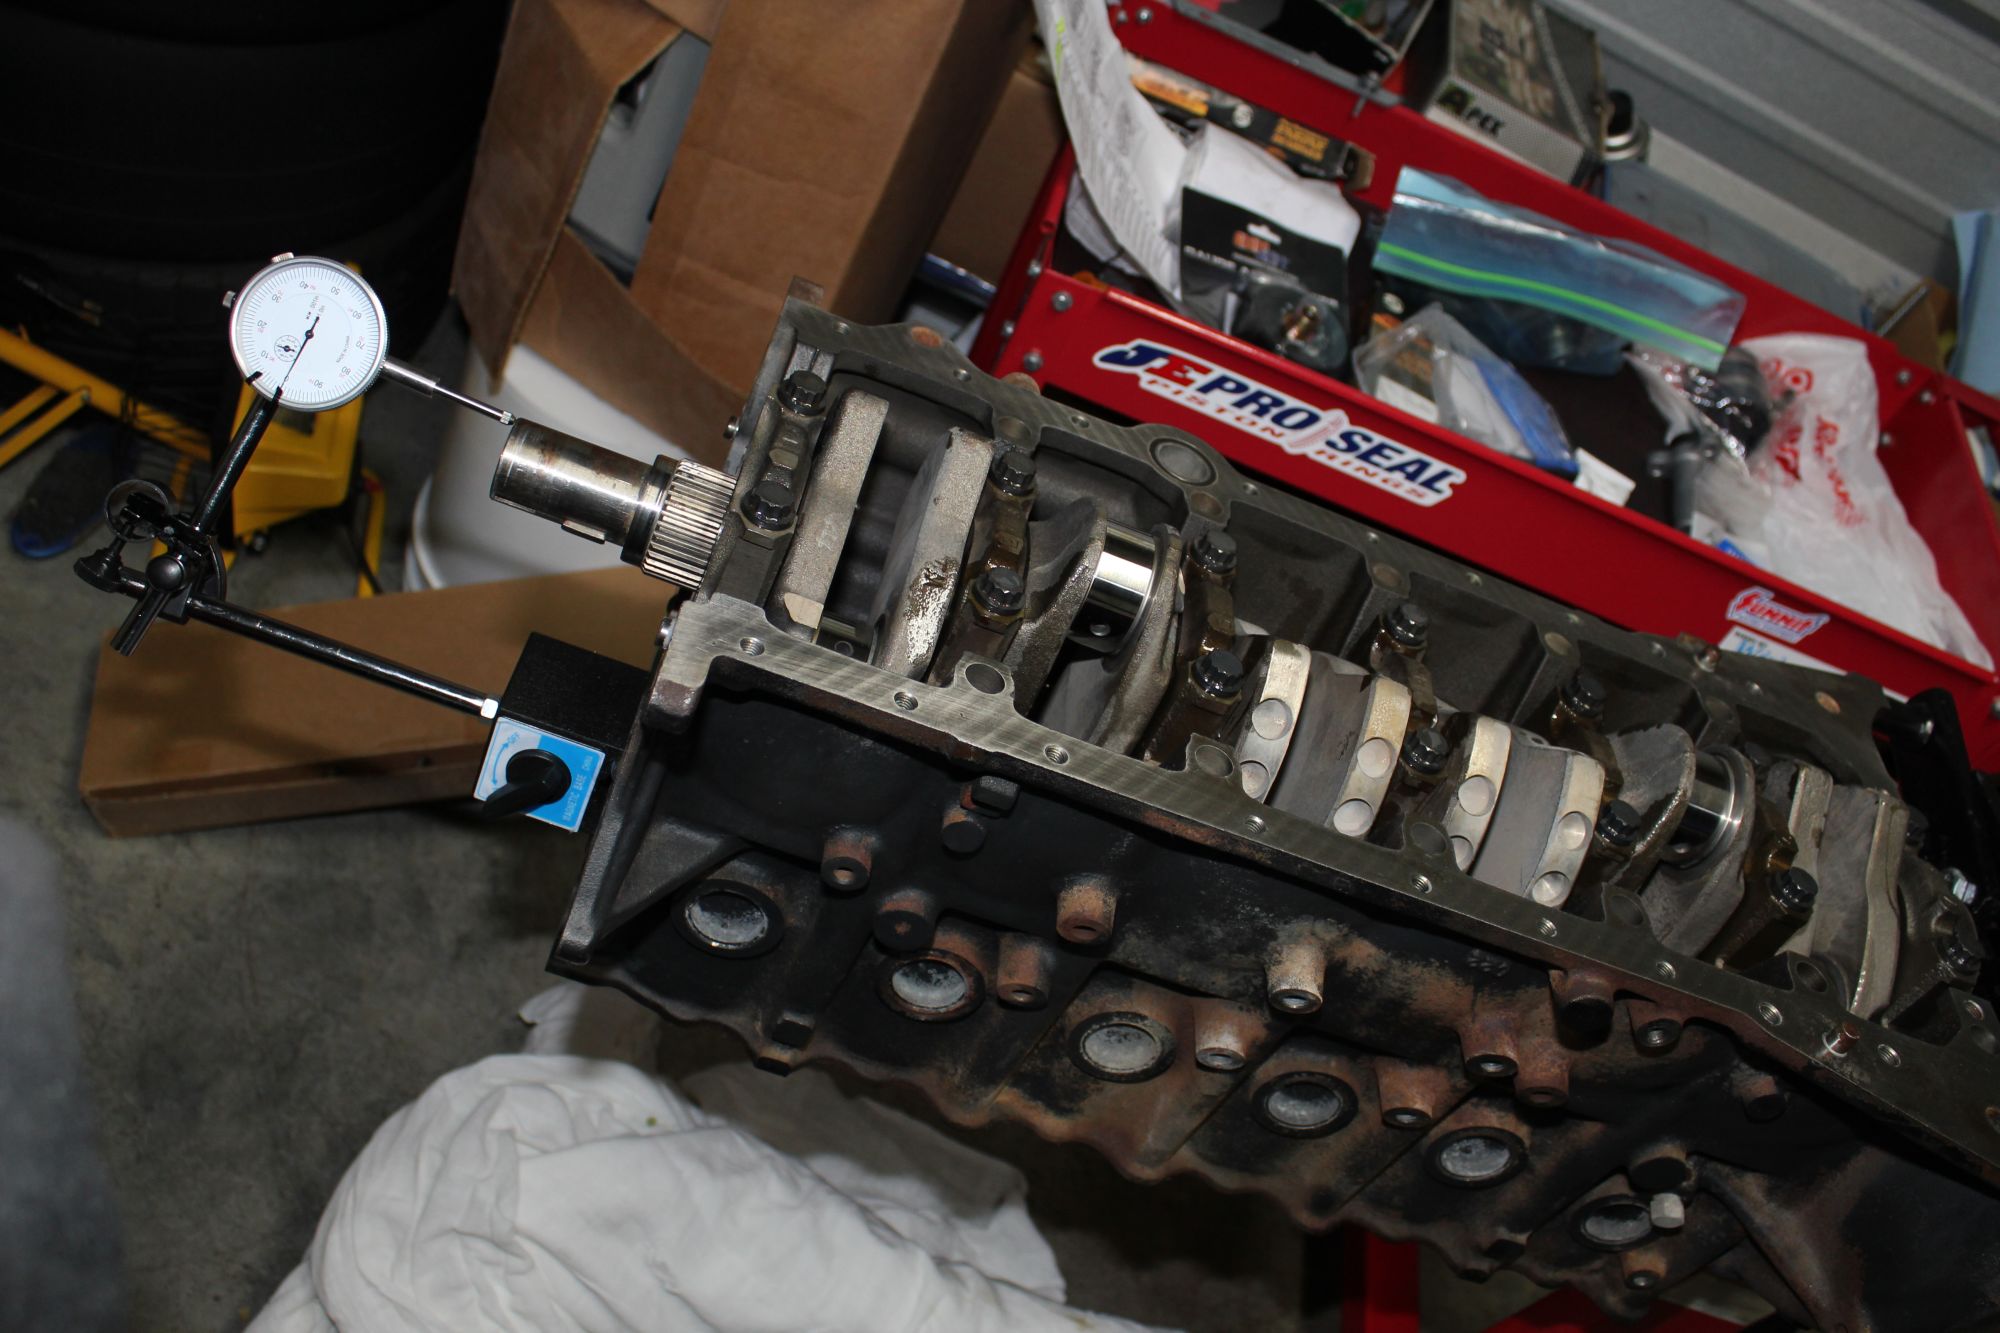
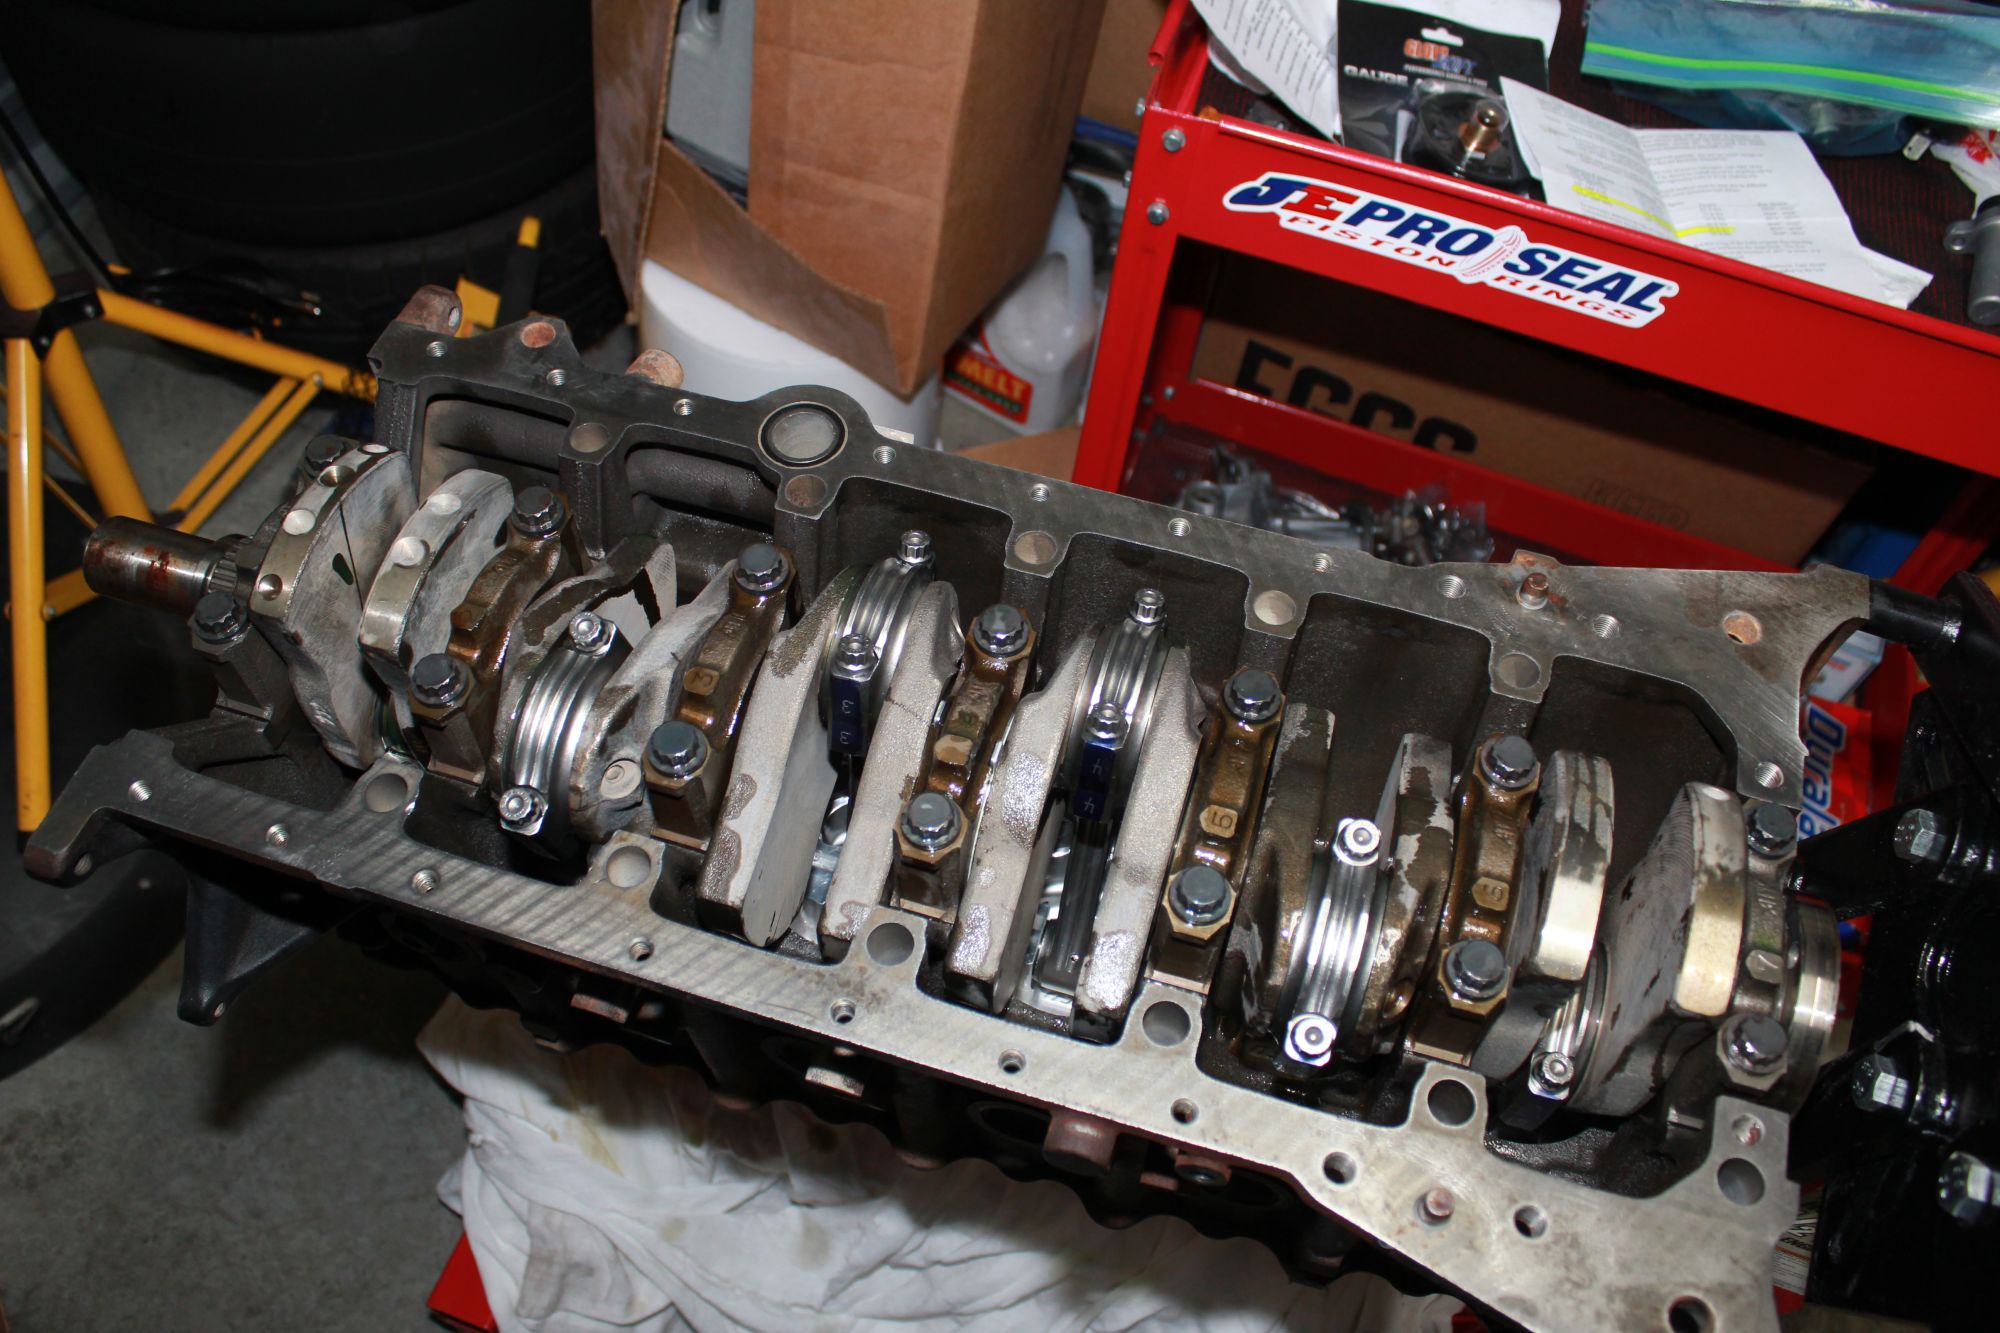
Next up was assembly time. Yes I was nervous as this will be my frist assembly of a bottom end and I can't **** up on this one. so after some youtube videos and some verbal advice from some people I took a crack at it. thankfully some warmer weather came by to help.
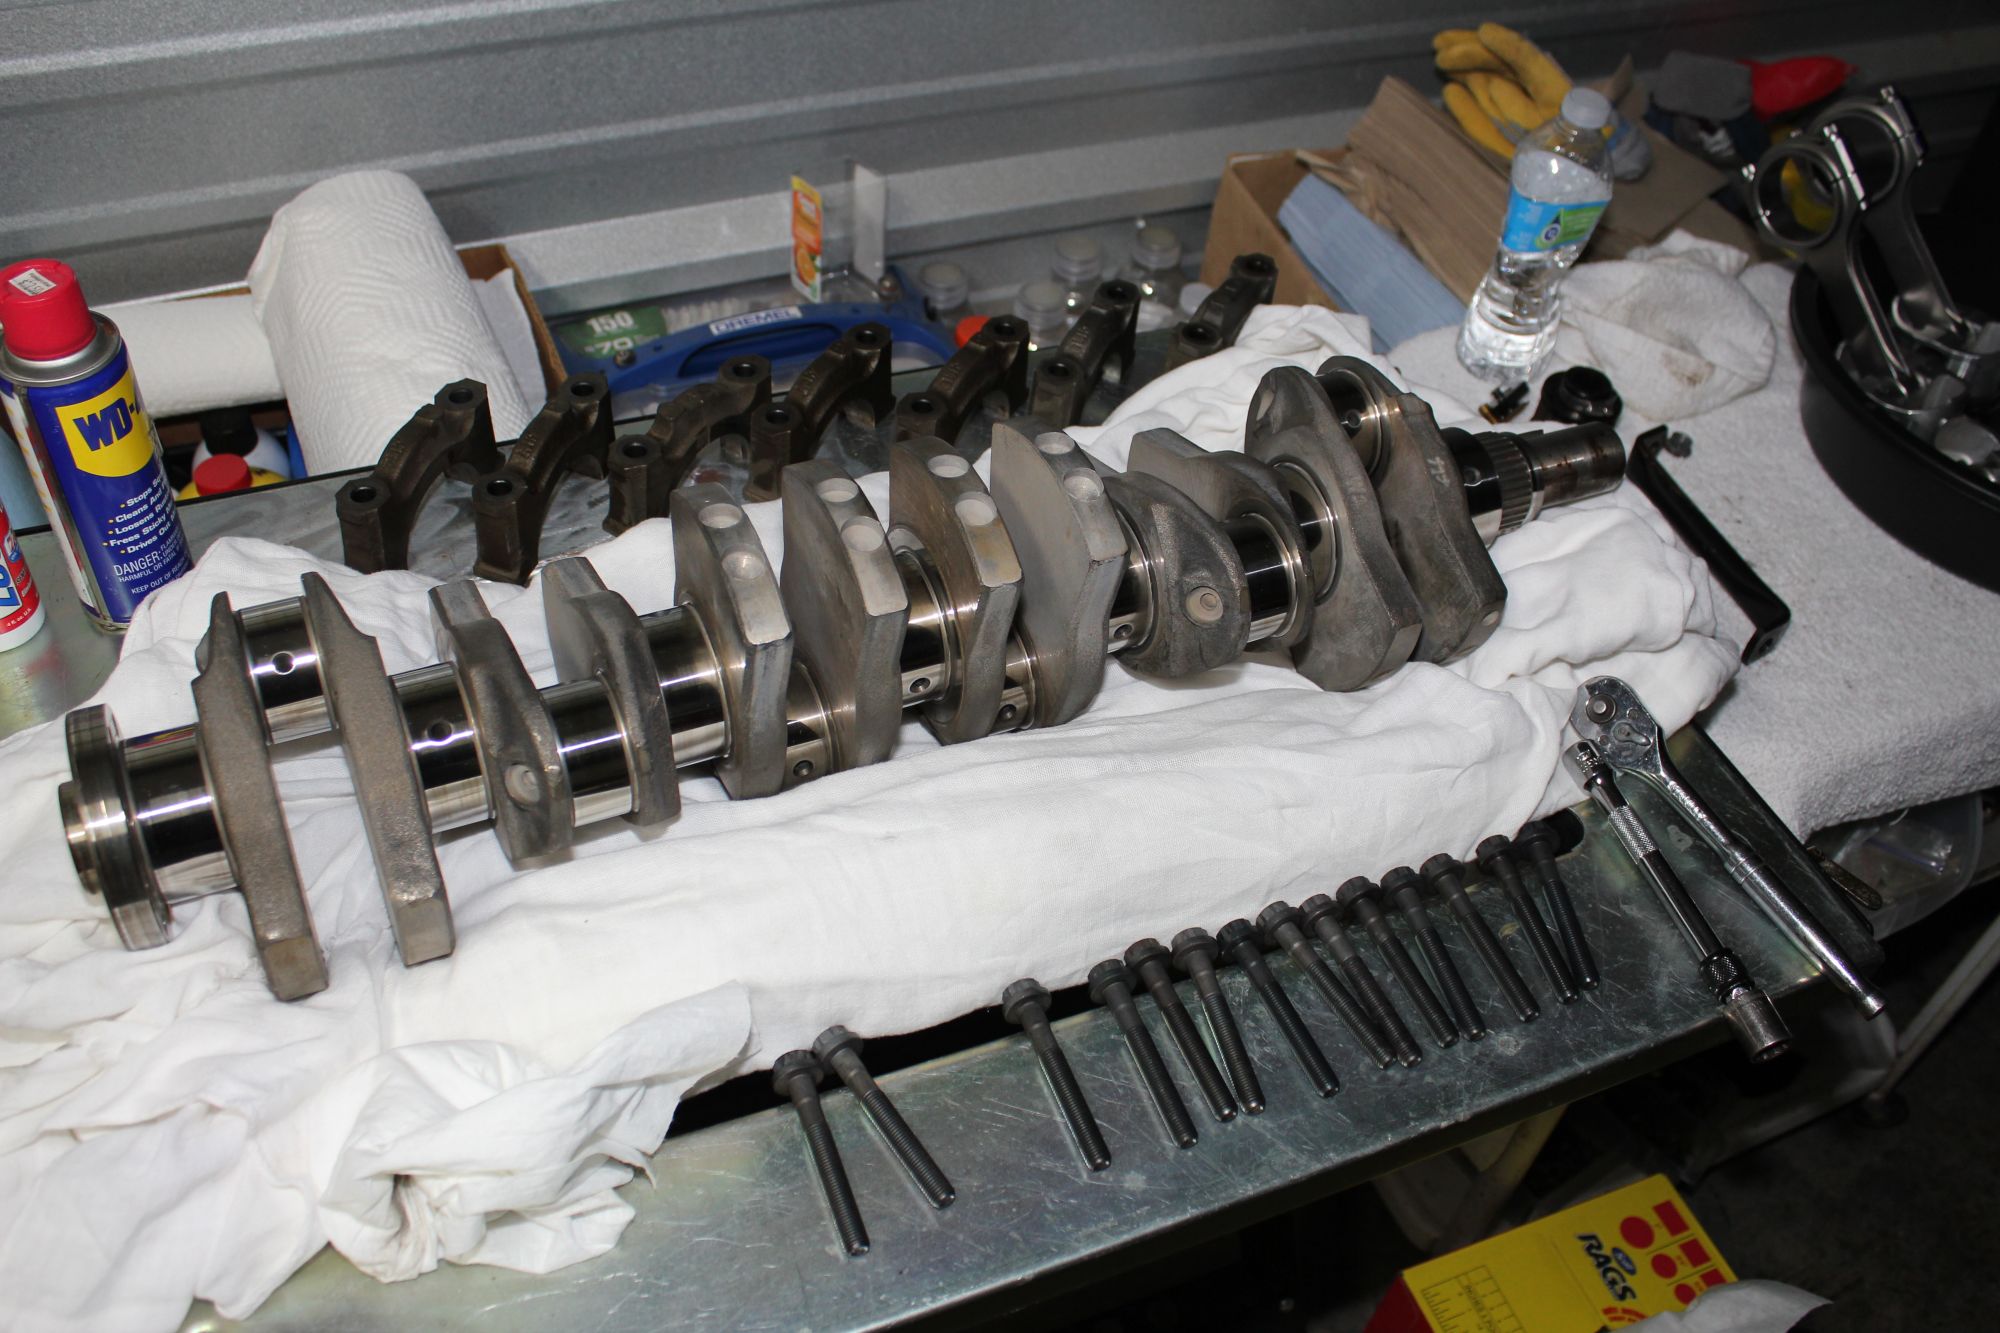
so aside from following the fsm, apparently the "big" thing is crank thrust, so I carefully did that and tried to make sure it was within spec
then it was on to the pis-on-ton loading
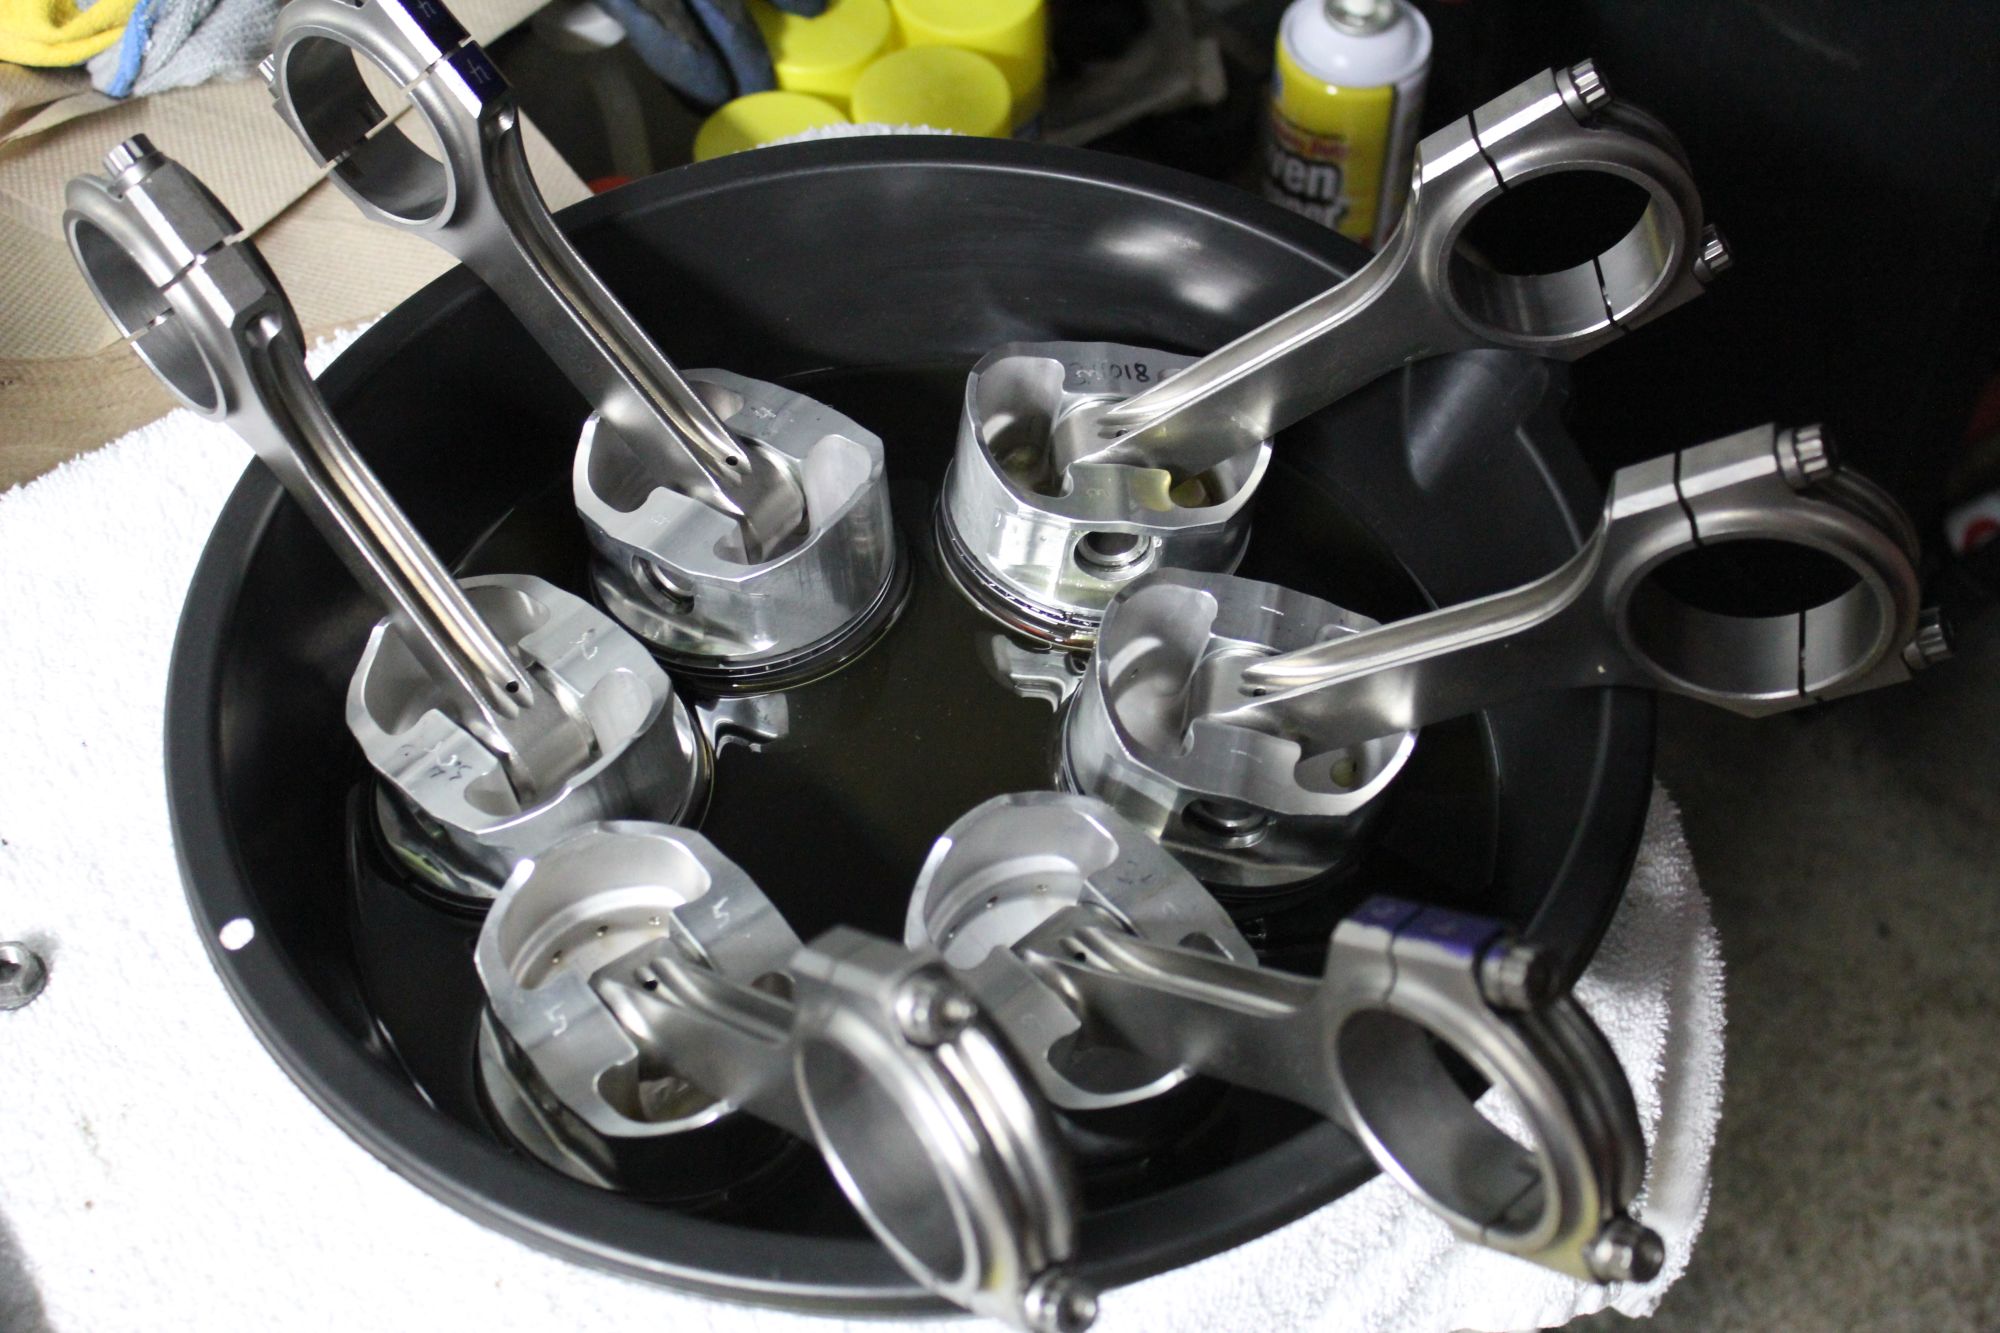
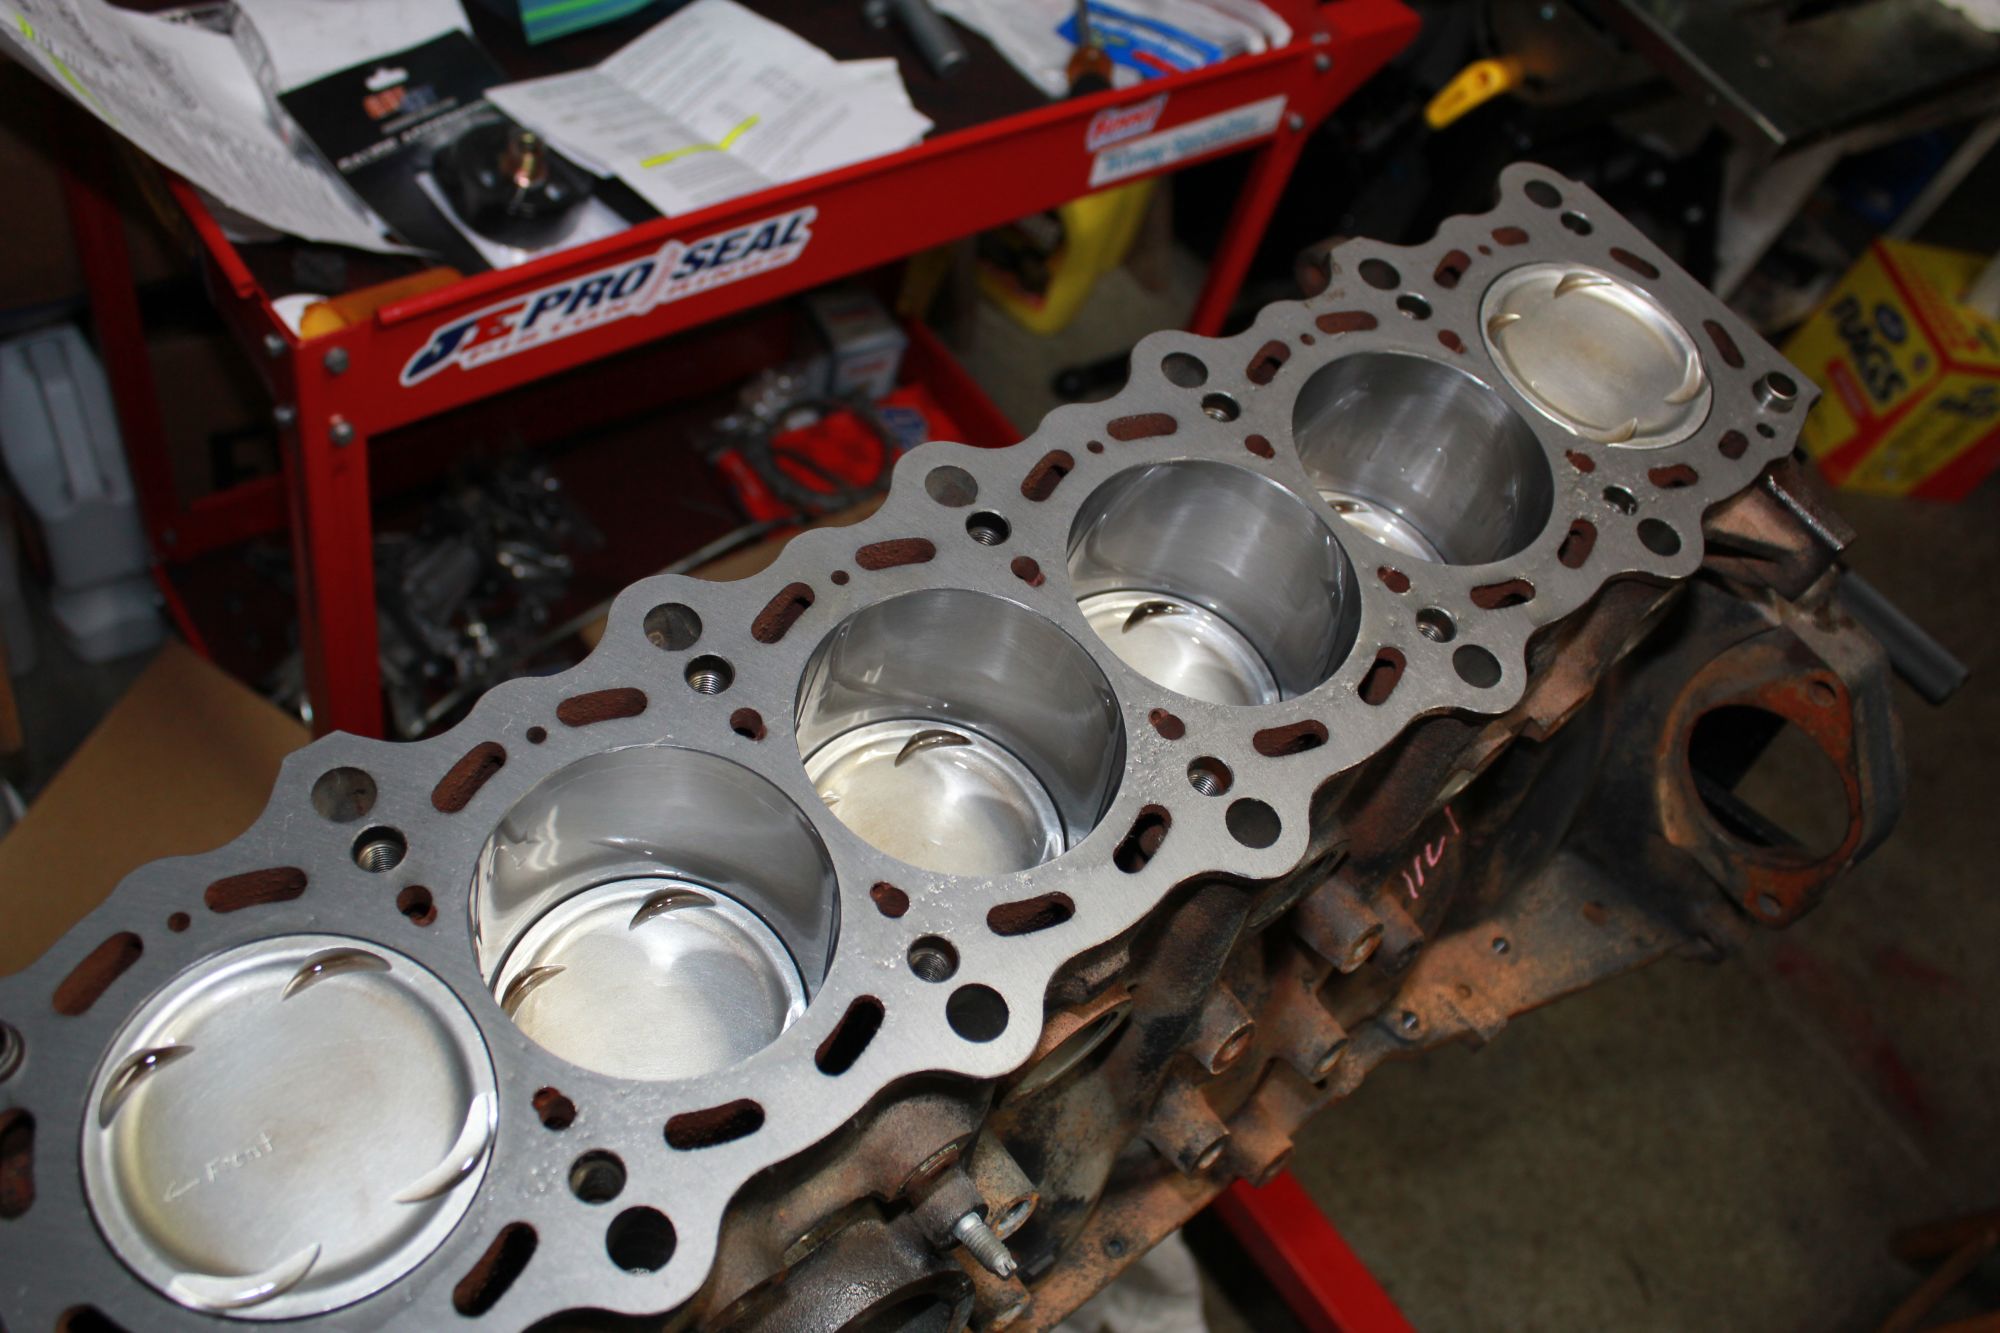
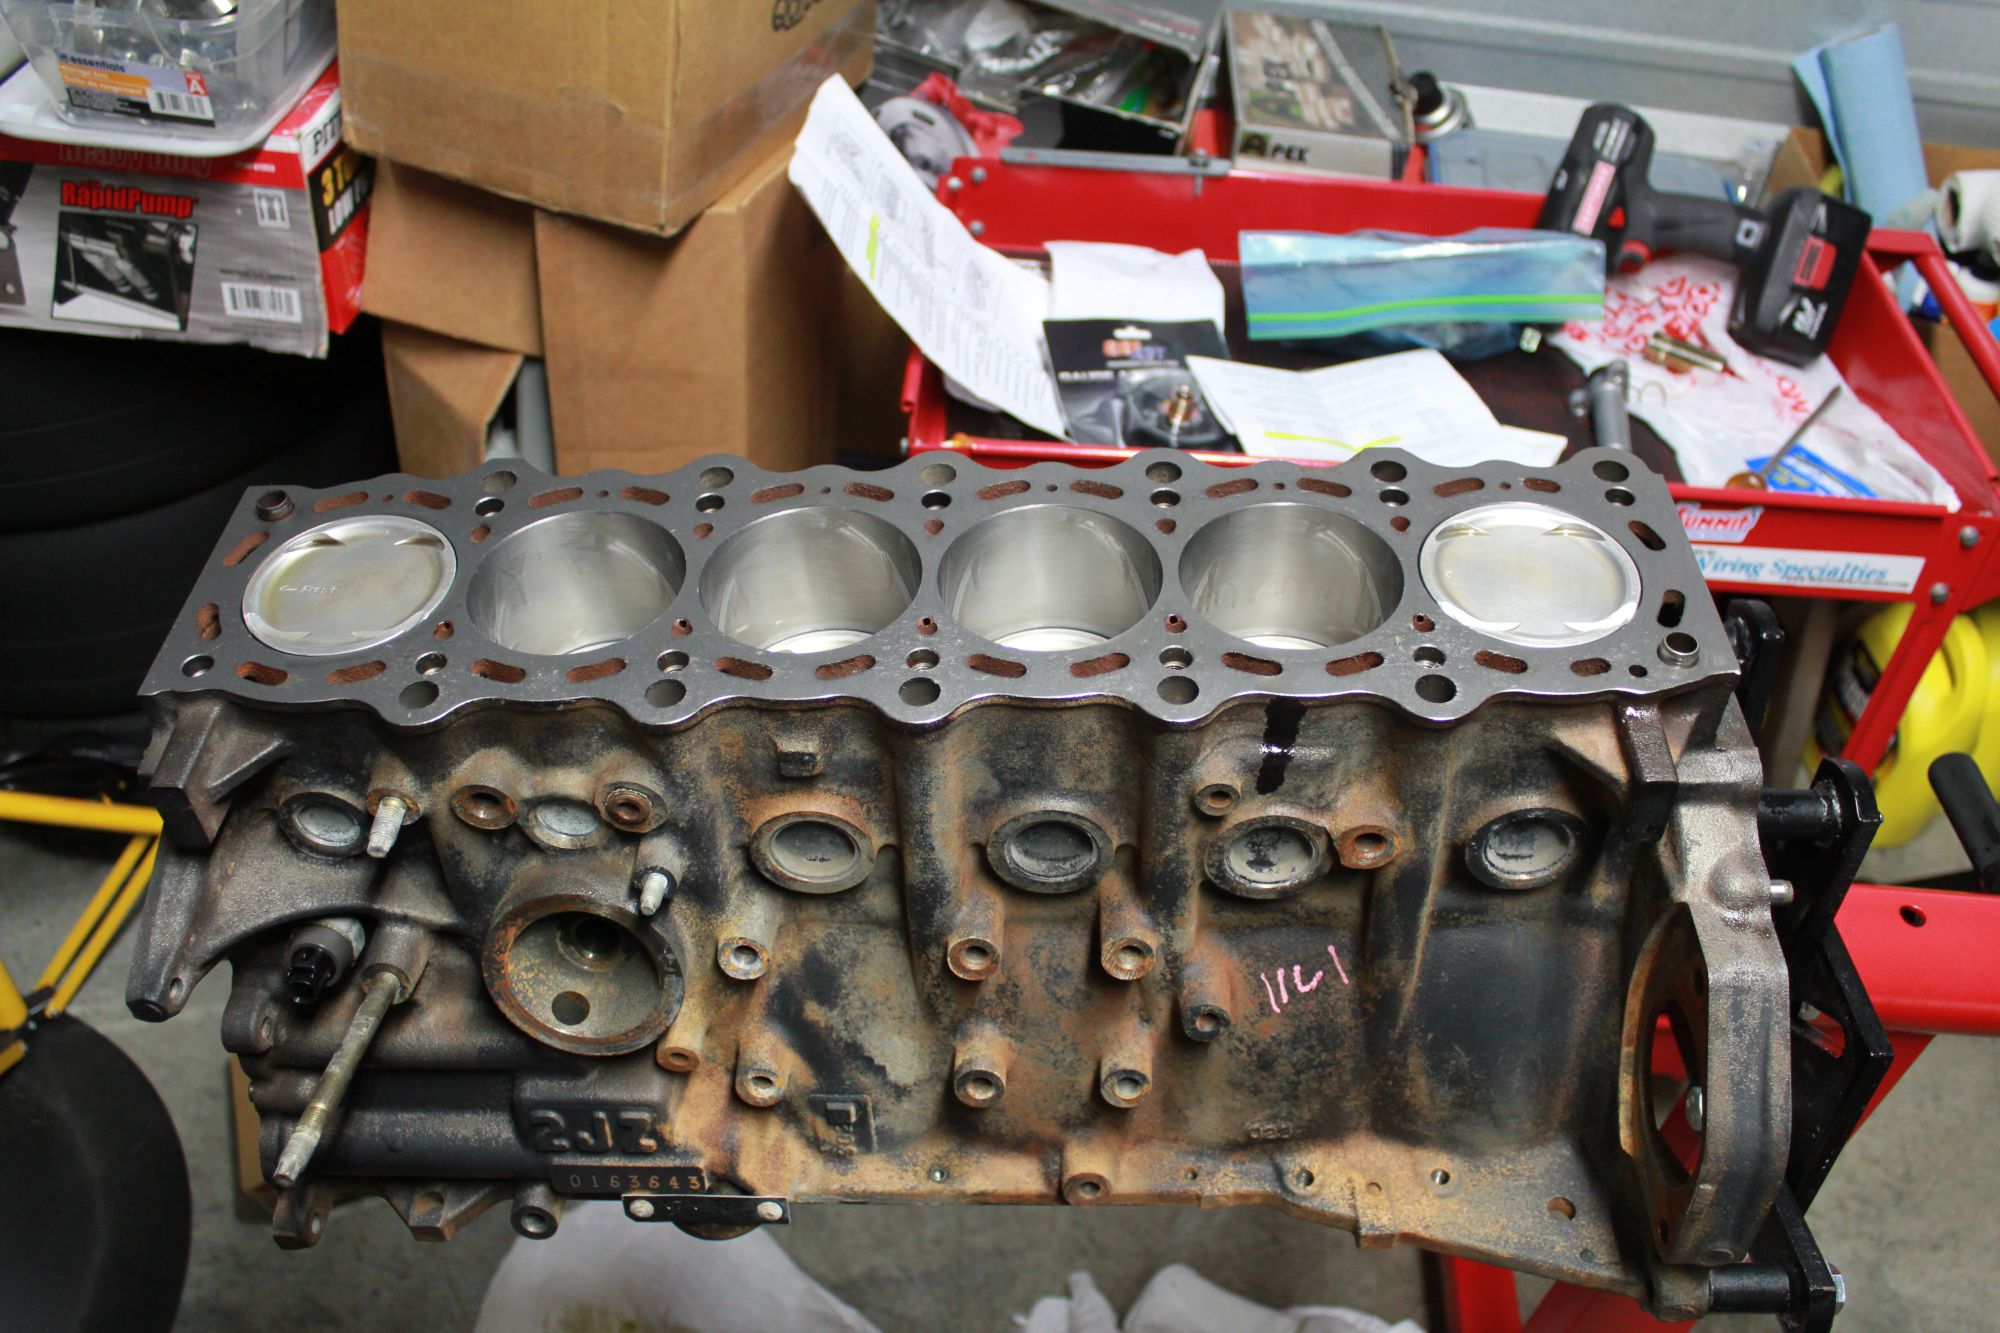
went in without a problem, no piston rings were injured!
next up was head gasket and oil pan/pump install, I have done this before on the thread so I skipped this illustration this time.
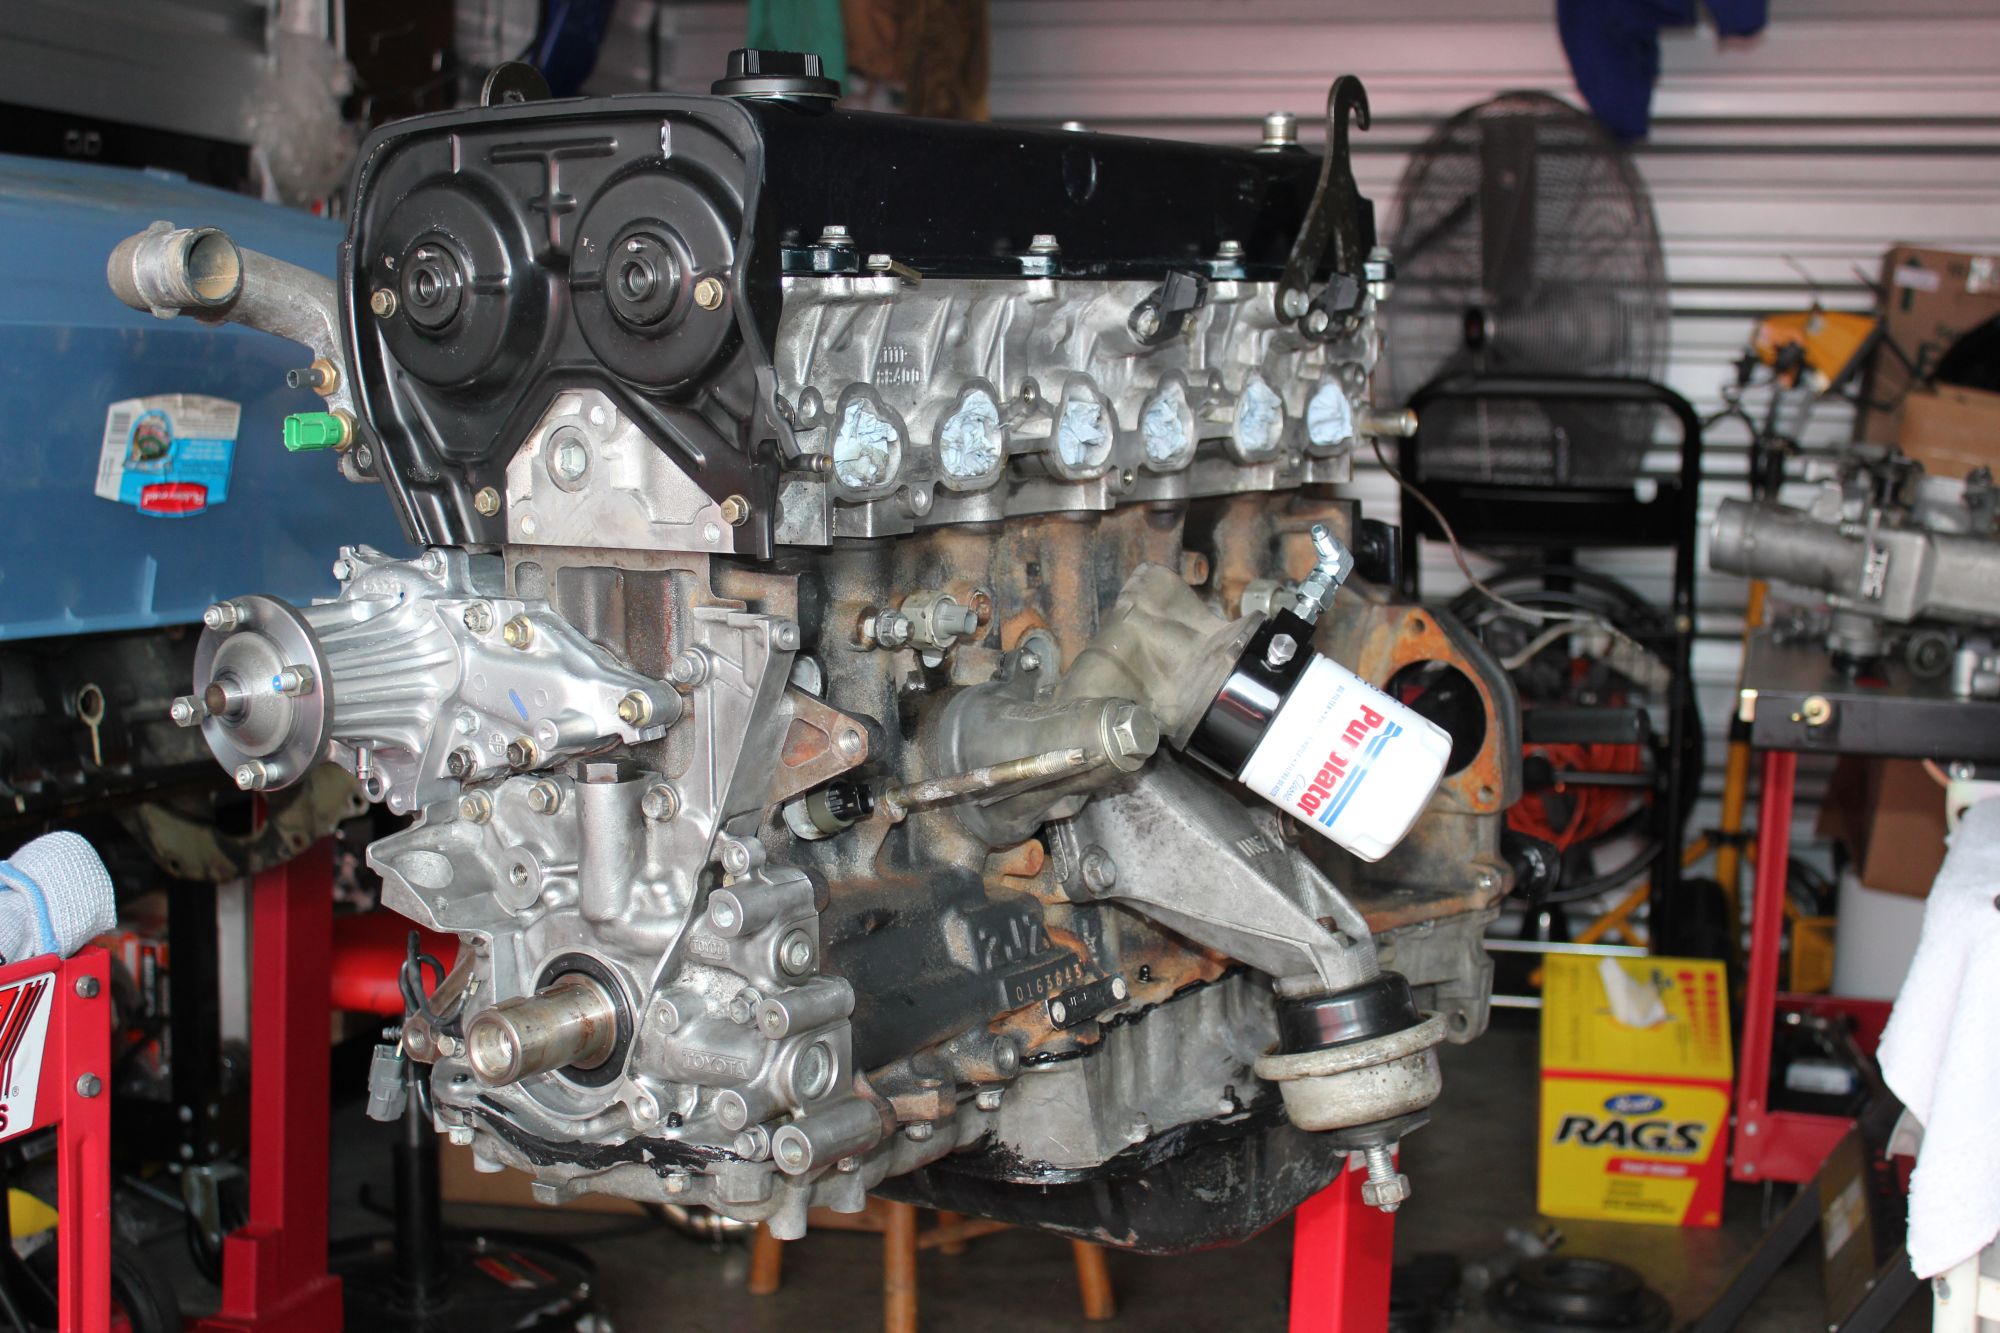
YES, the lower 1jz cam cover is too small, and I'm actually selling the set (top and bottom)
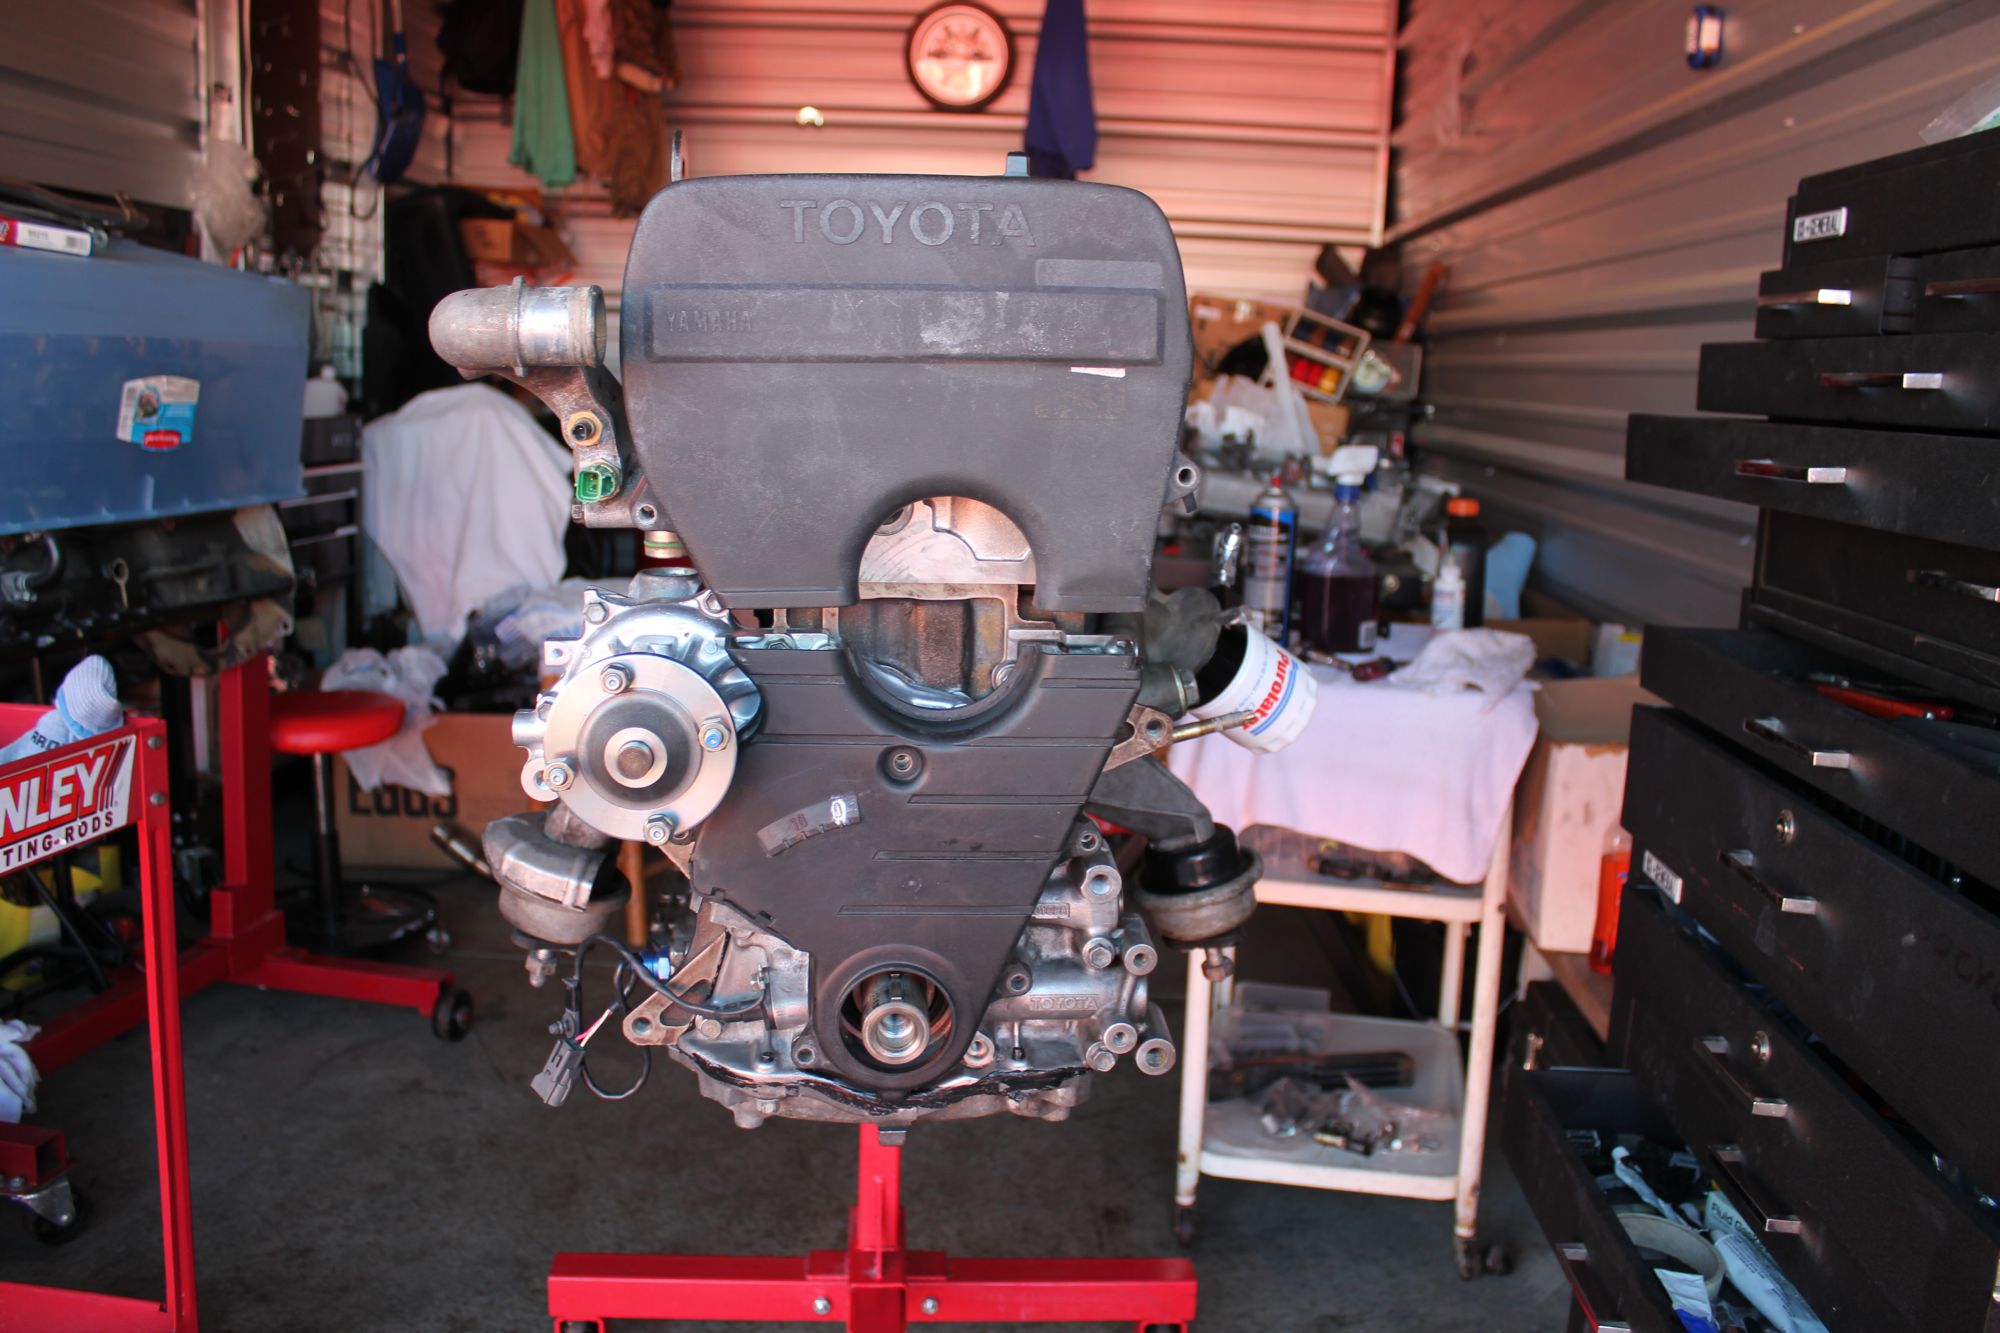
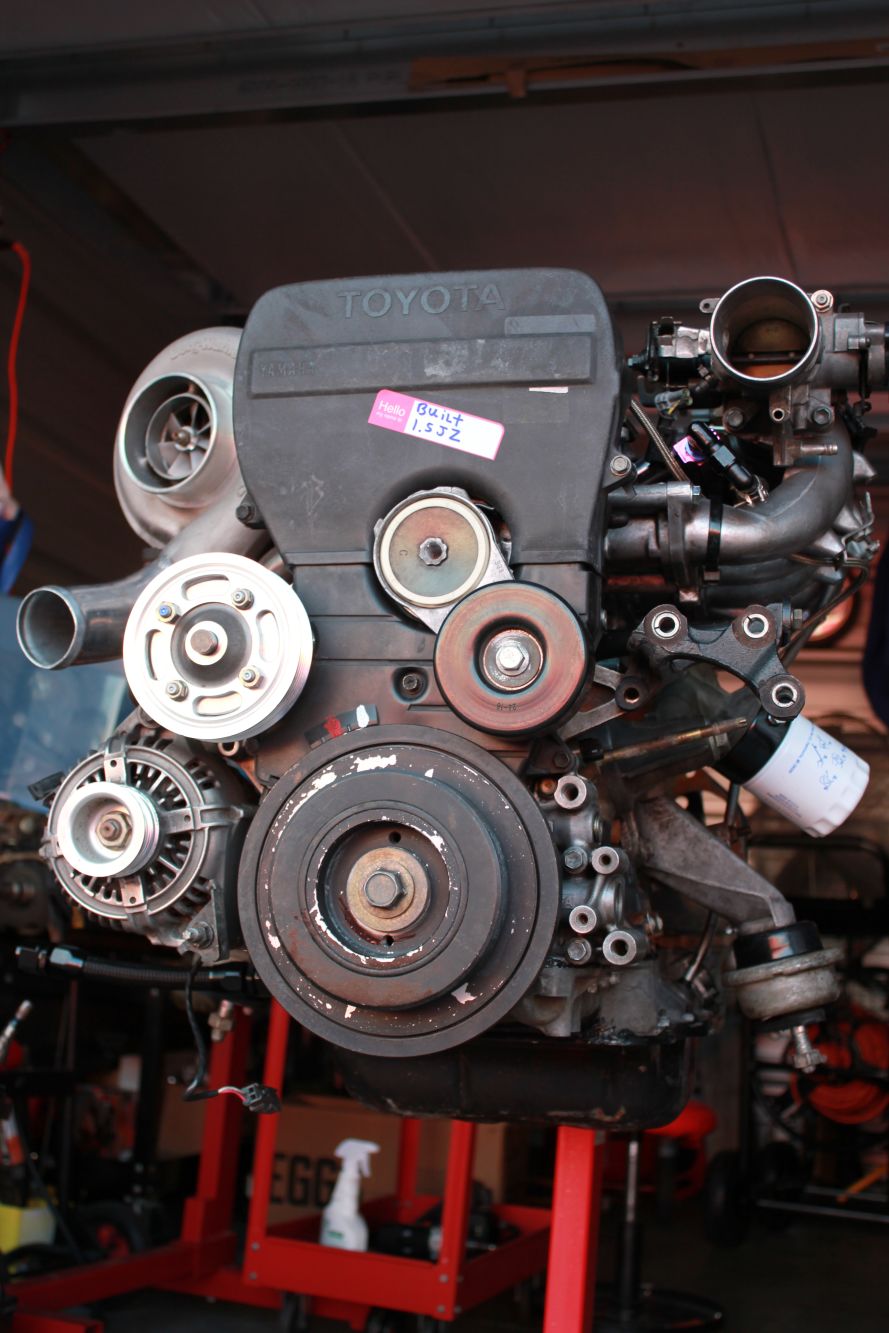
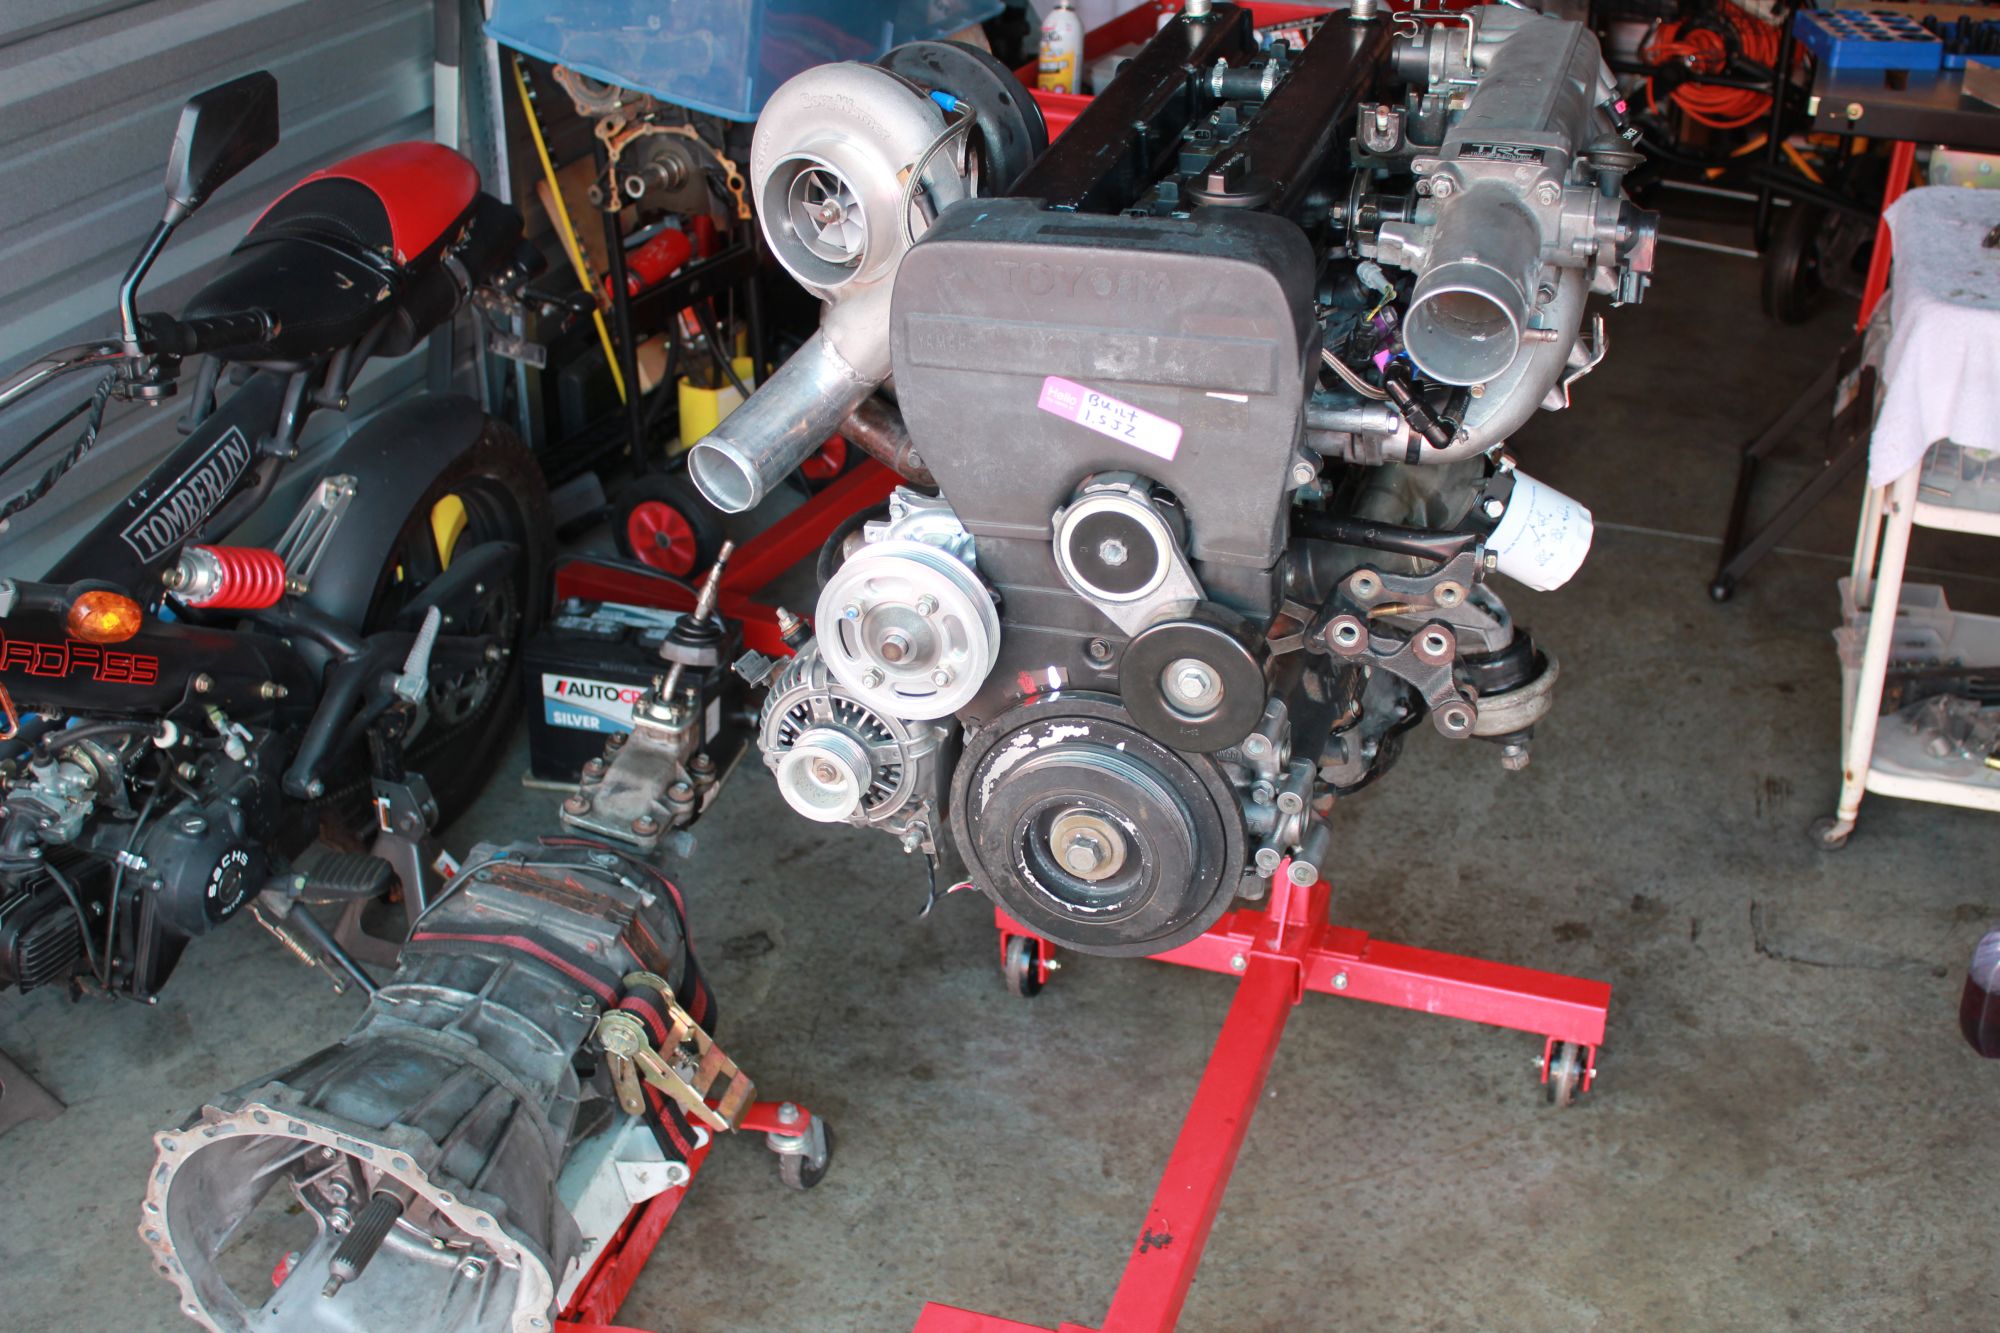
ran into an issue with the water neck.
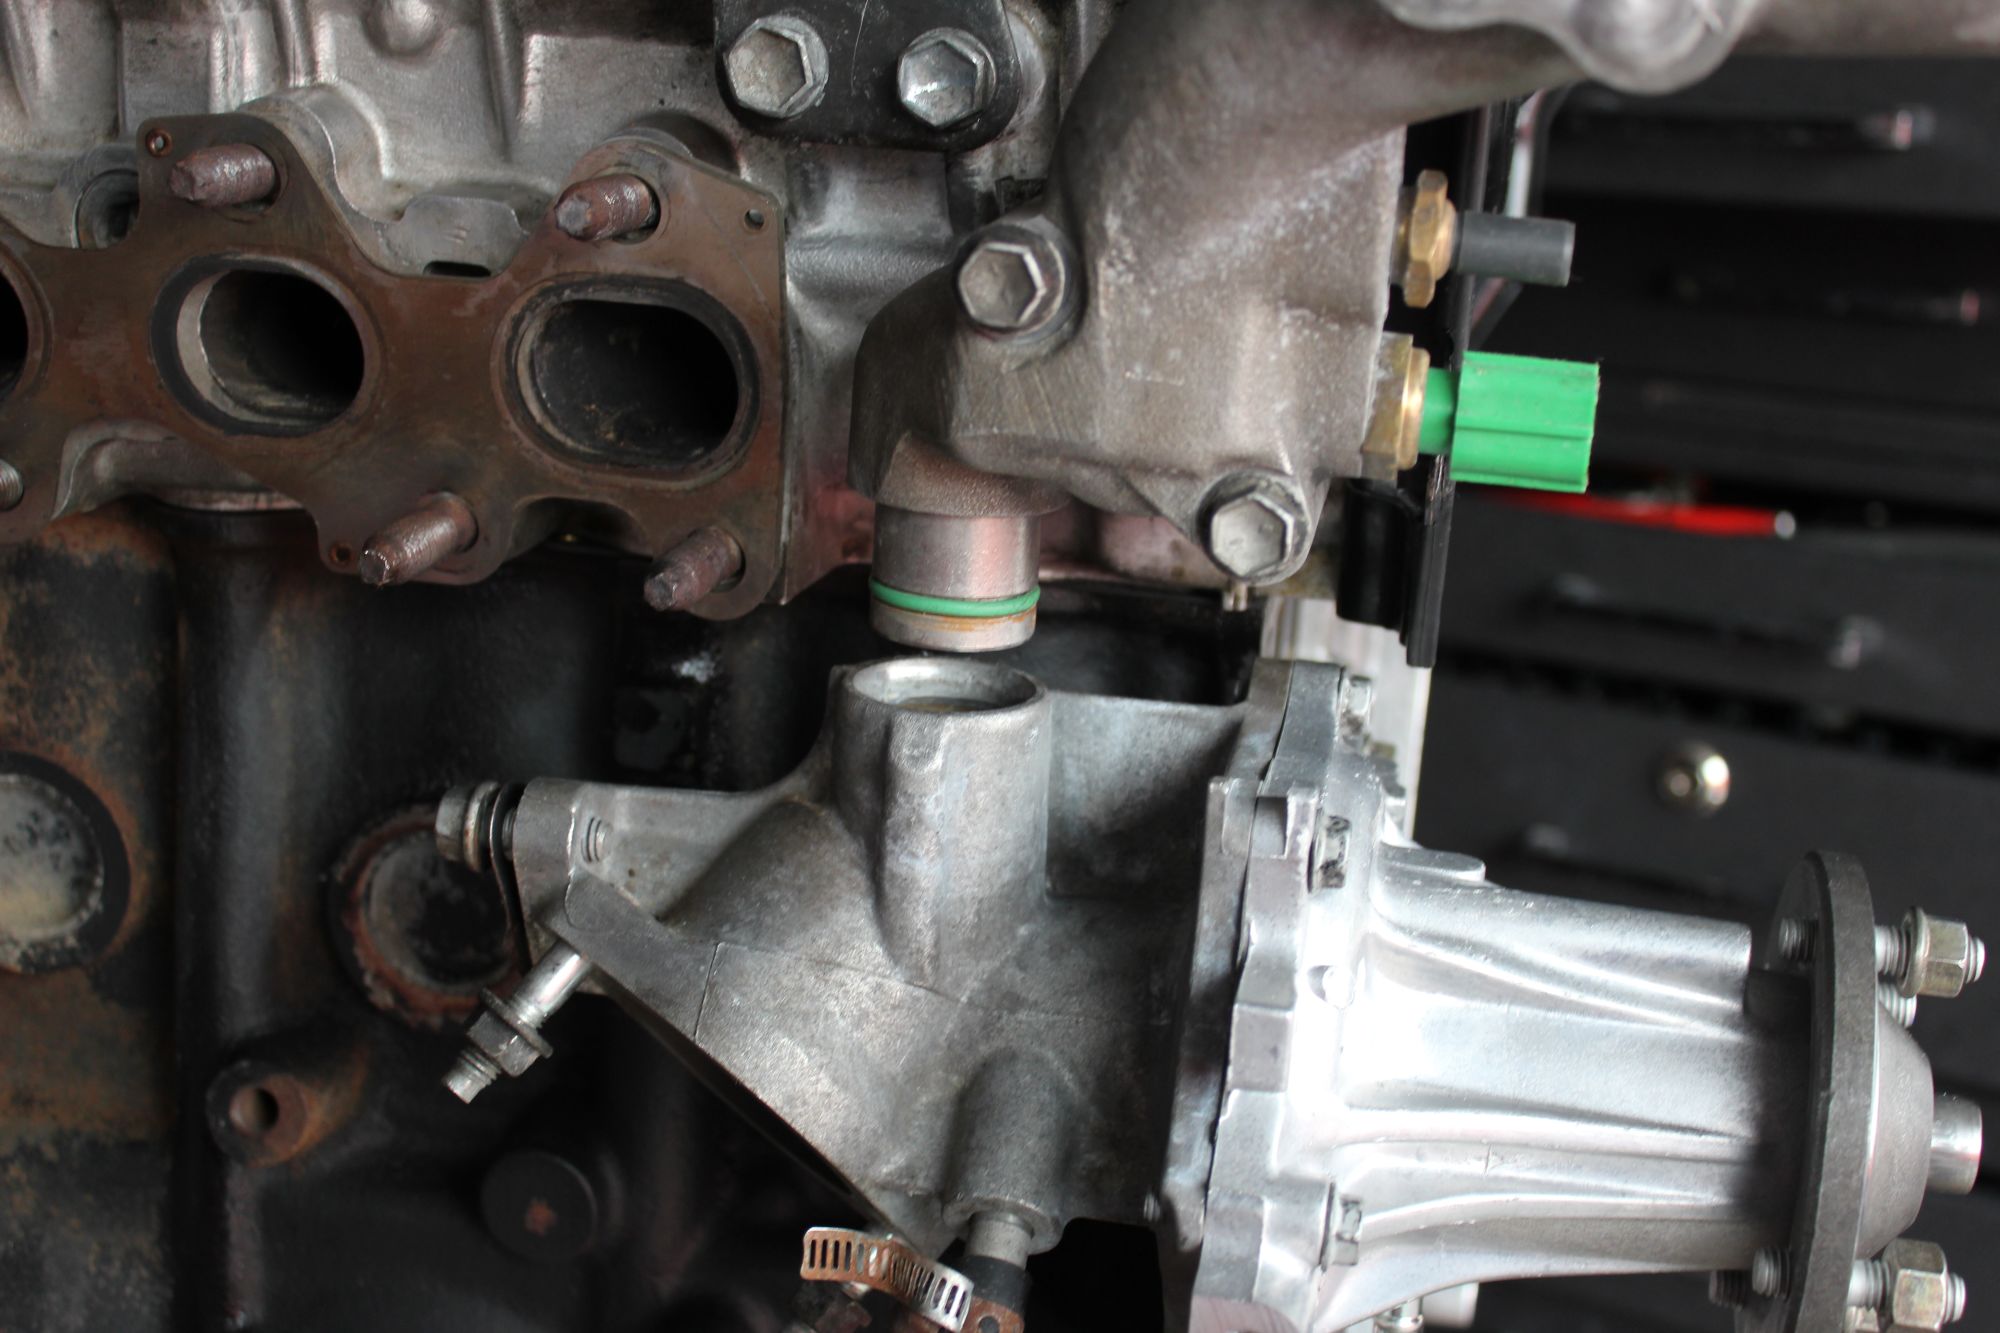
so I made a FAILED attempt at being a machinist to fix it, I just sourced a n/a one at the junkyard and got that one.
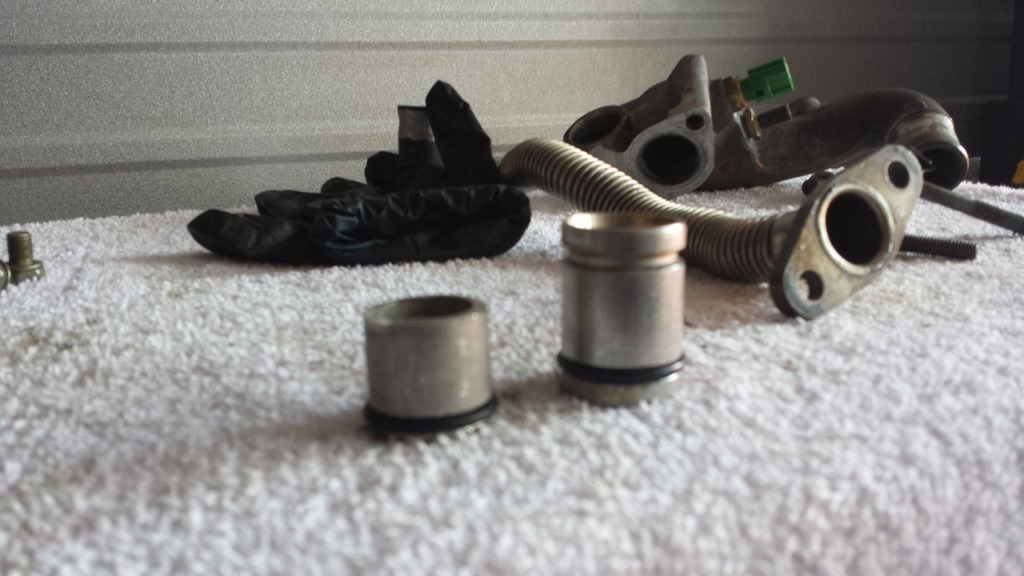
so 20 bucks later it was welded and the crisis was averted.
now the motor was getting ready to "go in"
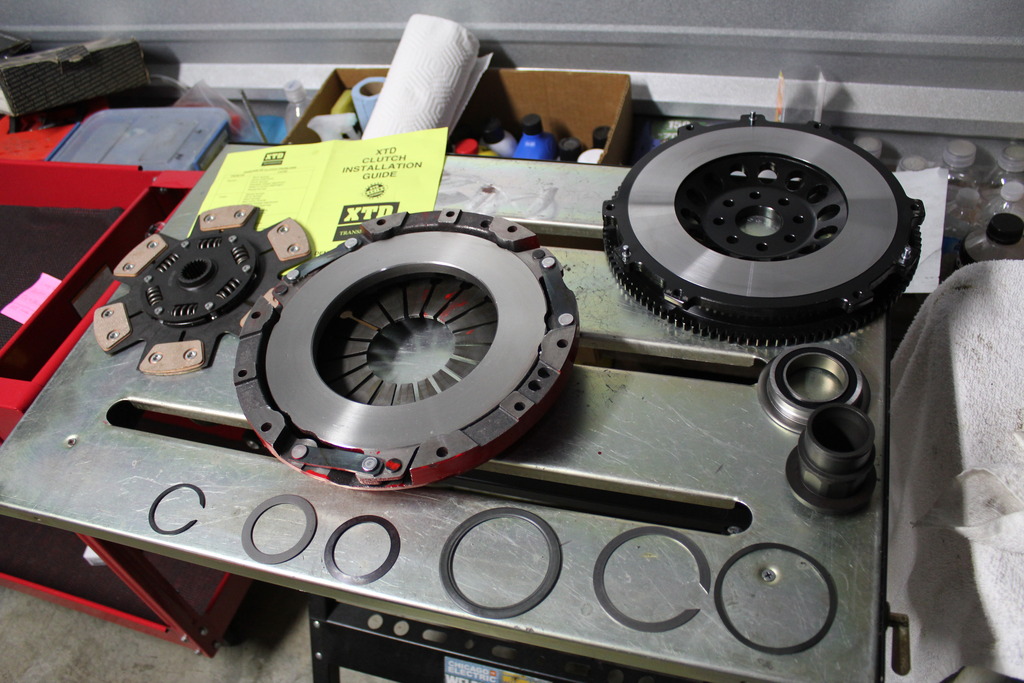
up next was the r-154 prepping. I opted for this clutch kit, why? because it's cheap and I'm poor.
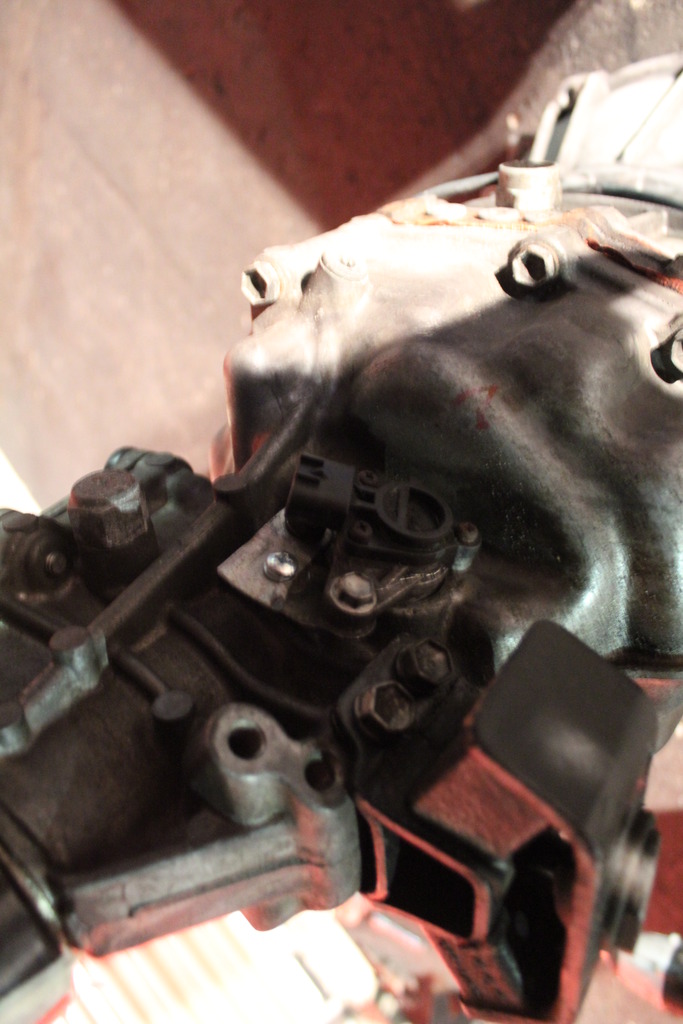
and I also modded my w58 vss to work.
spent a few nights with no sleep.
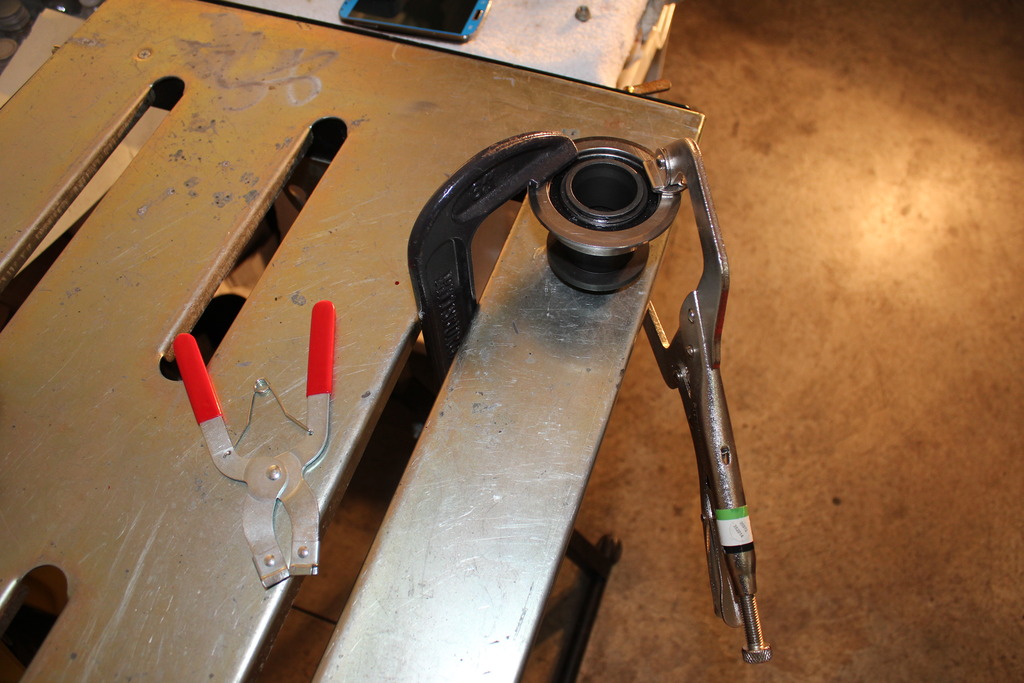
I MUST SAY, the hardest thing about this whole tranny thing, was getting this damn bearing together, that snap ring is a mother!
luckily I had a pair of ring(not leg) spreaders and some clamps to make it work.
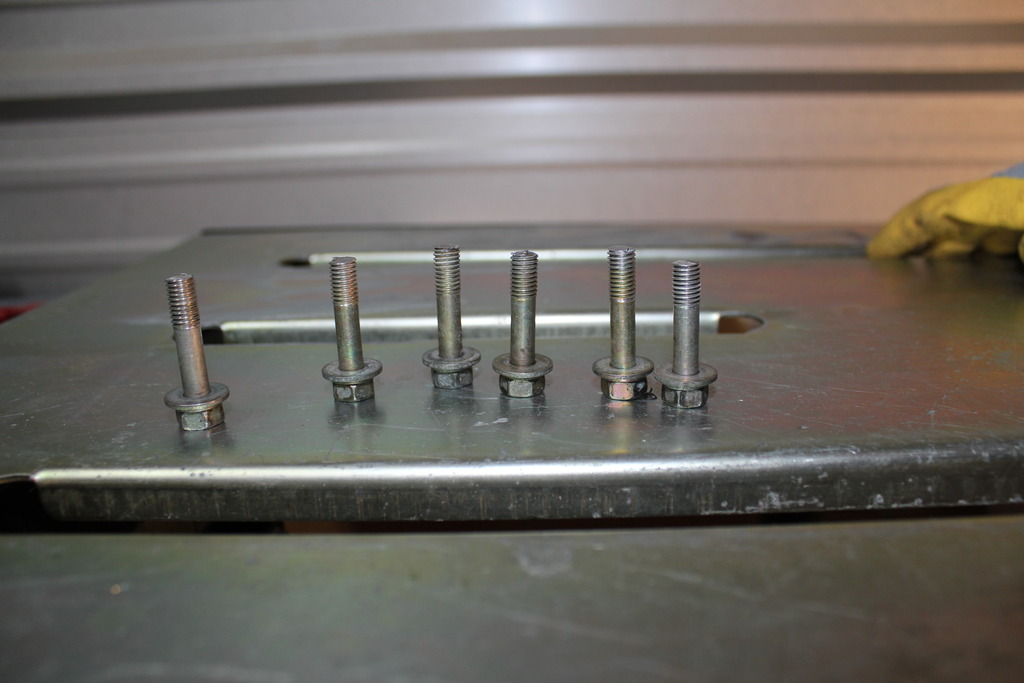
also had to cut some bolts because the pp ones for the w58 are too short.
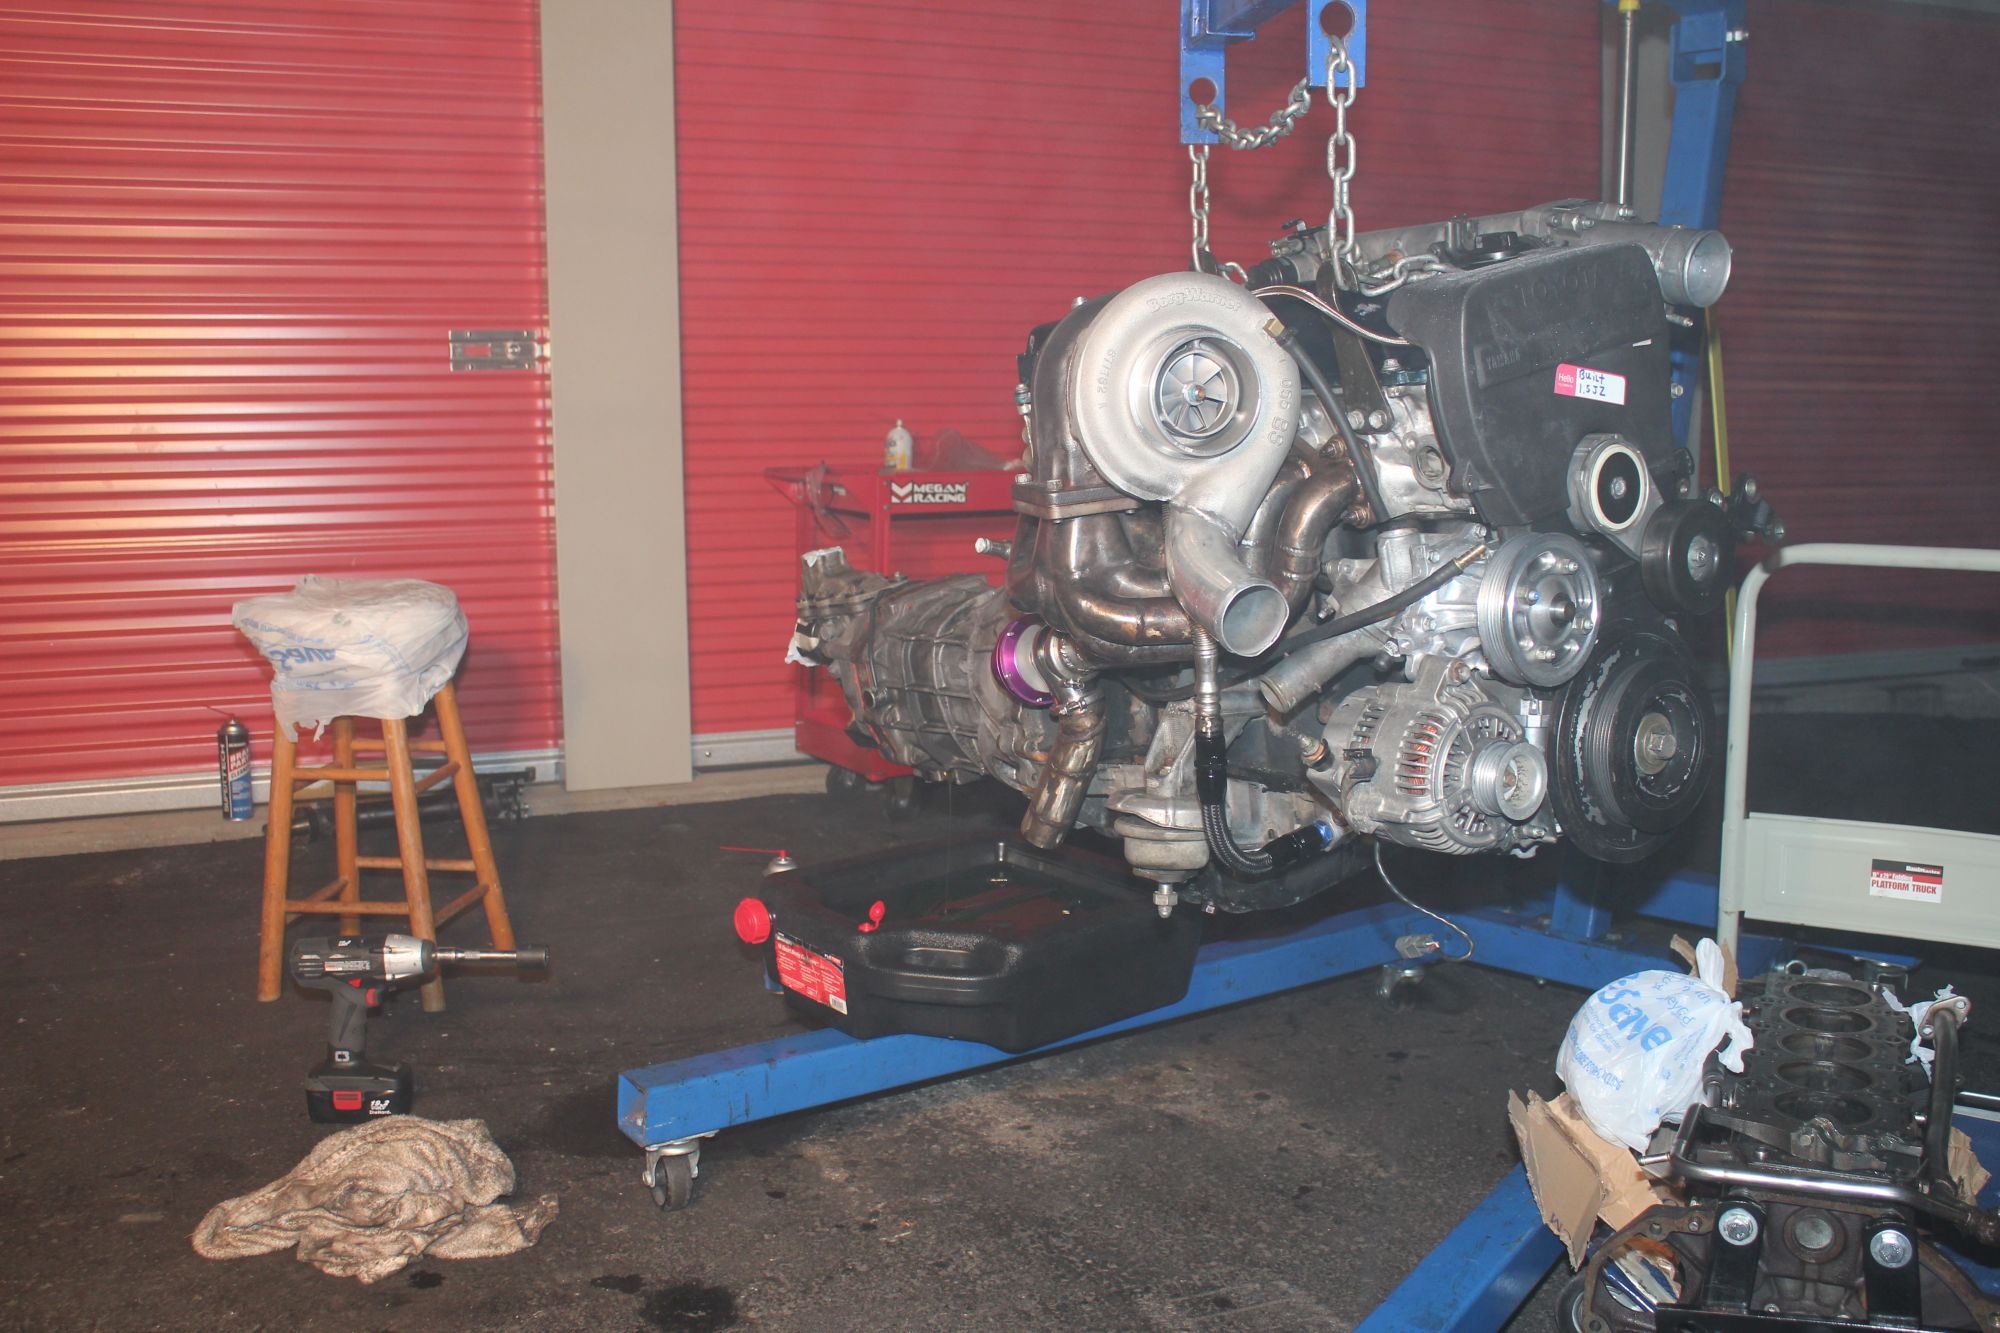
now it's time to mate the 2 and form voltron!!! it was a foggy morning that day.
so finally got around to draining the fluid in the trans to replace it with some synchromesh. But I seen some small metal sheen particles in it.
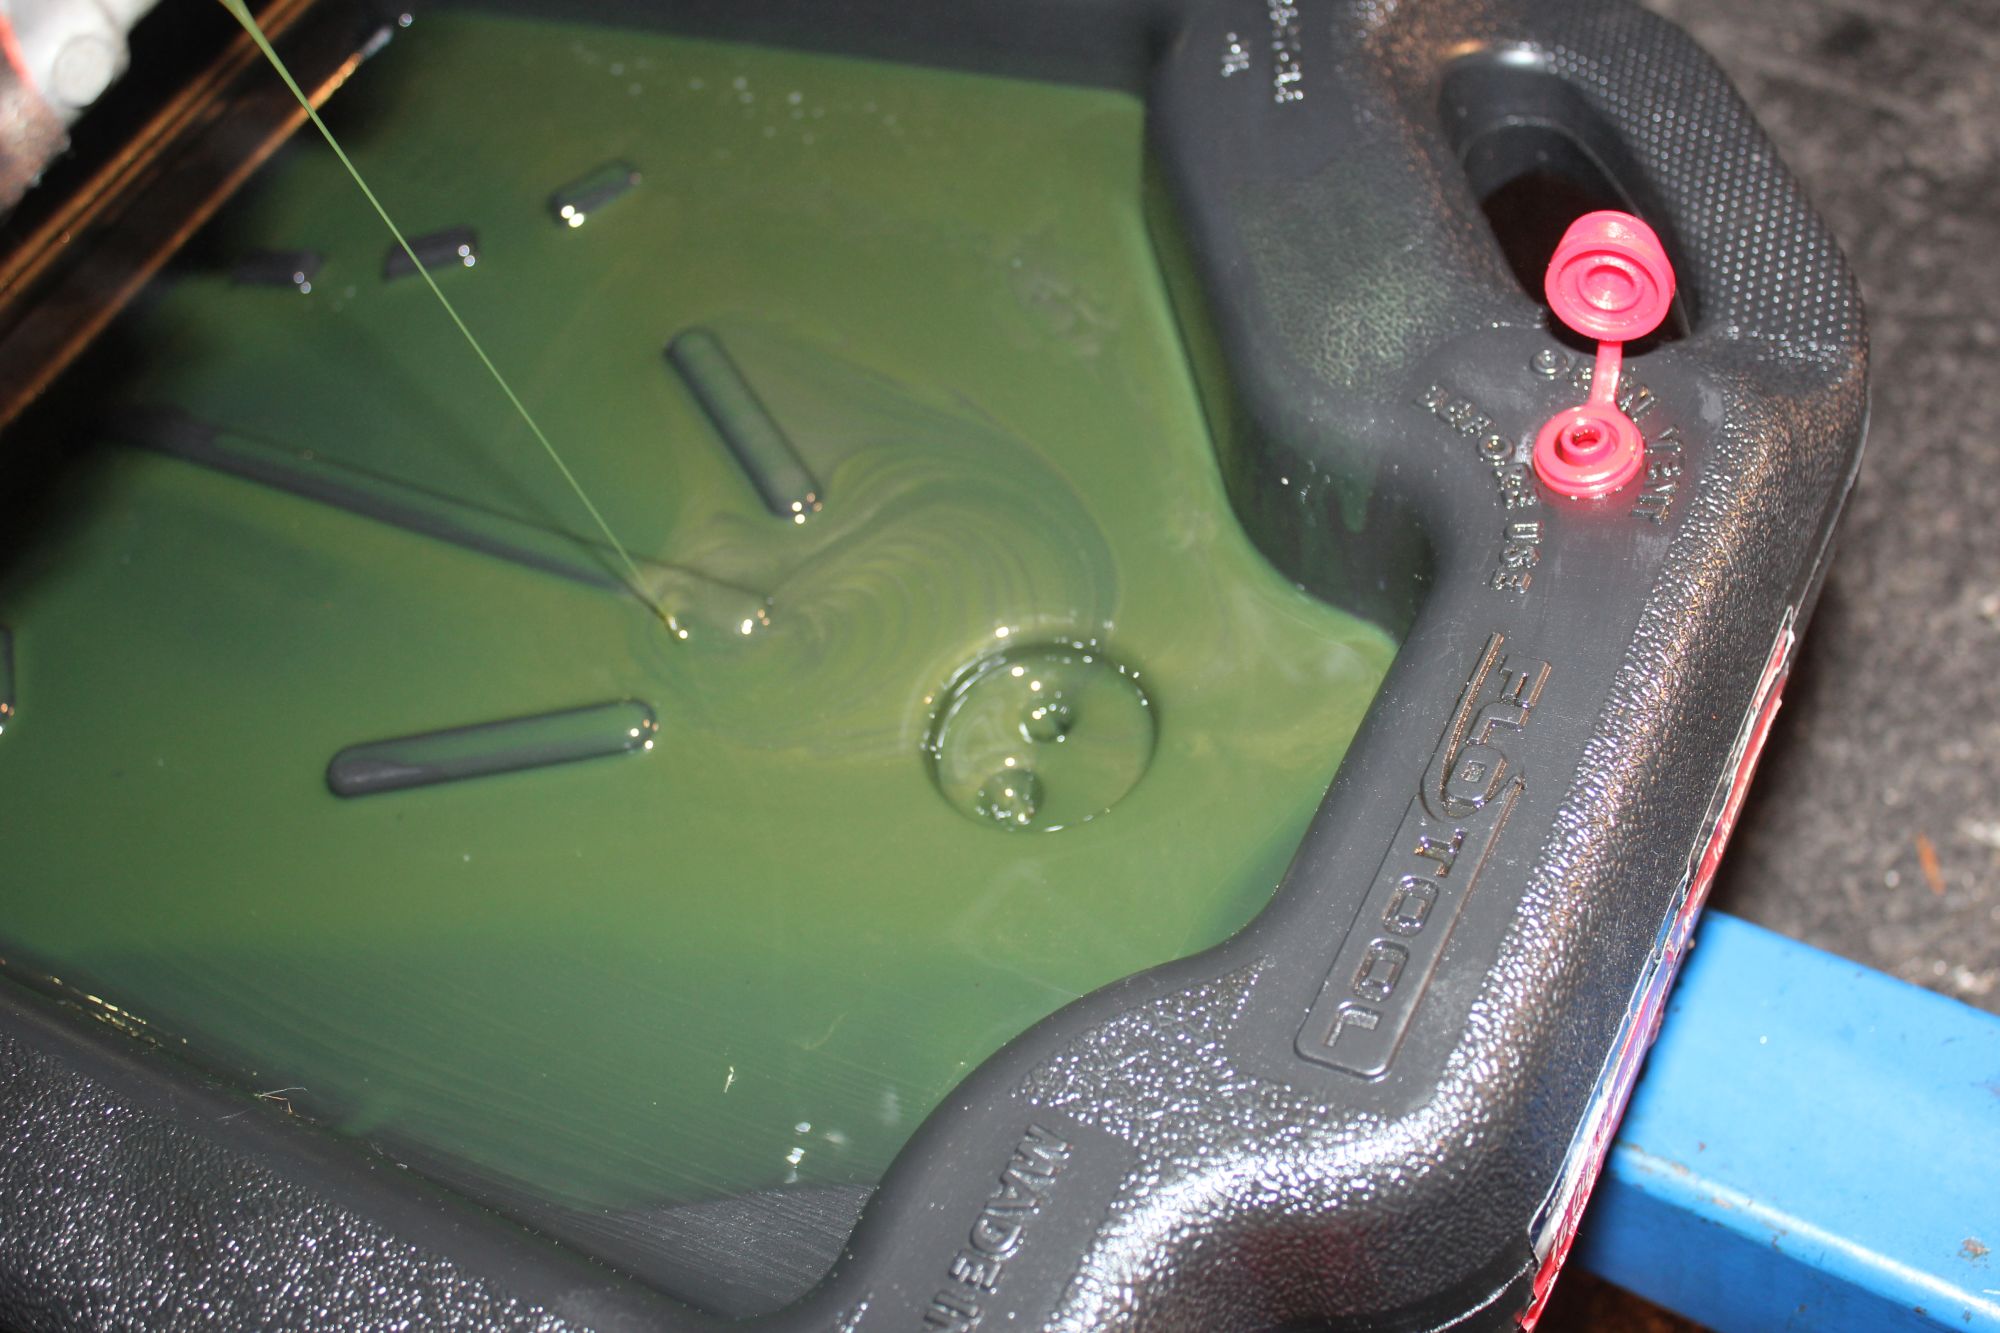
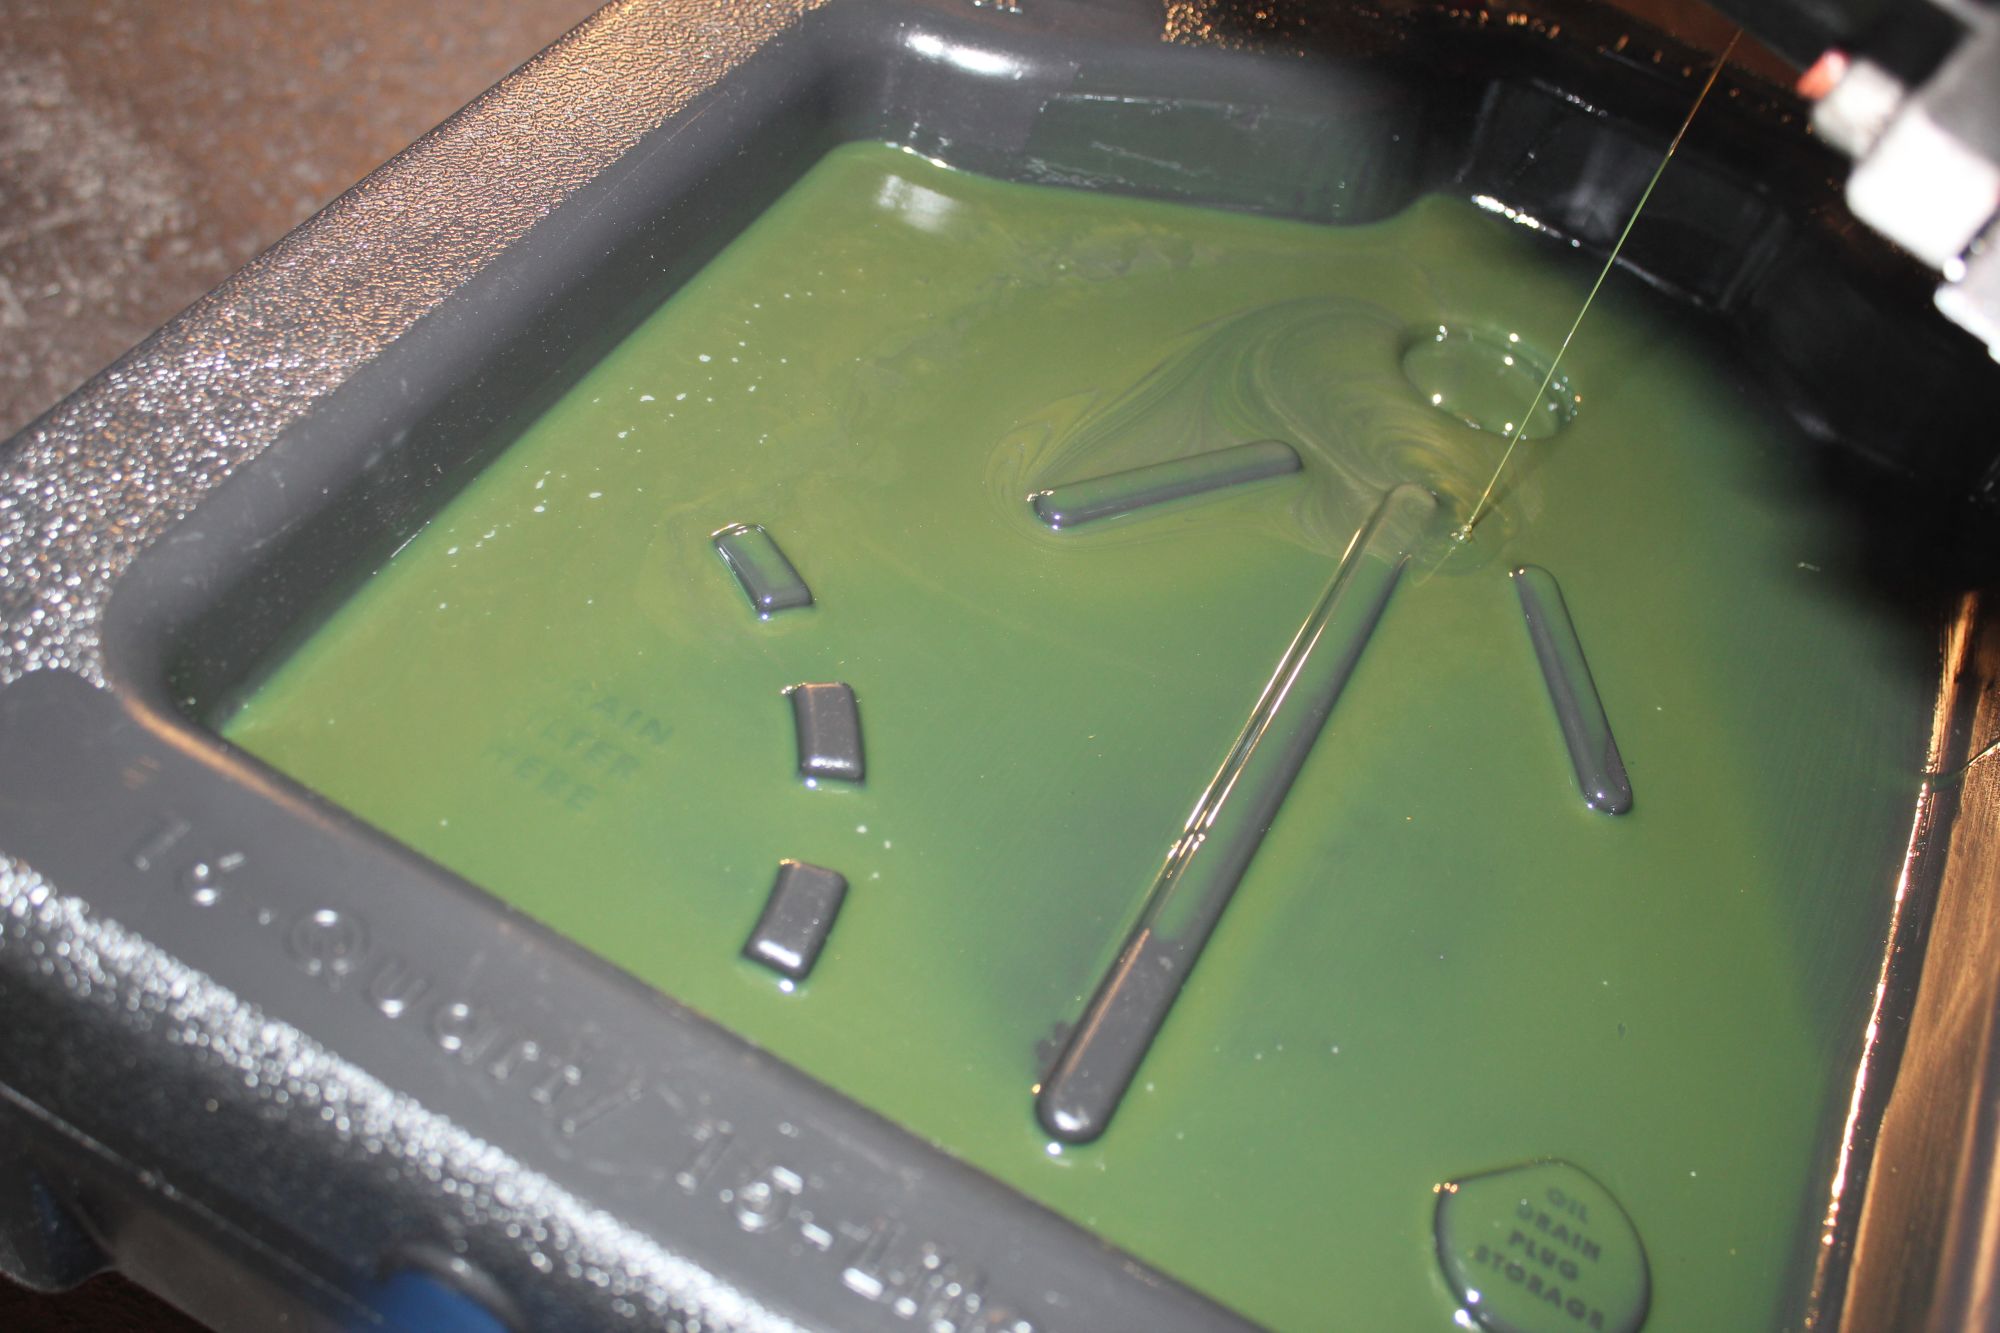
at this point all I could do was grab my butt cheeks and hope for the best, it was too late now.
I installed the motor and tranny, and surprisingly the trans mount came up to the exact same spot as the w58 did GO ME. used the same shifter I had before the the shifter location hasn't changed.
only thing is I had to make the tranny mount holes bigger.
and yes the ds is a few inches short, still works/fits but u should get it extended.
and now it's done and done.
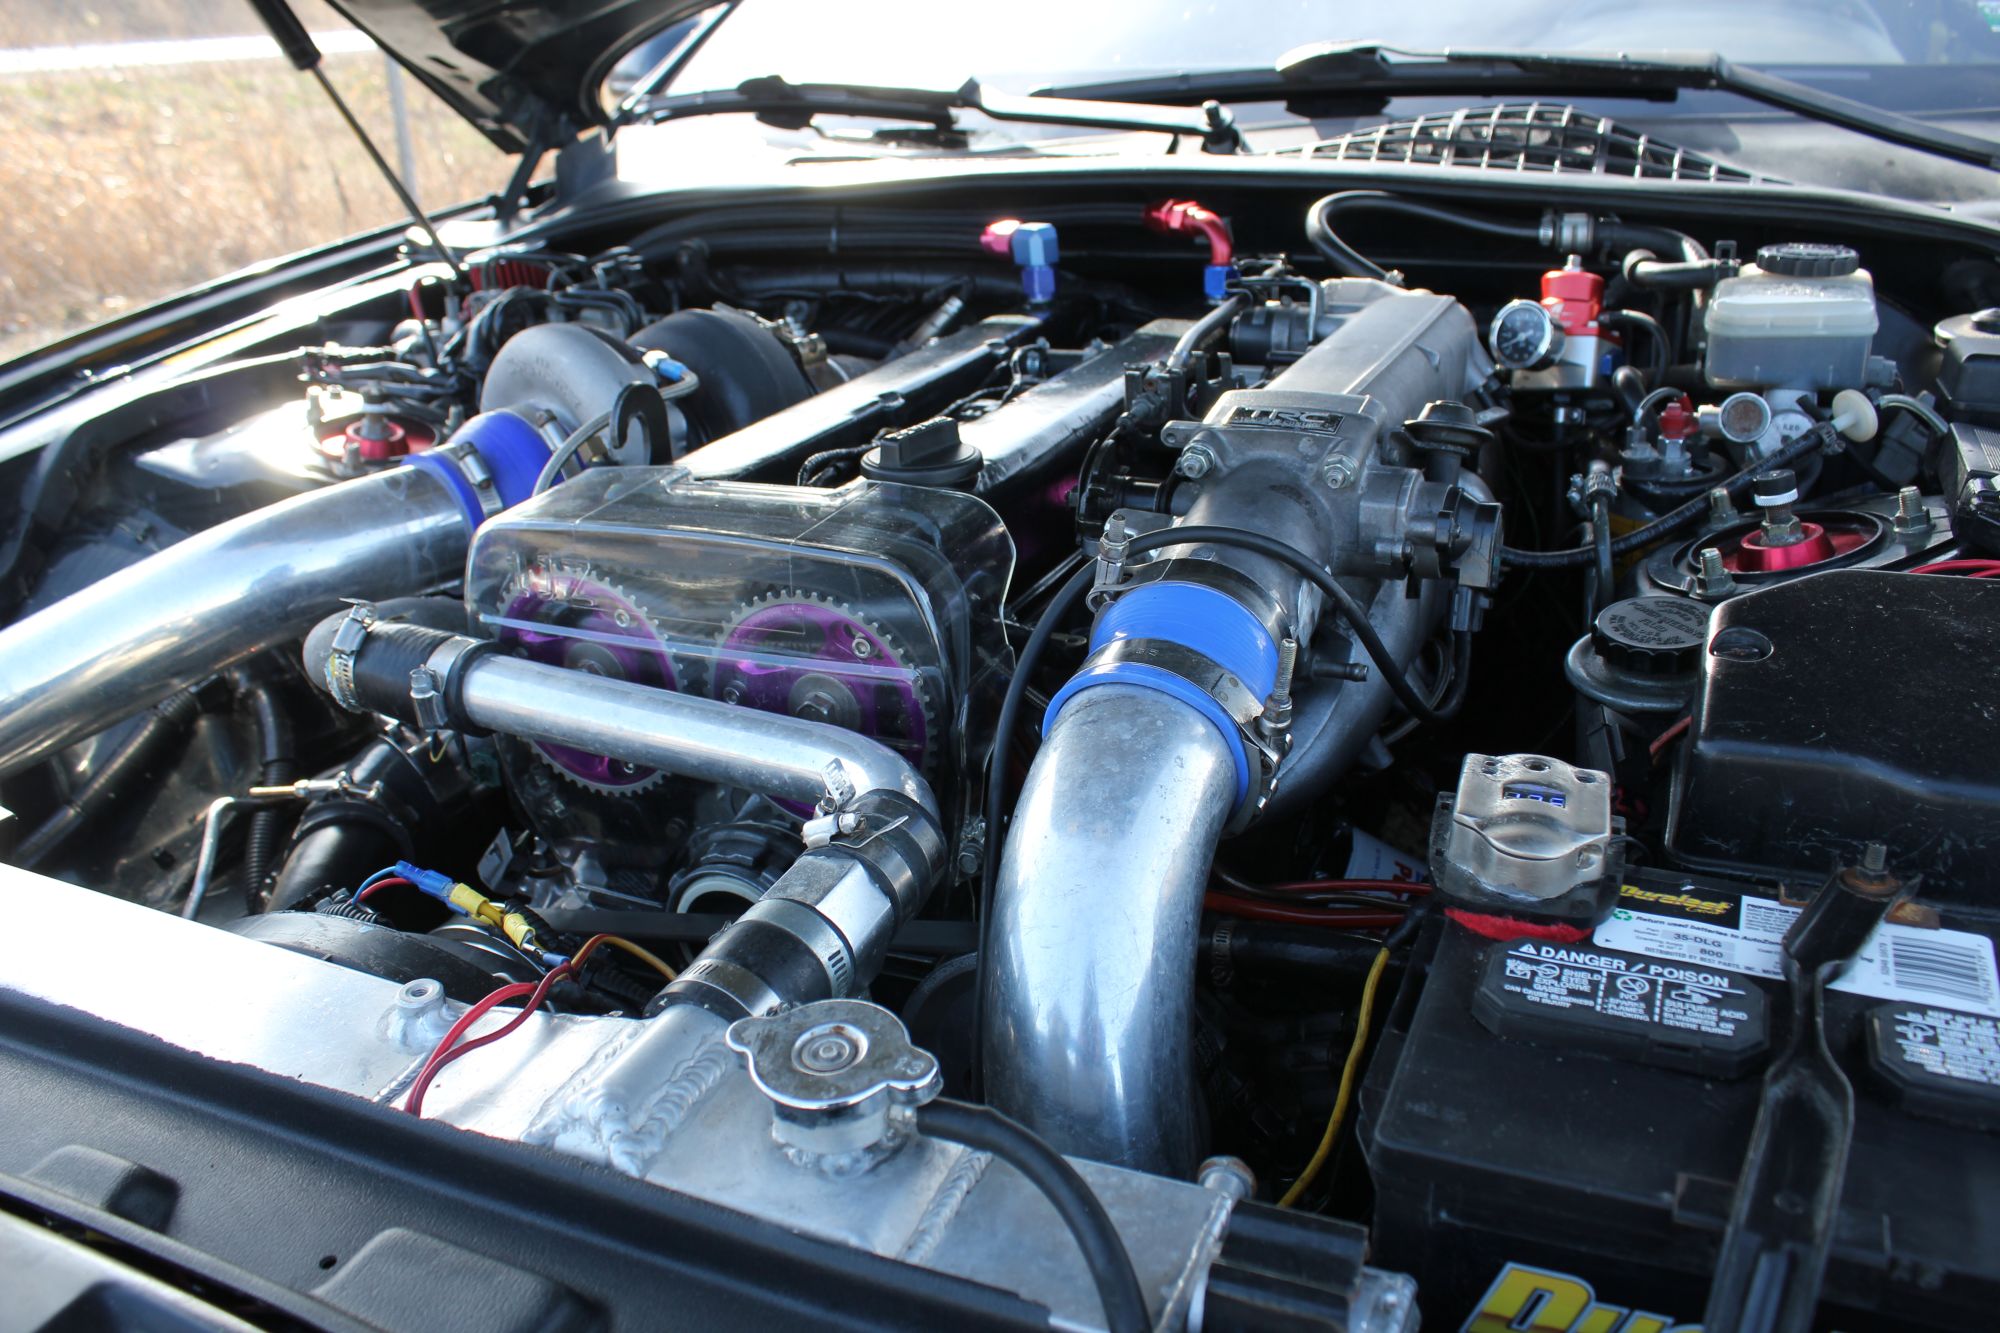
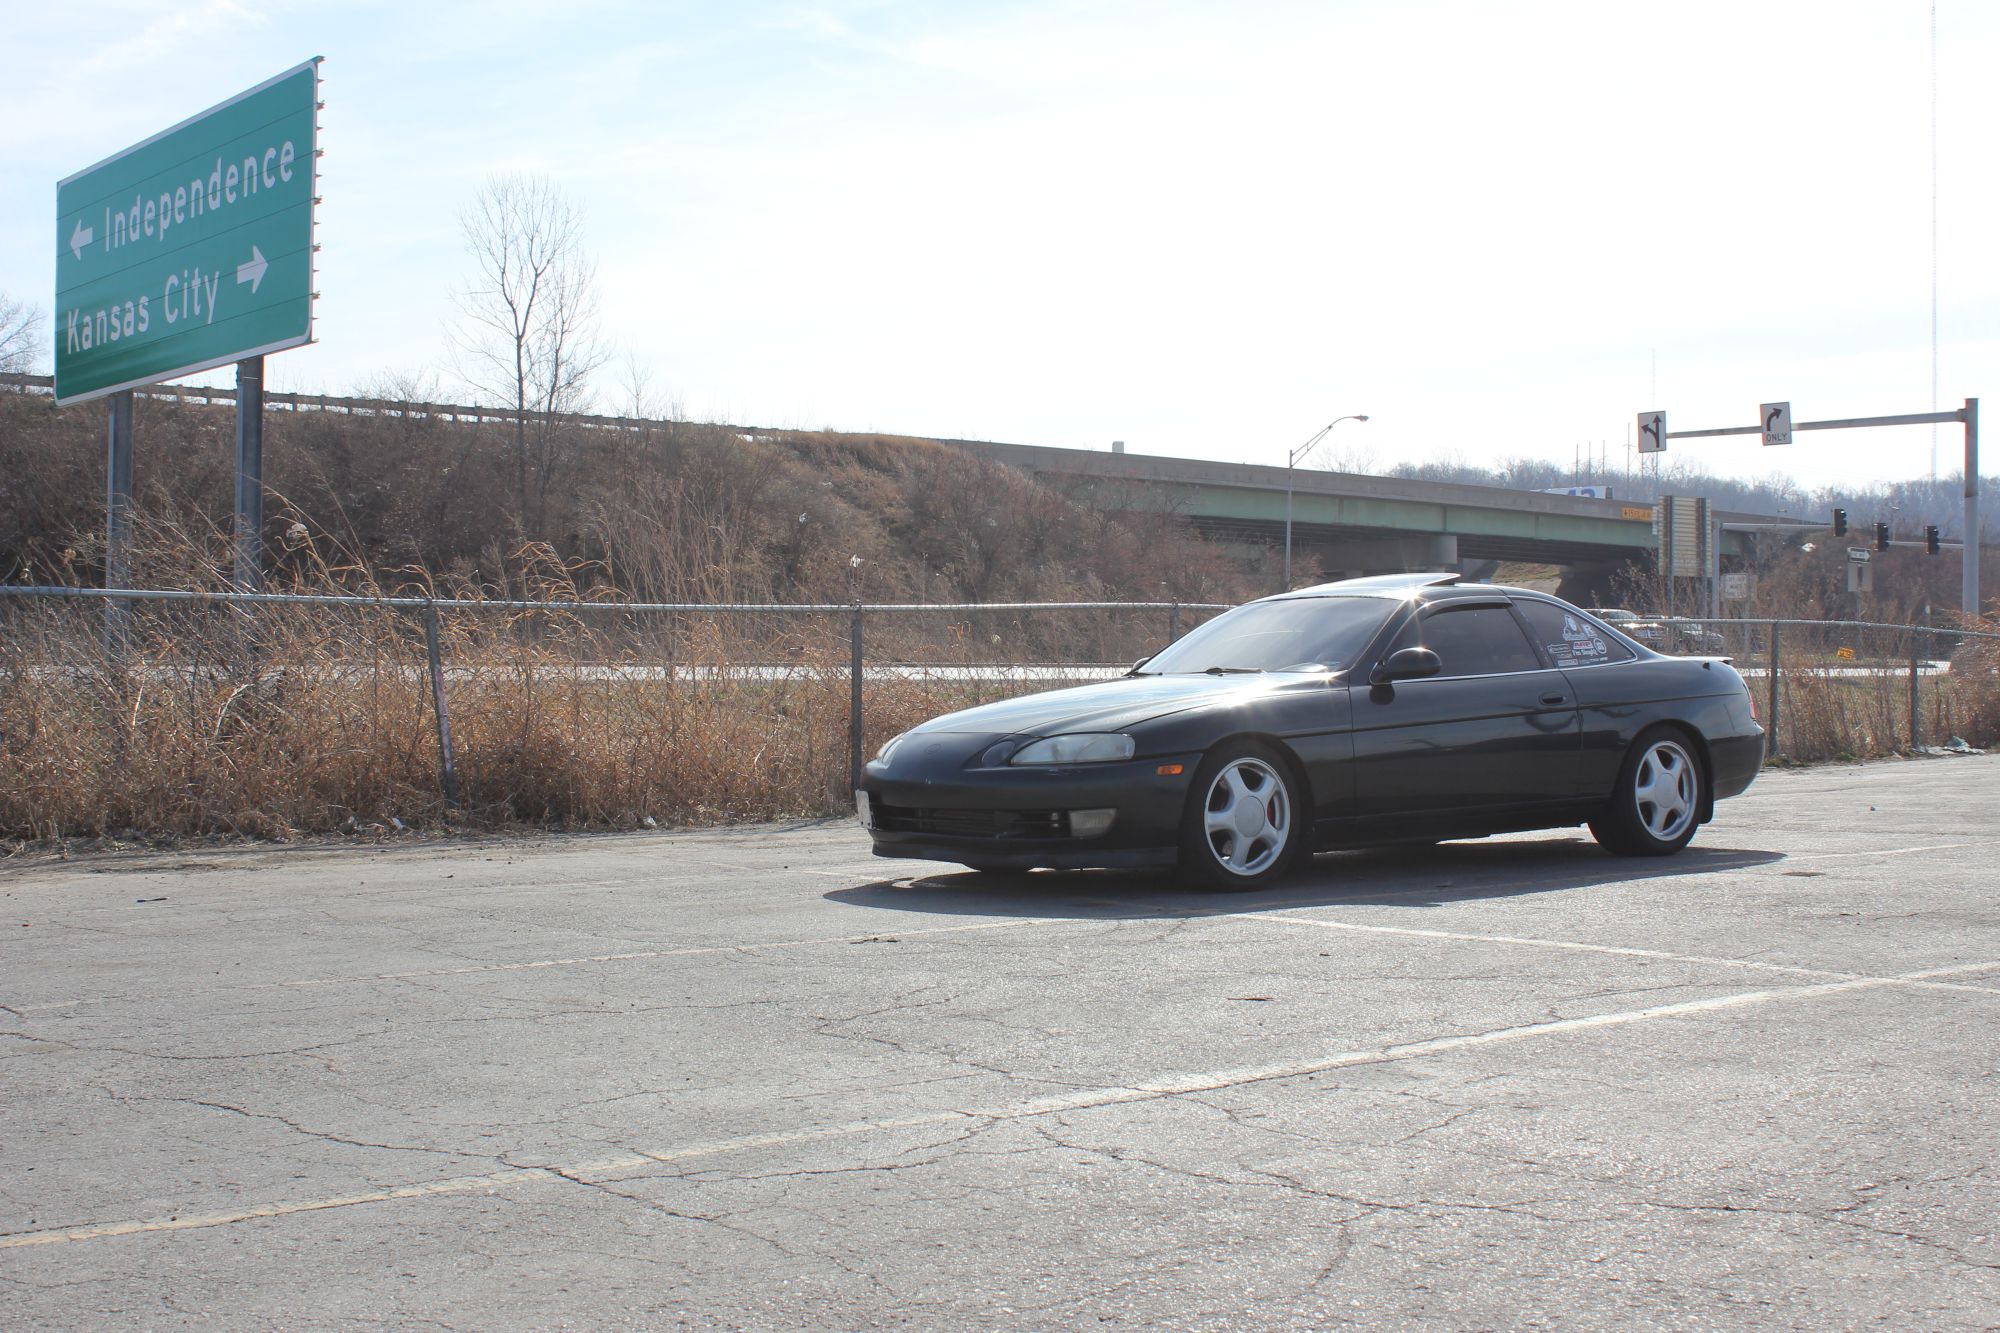
5-3-2017
Here is my write-up on cluster swapping..
https://www.clublexus.com/forums/bui...lkthrough.html
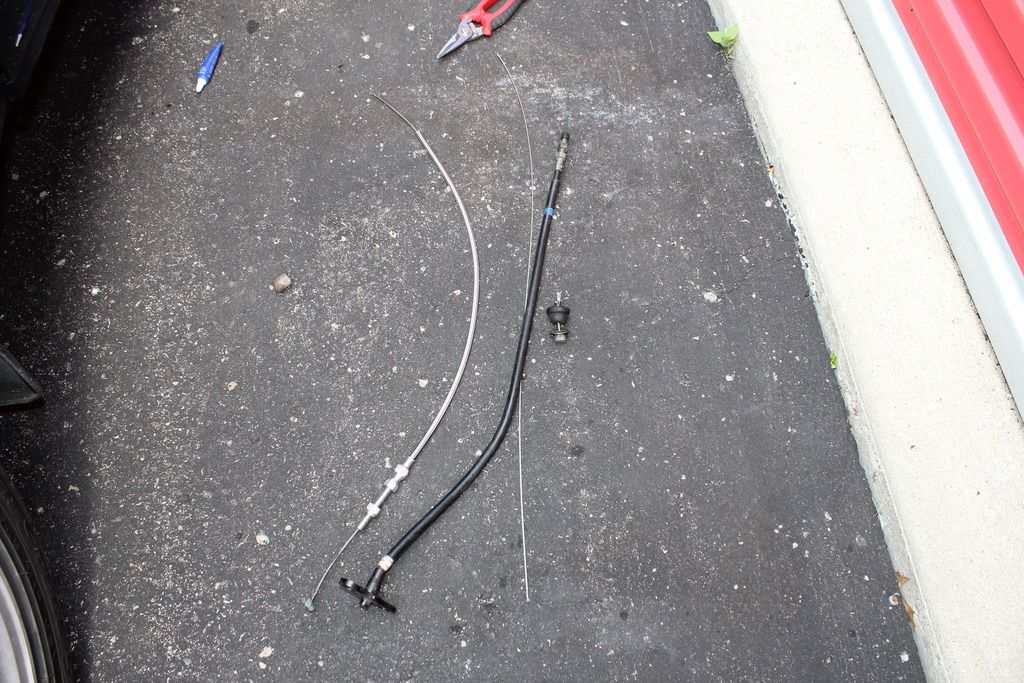
so during this time, I ordered a throttle cable from phr. the cable I had was from a camry and it was longer than I needed and it contributed to the throttle hanging when the plate closed.
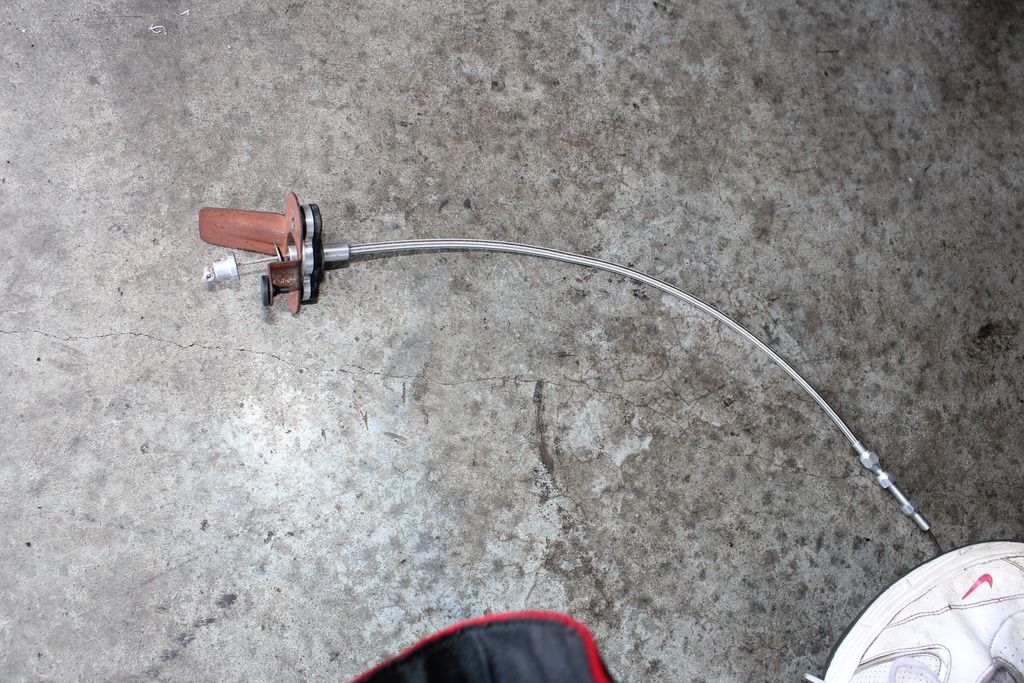
so instead of getting a stocker I opted for a shiny ss cable.
https://www.powerhouseracing.com/pro...upra-and-sc300
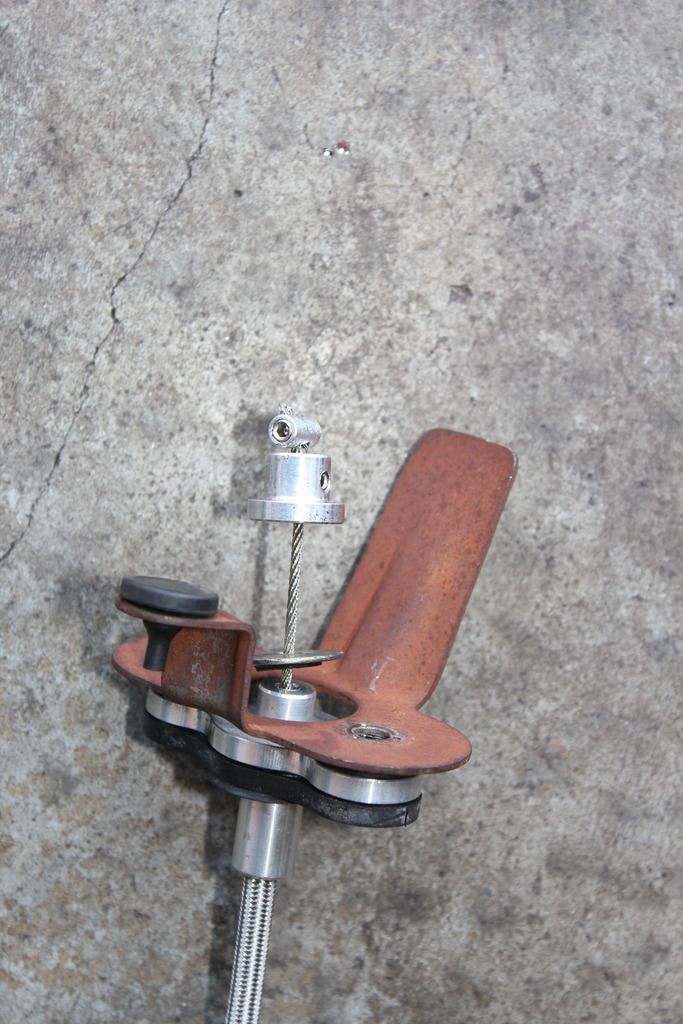
sam in customer service was kick *** helpful and I got it quickly. well during my initial installation the cable came loose from the pedal stop. apparently they leave it "not tight" so you can install the oem rubber stop. anywhoo I could not get the cable back through the very small hole.
so I cut up the oem cable to length and drilled out/made bigger the hole like so.
locktite red before i double stopped it.
finished product
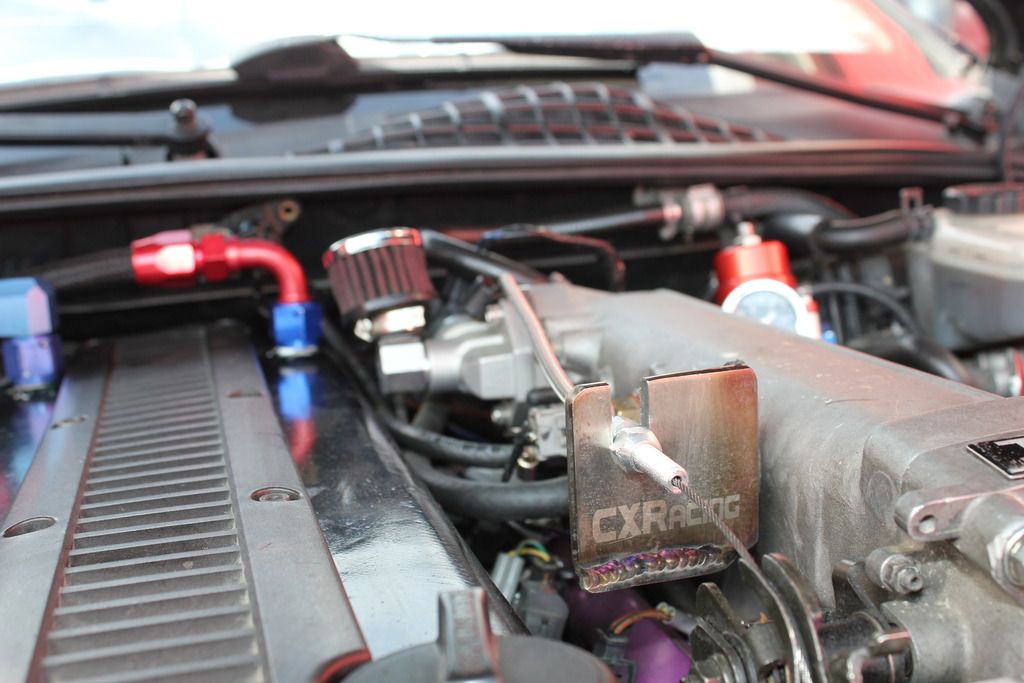
and done, added with the cx racing bracket, and later on i brought a brand new oem gte tps, my throttle is spot on.
and here is my heater core cluster eff.
https://www.clublexus.com/forums/bui...ml#post9856339
NEXT UP FUEL LINES!!
5-13-2017
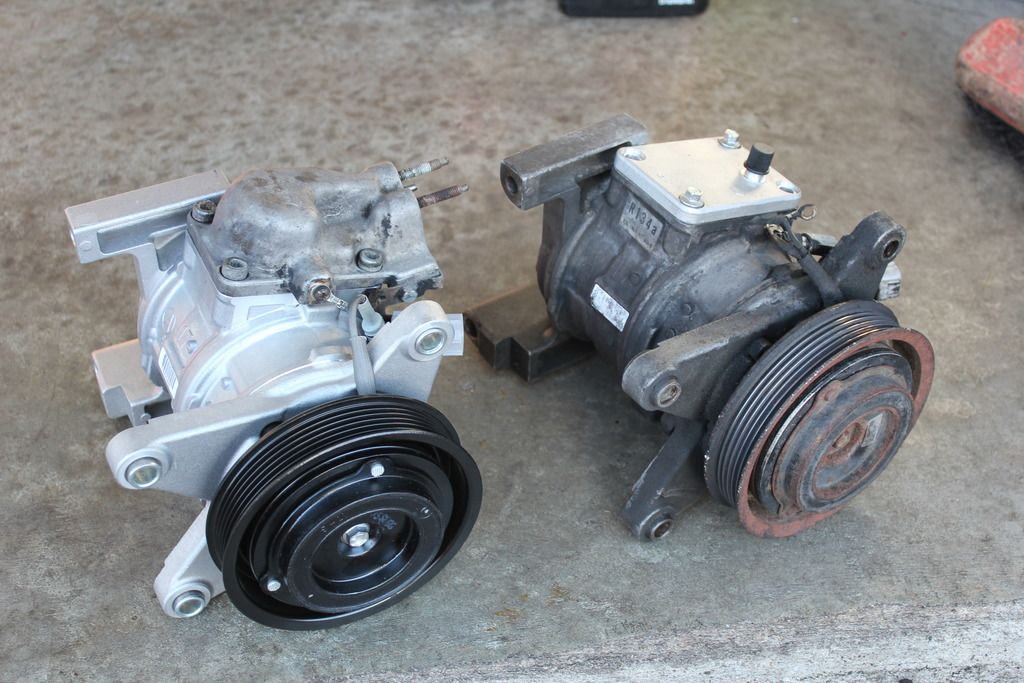
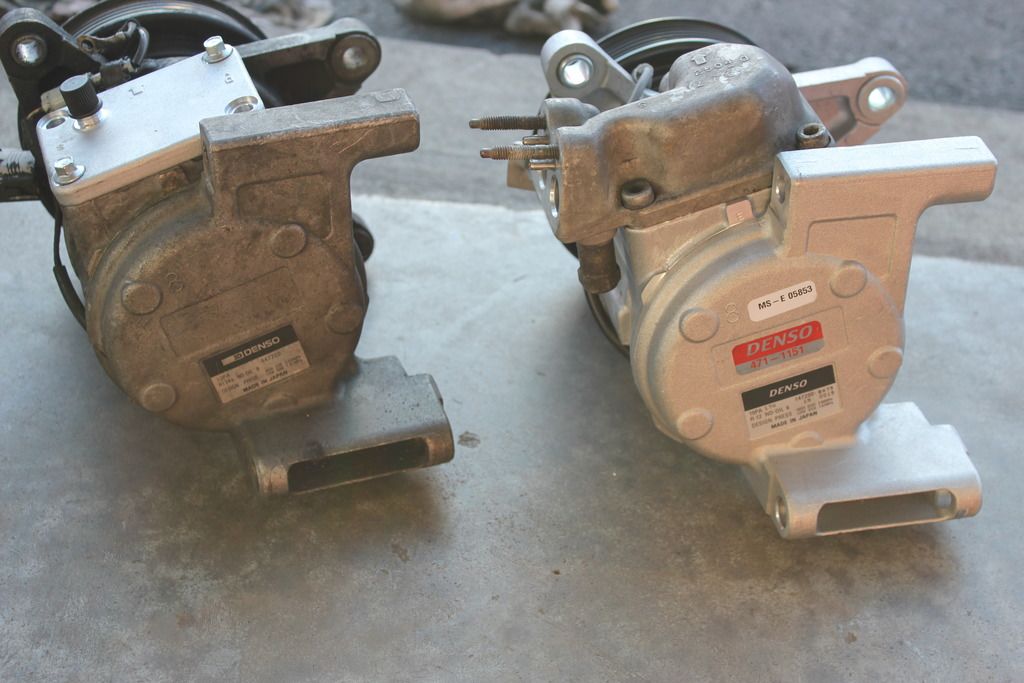
so, I got a brand new starter and a a/c compressor, why because it's hot as fu#k. the starter installation was easy as nutz. the compressor took patience and an air ratchet.
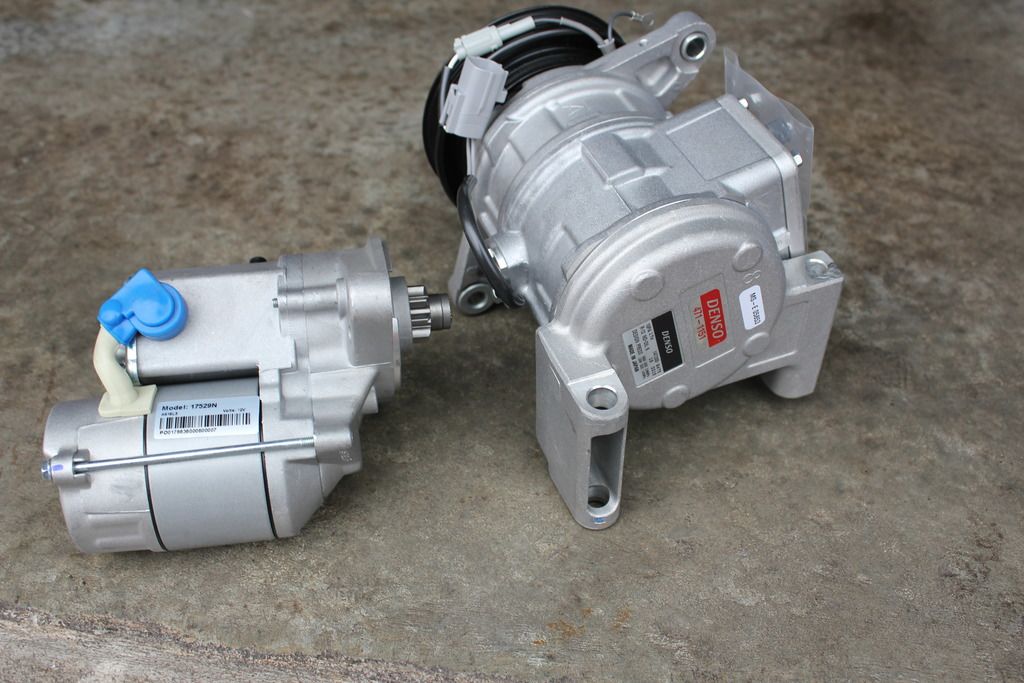
here is a comparo between the old one, I brought a mk4 supra model, good to know denso is still in the game.
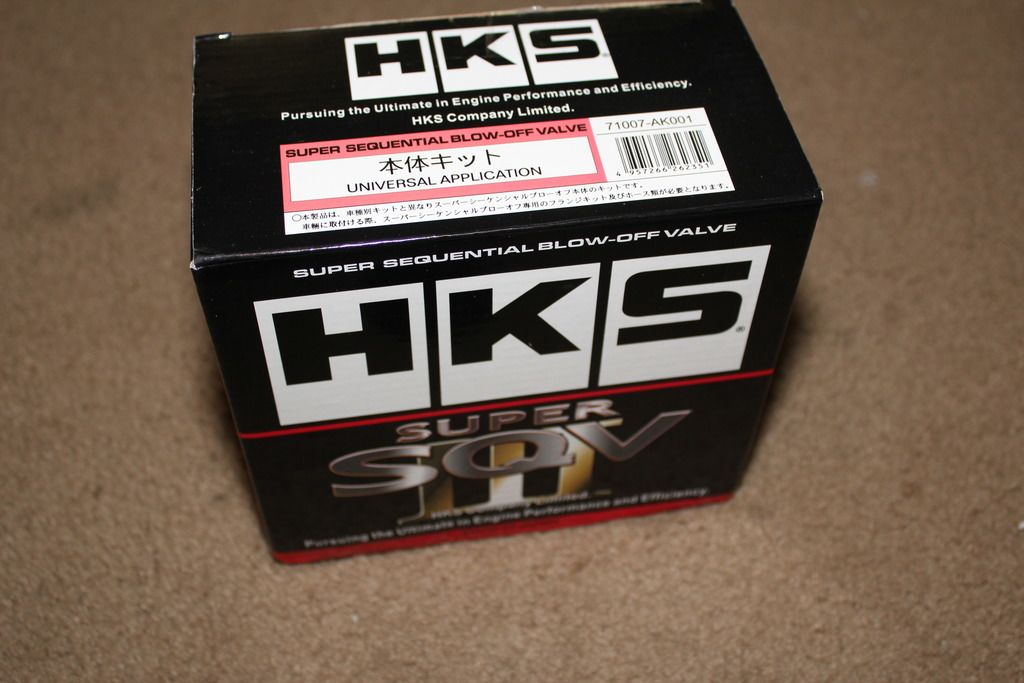
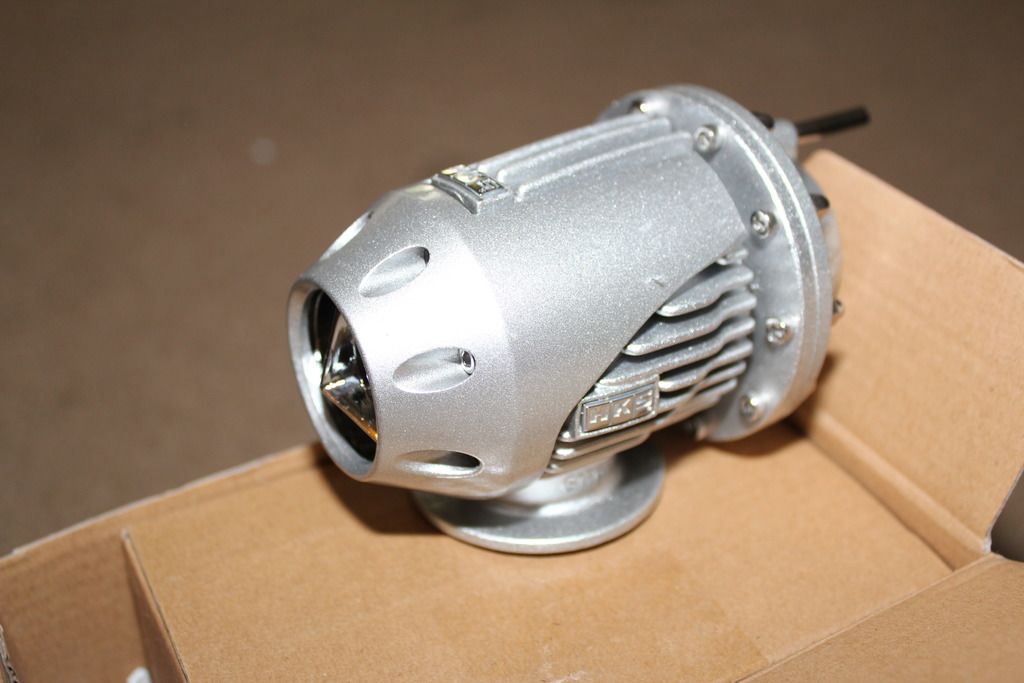
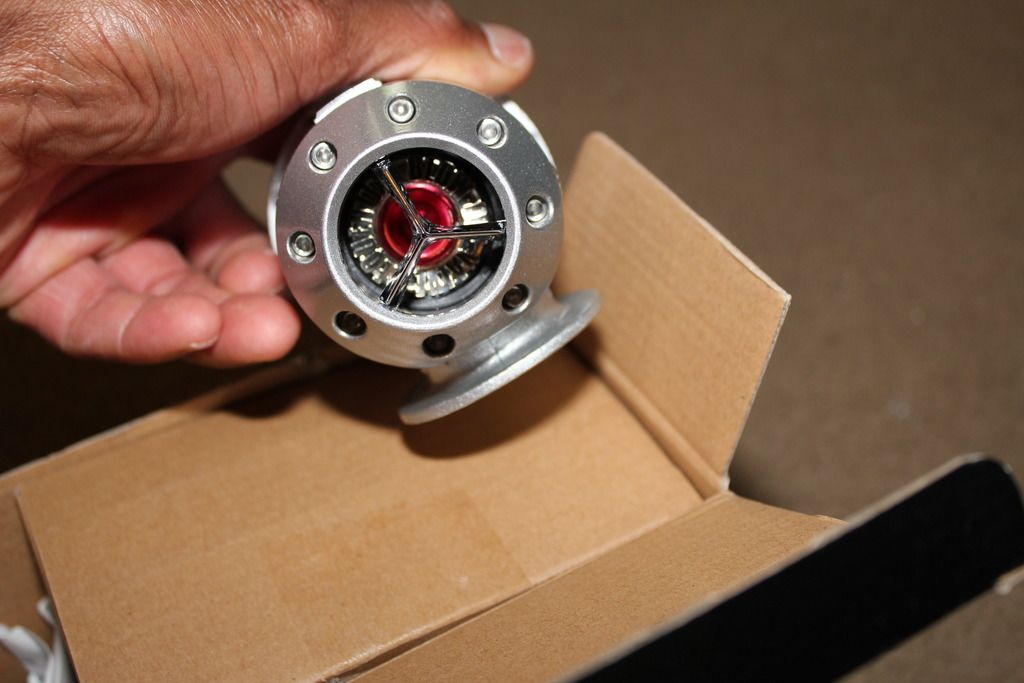
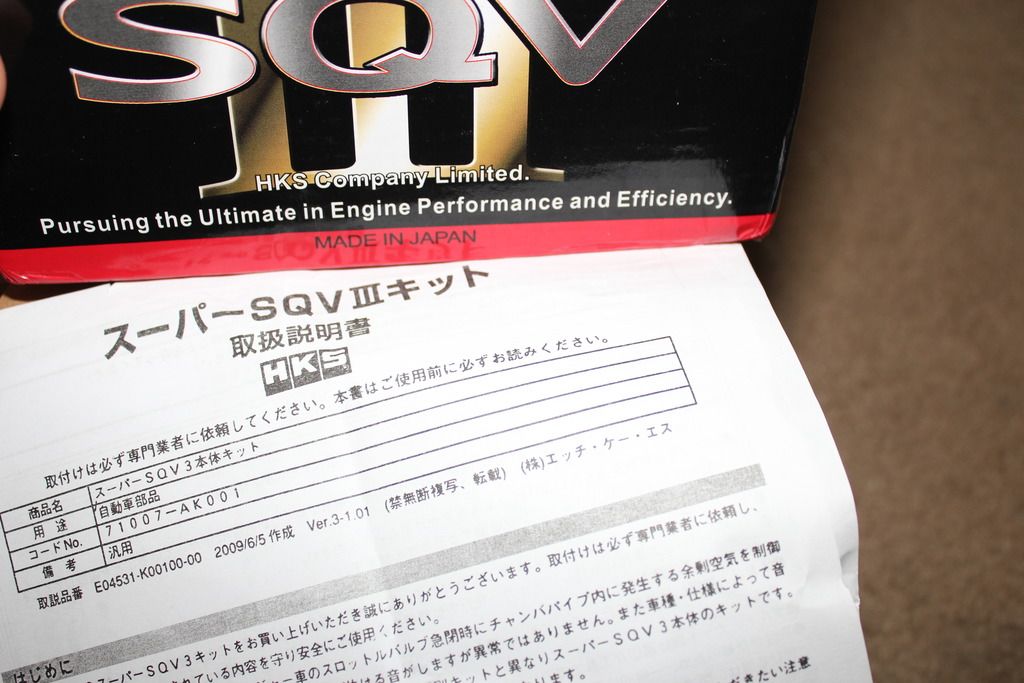
so, I'm poor. I've been using the same hks ssqv knock-off bov for over 12 years. no leaks to my knowledge and it was the earlier adjustable pressure ones. well I figured it's time I replace it, with another knock off, this time it's a type 3(crowd goes woo).
the funny thing is I payed $50.00 bucks for this and it LOOKS like it's a legit item, but come on...
------GETTING READY FOR BIG FUEL----
this has cost me over $100.00 in fittings I did not need or I am not going to use. I brought this double hangar thinking it was way smaller than it really is, I figured it could mod it to fit the double wally 450lph's that I planned to use. had no clue the bosch 044 fuel pumps were this massive??
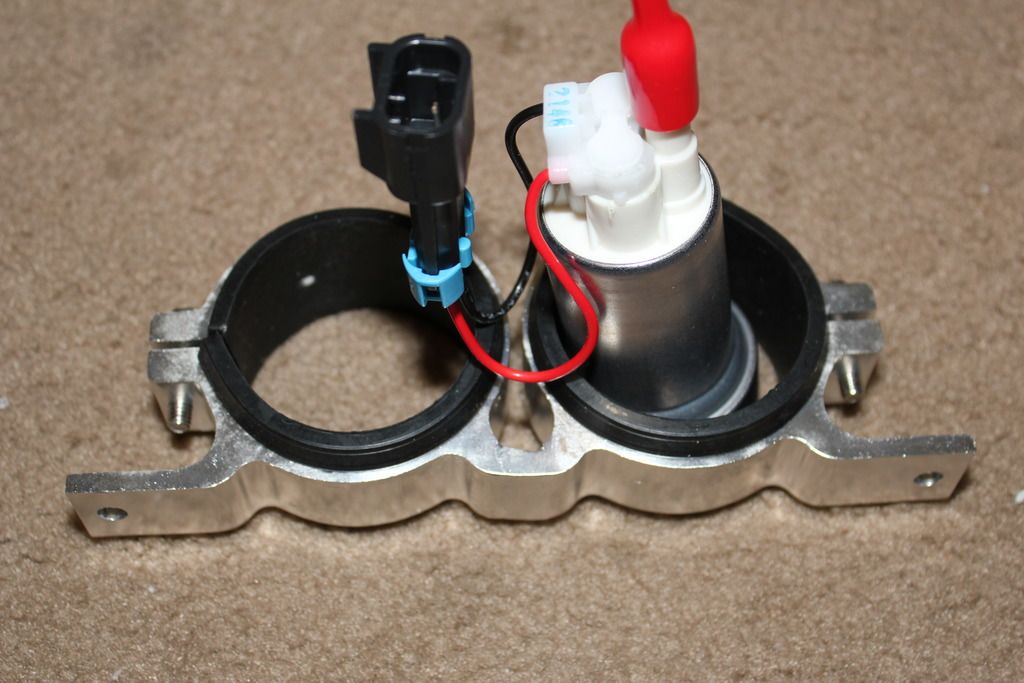
oh, what is my plan???
-twin wally 450lph fuel pumps
-modified stock hangar
-dual -6an to single -8an (in tank before the bulkhead
-single -an8 feed to the fuel rail
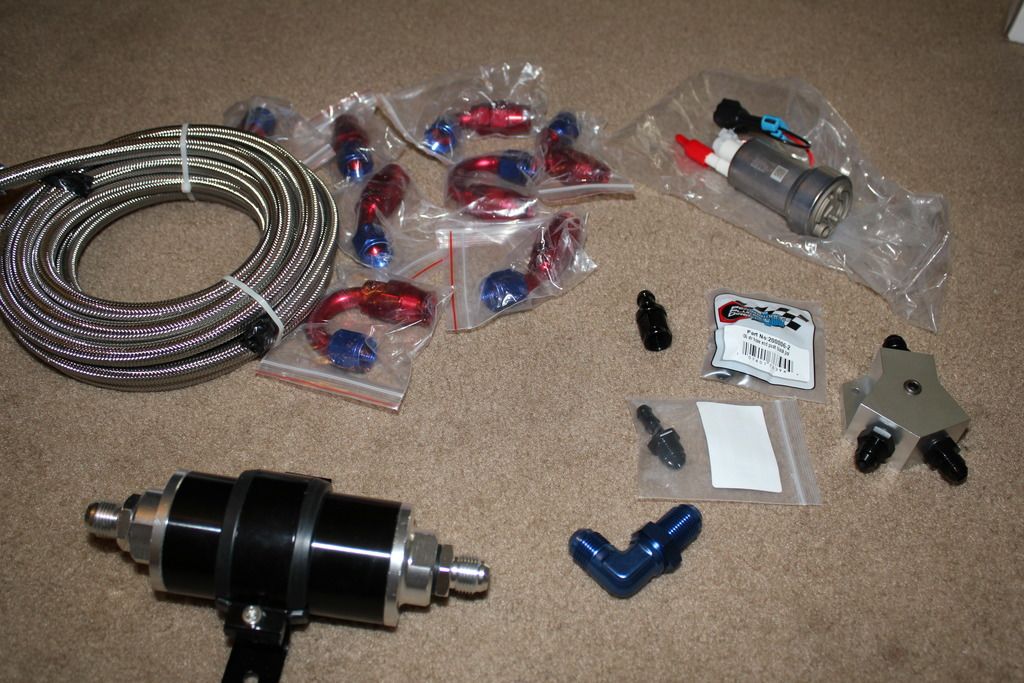
going to leave it at stock return size(5/16) for now I've had some guys tell me it's too small. but larry from sound performance said it would work, so were going to give it a shot.
working on the bulkhead now pics will be here in the next day or 2, looking for a sealant to keep the fuel from leaking out...
5-18-2017
well moving along on this fuel line upgrade, I finally got the bulkhead together, used some jb to hopefully keep the fuel inside, now I'm not going to use all this wiring length, I'm going to use mostly the fuel pump plugs and some heat shrink on the fuel side.
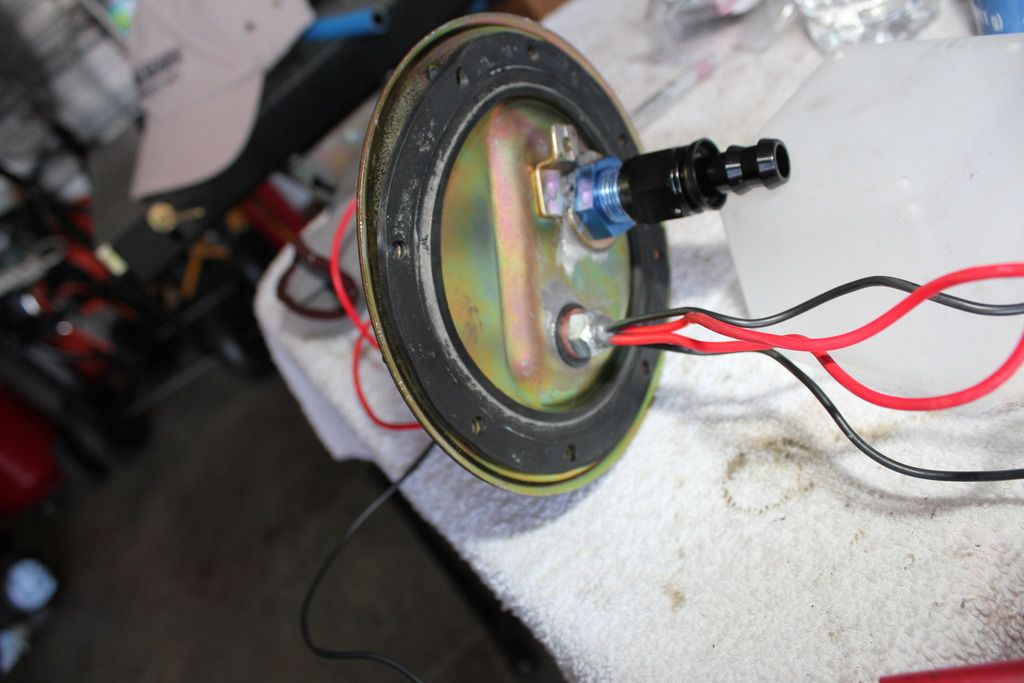
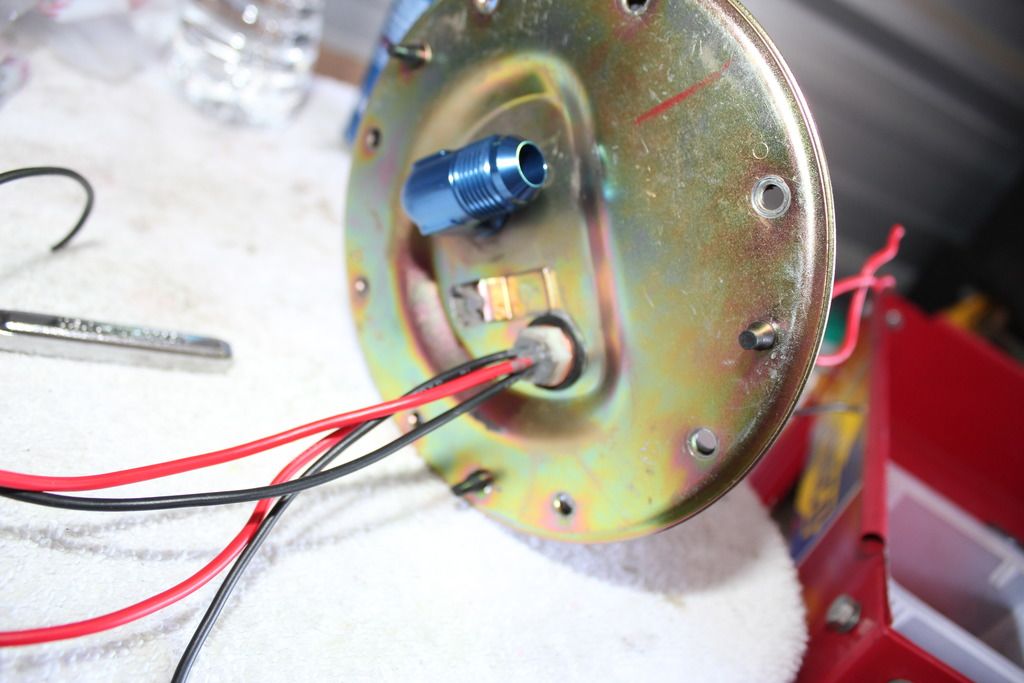
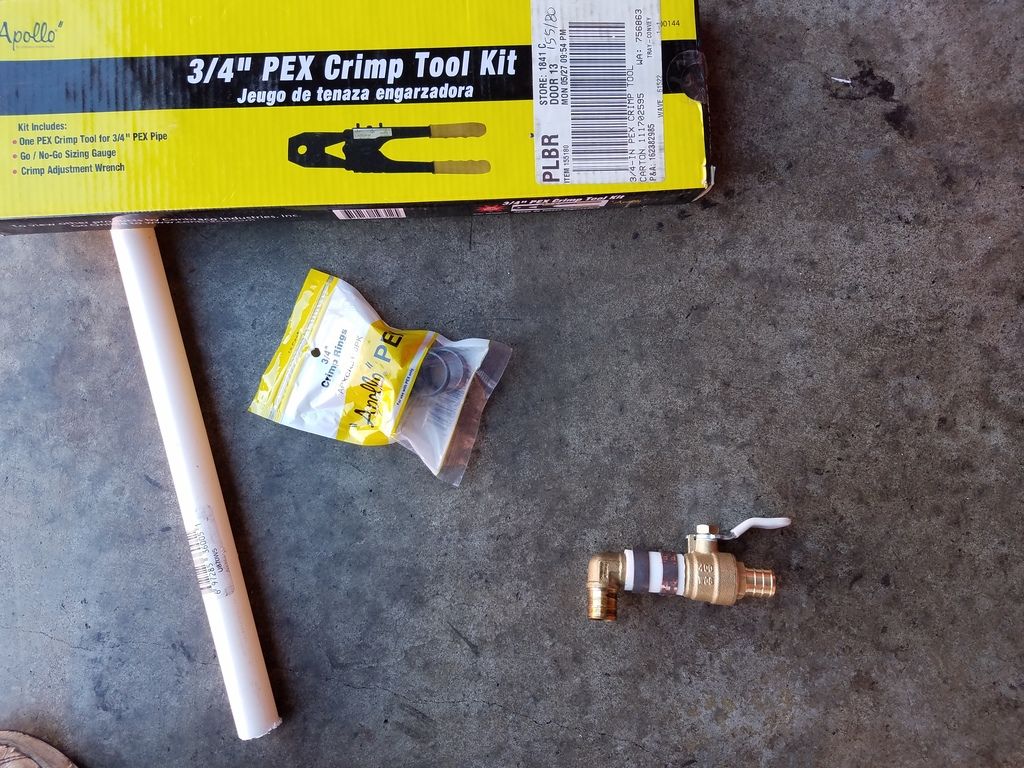
I also came up with a solution to the heater control valve, curse that expensive pigmy flange, so for less than $20.00(minus the 60.00 wrench-I returned). I made a manual solution that works.
and here it is mounted and painted black(for stealth)
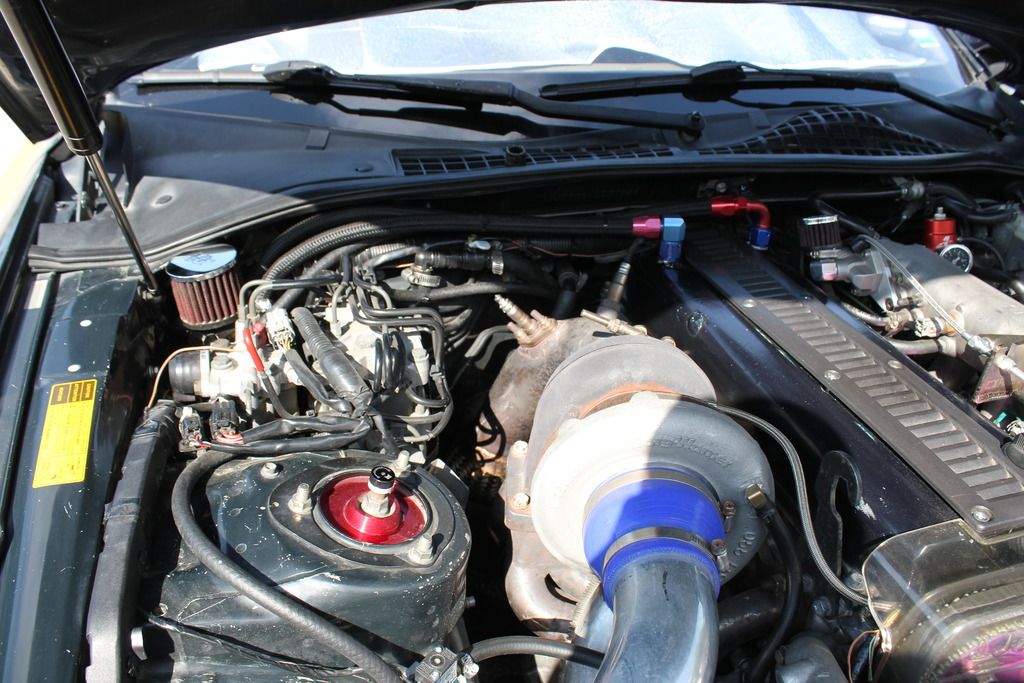
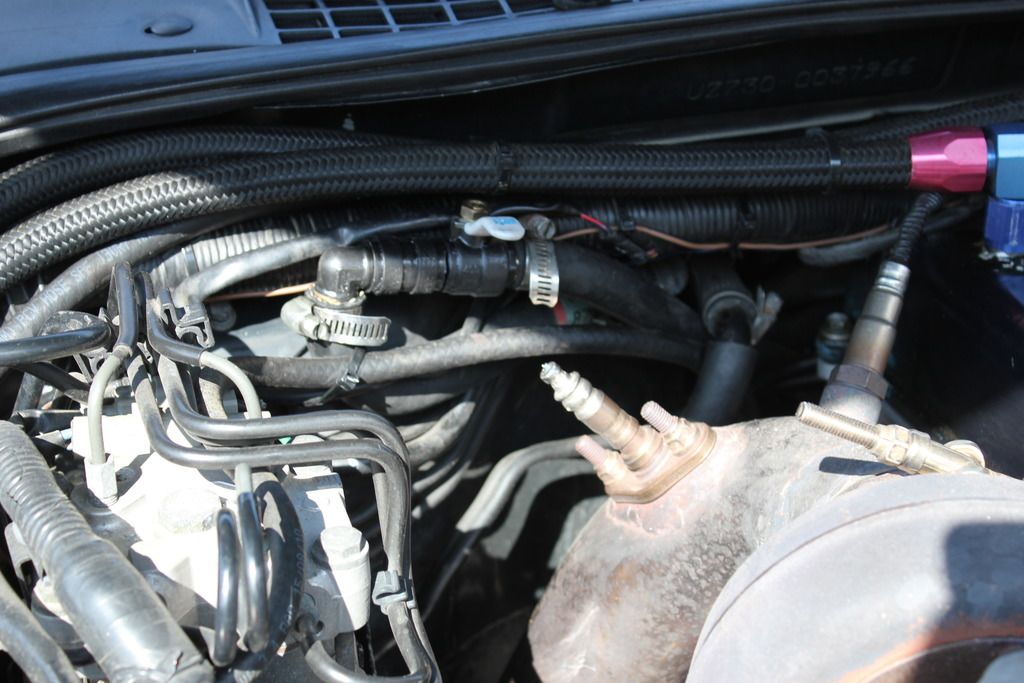
next up is tach installation, finishing up this fuel line/pump setup and installing my 2.5 ic pipe to the intake.
Great project!
Posted by Diggymart on 11/1/19 @ 10:59:41 AM