You must be logged in to rate content!
10 minute(s) of a 111 minute read
10-3-2011
10-3-2011
I ended up putting one more coat on this afternoon. Being a n00b, I forgot when I was spraying earlier that I can adjust the fan pattern on the gun. For the third coat, which required getting into some tight spots that I'd missed both times before, I adjusted the fan so that it was shooting just a round circle, basically the smallest fan pattern I could do. Tuned the fluid control to suit and away I went. It was kinda like shooting a little blast of paint into the one spot where I needed it, rather than fanning eight inches of paint all over the place. Definitely helped me get into the nooks and crannies of the front bumper's lower openings, where there was still exposed epoxy. I got a couple small bits on the rear bumper edges and the wing, then widened the fan out again and shot for general coverage until I was out of paint. I'm satisfied with the coverage it has now so I'm gonna go with it.
Worked out tonight so I'm cashed out, and it's getting late enough that I don't want to spend three hours laying down clear and then go to bed at midnight when I need to be up at 0530 tomorrow, so I'm going to plan on shooting clear tomorrow as soon as I get home. I also need to pick up a couple of the attachment pieces for the bumpers and extensions from the Lexus dealer. The front bumper has a little piece that's riveted in that has two studs on it; IIRC, they go into the fender and are nutted in there. Both of my old ones are rusty and have snapped studs, so I need new ones to rivet on before I can install the front cover. The extensions have similar deals that are nutted inside the trunk, and one that attaches the extension to the rear bumper cover, and I need those too. I also need to get the multitude of clips that hold both bumper covers on, since I busted most of mine when I pulled the original covers. ![]() Here in a few days, I'm hoping to be reassembled completely with the exception of door moldings, sideskirts, mirrors and door handles, which will comprise my last batch of items to paint.
Here in a few days, I'm hoping to be reassembled completely with the exception of door moldings, sideskirts, mirrors and door handles, which will comprise my last batch of items to paint.
10-11-2011
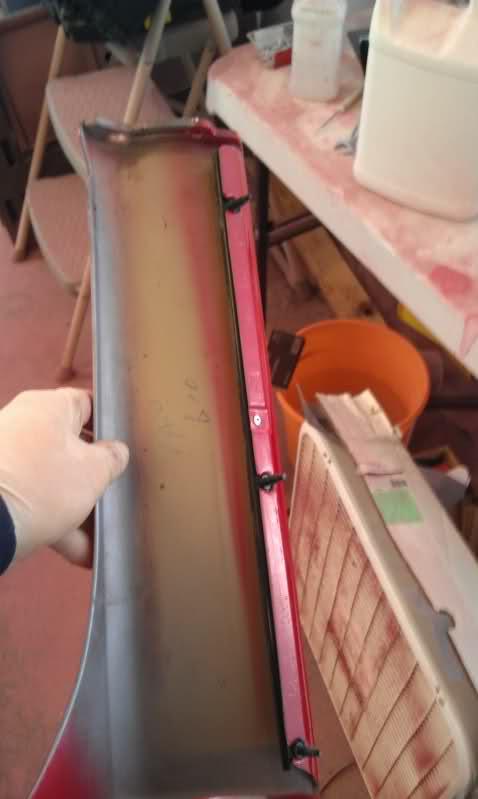
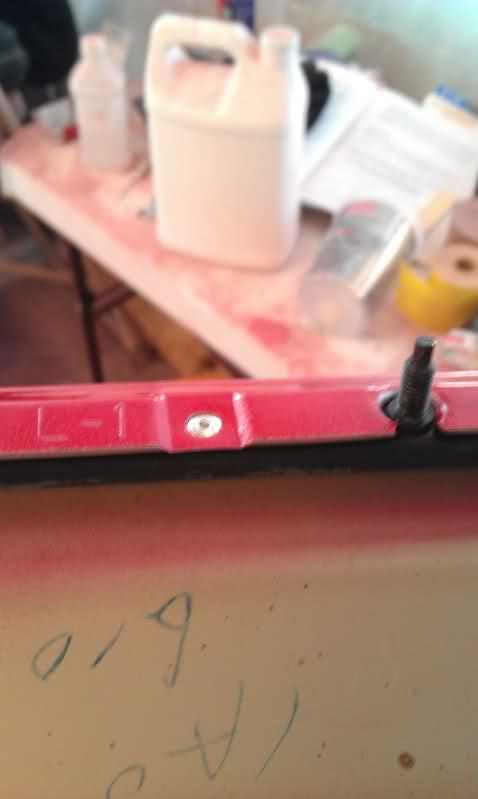
Made some progress over the weekend. ![]() Last week I went to the Lexus dealer nearest one of my jobsites and ordered up the bulk of what I thought I might need. This included pushpin clips, the metal studded retainers for the side extensions and the front bumper, etc. They came in on Friday so I went in and picked up what I foresaw needing this weekend. I held off on the front bumper retainers, at $30 each, to see if I could fix the broken stud on one of mine. Picked up the side extension stud bits and as many of the pushpins as possible. On the way home, I grabbed a multipack of pop rivets at Home Depot, and I knew I had a rivet gun at home somewhere. Most of the metal pieces with studs on them that retain body plastics to the sheetmetal are riveted onto the plastic piece, and many can be reused from the '92-'96 body to the '97+. I drilled out the rivets for the front bumper retainers and the old side extensions; I could have reused the ones from the rear bumper but my new rear bumper was used so it had them already. However, it was missing the lower retainer for the side extensions, so I had to buy those and rivet them on.
Last week I went to the Lexus dealer nearest one of my jobsites and ordered up the bulk of what I thought I might need. This included pushpin clips, the metal studded retainers for the side extensions and the front bumper, etc. They came in on Friday so I went in and picked up what I foresaw needing this weekend. I held off on the front bumper retainers, at $30 each, to see if I could fix the broken stud on one of mine. Picked up the side extension stud bits and as many of the pushpins as possible. On the way home, I grabbed a multipack of pop rivets at Home Depot, and I knew I had a rivet gun at home somewhere. Most of the metal pieces with studs on them that retain body plastics to the sheetmetal are riveted onto the plastic piece, and many can be reused from the '92-'96 body to the '97+. I drilled out the rivets for the front bumper retainers and the old side extensions; I could have reused the ones from the rear bumper but my new rear bumper was used so it had them already. However, it was missing the lower retainer for the side extensions, so I had to buy those and rivet them on.
Re-riveted side extension:
Rivets:
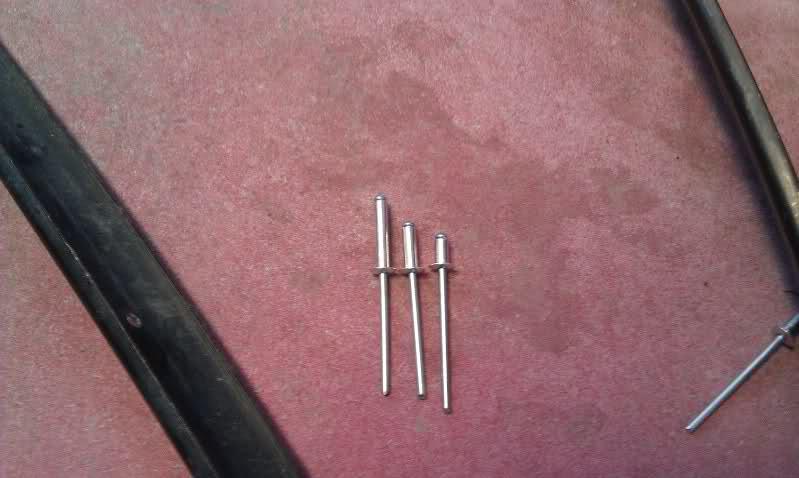
The variety pack I got had three lengths in both steel and aluminum. The short aluminum ones are the ones that work best for this application.
The last few times I drove the car, the "Lamp Out" light was lit and I couldn't figure out why. This is the plug from the passenger front marker light, the one in the front bumper.
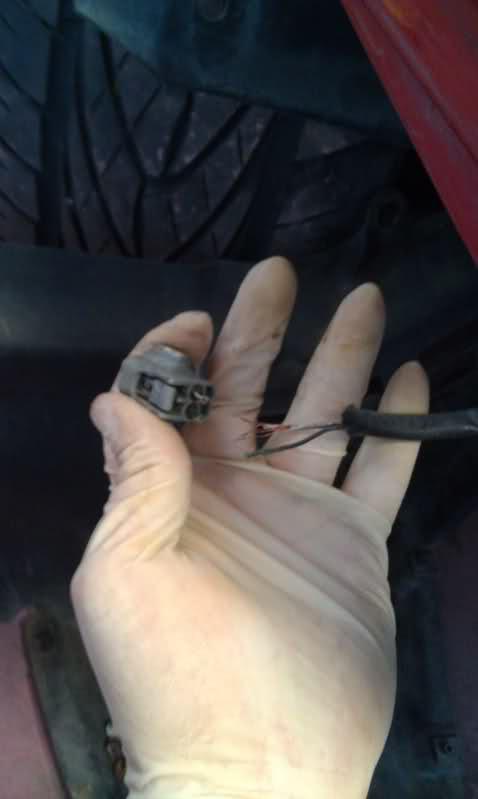
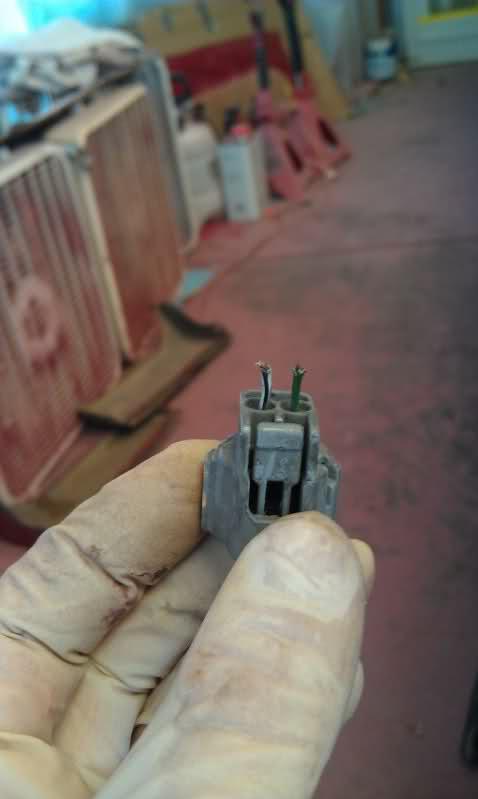
If anyone has that pigtail lying around, I could really use it. If the wires were longer I could solder them together no problem, but there's just not enough residual wire there.
Saturday afternoon, while it was snowing sideways outside, I was puttering around getting things mounted, and was getting closer to mounting the front bumper. I happened to get a glimpse of something white under the upper intake and when I looked closer, I discovered this:
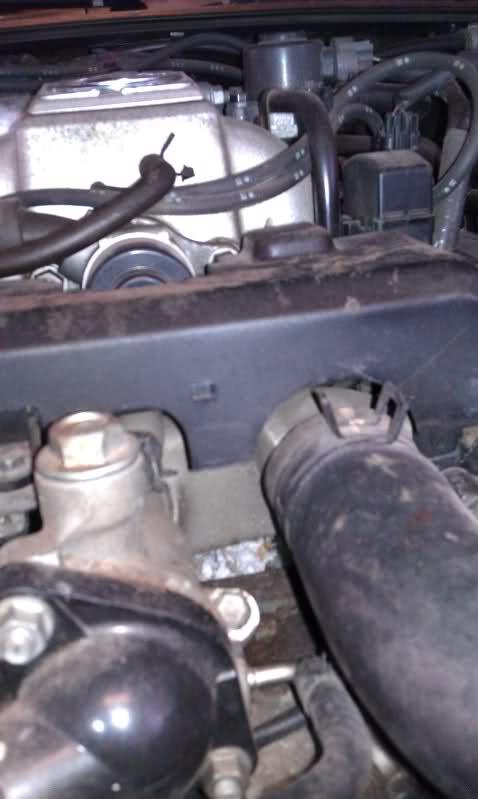
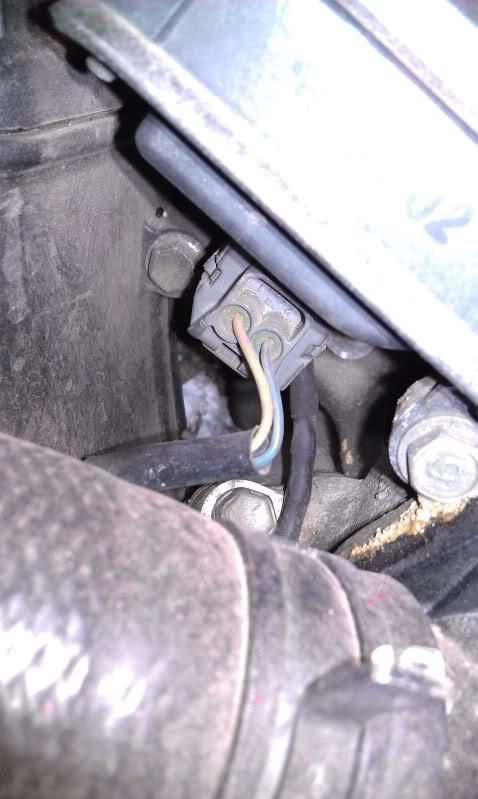
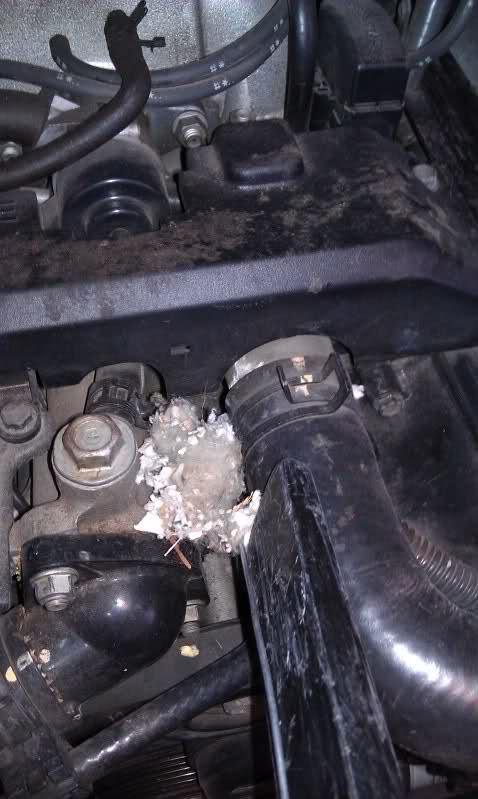
It's hard to see, but it's mouse bedding. When I calmed down I fashioned a hook out of a piece of stiff wire and jammed the shopvac in there and started raking. I'm not even kidding - I bet I pulled the equivalent of two shredded rolls of toilet paper out of there, if not more. There are still a few bits remaining, but I got it pretty good. Next, I had to prepare for the return of the "residents":
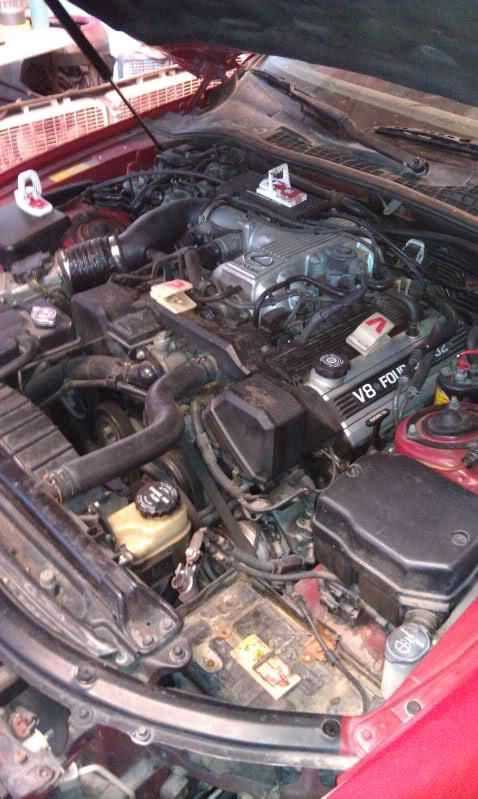
What I found when I got home around 2am:
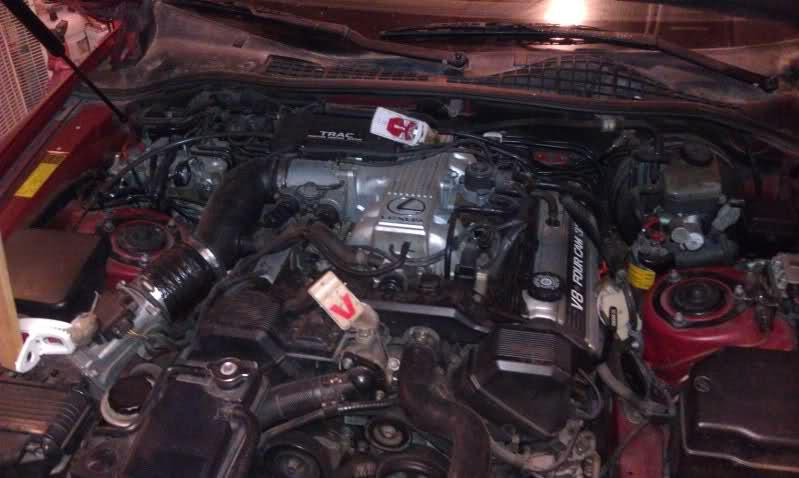
I've since gotten two more. Little ****ers. I guess the car really does need to be driven again. ![]()
The other damage I found:
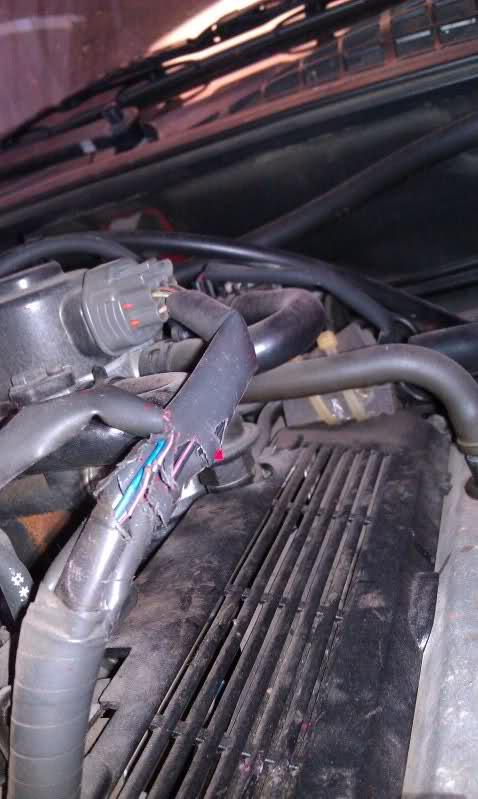
Not sure yet if I've got enough wire length to solder those ones or if I'll need a new plug pigtail for that one too. ![]()
Got up on Sunday and the weather was much nicer, so I headed out and started trying to sort out my retaining brackets.
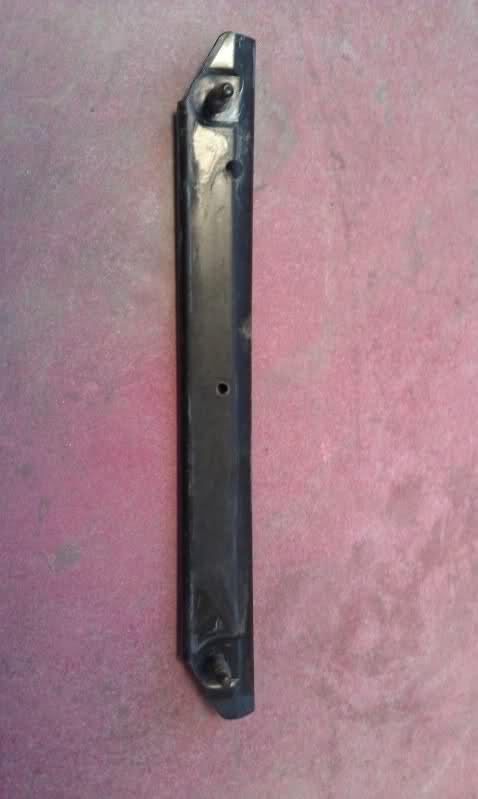
Really wanted to get the bumper on, and also avoid another trip to the dealer and another thirty bucks spent, so I focused on repairing the broken retainer. One of the studs had snapped off when I was pulling the old bumper, so I first tried beating it out. All this did was distort the hell out of the sheetmetal. Finally got it to the point where I could see the spotwelds holding it in, so I drilled them out and beat on it some more. It did not come out looking very pretty, but I figured I could still make it work.
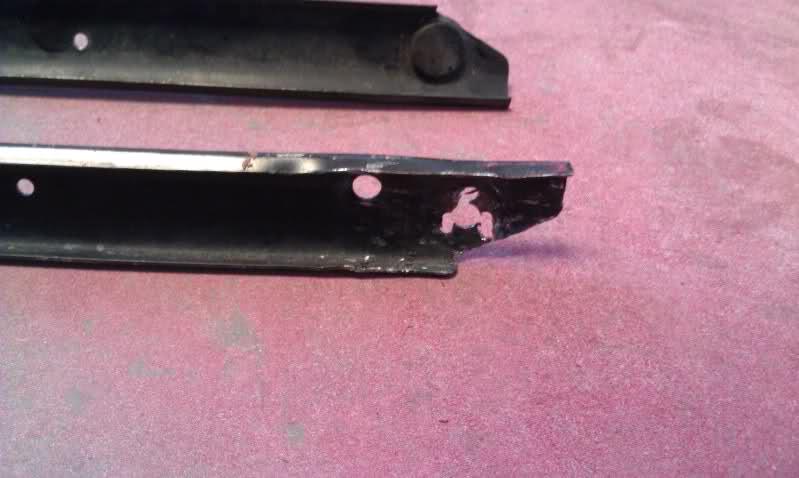
Are you thinking what I'm thinking?
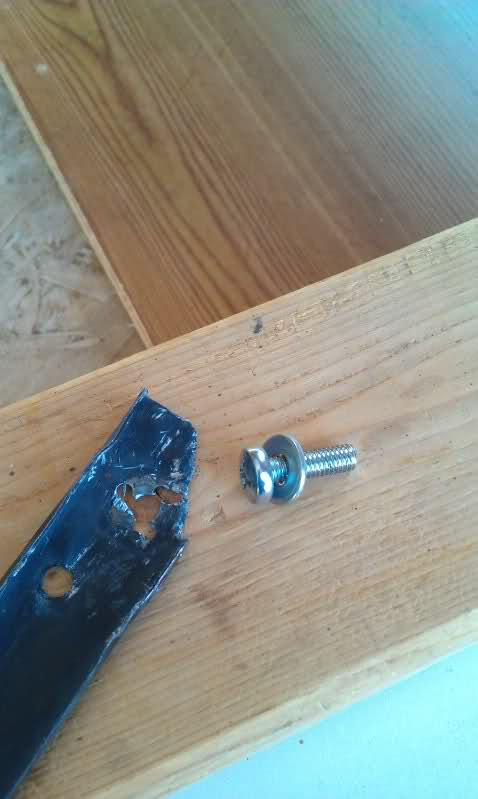
A little welding action, some angle grinder action, and some flat black spraypaint later:
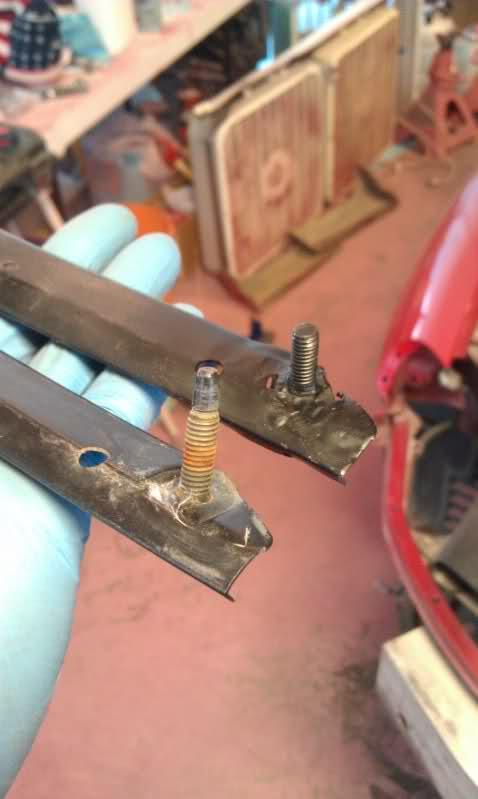

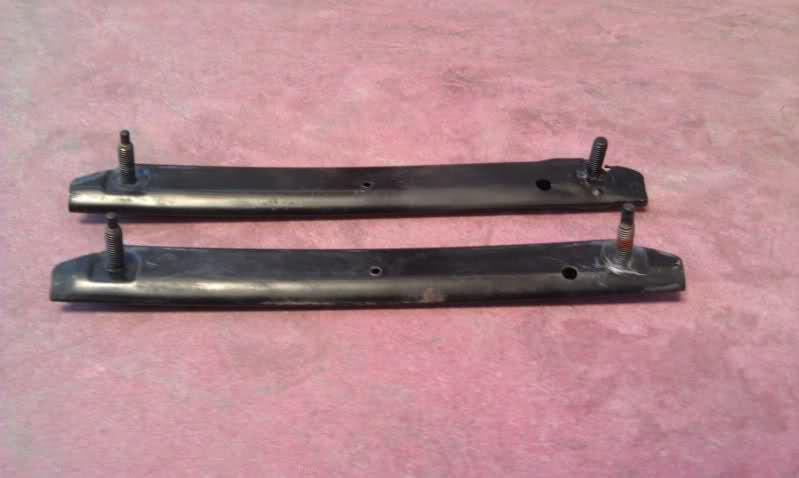
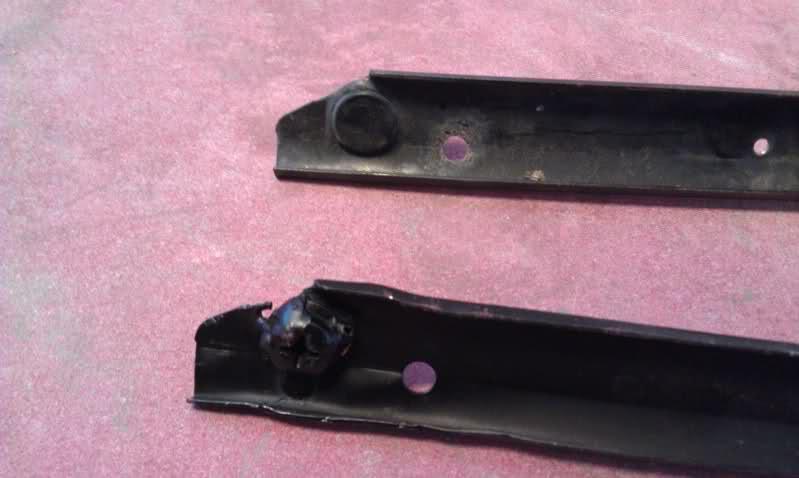
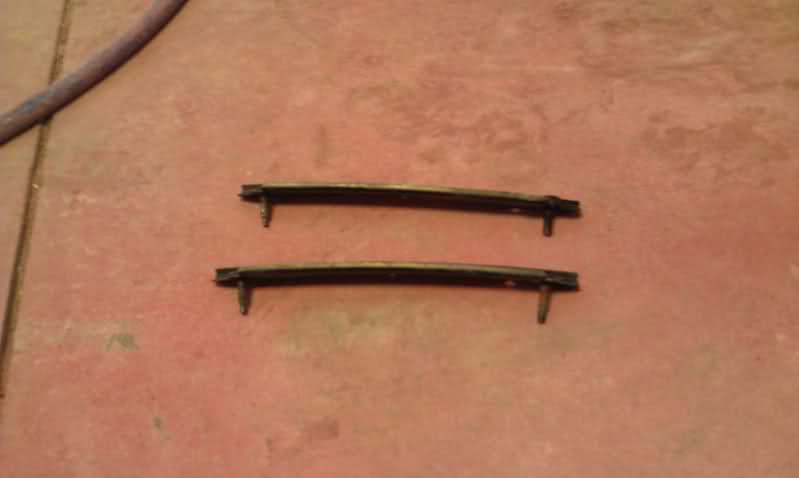
Can you tell I'm kinda proud of my handiwork there? ![]()
All of this nonsense was basically groundwork leading up to the piece de resistance, the focal point of the body swap, the main purpose of this entire venture - the front bumper.
*light shines down from heaven; angelic chorus in background*
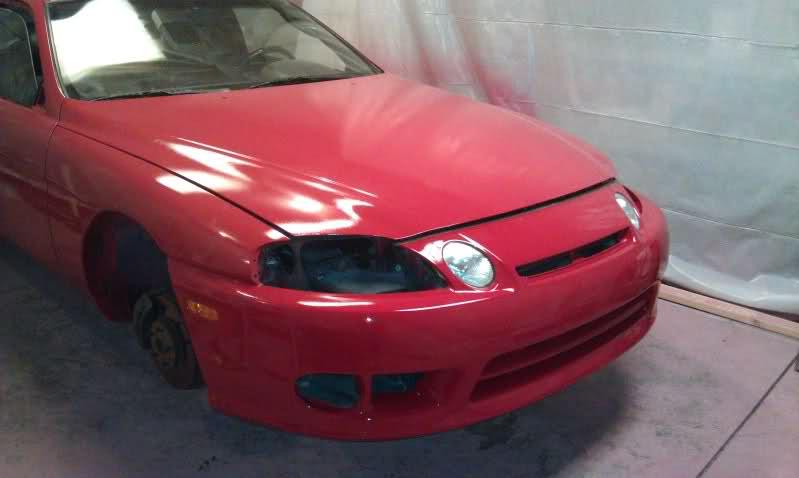
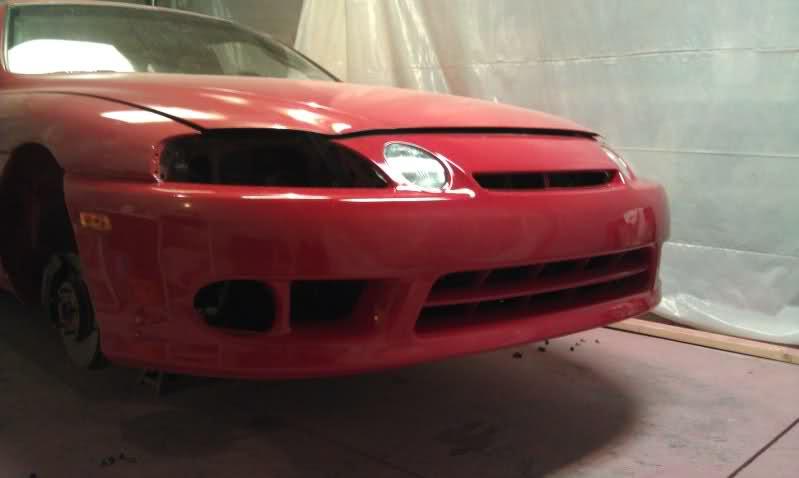
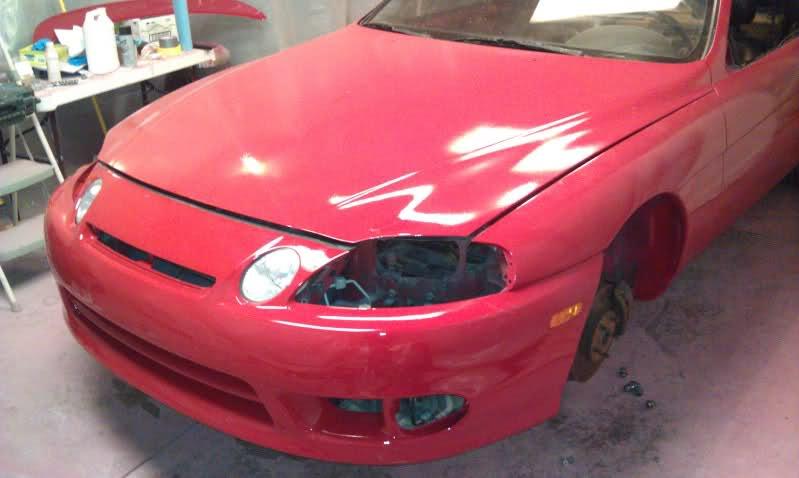
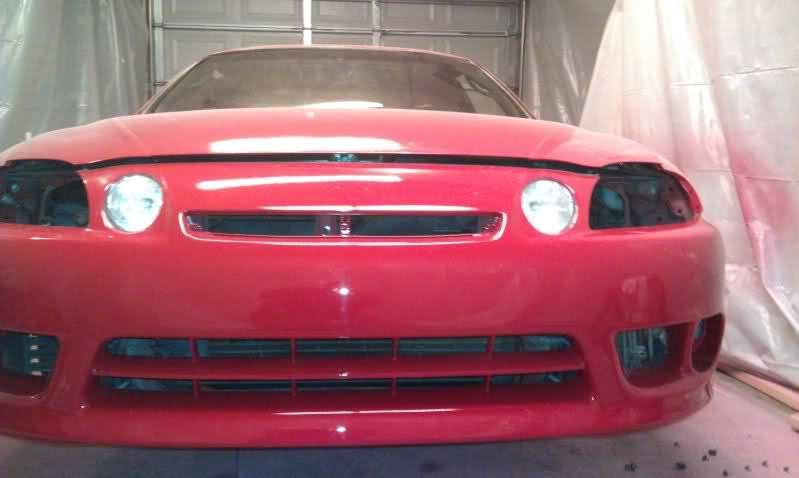
Rear bumper is on as well, but it's hard to get decent pics in the cramped, dark garage:
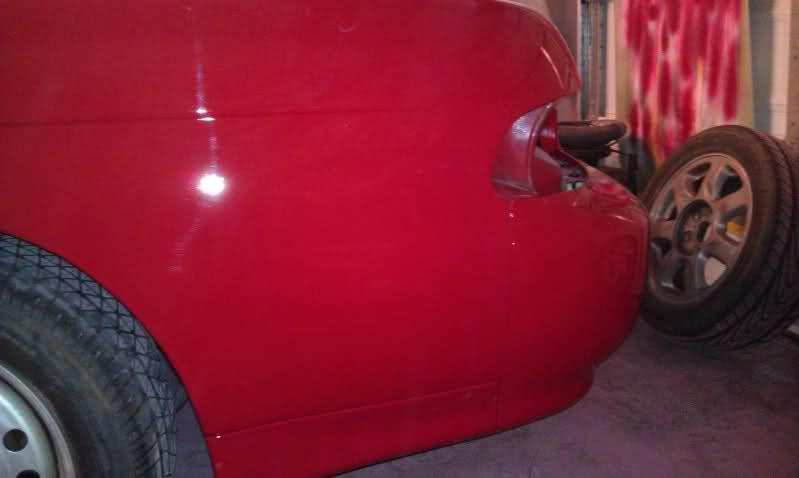
I have a couple of reassembly questions as far as the front bumper and inner fenders go, though. I don't remember from disassembly how this fits together.
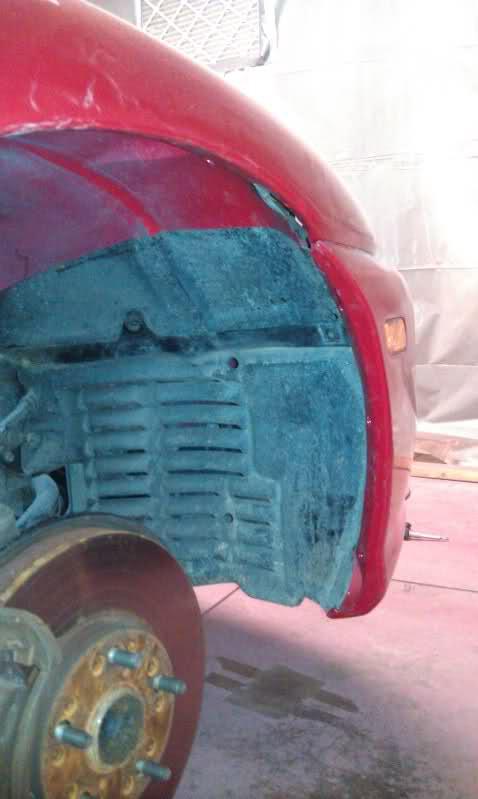
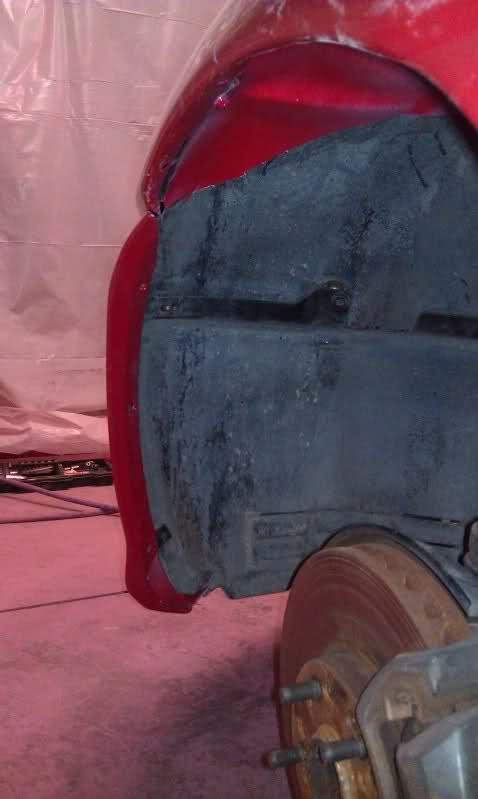
Does the lip of the bumper overlap the fender liner? If so, how do the plastic speednuts go on? Seems to me like the speednuts clip onto the fender liner, which then goes behind the bumper lip. The screws can then sandwich the bumper lip between their washers and the speednuts in the fender liner. The holes don't quite line up this way, though, and it doesn't feel like it's snapping together quite right.
Also, I don't have holes aligned under here for pushpins. All of the upper mounting holes are lined up perfectly, and the smaller plastic cover bolts up to the subframe and the bumper perfectly, so it seems to be spaced correctly. However, I can't get any pins through these tabs and into the bumper bar. Is this a vagary of the early body/late bumper combination or do I have something spaced out wrong?
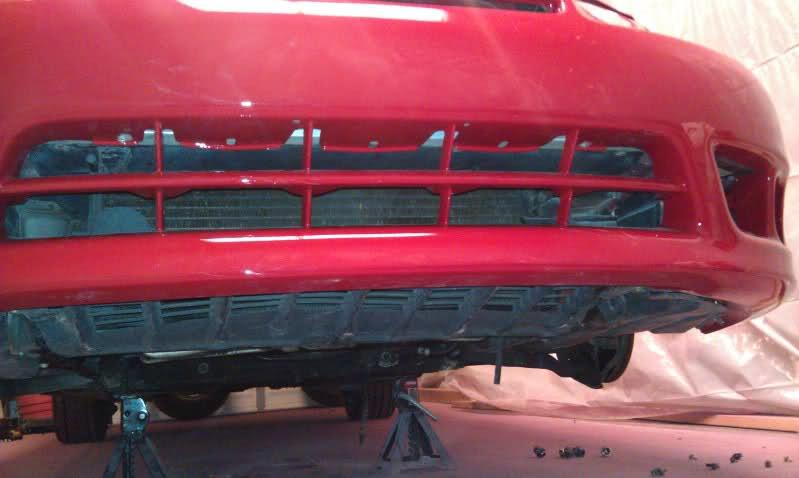
Any tips or wiring plugs/pigtails would be very handy. ![]()