You must be logged in to rate content!
8 minute(s) of a 720 minute read
7-6-2011
Well guess what! Spray Can Undercoating is hard to get off your hands & out of your hair.
Did this.............colorful huh? LOL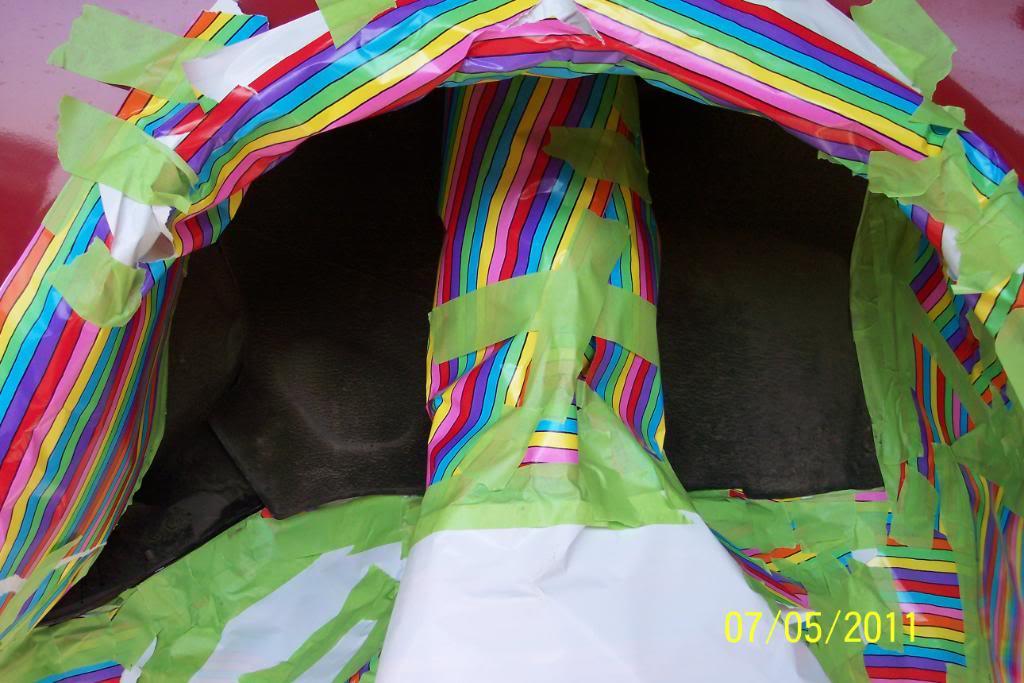
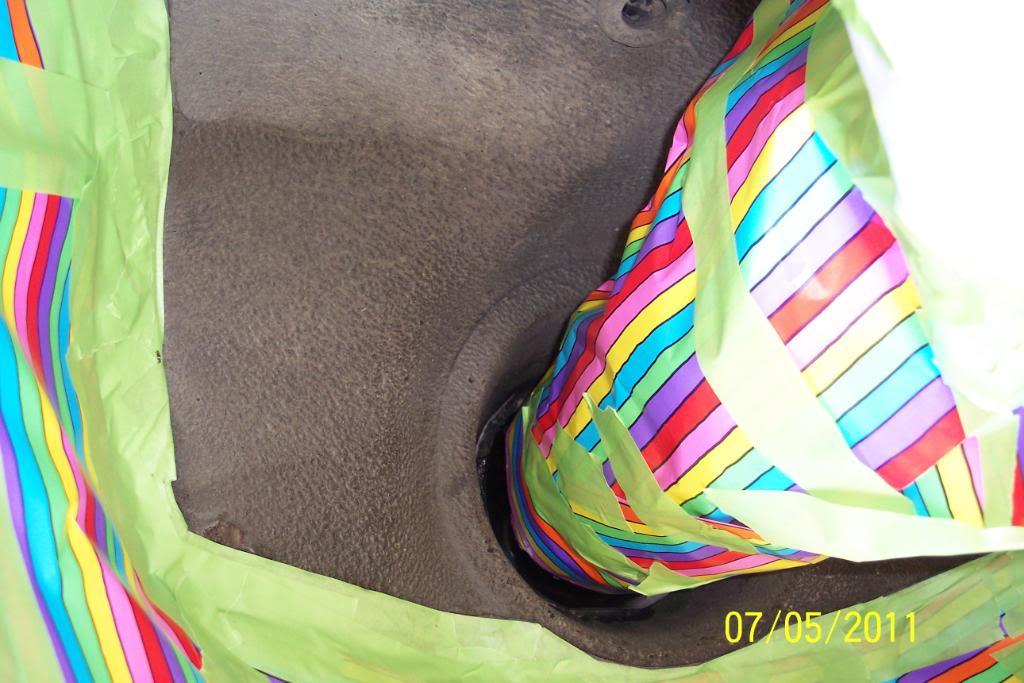
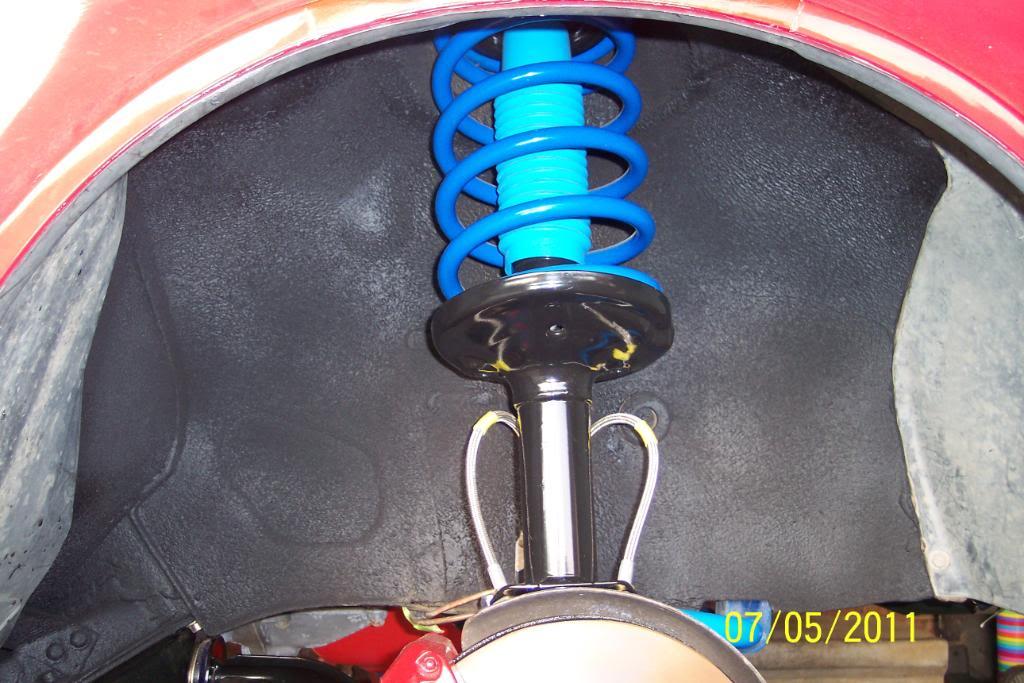
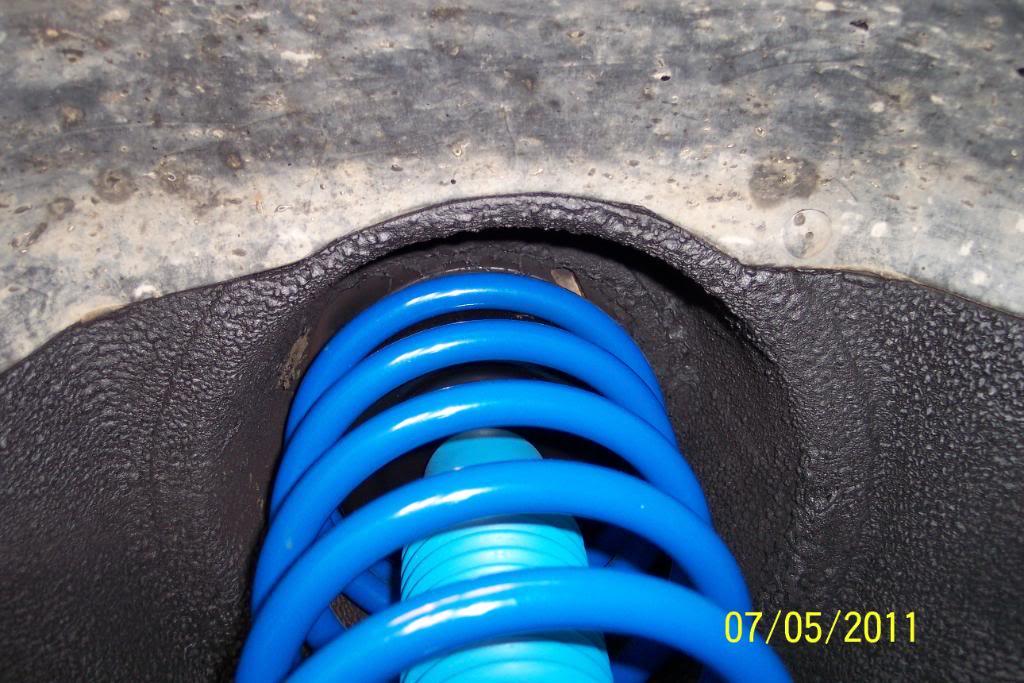
rear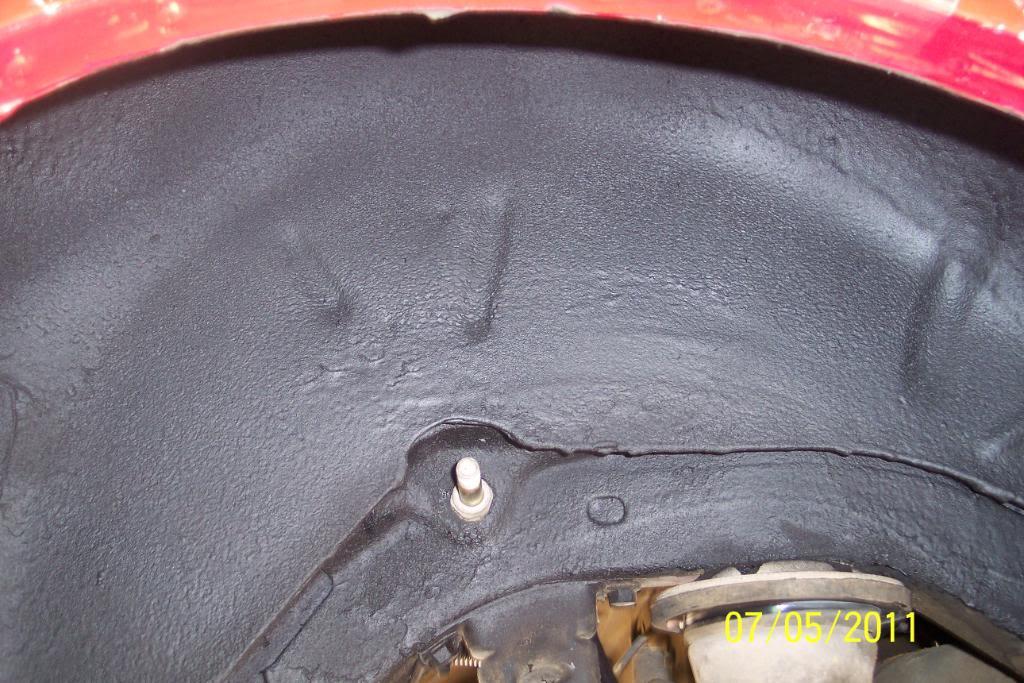
Gasoline tank & rear axle is now undercoated. Next the floorpan..........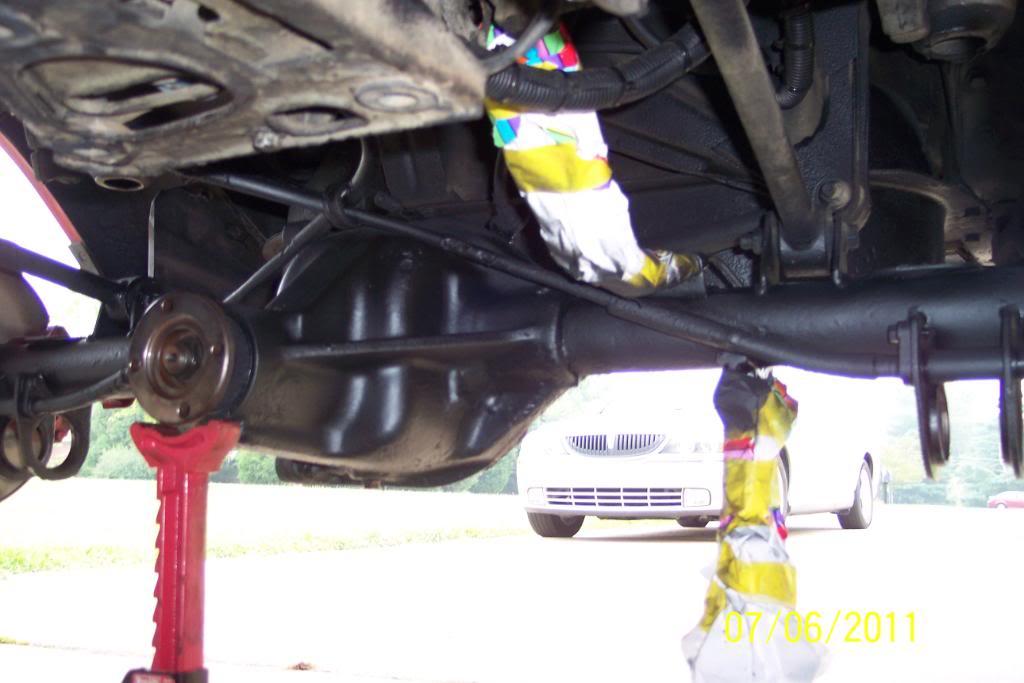
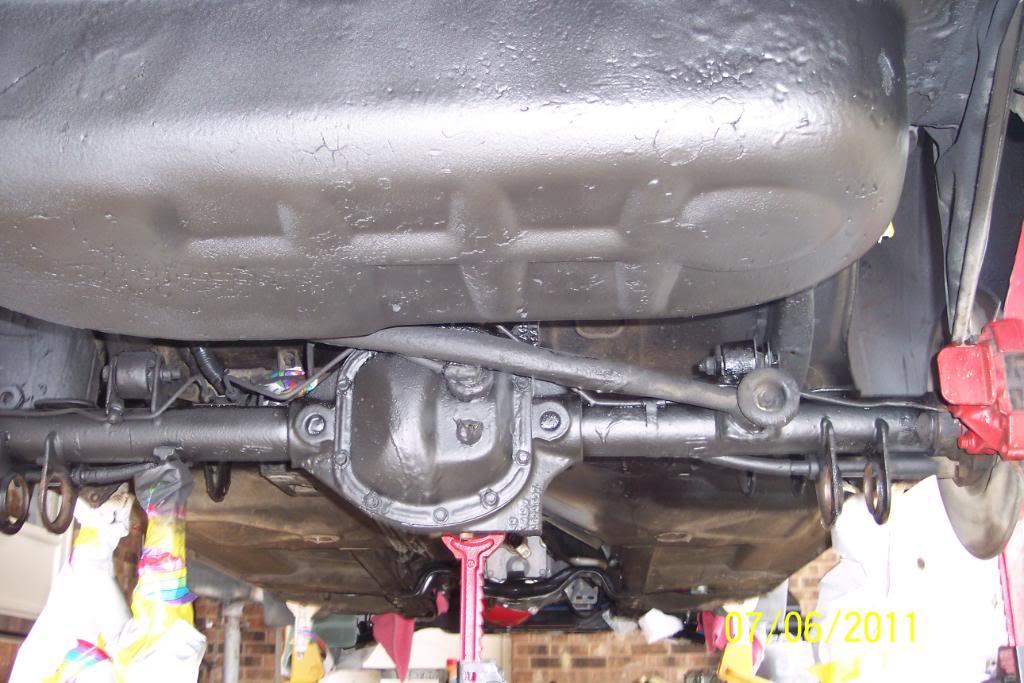
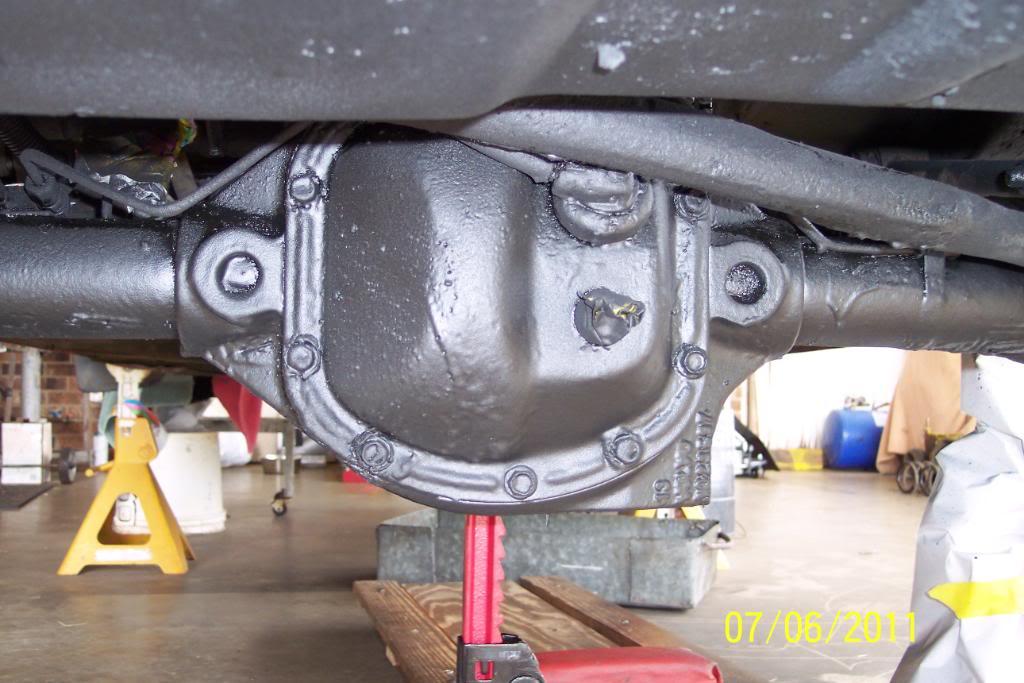
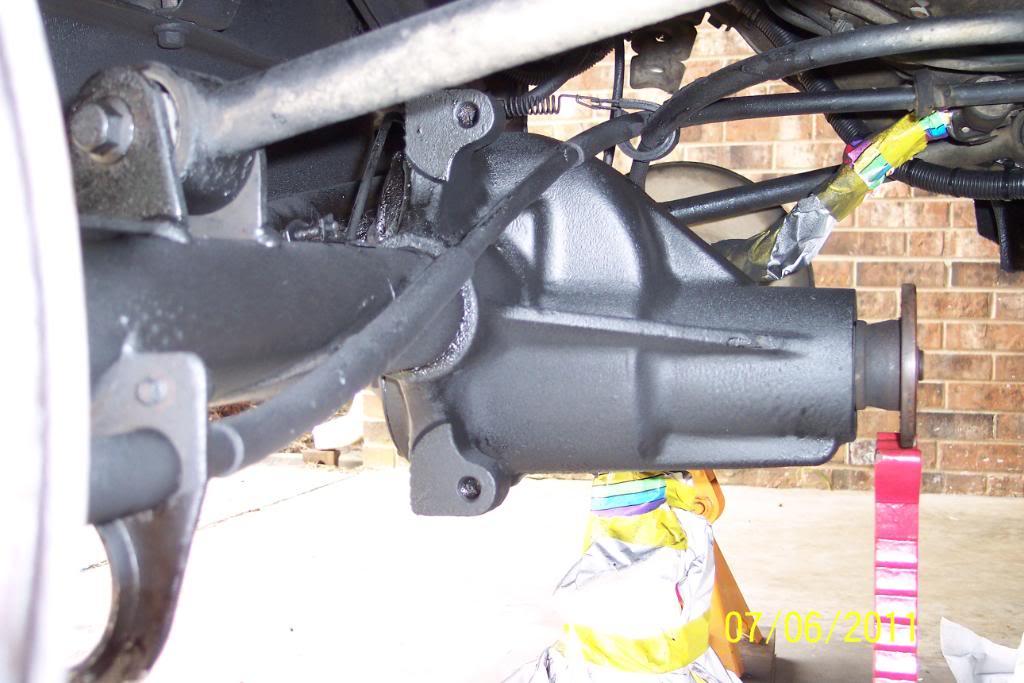
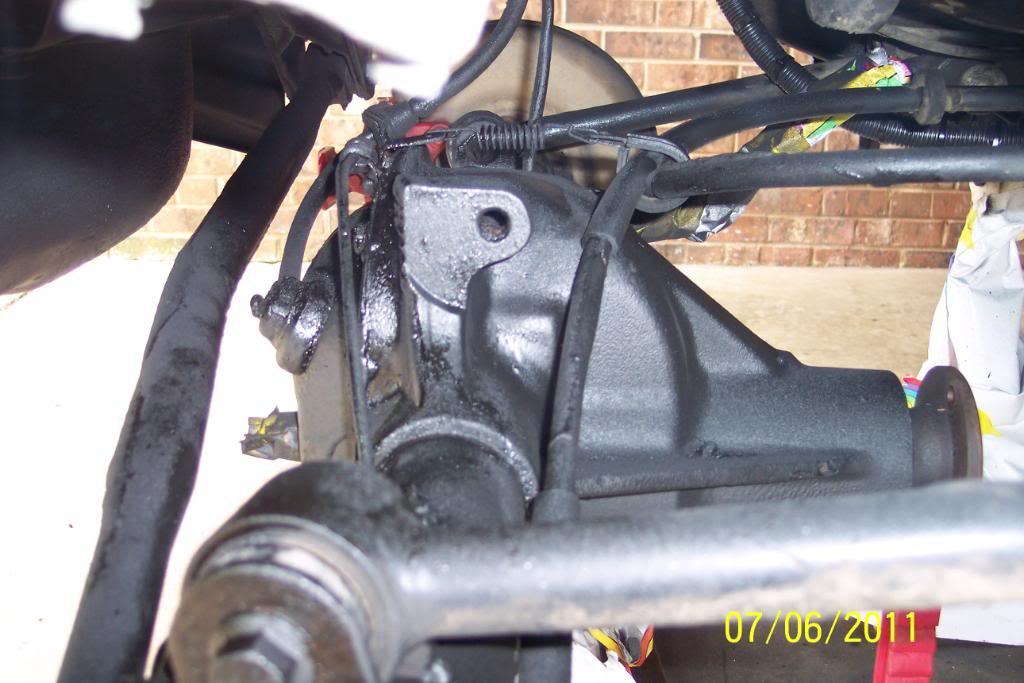
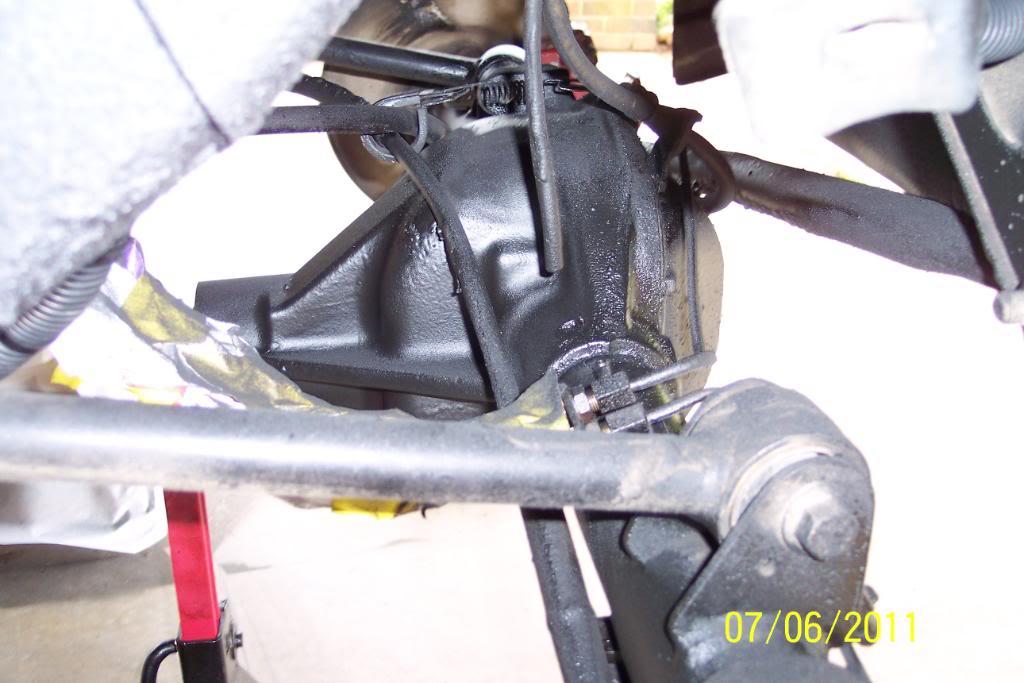
And by the way, I discovered, then uncovered, then recovered the OEM Volvo proof on the diff ratio.........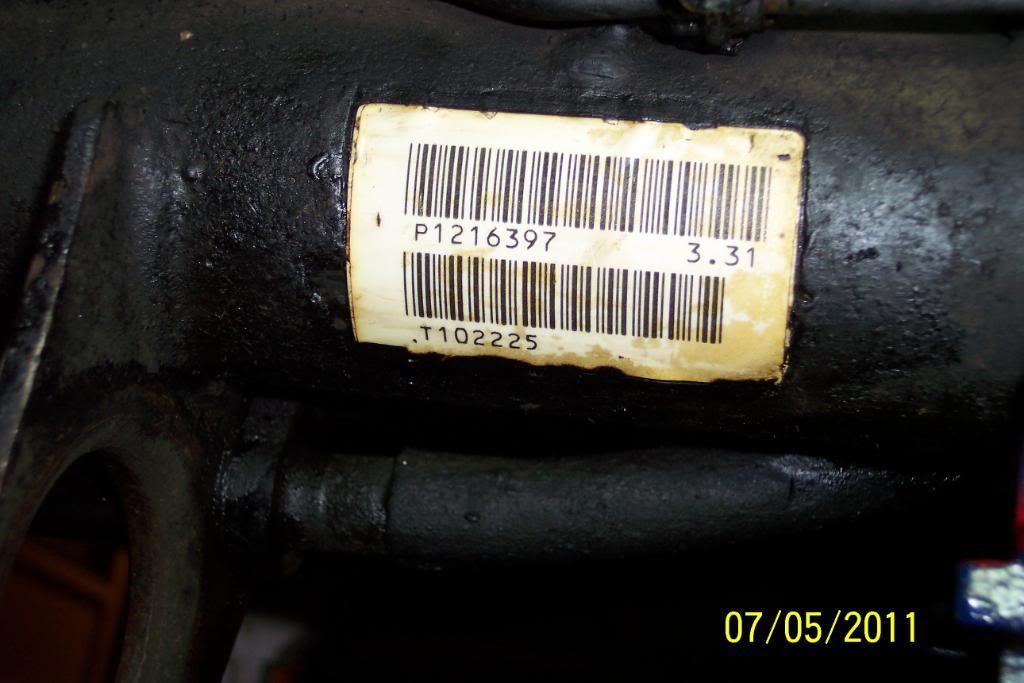
I wouldn't build a hi perf turbo engine unless it was from the ground up with the right/good stuff.
I was gonna build one for the 242, but sold the car. It'd only make me get myself in trouble anyway
Plus I decided I'd rather spend it on something else. I just want a clean, good handling n/a daily driver with maybe 25 hp more than stock. I am planning to be driving this 244 for quite sometime. So I want to do "rust prevention" steps so it'll stay solid.
Turbo is cool, but I'm better off without one most likely.
7/7/11
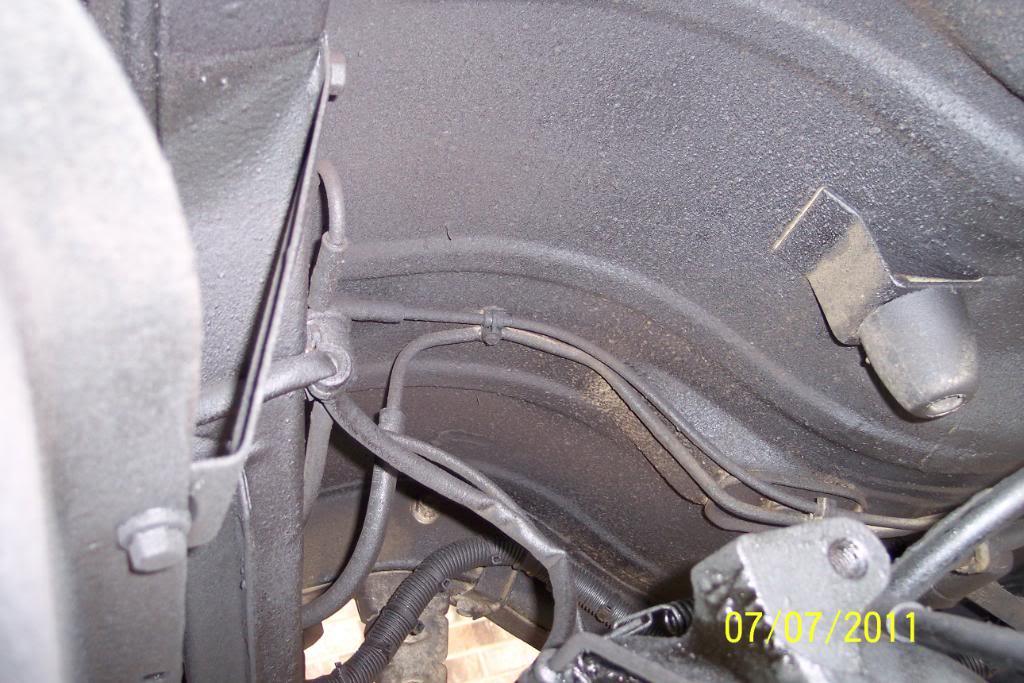
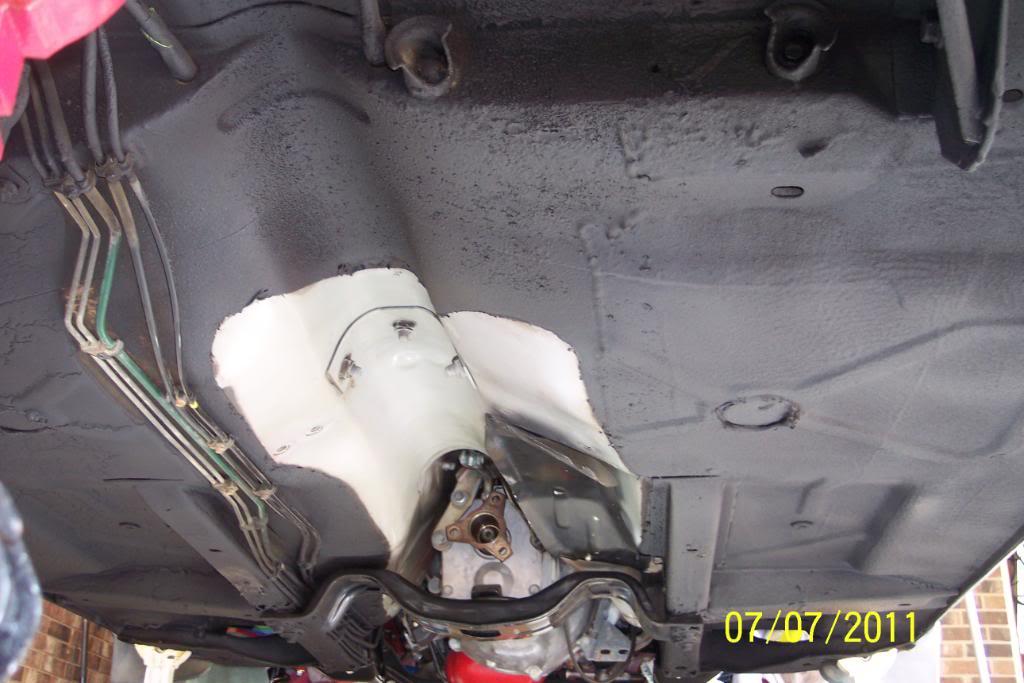
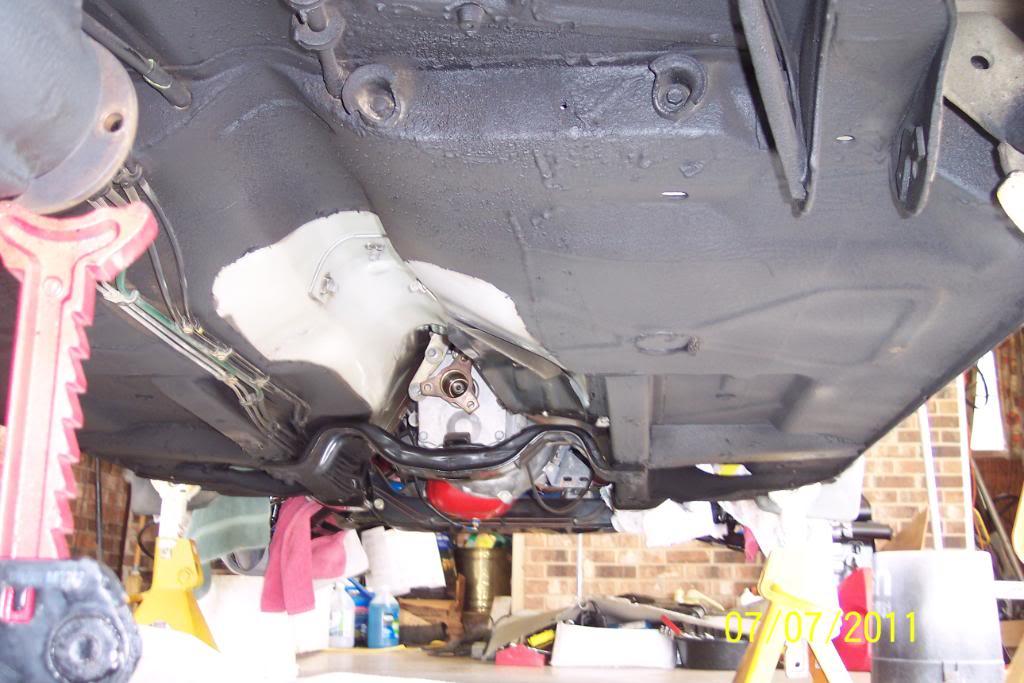
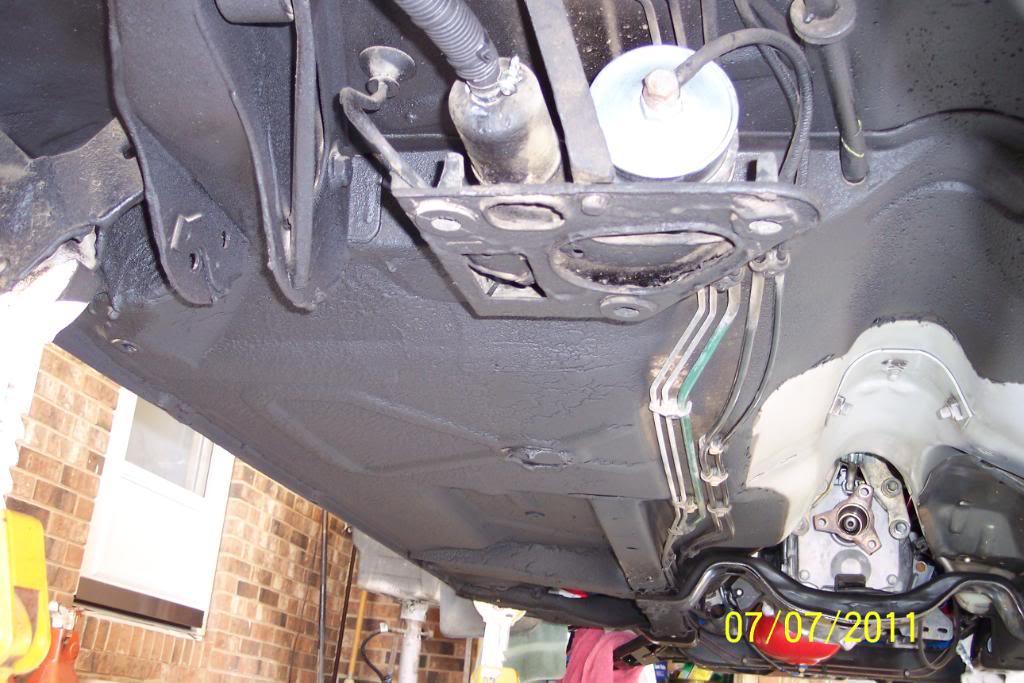
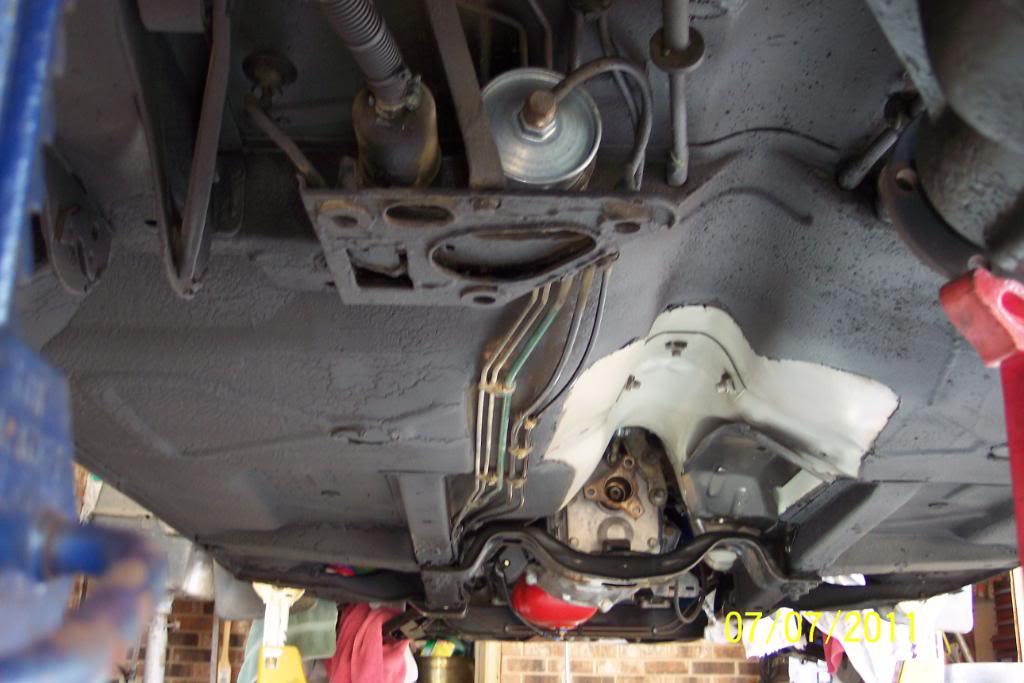
OK, got the floorpan undercoated. Took a lot of masking paper & tape. And a bit of clean up afterwards. But it is finished for the most part.
it was still pretty well undercoated as it was to start with, but I think the added undercoating will help protect the original undercoating and add a measure of rust protection, plus it does look much cleaner now, which is always a good thing.
So now the car is as clean & neat on the bottom as it is everywhere else. YES!
Pics below: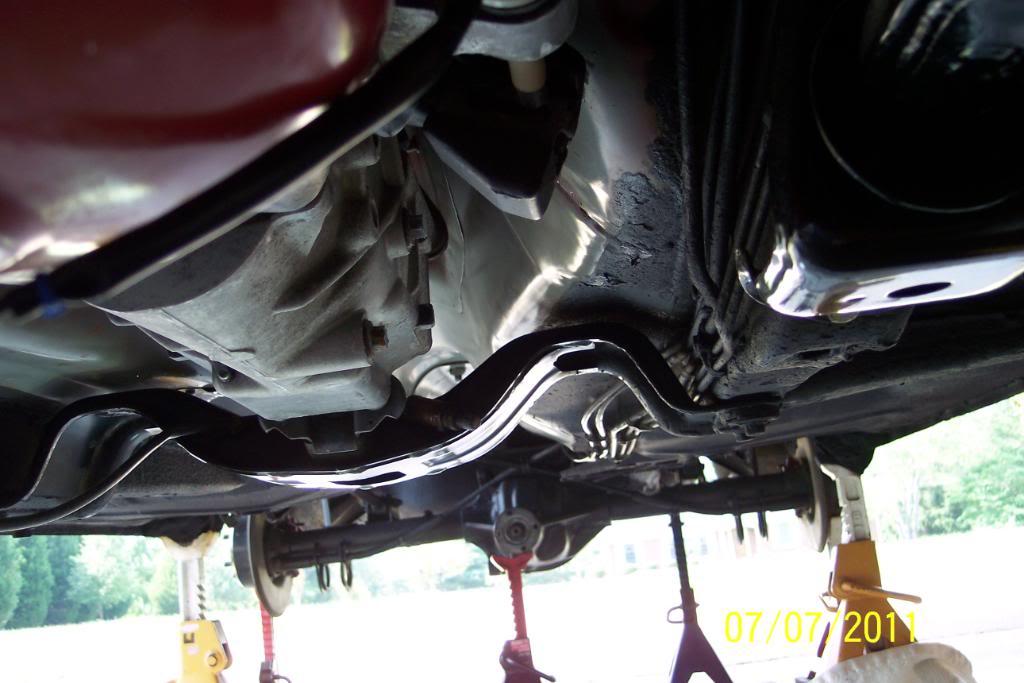
7/8/11
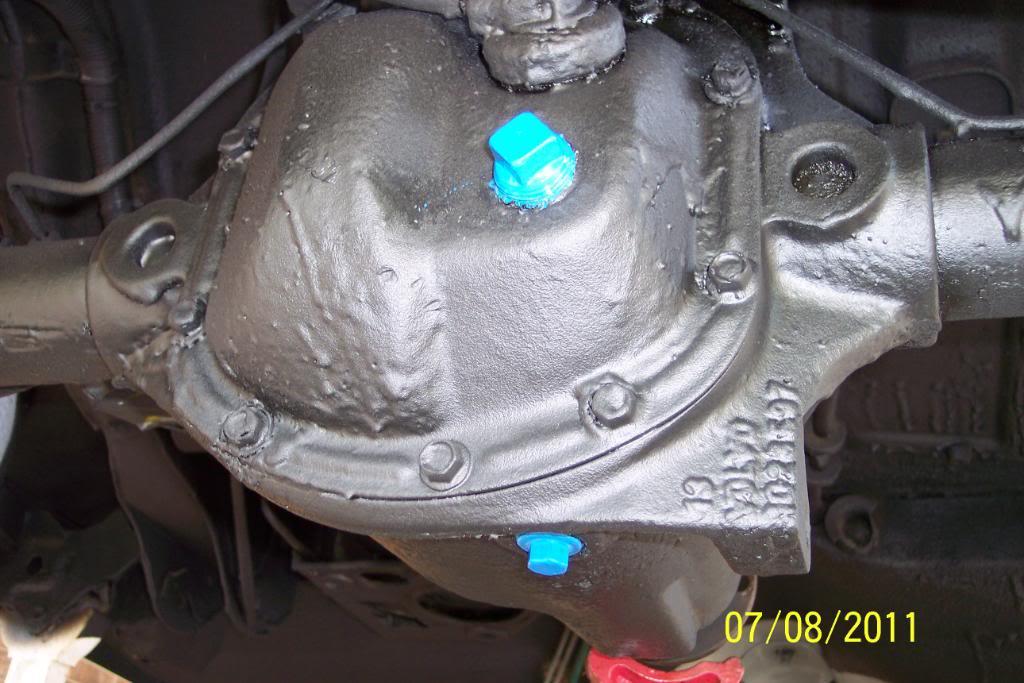
And I finally got around to doing what I call detail freak's details...or as Homer puts it, "Gawdy Blue" accents on the diff's drain & fill plugs.
I just didn't want them to rust further, and I hate to get the undercoating in my sockets and/or wrenches, so I painted them blue.
I like the fact that they are easily visible now too. I told ya'll I'm a detail freak. Ya'll believe me now??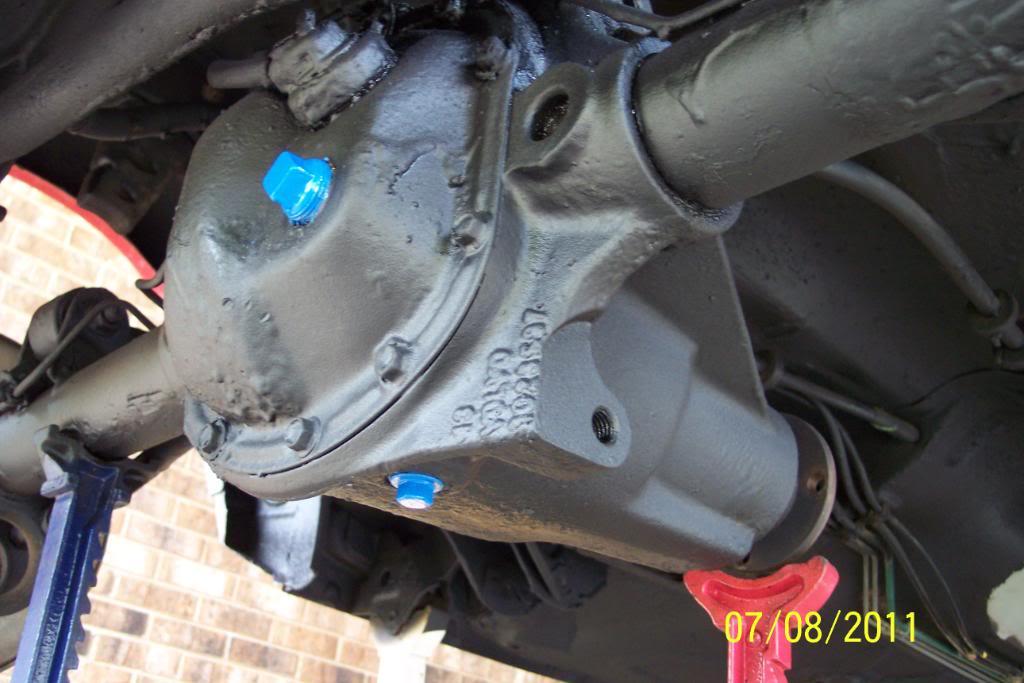
7/15/11
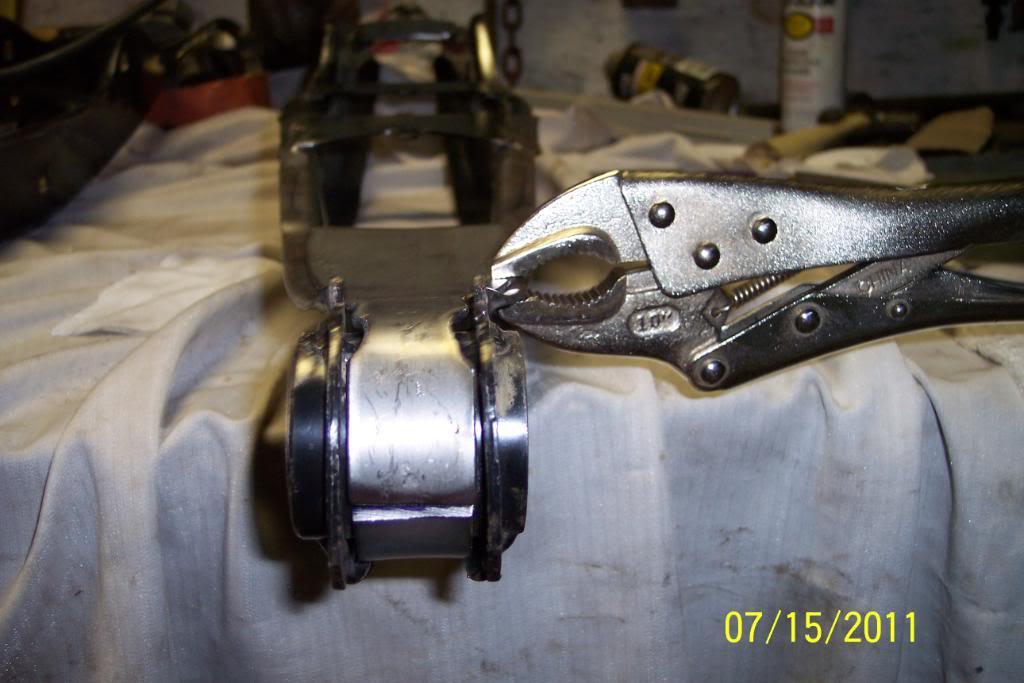
Got the LTA bracing plates cut. Both LTAs are at the welders as I type. hopefully get 'em back tomorrow. Painting & undercoating them is next.
I decided to brace them as shown in pics below:
The top will be braced like this......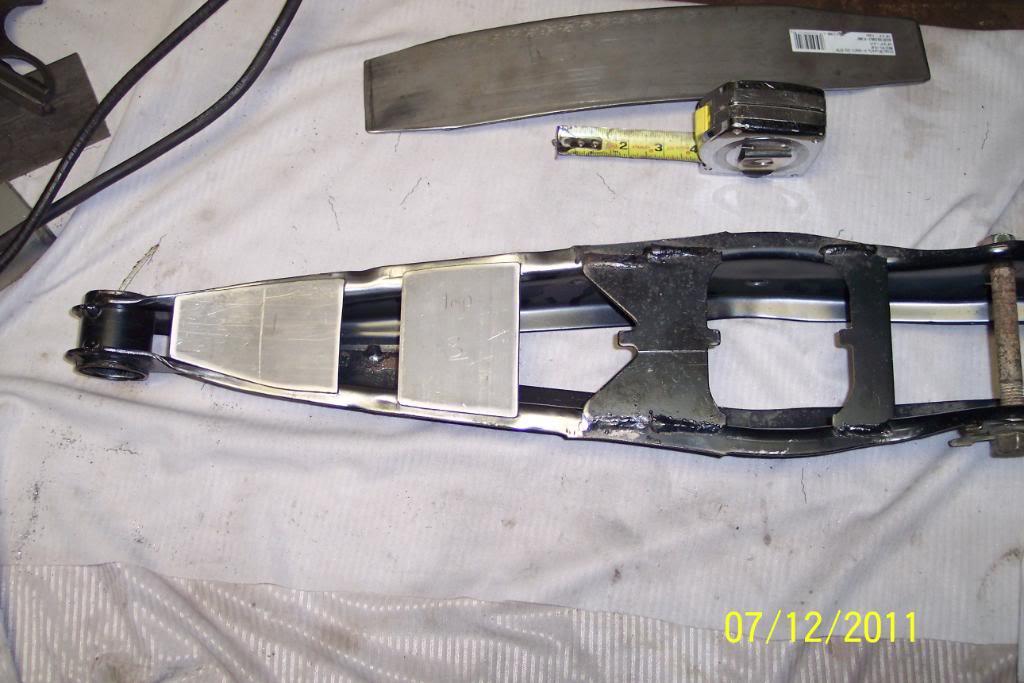
Close up of "small end" bracing......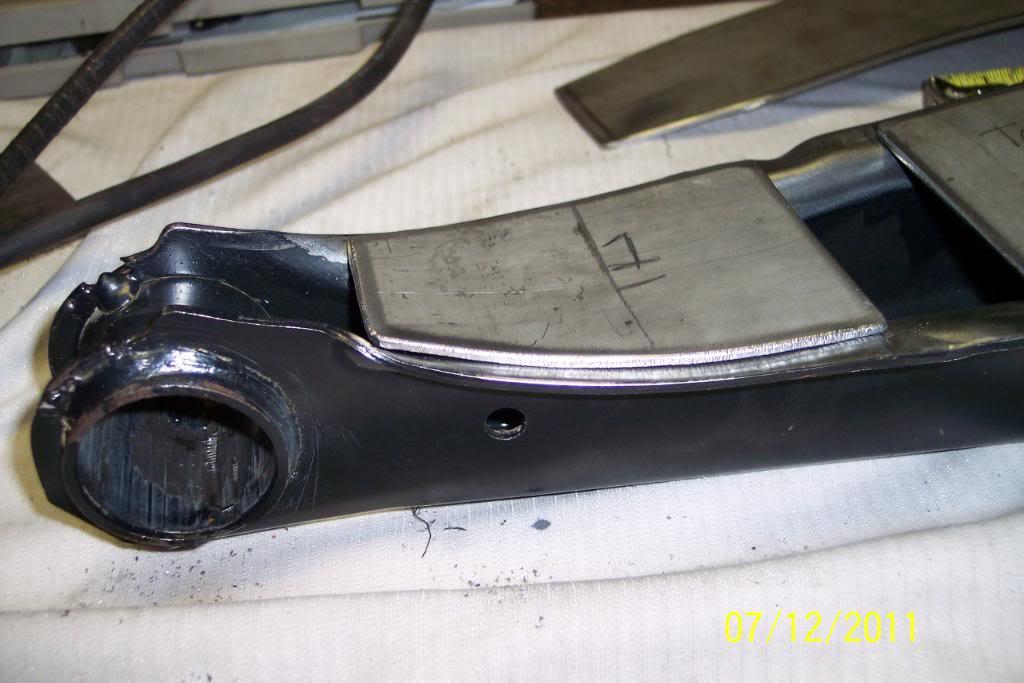
On the bottom of the small end I'm going with this.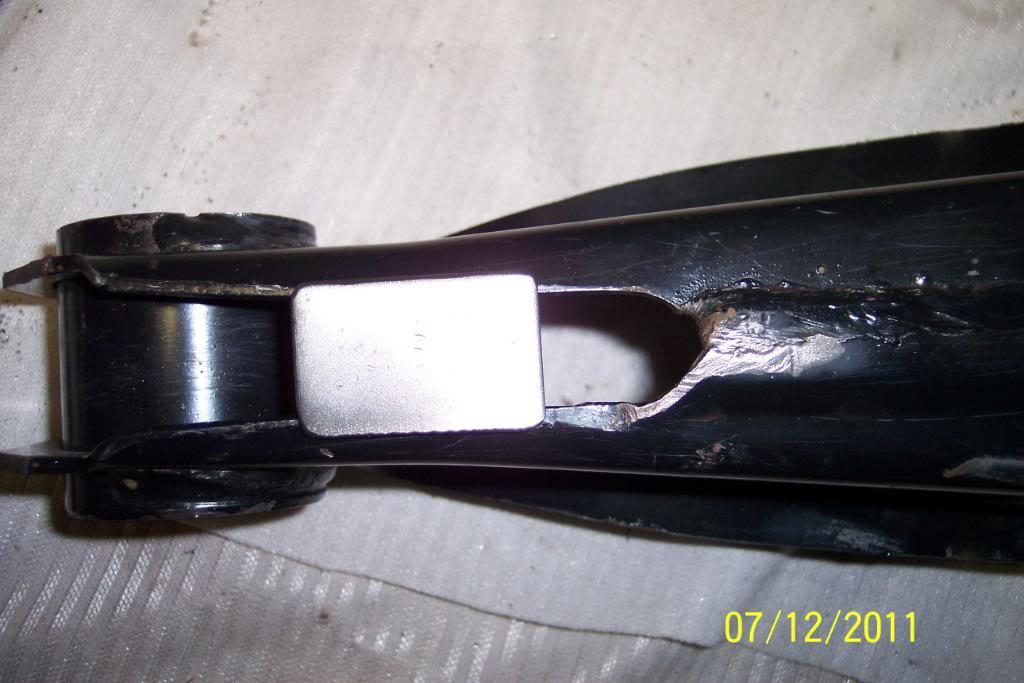
And the bottom will be 'full length" braced. I'll drill a weep hole in the lowest spot to drain any water than gets inside the LTAs, when I get them back from the welder.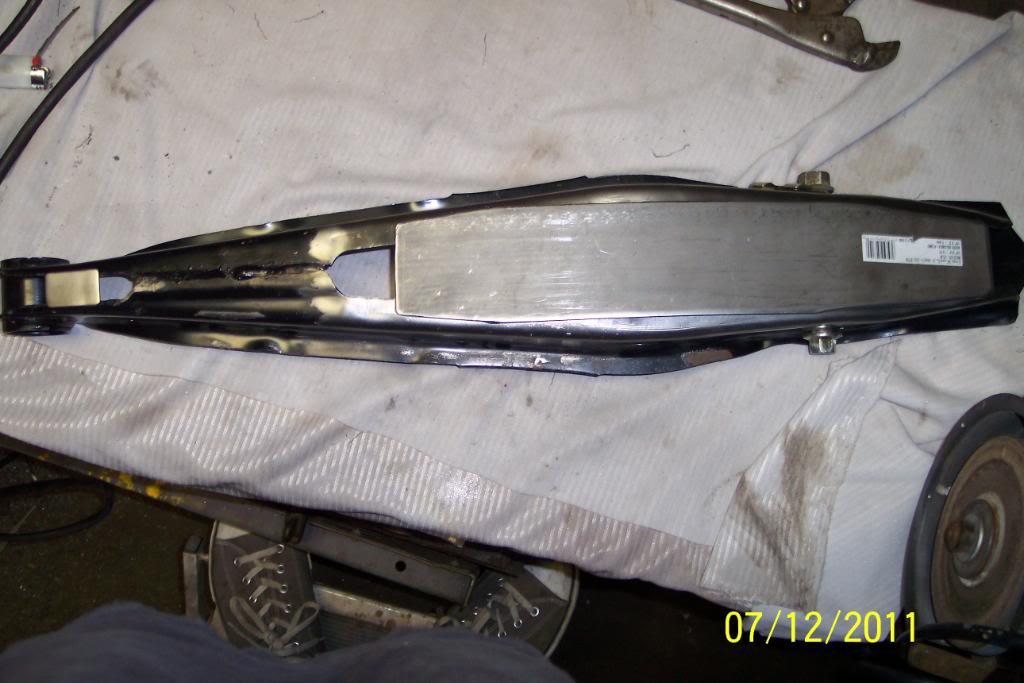
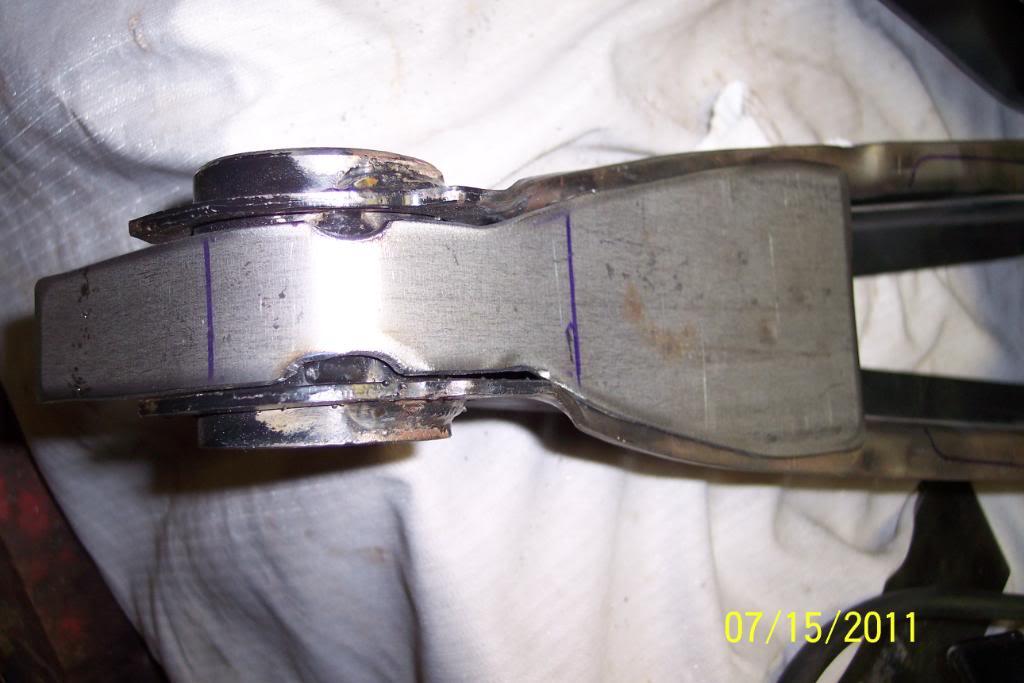
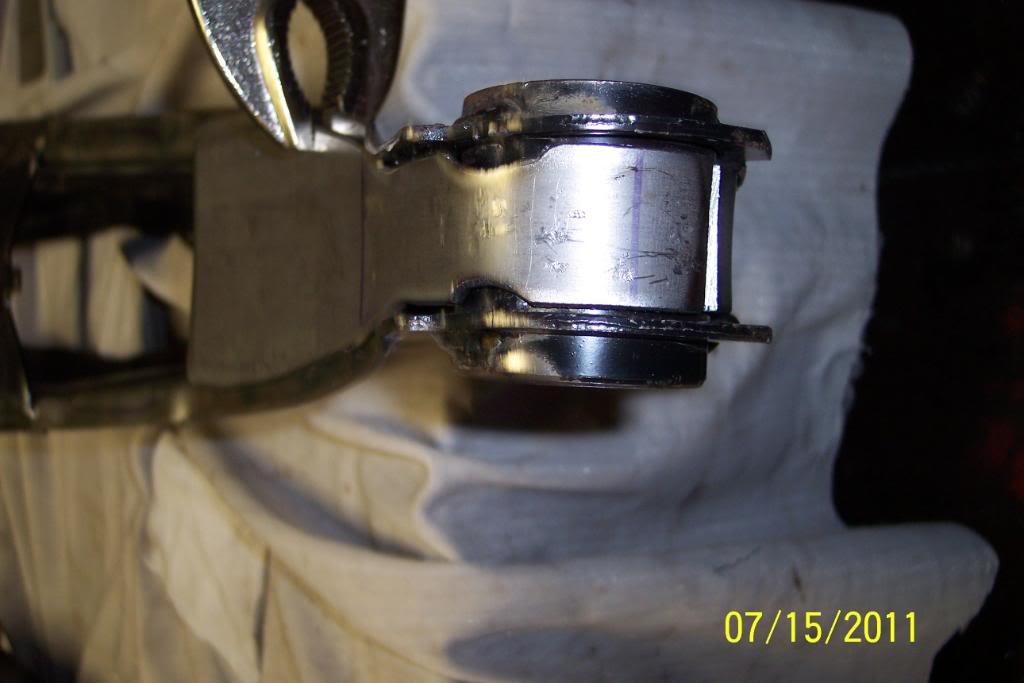
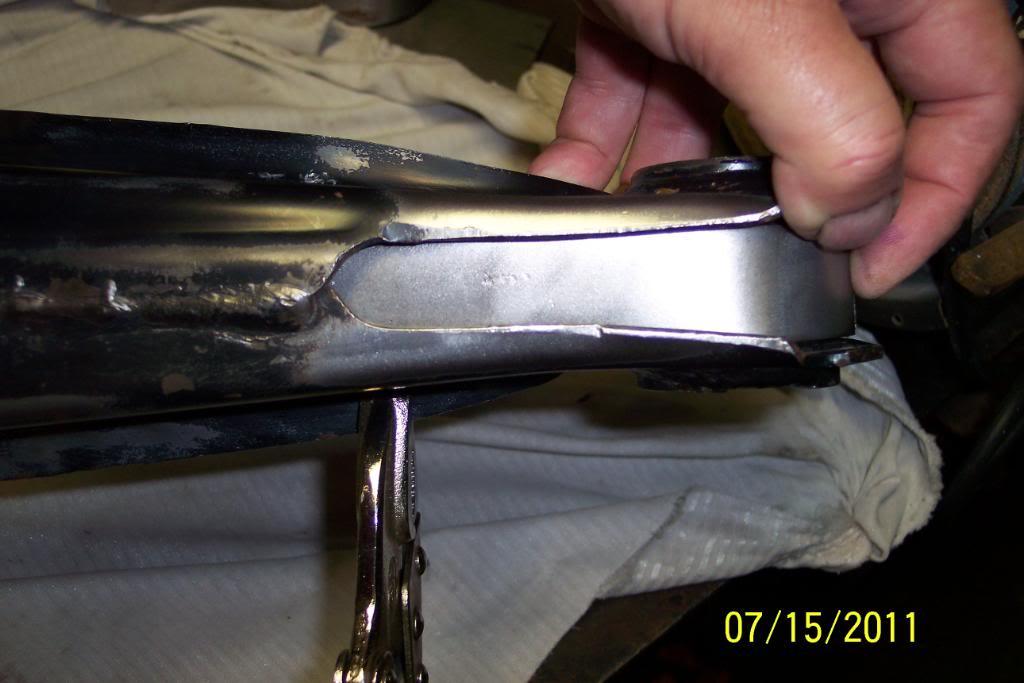
OK, I re thought my bracing due to recommendation from John V. I went & pick the LTAs back from the welder. luckily he had not welded any braces on yet. Shoulda seen the 51 Chevy that was there. HOT ROD mag car for sure...
NOW...back to the build.........I remade the 1st top side & bottom side brace on small end. Pics tell the story.....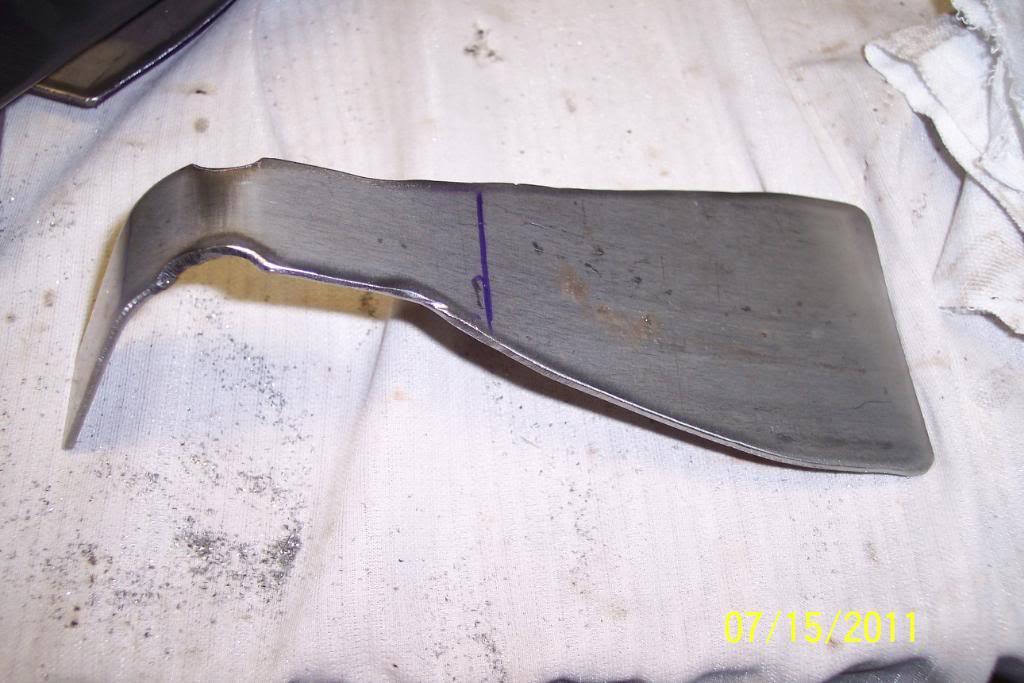

I received the Custom thread on knobs with the custom,OEM Volvo/M47 shift pattern today!
Naturally I had to immediately install my white custom knob onto the adapter I installed into the lever a while back.
After I installed it, I do believe I had a "flashback" all the way back to 1975 during my 1969 Chevelle SS 396 with Muncie M21 4 spd. and Hurst shifter days ,while sitting in my 240. ..............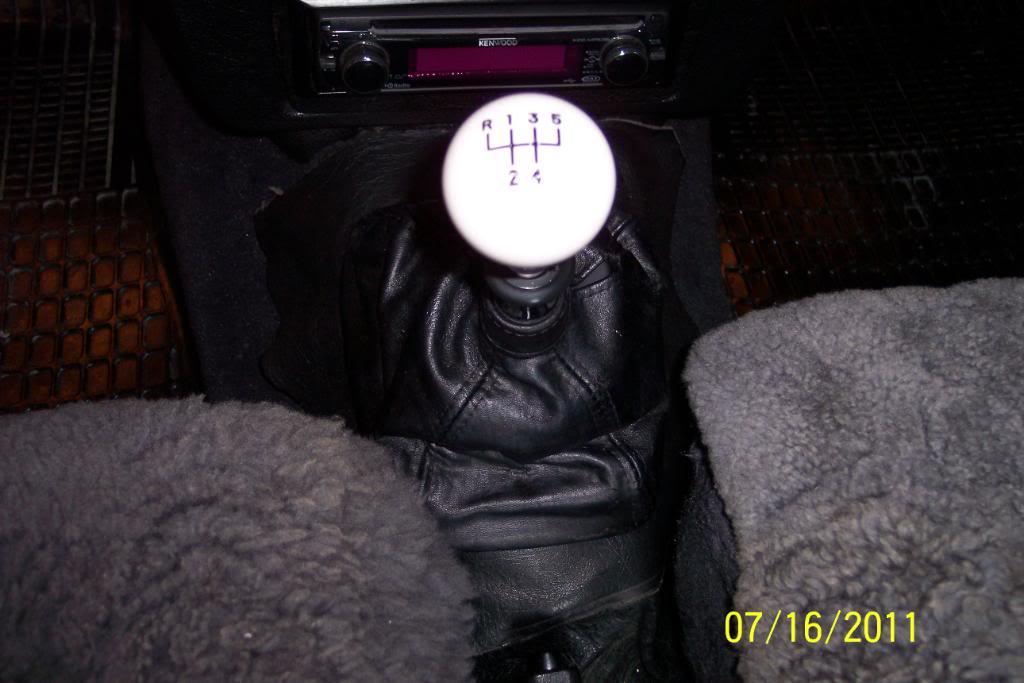

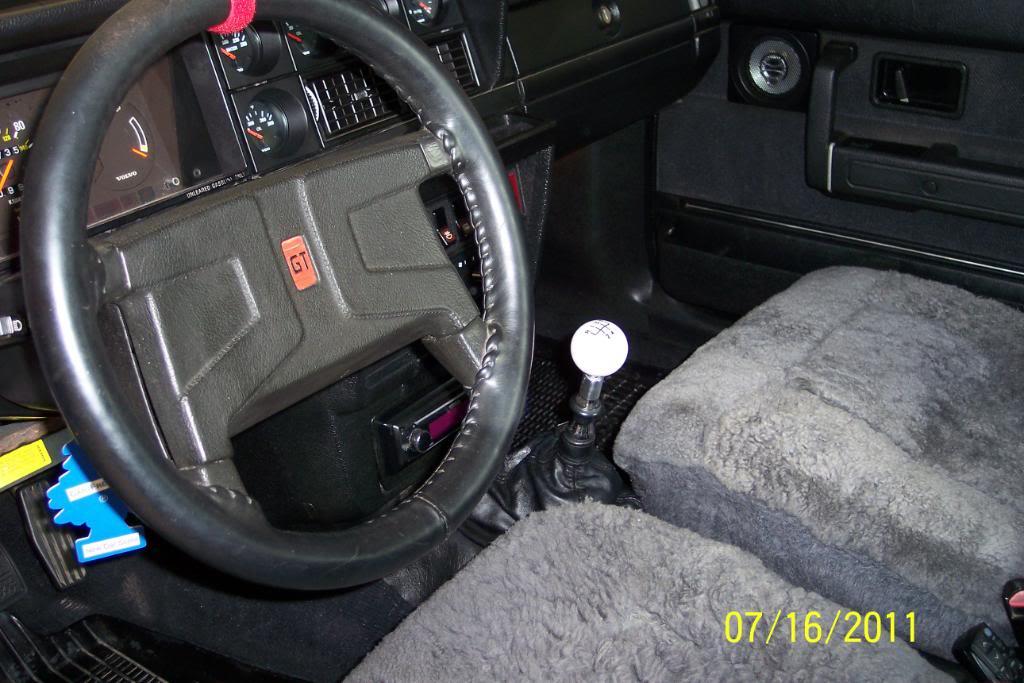
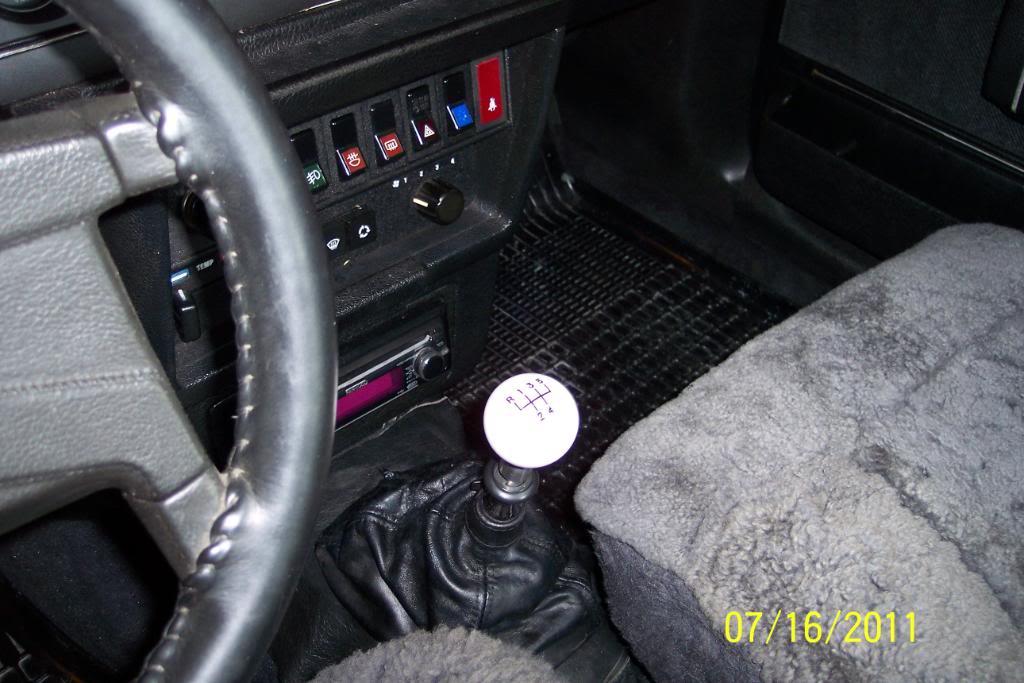
I received the Custom thread on knobs with the custom,OEM Volvo/M47 shift pattern today! Incidentily, they were made by Bruce Roosa of www.koolknobs.com.
Bruce Roosa is the man that made all of the custom made dash knobs & gearshift knob for the old & highly customized Cadillac Show Car "Cadzilla" .
It is owned by Billy Gibbons of ZZTop fame. He also makes them for a lot of Hot Rods and other show cars as well as custom knobs for many NHRA Drag racer's personal cars.
The quality & craftmanship of these shifter knobs is unsurpassed, and totally 1st Class! They all look Simply Impeccable!
Here is a pic of the other "Smokeyfan1000's Custom M47 Shift Pattern Shifter Knob Group Buy" shift knobs that some other Tbers ordered.
I highly recommend Bruce Roosa's work and anyone desiring a special, made to customer's specification, custom shifter knob should contact him at his website www.koolknobs.com
He will make you ANY KIND of shifter knob you want.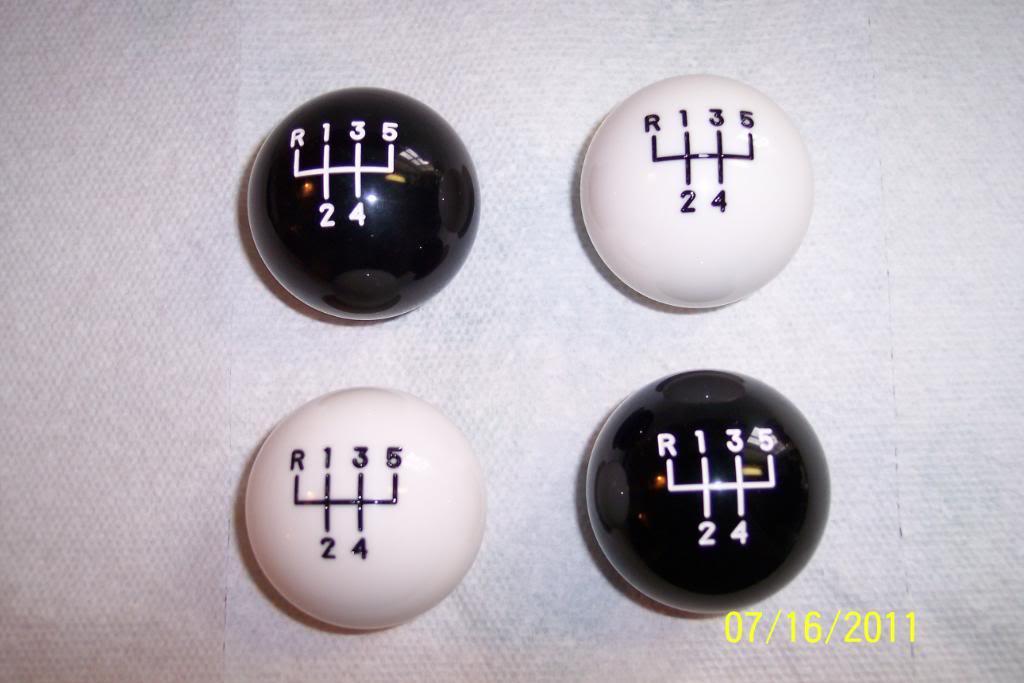

Nice build!
Posted by Diggymart on 3/30/20 @ 2:45:08 PM