You must be logged in to rate content!
16 minute(s) of a 720 minute read
12-21-2012
I thought the Planet Earth was supposed to come to a fatal end today ? LOL
I've got most of the length of the NOS Wiring Harness I'll be using , covered in used OEM Volvo wire sheathing for added protection. Still waiting on a few other small safety wiring items to arrive in the mail.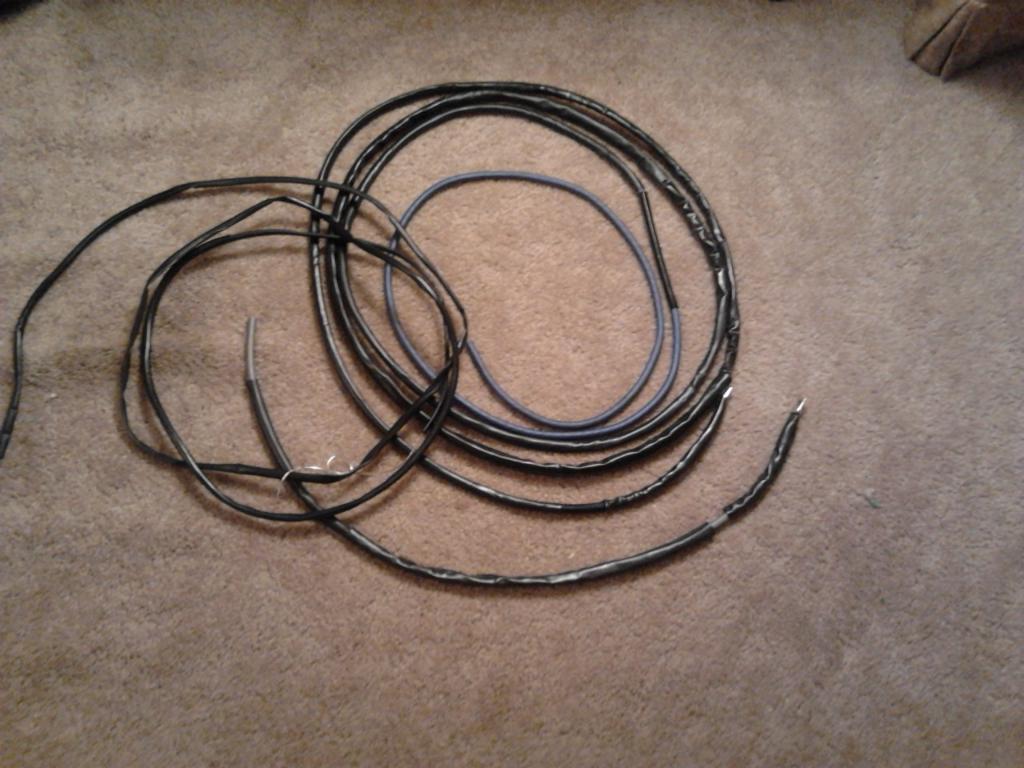
12-28-2012
Hope everyone had a Merry Christmas / Happy Holiday. ![]()
I've been investigating the best place/way , to route some wiring ....and I have found out the best way to run the wiring harness. Will route it tomorrow.
I should have some finished NOS install pics in a few days..............
12-29-2012
Thanks to a suggestion from badvlvo, I figured out how to run the harness through the firewall & to the trunk where the NOS will sit, on it's platform. I've gone to great lengths & have tried very hard to 100% ensure this harness never gets wet, in case of heater core leaks later on, nor gets cut/scraped/shorted out, should something unforeseen happen.
Keep in mind the *entire wiring harness is/ or will be, covered in OEM Volvo wire sheathing it's *full length*, in addition to any hose covered areas .
Yep, my CVOCD kicked in alright.................................The pics tell the story of the last few days work. More to come very soon.
Removed the two nuts on the inside under the dash, on firewall to remove the *Hydraulic Clutch M/C Delete Plate*
"What light through yonder window breaks?" 

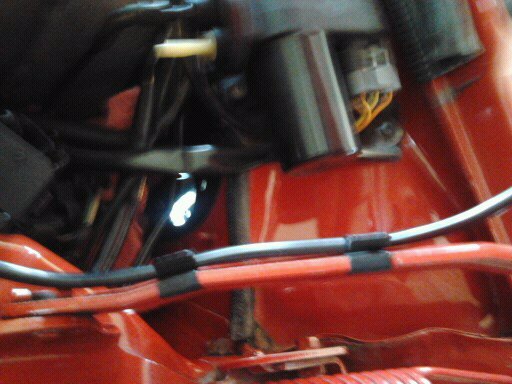
Got the delete plate off and cleaned it up.Then I drilled the 240/260 hydraulic clutch M/C delete plate with a 3/8 drill bit, then drilled the final hole size with a 25/32nd drill bit to obtain a tight fit for the next step.
And after drilling the 25/32 hole.I then used a bench grinder/wire brusher to de-burr the slag off the back side of the hole,brushed it on the wire brusher, and then smoothed up ID of hole some more by sanding it very smooth

Then I painted it Semi Gloss Black, with good ol' Rustoleum SG Black.

I used 1/2" ID gasoline hose to act as a grommet to protect the harness from cuts if should have an accident. It extends about 6 inches through the firewall to engine compartment, so it'll run under & "disappear" under the factory strut tower bracing along with the other wires there. OEM sheathing will continue under the strut tower brace plate, to end of the harness.

I also pushed the OEM Volvo wire sheathing into the end of the gas line, and then used PermaTex Ulta Black Hi-Temp RTV Silicone Gasket Maker, to make a 100% water proof seal. I'll probably add another layer of RTV after this layer dries fully.

I then slit some more 1/2 gas line I had, and added it to the harness, and closed it fully and fastened it shut with some small wire ties.
This piece of hose goes all the way to the floorboard. I had to cut off about a 1/4 inch off the bottom of the "4th pedal" cover.
So now, absolutely no chance of the wire harness getting cut/shorted out. Also, in the 2nd pic, you'll notice that above the uppermost last red tie wrap, you can see the @ 5 inches of the " through the firewall/grommet hose" that is *not slit* .
I'll use some more RTV to seal that hose to the delete plate on the *interior side of the firewall, for further waterproofing/windproofing. That hose fits nice and snug in the delete plate's hole though.
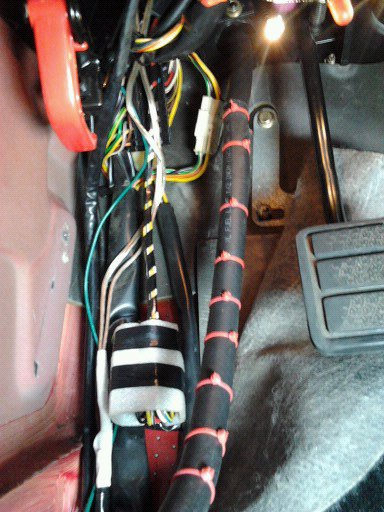
This harness is carrying up to 50 amps from the battery , from engine compartment, through the interior(under carpet) & all the way to the trunk.
Better safe than sorry, IMO. Ever have a heater core get a leak & wet the floorboard reeeaaaal good?
And FWIW,We do have very heavy rains, with mild flooding, here in NC, from time to time during the summer.
I came across a 3 ft + deep , 500 ft long "puddle" during the last one a few months ago.
A pick up trunk was stalled in the edge of it and the puddle's water was in his cargo area .These rains are are *rare* but we usually get at least one about every summer.
Also, I have 5 deer in my yard "right now*, have hit 3, killed two, with my Volvos, all less than 1/16th of a mile from my house in our "developement" , and that was *before* getting to Hwy 70E from my street.
And ya never know when a dummy is going to hit your car out on the streets. This way I'm covered as well as I can be.............
Hey, it's taking quite a few amps from the battery to some expensive items in the trunk...........plus I already *had all these items I used*...always a plus there....
I also am not taking *any chances* as this cable will reside under the carpet for many , many years to come.
12-30-2012
The supplied insulation on the cable really wasn't very thick , at least IMO. Is quite thin as a matter of fact.
And it seems to be some sort of somewhat soft silicone/poly insulation. See pics at bottom of this post.
And I didn't like the idea of trying to *find a proper sized grommet*,not to mention the time & gas spent locating a grommet that fit the cable with sheathing on it snuggly. and then trying to pull the cable through a true automotive style firewall grommet, while the grommet would keep popping out of the hole.
The used OEM volvo sheathing is several separate pieces, one slid into or over the other where they meet, and then heat shrinked over the slip fit junction.
I didn't see this type of pieced together sheathed cable, being easy to pull through the Hyd, M/C delte plate with a normal grommet in place in it, and it *is not easily accessible* to get to , nor feed the cable through, by oneself, under the hood. And not too easy to get to under the dash either.
I think my way will work and look just fine. I already had the fuel line and wire ties, so why not use them?
I feel better having run the cable in sheathing. Volvo used it on all interior wires ya know, especially those wires under the carpeting and rear seat.
Looking at end of strip cable insulation
And the fact the wire has impressions on inside of the soft insulation, making it "functionally thinner" than it actually appears at first.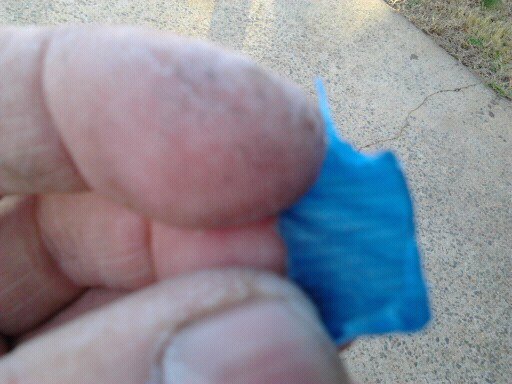
Looks AOK to me......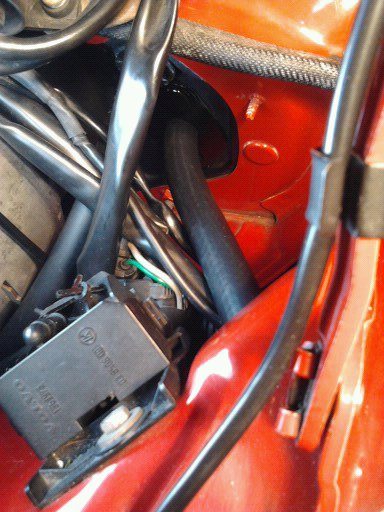
1-7-2013
The 1st half of the NOS is installed now...... (New Obstreperous Stereo).
If you'll recall I never said Nitrous Oxide. I said NOS, which could have stood for a number of things, some of you just let your imaginations run away with you huh? ![]()
Although I've installed many head units in cars I have owned over the years....this was the first time I've ever installed a stereo amplifier in any car.
I had a pretty good idea as to how I wanted to mount the amp, and I also read a lot of amp install/info articles on the internet and got some other good ideas.
Also, I'd like to give some special credit to my good friend badvlvo, for answering a number of my questions, concerning the finer points of how to avoid the pitfalls of "noise" in the audio system, and keep it to an absolute minimum, & concerning the details of what makes a good amplifier install and the best and easiest way to go about it correctly. .
Thanks badvlvo, I really appreciate the advice/help you gave me!
FWIW, I think I did a pretty good job, especially considering it's the first amp install I've ever done.......
Now for the details of the amp install.......mostly in pics...............................
Used an existing hole.......

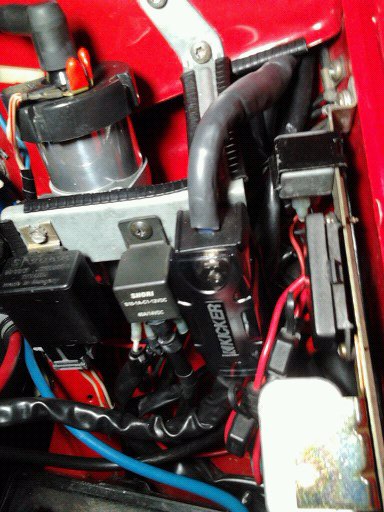
Added some OEM Volvo edge gaurd for added protection from the sharp edge.
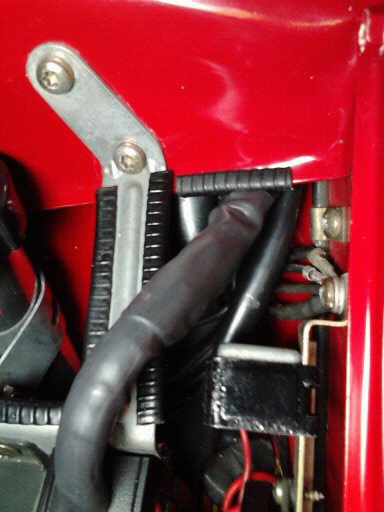

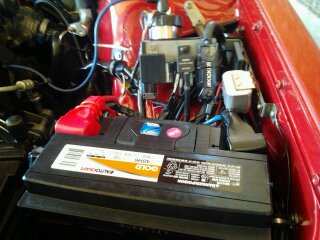
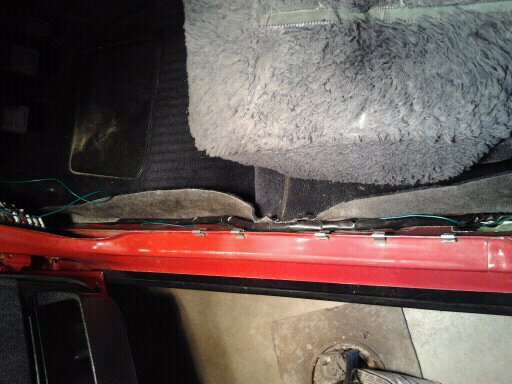
Then ran all the 12V 4 ga cable to carry the amps to the amp, and the RCA cables.

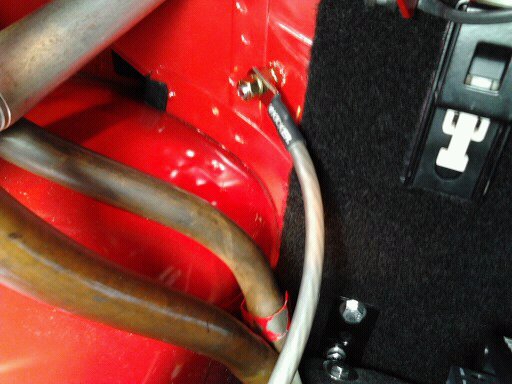
Made a ground lug with a 5/16-18 bolt, lock nuts and star washers, and hooked the ground cable to it
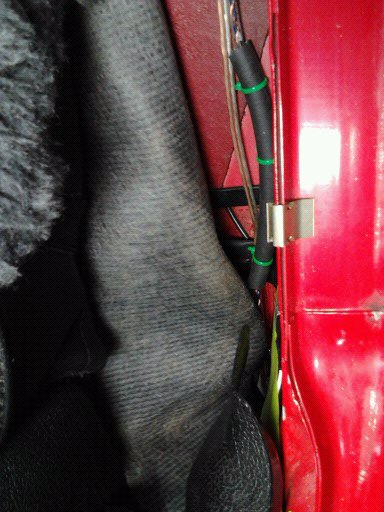
RCA cable routing starting at under dash, using 1/4" fuel hose as wire sheathing in certain places


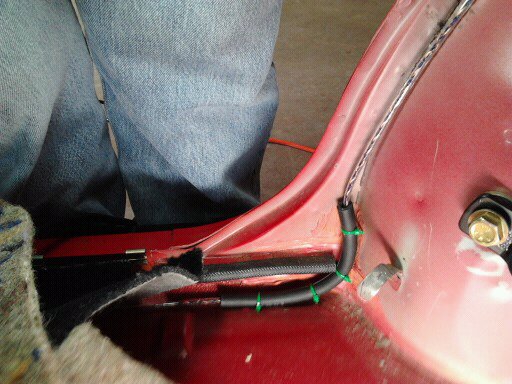
Notice the red silicone vaccum hose I used as sheathing here & in trunk to help hide the RCA cable.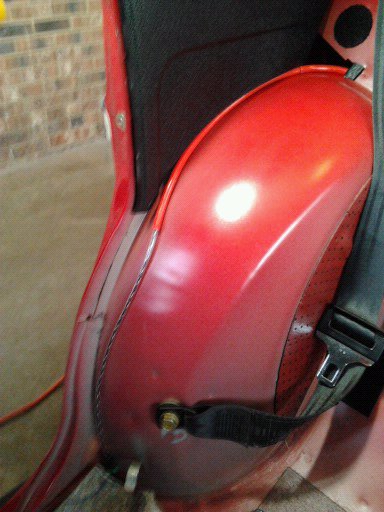

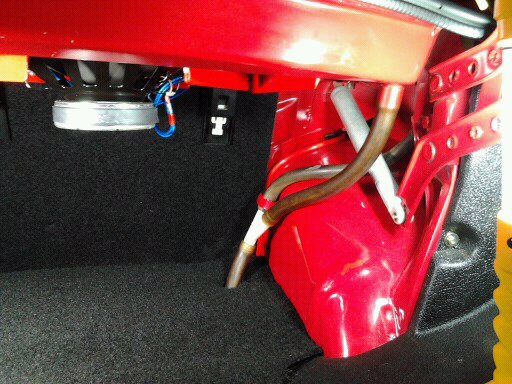
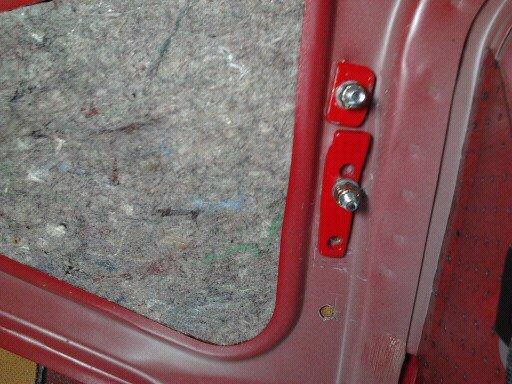
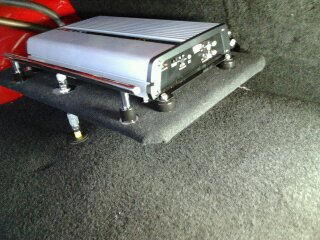
I carpeted the oak plywood platform, and bolted on a polished stainless steel "guardrail" to the platform. I then mounted the brackets I'd already painted, to hold the amp's shelf platform , then mounted the finished carpeted platform to the brackets, and then mounted the amp and the now painted aluminum spacers onto the shelf platform.
I used previously polished stainless steel hardware, with rubber washers, as isolators, at all mounting points.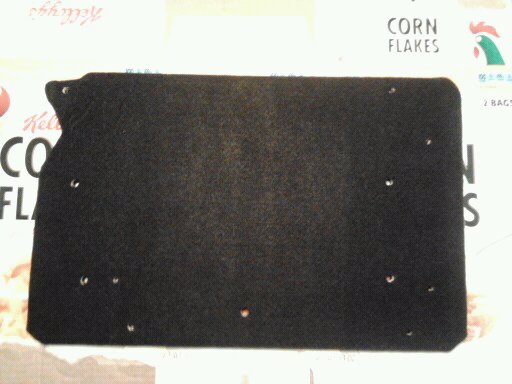
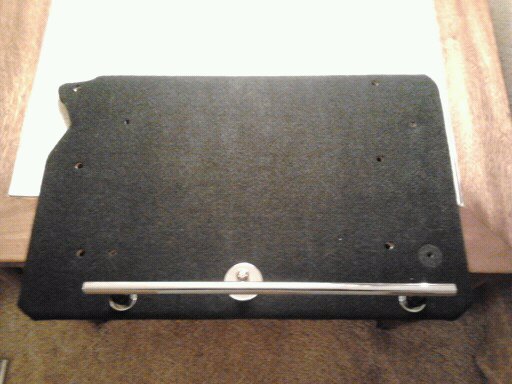




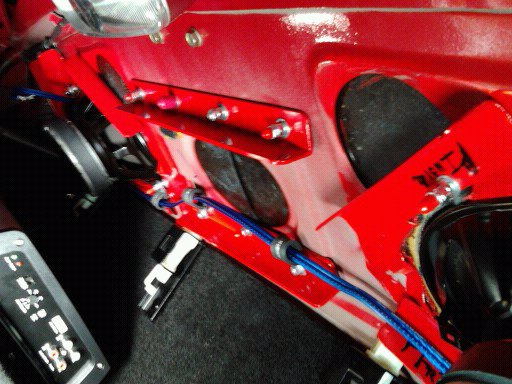
Ran the 14 gauge 100% copper, silver tinned Streetwires speaker wires as neatly as possible.I used black nylon clamps at the partition panel, and amp platform locations and used metal with rubber trim ones under the package tray panel The latter look just like OEM Volvo clamps used under the hood, for added "stealth/factory appearance"


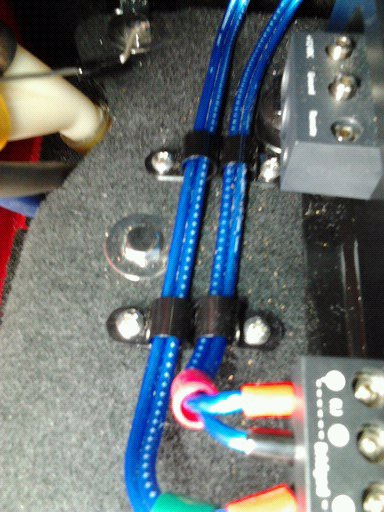
And then clamped the amp's 12v power cable, ground cable and remote turn on wire to the amplifiier
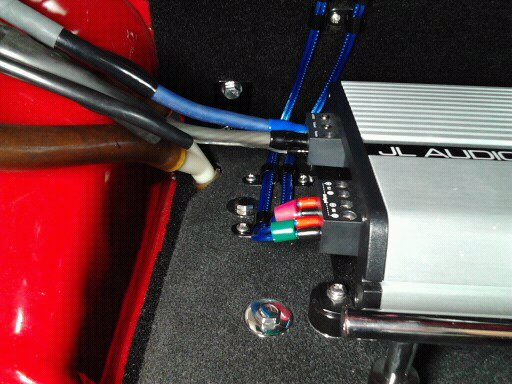
Then finished the wiring by hooking up the RCA cables to amp and using a clamp to keep them within the platform's end perimeter .
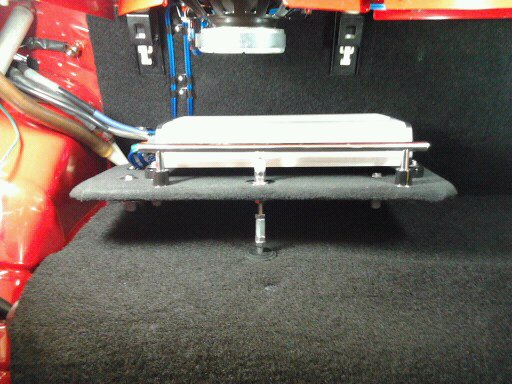
Then I decided to cover the "adjustable center support" with a new small piece of 5/8" ID washing machine hose, to make appearances a tad better and hopefully giving it a more finished appearance.
I also added 5/16" vinyl grey bolt end covers ,over the platform's and the amp's mounting nuts for a more finished appearance. Those will also help keep from scratching any items, I may place under the amp platform later on.

For those who are interested, all the mounting hardware, L brackets, screw end covers, SS bolts,nuts,screws, oak plywood,, and everything else used to mount the amp was purchased at Lowes. I purchased the thin black carpeting, covering the platform at AutoZone.
Audio Equipment Info
I purchased the JL audio JX360/2 amplifier, the Kenwood Excelon KDC X-896 Head Unit and the 14 ga. Streetwires 100% copper, silver tinned speaker wire from Crutchfield.
I purchased the 16.4 feet long StreetWires Zero Noise ZN-7 Interconnects/RCA cables and the 20 feet long ,100% copper, silver tinned, 4 gauge/1000 watts Kicker PK4 Wiring Kit with Fuse Block with 100 amp fuse, from www.sonicelectronics.com Both cable sets worked out just fine.
I had to buy 50 amp fuses for this app though, so I purchased the ten 50 amp Mini ANL fuses from coast_national_sales on ebay for a very decent price, just to have a few extras.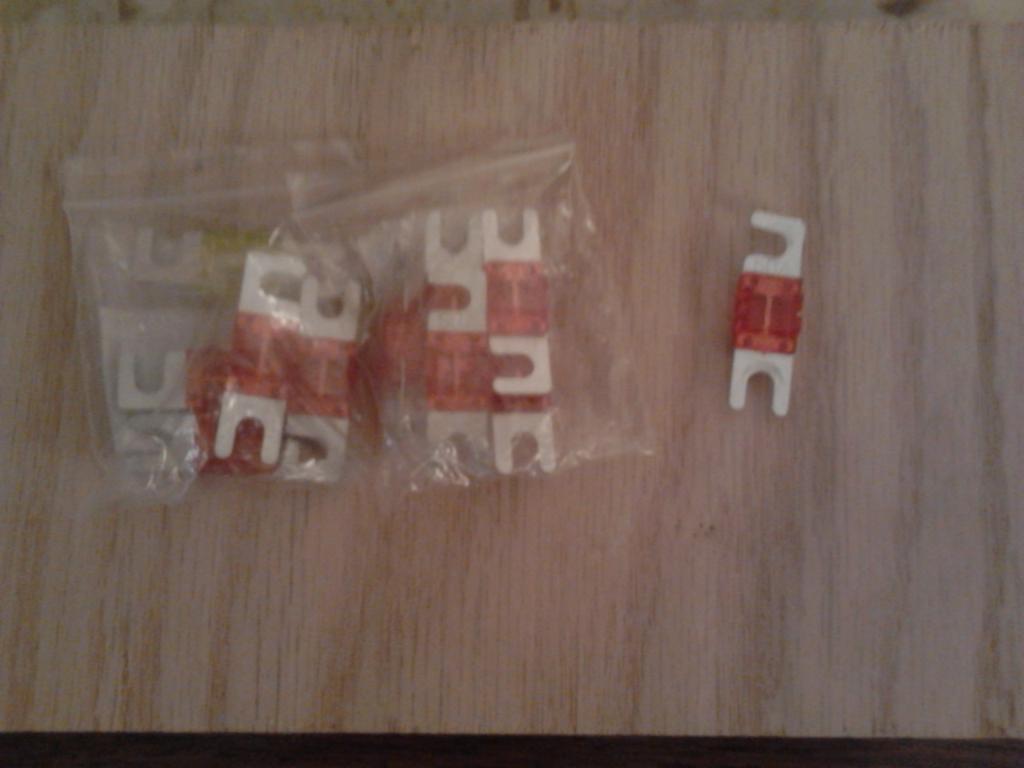
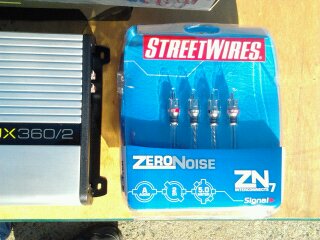
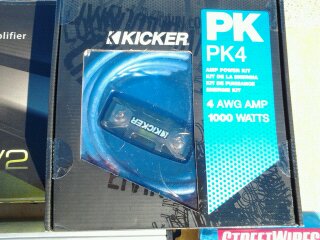

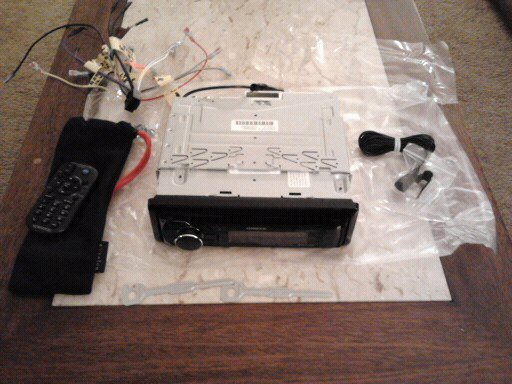
And tomorrow, I hope to install this Kenwood Excelon KDC X-896 HU , weather permitting. It has a lot of nice features my other KW did not have. I'll likely put the old unit in my other Volvo ('79 245) at a later date.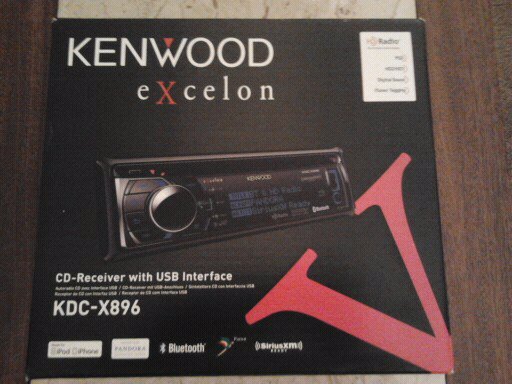


Nice build!
Posted by Diggymart on 3/30/20 @ 2:45:08 PM