You must be logged in to rate content!
20 minute(s) of a 720 minute read
11-18-2012
Today I removed HL & Dash lights dimmer switches,loosened the Instrument Cluster's screws, and pulled it out some.
After that, I removed the driver's sides knee bolster panel, along with both center console side panels,and then the center console, pulled the Center Console out a tad.
I used a 1 inch drill bit,( I have a big collection of rather large drill bits) turned by "hand power" (no drill used), and carefully took a partial turn of bit, then stop and cut the "burr" left with my Exacto Modeler's Razor Knife, take another partial turn of drill bit, trim burr with Exacto Modeler's Razor Knife repeat.... did this about 6 times & I had a nice round hole that the Illuminated Cigarette Lighter's "lense" would fit through.
I loosened the Dimmer Switch's retaining nut, and worked it out from behind the dash. I used a "two pole chair connector" with a third female connector on it. I then heat shrinked some protective insulation around the female terminal that would be sliding on the Dimmer Switch's + 12V power terminal.
I then slid the Illuminated Cigarette Lighter's "light wire" to one male chair leg, and the main power +12V wire *for the Dimmer switch* to the other leg. I then slid on the female chair leg to the Dimmer Switch's 12V Power terminal Now it is wired to the Dimmer Switch.
I then routed the "light wire" over to the illuminated lighter's "light wire terminal, and slid it on .
I should mention, that I had to remove the OEM Cigarette Lighter's *narrower* +12V Power *L shaped male terminal* that supplies 12V+ power to the lighter's pop-out element when it's pushed in. I then removed the new lighter's *too wide terminal* & swapped it out for the *OEM narrower one* onto the new Illuminated Lighter.
It turns out, that this very same terminal on the new Illuminated Lighter *was too wide* for the OEM 12V+ female wire connector to slide onto I also used the OEM Lighter's L shaped 12V power terminal's OEM lockwasher that goes under same L shaped male terminal, for added insurance against it coming loose.
FWIW/FYI............Volvo made the female 12V+ L shaped male connector, which receives the power to pop-out element wire narrower than the ground wire's female terminal, so one cannot connect +12V wire to the ground on lighter. Good idea IMO
It is also narrower than normal male wire connector terminals used It's similar in size to the negative male terminal on a 6 x 9 speaker.
OK.........
I then attached and double checked the 12V+wire to the new lighter & the lighting wire to it's bulb wire and the ground to the lighter's ground male connector on the outer thread on housing.
Then reinstalled all the Center Console panels , Switch panel, Inst Cluster etc. Buttoned it all back up and checked all my rocker switches for proper operation and lighting up when powering their respective loads.
I had to pull out rear window defroster rocker switch that is on the delay timer and replace it's burned out bulb ( been burnt out a few weeks).
Also, a wire on one of the "Moonshiner's Mod Rocker Switch" had pulled off when I pulled the Center Console out, so I popped that switch out & put the pulled off wire back on.
And popped the Moonshiner's Mod Rocker Switch back into the Center Console, and checked it's operation again. It worked fine. So...Now all rocker switches were operating properly & illuminating too. YAY!
NOW........................
The Illuminated Lighter's amber circular lense is illuminated bright enough to see it OK, but not so bright as to be a distraction while driving at night.
As of now, the way I have it wired, the illuminated lighter's amber ring *only illuminates when the HL switch is in *Park* or *Head Lights On* position*
AND..........When you pull the pop-out ciggie lighter out of it's socket, you see the *white light* from it's bulb, inside the socket itself. The white light with lighter removed is a bit brighter than I like, but it's livable, I think.
I'm going to try it powered like this for a few nights. And see how I like it. If I find that bothers me...............................
I may move the Illuminated Lighters *12V power wire to the light in lighter* to the same Dimmer Switch's terminal that allows the dashlights to be dimmed, thereby it would also dim the Illuminated Lighter Lighting.
I think I might would like that even better. And if I do that, I might even find one of those red colored silicone "bulb boots", and slide it on the lighter's light bulb, so the light inside the socket would be red, and may color the amber lene to more of a red color too. We'll see.............
I think the lighter's bulb would still be bright enough to see, with it dimmed some, when driving with the dash lights dimmed also. I'll update if I do change it.
I kind of still wish it had a green lense so it'd also match the Illuminated Power Window Switch's green lighting, that I purchased from Philski O'Flood. That would be even better IMO. Maybe I'll get lucky,and find a green lense for the lighter later on.
Pics below:
Here it is in the pitch black dark

And here is what it looks like with the pop-out ciggie lighter out of it's socket.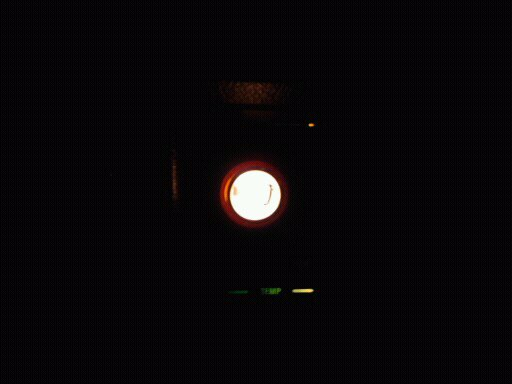
3:00 AM
I have always noticed that the *245 Headliner Dome Light* always has a "reflector" behind the lense. You'll notice the 245's Dome Light's reflector is painted silver too.
But on a *240 sedan*, the Dome Light is nothing more than a clear lense and bulb and is made *without any type of reflector* other than the "inside" of the actual roof's metal
Made me go Hmmmmm.................. what if..........................
So a few quick emails to, and some cool online conversation with, TB's own, illustrious,ingenious and *always helpful* Volvo Decal Maker, Dave Barton, at www.davebarton.com...........
Dave came up with this prototype for me, at my request, and he has another design of prototype in the making also.
He & I will see which works the best. But as of now, this increased the lighting/illumination from my 240 Sedan Dome Light *quite a bit*, Almost double as a matter of fact. And I have the 240 Black/Charcoal Cloth Interior too.
This was "my idea"... but Dave Barton *supplied the materials & did all the work making it*
THANK YOU DAVE! ....... AS ALWAYS...... GREAT JOB!

 ALL TBERS SAY: "THANK YOU DAVE !!"
If the other material he's working on turns out to work even better than this it'll be absolutely *killer*
HERE....I'LL LET THE PICTURES EXPLAIN
It's a *Flexible Mirror* guys.....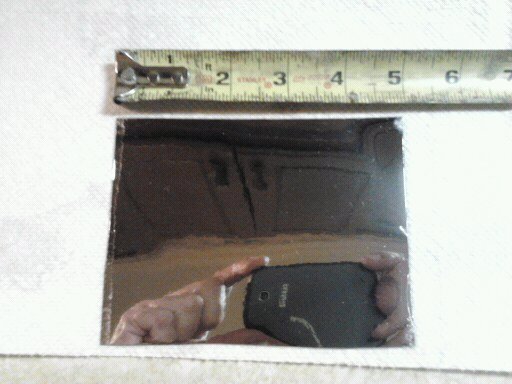
And ....it has magnetic backing on it's backside, so it'll stay on the inside of the metal roof panel.
And here's all that Volvo left us as a reflector for the 240 Sedan's Dome Light...ttttttttttt....doesn't work very well IMO
And here's the *FIX*........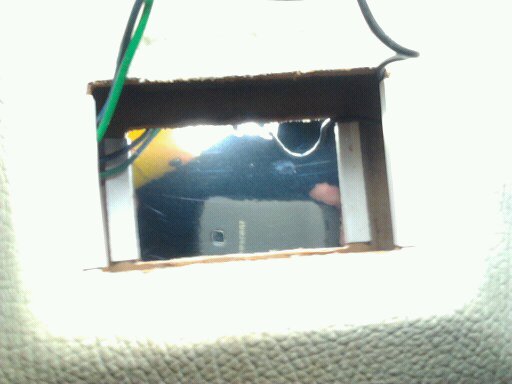
Notice you're seeing the *reflection of the yellow side of the headliner*, as well as the cell phone/camera and trouble light's light.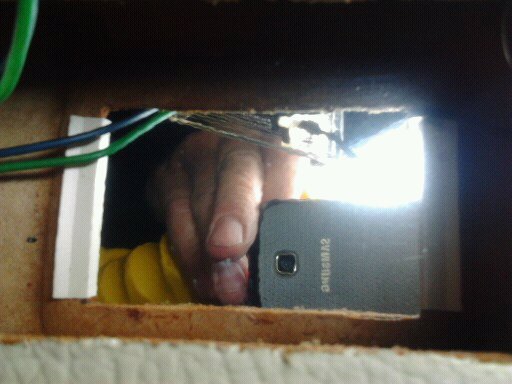
*FWIW, This picture does not do* the "Dome Light Reflector Mod" any justice whatsoever.
The Dome Light Reflector Mod in my charcoal/black 240 Interior, *provides almost double the illuminating effect* that it did compared to without it/the way Volvo did it. Just want to make that 110% clear.
Just got back from a short test drive on dark rural road, and on I-40 lit up with the street lights.
Before this Mod, I couldn't even read a note written on paper in ink, by just the dome light.
And the light is *much whiter light* than before. *Before this Mod*, with my black & charcoal cloth interior,I couldn't see much of anything by the Dome Light. It seemed pretty useless .
But now...after this mod, I can read a note *easily* with no straining, nor finding the "perfect placement" to hold it to view/read the note.
It also lights up the entire front seat area as well as the entire backseat area *muuuuuuuuch better*, than the OEM/without reflector Dome Light ever did. Never lit up much of anything before this mod..........
THe 240 Sedan Dome Light Reflector Mod, is well worth the minor time & effort it takes to install. Install time is @ 3 minutes flat.
Unsure what Dave's price is/will be on this. I still owe him for it. He just sent it to me in the mail to try out/test.
I'm chomping at the bit, in anticipation, of trying the "Micro Prism Reflector Material" when Dave makes a prototype of it, next.
THe Illuminated Cigarette Lighter Mod was well worth the effort to me too. I think I will connect the lighter's "light bulb wire" to the terminal on the Dimmer Switch that will allow it to dim with the Instrument Cluster & Center Console Lights though.
I'll do that later today or tomorrow though.
I'm also working on illuminating the inside of the ashtray too..........more on that later.....................
11-19-2012
Seems I forgot to post pics of the OEM Lighter Knob transferred to the new lighter. So today,I've posted pics today of them both.
Yes, both lighters, because today I purchased yet another Illuminated Lighter just like the one I installed.
I wanted a spare lighter element to go with my spare, and longer, OEM lighter knob. So now I have two brand new lighters to light ciggies with,. One with short knob and one with the longer knob.
This also allowed me to investigate how to solve the problem of the bright white light emitted from the lighter socket, when one pulls out the lighter's pop-out element to light up a ciggie, without having to pull the already installed Illuminated Lighter to do so.. ( just in case it didn't pan out)
Turns out that the light bulb Victor used to illuminate the lighter is the same bulb Volvo used to illuminate the "Fasten Seat Belts" red lense in the Center Console at far right to the rocker switches. This is a huge plus, as I have about 15 spare bulbs now.
And seeing as how, I had a red silicone "bulb color boot" left over from my 52MM VDO Vision Gauges I bought a good while back , because I didn't use them on the gauges, and used all the red ones,except for one , on my "Manually Switched Footwell Courtesy Lights Mod"
I also have all the green bulb color boots left over as well. But the red will match my manually switched footwell lighting and my still to be done, last two lighting mod plans best.(more on those later)
I installed the red bulb color boot,placed the lighter in the socket and powered the lighter/light via the battery. And the orange ring then looked more of a red color, and the red color boot toned down the amount of light, in the socket with the lighter removed from it, and also, of course, colors the socket's lighting red also.
I'll swap this lighter' bulb holder attachment to the existing new Illuminated Lighter currently on my car now tomorrow.Hopefully. I'll post pics of that then.
This will solve the "too bright" white light in the lighter's socket when the pop-out element is removed to light a ciggie, but still provide a soft red light to see where to return the lighter to the socket.
I believe it'll look much better this way.
Pics below:
Two new Cigarette Lighter, both with OEM Volvo knobs. One with longer knob, one with shorter knob .(FWIW,new 240 lighters are NLA from Volvo)
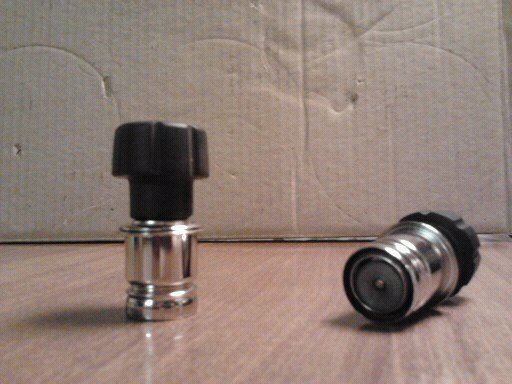
The fix for the lighter socket's white & too bright lighting


I decide to go ahead & install the new light & red color bulb boot tonight.
The "color ring" aound the lighter socket is a tad dimmer, but still very visible in the dark. And now it appears more red than orange , when illuminated.
The big plus is no more *too bright white light* when you pull the pop-out lighter out of the socket now. It's "just right red" now.
Pics below:
This pic is with a 740 ciggie lighter in the socket, as the 240 knob makes it hard to see in pics.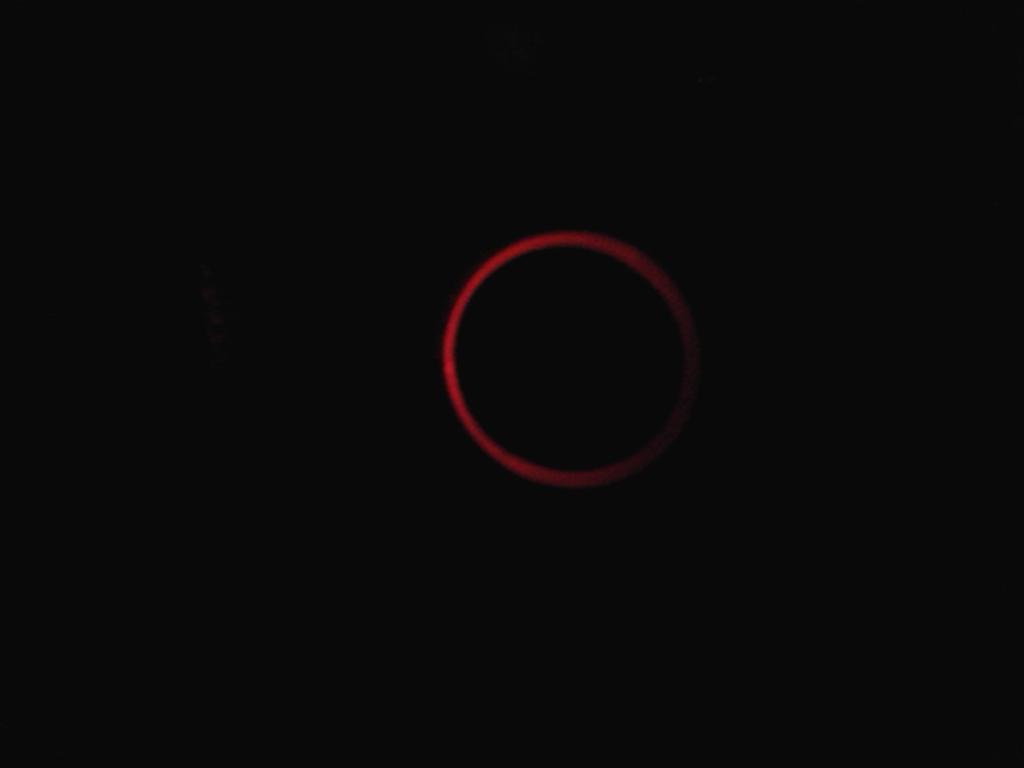
This pic is looking straight on/into the lighter socket with the lighter removed.
Comparison of previous orange/white lighting...and the current reddish/orange and red lighting below:
Big difference huh? Especially while driving at night.....
PREVIOUS ORANGE/WHITE
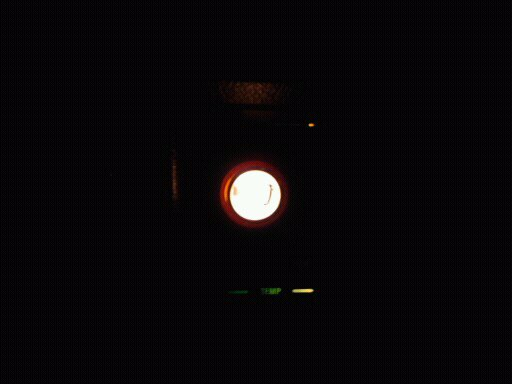
CURRENT REDDISH/ORANGE AND RED


11-22-2012
My next interior lighting mod, is to alleviate something I've never really liked.
Which is the light built into the rear of the e- brake console, for the rear passenger ashtray and floorboard courtesy light.
Seeing as how I very rarely, if ever, have rear seat passengers, I find the white built in rear e brake console /ashtray/floor light annoying. Not so much that the light interferes with me, just prefer as much darkness in the interior while driving as possible, until, of course when it's really needed.
I first thought of adding a switch to turn it off when I wanted. But not really much of a place left to mount it. So I modified the rear e-brake console light's wiring by cutting both wires and using male/female insulated spade wire connectors, to allow easy light/lense changing/swapping out.
With the light removed, I then made a easy modification to the rear ebrake light's lense..........IE I painted it . Guess what color................
I first tried painting the e-brake console light's lense on both sides, with Testors Candy Apple Red Model Car Spray Paint, but it made the light's illumination pretty dark as far as any actual light. It barely made the ashtray visible in the dark. Too dark IMO, as I do want a little light for rear passengers to see the rear ashtray/floorboard .
So, I tried another spare lense I happened to have, and I painted the lense's outer side only with Testor's Candy Apple Red Model Car Spray Paint. Now, the light's illumination appears to allow a little more brighter red light than with the lense painted on both sides did.
I'll have to drive the car at night to see if this is what I was after, but I believe I'll be happy with it. It's enough light for passengers to see t shtray and some floorboard area, but nothing excessive.
Pic below:
That's the flexible stalk of the Hella Map Light (with red lense) bolted to the rear passenger ashtray, in case you're wondering.
11-26-2012
Start of another mod...........
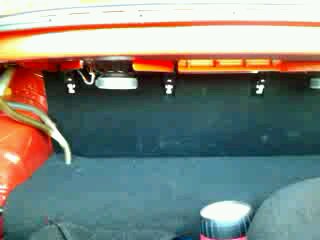
Bought two of these.......
Modded them both to this.......

11-28-2012
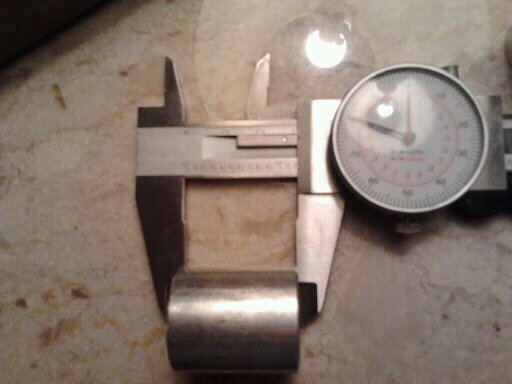
Made these out of round billet aluminum stock today..............

11-29-2012
Decided to do another little project today, before contining with the previous one.
Today...... I decided I'd put the rear side collision braces back on. It seems to help align the gas tank/make it fit *to the chassis rail better with it*, than without it. Who knows, might help me survive a collision/gas tank puncture some day.
I also read a thread on TB, where another member removed these braces, and it caused the gas tank seams to leak. Surely don't need those problems. So for now, they're back on the car.
Taking the braces of *seemed to affect* the gas gauge's reading some too, but that might be caused by another yet undiscovered problem, don't know for sure yet. Should know in a week or two....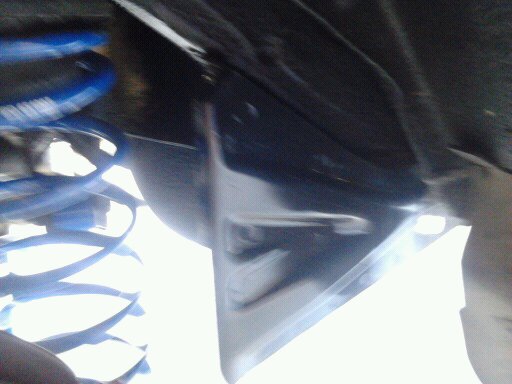
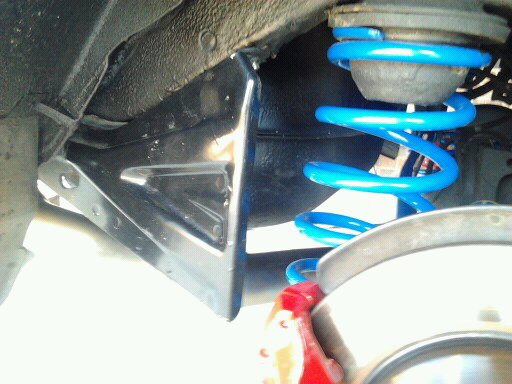

Gonna put the gas gauge "before & after" comparison pics here too, so I can see if there's any difference
Before....
After...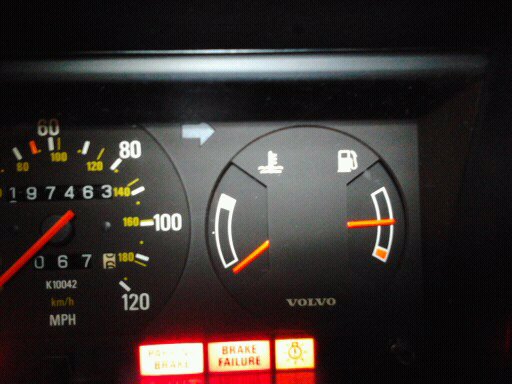
FWIW, after all the OEM Volvo lighter knob to aftermarket lighter element ordeal, I found an *NOS OEM Volvo 240 cigarette lighter* on ebay.
Since I've been looking for a NOS 240 lighter for around 5 years or more, *I bought it*.
This will also give me a *perfect specimen* , for yet, another mod that is soon to be revealed...............
In the 3rd pic below, notice the OEM Volvo NOS lighter on top, has a different shell than my aftermarket lighter with OEM knob has. Both work fine in the socket, but at least I'll have a genuine Volvo 240 lighter when needed, in the future..... for..................car shows?
I also have *two other very hard to find 240 parts* I bought on ebay, that should arrive this week or next. I have also been searching for these perfect items too, for around 5+ years. And I'd almost given up hope.
I'll post the pics when they arrive....but.... WARNING...you might be jealous when you view them.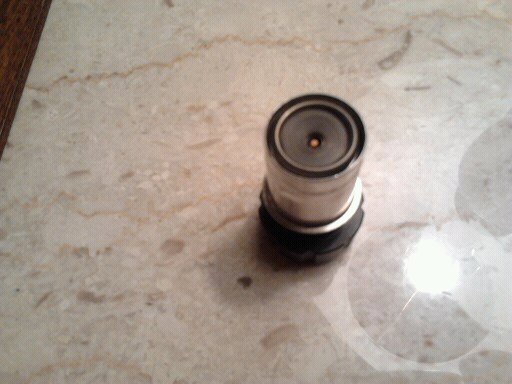
Genuine OEM Volvo NOS lighter on top in this pic. My modded lighter on the bottom.

I have been working on the mounting brackets. I think this set up will work OK. I won't know for sure until I re-install the carpeted fiberboard interior/trunk partition panel, and then install the mounting brackets.
It appears to be a "this should work" deal thus far.........but might not be the final method of mounting brackets/mounting.
The left side mounting bracket I clearanced to clear the sunroof drain piping....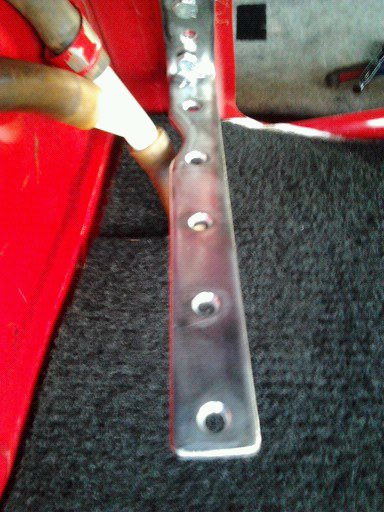
The right mtg bracket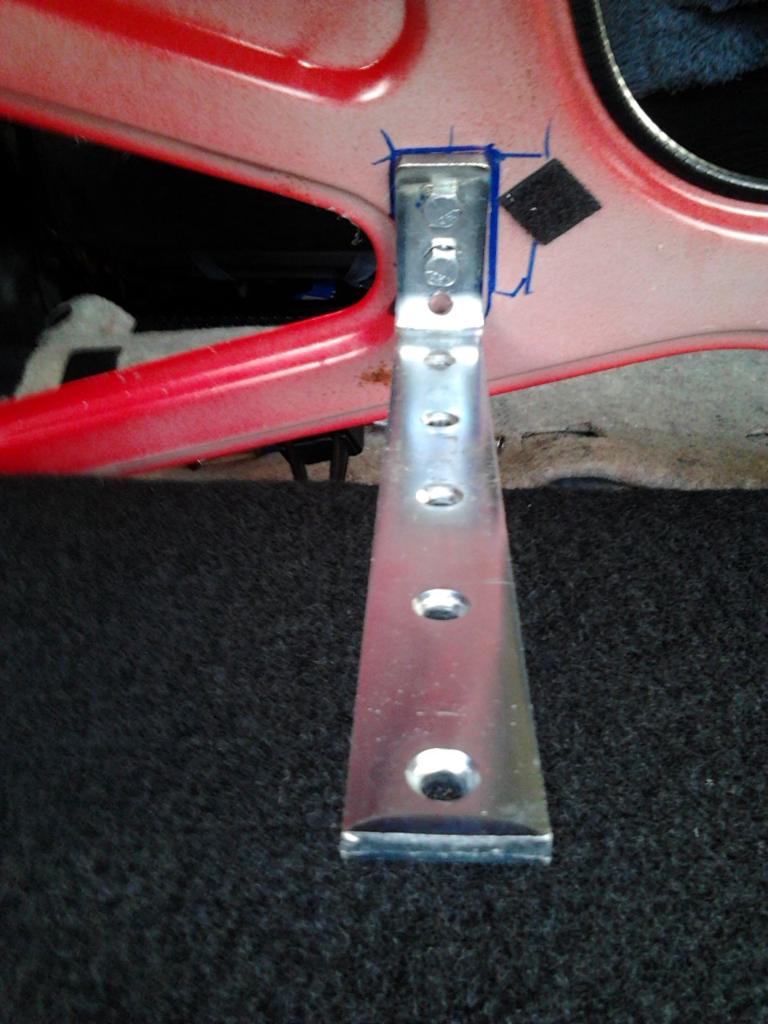
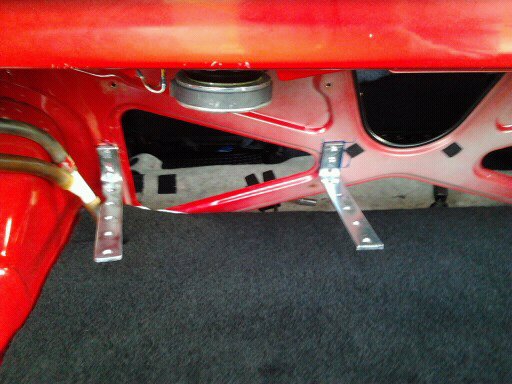

And the bracing on the interior side...

Nice build!
Posted by Diggymart on 3/30/20 @ 2:45:08 PM